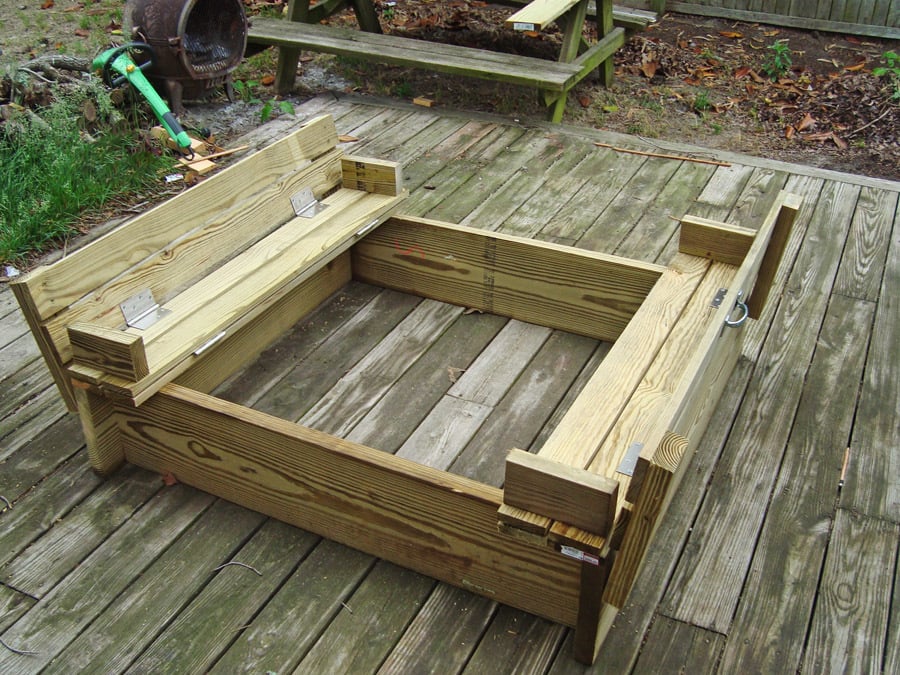
This is a fun project even for beginners. If you have an interest in building a sandbox, and have some tools, I'm sure you can make this easy enough!
I used 2" X 10" wood for my sides instead of the 1" as the plans call for. This gives extra strength and more depth. When you use 2" wood, you will have to turn your 1 X 4's the other way to match the 47½" width, because with the added width of the 2 side boards, your new width is now 49¼". It's not difficult, you just have to match your 1 X 4 X 47½ boards to the proper width. It will turn out fine, they just won't match the plans or pics of those using 1 X 8's for sides.
Sorry, I'm delivering this to my grandson's house for his birthday present, so no sand, but use landscaping cloth under this sandbox, then fill with sand.
One other thing, I'm toying with the idea of matching the angle the backrest is at and re-cut new pieces of 7½" arm rests. I think that may look a little better than the rectangle blocks.
My added pics are as follows:
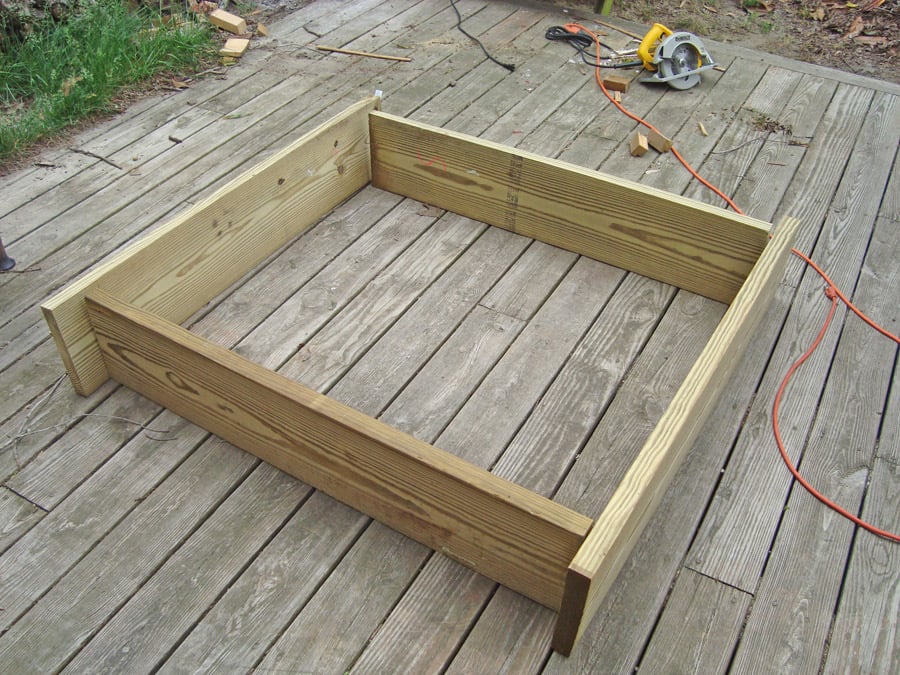
1. The side boards all cut, and sizing up the frame.
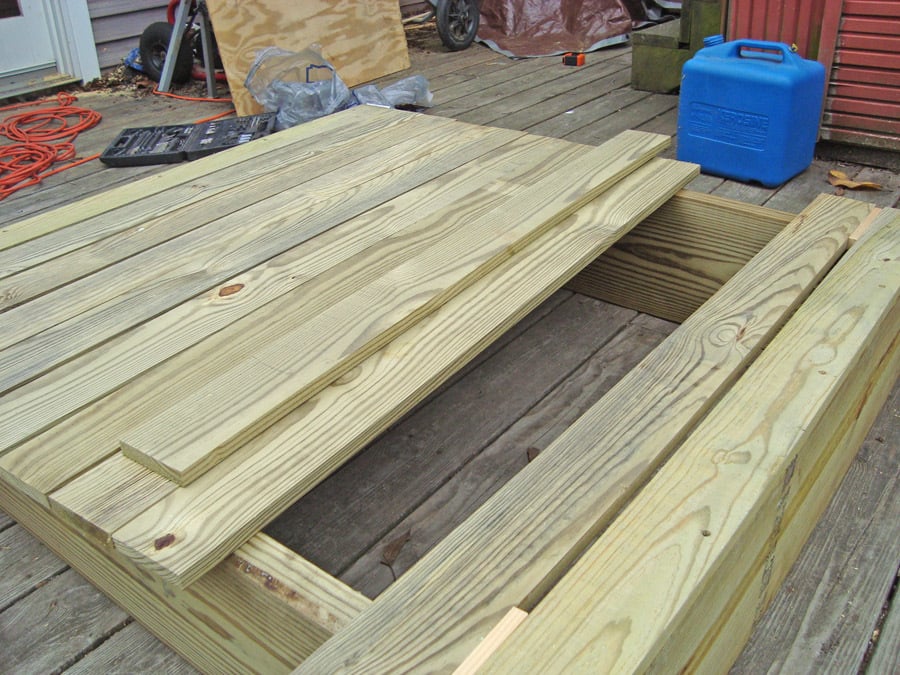
2. All other boards are cut; I laid them out for fit before screwing the pieces together.
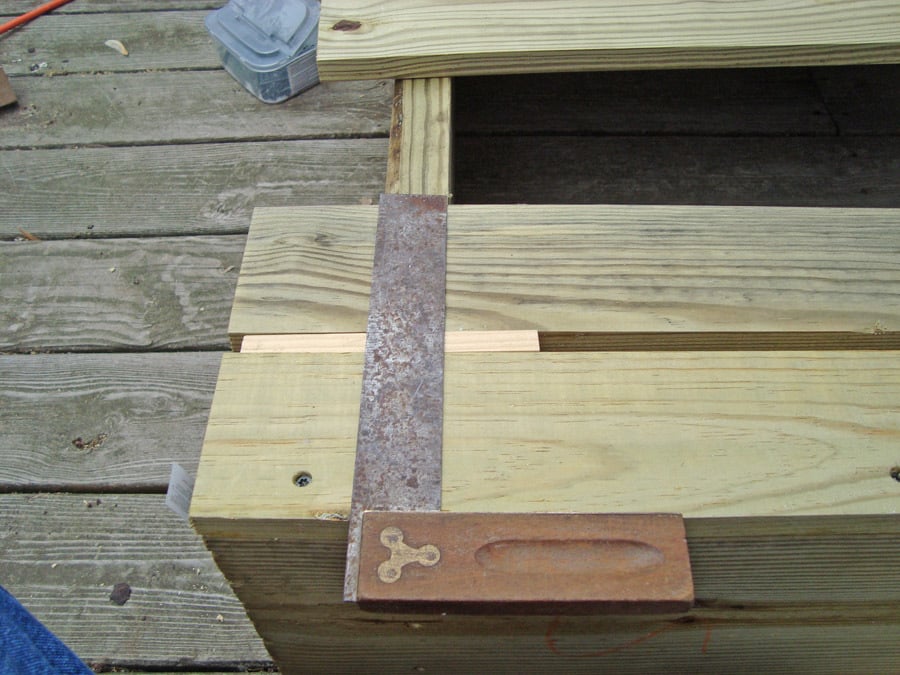
3. Using a square will help you keep everything at the correct angles. Also note in this picture and the next where I used two ½" pieces of wood I ripped to keep the ½" spacing uniform. Just rip any wood to the ½" width, make 2 pieces and butt against the next board on both sides, then screw them down. Makes it VERY easy to keep a uniform gap.
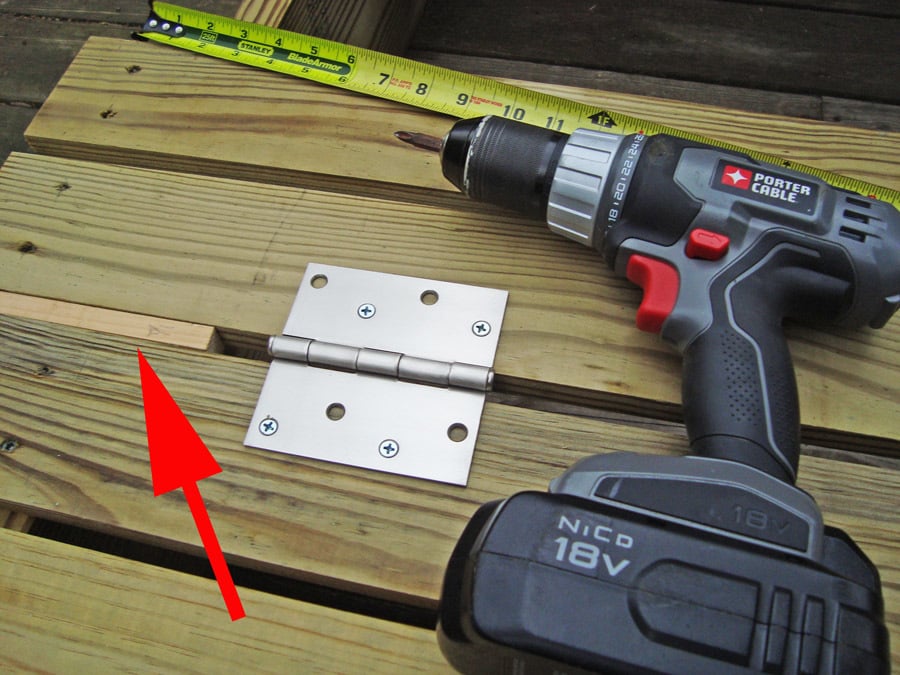
4. This picture shows me using the same "spacer" when putting the hinges in place. The red arrow points to the wood spacer.
5. The first bench is complete, and working fine!!
With the wood I used in my project, I used 2½" self tapping deck screws for the frame and attaching the 1X4's to the frame; I used 2" galvanized for attaching the 1X4's to any 2X4's; and for the hinges, I used ¾" wood screws. Using these sizes prevented the screws from coming through the other side.
I bought everything needed in this project at Lowe's and it was under $90 in costs; this is all the lumber (upgrading to 2 X 10's), hinges, screws, and handles.

Comments
Lady Goats
Wed, 05/09/2012 - 16:25
Yay, you figured it out!
I was just going to tell you how to add a brag blog when I saw that you'd already done so! YAY! Your sandbox looks awesome! You guys are all making me wish I had a tolerable yard to put a full-sized box in!!!
In reply to Yay, you figured it out! by Lady Goats
Loral
Thu, 05/10/2012 - 13:49
Yeah, you made the plans easy
Yeah, you made the plans easy to follow. It was a lot of fun. I spanned it over 2 days, but still was only around 4 hours of work.
I'm considering cutting the "arm rests" at an angle to match the slope of the back rest. I may play with that this weekend.
Thanks for all the help!
Also, what did you use to make the sketch type pics for the plans? I know you mentioned something about not knowing how to put the hindges on them. If I can help, I can probably do it for you in PhotoShop.... Just let me know.
Thanks again!
Loral
In reply to Yeah, you made the plans easy by Loral
Lady Goats
Thu, 05/10/2012 - 14:07
I used Google Sketch-Up
And didn't even think of putting the pics in PS to add the hinges. DUH! Thanks for the idea! ;-)
What do you mean about angling the armrests? So they sit right on the back, instead of the gap?
Loral
Thu, 05/10/2012 - 15:42
New Arm Rests
Something like this:
http://www.loraljohnson.com/sandbox/NewArmRests.jpg
I cut these at a 10º angle on both ends and 8" long.
Now, how did you make the "plans" images?? :)
Loral