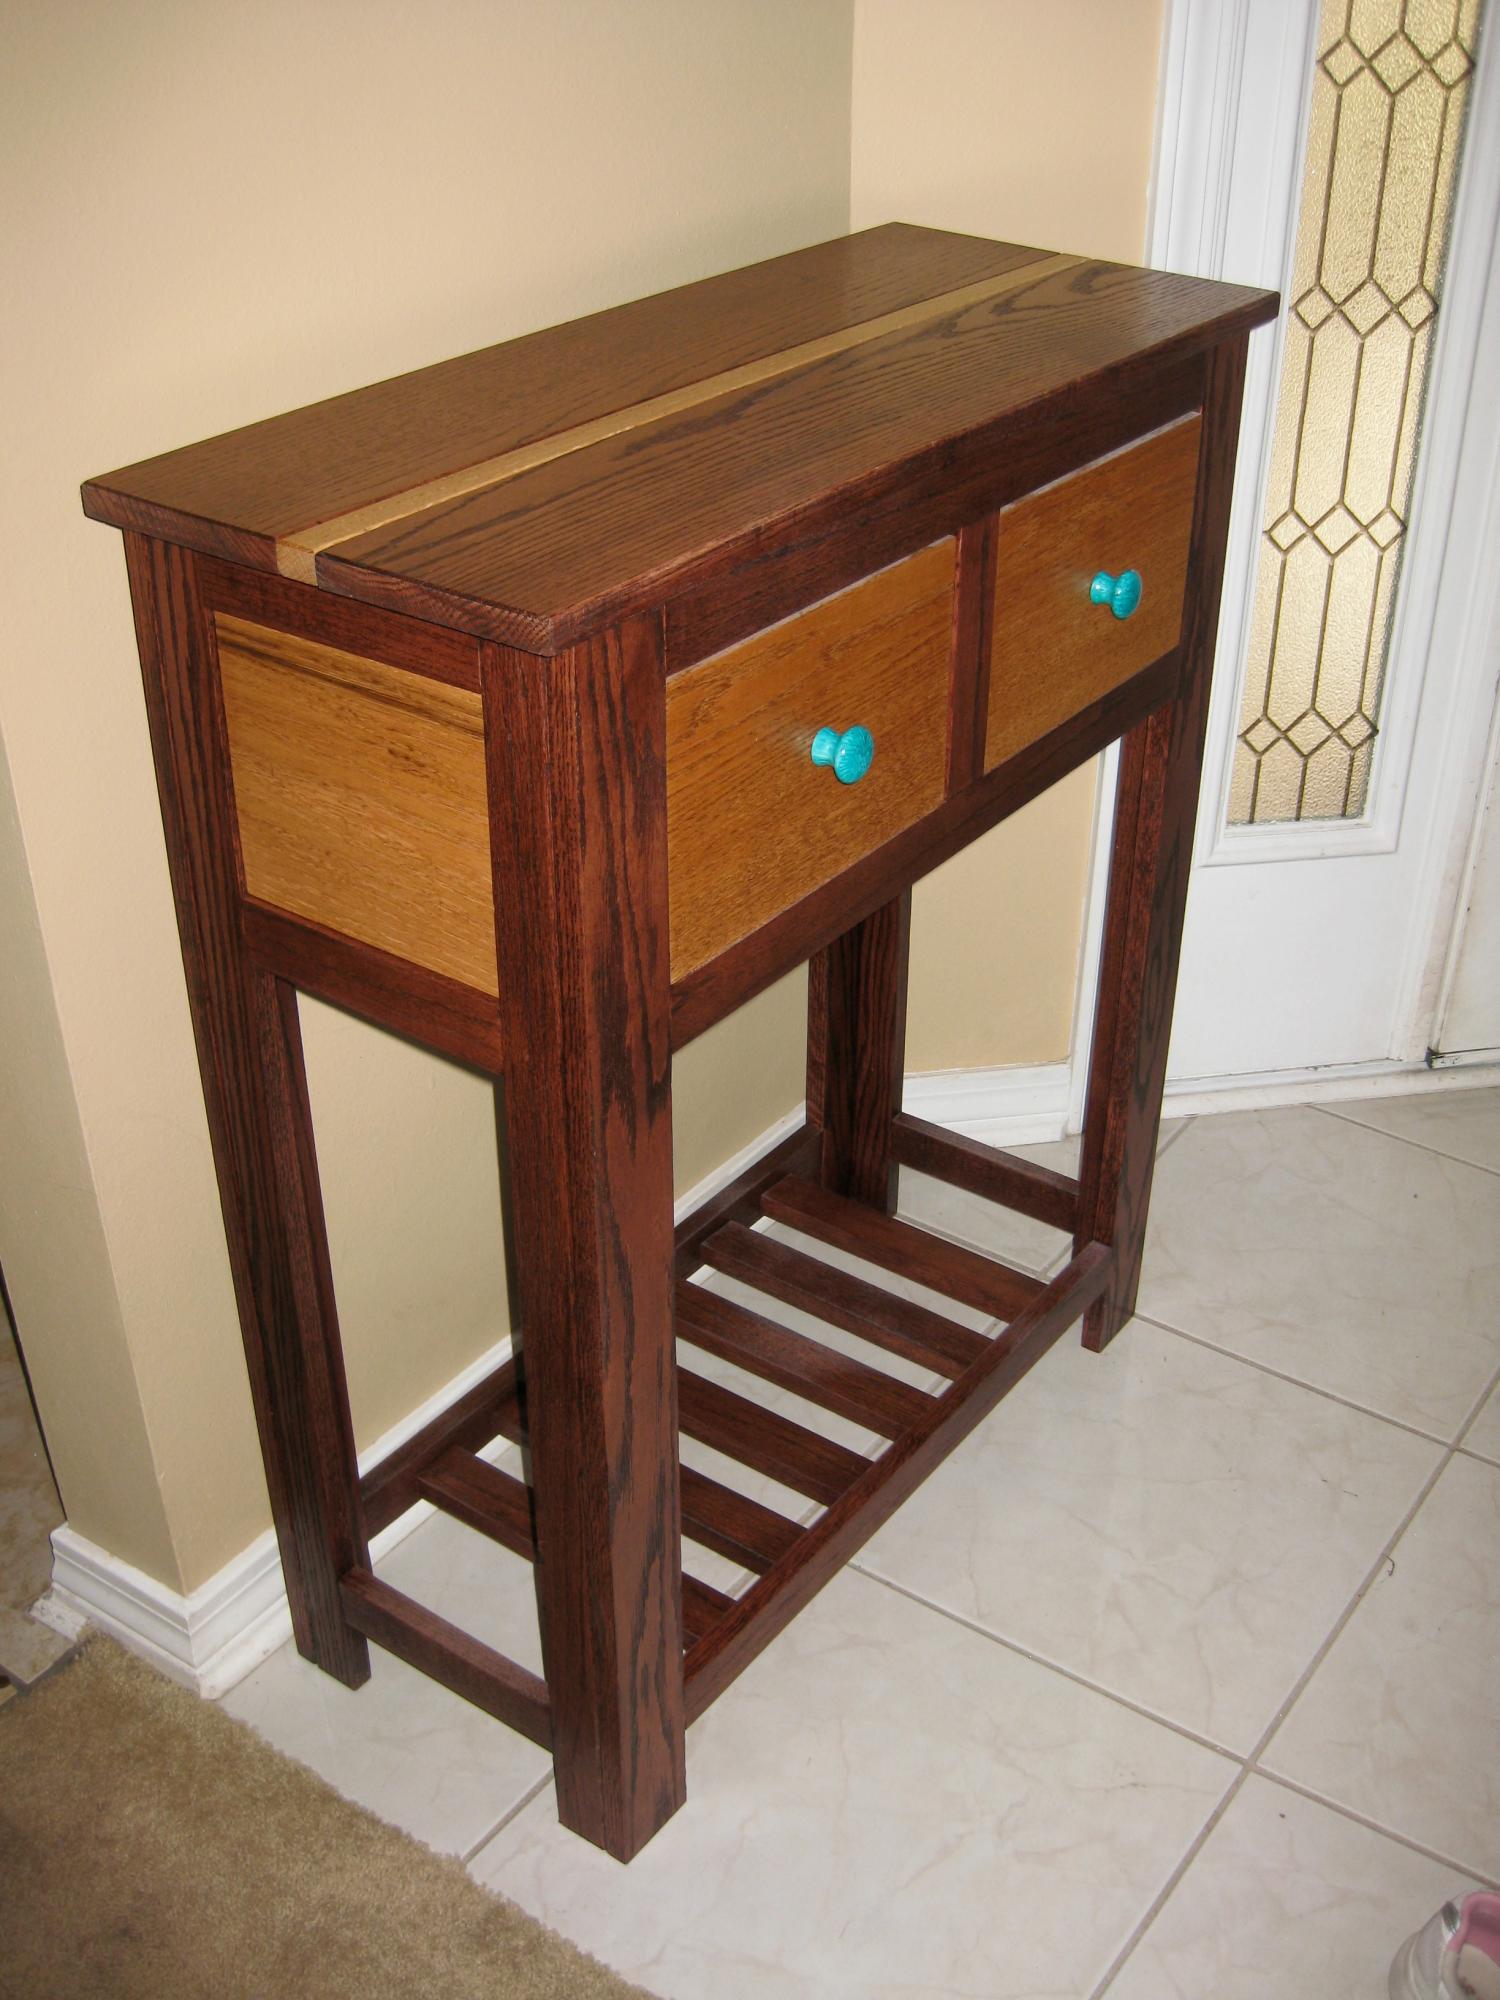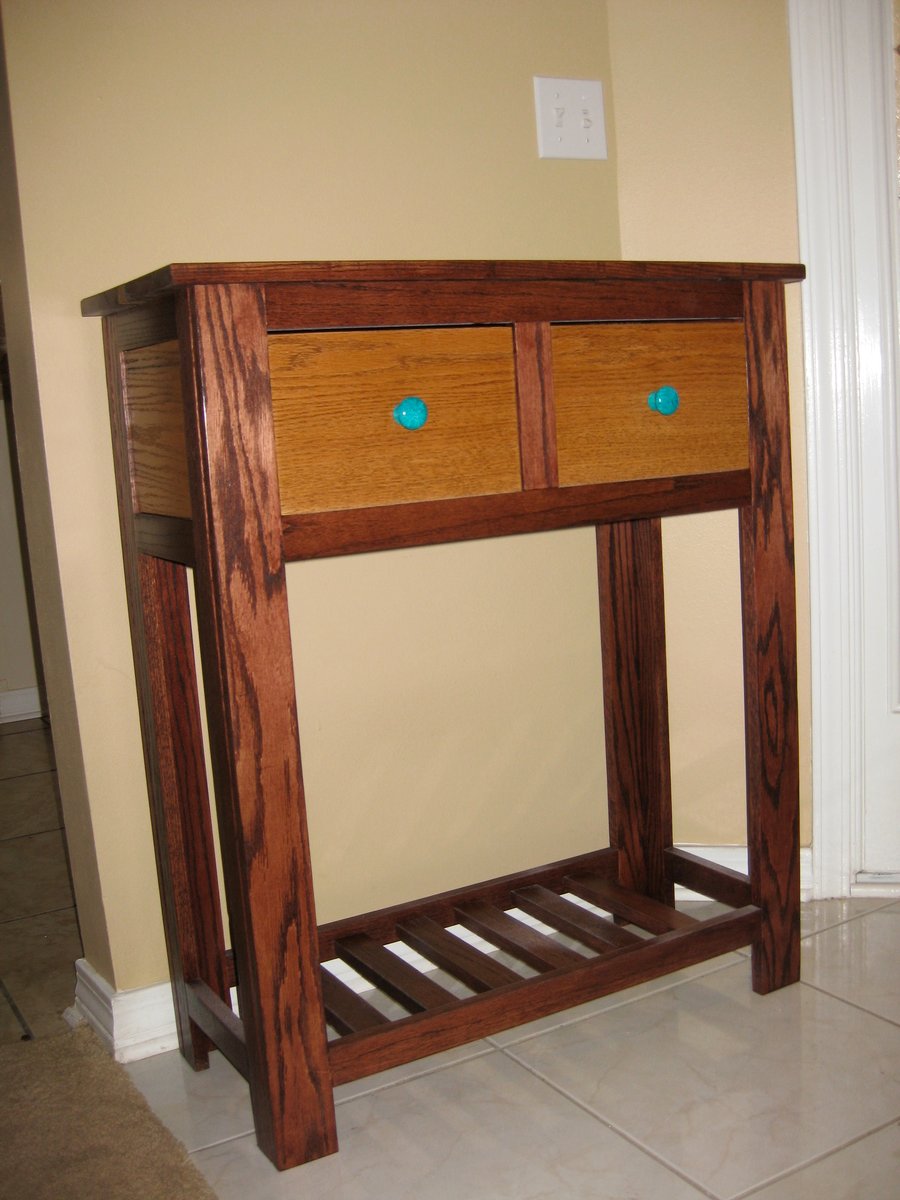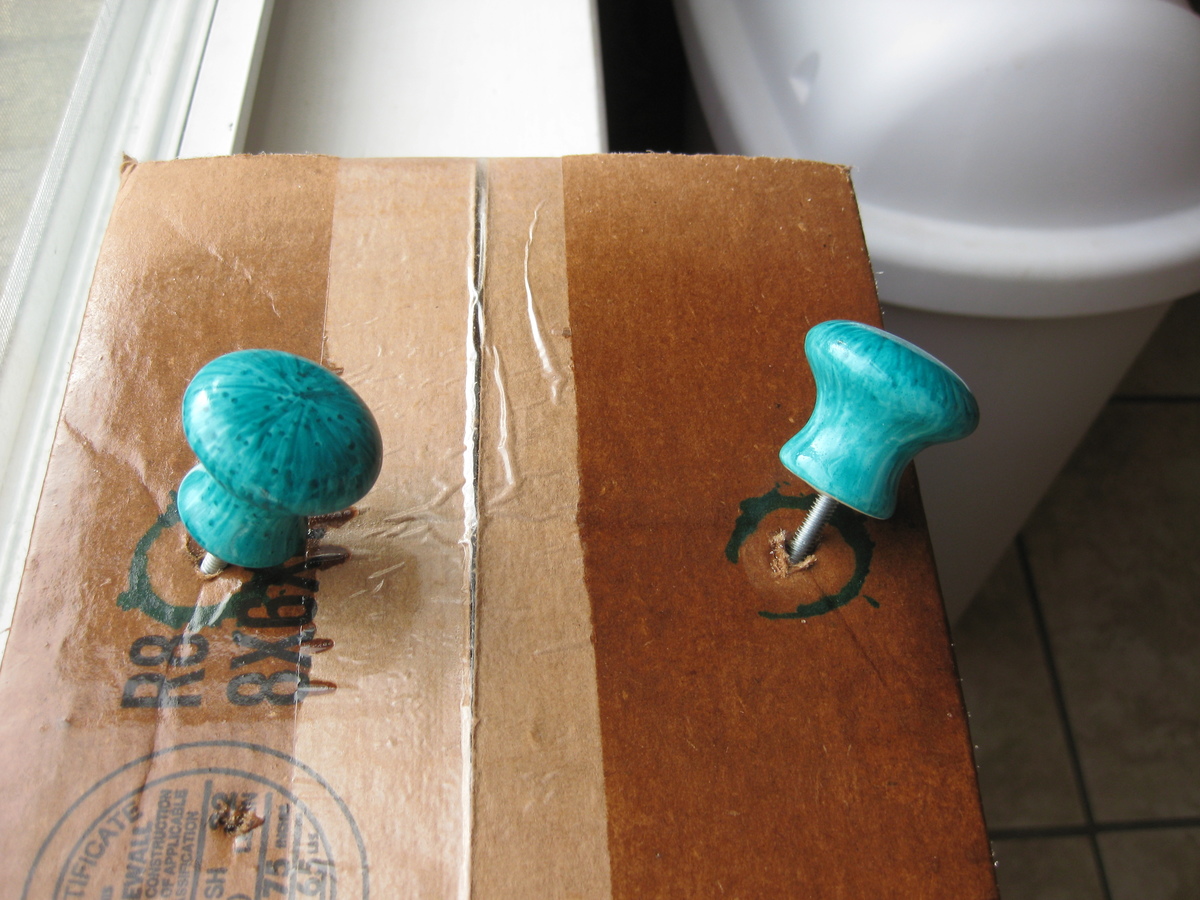
This was a modification of the Shirley Console Table. I had to change the dimensions to fit our entryway, and I wanted some color variation. Because I used two different stains, the pieces had to be fit together, sanded accordingly, taken apart, stained, and then glued/screwed together again. I learned how to use a router on this project, so it was a learning experience (thank goodness for wood filler!). I also inset the sides and back, though it's not really obvious in the picture. The drawers slide on a tongue and groove track. The pulls are white porcelain covered in teal sharpie (baked then coated with acrylic). Definitely learned a lot on this project! As this was made basically from wood scraps, I'm not sure what the cost was. The drawers, minus the facing, is 3/4" oak veneer plywood.


Comments
JoanneS
Thu, 04/04/2013 - 17:15
Beautiful!
Great project! It's beautiful! Your porcelain knobs method sounds fascinating -- did you sharpie them first and then bake in the oven (what temp & how long?) - that's a super creative idea!
wenikio
Thu, 04/04/2013 - 17:49
Thanks Joanne :) The tutorial
Thanks Joanne :) The tutorial I used is here:
http://www.tealandlime.com/2012/09/diy-faux-malachite-knobs
After perusing the comments, I decided to spray on a clear acrylic coat to protect the Sharpie from eventually rubbing off. It sounds like other markers may not work as well, so I'd stick with Sharpies. I think it would be fun to do other colors!