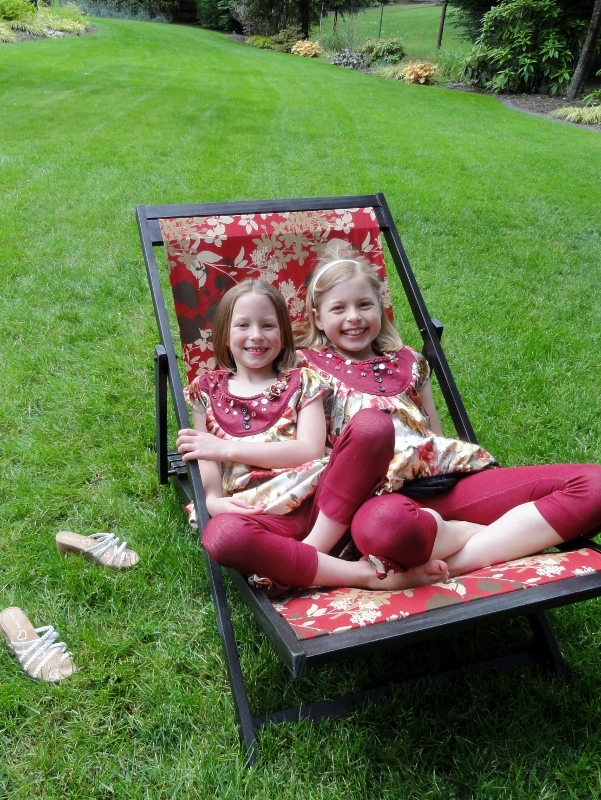
Once I saw these plans on here, I was thrilled to get started on them. I let the girls do most of the miter saw cuts (with lots of supervision) and they were a huge help sanding. Pine has really sharp edges, so they helped me round down every edge by hand. I would have used an electric sander, but *gasp* I couldn't FIND IT!
Aaargh!
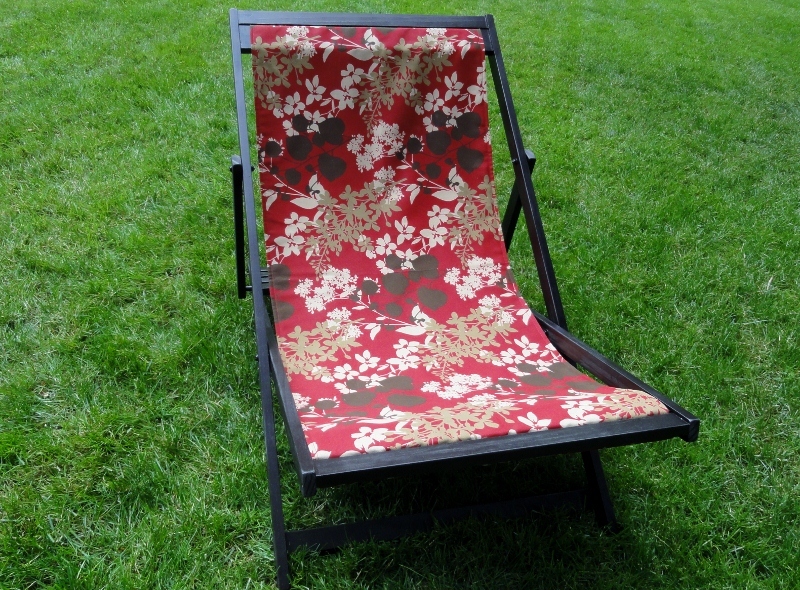
Anyhoo, this is a gift for Daddy for Father's Day! I bought enough wood and fabric for a matching chair for myself. :) The girls are begging for matching kid-sized ones too. :)
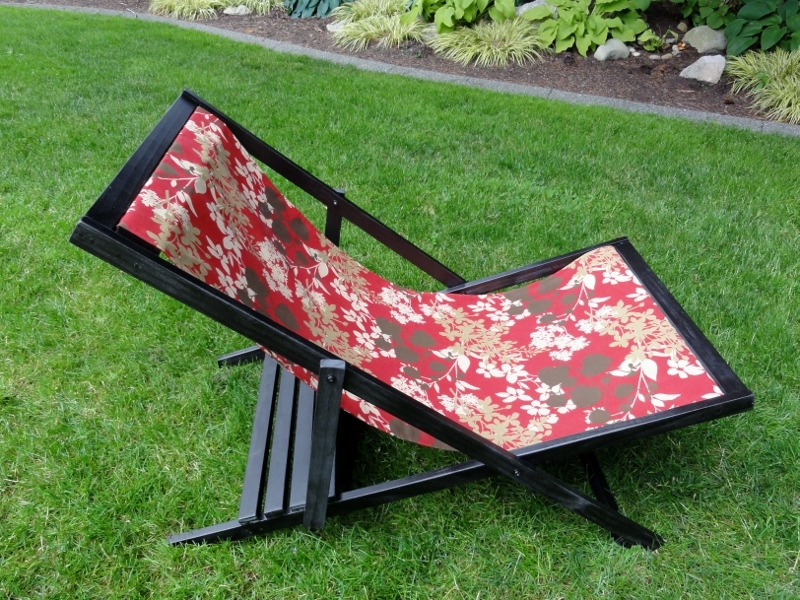
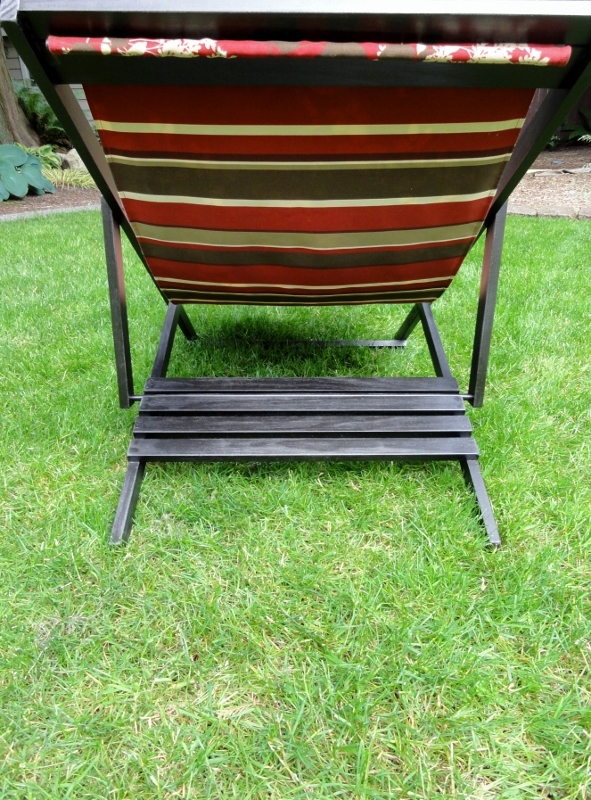
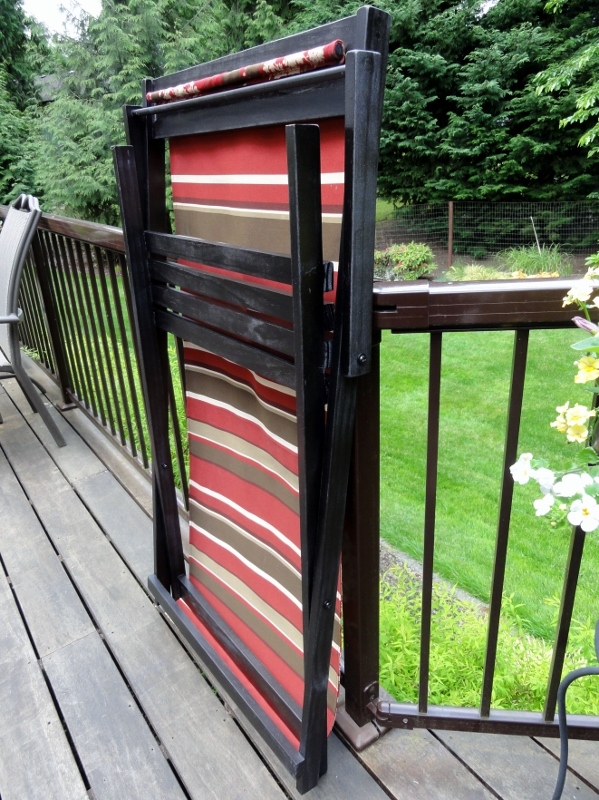
I just LOVE how it folds up so flat (last photo below) to be hung under cover outside. :)
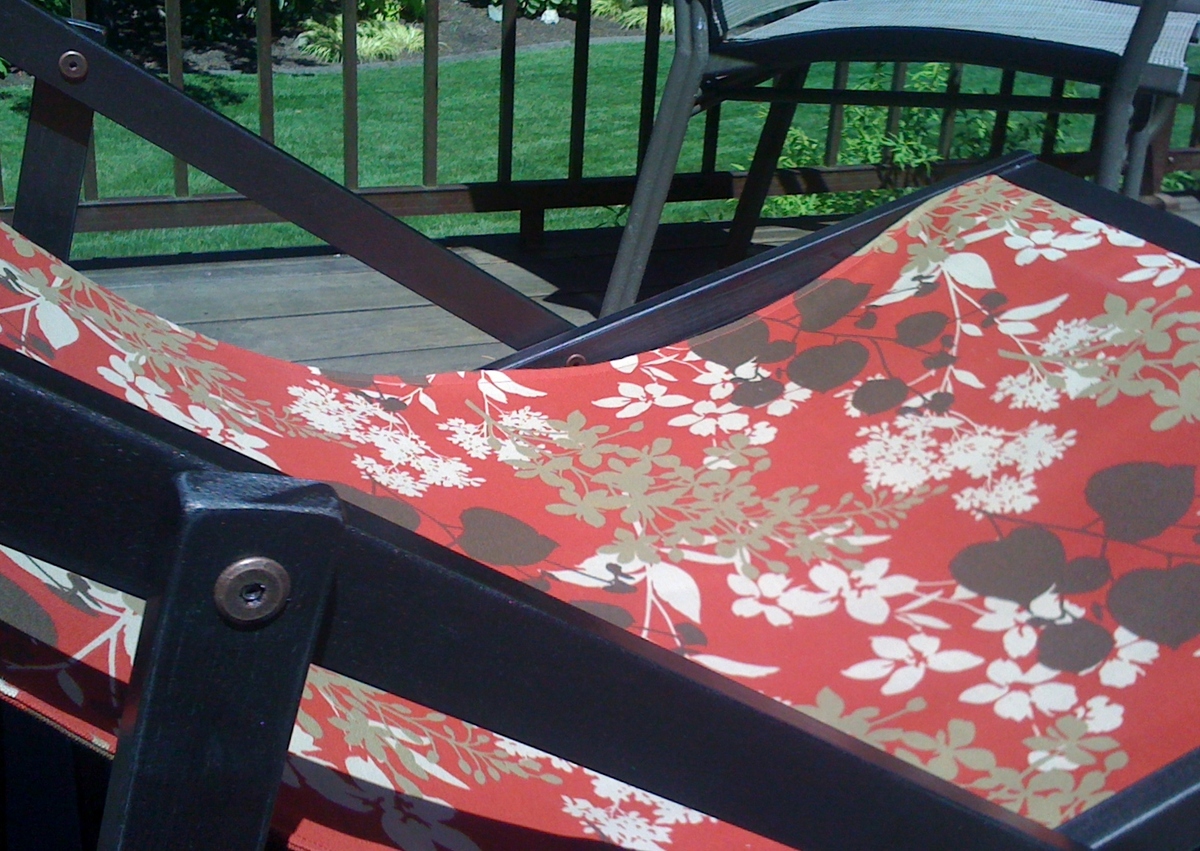
I used Connecting Bolts & Connecting Cap Nuts rather than just bolts and I love them!!! I did keep a washer in between the 1x2's to keep the wood from rubbing. PERFECT fit! Check out my last photo below to see it up close.
The bolts fit through the 1/4" holes Ana's plans instruct you to drill, but the caps need a larger hole. I drilled 3/8" holes into all OUTER 1x2 where the connector caps needed to be and kept the inside 1x2 holes at 1/4" per Ana's instructions. Hope that makes sense!
Then I finished them with Rustoleum Oil Rubbed Bronze Spray Paint.
Comments
mrsstacygreen
Fri, 06/17/2011 - 15:51
Great job! How fun for the
Great job! How fun for the girls to be able to help. Can't wait to begin my own chairs
groovymom2000
Fri, 06/17/2011 - 16:31
I think that you should print
I think that you should print and frame the first picture to give to him along with the chair. Great job!
mhumke
Mon, 09/18/2017 - 09:54
Connecting Bolt Size?
hey there...this looks REALLY good! I especially like the bronze bolts you used.
I'd like to do the same, but I'd love your advice on bolt length. If they're connecting two 1"x2" boards, I assume the width of those two pieces together is 1.5" (.75+.75), right?
Therefore, do you recommend a 1.5", 1.75" or 2" connecting bolt?
Thanks!