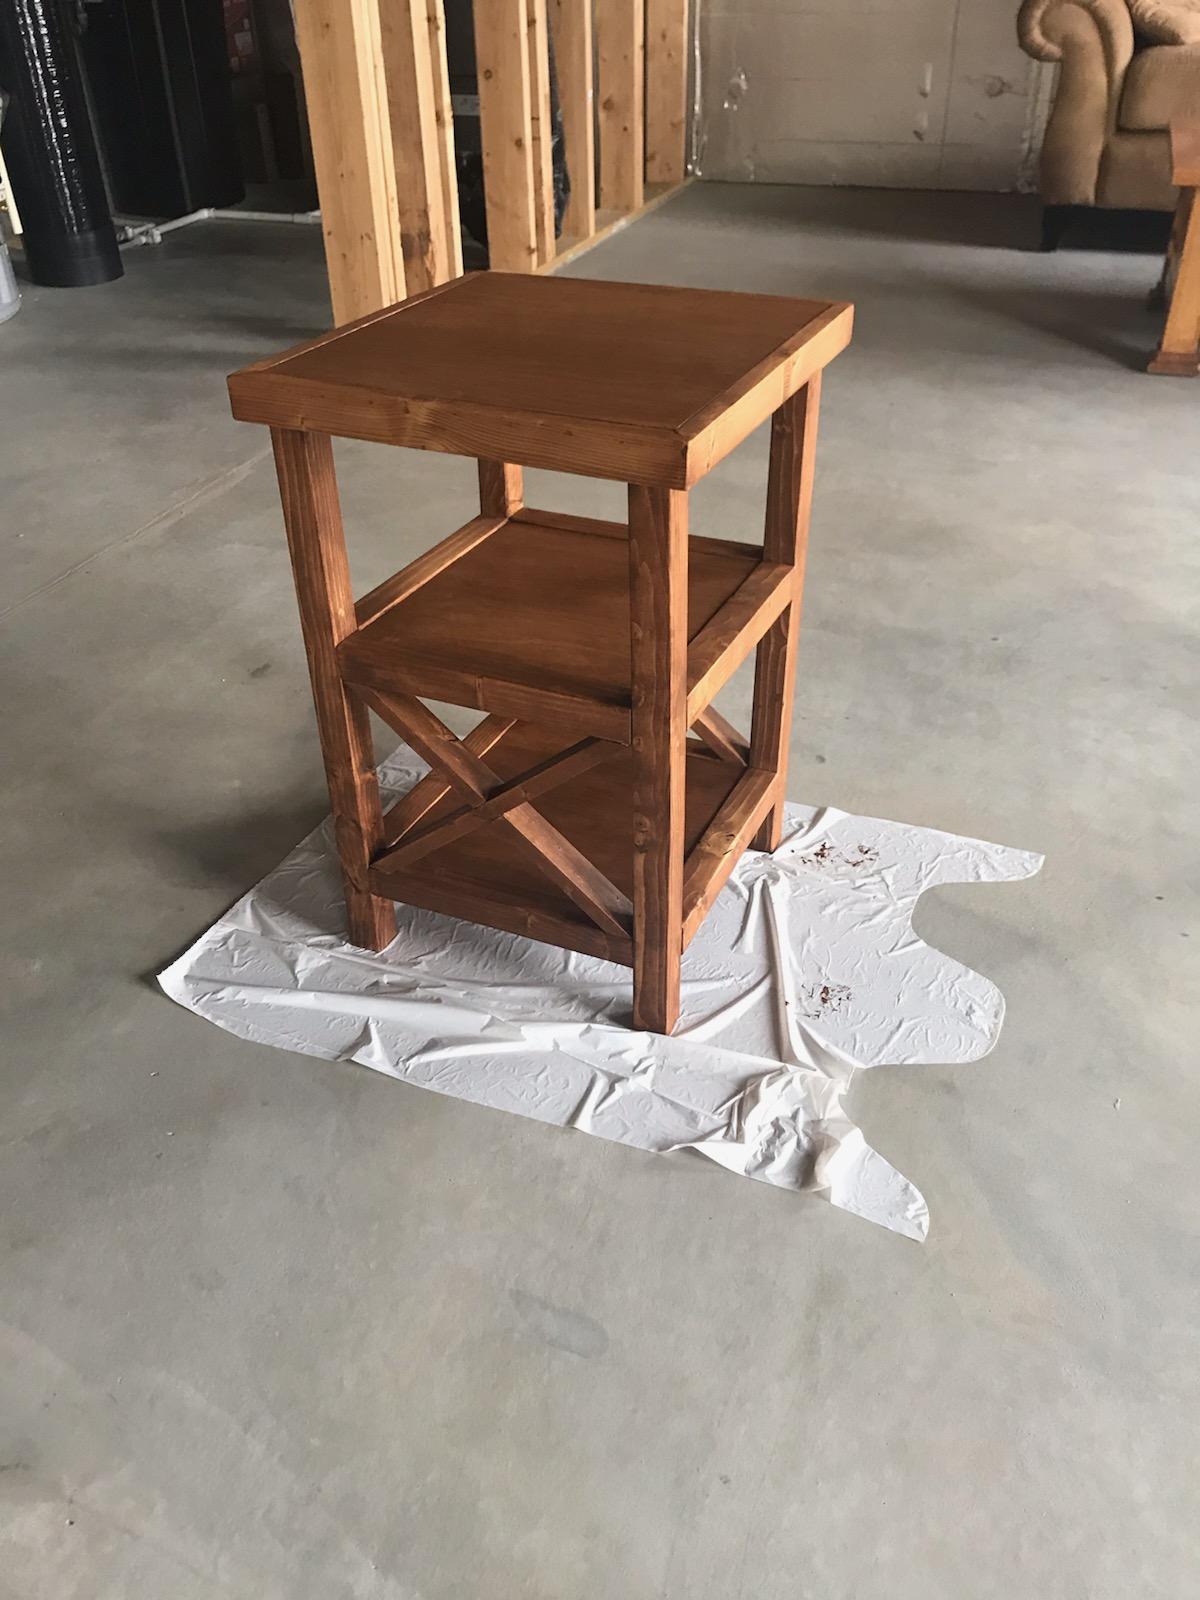
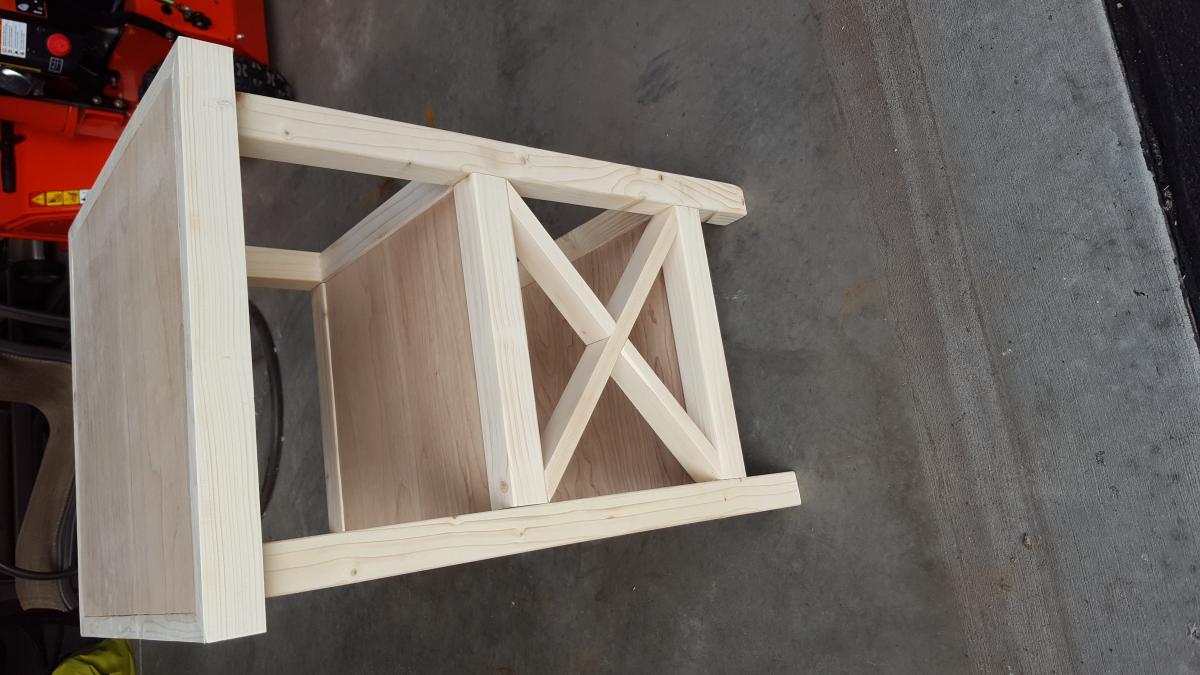
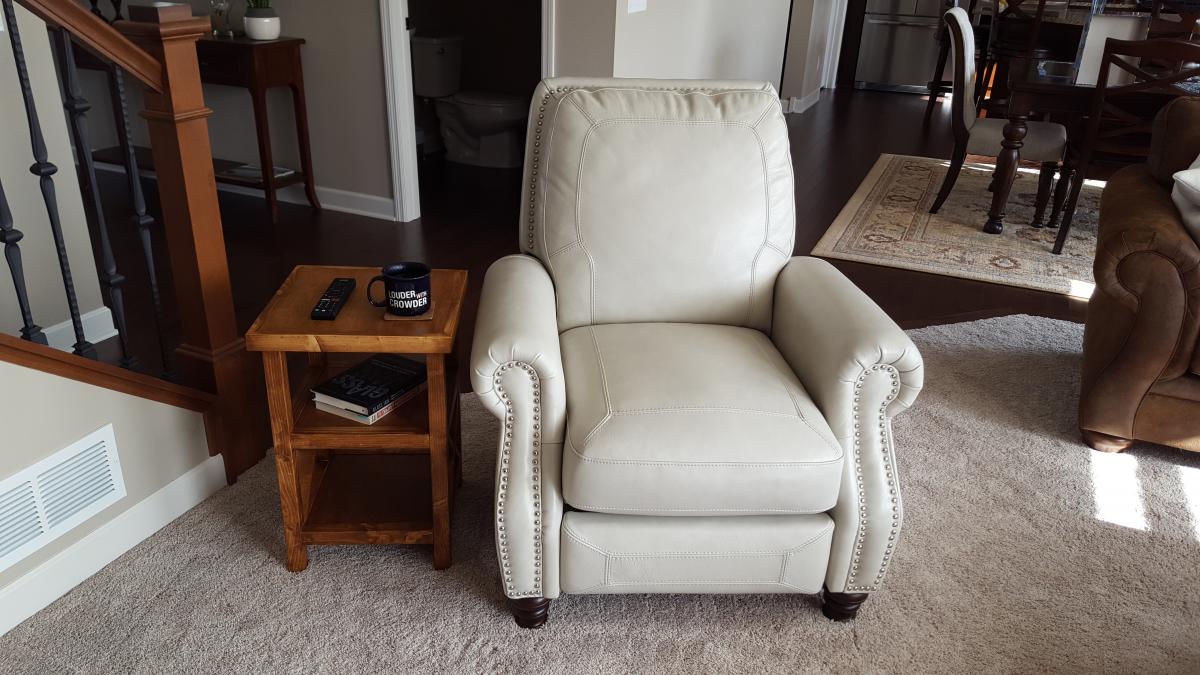
This was a fun project spread out over 3 weeks to enjoy working on while quarantined at home. It was the first project I worked on featuring mitered corners. It took some practice and many "polishing" cuts to get everything to line up right, but in the end they looked great! I went with a Birch interior plywood instead of you typical (pine?) plywood because it looked a lot more furniture esque. I trick when using a circular saw to cut the plywood is to keep the desired side up when cutting in the direction with the grain and the desired side down when cutting across the grain. When cutting across the grain, the blade can fray the edge of the top ply. I also added braces attached to all 4 legs flush with the top of the legs using 1x2's. This allowed me to glue and screw (1" screws) the table top to the base from underneath so it was hidden rather than nail from the top. I didn't want to have nail holes on the table top because, even with wood filler, they would stand out from the rest of the wood.
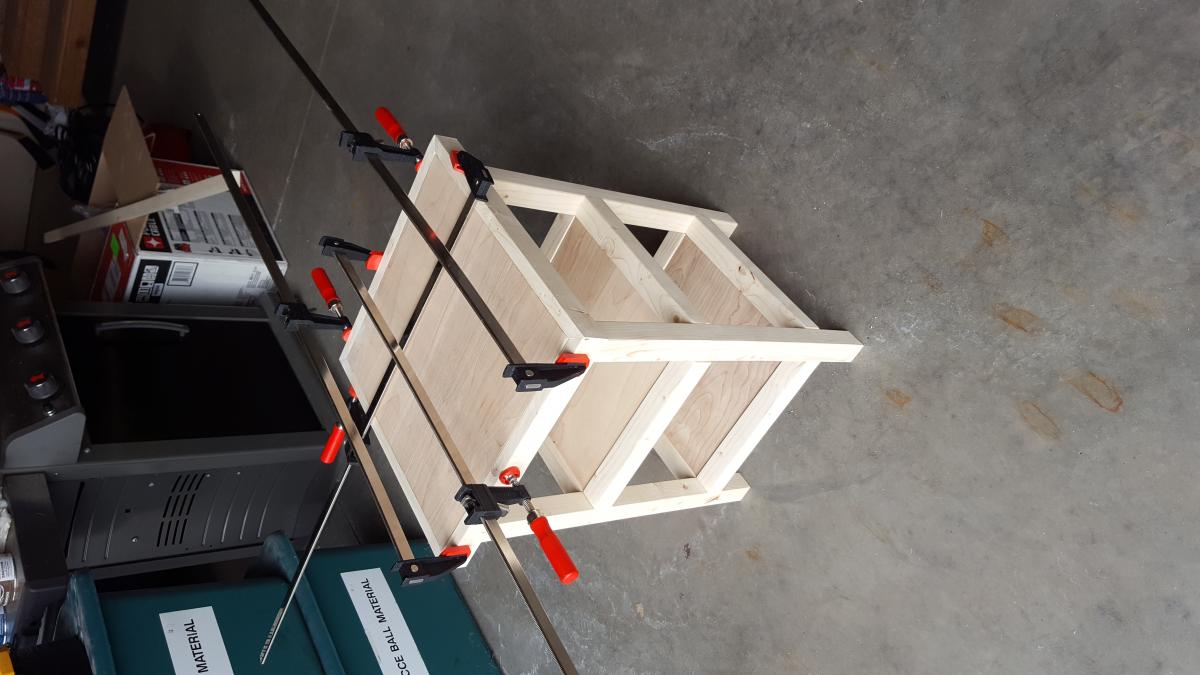
I chose to go with the cheap pine that home depot sells instead of the Select Pine because the cheap pine has a lot more character and offers a more rustic look. The pine can be pretty beat up so it takes a while of digging to find the straight boards without any major defects or cracks. I just figure it's part of the experience. Once I have my straight boards I sand everything down so the boards are completely smooth and have softened edges. Clamps are a must and a HUGE help with getting everything lined up during the assembly. I neglected clamps in some of my first builds because I didn't have them and didn't want to invest. I had a real hard time getting things level and straight. Never again.
Other pieces I've build from Ana's plan include (in order of build):
Ana's Adirondack Chair (4x)
Reclaimed-Wood Look Headboard, King Size
Modern Outdoor Chair from 2x4s and 2x6s (2x)
Simple White Outdoor End Table
Rustic X End Table
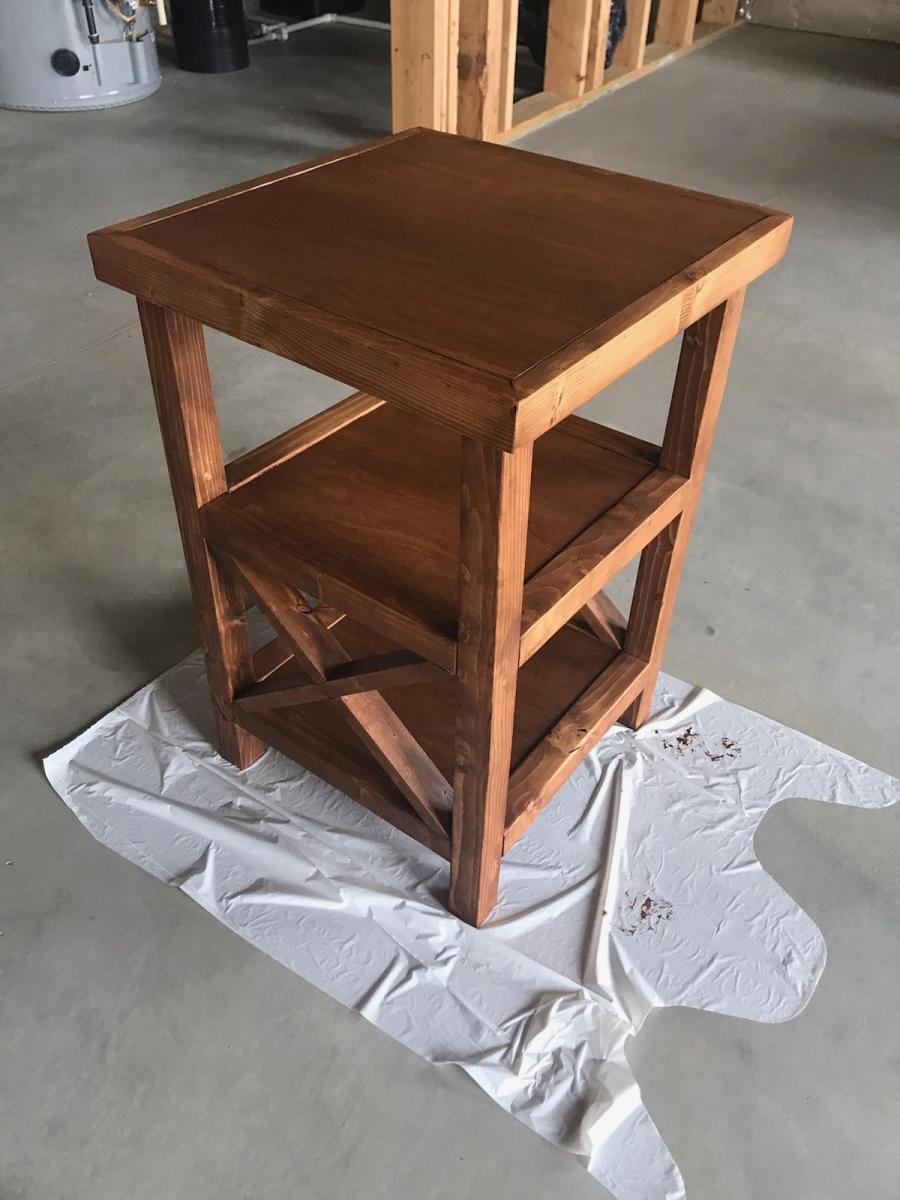
Three applications of Varathane Crystal Clear Matte Water Based Ultimate Polyurethane