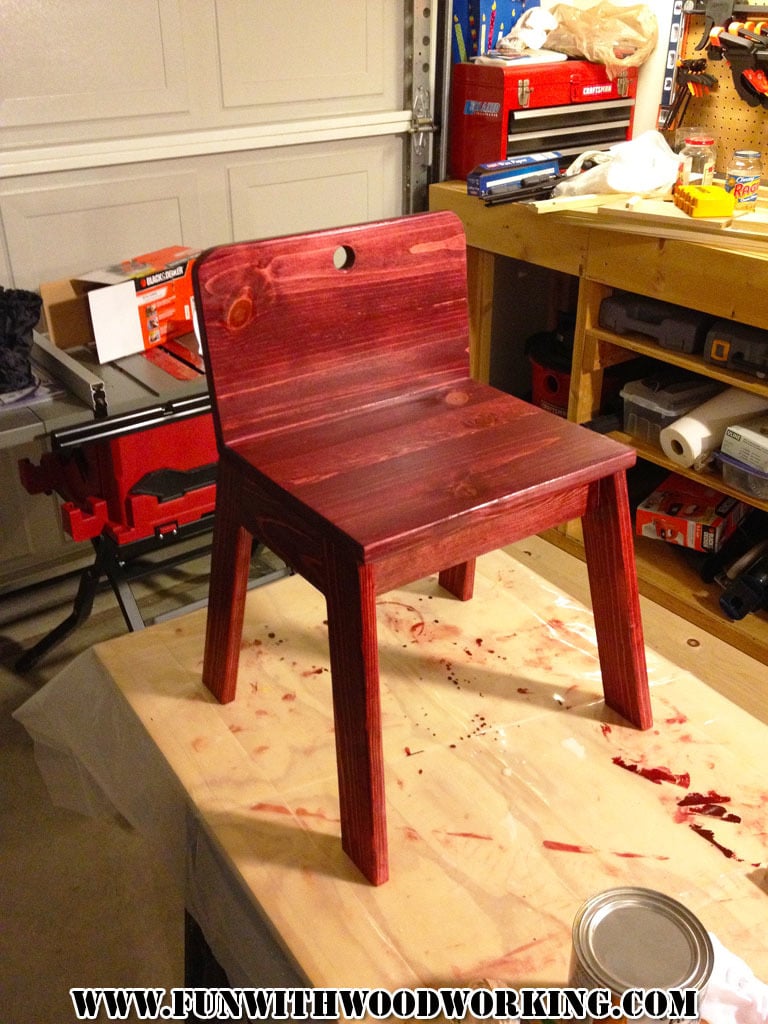
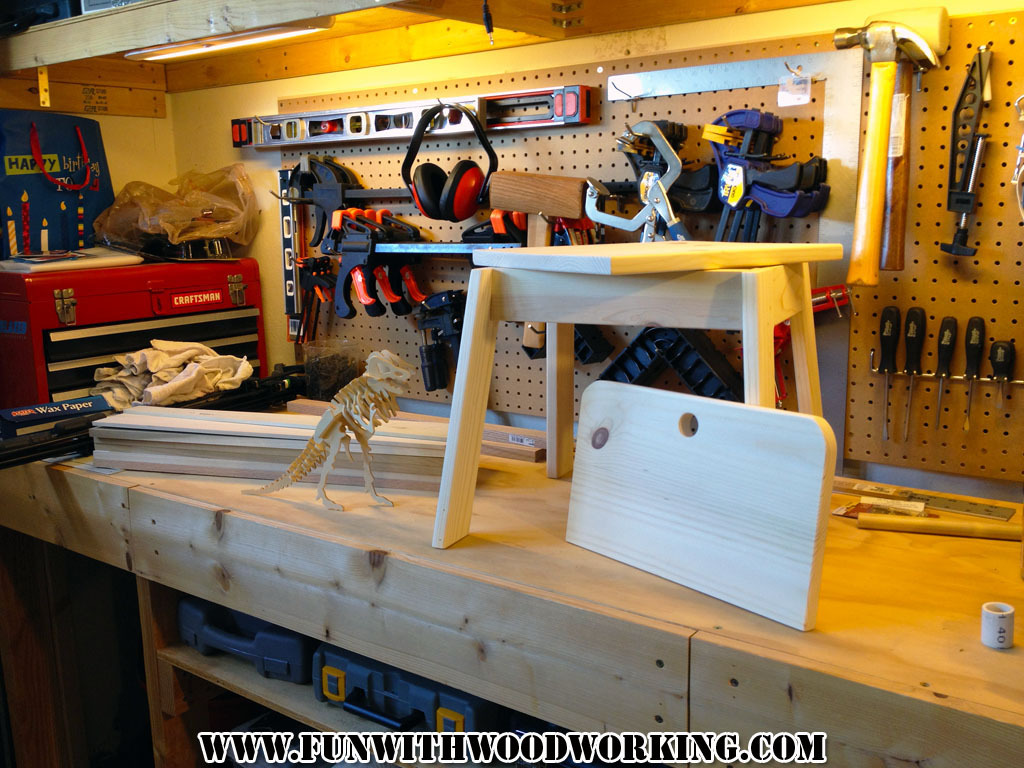
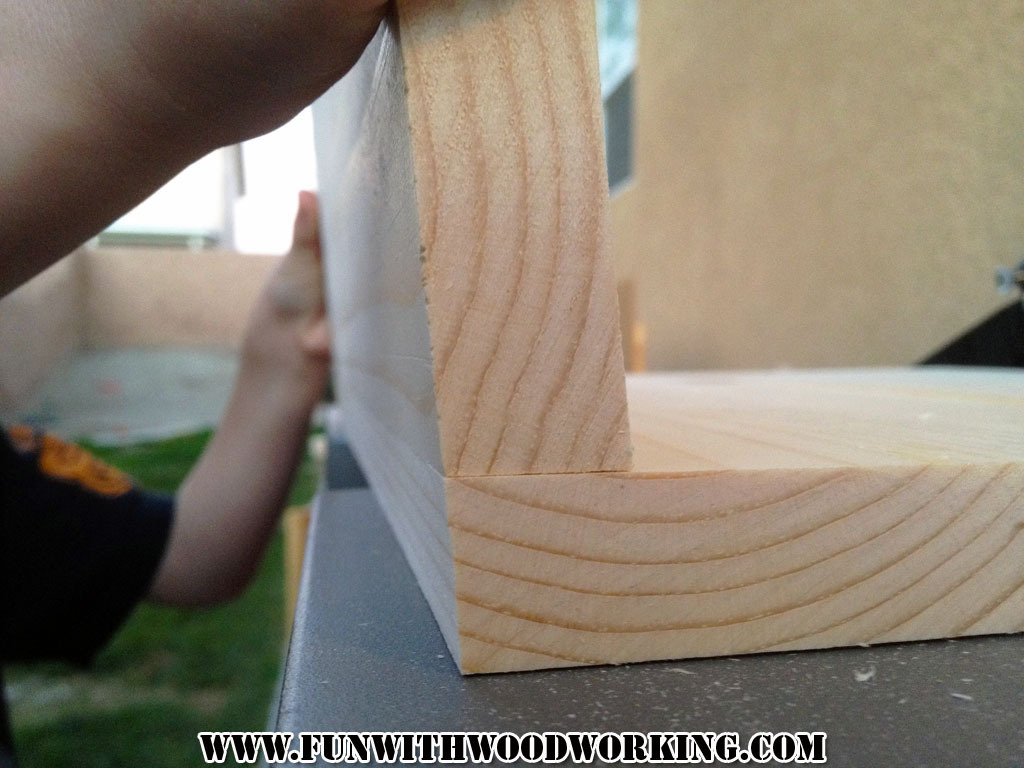
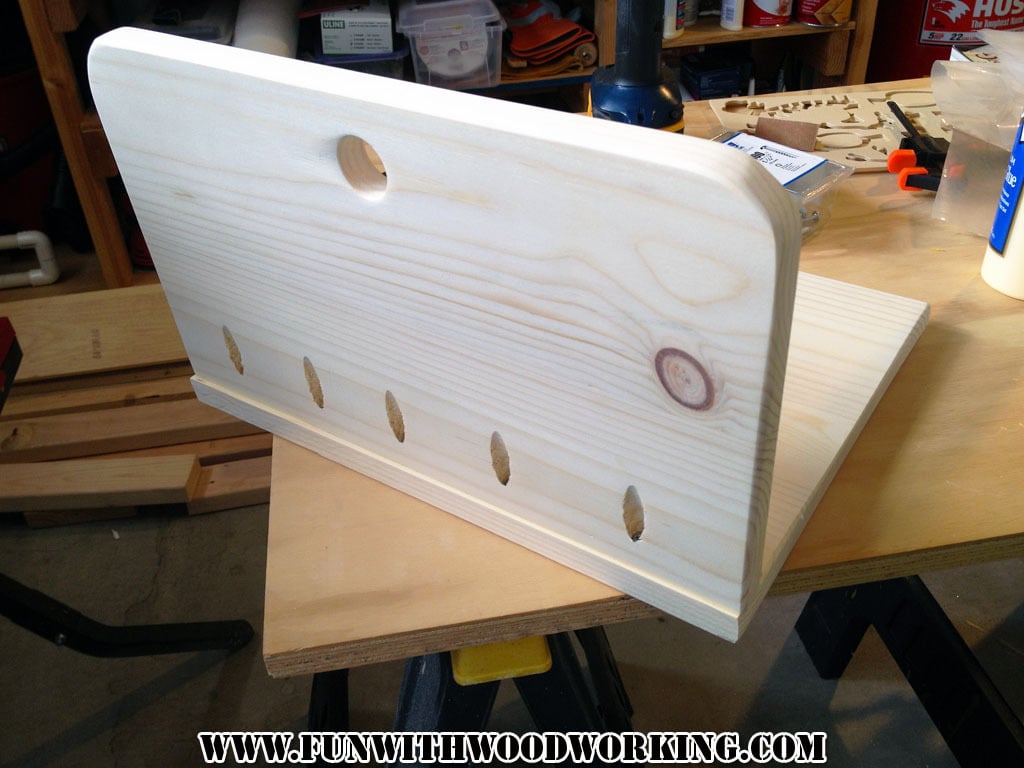
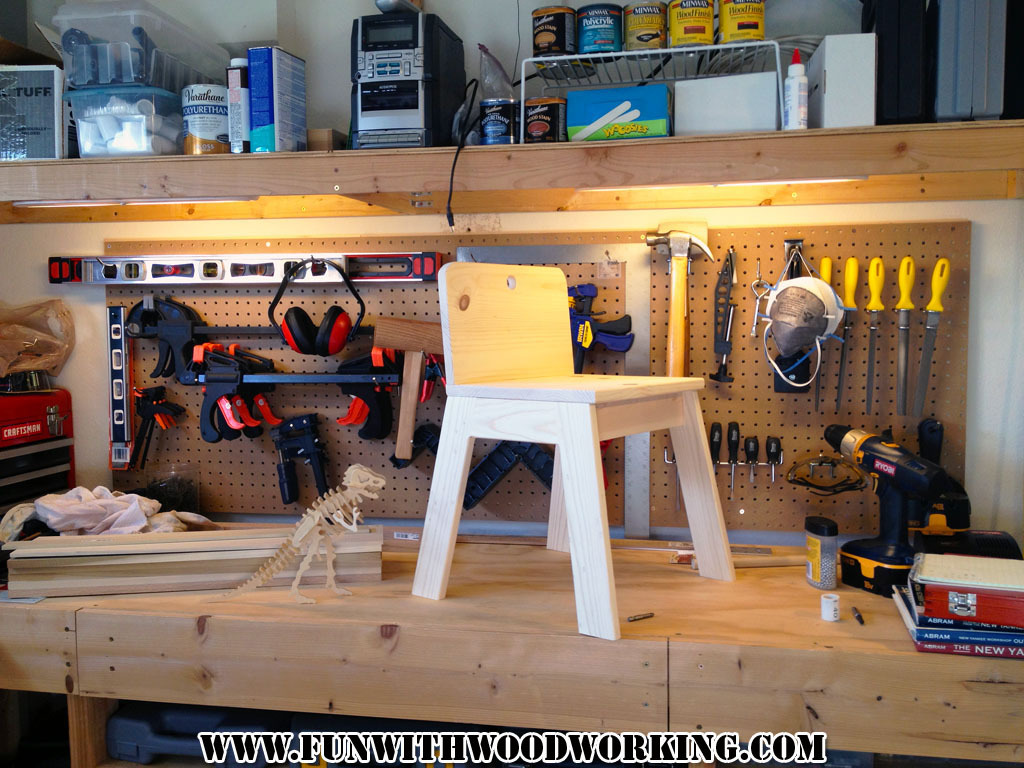
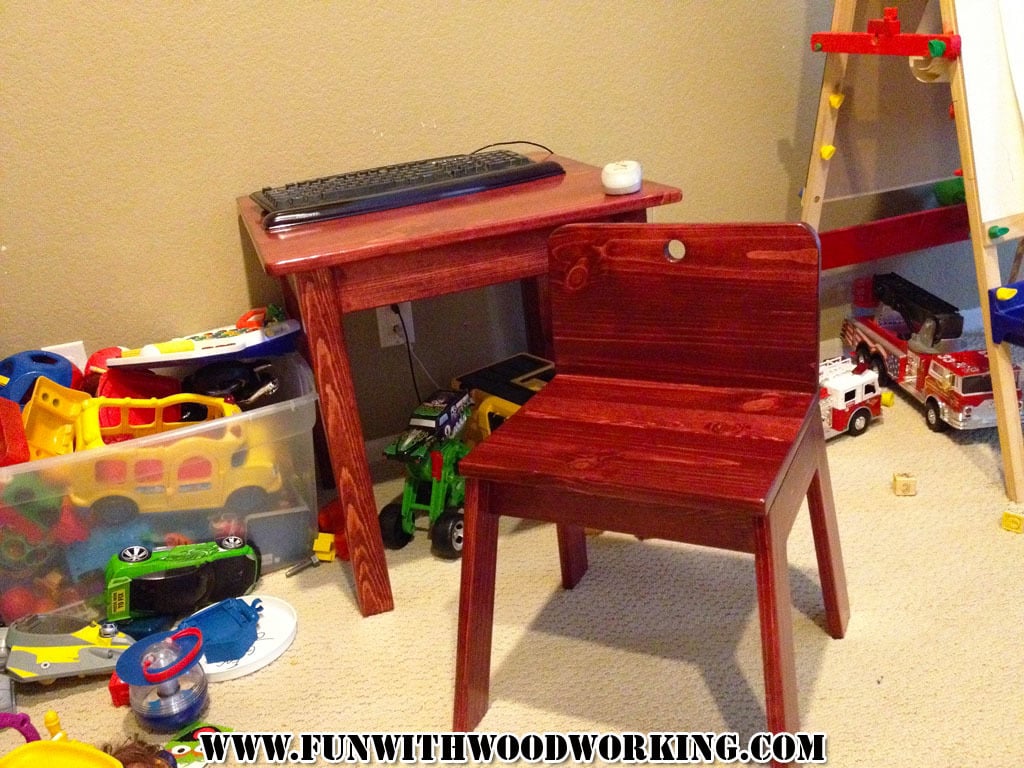
I found this plan on your site and fell in love with it. I followed all the directions but added a bevel to the rear of the seat match the the seat back and I rounded over all the edges on my router table. I also stained it and gave it 3 coats of polyurethane. My 6 year old son loves his chair and he is going to help me make one for his 3 year old brother.
You can follow the build on my blog at :
http://funwithwoodworkingtoo.blogspot.com/2013/01/lets-make-thumb-chair…
Built from Plan(s)
Estimated Cost
$10
Estimated Time Investment
Afternoon Project (3-6 Hours)
Finish Used
1 coat of Varathane stain applied with a rag and allowed to dry over night. 3 coats of Varathane water based polyurethane applied to entire project top and bottom with a light sanding between each coat with 220 grit sandpaper.
Recommended Skill Level
Beginner