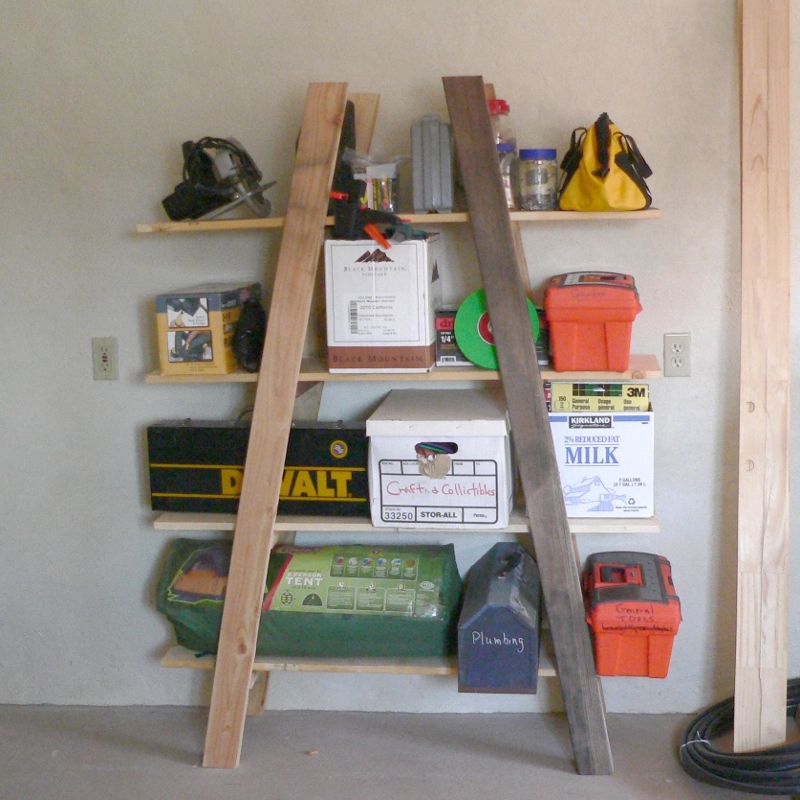
Made of old fence rail (the dark pieces) and cheap 2x4s and 1x12s .
This is not as stable as I hoped, but for an afternoon's project that got all those tools off the workshop floor, it's not bad. I will add a diagonal brace at the back later. Much later.
NOTE: My engineer friend notes that 2 braces at the rear, below the bottom shelf and below the top shelf, would minimize side-to-side wobbling, and 2 braces front to back, both under the bottom shelf, would minimize the front-to-back wobbling, They could be a scrap of plywood, a 1x6 or wider scrap. Just nail them in two or more places on each of the ladders and they make the structure more rigid. Screw them in if you want a shelf unit you can disassemble.
TIPS:
If you are using pockethole screws, start the screws in all the holes before you put the crosspieces on. Stop when you see the tip of the screw come through the first piece.
Clamp scrap 2x4 to the uprights to hold the crosspieces in place as you drill.
To get the shelves in place, lean the ladders against each other and attach the bottom and top boards on one side. Than pull the other ladder out as far as it needs to go and screw that side of the shelves in place.
Don't try this without clamps.
It could have been cheaper if I had used all reclaimed fence 2x4s, and if my errand runner had bought cheaper 1x12s. He bought top-grade when #2 would have worked for half the price,