X Console
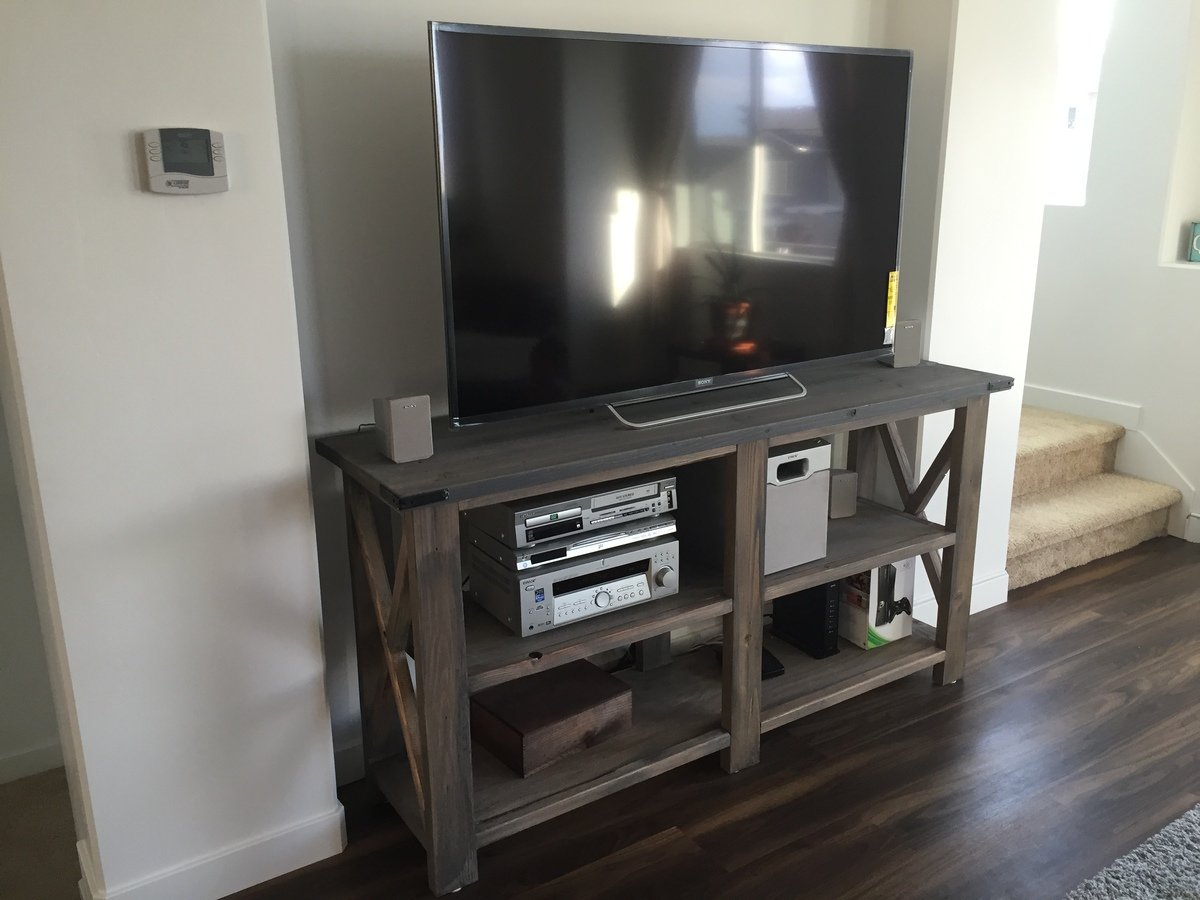
I love this X Console! Thanks for the plans!

I love this X Console! Thanks for the plans!
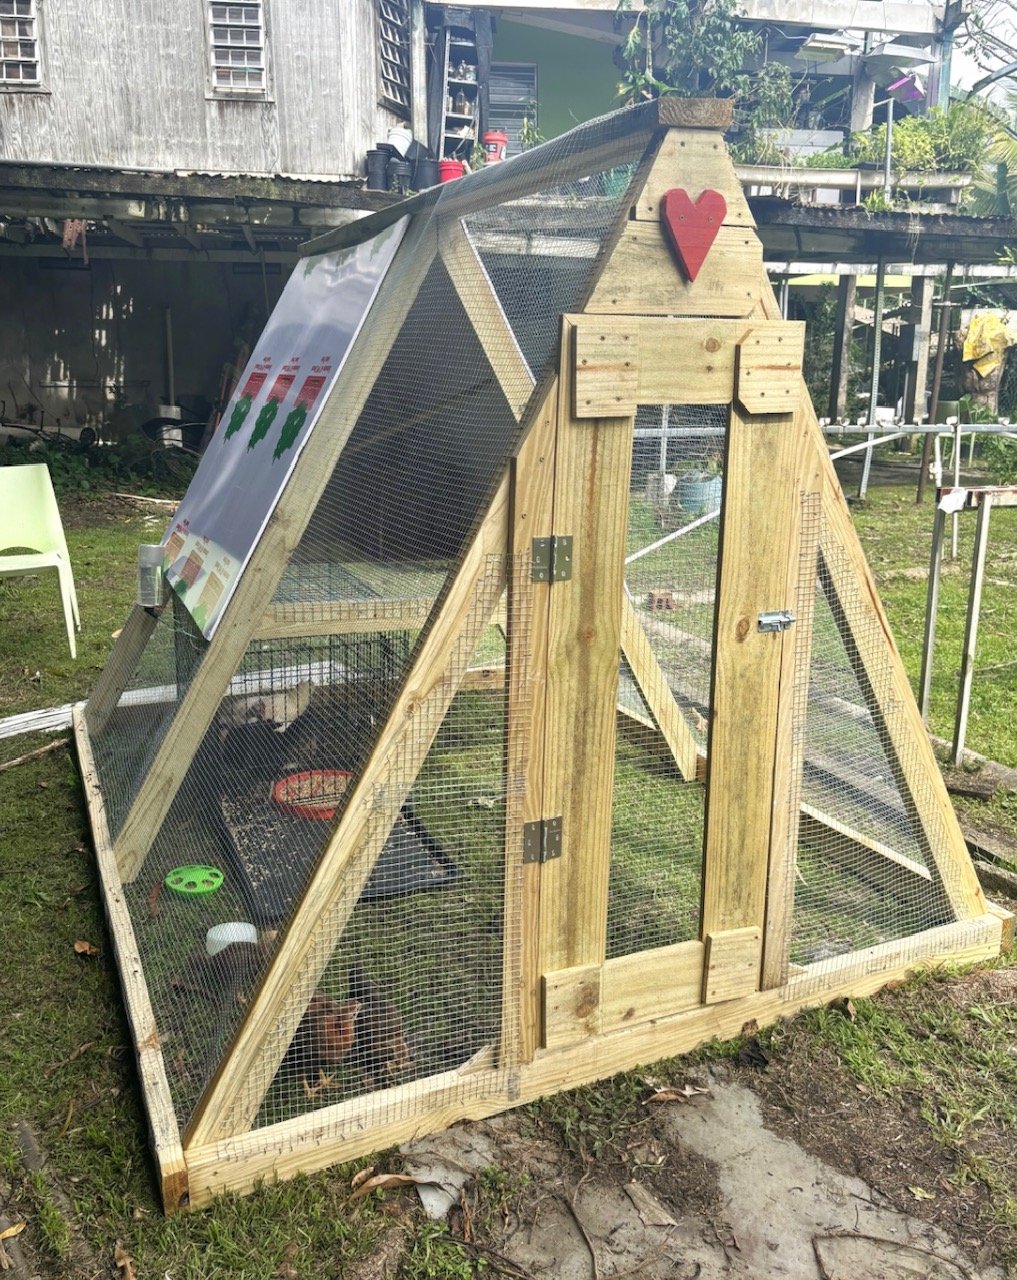
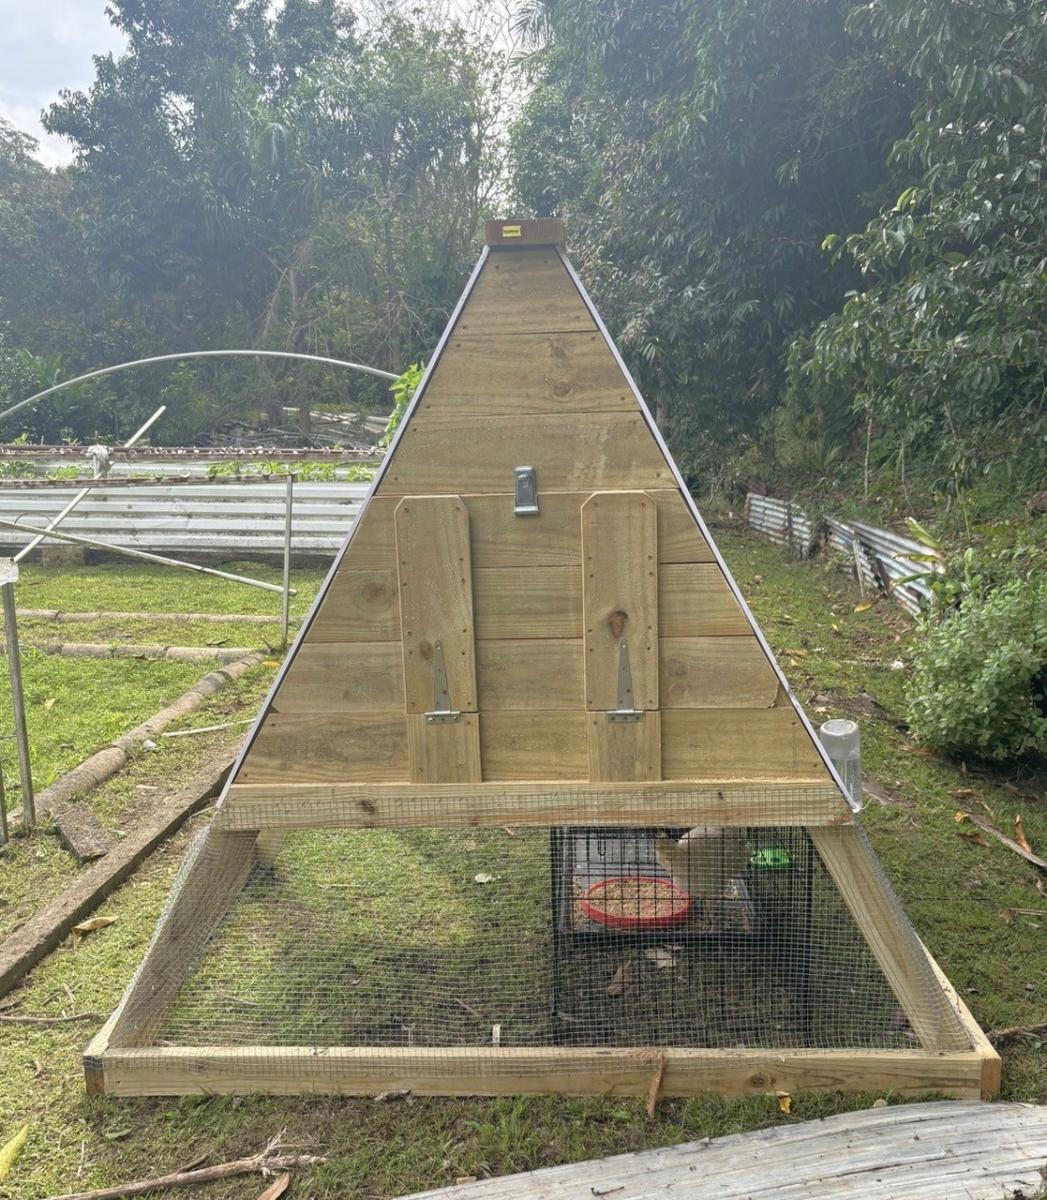
A shape chicken coop built in just two days about 9 hours east to do. But heavy to move but everyone is loving it!!!!
Cecilamor
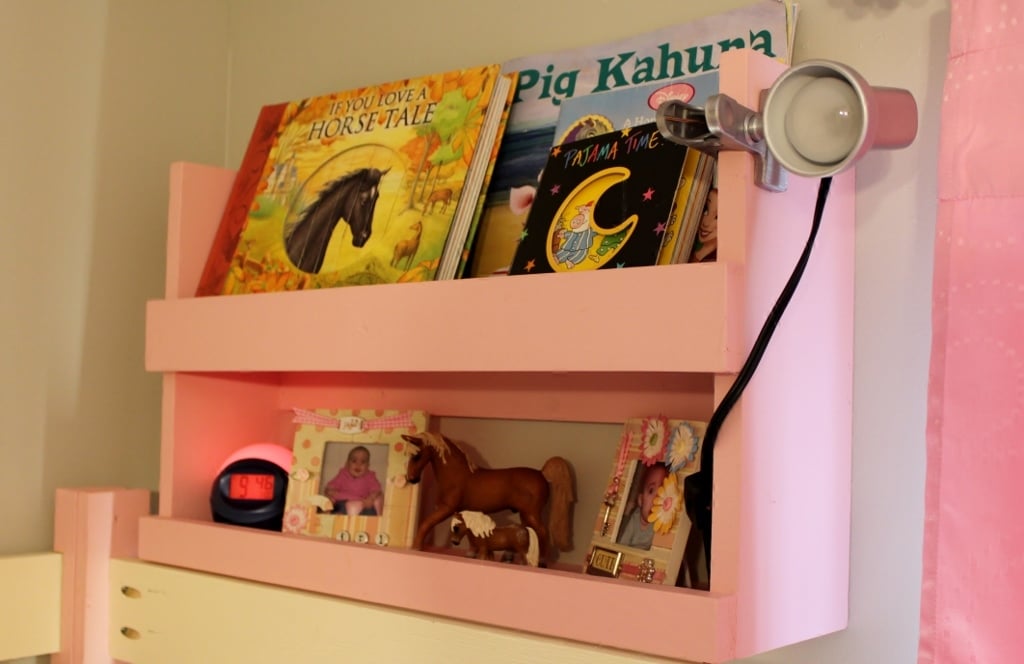
I had just finished my daughter's playhouse loft bed when I saw this plan. It was super easy to build and I used all left over wood from the playhouse. I used 6-inch boards for the sides and shelves since that was what I had left over. Other than that, I followed this plan exactly. Thanks for posting!
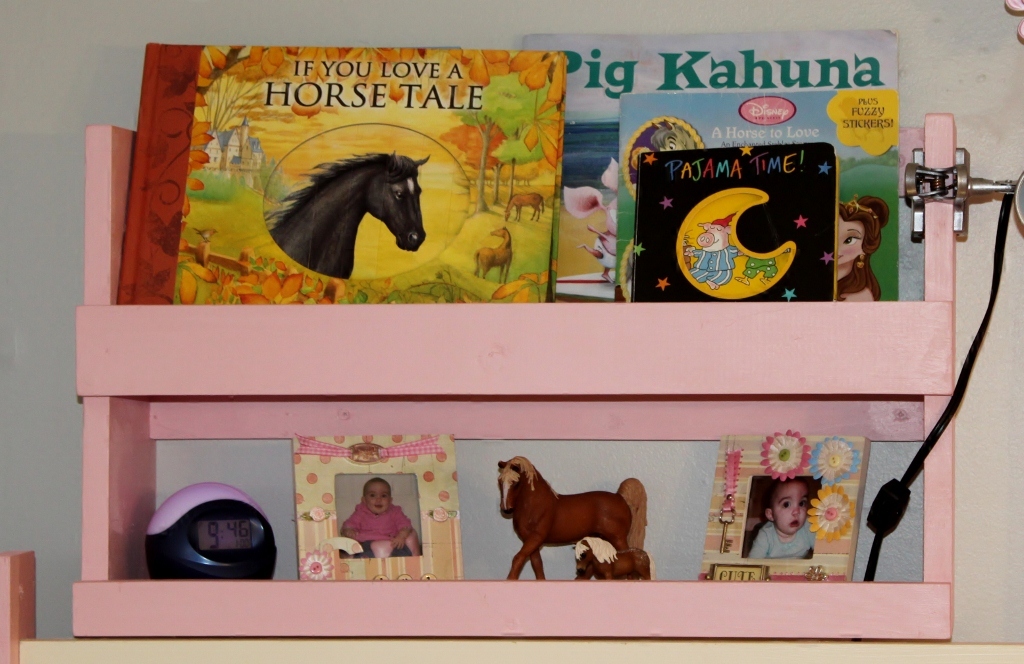
Built at 31 weeks, rockers were indeed tricky. Would recommend leaving top of rockers straight. My doctor objected to me staining it myself so my mom did it for me.
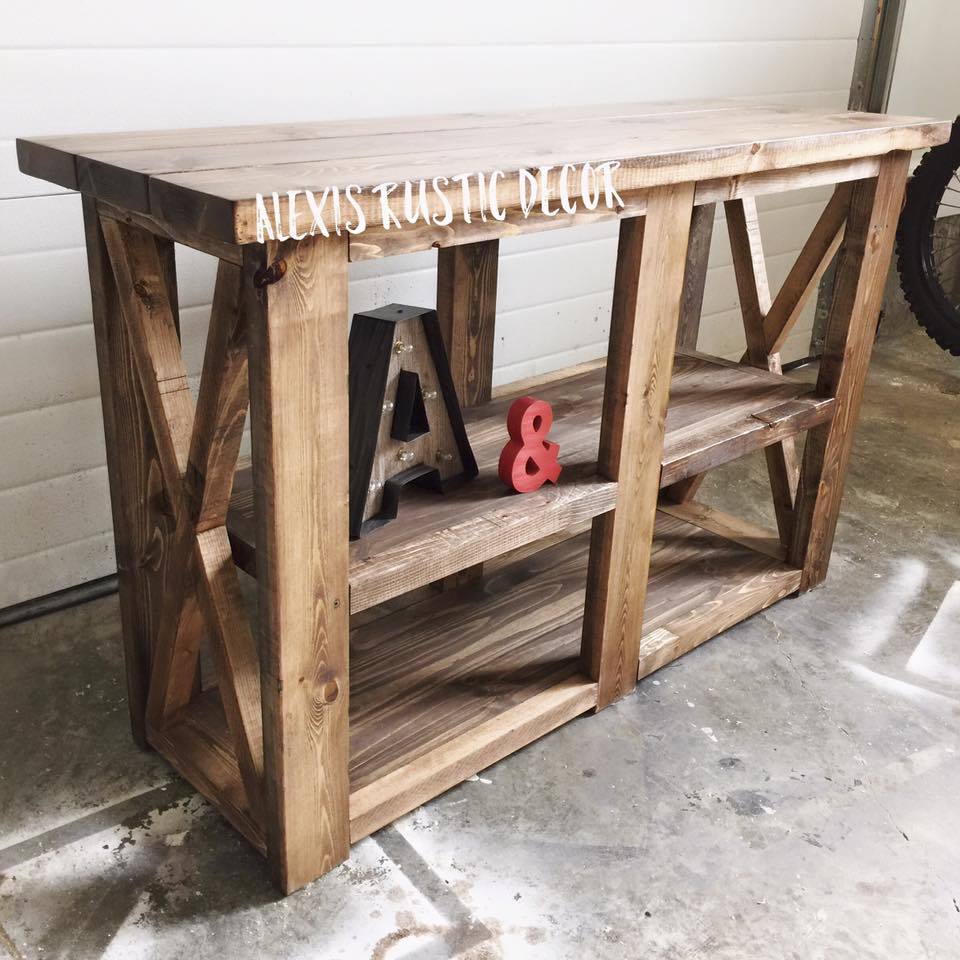
Hands down one of the most popular items I get asked to build!
Thank-you Ana for the awesome plans.
~ Alexis Rustic Decor
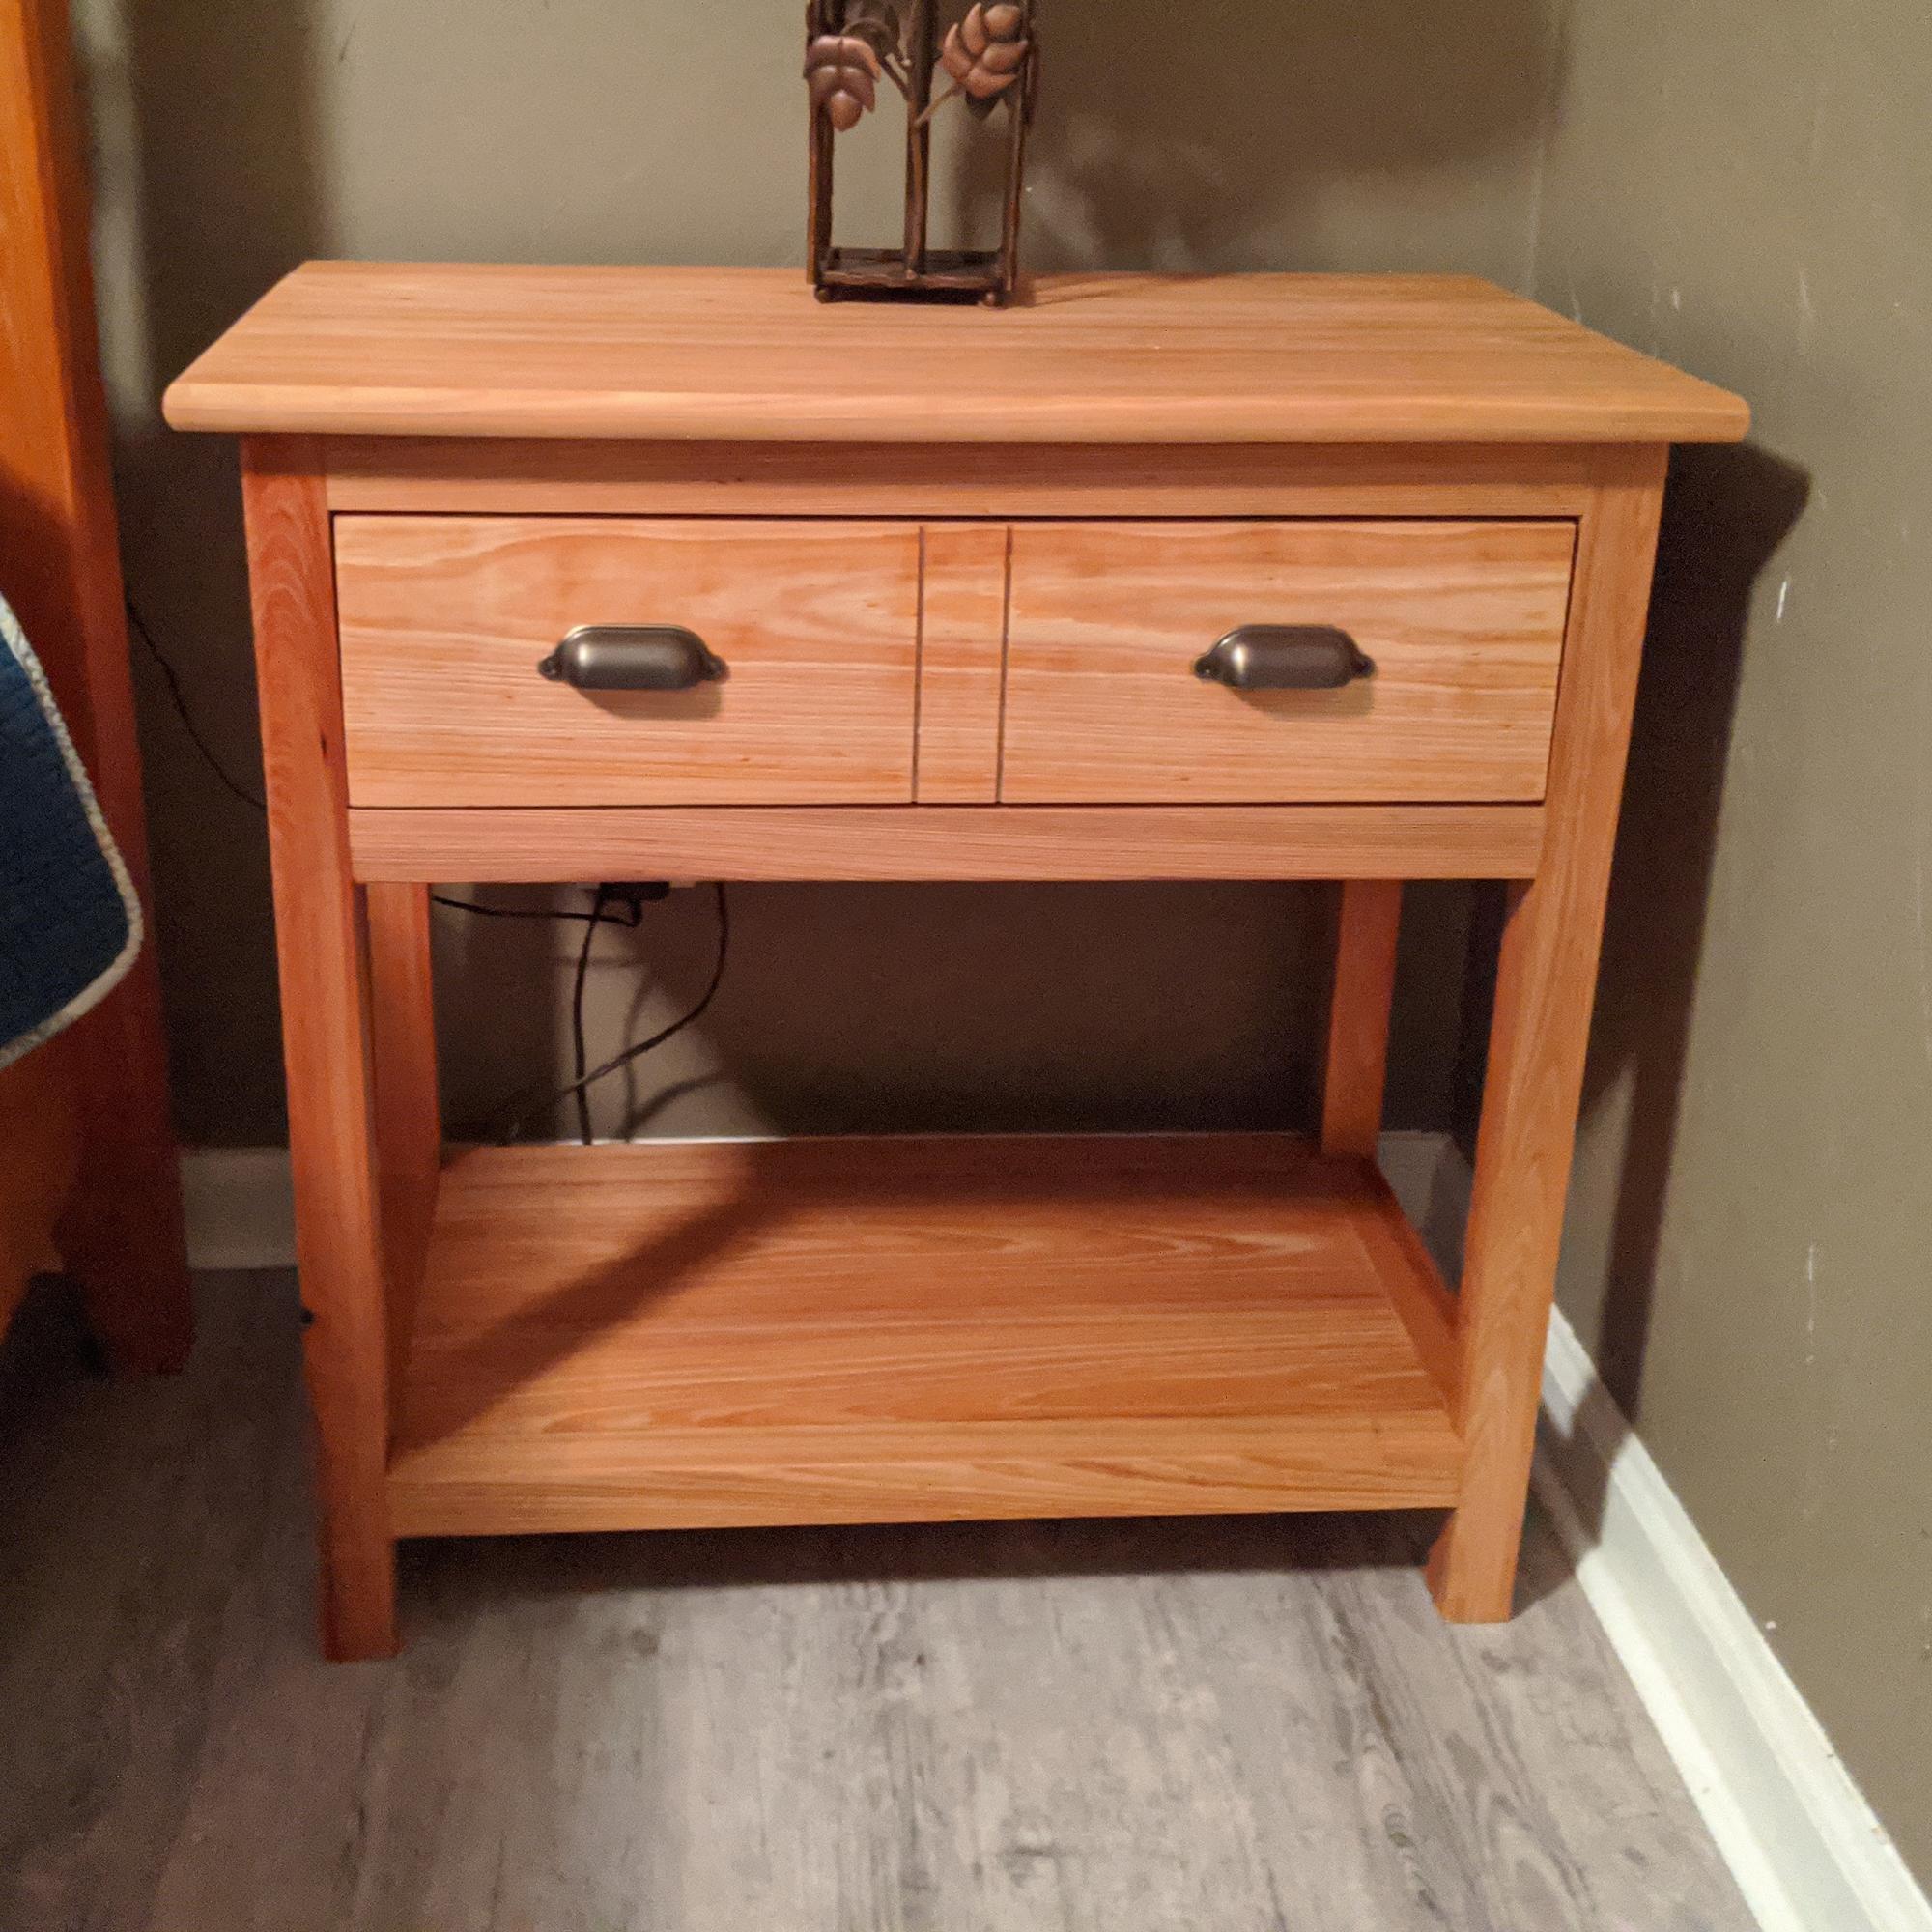
Farm House bedside table made of cypress. Bottom shelf inset.
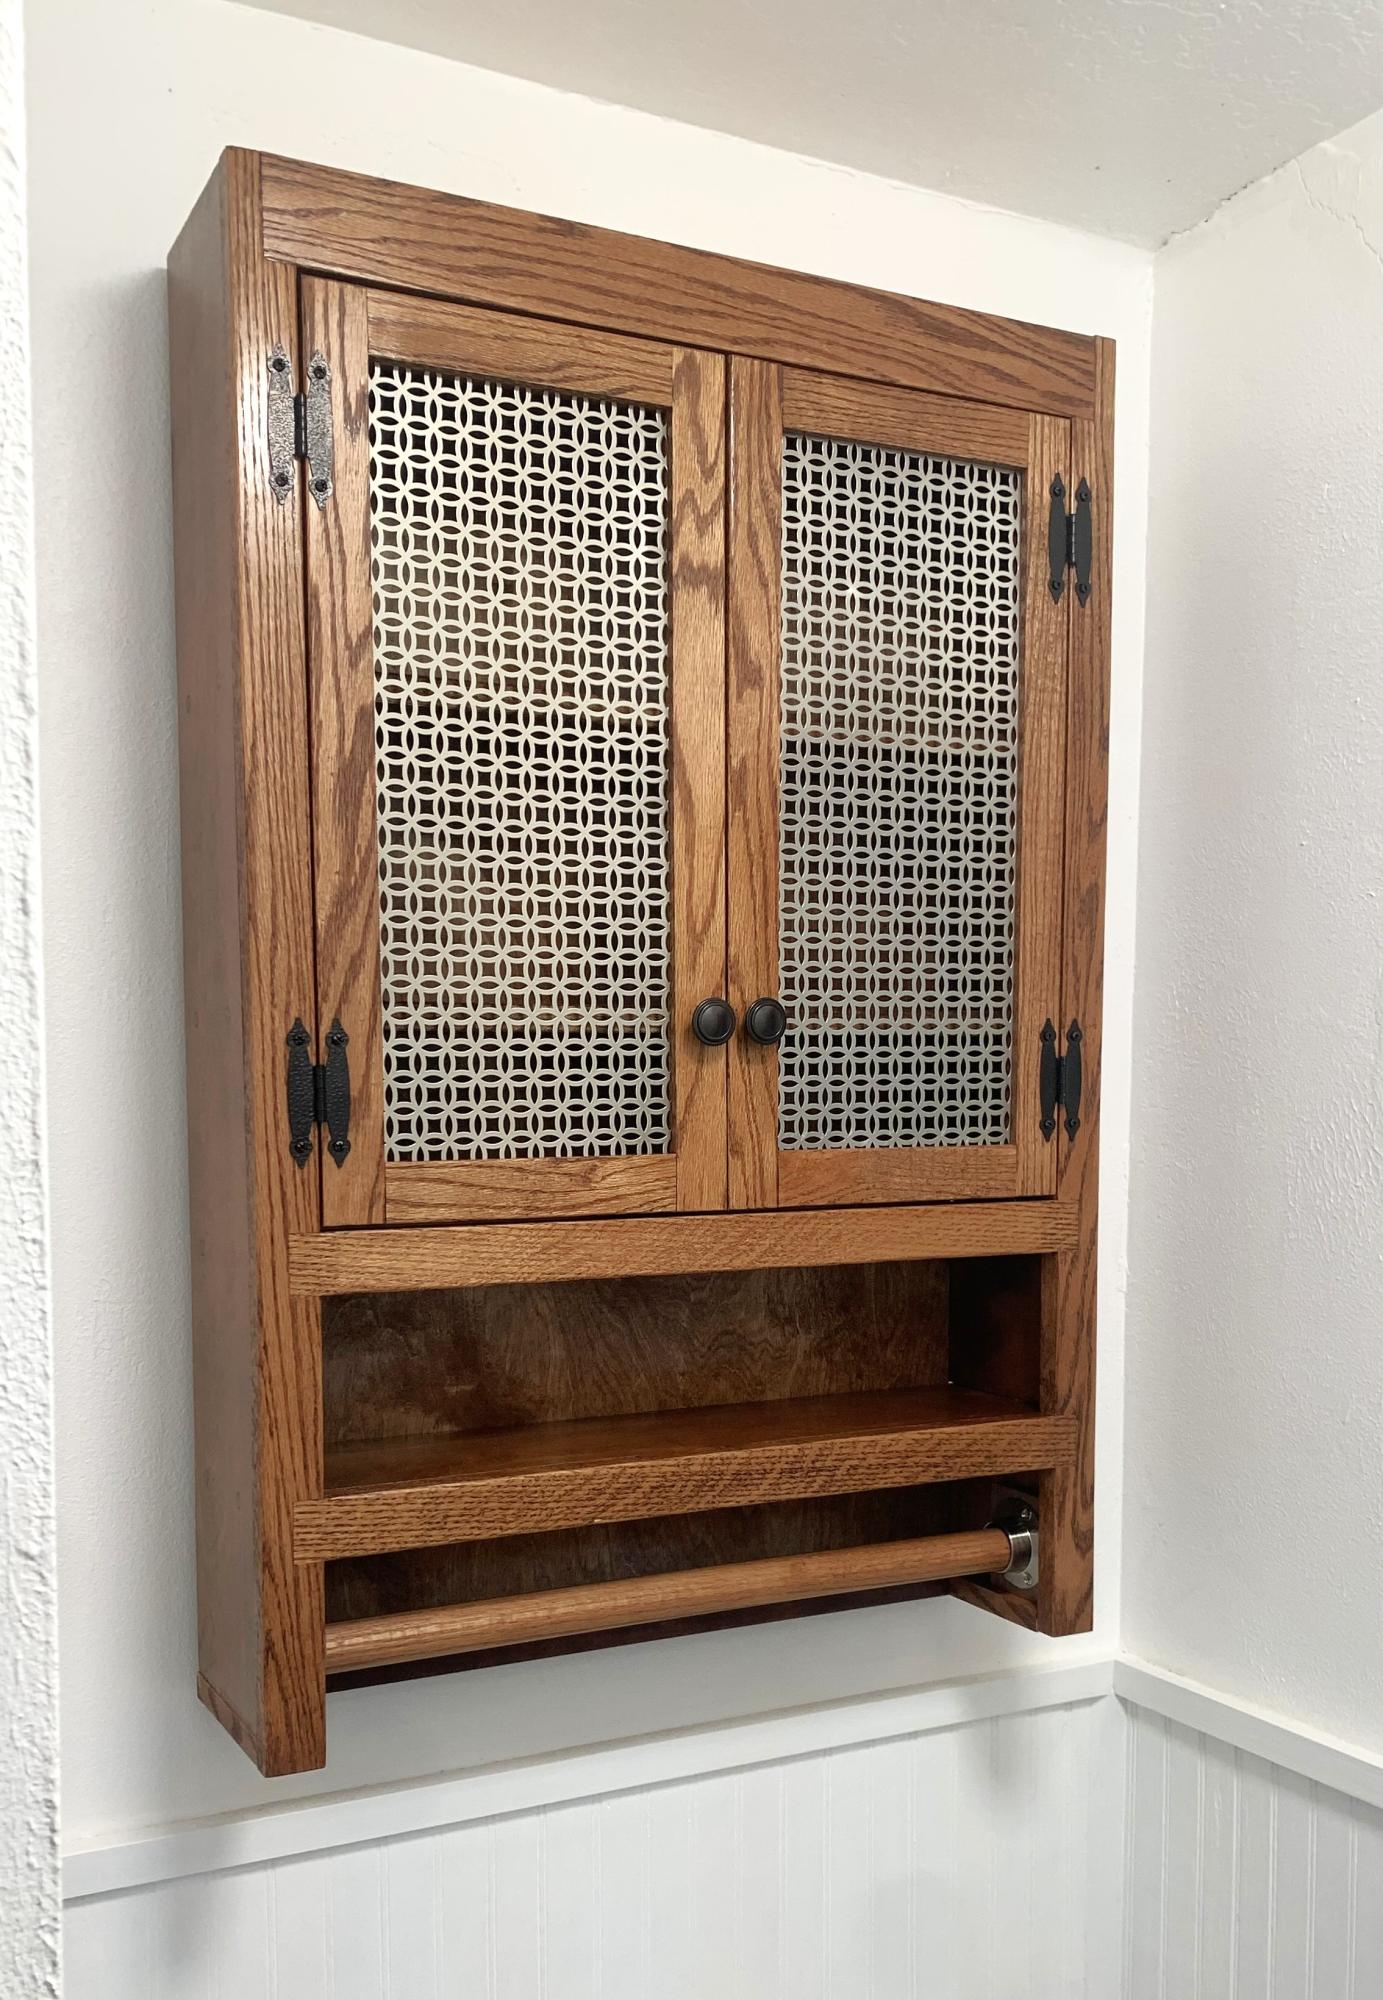
A medicine / bathroom vanity I built for my son’s master bathroom. Constructed of 3/4 oak veneer , 1x2 and 1x3 red oak for the face frames and doors. I used a combination of dowels and dominos to assemble. The metal for the doors was purchased at The HD. Finished off with Minwax English Chestnut stain and 4 coats of Shellac.
Gary Fox
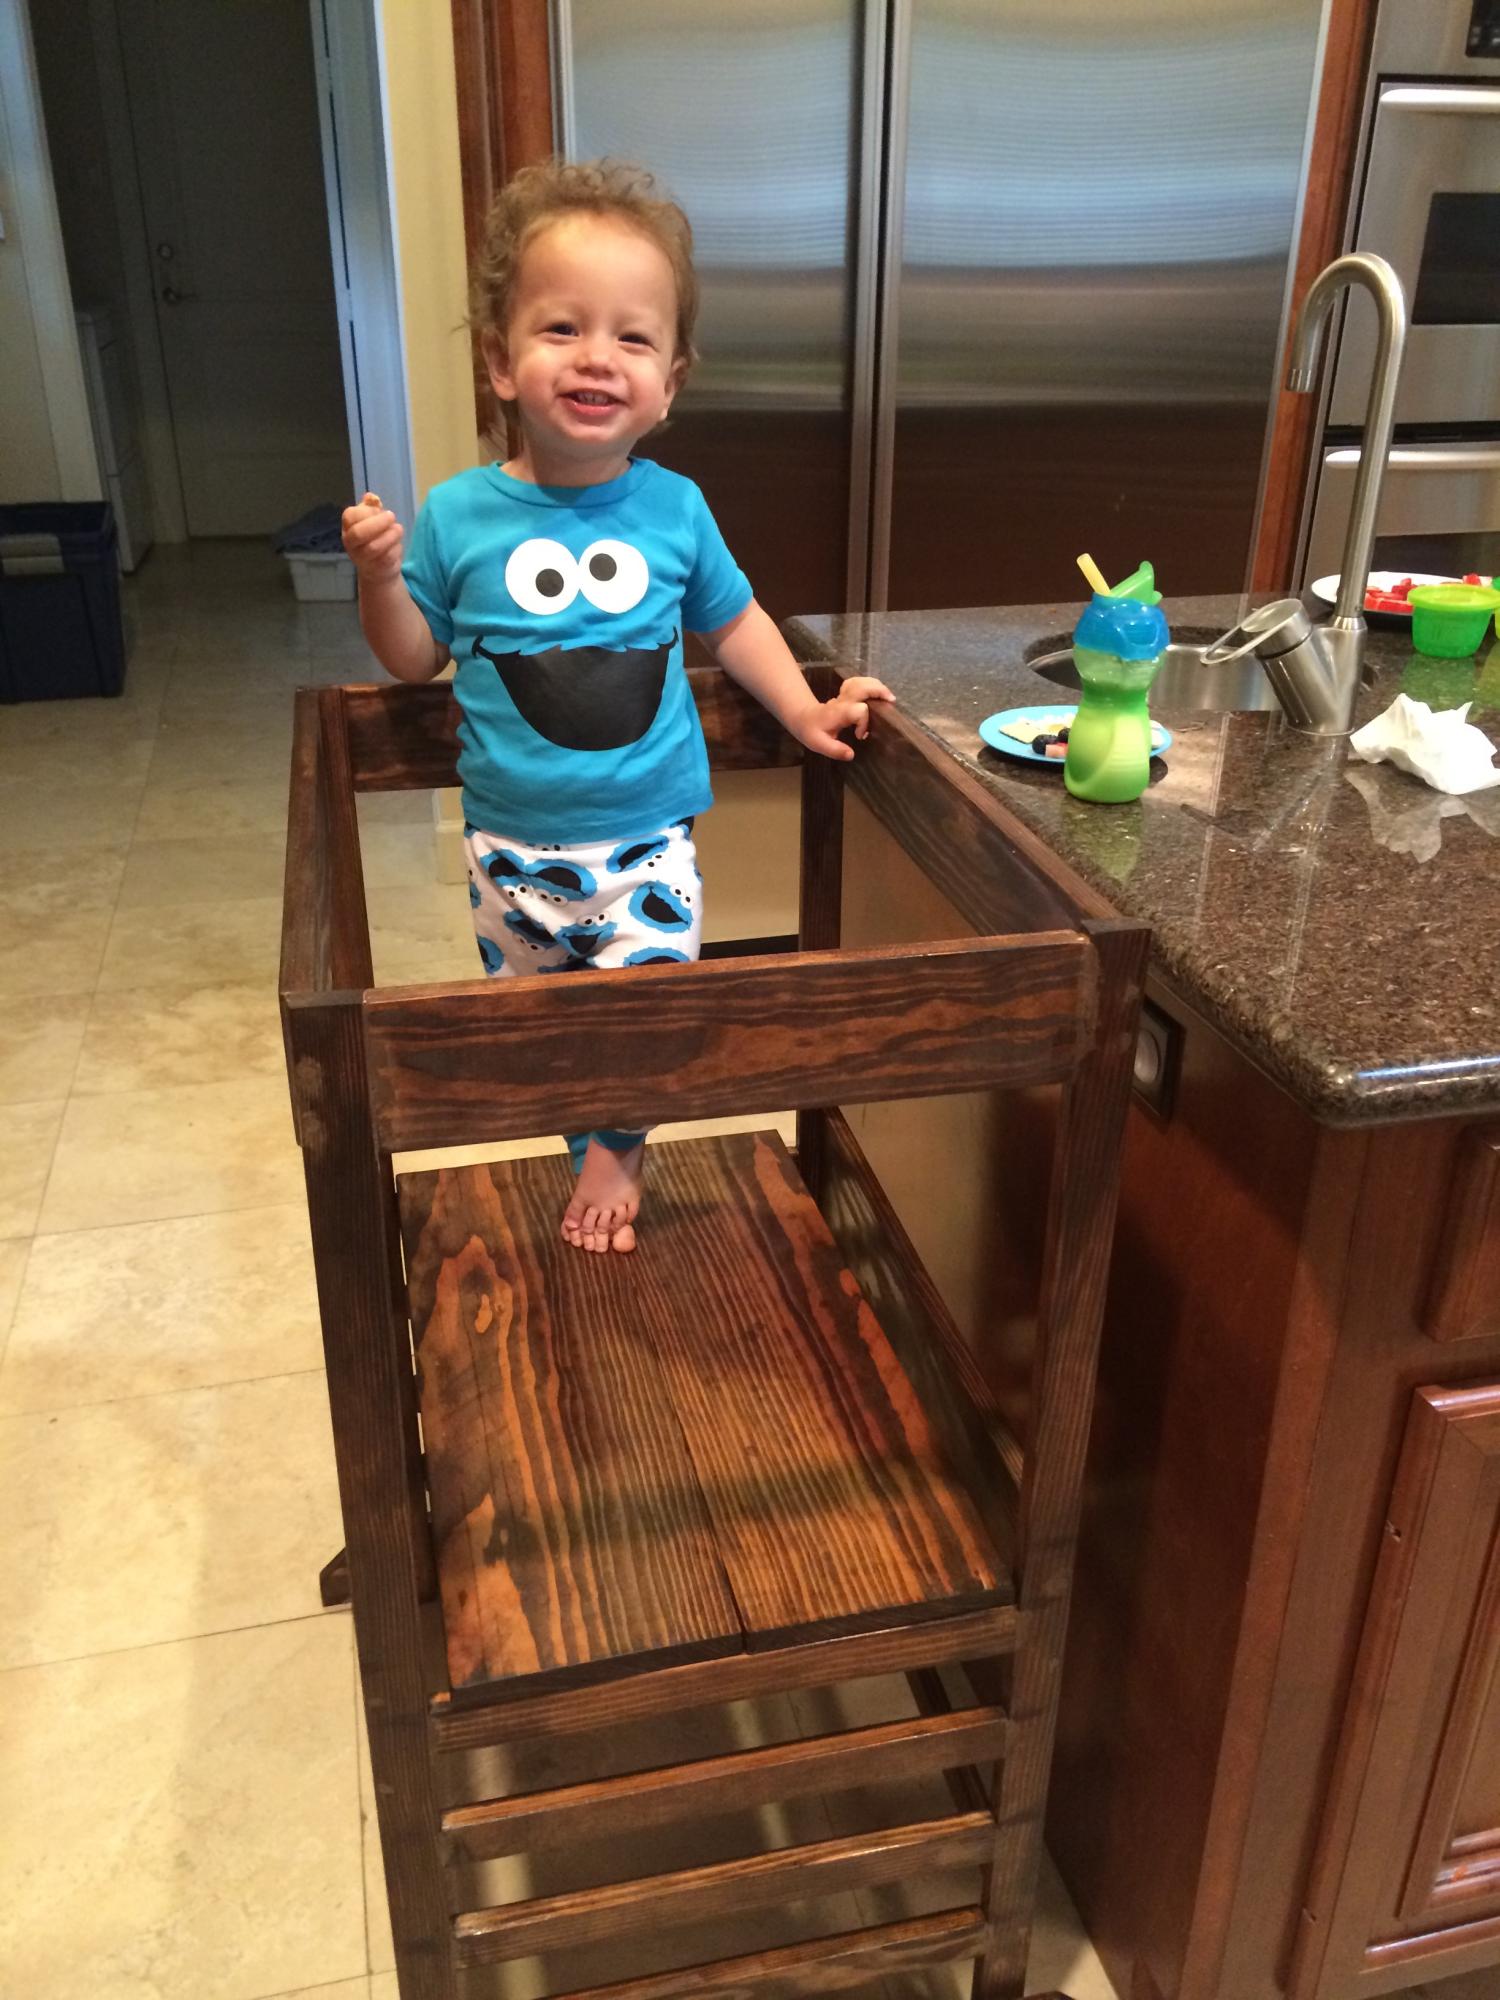
Took the dimensions for the little helper towers and used the 24 inch width so it can accommodate two kids. Built two of these for my nephew, one for his house and one for my parents. Took 3 days of work, so I must not be as efficient as everyone else, but boy does he love them. Been eating all of his meals in his "tower" ever since he got them. Makes the effort worth it! One note: I couldn't get the pocket screws to work at all, ended up destroying a few pieces of wood which required an extra trip to the lumber yard. I would suggest just using counter bores.
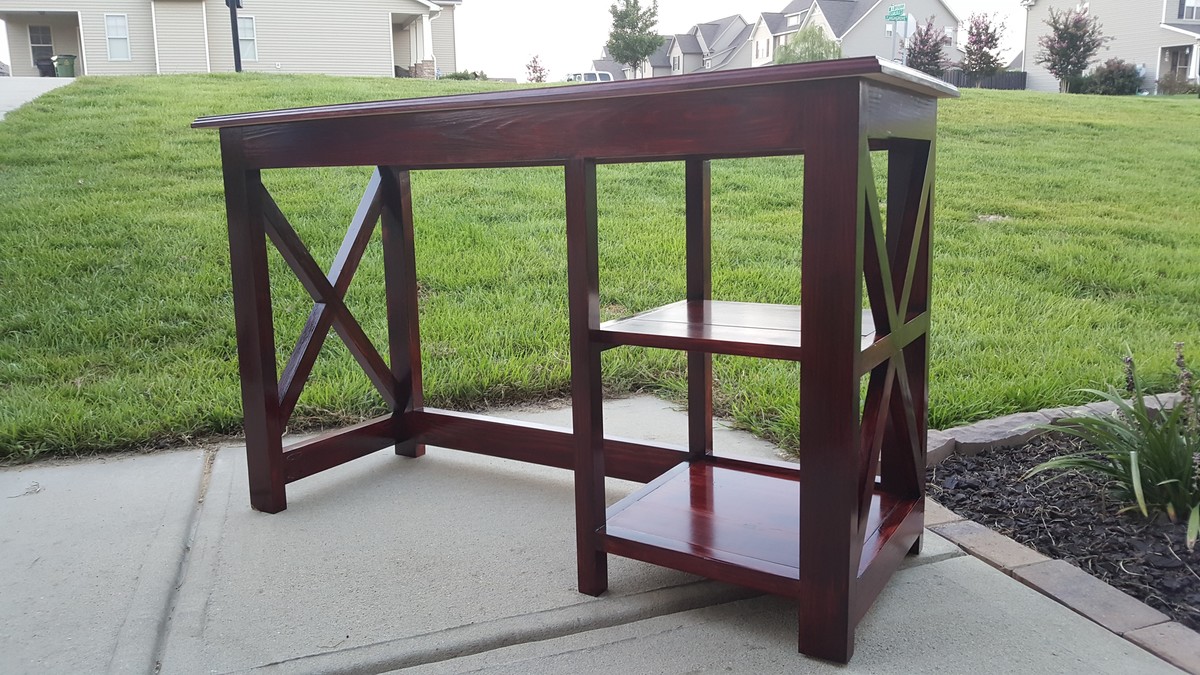
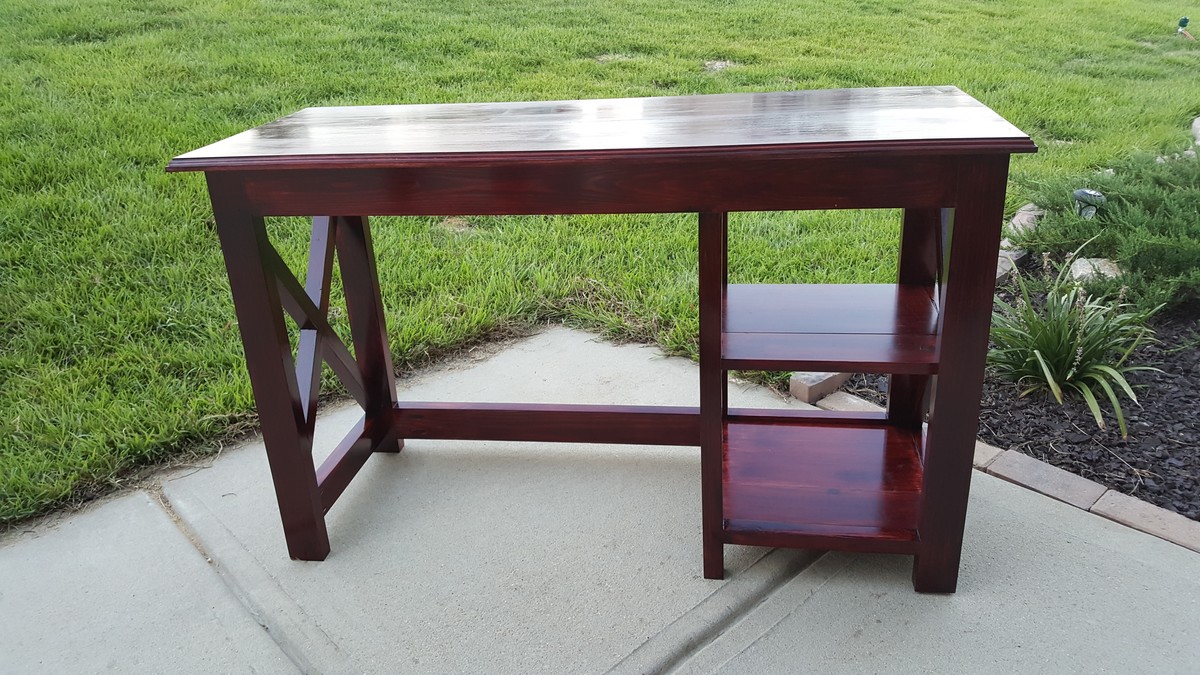
I built the computer desk for mom to replace on of those cheap press-wood desk. This was not build from an existing plan.
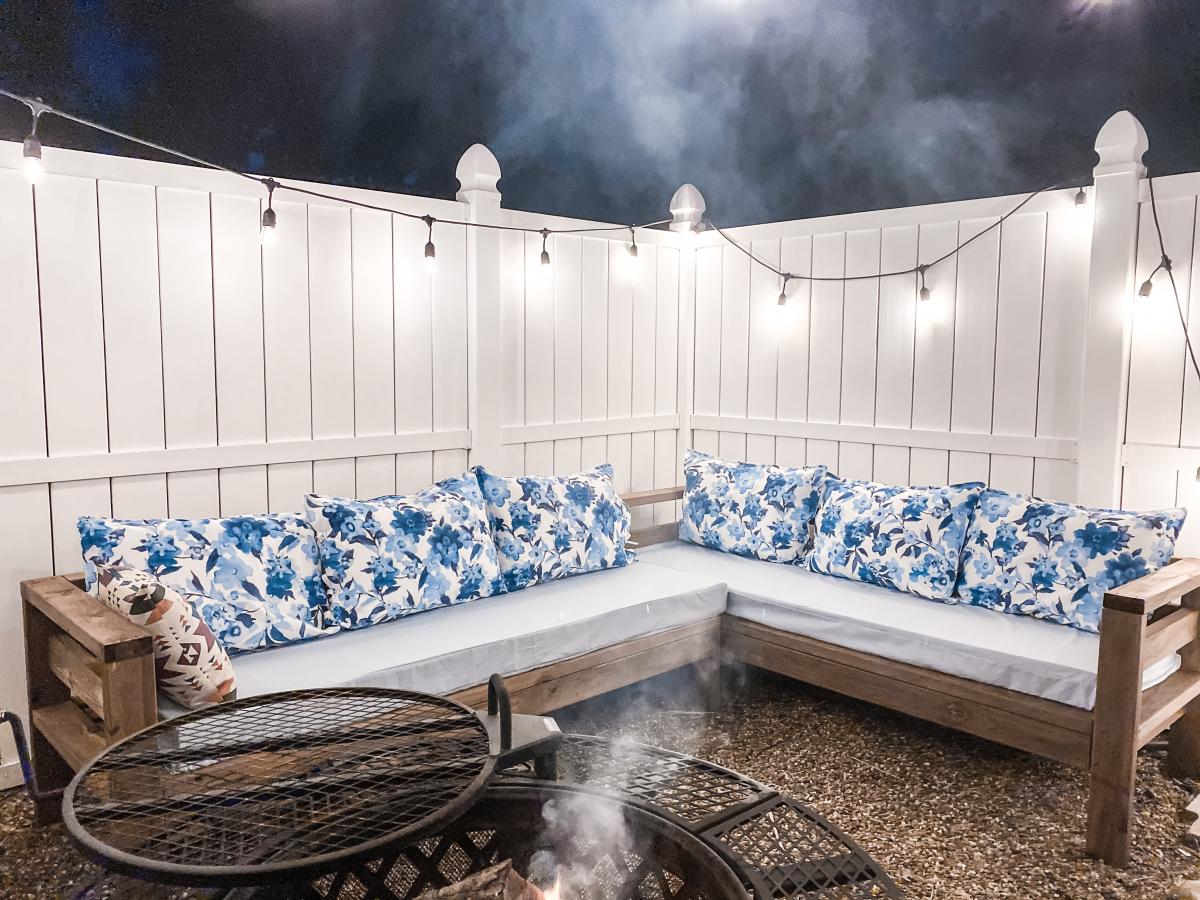
We have been looking for a deal on an outdoor sectional for a whole year. Nothing. The cheapest we could find was $899 for one that was much smaller than this one and with thinner cushions. So we upped and drove to the lumber yard and purchased the lumber on the list and got to building. The total cost of lumber was $200, the Spax screws we already had on hand. We used pocket holes for the joints. The wife made the cushions herself. She had most of the fabric on hand, we just had to buy 3 yards for the back cushions, which are made of standard size pillows. They have been sprayed with fabric protectant for outdoor use (I think she used the Scotch brand). The seat cushions are 5 inches thick (they are wrapped in silk film to protect them from getting soaked when it rains or when someone who just got out of the pool sits on them), around $100 for both. It took her a couple of days to sew the box cushion covers.
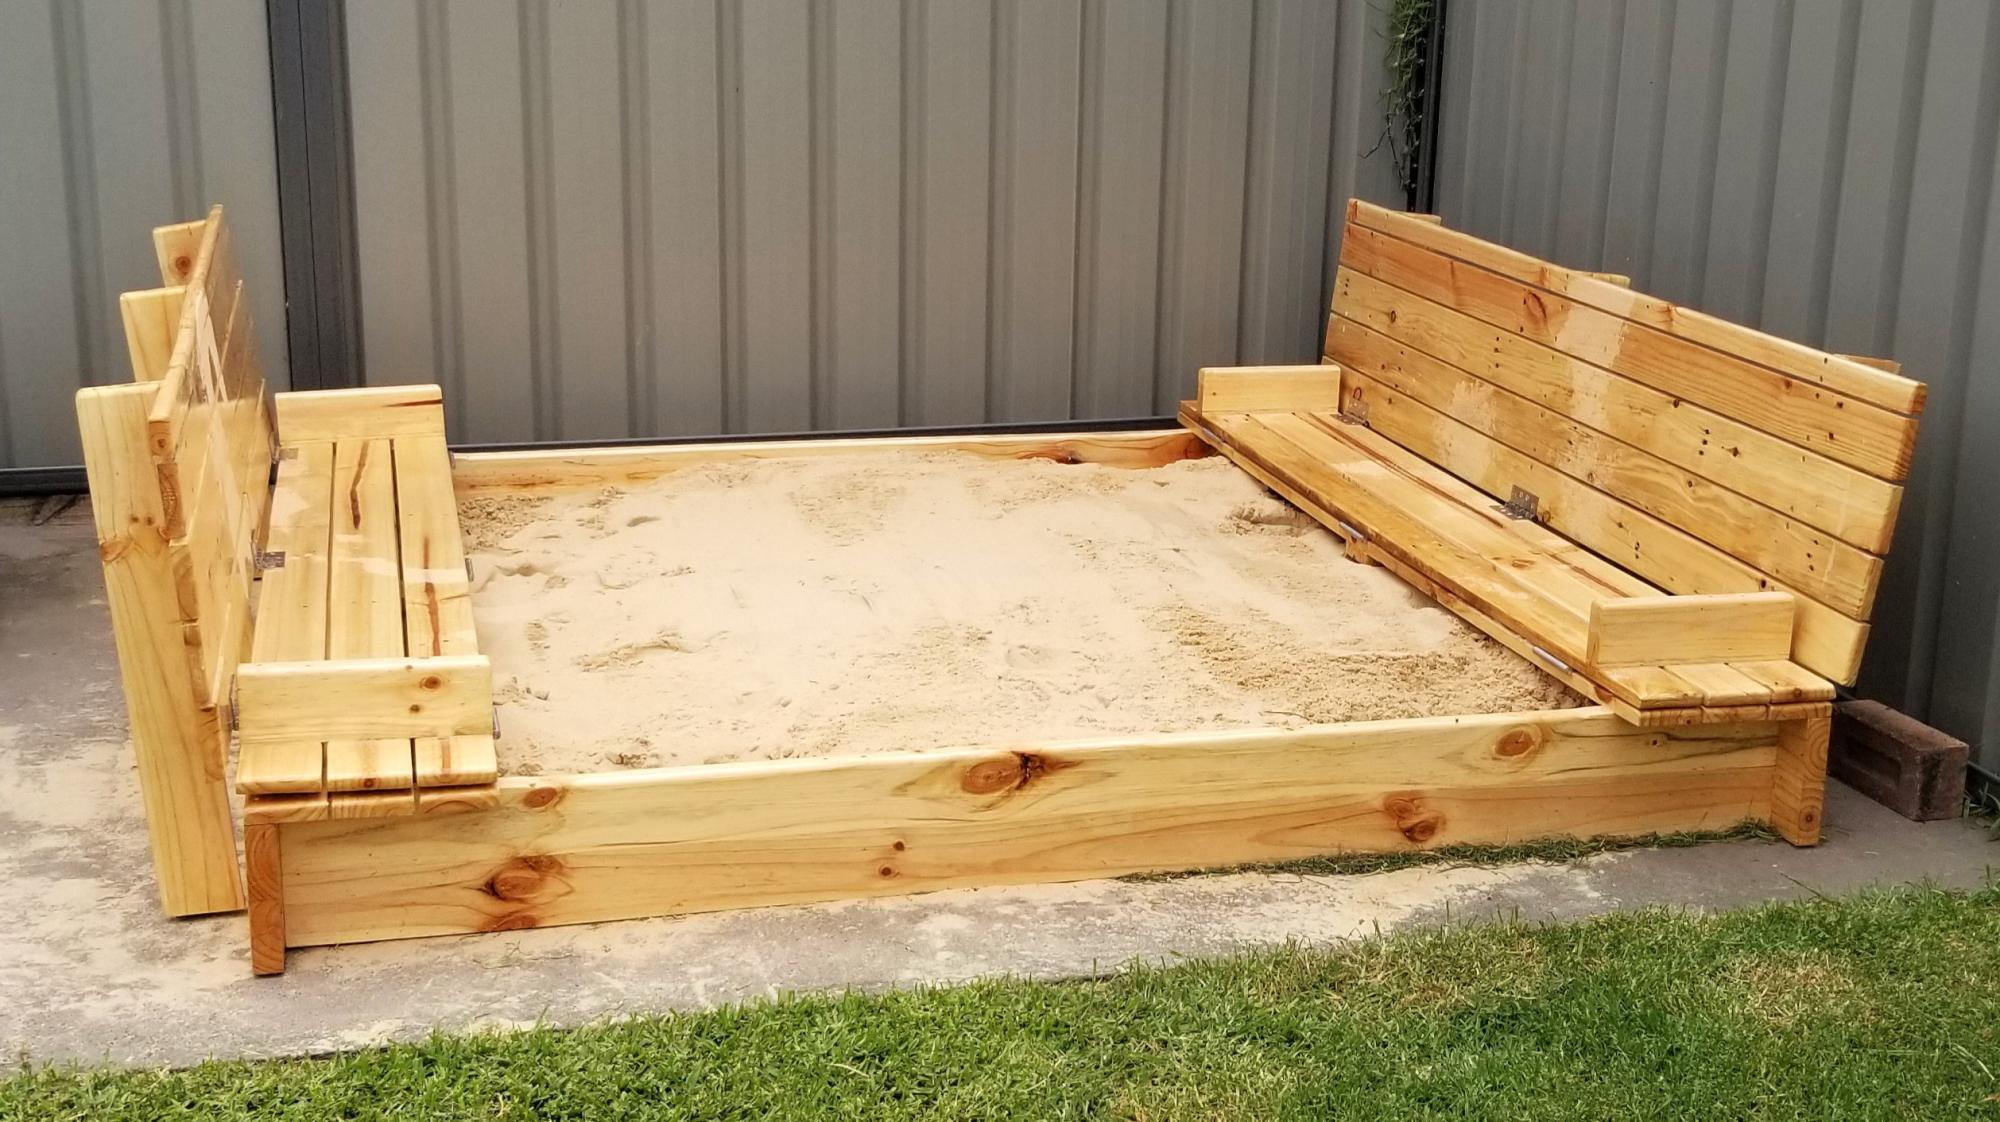
Hi Ana Chris Burt, Belmont NSW Australia
Well, was inspired from your plans on sand pits, so I made a custom one for my first Grandson Brax, it's around 2 meters square. With larger seats etc., was made completely out of recycled pine timber pallets. used waterproof glue, stainless screws and hinges as we live in Belmont NSW which we have lake Macquarie one side ocean on the other so it a battle with salt air. Finished it with a marine clear lacquer. Still lots to do like a pool fence keeps the dogs out and a shade over it. Love your site has great ideas and projects.
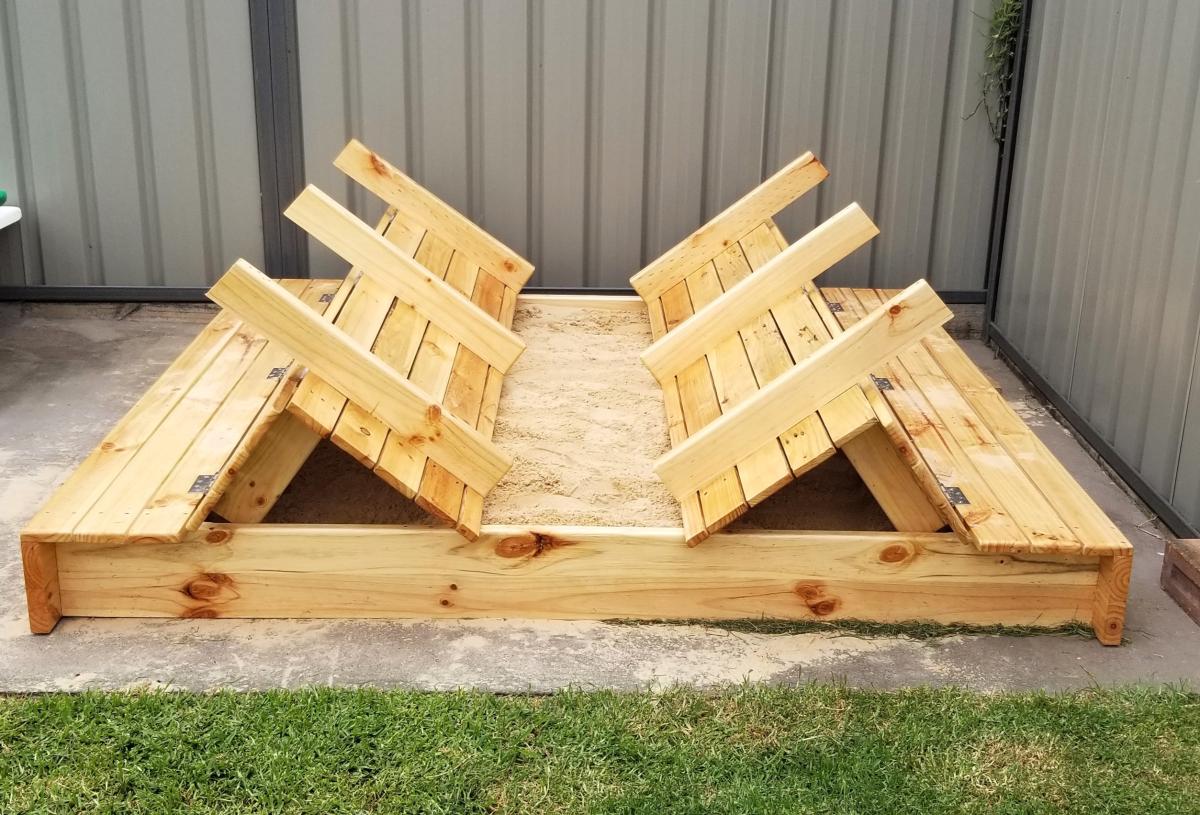
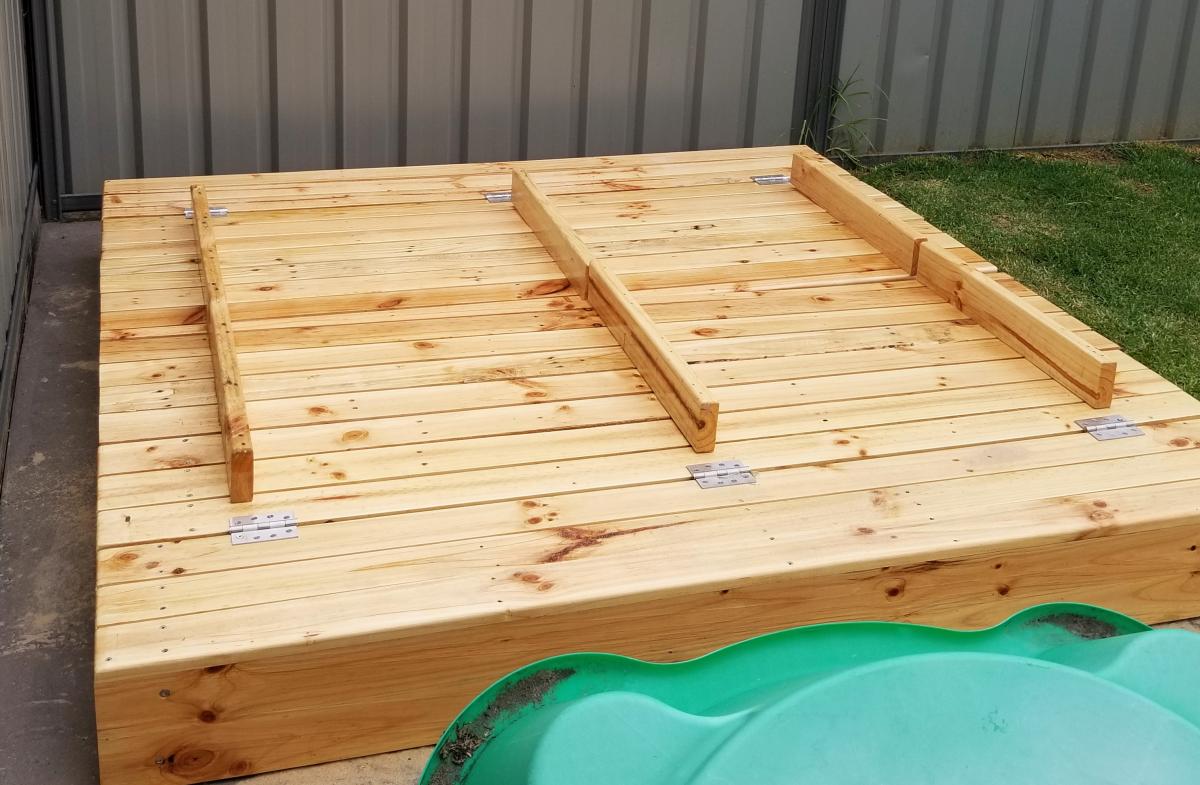
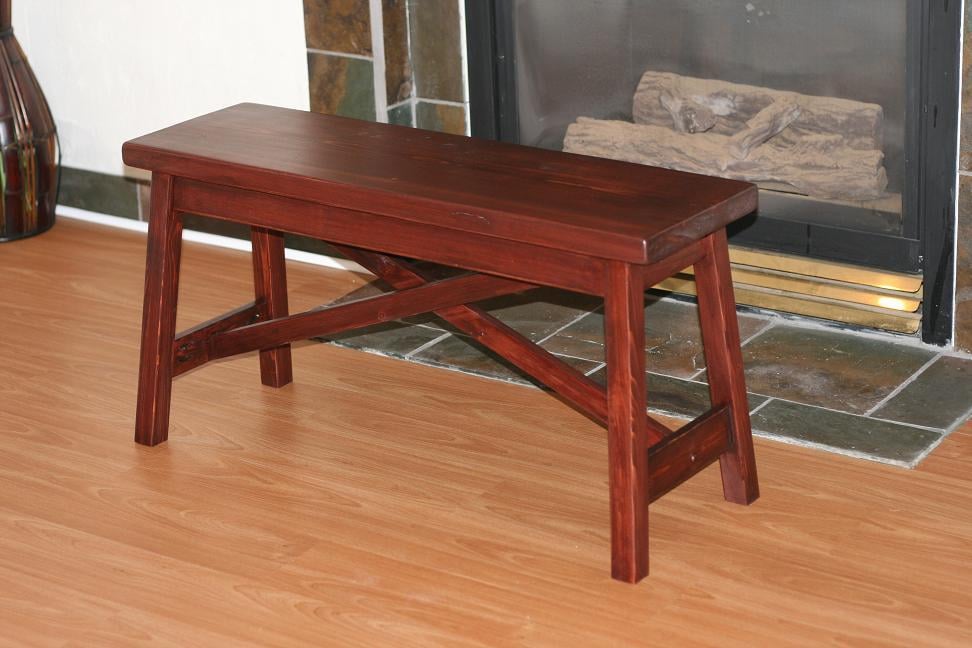
Created the small easy rustic x bench, it was super easy to build even with all the small angles. Very good plans, the video was also nice to watch before getting started especially since I made mine 36" long and the handy tip on how to cut the cross braces helped. I also decided to use a 2x12 for the bench top as opposed to the 1x12 because it felt even more rustic to me.

I designed and built this "Caribbean Inspired" outdoor patio set based on the plans for the "Vintage Bar Stool". Once the stools were built, I designed the table to fit the height of the stools. The table top has stone mosaic tile and all surface are painted bright Caribbean colors. I do need to add the finishing touch of a cooler on the bottom shelf, but that's coming!
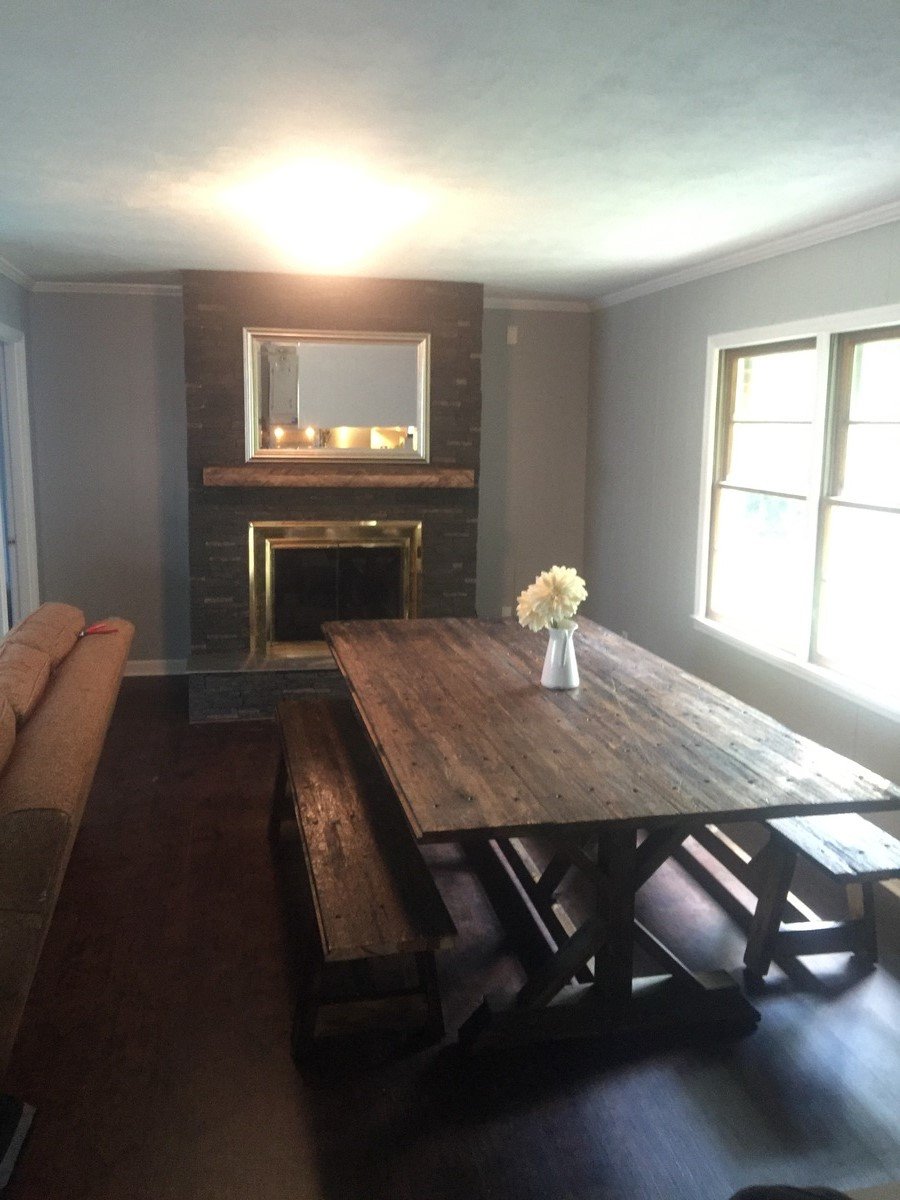
Love love love how this table and benches turned out!
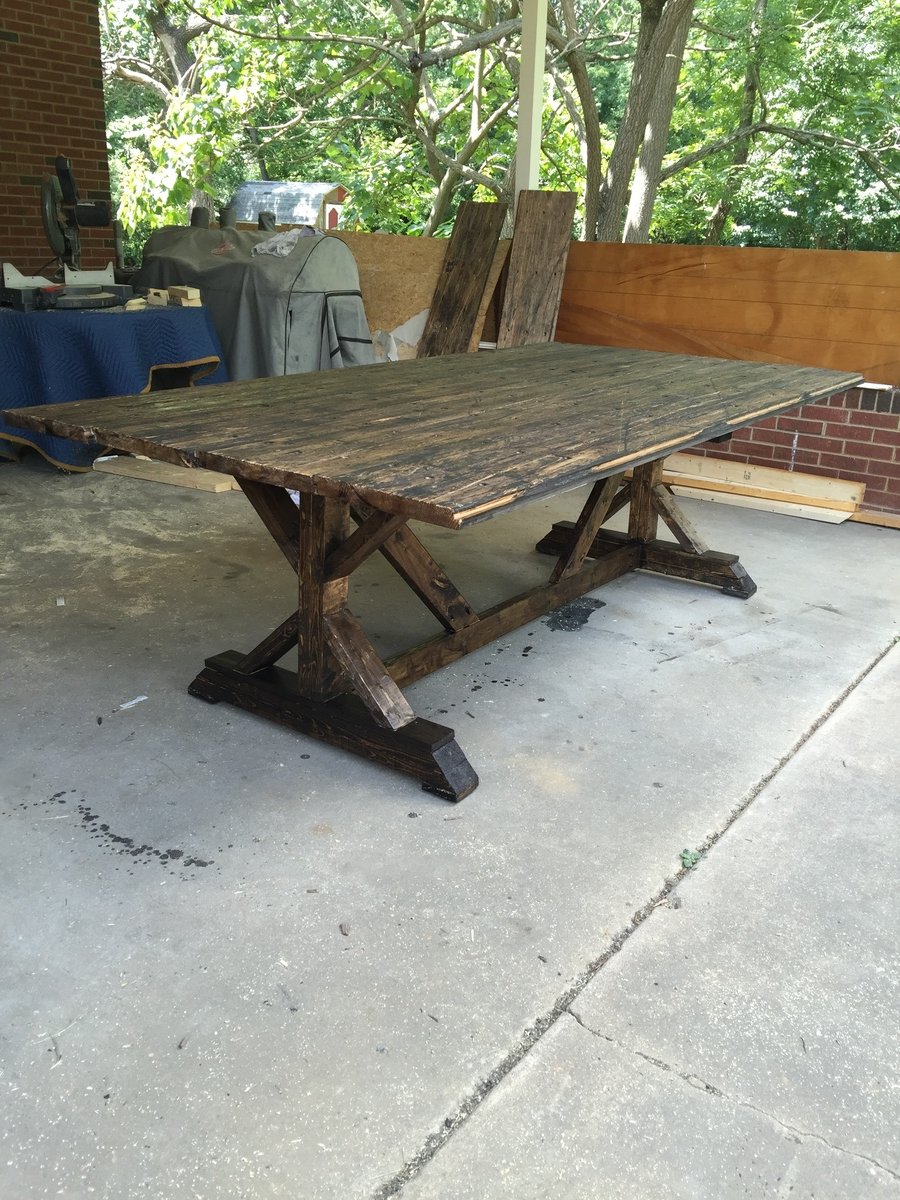
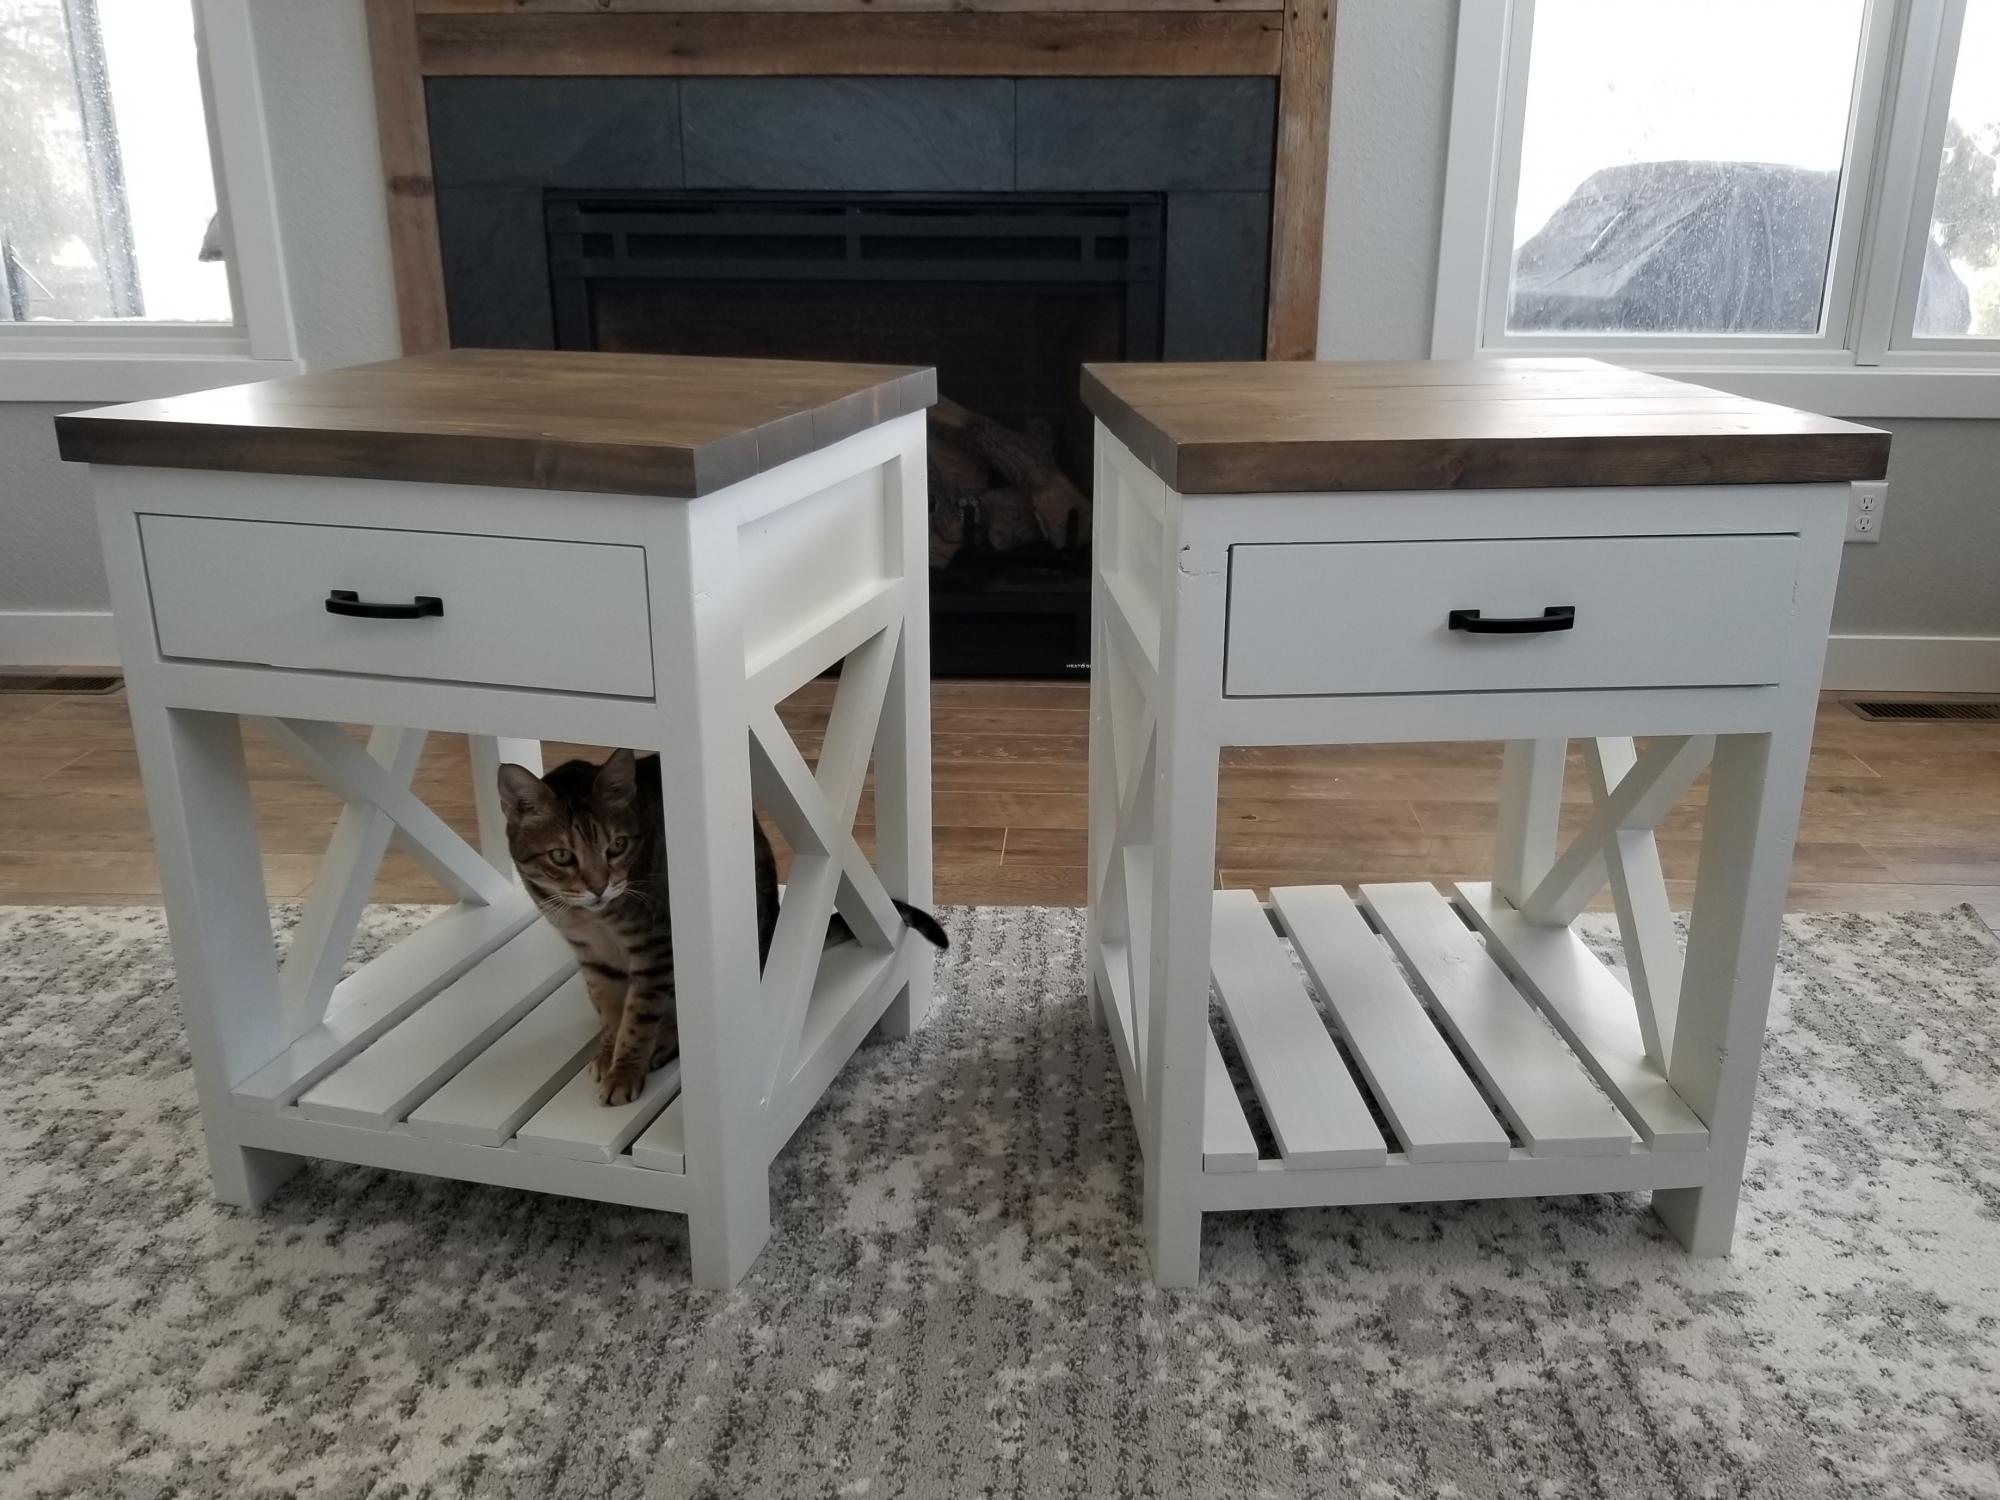
This was my first furniture piece that I have made. I made two night stands, one for each side of the bed in our master bedroom. I chose to modify the plan so I could have ball bearing drawer slides.
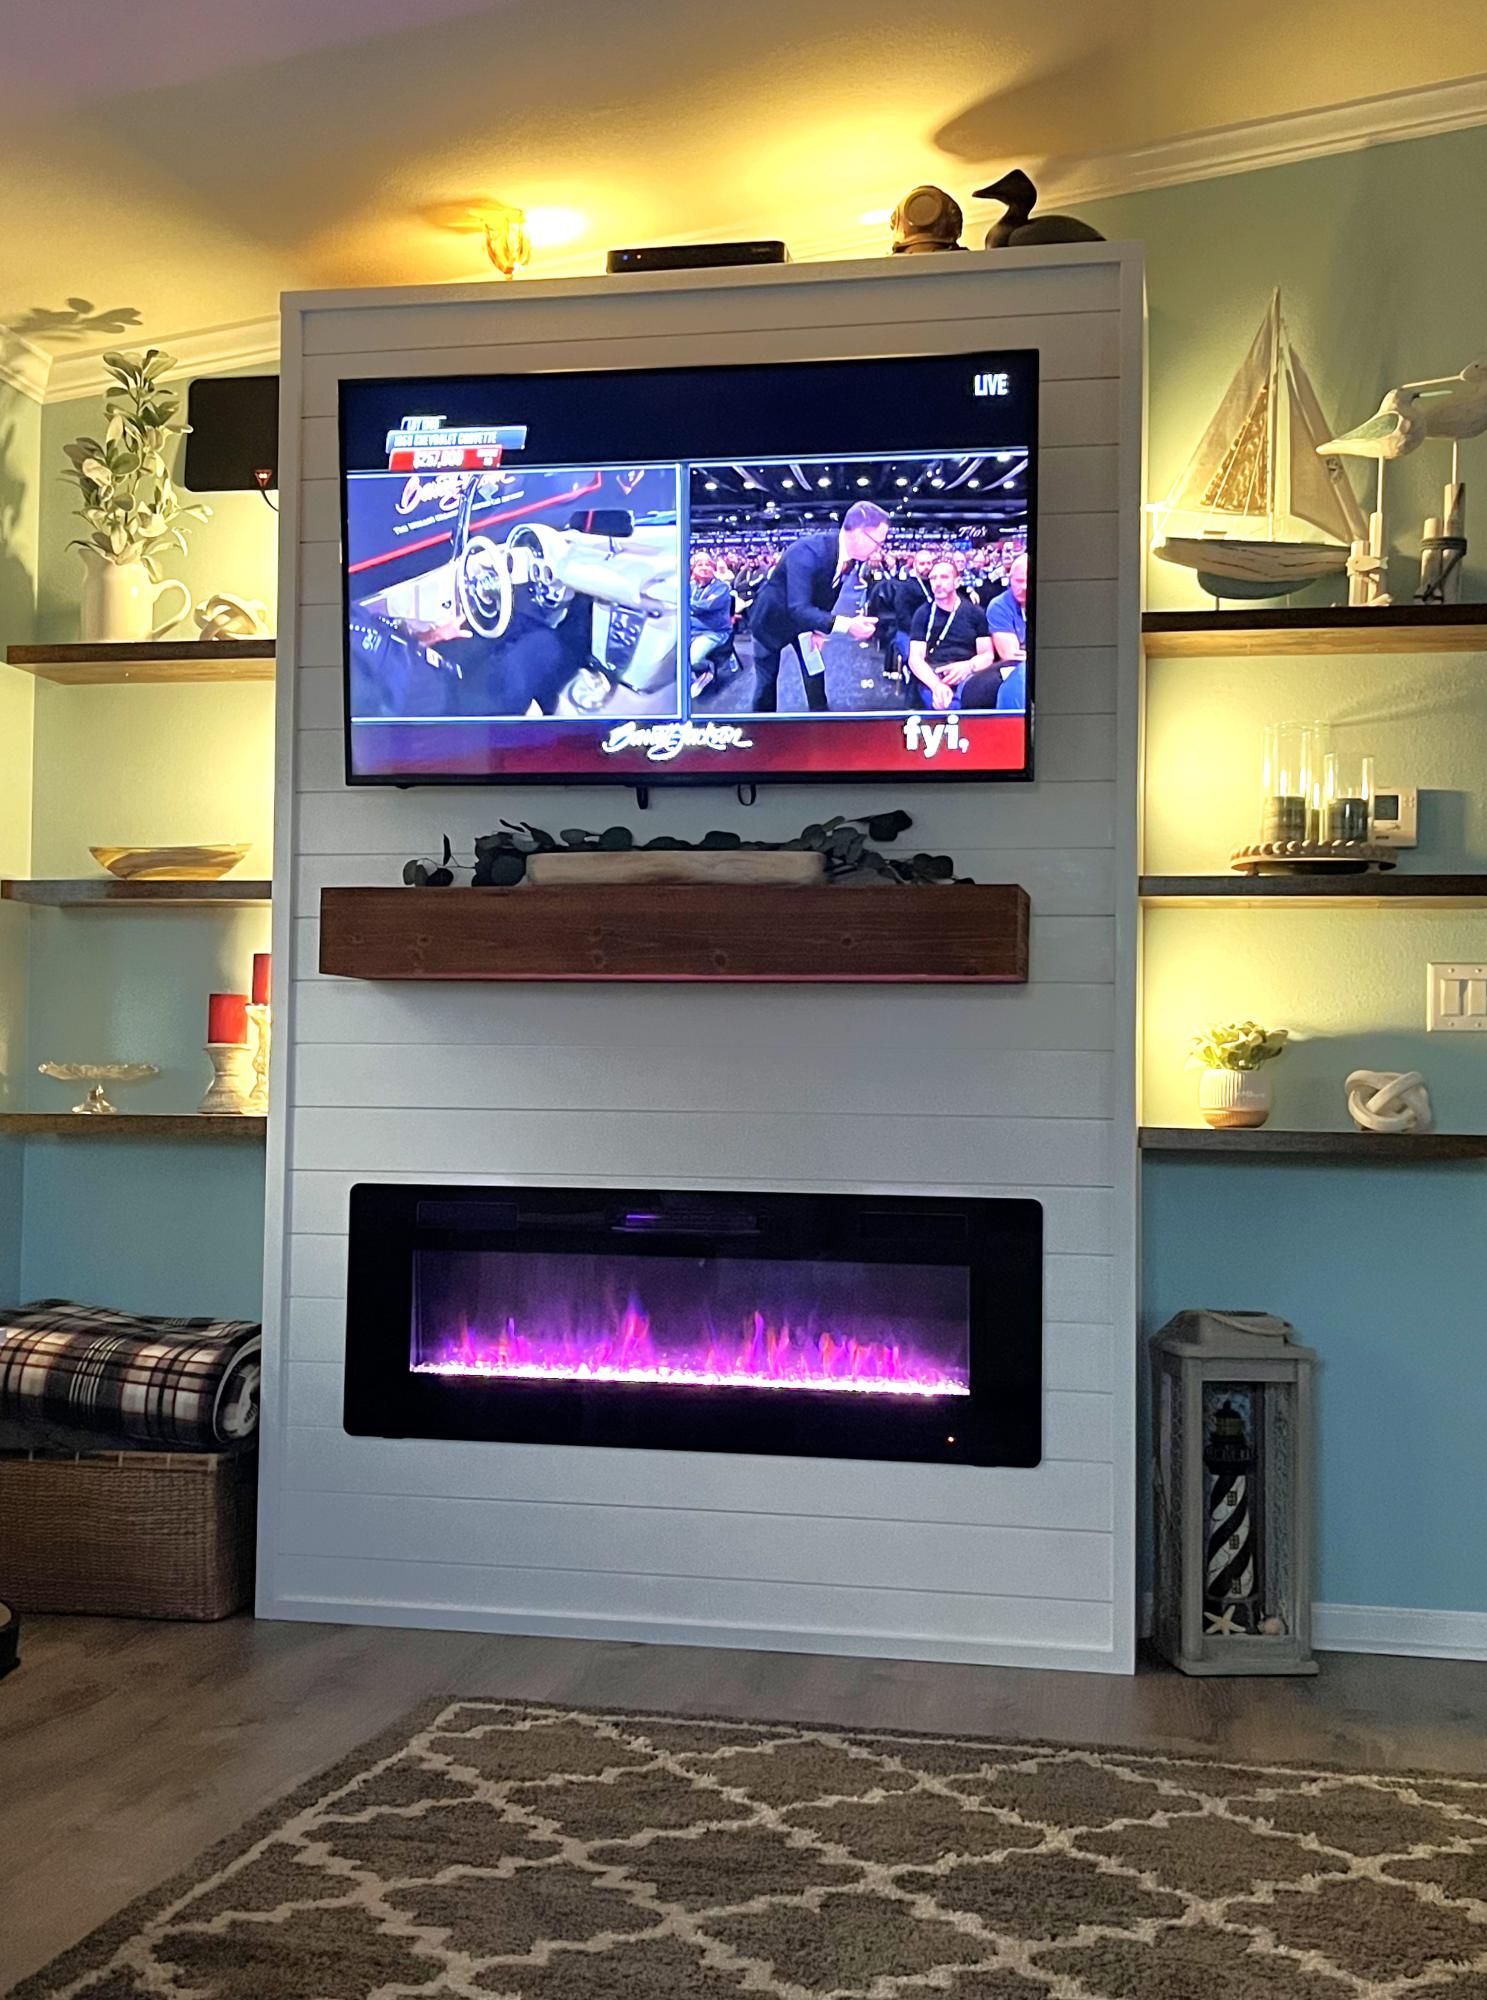
My wife and I built this fireplace wall using Anna White’s plans. We get complements by all that see it!
Keith
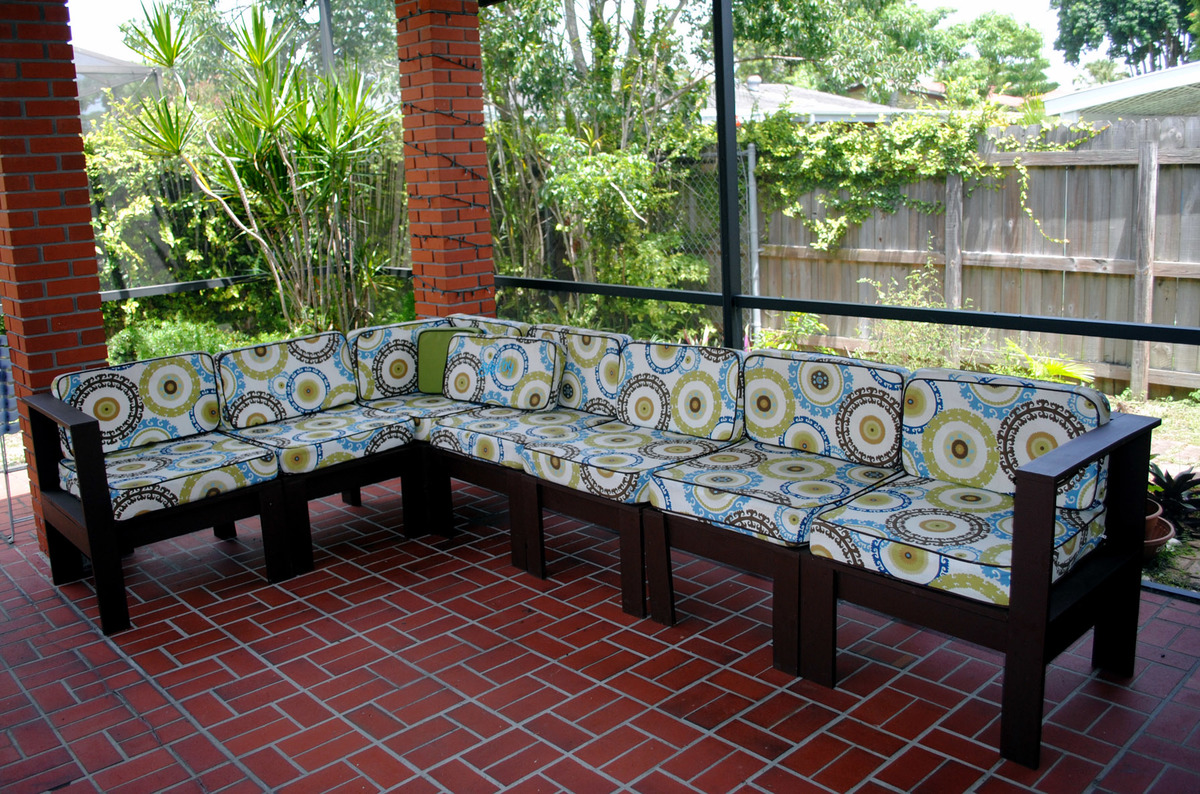
Loved doing this as my first ever building project. Ana's plans made it easy and I found a tutorial for making the cushions at Sew Mama Sew. It's not perfect but we love it because it seats so many people comfortably and is exactly the right size for our patio. (All of our friends have complimented it like crazy, too!)
Thu, 07/26/2012 - 16:32
You did such an awesome job on this. And it's your first project -- wow, it looks like it came right out of a furniture store and cost thousands! The piping on your cushions is a wonderful touch and it looks so flawless. Just beautiful!
Mon, 10/22/2012 - 08:15
Wow, this is really great. I love that color - How did you do the stain/paint? Is it meant for outdoor use?
Simple outdoor lounge chair for use on our deck. This is a good design though if I had to do it over again I would make a few alterations:
- It's a bit flimsy, so for the chair frame, I would use 2x4's instead of 1x's.
- We are going to use them for seating at our patio table so I will make the others a bit shorter. The depth is awfully big for a dining chair but would be good for lounging.
- Used a 1x4 on the inside of the back frame to make the chair back more upright (as it said in the modified plans) would definately recomend.
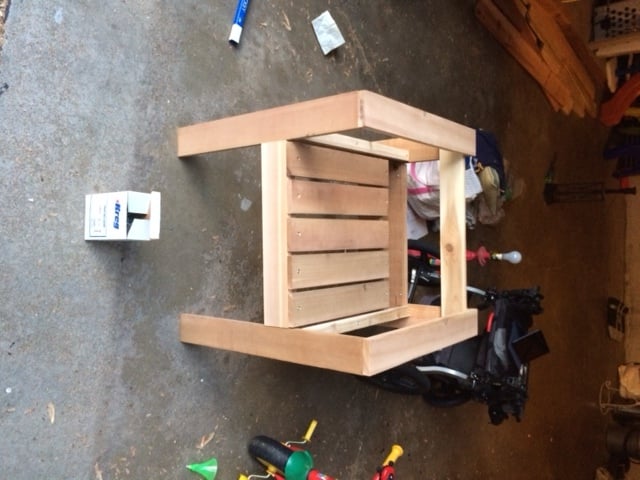
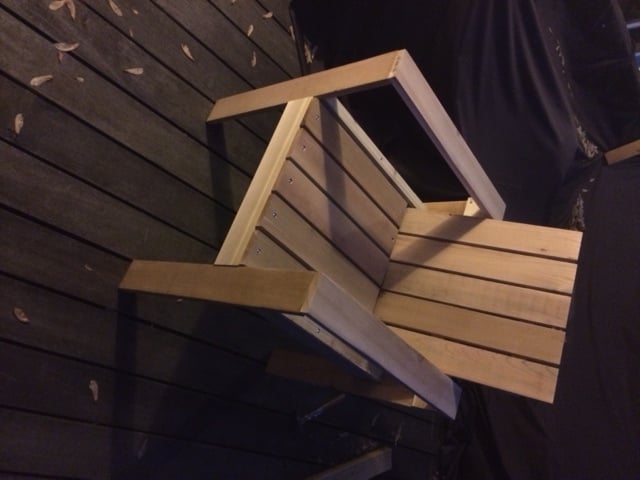
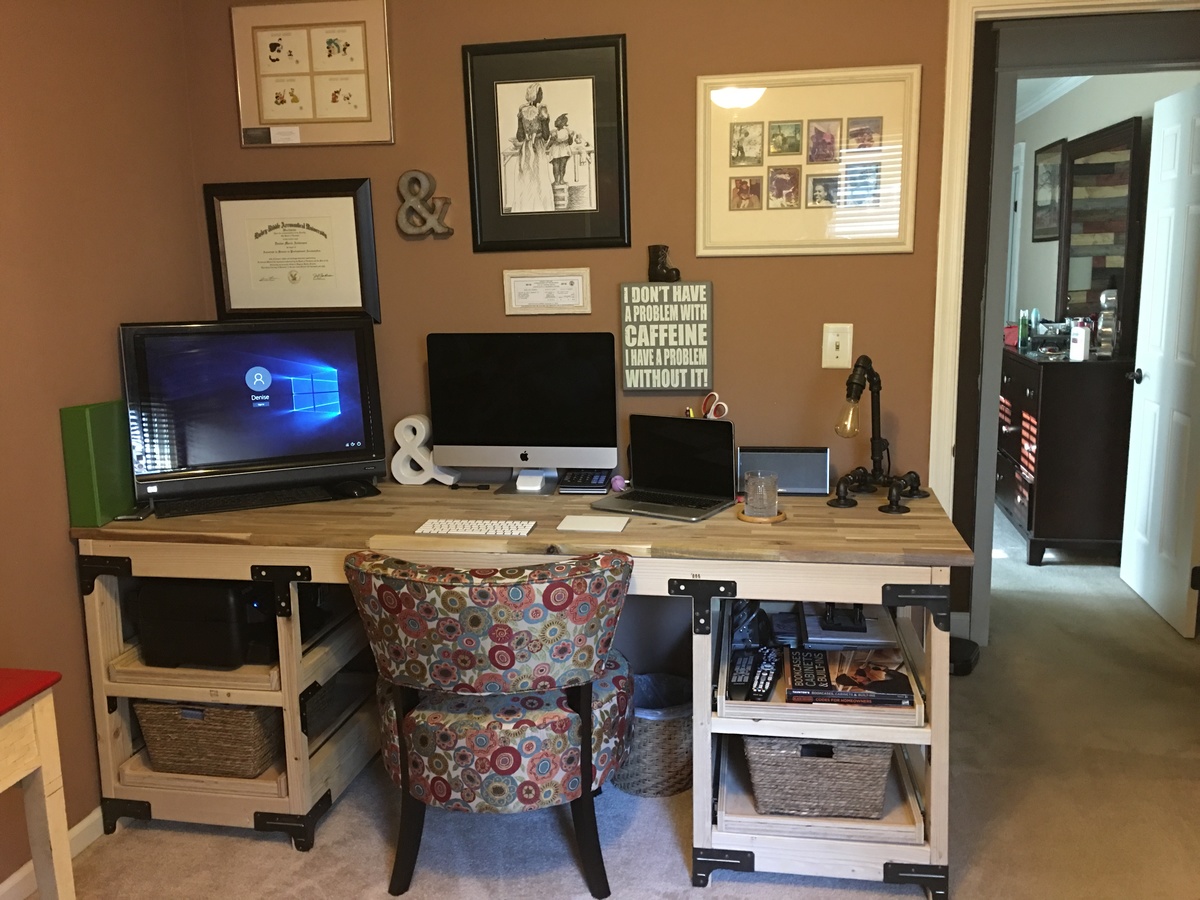
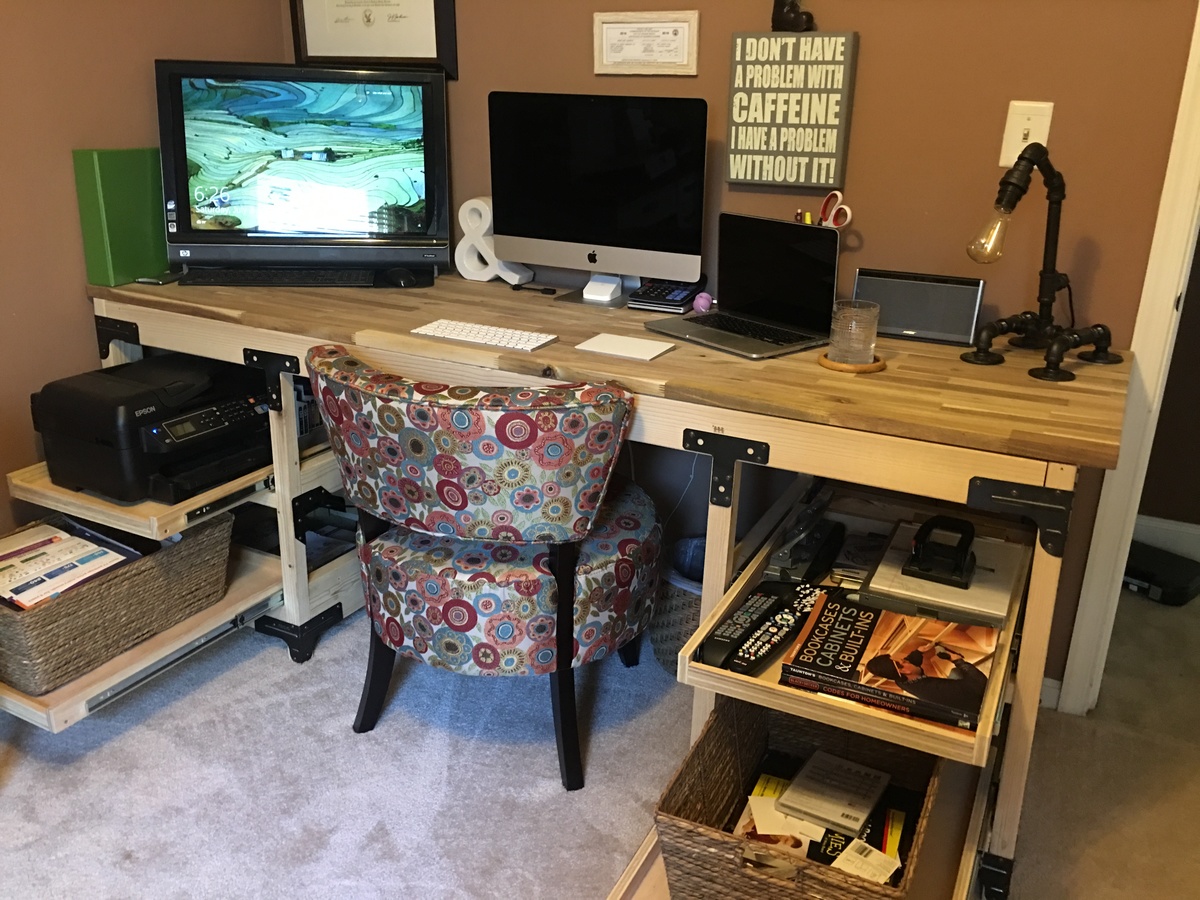
I used Ana White's awesome design, but needed access for my printer scanner combo, so I modified the design and created sliding shelves. I also substituted a sheet of butchers block for the top in lieu of plywood.
Thank you for an incredible design, that has been used by at least 3 of my friends because they loved mine so much!!
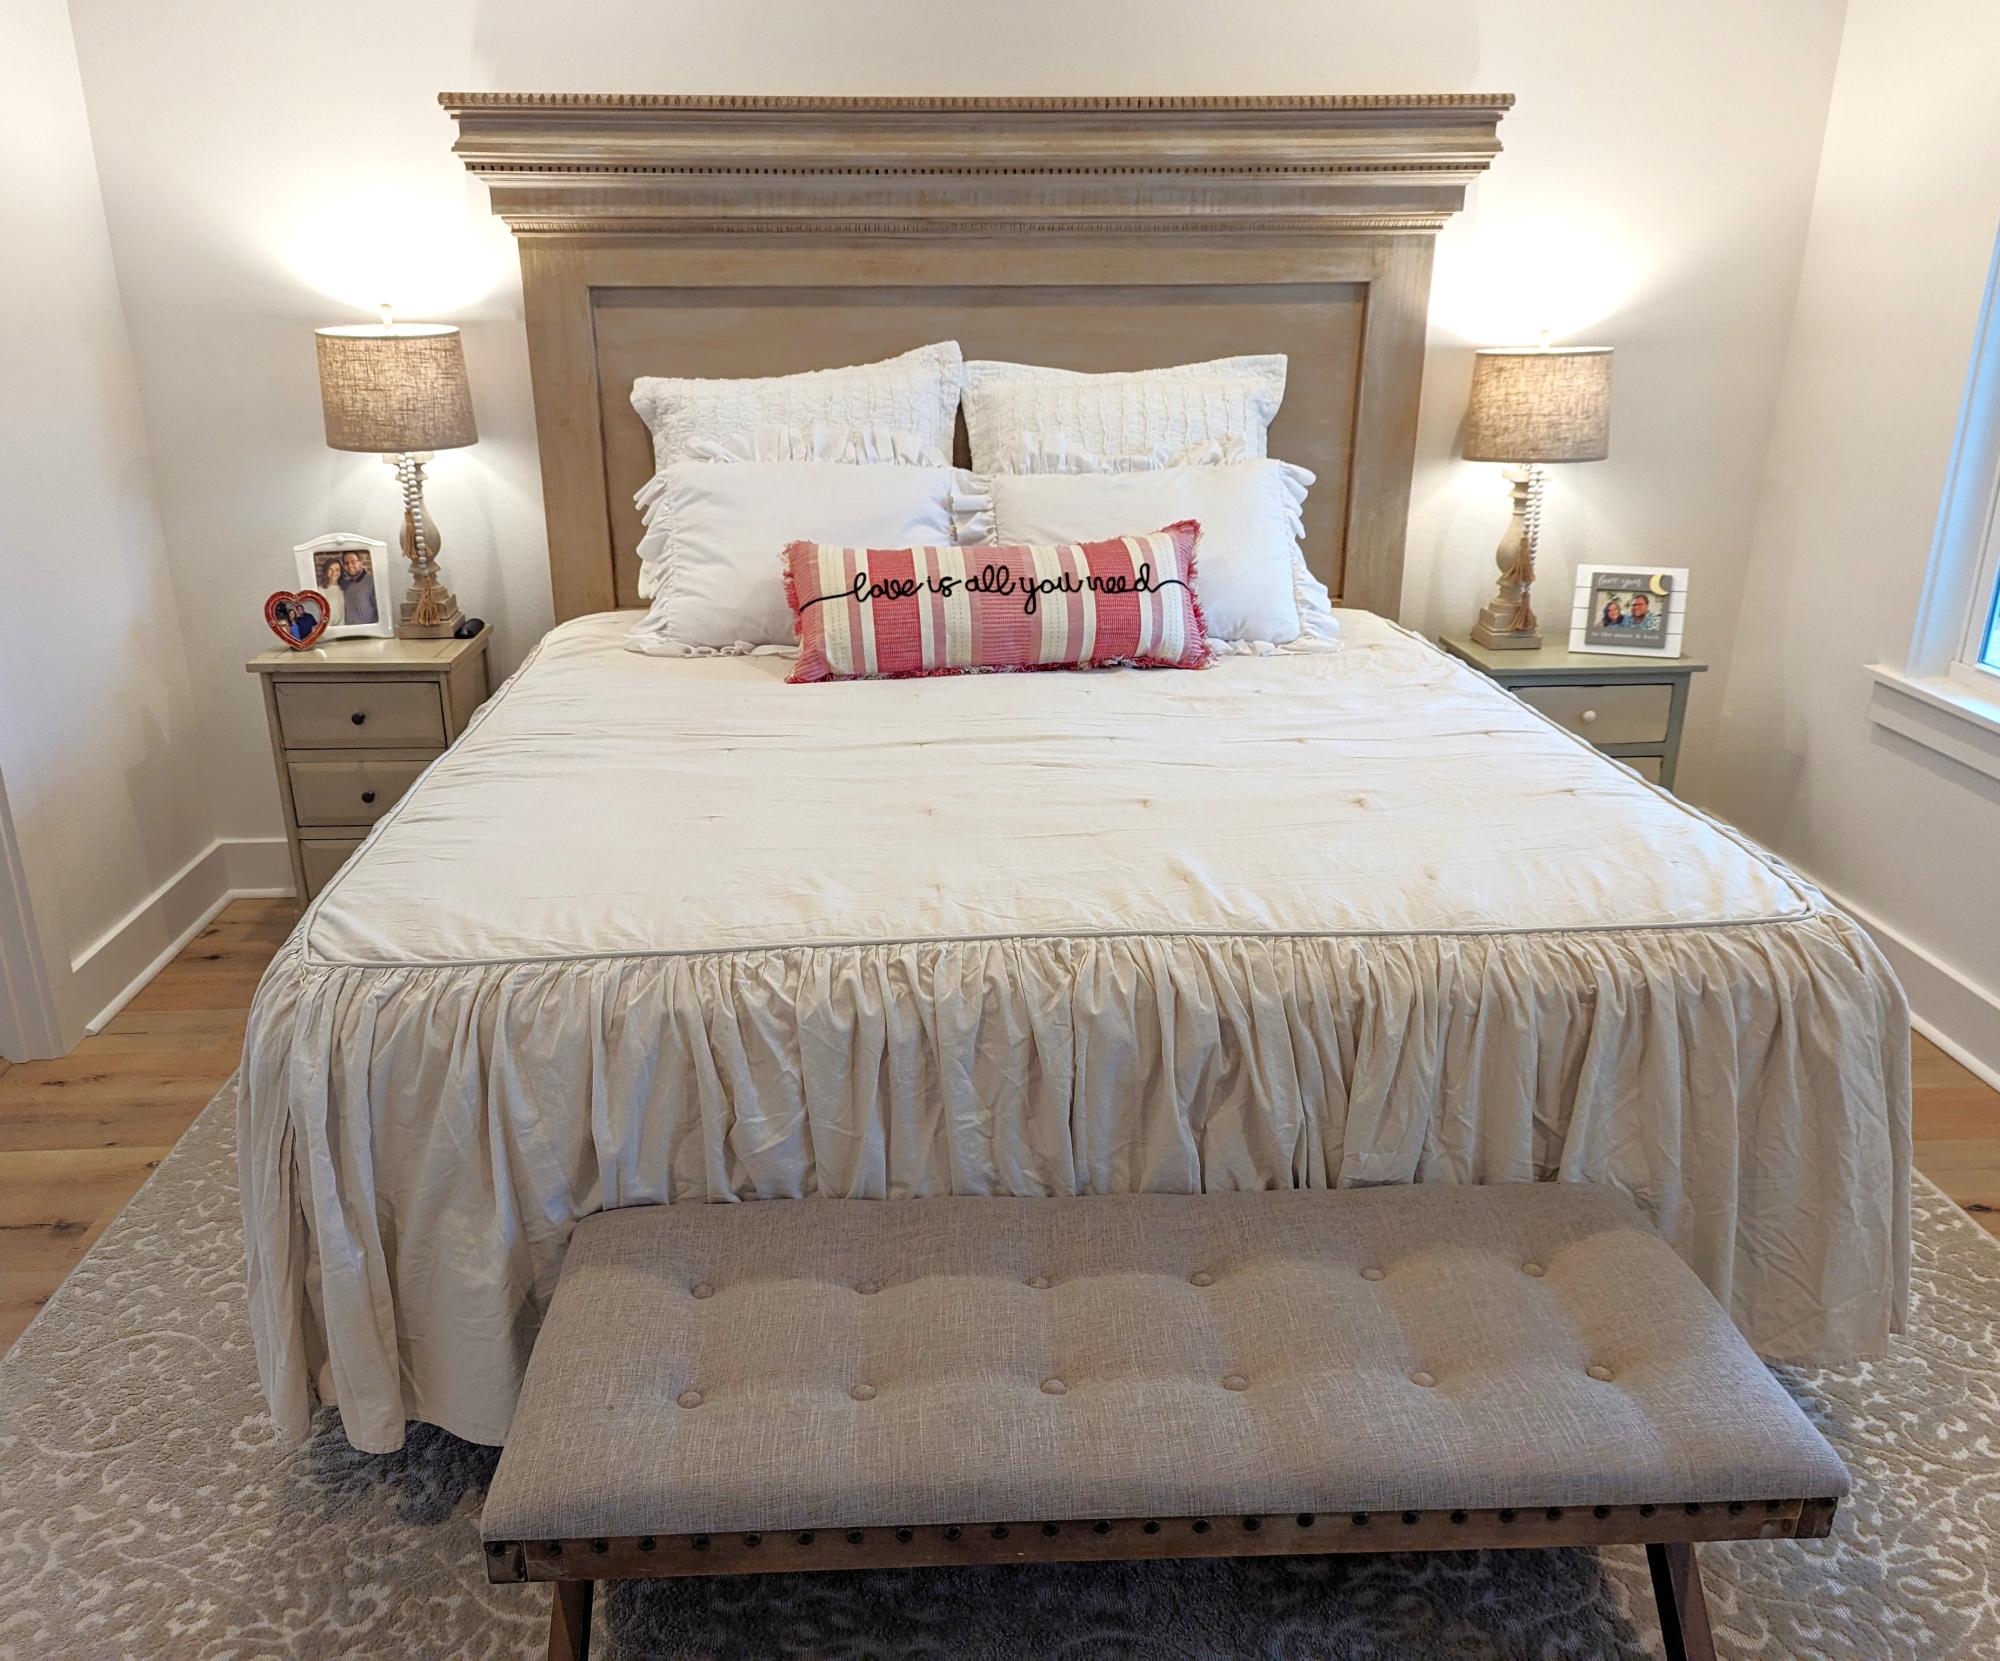
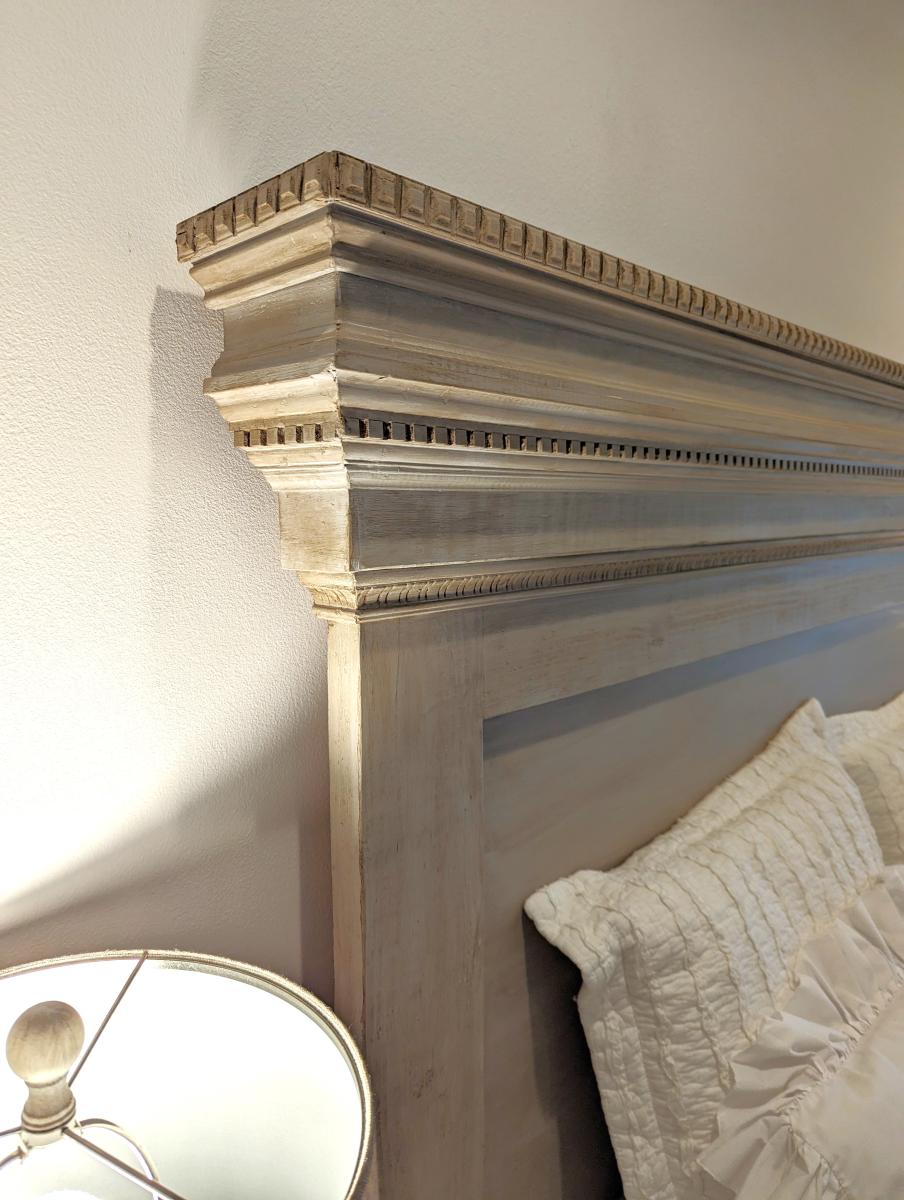
Upsized to a king. Couple of changes:
Mitered all the trim. Routed a rabbet in the back for the plywood panel. I mount to the wall with an offset to clear the baseboard (I attach wood blocks on the back and use adjustable furniture feet for leveling and floor protection.
