Market for my boys
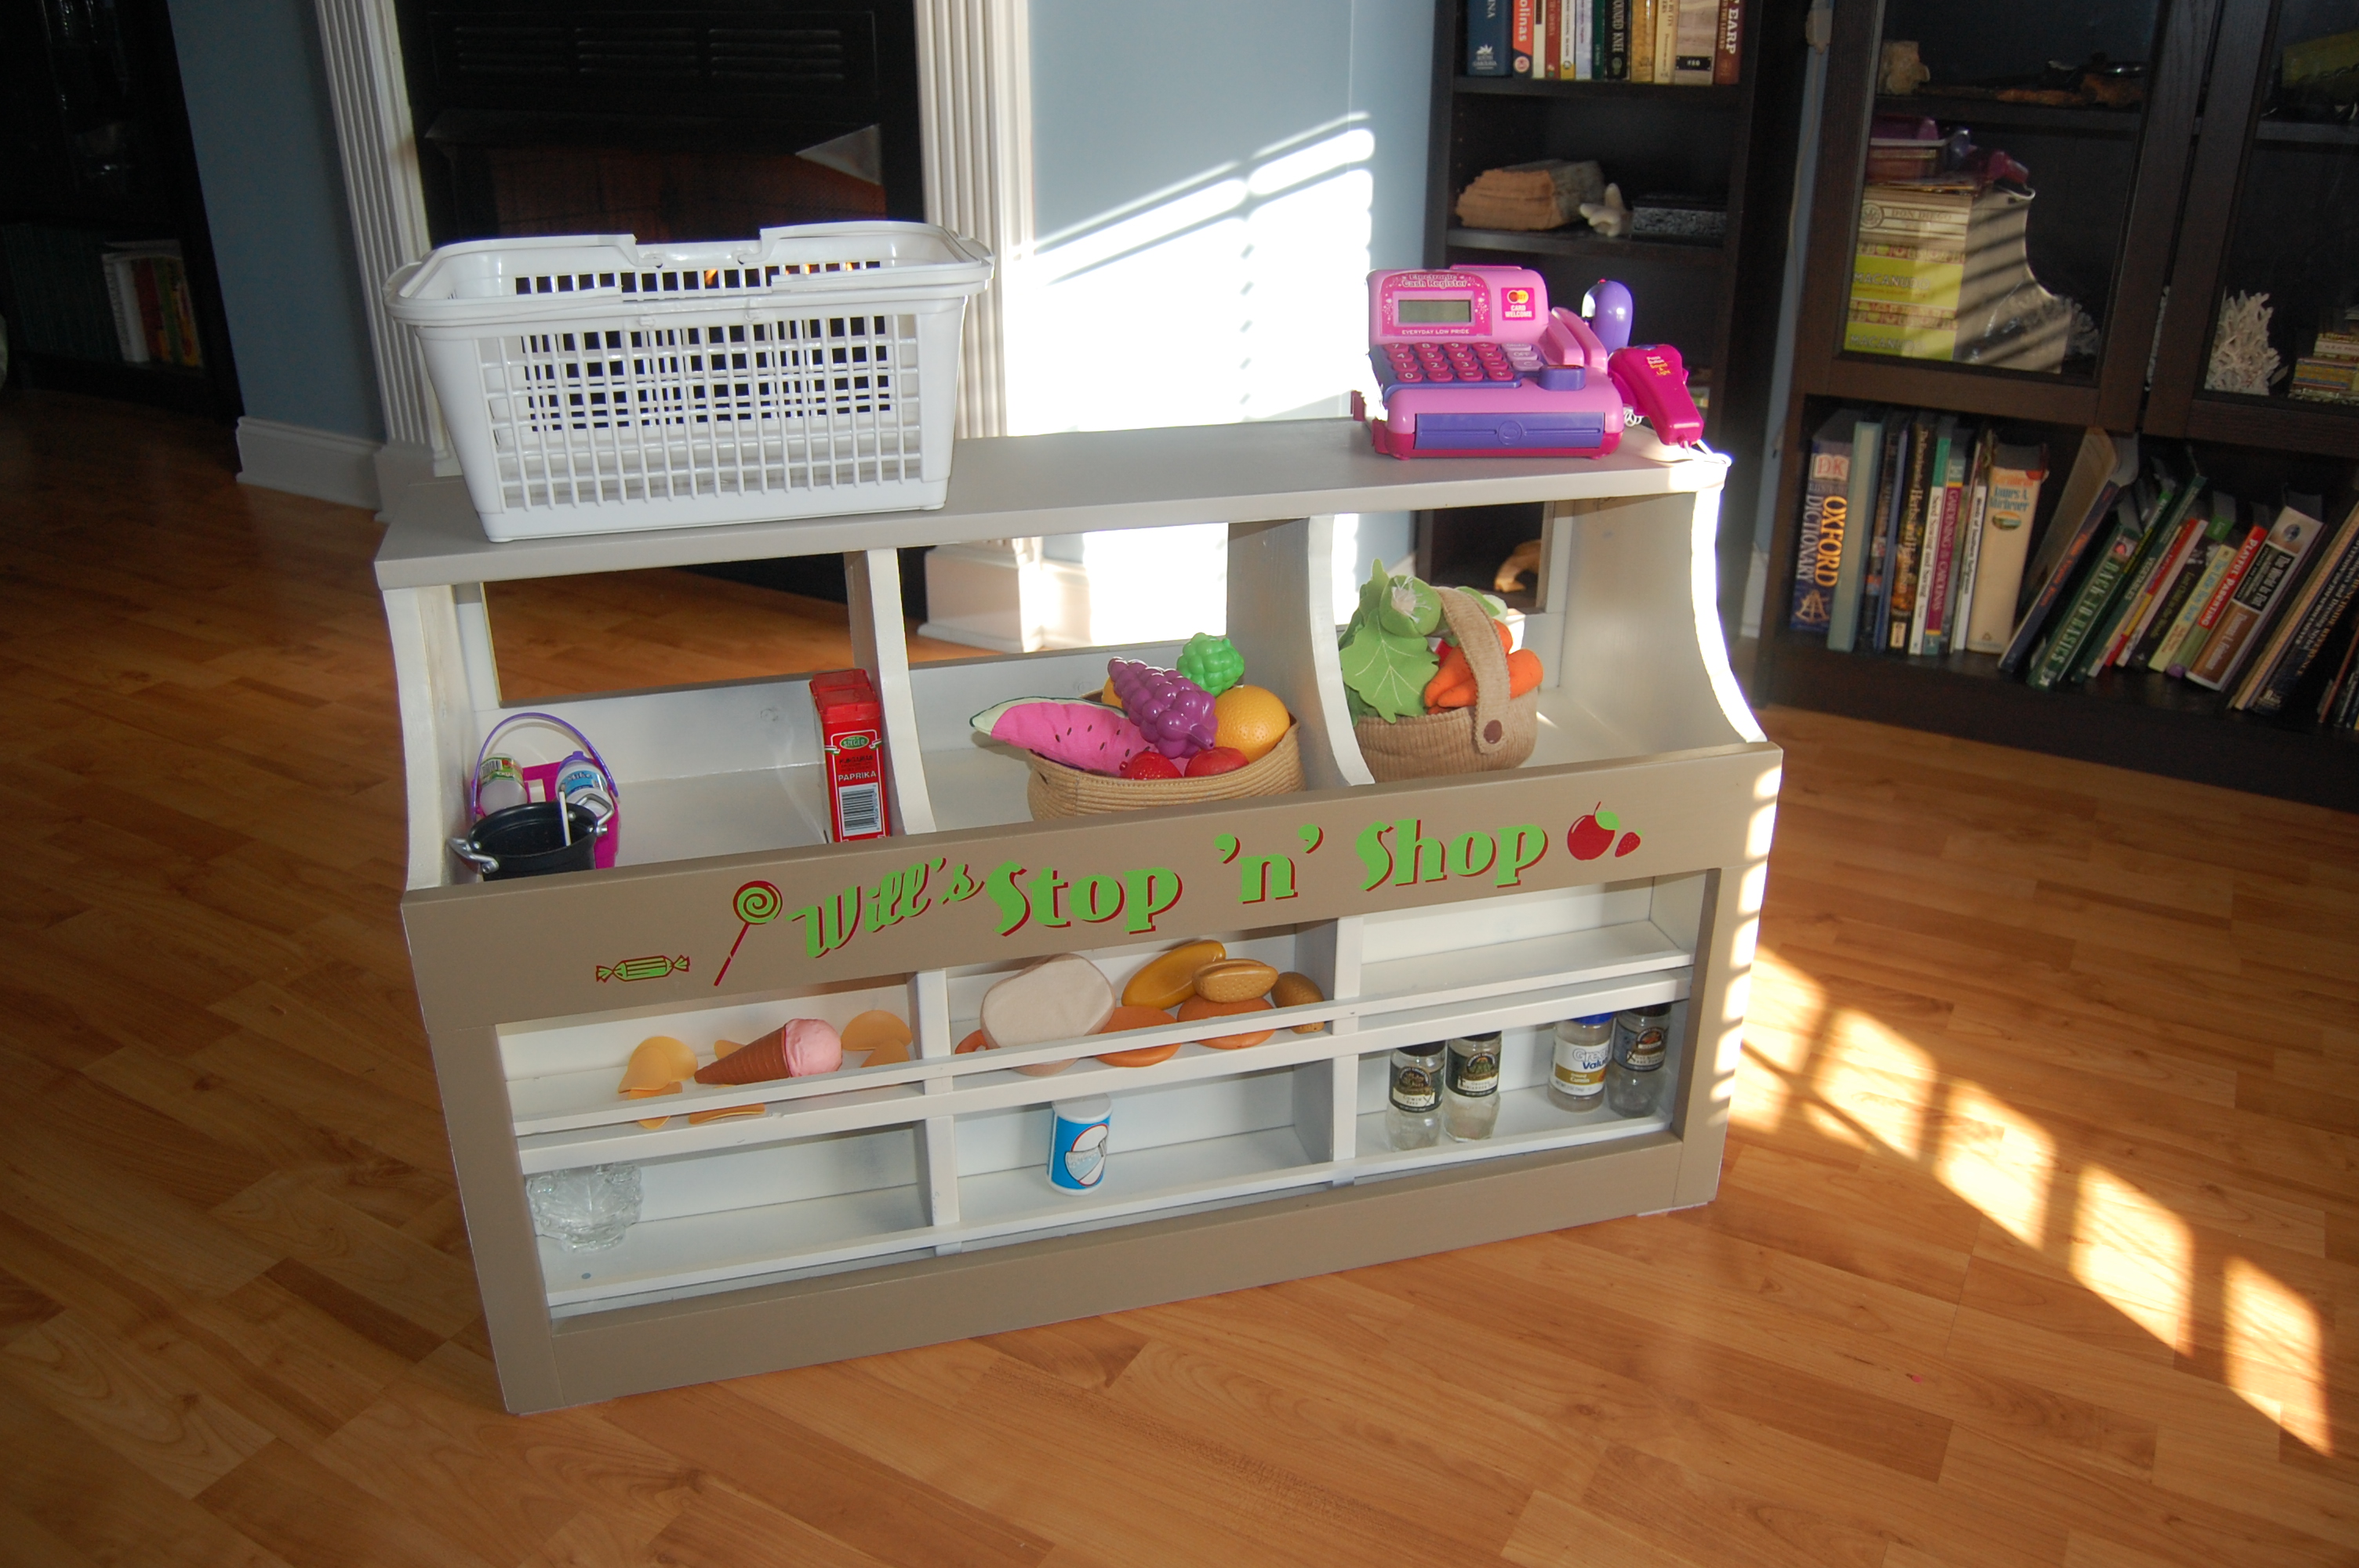
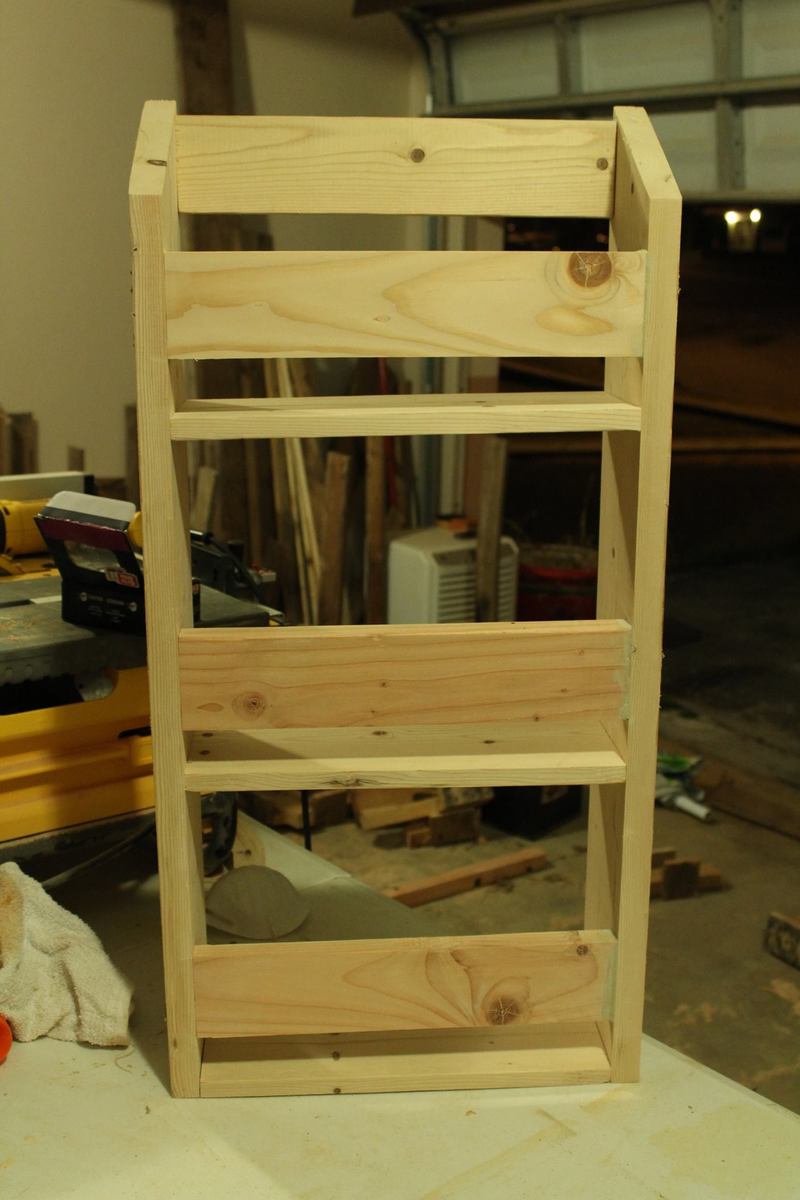
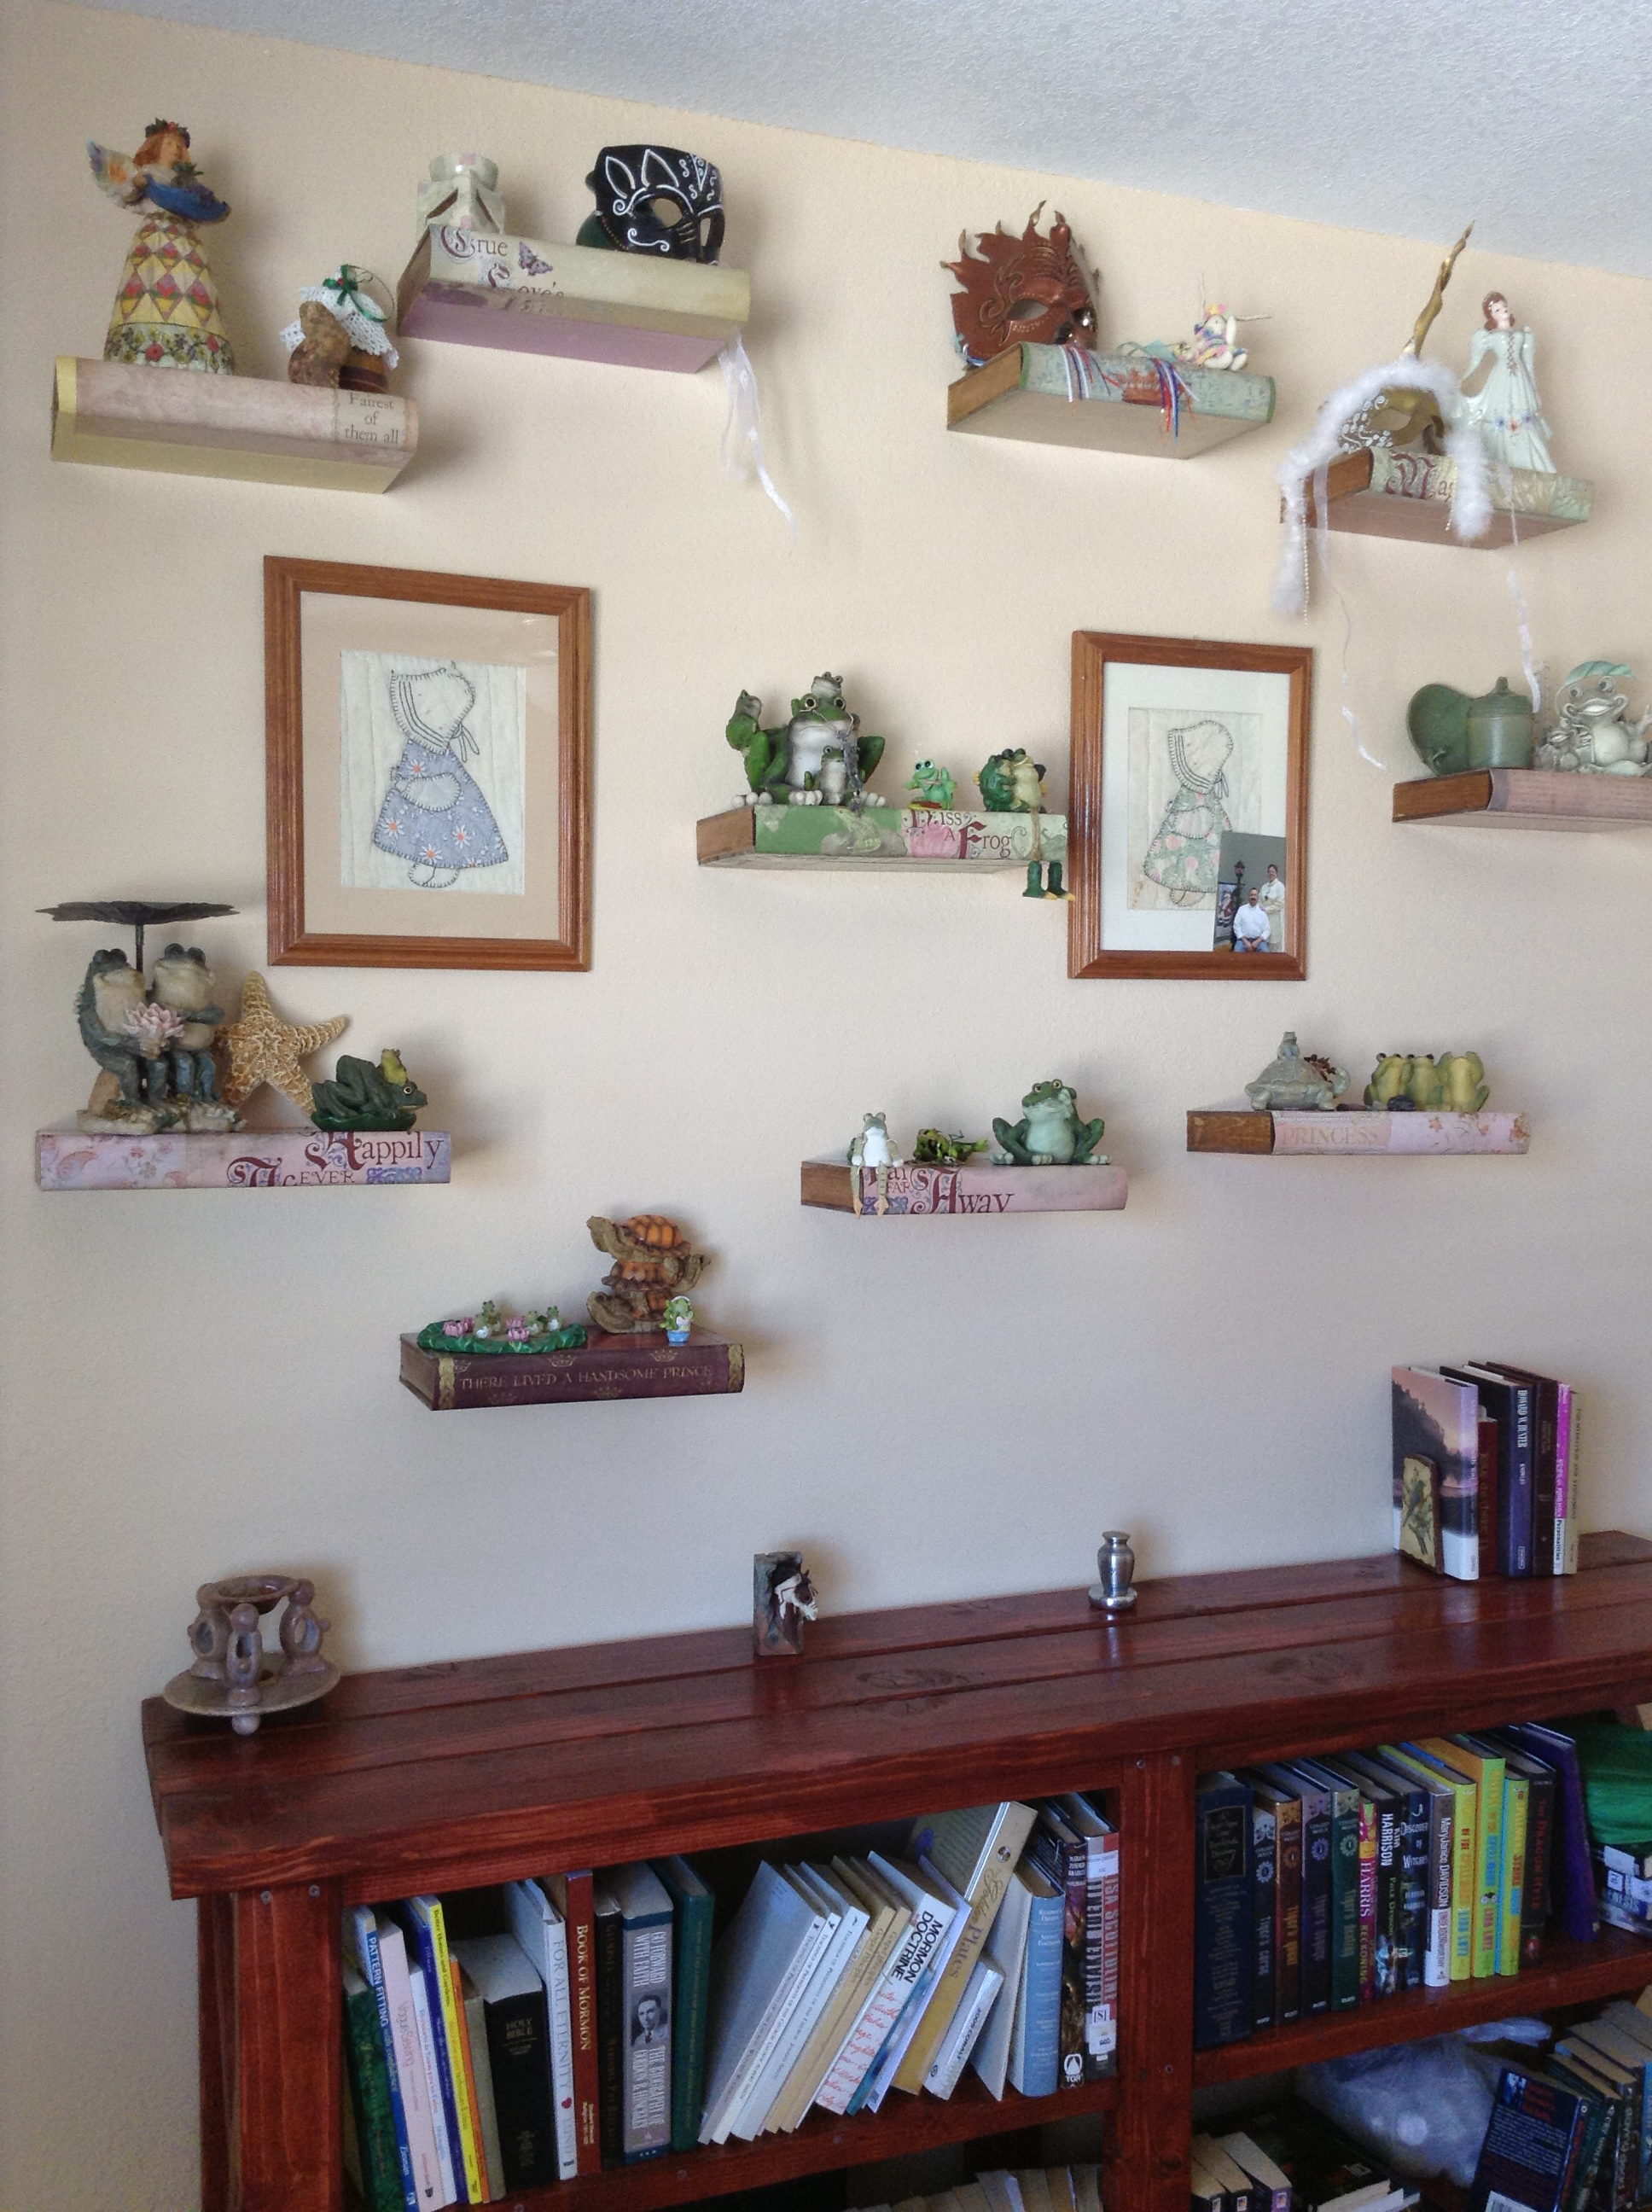
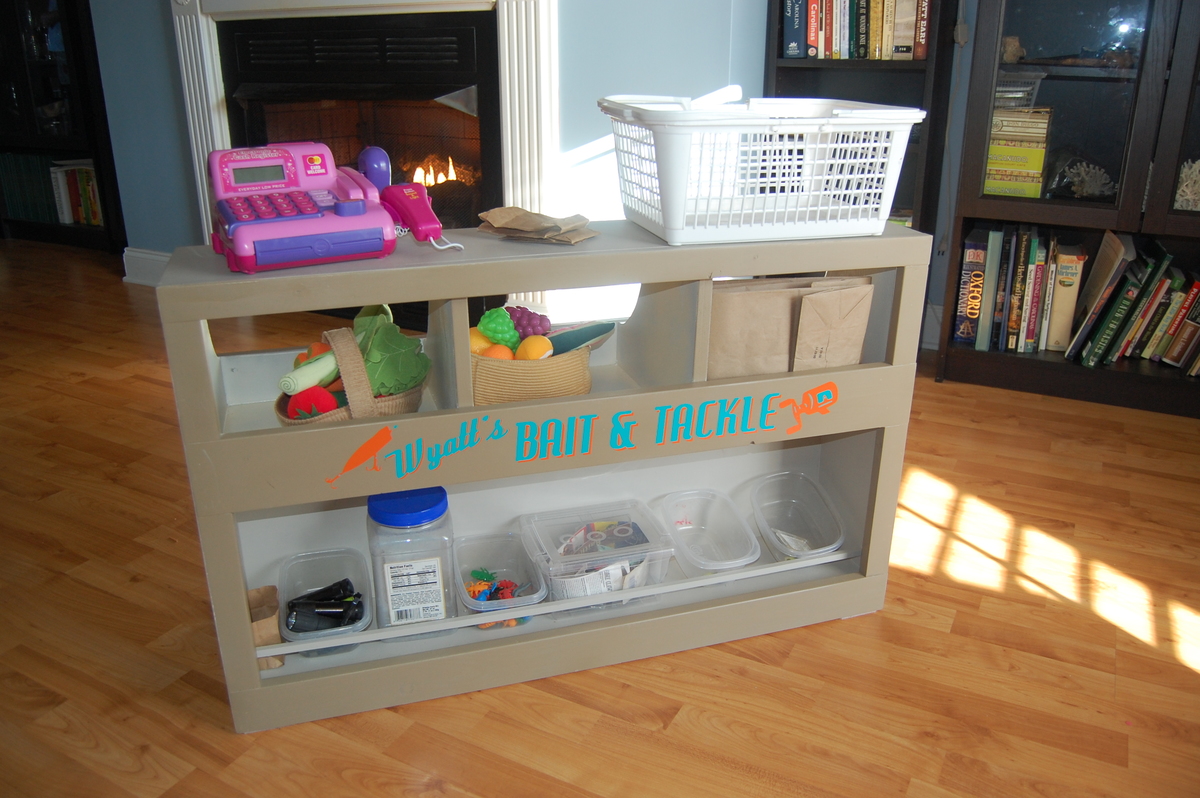
My oldest son really wanted a toy cash register, and he loves pretending he has a Bait & Tackle shop. I built the market base where the front side is for "Will's Stop 'n' Shop" and it can be turned around and used for "Wyatt's Bait and Tackle". The countertop holds the cash register and shopping basket perfectly. They are great Shopkeepers!
Built from Plan(s)
Estimated Cost
$45
Estimated Time Investment
Day Project (6-9 Hours)
Finish Used
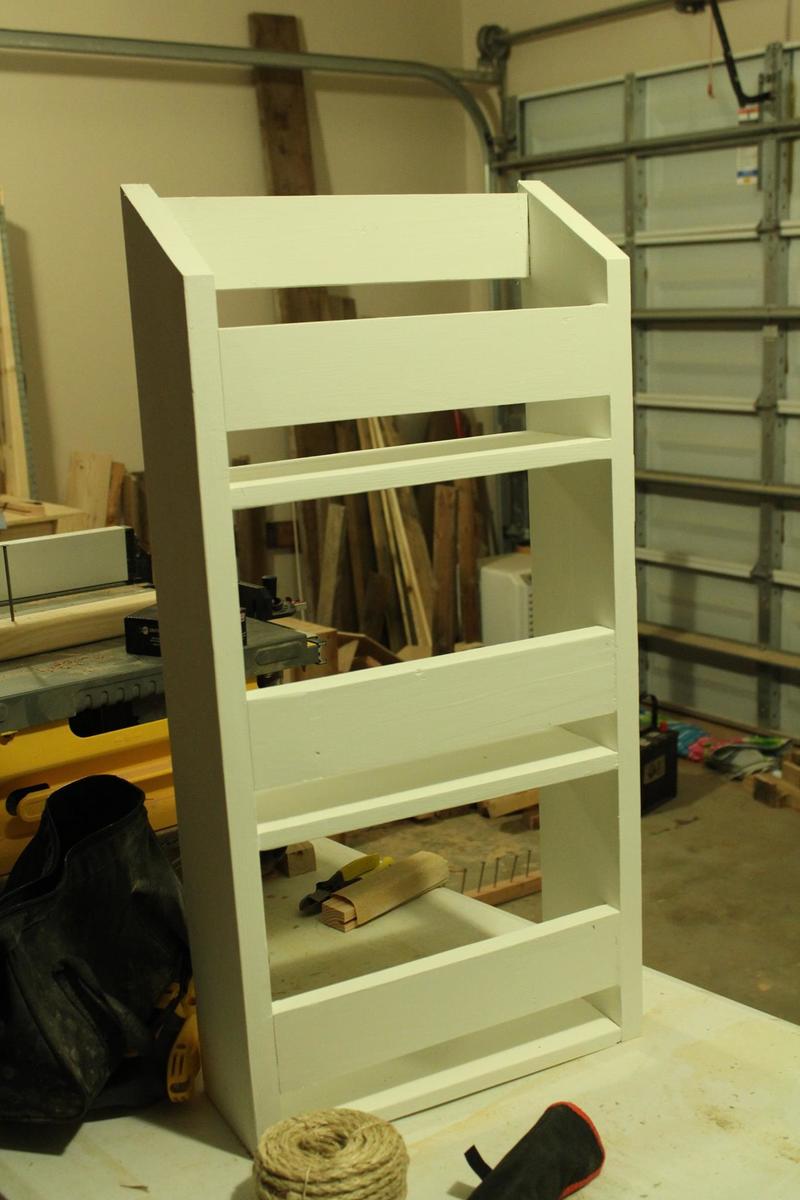
Painted with various cans of spray paint and sample paint that I had in the garage. Vinyl lettering for the "signs".
Recommended Skill Level
Intermediate