Outdoor Lounge
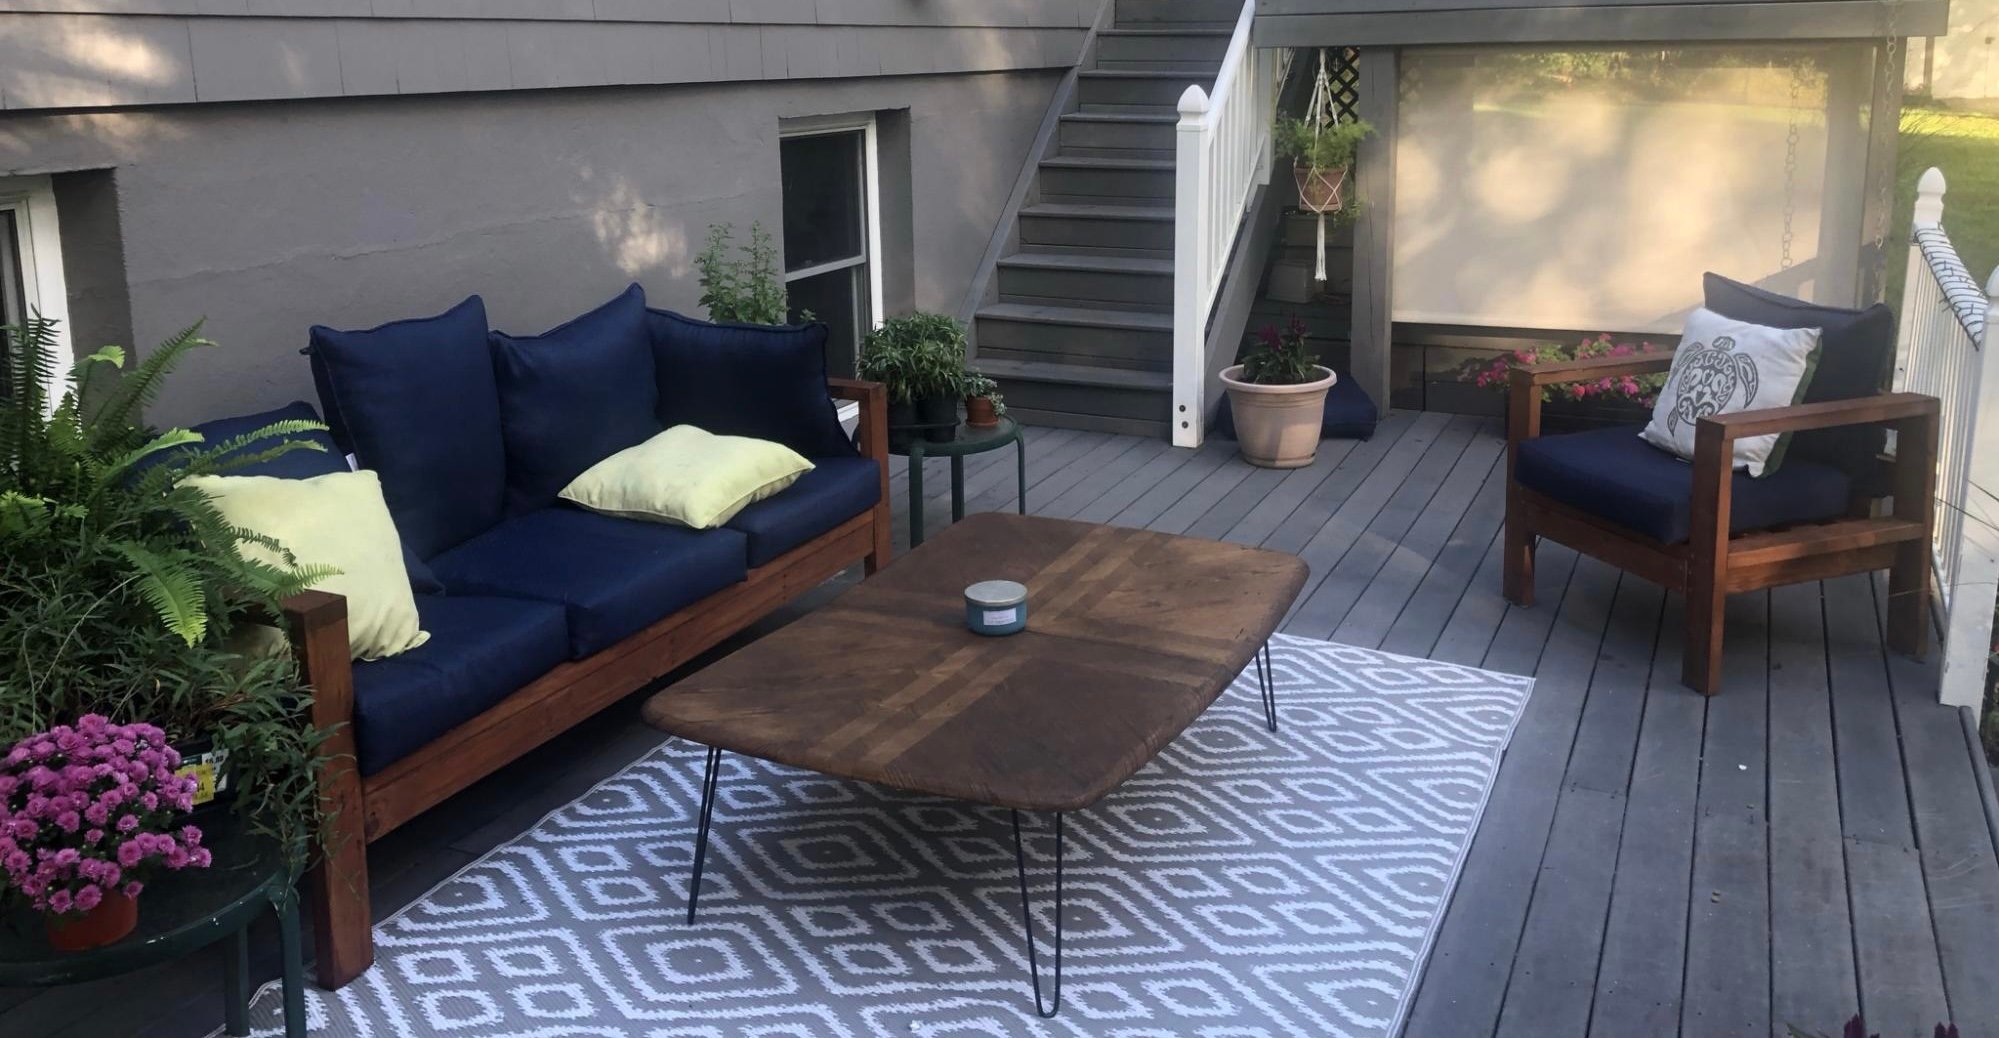
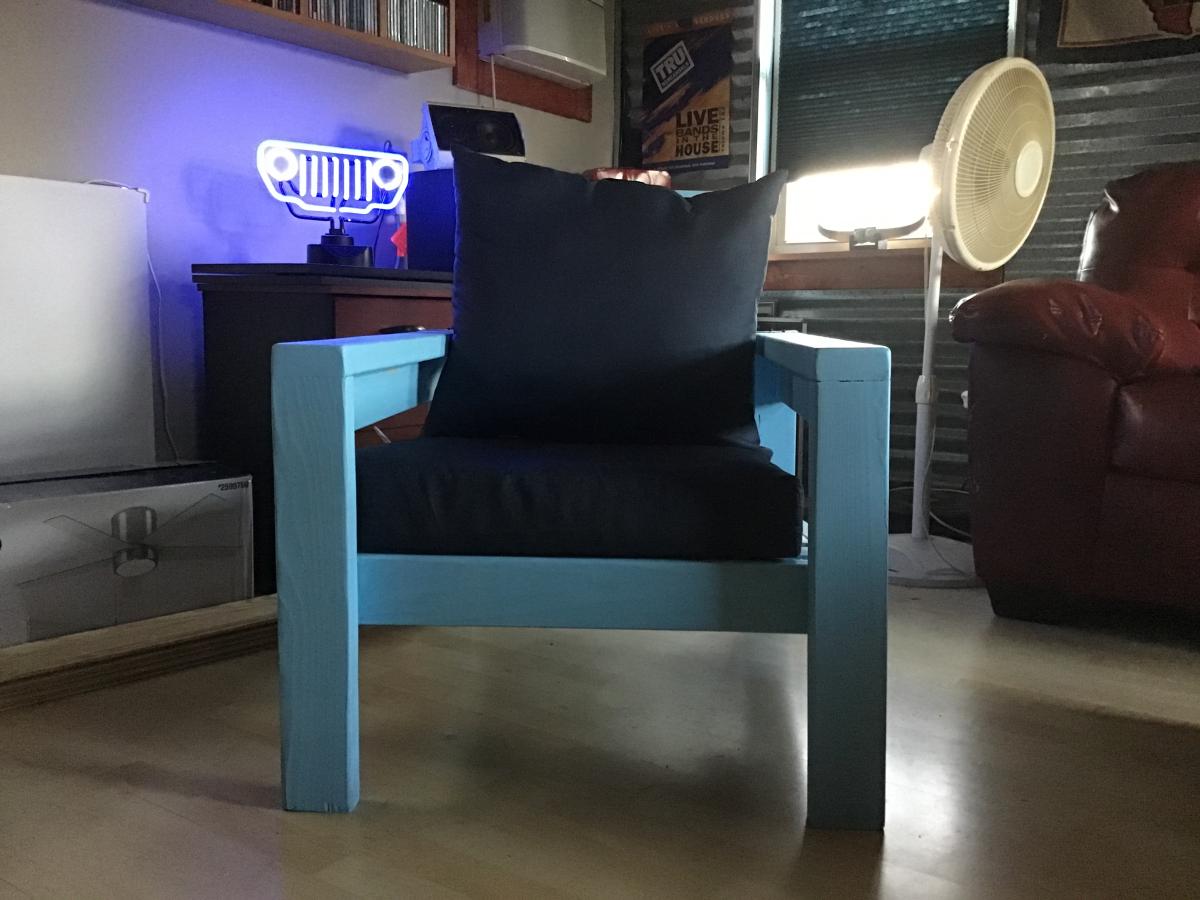
We couldn't be happier with our outdoor lounge, and the plans for the 2x4 sofa and chair couldn't have been easier. Most of all, I'm so proud to have been able to make this myself! Thank you Ana!

Built from Plan(s)
We couldn't be happier with our outdoor lounge, and the plans for the 2x4 sofa and chair couldn't have been easier. Most of all, I'm so proud to have been able to make this myself! Thank you Ana!
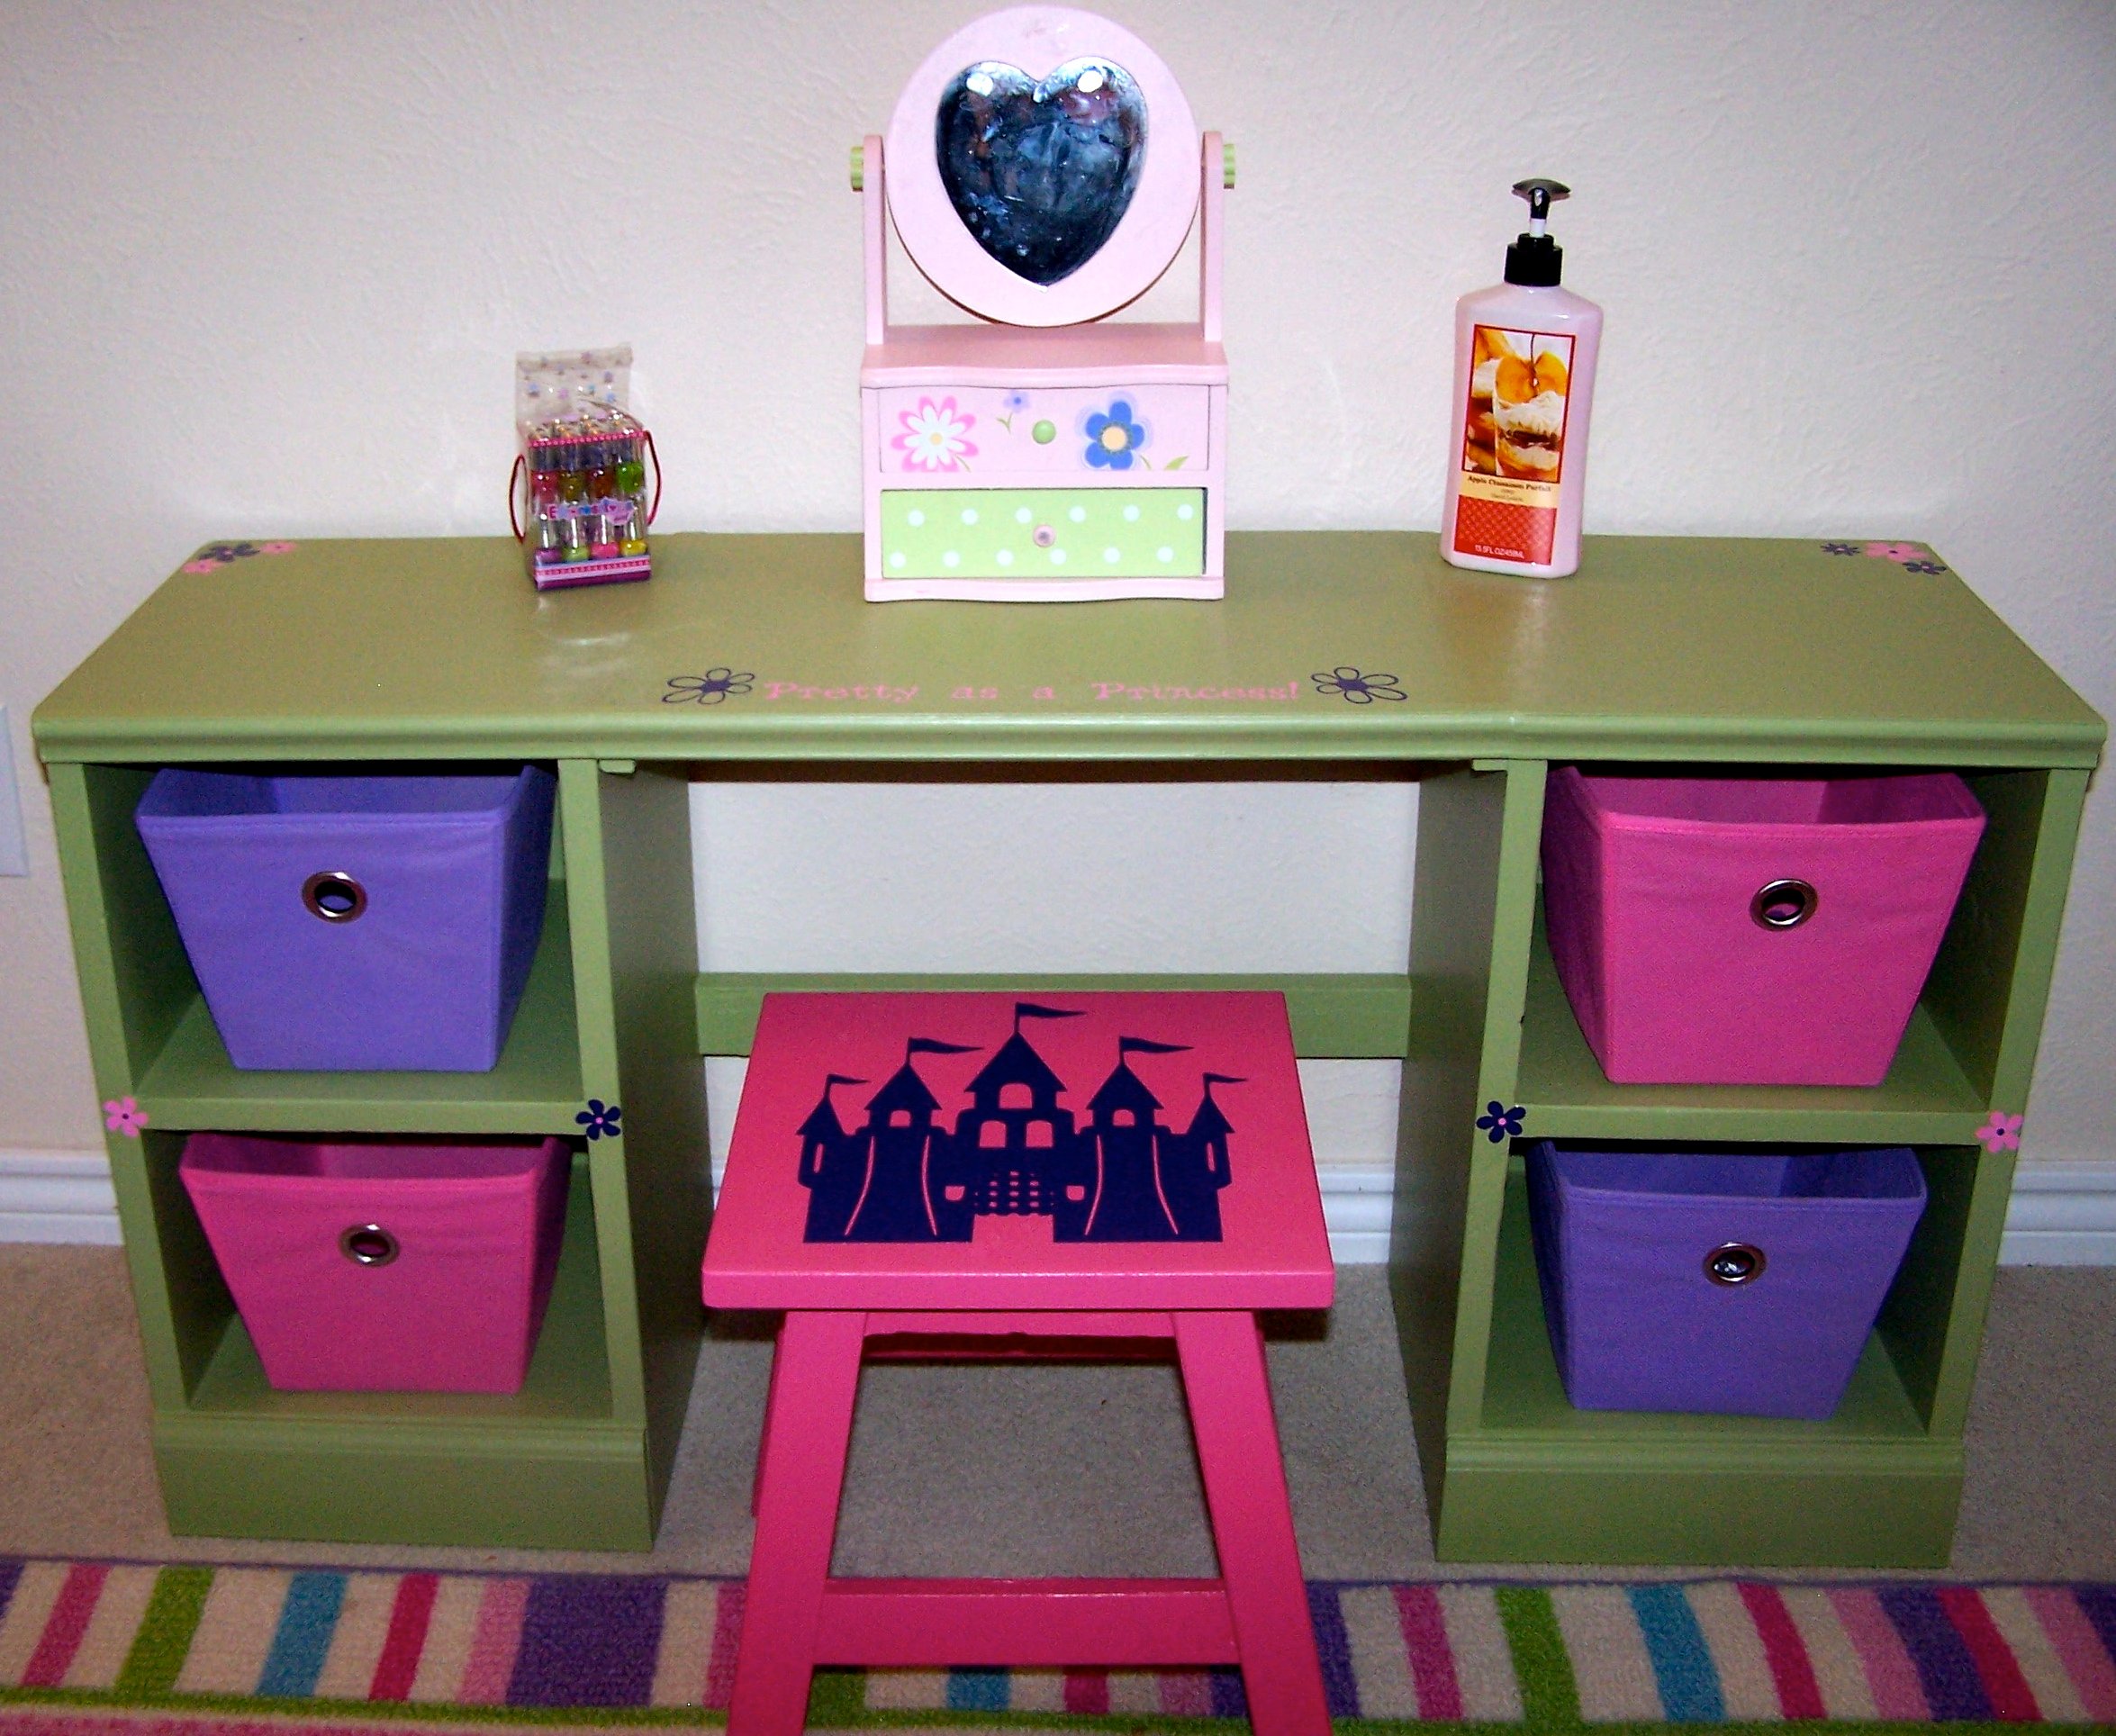
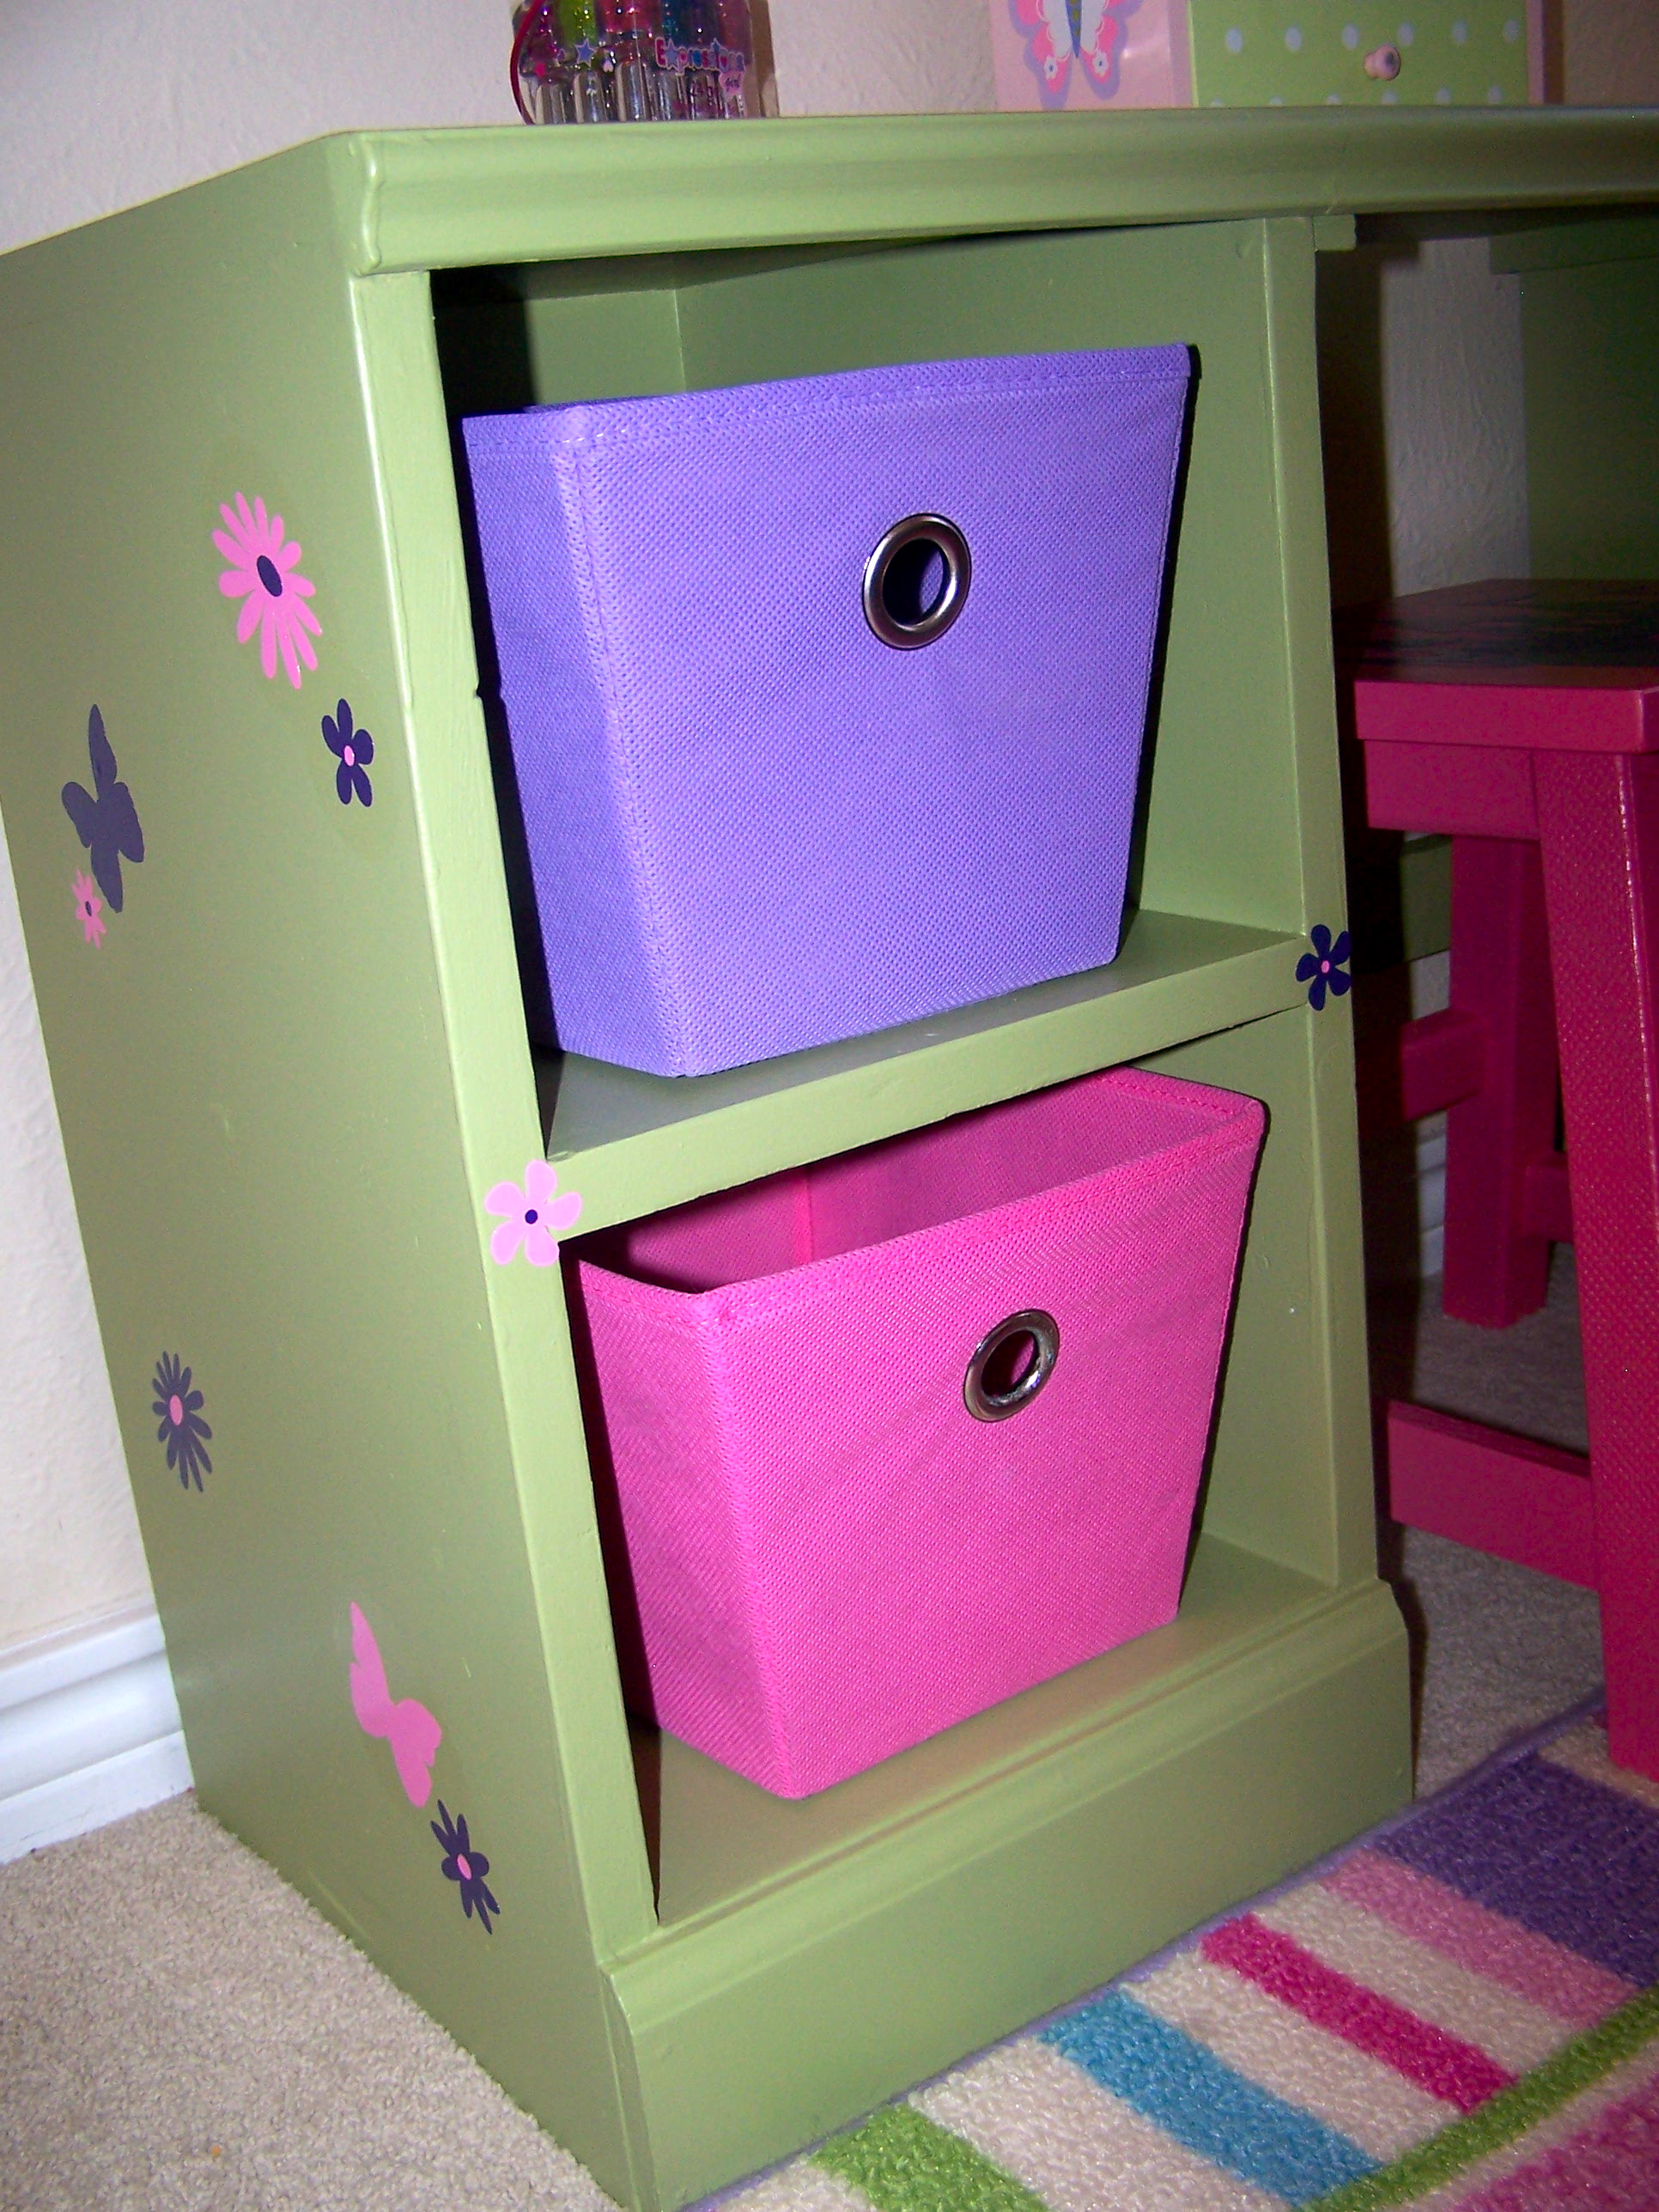
I made this for my daughter for Christmas. She has done nothing but sit at it and play and put on "makeup" for hours! It is a hit! Thanks Ana!!!!
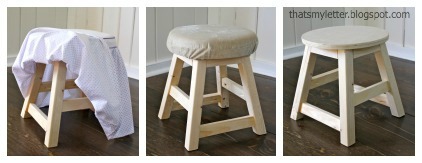
I did add a support with pocket holes in the back to make it more sturdy (you can see it behind the stool). And you will notice my top trim is not 2 inches like it should be. I used all free wood that I had collected . I did buy a 2x2 for the stool because mine was too warped. The top of the stool is not round because I only have a miter saw. I found a great little cupboard door from the restore for $1 that I cut square for the top. Since I am new to this it took me a little longer than some people, plus the time I put is including making the stool as well.


Mon, 12/26/2011 - 10:41
You did a great job! I am new to Anna's site and want to make all kinds of stuff. I love the princess theme.

Sun, 01/01/2012 - 21:23
Thanks for all the nice comments! Mandirckard, I hope you get to make it! It is fun when you can re-make something that otherwise would be thrown out, cupboard doors could be reused for lots of things!
Fri, 09/20/2024 - 09:31
Absolutely amazing! I just want to do the same thing for my kids as well. Would you mind telling me more about the cost and measurement? Basically, I have been waiting for some thrilling games. I found a few of them like poker tournament in Winnipeg from where you can get game ideas. Here are some of the poker tournaments you can join in Winnipeg:
Regular Tournaments at Club Regent Casino
Annual BOMA Poker Tournament
Manitoba Poker Championship
What do you think? I will wait for your further reply.
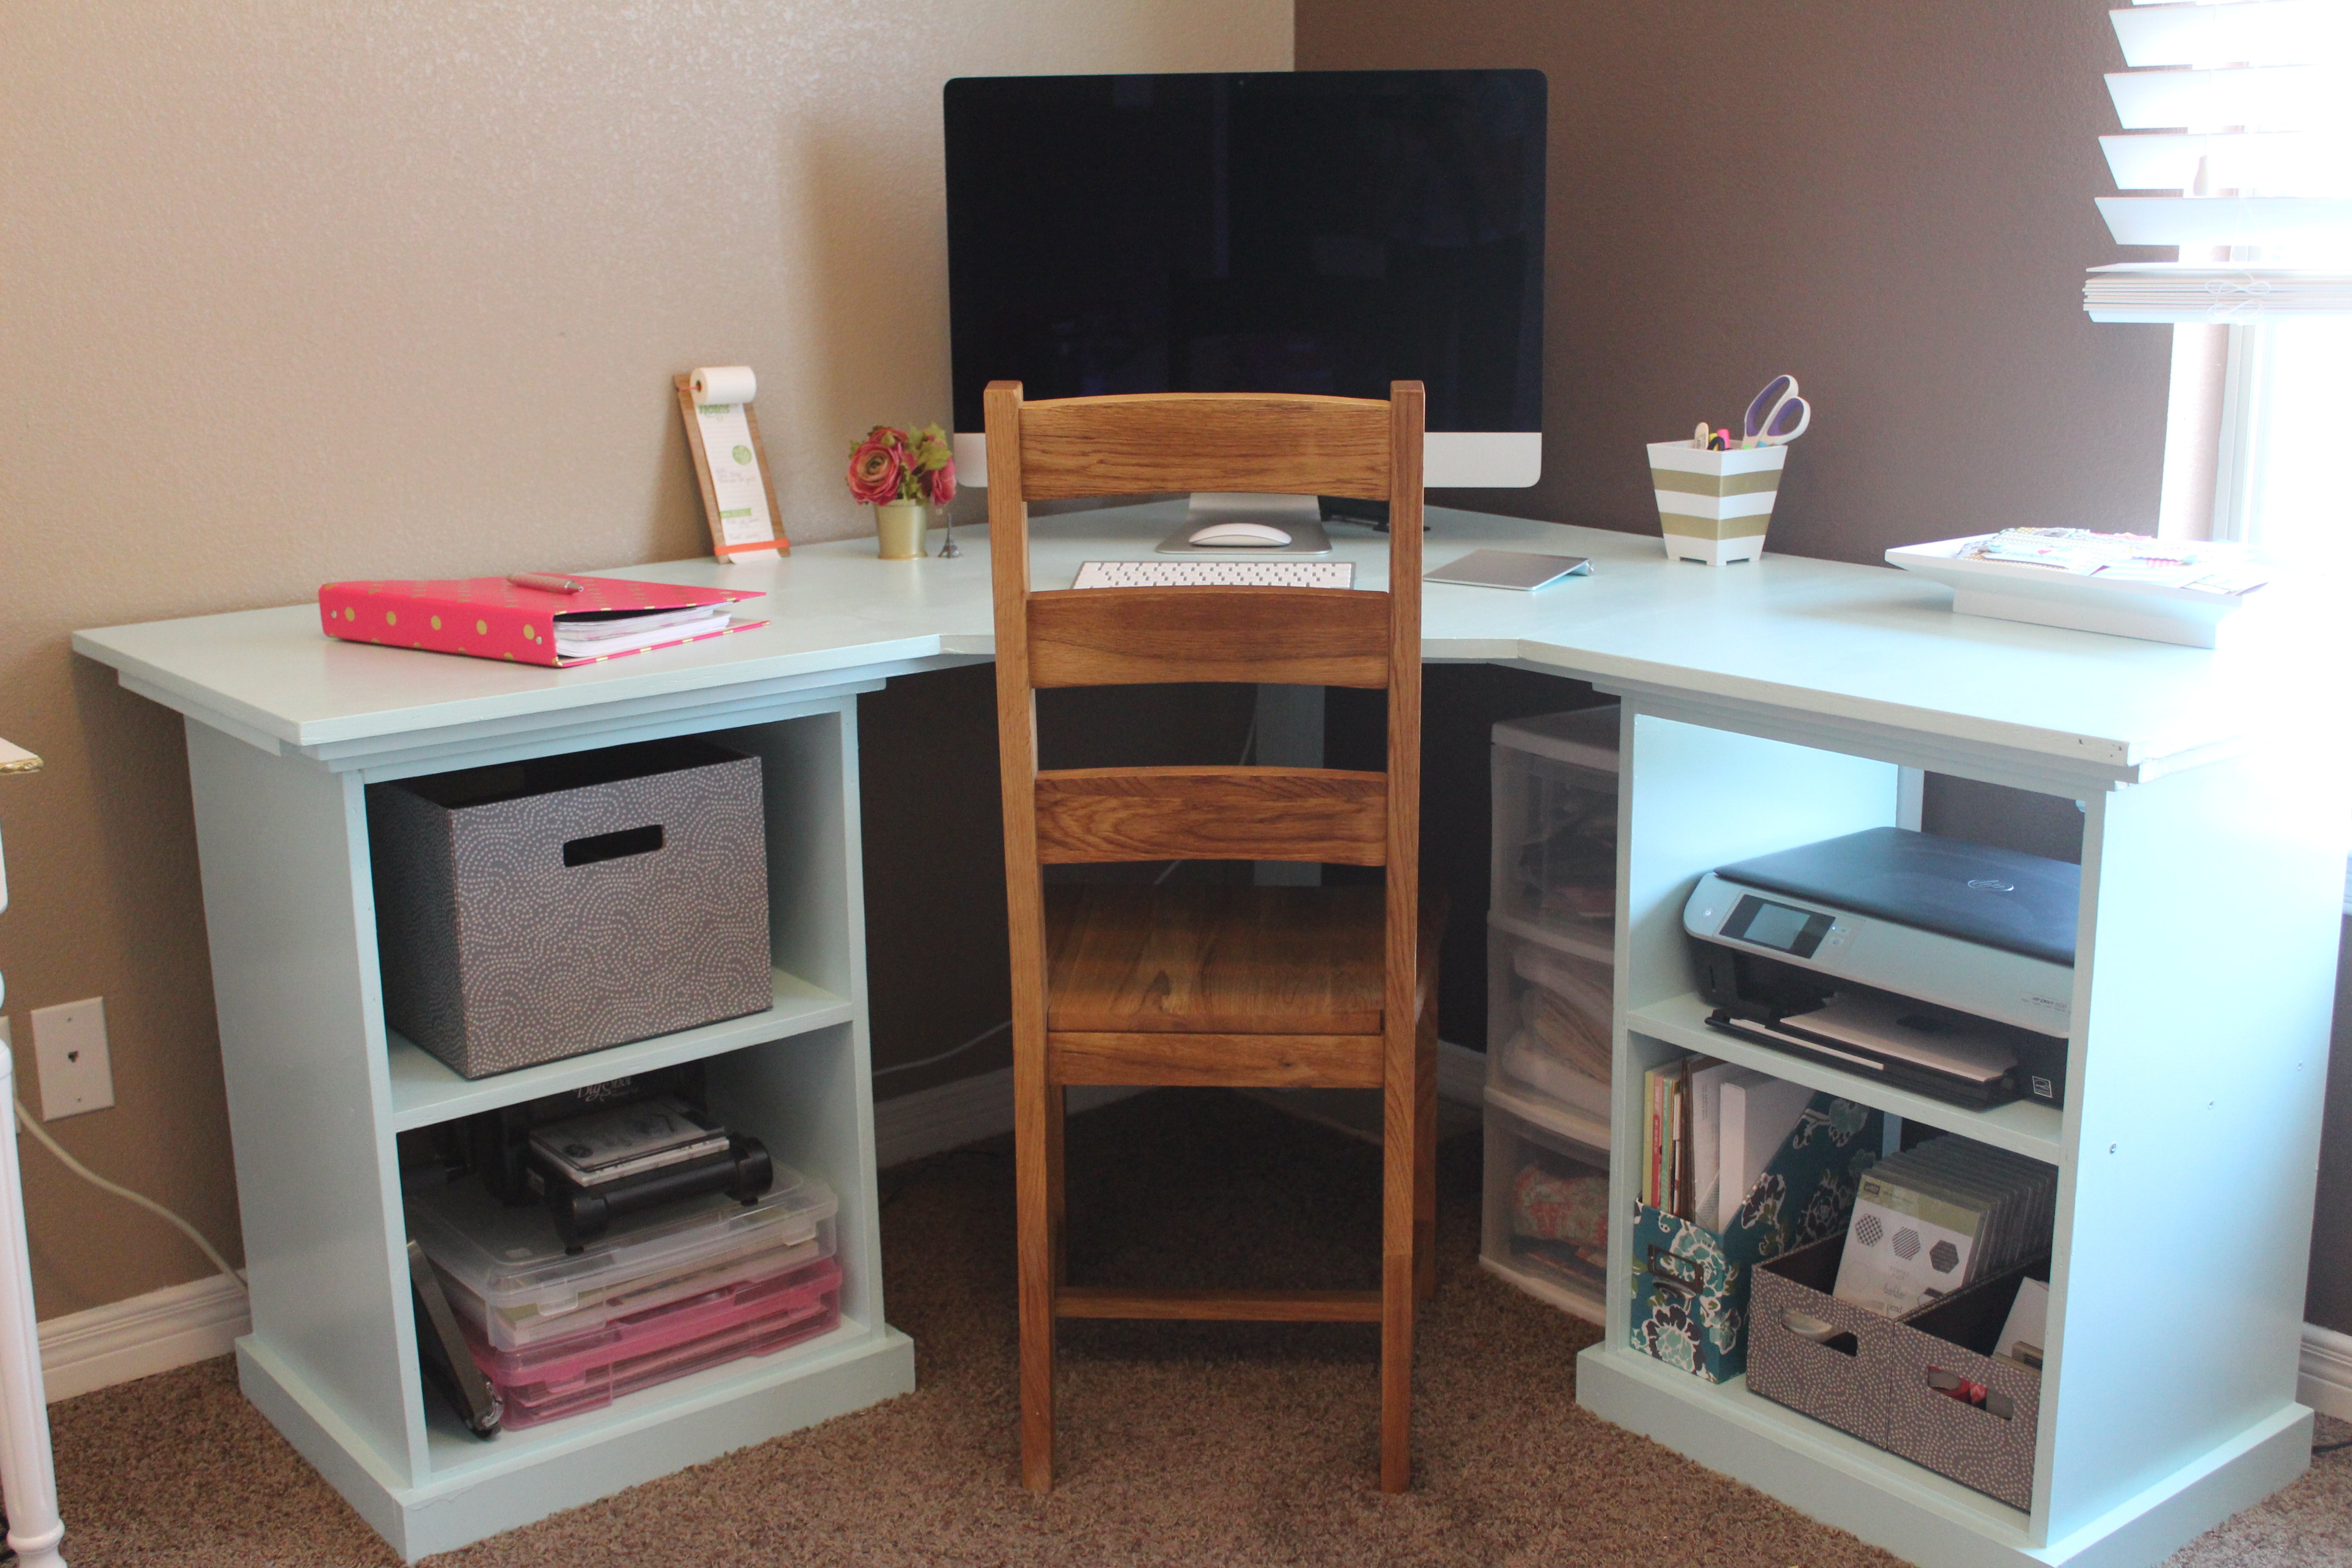
I was looking all over for the perfect desk to hold my large computer and give me some crafting space. Not finding what I was looking for, I stumbled upon Ana-White.com and I was so excited when my husband agreed to build me this desk! It's perfect and beautiful and I absolutely love it! The plans were easy for him to follow and we had fun making it together.
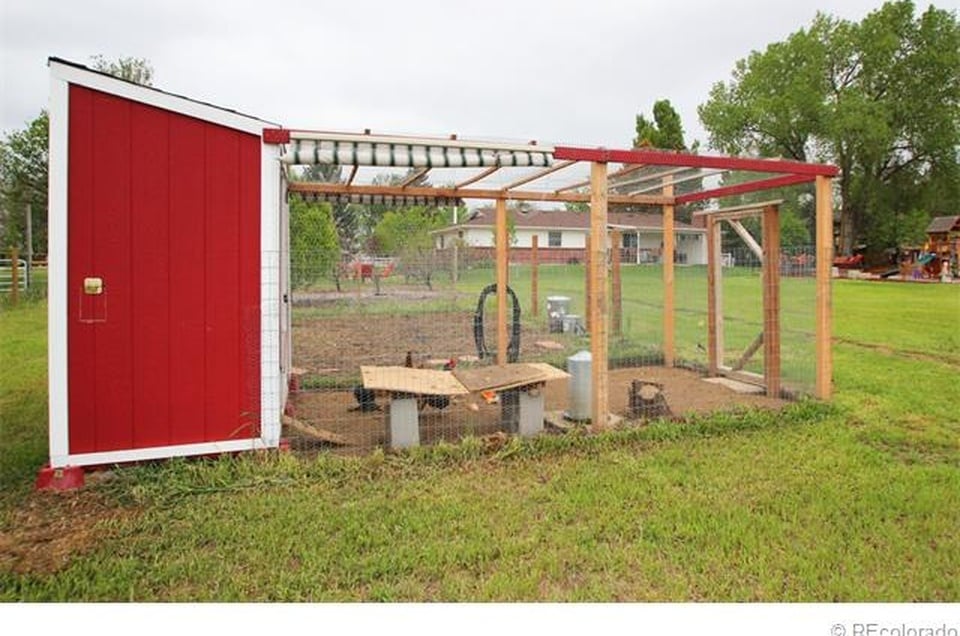
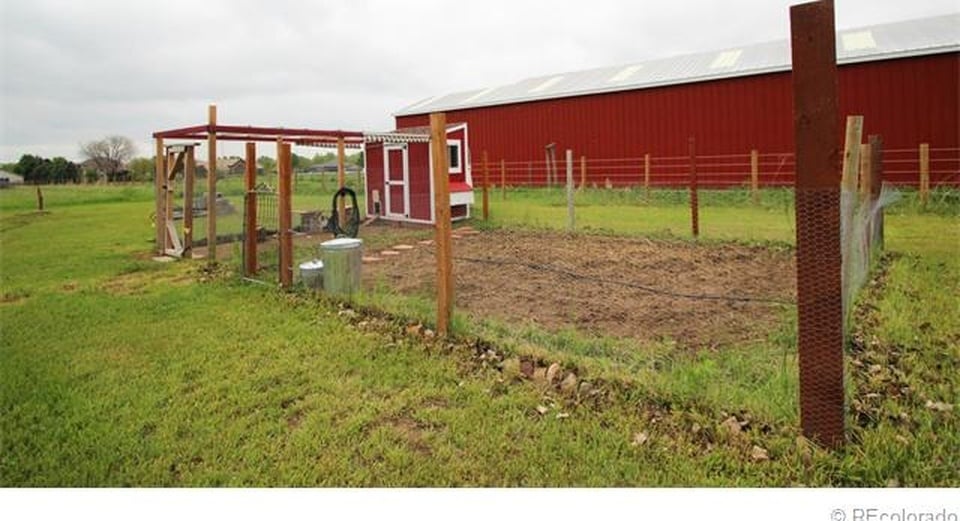
It took a while to come together and made several modifications but it is a great coop and was a major selling point of the house when we were relocated. I had added a main tray under the roosts and a door to srape the poop out. This made keeping the coop clean very easy.
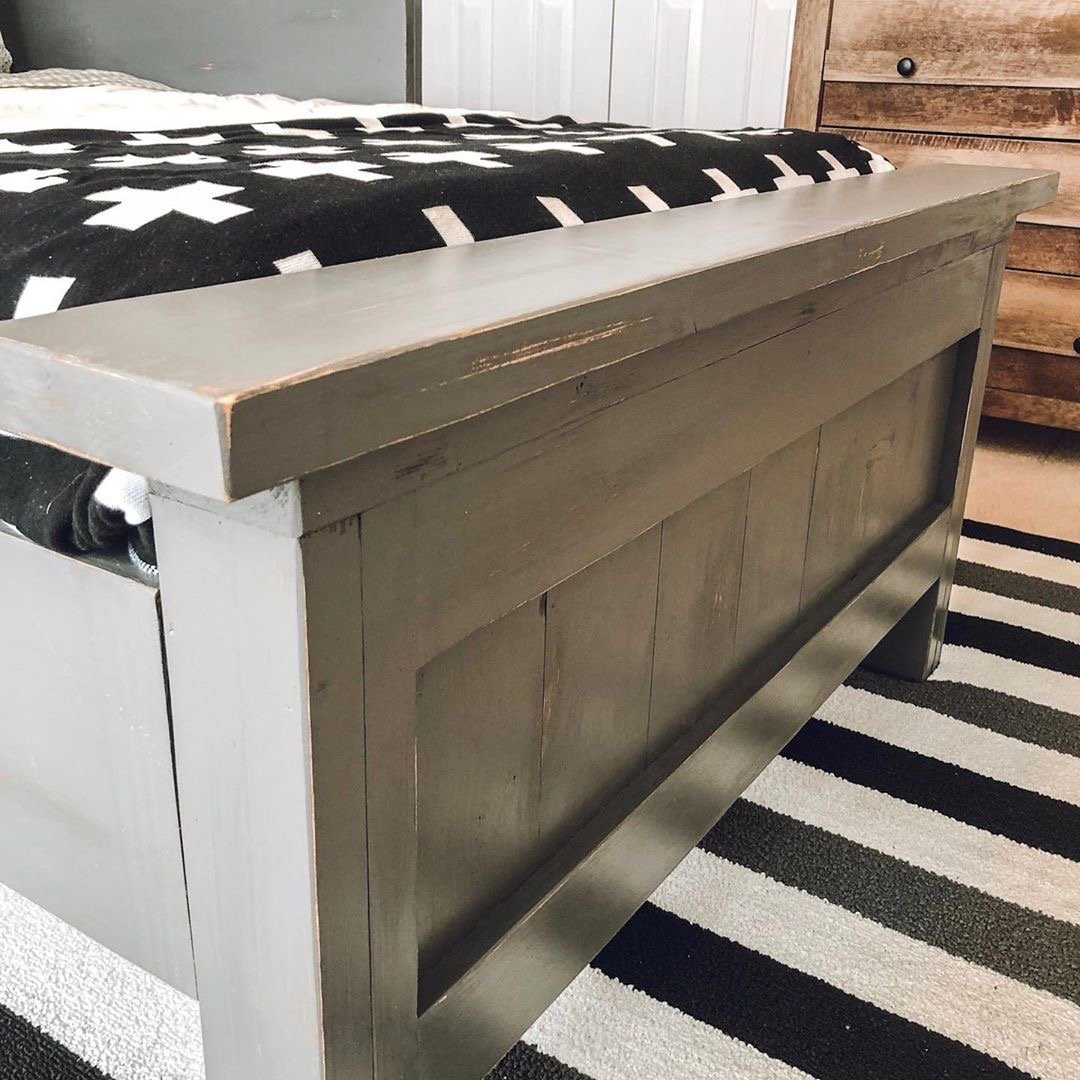
For more photos and details, see my Instagram post here.
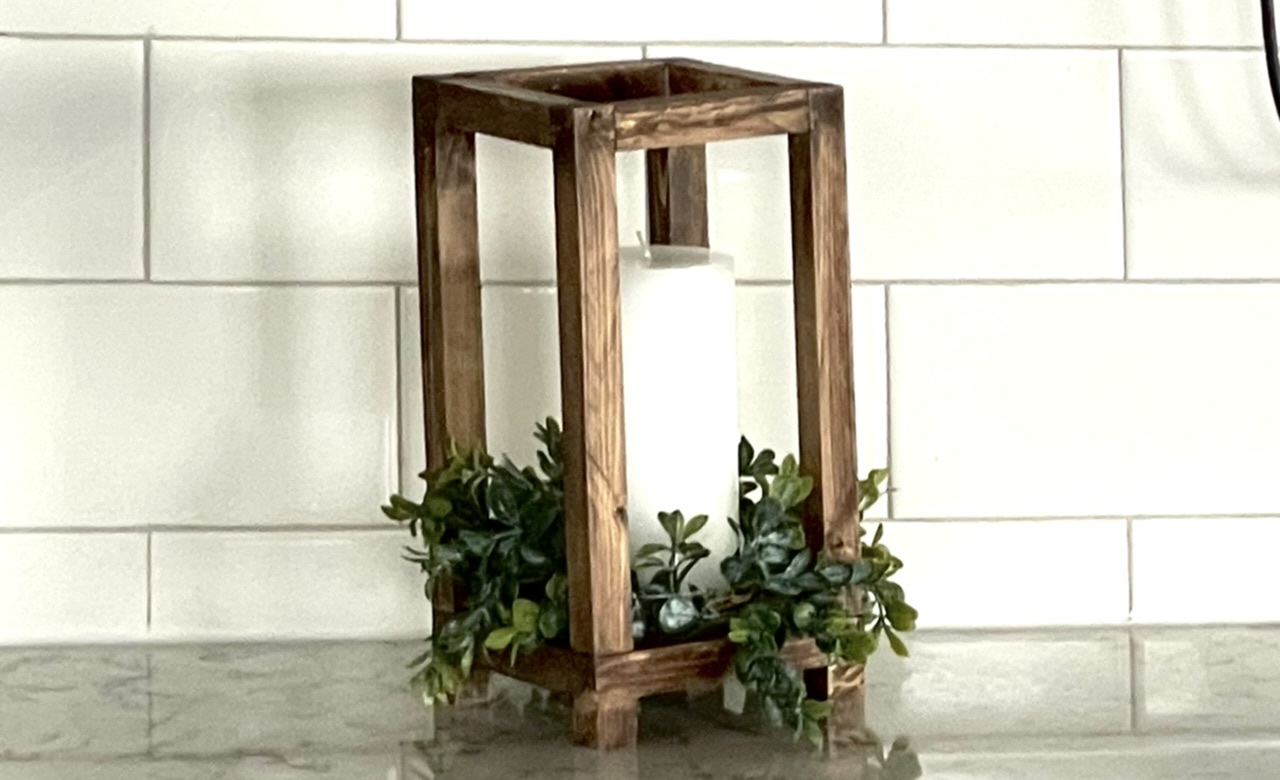
Super cute this is the smallest size with the tiny feet at the bottom
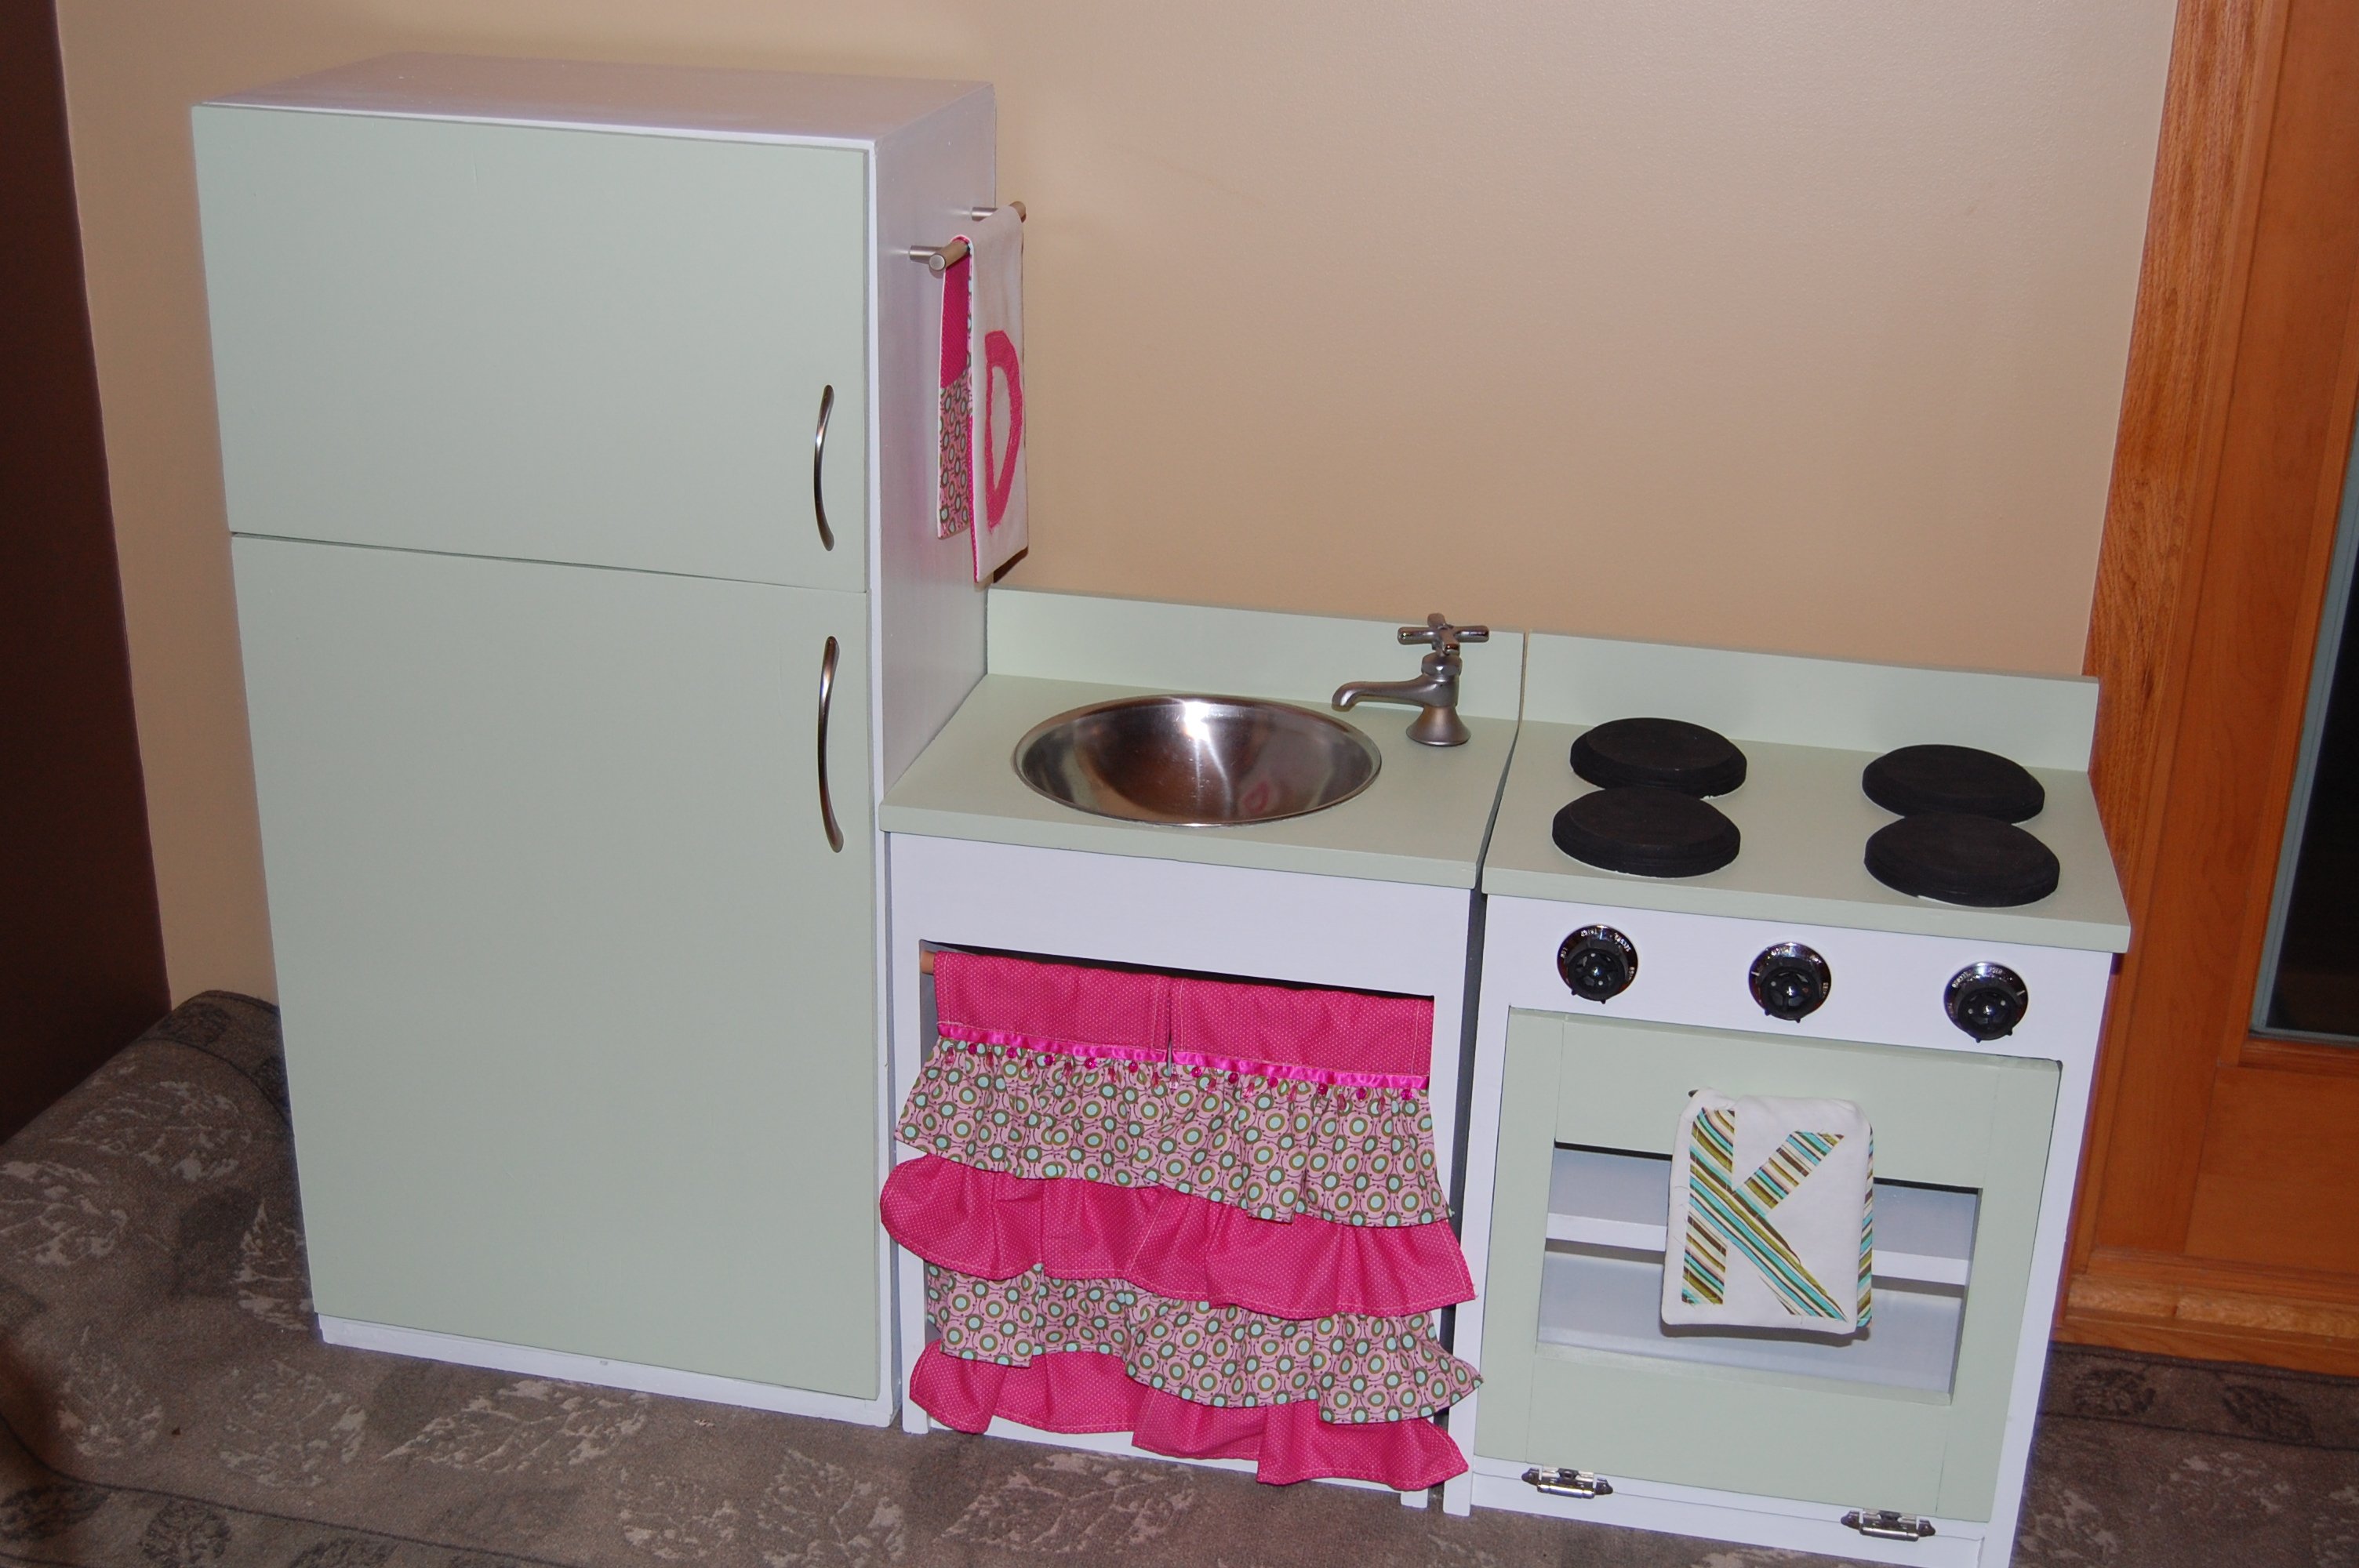
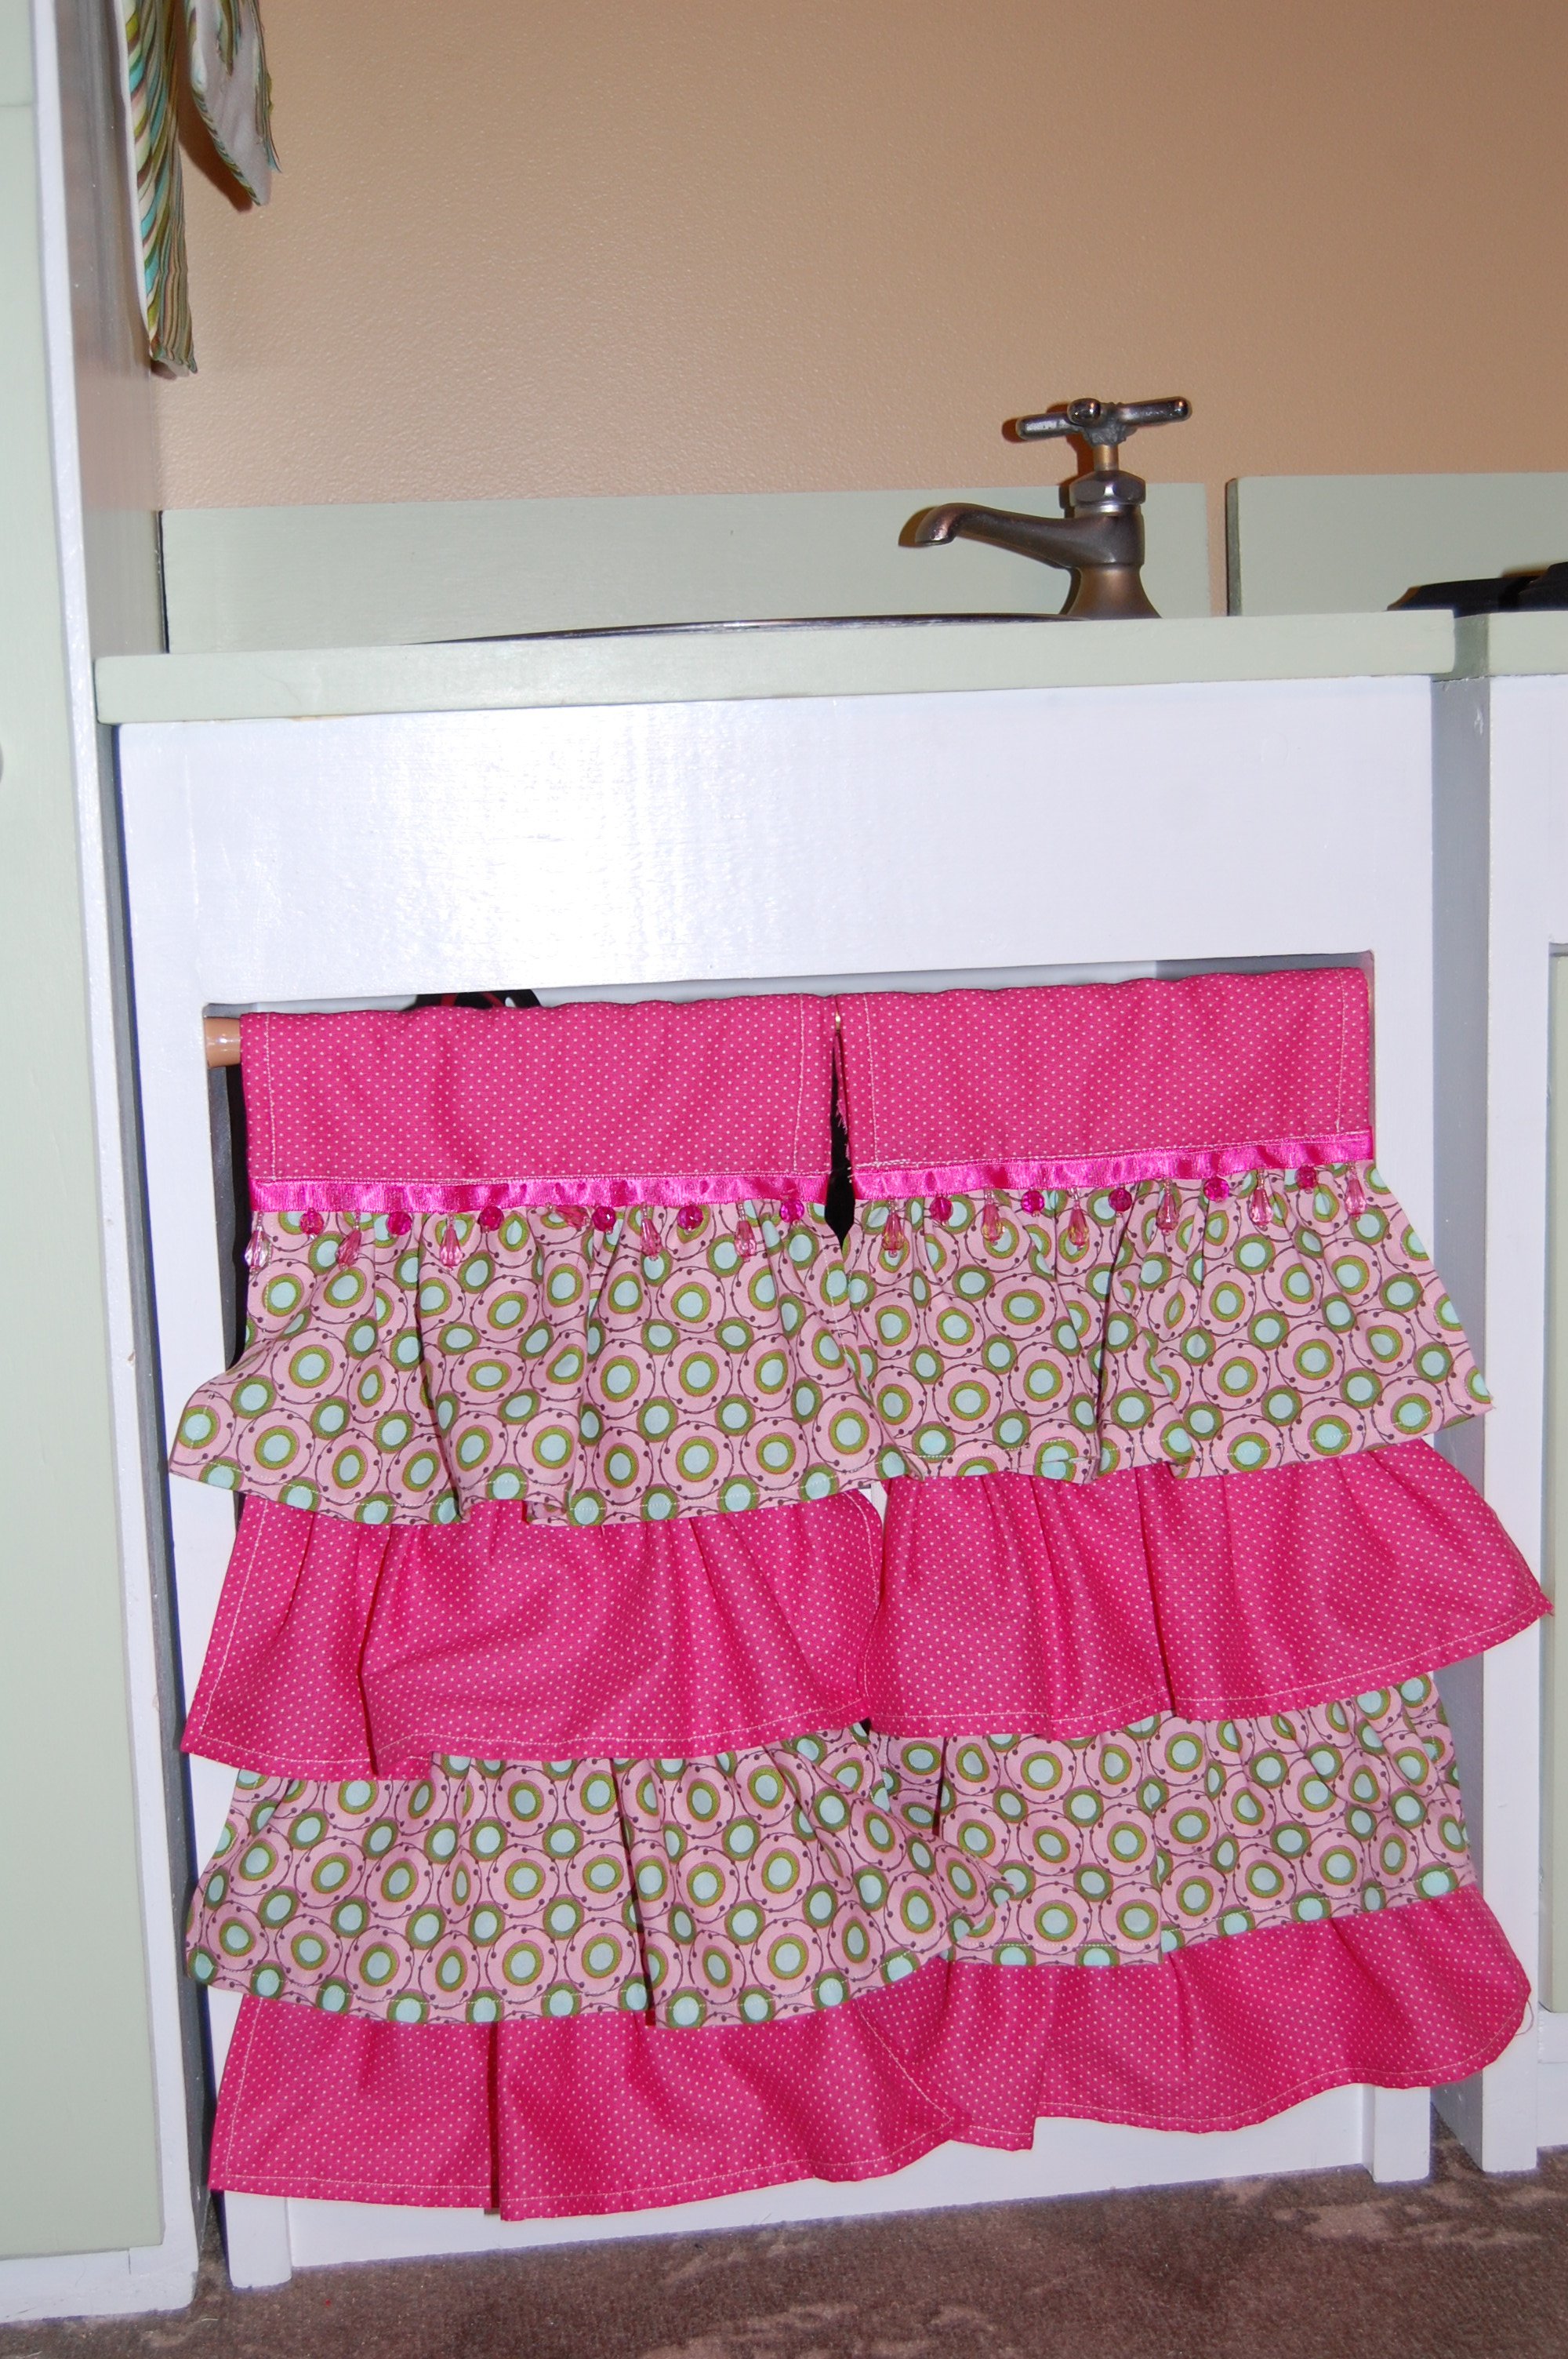
I saw this project and thought it would be a perfect project. My daughter has a Christmas birthday so I wanted to do something big that she would remember.
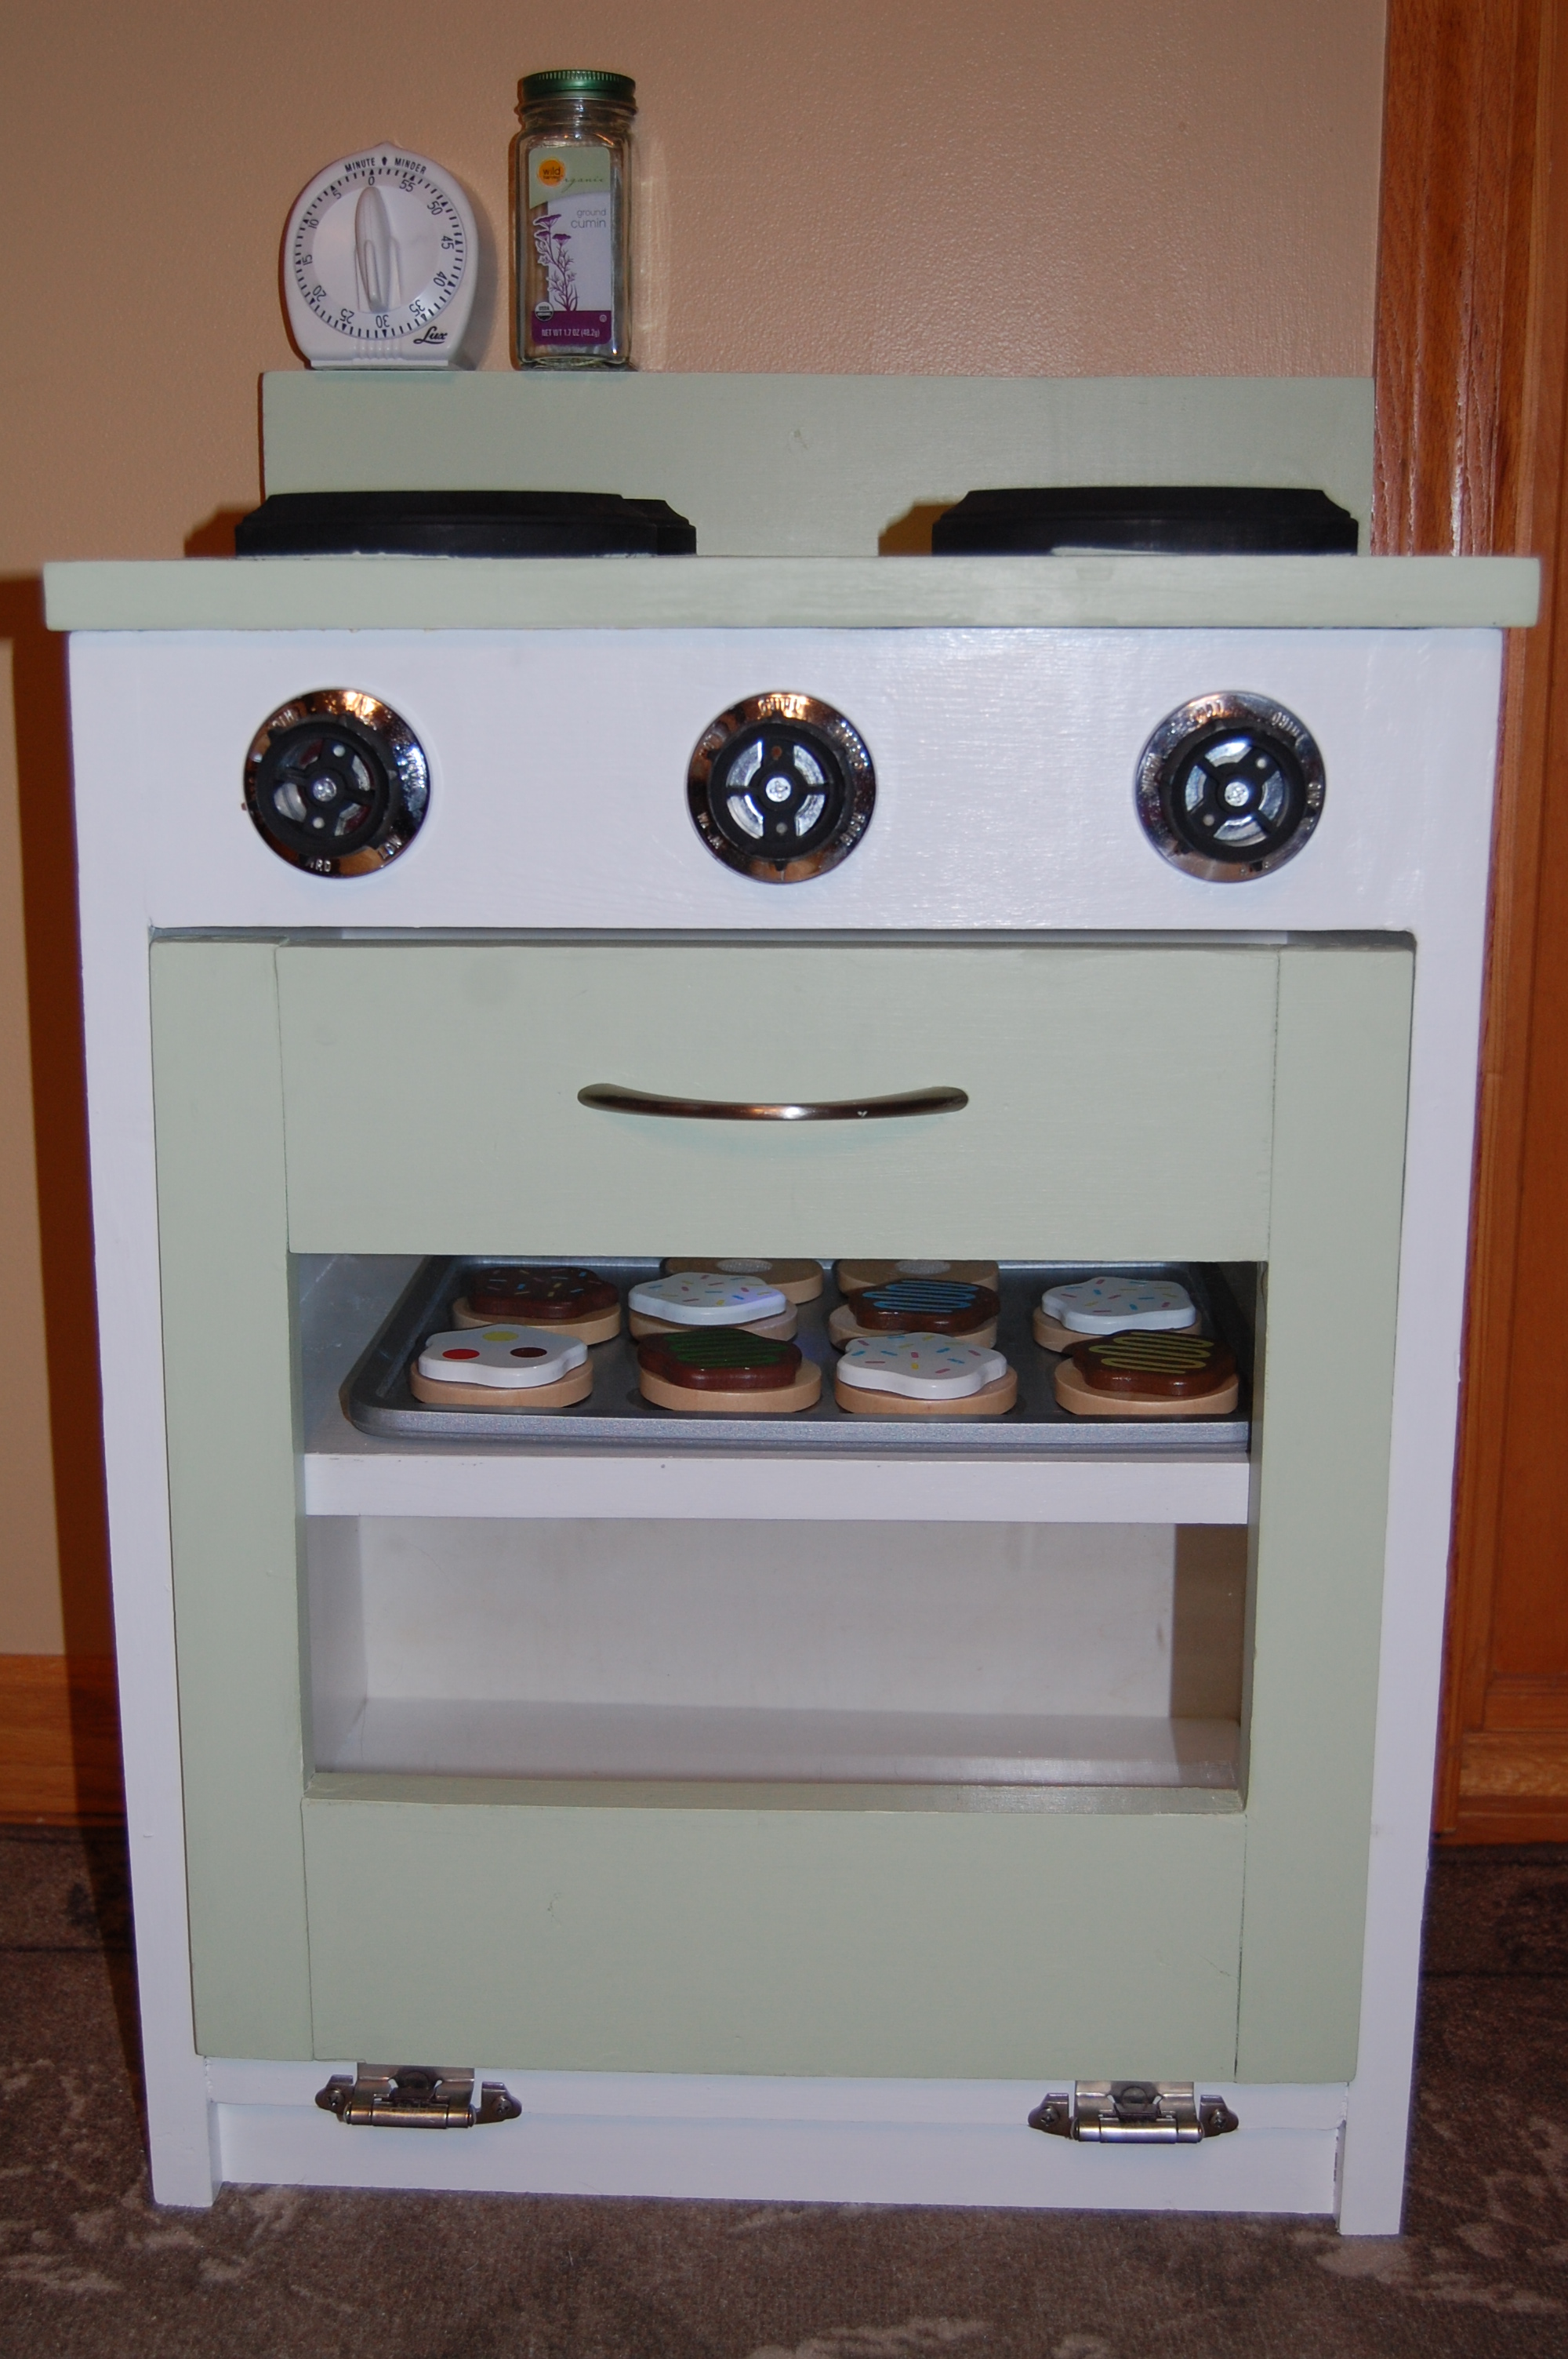
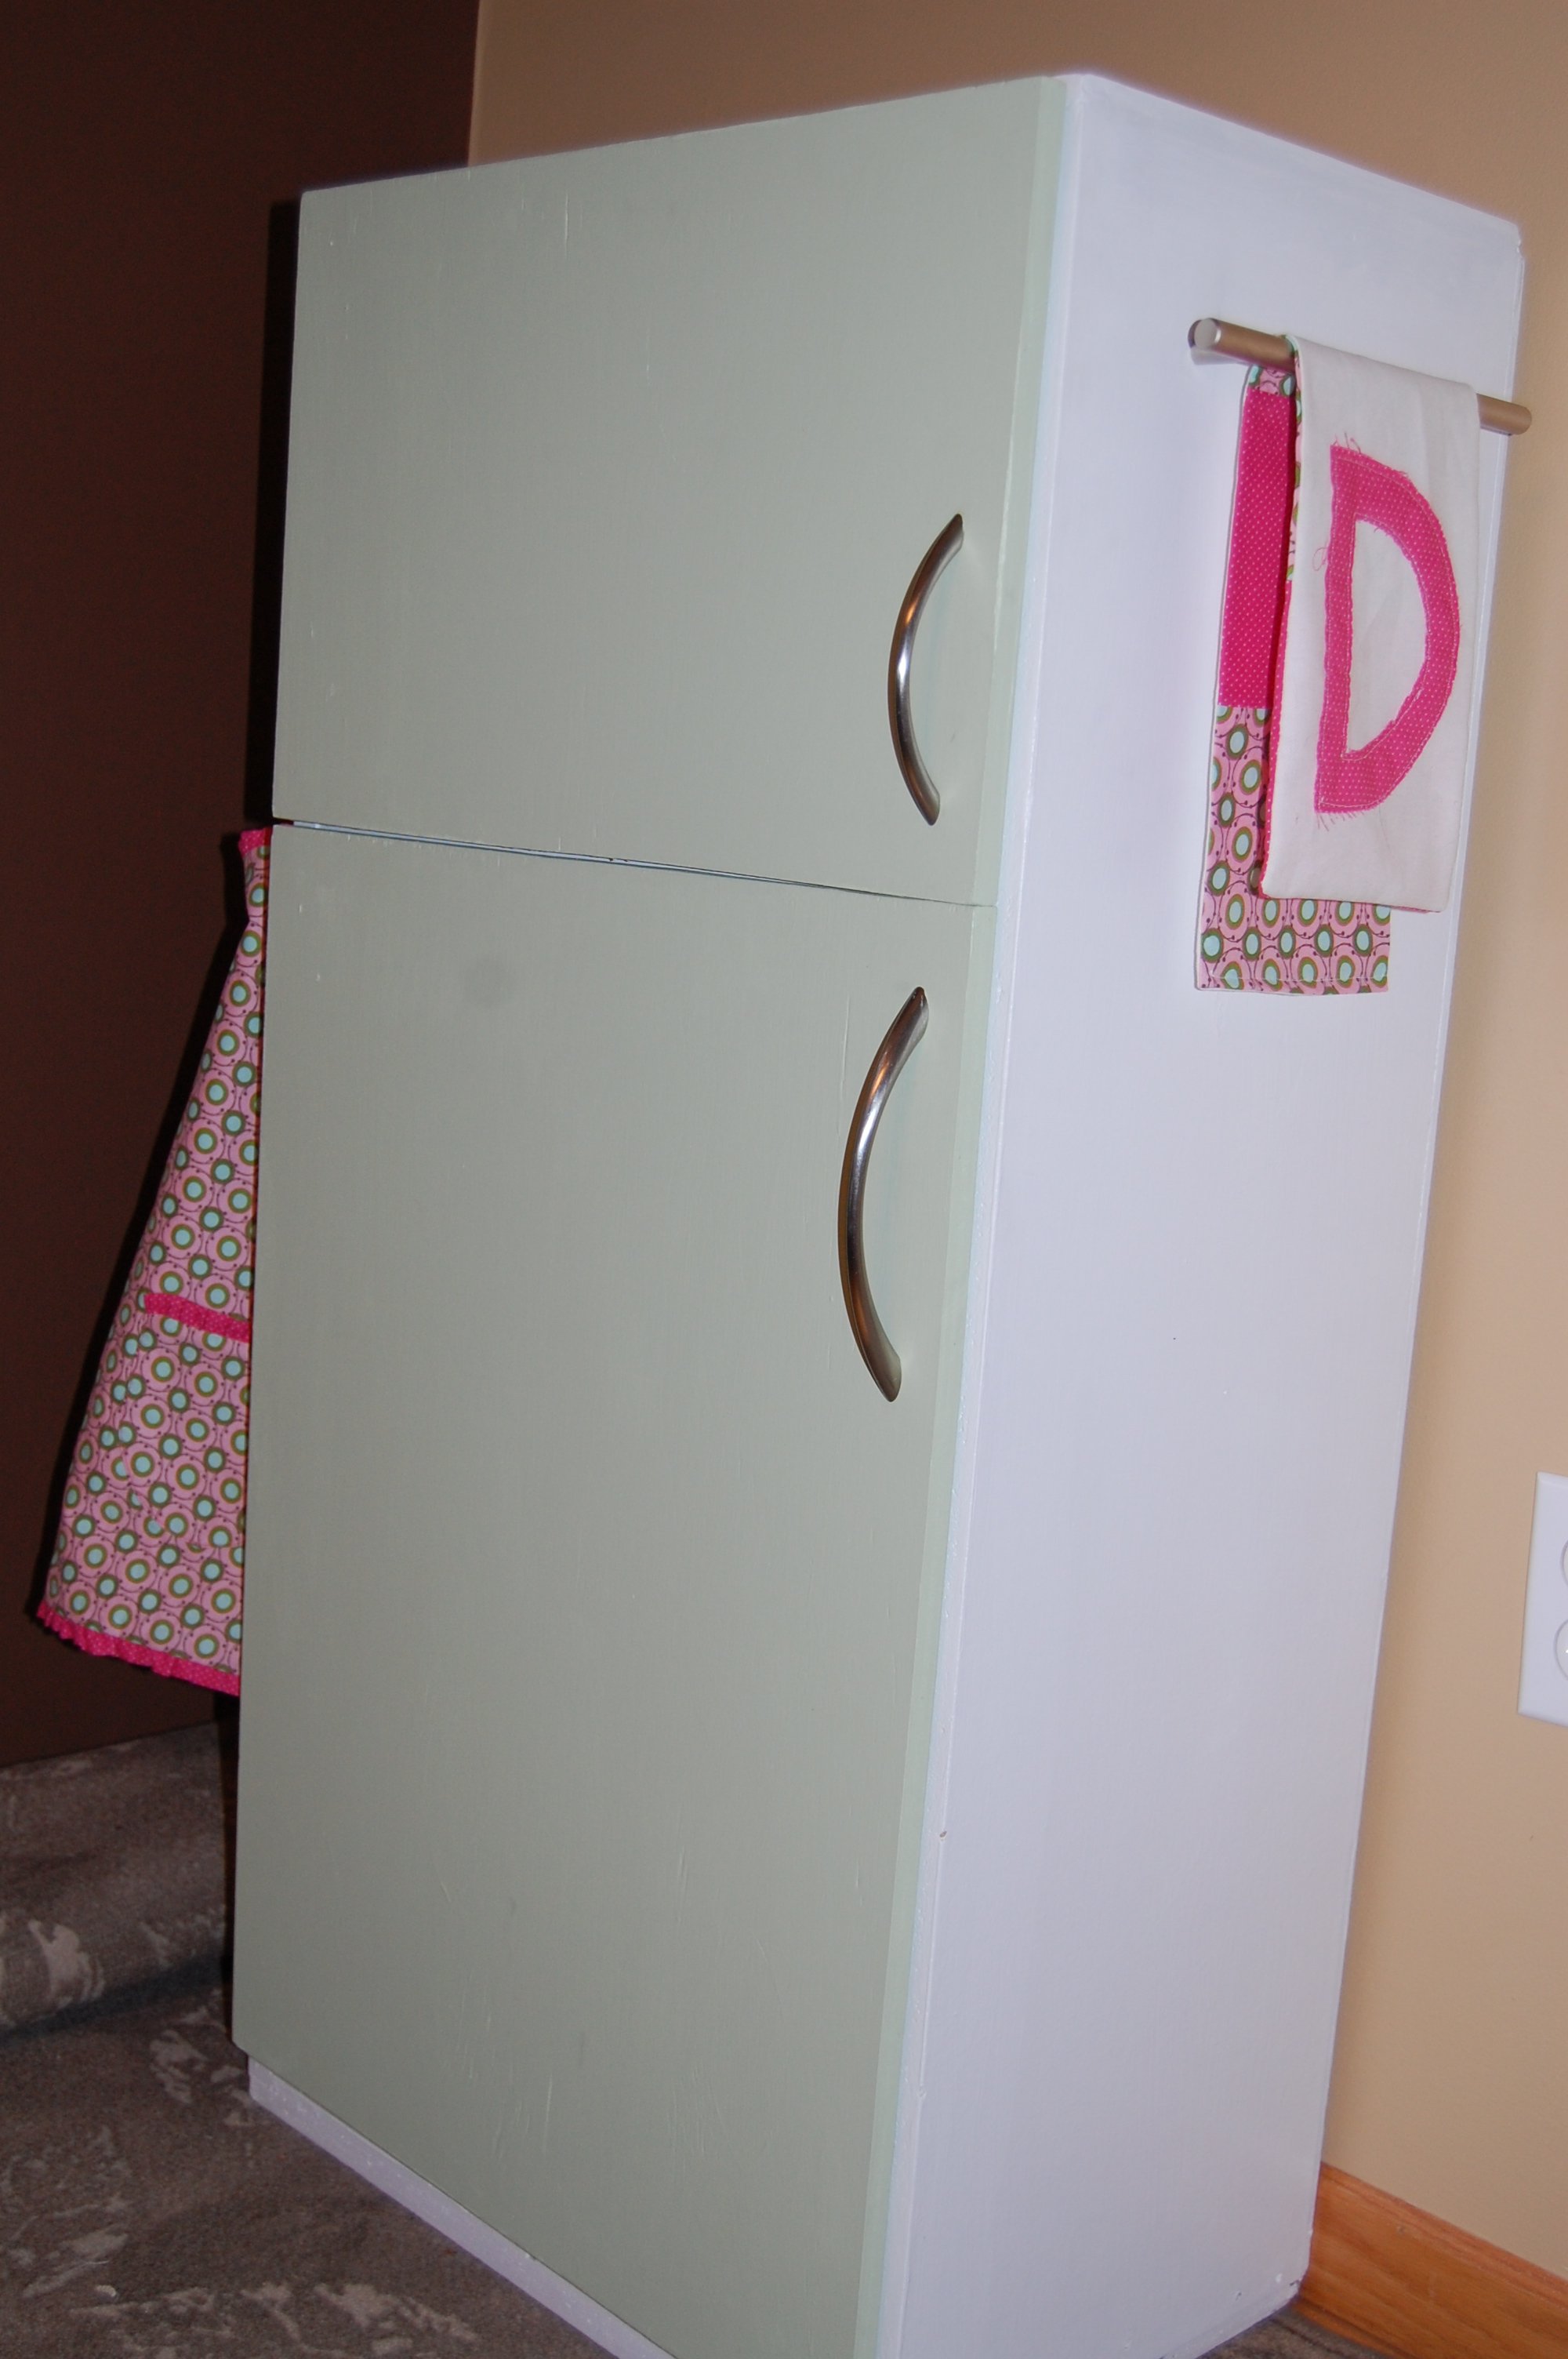
I didn't want to be rushed so I started this project in the fall. I built the basic "boxes" in a day but took my time finding accessories and doing all the finishing touches(sanding, painting, adding handles,etc). For the sink and stove I used Ana's plans but for the fridge I took a short cut and started with a shelving unit we already had, cut it to size and added doors.
It was fun a fun project. I loved having a great starting point and then being able to make it my own with paint and accessories. My in-laws live on a farm so scrounged their junk piles and found the sink faucet and the stove knobs (free, gotta love that)!
Sat, 12/31/2011 - 04:29
I love the faucet!!!! Why didn't I think of that ;) And my daughter saw the cookies in the oven and yelled....my cookies! lol....We got her the same play set along with some other Melissa and Doug wooden play food :) Great job btw!
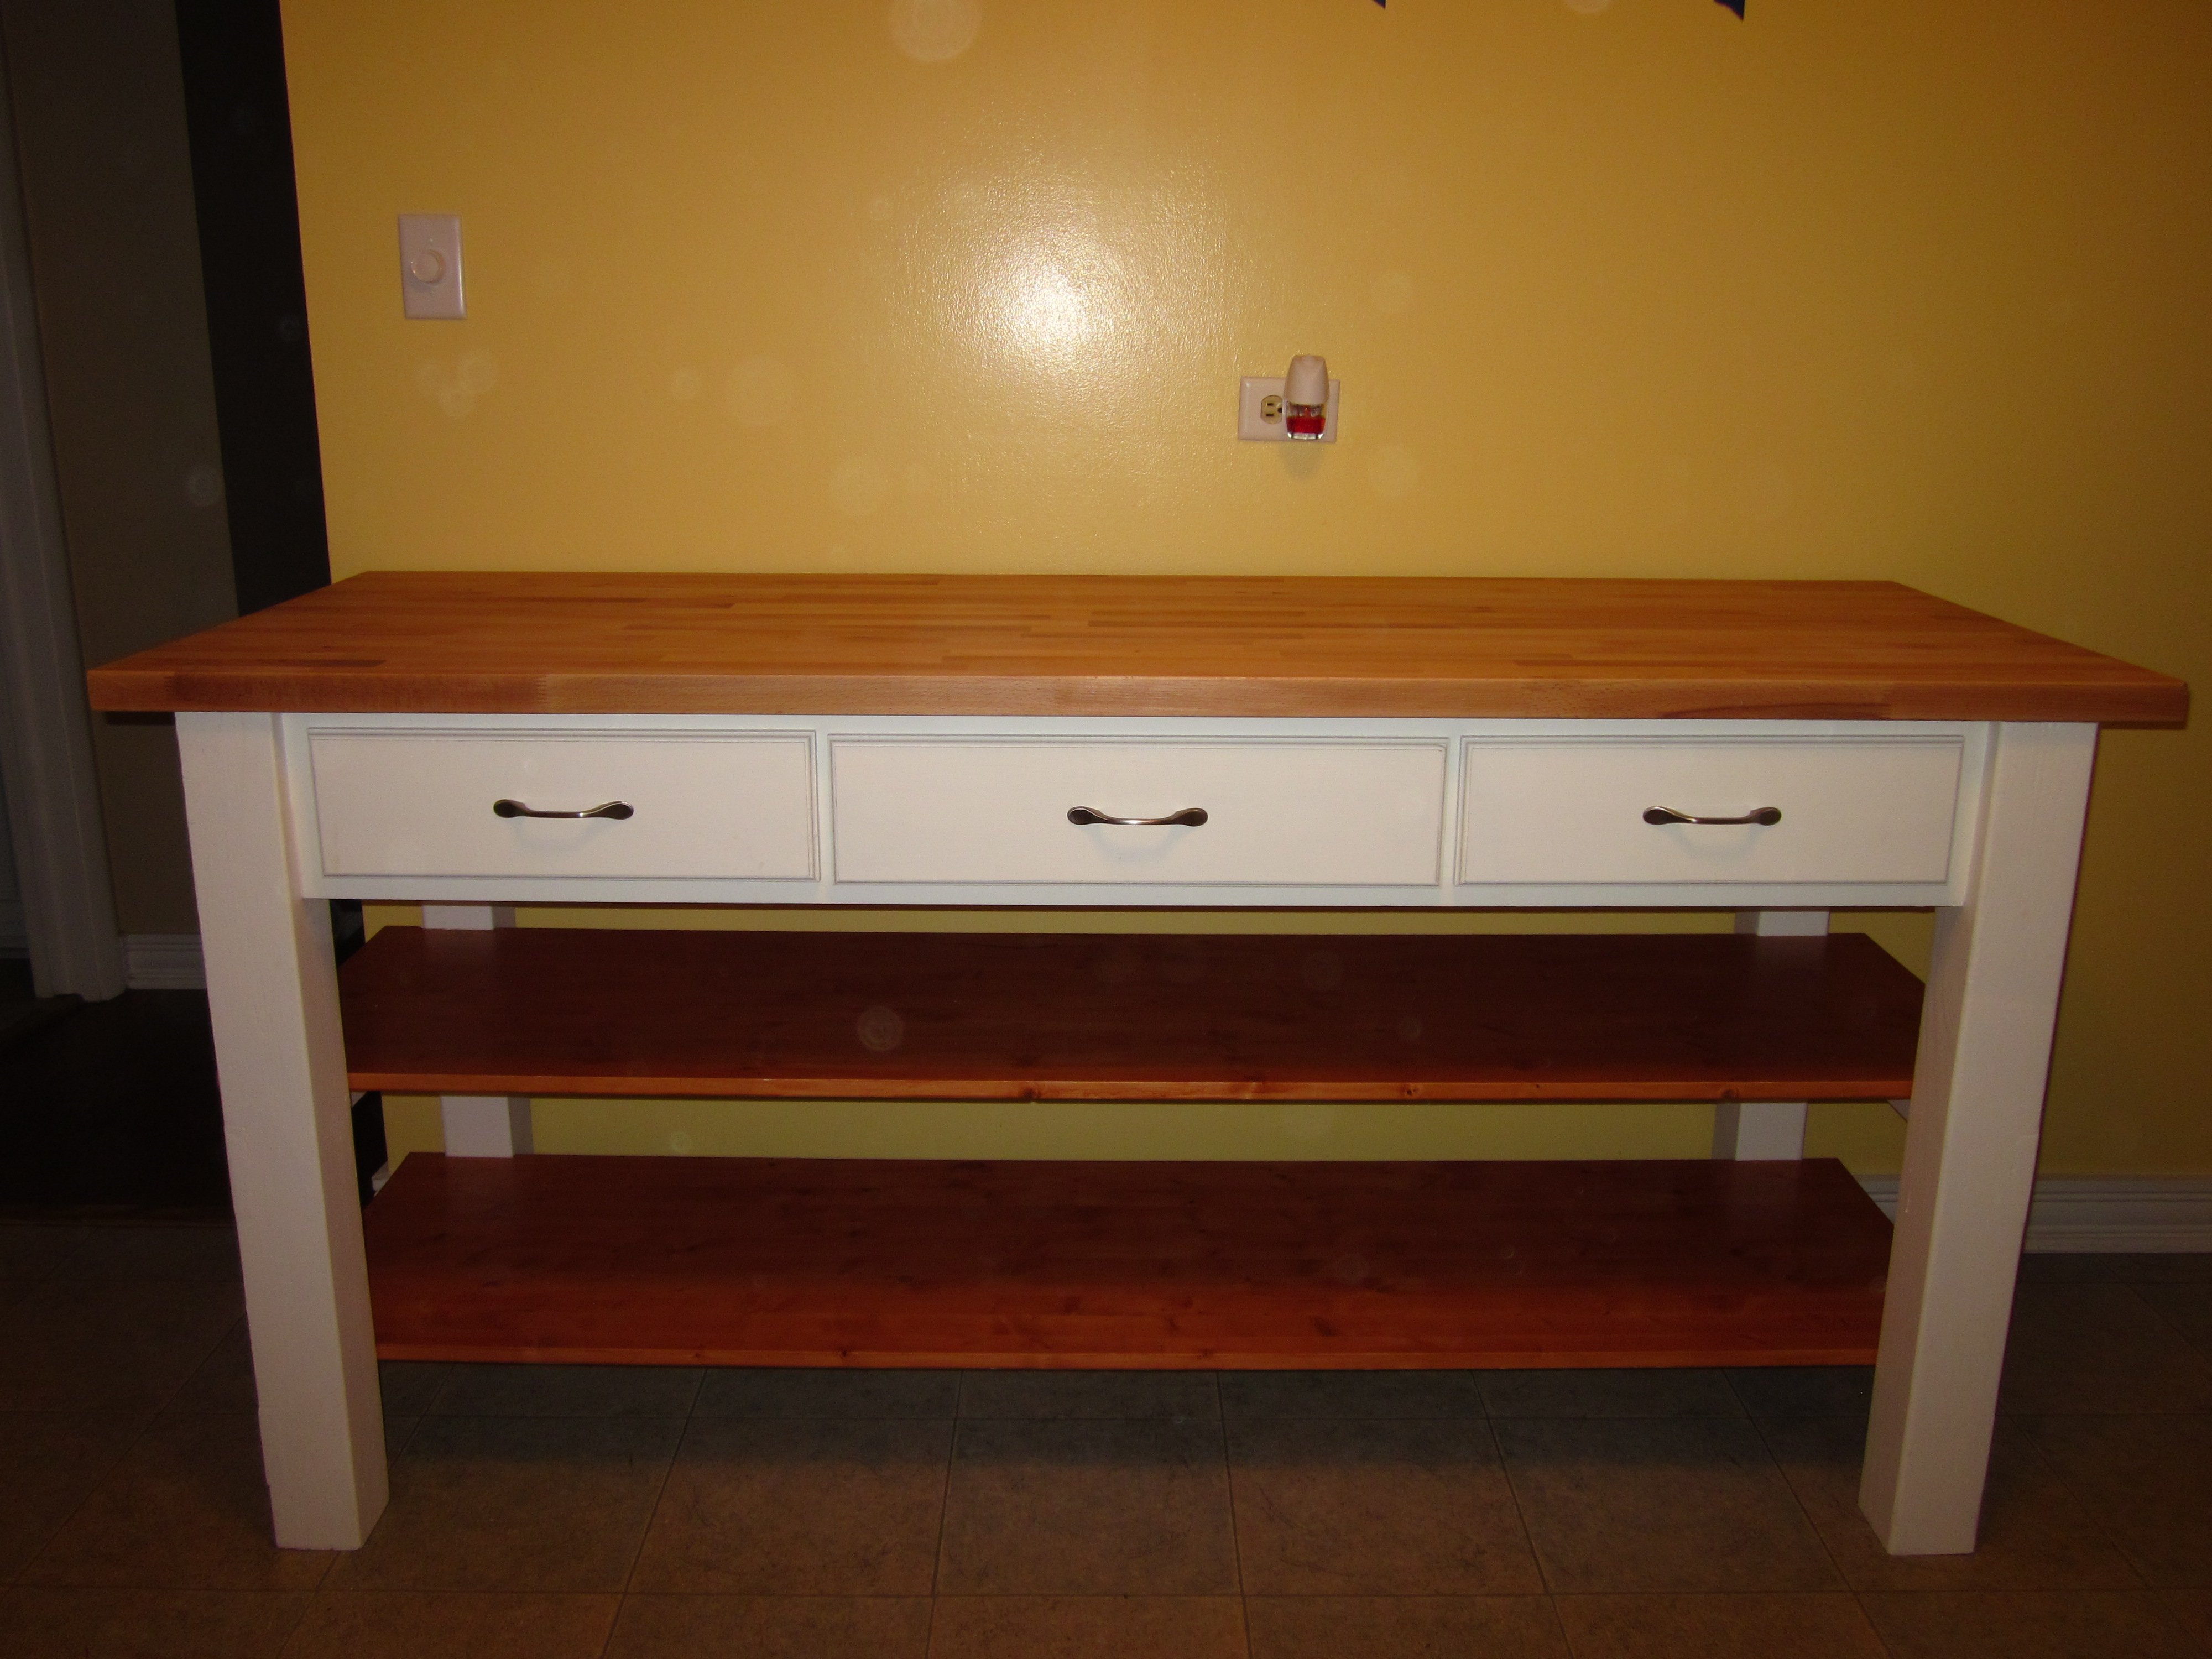
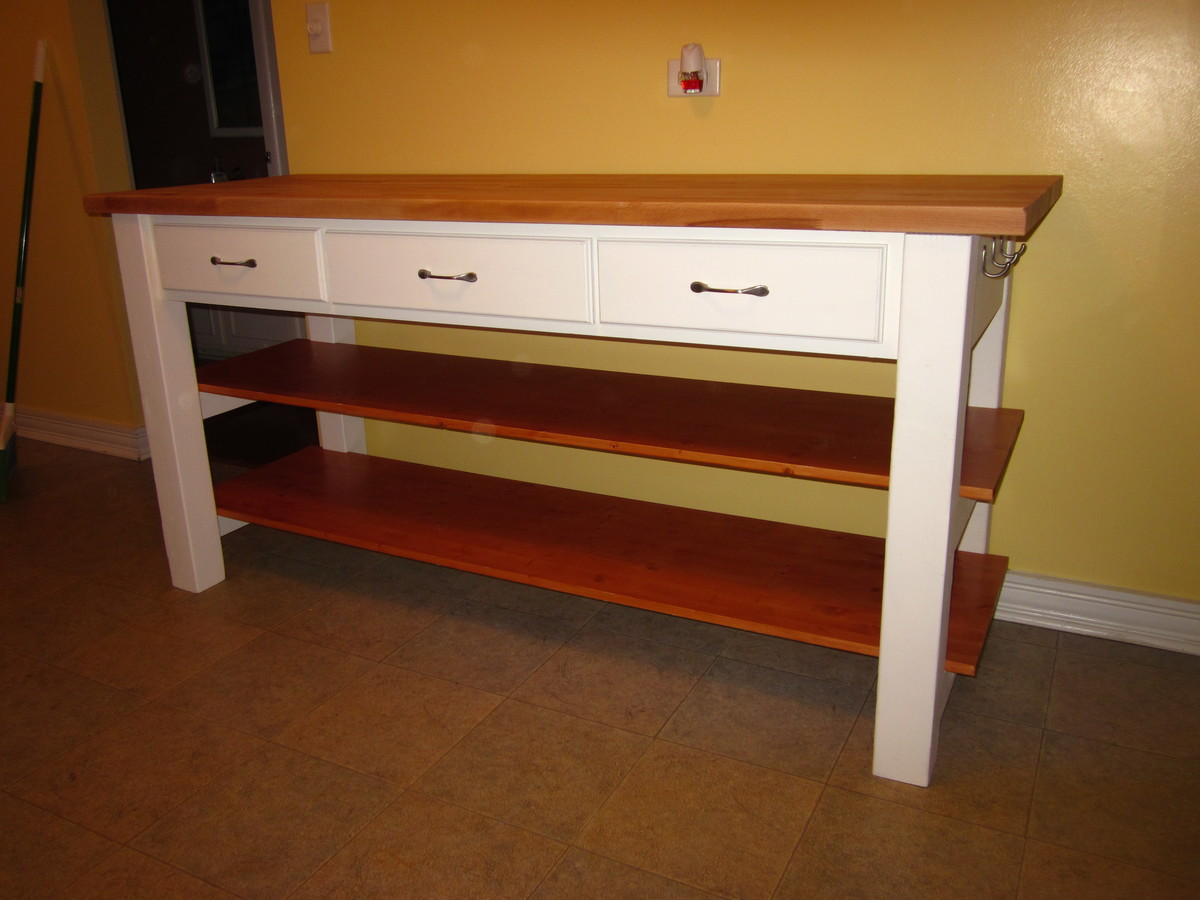
I built this to fill a large space in our new kitchen. I extended the plan to 6ft. and added a drawer. We topped it with a beech-wood butcher block from Ikea and I used 2 6'x18" pine boards for the shelves.

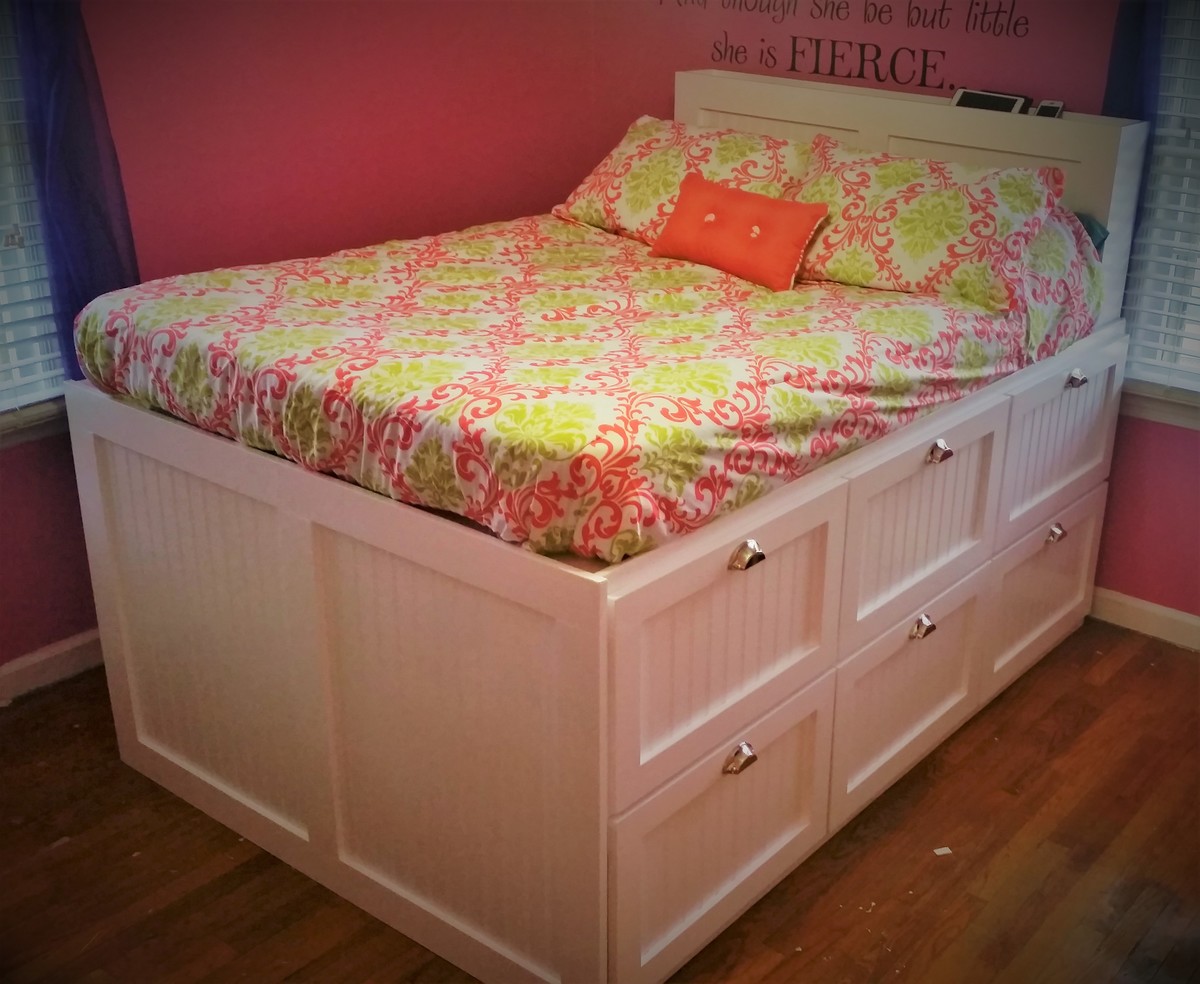
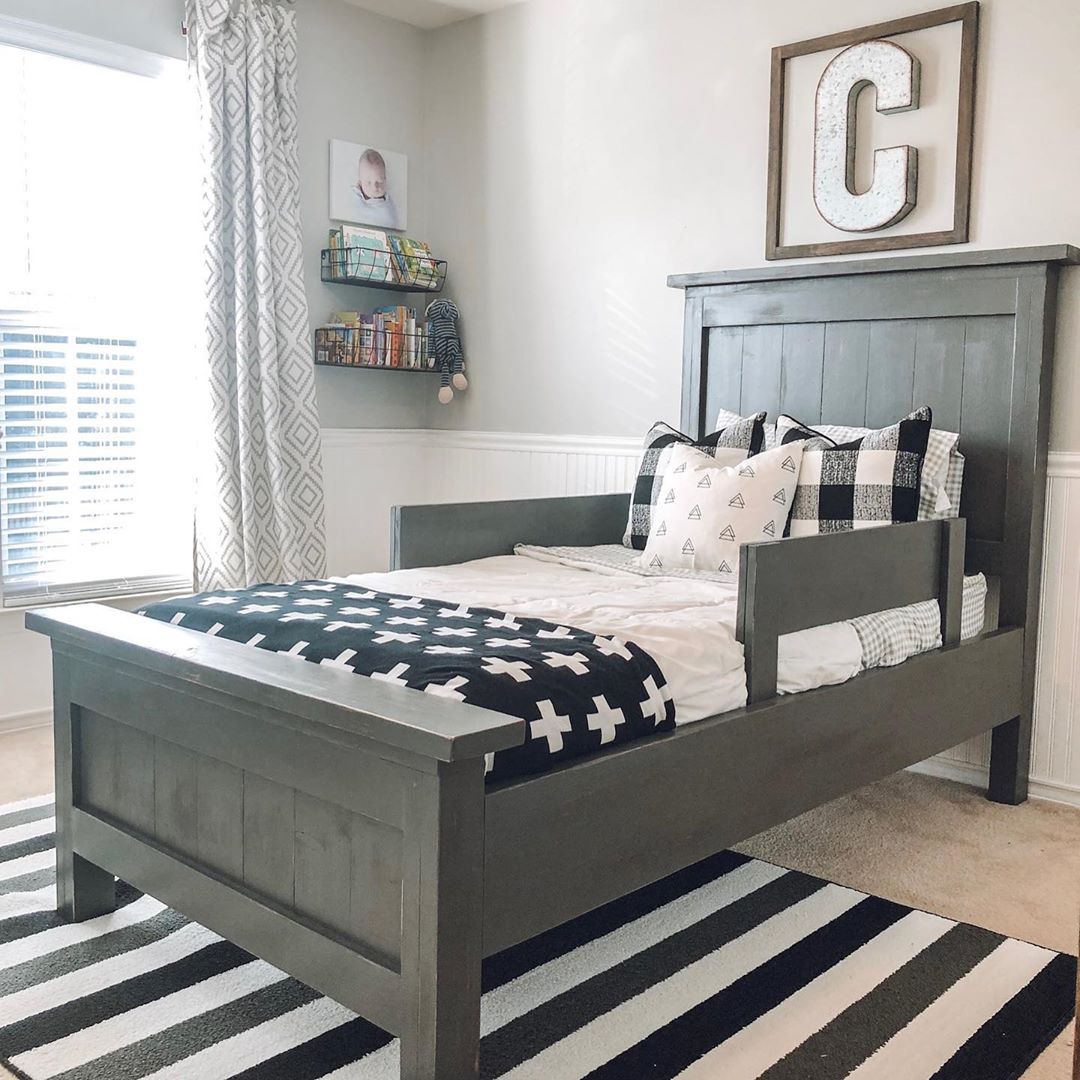
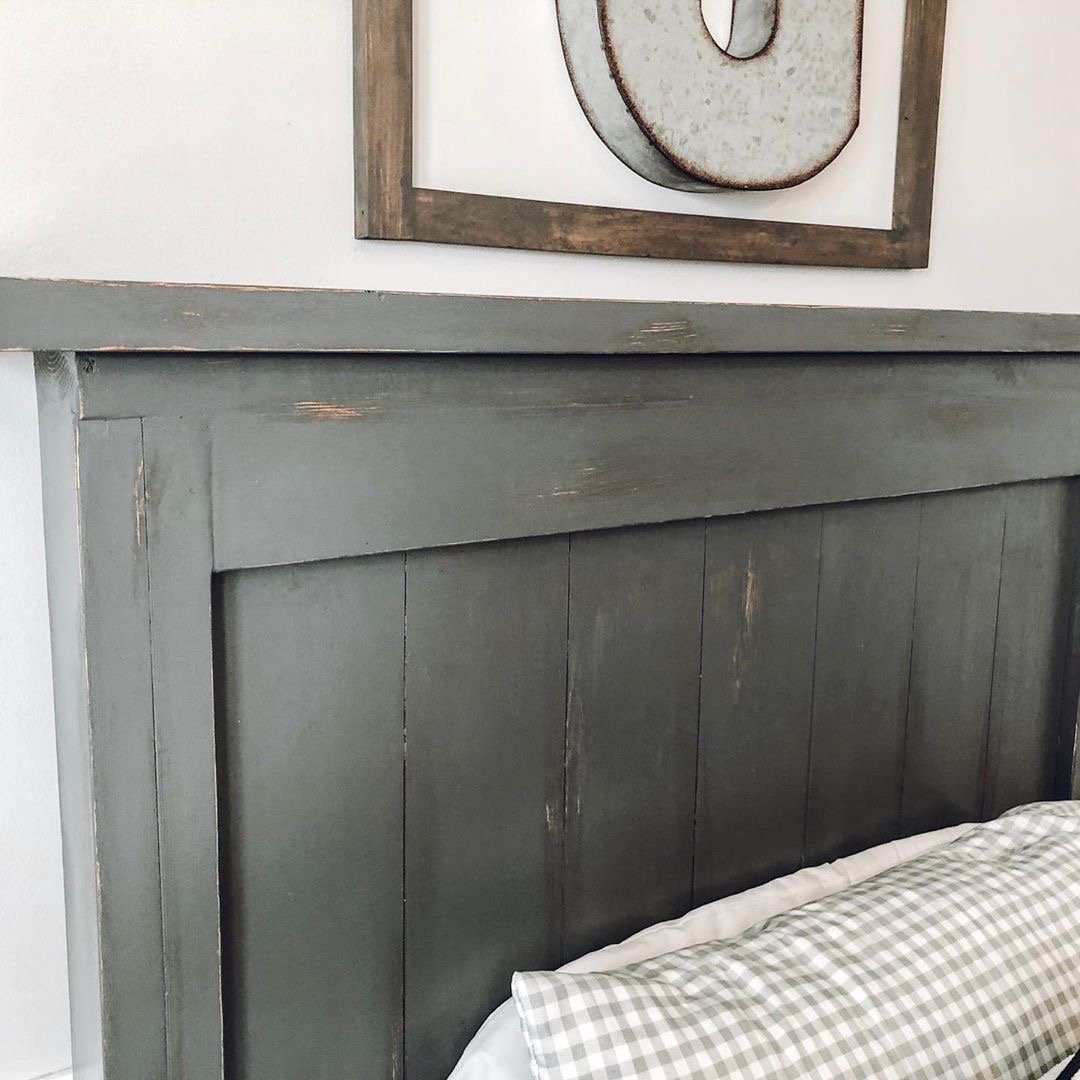
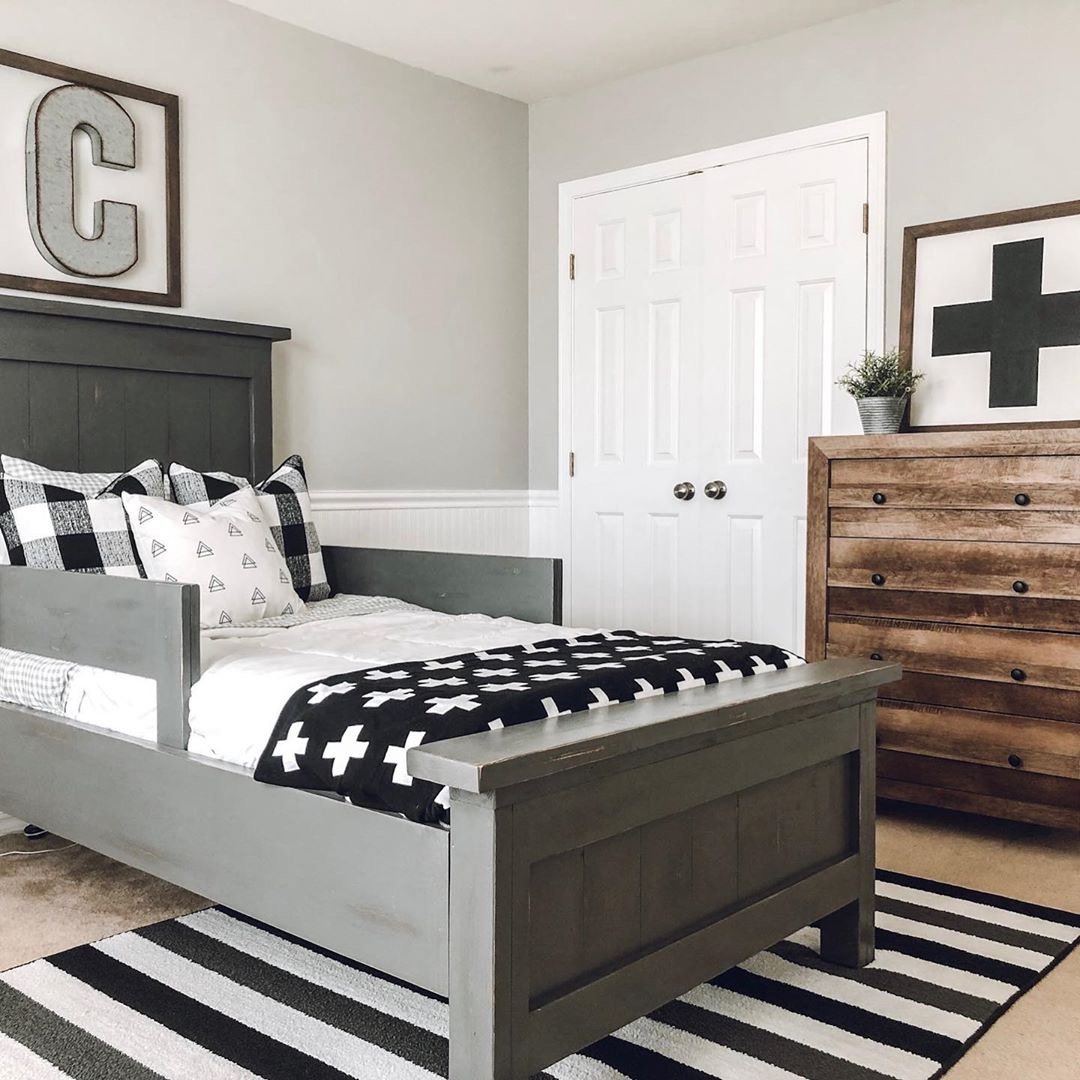
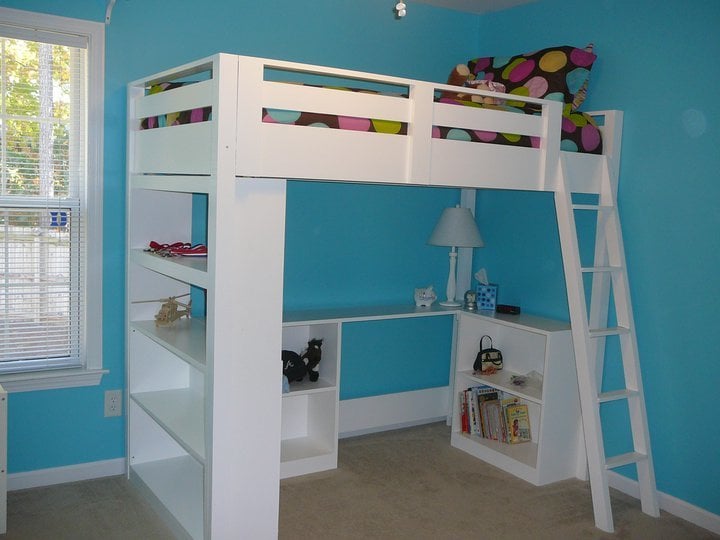
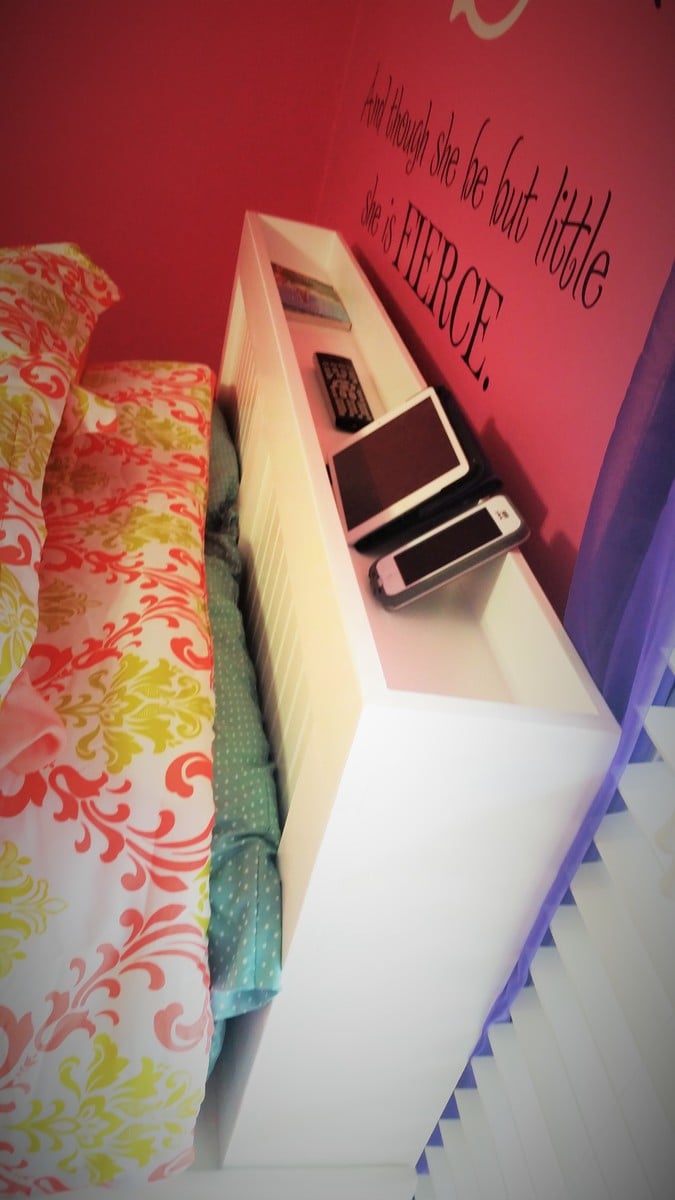
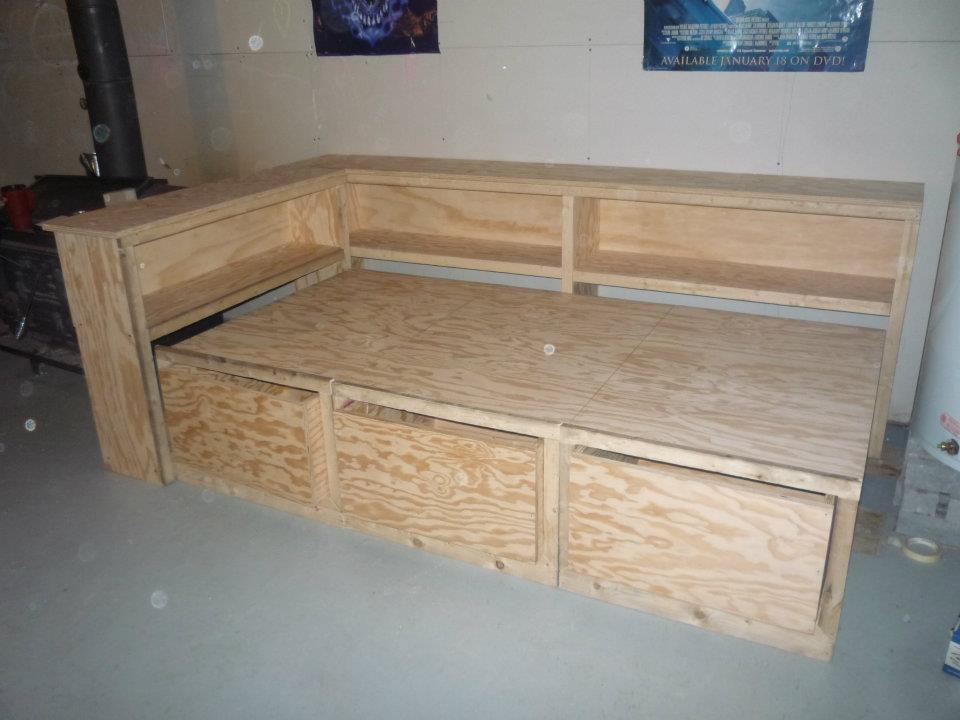
It was time to upgrade our daughter's bed to something bigger. I have always loved the idea of platform beds and went searching the Ana White site for ideas. Needless to say, I made several modifications to allow for a huge amount of storage. The bed is designed to fit up to a queen mattress, but we went with full size since her room is a bit tight. Each drawer is 24"x24"x12" deep and mounted on 100 lbs. full extension slides. This allowed us to eliminate both dressers in her bedroom plus the hamper since one of the drawers is now for dirty clothes. I built this as two 80" cabinets and used a 3/4" plywood spacer to bridge the gap. What you can't see is the six 24"x24"x12" cubbies on the far side of the bed which allowed us to remove her bookcase and toy box. Once in place, I measured and built the footboard panel with 1x4 dimensional pine and beadboard and it is attached with screws from inside the cabinet. The headboard was last as I wanted to give her a shelf for her chargers, remote, phine, ipad, etc. This allowed us to remove her nightstand. Her small bedroom feels much larger now that this is the only piece of furniture she needs once I get her tv mounted on the wall.
Wed, 04/12/2017 - 07:16
I want to make double the storage as you have done but am curious how tall your bed is from floor to mattress?

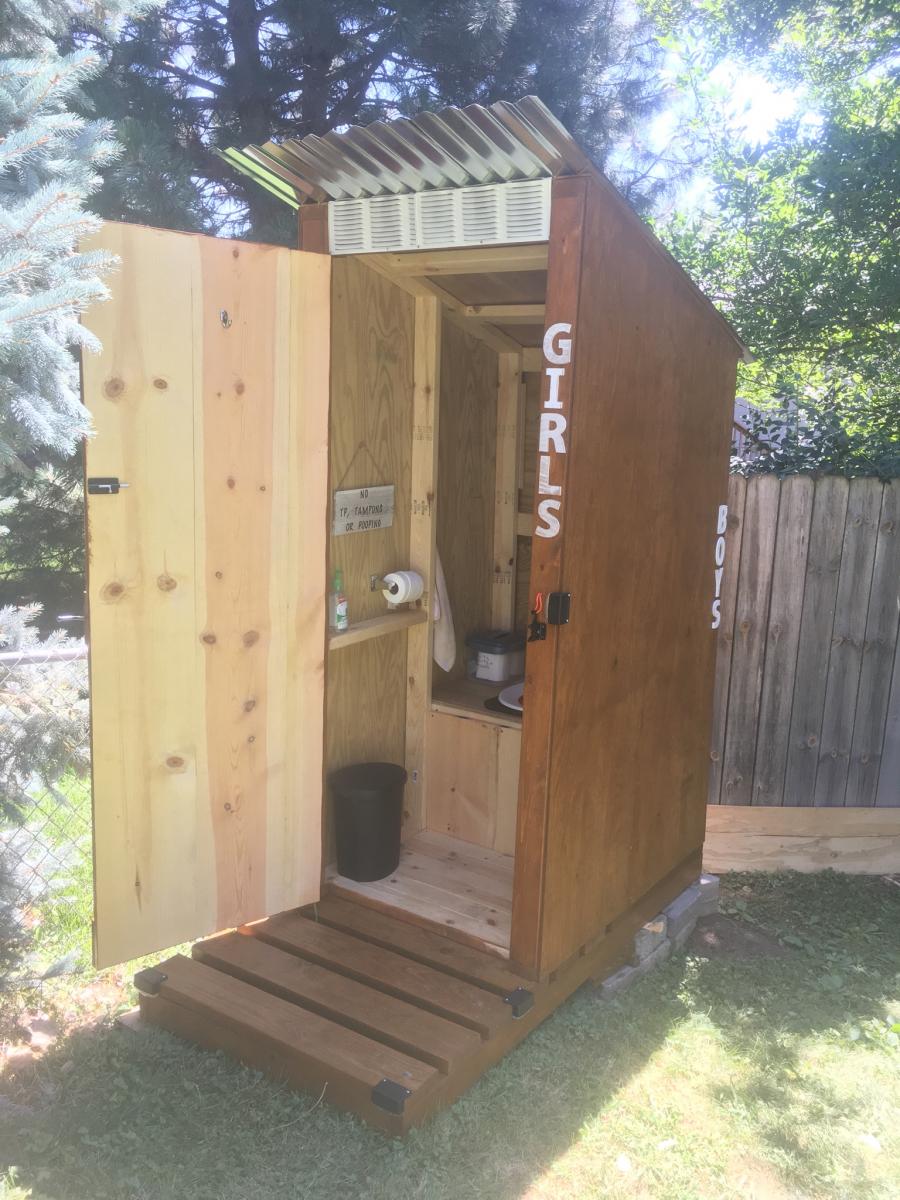
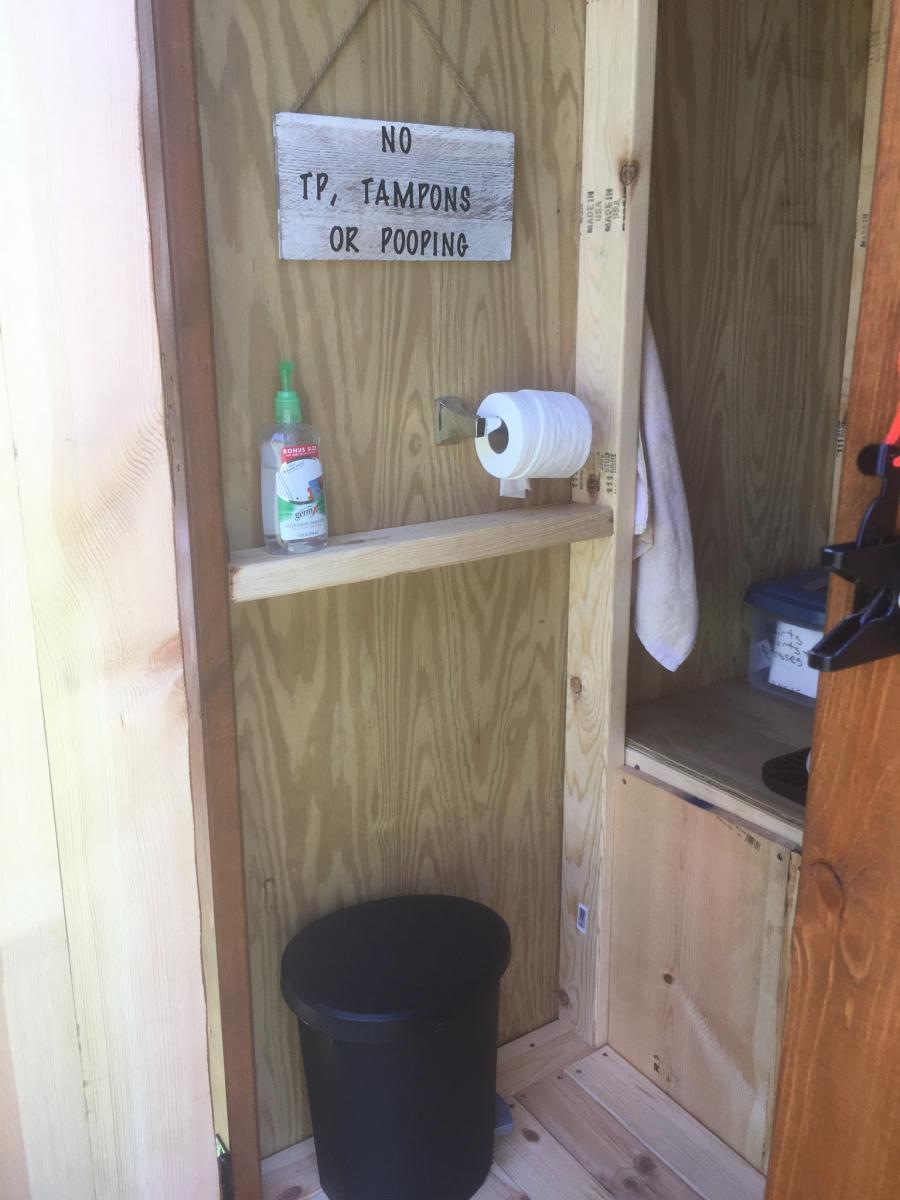
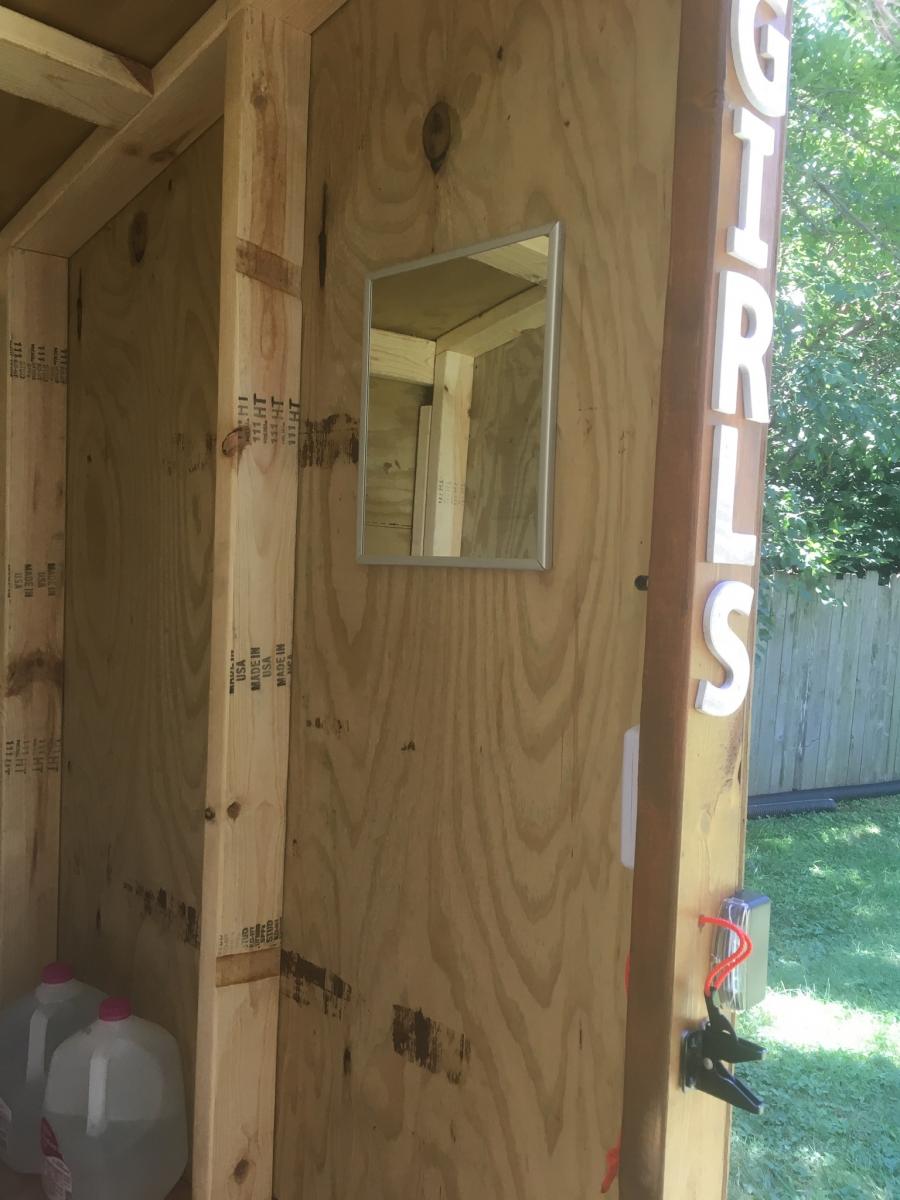
<p>I worked on this for about 2 weeks in my free time. I modified the original plans from this site to accommodate my needs. I just wanted a “#1” only place near my pool so I didn’t have to dry off and walk all the way up to the house. The trash can is for the TP and I will just toss it when I need to. I used a traffic cone as a pee funnel and attached tubing to the end of the funnel that I buried down along the slope of my yard against the fence line. I ended up adding an area for boys since I didn’t want the inside all gross. I added solar deck lights to the outside and a light inside too. It turned out amazing!!!</p>


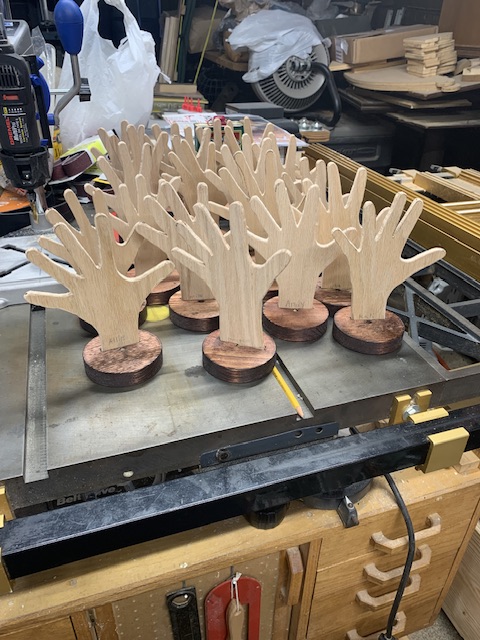
So, this project started out years ago with my oldest daughter. She was in daycare and frequently came home with her latest drawing or art. I wanted to make something from her art that would be a gift for mom and the grandmothers. Mother’s Day was coming up soon and we needed inspiration. Her mother said that she would like a ring post to keep jewellery on her dresser top so we came up with this.
First we outlined the daughter’s hand and about 3 inches of wrist on a piece of white paper. (We had a similar example from Thanksgiving, the daughter brought home her hand outline on a paper plate decorated as a turkey). Took our outline to the printer and photocopied it. One of the nice things about a photocopy is you can place it face down on a piece of wood, then use a hot iron (cotton setting) and iron the image onto the wood.
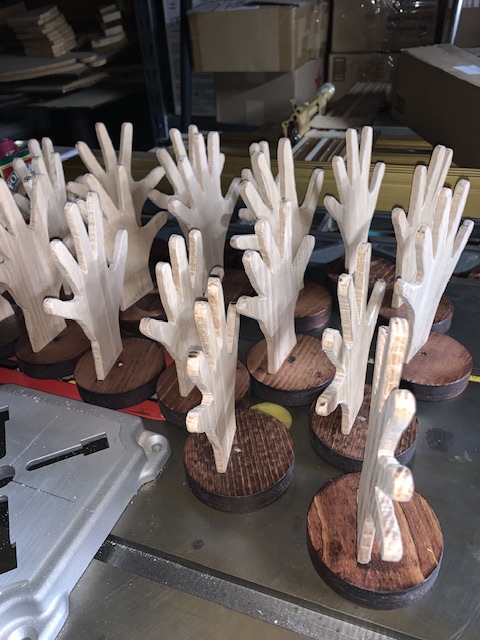
Once the image was transferred, we cut it out on the bandsaw, then sanded all the rough edges. As my daughter was very young, I did the bandsaw work and she did the sanding. Once the hand was ready, we needed a base which we found in the scrap bin. We cut out about a 3 1/2” circle and using the wrist end of the hand, we marked and cut a notch for the hand to be glued to the base. We cut it off-center to allow room for a message to mom. We found a local guy who could engrave a message make us a brass tag for our base. The tag was large enough to engrave the child’s name below the Mother’s day message helped to identify the sweet little hand that made the gift.
Again, more sanding and fitting the notch to match the sweet little wrist followed by staining and finishing.
We left the hand natural and used wipe-on polyurethane (2-3 coats), then glued everything together with a piece of felt for the bottom. It was pretty tough keeping the project a secret until Mother’s Day, but somehow we managed. The grandmothers and mom loved their new ring post which has a place of honor on their dressers.
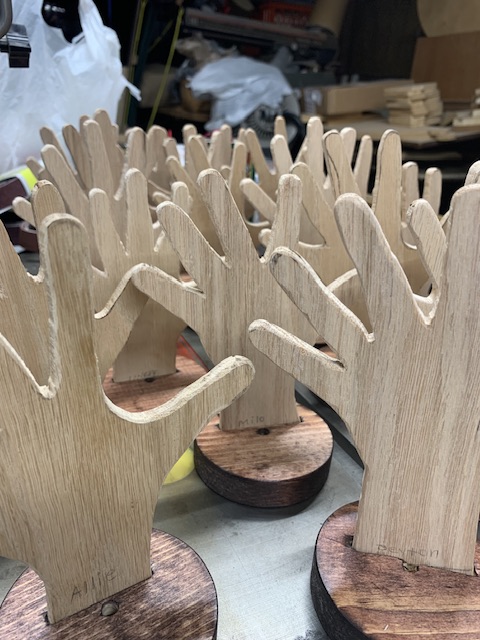
Fast forward 30 years. My son is a kindergarten teacher with a class of 20 or so looking for a great project for Mother’s day and this is what we did. It took a bit of work to get everything ready so the kids just had sanding to do. Attached are some pictures of the ring posts dry fitted and ready for the kids to finish.
Can’t keep secrets from home in daycare, but you can have great surprises. All the moms love their new ring post and all the kids are proud of their work. Since the completion of this project, we think we have a great idea to adapt it for a dad gift as well.
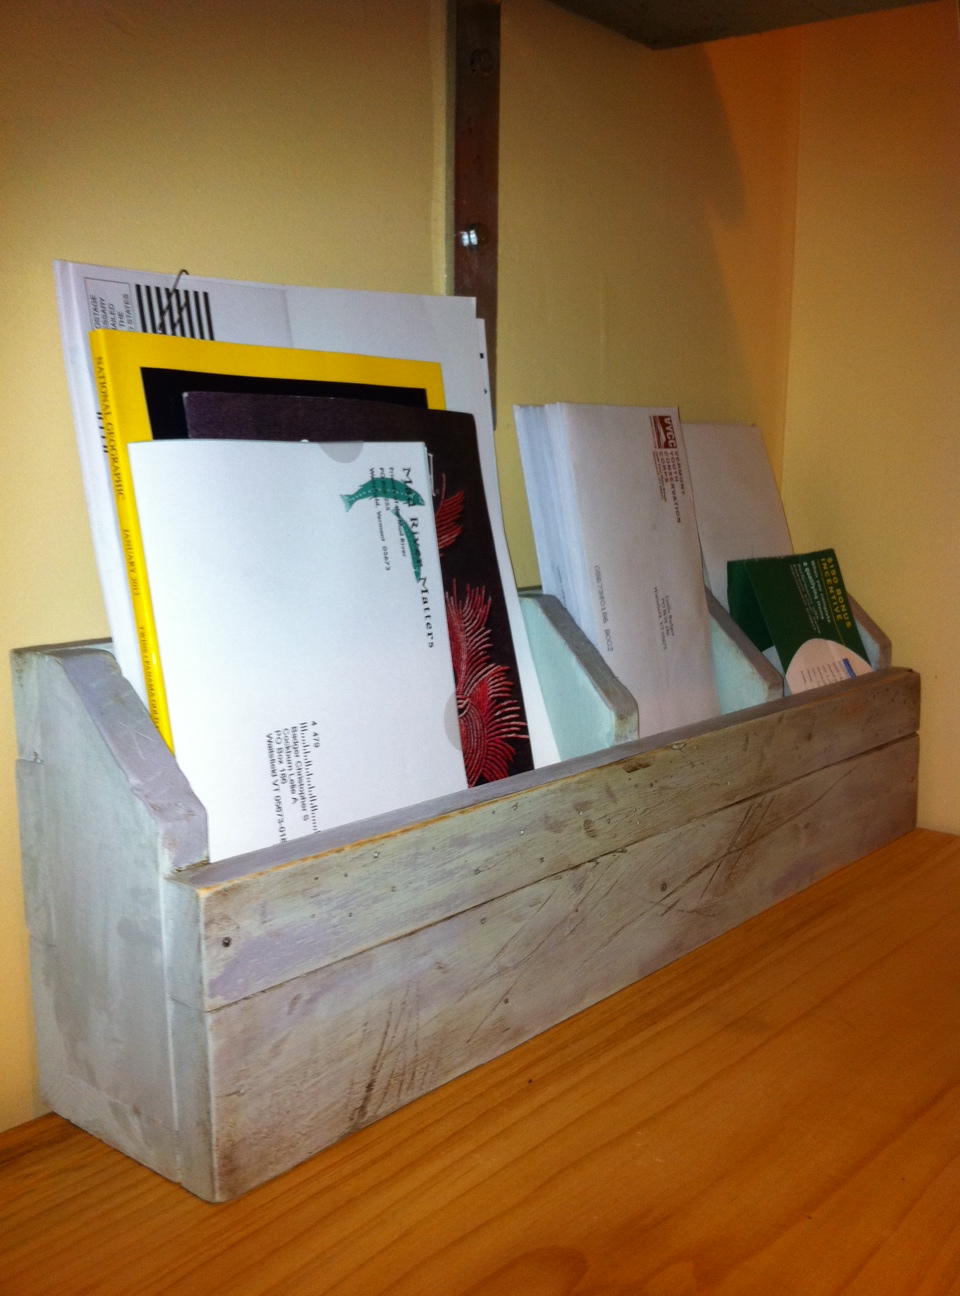
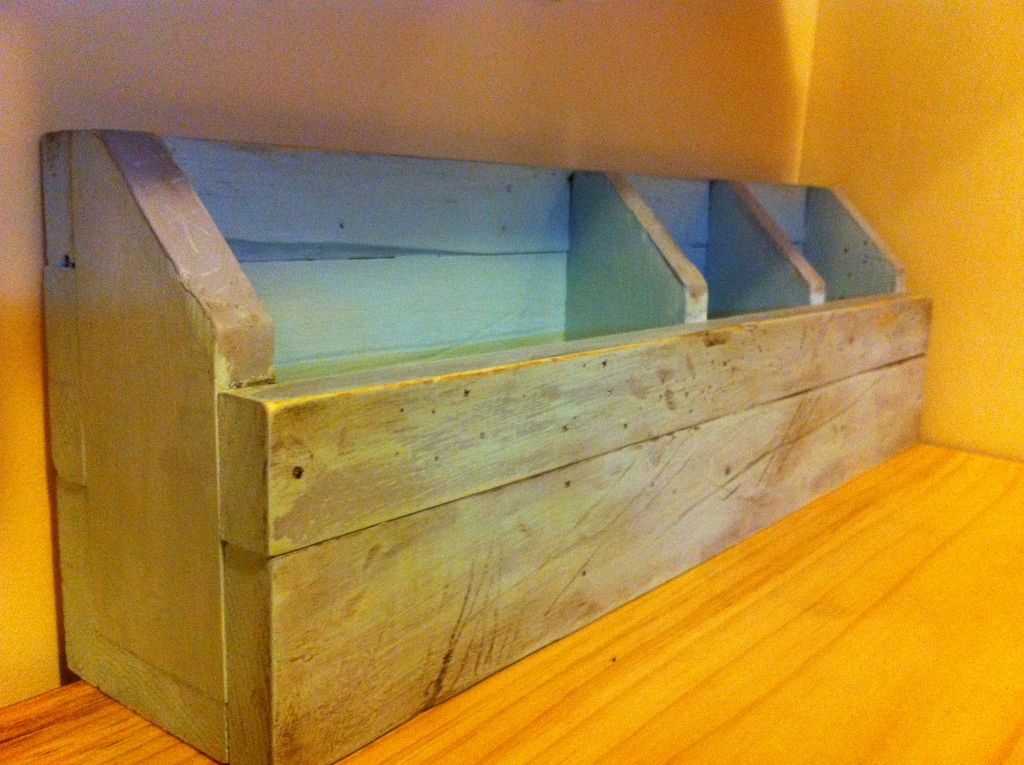
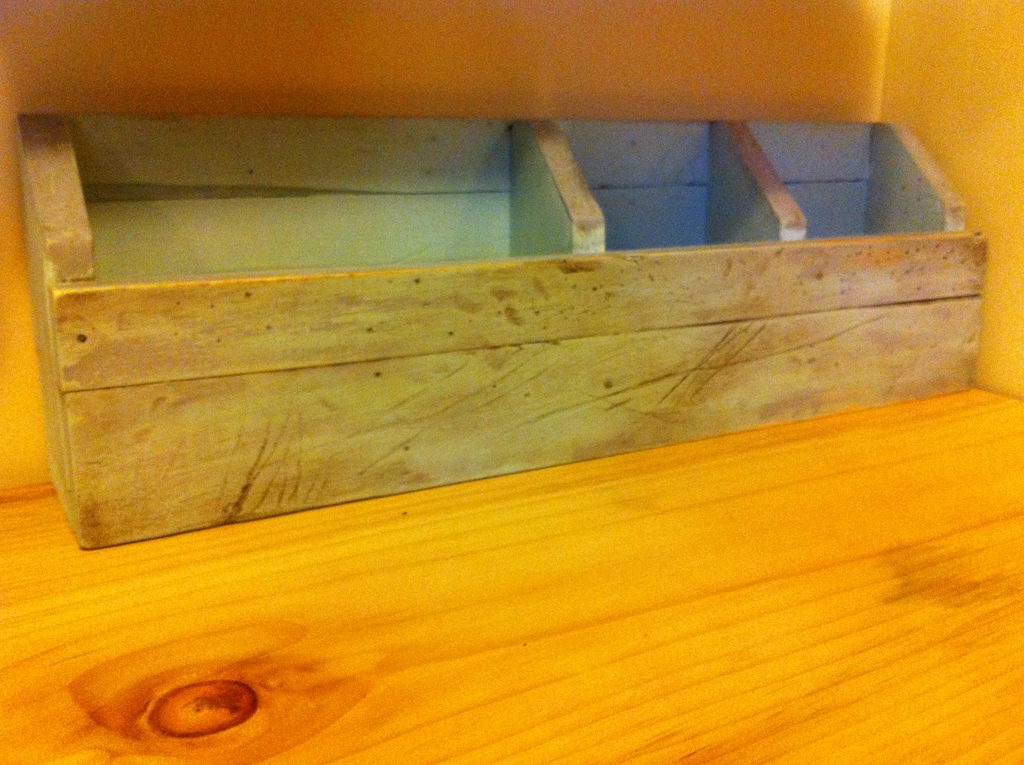
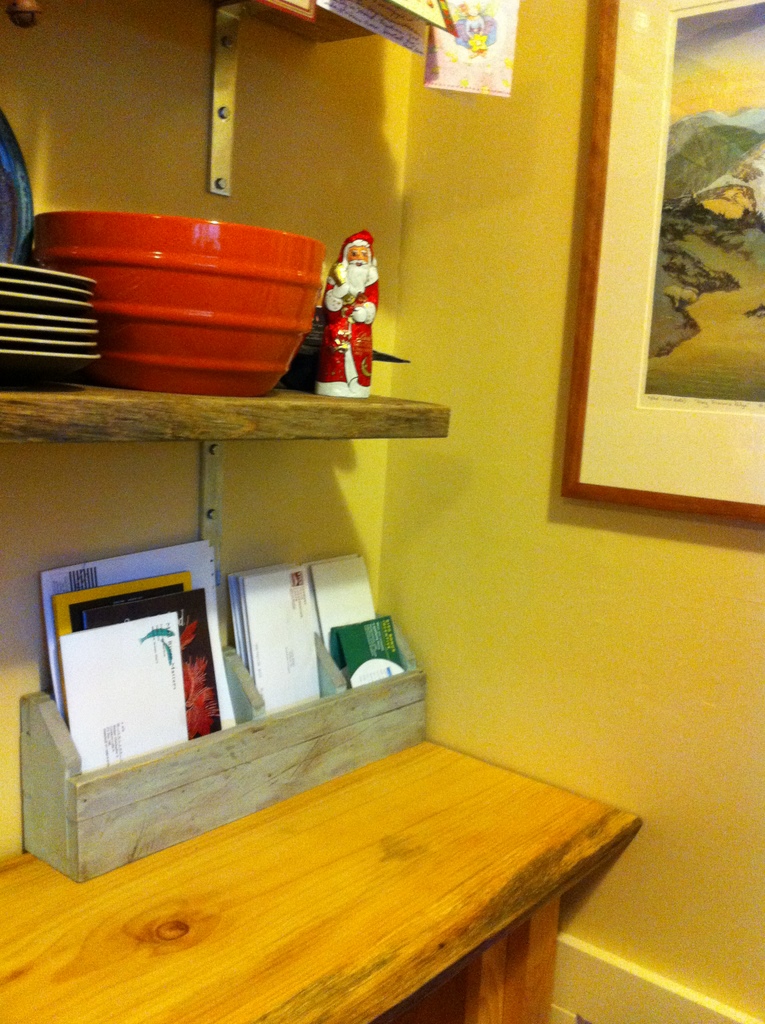
I came across the mail organizer brag post based on Ana's Numbered Cubbies plan and thought it was a great idea. Also, I had some new Annie Sloan Chalk Paint that I was very eager to test out!
I have to say, I love my new process for creating furniture in the house:
1. Cut boards
2. Give them to my 2 & 4 yo daughters to "whack on"
3. Invite the girls to paint
4. ENJOY!
Thanks Ana for all you do!
p.s. Note "Industrial Chic Reclaimed Shelves" in last photo, thanks again Ana!
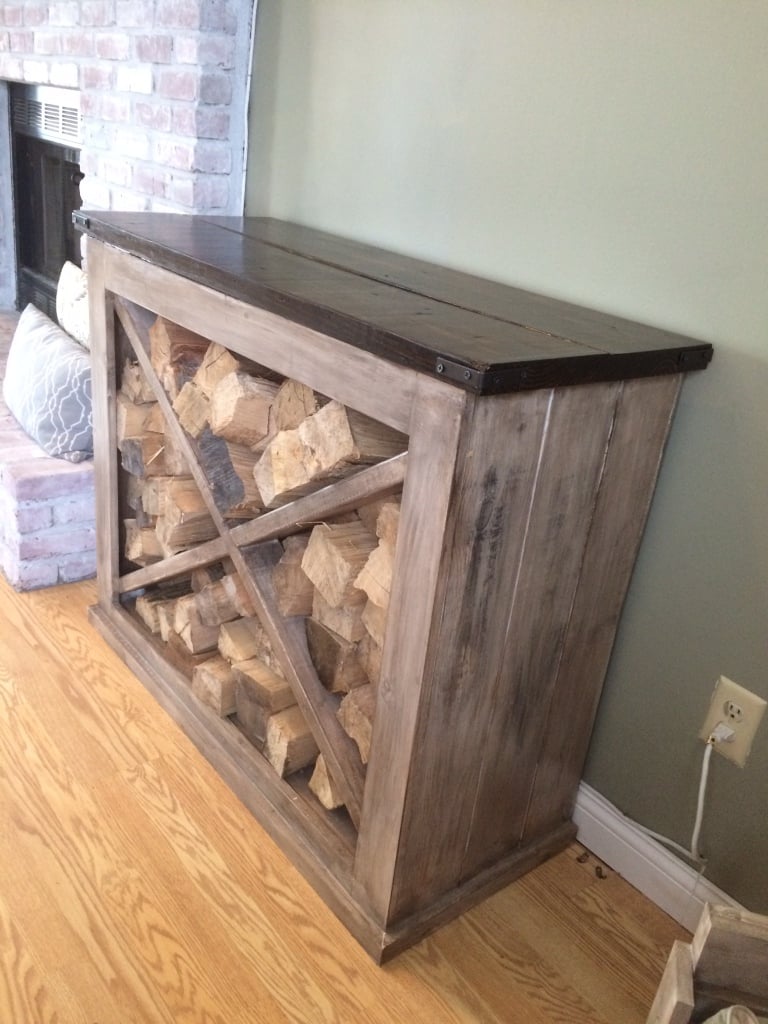
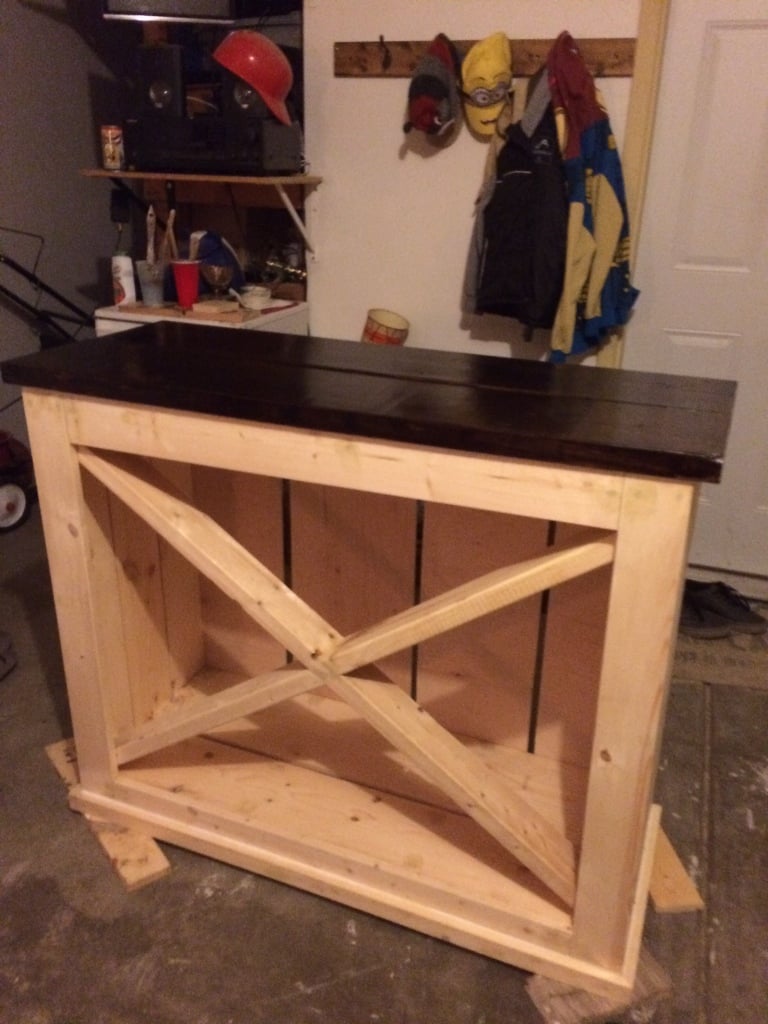
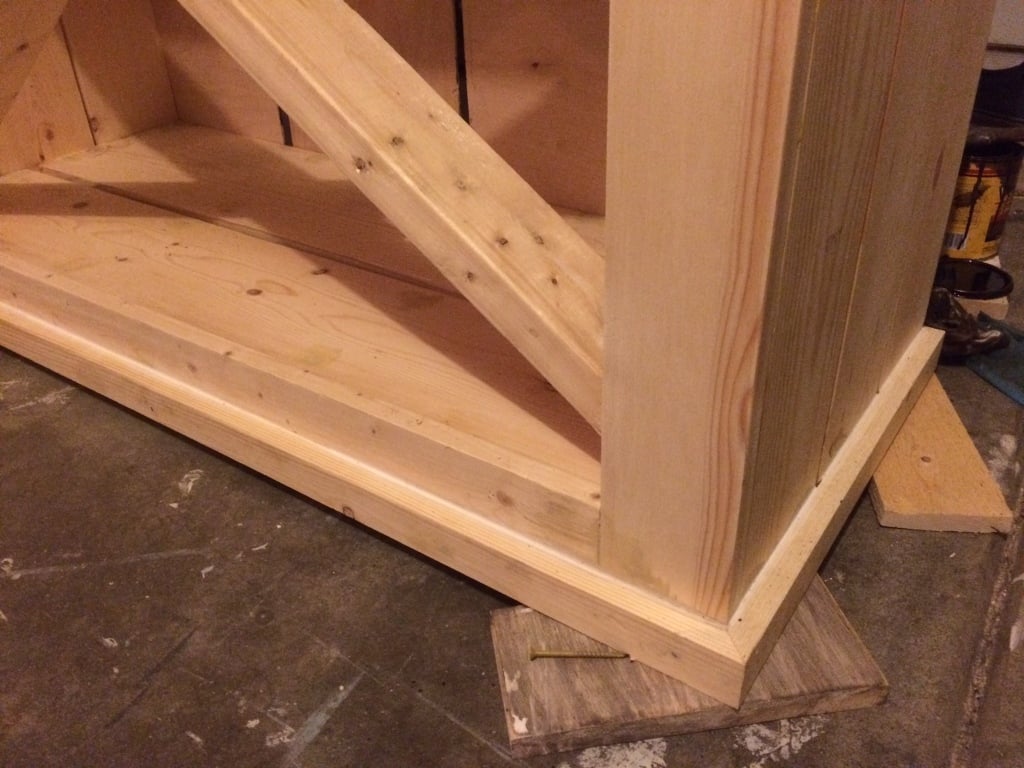
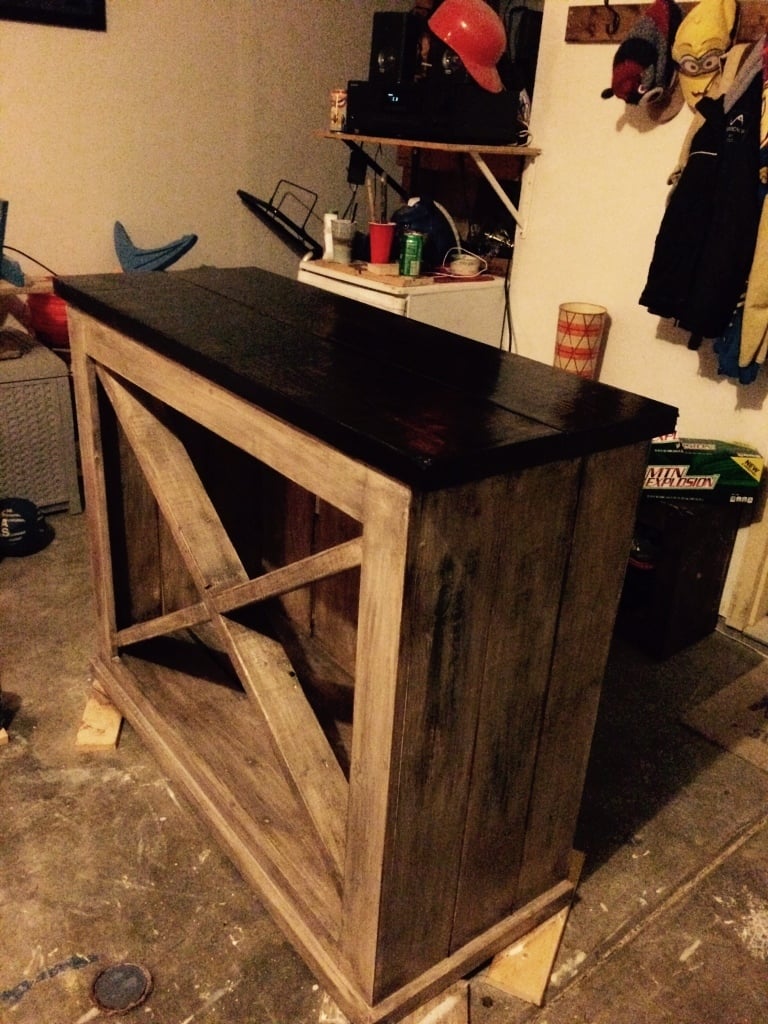
My brother just bought house and has a large living room with a large fireplace. He needed something that would hold firewood and also was decorative. We came up with this plan after I built the Grandy Sliding Door Console. Instead of putting in shelves or doors, we put a bottom on and a back on and add the x (2x4's) in the center. We didn't know what to expect, but after finishing it and delivering it to his house, it turned out great.


Mon, 04/25/2016 - 07:36
Do you have a full DIY plan for this project? Thank you!
Mon, 05/30/2016 - 00:02
I do not have the full plans exactly. I originally built the grandy sliding media console from this site. Then I got the idea to make this firewood holder with the same concept. The only thing I did different was I didn't add any shelving inside except the very bottom shelf, and I didn't add any doors. I just used 2x4s in the center for the x's. Sorry for the late response. Hope this helps.
Tue, 02/02/2021 - 12:11
Beautiful! Wish there were plans of some sort for this. Haven't seen it anywhere else.

Bougth some furniture but no bookcase . So I started to make it myself; first time ever I worked with wood.
I used the plans of Channing bookcase but modified them a bit.
It fits completely with the other furniture: same color and structure , but most important, 5 times cheaper.
Thanks Ana White
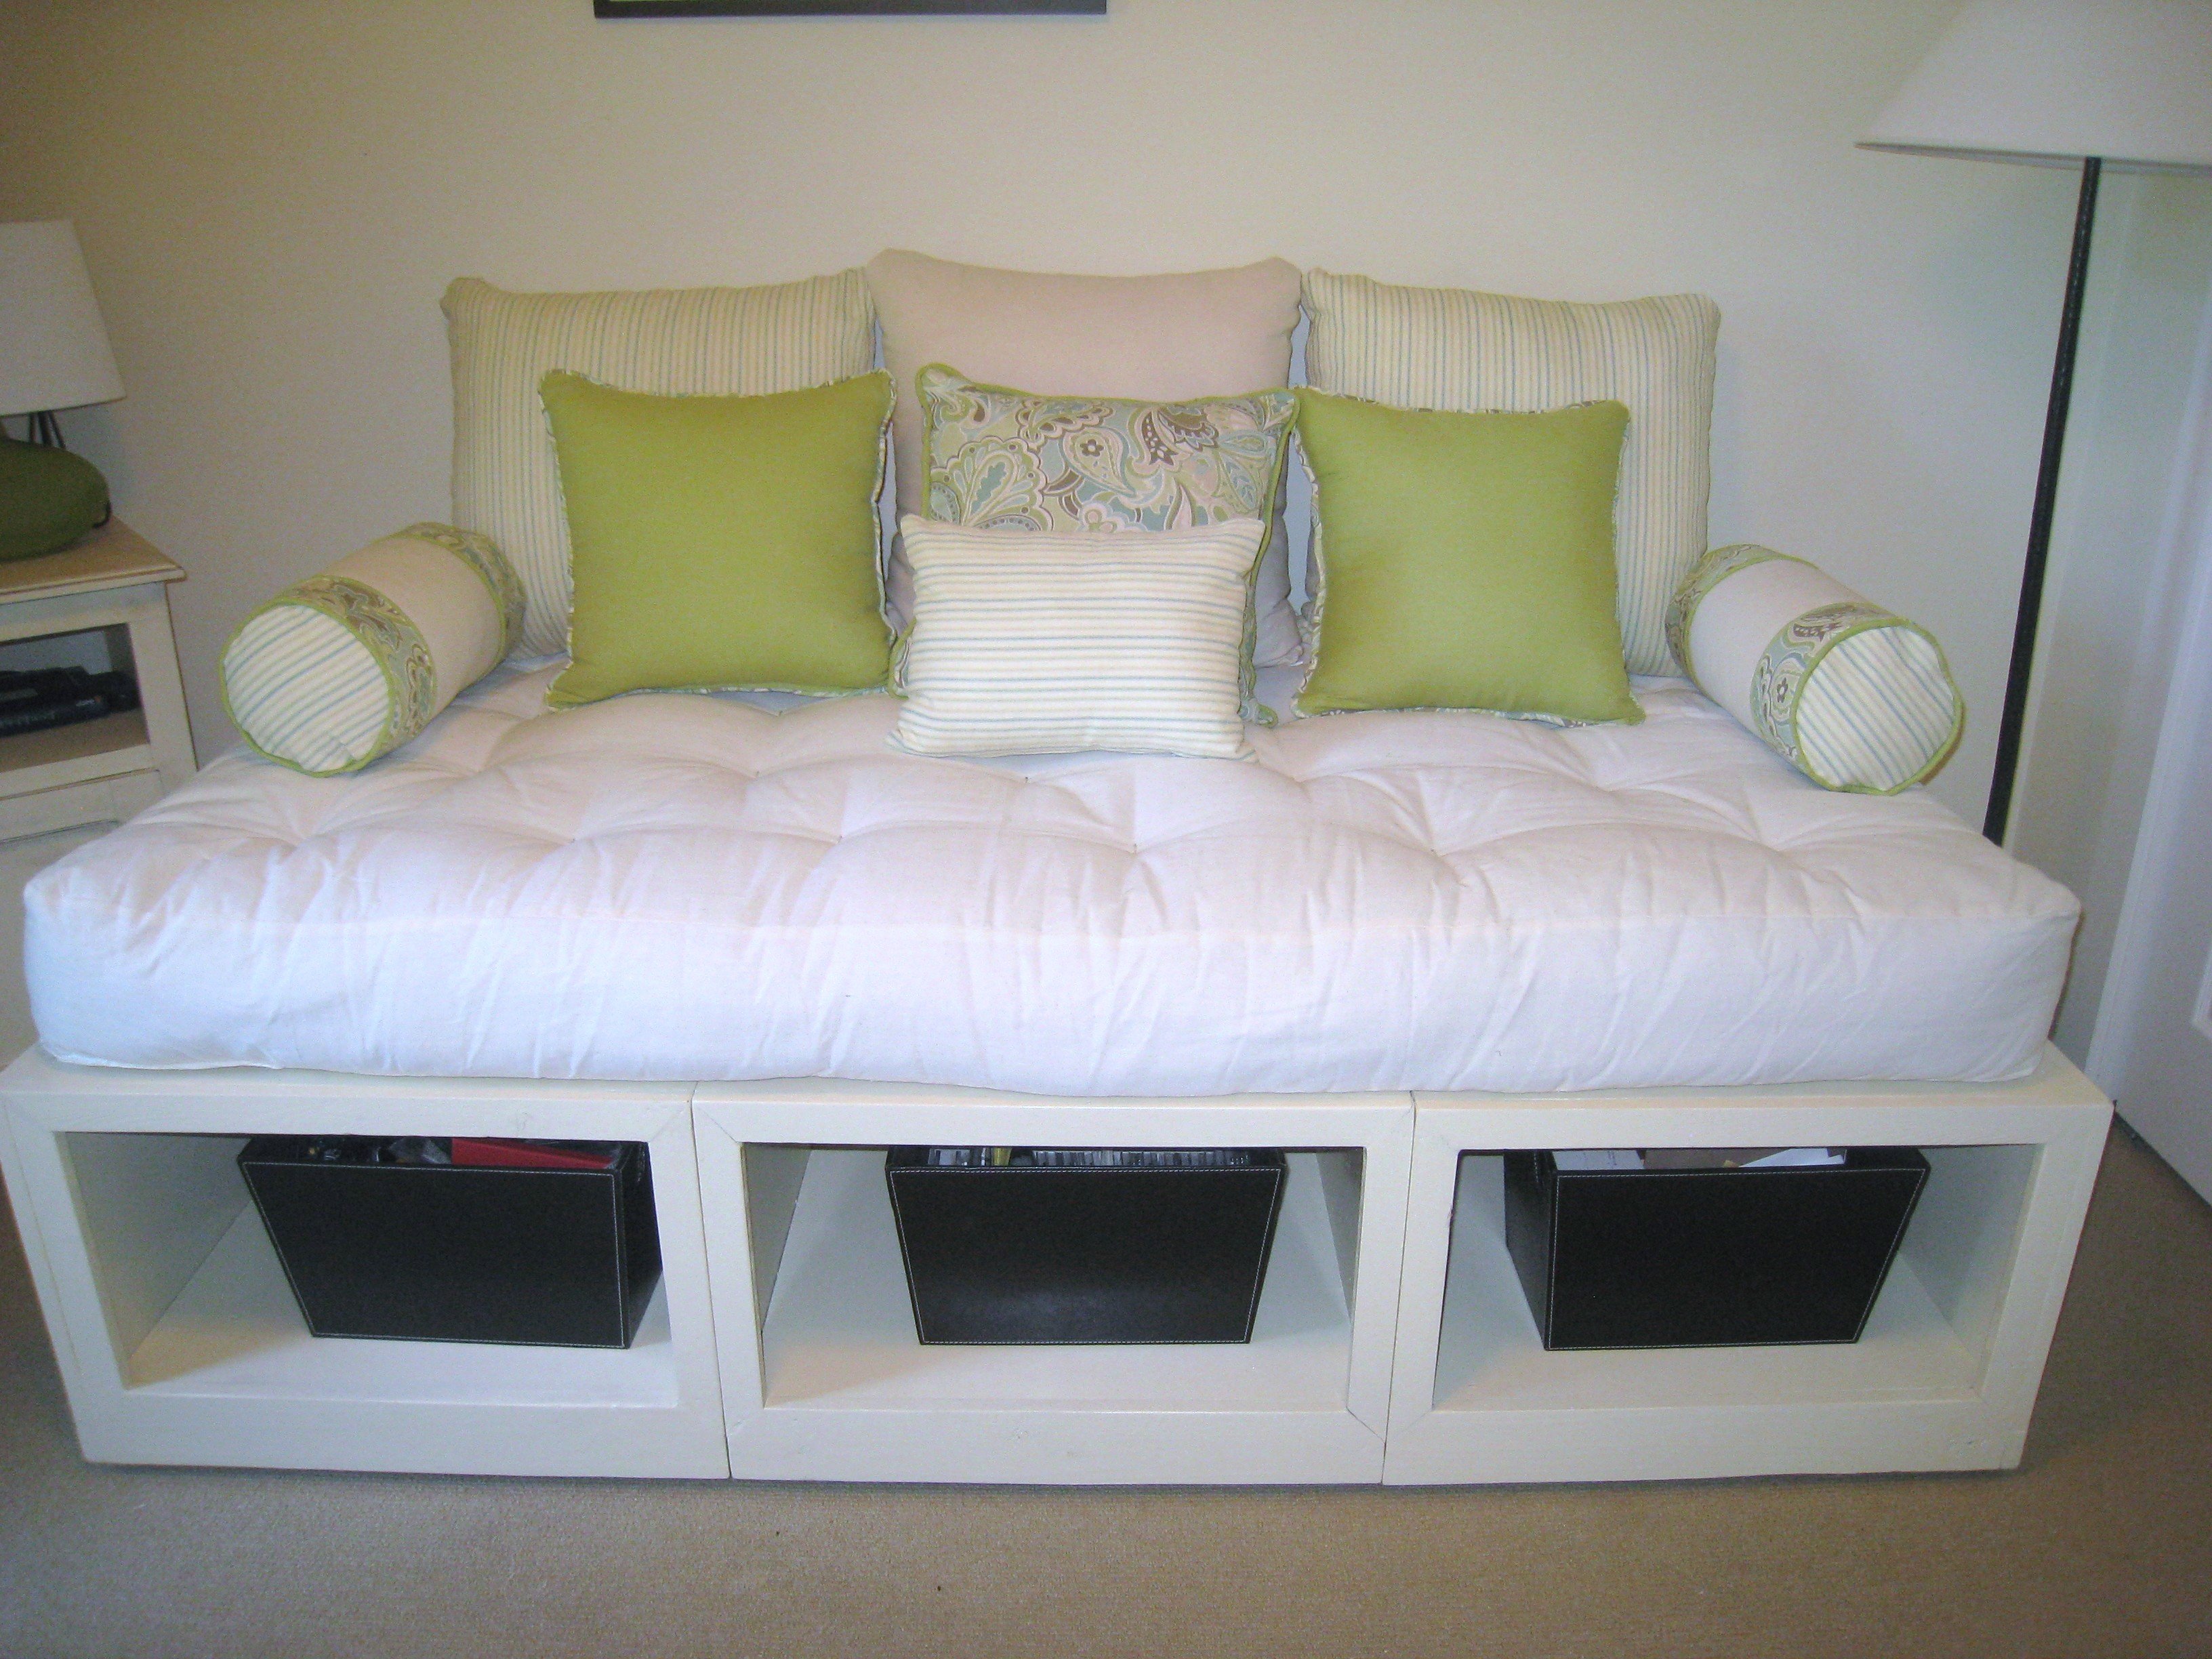
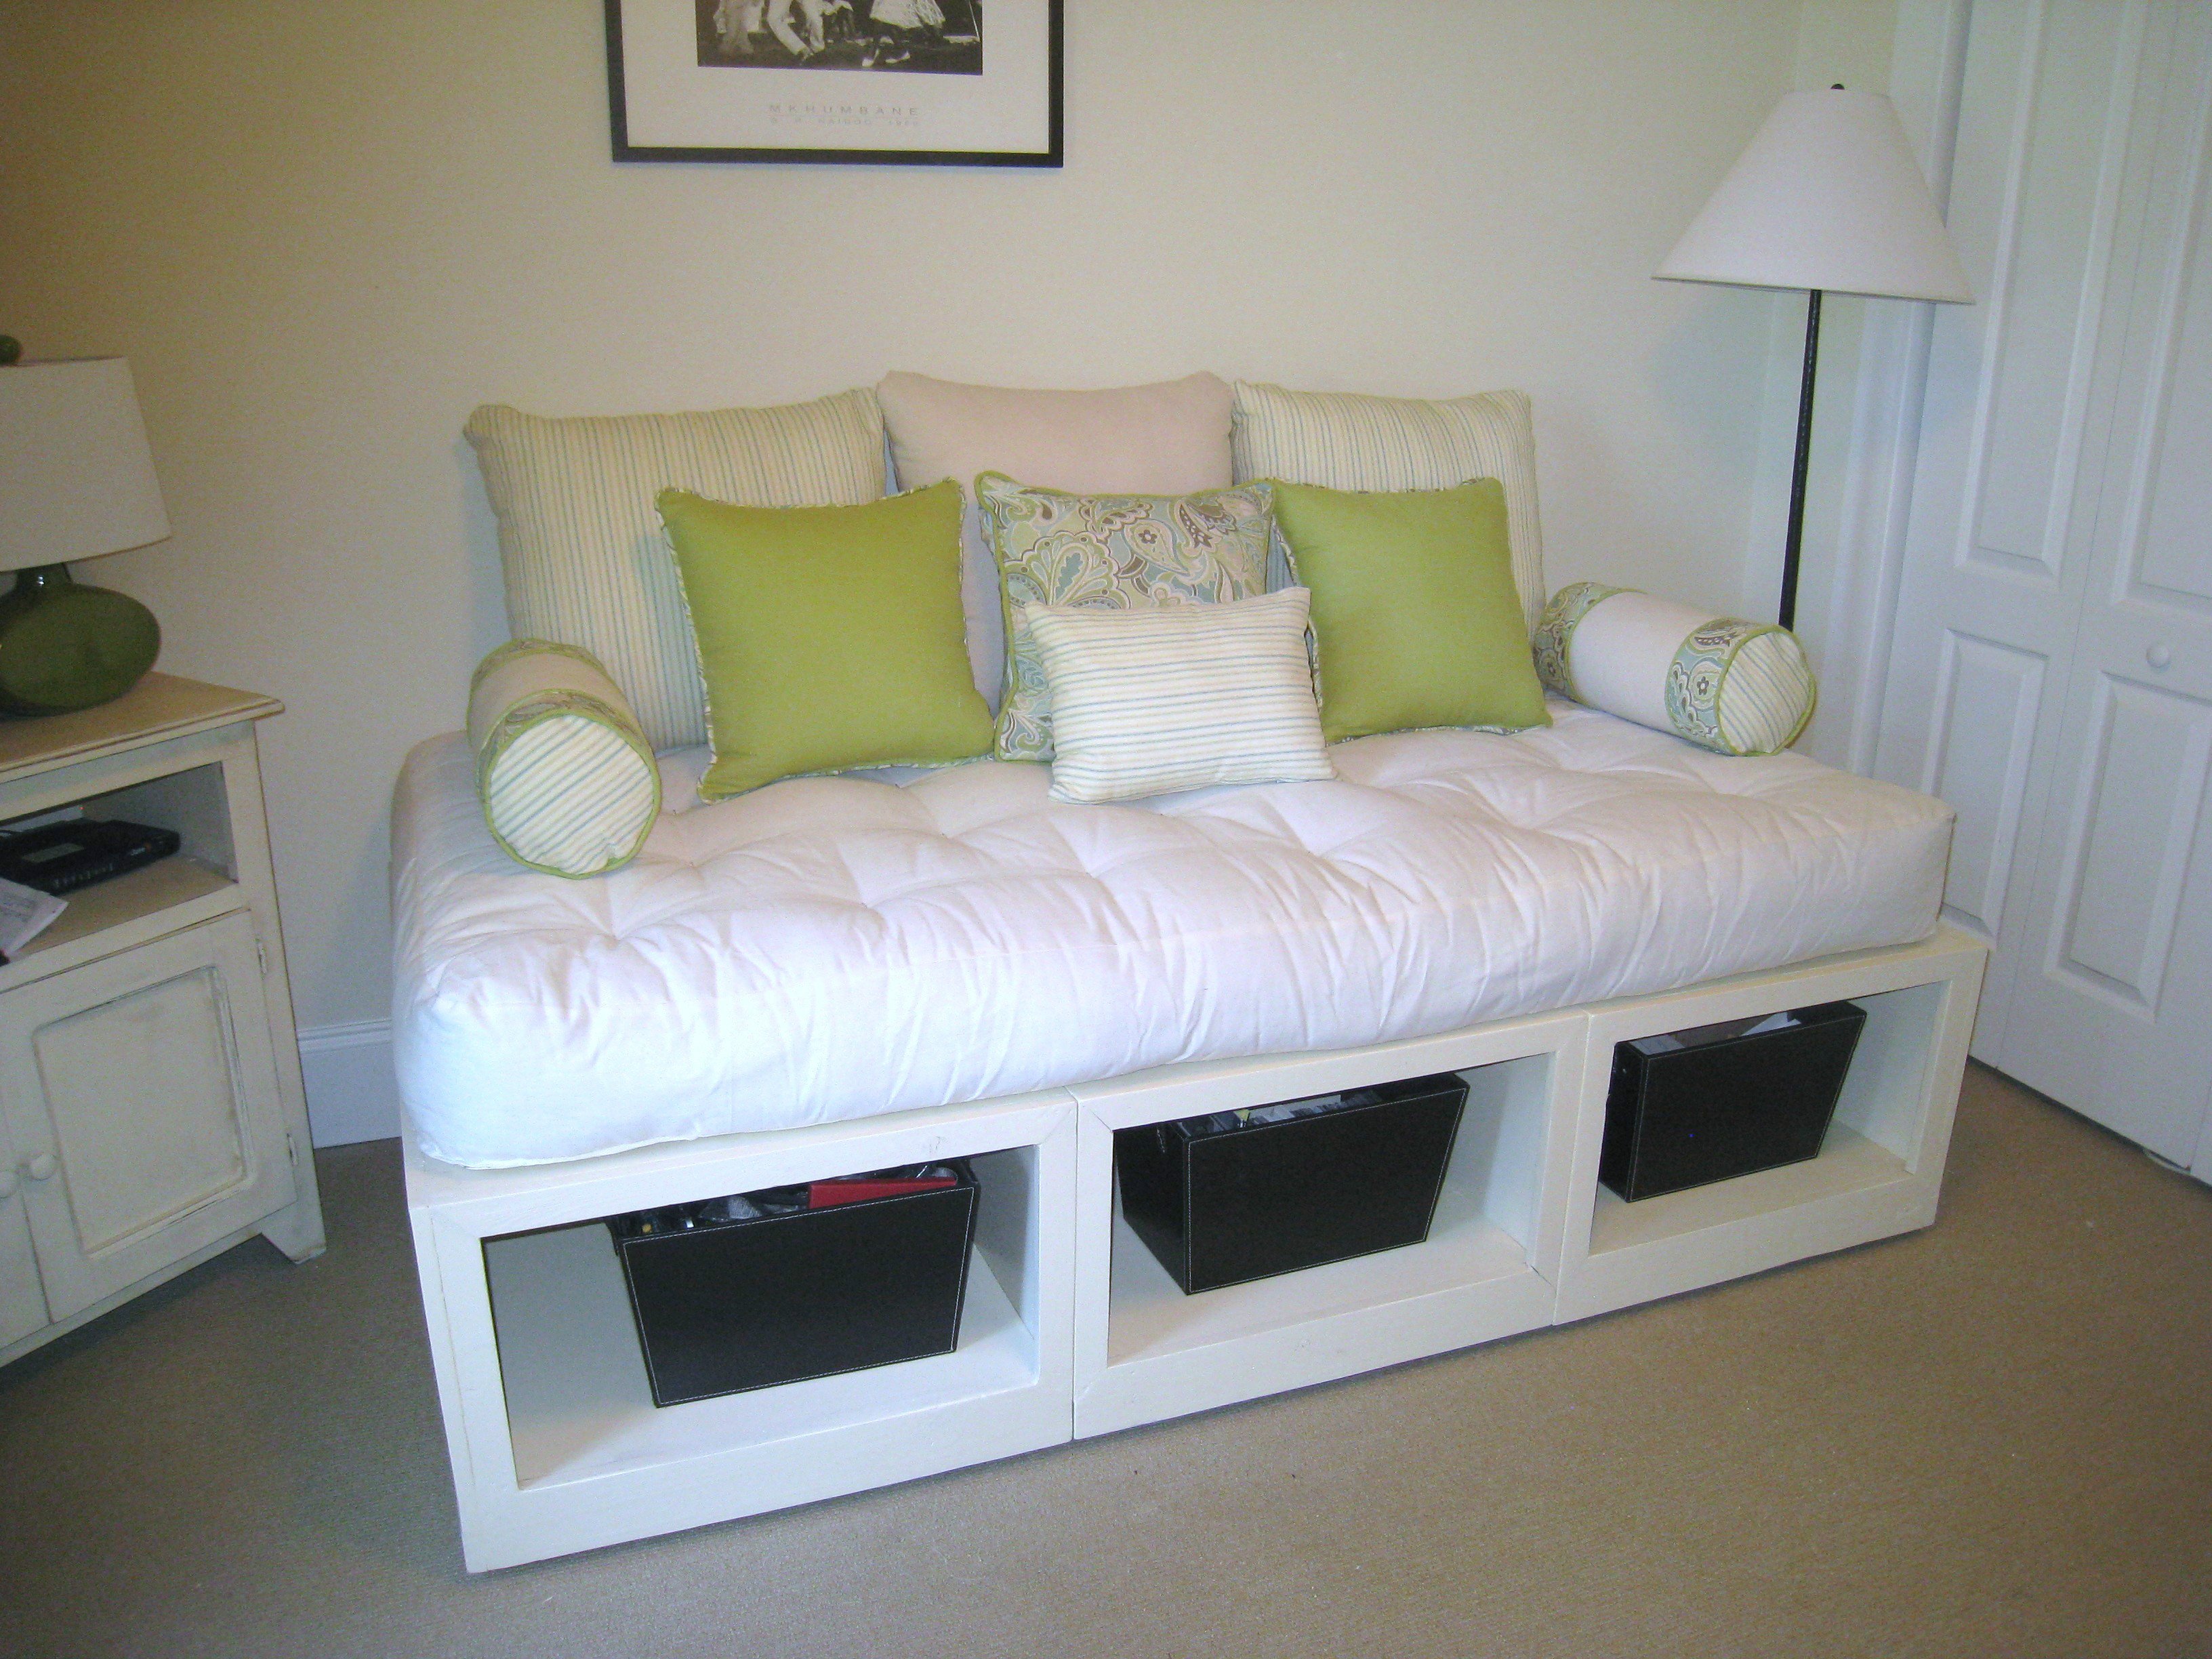
My first project using Ana's plans. Quite a learning experience with a few rookie mistakes but all in all I think it turned out pretty ok.
I followed the plans to the T. Trusted my lumber yard to make most of the cuts since I was not really equipped and that was a HUGE MISTAKE. So I went out, bought some tools, recut some boards and whatever mistakes I made, at least they were mine.
I followed other people advice on this site and added some casters under the boxes after I screwed them together. Makes it a lot easier to move around.
Thank you Ana - your website is truly inspiring.
Fri, 01/06/2012 - 07:35
Thank you:) I ordered the mattress online - Futon mattress - can't remember where from though... But for $118 I'm REALLY happy with it!

In reply to Thank you:) I ordered the by SophieW
Fri, 01/06/2012 - 08:34
Oh, ok, that was smart! I wouldn't think it was from a futon as it's pretty thick. Love!
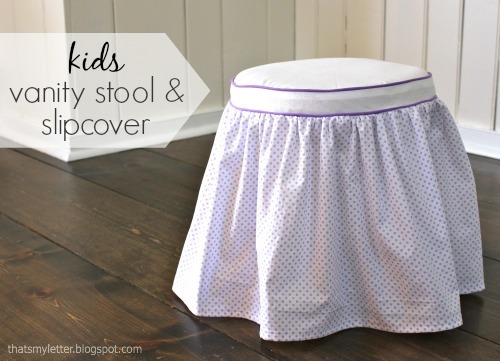
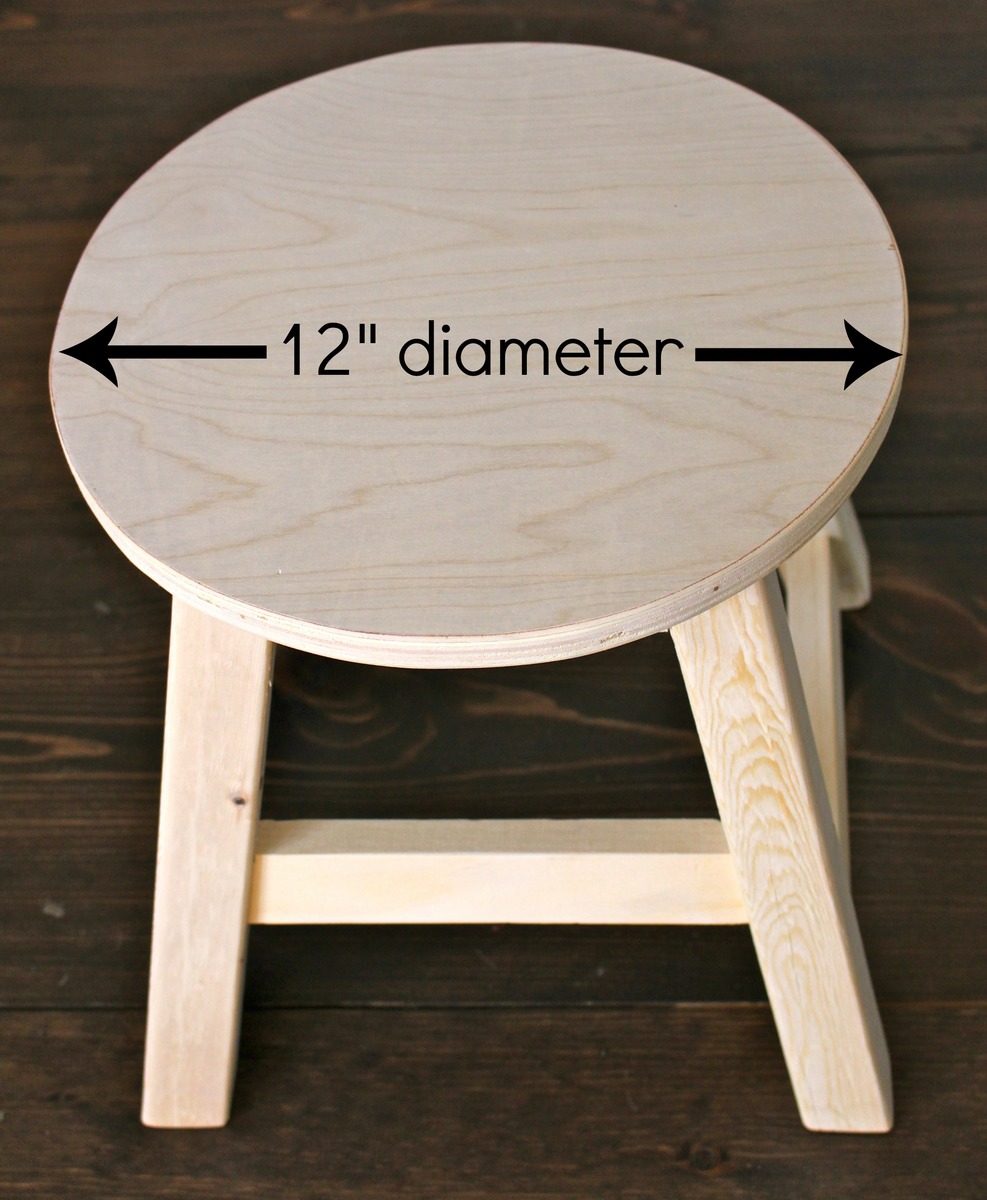
I used all scraps to construct the stool modifying the leg height to 12 1/2" and the seat to a 12" diameter to fit properly at the kids vanity. See the complete details on the slipcover in my blog post link.

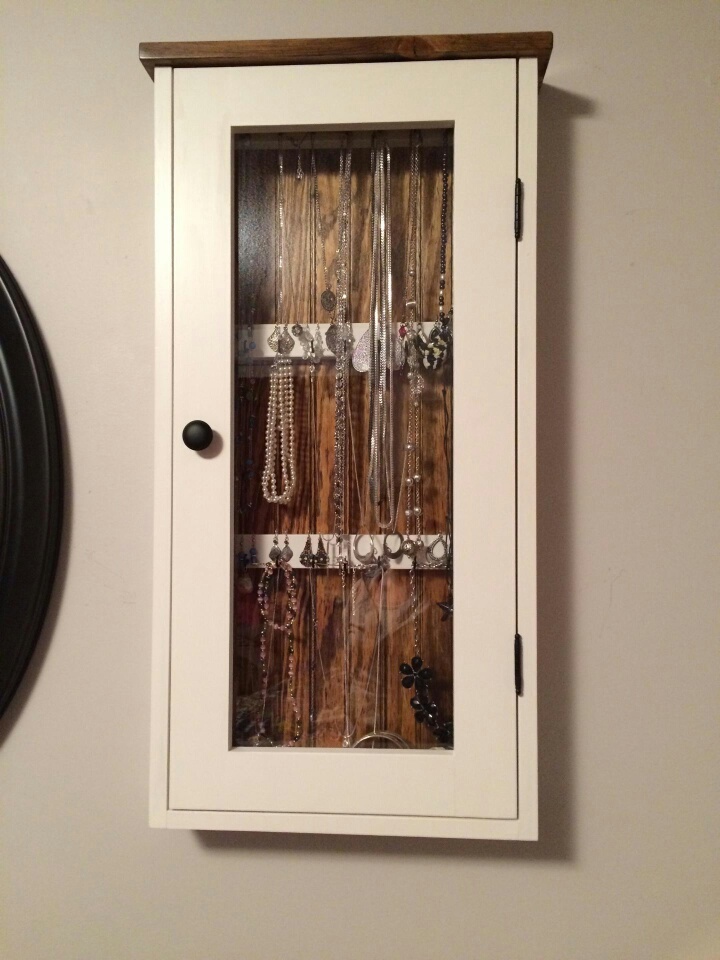
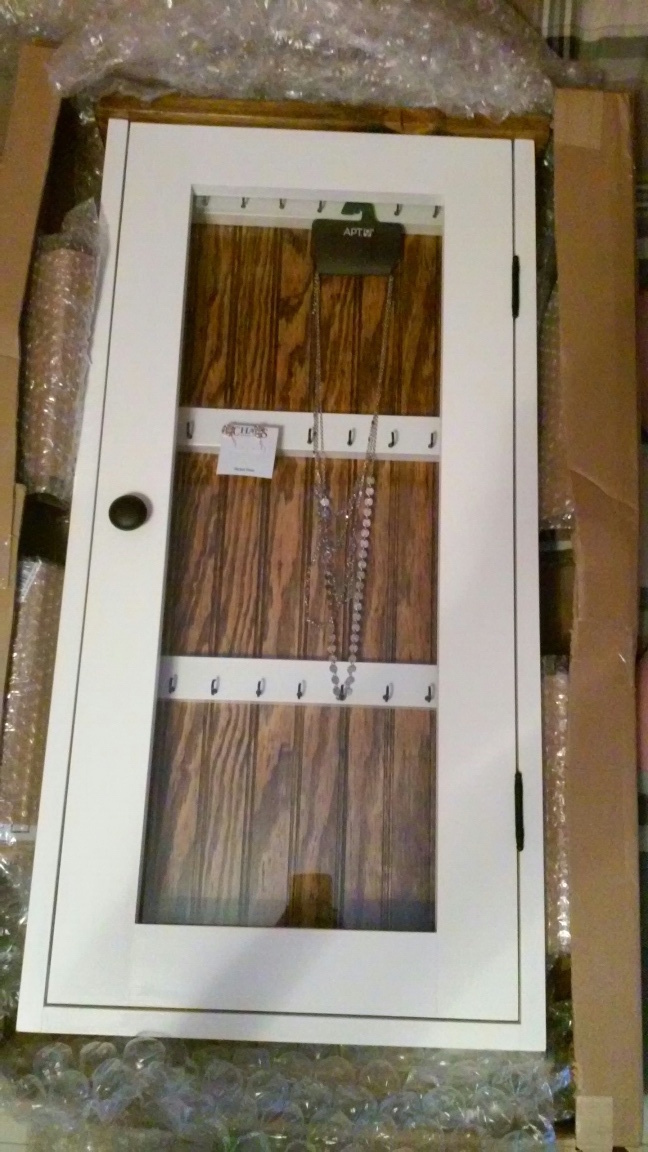
I built this for Girlfriend this Christmas. It was fun to surprise her. I put some jewelry in it, wrapped it, and put it under the tree. I think it turned out really nice. I installed a recessed bead-board back and 1/8" glass in the door. All black hardware and a two tone finish. She loves it but she filled it up real quick. I guess I could have built it bigger! ![]()

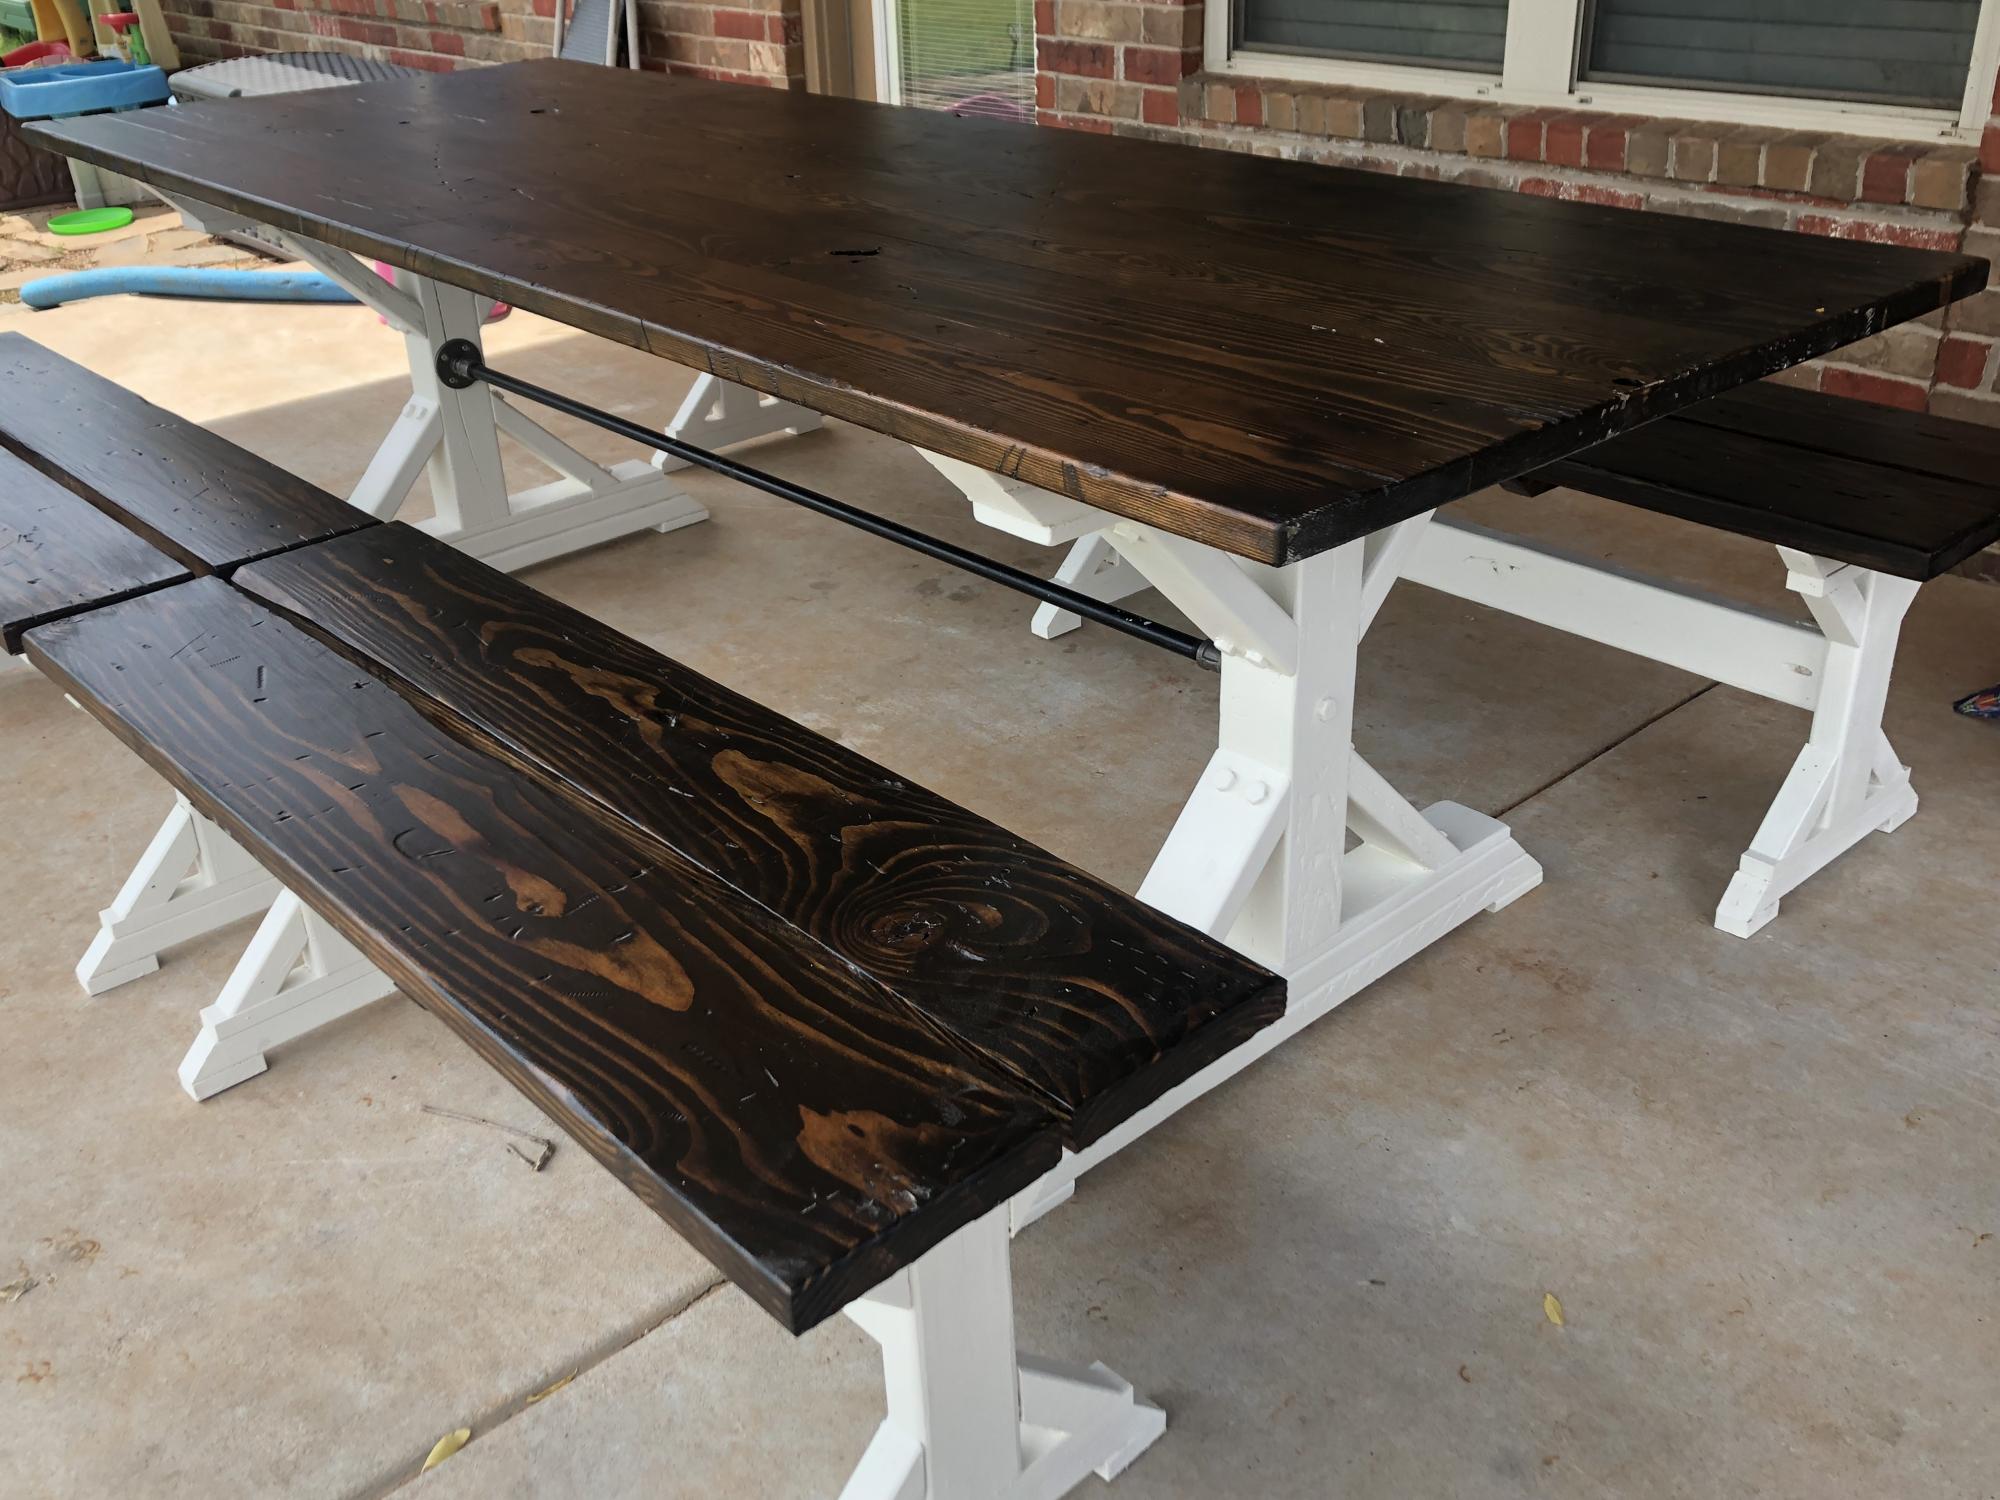
Fancy X Farmhouse table for the wife. Modified to 8ft table with 2x 4Ft benches and 1x 8ft bench. Used bolt screws to diagonal slats for looks and pipe horizontal support vice the 2x4. Top is Dark walnut stain and an egg shell Chalk paint with outdoor clear coat. Kids had a blast distressing the table and benches for an older look. Not a bad weekend project.
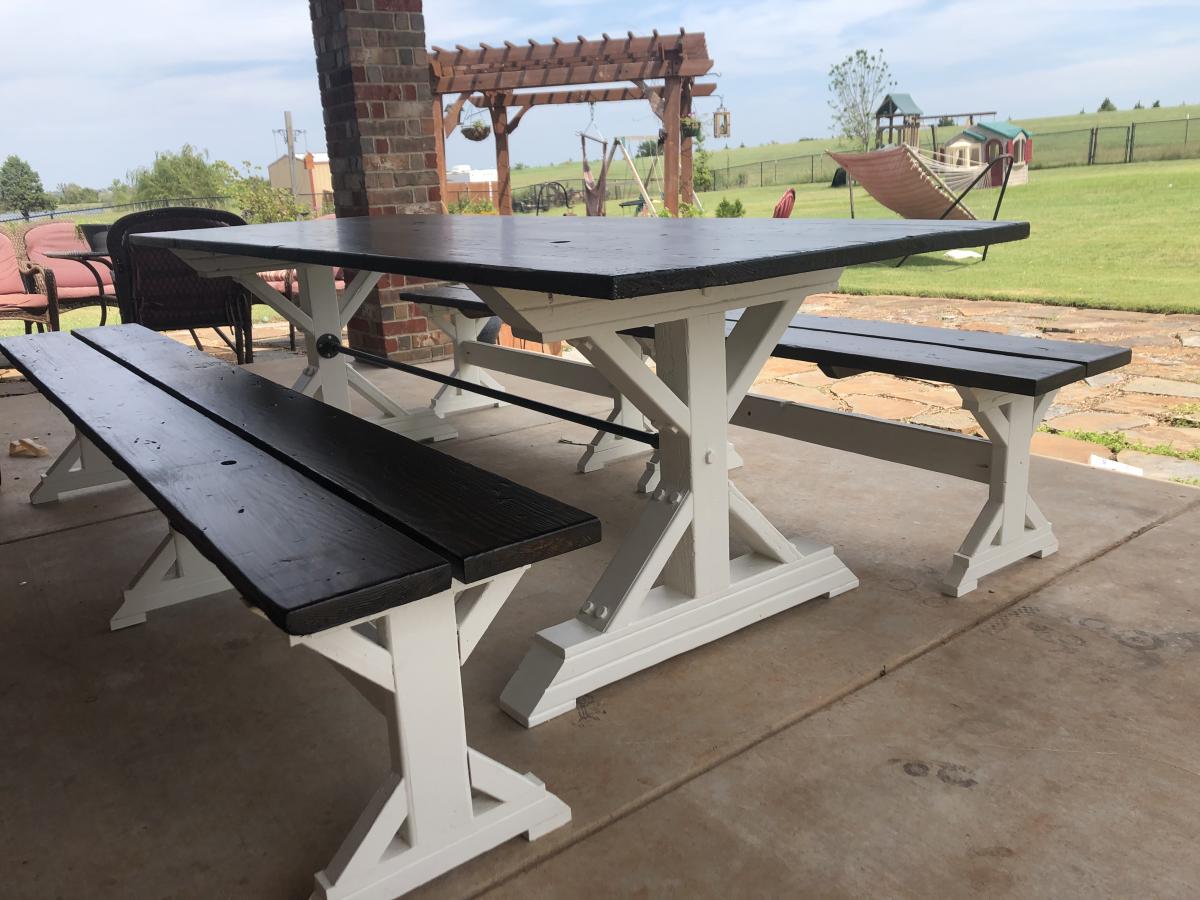
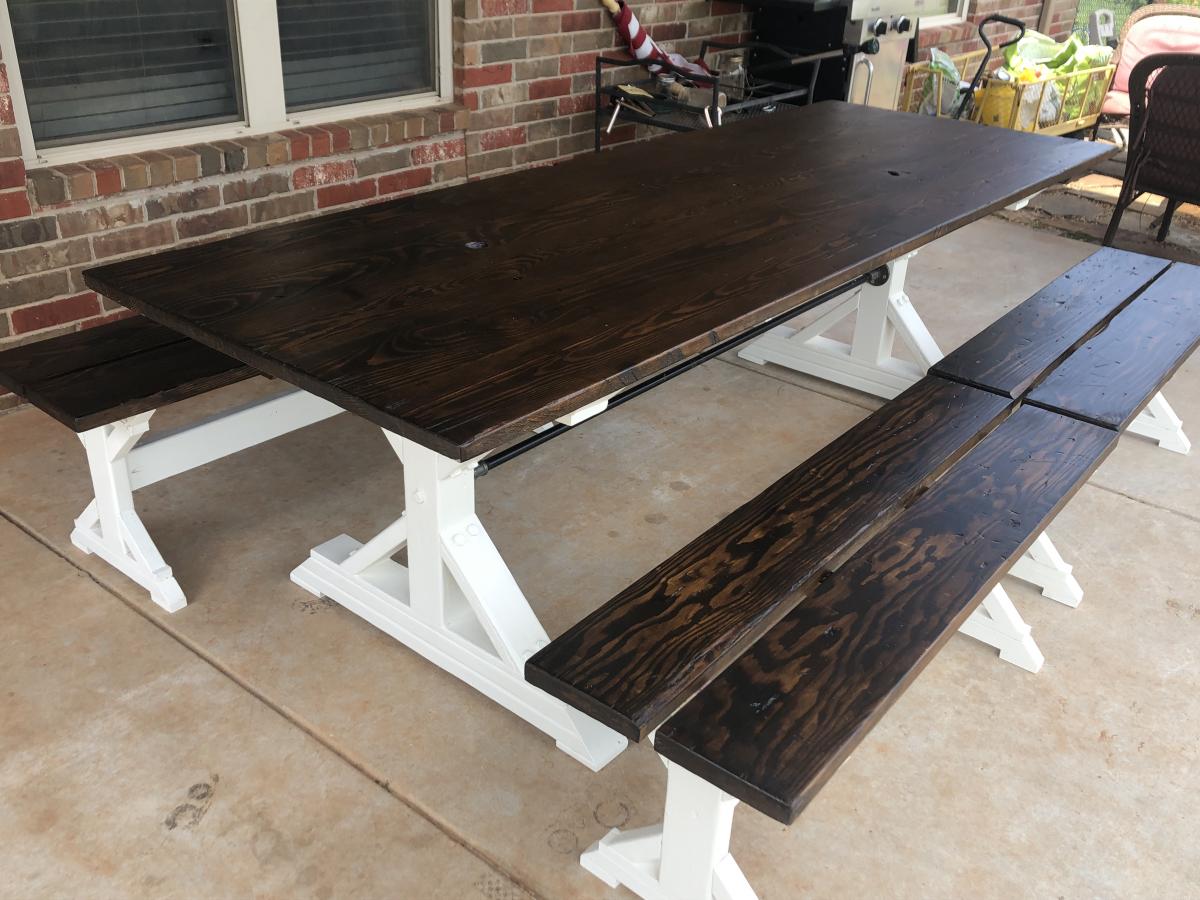
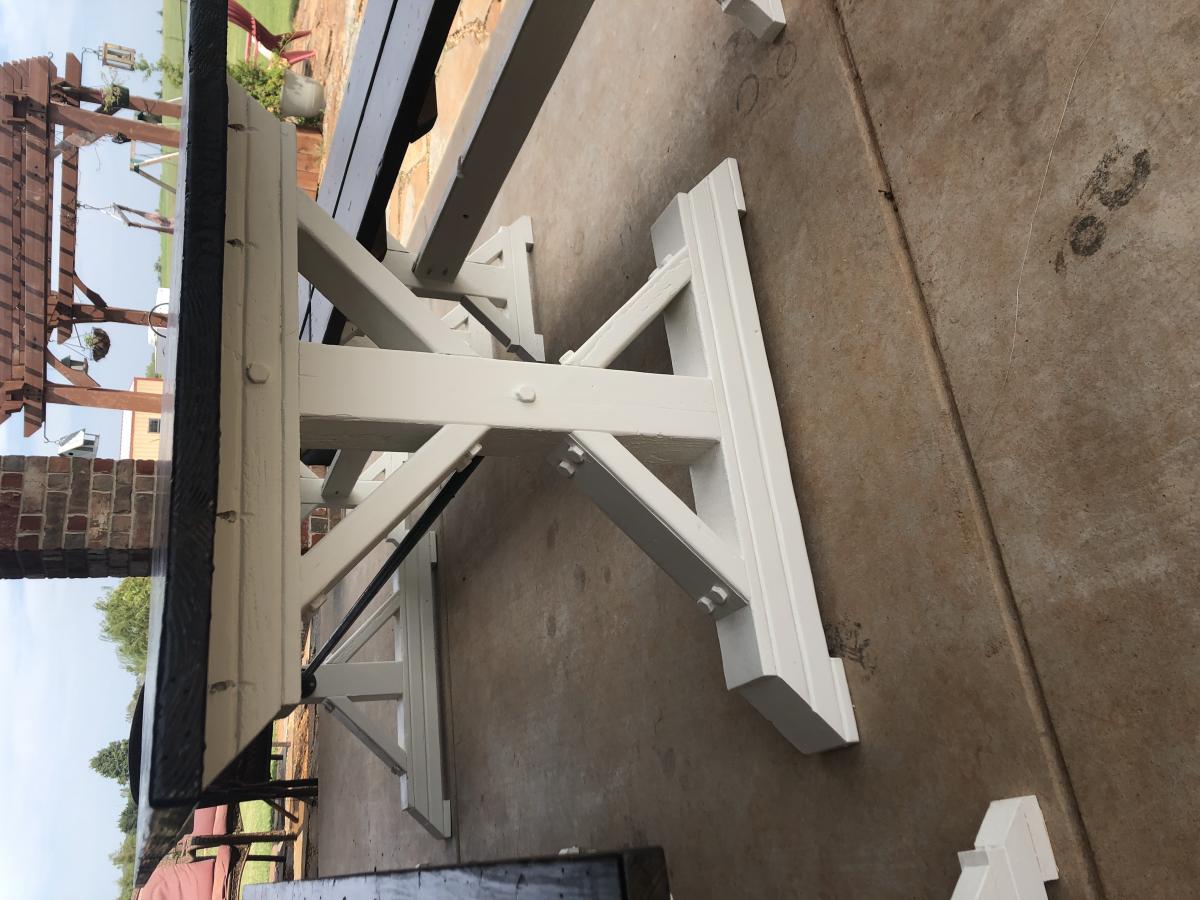
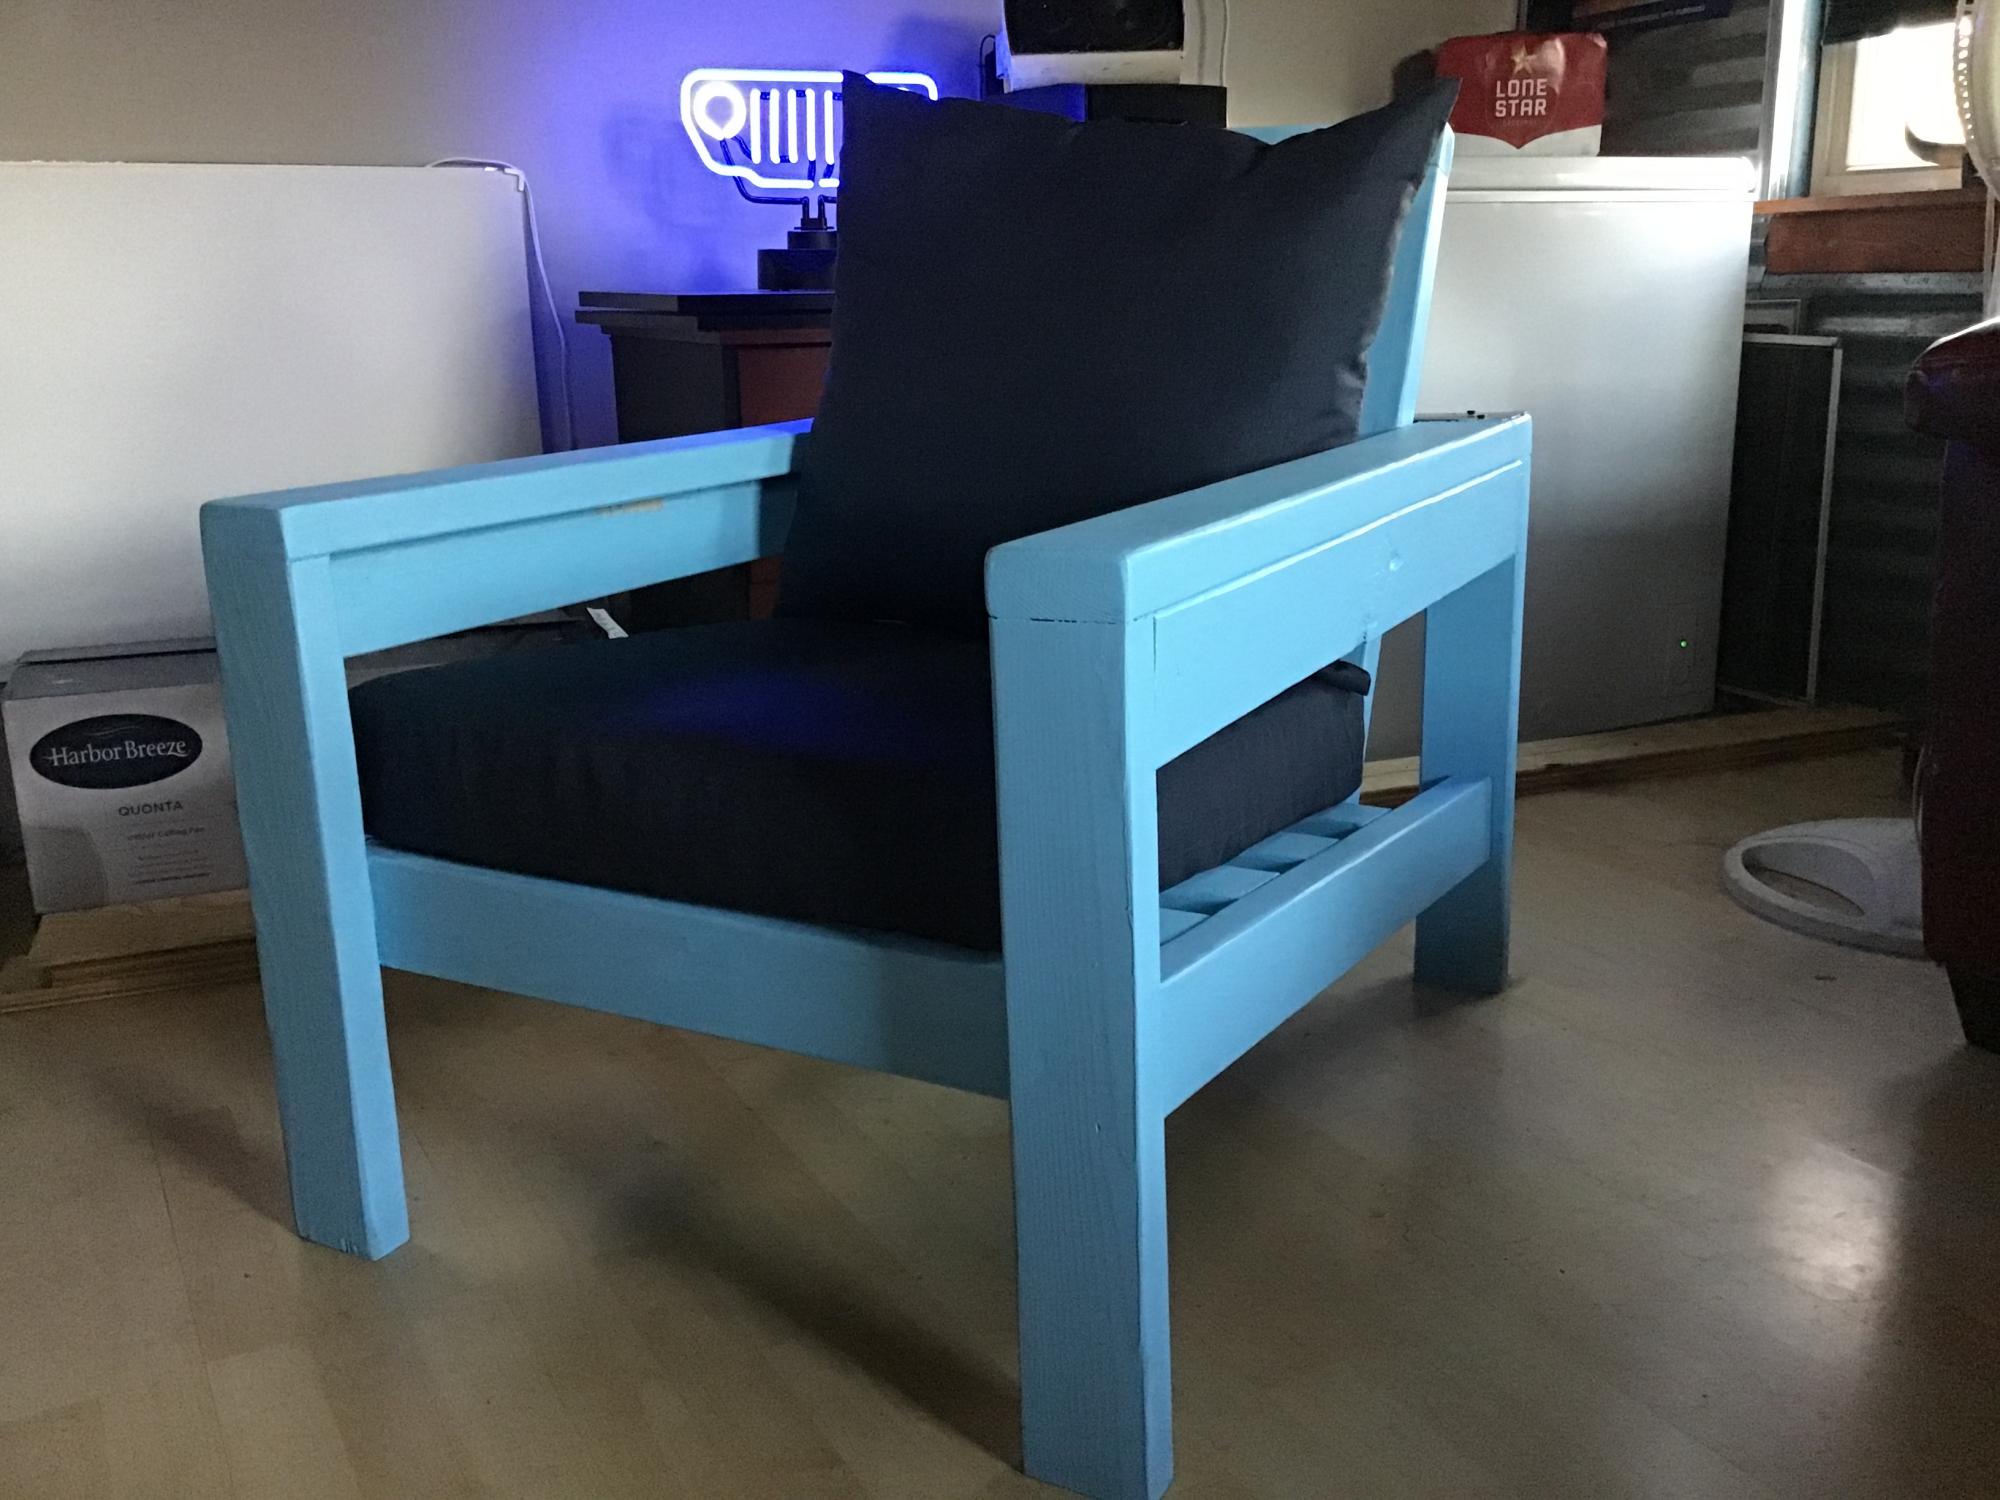
Thank you Anna for designing such beautiful plans, and making them available for free. My husband likes the chair so much he doesn’t want it outside! I guess I’ll have to make a few more for our deck.

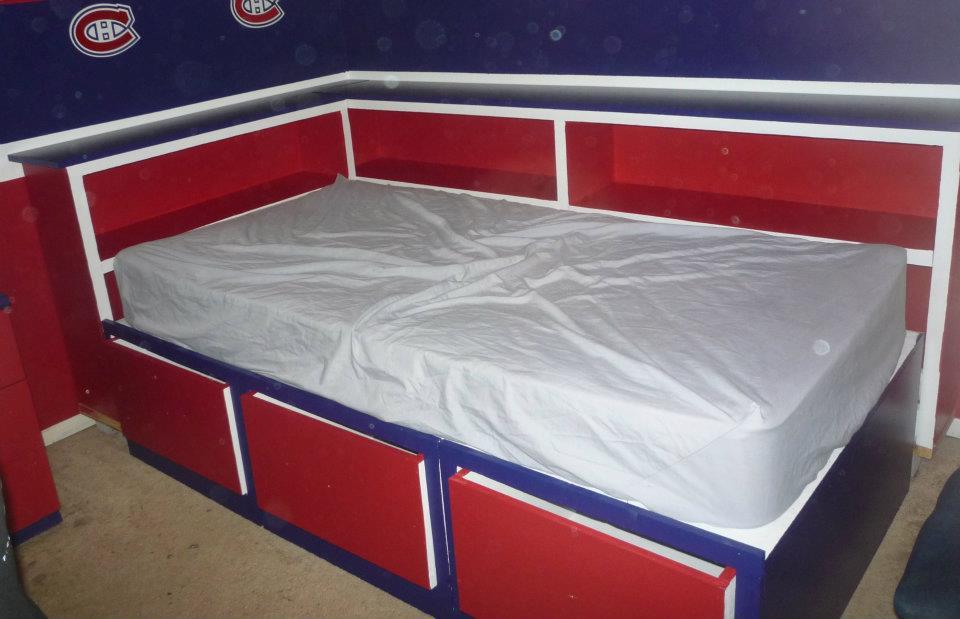
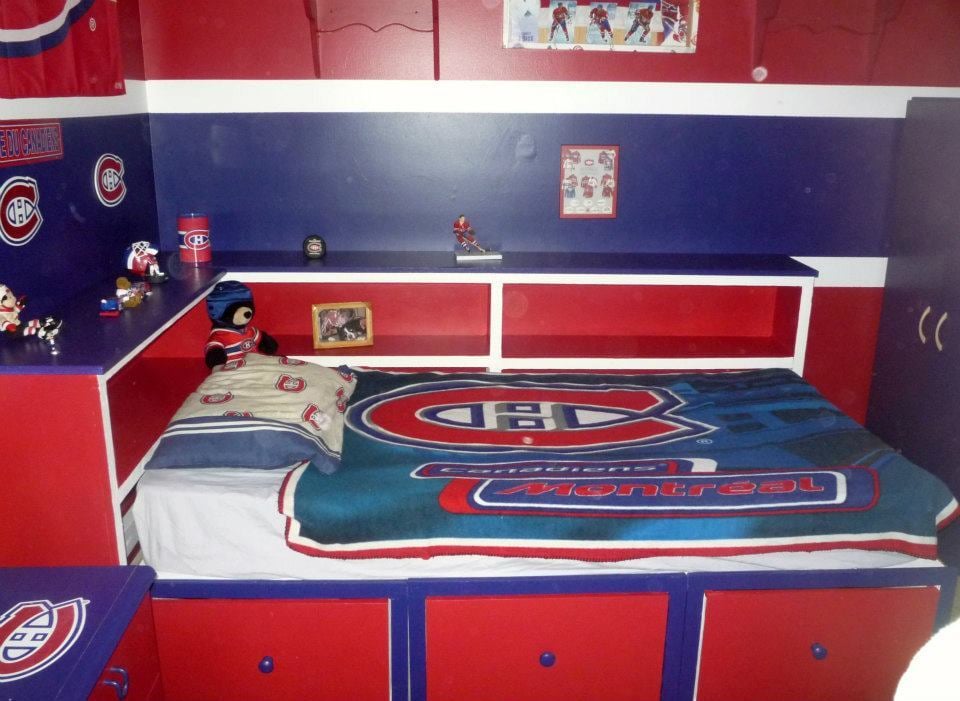
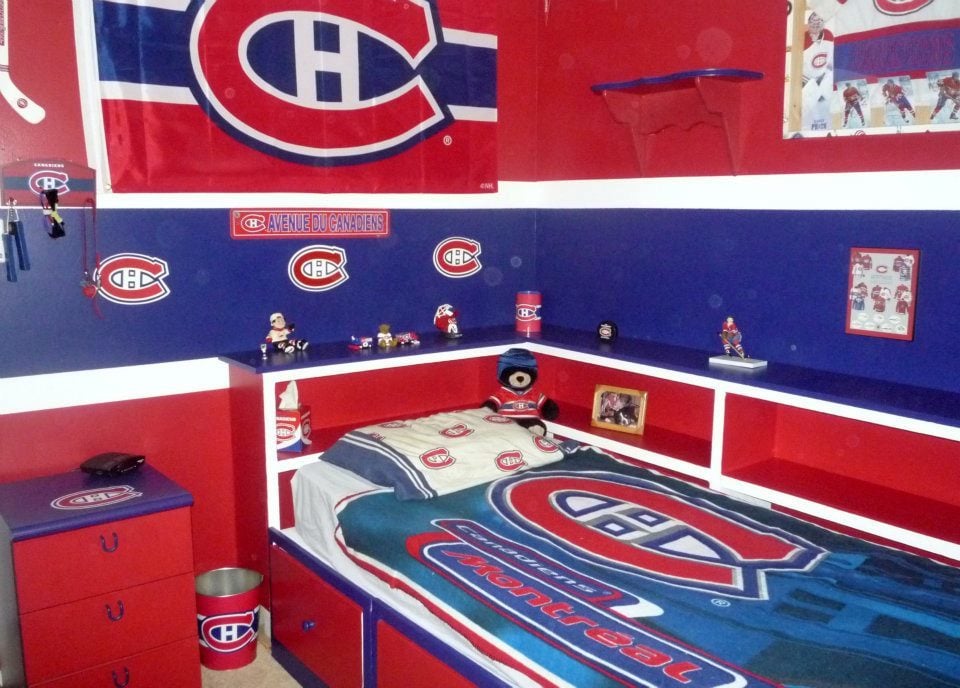
Our nephew Nathan really wanted a captain's bed like his friend. We built him one even better for Christmas this year. I couldn't find one plan with everything we wanted to I used the plans for the Storage Daybed for the base, and used the plans for the Cozy Corner twin bed collection wide bookcase unit. We combined both the headboard and sideboard into one unit (by extending the top to the short end) giving him an L shaped headboard for all his hockey stuff :) The only thing we messed up on was the height of the bookcase. He wanted it higher so it's on blocks for now to raise it. My sister did all the final painting to match his room and it looks AWESOME!!!
Steve had everything cut at work and we put it together in one 12 hour day! Nathan LOVES his new bed. Thank you Ana!

Fri, 01/06/2012 - 16:52
That is one nice, cool looking bed. Interesting colors, is it his school colors? I've never thought of painting plywood, you've given me some ideas.
Fri, 01/06/2012 - 21:24
The colors are the official Montreal Canadiens hockey team's colors, My son is a HUGE fan! Nathan LOVES his bed. and it is very solid.
Fri, 01/06/2012 - 20:29
Ummm... The bookcases were too short because you didn't take the mattress height into account. Looks really good though.


Comments
Ana White Admin
Thu, 04/20/2023 - 12:19
Fabulous set!
You did an amazing job, thanks so much for sharing!