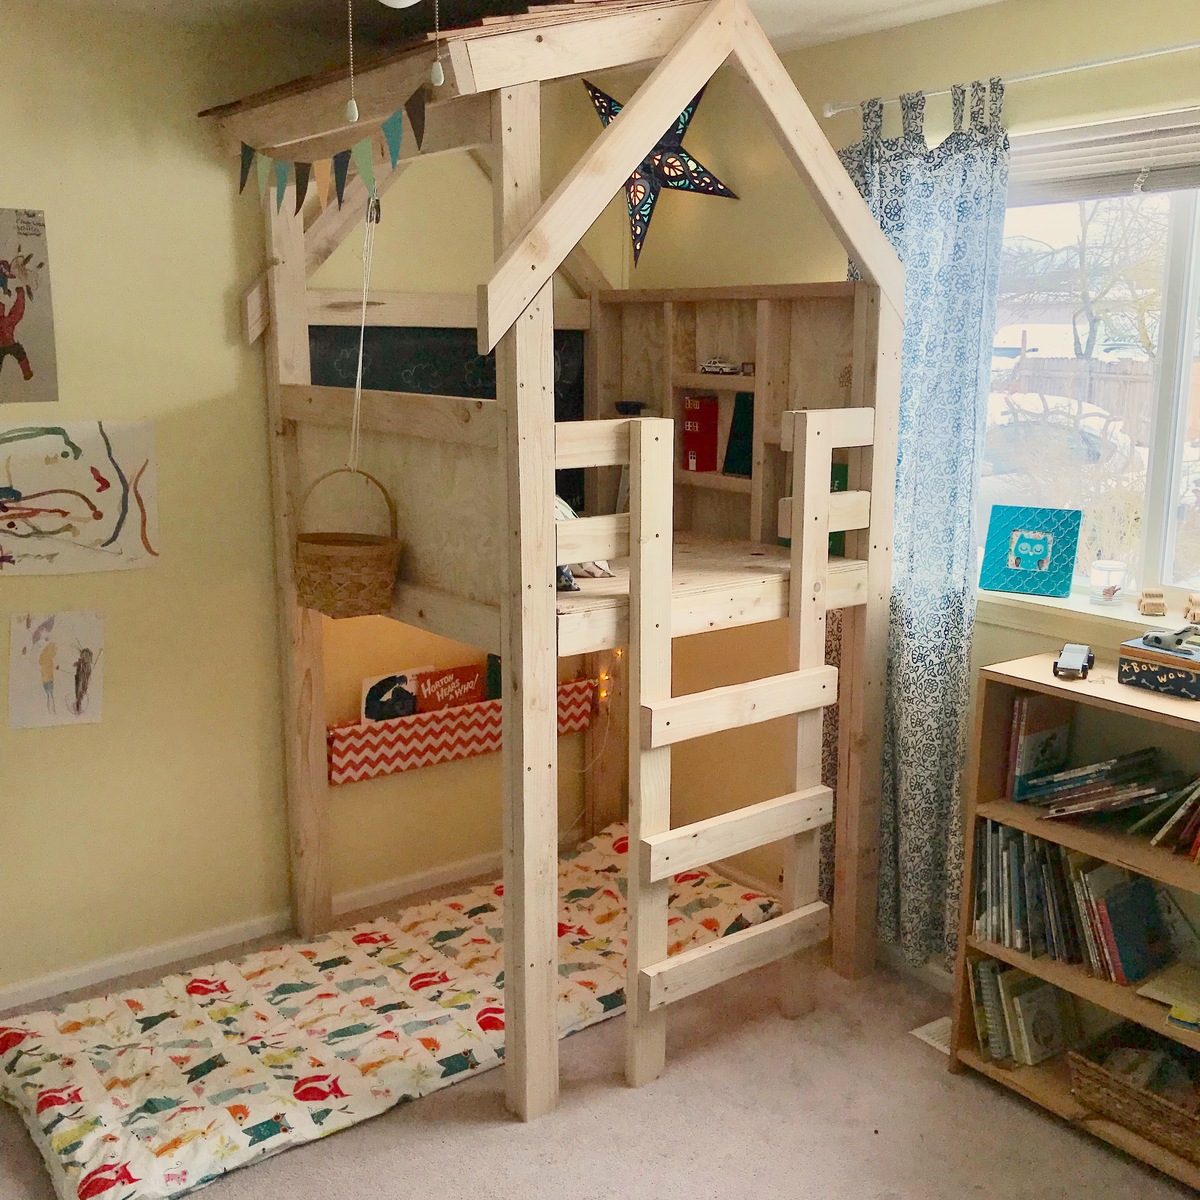
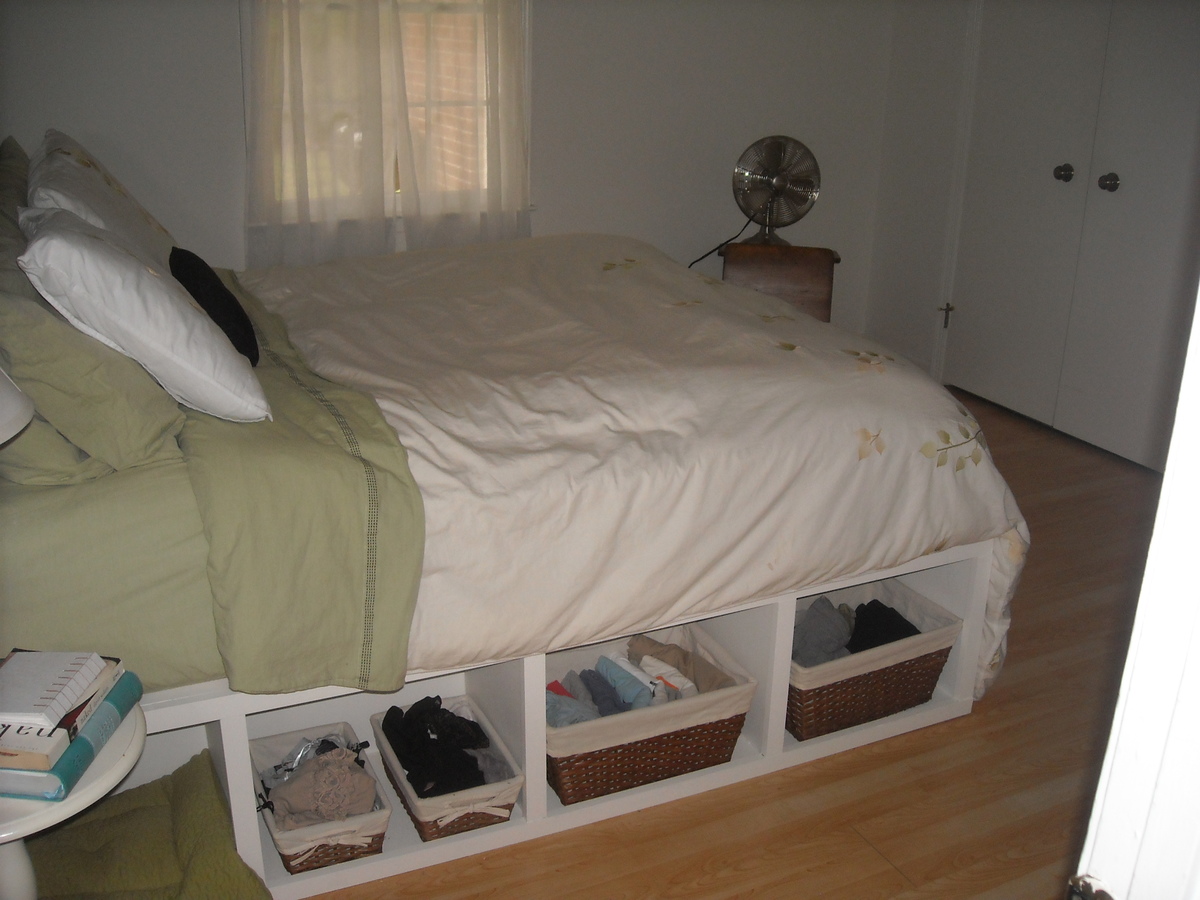
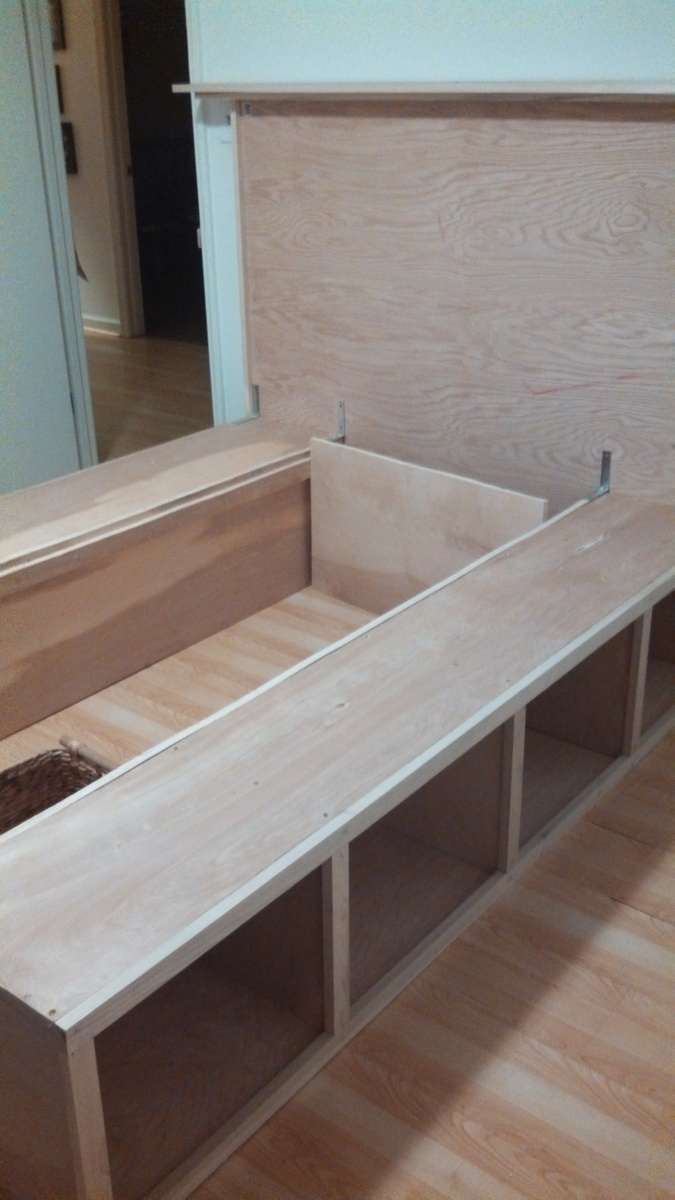
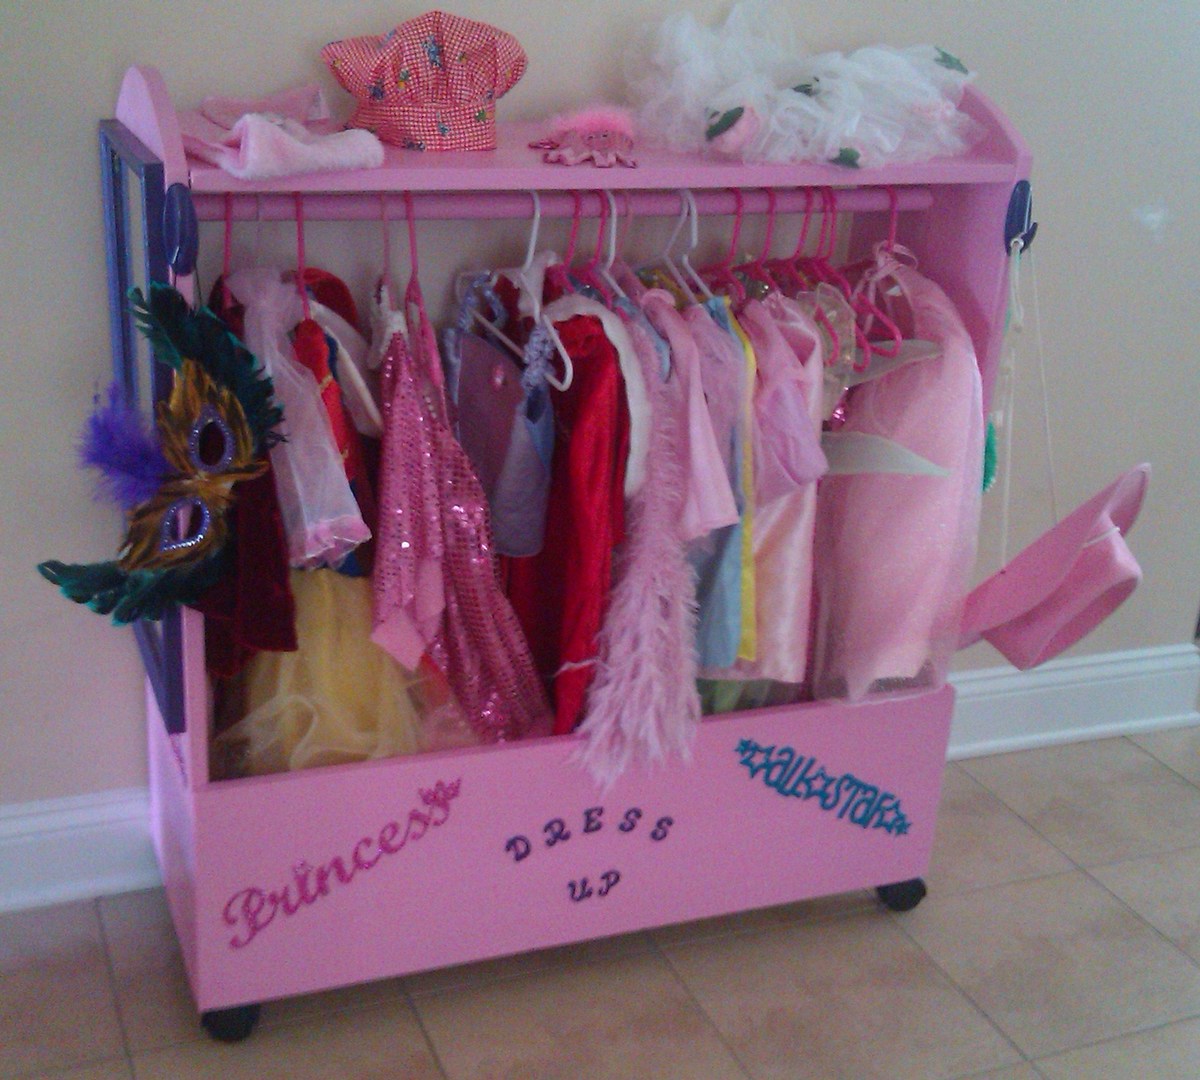
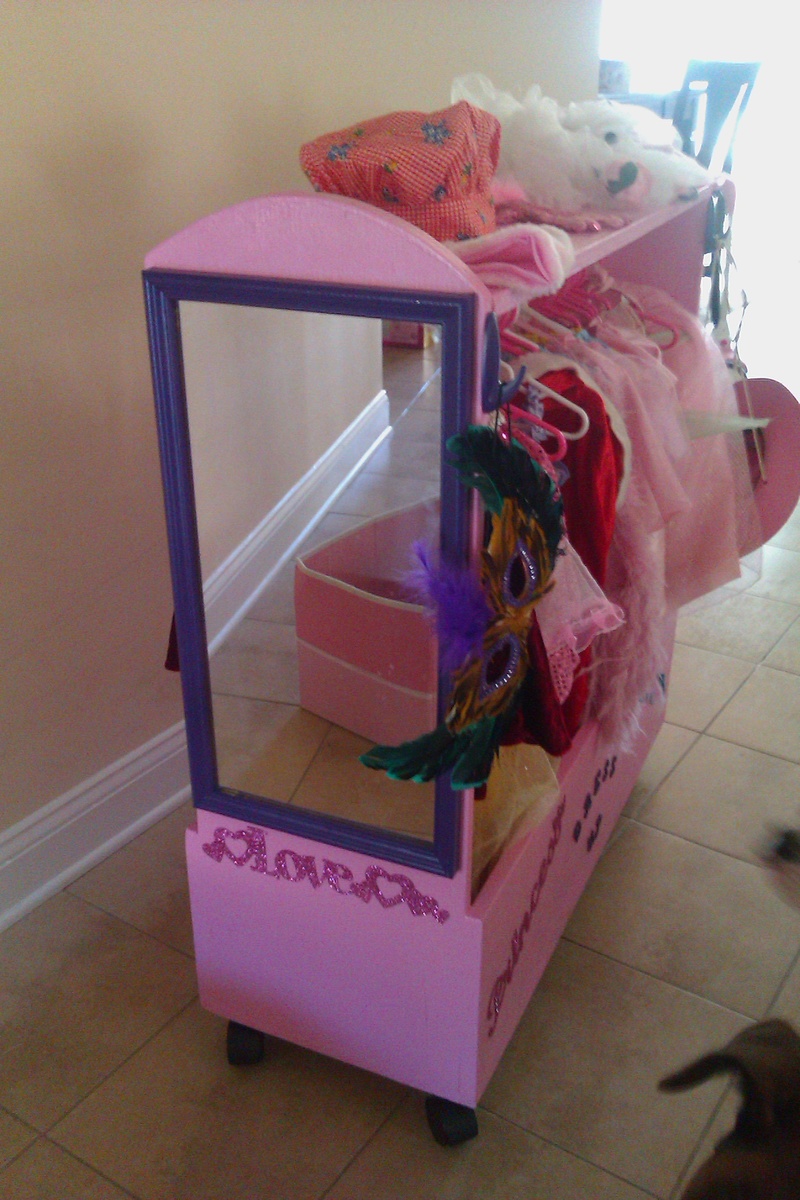
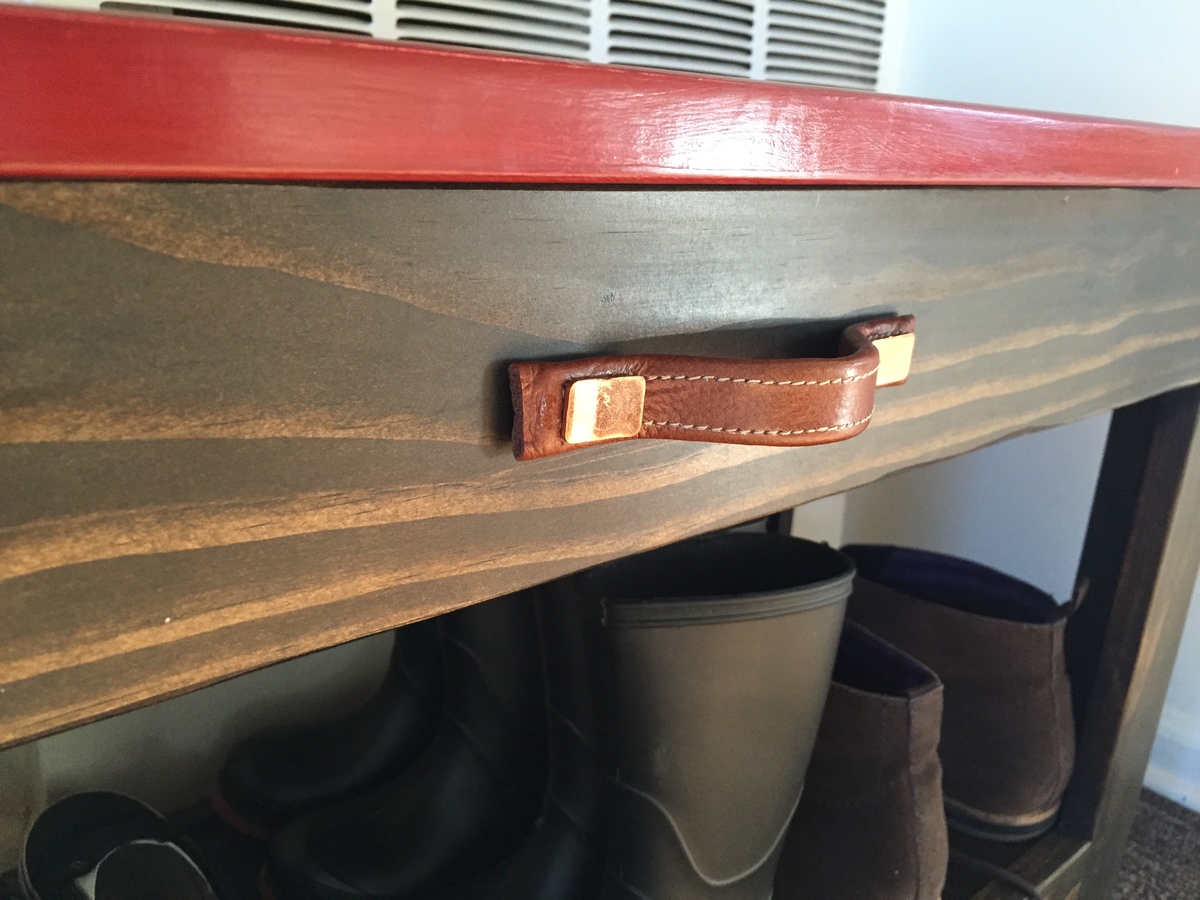
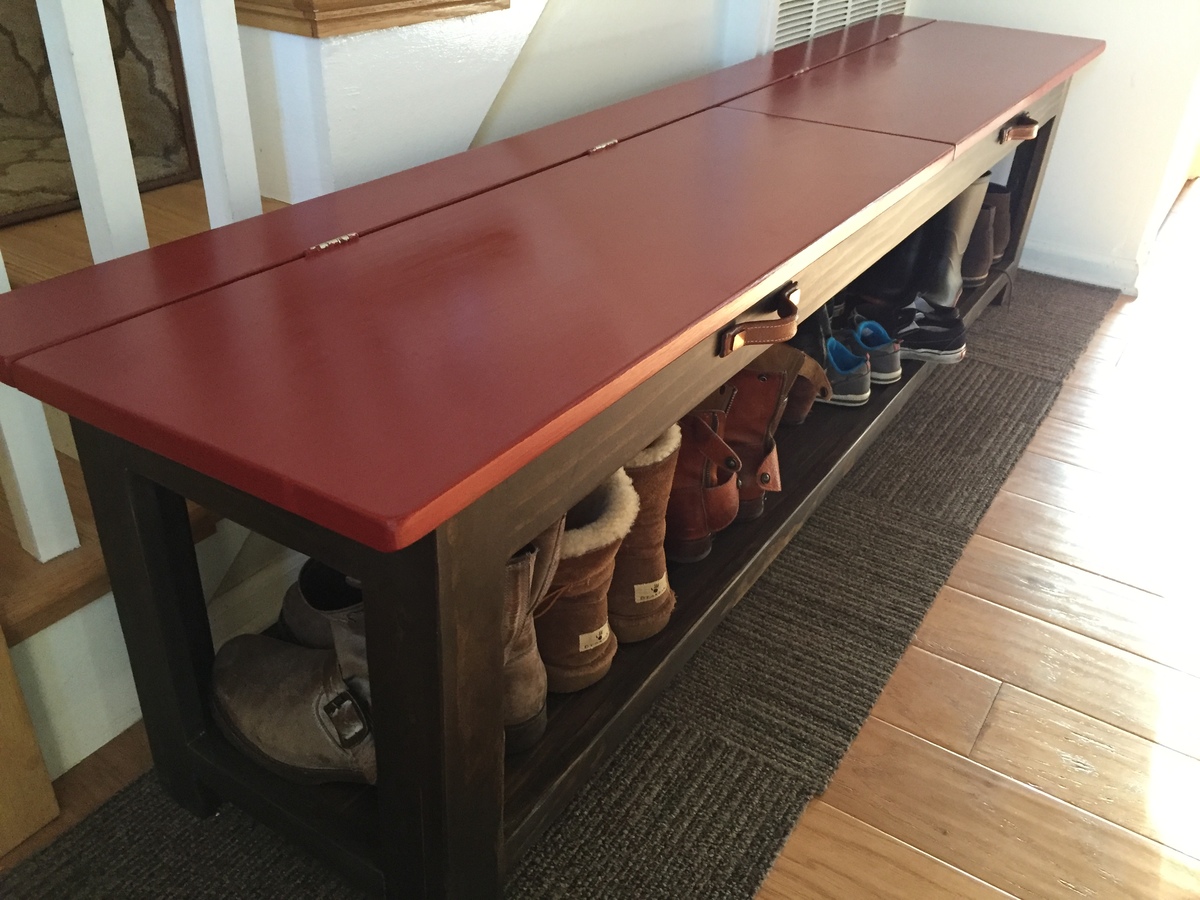
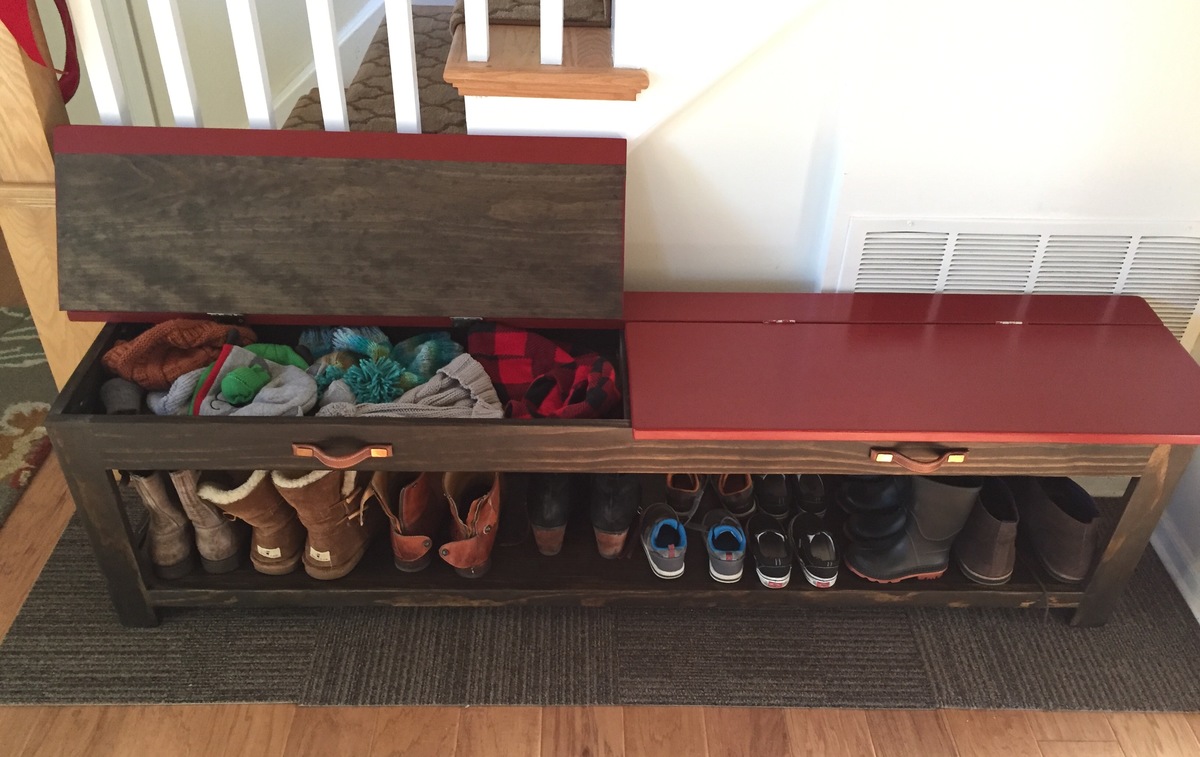
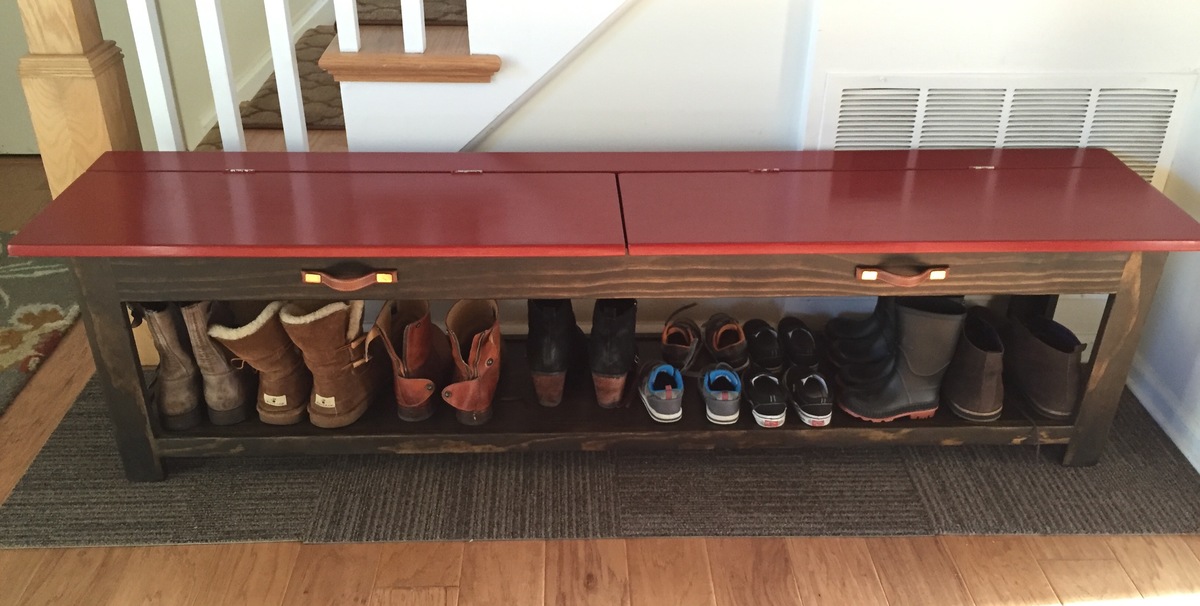
Sturdy Workbench Sink
Used sturdy workbench plans with 2x6 cedar top for outdoor sink. Turned out much better than I expected!!
My daughter needed a custom sized shelf to display her retail products in her busy day spa. The shelf needed to be narrow to not block walk around access to the massage table. It needed to be functional without looking like a book shelf. Ana's plan for the General Store Cubbies was just what I was looking for. I sized it down to fit the space and it turned out great.
I recently discovered your blog and got really inspired. After building a couple of beginner projects following your plans, i started to think about making something that can be used as medicine cabinet and does not take much space. Came up with the idea for this over the toilet storage rack.
My goal was to recycle/reuse some of the stuff that was sitting in my garage.
Started with building a frame using 1x6s (24 inch for shelves and 72 inch height). Used plastic table mats were used as sliding windows. Found a PVC trim (8 ft) for $2 at lowes that has been used as the rails/track for the windows. The back is piece of cardbord that was scrap from an old broken ikea bookshelf.
I am pretty happy that i recycled some stuff and made this in less than $15.
Tue, 12/01/2020 - 14:20
Did you do anything to the bottoms of the legs to prevent wet floors from wicking into the wood? I am wanting to build something similar to replace a particle board cabinet-in-a-box because the particle board did soak up water and get ruined. What I'd REALLY like are metal end caps with an adjustable foot (like you put at the bottom of a table leg) but I can't find a combination of the two anywhere.
We Love our deck sectional!! We changed the pattern arms a bit and made it to fit our outdoor space and stained it to match our deck stain. Cushions from Home Depot on sale. I move them around regularly to extend their life. I LIVE on the deck in the summer now and we have plans for an outdoor fireplace next. Thanks Ana!!
Mon, 08/19/2019 - 12:02
Thank you so much for sending a brag post our way! We love it! The red color really pops!
So I followed the plan except I tried to use more pocket hole screws. I managed to use them for all parts except the seat and back. Looking at them I see how I can use them for those areas too ( just a little pre planning next time)
I’m using Behr Wedgwood waterproofing stain and sealer to complete the project.
I love all your plans and can’t wait for my next project.
Sat, 05/06/2023 - 07:39
The chairs loolk really great, love the finish! Thanks for sharing.
A play kitchen stove and sink for my 1.5 year old daughter for Christmas!
This was my second woodworking project ever. It was VERY involved. It took me about 3-6 months of planning, ordering, buying, figuring out, and finally building the thing.
I used magnetic primer on most of it. Some magnets do stick to it, but I learned some very important lessons: Magnetic primer is MESSY and it doesn't sand very well, so when you paint it on, it should be done in the smoothest possible way in the smallest area. I primed with it using a roller and when I sanded it, got metal shaving dust EVERYWHERE (because the metal shavings in the primer keep it magnetic, obviously).
Made the curtain and matching towel. Next on the list: Matching apron and kids oven mitts!
This "island" was inspired by the plans for the Easy Kitchen Island, with a bit of a twist. My roommate is really into cooking, and had a little butcher block that he wanted to upgrade. Our kitchen is fairly narrow, but there was a huge bare spot underneath some cabinets that was begging to be used. Our cabinets were overflowing and we needed more storage space. The kitchen island-butcher block combo solved both problems and fit nicely under our cabinet.
After a little research, we decided to go with an end-grain board made with maple. We looked around and ended up getting a bunch of wood off of eBay for about 65 bucks. The butcher block turned out to be a bear of a project. Without access to a table saw (not going to happen in this apartment) it took some sanding, then more sanding, then a trip to my dad's to use a table saw after all, then more sanding, then more...well, you get the picture. Once all the pieces were assembled, we glued a 1"x4" poplar border onto the sides to give it a more uniform appearance from the sides, as well as to hide the connection to the structure.
Finally the block was complete and it was time to build the structure of the island. The cuts and the assembly of the main pieces took a grand total of an hour and a half - a great relief after spending weeks on the butcher block. We decided to glue the slats onto the supports to make life easier. Once we got done with that it was time to finish the structure.
We decided to follow Ana's directions on crackled milk paint. We tried to follow them exactly, but weren't able to get the same amount of crackling on ours. No worries, though, we just sanded down some edges and gave the whole thing a good coat of Polycrylic.
Once all that was done, we screwed the block on and construction was complete! We gave the block and the poplar several coats of Boos Block Mystery Oil as the conditioner and we were done. The oil really brought out the color and the body of the wood, and we couldn't be happier with the results. Can't wait to chop a turkey on it!
Fri, 11/22/2013 - 15:38
This looks super! I'm intrigued by your butcher block top. The squares look so perfect and even. It looks like a tremendous amount of work went into it, and it's absolutely beautiful! Love the paint and stain used on the island structure too!
I built this for Girlfriend this Christmas. It was fun to surprise her. I put some jewelry in it, wrapped it, and put it under the tree. I think it turned out really nice. I installed a recessed bead-board back and 1/8" glass in the door. All black hardware and a two tone finish. She loves it but she filled it up real quick. I guess I could have built it bigger!
Initially, I made this loft bed so my son would have more room to play on the floor, but what I found out was that he was playing in his bed and sleeping on the floor. About 3 months after having the bed in his room, we put his bed underneath, on a frame, and I put plywood and wood looking wall paneling on the bottom to make a floor. We moved the twin mattress from the floor to the loft, so now he has a place to play with his friends.
Mon, 07/11/2022 - 14:26
What adjustments did you make to the slats. I’m wanting to build a slightly oversized full loft bed for my daughter. The extra space is for a reading chair and maybe shelves. Dimension would be ~100 x60. I’m nervous about the slats spanning the 60 inches and what I need to modify from the junior loft instructions
I was getting tired of cleaning marker off my oak table after art time so I decided to just make them a desk. I had been eyeing the x-desk plan for quite some time, I wanted to see how it worked out so I threw one together and was pleasantly surprised at how it came together. The drawer was a bit complicated but I am so glad I made it. My kids love it and it is a nice place to charge my laptop and sit and do bills.
My cousin was opening a call center and she wanted to cut startup costs and I told her we can make the x-desk and cubicles and save $1000's.
For the call center we started and assembly line and had them cut and assembled in 2 days. We used the kreg jig to create the cubicle walls and 2x4's flat we put rigid insulation in the open spaces, covered them with batting and muslin fabric. We completed 8 desks and 2 cubicle pods, we couldn't be happier with the results.
Sun, 01/08/2012 - 05:27
Amazing job on the cubicles and desks - you have a very lucky cousin!
We used the plans from this site to build this for our daughter. We did however make the bed part a bit more sturdy to ensure that no one would get hurt and to make sure it could support any weight. We added 4 2x4s across the bed like rafters and screwed the slats on top of them.
Mon, 11/25/2013 - 06:49
We built this bed in a weekend. But we worked 8am-Midnight the first night and 8am to 5pm the second night.
Mon, 11/25/2013 - 07:18
Great job! And you must have worked really hard those two days. It took me months :)
Mon, 05/19/2014 - 20:09
This is amazing! Do you have the pdf plans for this bed? I wanted to build this for my daughter.
Love my new leaning shelves and desk I knocked out in one weekend. My office mates want them too.
Wood working is a hobby I got into because my wife realised I needed something to take my mind off my job. I worked in IT when I started and I was coming home frustrated, annoyed, and often angry. I think she had an ulterior motive because when I suggested wood working she seems to have come up with a bunch of projects pretty quickly from Pinterest.
My first real project these deck chairs which I really enjoyed making. I've made a couple of changes to these since making them by removing the bolts and replacing them with 20mm dowel with a 4mm dowel pin. These work really well and stops us from getting shredded by the bolts.
I purposely left unfinished because I was basically developing them at the time and then just kind of liked the look as they got older. Basically these chairs are now about 6 years old and still going strong.
I'm looking at making some more sets for friends.
My oldest boy has been begging for Bunkbeds. With his birthday coming up, I searched to purchase some bunks. I didn’t really like what I found and remembered this site. I fell in love with the sweet pea bunk bed and knew I had to make it for my boys.
It took about a month for me to complete. But I was working about 3 hours daily. One during nap time and two after bed time.
Overall, the plans were very clear. There was one part I can’t remember where the measurement was wrong. Definitely read the plans to make sure. I’m sorry I can’t remember where it was at the moment. These beds are awesome! They are so cozy and fun. Both of the boys love it and my oldest definitely thinks I’m the best mom ever! Thank you for the free plans!
Sat, 05/20/2023 - 16:20
WOW, this is amazing, thank you for sharing! I'm sure they love it.
This is my version of the Dollhouse Bookcase. I'm not very good at cutting out doors/windows so those were left off.
I knew I had to build this bed when I saw the images on a Google search. Thank you so much for such great plans. And FREE no less. Due to the small size of my son's bedroom I couldn't add the front bucket. He's so excited now to go to bed. Thanks again.
We have huge open walls in our new house. We needed something big! And like everyone else on here, we didn't want shell out $3-4000 for something we really wanted. These plans were perfect. I did make a few adjustments. The overall dimensions are 98"H X 63"W. I used some different trim. I custom made the bottom trim. I also added fronts to the shelves to cover the exposed plywood edges. Really happy I added those. Made a huge difference IMO. I really love it!
Have loved watching Ana's youtube channel for a few years now and finally got the nerve to try and make some thing. I have always made doll furniture so I thought that I would try and make 1:1 scale furniture. I loved that video she did on the no-pour concrete paver outdoor coffee table and thought that the plans would make a wonderful bench. It took me a couple of weekends but I did it. Added some little accent pieces to the corners cause the bench did seem a bit wobbly. But it still turned out well and I love it. You get such a great high off of making and completing a furniture build. Gave it to my Mom for christmas. She loves it. Only one problem is that everyone who sees it says that it's a lovely coffee table. lol
It’s a miracle I was able to finish this outdoor storage bench considering my kids are on summer break 😂
💡Tip: can’t find cedar pickets at your local stores? Just stain them. No one will ever know 😉 sealed with Thompson’s WaterSeal
I personalized this bench for a gift for my mom's birthday. I stamped both of my girls handprints on top and added their names and date. Turned out so cute :)
Sat, 01/14/2012 - 19:13
Your Mom must be thrilled. Great job and love the personalization!
Comments
Ana White Admin
Tue, 05/02/2023 - 07:09
This is so great!
Way to go, it is beautiful and functional! Thanks for sharing.