Mudroom drawers with lockers!
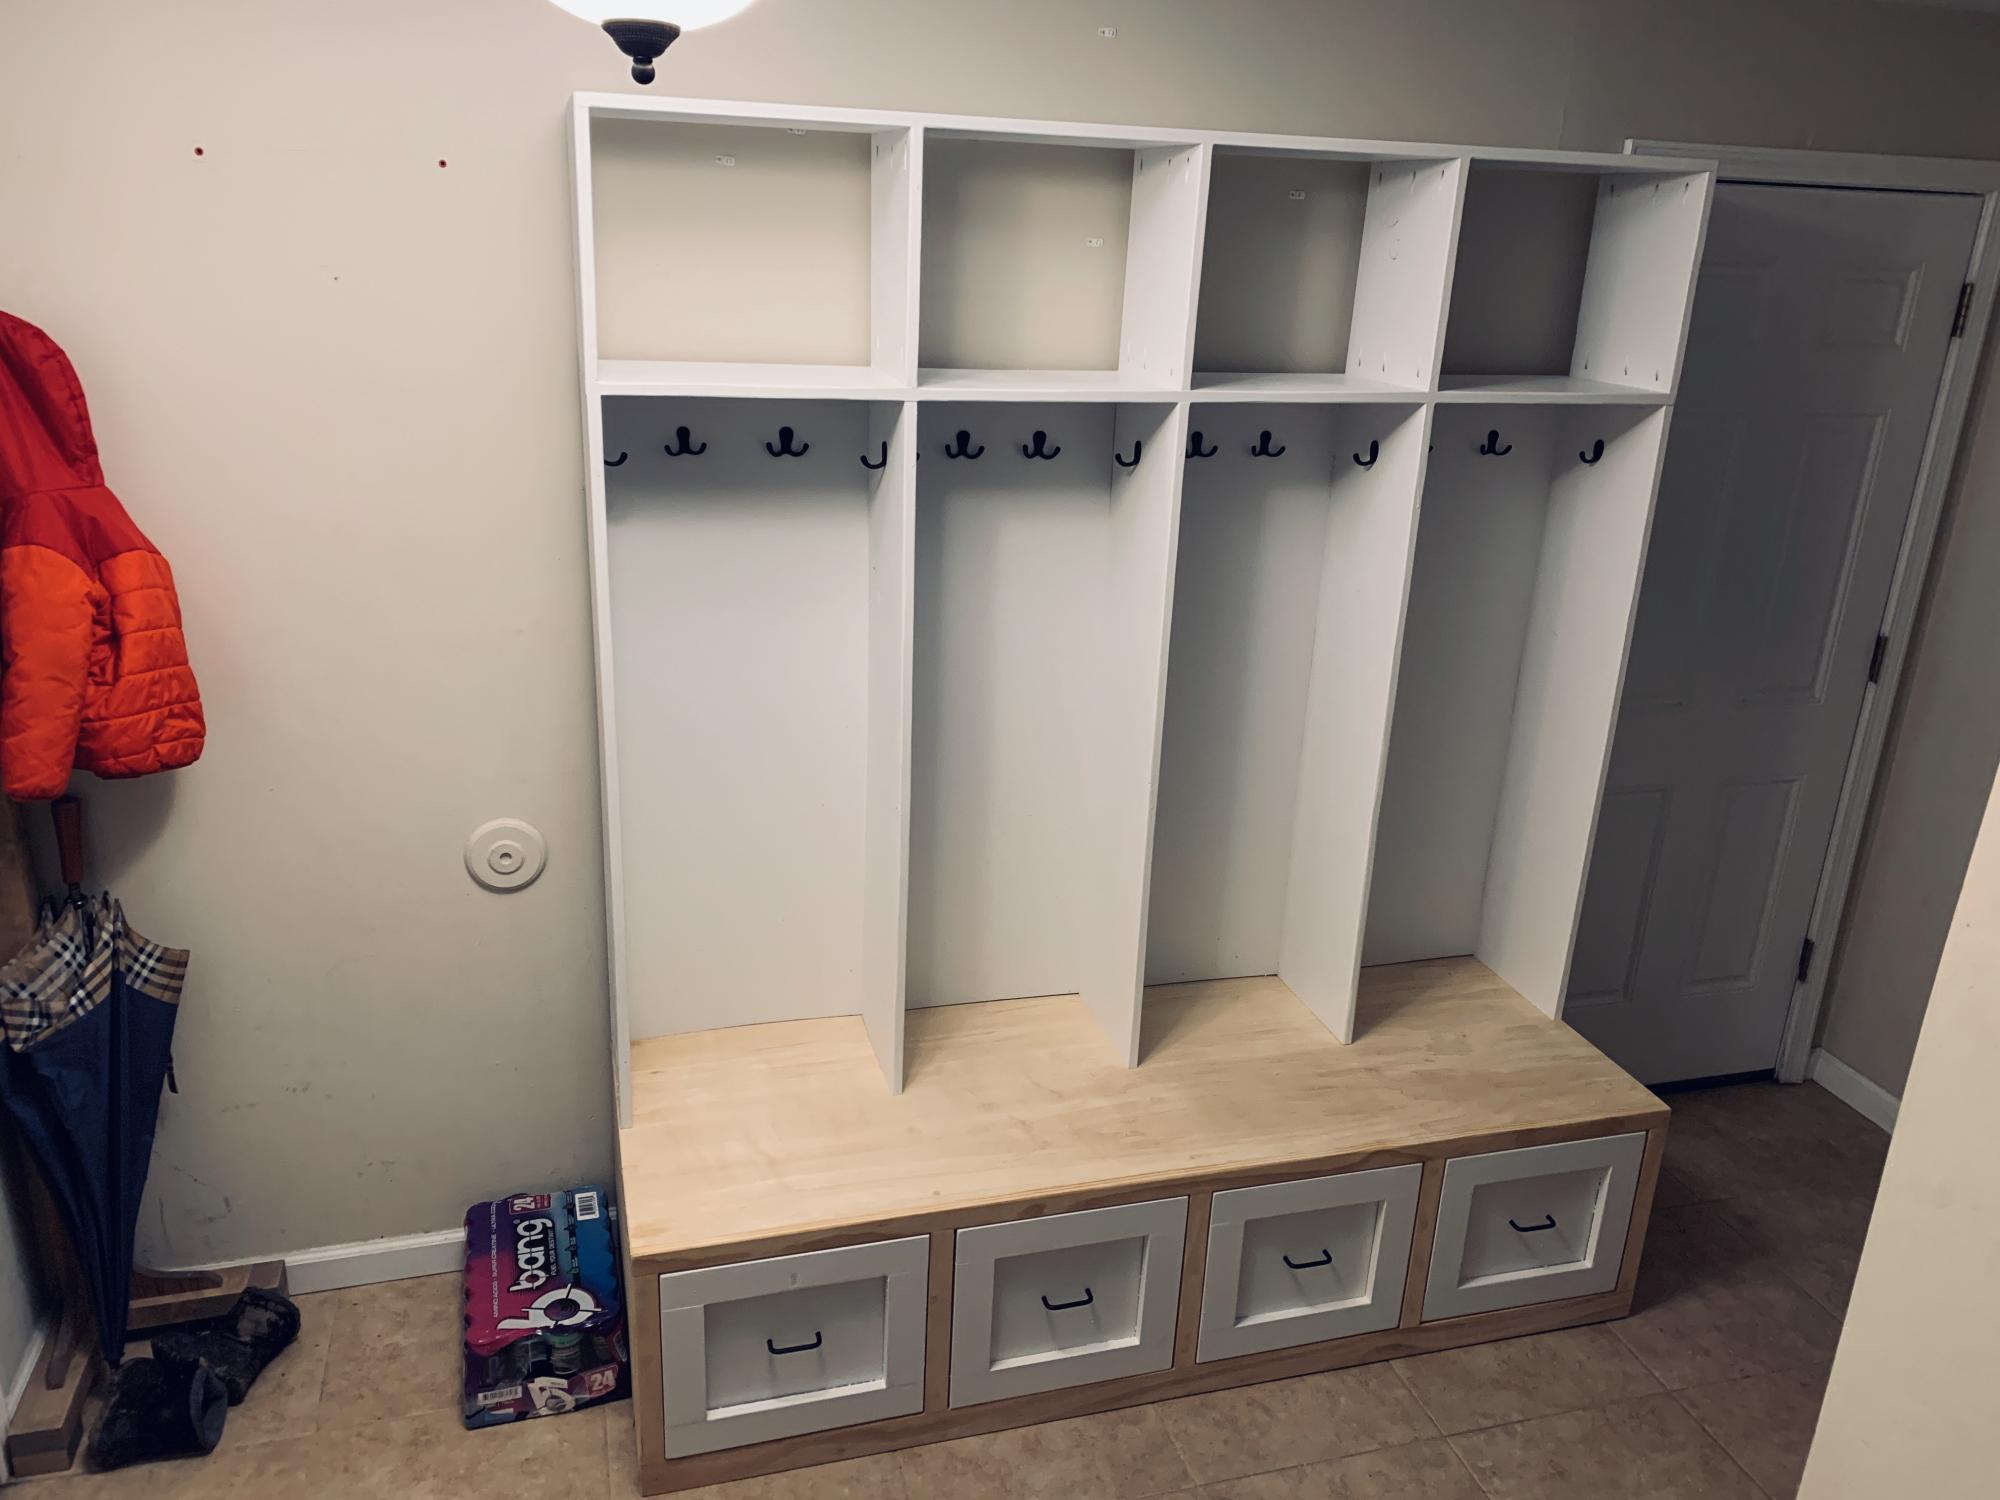
I kept the lockers super simple, but the drawers / bench followed me the plans. Thanks as always for the plans!

I kept the lockers super simple, but the drawers / bench followed me the plans. Thanks as always for the plans!
Modern Puzzle Bookcase
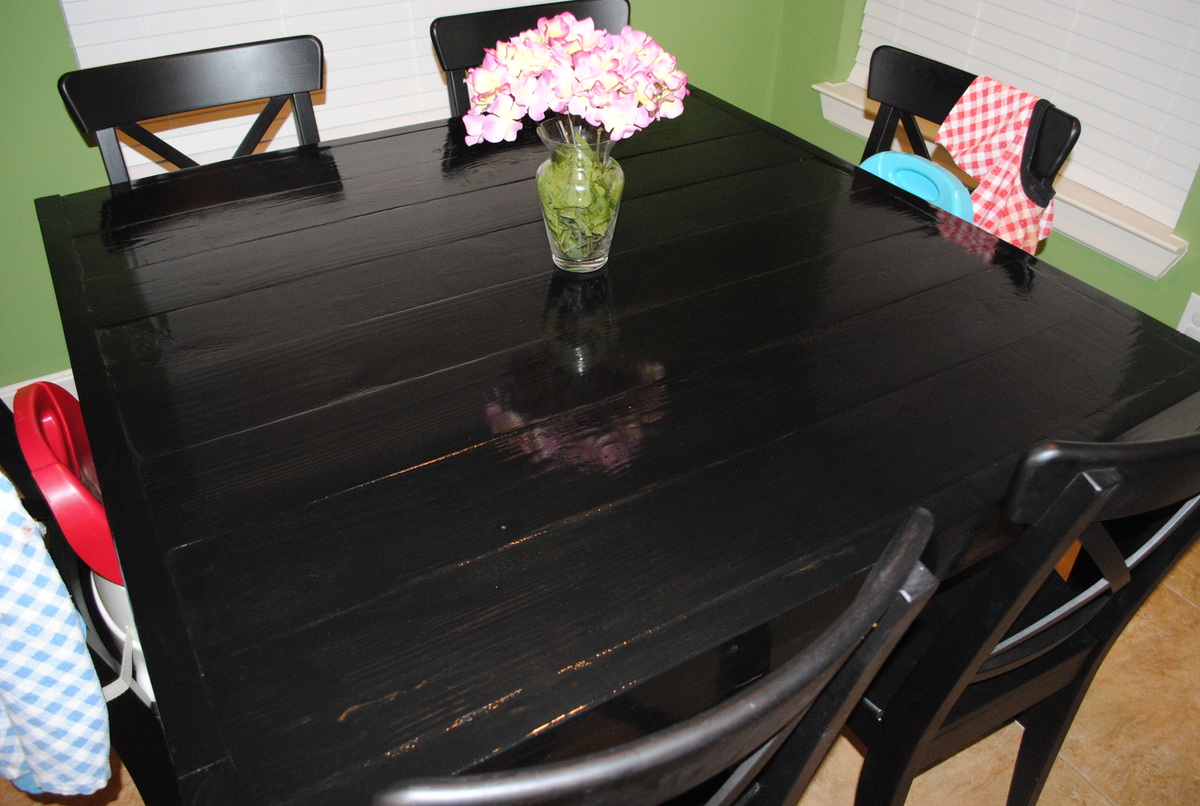
I wanted a square table that was standard height but not too big for my 9' by 9' breakfast area. I used the plans for the square modern farmhouse table, but mine is a 47 inch square. It seats 6 easily (and the chairs tuck in), but can seat 8 if we need it to. It turned out great!
I made this Console table for our entrance way! I modified the plans by adding an extra 10" in height and included a second shelf. We are now using the bottom for a shoe rack and the middle for hats, mitts and stuff! It's a perfect fit for our front entrance!
It was my first time with drawers so I had a bit of trouble. But they open and close and aren't too lopsided, so I guess they are a success! Love these plans!
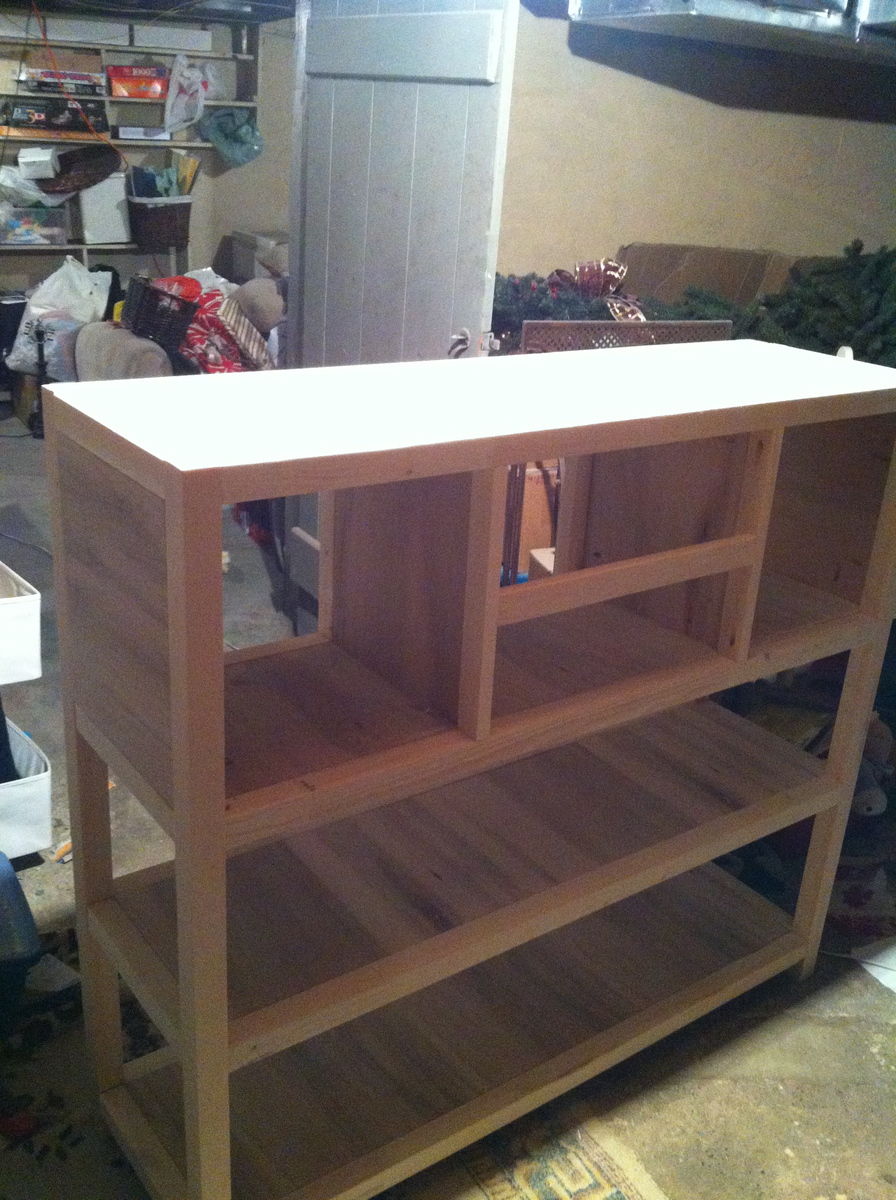
I liked Kristi's version of the modern craft desk but I decided to add another cubby area. I have a lot of art things and I like for them to be organized. Here is Kristi's version: http://www.ana-white.com/2013/10/kristis-craft-desk
I really love the way it turned out and I've definitely got my use out of it.
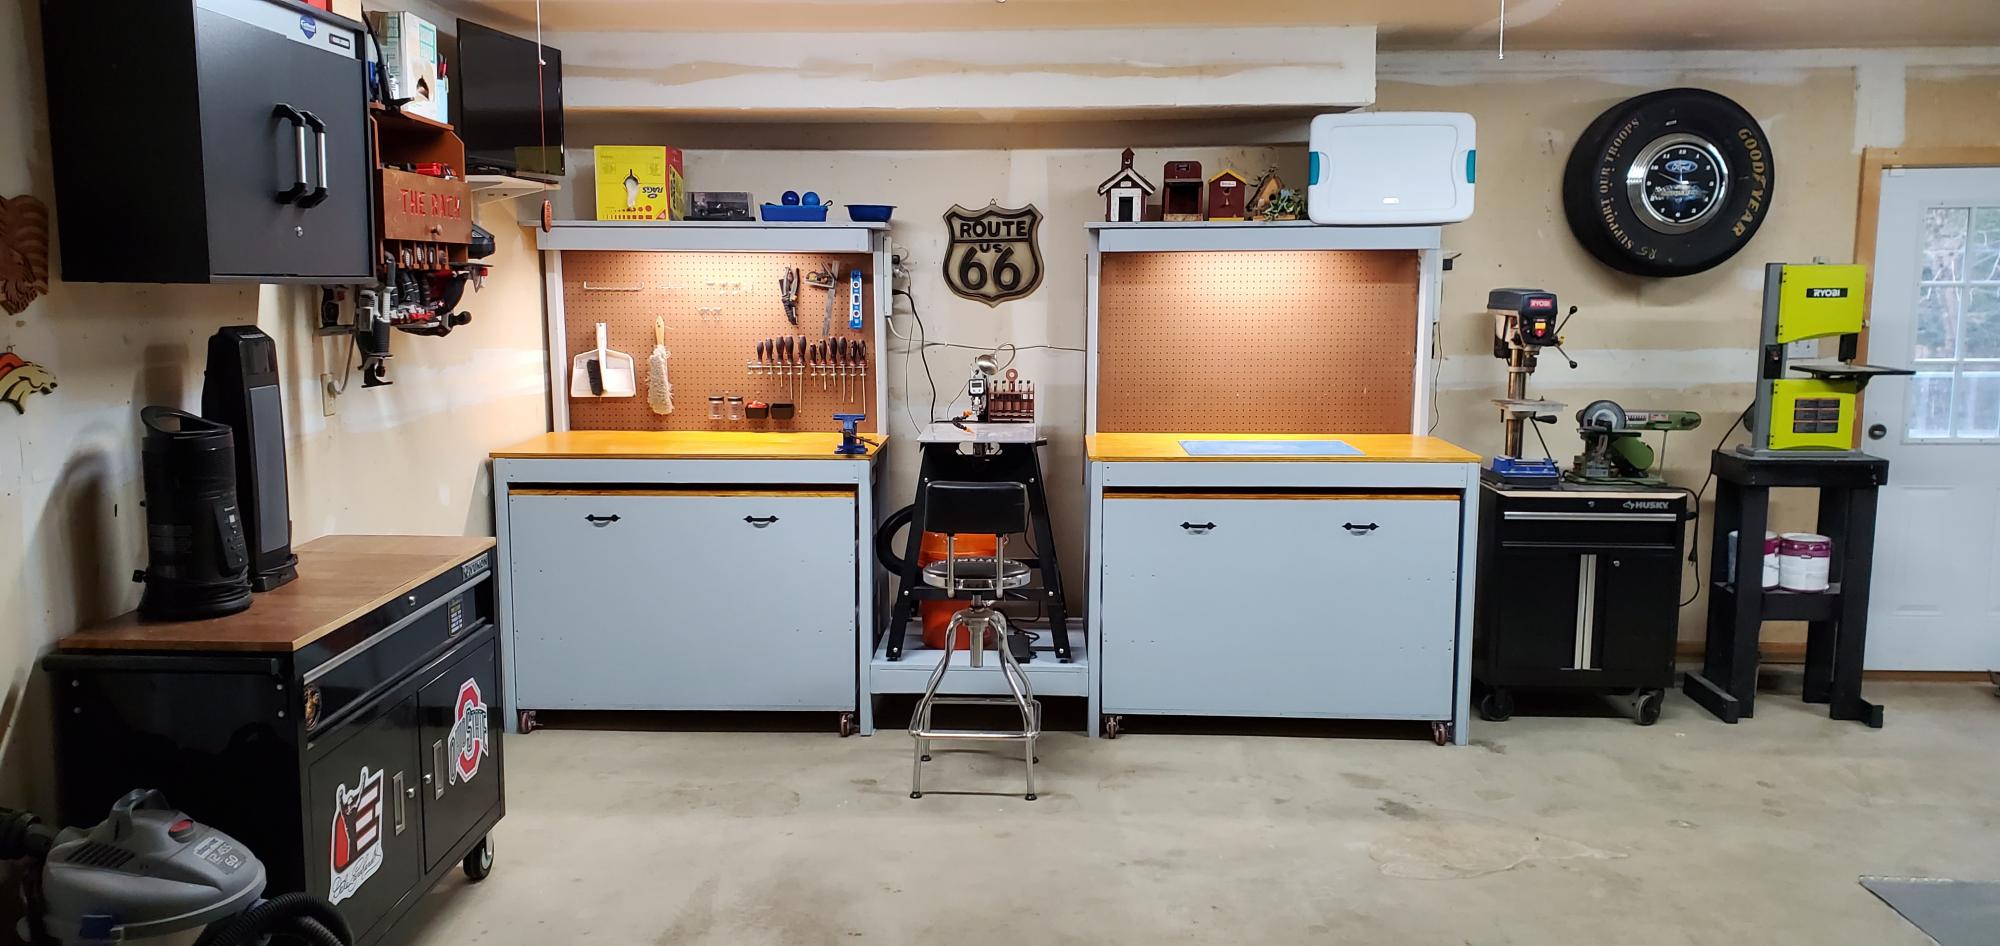
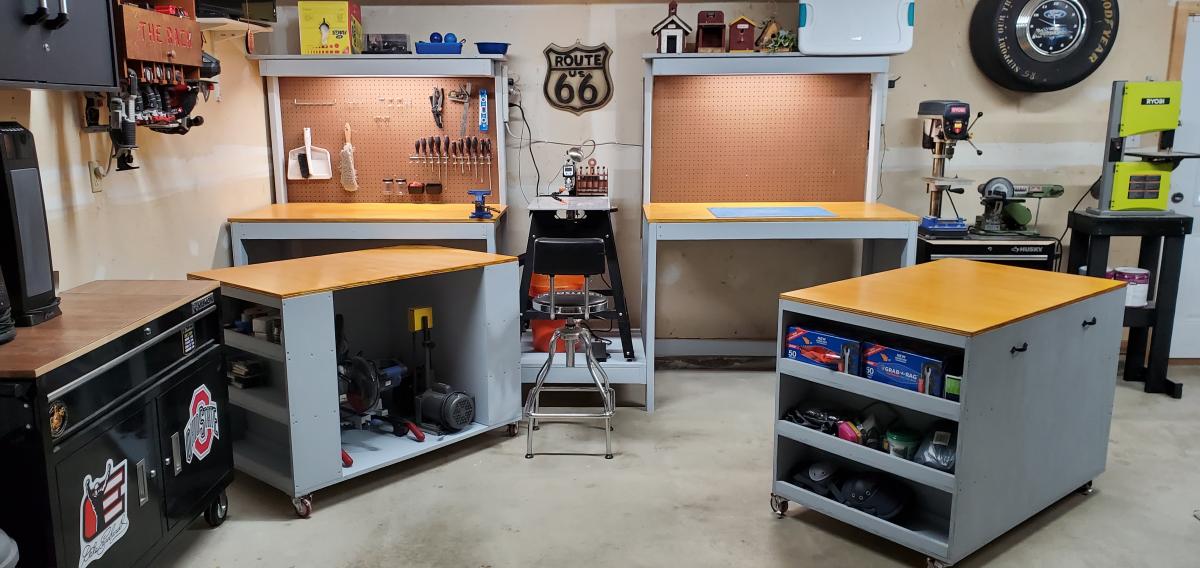
I loved the idea of roll away cabinets that could double as more tabletops for larger projects but then be able to hide them and save space. I usually have 2 cars parked in the garage and space us at a premium. Instead of a mitersaw I placed my scrollsaw in the middle added peg board, lights, and a shelf. Thanks for the plans and the idea.
Tue, 12/08/2020 - 18:19
Excellent use of space. This would be great in a smaller shop.

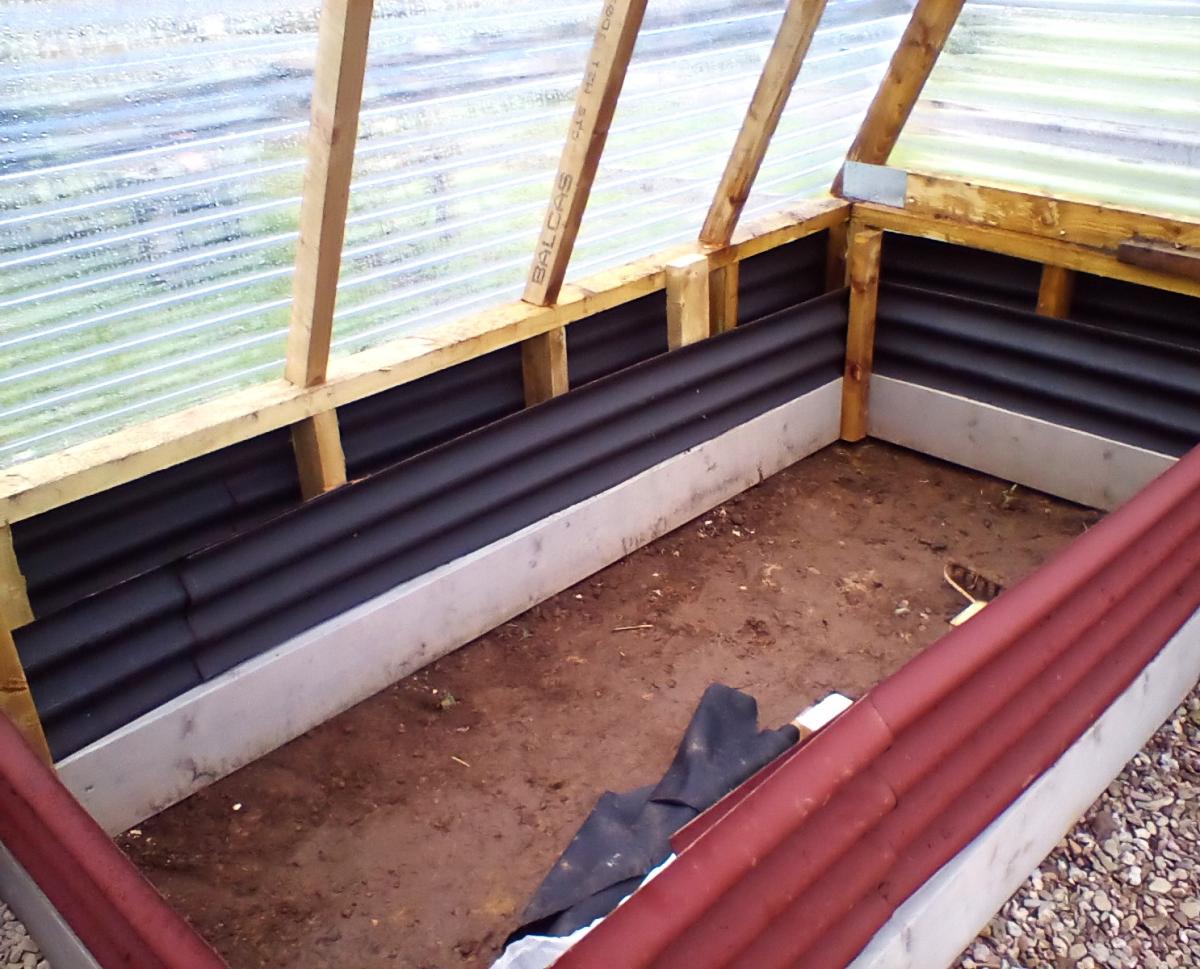
Had a bit off a mate doing this project due to damaged deliveries but looks good and is solid. Used 3 x2 for the rafters and bitumen sheets for the bottom. Two 3x2 strangers on the top rafters has it's seriously open too the wind. Misses loves it.
Welshsmoker



Fri, 10/20/2023 - 08:12
I can see all the work that went into it, looks wonderful! Thanks for sharing.
I searched for nice shoe storage for ages and found these plans on this awesome website and even though it is an intermediate project I gave it a try. As you can see my drawers and the whole thing in general is squint but I am proud of my first ever build project. It took me 2 evenings to complete.
I added some drawers for my jewelry like one by balard designs.
I hope my next project has better right angles and joints.
Oh and I used a Kreg jig and it is amazing!!!
I used white shelves from the home store, that I cut to size. I live in Saudi Arabia so wood is not so easy to find. Maybe I can use palm trees next time!
While our daughter initially freaked out at the thought of standing on this, she is starting to come around. The adjustable level will make this a mainstay next to our kitchen island for the next few years.
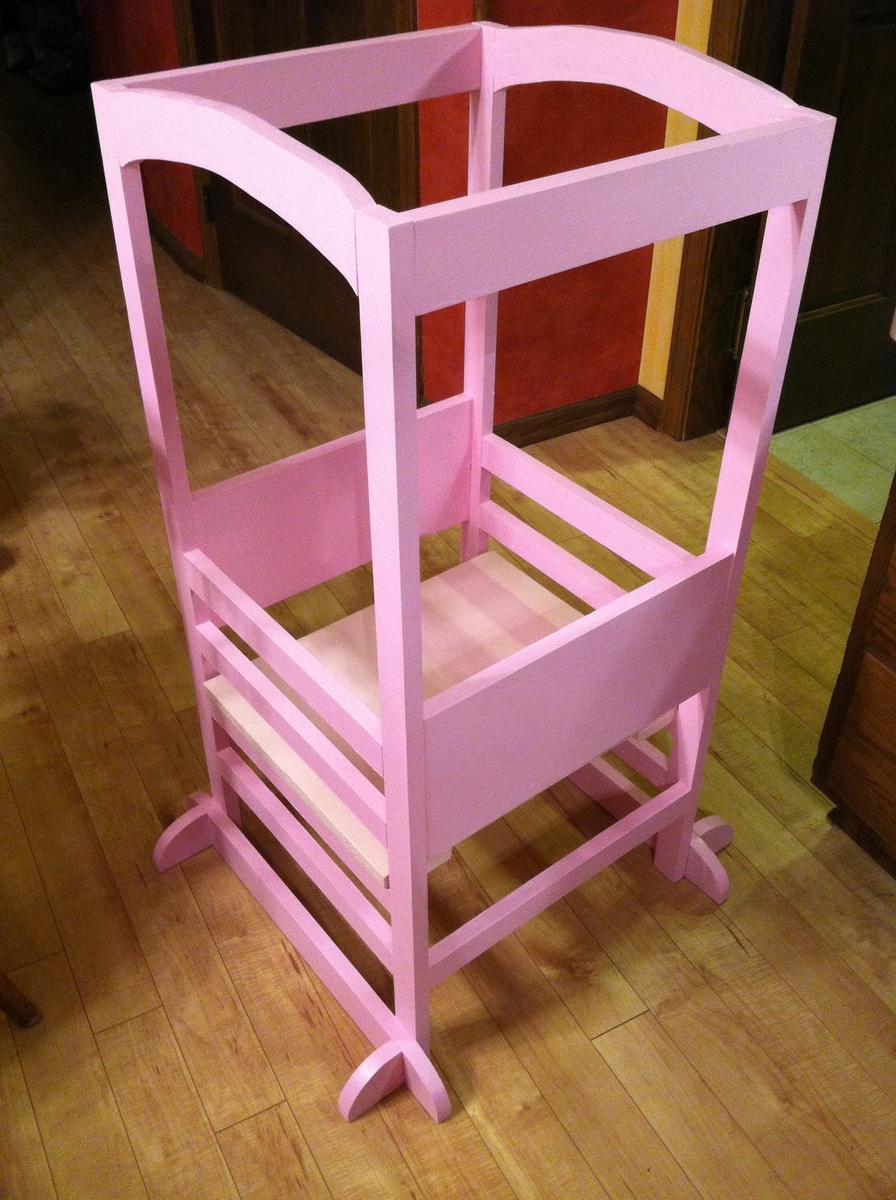
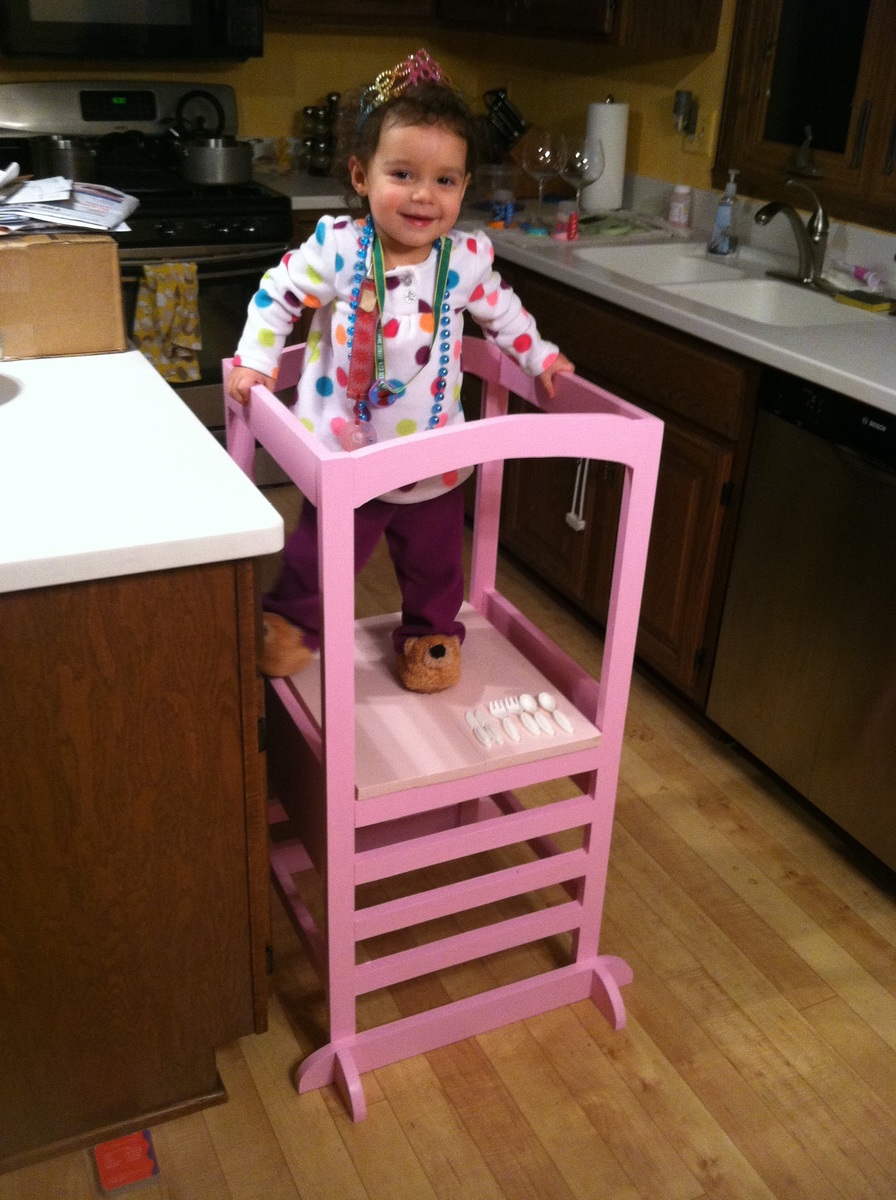
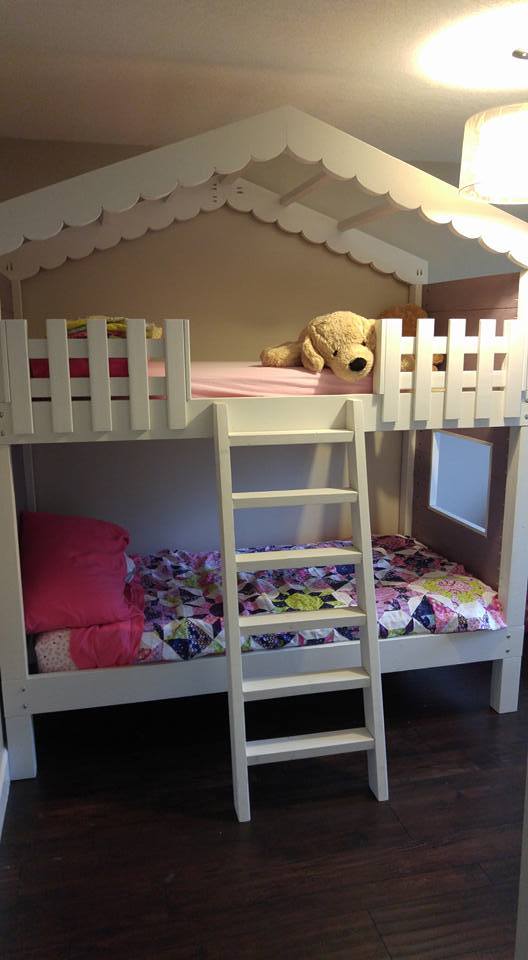
2x6's all the way up the sides, added window and "roof"
picket fence rails and angled ladder
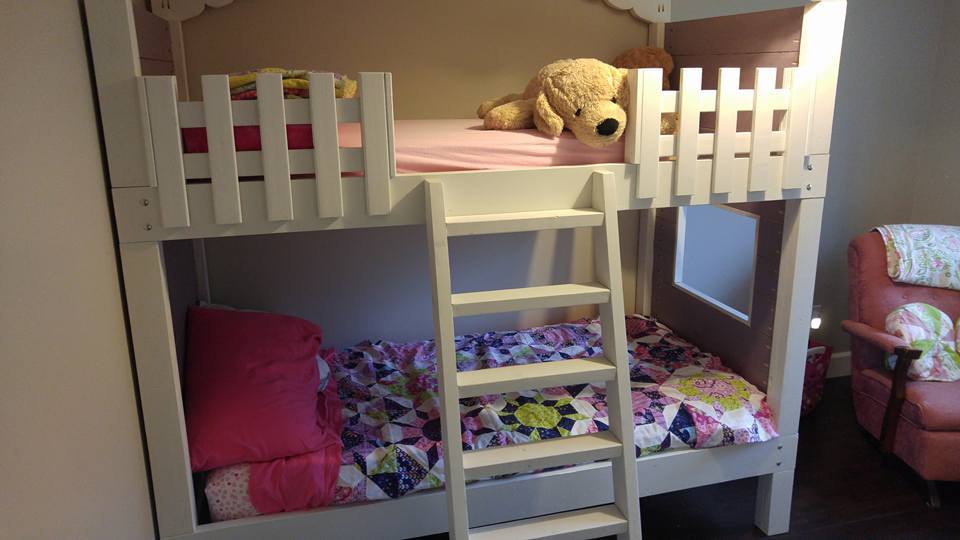
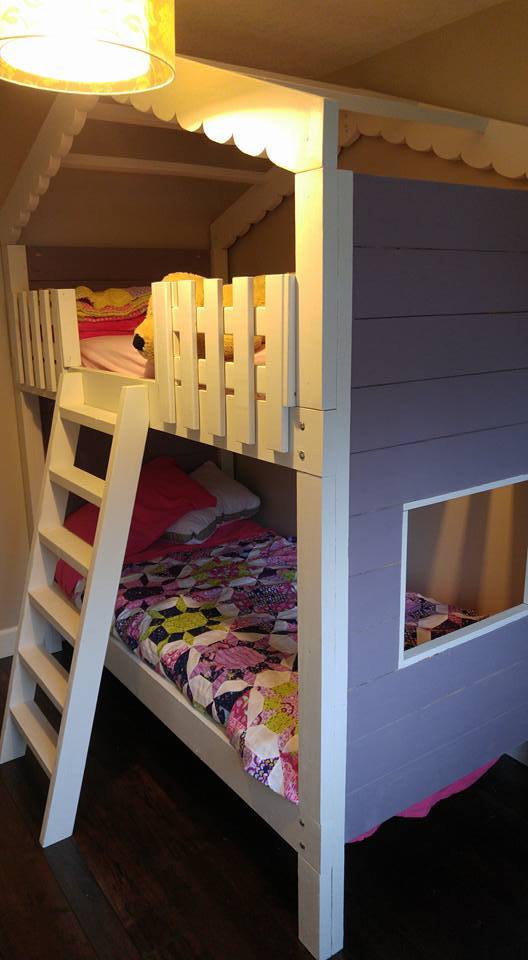
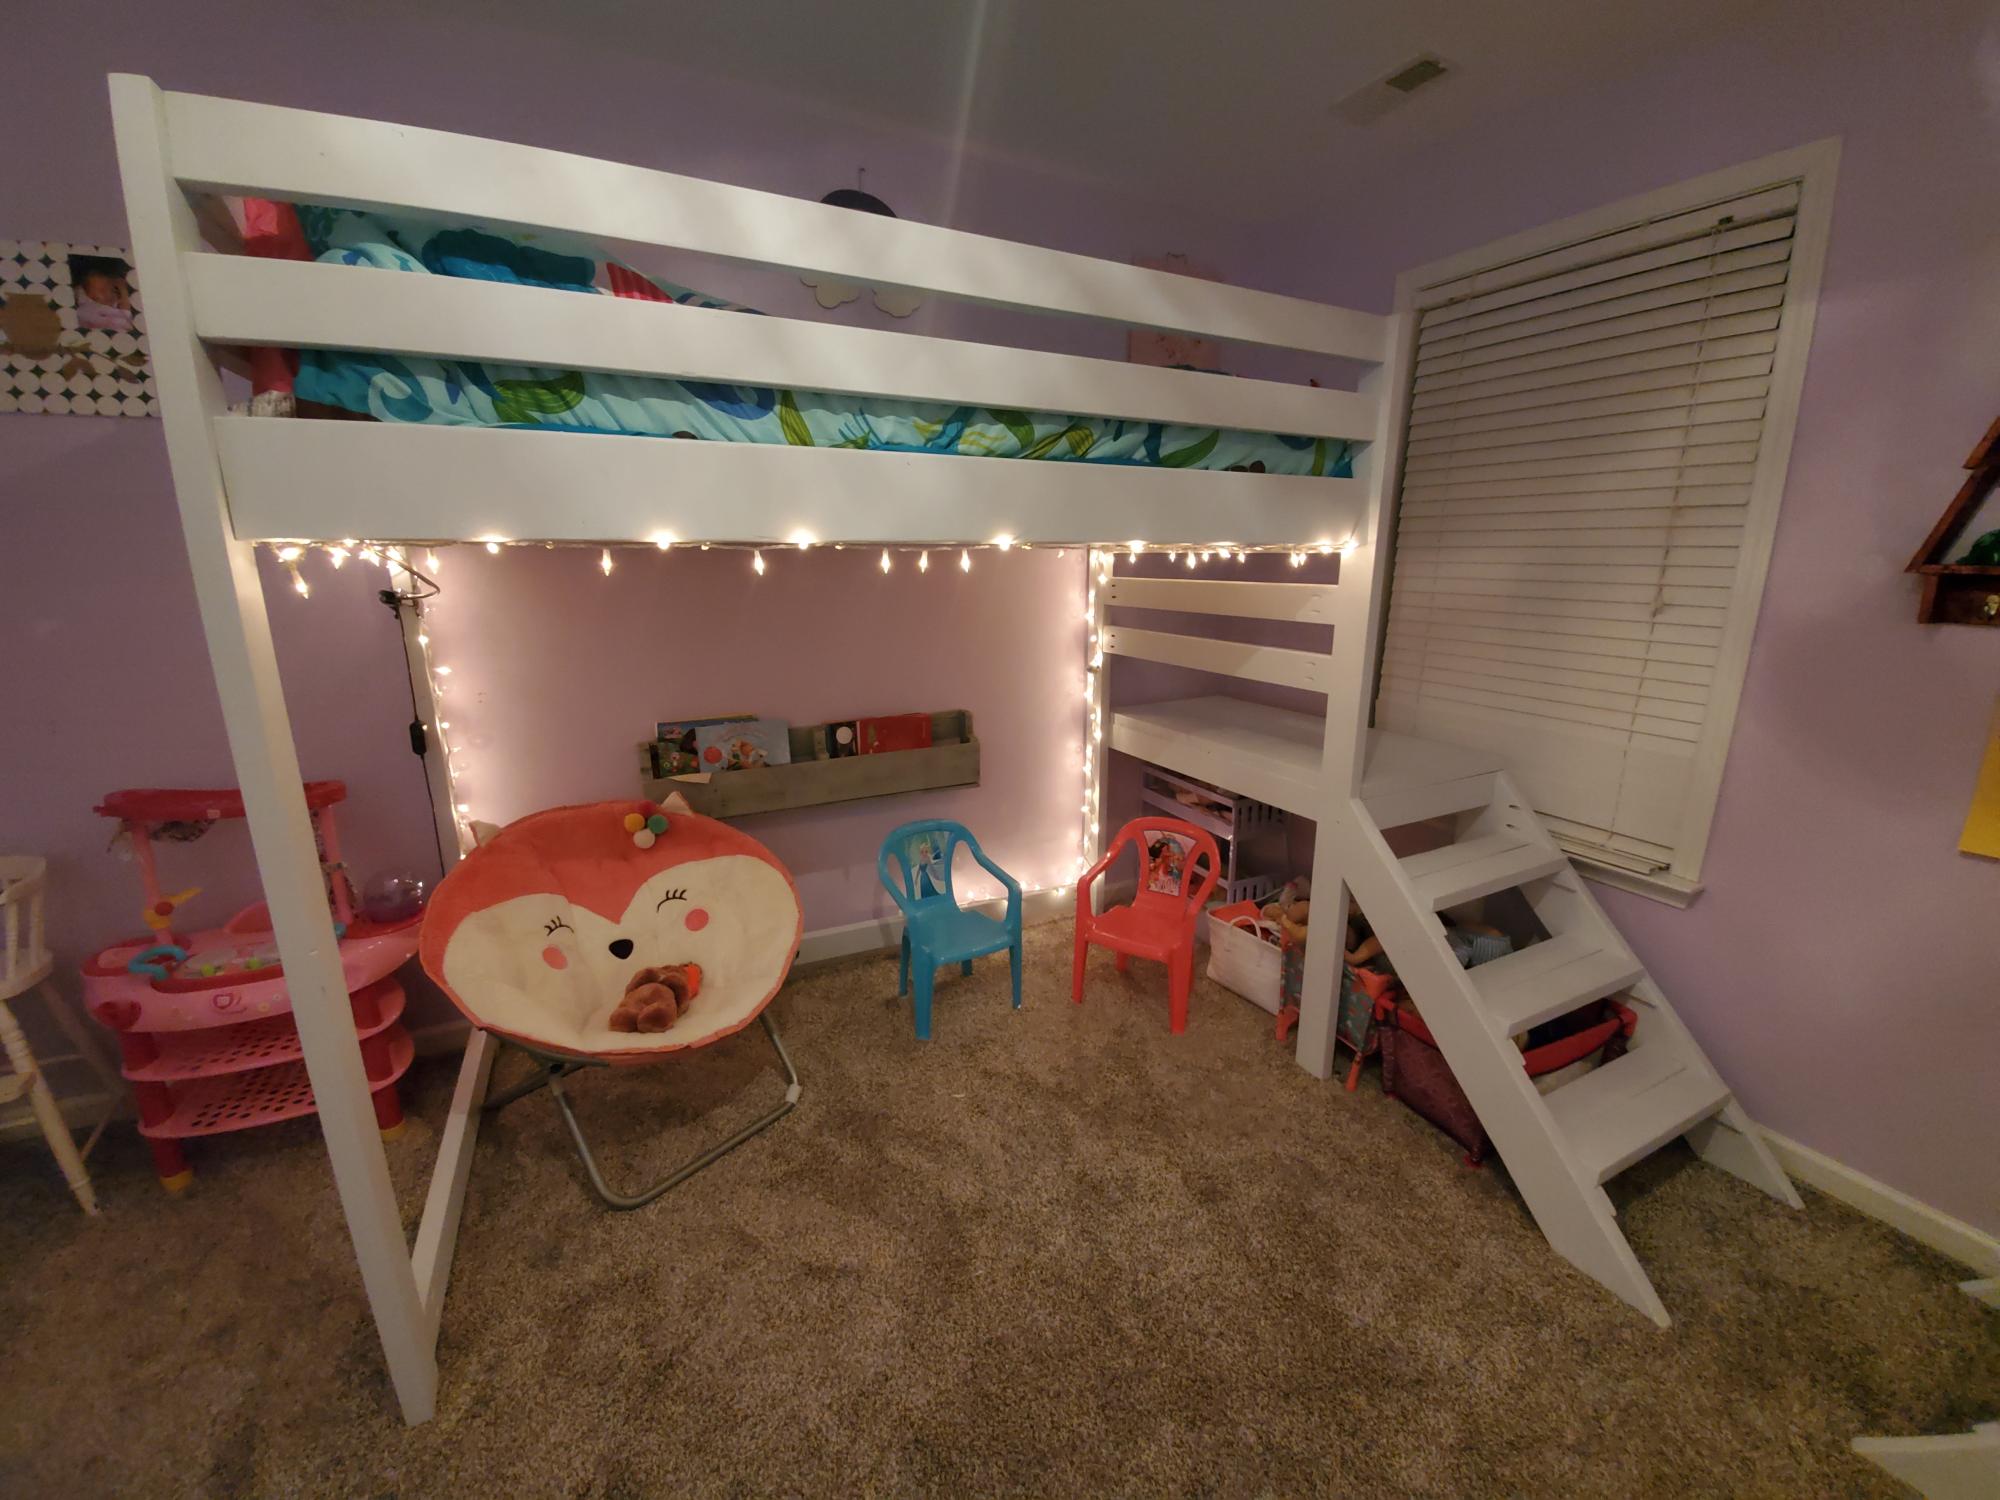
I made 2 of these beds this weekend. It was pretty fun - I made a video of me making it and put it on my youtube
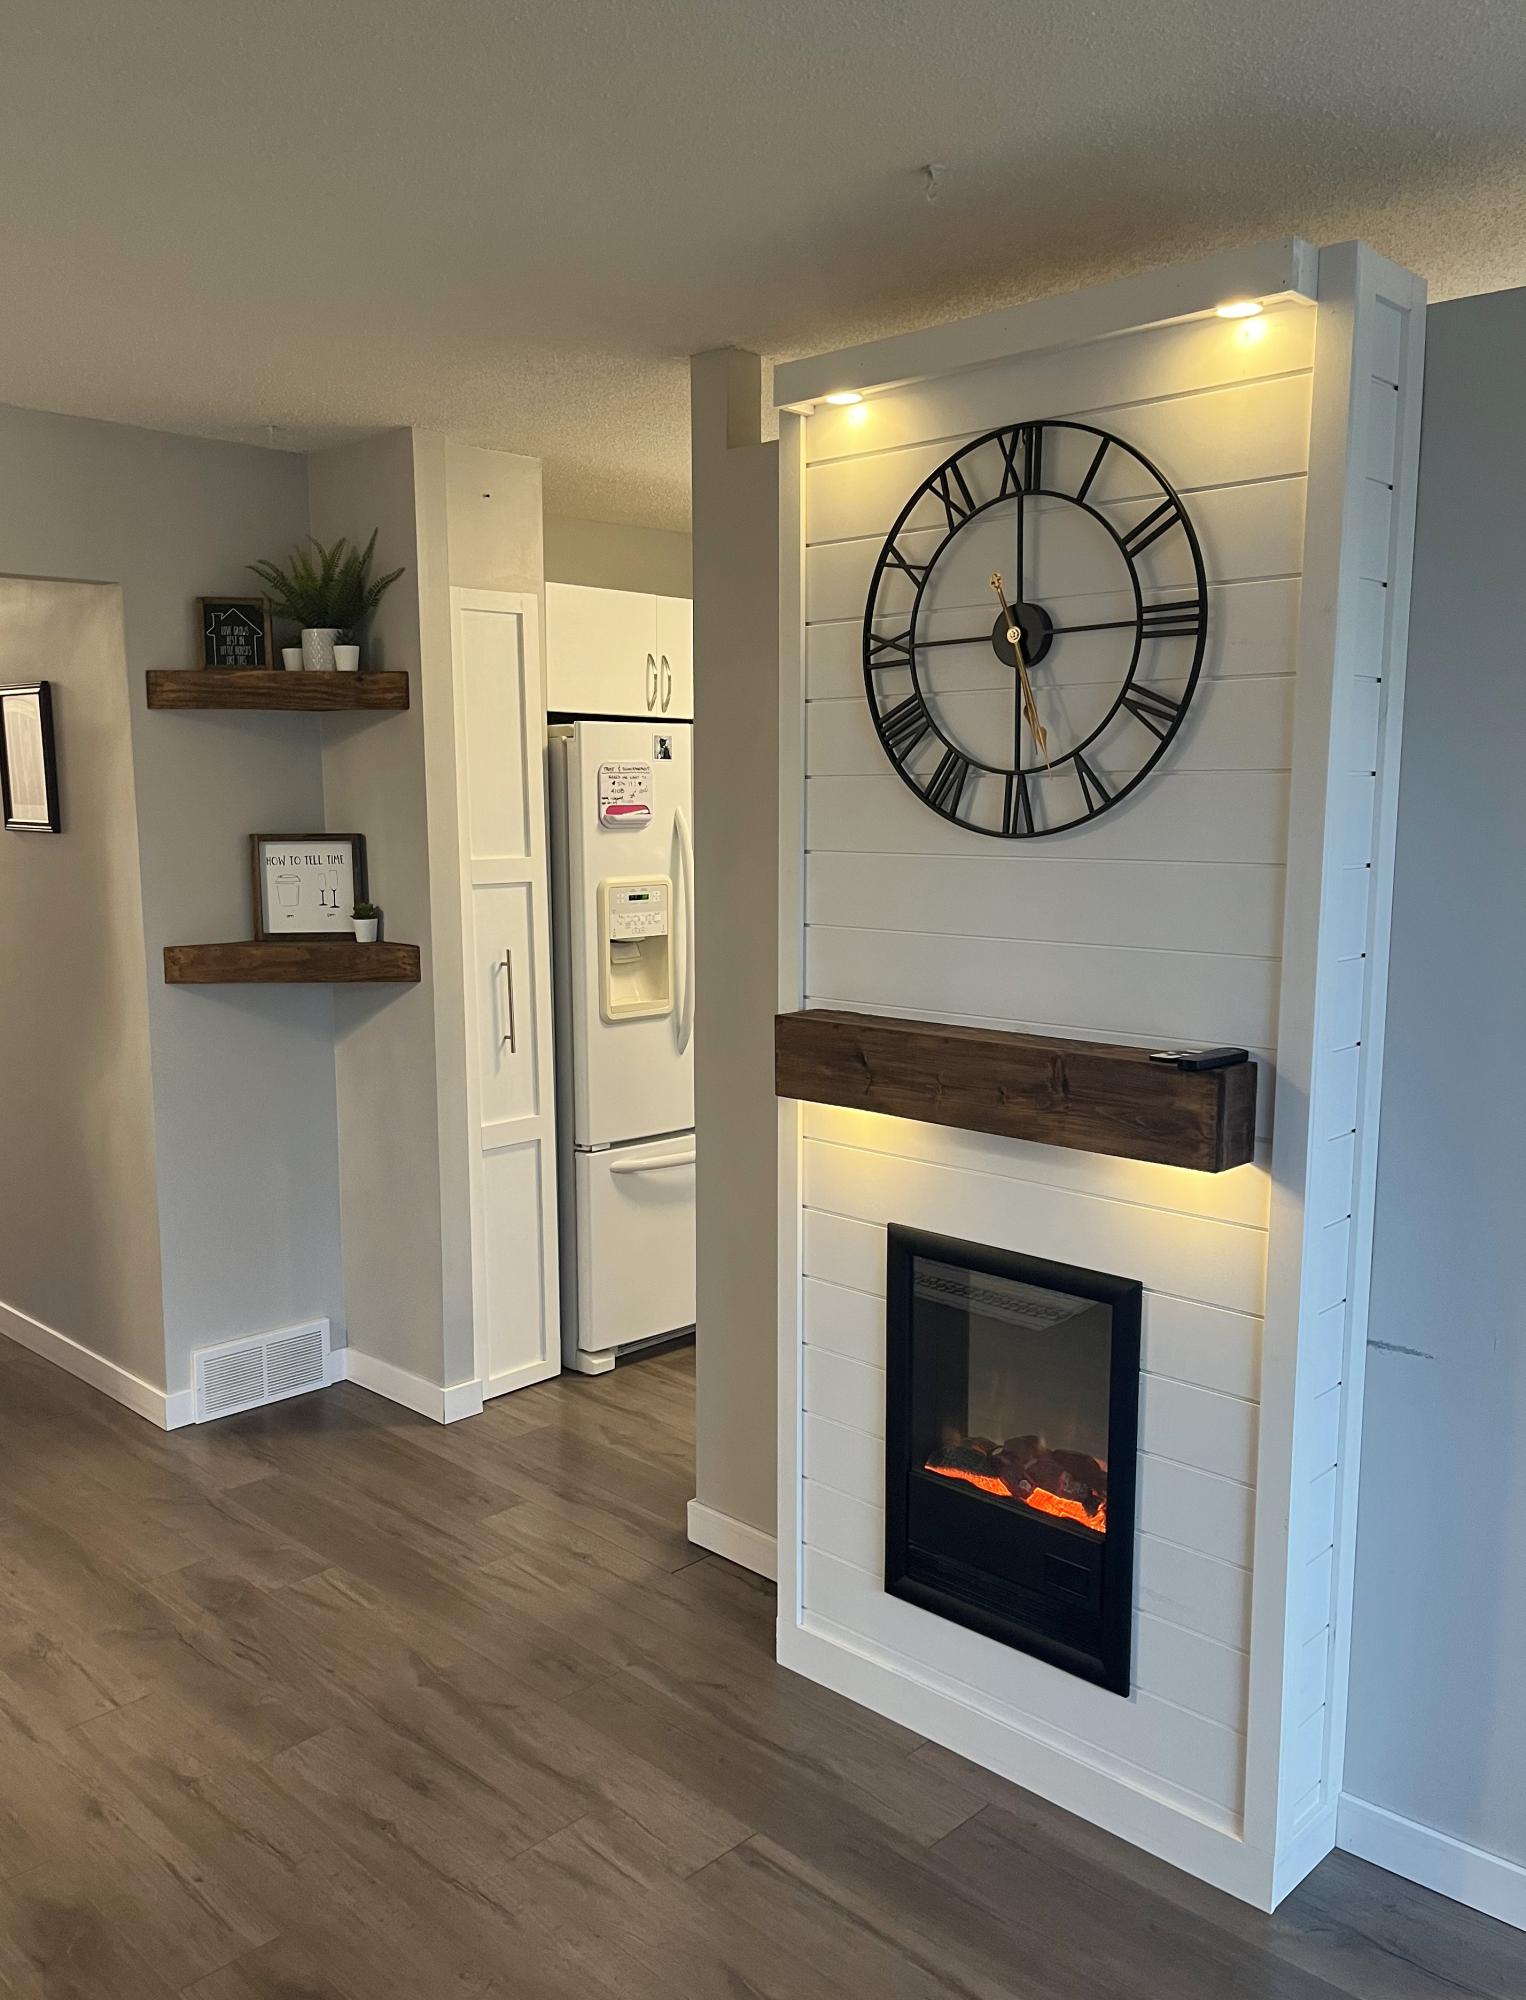
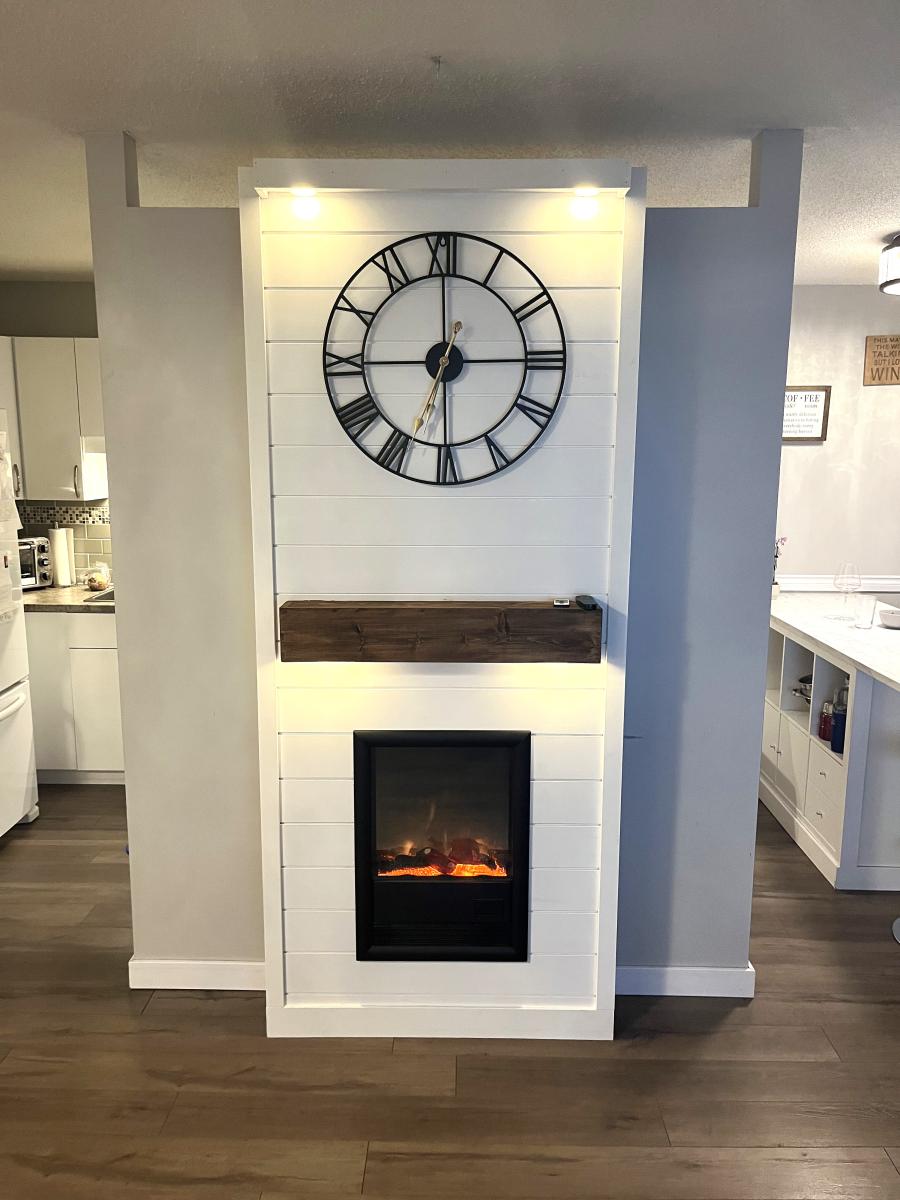
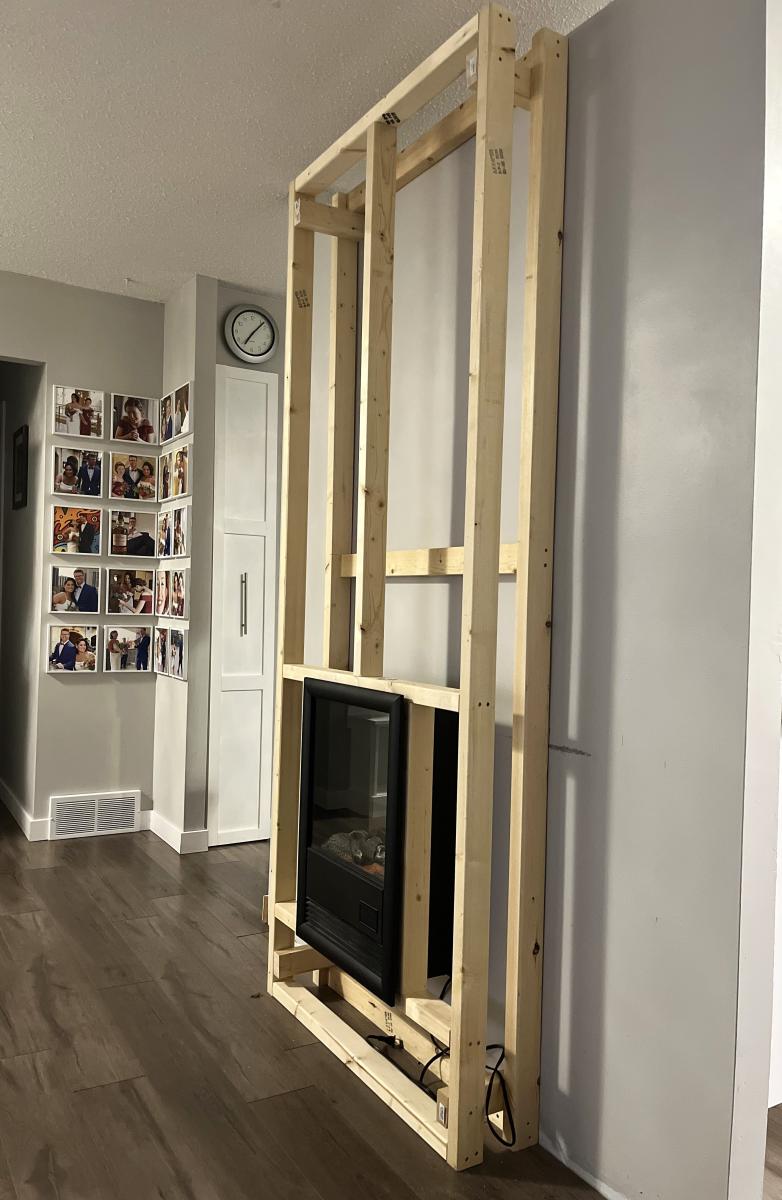
I copied Ana’s fireplace insert design. So easy and looks amazing.
It’s my favorite so far.
Thanks Ana!
Al
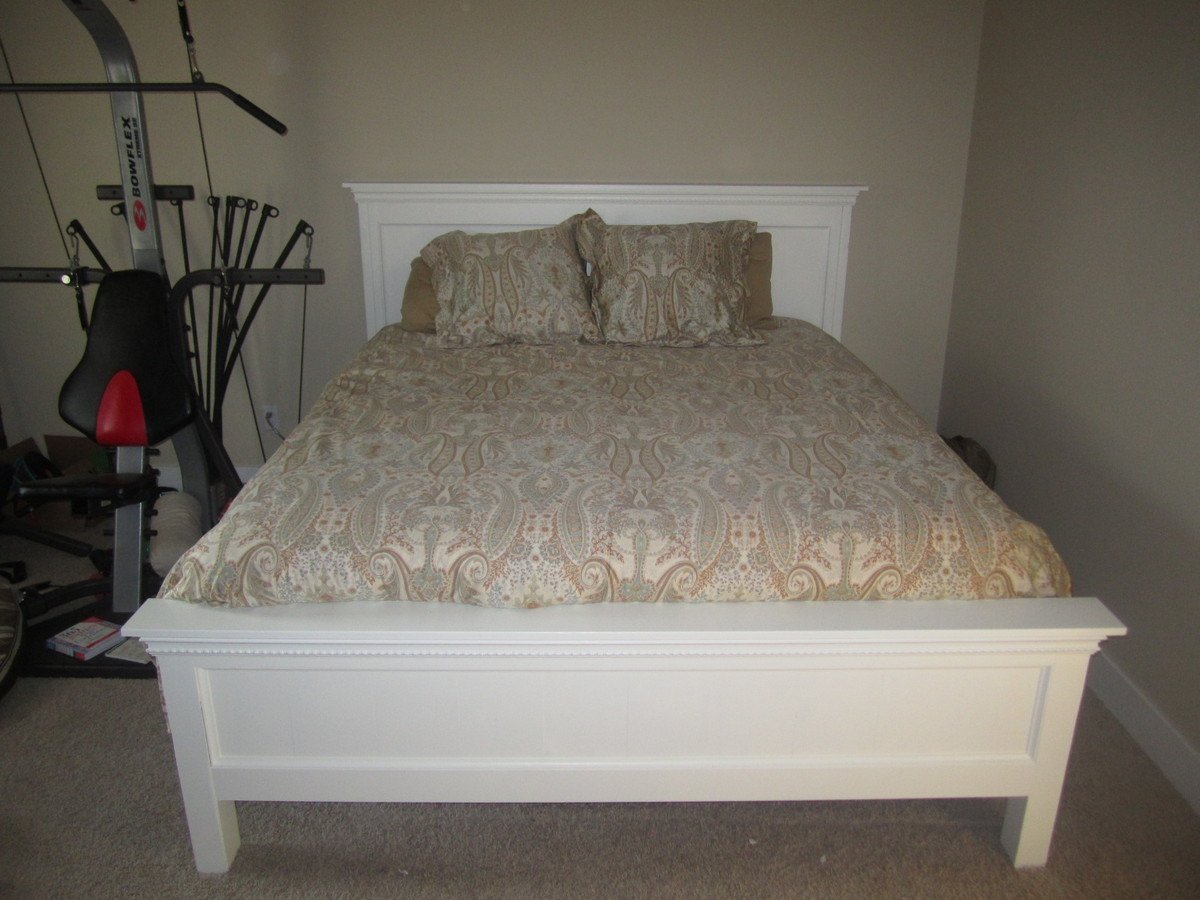
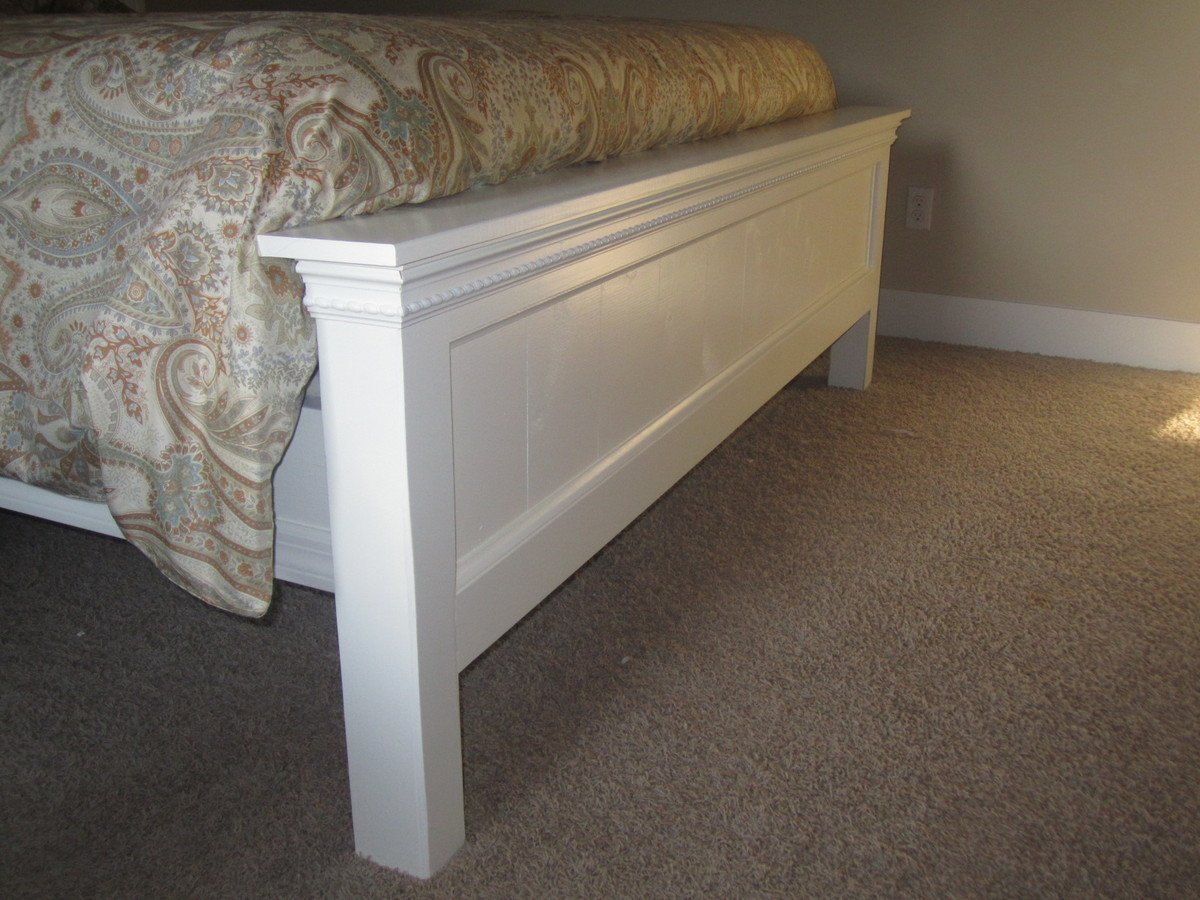
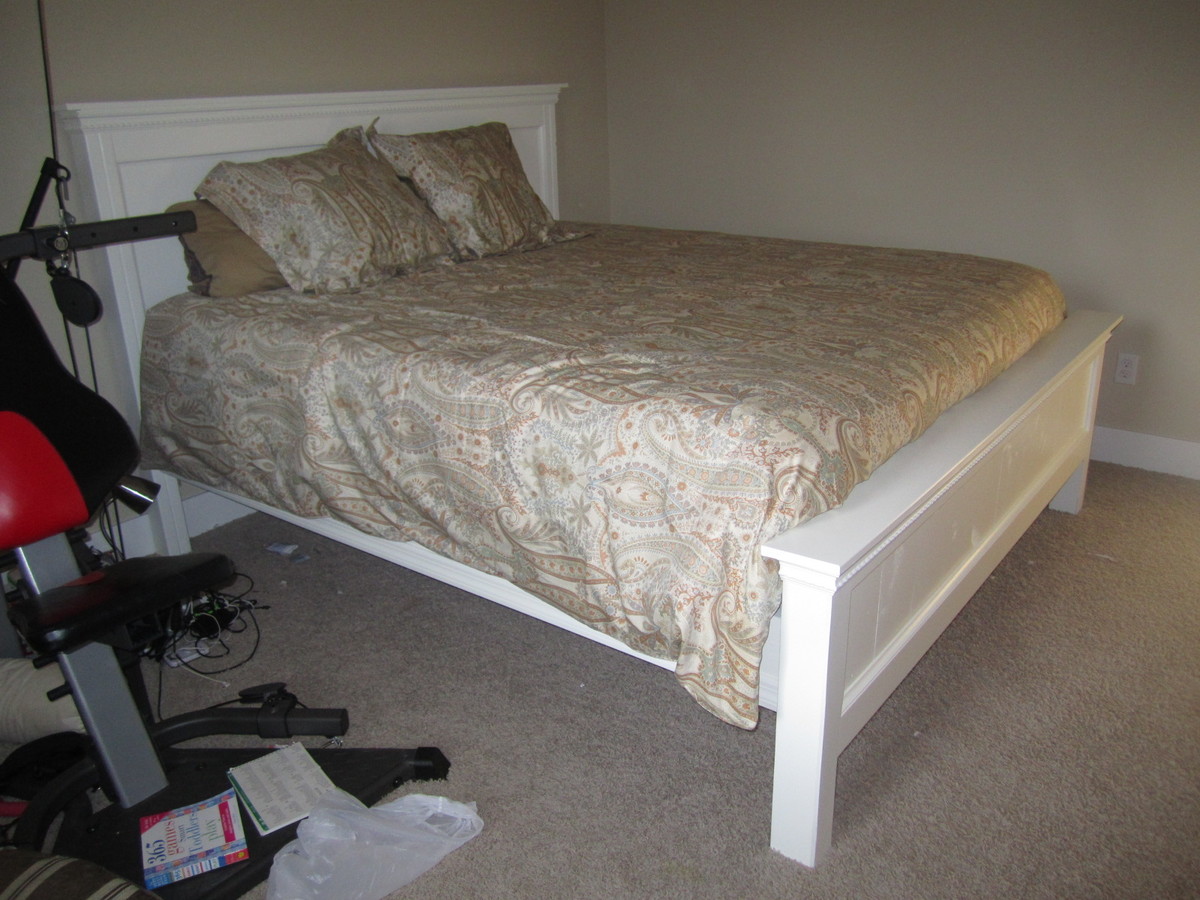
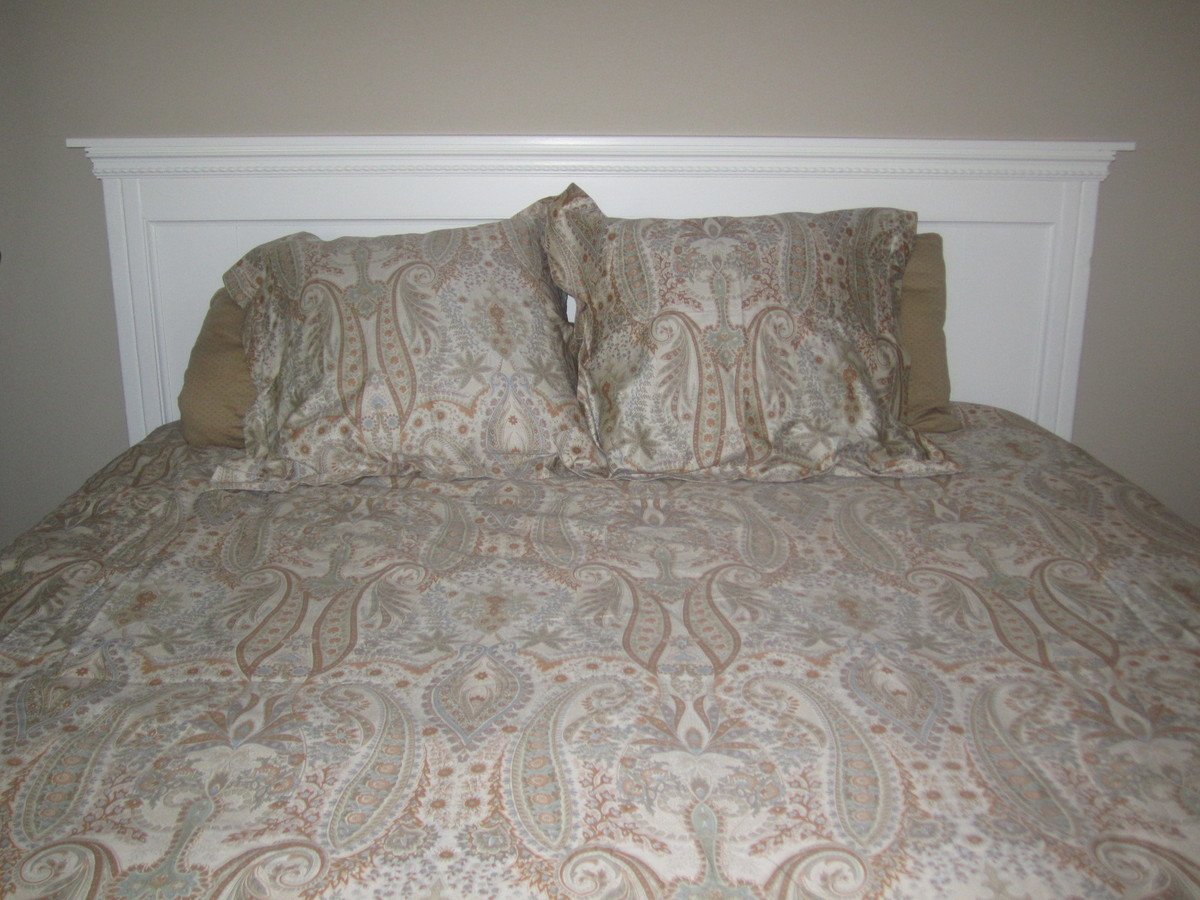
I LOVE the Farmhouse bed but wanted to do something new with it. After looking through some other brag posts for inspiration I made my own blend of things to get what I wanted. There are a a few things I did differently than the original Cali Kinf Bed instructions, which are noted in a list below.
I'm a military wife so whatever I made needed to be easily taken apart, moved, and put back together. For this I used 2x4 joist hangers on the inside of the side rails and cut 2x4's to width. I also wanted to have storage available under the bed so I made it a little higher, 12 inches rather than 10. I should have also made the overall headboard 2 inches higher as well, not just the spot the side rails sit on. Our mattress is a little taller against the headboard than I thought it would be. That's the only thing I'd of done differently.
I didn't use 4x4s for the foot board sides, I did use 2x4's and put them together like the headboard instructions with the slot for the side rail. The difference in mine is that I added thin backer board on the front of the 2x4 and mounted the foot board flush with that, and then used wood filler to smooth around the edges and give it the appearance of a 4x4. Adds a little more work but it was well worth it.
~ I did not use 2x4s laid on top of the finished head and foot boards
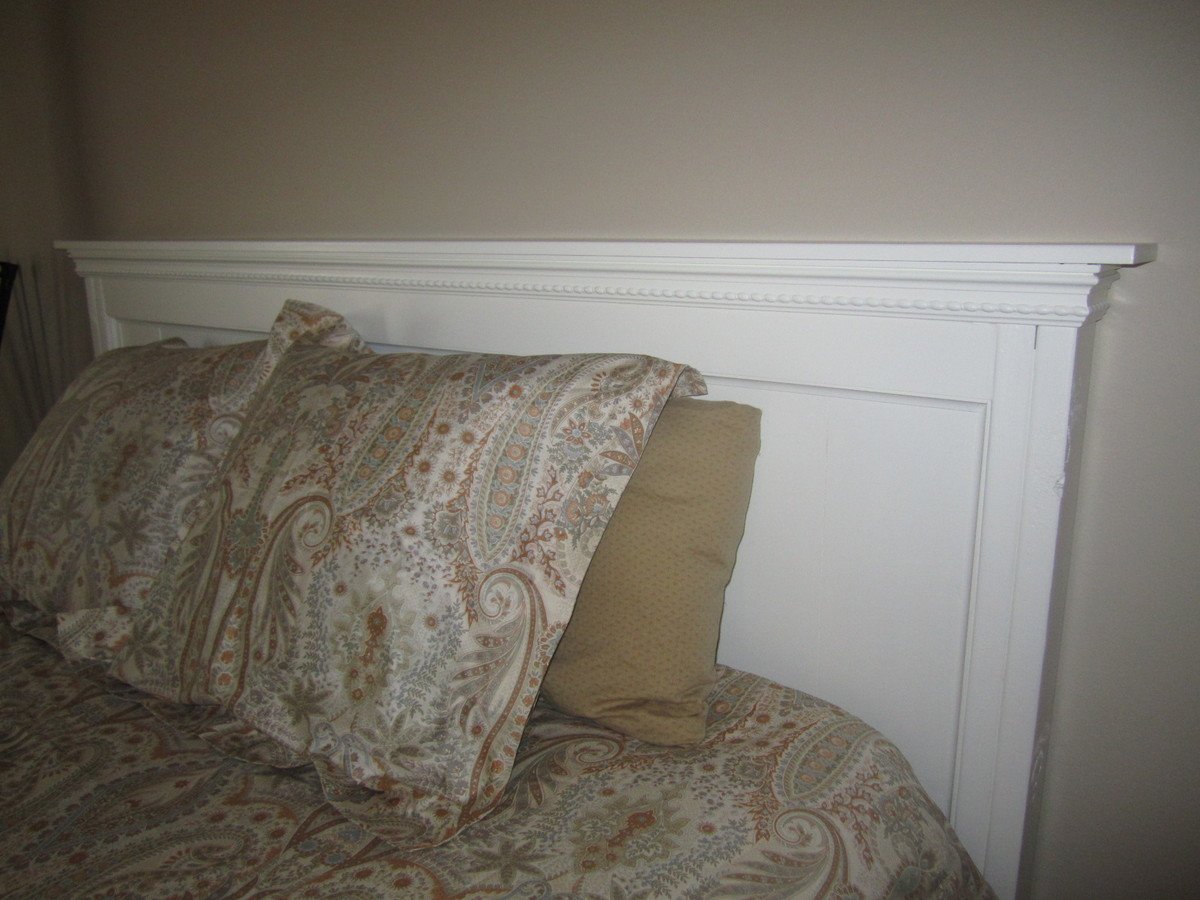
~ The headboard top has a 1x6 rather than the 1x4
~ I added rope chair rail on the tops of the head and foot boards
~ I added cove molding around the plank section of the head and foot boards
~ The very top pieces of wood on the head and foot boards have a 1 inch overlap to the back of the 2x4 sides. This allows space for floor trim behind the headboard and comforter stuffing behind the foot board.
~ I added molding to the bottom of the side rails, they looked too plain with the rest of it together and that made a big different in the overall look.
Overall I'm very happy with the way this build turned out, especially for my first furniture build!
This is one of my first furnish DIY projects.
I really had trouble to pick defect-free 1x6 boards at my local home depot, and it took me two different store trips to get all I wanted.
I spent more time than what the plan estimated. The drawer rails were tricky to install. In the end I had to disassemble the drawers and trim them down a little bit in order to get the rails fit.
Great plans. Fairly easy project. My husband built it and I stained it, Briarsmoke by Varathane. The most difficult part was to get the bread boards to sit flush with the perpendicular boards when attached. We had to undo and re-do that part several times. We followed the plans and built the table base before adding the bread boards at the end, but my husband decided that it would have been easier to attache one end of each board to the bread board, then attach the perpendicular boards together, then attach the other bread board.
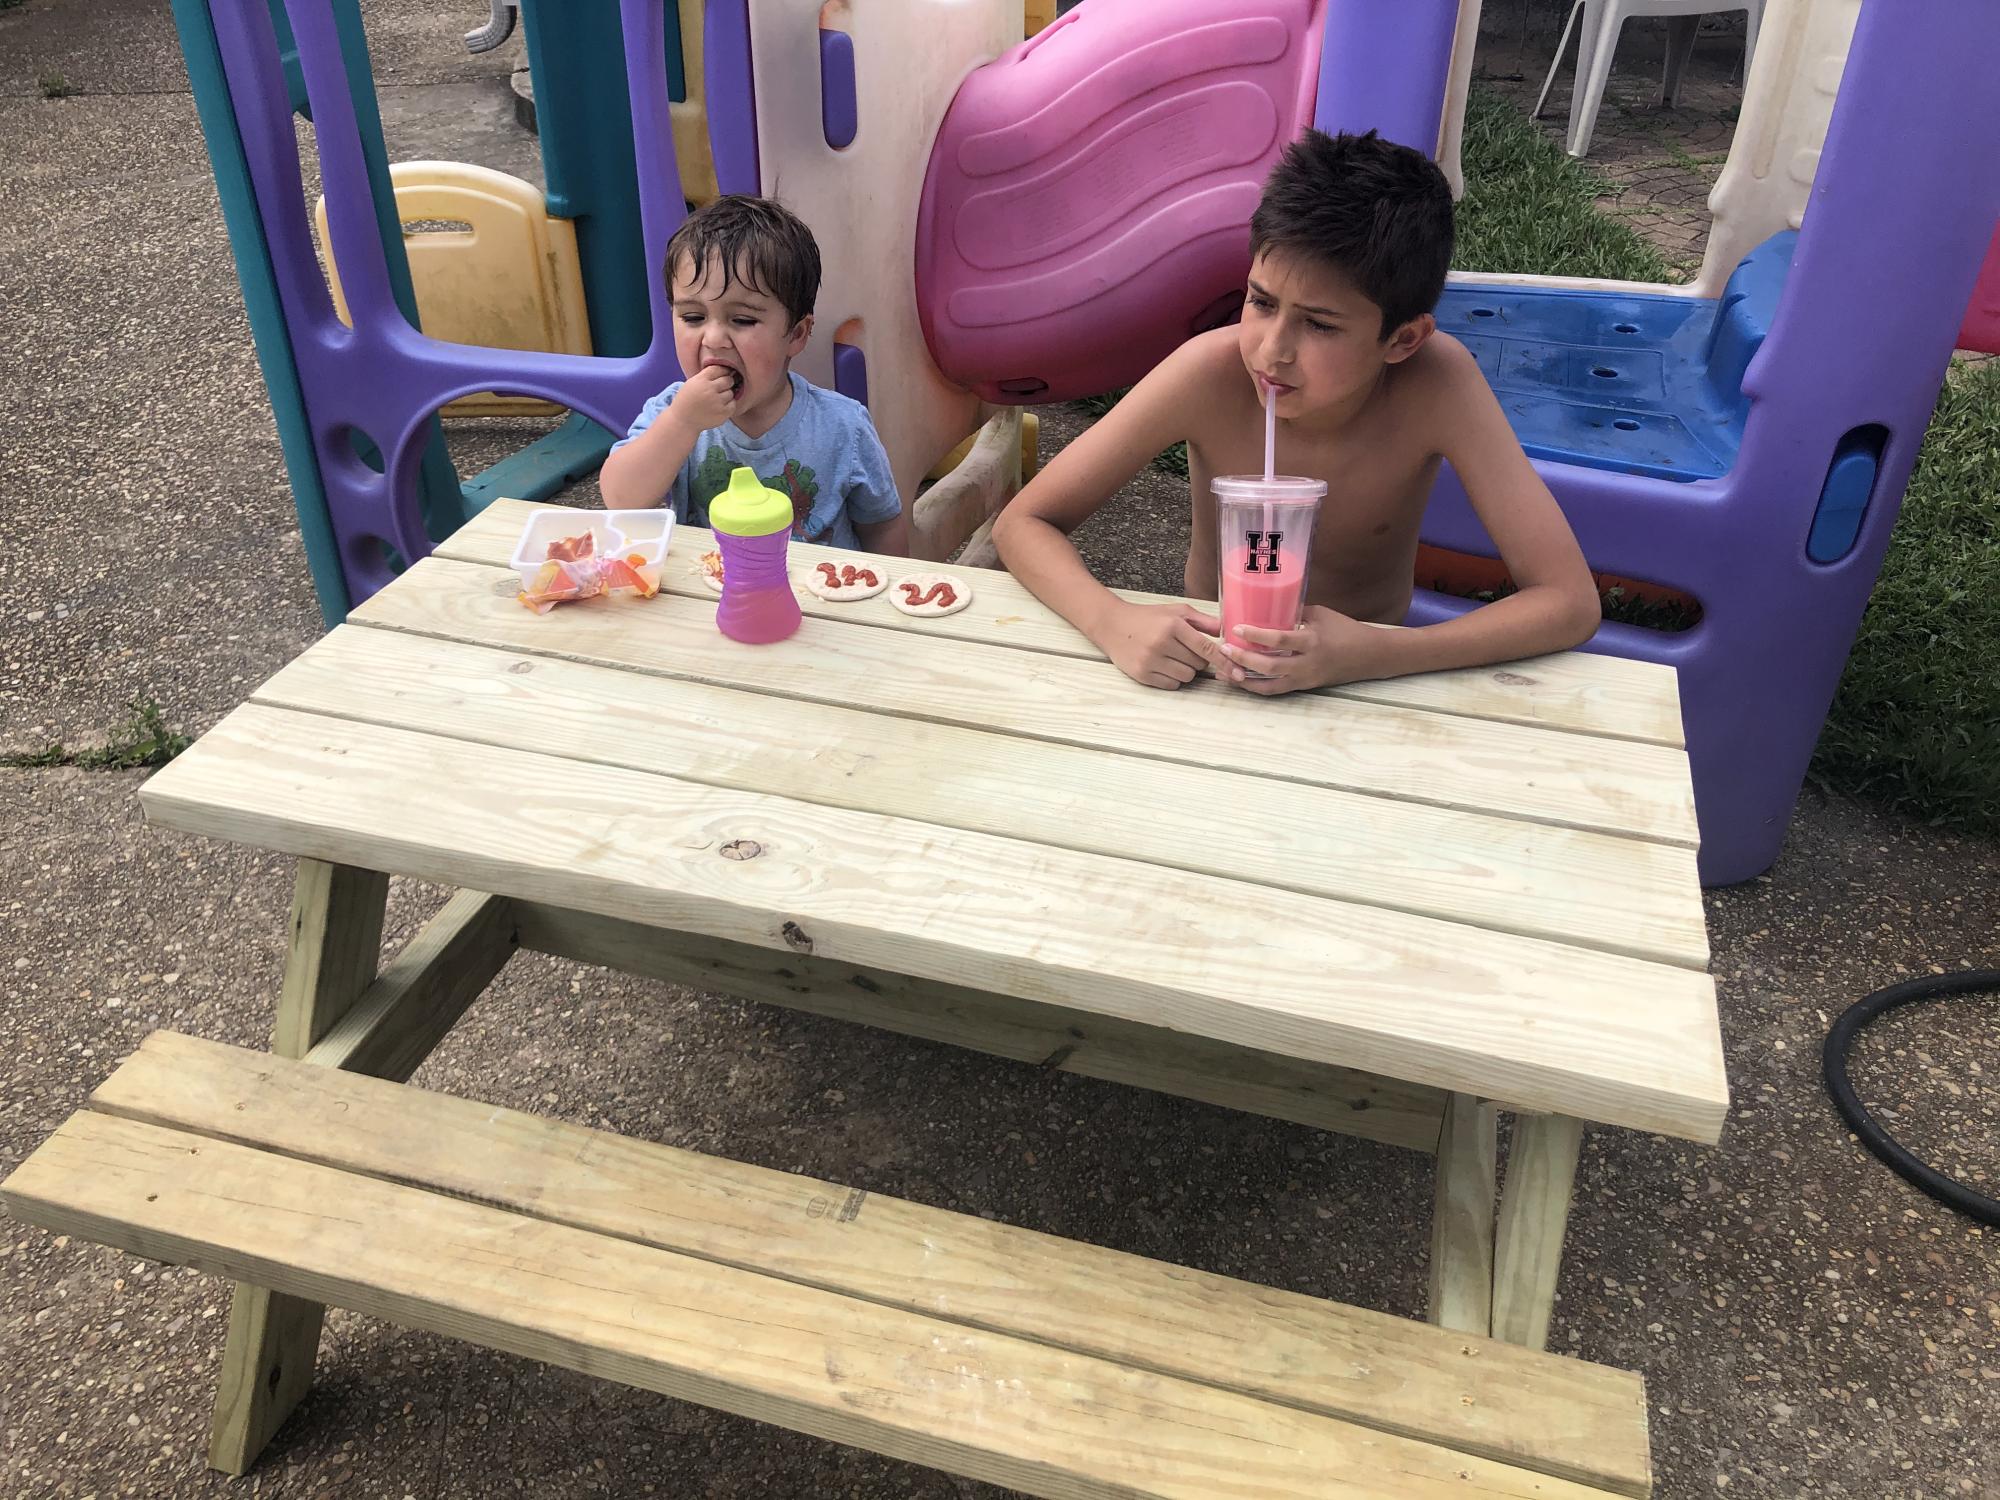
My first woodworking project. The plans were easy to understand and my four kids love it!
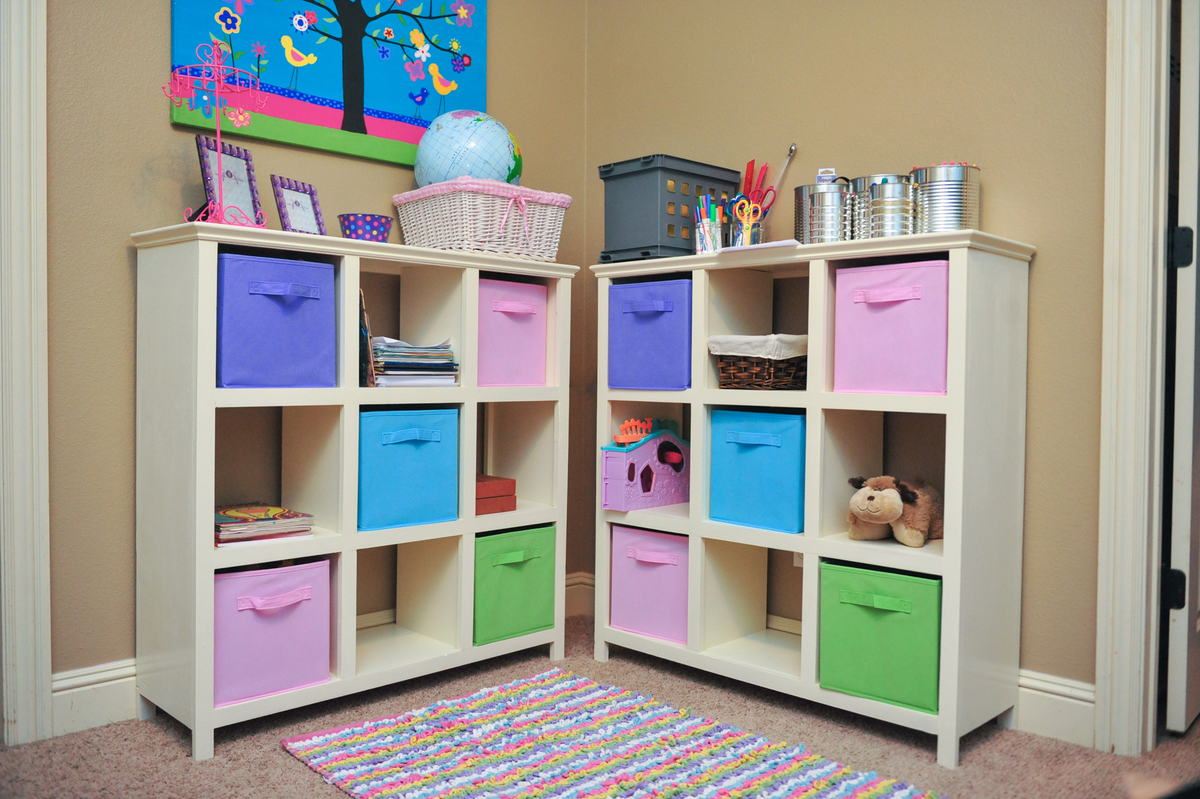
I followed the 6 cube shelf plans but just accounted for the extra cube plus 3/4 inch shelf. It was pretty simple build. The hardest part was painting it.
Wed, 03/05/2014 - 05:02
Great job. The trim really gives it a quality look!
Mon, 11/21/2016 - 14:34
Hi
You said that you made a 9 Cube by adding 3/4 inch to measurements. Please let me know if my measurements are correct. You added 12 1/4'' (cube height) + 26 3/4'' (side height) + 3/4'' (measurements you added to get the total inches need for the sides?
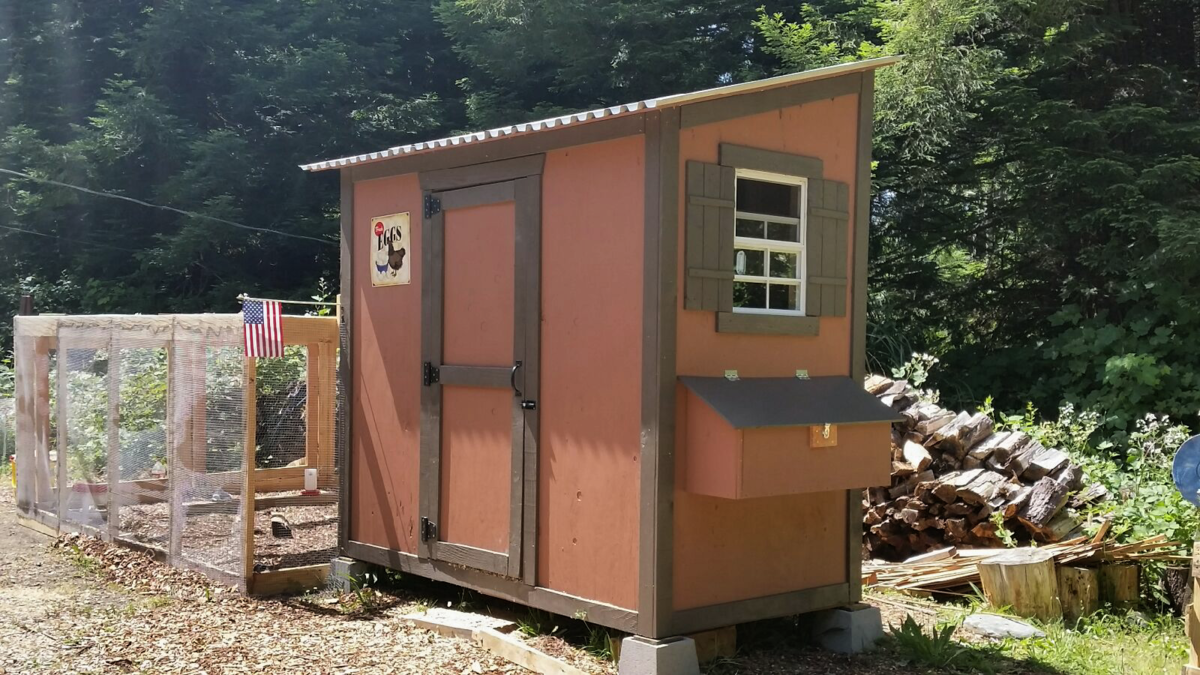
My 7 week old chicks love thier new home
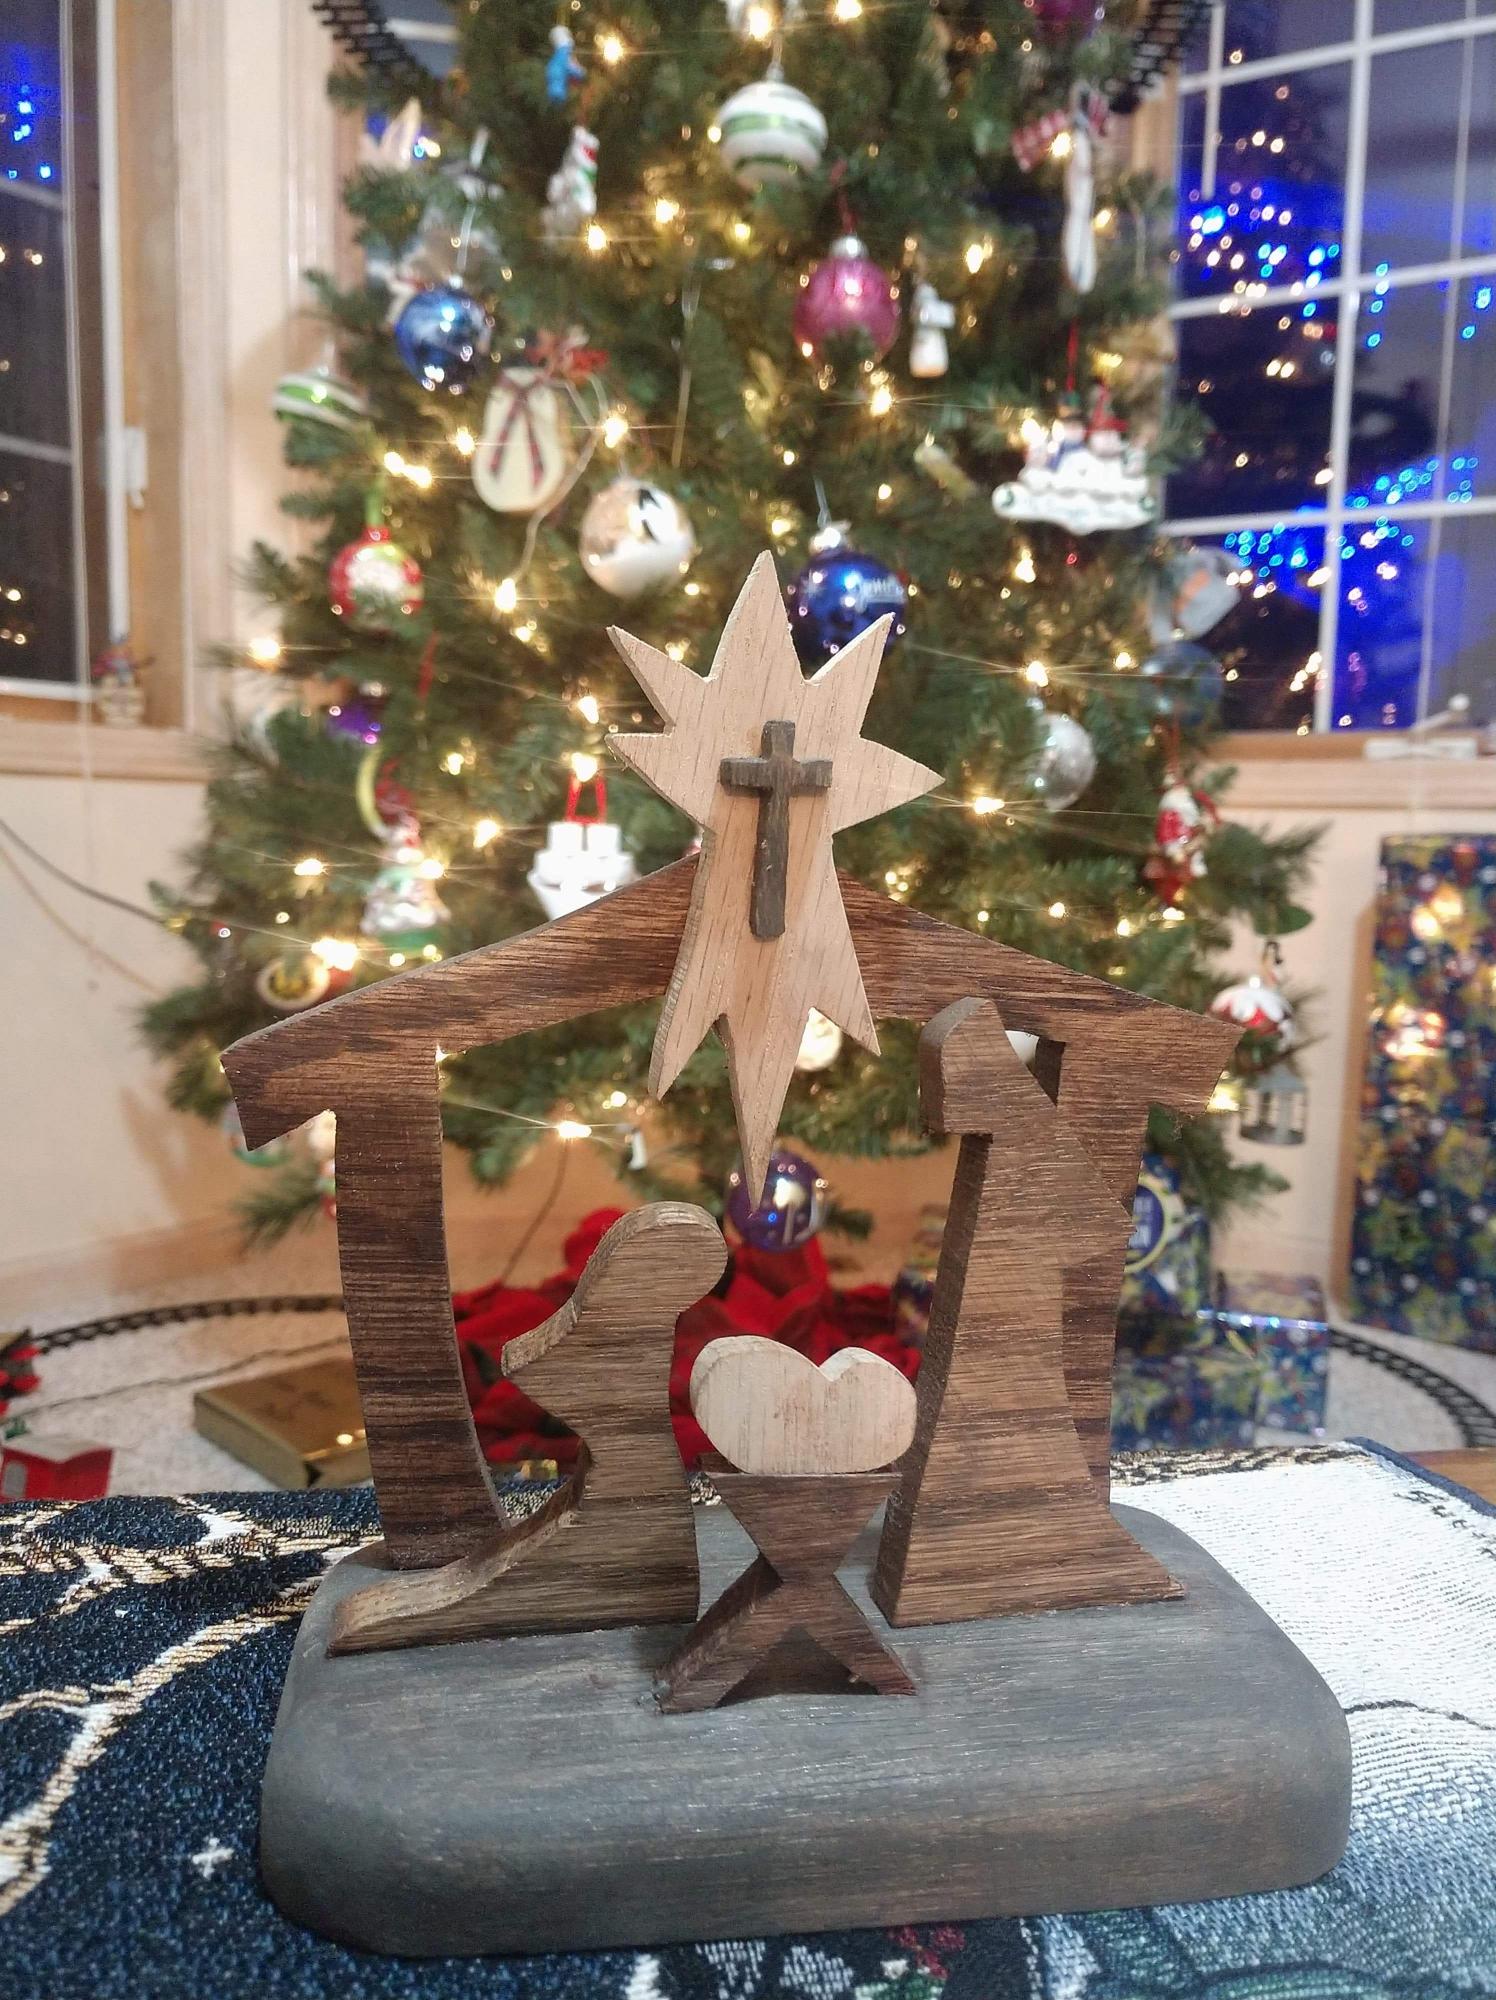
My wife asked for a table top Nativity Centrepiece as we were hosting Christmas. Was fun and quick to make it small!
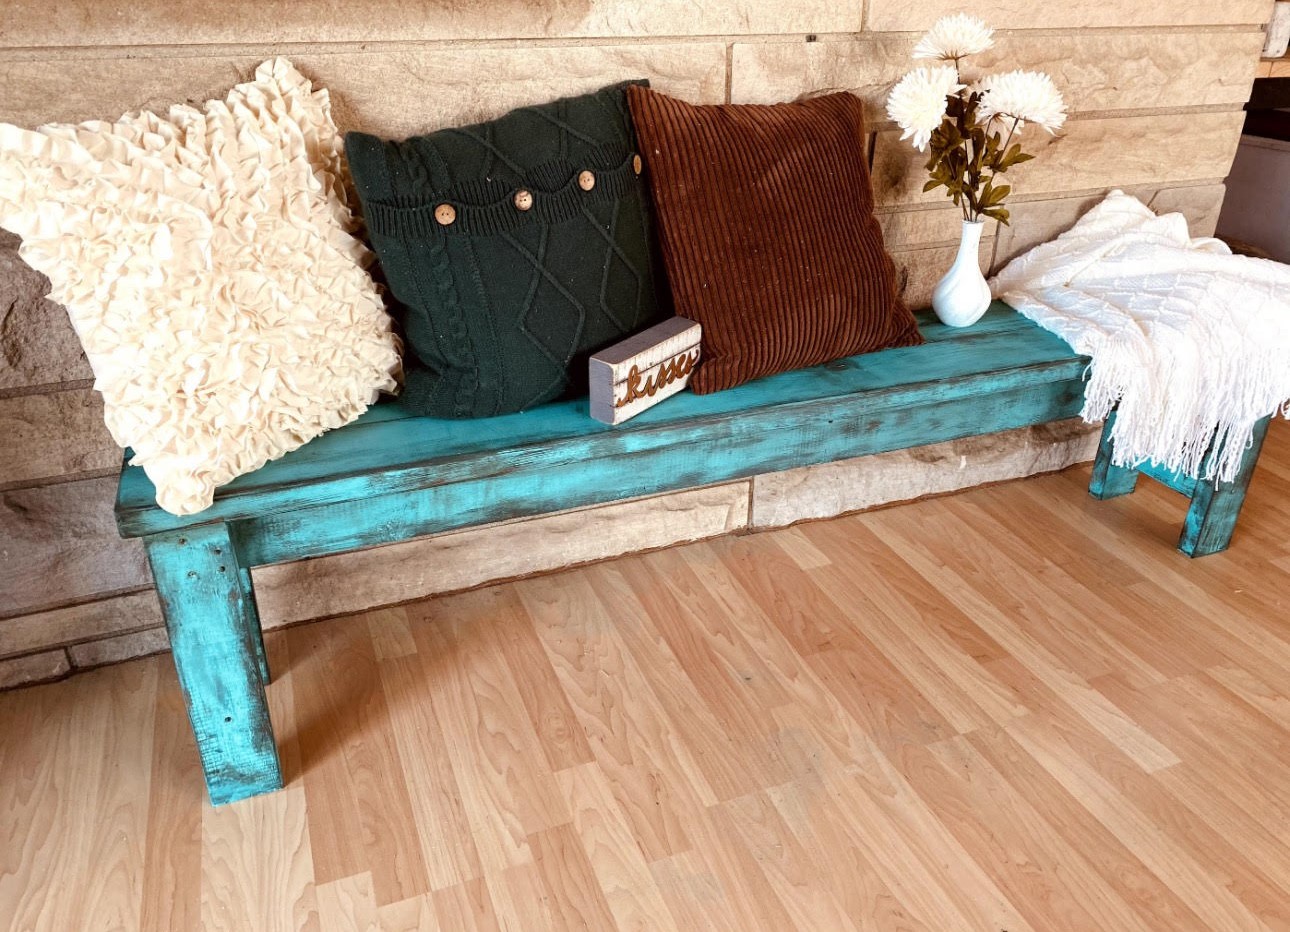
Beautiful farmhouse bench by Leila Adams
The plans are modified from ana's Tryde side table plan.
I used smaller timber for the legs and top and finished it with a maple stain to match in with our other furniture.