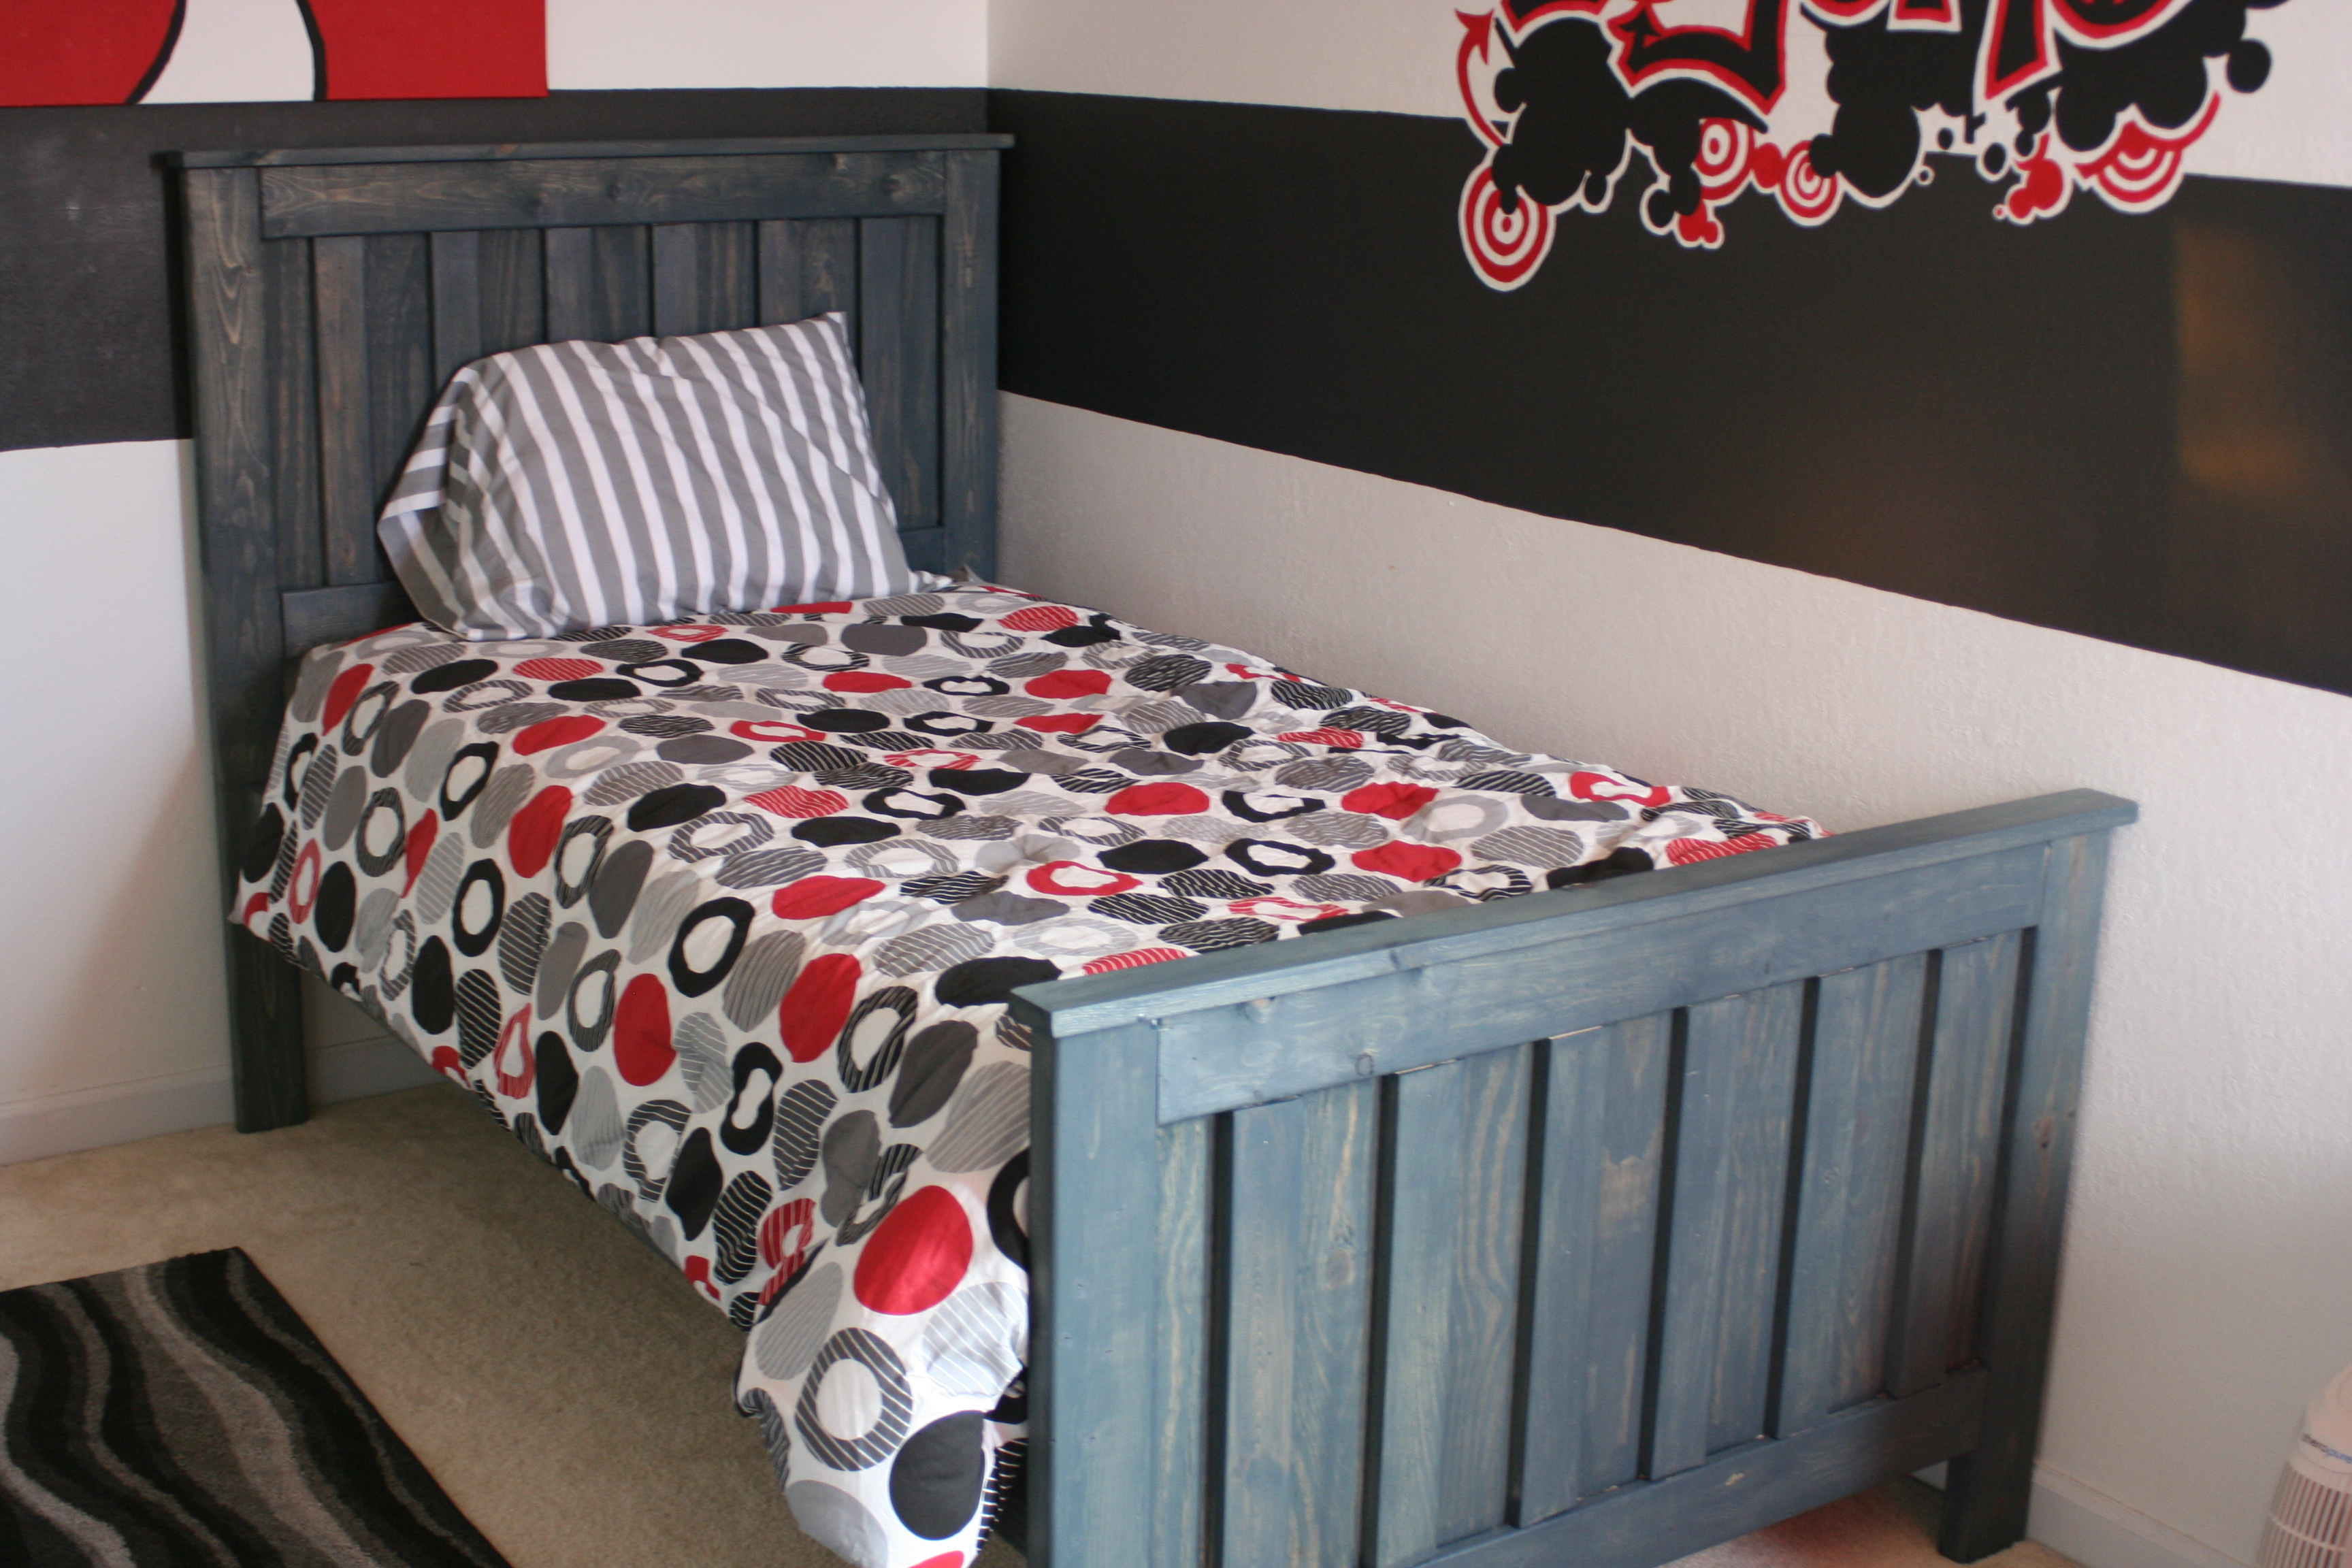
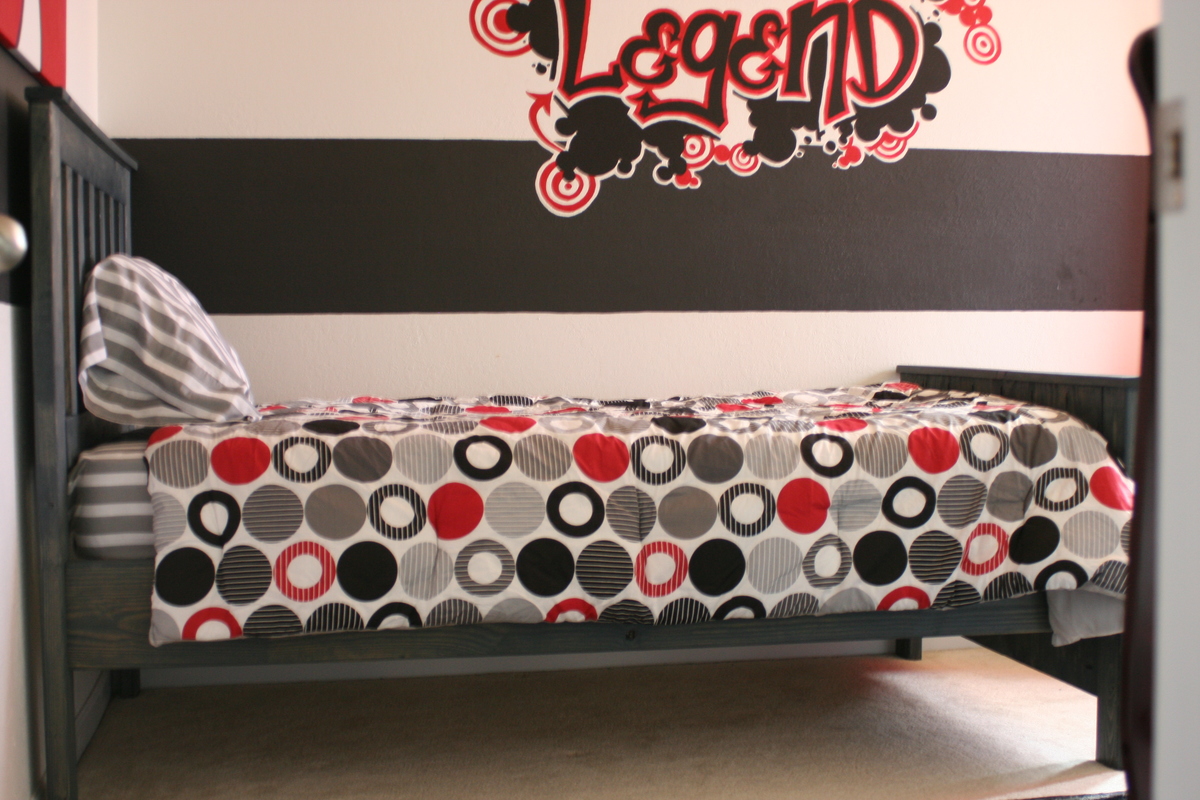
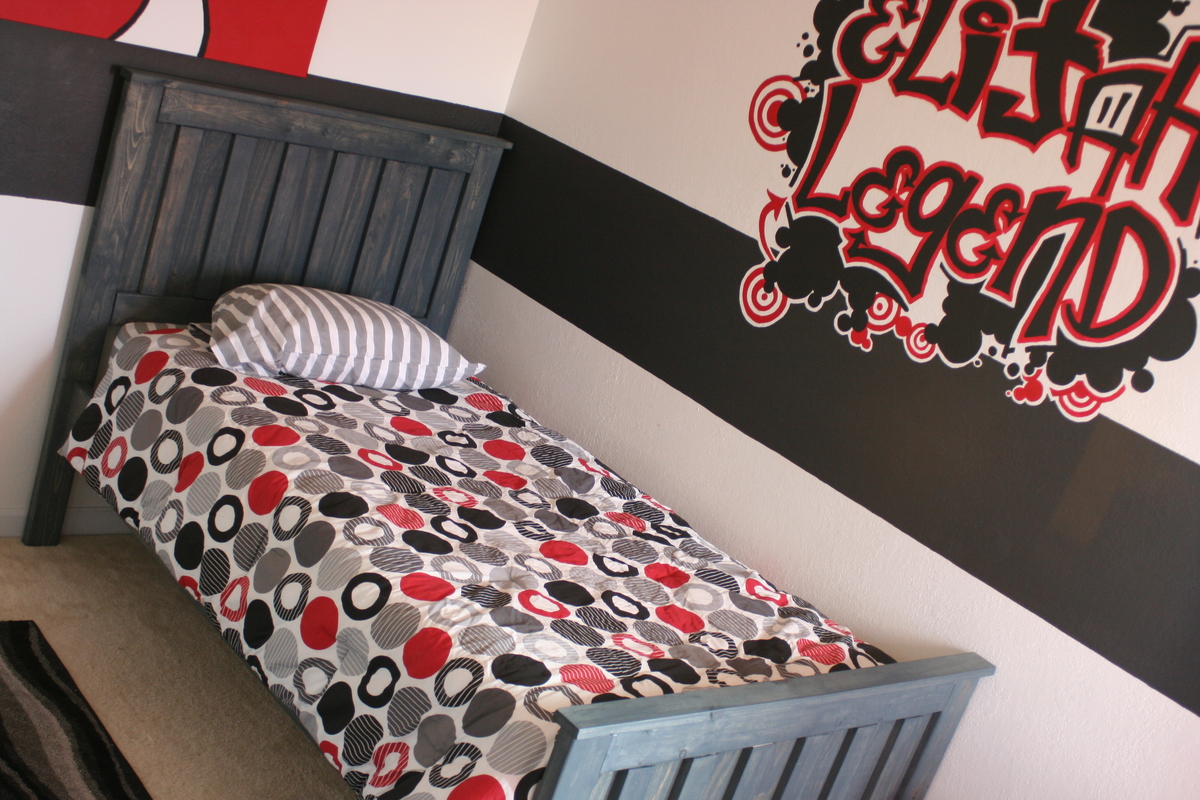
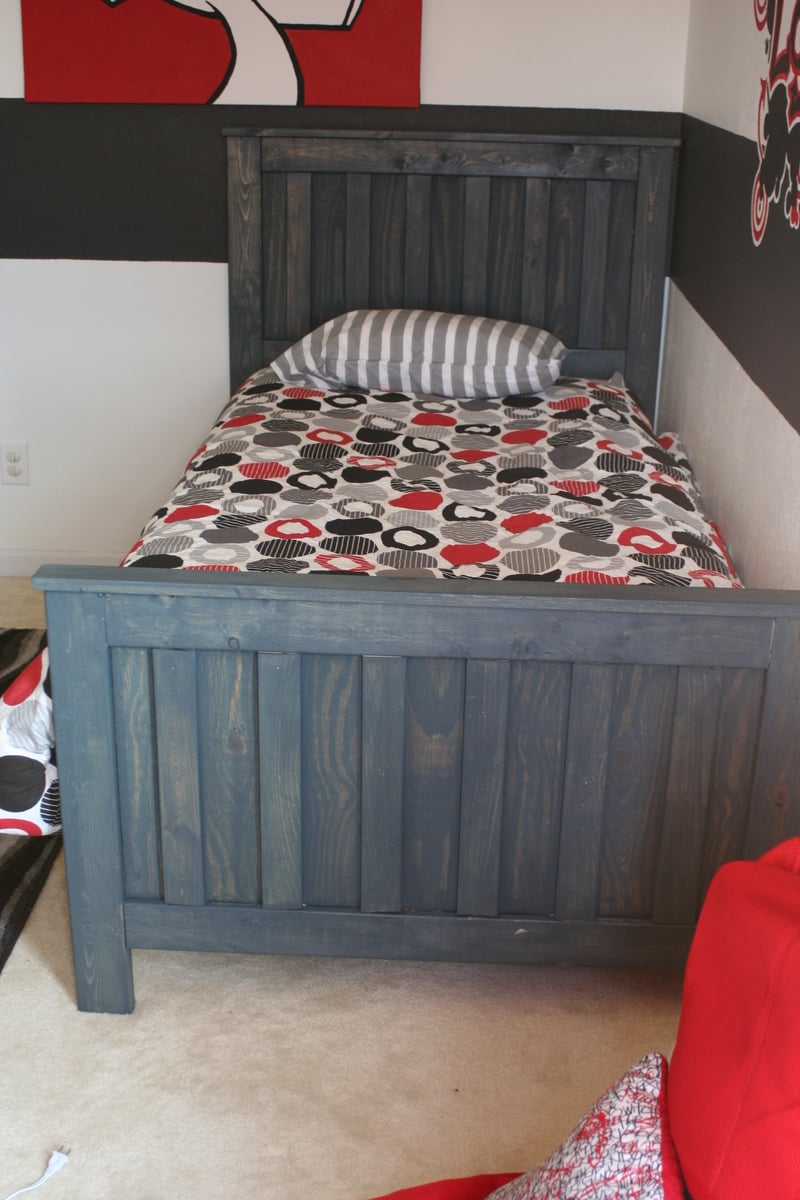
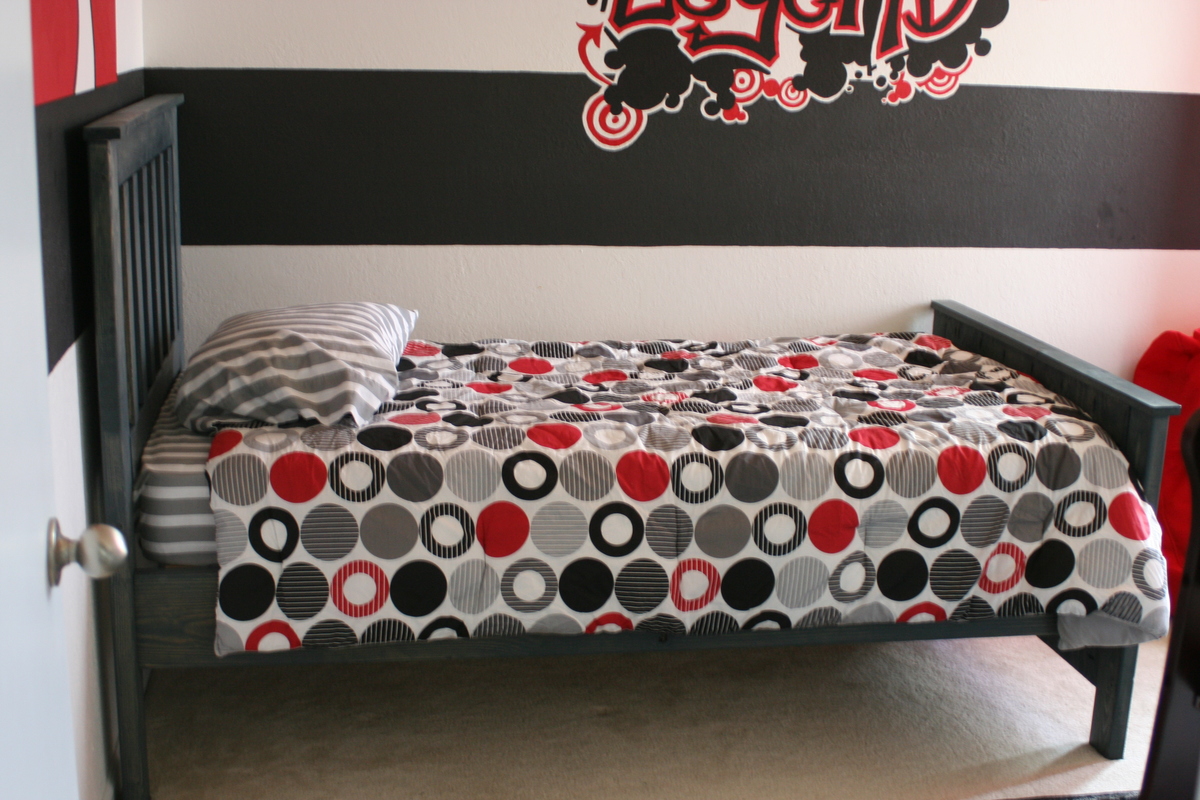
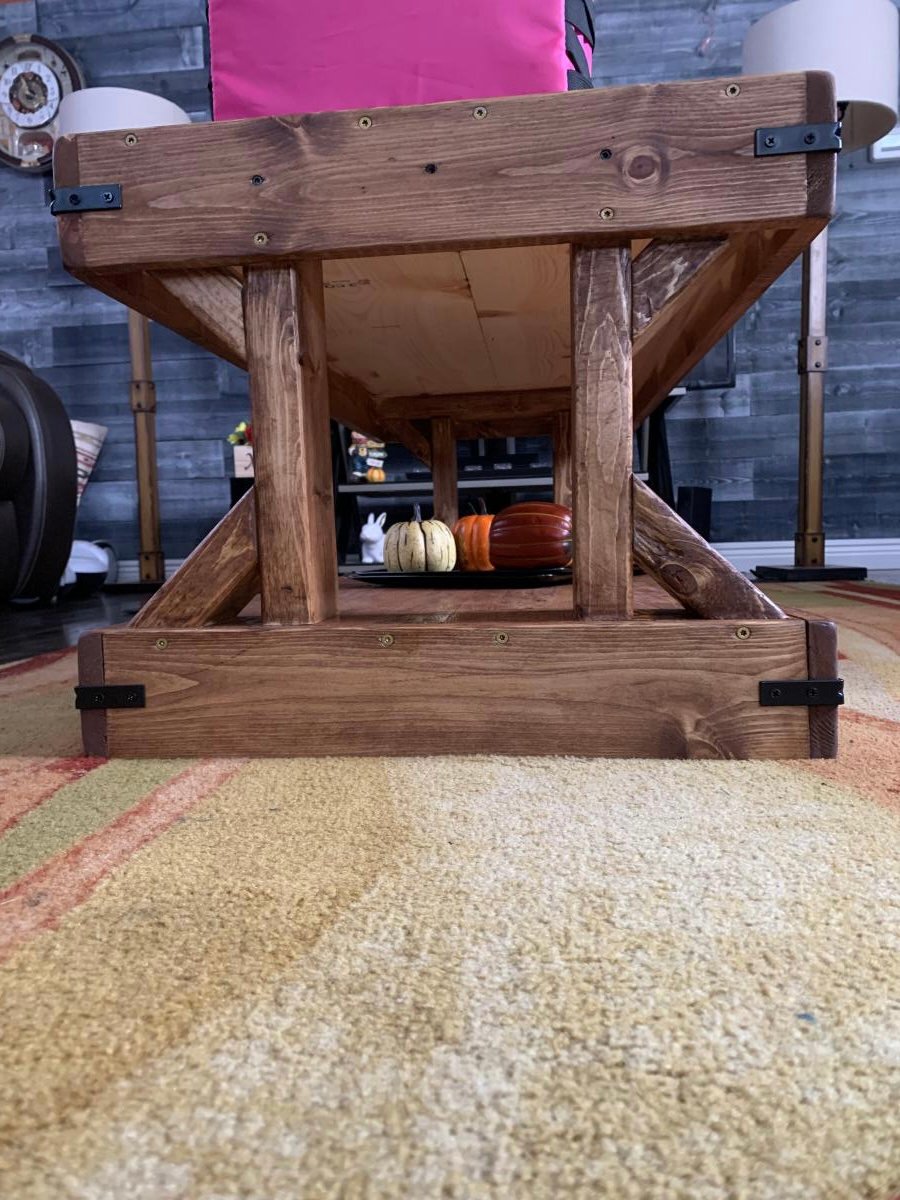
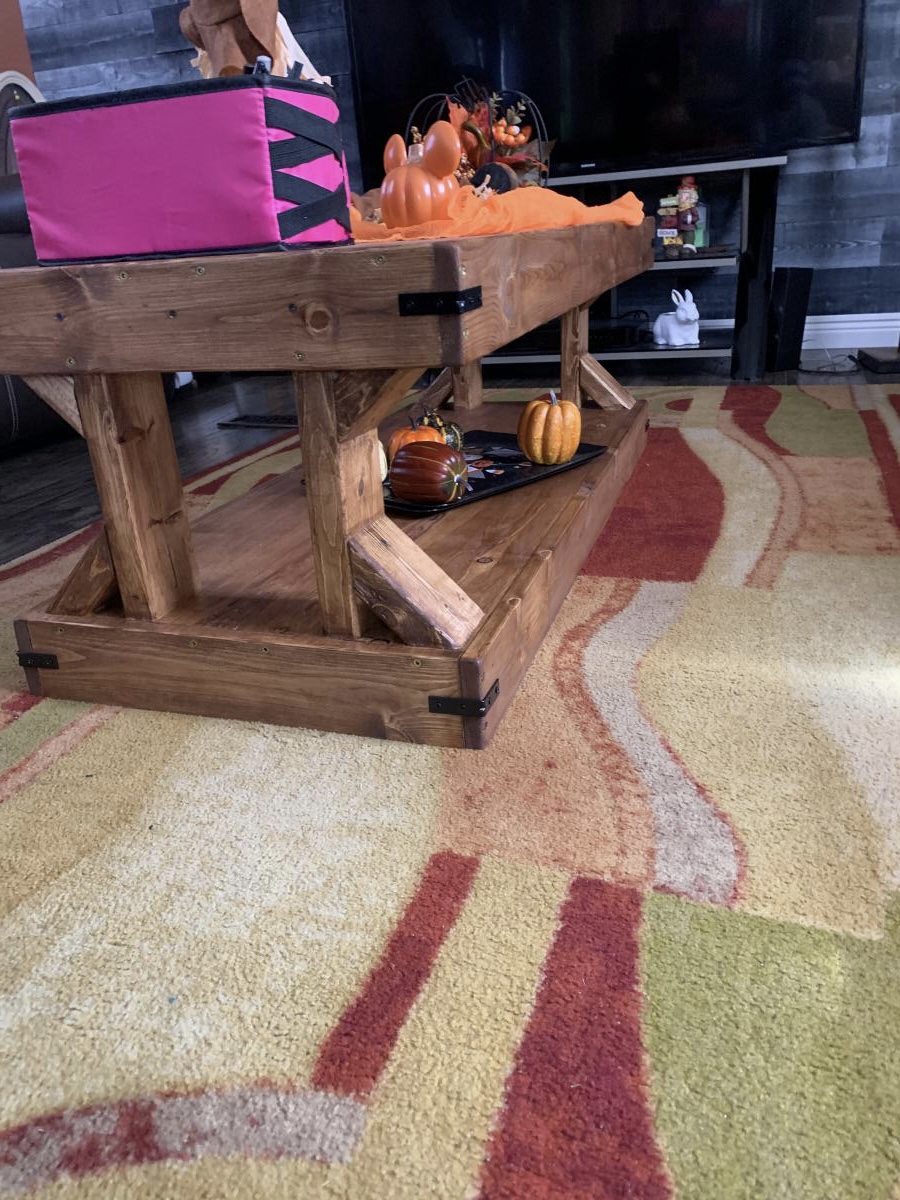
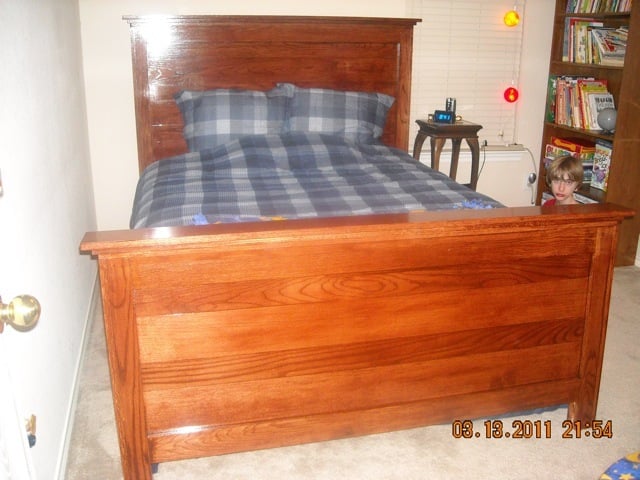
My first project using an Ana White plan and the first time using a Kreg jig (love that little blue thing!). The plan is pretty much straight forward. I had a great (but exhausitng) time building this bed for my 2 year old son. It was pretty easy and I did everything myself. Lowe's didn't cut my boards...I did! Bought a circular saw just for this project.
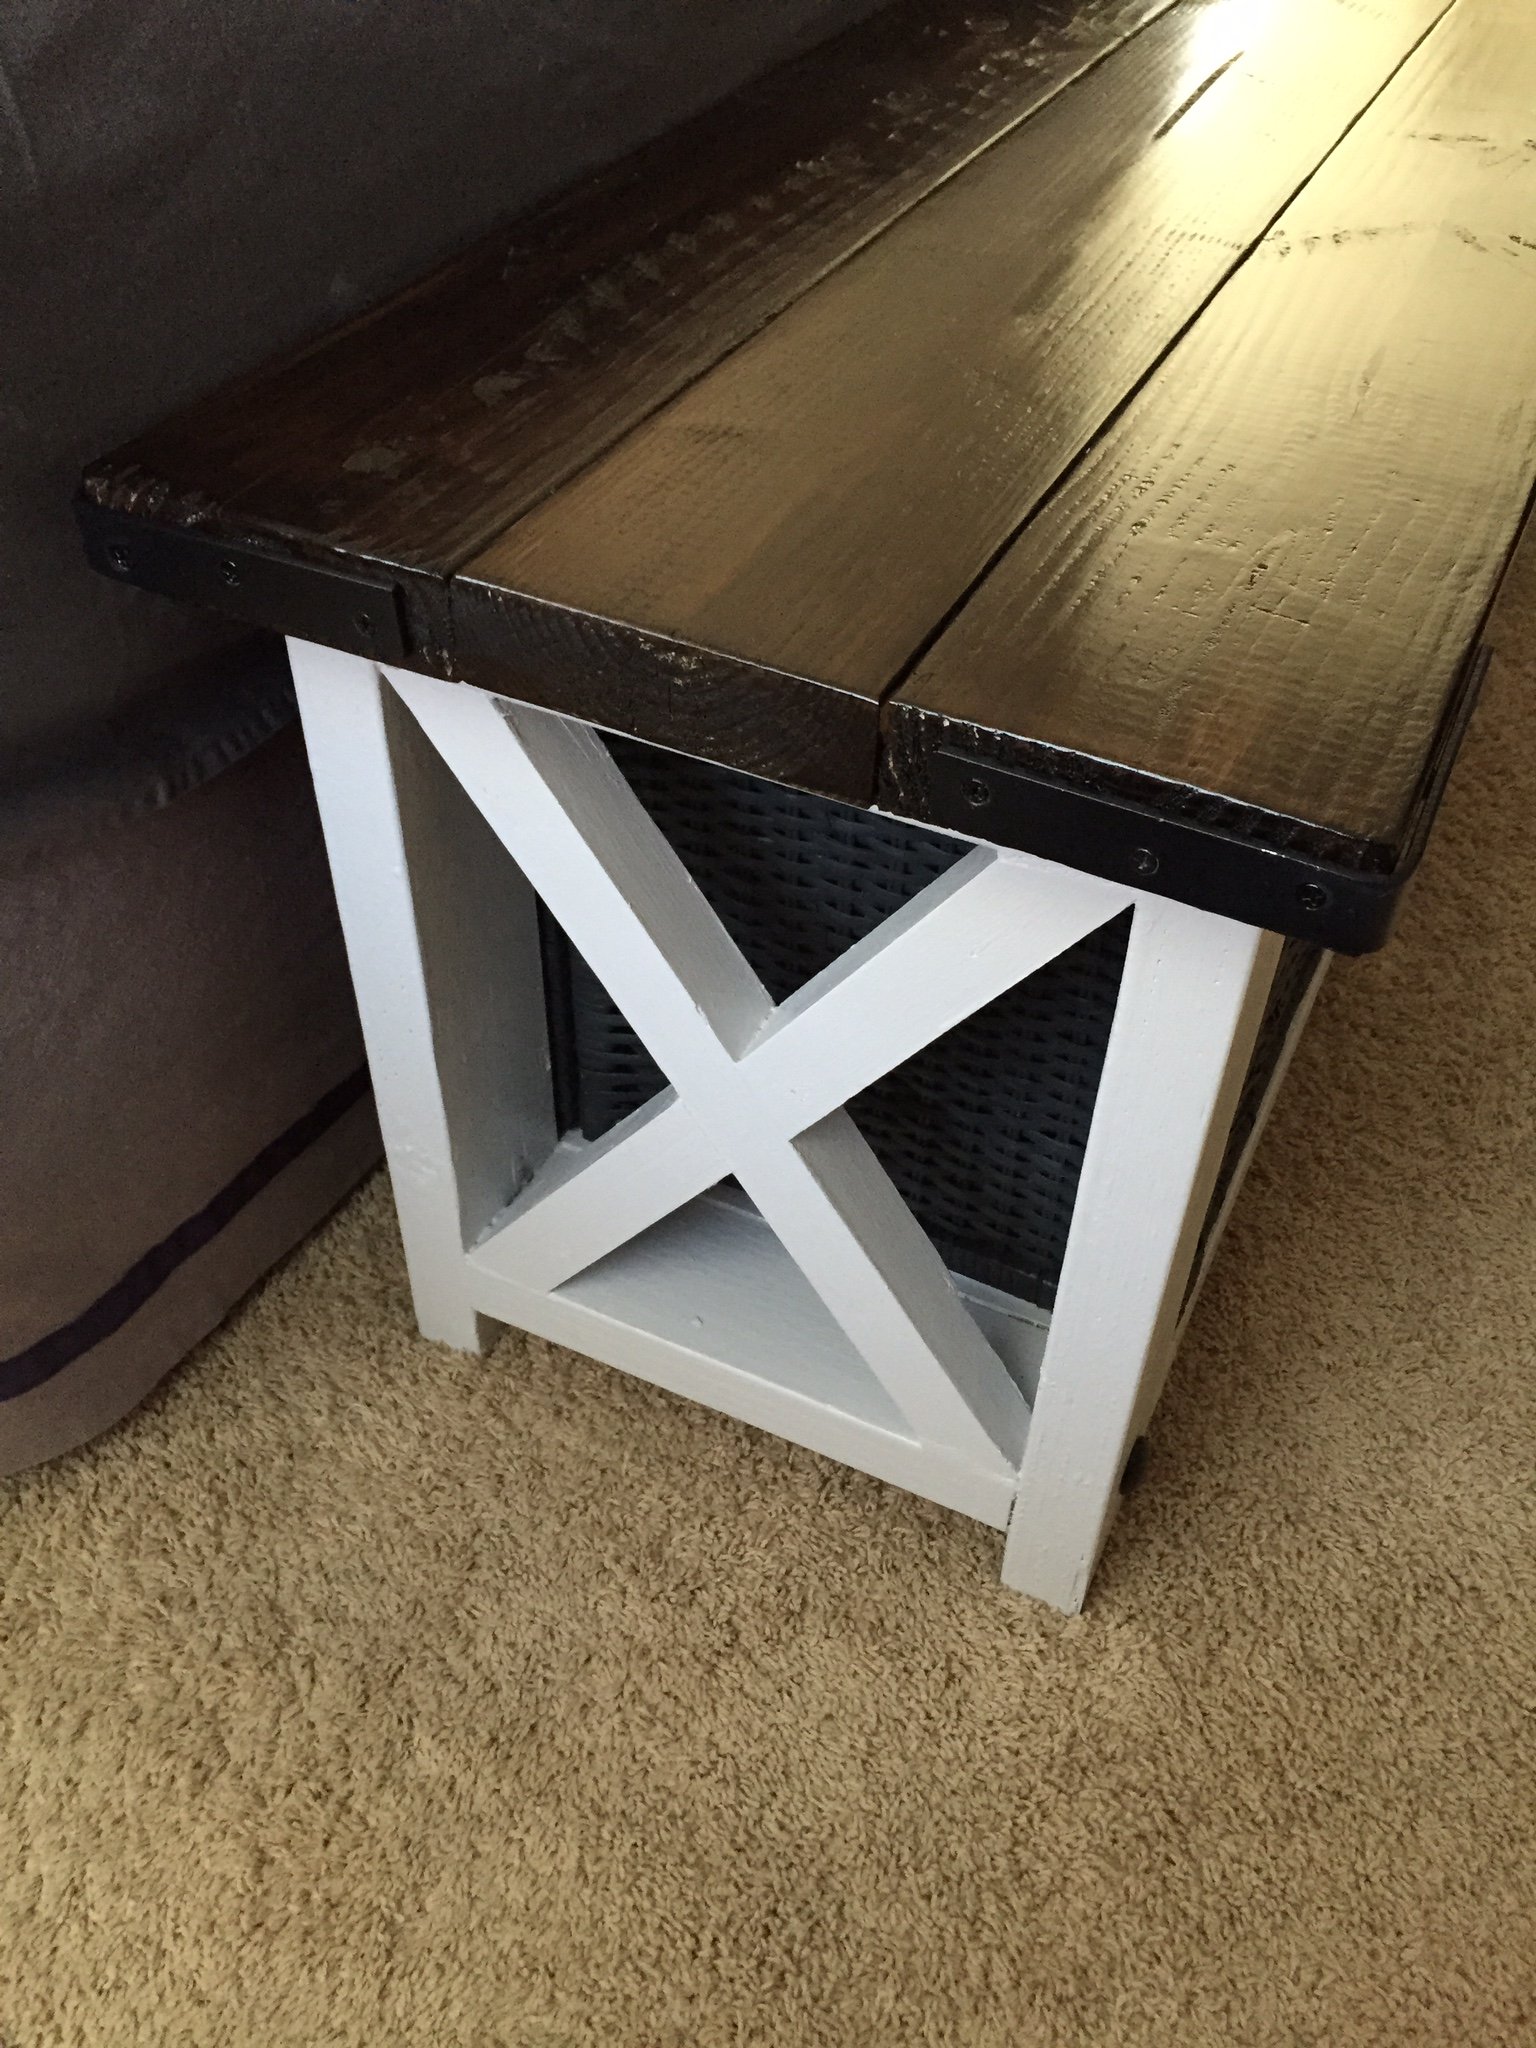
My only complaint is that 2'' wood screws are not on the posted "shopping list" and are needed for the side rails construction. It is listed in the step by step instructions, but if you are shopping for this don't forget to add this to your list of needed items. I got to the side rails and had to go back out for wood screws before I could add the cleats. Also, if I had to do this project over again, I would sand the plywood panels BEFORE constructing the head and foot boards. My reason being that I used wood stain. I've learned that plywood stains best when it is sanded to a smooth finish and pre-treated with wood conditioner. Once assembled, the slats on the head/foot boards make it impossible to sand the plywood with a power sander (too narrow). I had to manually sand between each slot...talk about tiring! No other glitches though! This was a fun project and the instructions were great and easy-to-follow.
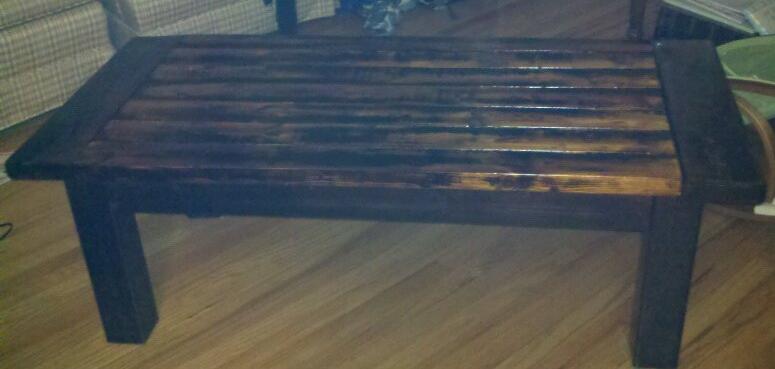
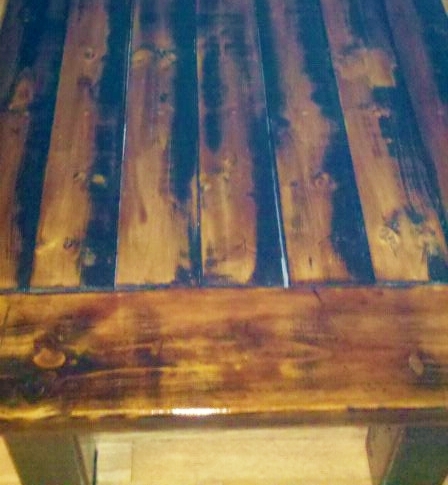
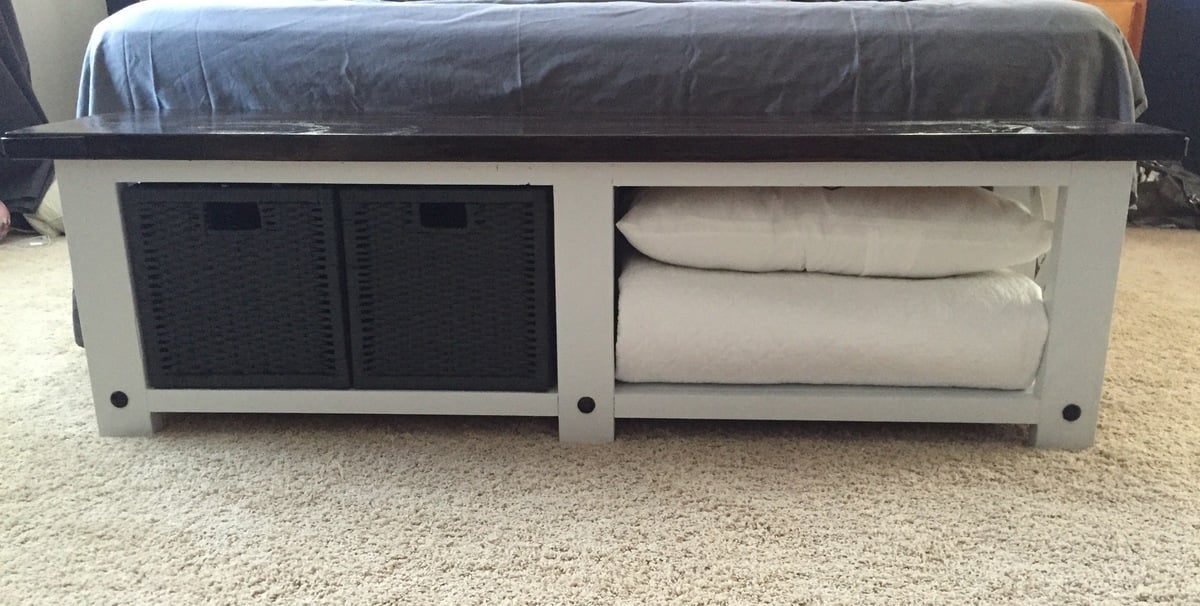
I used Minwax water-based wood stain to finish my son's bed. I had it tinted at the paint desk to charcoal gray. In the store it looked very driftwoodish. However, it came out looking more blueish on the bed. I still like it though and my son loves it. I would wipe the stain on and keep it on no more than 20 seconds before wiping the excess off. I wanted the grain to show through really well and after many, many test pieces this seemed closest to what I was looking for.
In case anyone is interested, the striped fitted sheet, flat sheet and pillowcase are from Target (Target brand for $14.99 I think). The red, gray and black comforter are from Walmart.com (Style Lounge Reinforcements Grey/Multi comforter for $58). I had painted the room white with a fat black stripe shortly after moving into the house. I couple of years later we found out that we had my son on the way to we turned that room into the nursery. I primed part of the stripe and hand painted his first and middle name to overlap the stripe so that it all looked it was painted at the same time. The gray and black area rug was also from Walmart (we bought it in store about a year and a half ago...don't remember the style's name).
Thanks for looking!


Comments
AstralV
Wed, 02/26/2014 - 13:31
LOVE the color!!!!!!!!
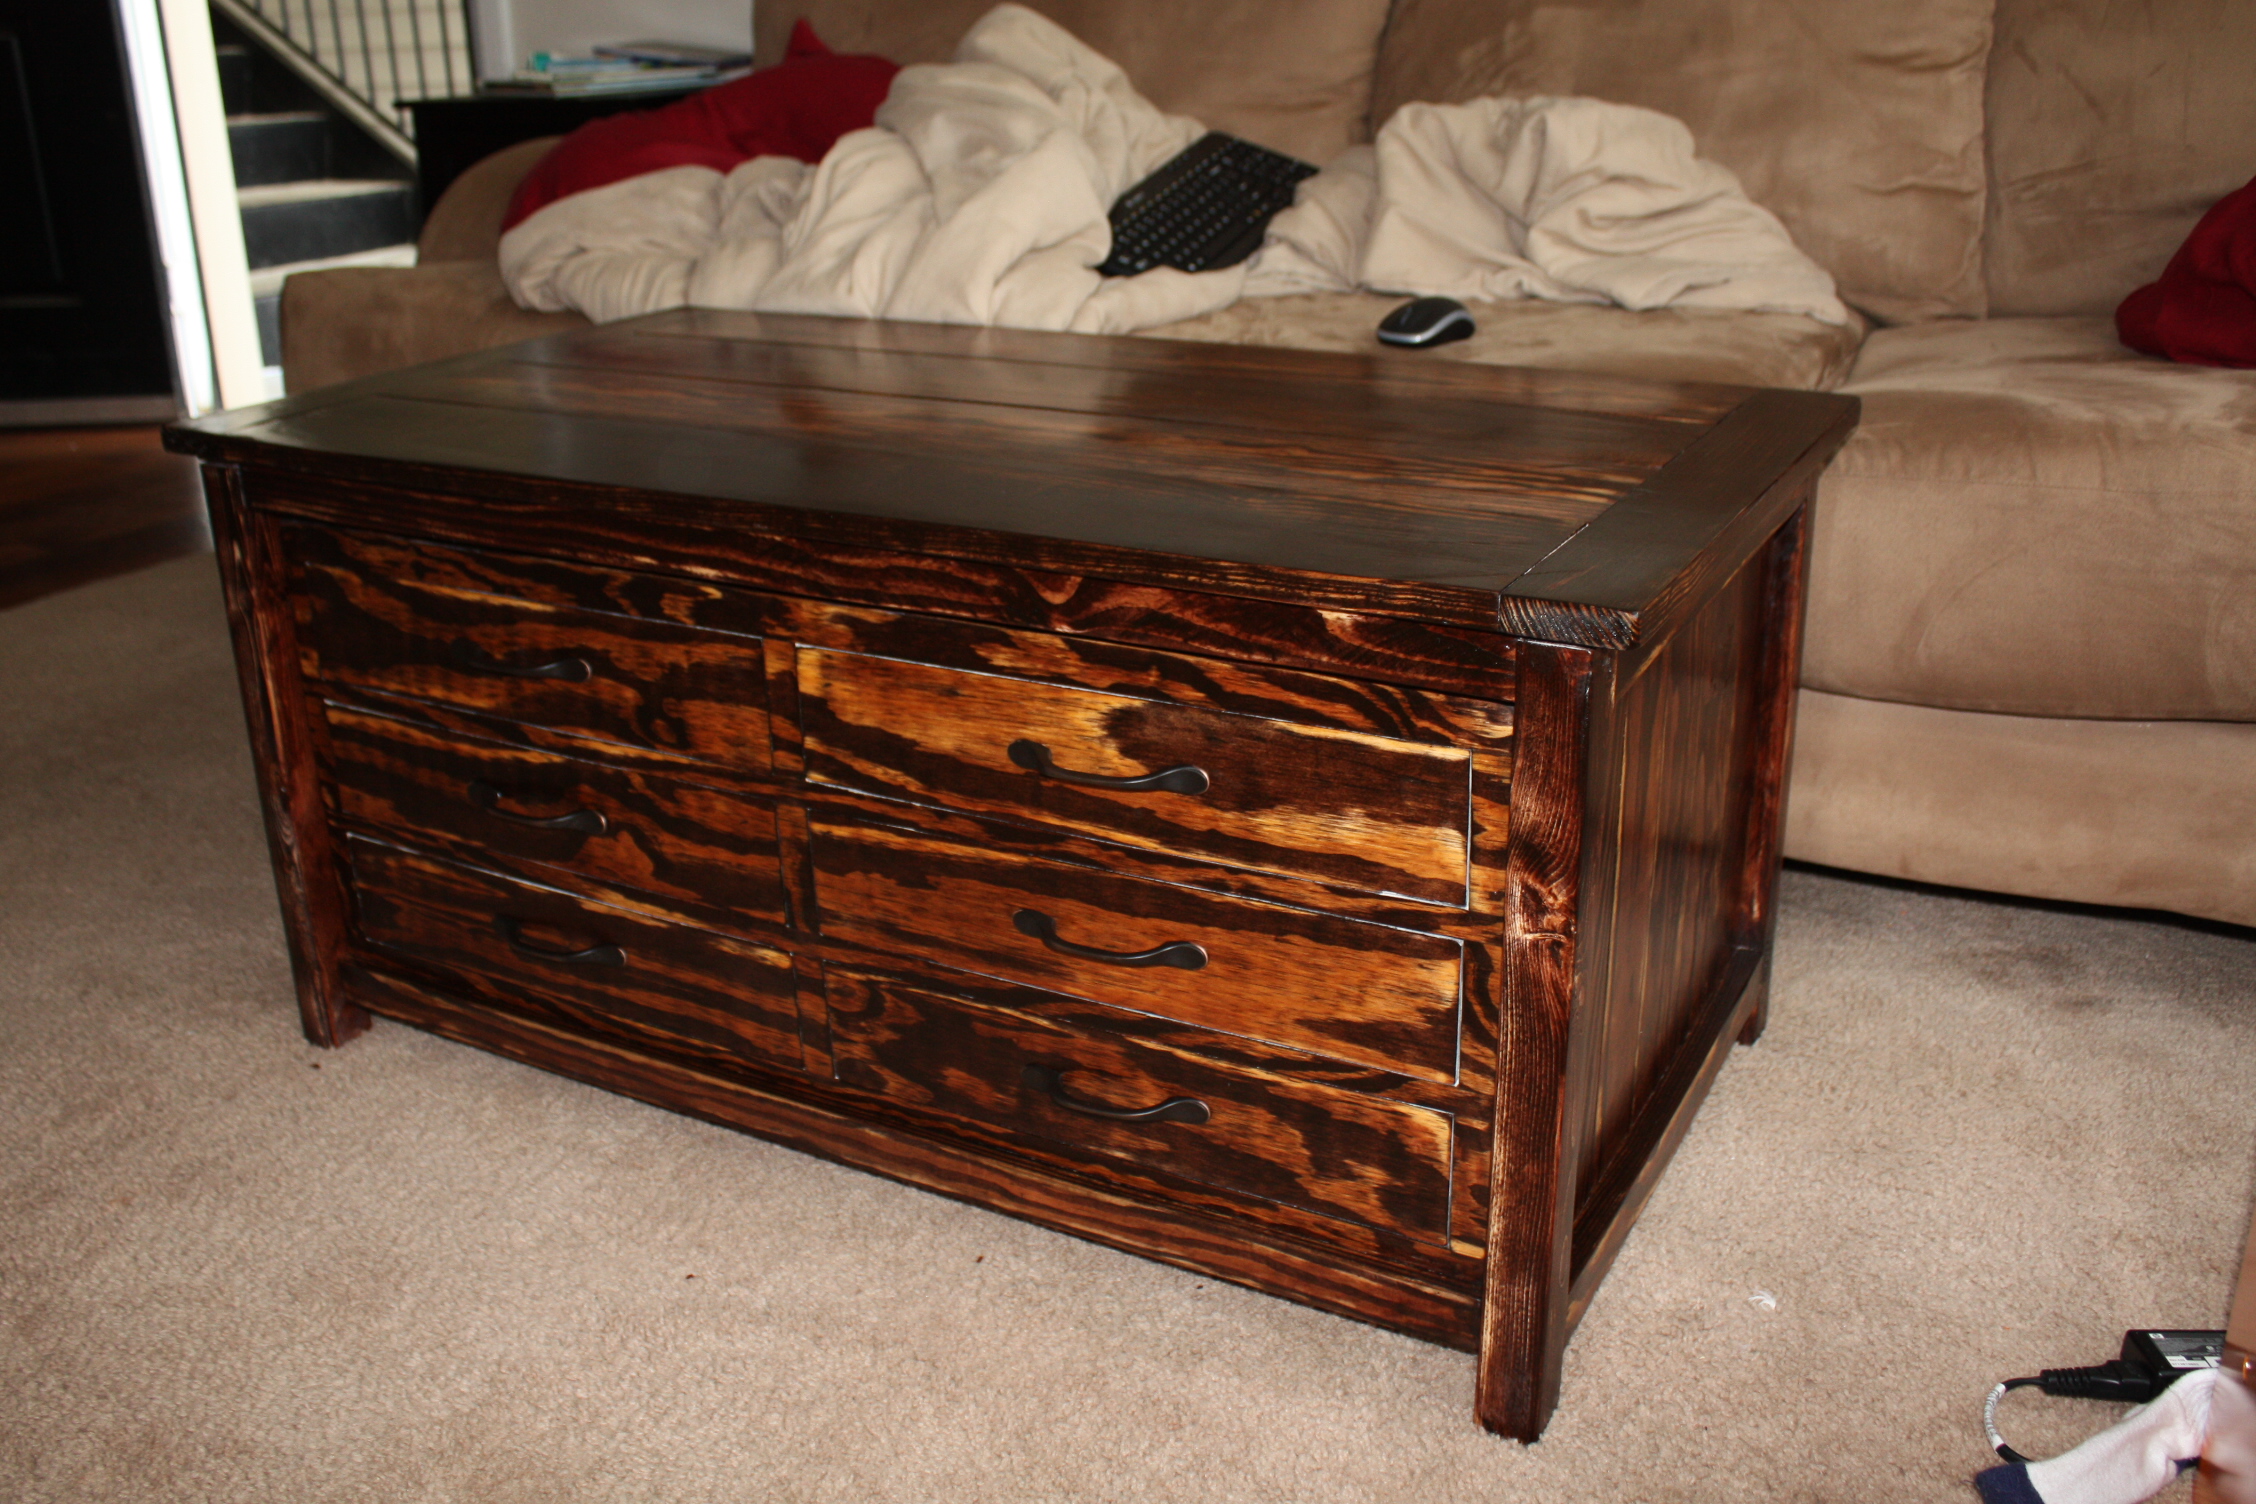
I am going to try to replicate THAT finish. It's so rich and bold. I LOVE it!
AstralV
Wed, 02/26/2014 - 13:31
LOVE the color!!!!!!!!
I am going to try to replicate THAT finish. It's so rich and bold. I LOVE it!