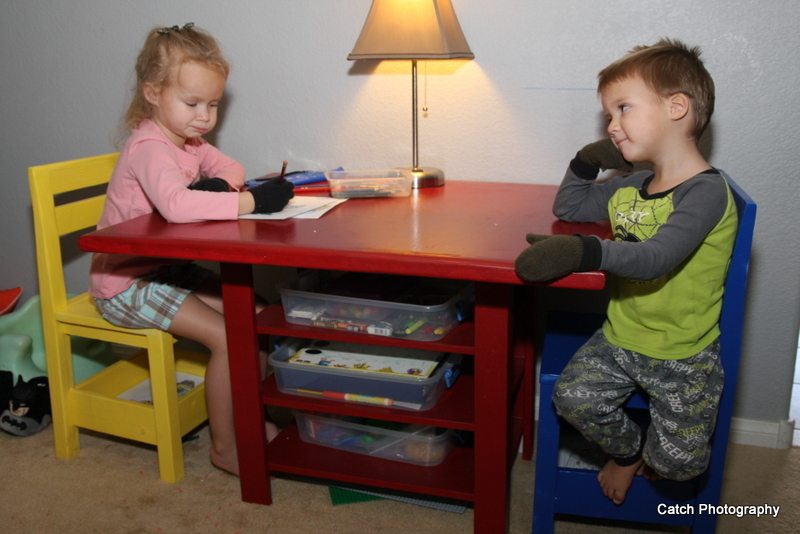
Farmhouse Bedside Table with Drawer
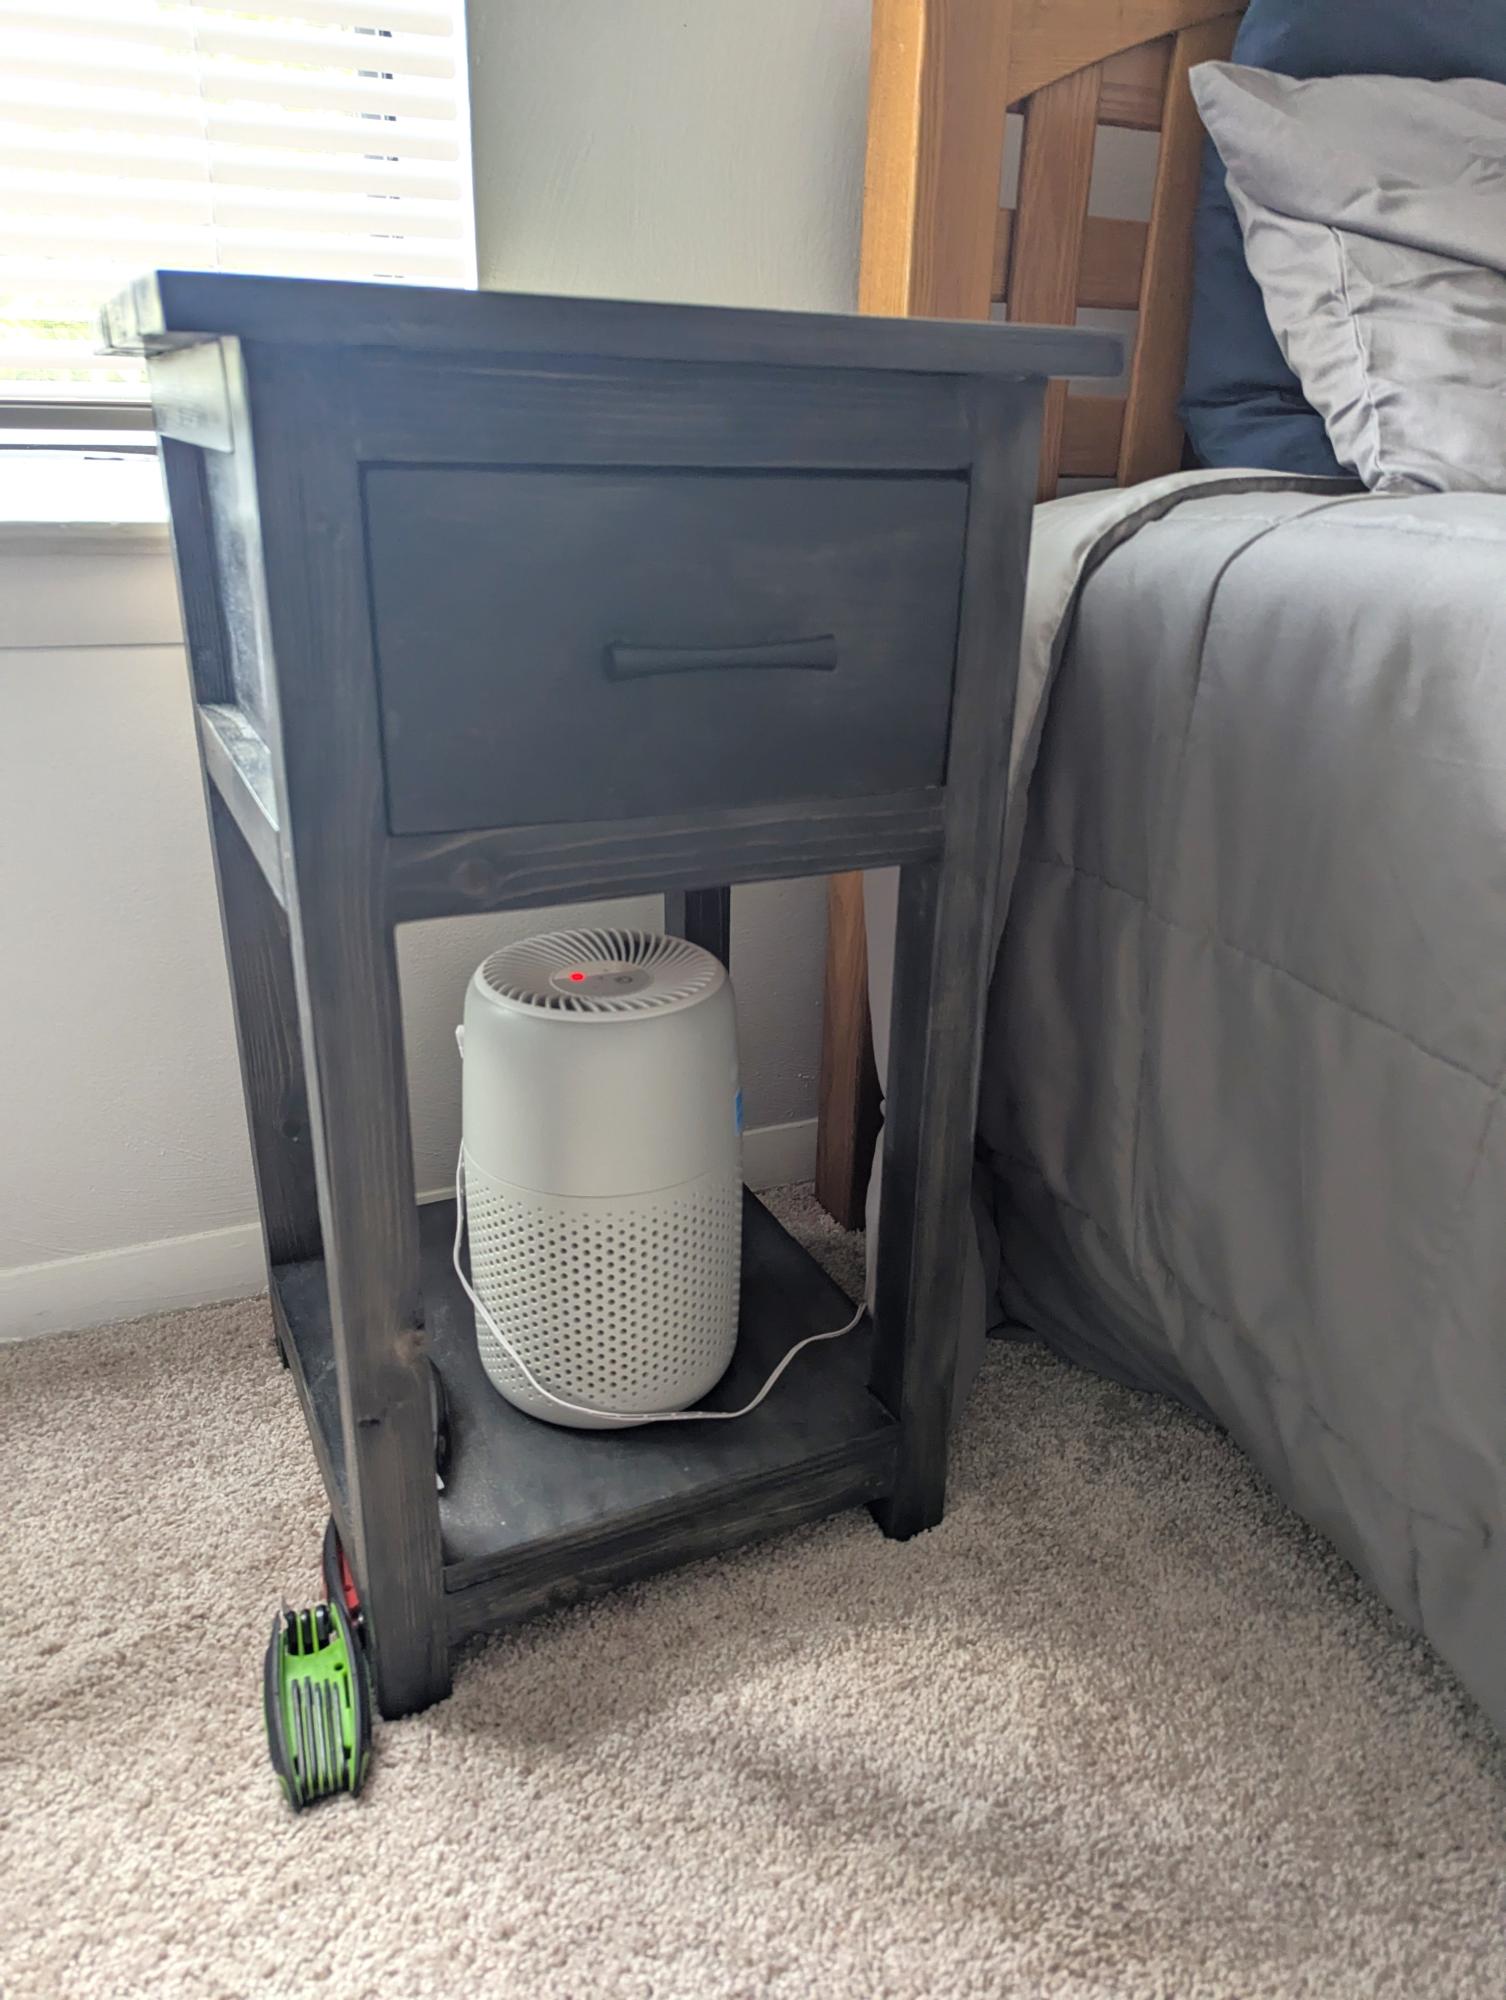
DIY End Table by Bonnie Jerry
Built from Plan(s)
DIY End Table by Bonnie Jerry
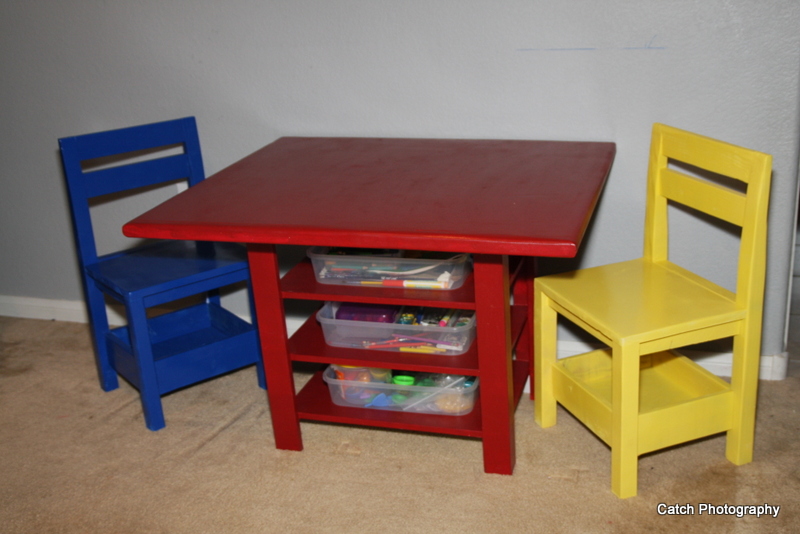
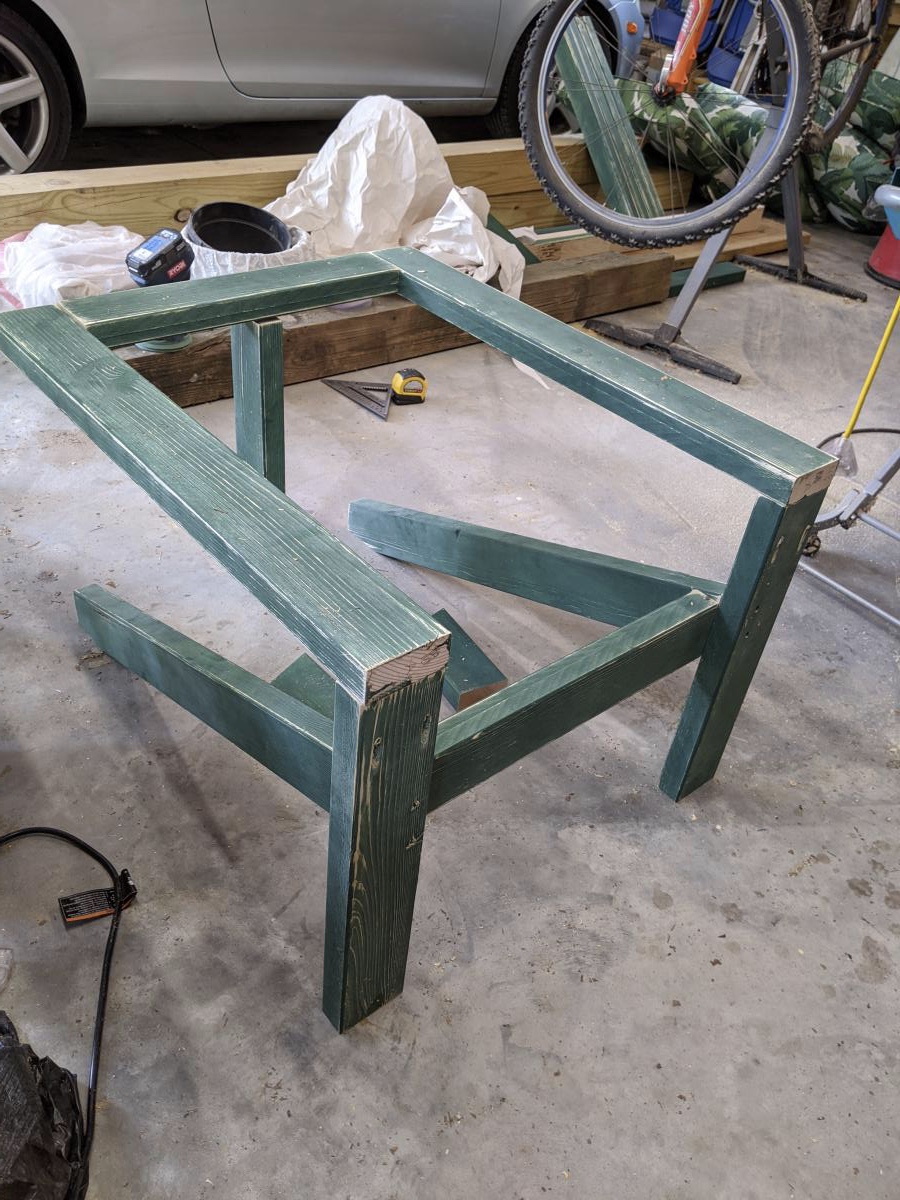
I wanted a table with storage, I added a couple extra "shelves" This was the easiest design to do this with. Just be sure to add from the top shelf to the bottom if you are using a Kreg Jig. You might want to pre-paint also . My shelves are 5 inches apart to fit perfectly my little flat style containers for art stuff and playdough.
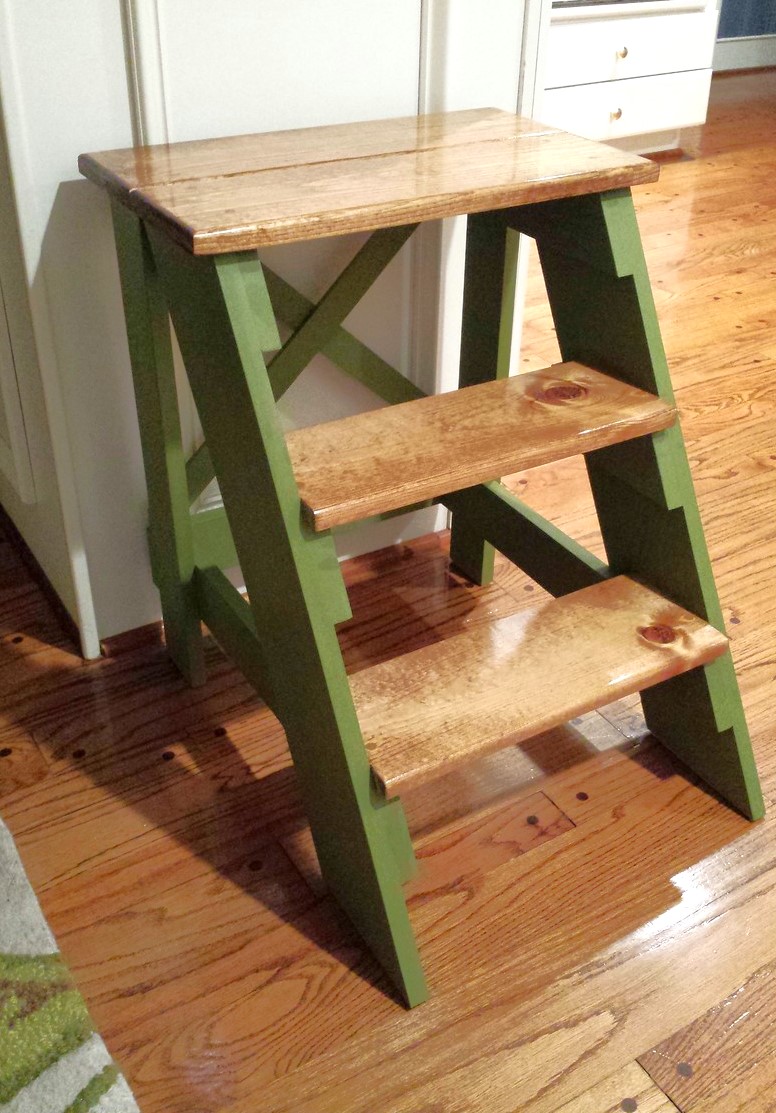
Did the multi-finish on the step stool. On the steps, I used the Minwax Pre-Stain Conditioner, followed by Minwax 'Early American' stain and then Minwax clear gloss polyurethane. The rest of the stool was painted with DIY chalk paint. The paint is 1 cup flat paint (Valspar Jungle Thicket) mixed with 1/3 cup plaster of paris and 1/3 cup water. The chalk paint portion was finished with the Minwax Finishing Paste Wax and gave the flat paint look a nice sheen.
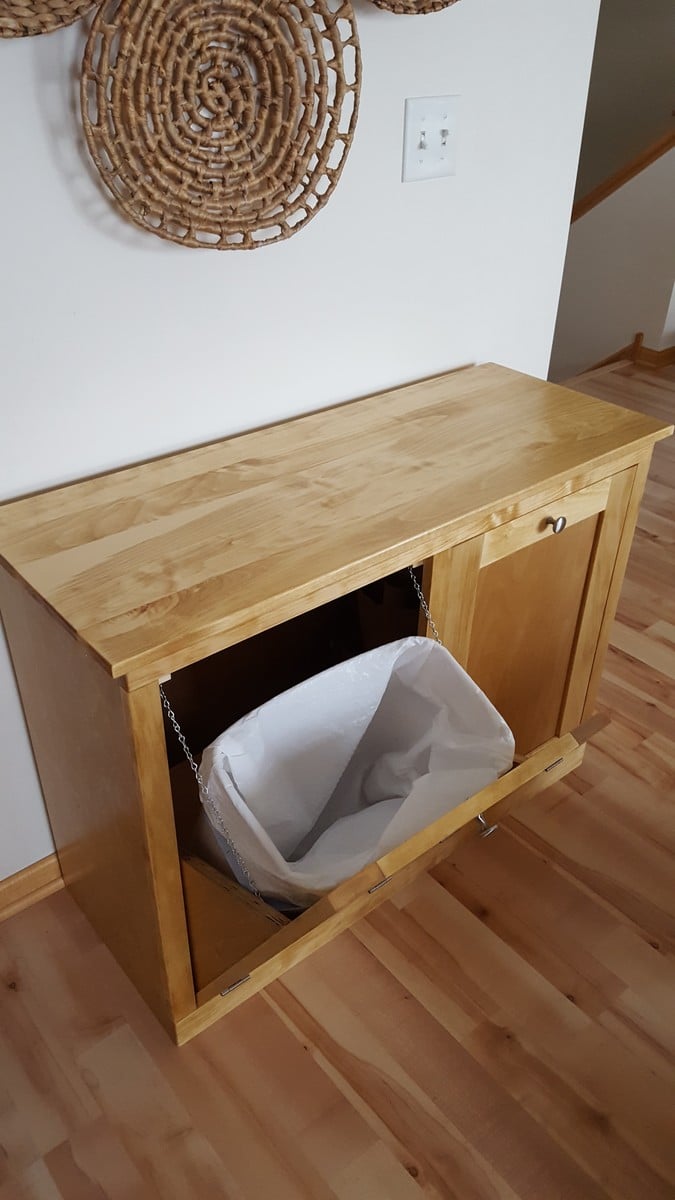
Tilt-out trash/recycling cabinet made with aspen stained with a combo of Minwax Natural and Golden Oak.

Sat, 10/31/2020 - 13:06
Love this. I don’t suppose you have plans available to share.
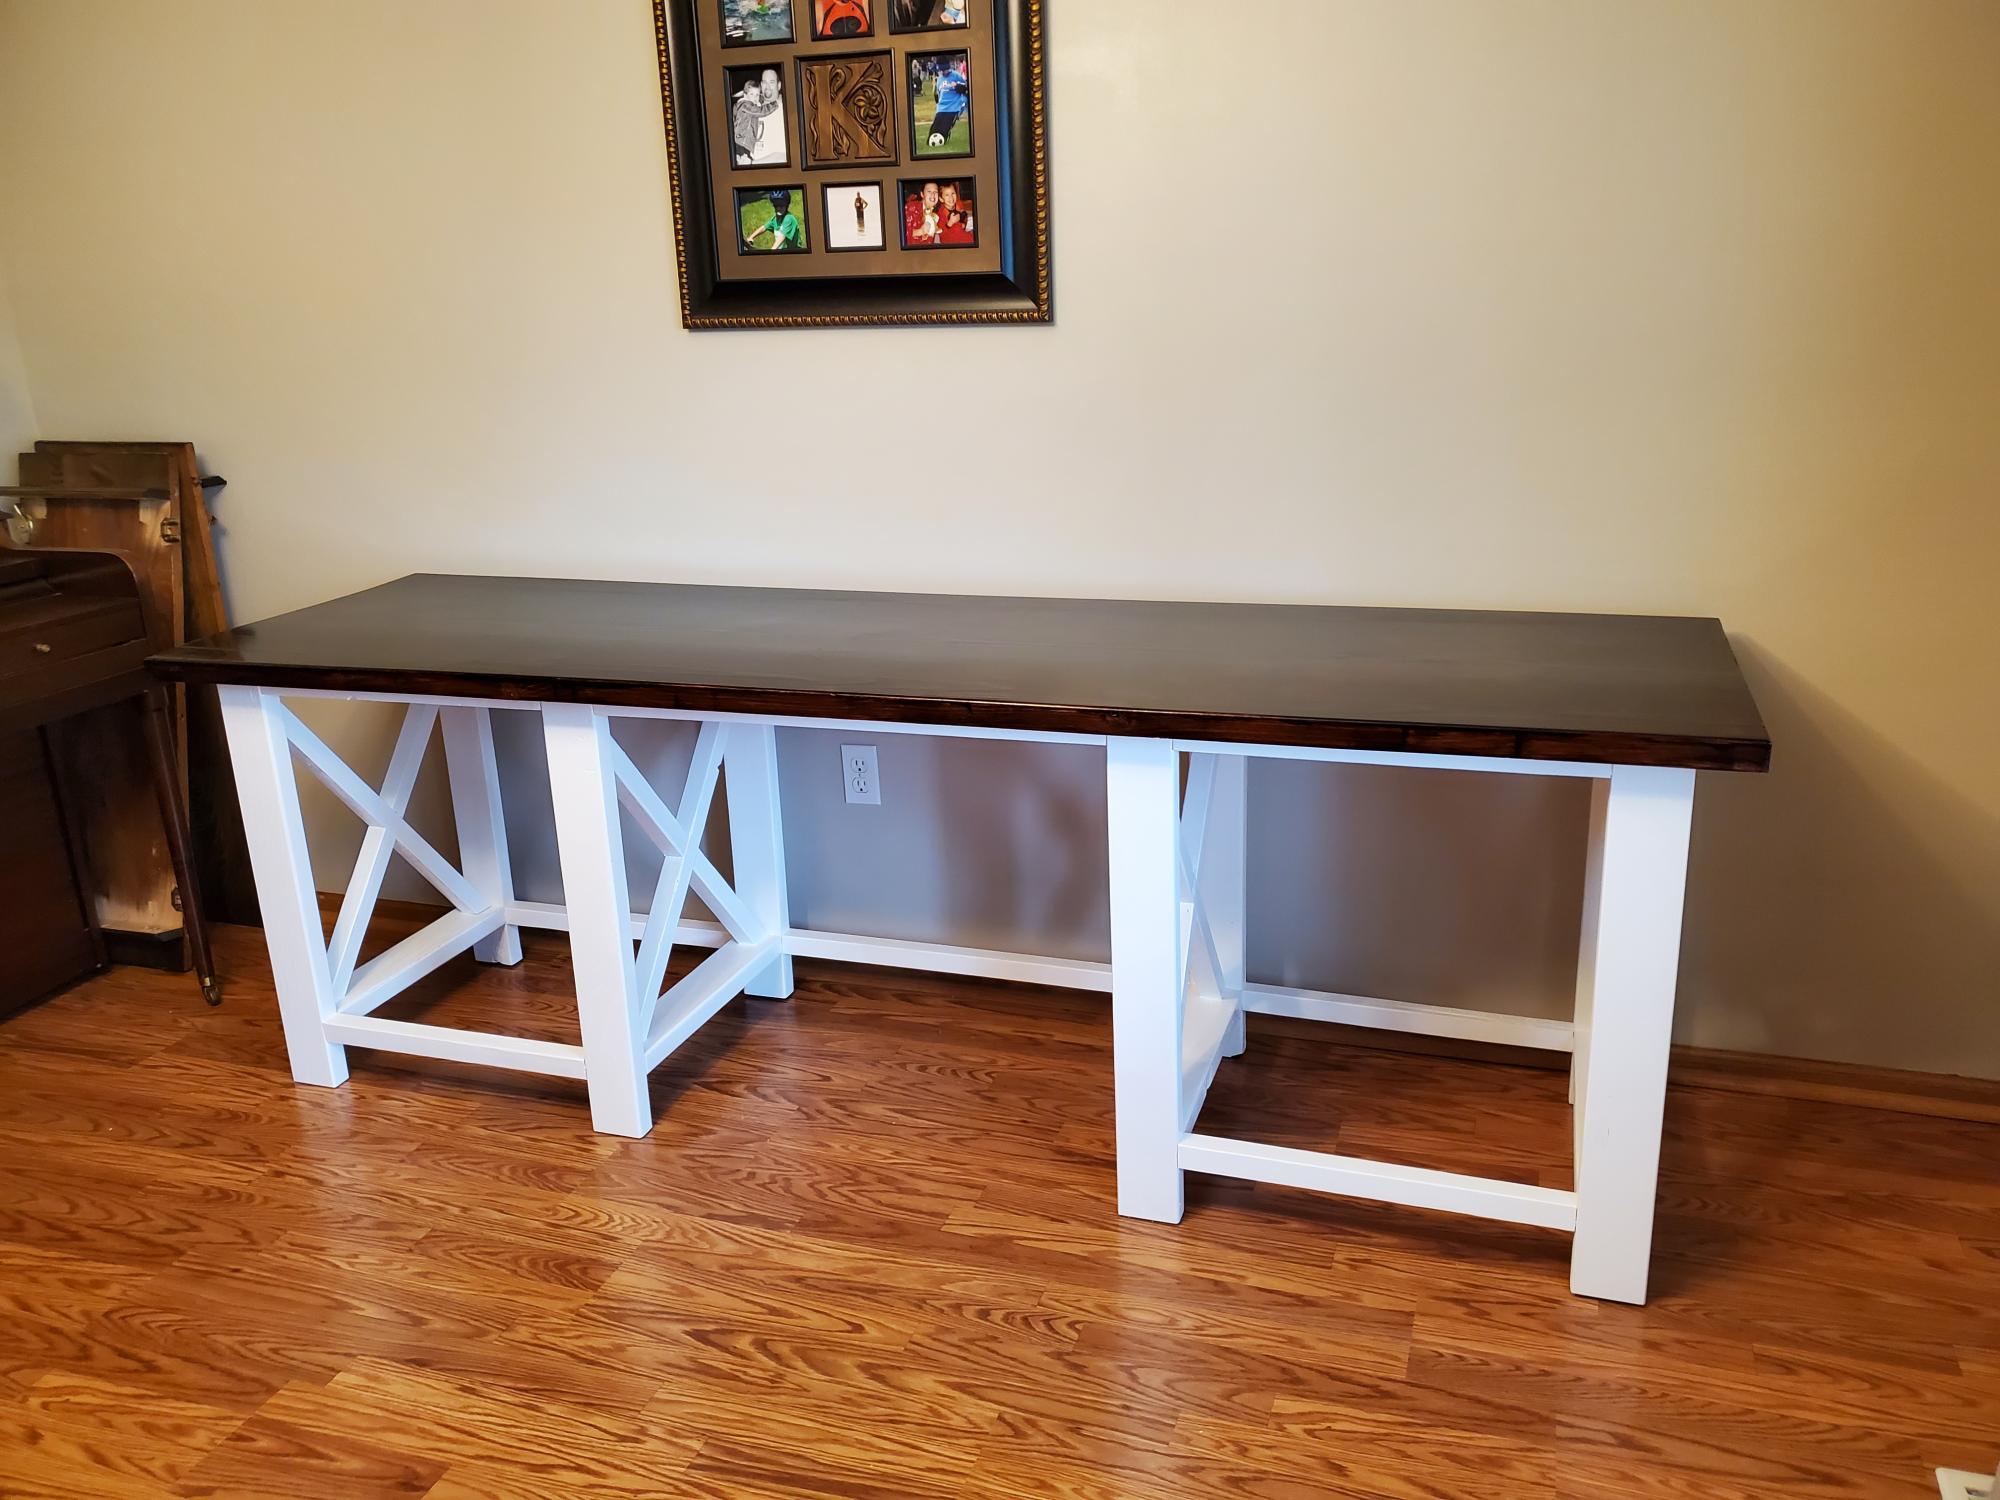
After learning I'll be working from home permanently, I asked my husband to use his talent to make me a desk. I have been sitting on a barstool since March and it just wasn't comfortable.
Viola. An Ana White farm house desk. It turned out wonderful and I'm so much more comfortable. He just needs to add the shelves when there is room in the garage again (he's now fixing our son's car with his brother!)
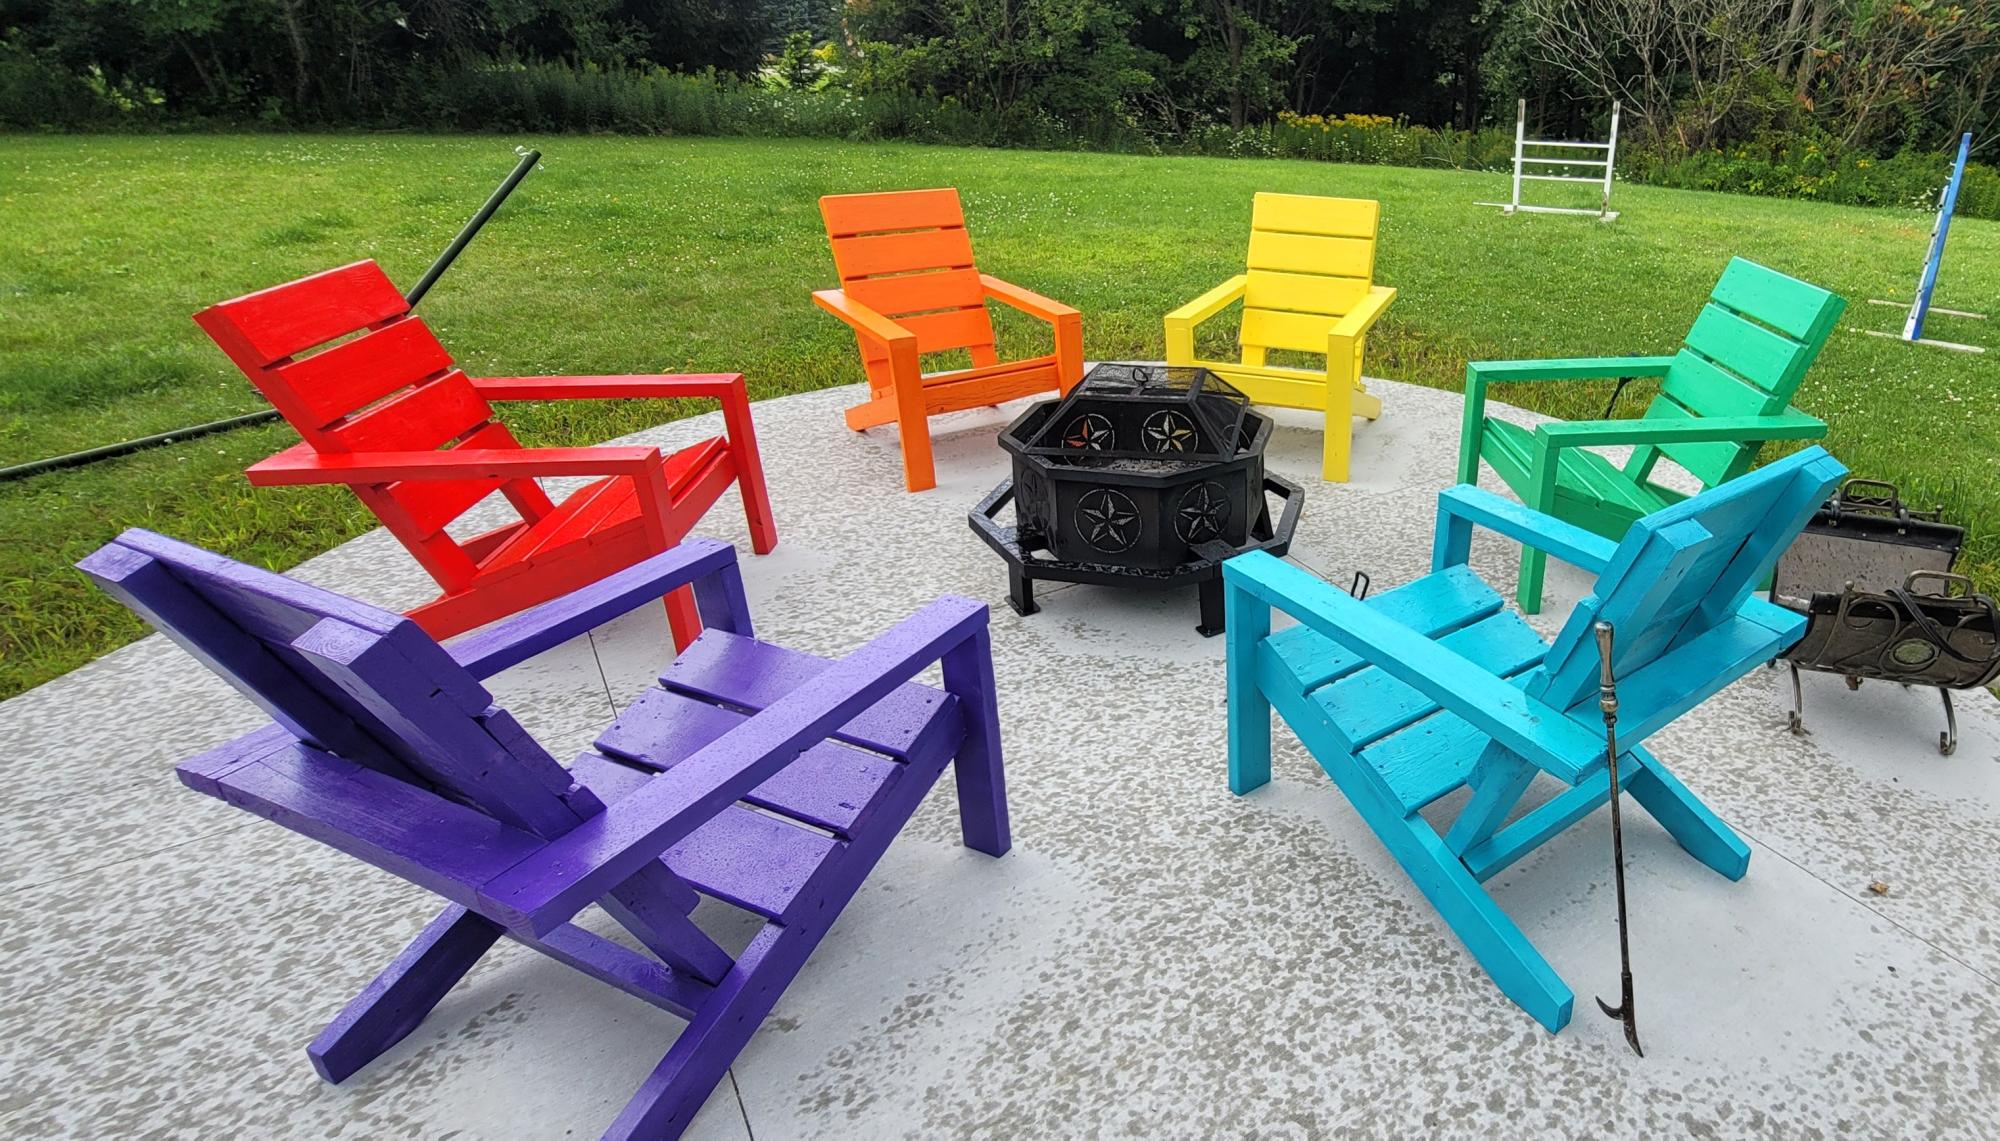
Modified Ana's design, and made these entirely from reclaimed wood that used to be a deck. Extremely comfortable and sturdy. Thanks for the plan! - John T Salzwedel
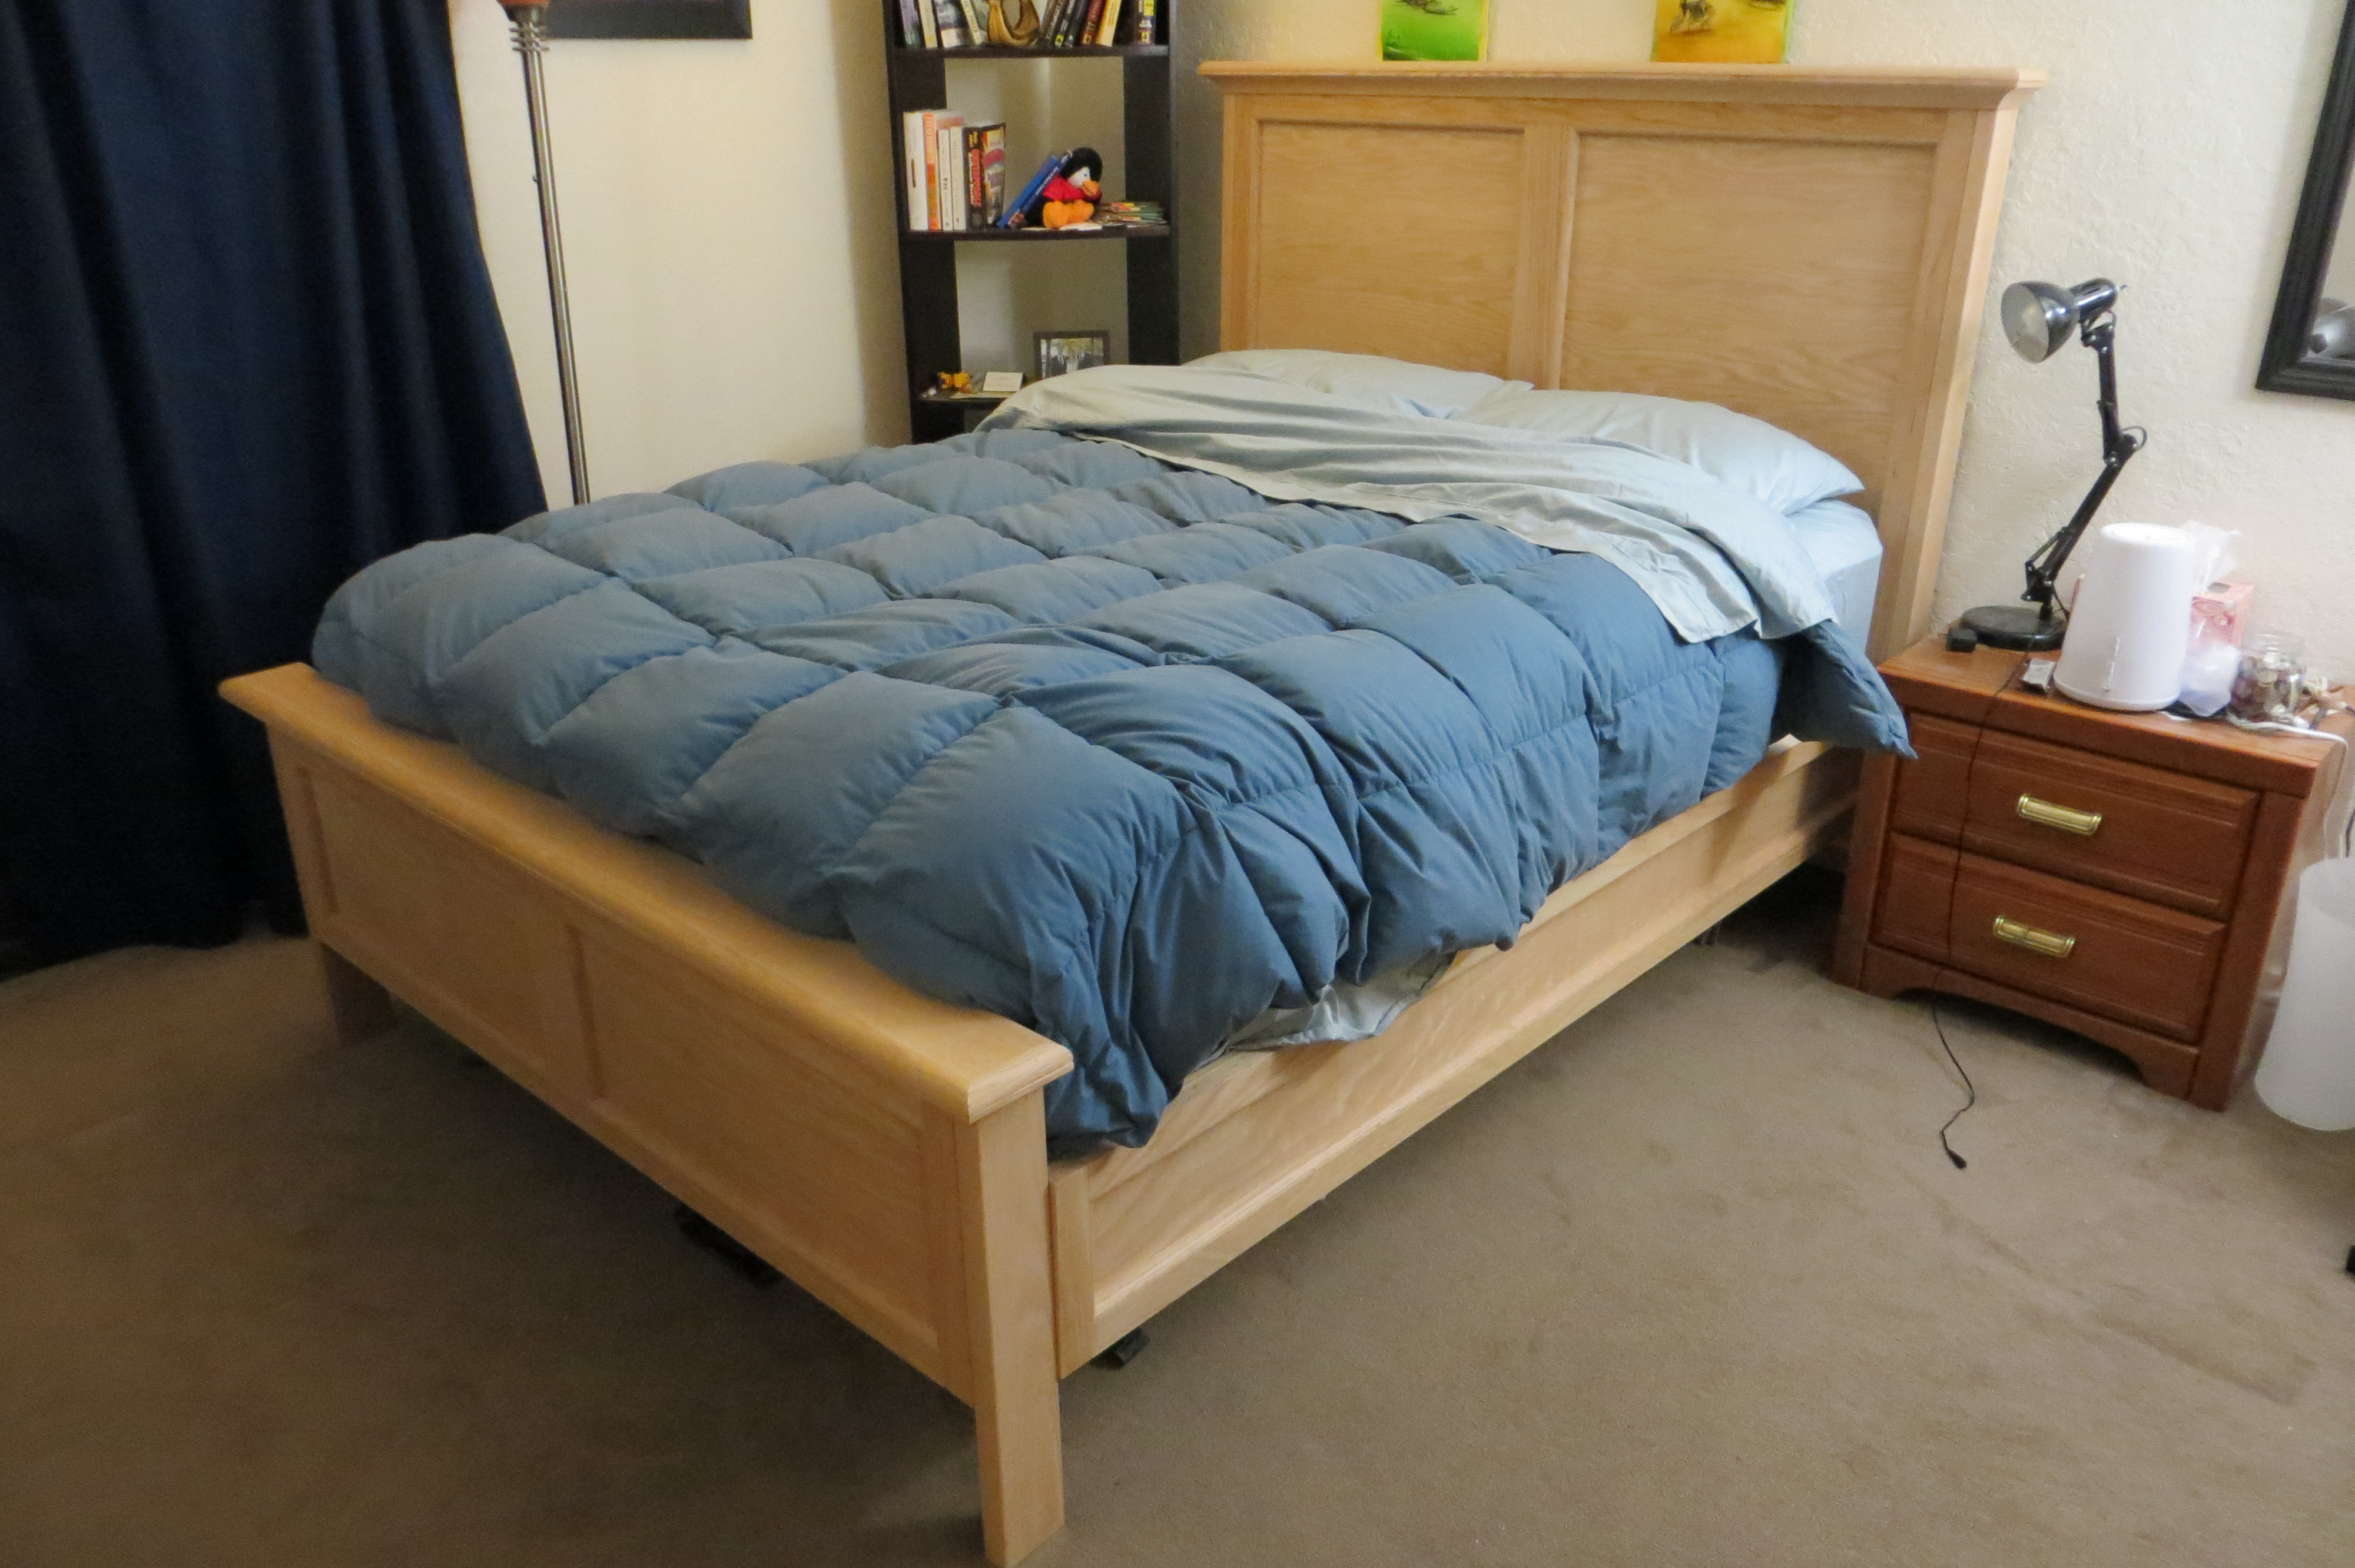
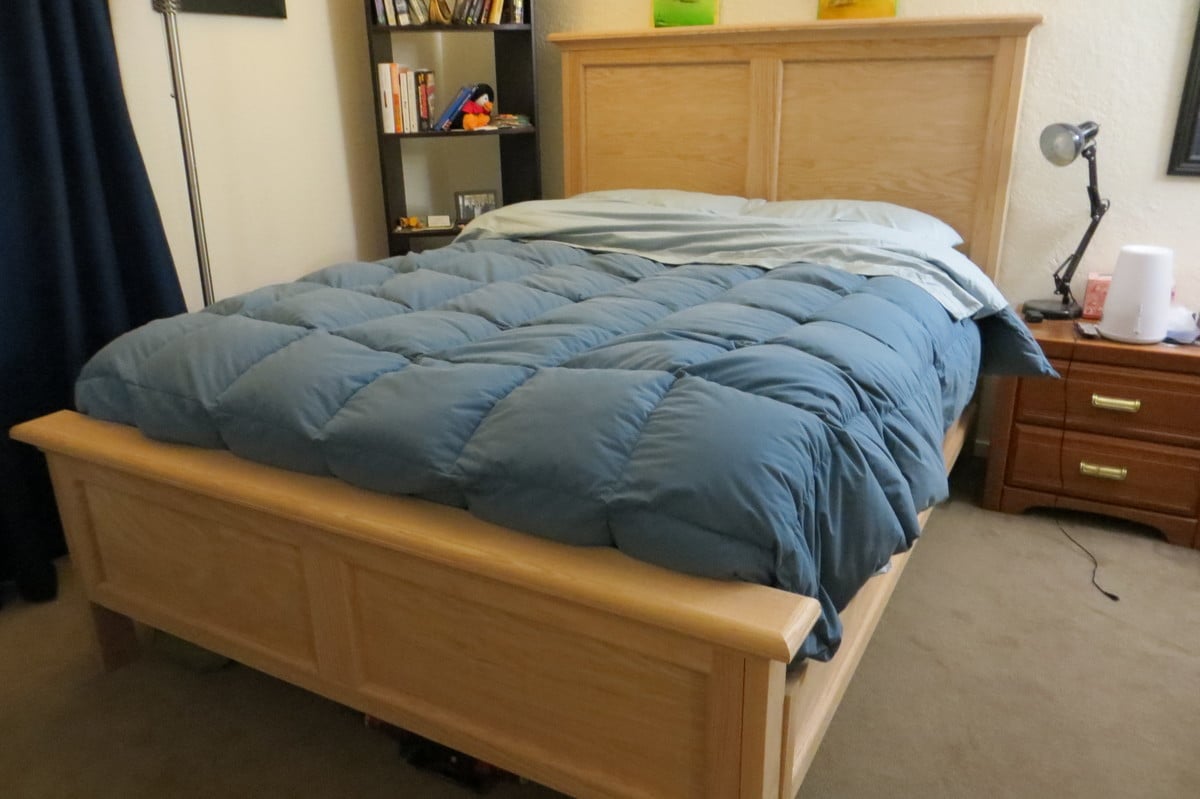
This was my second big project and I went ALL out! I was inspired by the modified farmhouse bed, but completely modified it to look like the Hudson bed from Pottery Barn. I designed it completely on my own too. All of the exterior is oak and the frame is fir and pine. This bed is super sturdy and sleeps great!
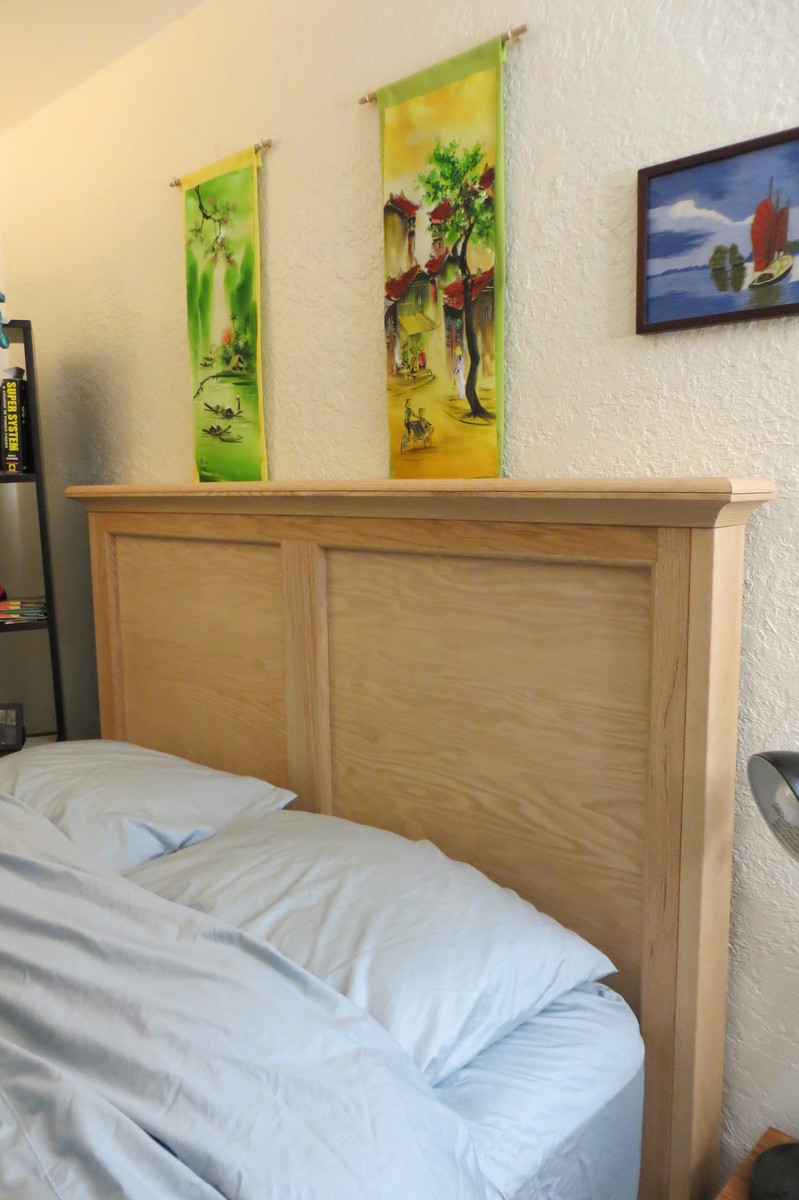
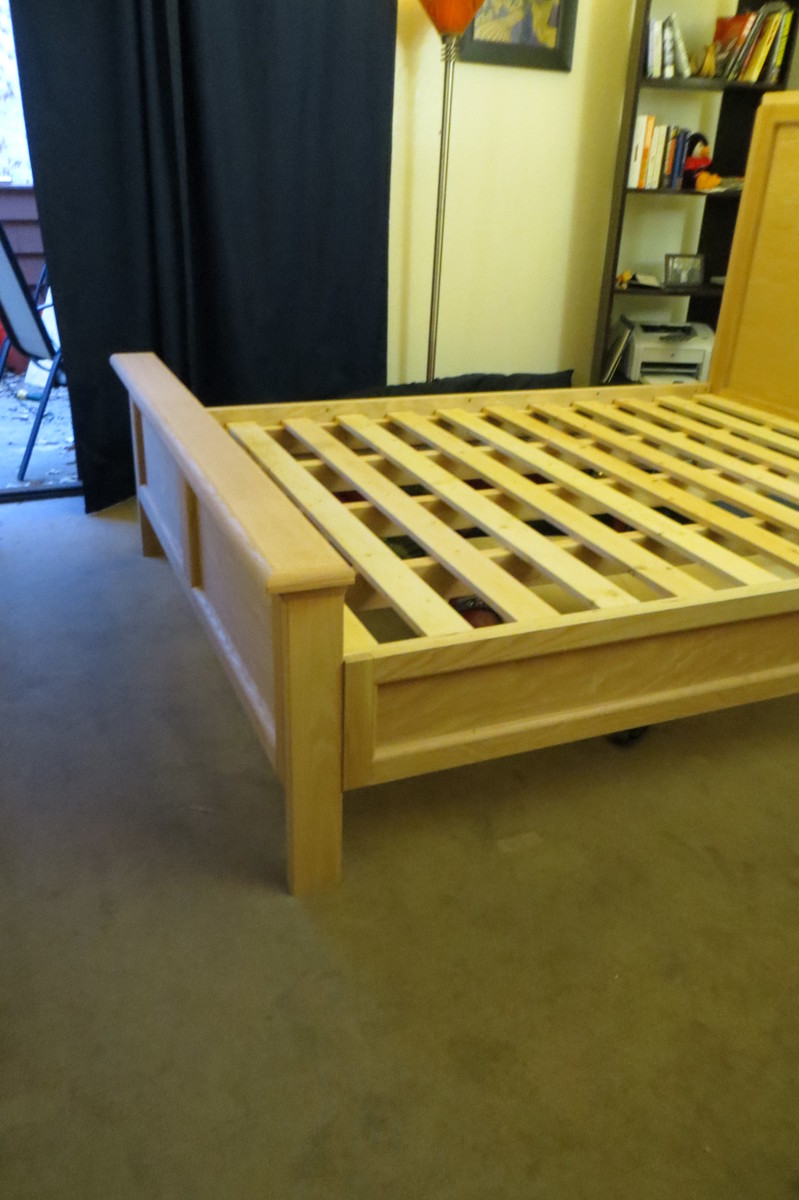
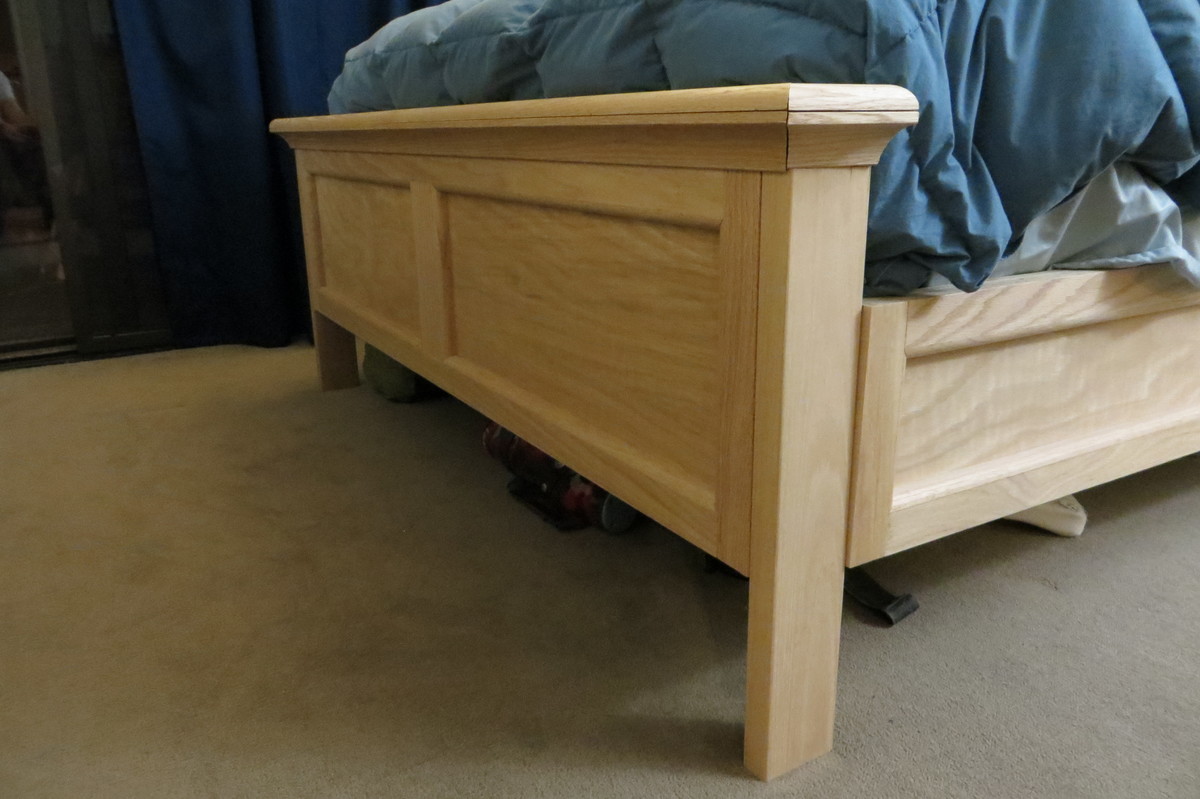
The sides, footboard, and headboard are made from oak plywood outlined by oak 1x2 and 1x3. Then added 1/2"x3/4" oak shoe molding for the indentations. The top of the footboard and headboard has 1.5" cove molding topped with quarter-round.
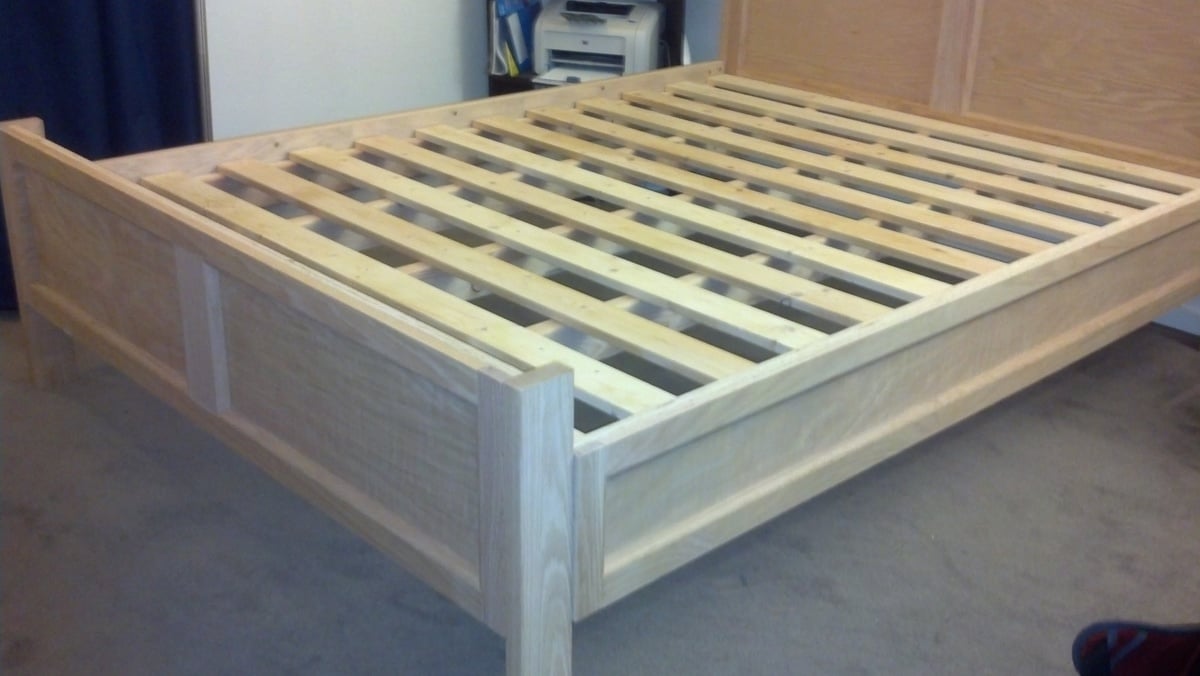
The total cost of all the material was $430. But I have enough leftover oak plywood to make a matching night table. I still need to stain it, but I love the raw oak smell and feel.
My only tools to create this was a circular saw, drill, screwdriver, miter box, and sander. The frame itself took only a few hours. All of the hand cutting of the molding and careful angles took most of the time (20+ hours) since it was my first time ever doing anything like this. The cove crown molding was especially difficult.
So....what color should I stain it?
Sat, 11/10/2012 - 12:30
Beautiful! I love my farmhouse bed too. Doesn't it feel so good to cozy up into something to sturdy and know you made it with your own two hands? I don't know if it goes with the rest of your furniture, but I like the blonde color it is now. Maybe just seal it with Polyacrylic or wax so it doesn't yellow?

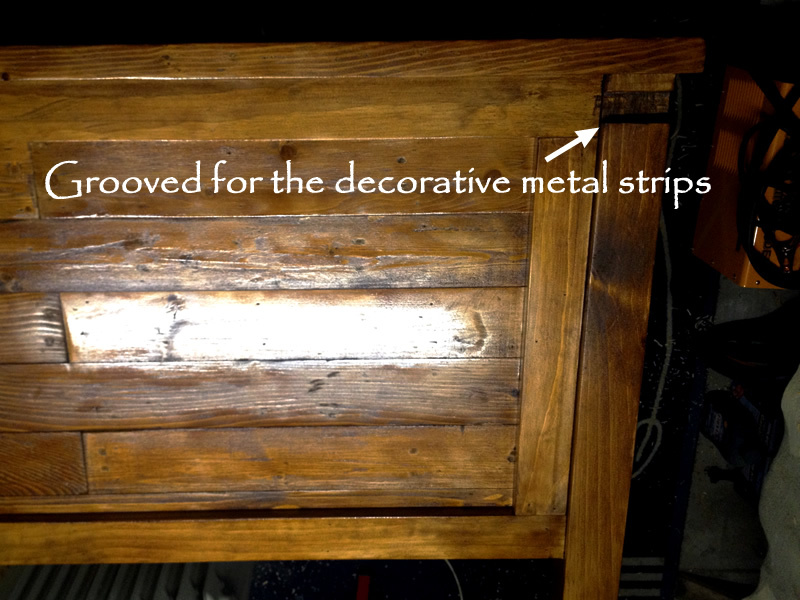
I made this bed for my son and his girlfriend.
I used pallet wood and new pine for this.
I also added two metal strips to the headboard for decoration.
The headboard is connected to the siderails with 2 bolts straight through the side of each leg. The siderails are on the inside of the headboard.
The siderails are connected to the foot of the bed with 2 bolts straight through the foot into the end of the siderails. I added a third fake bolt to balance the look.


In reply to Lovely Pallet Bed! by earthbybike
Wed, 10/15/2014 - 07:25
Hi EarthyByBike,
I had previously built the queen farmhouse bed and this bed was modeled from that one. I basically ran the boards vertical instead of horizontal. It uses most of the basic techniques as the farmhouse bed. I took the ideas from the farmhouse bed and then just changed it up a bit.
I can't remember the exact height of the bed but I think it was 165cm.
Mon, 10/13/2014 - 17:17
How high is the finished height of the headboard?
Thanks!
In reply to Headboard of the Queen Pallet Bed by earthbybike
Wed, 10/15/2014 - 07:25
I can't remember the exact height of the bed but I think it was 165cm.

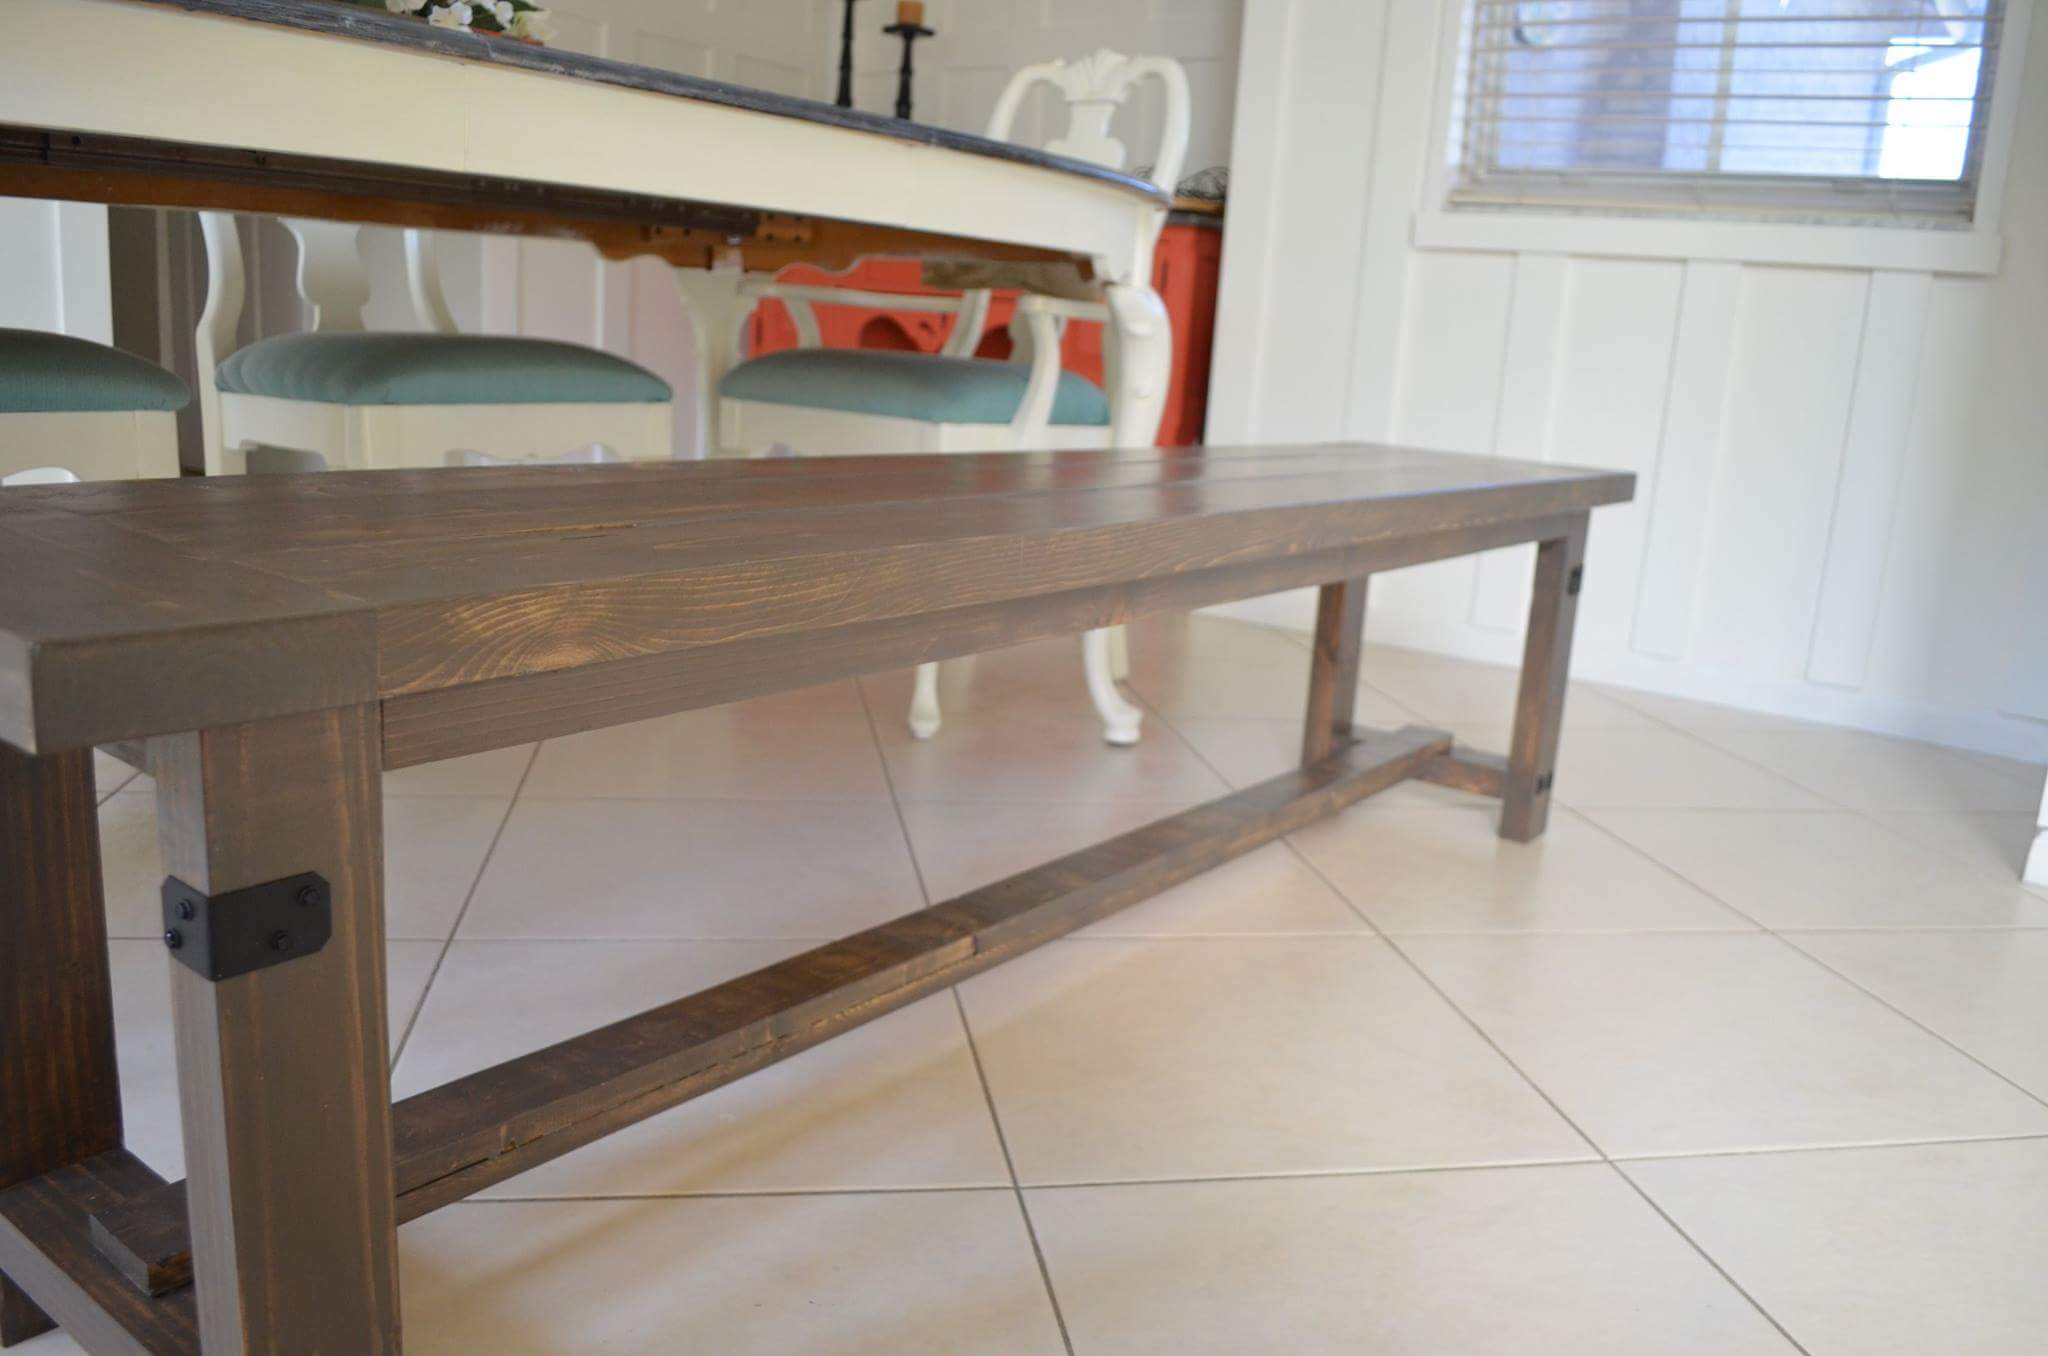
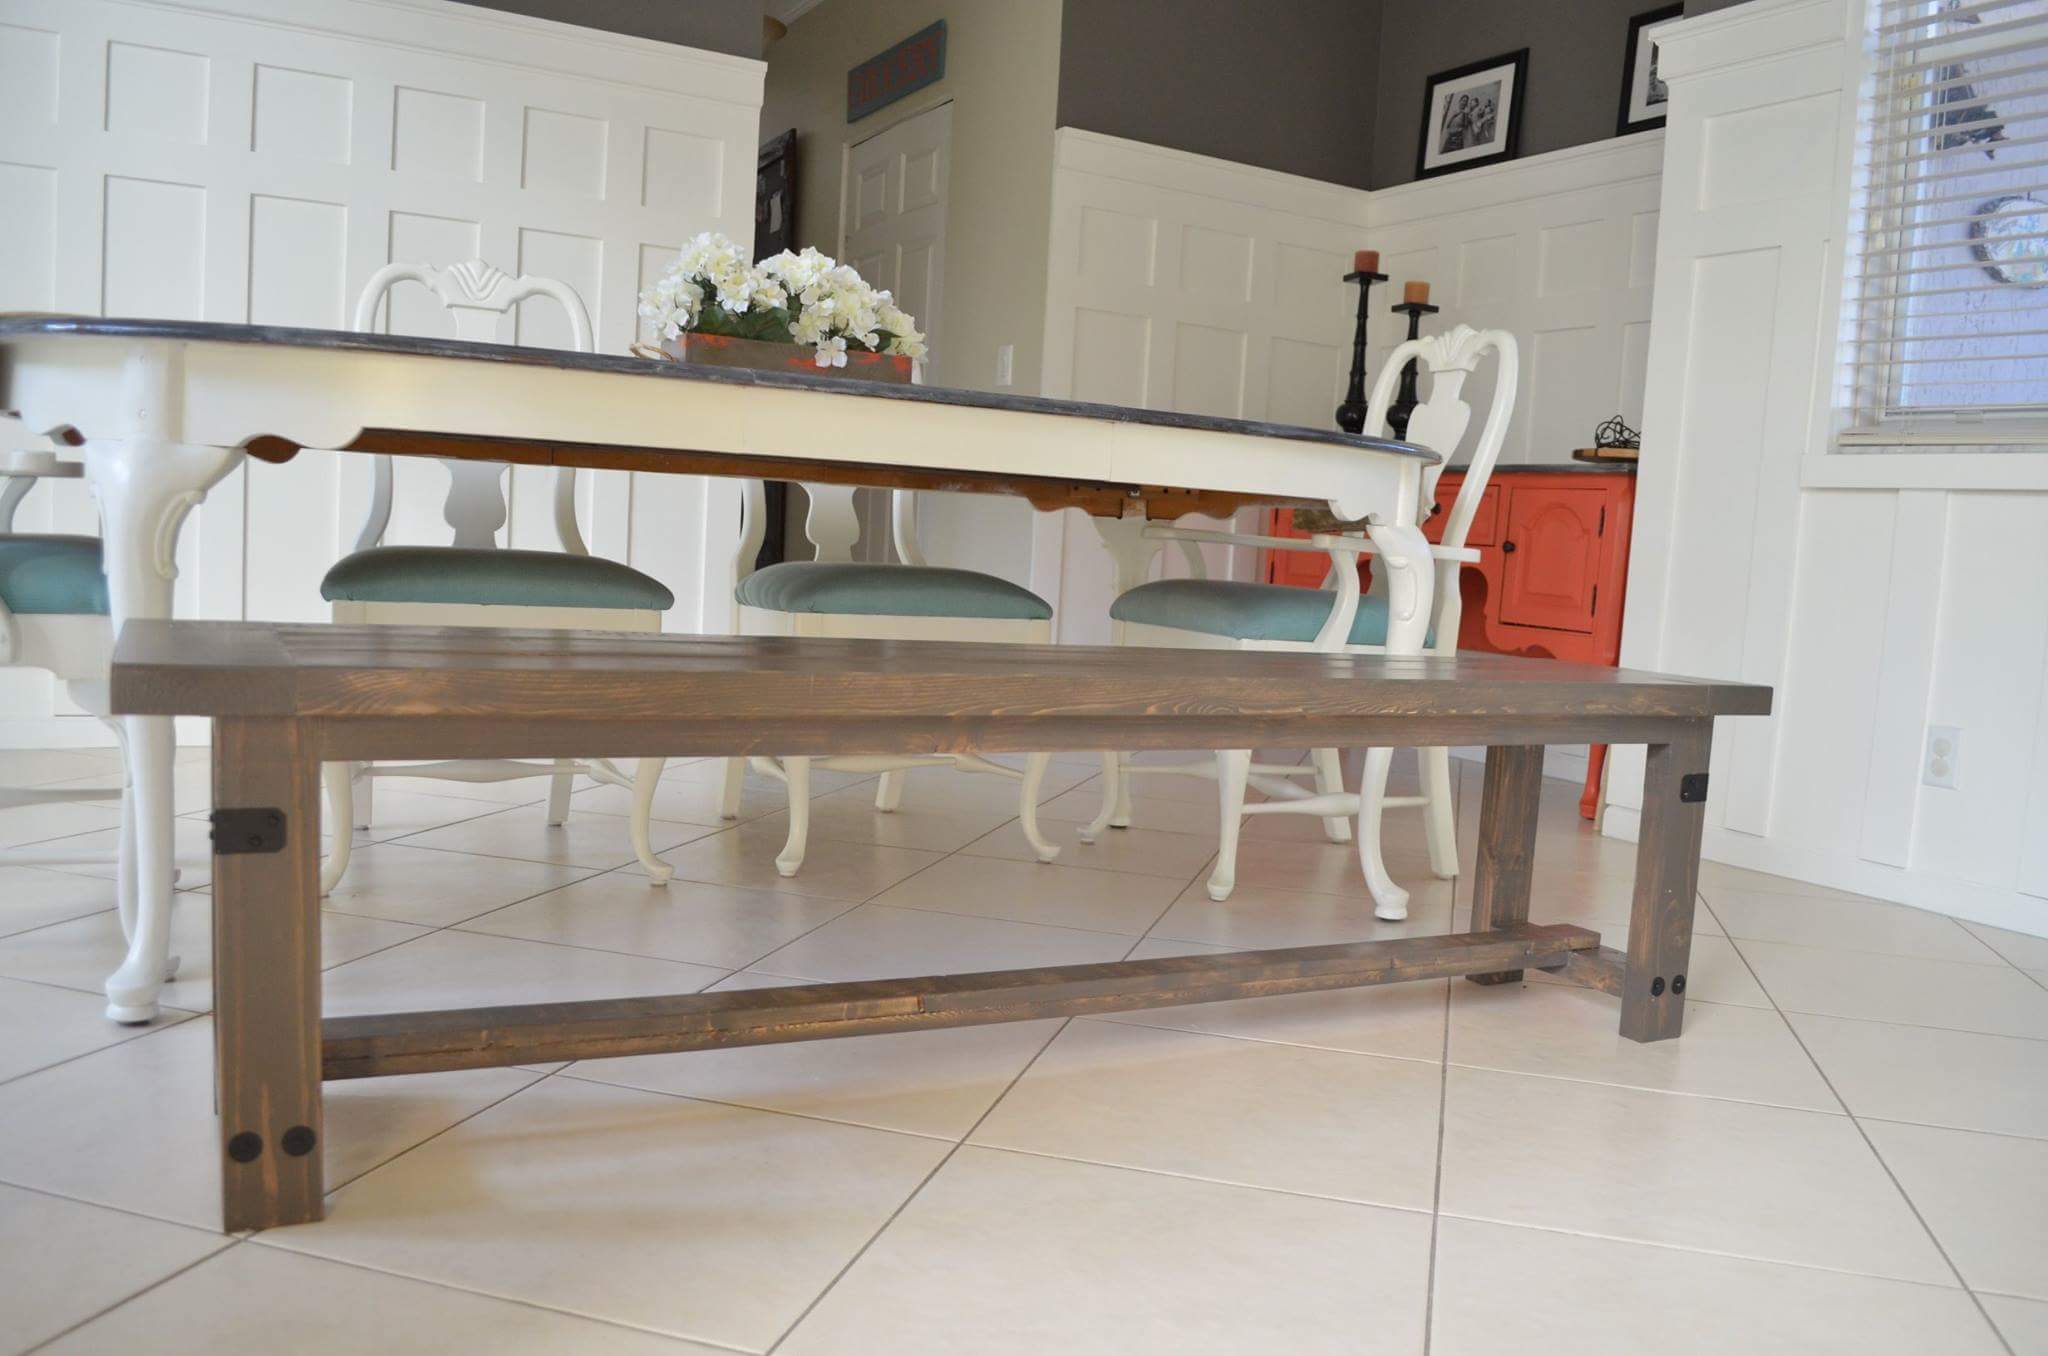
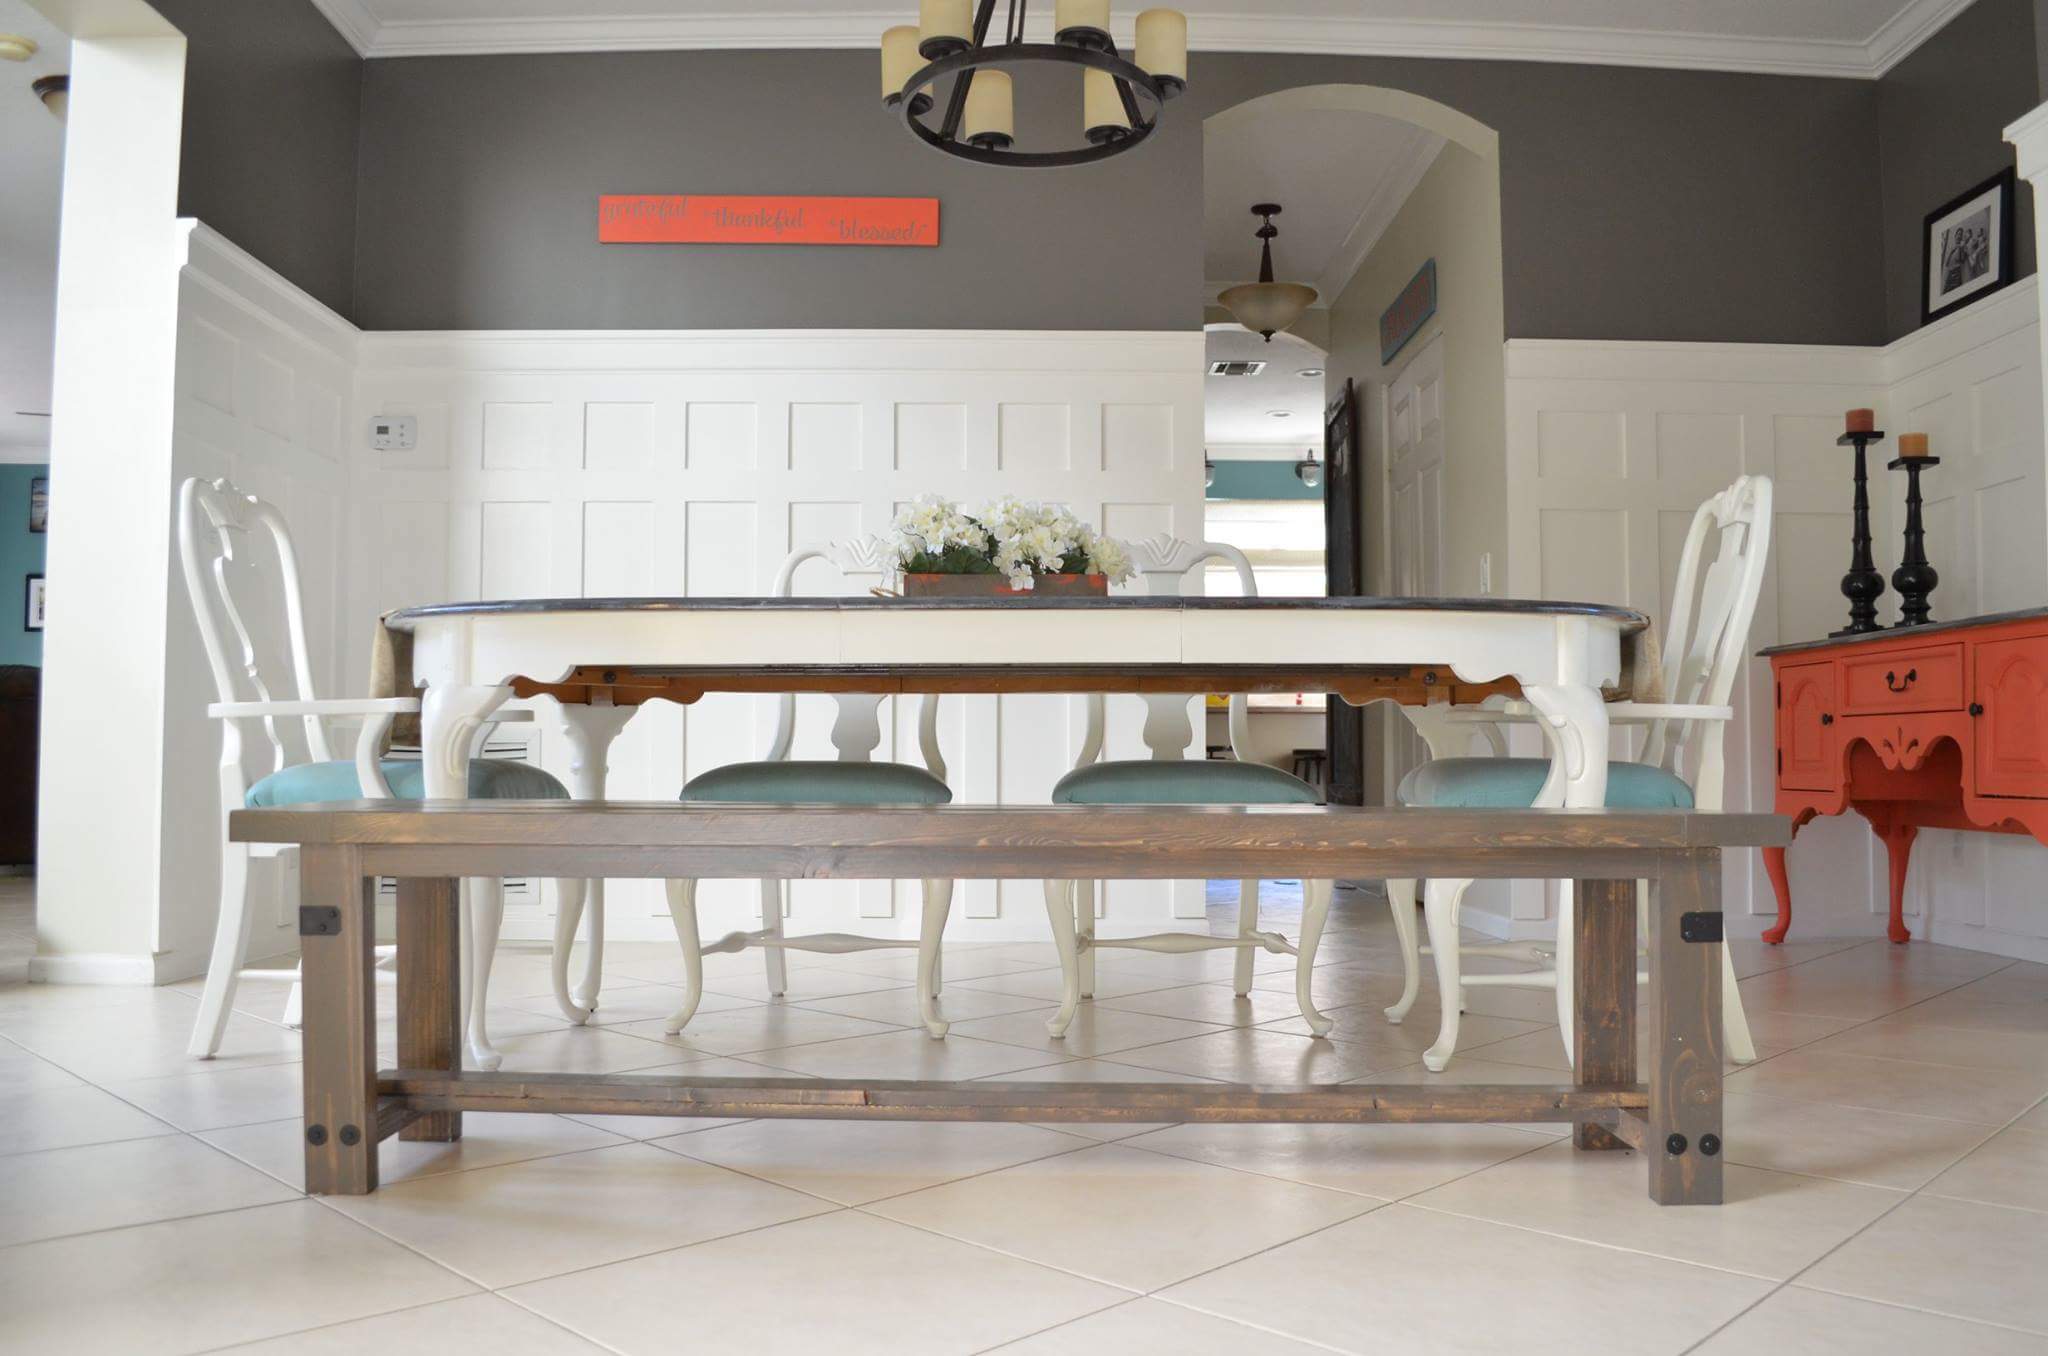
Built from Shanty2Chic Industrial Farmhouse Bench Plans
Pine and Main builder for the South Florida Area.

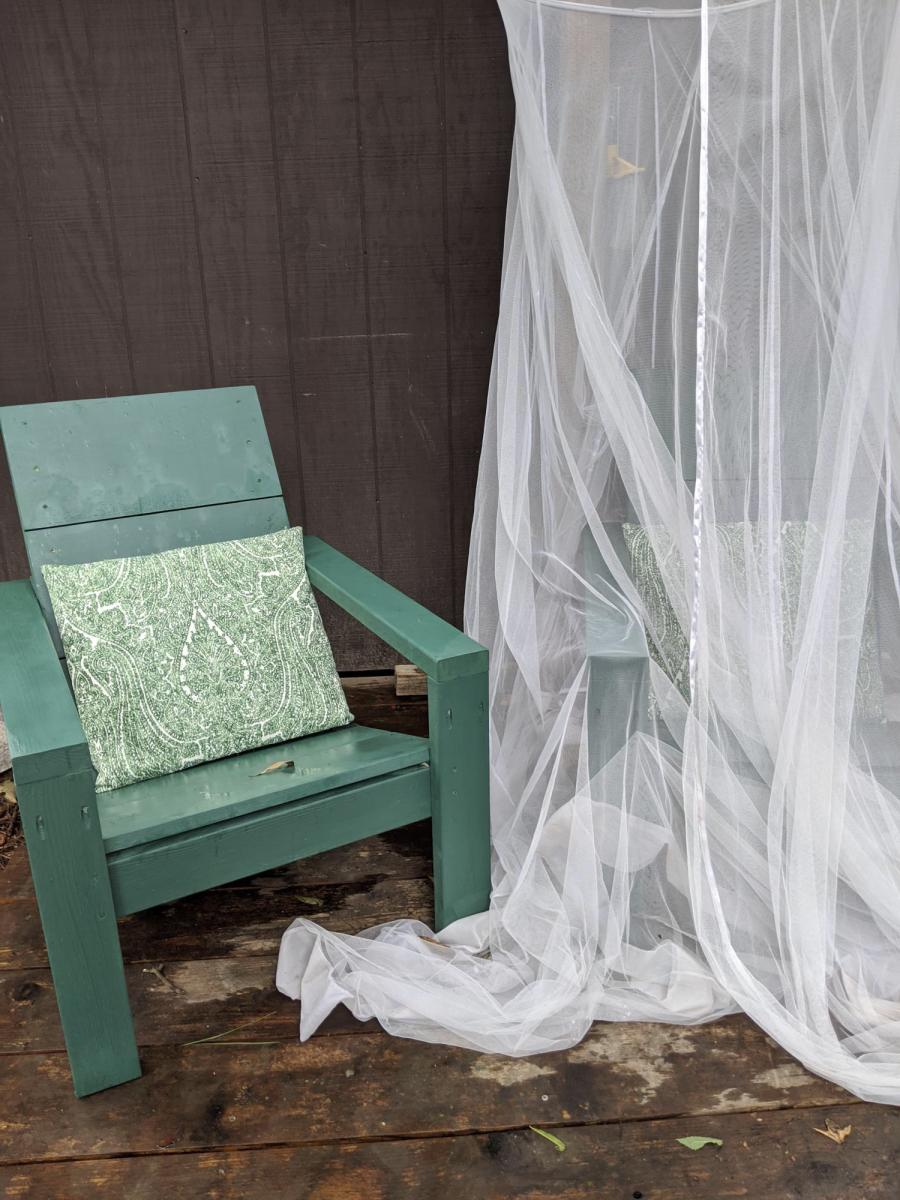
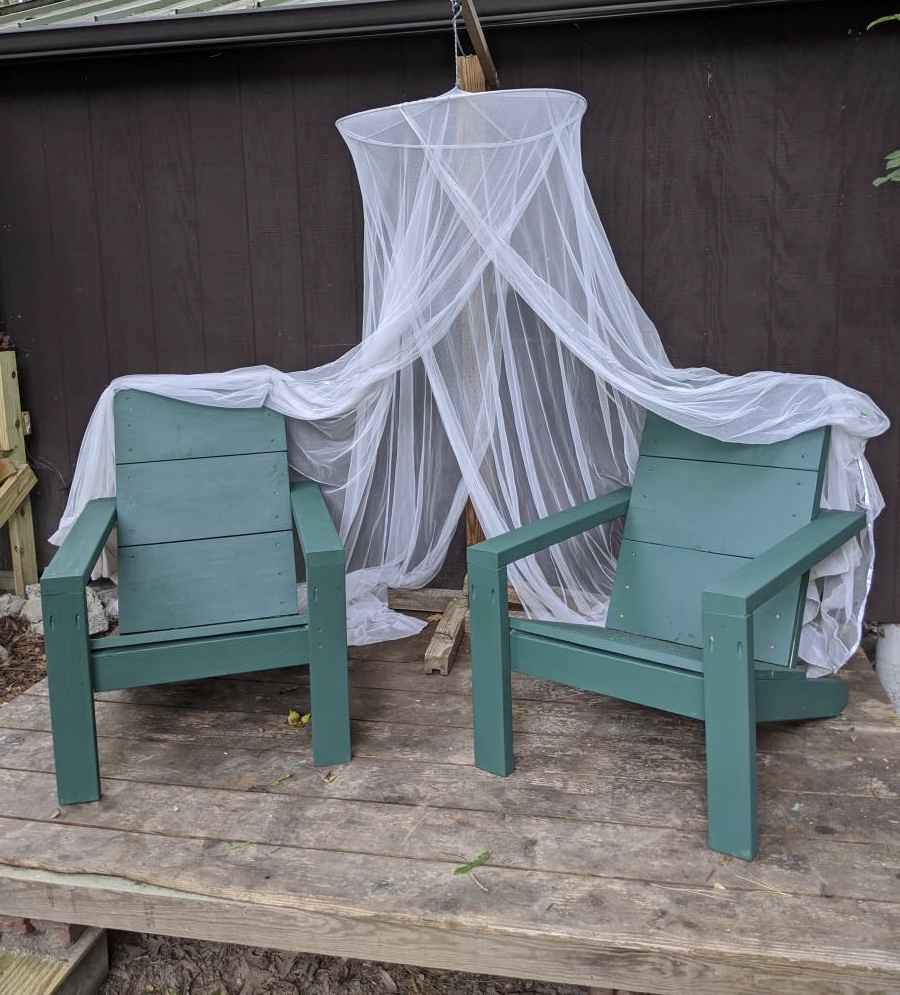
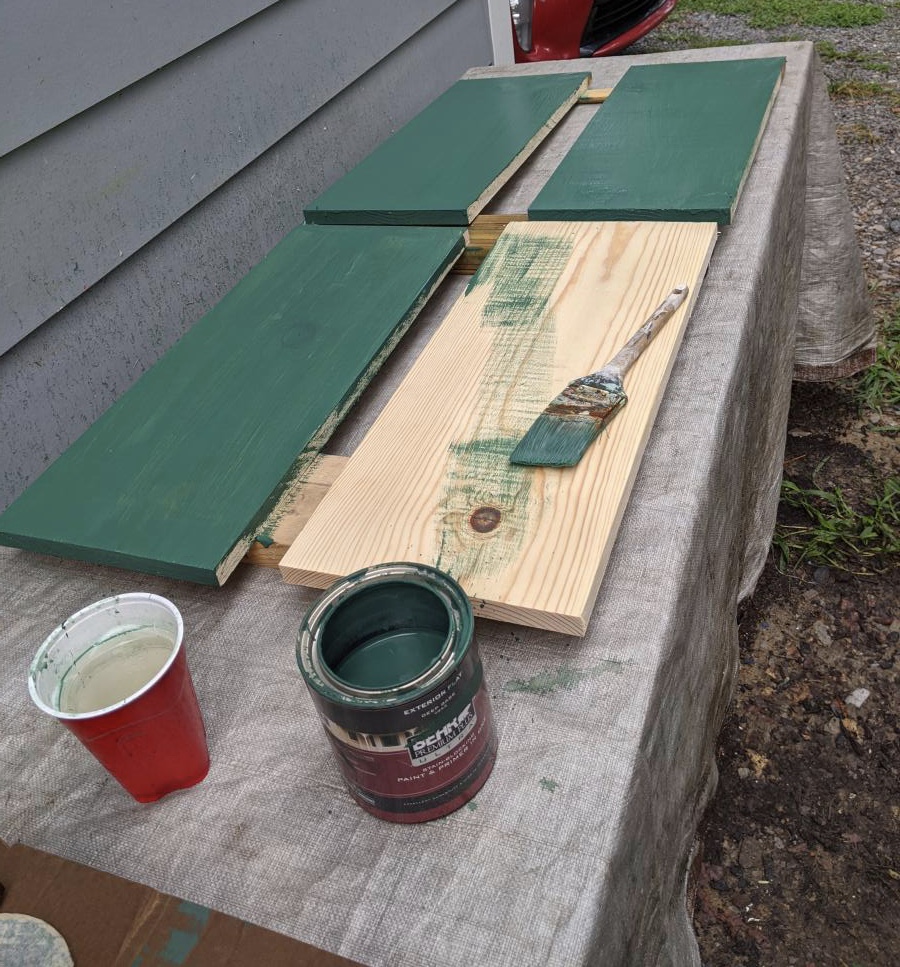
I followed Ana's plan to make this pair of woodsy chairs to go on the deck of our little shed in a wooded area behind our home. My only modification was that I had to purchase 1x10 for the decking and rip it down to size with my table saw. And I had to add a mosquito net!

My wife and I loved the design. Our first project, we managed to do it over a weekend, I will upload the pics of the benches later. We love it, thanks for the guidance.


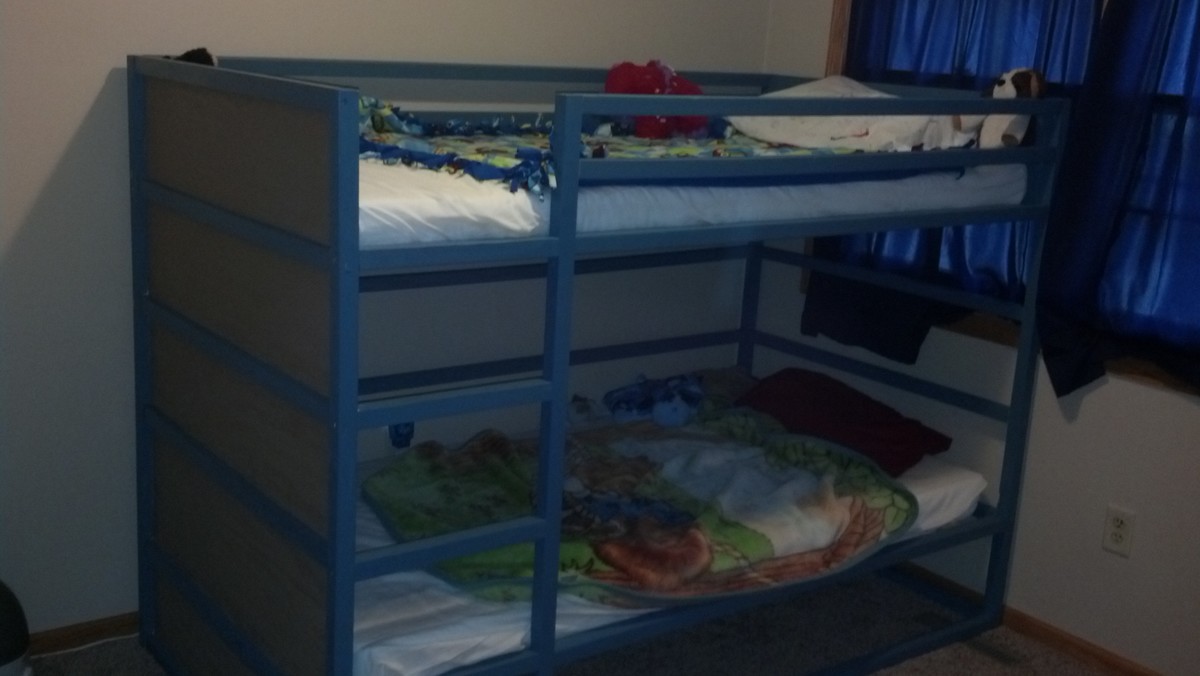
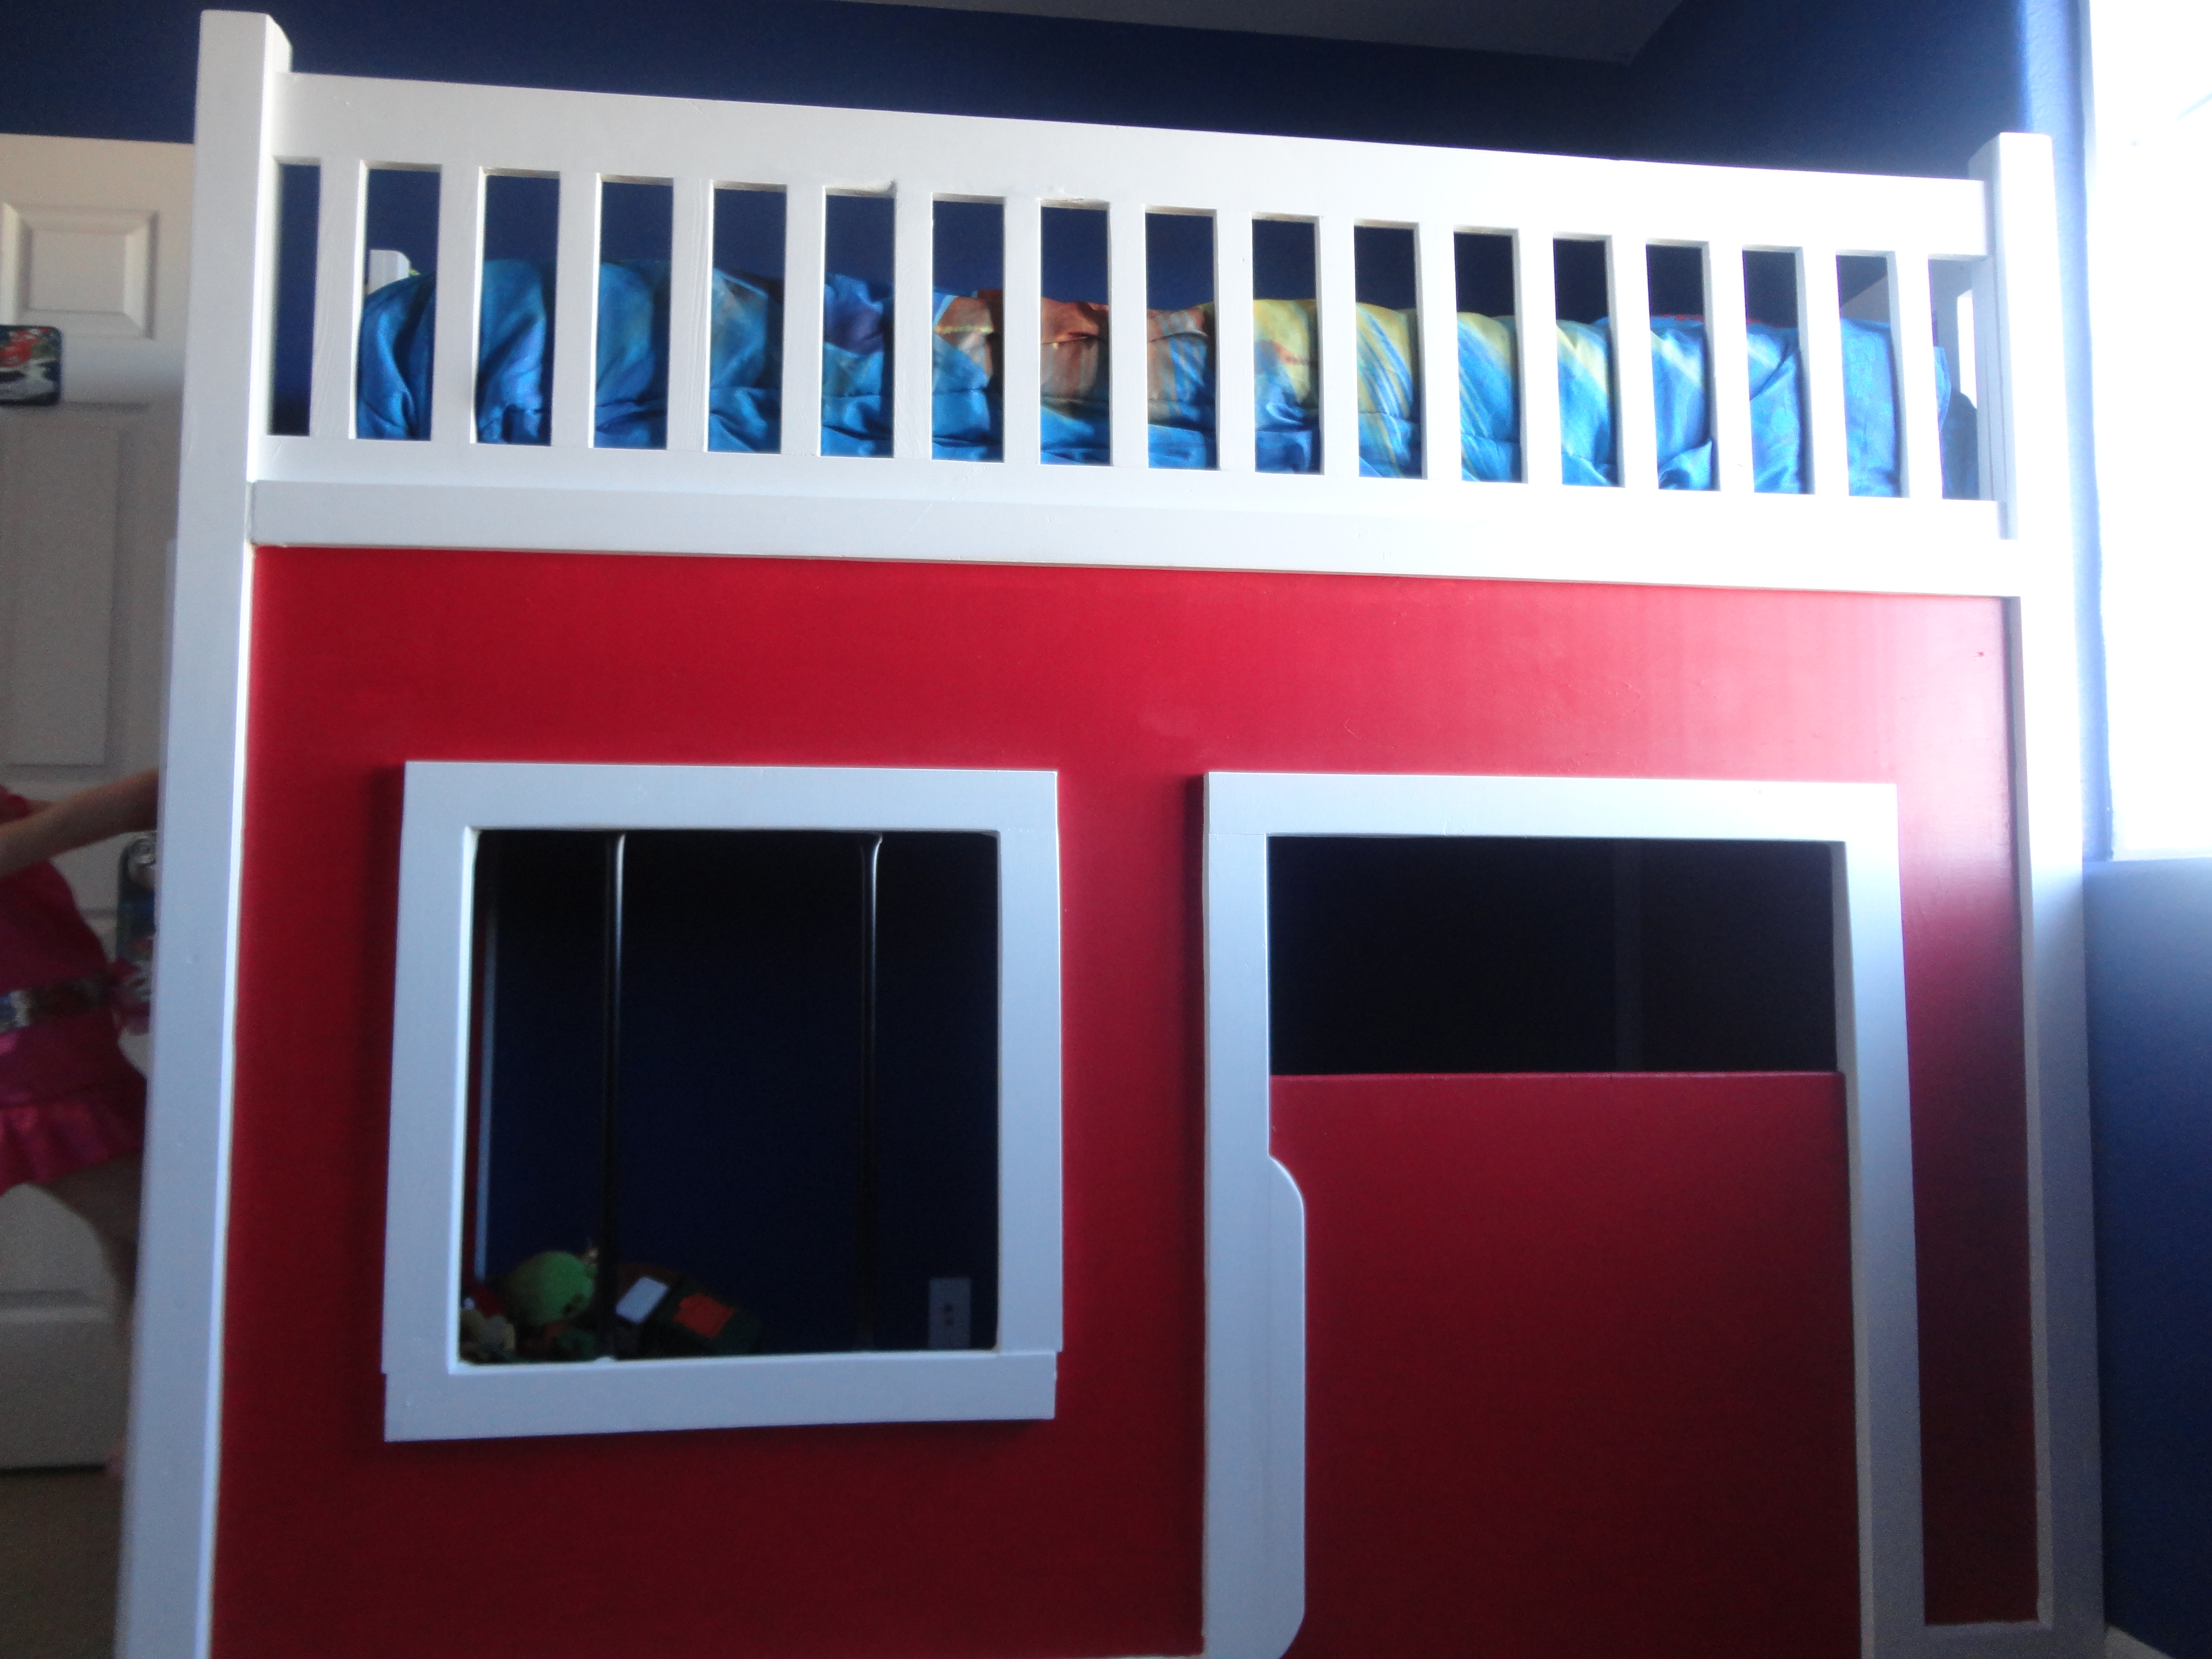
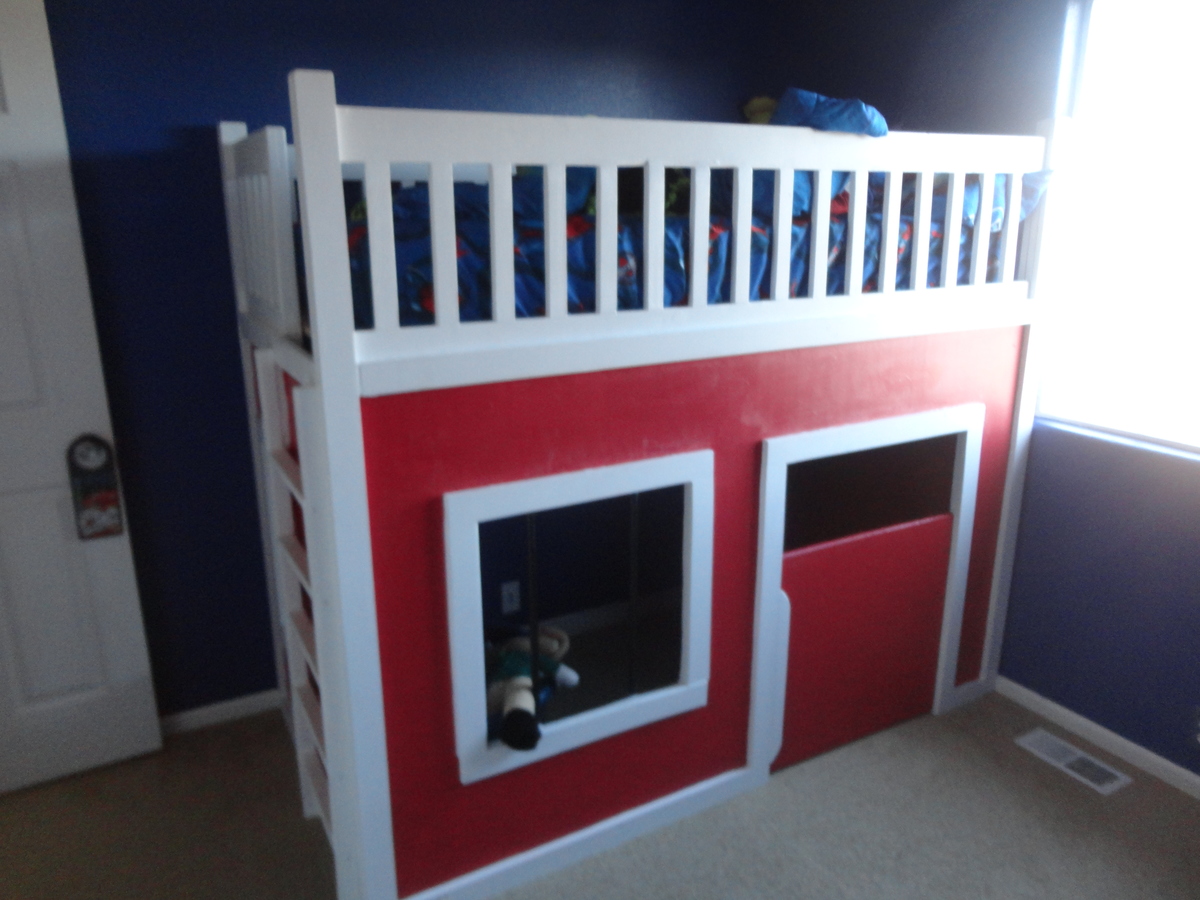
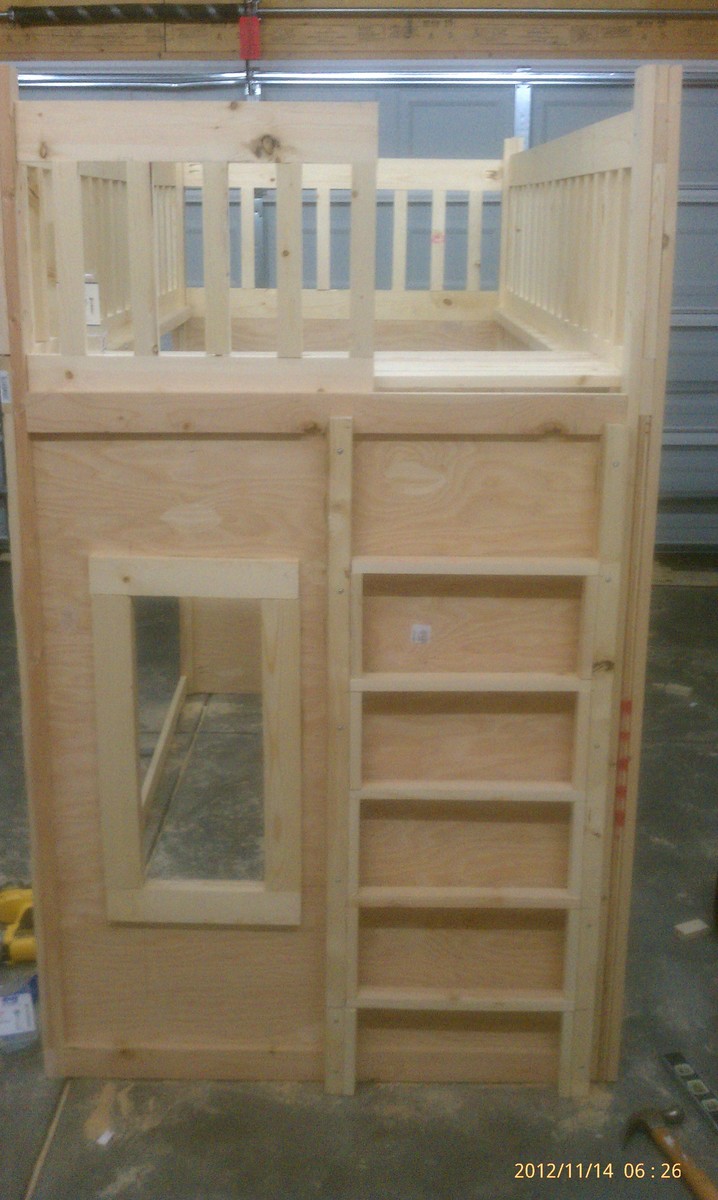
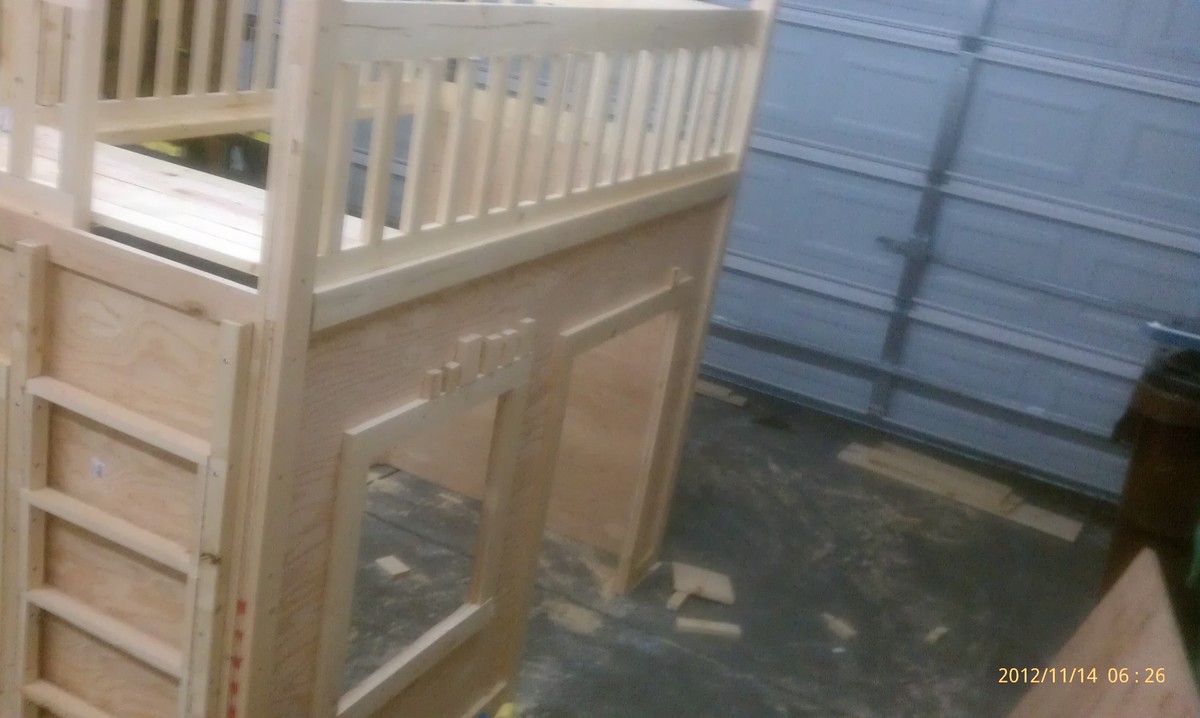
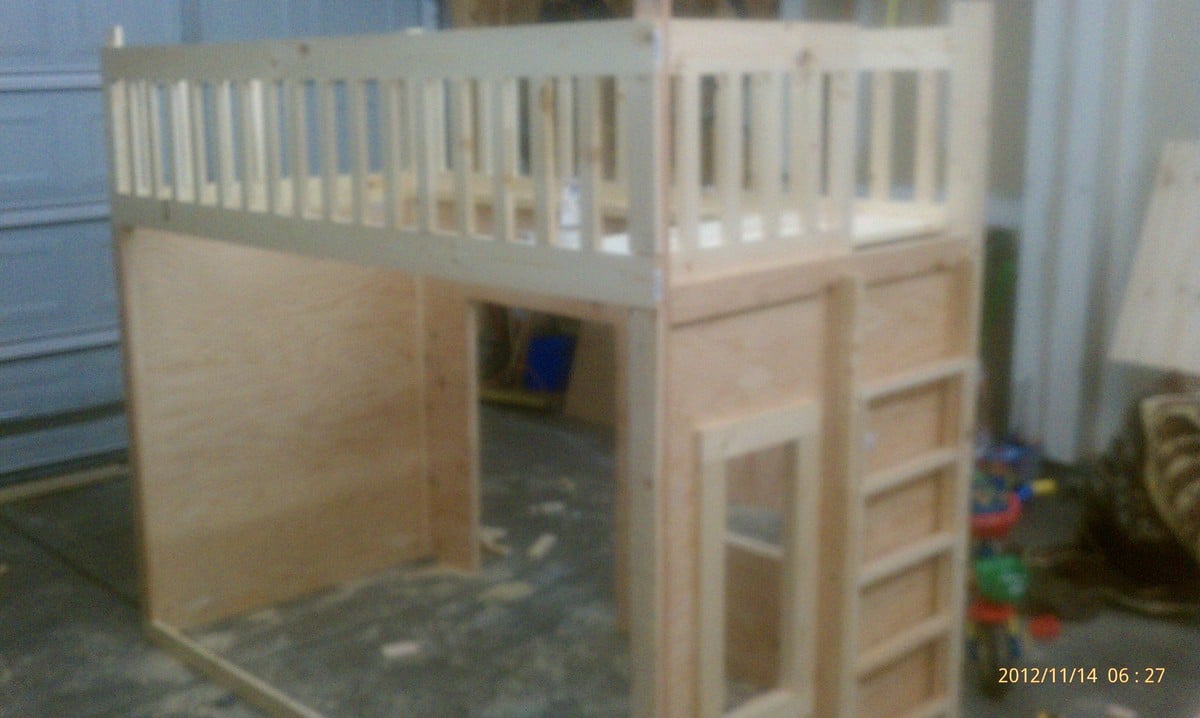
This is a loft style bunk bed. the original plan has the bottom mattress resting on the floor. instead of leaving the mattress on the floor we raised it up to the level of the bottom ladder. In the original plan the bed frame is only 48" high and we changed it to 58".
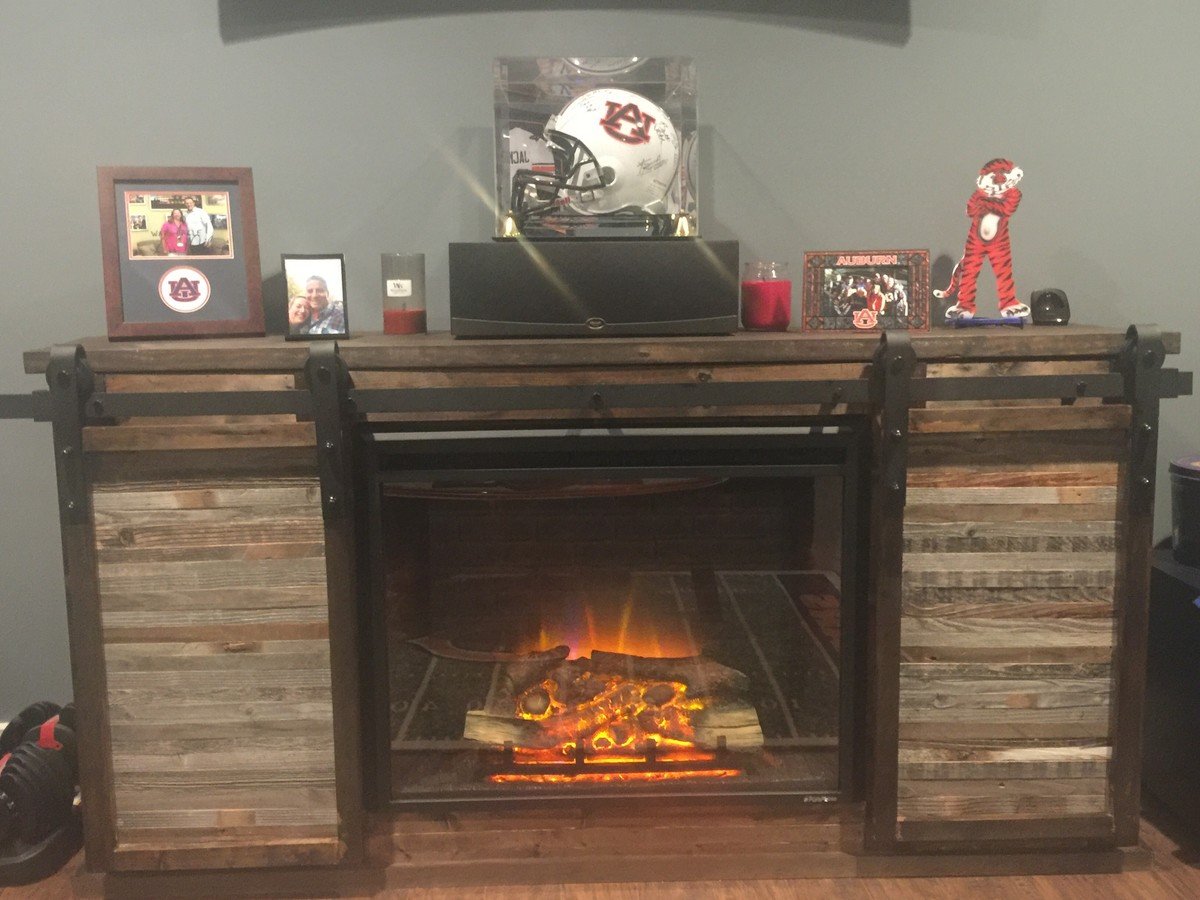
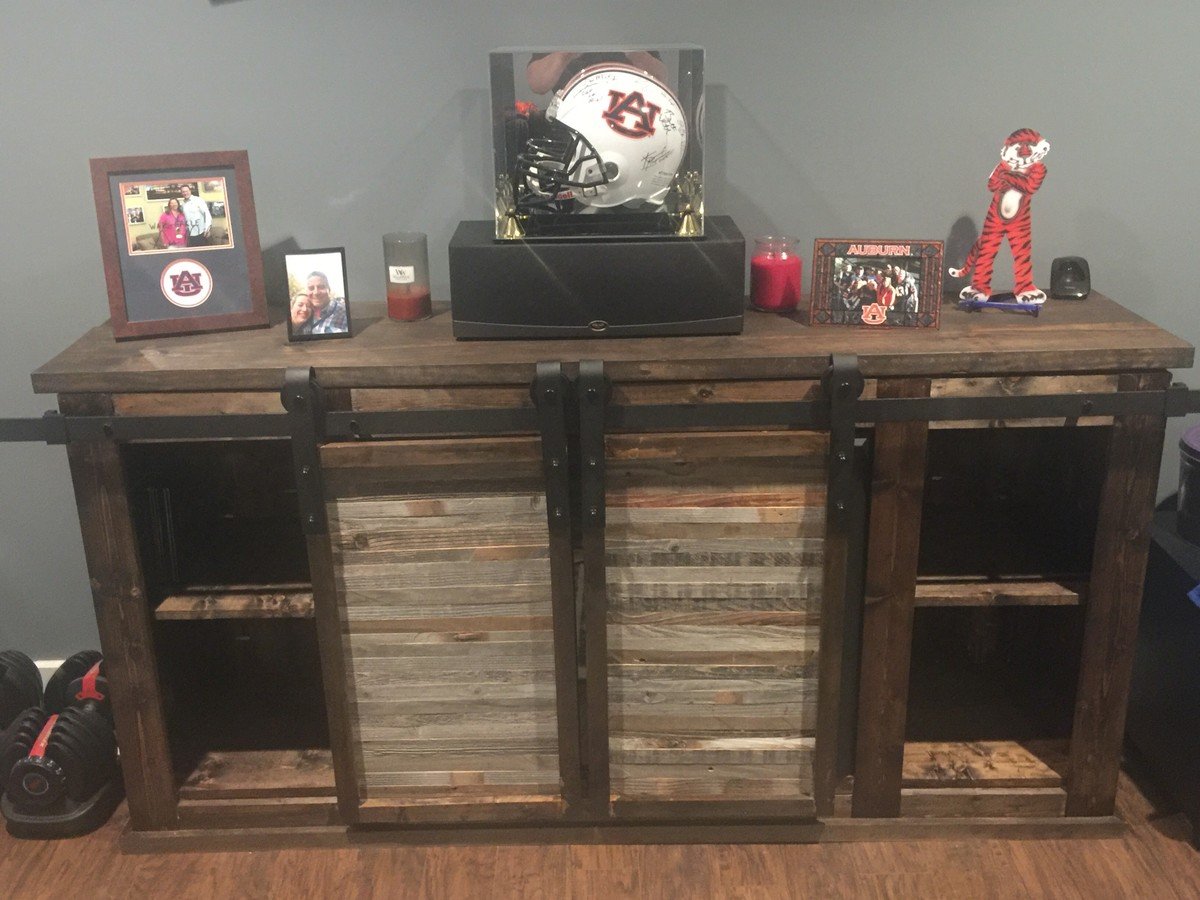
This was my first "major" furntiure project. I used the plans and modified for a 36" fireplace insert.
Thrilled with how this turned out!!! Thank you!
First DIY project ever. Came out so good I built another

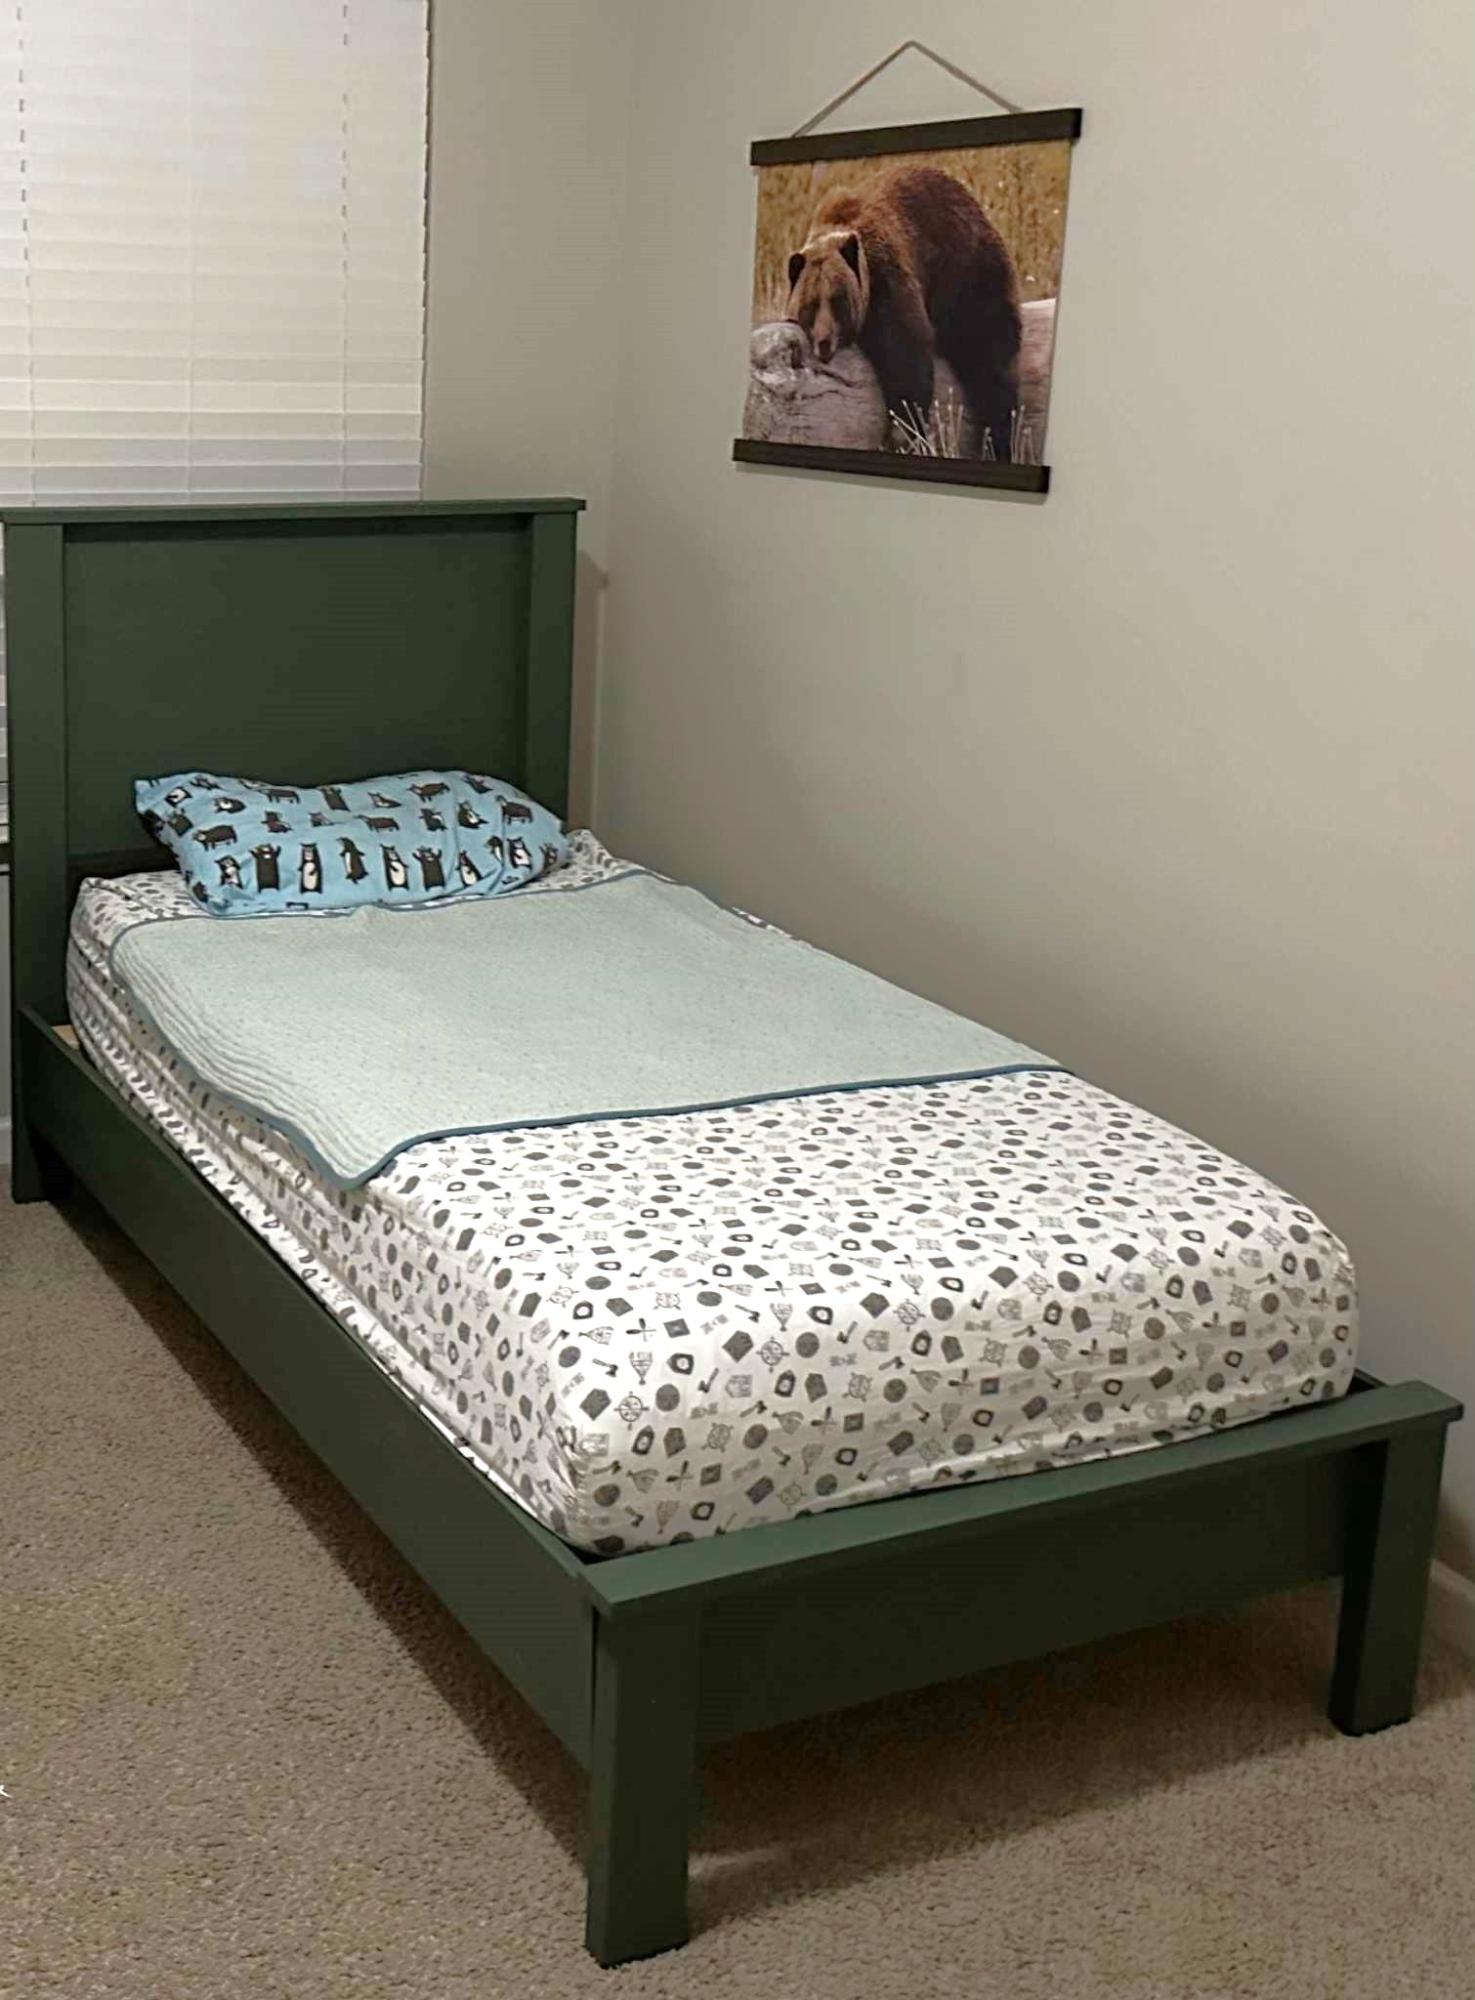
I built a simple panel bed using Ana White’s tutorial and plans. It is a big boy bed for my 3 year old and we love it! I think it turned out so awesome and I am so impressed with how nice it looks. Thank you so much for these amazing plans Ana!
Nikki at titusmom.com
This was my first build using these plans. We found it intuitive and enjoyable. I did all the building and sanding and my wife did all of the painting. Once we completed it, we moved it to our sons room and re-assemblied. When it was up, our two little ones played on and in it all night. Our 3 year old daughter would not sleep in her own bed after seeing this...so we let them spend the night together. My son loves it! What a good time we had. I think this will be the first of many Ana White builds for us.

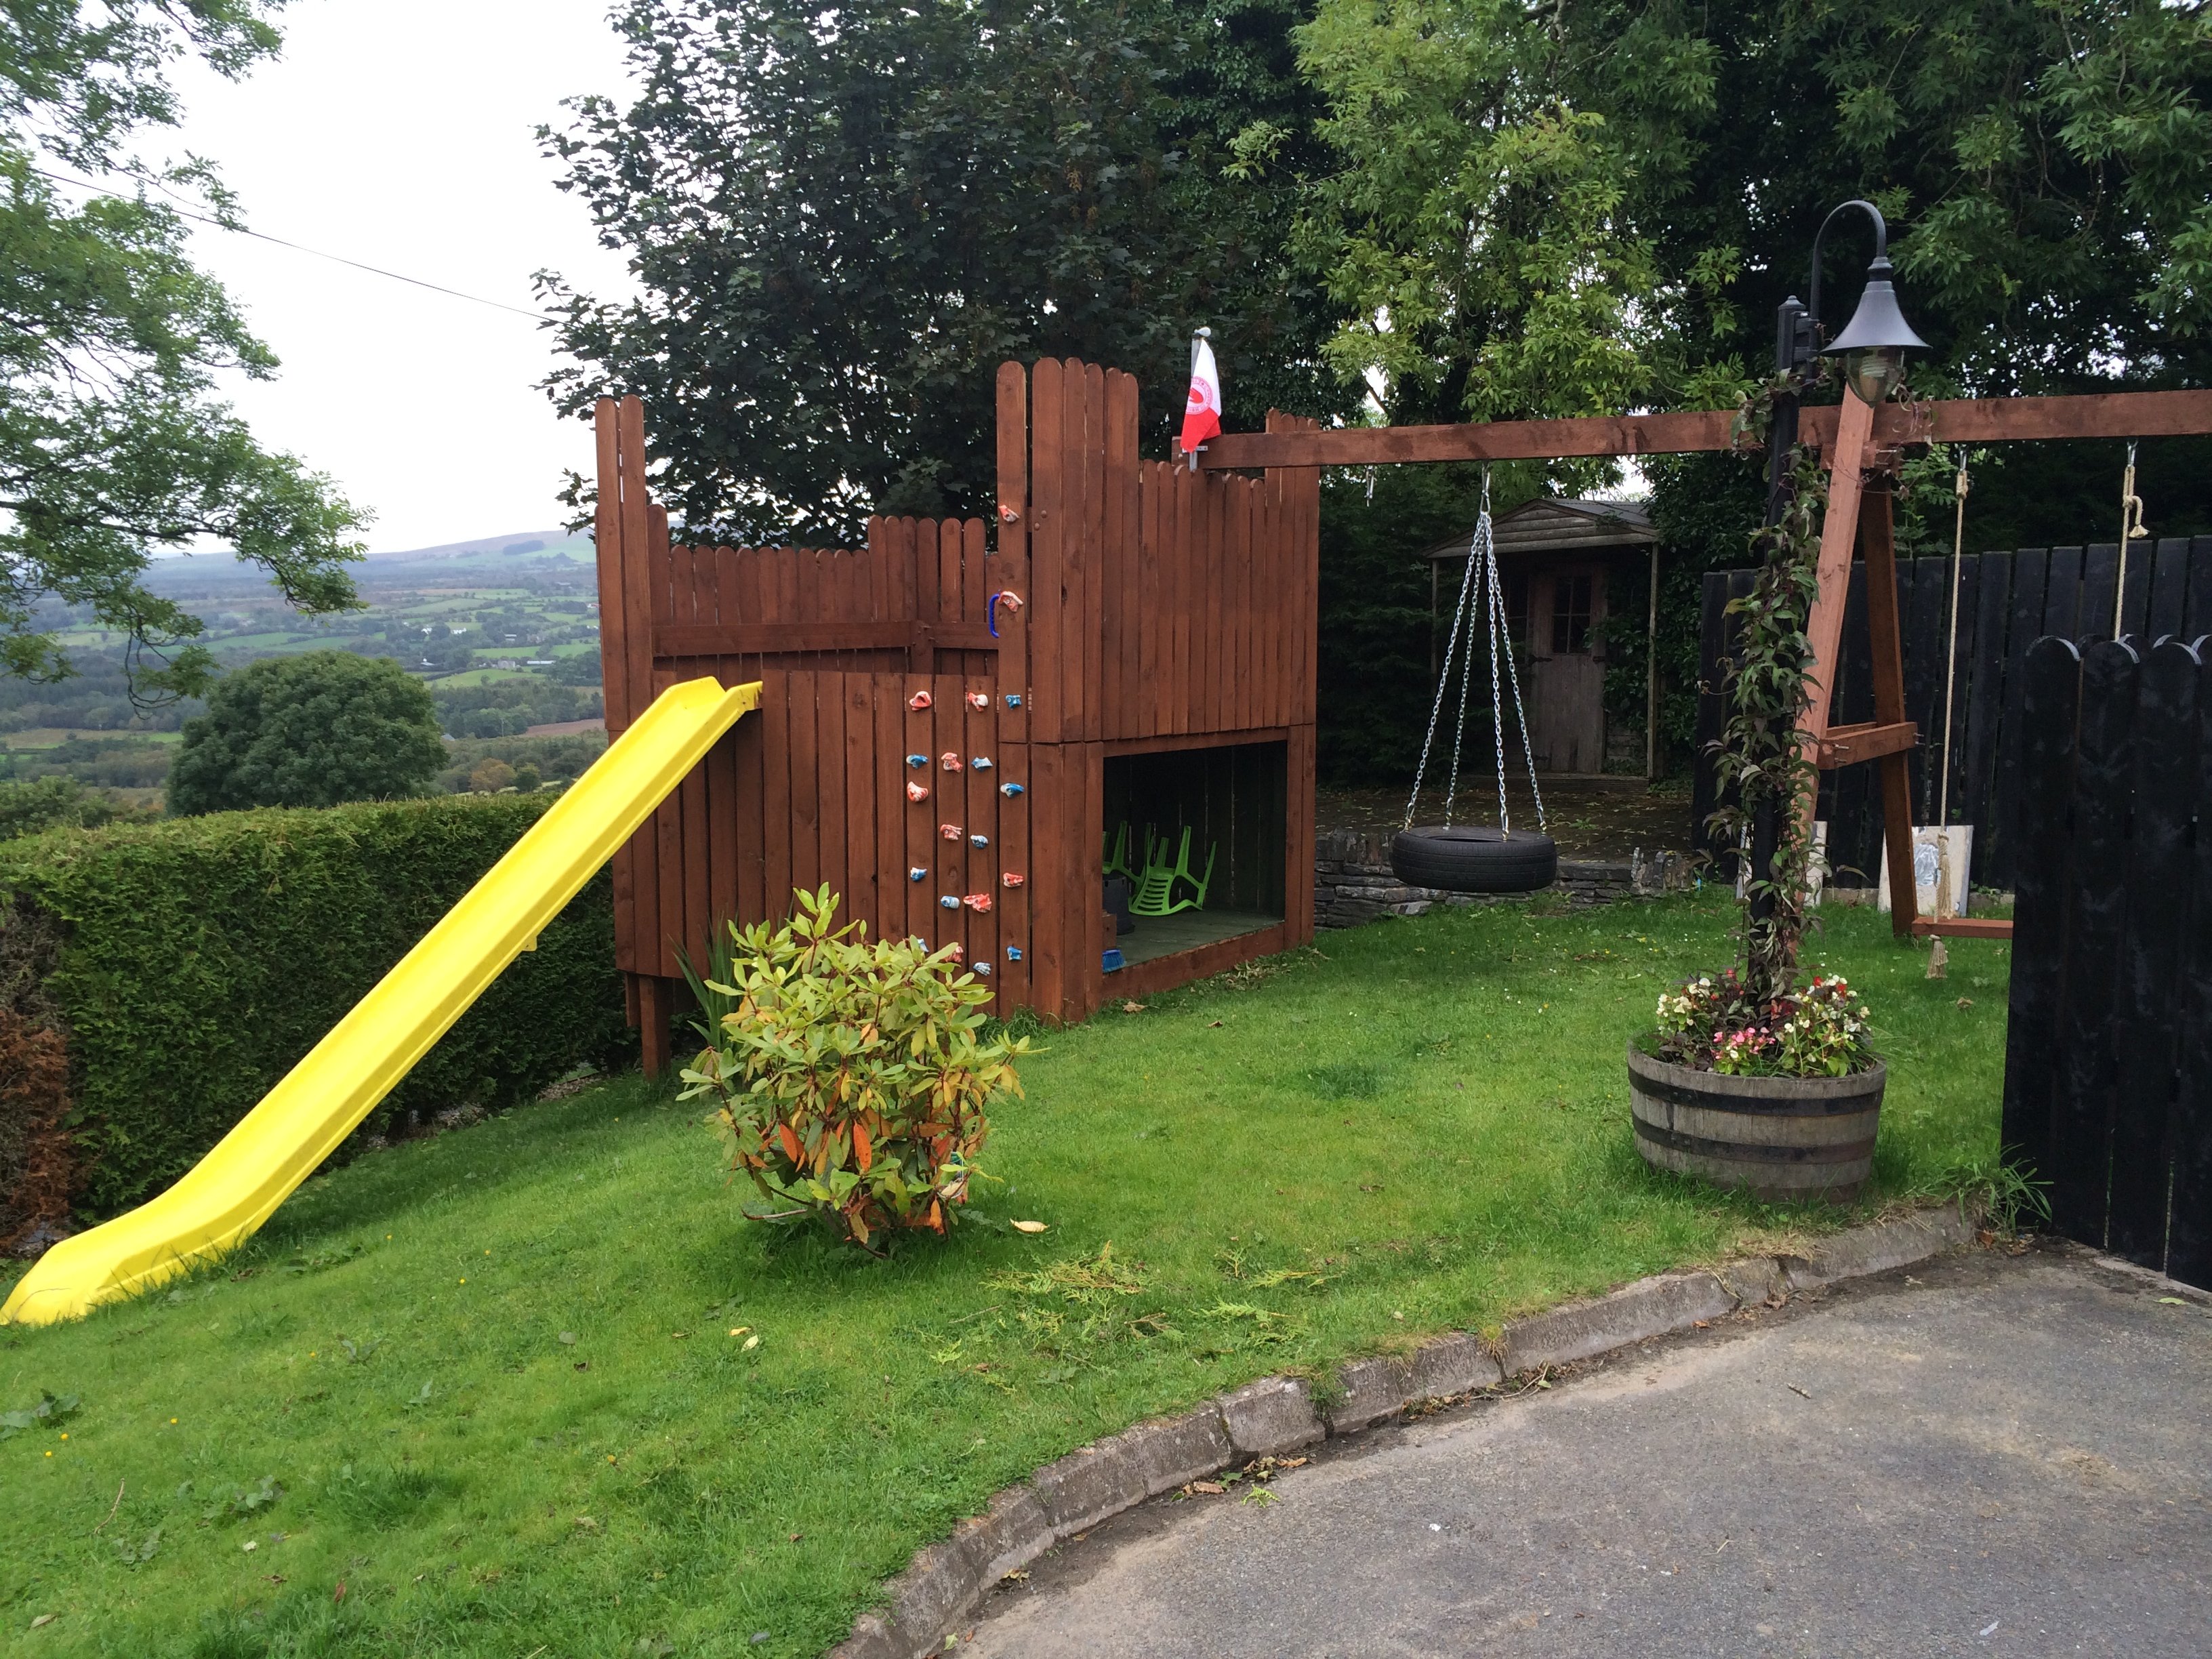
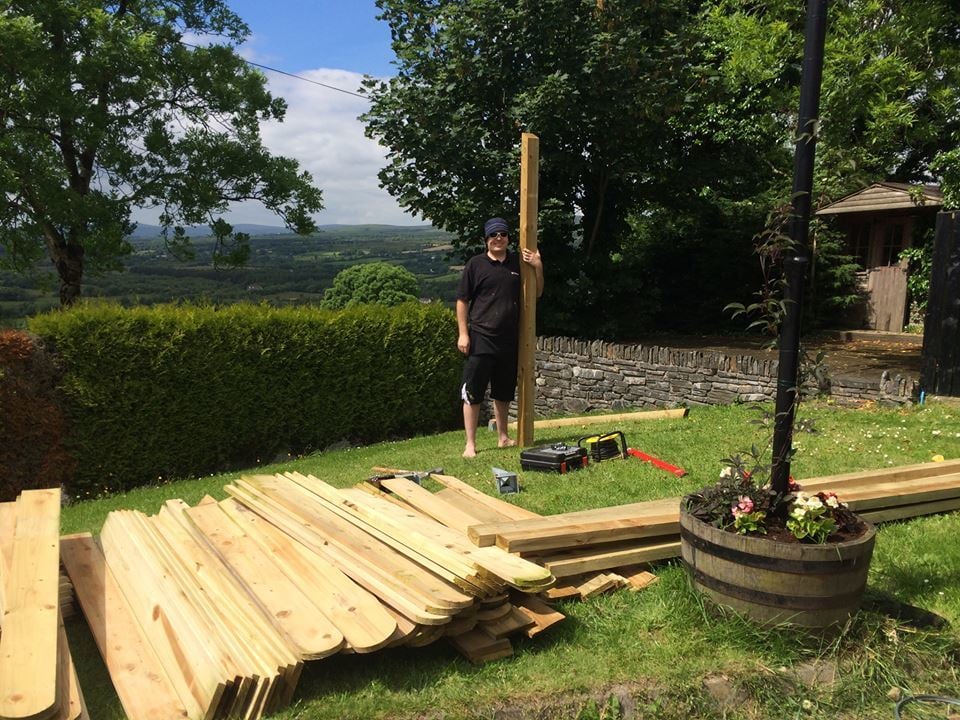
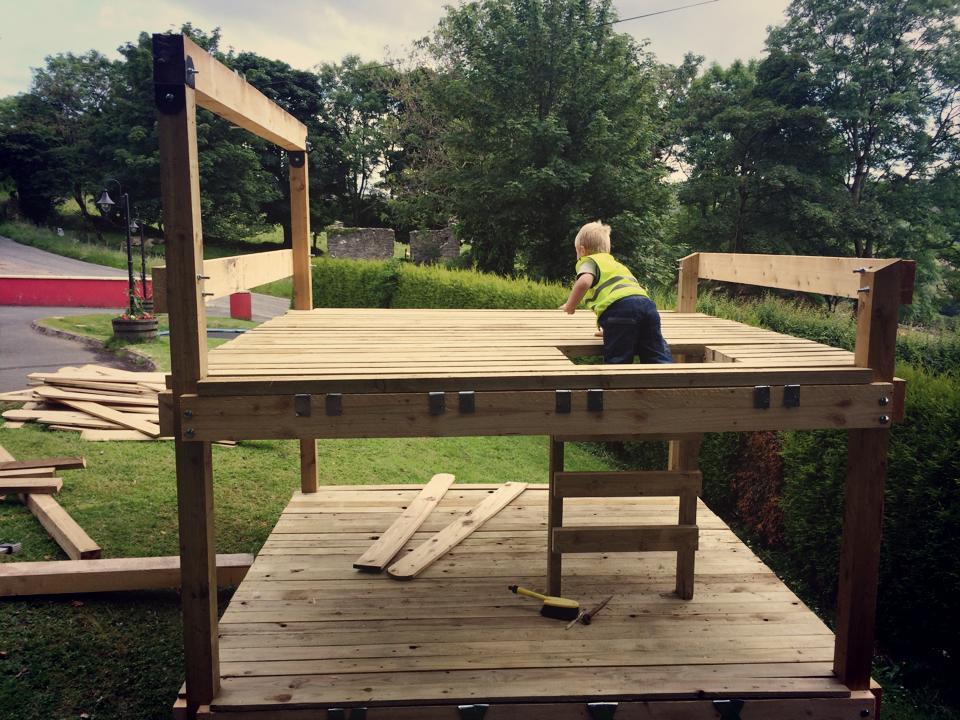
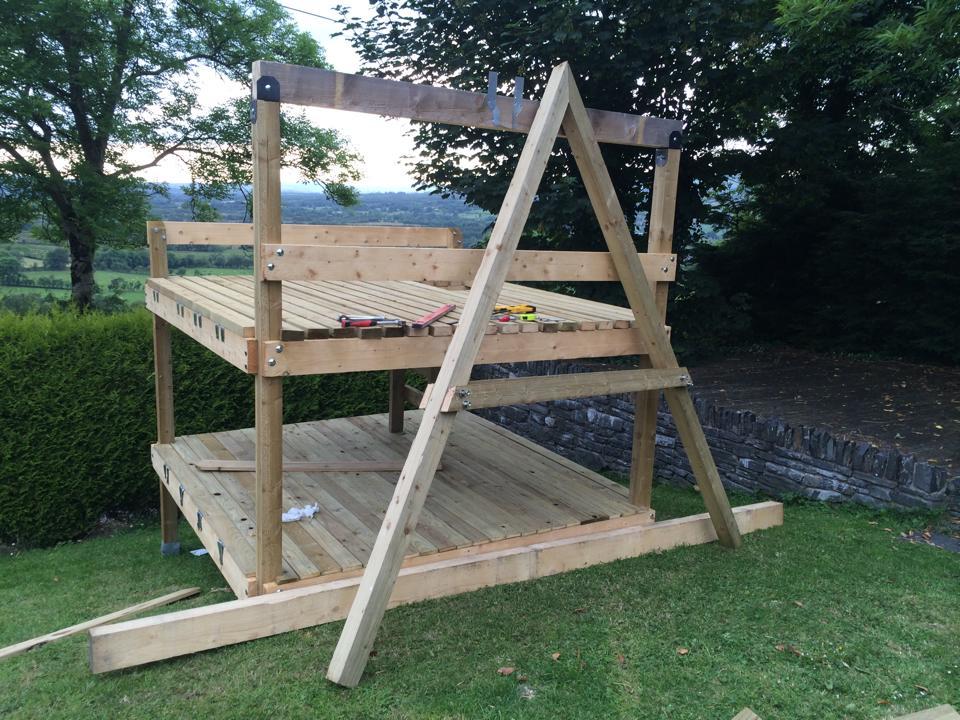
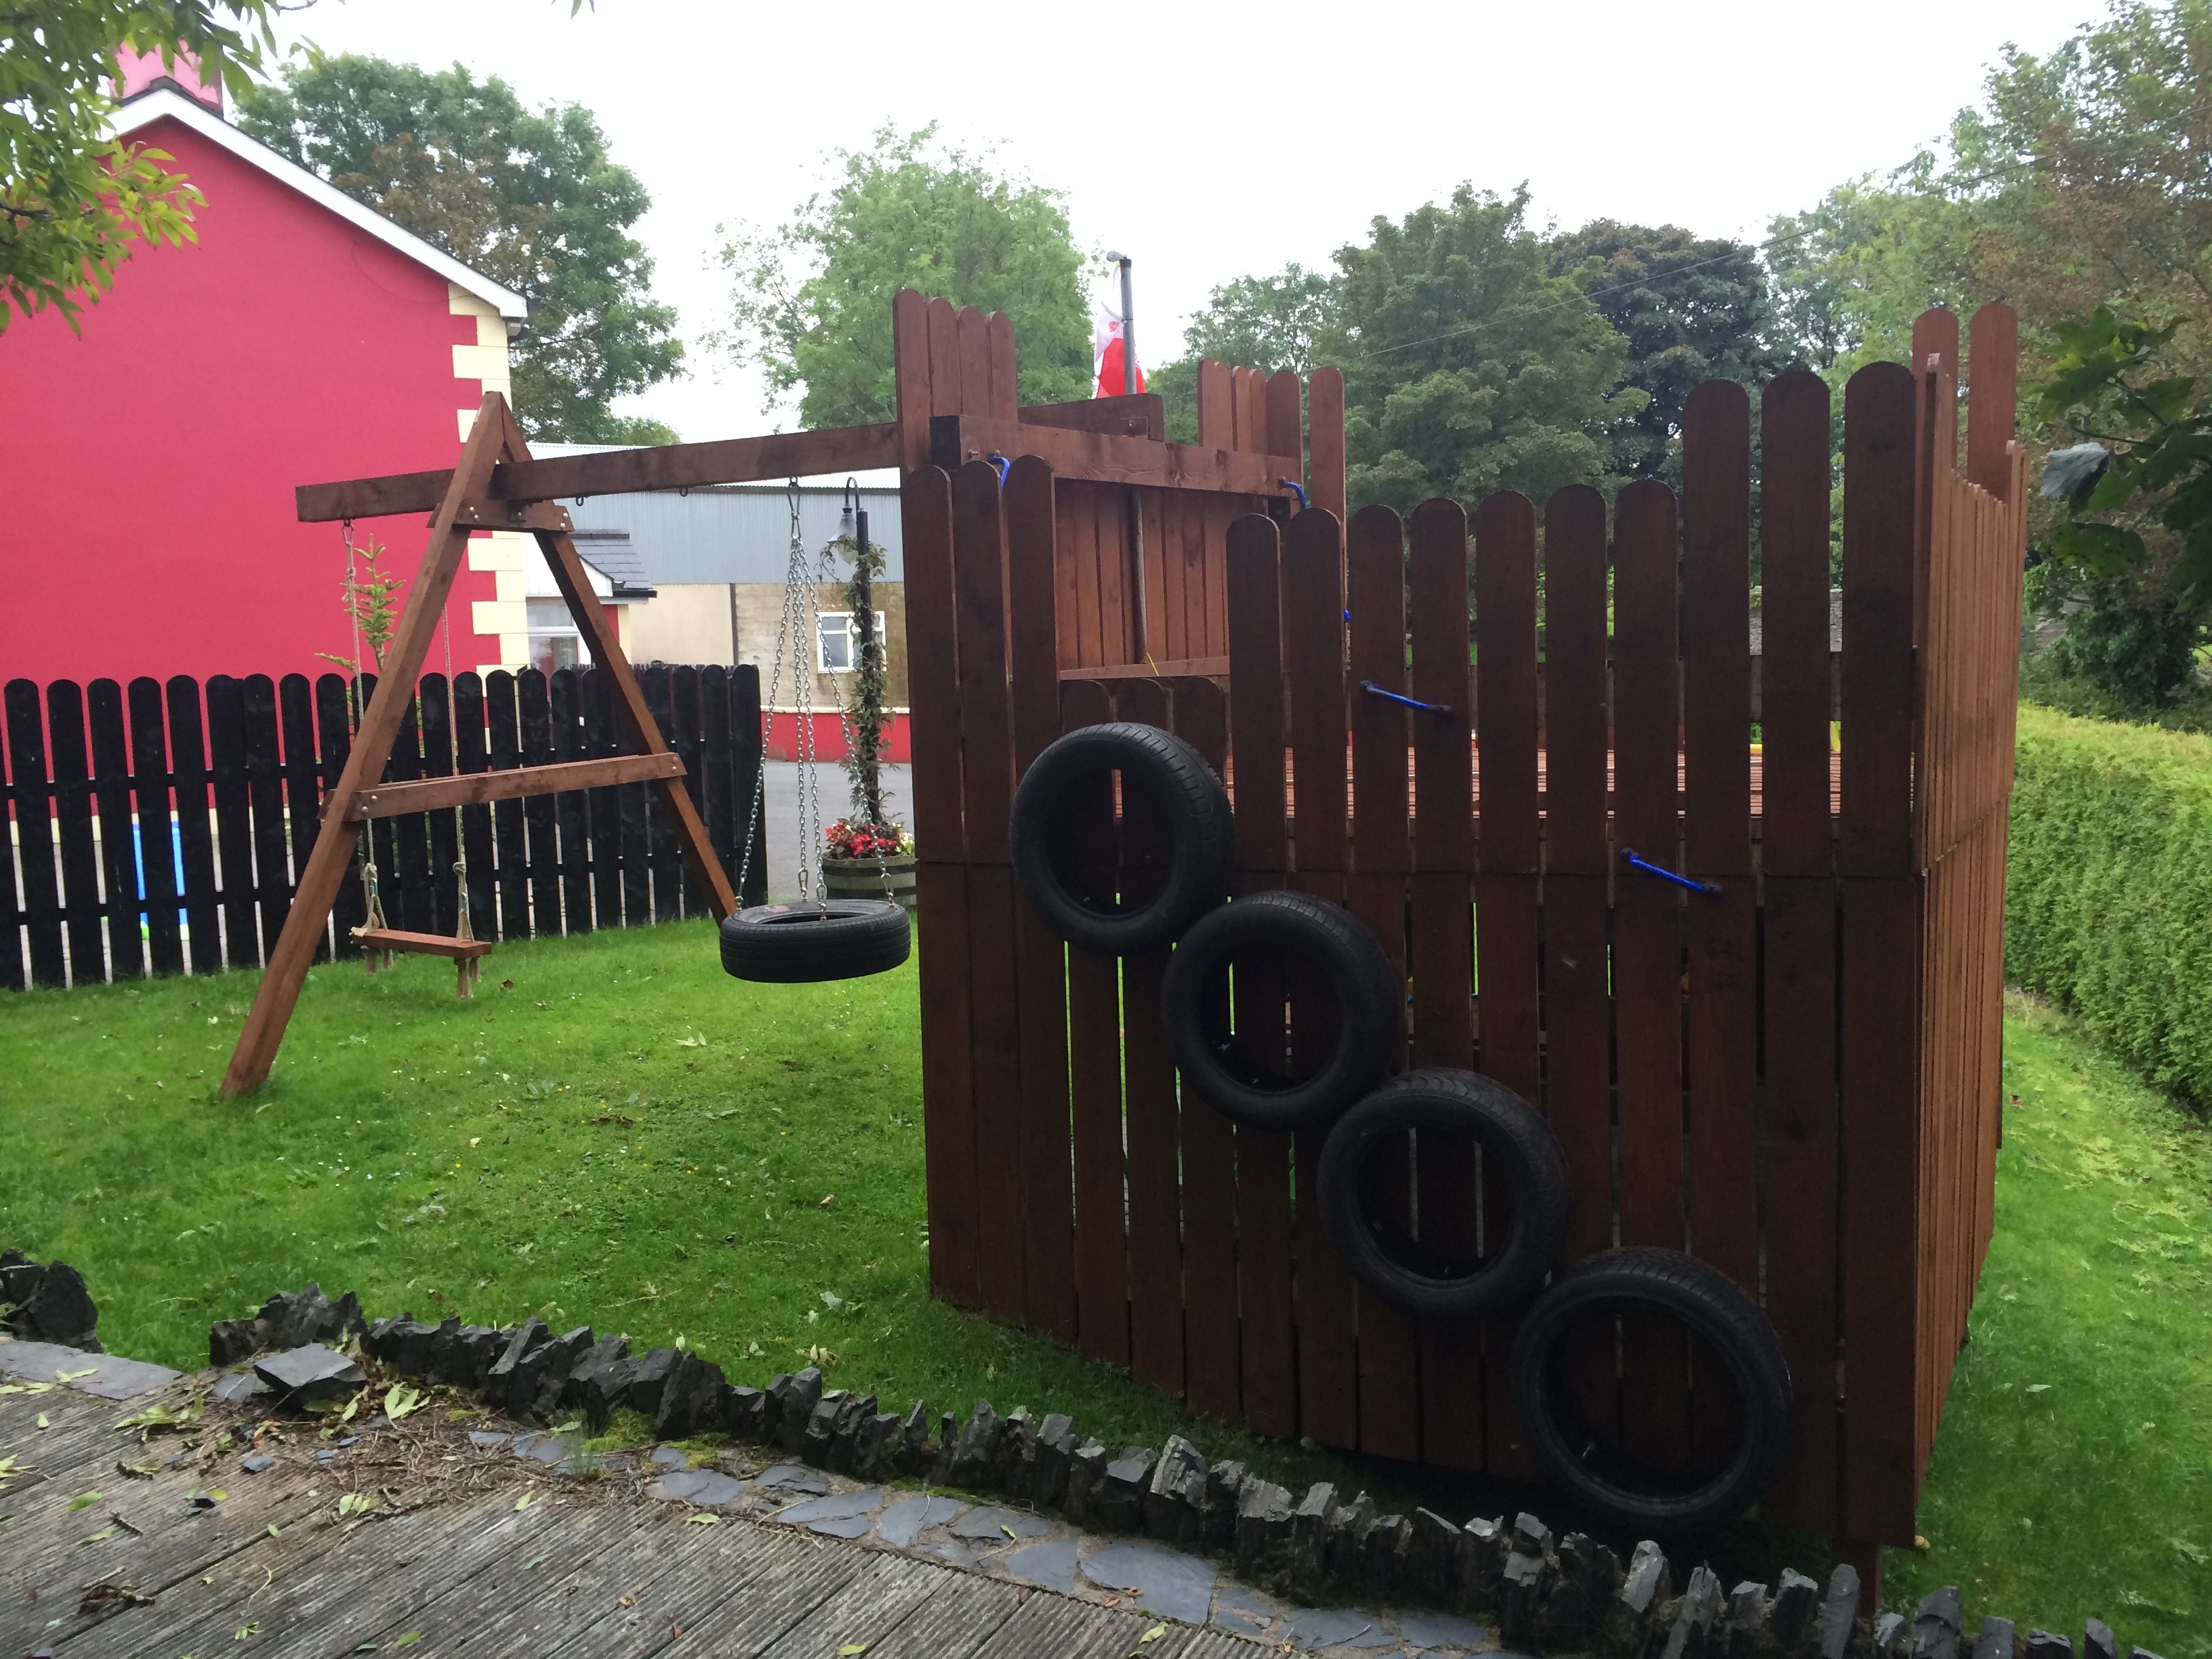
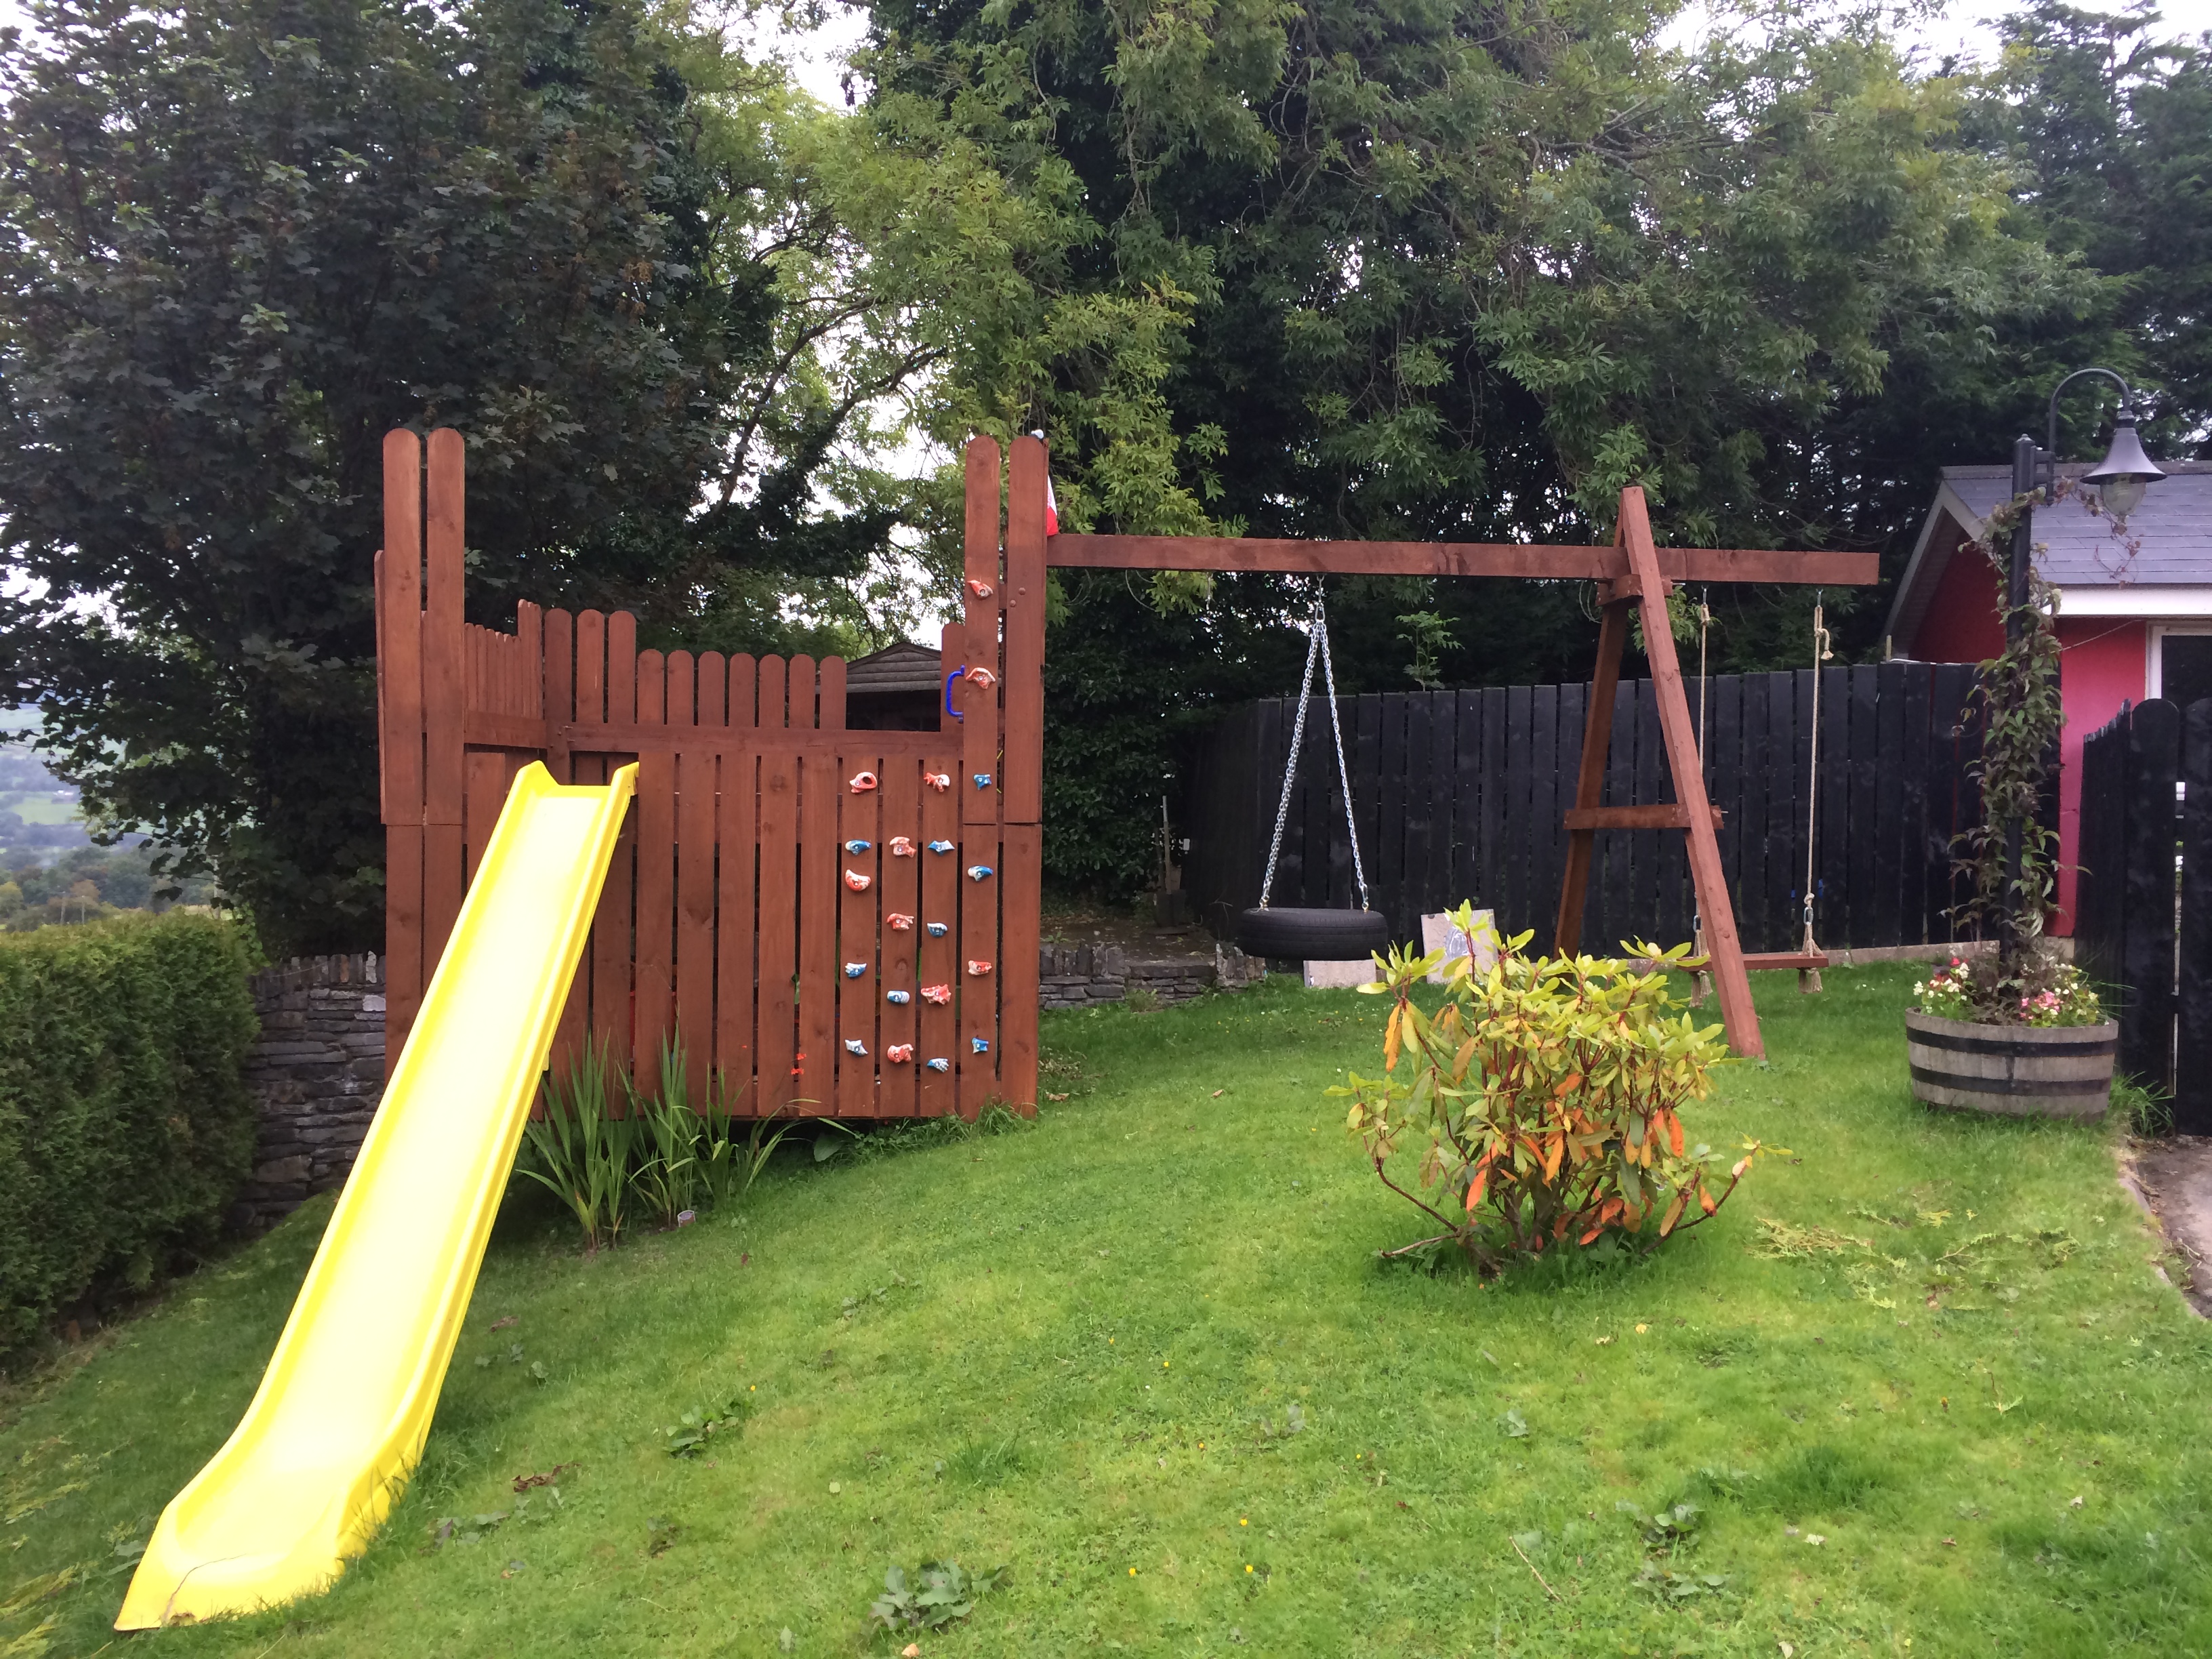
Play Deck and Swing
Wed, 09/03/2014 - 07:35
You have a BEAUTIFUL view from your yard! Just curious, where do you live? I assumed somewhere in Europe due to the currency. The play area looks fantastic. What lucky kiddos!
Wed, 09/03/2014 - 08:21
Thanks. Lovely part of the country outside Omagh, Northern Ireland
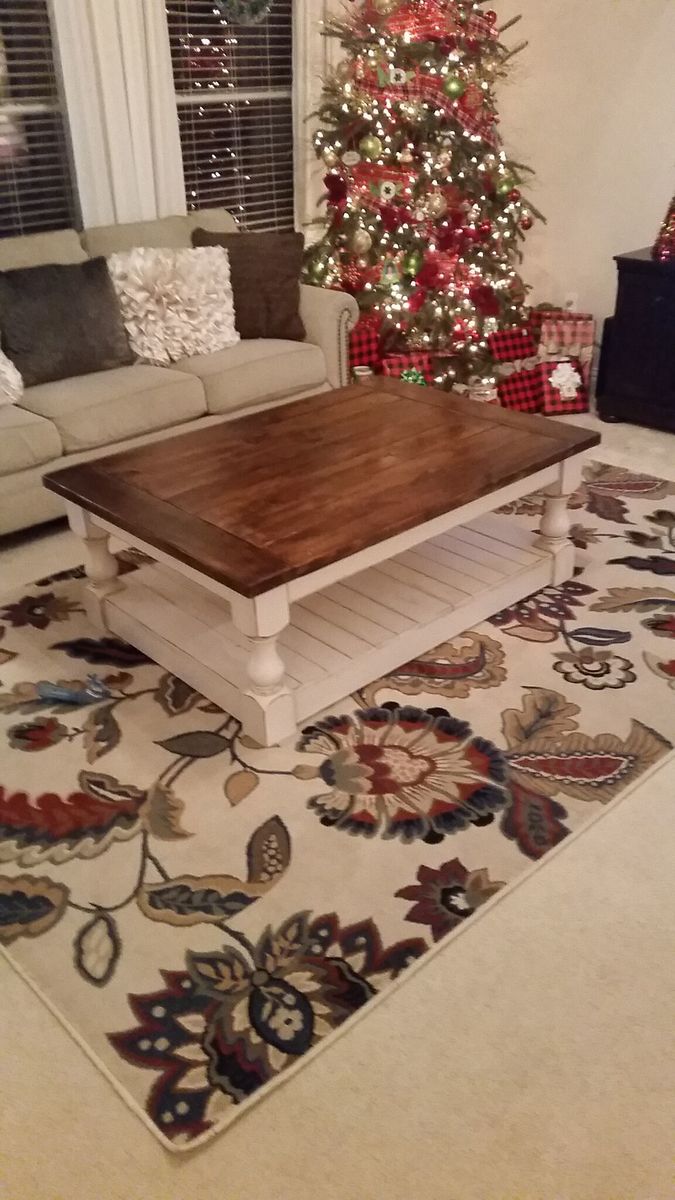
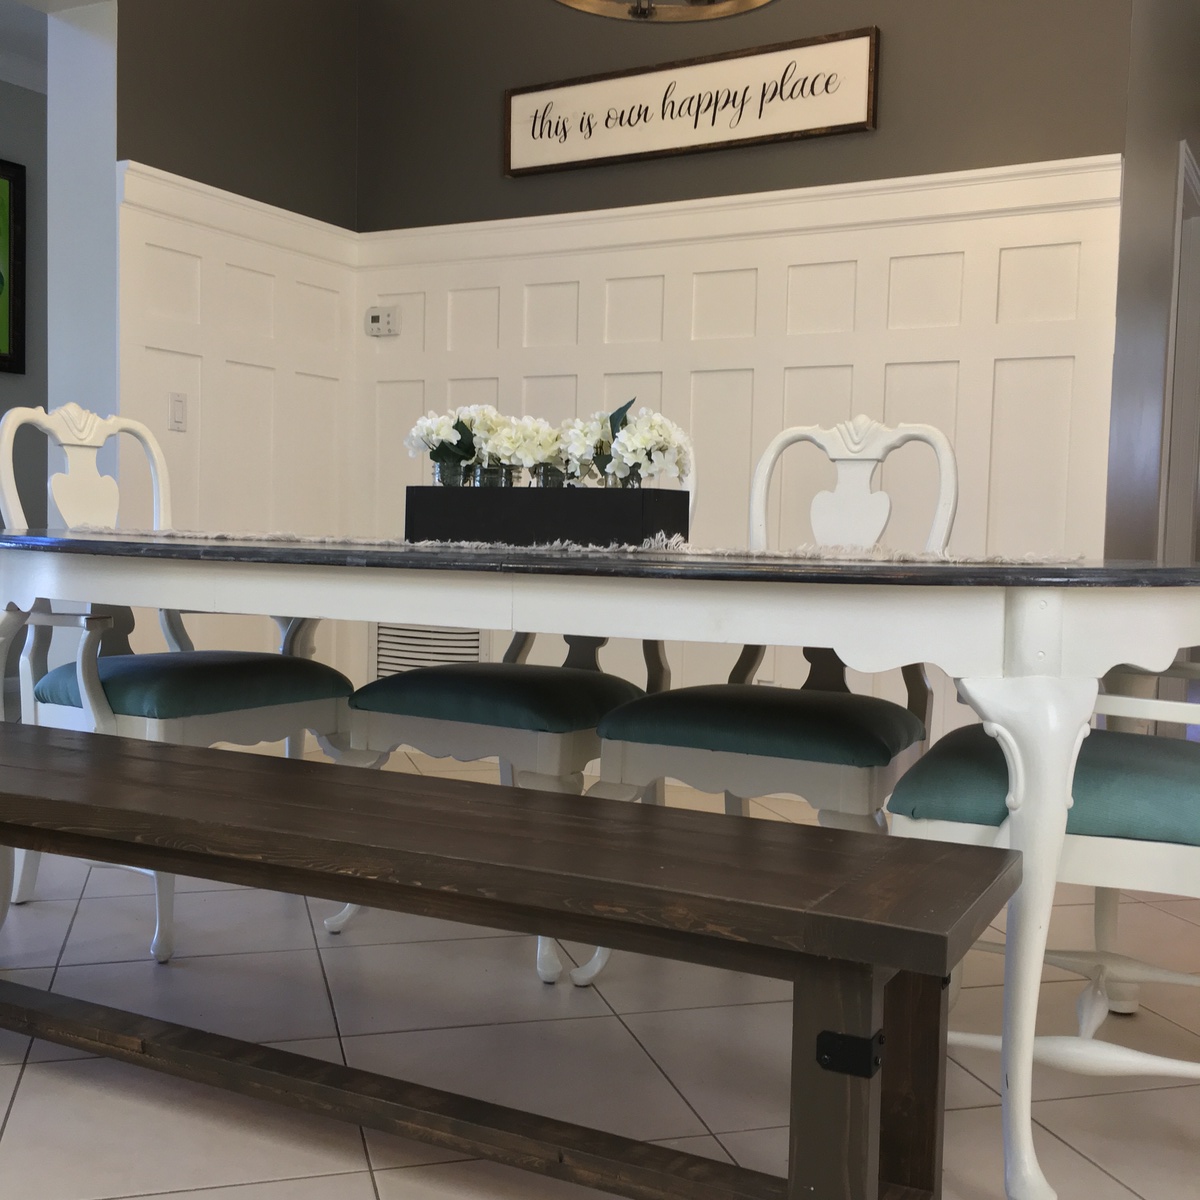
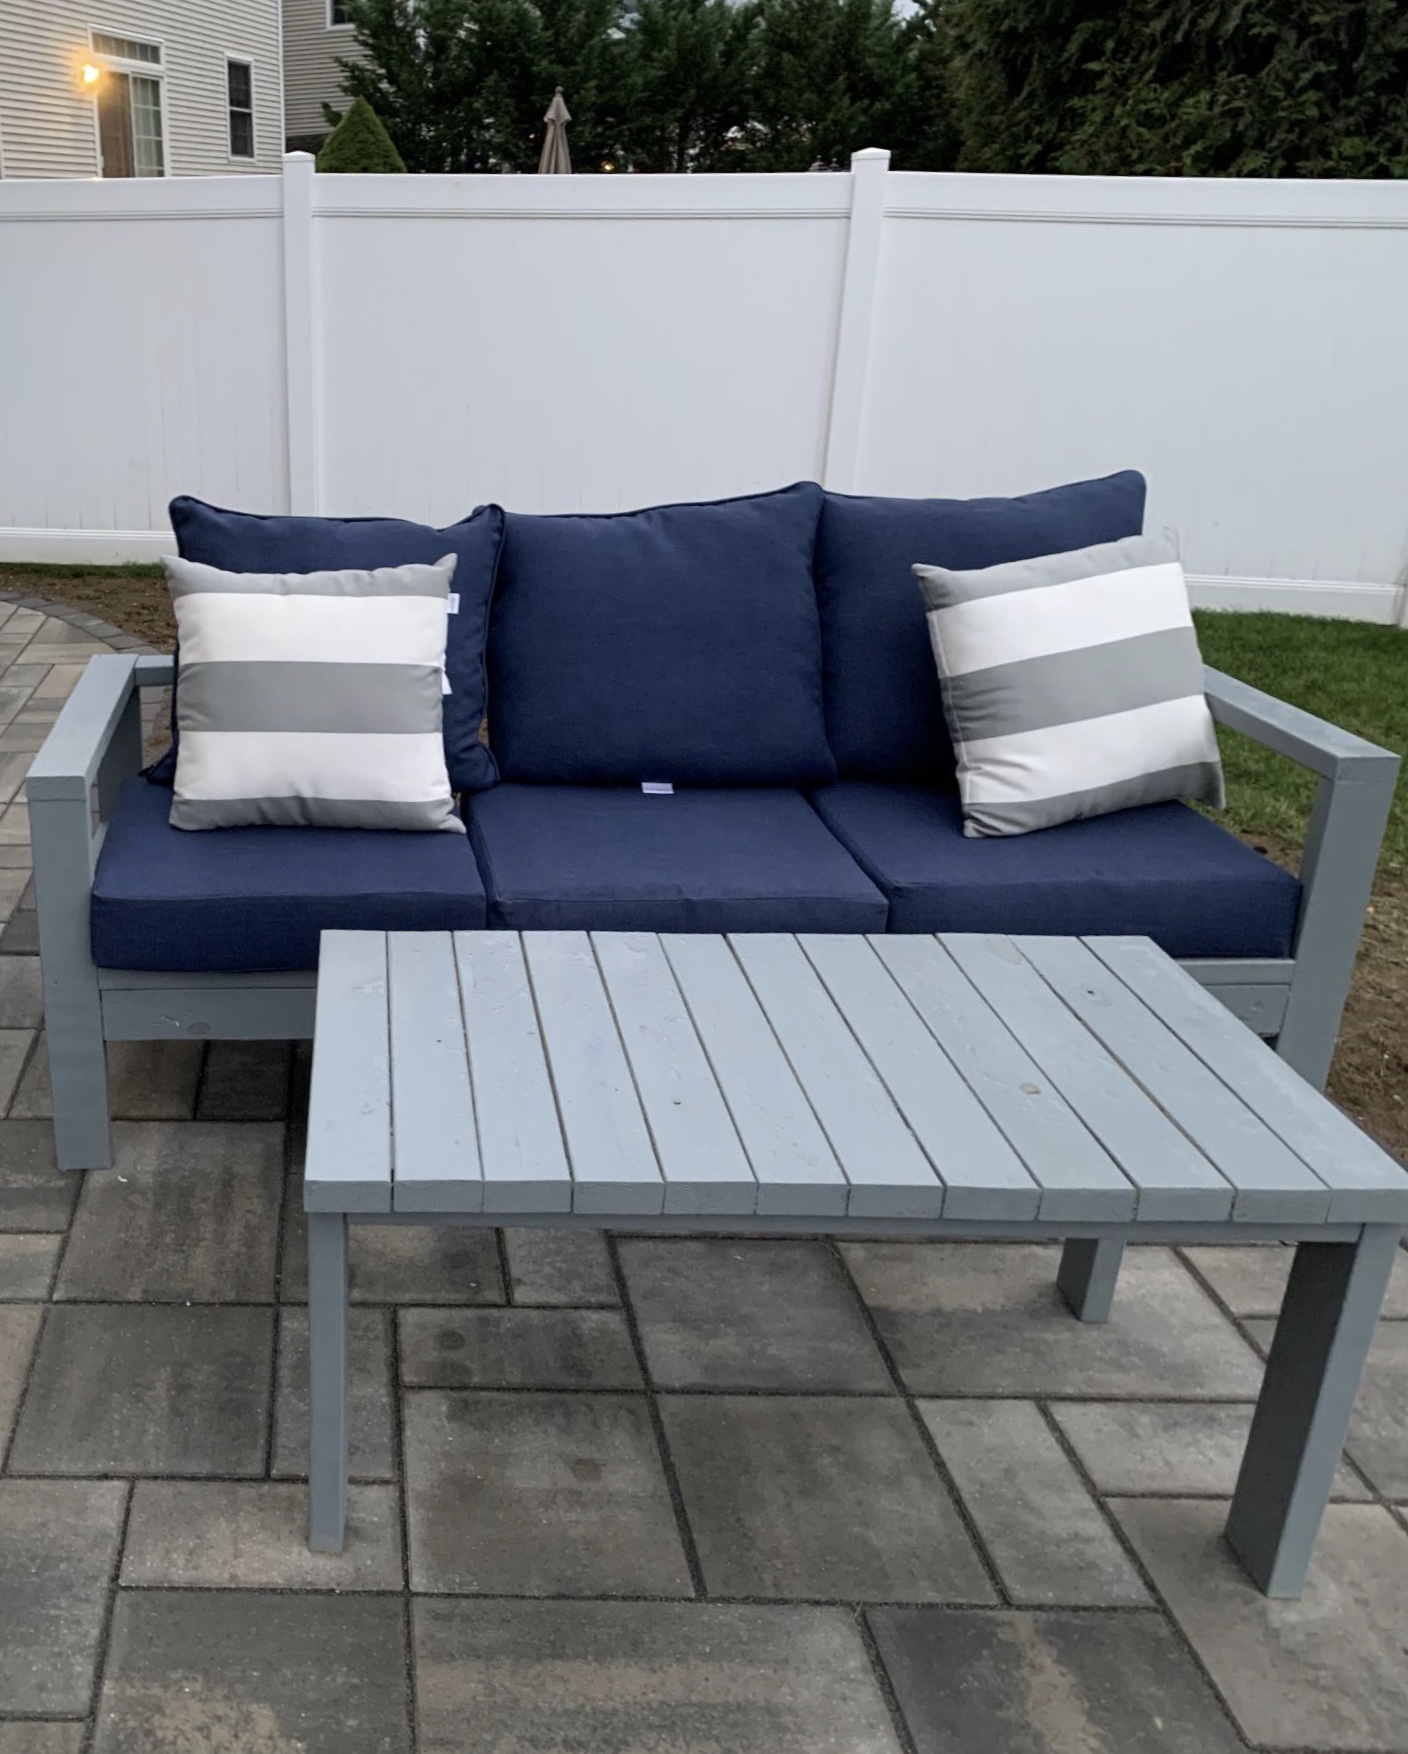
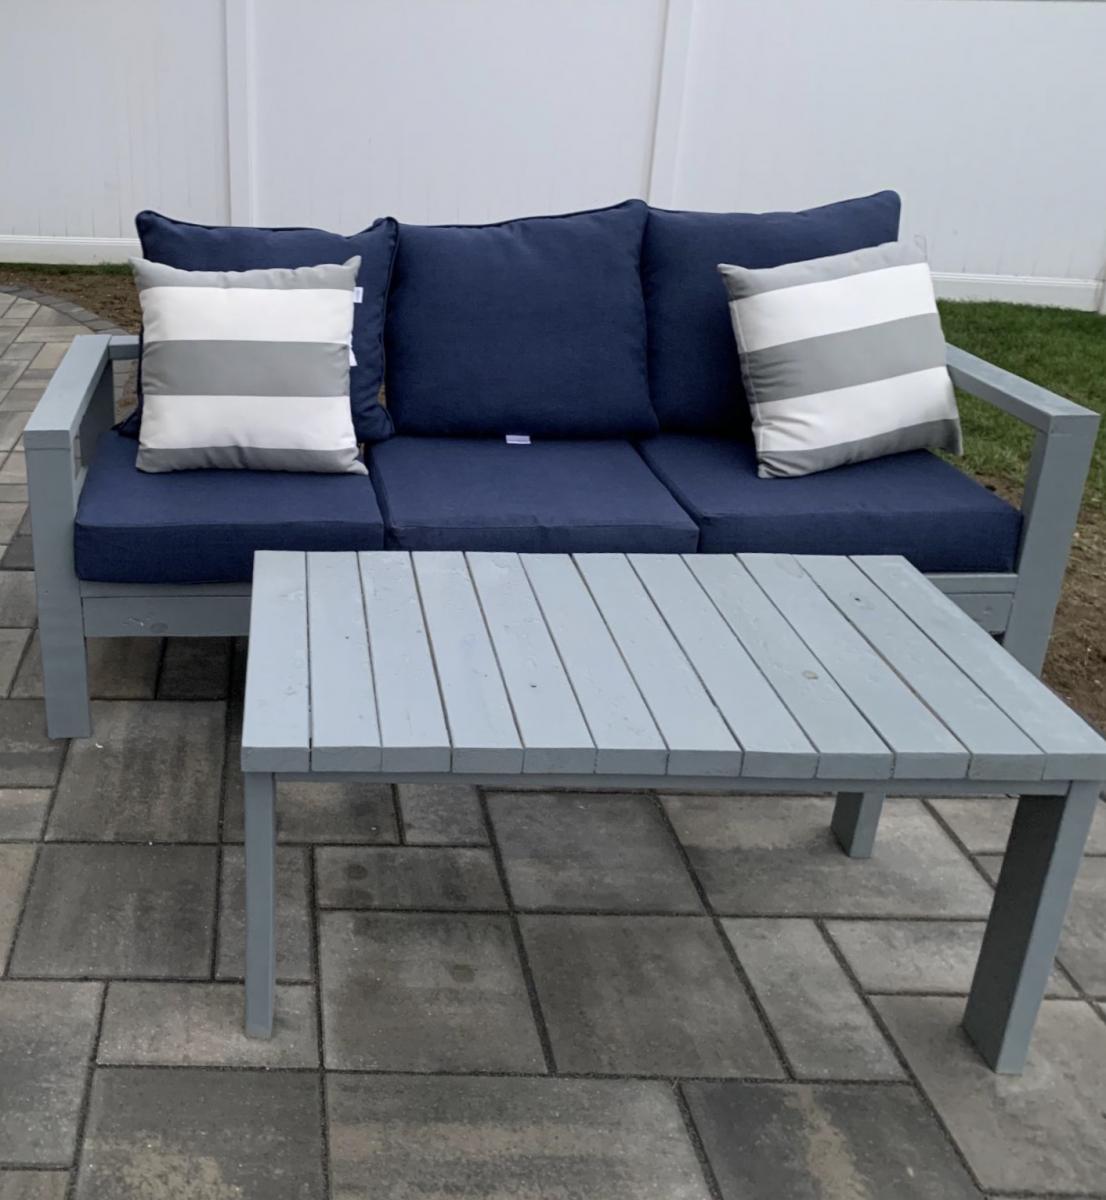
A couple of years ago I built the farmhouse dining table with matching bench, so when I showed my wife a picture of the Corona Coffee Table, she was all about it. I lengthened the coffee table by about 6"-8" inches to fit our space better. The entire table is yellow pine. I used 2x6 for the top. Ordered the legs from Osborne, $30 each plus shipping (searched for other supplier to compare pricing, but had no luck finding that leg anywhere else). For aprons I used 1x4. Instead of plywood for the base I used 1x4 furring boards (the furring boards were only aprox. $1.50 each for 1"x4"x6', and they had rounded edges which helped add more texture when completed). For the middle and end pieces of the base I use 1x6. Assembly was completed using wood glue and the Kreg Jig for pocket holes. Top was stained using an old t-shirt with aprox. 5 coats of Early American stain, 2 coats of Jacobean, then 2 coats semi-gloss poly spray. Base finished with 2 coats of Spa White by Amy Howard chalk paint (Annie Sloan competitor sold at Ace Hardware, seems to work the same, still costs around $30+ per quart). At this point my wife took over. She roughed up the base with my sander, applied the clear wax that protects the chalk paint, then she went back over the sanded edges with brown wax to complete the aging.
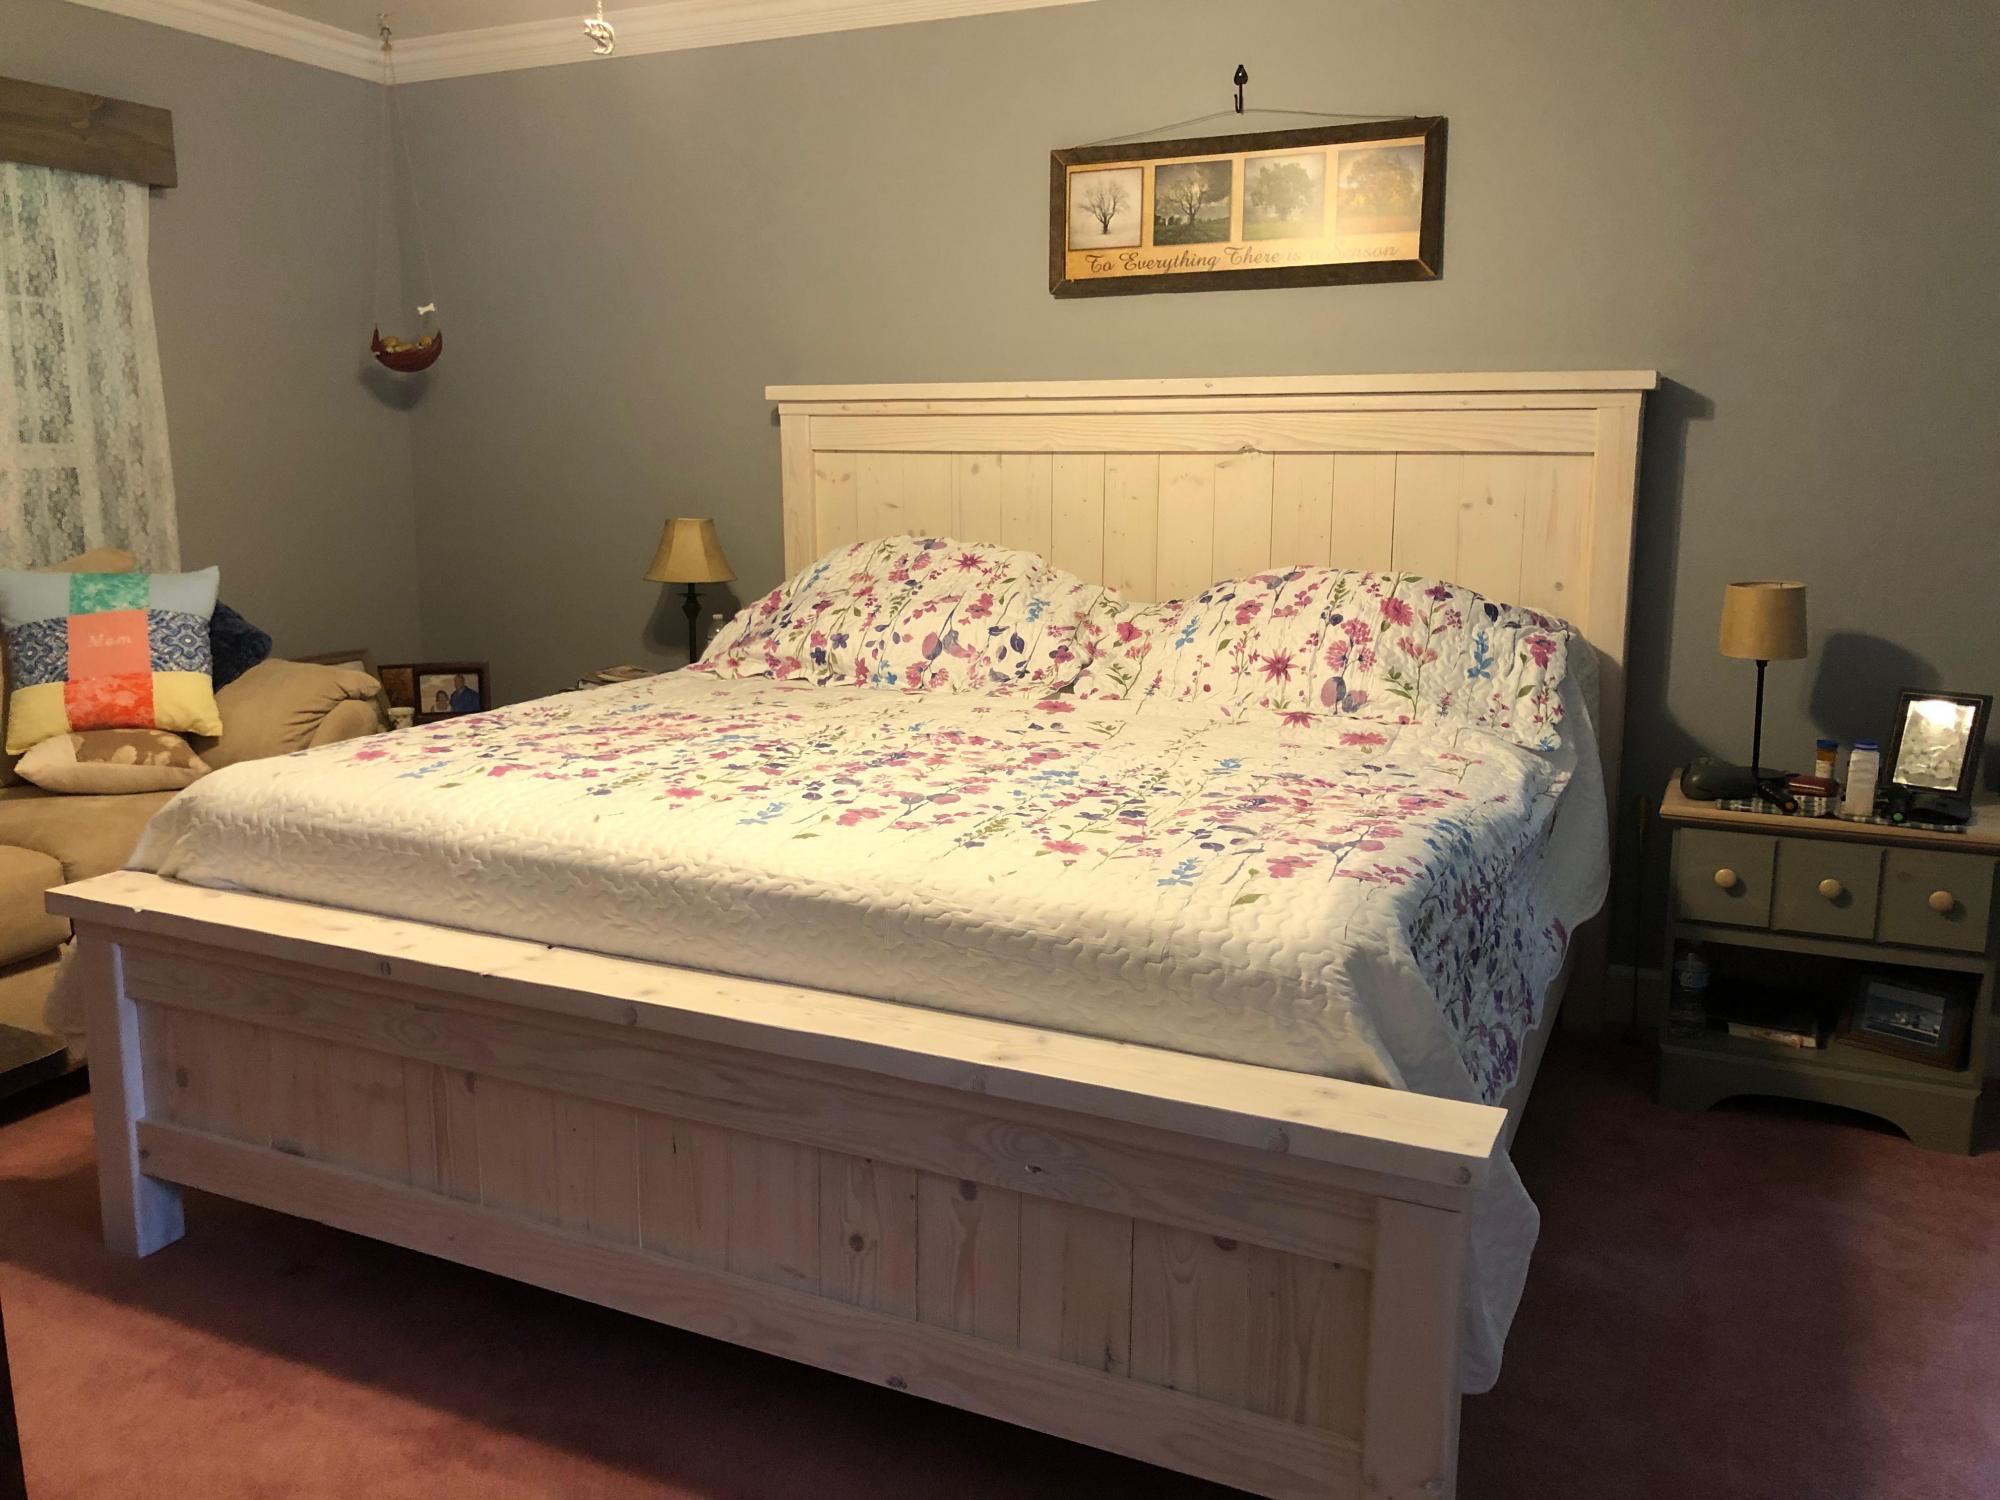
Here is the Farmhouse king size bed I built. We went by your plans and finished with 3 coats of Minwax "Simply White. My wife helped with the sanding and staining. We ended up using 2x10s for the sideboard instead of the 1x10s to better match the thickness of the rest of the bed. My wife wants 2 night stands next! So off to the lumber yard we go.
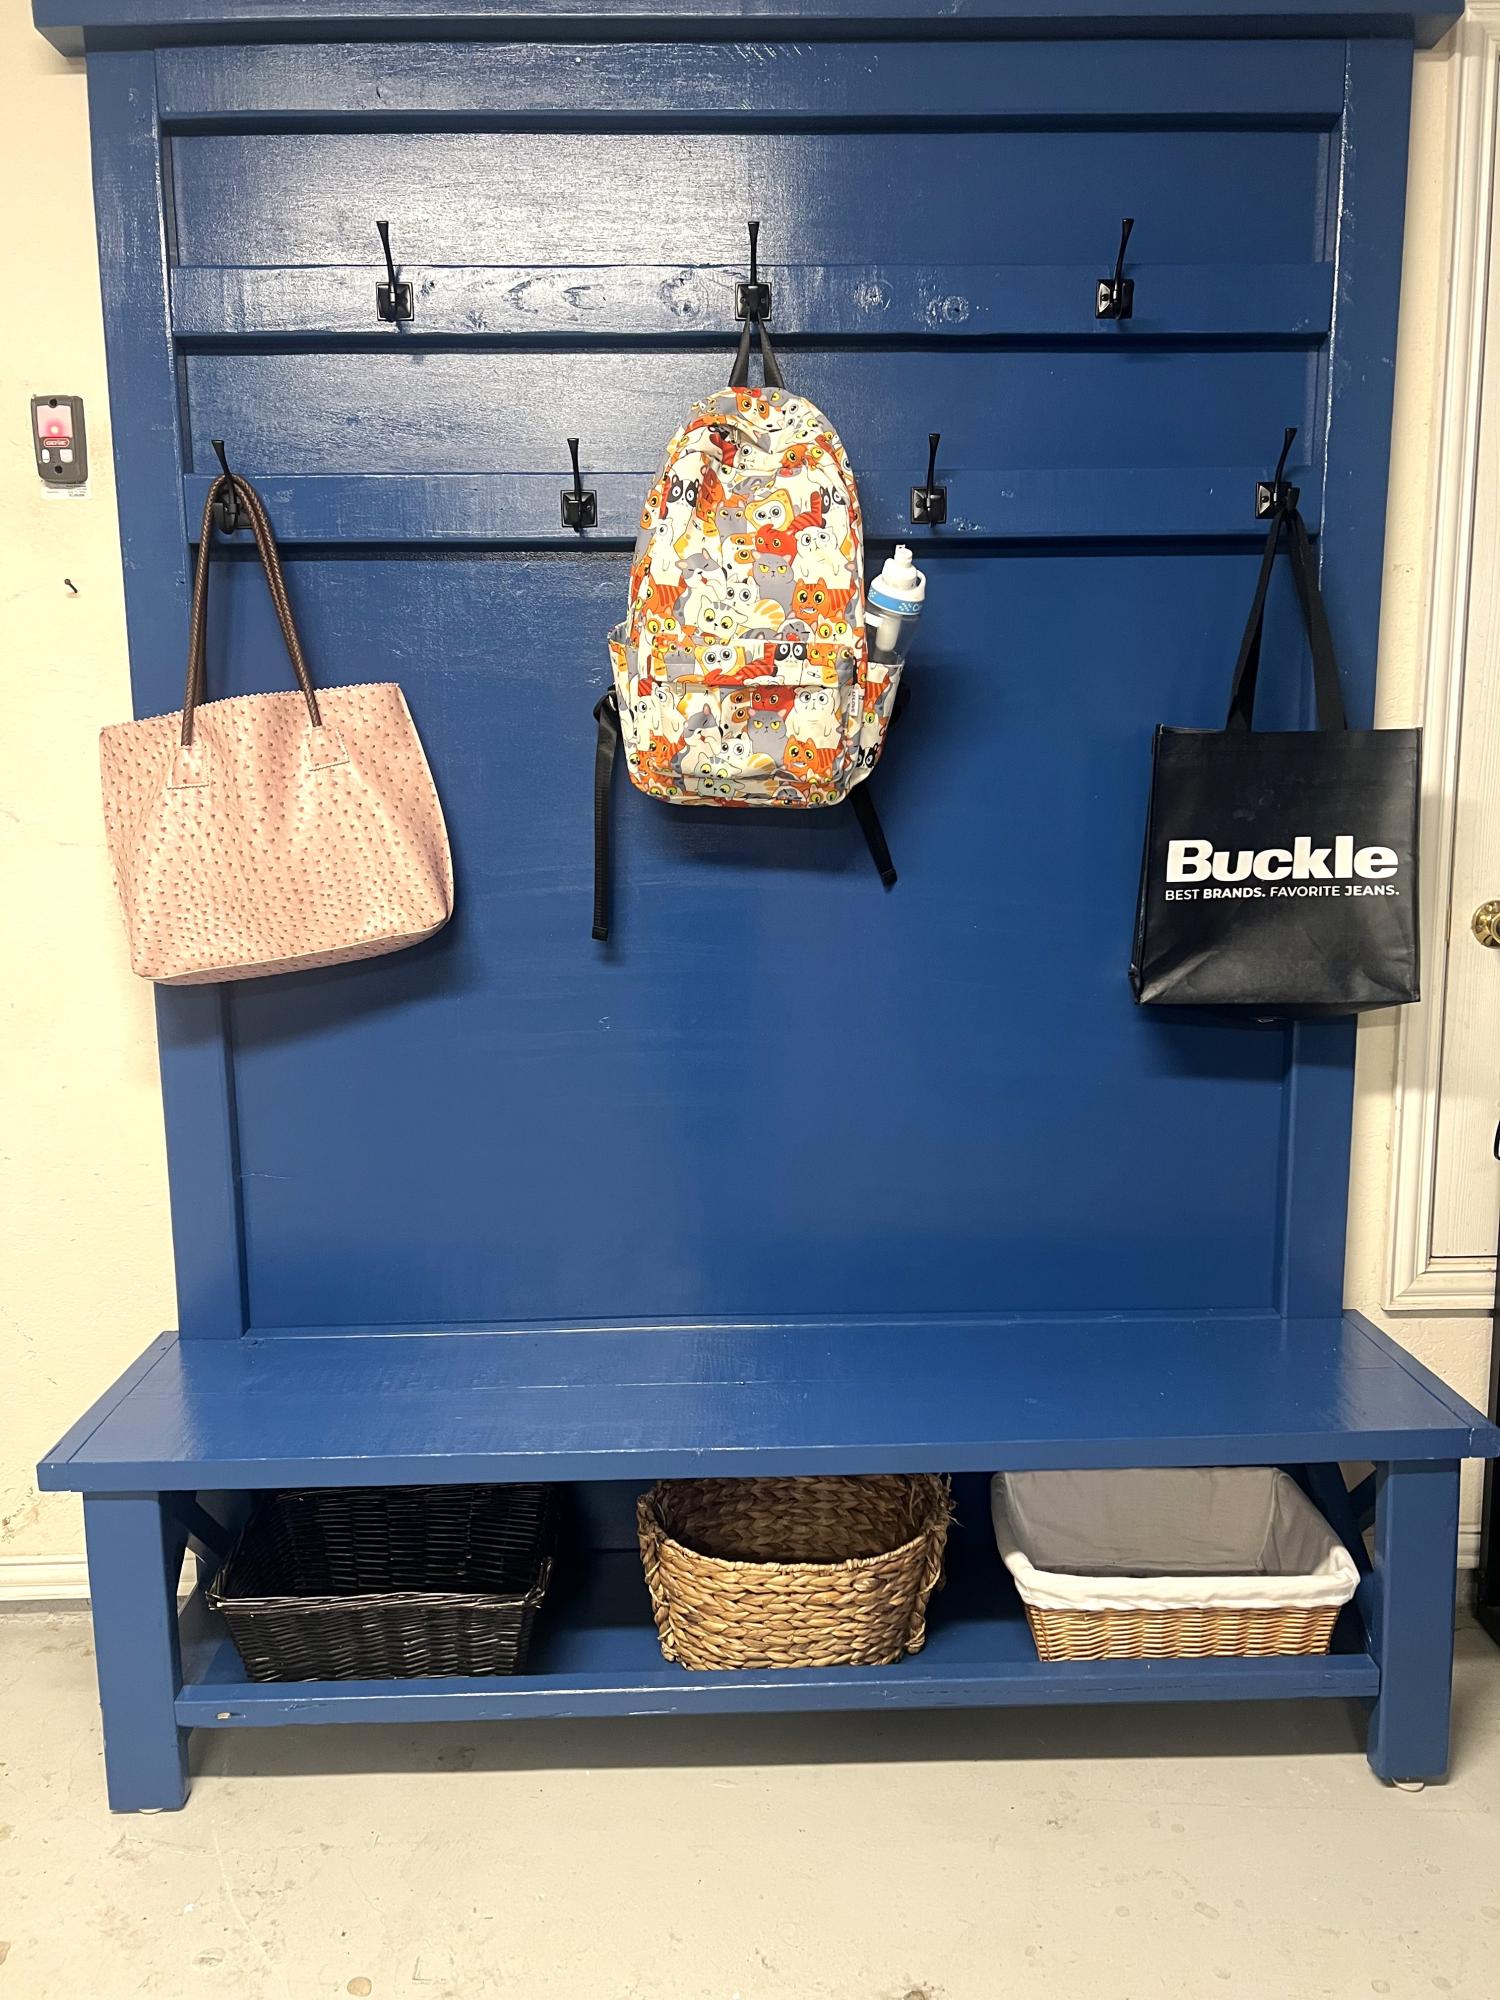
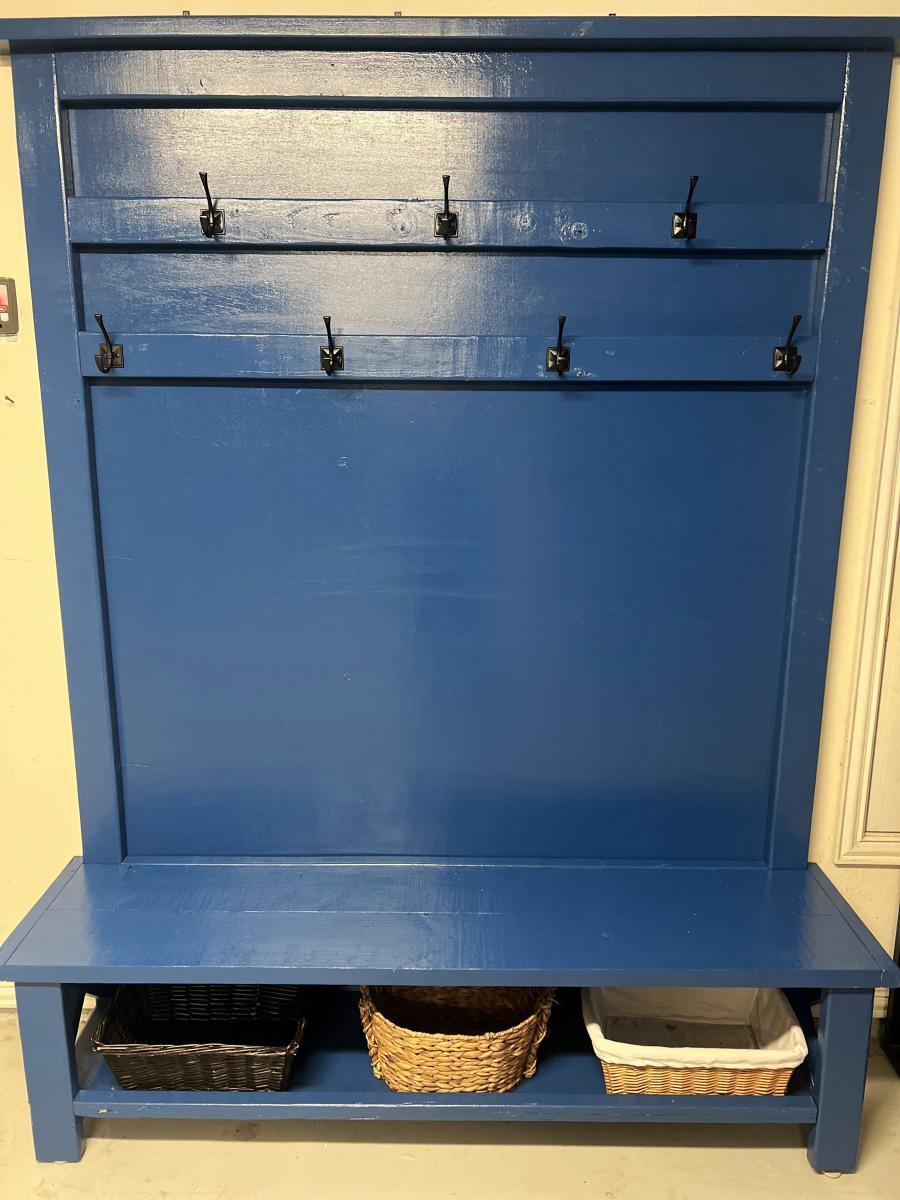
We extended the height to 84” and width to 65”. We also added a 2nd bar for hooks.