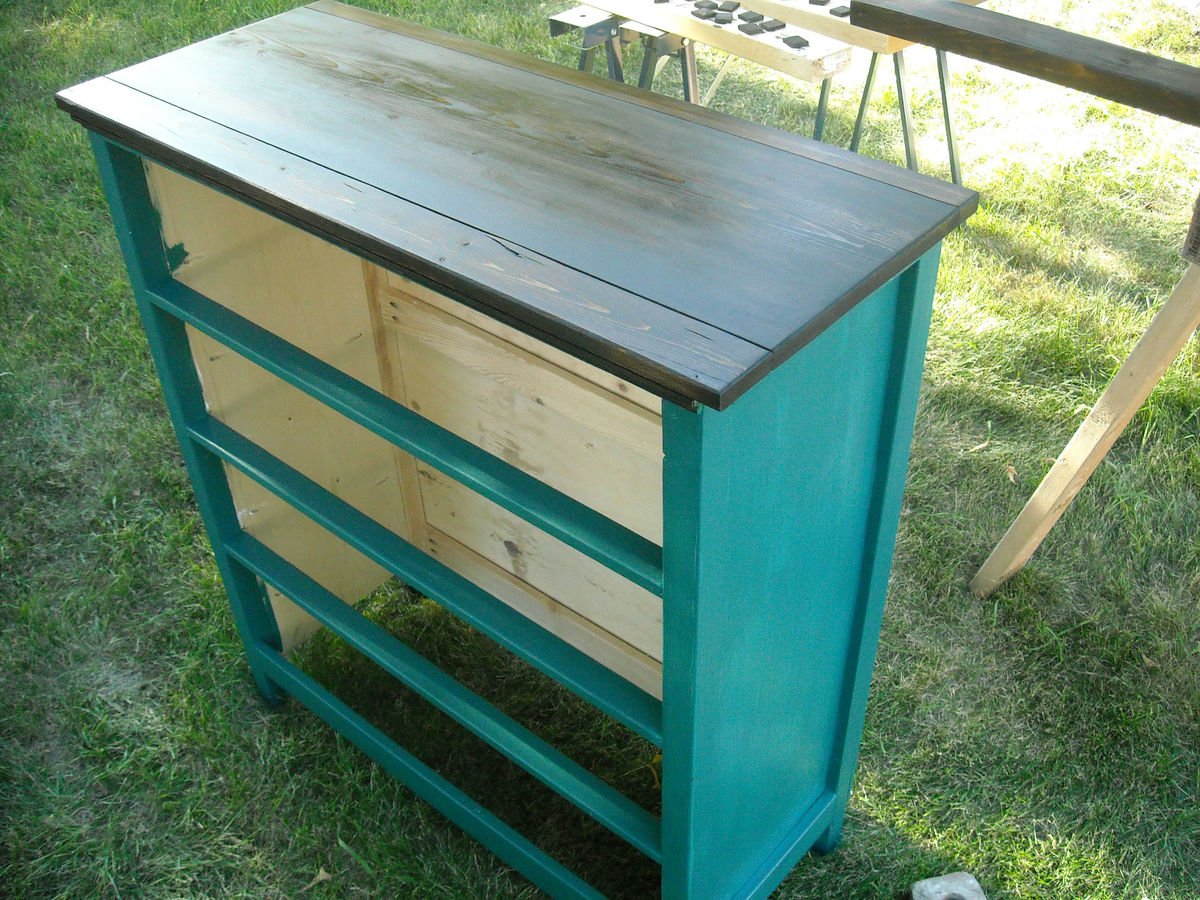
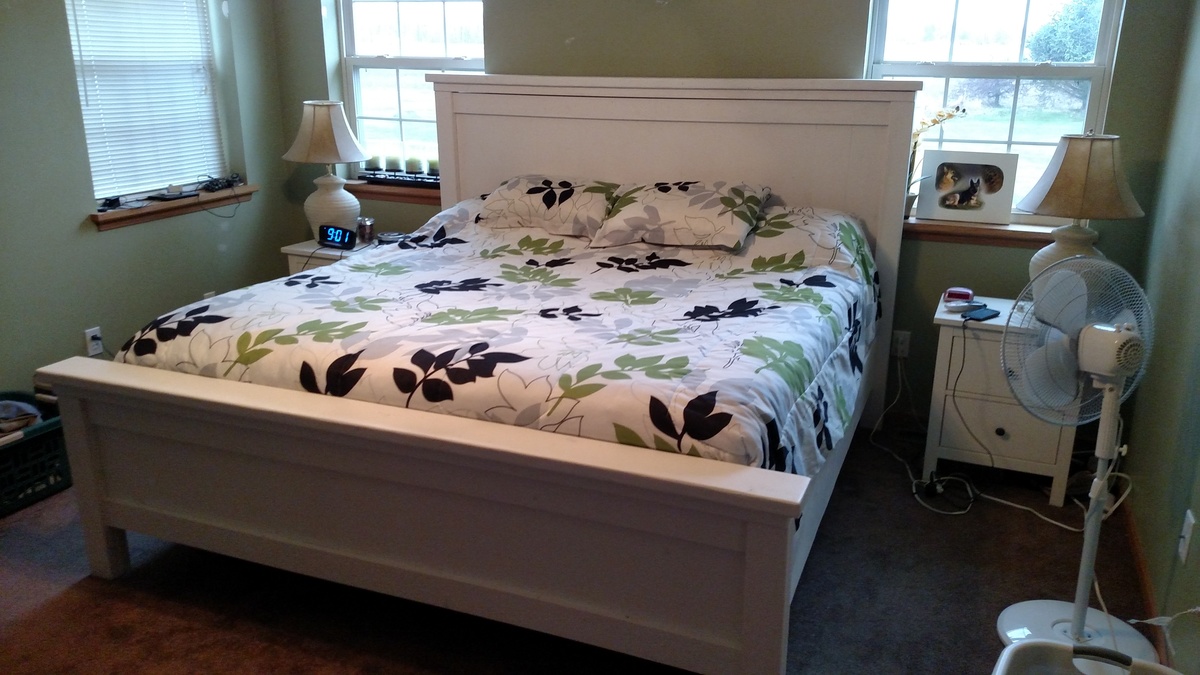
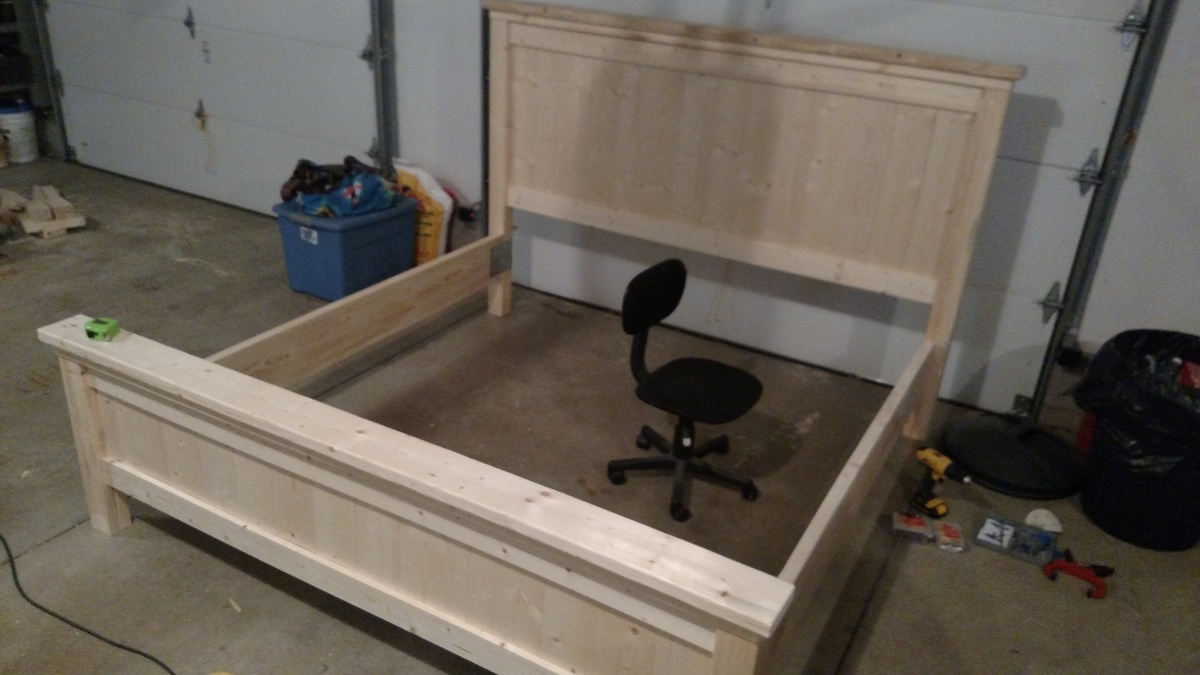
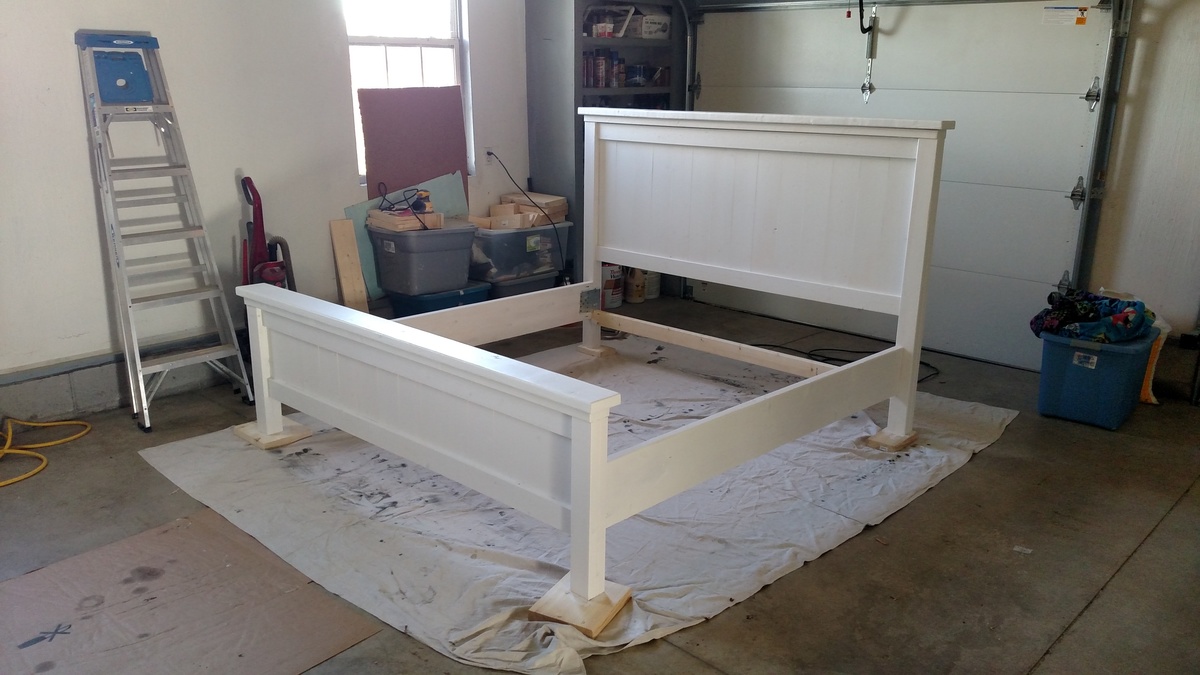
I started this project and wasn't sure what I was doing. This is the first project I've ever built and I look forward to the bigger and better projects I will be doing. As a spent several weeks online looking for the perfect bed to build for my son, I found this web page and truly found it to be easy to follow and easy to customize.
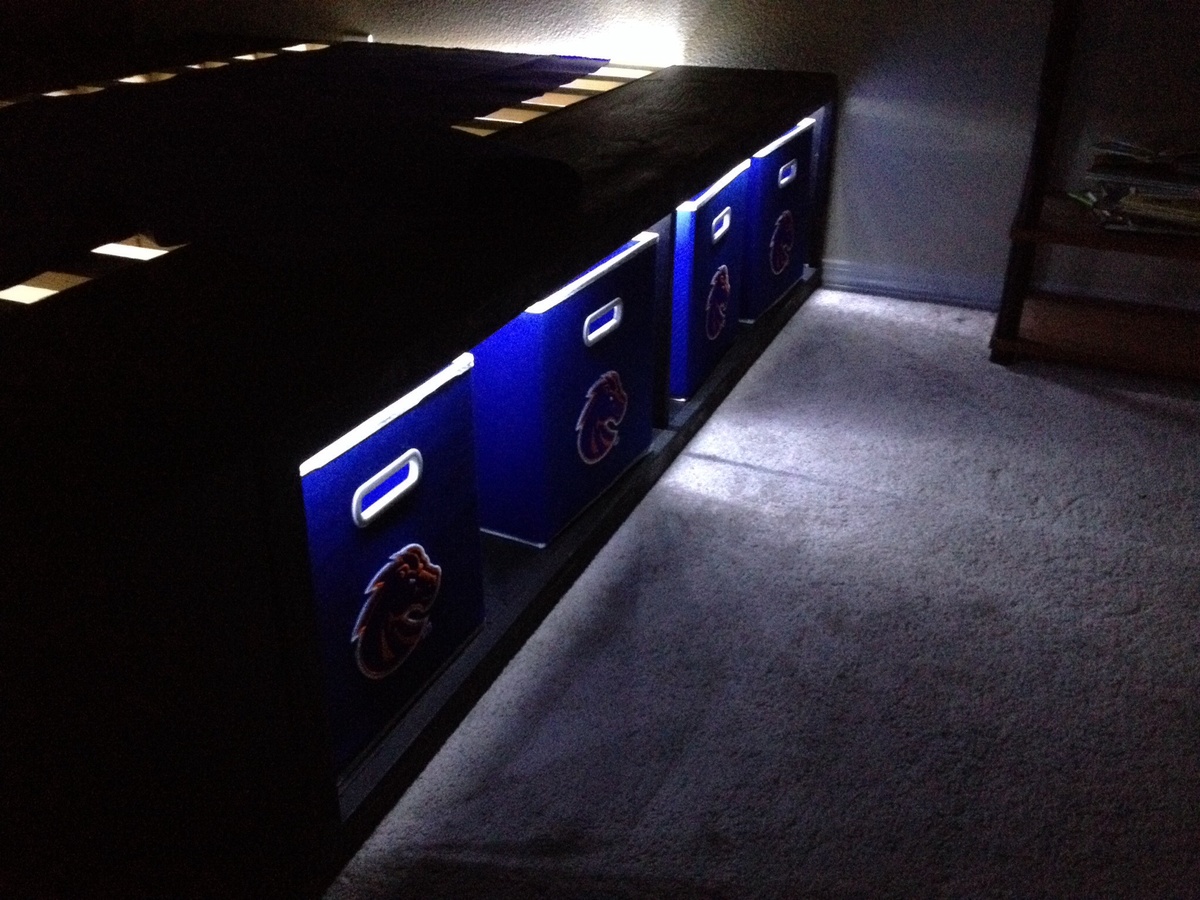
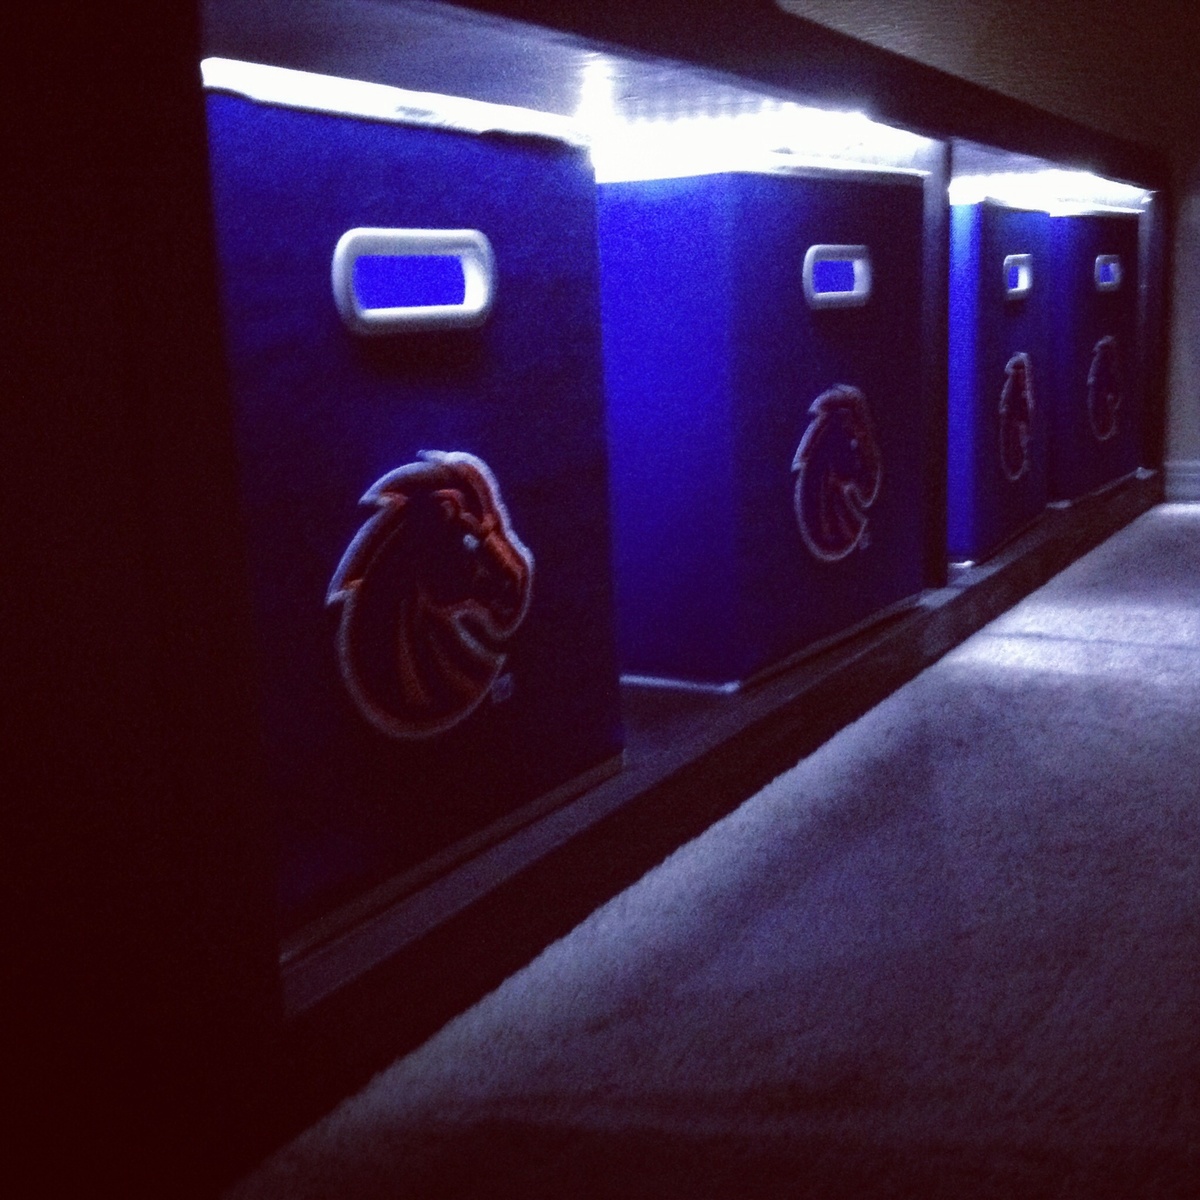
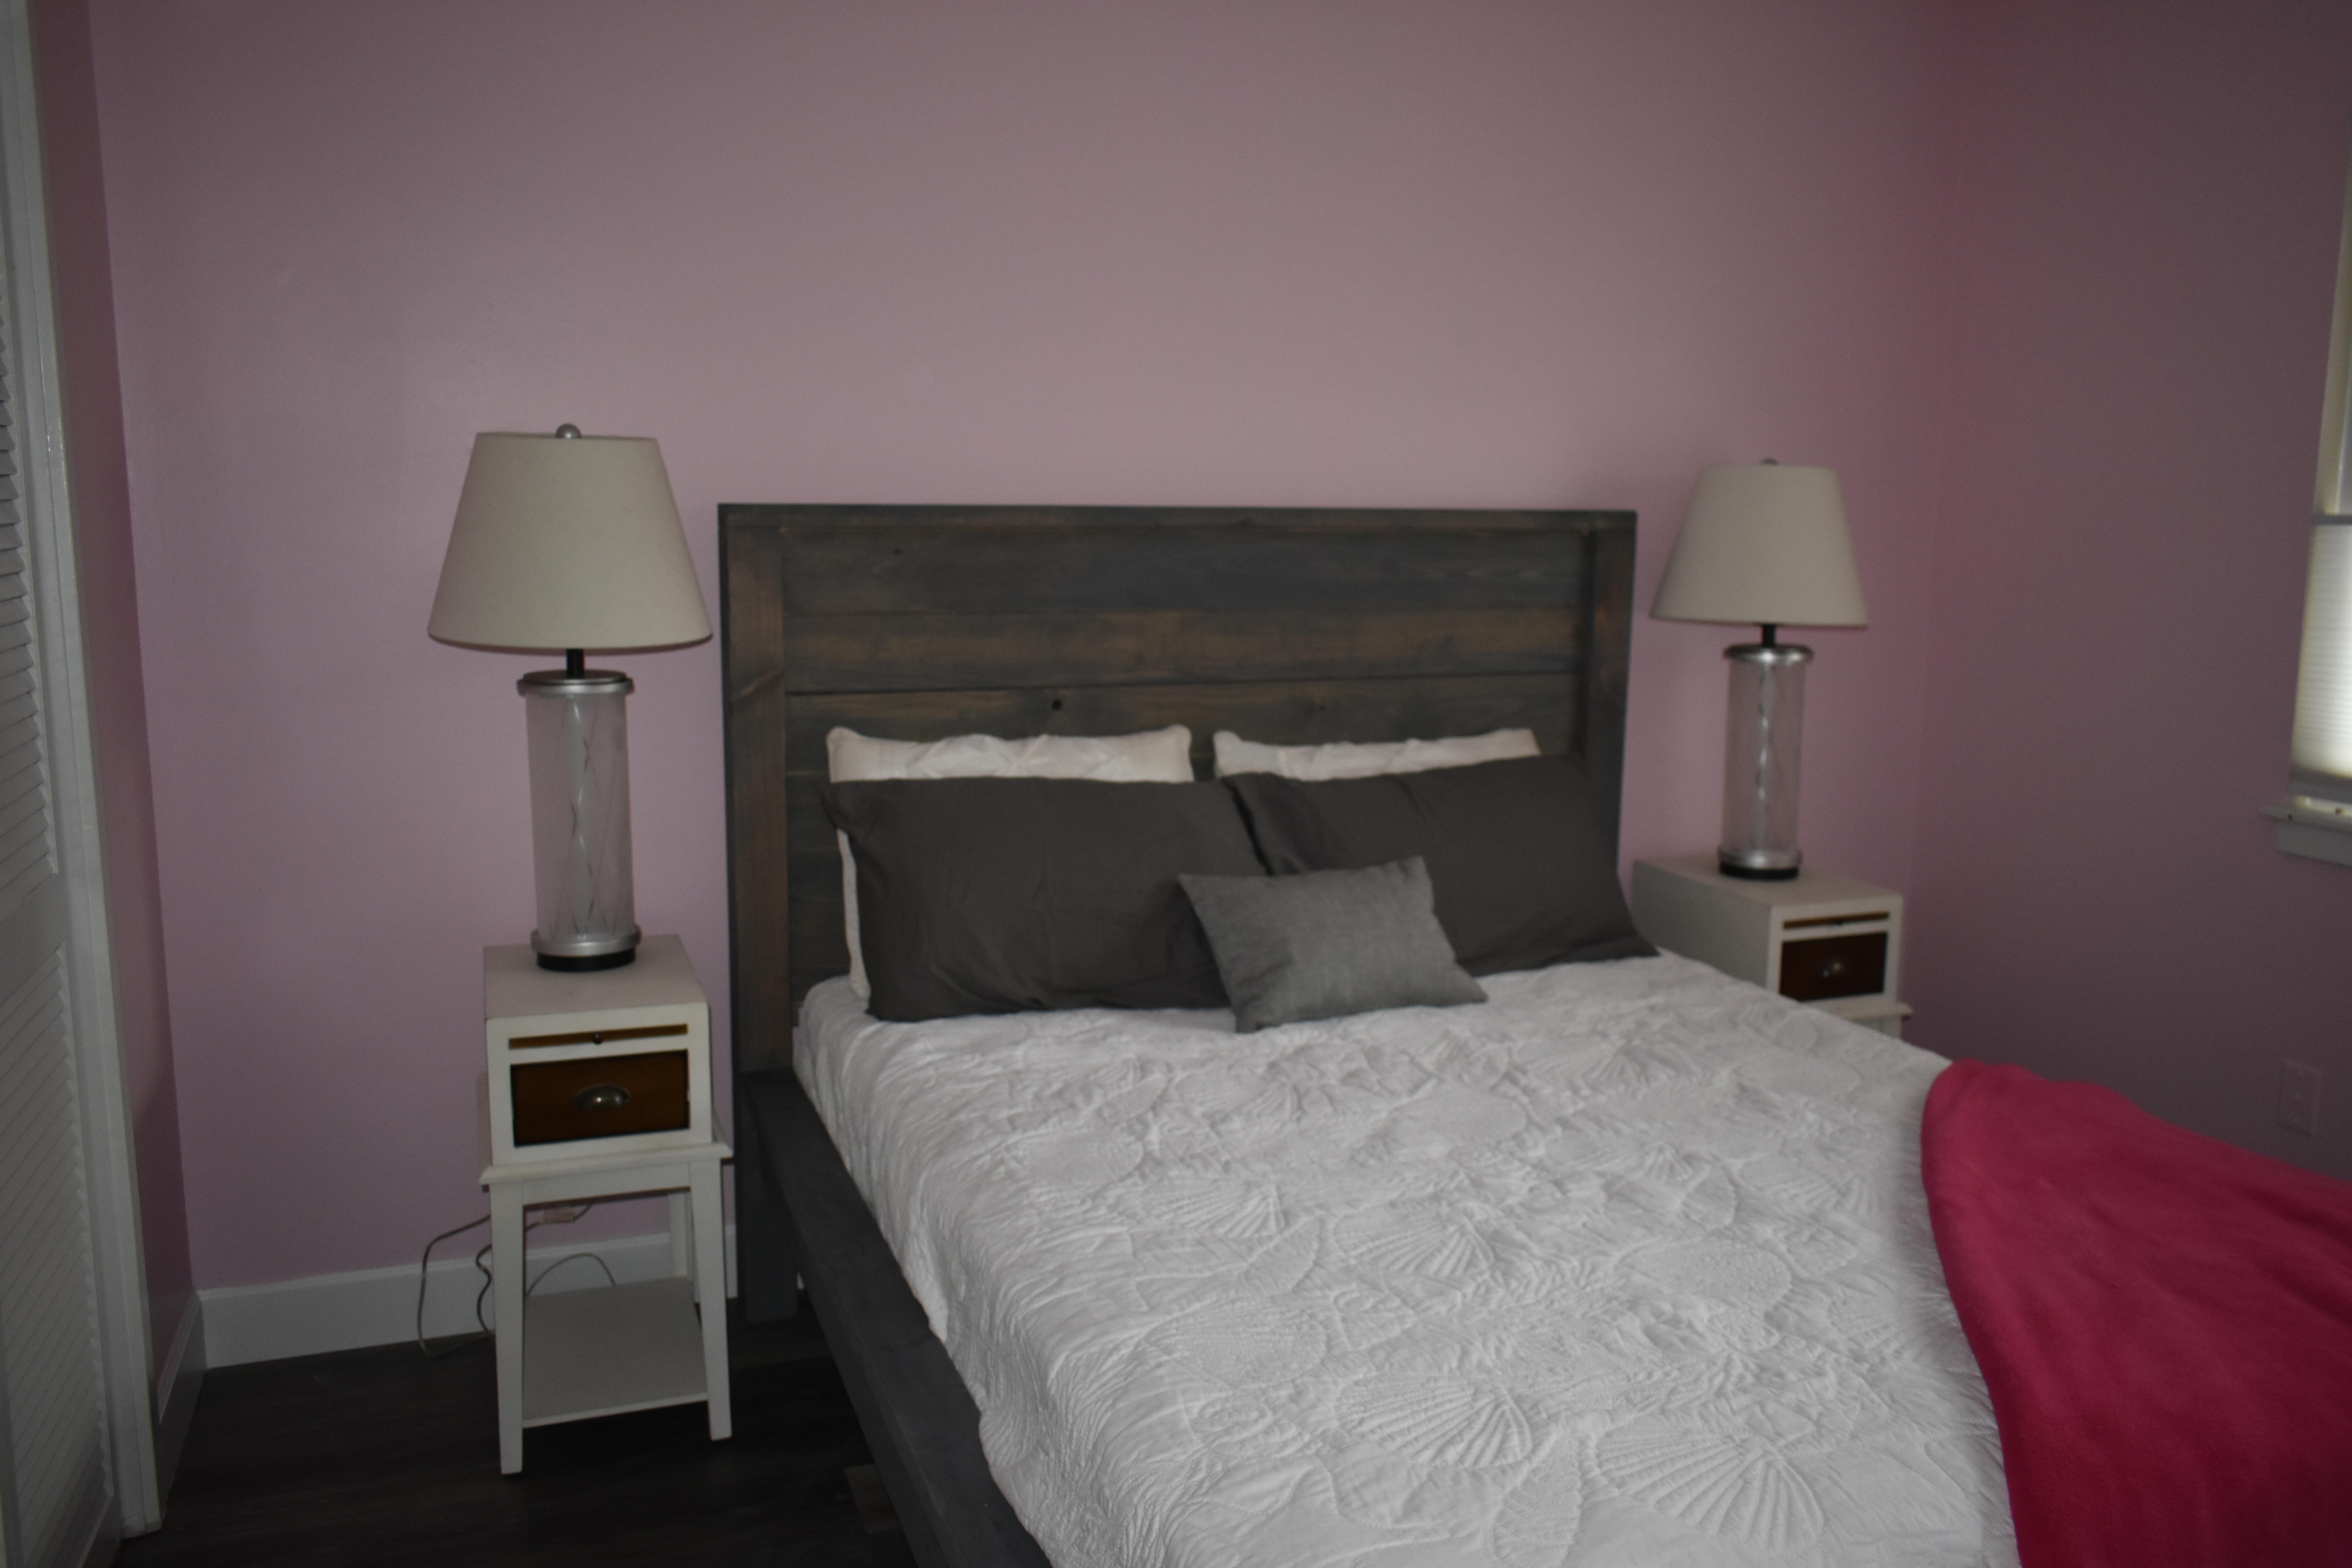
I built the bed and bought the fabric storage boxes at a local store and decided that the lights would be a great addition. I found some LED lights on Amazon.com which were extremely easy to install. The lights added only an additional $28, total, which added a cool new look to my sons room. He uses the lights as his nightlight and I love the way it turned out.
My next project will be the king farmhouse frame.