Dollhouse

Thanks for the plans! This dollhouse is great, my daughter loves it. I changed the plans slightly to make an 'open floor plan on the bottom and added a column in the front for support.

Thanks for the plans! This dollhouse is great, my daughter loves it. I changed the plans slightly to make an 'open floor plan on the bottom and added a column in the front for support.
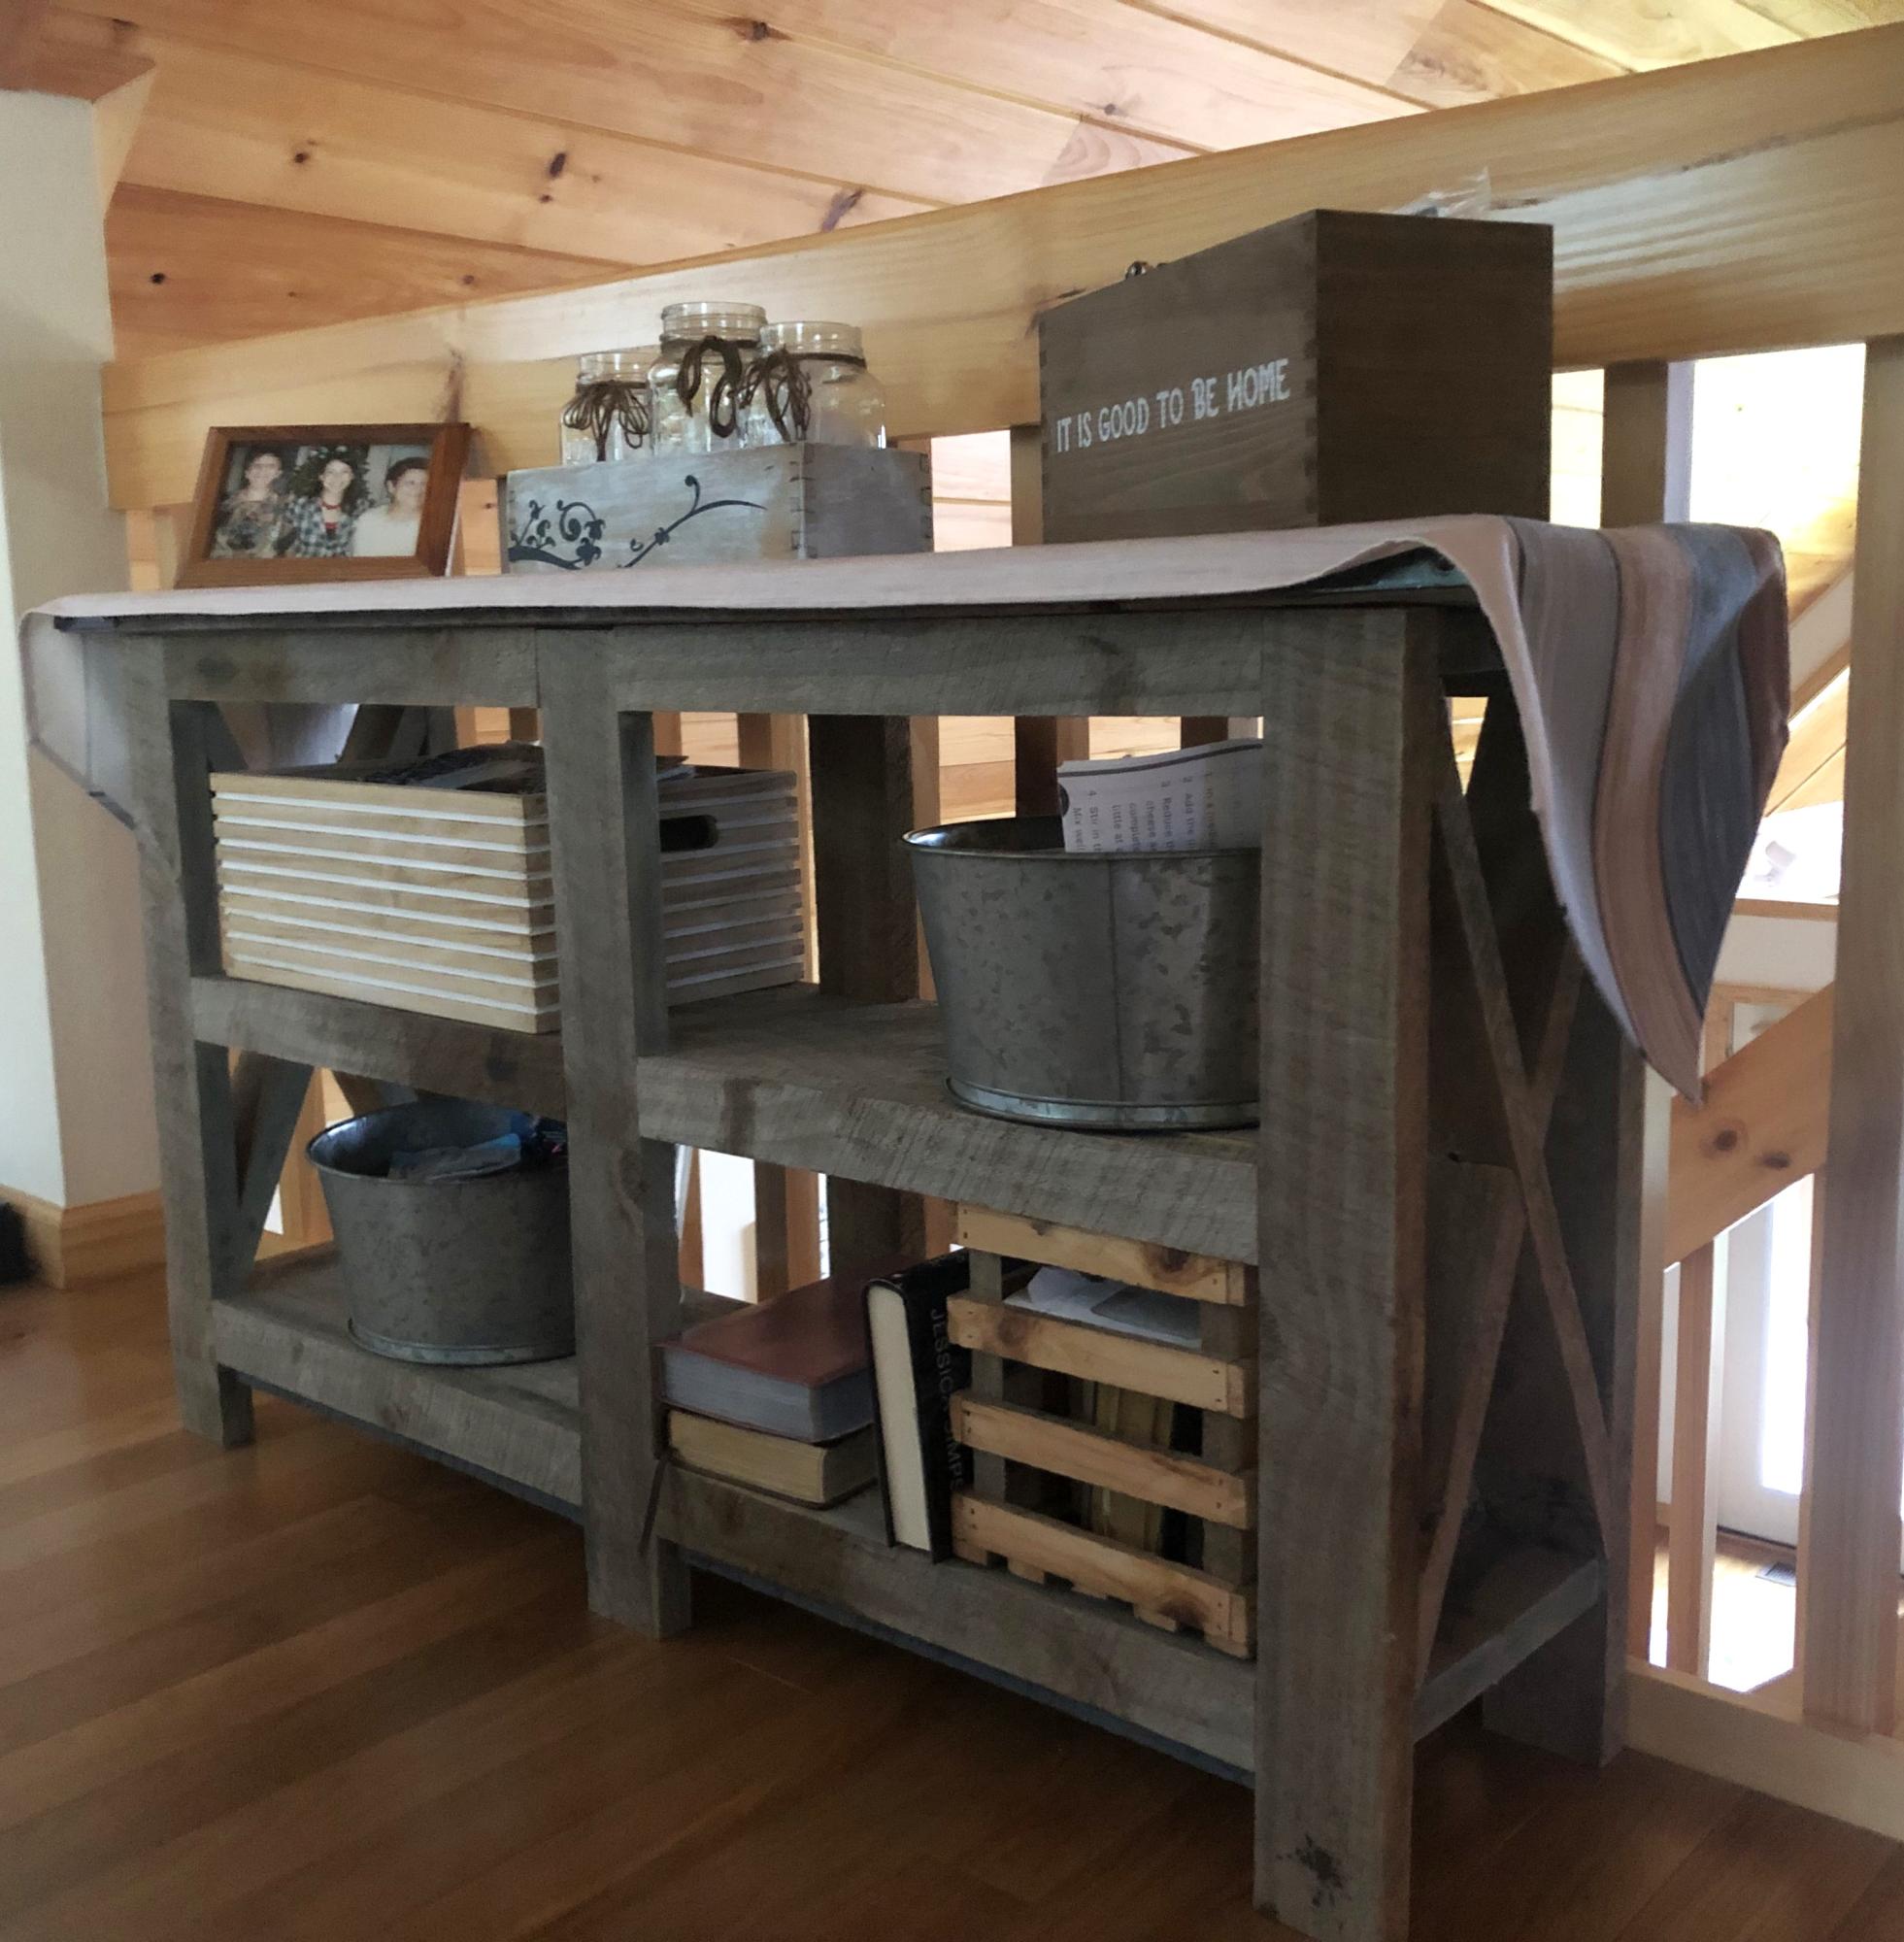
My Wife of fifty years showed me a picture of this Ana White X Table a few years ago, then flew down to Florida to visit our Grandchildren. Two days later I sent her this pic. She asked how I completed it so quickly and I told her I would have had it don sooner but it took me a day to find the weathered barn wood.
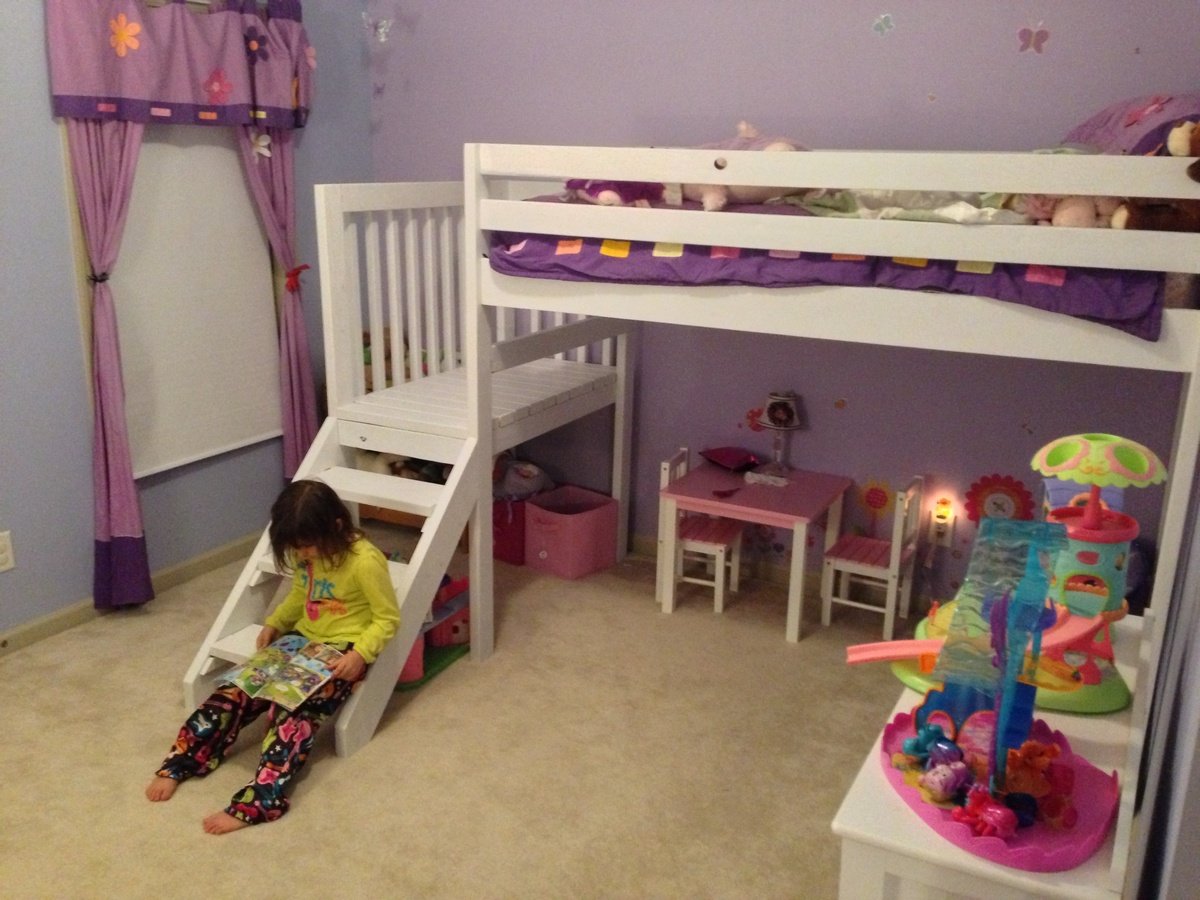
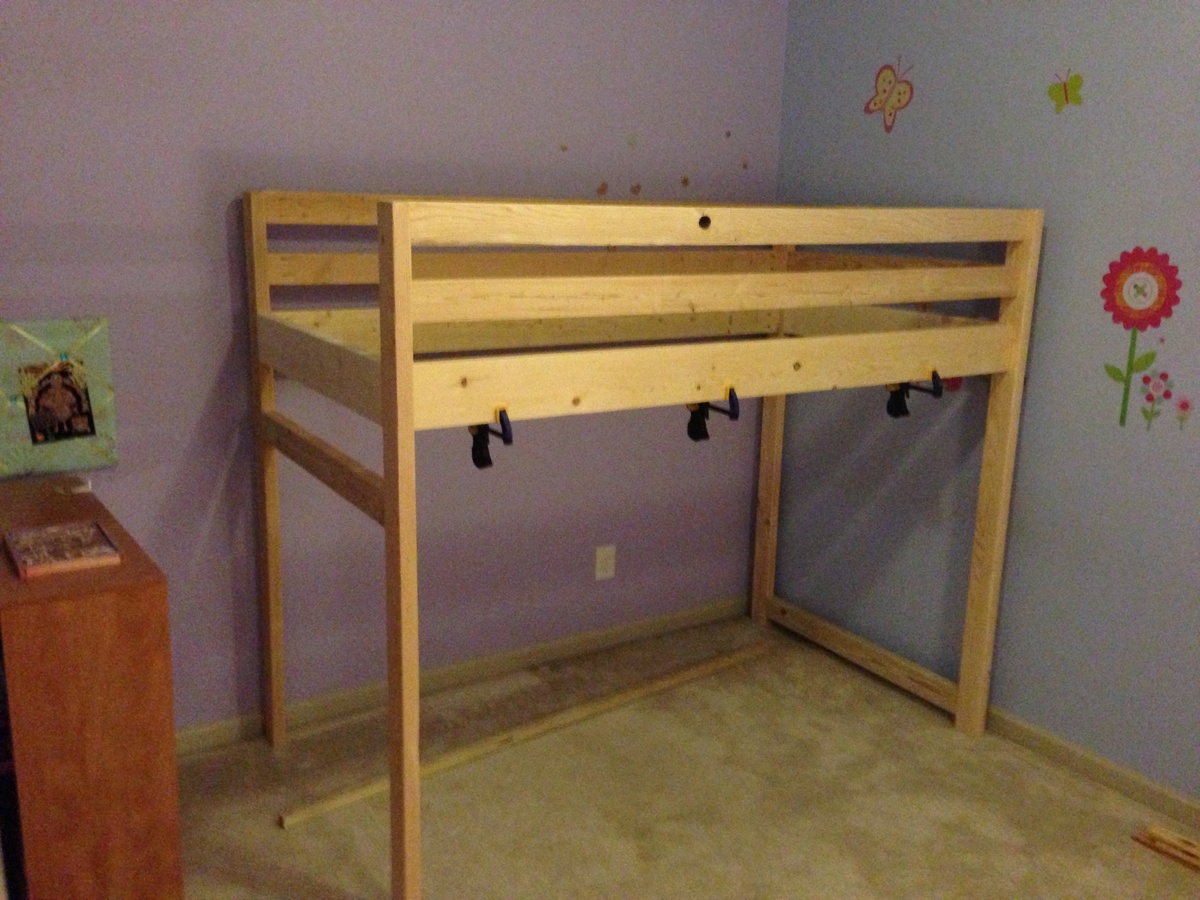
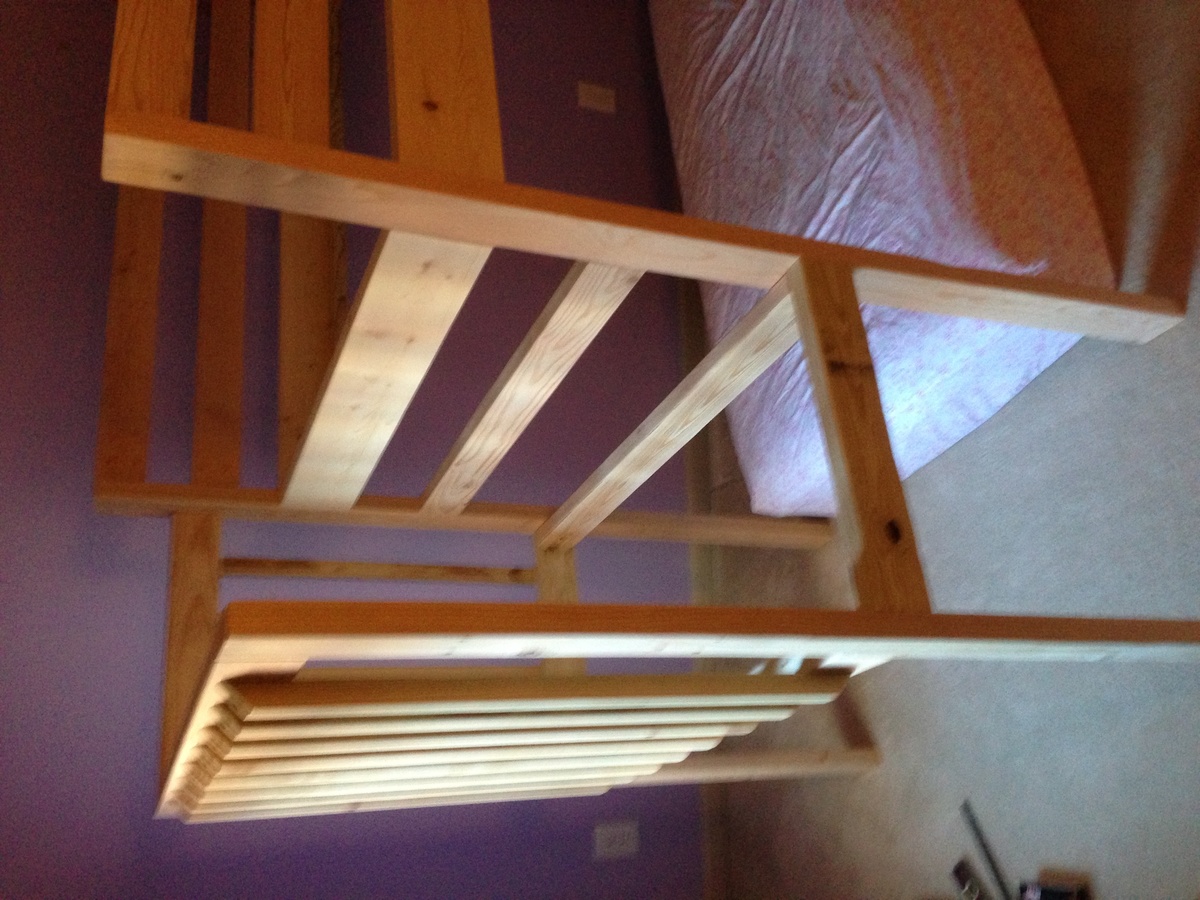
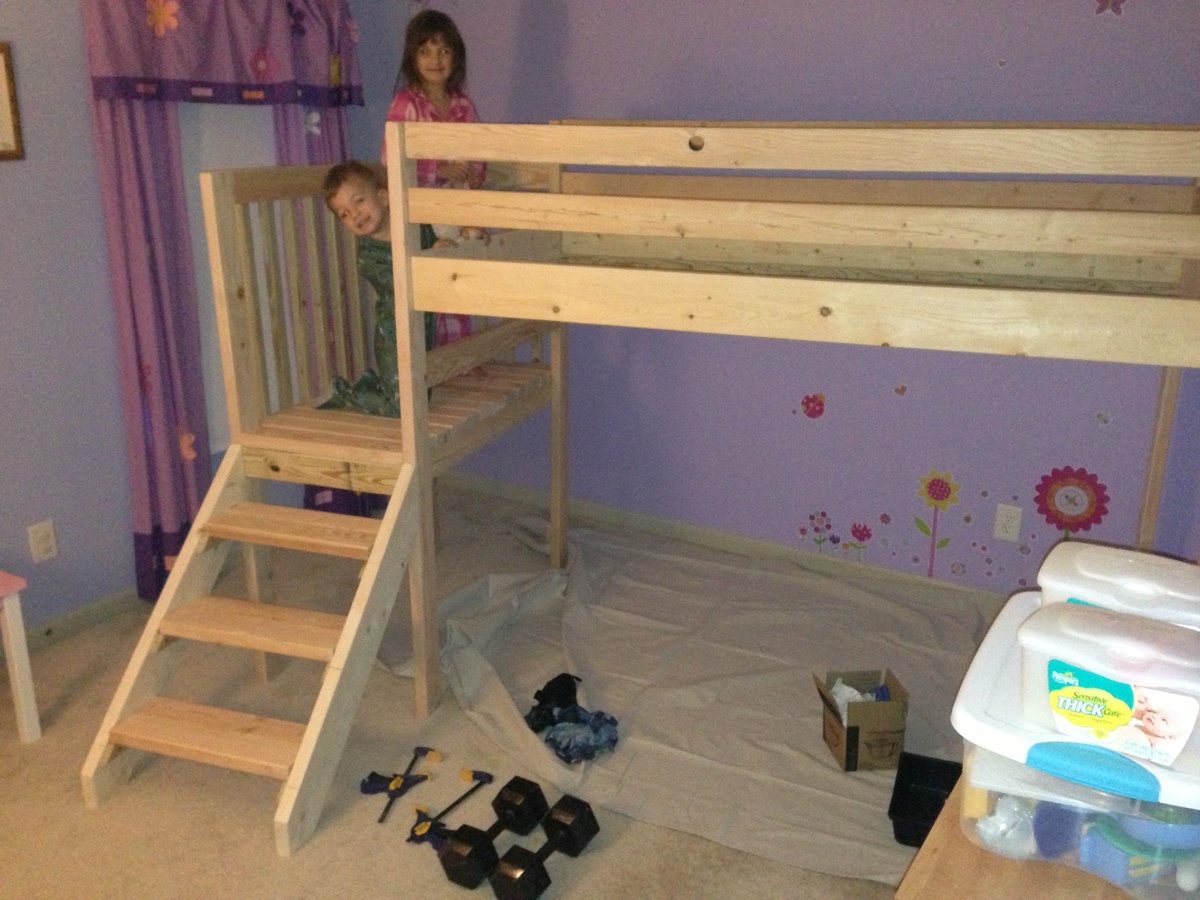
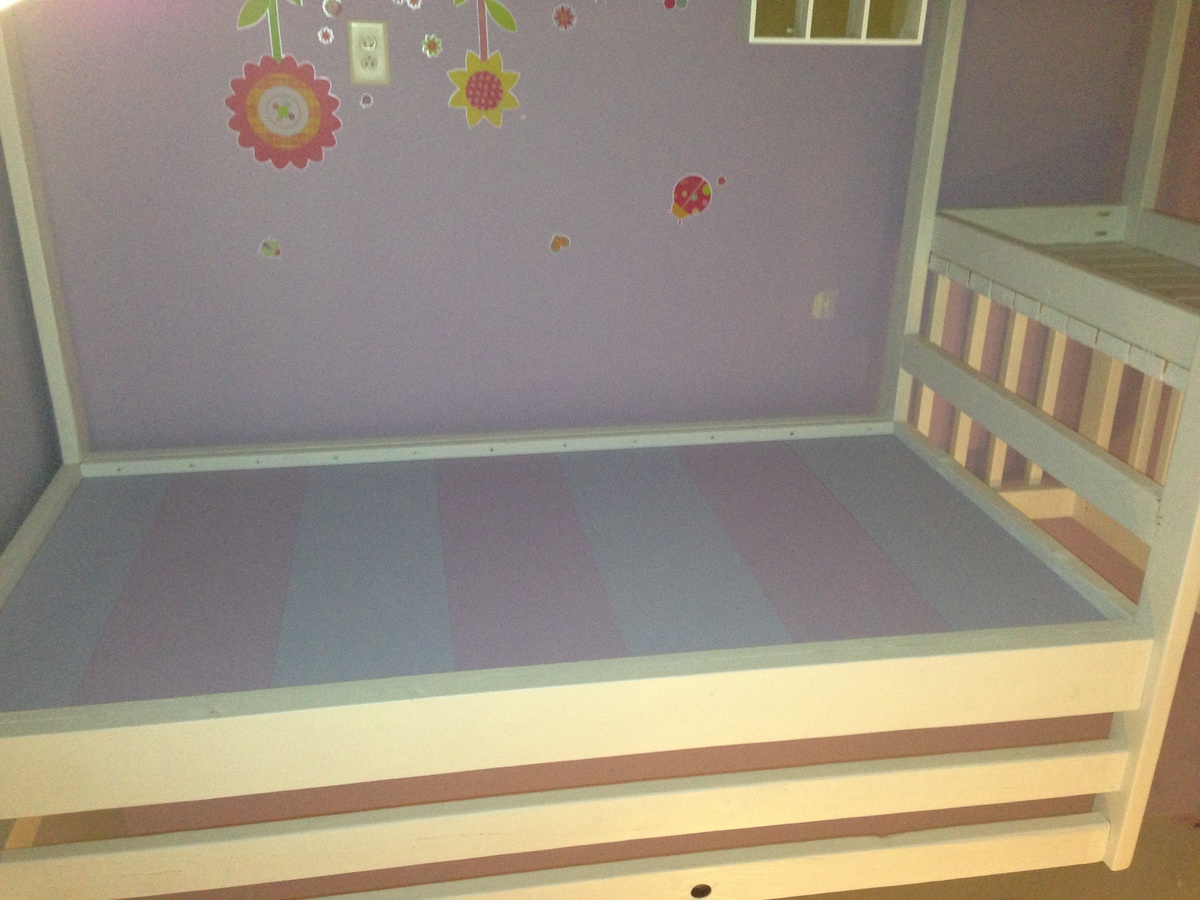
It was time for my son to move to a big bed. So he got his sister's bed and she got a new loft bed. From the pictures on your website, she just loved this bed. I was able to throw it together and get it painted in a weekend and she was sleeping in it by Monday night. I added the rails because we weren't able to set it in a corner, and now that it is Xmas time we strung lights on them. We painted it white. For the mattress support I used 3/4" slats of MDF and used left over paint from her walls to paint the exposed side. Over all it was a pretty simple project, gives her more room and my daughter loves it.

Thanks for the plans Ana! I used a black cherry paint wash for the color, I wanted the wood grain to show. I used 150 grit sandpaper to distress it, and then poly on top to protect it. I also used a 2x6 on the bottom so I can use it as a shelf. Sturdy and functional, looks fantastic on the front porch next to my yellow door! In the winter I'll keep it at the foot of my bed.
Tried to post this under Old Man's pub table post, but couldn't load a photo in the comments section. This is a similar table, but a 2x6 shorter and breadboards are one ripped 2x6, not two 2x6s. Final dimensions were 43" high by 39"x36.5". Built the top with Kreg Jig and screws like most tables on the site. Base is 4x4s with 2x4 I-beams Kreg jigged into 4x4s.
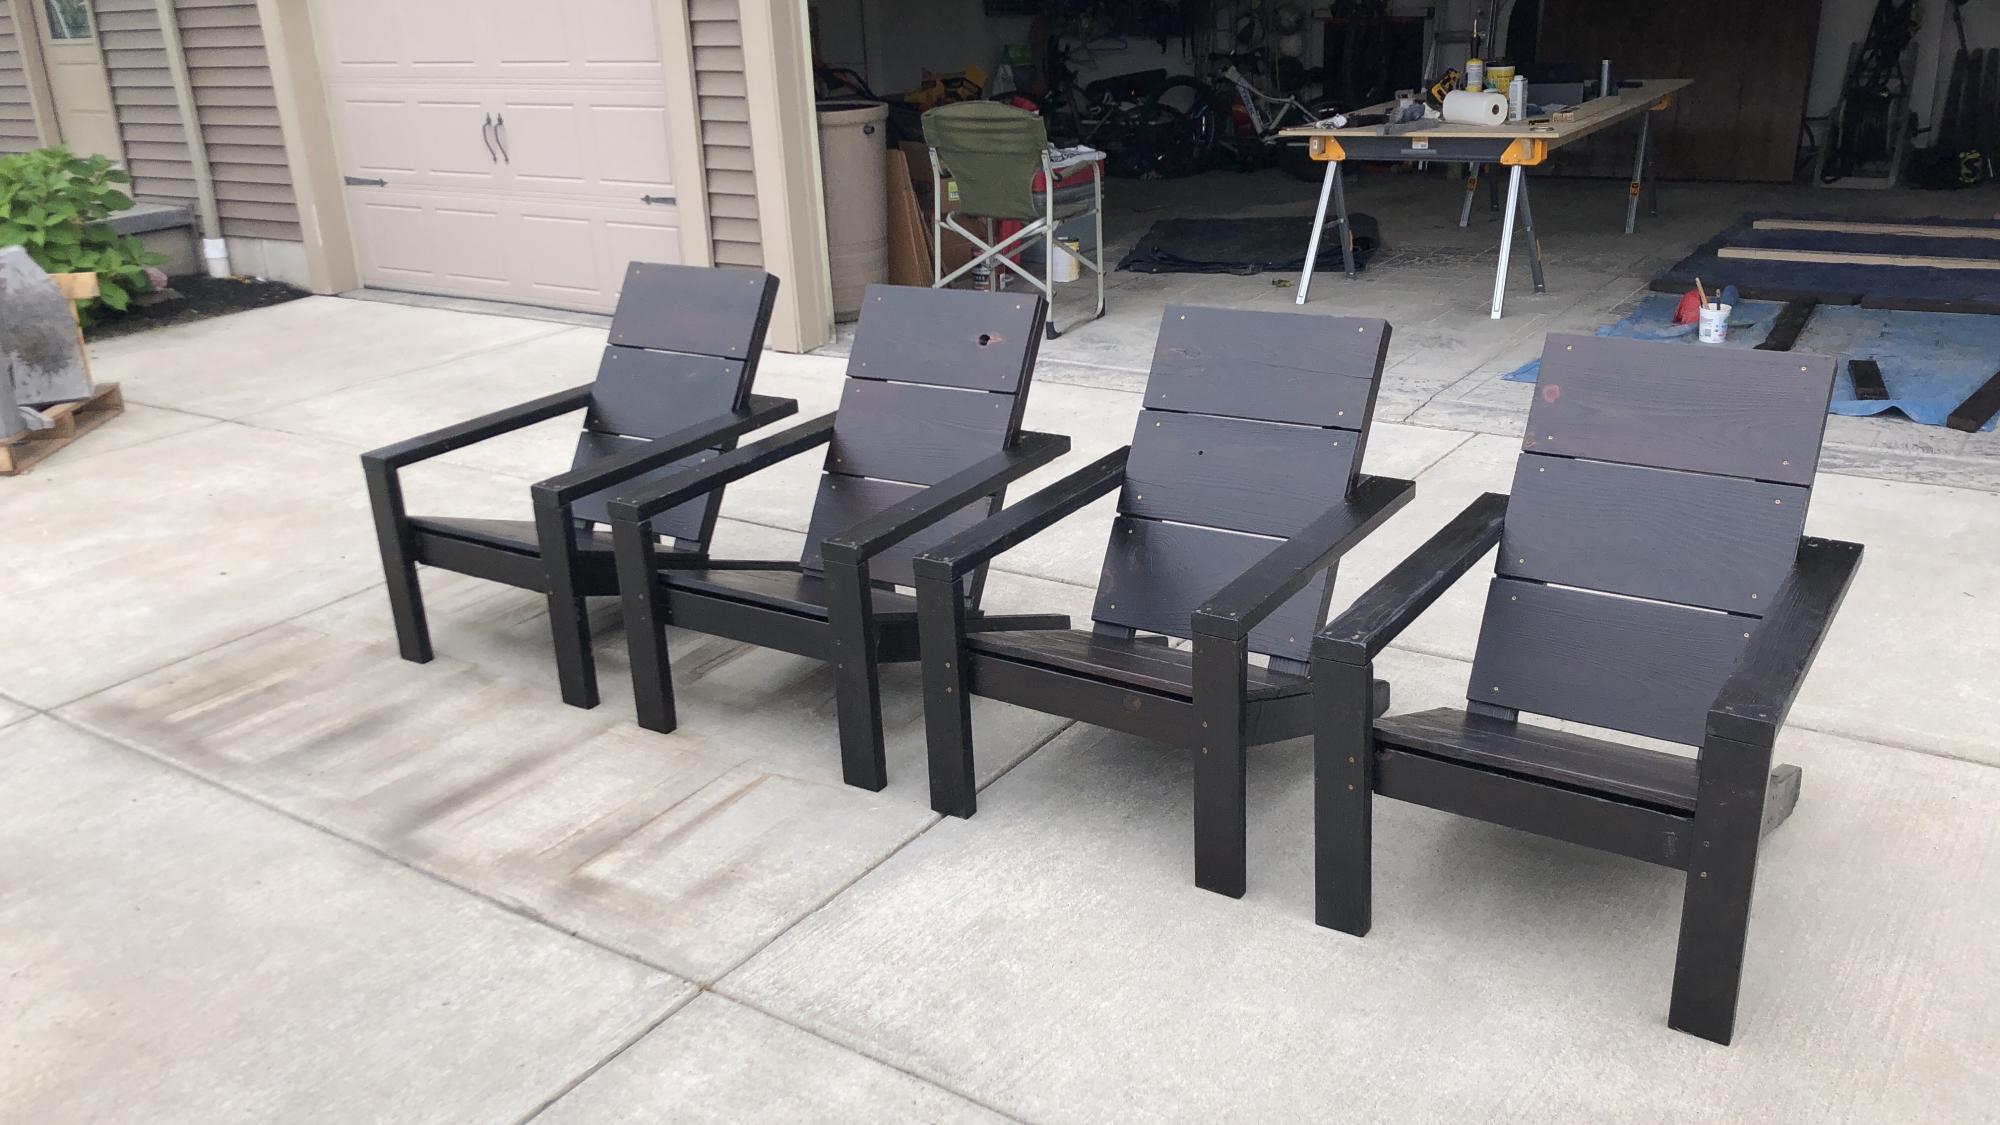
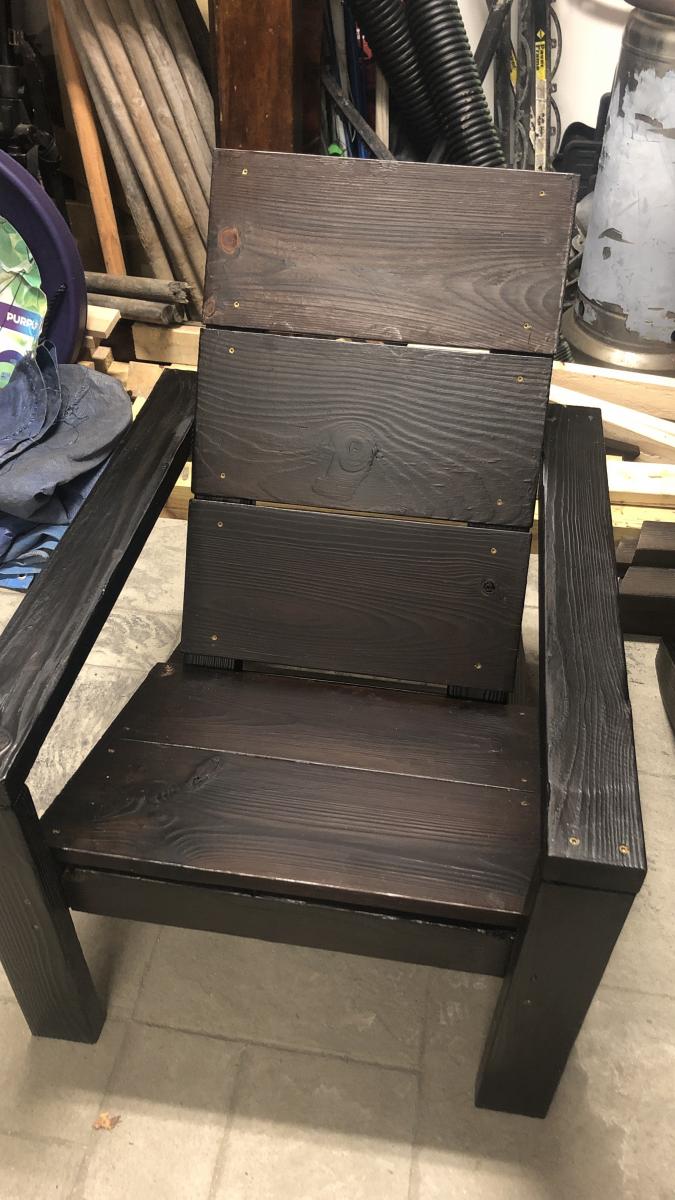
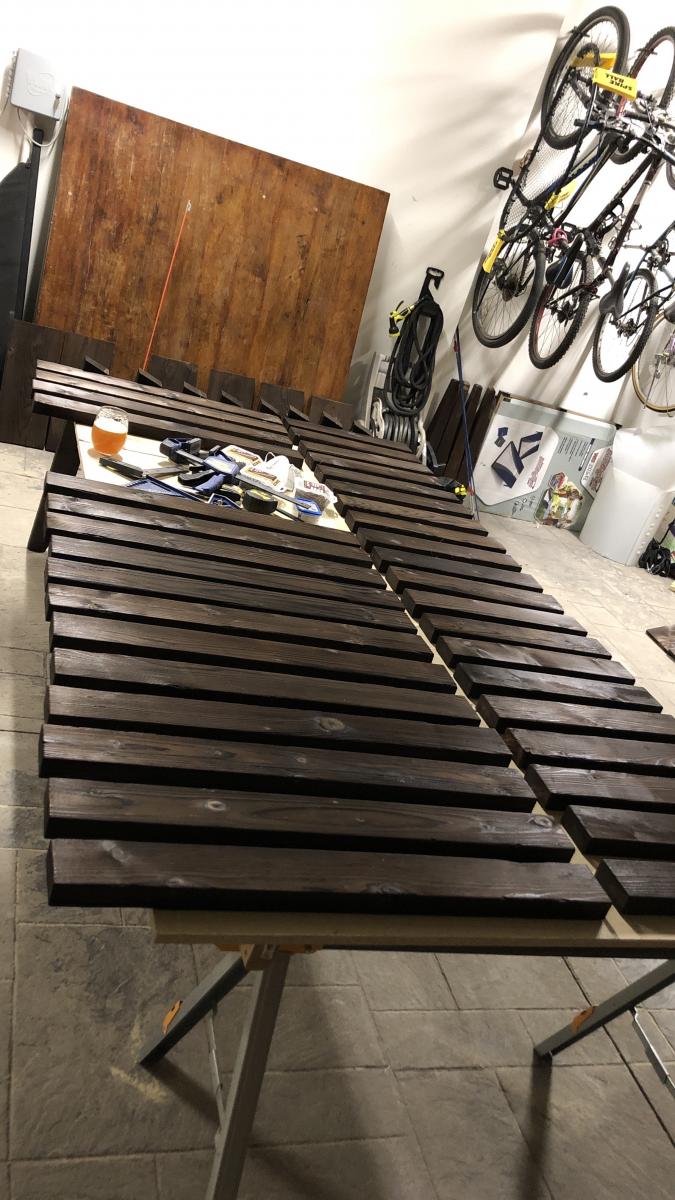
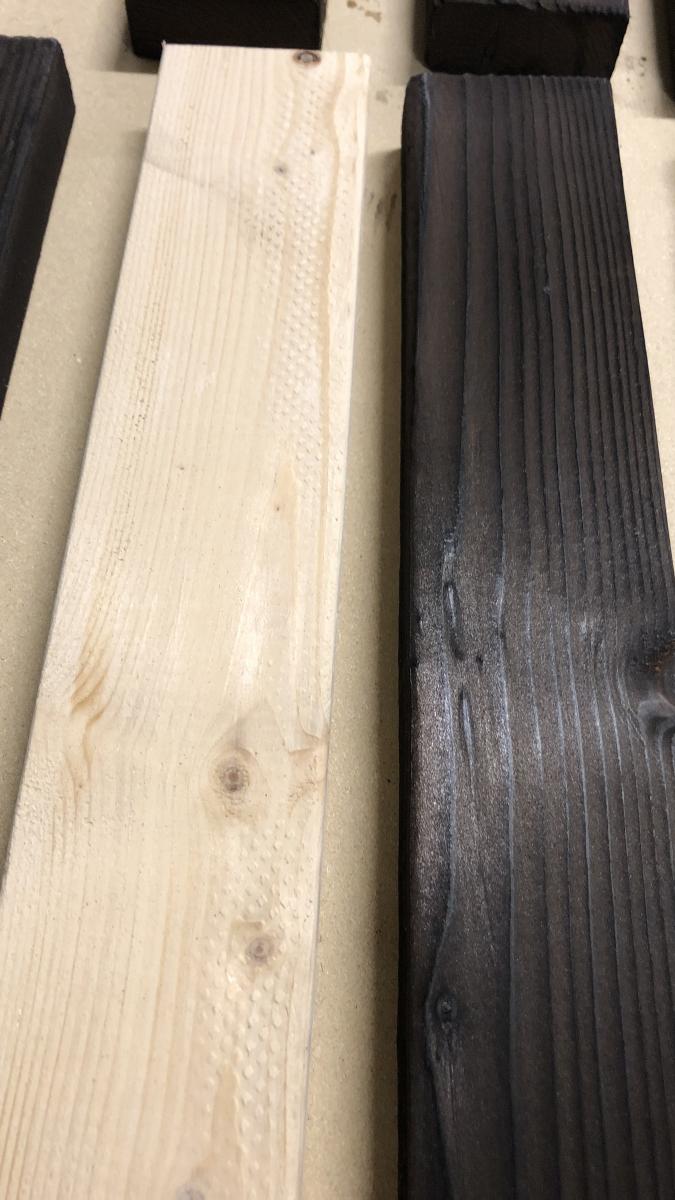
My daughter and I completed 4 chairs per Ana's design over Labor day w/e 2020. It took a little longer because we did a Shou Sugi Ban burn/brush finish with 2 coats of clear Urethane, including cleaning/drying time. We may add another after light sanding. Love the modern look - super easy plans to follow with video. Thanks Ana for making this available - a great way to spend the holiday weekend during Covid!
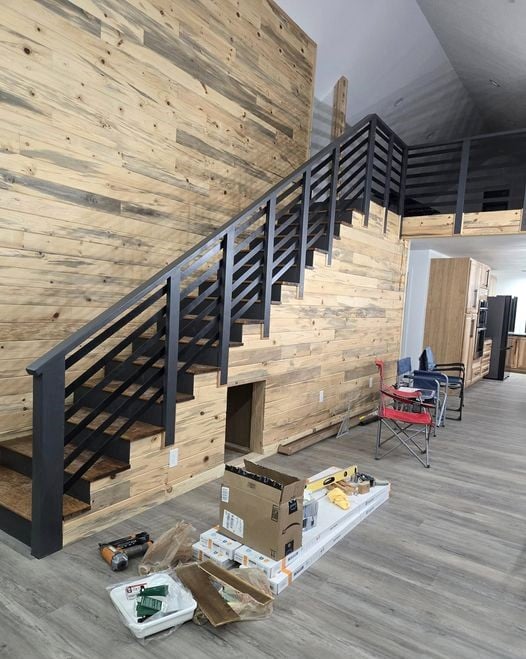
I am always inspired by Ana's projects. Here's a picture of our stairs that were inspired by her plans. I show my husband and son and they plan and complete. I love how they turned out! - Sherrie Gates-Scott
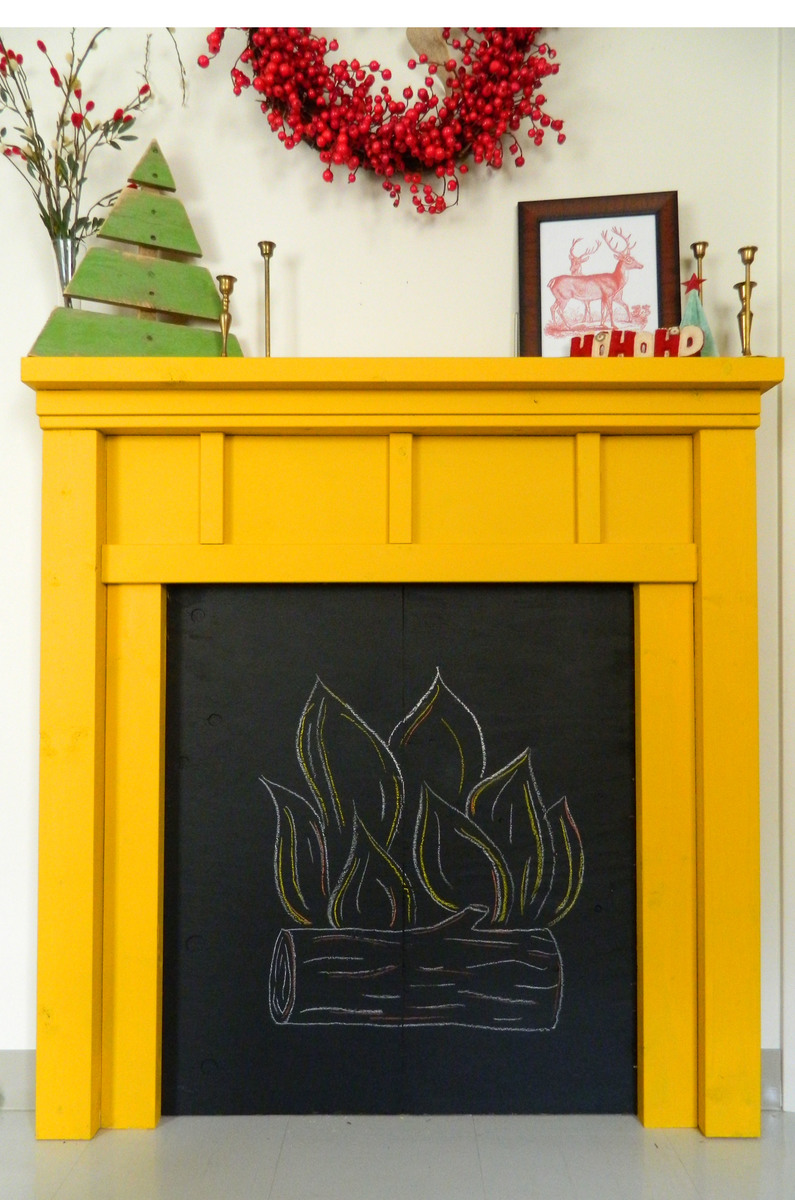
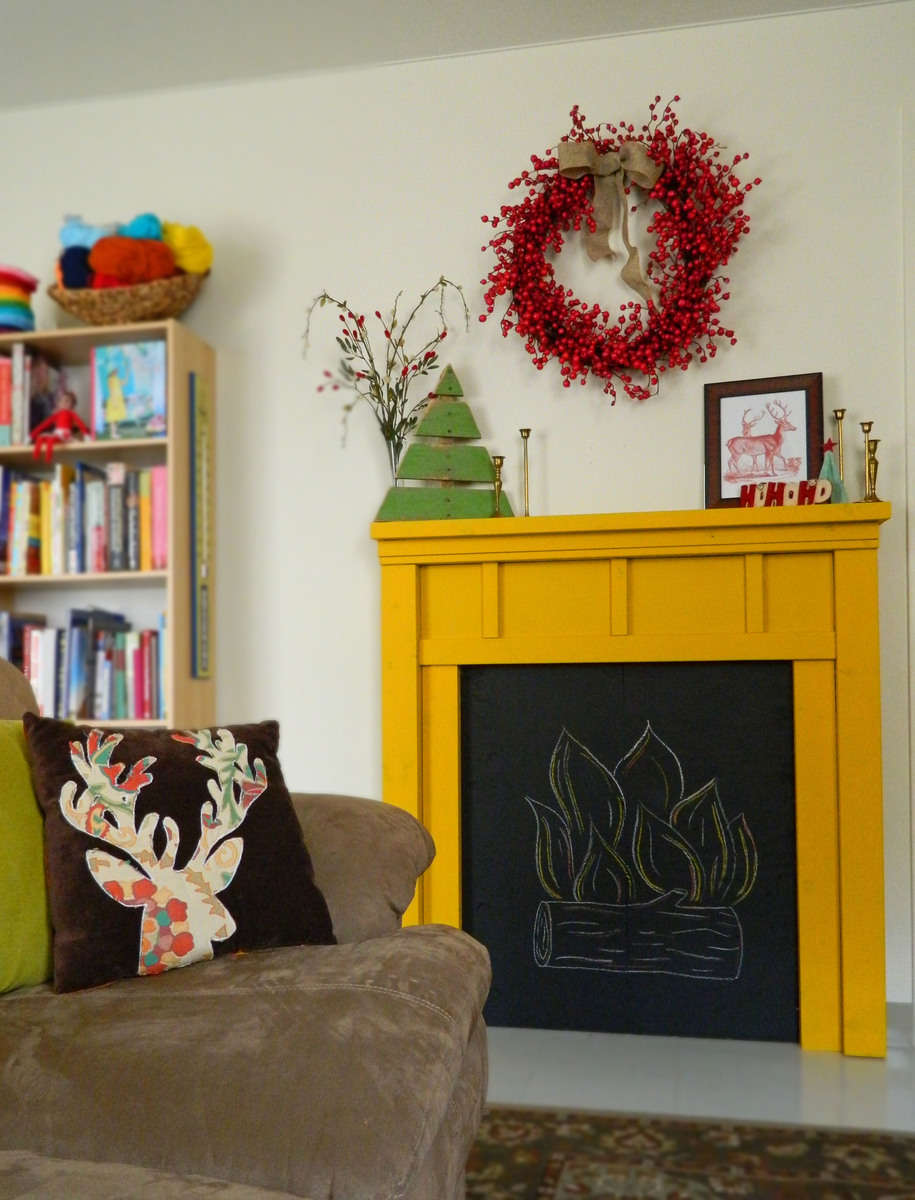
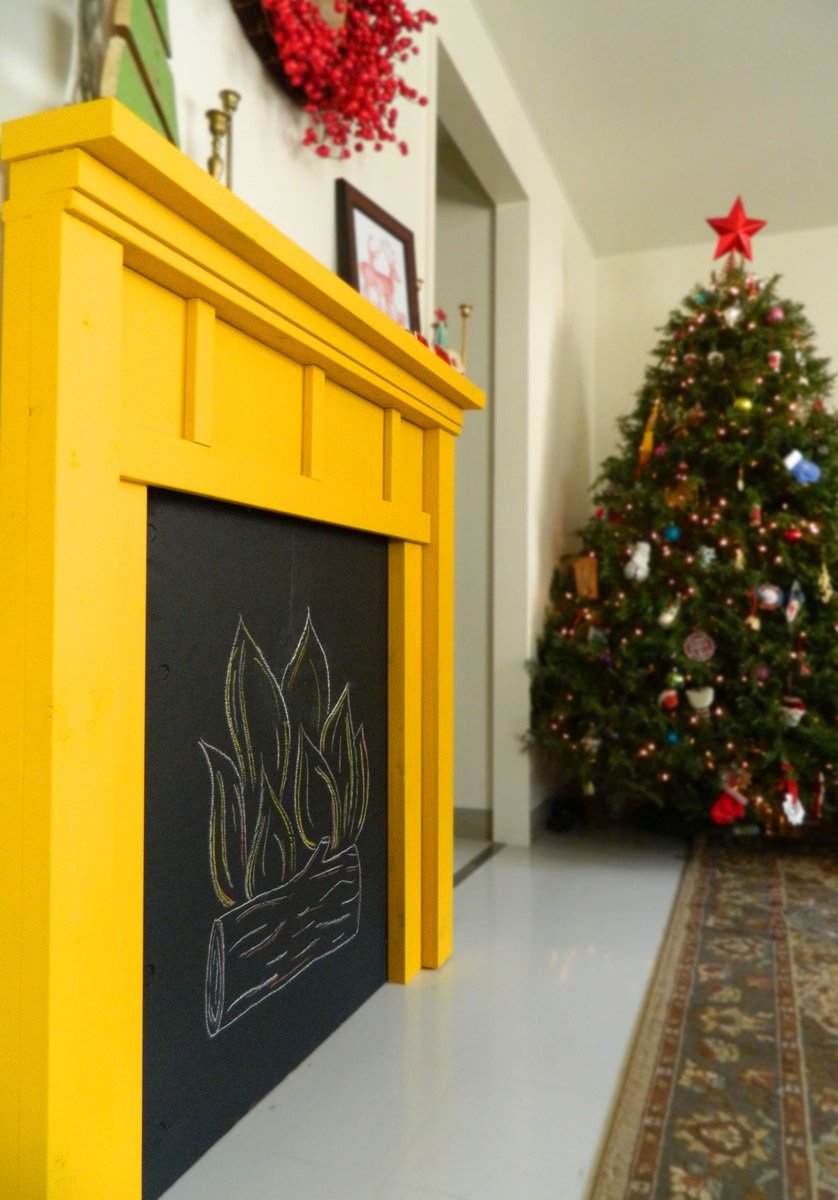
We needed a place to hang our stockings this Christmas, and Ana's Faux Fireplace was the perfect solution. We added the chalkboard paint for a touch of whimsy.
Modified the plans only slightly - to make it fit perfectly in the space, and to add a shelf. Great plans, I love my table! Thank you, Ana!!
As my first furniture project I was impressed at how straight forward this was.
I expanded the plan to fit our family of 10. I also decided that splitting the benches into two and extending the overhang on the ends would allow us to tuck the benches all the way in without the legs colliding. The table is 120" with trestles centered at 20", 60" & 100". I did some math to make sure that this wouldn't cause the table to be tippy and I should be able to stand on the very edge (like a diving board)
Biggest fail was not keeping the top level. This created far too much sanding for my liking. Any tips on how to avoid the pocket hole joins from shifting? Would be appreciated. My clamps don't have a deep enough mouth to reach the joins and I guess the kids aren't heavy enough to hold it all in place.
Hardest part was cutting the curve for the benches decorative pieces.
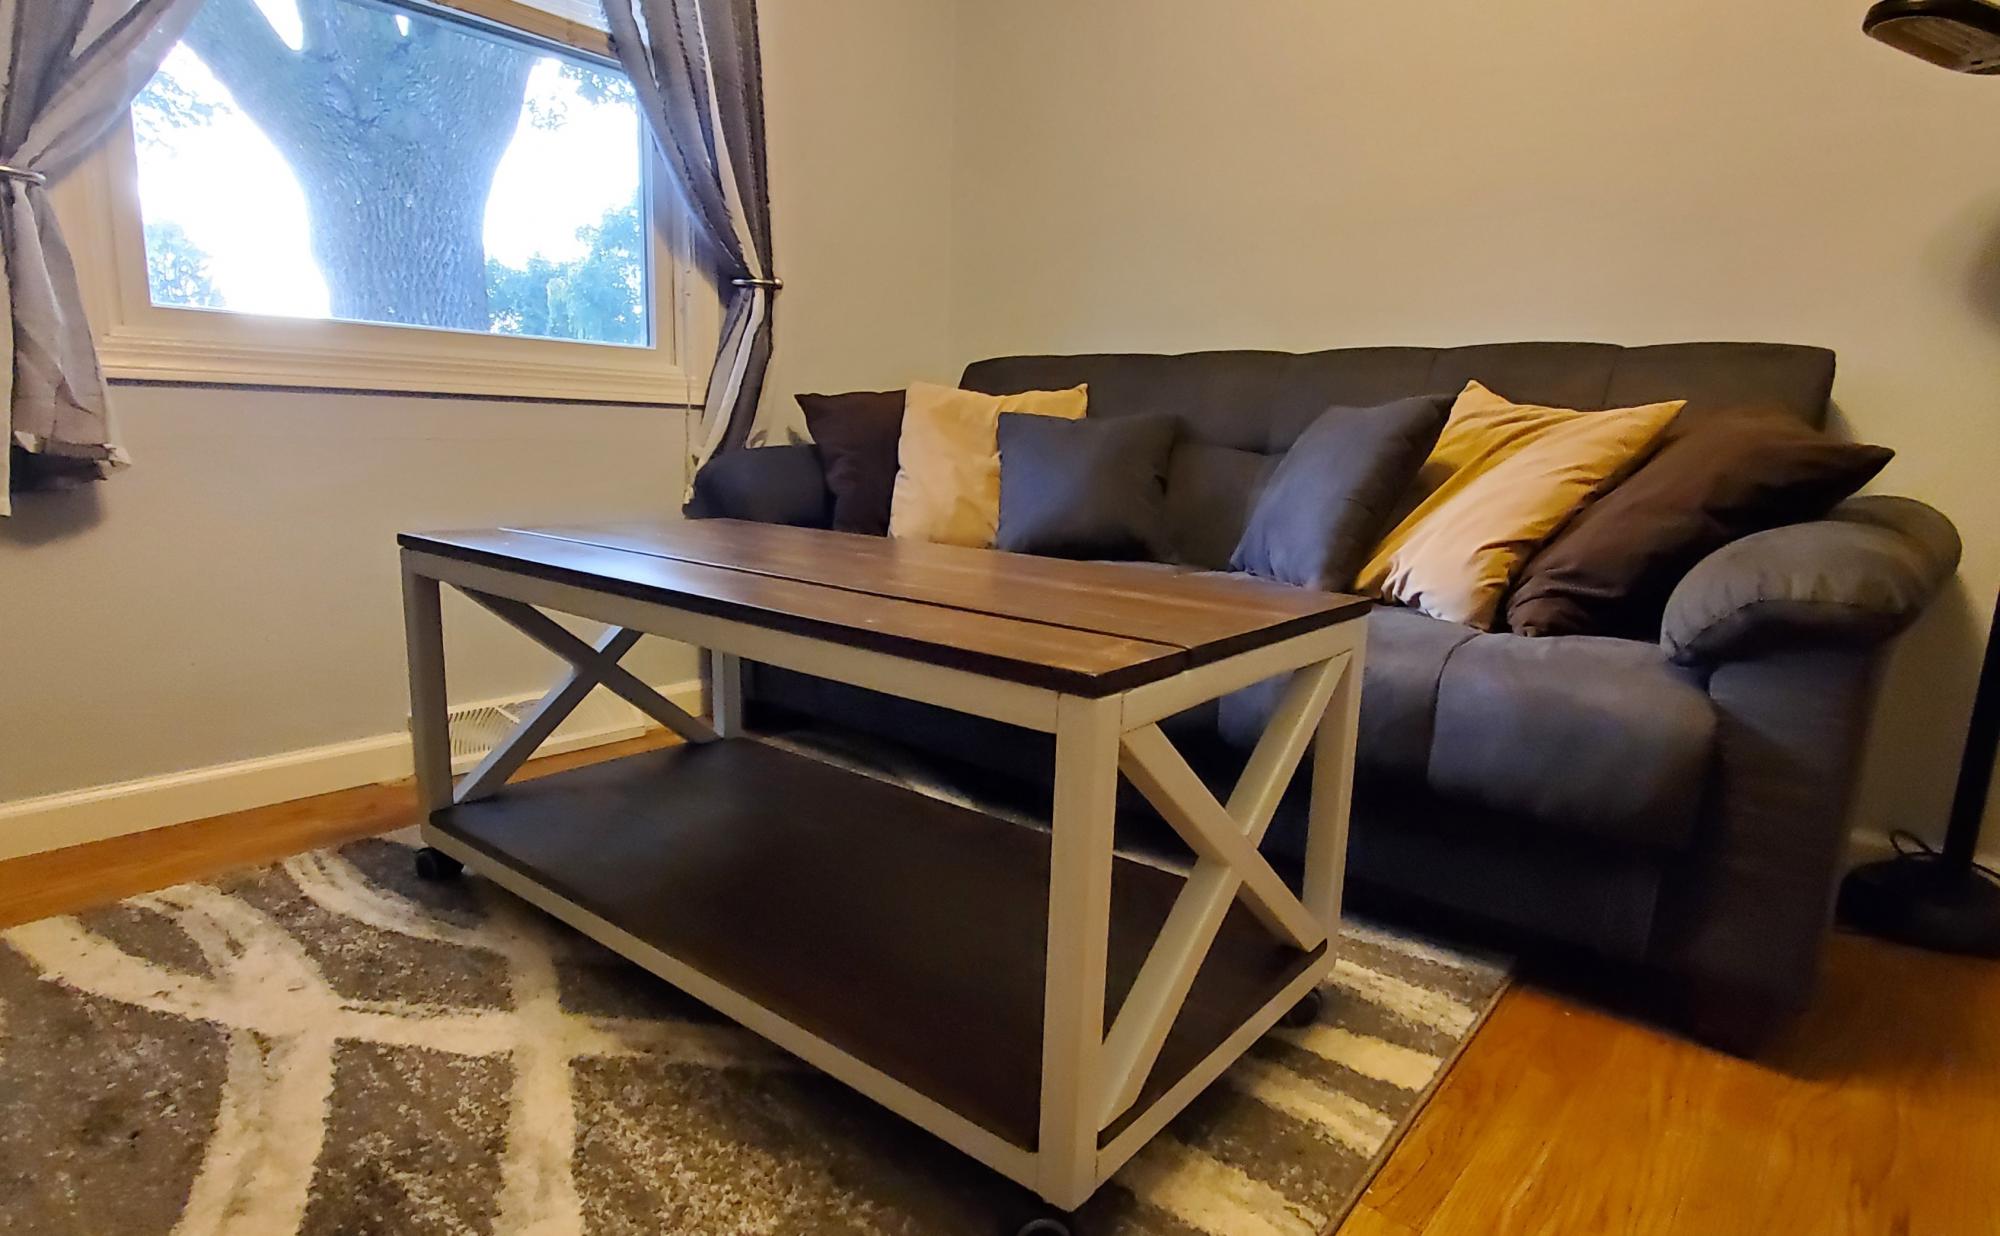
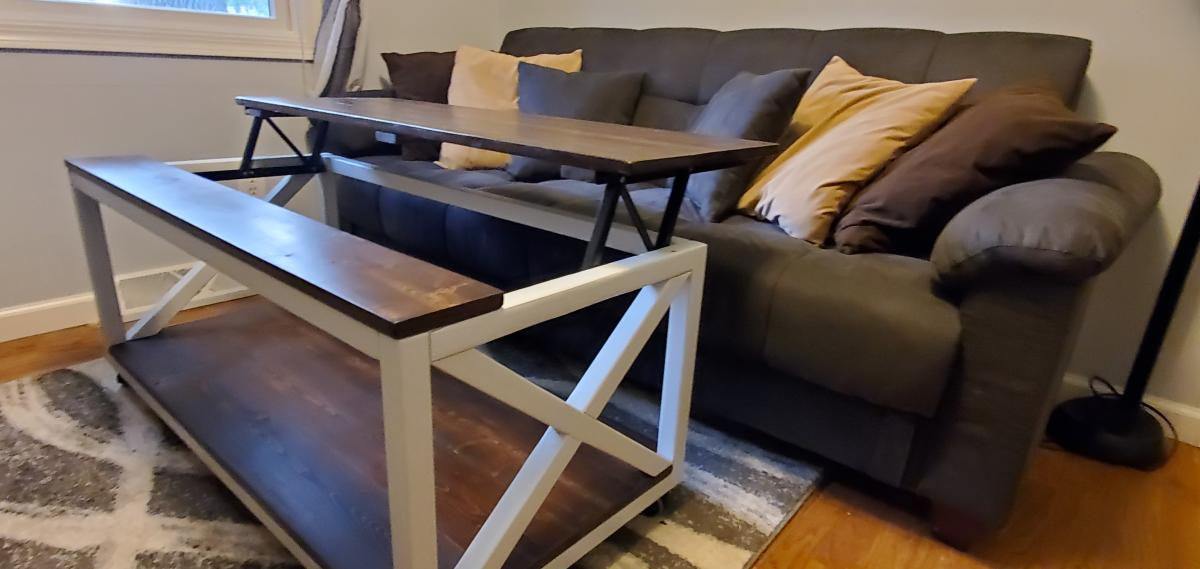
It took me 4 days to build and finish. I went to the store the very same day I received an email with these plans in it! I love the results! I'm typing this post up on my laptop sitting at my new coffee table!! Work days will be a little more comfortable from here on out LOL! Thank you Ana for sharing your talents in designing amazing build plans.
I did the modifications and added the bottom shelf and the x braces. I did a half lap to join the x braces. I also added small casters so it is easy to roll the table out of my way to get up without having to always close the table top. The finish is dark walnut stain and latex paint in the color Tinsel.
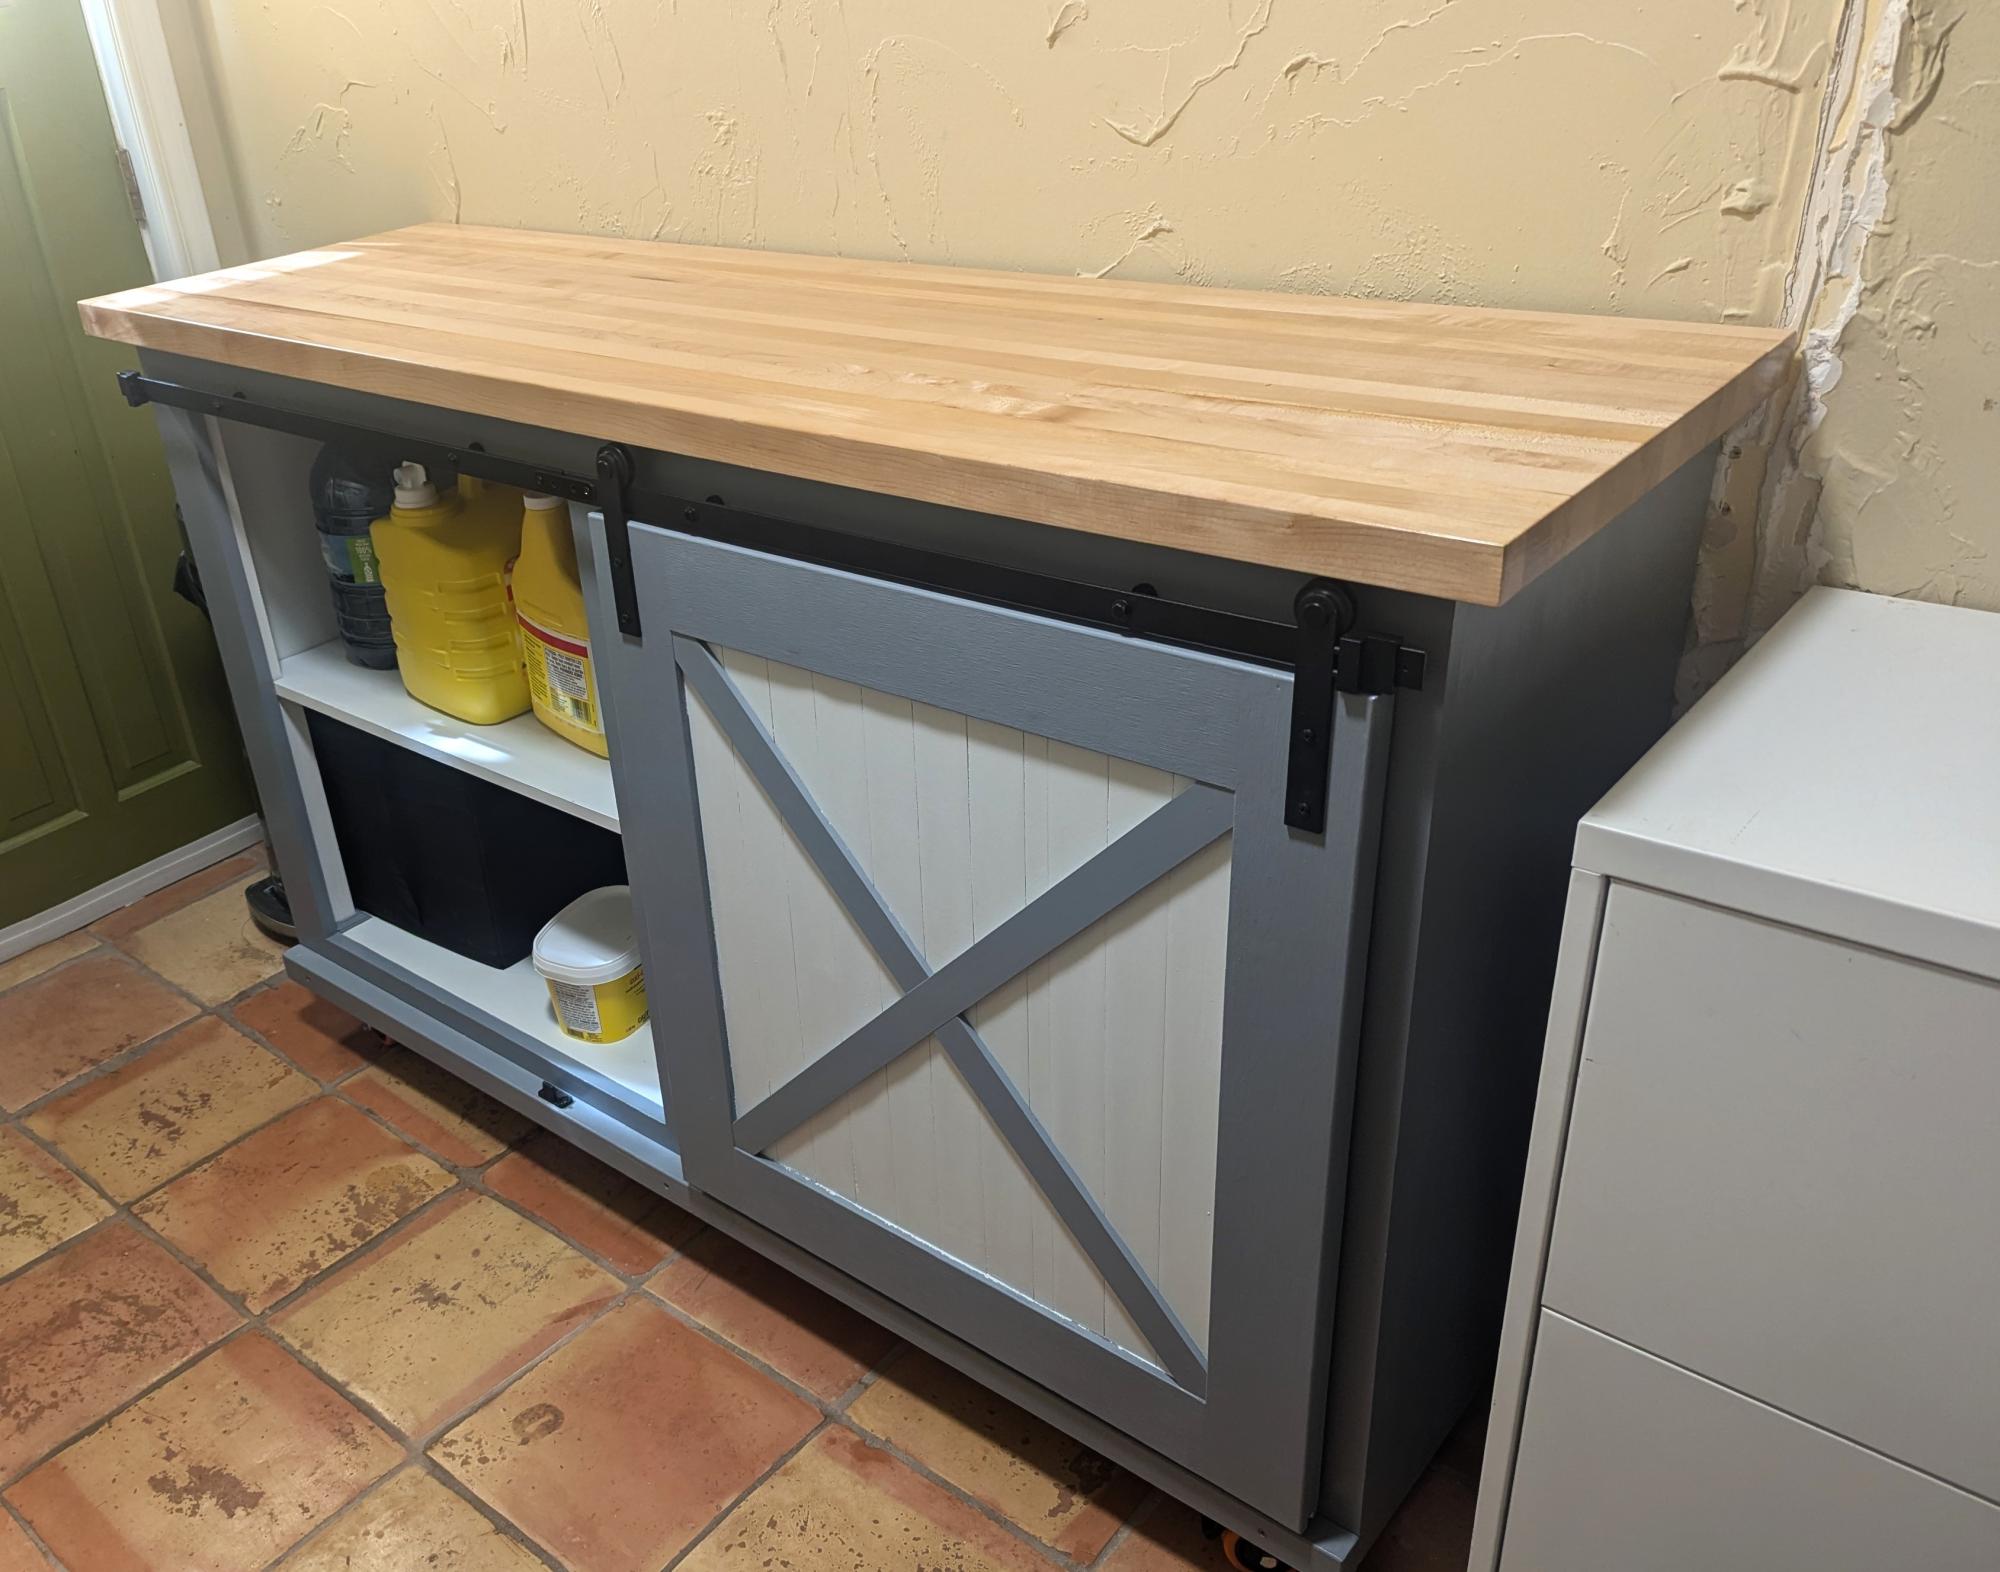
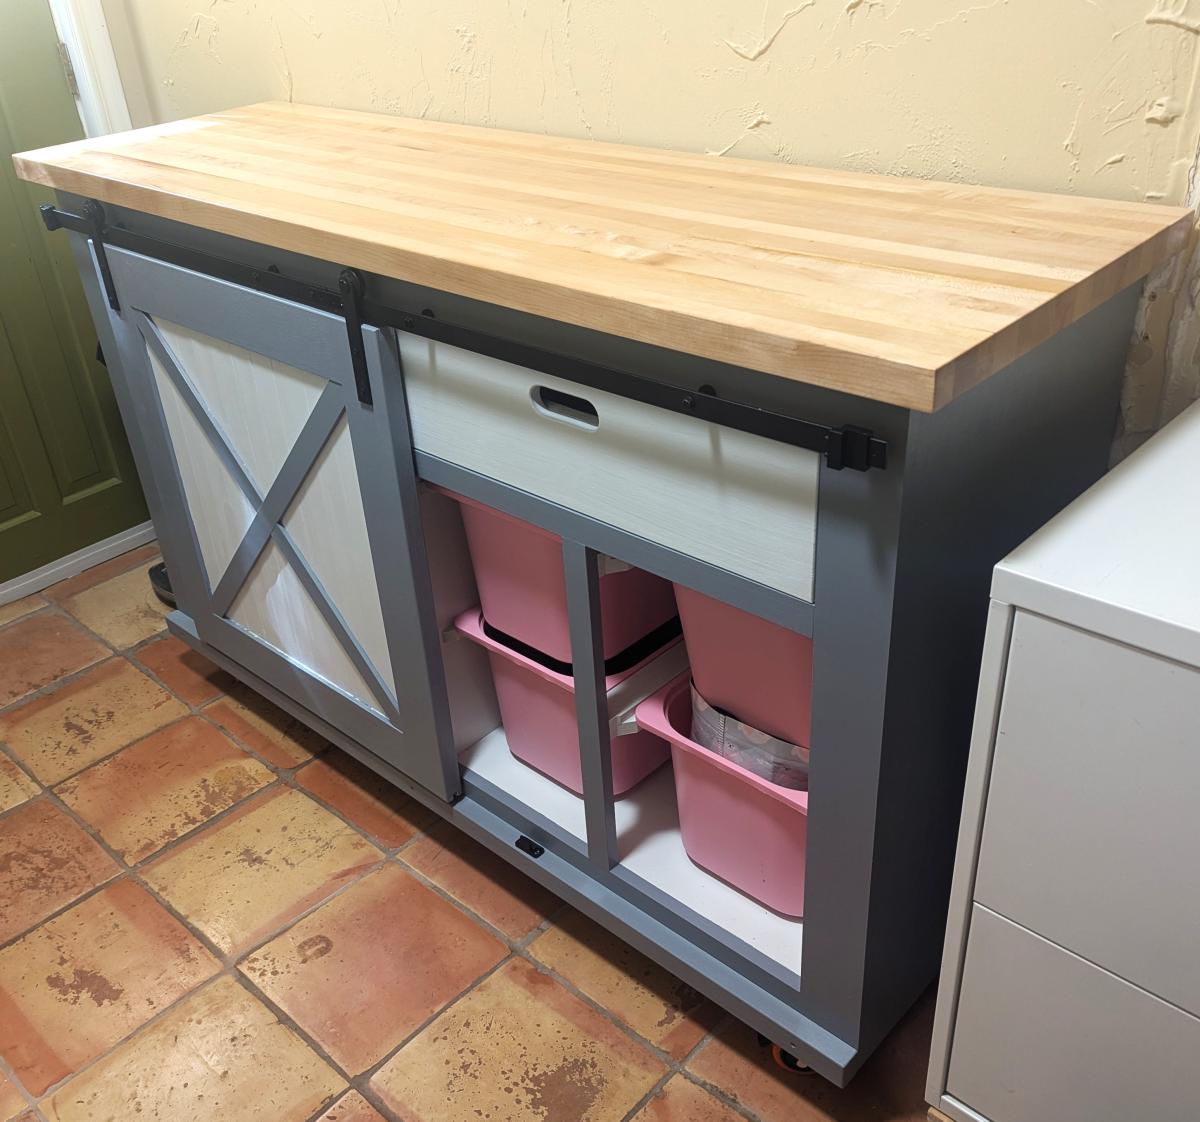
My own take on the barndoor console project. Ours is now in the laundry room. - Claude
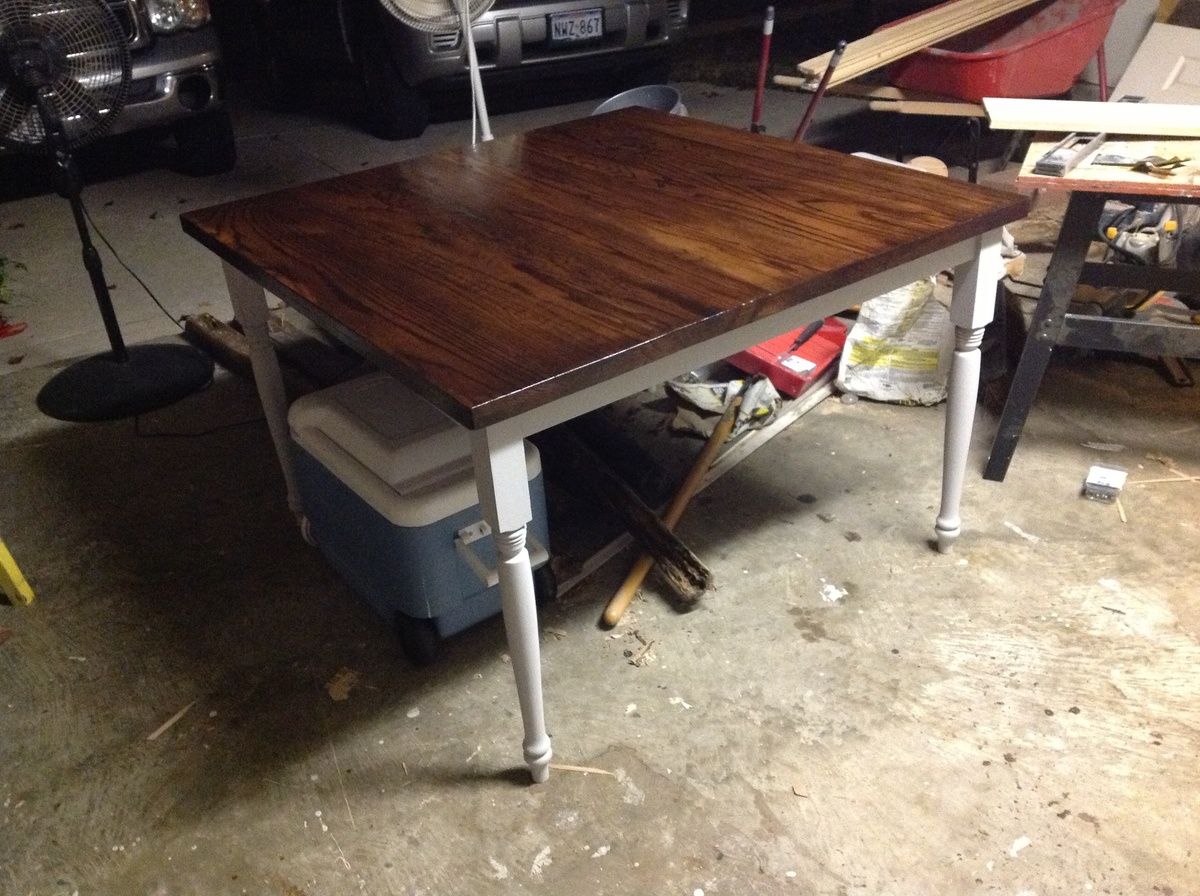
My sister and I built this for her apartment. I was not able to get a pic of it in her apartment so this great pic from my shop will have to do, just ignore the rotten fence posts and cooler and picture it on a nice dinning room. I did down size it to a 4x4 table for space since the apartment is small. One thing I did do different then the vid I watched on here was I used tongue and grove joints to join the boards and alternated board sizes. The. I made a fake second layer to give to table top a thicker look. If you have any questions please let me know the project was not hard but it did take some time waiting for glue to dry.
Sun, 07/26/2015 - 20:44
I'm trying to build a farm table for my apartment. Could you send my the plans for this table? I tried downloading the PDF but plans was not included
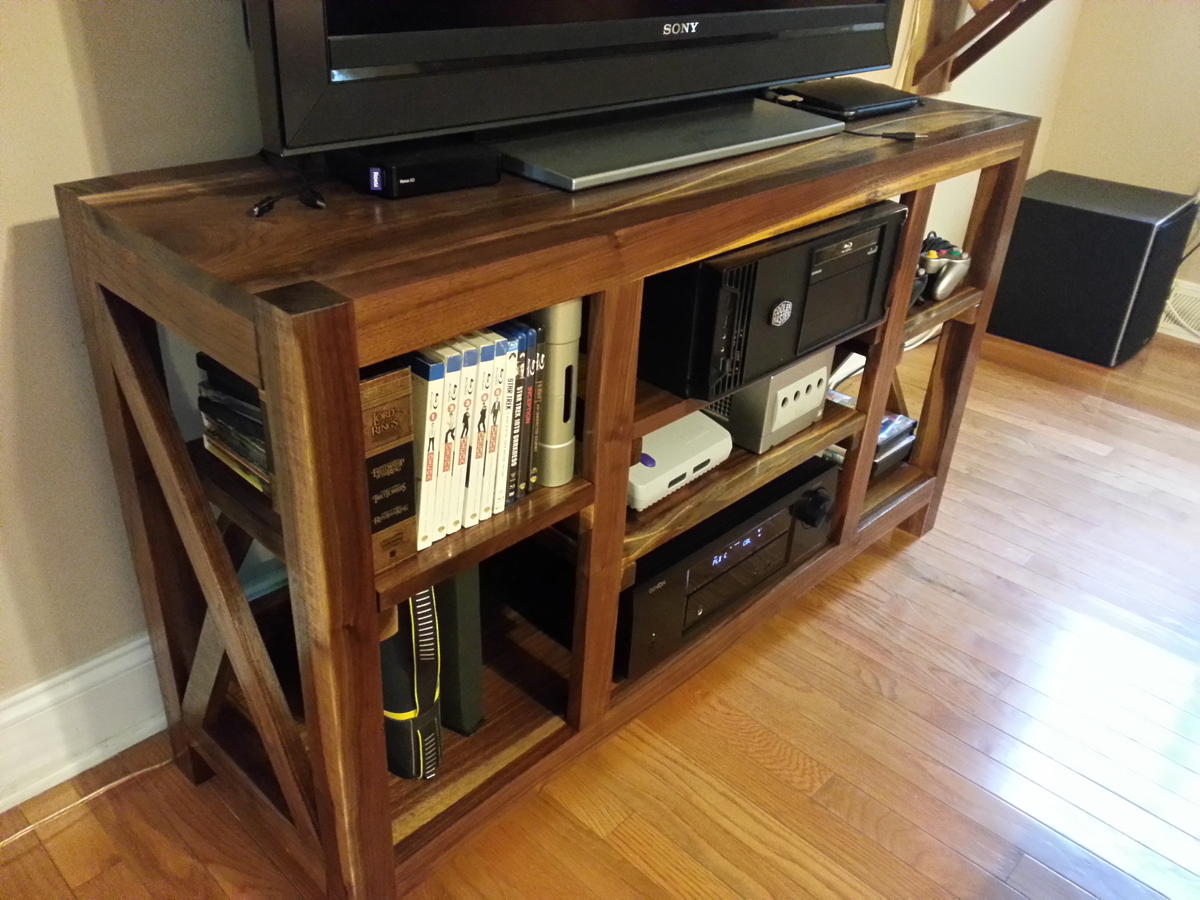
Media console for the living room made out of walnut. Semi-inspired by the Rustic X Console. Speaker shelves made to match.
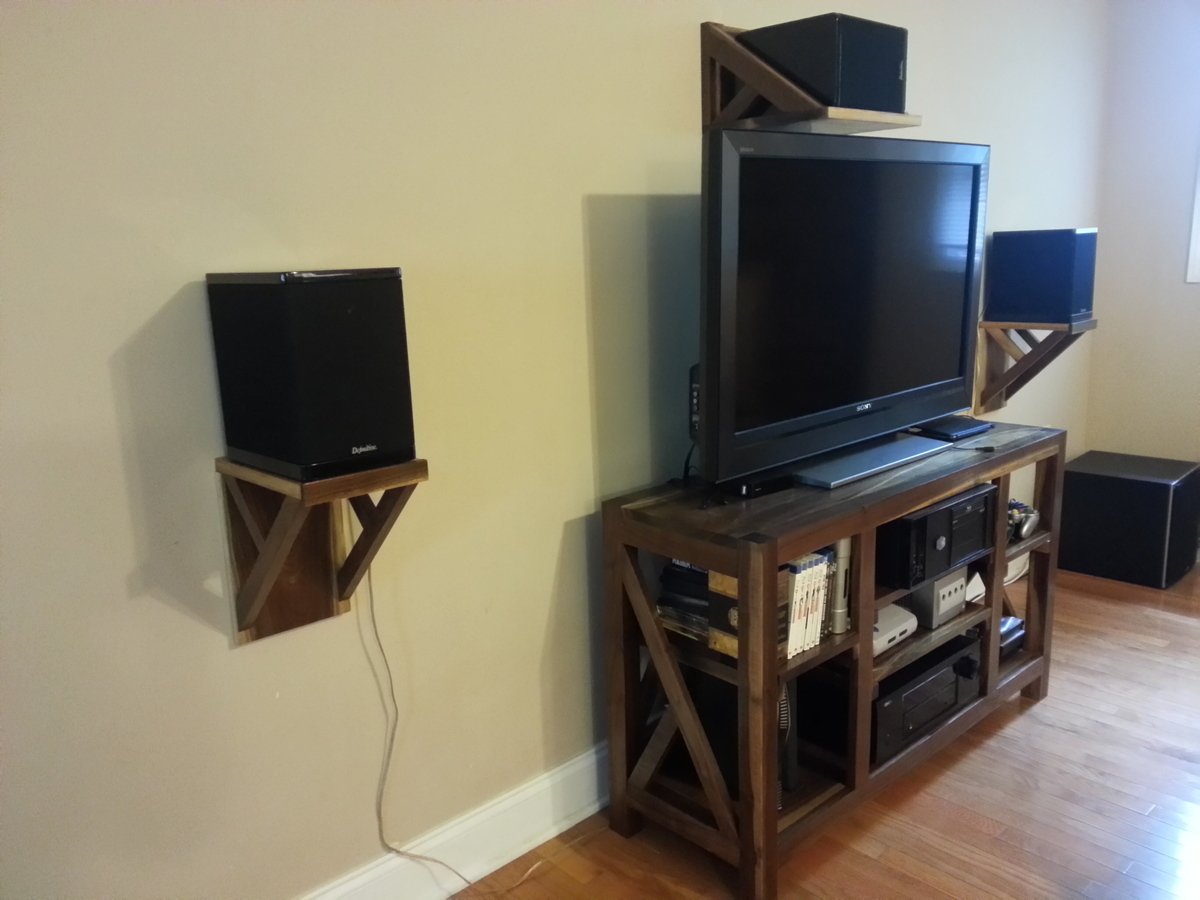
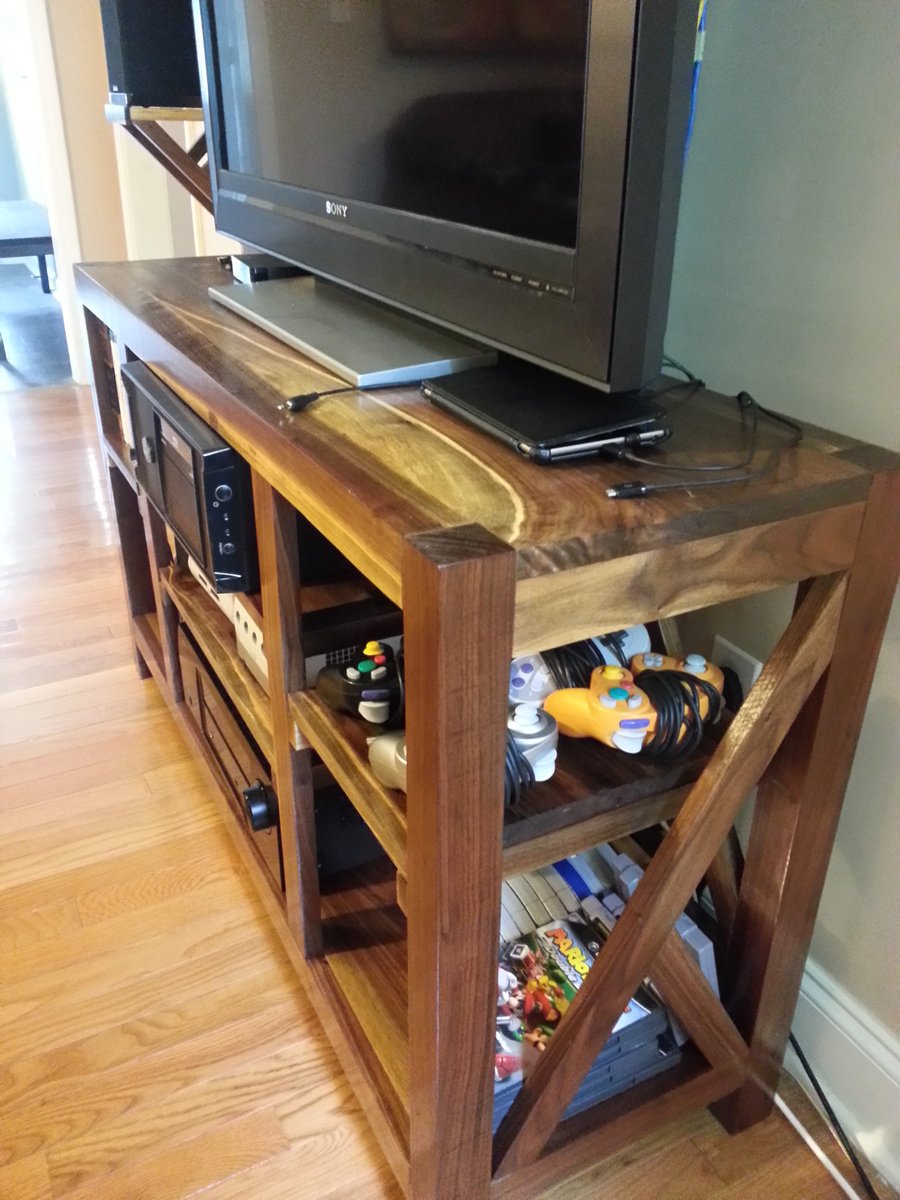
Sun, 09/14/2014 - 12:14
This looks beautiful. I love the Waterlox finish. What state do you live in and where do your purchase your Walnut lumber?
Wed, 04/08/2015 - 17:45
This is great. Do you have plans for this table? I'd love to build a real hardwood media center.
Thank you.
Mon, 08/31/2015 - 08:09
Wow. Evidently ana-white.com stopped telling me I was getting comments on my projects, lol. For anyone still interested:
I live in upstate South Carolina. I get my black walnut at Woodcraft, which, while pricey, is incredibly close to my house and their customer service is awesome, so I don't mind the cost. I've tried other lumber yards in the area and they consistently tell me I won't be able to find black walnut over 10" wide, but Woodcraft had the 12" piece for this media console and the 22" slab I used for my coffee table.
I do not have drawn up plans for this table. This was my first free-form project I attempted without detailed plans. The pieces were all hand cut from rough lumber, so nothing has specific sizes, but if you are still intersted in plans, send me a message and I can draw up some.
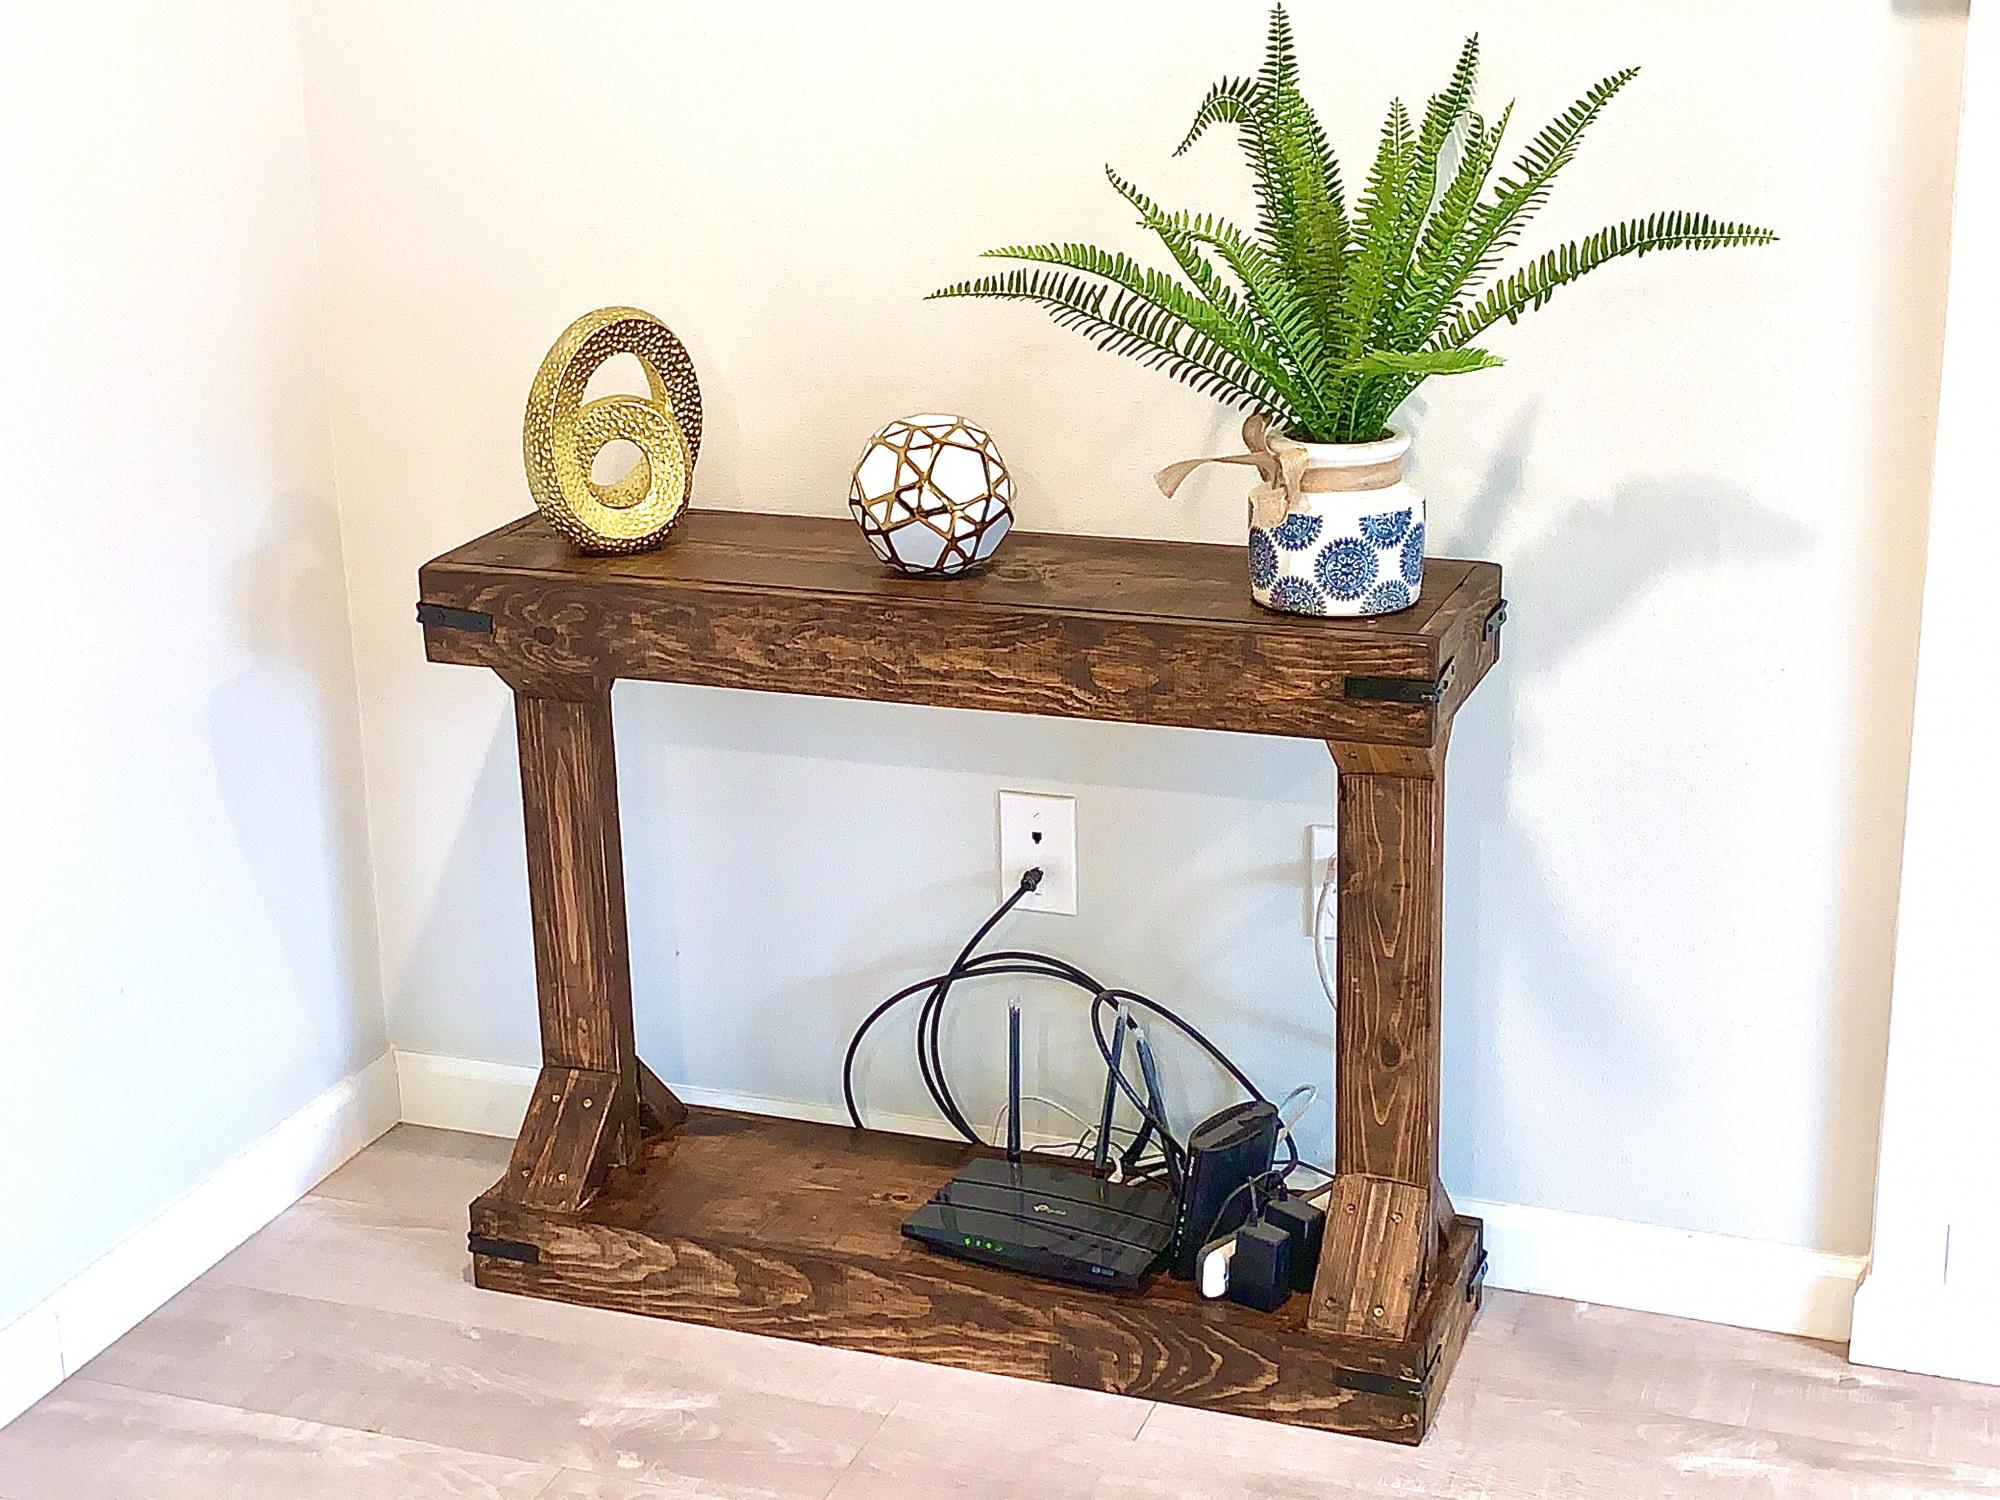
Thank you for sharing your plan. It was a great experience!
Wood Type: Cedar
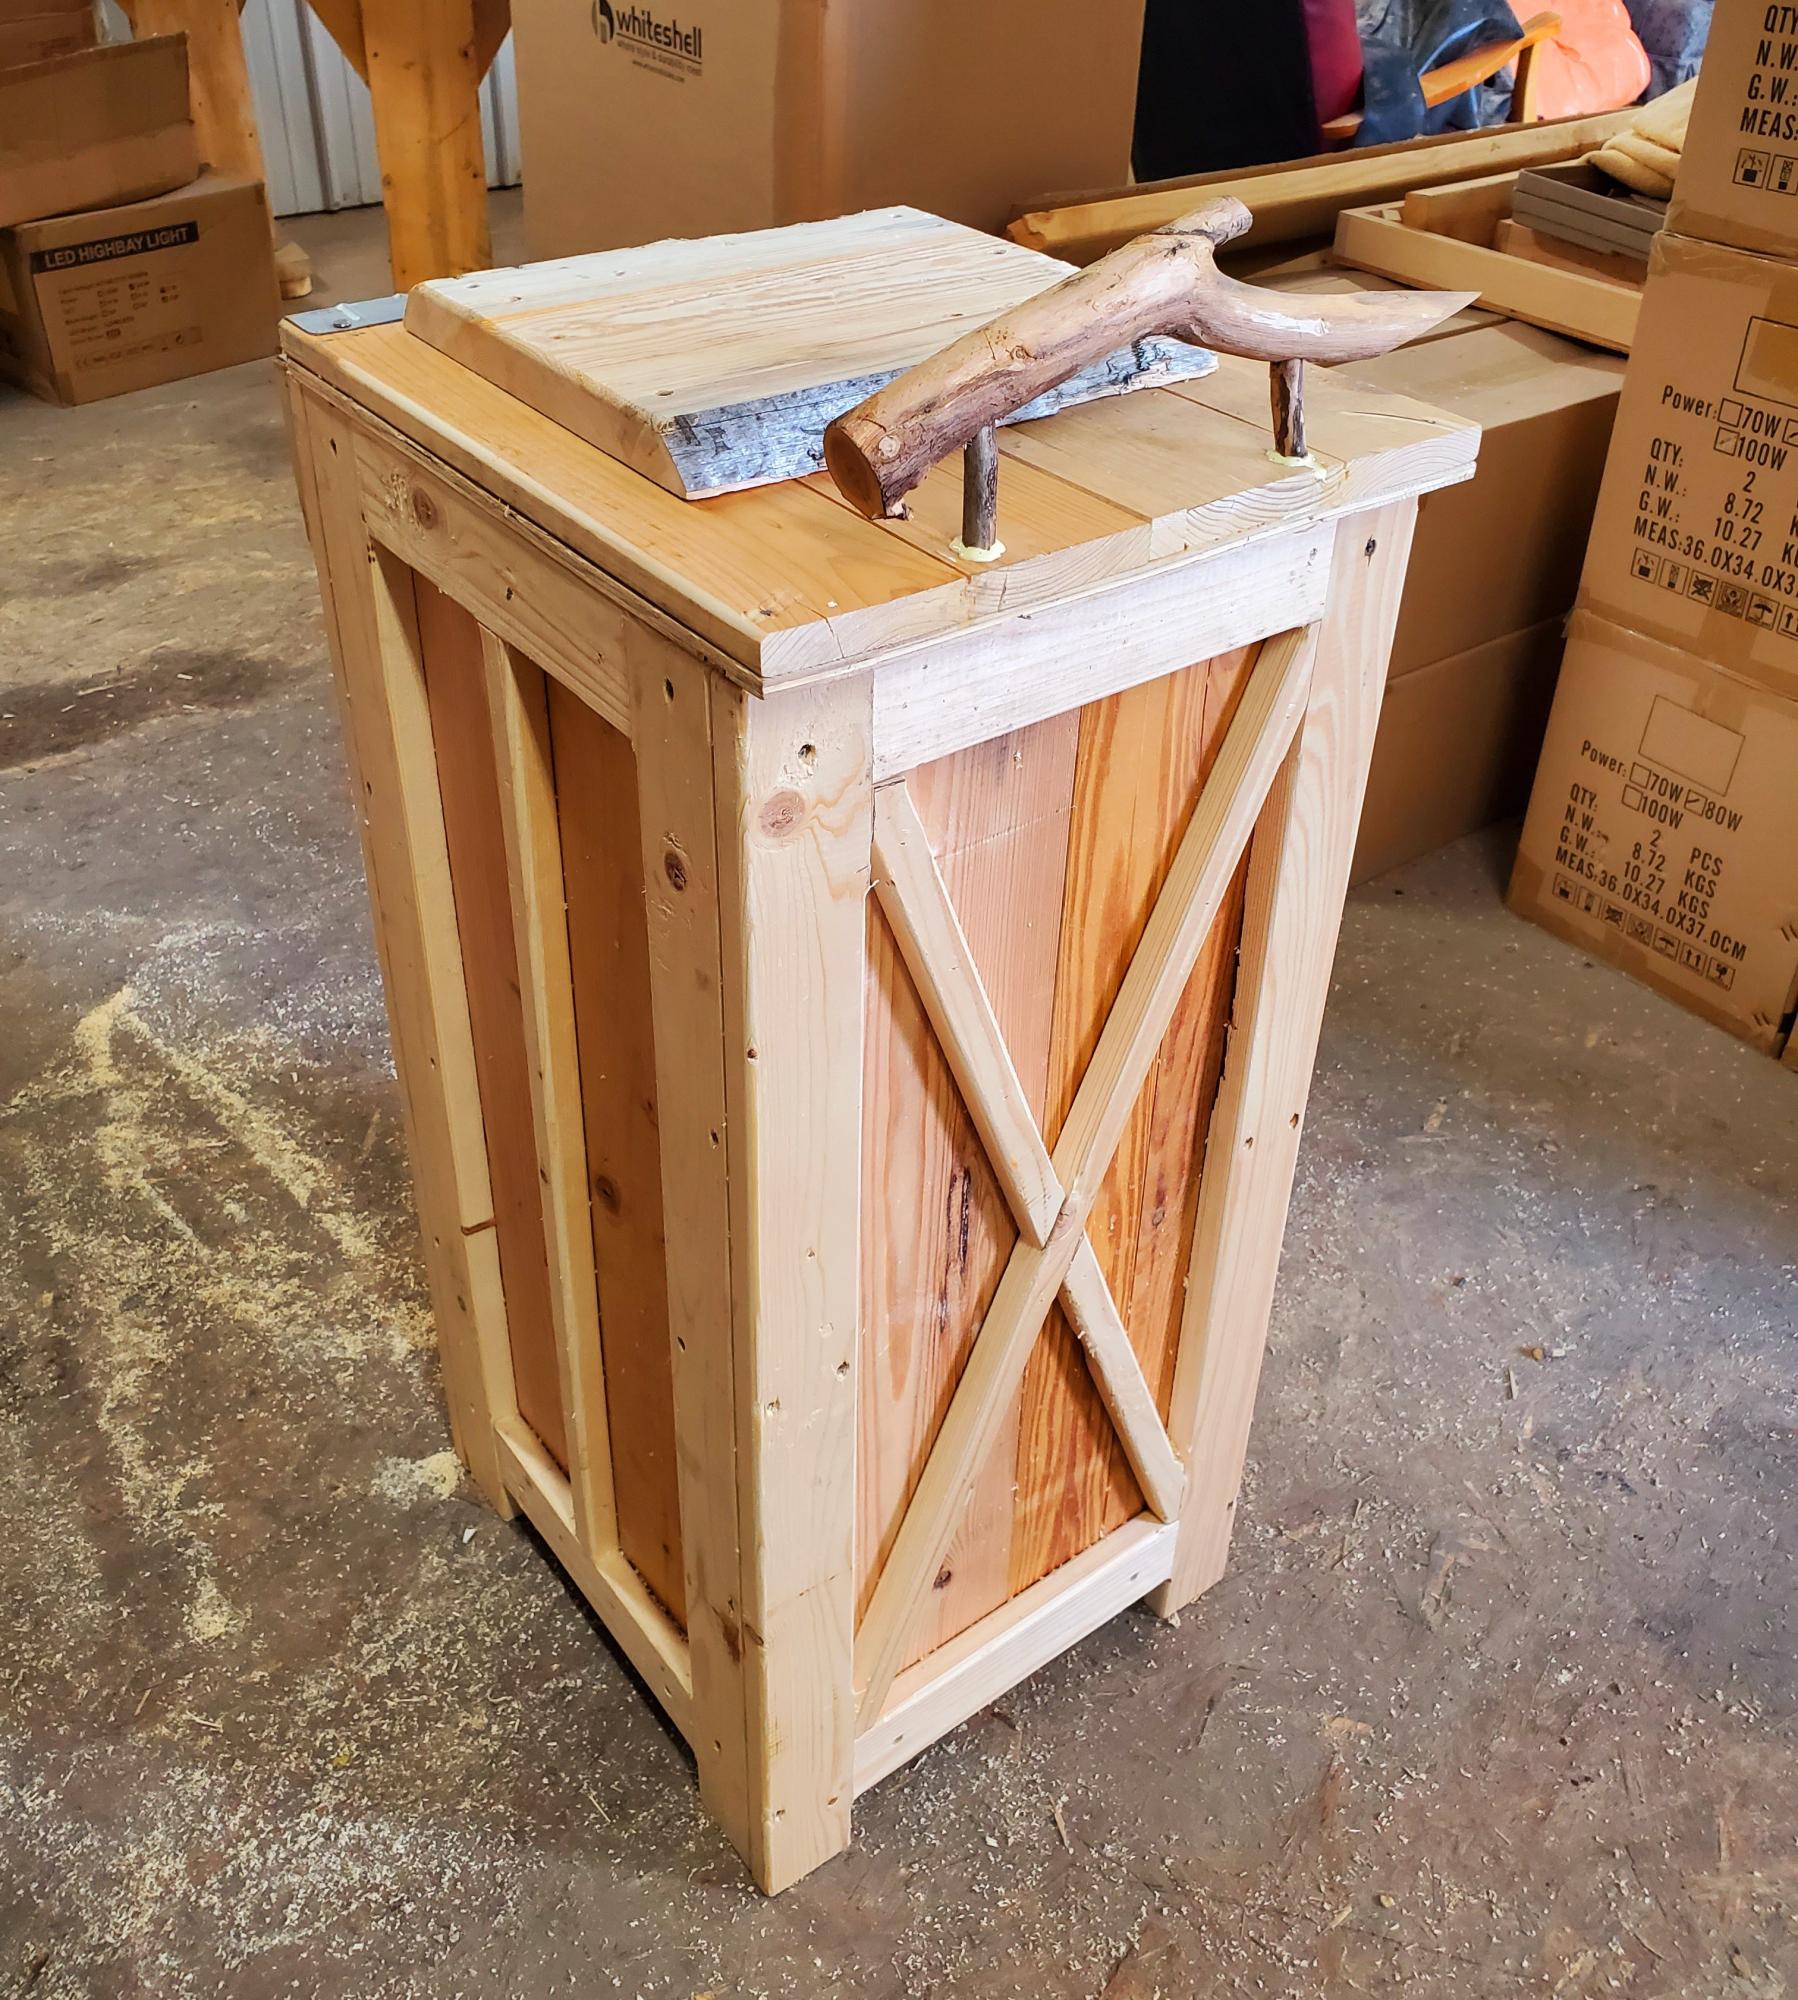
This is an outdoor Garbage. Or can be used for a diaper bin. - Leonardhfr
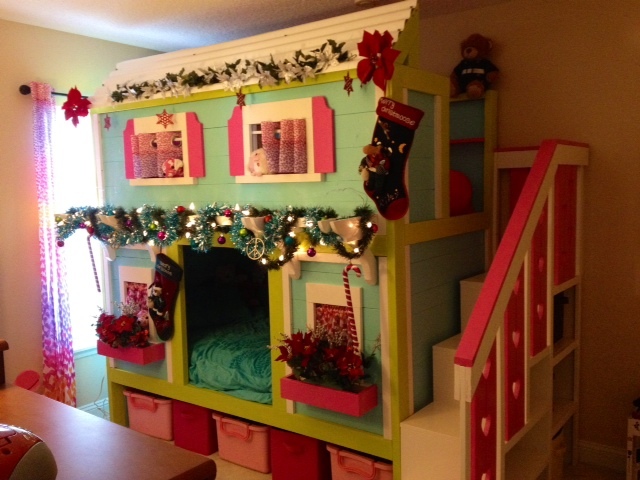
I went to my dad and said I wanted to build bunk beds for my girls. I showed him an easy set of plans and he said no problem, he is handy. Then I pulled the switch on him and told him I wanted to build the Sweet Pea Bunk Beds. Ha ha. Three weeks later, only weekend work, we have the final product. I have to say I think they look pretty awesome.
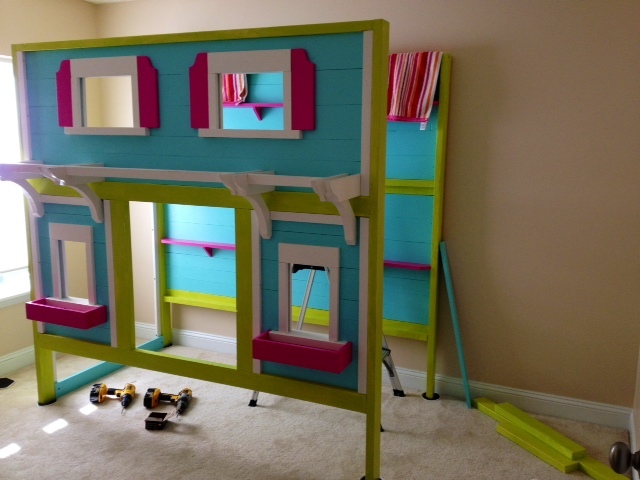
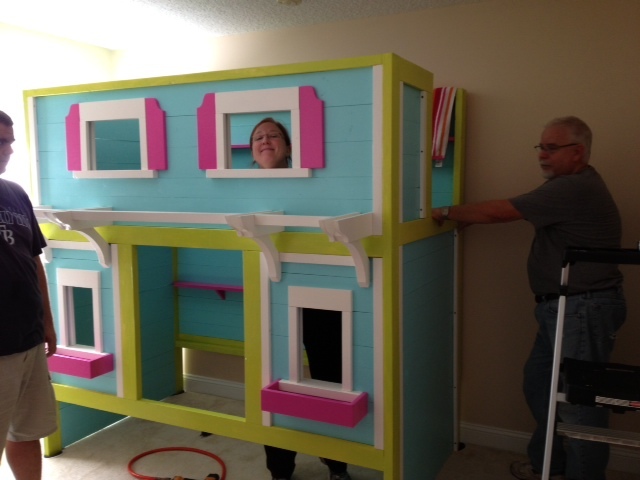
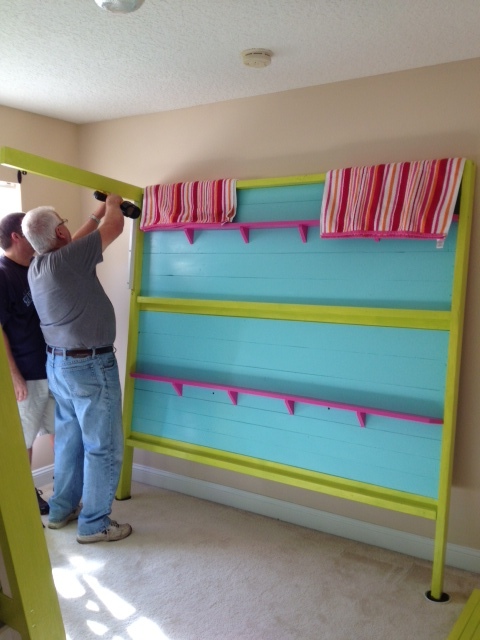
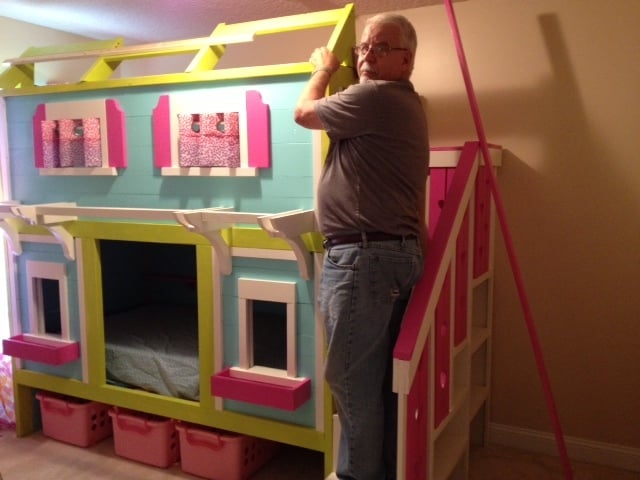
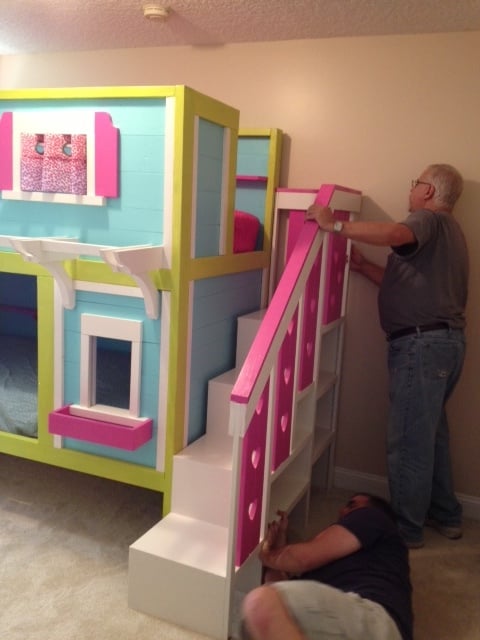
Sat, 12/08/2012 - 22:16
Your Dad did a great job, these beds turned out beautiful. It took me all summer to build them! 3 weeks-unbelievable! Nice work, I hope your children love it!!
Sun, 01/06/2013 - 14:14
My husband came home with a pic of this bed..and I fell in love..We started ours on Thurs morning..by mon night it was being set up in the bedroom..It is an amazing bed..Yours looks great too..I like the totes under the bed. We havent done anything under yet I will be getting some totes like that..Thanks for the idea!
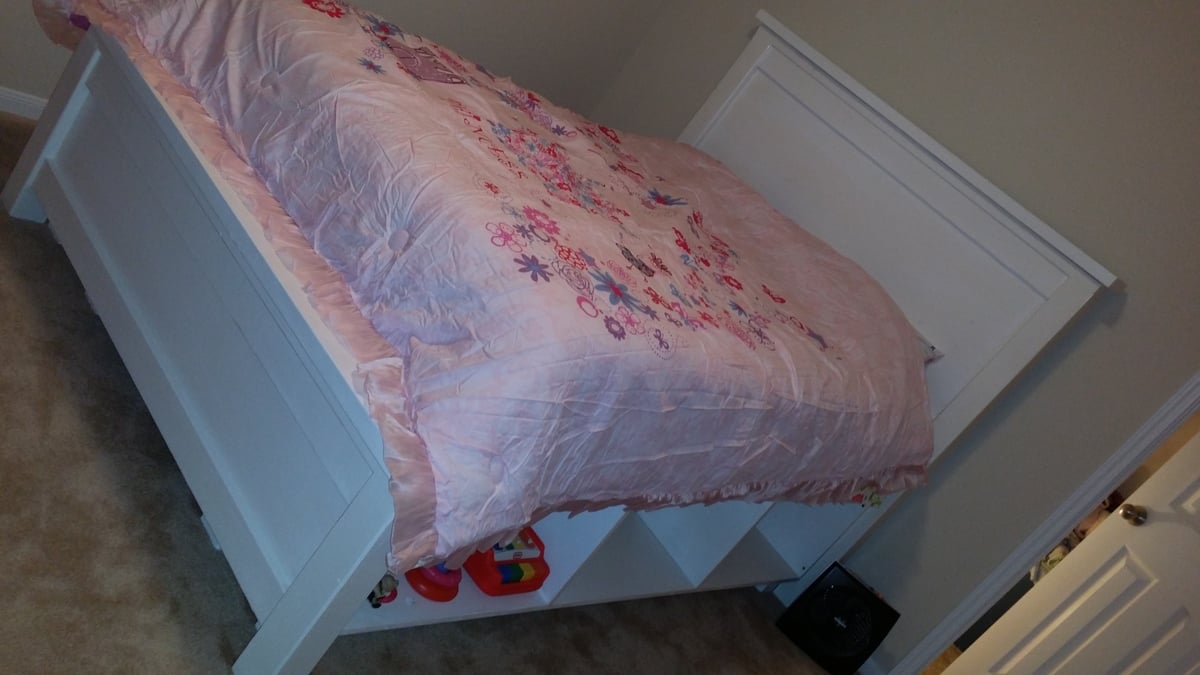
It was time for my daughter to get her very own big girl bed! I found the plans and my wife approved and construction began. 3 weeks later this is what we have created. Everyone at work is super jelious and have referred quite a few people to the website. Thank you Ana for having such a great resourse!
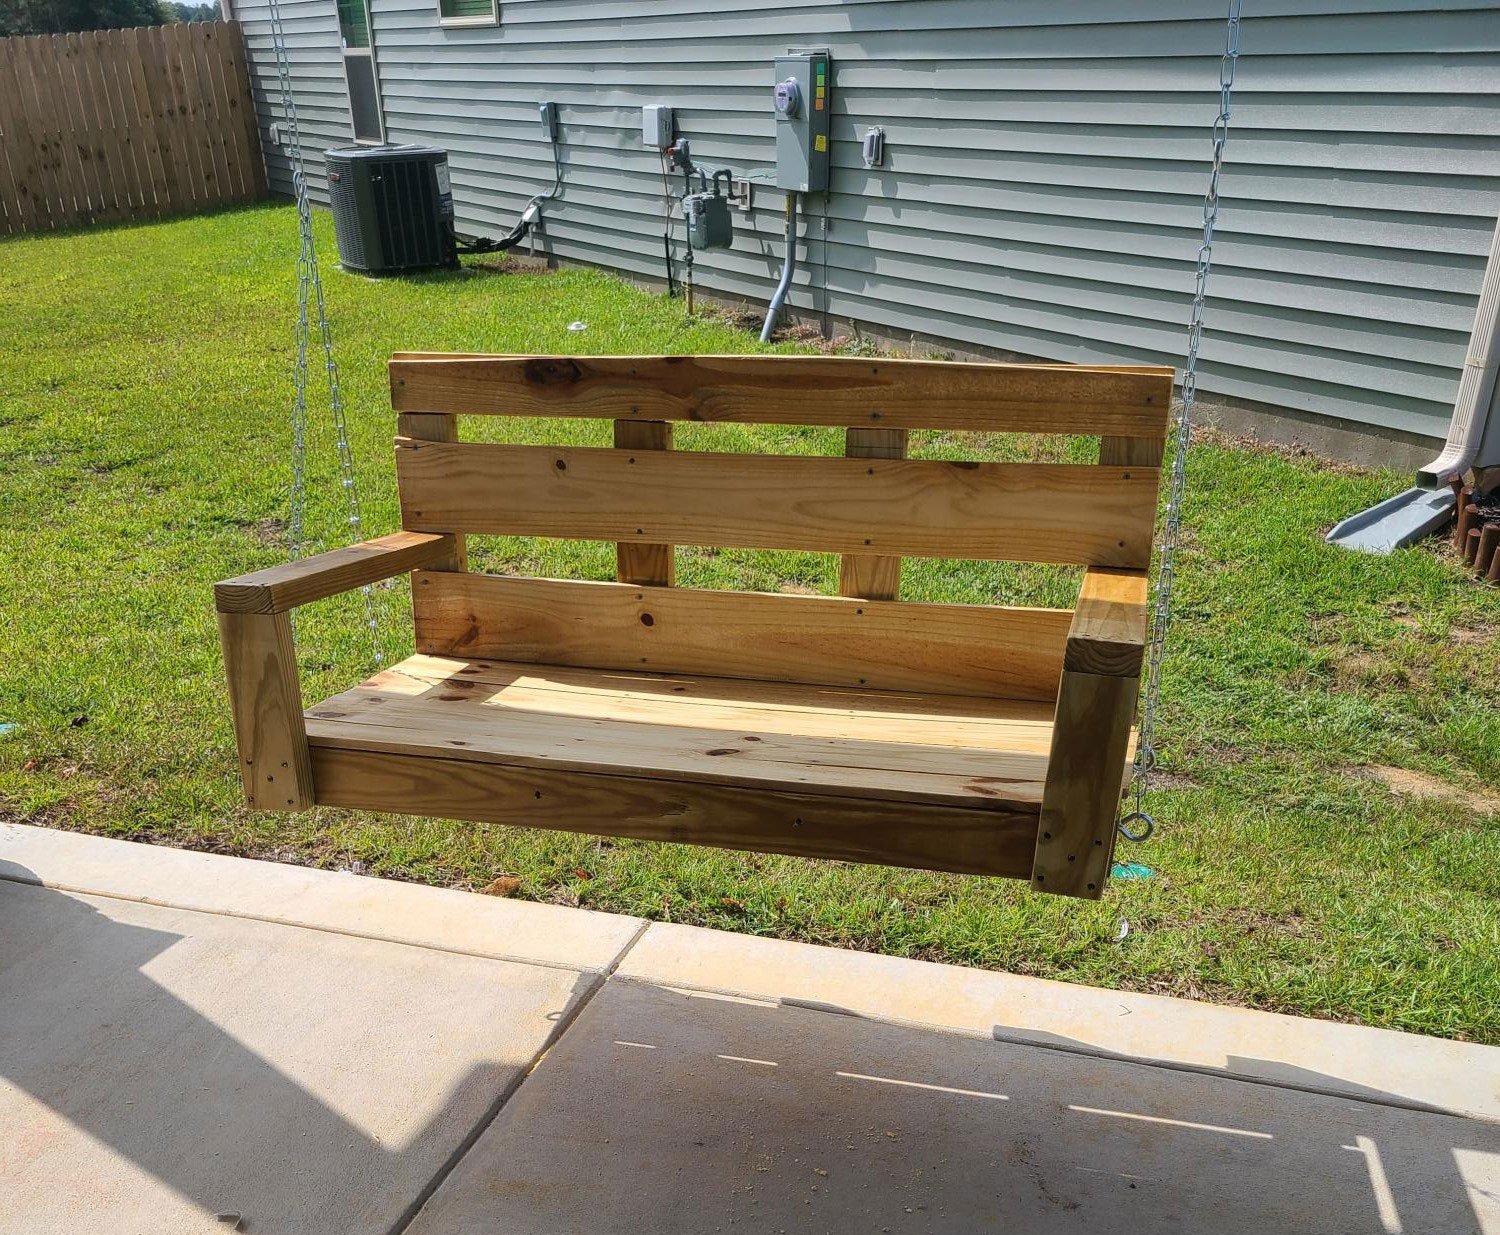
I used this plan and it came out amazing. It was easy to follow and my wife loves it. Thank you!
Wed, 09/16/2020 - 10:11
Thanks for sharing your project, I hope you enjoy many hours there!