Community Brag Posts

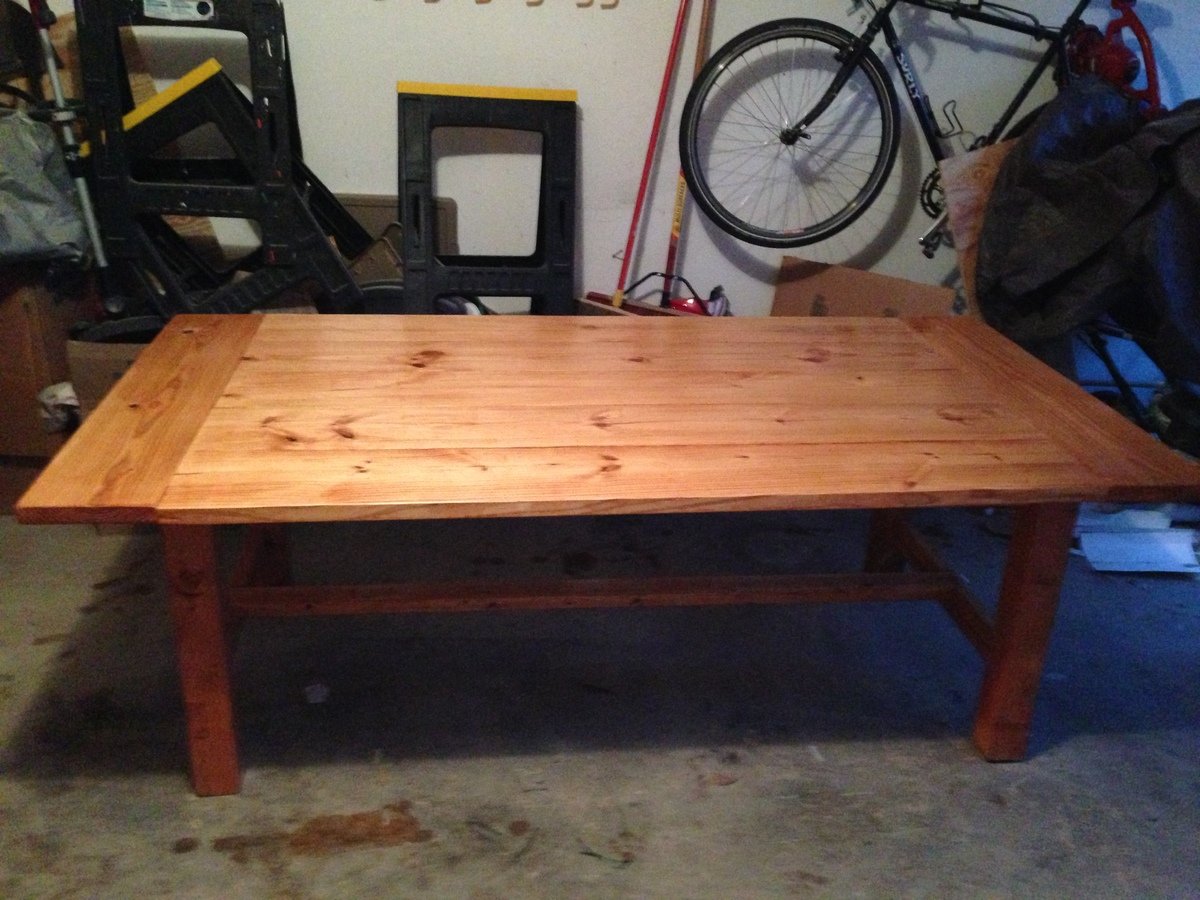
Farmhouse Table - Modified
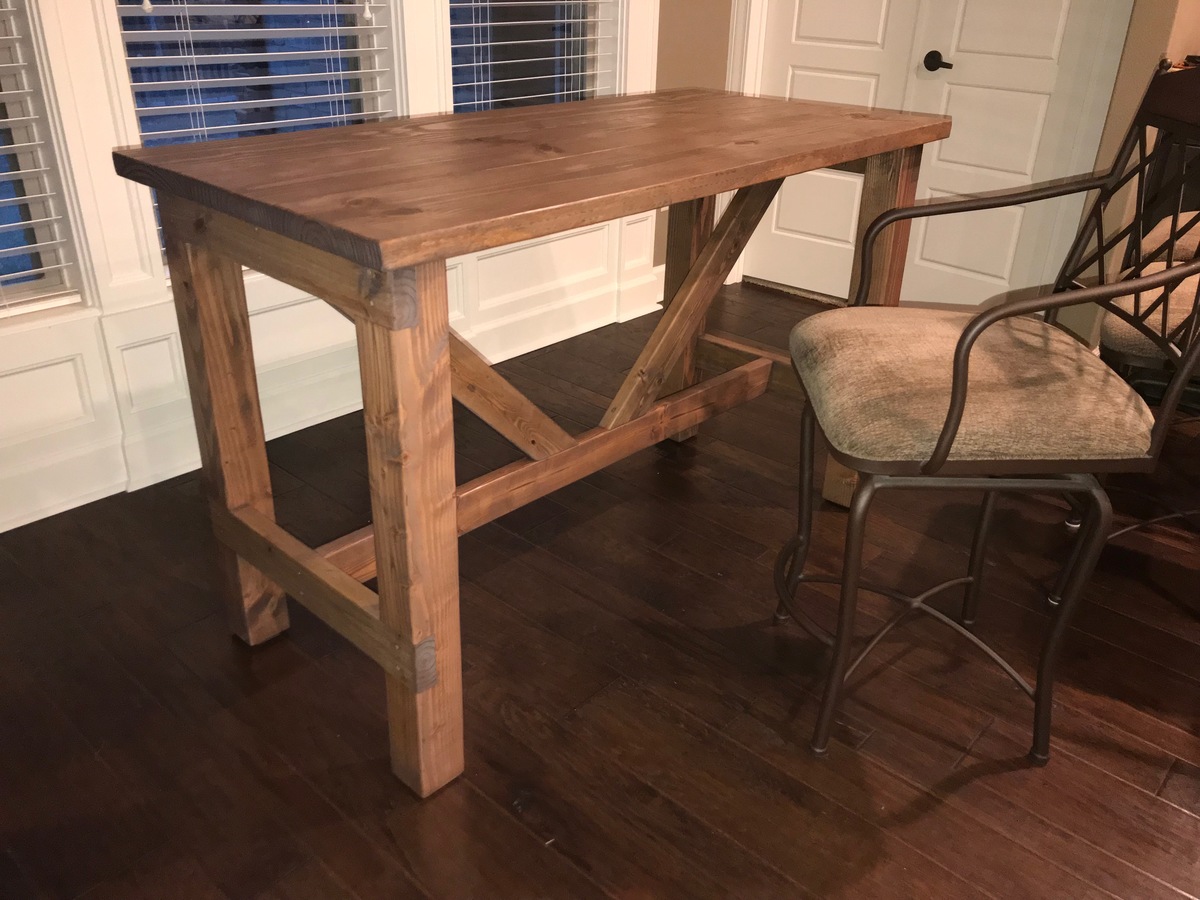
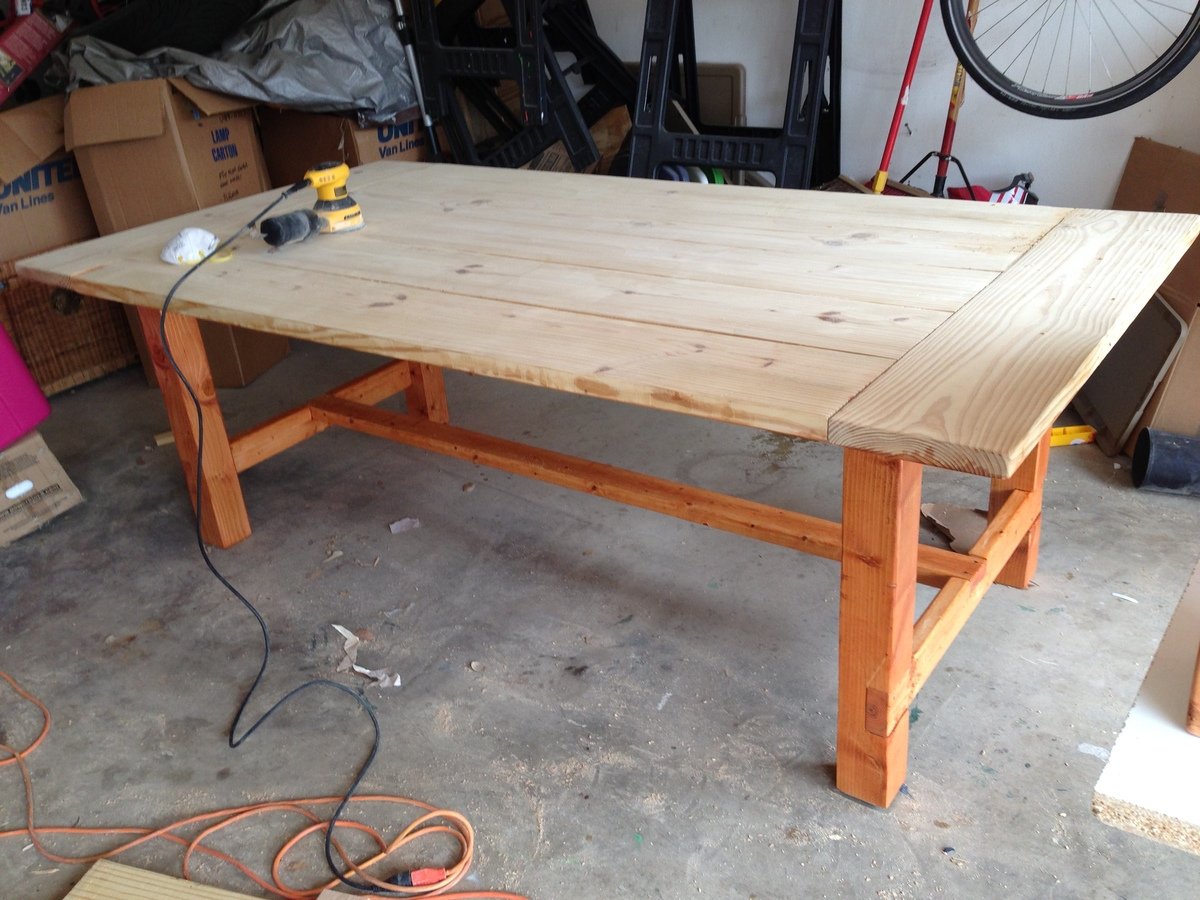
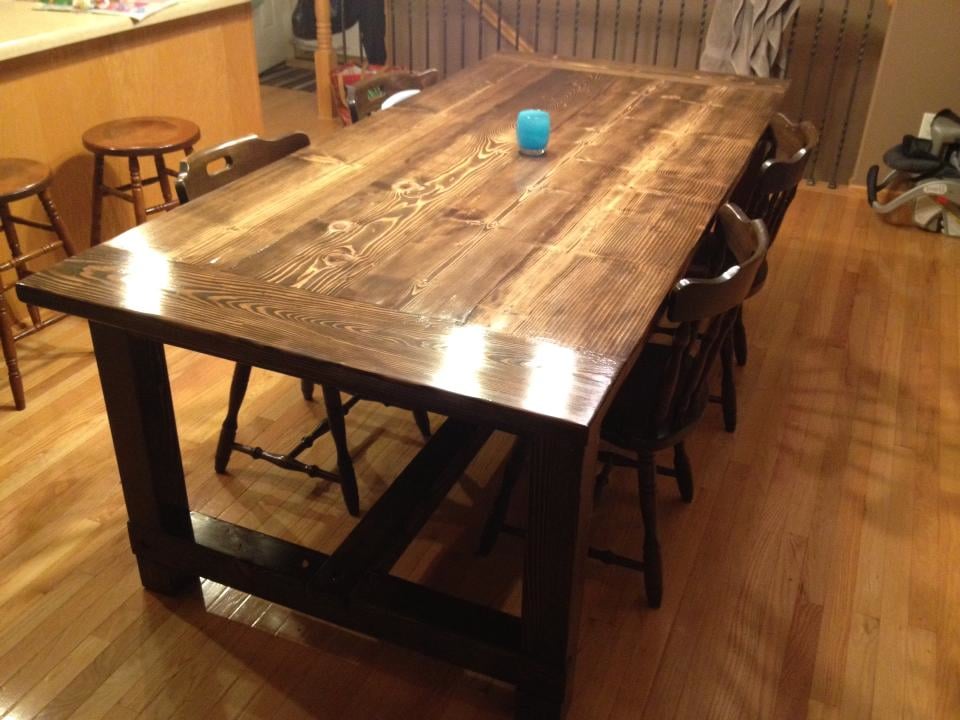
The Breakfast Nook is a small space with doors on either side.  The Bar-Stools are a little bit "higher than normal" and they have an obtrusive arm.  Very comfortable for sitting; but, cannot have an apron on a table or bar.  Needed room for 2 stools on each side.

To meet all these requirements, end up with a table that's long-ish, narrow, and tall.  Desired dimensions:  58 L x 28 W x 36.25 H.

Problems:  (1) worried about it being "wobbly" (tall & could not have an apron on the length); (2) needed to fit those bar-stools between the legs.

Solution:  I "merged" the plans for the Farmhouse Table with elements of the Truss Beam table for structural integrity.

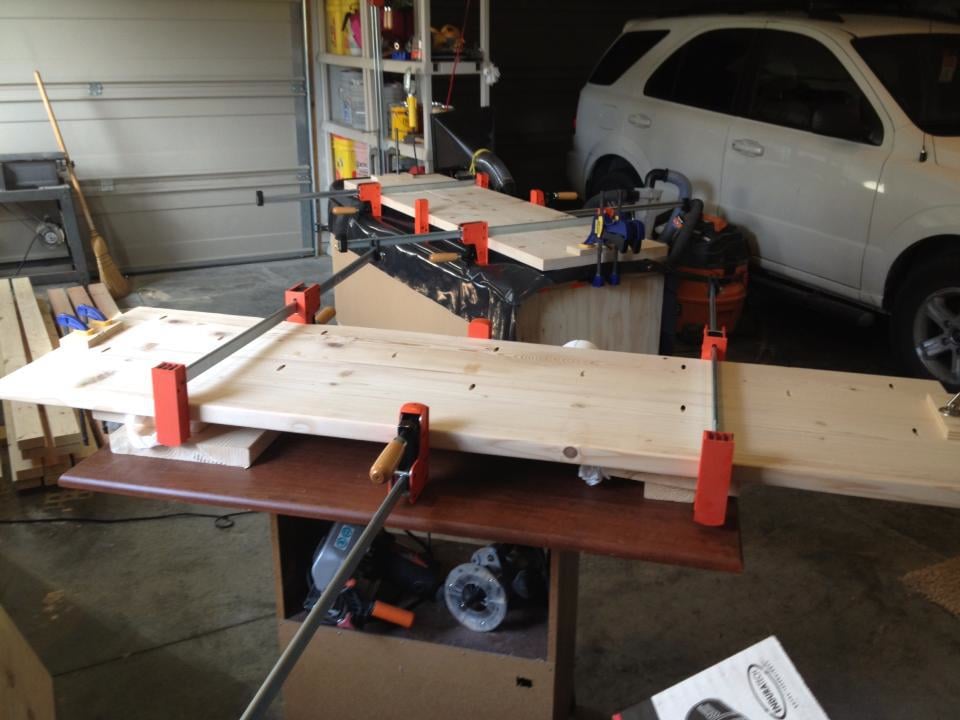
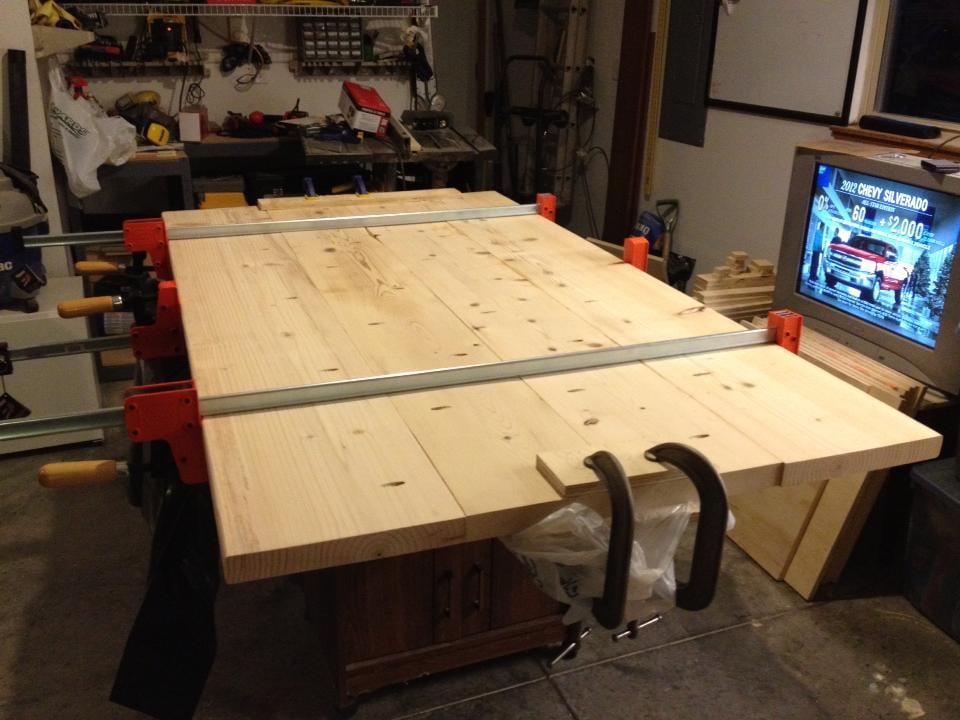
Top is typical:  used pocket-hole jig / screws (Kreg) to join three 2 x 10's.  Final Width:  27.75".  Cut even with straight-edge and framing saw (used a 60 T Fine-finish blade - nice!).

Set the end stretchers into the legs; attached with brown-colored deck screws.  Attached length-wise stretchers to the end stretchers with deck screws.  Could have used pocket-holes; but, this way, it's symmetrical and everything matches.

Added 45 degree supports for stabililty - used combination of pocket-holes and deck screws.

Base is sized so that top has a 1.5" overhang all-round.  

Attached the top to the base with pocket-holes / screws - to top end stretchers and legs, and top length-wise stretcher.
Estimated Cost
130
Estimated Time Investment
Weekend Project (10-20 Hours)
Finish Used
First, pre-stain wood conditioner (oil-based). Then a 2-stage stain:  Special Walnut followed by Weathered Oak (the wife got this scheme from AnaWhite.com). Finished with Satin Polyurethane (Wipe-on). All Min-Wax products.
Recommended Skill Level
Intermediate

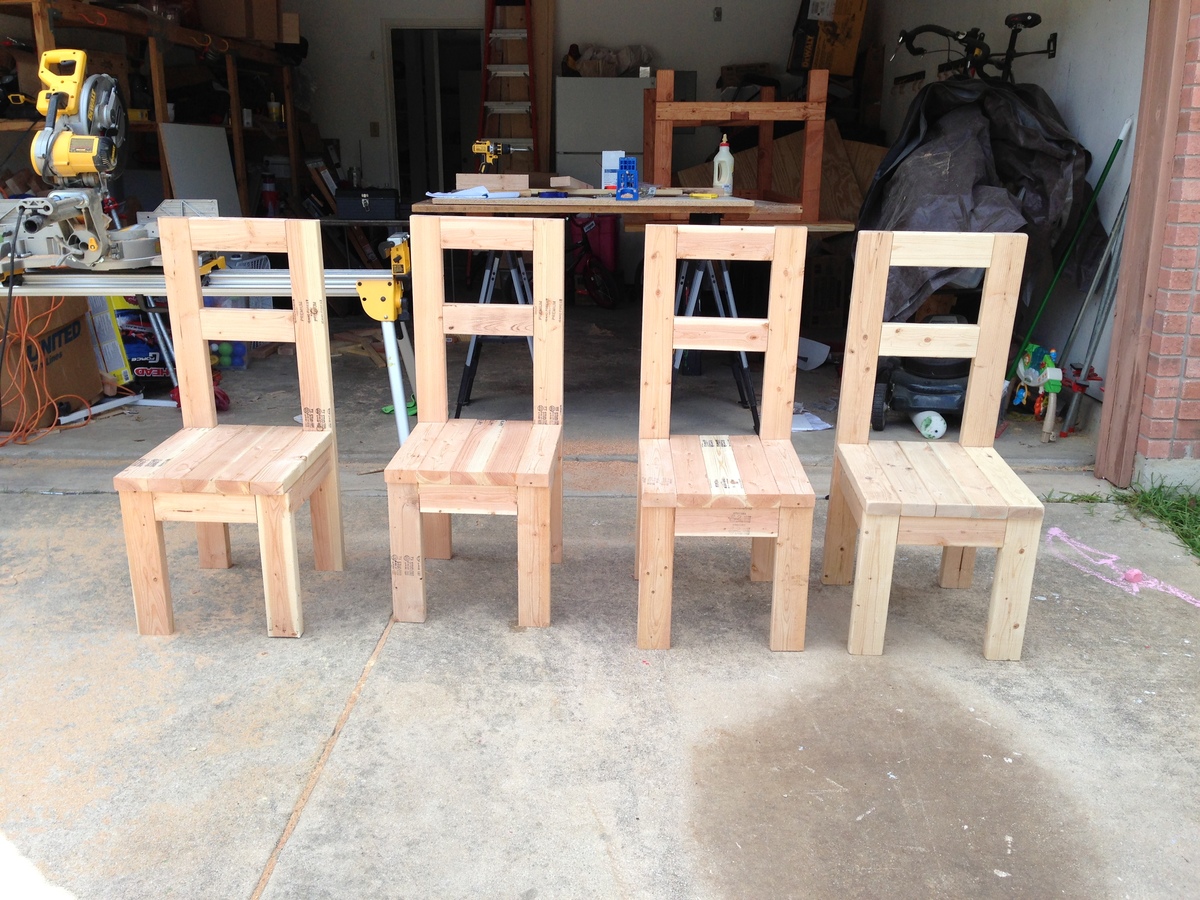
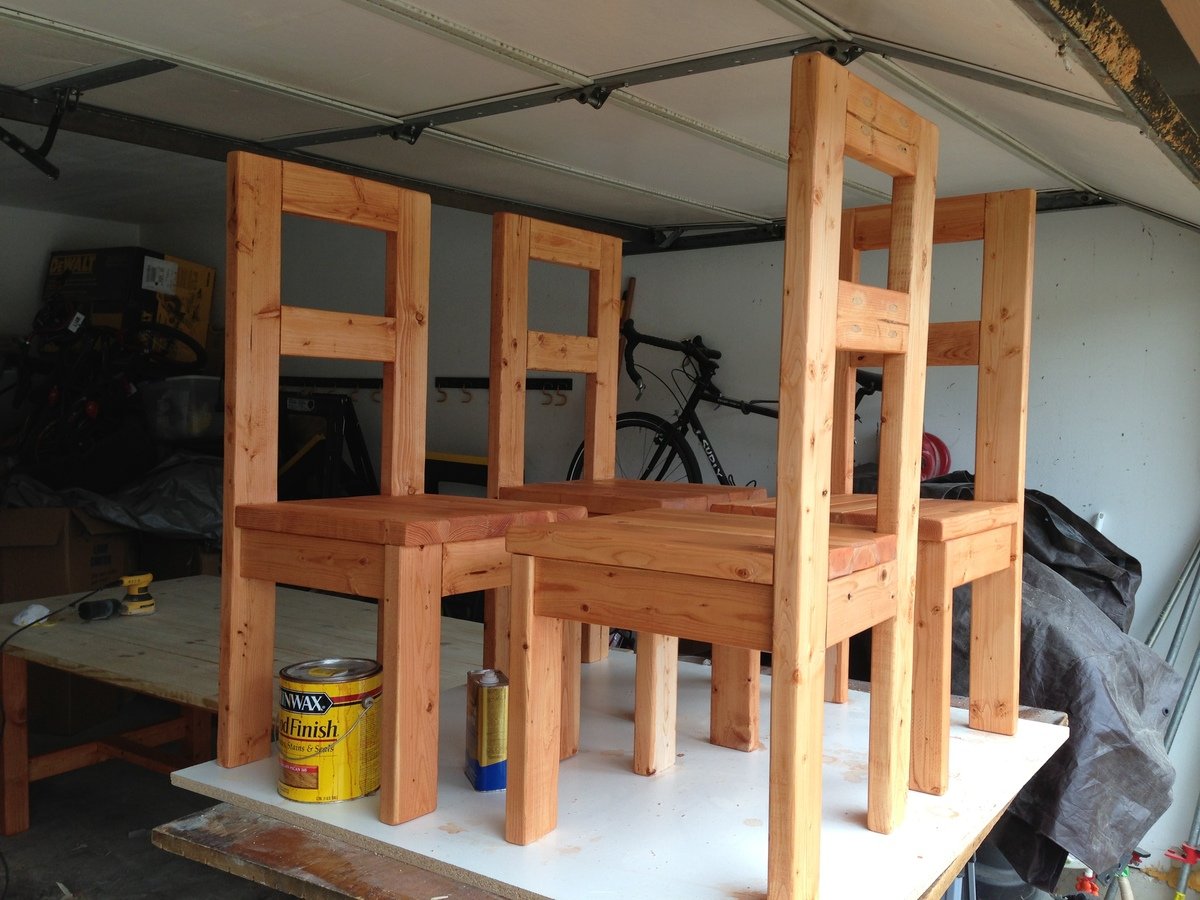
Modern Farmhouse Dining Room table with 2x4 chairs

Submitted by NeekosMac on Thu, 08/01/2013 - 13:28

Modern Farmhouse Dining Room Table (with pocket hole) and 2x4 chairs with plans reposted from morelikehome.net.

Surfed the site for the right plans and dove right in. Thank you for the inspiration all!

Estimated Cost
$200
Estimated Time Investment
Week Long Project (20 Hours or More)
Finish Used
Minwax Golden Pecan and Poly coat.
Recommended Skill Level
Beginner

Comments

Husky Farmhouse Table

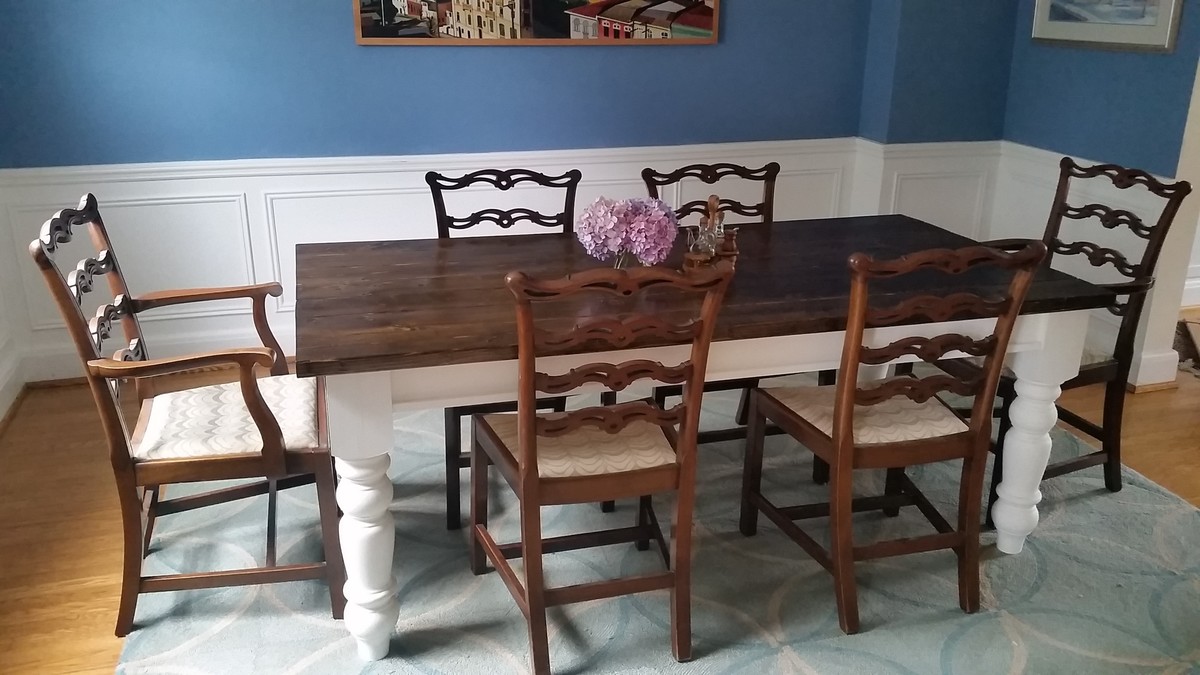
My brother and I built this table in about 4 hours over two days (finishing took longer) shortly after I purchased my first house. We needed a dining room table, and everything was super-expensive that we liked, so I luckily came across Ana's site and found this bad boy. I had never built anything in my life, but my brother had a little woodworking experience and, very importantly, some tools, so I ordered the legs from Osbourne Wood, got the rest from Home Depot and got building! We've gotten so many compliments on it. Thanks, Ana!

Built from Plan(s)
Estimated Cost
$400 (the legs were the majority of that)
Estimated Time Investment
Weekend Project (10-20 Hours)
Finish Used
Minwax dark walnut stain and Helsman spar urethane on the top and Benjamin Moore simply white on the bottom
Recommended Skill Level
Beginner

Comments

Workbench Console

Submitted by katonley on Sun, 03/25/2018 - 18:15

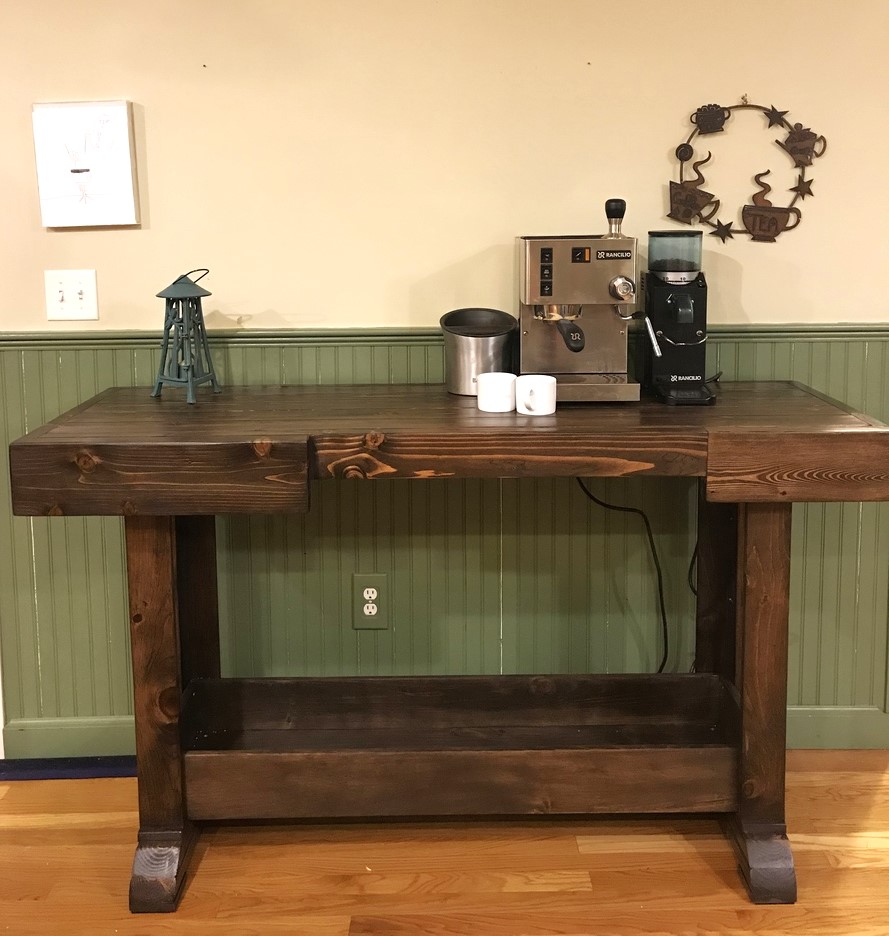
This table was fun to build, but took me a looonng time. Things I learned doing this project: First, when the pros tell you something can be put together in a few hours, they do not mean for mere mortals. Second, good staining really requires you to know your wood. I had several pine boards with a very pink undertone that made it impossible to get the color I wanted. I had to restain this twice. Third, this console table can support at least 130 pounds! 

Built from Plan(s)
Estimated Cost
130
Estimated Time Investment
Week Long Project (20 Hours or More)
Finish Used
After several failed attempts at something lighter, I went with Minwax Dark Walnut and a one-coat polyurethane.
Recommended Skill Level
Intermediate

Ladder Table White

Submitted by Mamasra on Thu, 06/23/2011 - 19:25

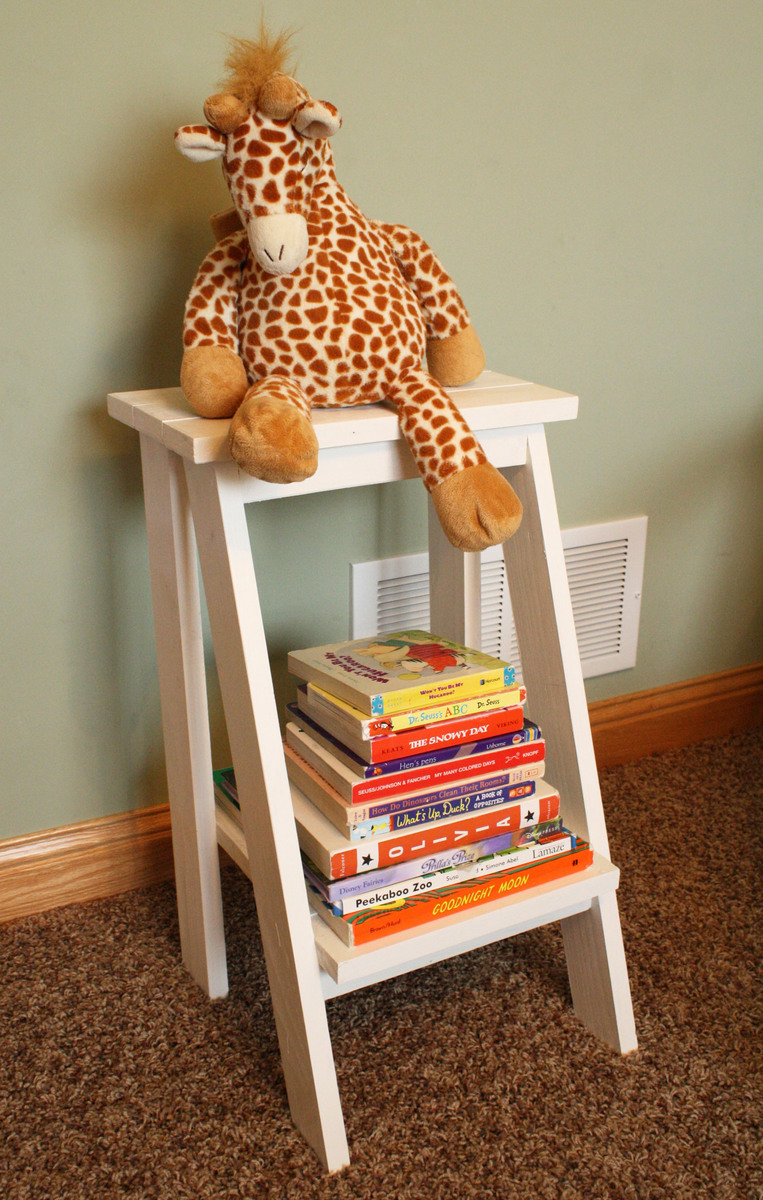
I made this ladder table, I just love it to hold books in my daughters room, I think I got the legs on backwards but you can't tell, and it sits flush. First project done!!

Estimated Time Investment
Afternoon Project (3-6 Hours)
Finish Used
White paint
Recommended Skill Level
Beginner

Farmhouse Table

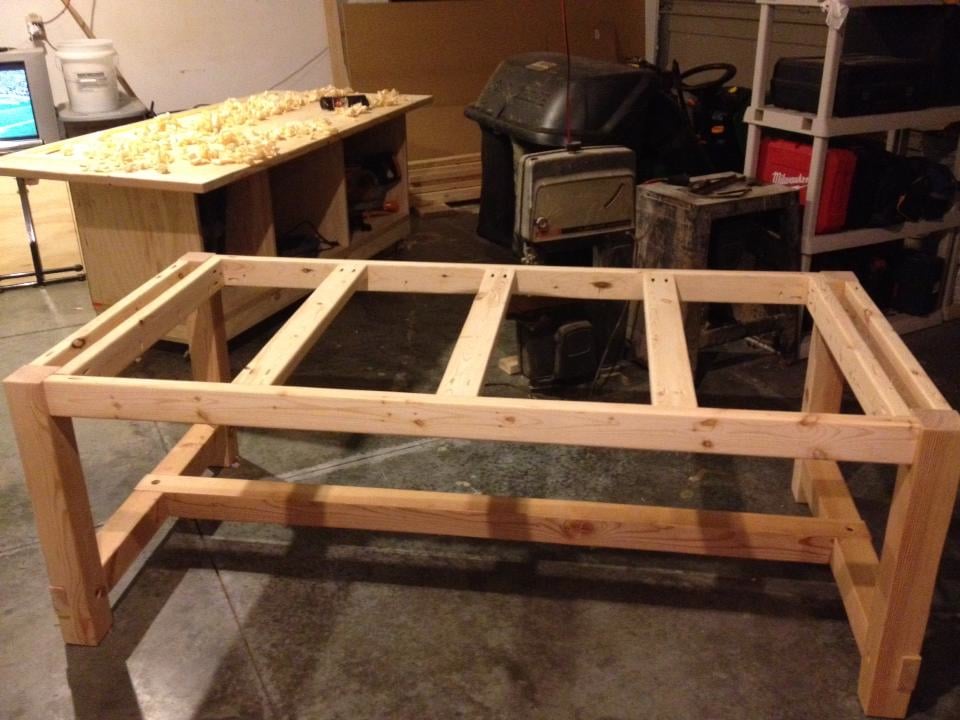
Inspiration for this project came from the original Restoration Hardware table's price, which was way out of our budget. We found the plans on this site, and then the brag post from http://tommyandellie.com/?p=2582, which convinced me to give it a try when we moved to our new house.
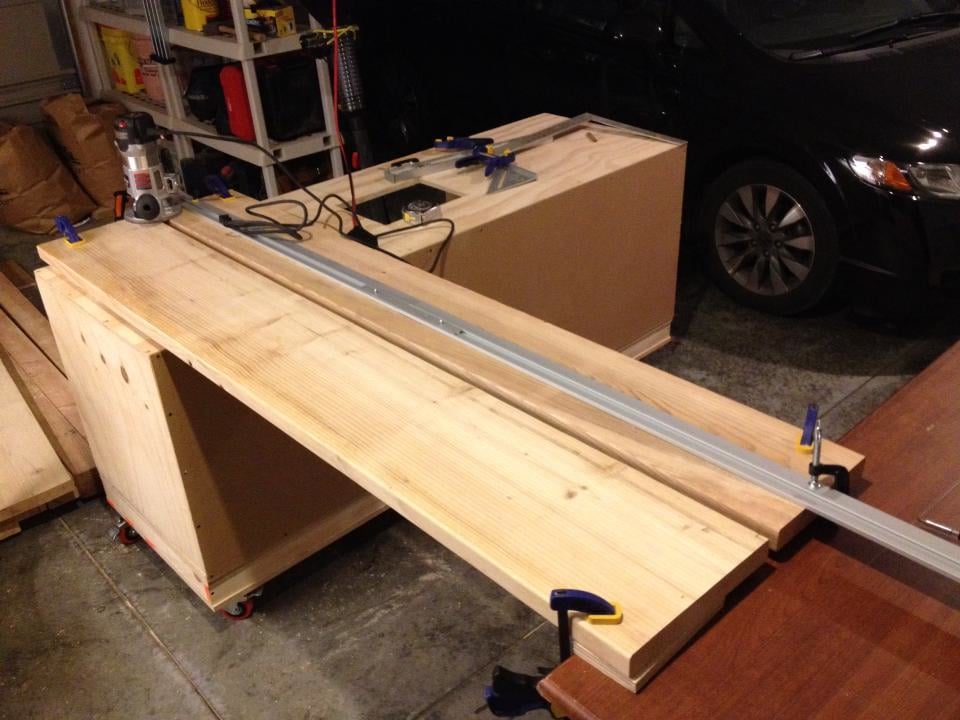
I pulled some ideas and techniques from a couple of different areas - one was the idea from American Woodworker to use a straight-edge and a router to joint the edges of adjacent boards so they match perfectly, or as close to perfect as possible (see one of the pictures). After a few false starts it worked out very well.
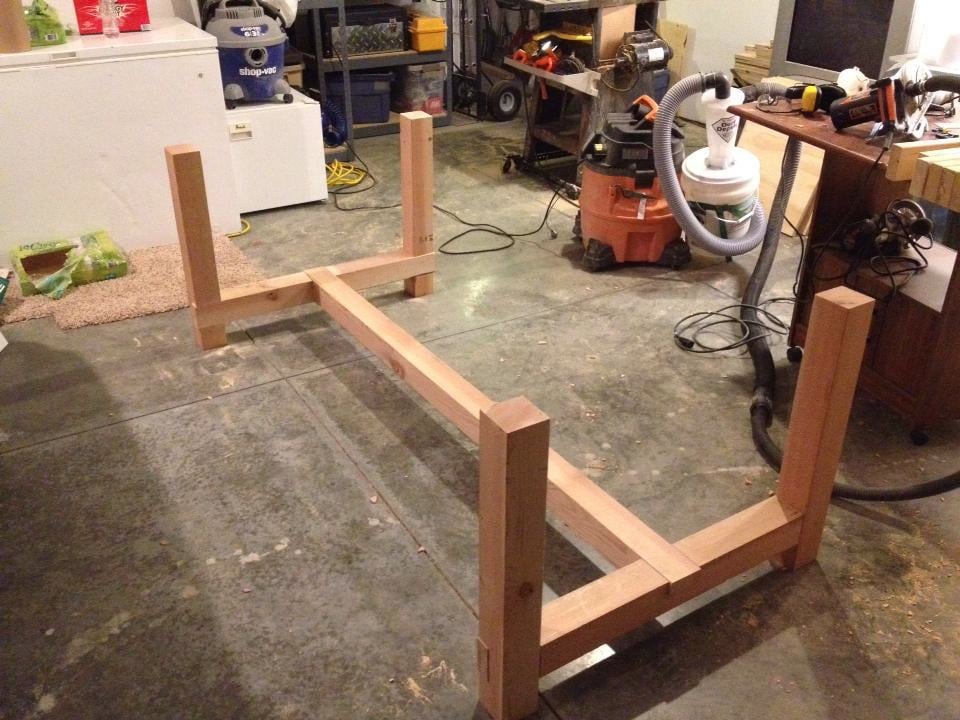
One other big change was to use 4x4 pieces for the legs and cross-braces - especially on the long cross-brace. With two kids (6 and 3) and a third on the way, I knew they would want to crawl under the table to play, and sit on the beams - and I was afraid a 2x4 wouldn't hold up to their weights. I've VERY happy with the result - that base is not moving or flexing at all.
Finally, I learned a TON about what NOT to do! Apparently after doing the dry fit and having everything fit well, you should not sand the parts of the boards that fit together or suddenly they will be loose! Also, wiping off the stain after the suggested amount of time IS a good idea, after all! Finally, we ended up using pine boards with fir 4x4's, and I wish we had used all fir as I think the grain pattern was nicer.
All in all, though, it was a great experience and I can't wait to tackle another project!

Estimated Cost
$200-$300
Estimated Time Investment
Week Long Project (20 Hours or More)
Finish Used
Minwax wood conditioner followed by 2 coats of Minwax Walnut stain, sanding lightly between coats at 240 grit. After stain dries, one coat of Varathane sanding sealer, sanding again at 240 grit. Then, Varathane water-based poly, 2 or three coats followed by light sanding at 400 grit (or between individual coats if it was past 12 hours from the last application) - followed by one final coat of poly. If I had known then what I know now, I would have used oil-based poly - I didn't realize there was a difference when I purchased the items. I also used foam brushes for each step.
Recommended Skill Level
Beginner

Comments

Rob Dunham

Mon, 08/05/2013 - 07:13

Excellent work. I am purchasing lumber today to build a table for my family as well. Thanks for the tip of routing the joint edges, I will give that a go for sure.
Cheers!

Fred KLauke

Mon, 08/05/2013 - 14:52

Thanks Rob, good luck! Below is the link to the original source for the technique I used (#8 in the list). Just be VERY sure you have the boards (and the straightedge) clamped tightly so there's no wiggling. The first time I did it I didn't have the straightedge tight enough and it wiggled loose at one end, so the router started biting into one board more than the other, making a curve. Once I got the layout figured out, however, it worked very well and I was very pleased with it - I even did it again with the ends of the long boards (after they were glued/screwed together) and the inside edge of the breadboards before attaching them.

http://americanwoodworker.com/blogs/techniques/archive/2009/08/26/10-tr…

AKite

Thu, 08/15/2013 - 19:38

Did you use a planer on your Fir 2x's?
I'm thinking I need a planer to level out some of the 2x10's and 2x12's at my lumber store.

In reply to by AKite

Nathan1342

Fri, 08/16/2013 - 08:05

If your using a hand planer your going to get more of a worn uneven look, it's nearly impossible to get a perfect straight board after using a hand planer. IF you run it through a floor standing planer whatever bend in the board will still be there since it follows the contour of the board. If you want a straight board regardless of size you need to straighten it with a tablesaw. I am sure you can find a million how to's by just googling "how to straighten a board with a tablesaw". When your using building lumber you will always have an issue with things not being straight and looking "rough". It may be easier to just goto a actual lumber store and buy something that isn't Pine. Pine is a soft wood which is likely to dent easily after being used. But regardless, if you want a straight board use a tablesaw. I bought a bosch table saw at lowes and its awesome. folds up against my wall and is probably the best tool i have bought. Decent ones run about 400 bucks but its well worth it with what it allows you to do.
Fred KLauke

Fri, 08/16/2013 - 07:53

Not beforehand... (just to be clear, my 2x's were all white pine, only the 4x4's were Fir - unfortunately, the local Menards only had pine 2x's and fir 4x's) - I spent a lot of time at the store picking out the straightest, least cupped/curved boards I could find, and then spent more time at home arranging them to make sure the boards with the longest straightness (is that a term?) were used for the long pieces. Once the top was put together, I used a straightedge to find the humps and valleys in the top and used a hand plane to level them out a bit (see the background of the picture with the completed base, you can see the shavings on the top). I would suggest, if you do the hand plane route and aren't familiar with the tool or don't own one, to either borrow a well-tuned one from someone who would show you how to use it, or prepare to spend money to get a good one. You probably don't want to do what I did, which was buy a cheapo Stanley from Menards and then spend probably 8-10 hours over the course of a week or so trying to get it setup properly. I finally got it useable, but it was a very frustrating process and it didn't take long before the newly-sharpened edge was dull again. I did finally get it smooth enough so that it was easy to slide a plate or dish from one side of the table to the other without it rocking or hitting an edge/bump, but if I had it to do over again I would have saved the time and spent the money on a good older Stanley or a newer Lie-Nielsen or Lee Valley, etc., and then spent a lot less time getting the plane ready to go.
One thing that helped my mind-set as I went through the process was to remember that the beauty of this style is that it is not supposed to be perfect - a farmhouse table is supposed to look a little rough and worn, and the little defects are part of it's charm. It's an important point to remember especially if you are a bit of a perfectionist as I am!

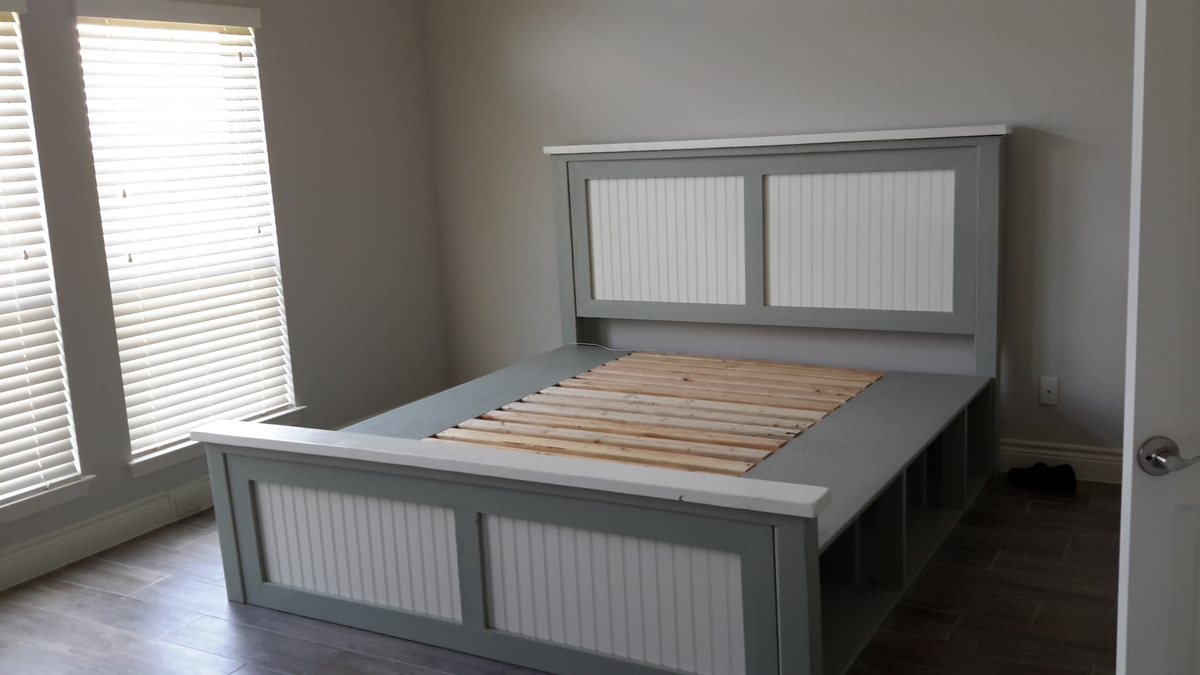
King Farmhouse Storage Bed

Submitted by emtrahan on Mon, 08/24/2015 - 11:57

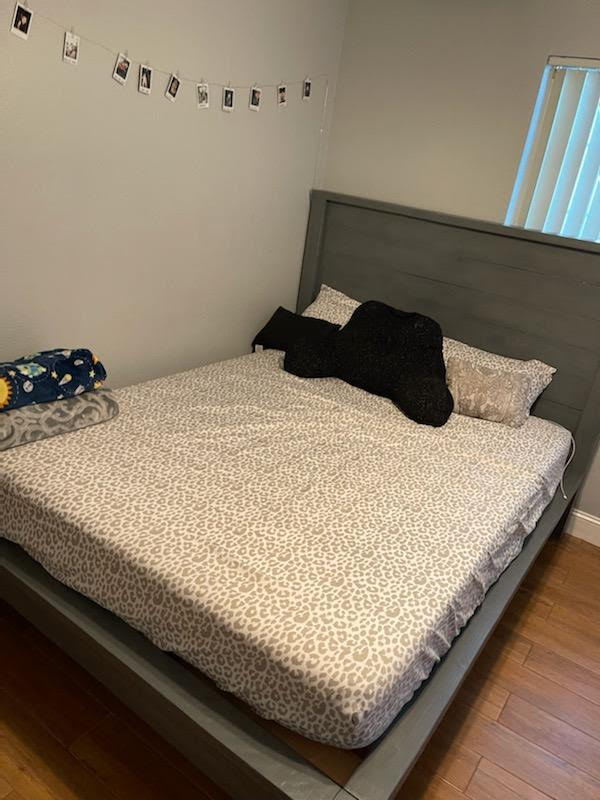
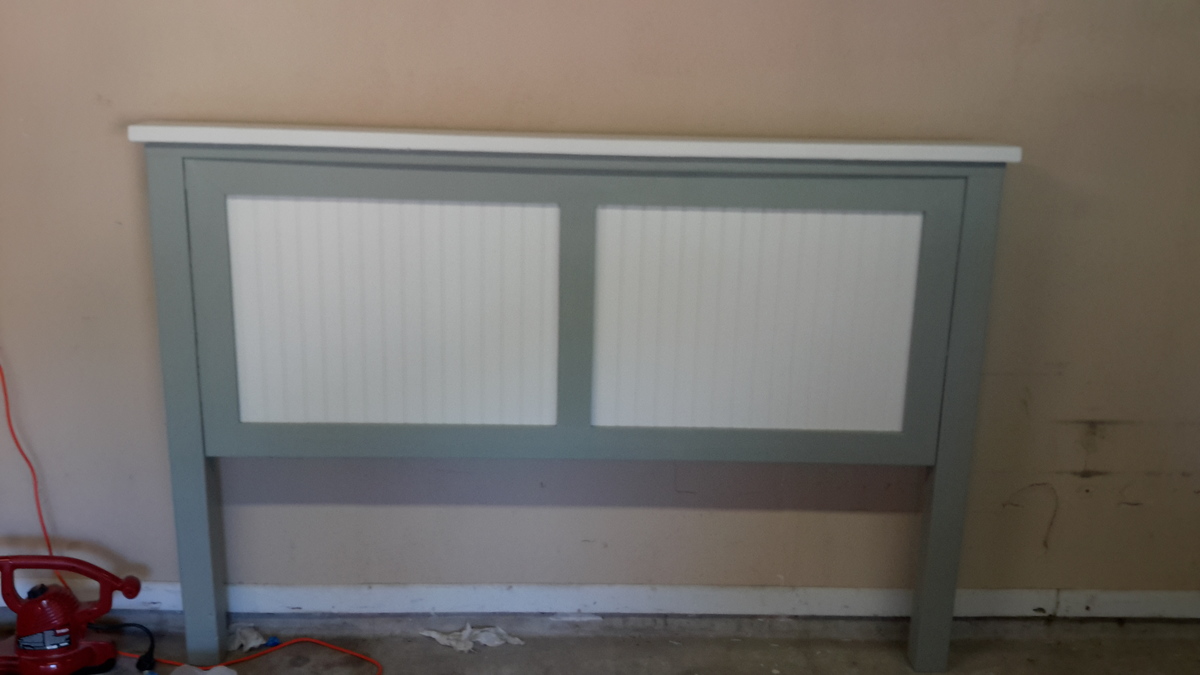
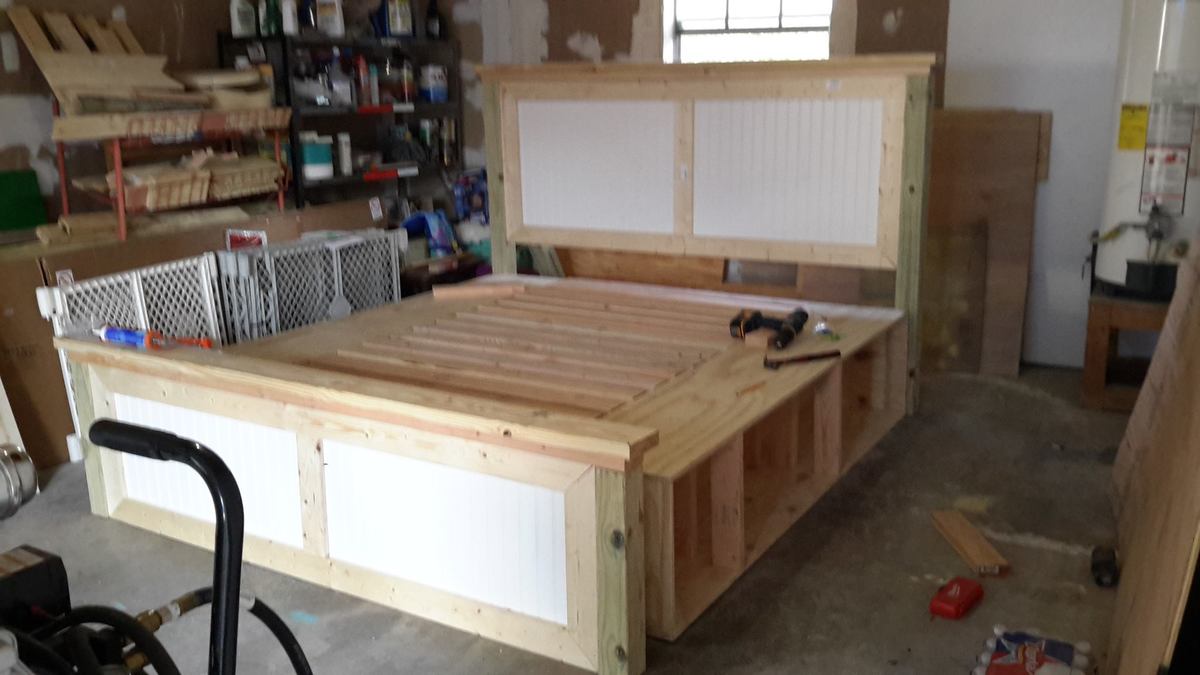
We were looking to make a king size storage bed in the farmhouse style, but couldn't find anything that was exactly what we wanted, so we stole pieces from several plans and ended up with this! 

Estimated Cost
$300 for everything, lumber, paint, you name it!
Estimated Time Investment
Weekend Project (10-20 Hours)
Finish Used
Sherwin Williams escape grey and dover white, over a coat of kilz.
Recommended Skill Level
Beginner

Farmhouse Media Center

Submitted by Rkh81989 on Sun, 04/08/2018 - 14:10

Farmhouse Media Center

Estimated Time Investment
Week Long Project (20 Hours or More)
Recommended Skill Level
Intermediate

Comments

x-table and benches

Submitted by kcaldes on Tue, 06/28/2011 - 11:32

Good plans and easy construction. Thanks!

Built from Plan(s)
Estimated Time Investment
Afternoon Project (3-6 Hours)
Finish Used
None yet.
Recommended Skill Level
Beginner

Comments

yogijenn

Thu, 08/08/2013 - 08:54

Planning to build a set like this for my new patio. The angles on the bench legs don't appear to be 45s. Could you share a few detail about them? Thanks!

Bathroom Mirror

Submitted by AndyH on Thu, 08/27/2015 - 19:31

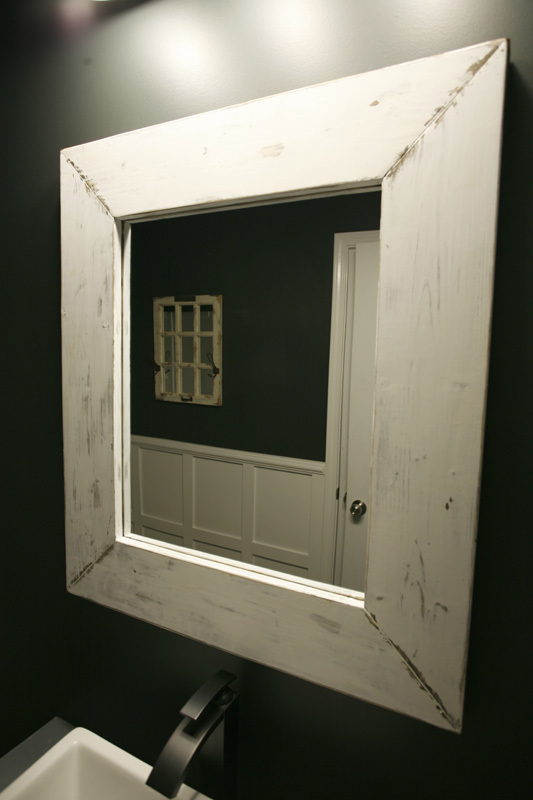
Bathroom mirror made from 1 by 6s and a 24 inch by 20 inch plain mirror.

Estimated Cost
$25
Estimated Time Investment
Afternoon Project (3-6 Hours)
Finish Used
Minwax Jacobean, then vaseline on the bits you want to show through the wood. Extra white satin paint sanded slightly and then another coat and sanded smooth by hand with 400 grit sandpaper.
Recommended Skill Level
Starter Project

Tilt out trash can with drawer and shelves

Submitted by tholler on Fri, 04/20/2018 - 19:59

A few 2x4’s and some old fence boards. 

Danish oil - walnut. 

Estimated Cost
Used mostly scraps. Bought 4 2x4 at $4 each. Hinges were $4 too I think. Had 1x6 in scrap pile for drawers.
Estimated Time Investment
Day Project (6-9 Hours)
Finish Used
Danish oil - walnut. And great patina from old fence boards...
Recommended Skill Level
Intermediate

Balin Consle Table Extraordinaire

My wife and I picked this out as our first somewhat complex piece from Ana's site to make. Most of the table is made from left over 1x4s I had from a fence we made. I only needed 2 1x12s as we didn't make the drawers as deep.

Because I cut down the 1x4s for the legs (and didn't examine the plans in detail first) I made them 3 inches wide when the ones in the plan are only 2.5 inches wide. This made for a few adjustments, such as the middle two drawers being a bit narrower.

The fronts of the drawers are normal height, but the boxes are only 4 inches high inside (so they don't fill up with as much junk, lol).

The 1x12s were only 11 inches wide, so I laminated some 1x2s on the sides to make it wide enough.

I think it really turned out well and we're already planning some complimentary pieces for our living room.

Counting the left over wood from the fence it probably cost around $50 including the stain and polyurethane.

Built from Plan(s)
Estimated Time Investment
Weekend Project (10-20 Hours)
Finish Used
We stained the table with minwax walnut stain, sanding lightly after 2nd and 3rd application. After that we put on 3 coats of semi-gloss polyurethane sanding between each. Lastly, on the top we put on 3 coats of clear gloss.
Recommended Skill Level
Beginner

School Table

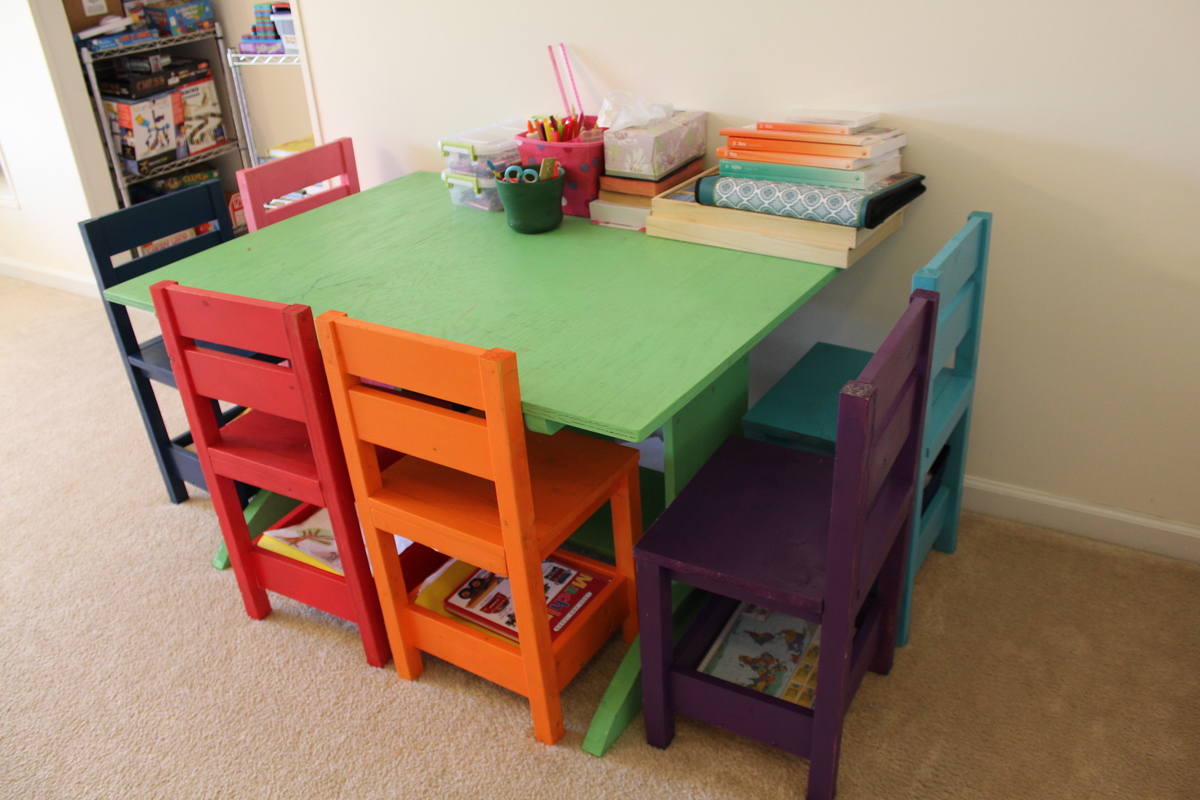
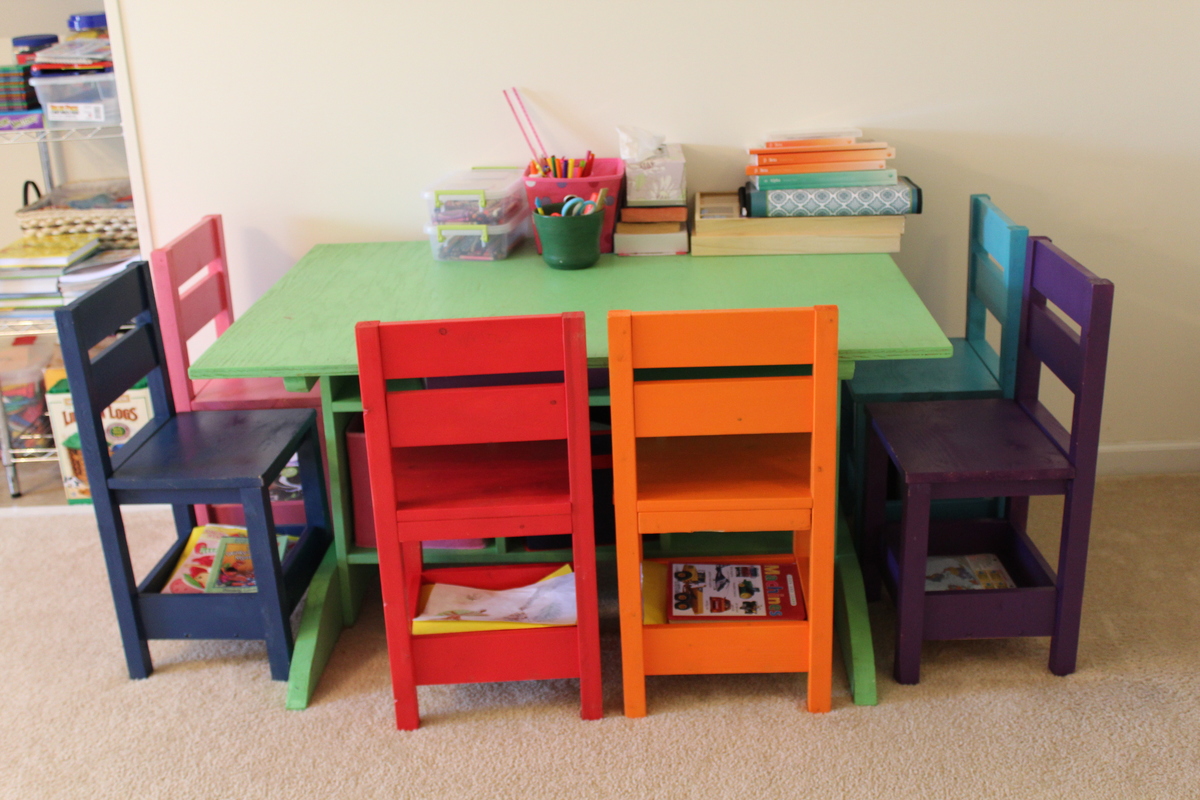
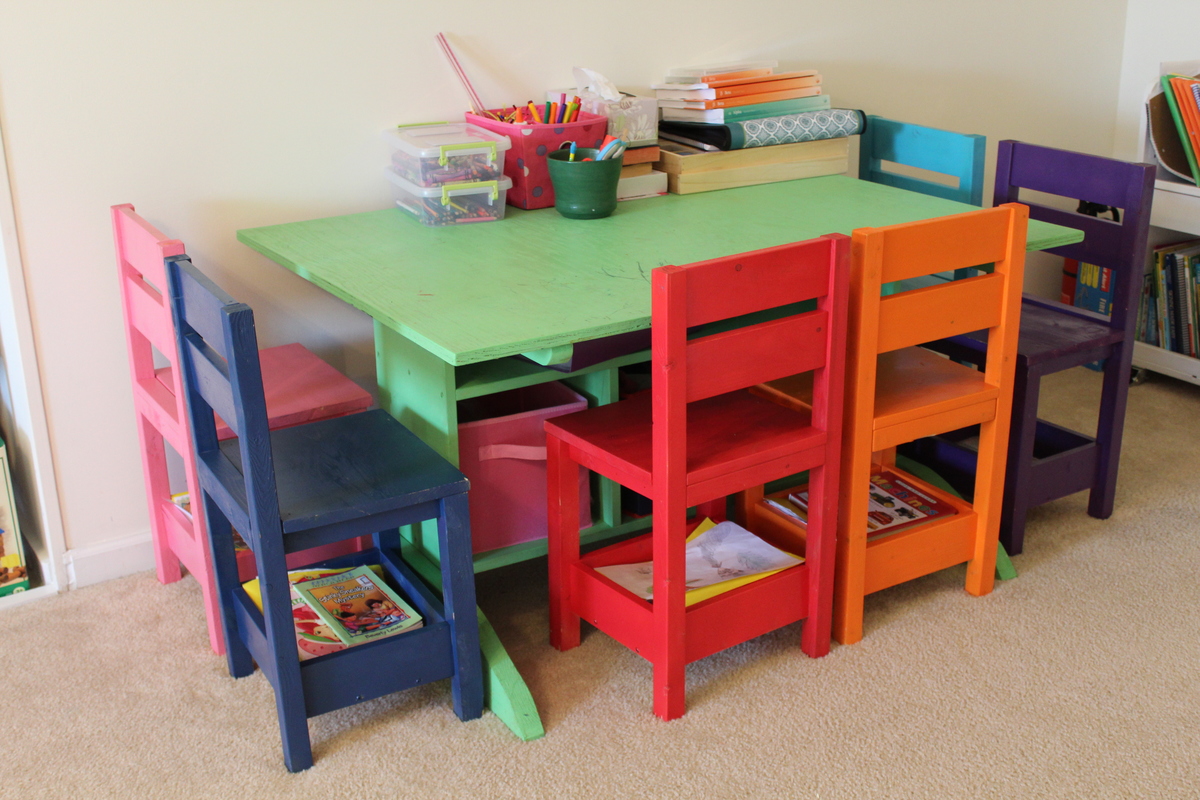
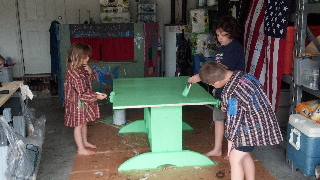
I made the legs rounded instead of cut like the plans showed. I also made the table top much larger, so I extended the legs and the table supports. The kids picked Tree Frog Green by Valspar. They loved helping paint!

The chairs are the Children's Storage Chairs.

Built from Plan(s)
Estimated Cost
$60
Estimated Time Investment
Afternoon Project (3-6 Hours)
Finish Used
Valspar Tree Frog Green. Two coats of Minwax Polycrylic.
Recommended Skill Level
Beginner

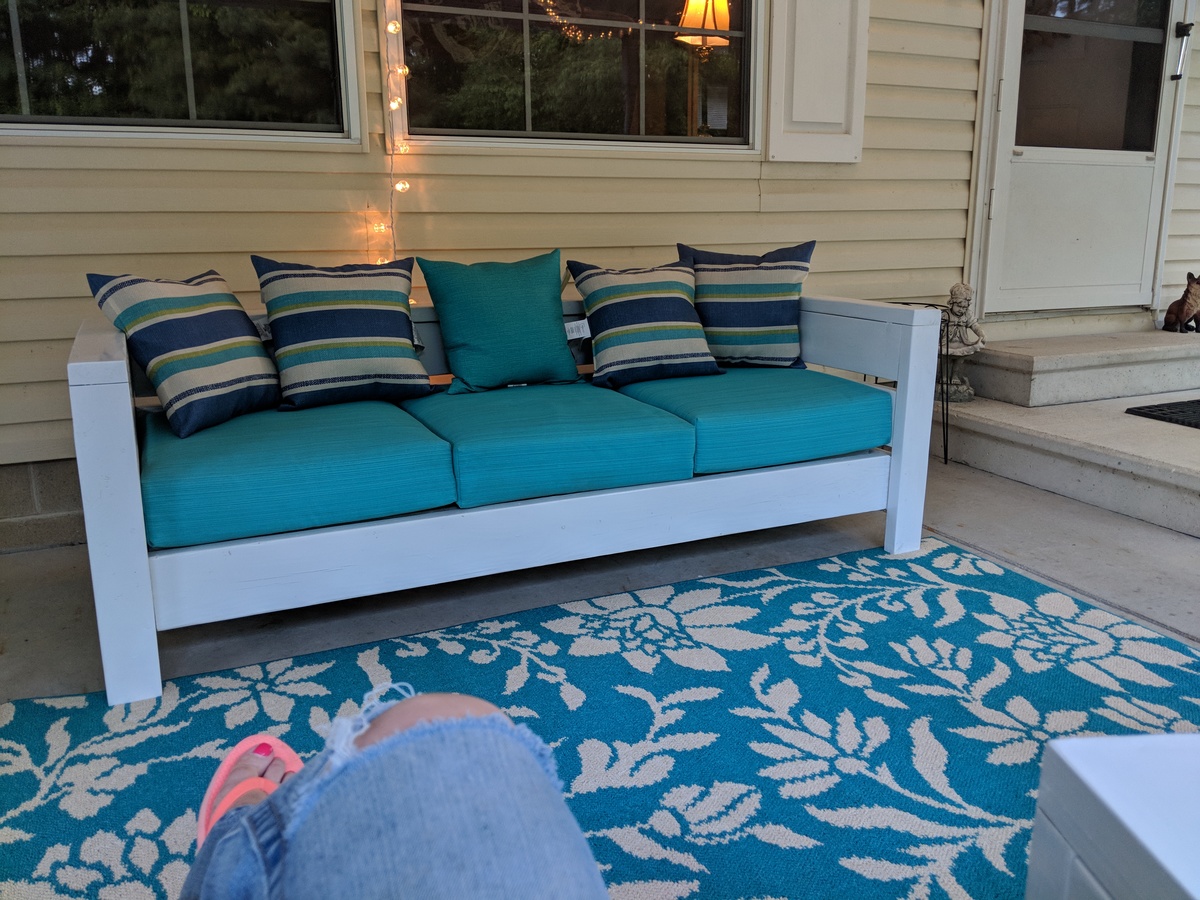
Modern Outdoor Patio Furniture

Submitted by disneynut on Tue, 05/22/2018 - 19:26

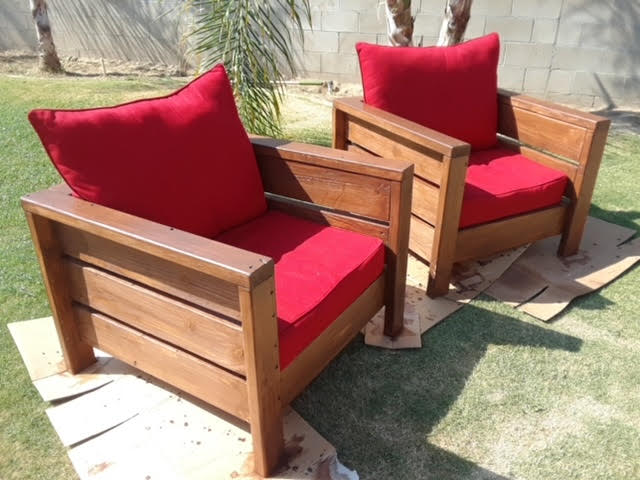
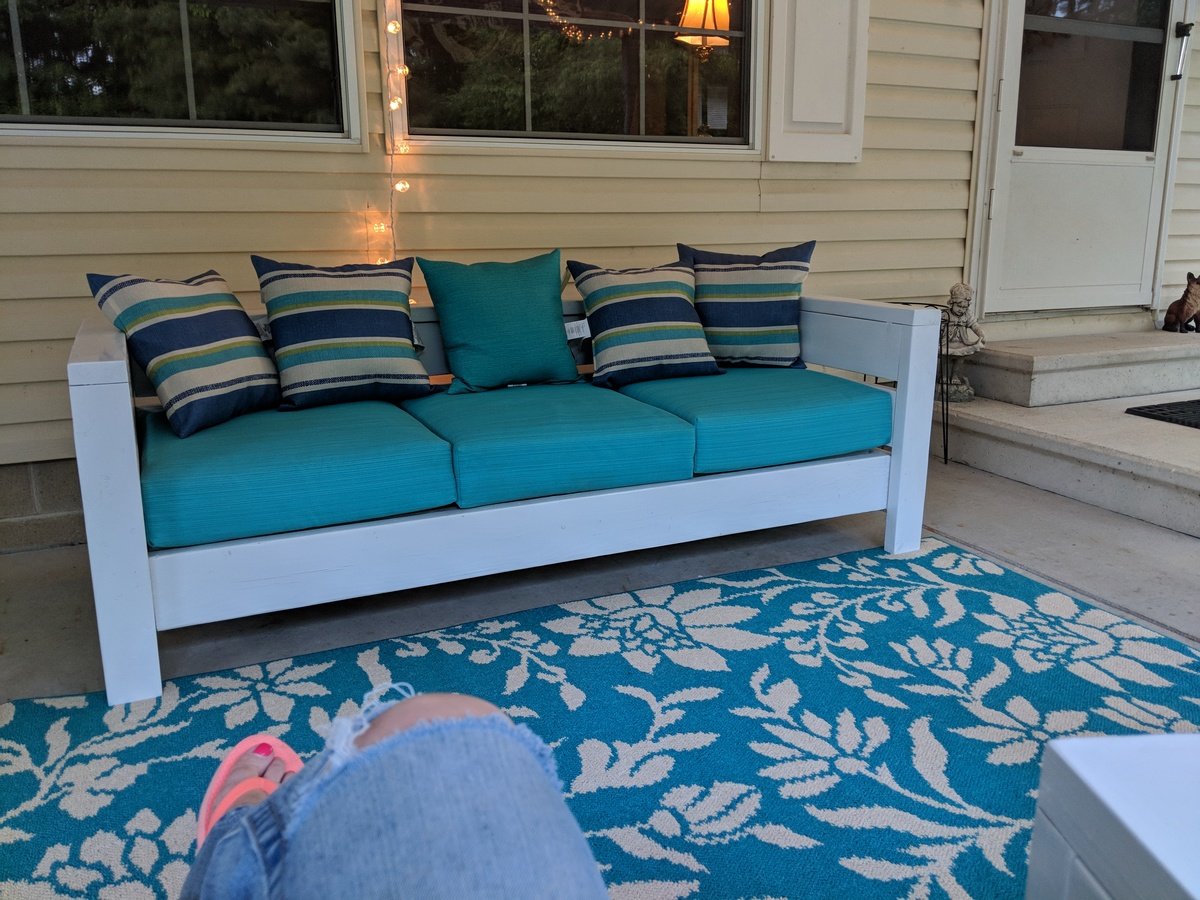
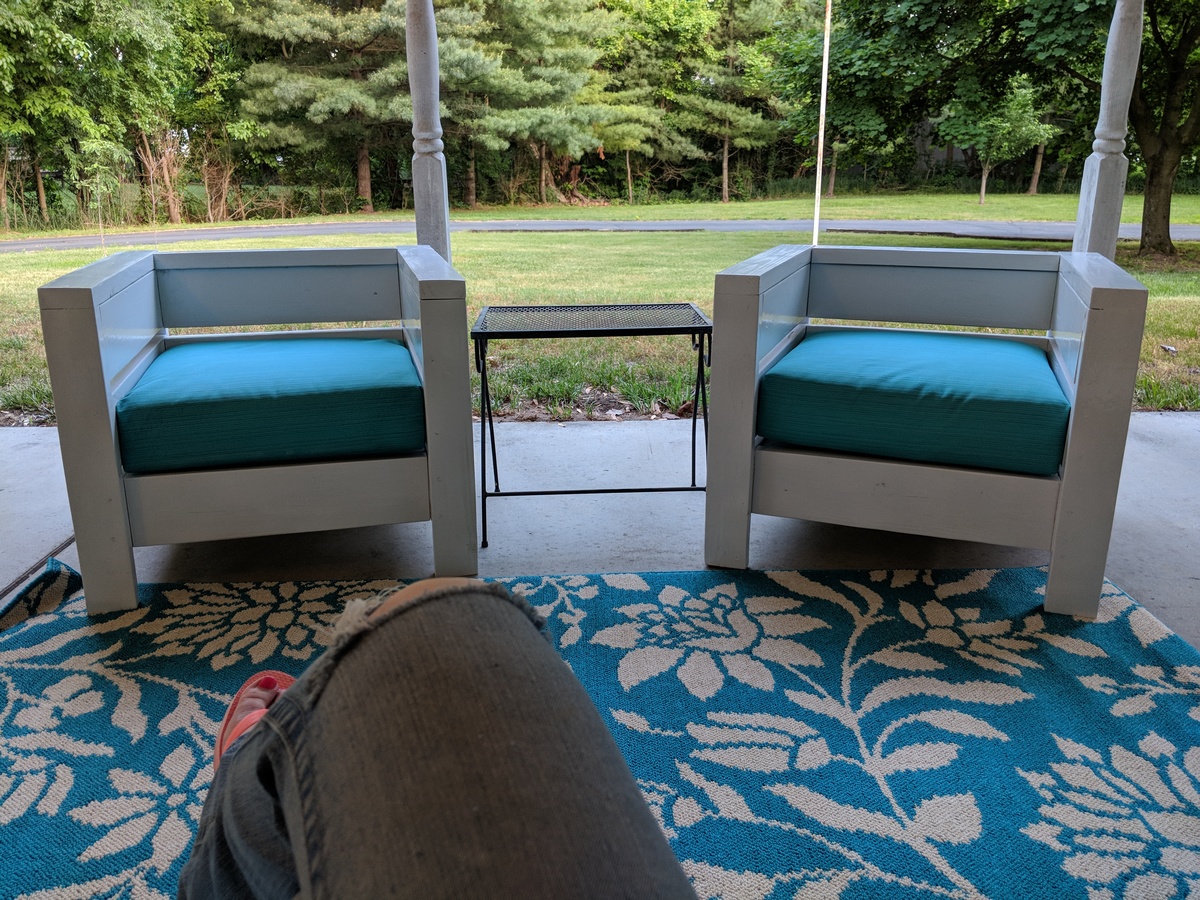
I used modified plans from Thrifty and Chic. I have the same cushions size from Target that she has. It worked out beautifully. 

Estimated Time Investment
Weekend Project (10-20 Hours)
Finish Used
High gloss enamel paint
Recommended Skill Level
Intermediate

Comments

Free Farmhouse Table

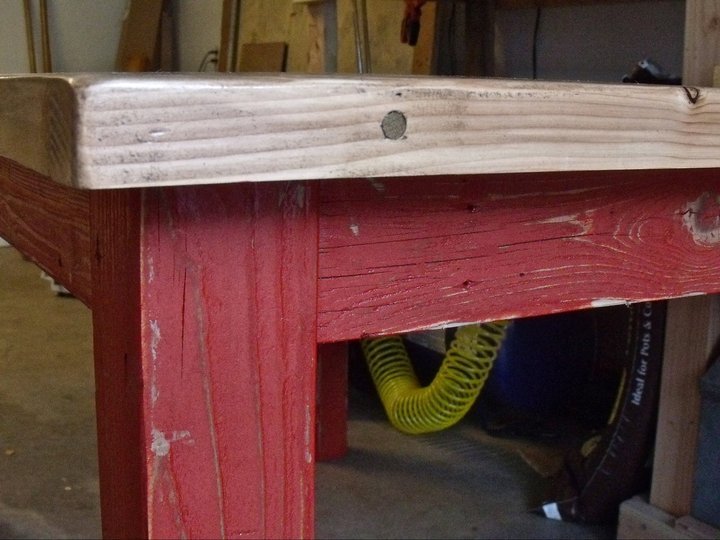
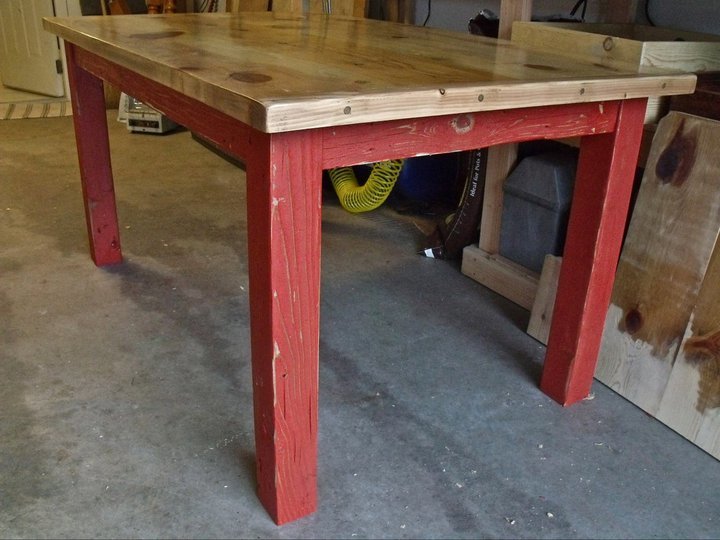
I got all the wood from the dump. The best way to get a good glue up for the table top is joint the sides flat, and then hand plane the top for a smooth surface. Gorgeous table for nothing.

Estimated Cost
$0.00
Estimated Time Investment
Week Long Project (20 Hours or More)
Finish Used
Non wax Shellac, Walnut Stain, Semi-Gloss Poly, Red Spray Paint
Recommended Skill Level
Advanced

Comments