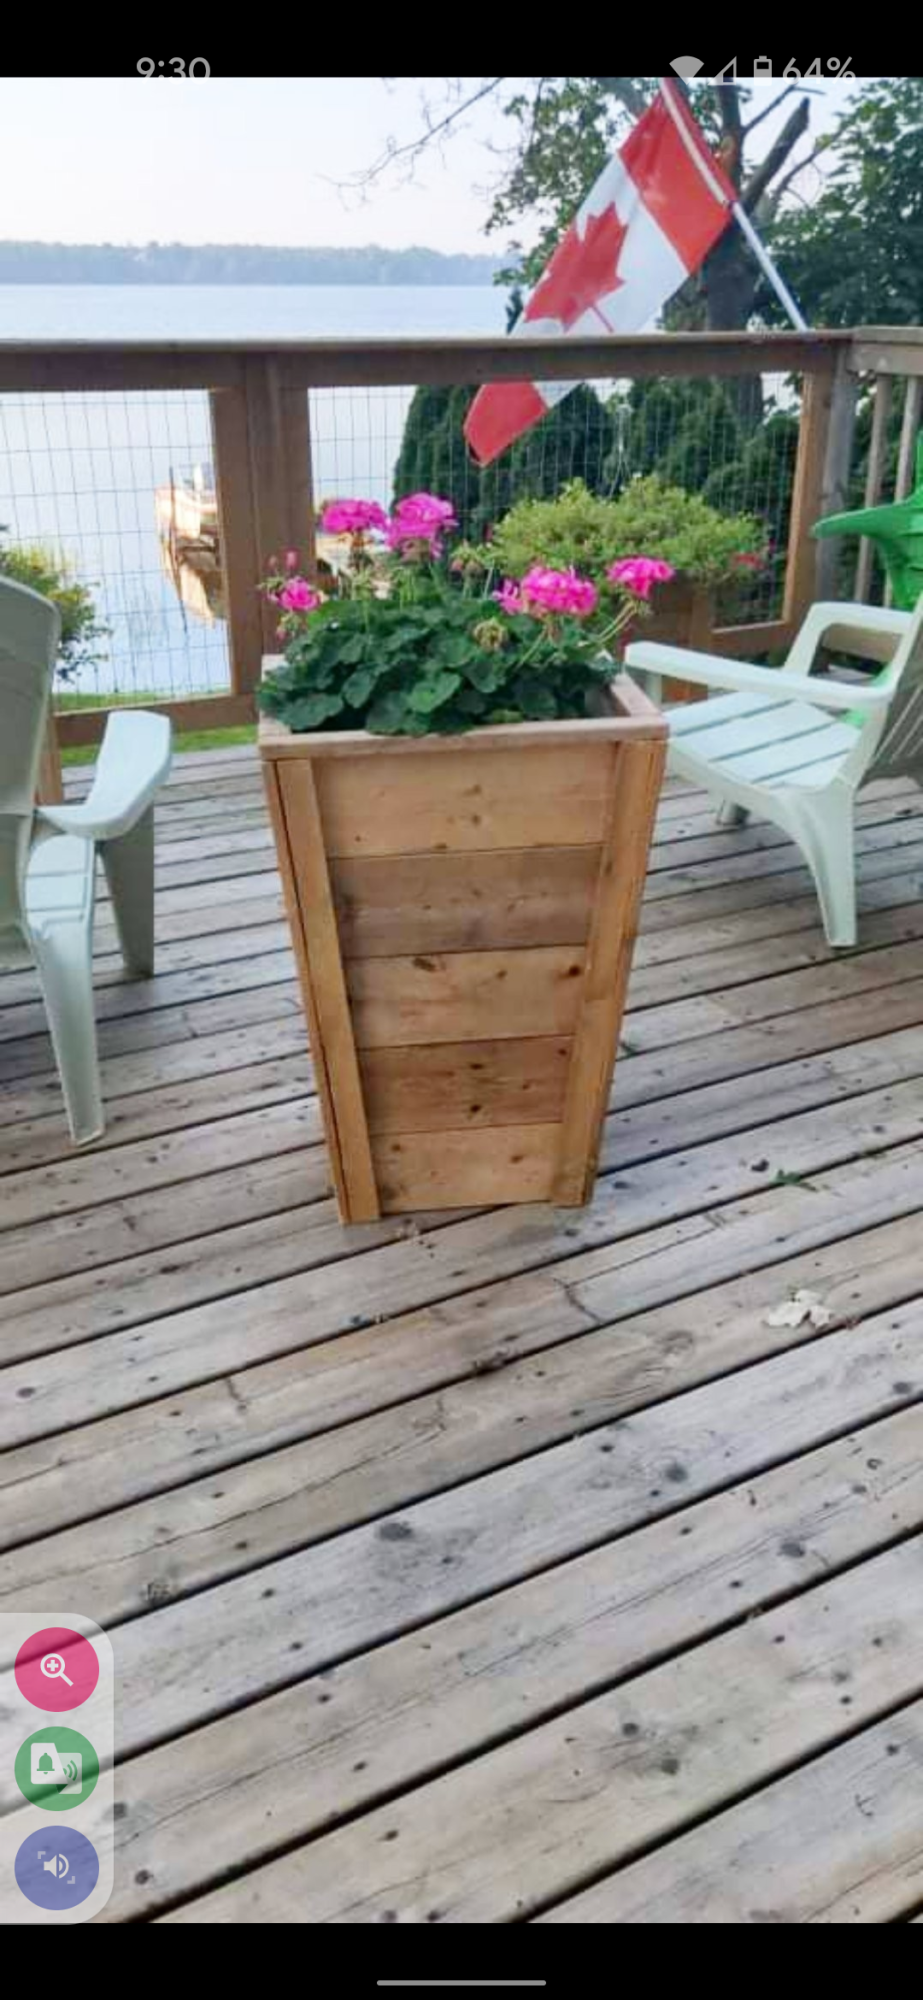
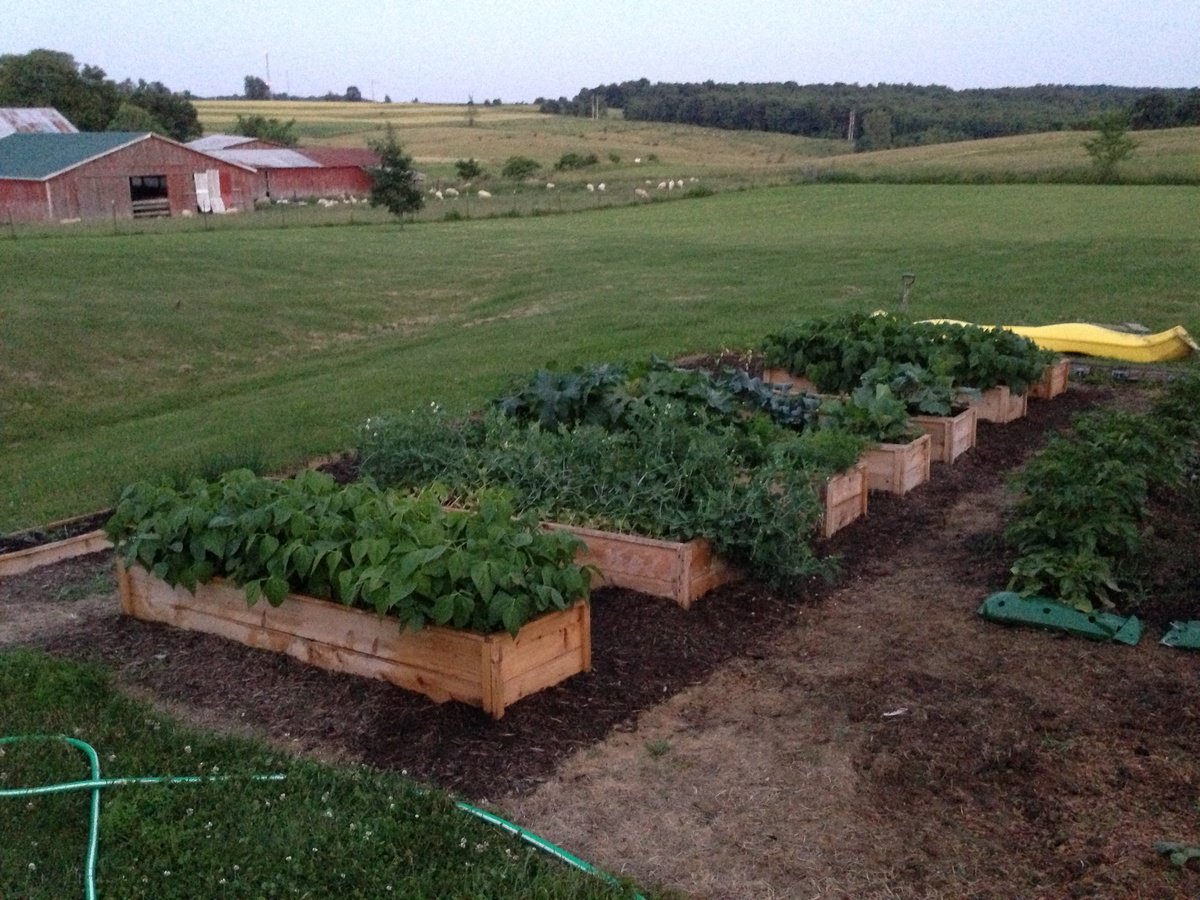
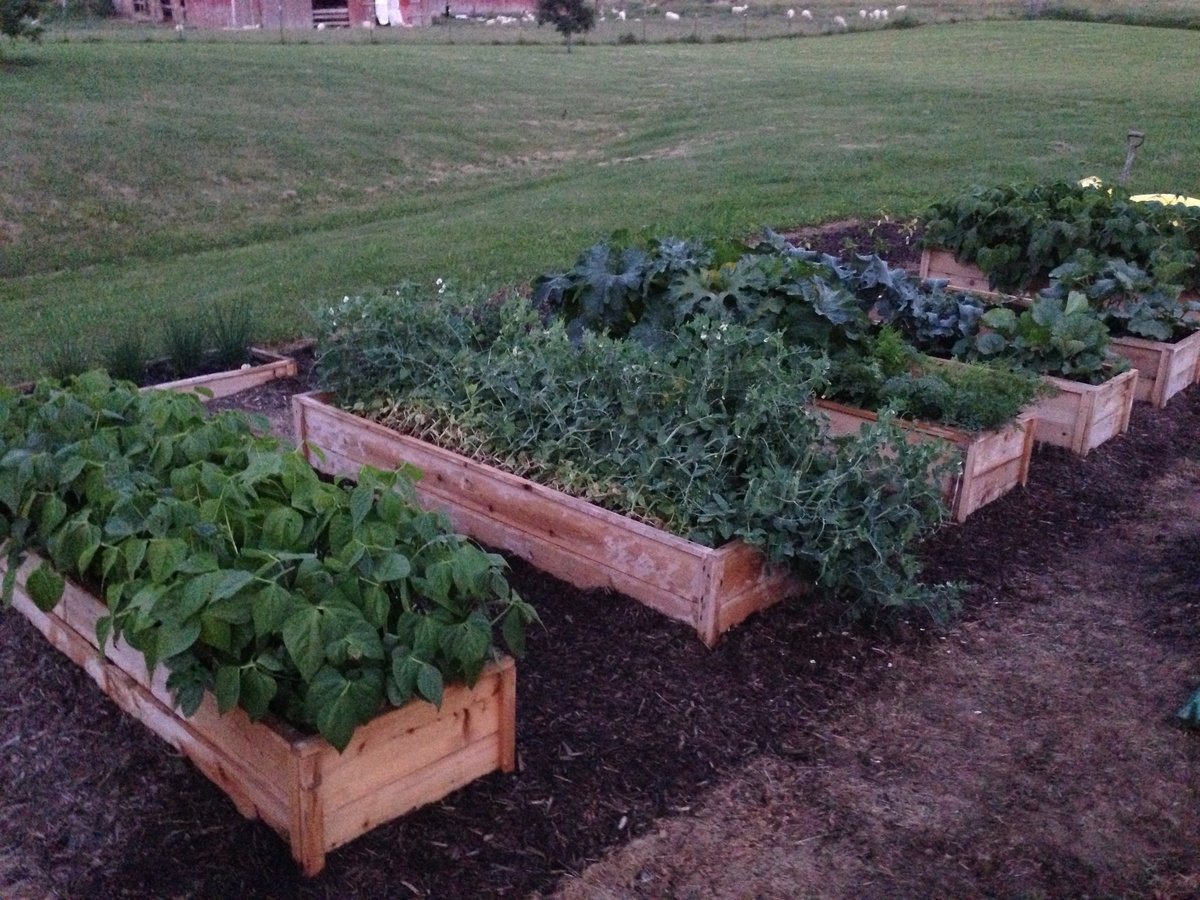
Raised Garden Bed Variations
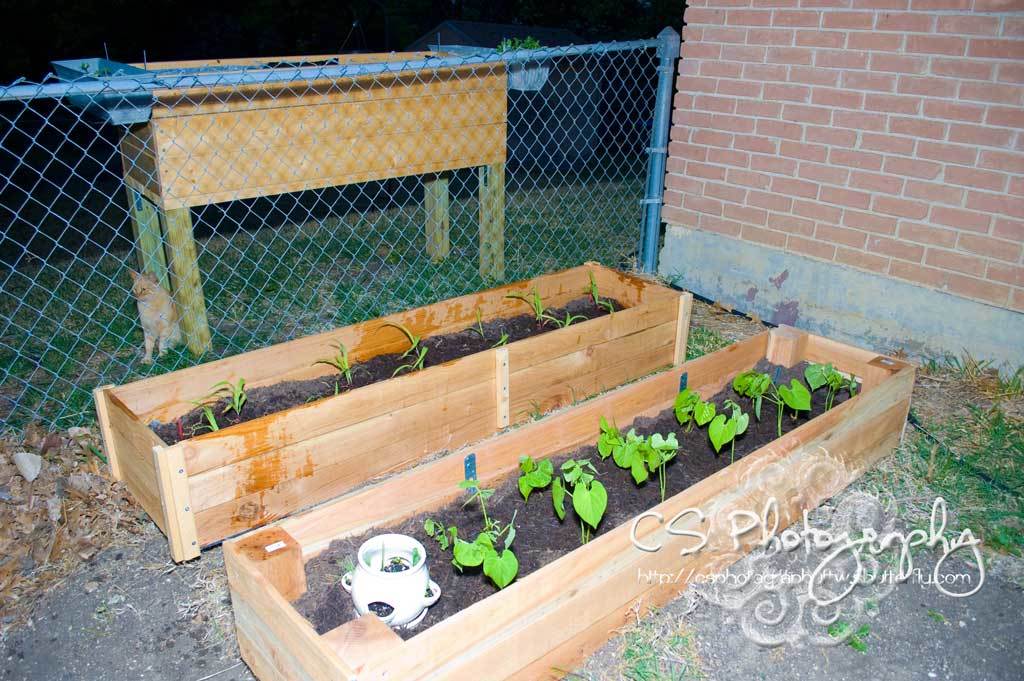
Our 1x6 cedar fence posts were like $2.39 each, but the 1x4's were $1.17 each, so $9.36 for the cedar plus about $2.50 for the trim. But on the 2nd bed, we opted to use 4x4 @ 8' cedar that I got for half off (@$8) because there were 3 "beat up" pieces left. So our total was @ $13 each.
Built from Plan(s)
Estimated Cost
$13.00
Estimated Time Investment
An Hour or Two (0-2 Hours)
Finish Used
No finish
Recommended Skill Level
Starter Project