Community Brag Posts
Brookstone Desk and Hutch Combination
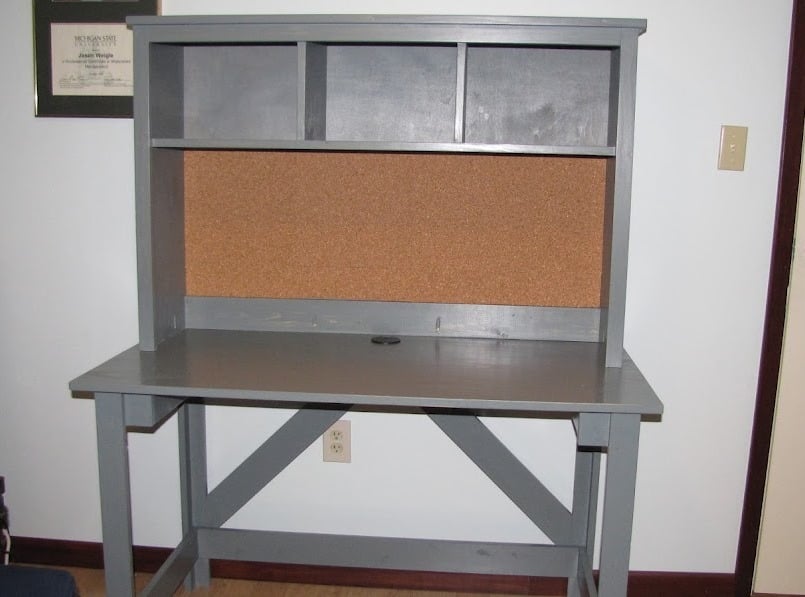
I saw this plan and knew that I had to build it for my home office. The top of the desk is the perfect size for my HP printer/scanner. I added the cork backing as suggested in the plan - works great for adding notes and papers to the back of the desk.
Because I am taller I modified the plan by not adding the middle drawer to the desk. This gave me the knee room I needed to be able to get my desk chair underneath and close enough that I could type. I also cut a hole in the desk top to place an cable grommet in so that I could run wires for my electronics through it. I added two pocket holes in the back plate to further secure it to the desk bottom.
The only disappointment I had was not with the design but with the stain. While I like the color, at a distance it ends up looking like paint rather than stain. I don't know if the wood was drier than normal and soaked the stain more, or if it just stained darker than I thought it would (i.e. should have stayed with one coat rather than two). But, when I'm sitting at the desk I can see the wood coming through the stain so the dual character of the stain isn't so bad.
The design is quick, simple, and easy to follow. It came together in no time.
Built from Plan(s)
Estimated Cost
$80
Estimated Time Investment
Day Project (6-9 Hours)
Finish Used
Minwax River Stone tinted stain, Minwax satin wipe on poly
Recommended Skill Level
Beginner
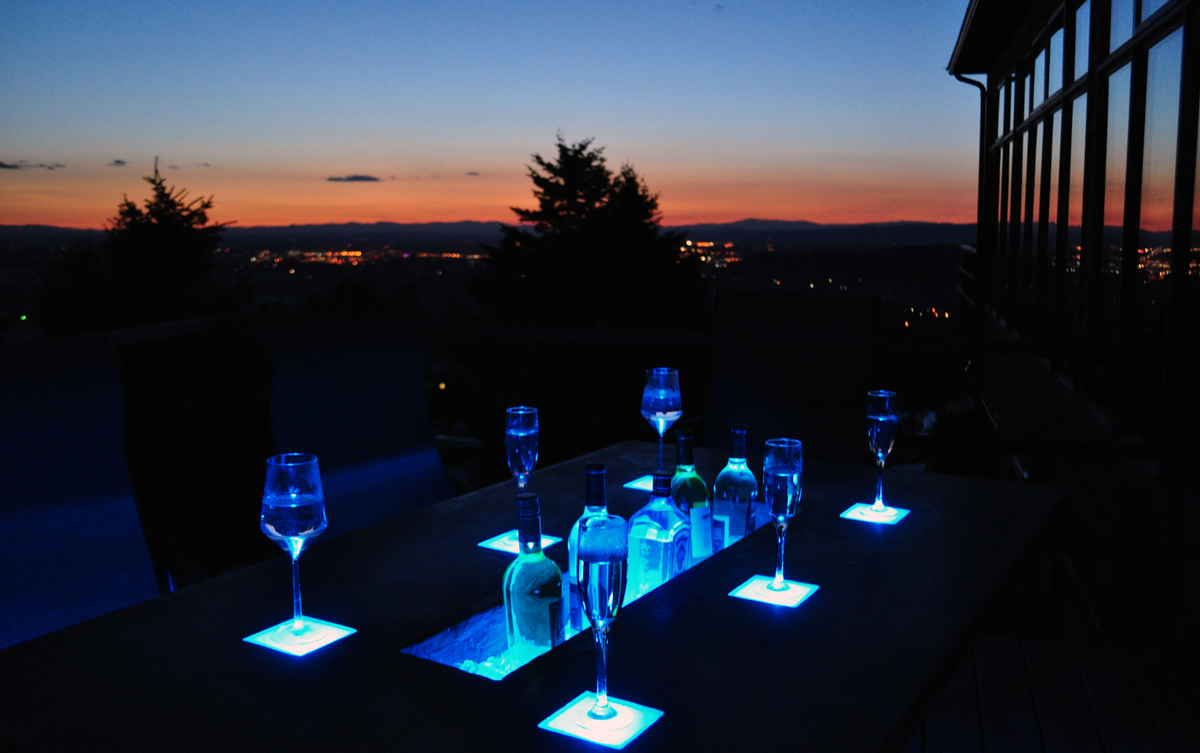
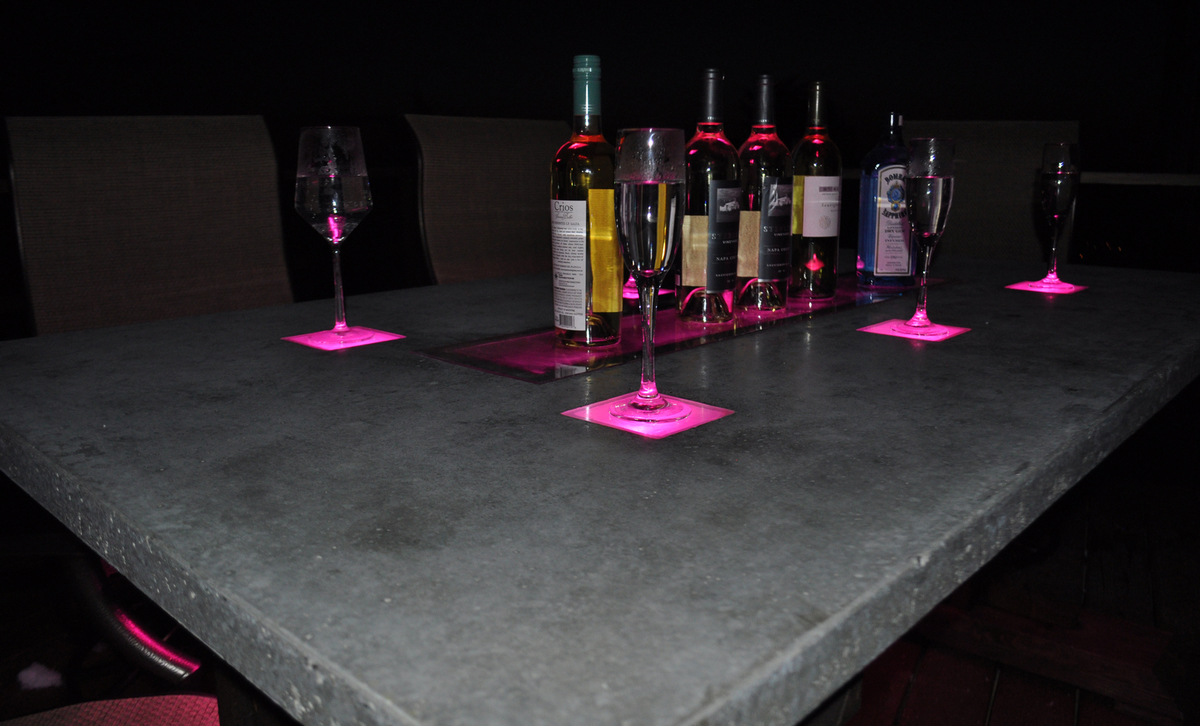
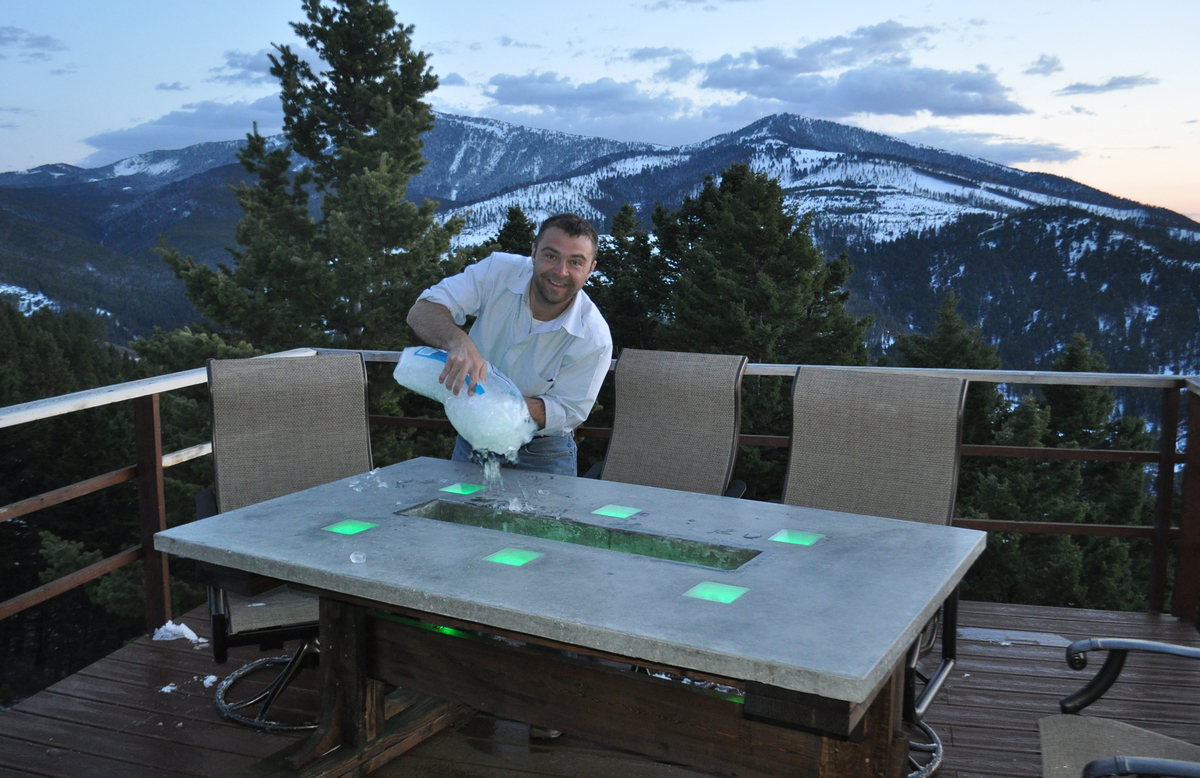
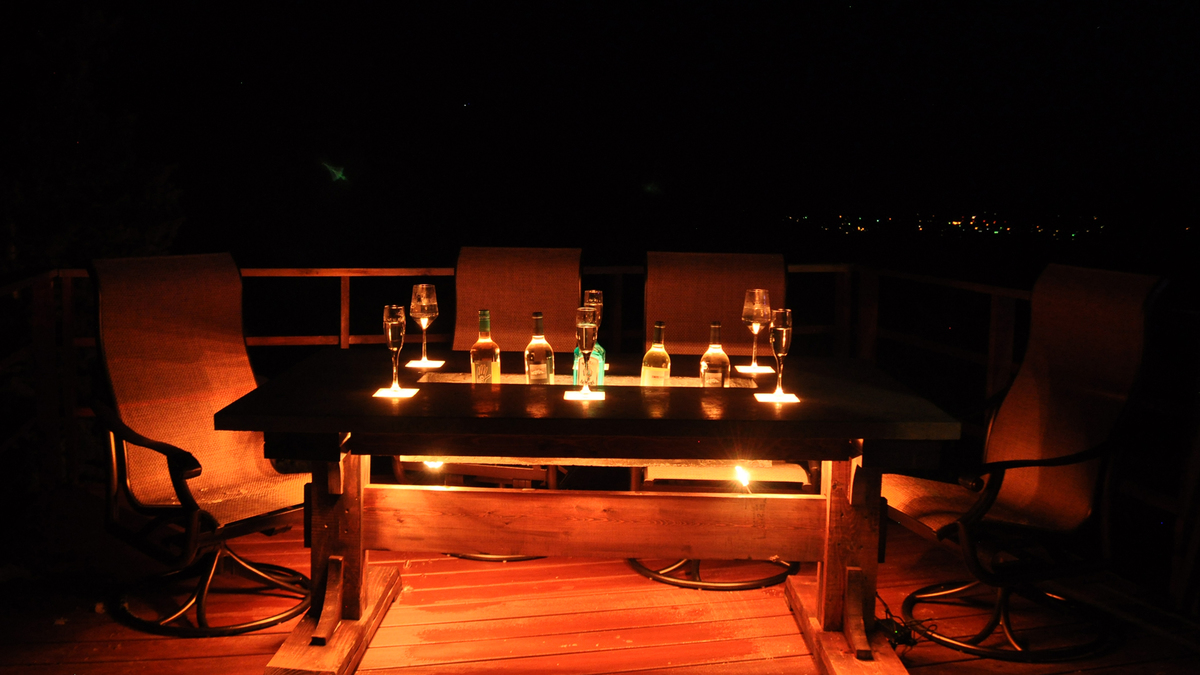
Pedestal base and Concrete Top with L.E.D. Lights and a Built-in Cooler
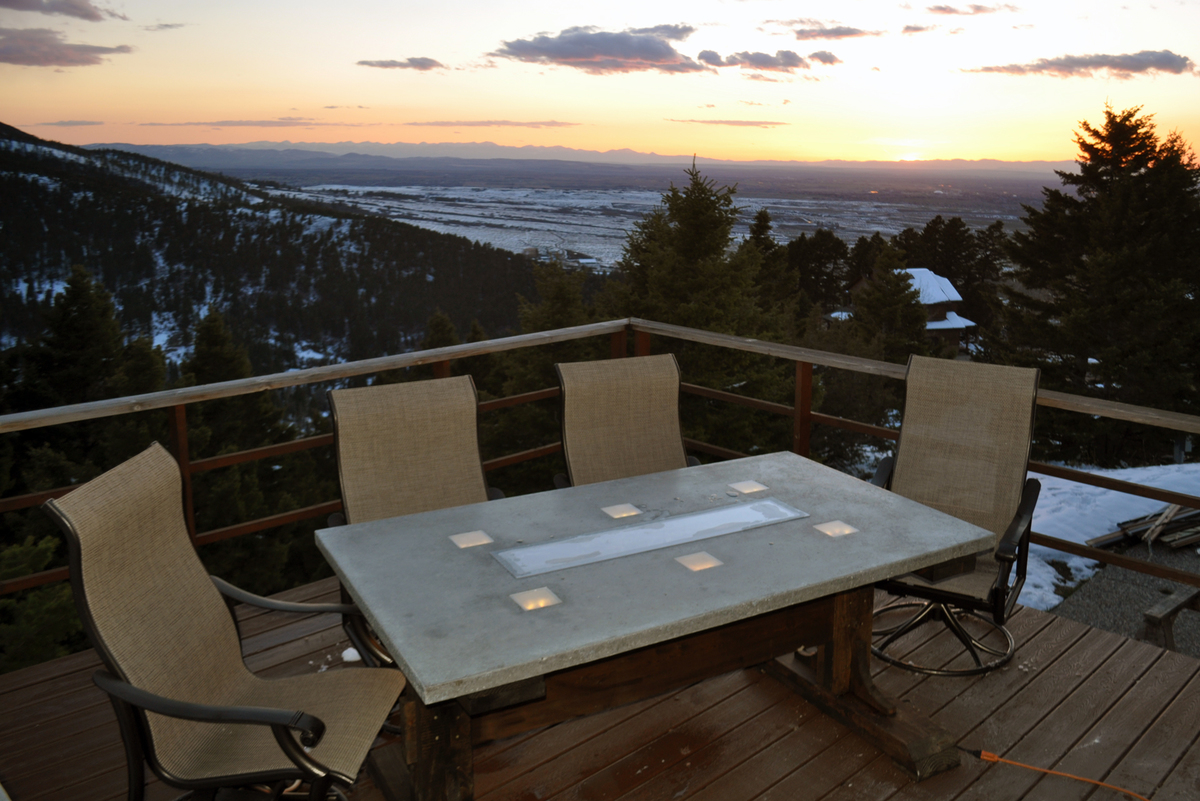
I wanted to build a really neat table for the patio and came up with the idea to do a concrete top with LED lights and a built in cooler. I loved Ana's plans for the pedestal base and so I used her plans to create the base. I did modify the plans a bit to help it hold up the the heavy concrete top. I have the modifications listed on my blog. There is also a complete 17 minute tutorial showing how to do the concrete top.

Estimated Cost
$350
Estimated Time Investment
Week Long Project (20 Hours or More)
Finish Used
MinWax Dark Walnut Stain with 3 coats of Minwax Outdoor Spar Varnish
Recommended Skill Level
Advanced
Comments


In reply to Beautiful Creation! by Ana White Admin
Sun, 06/01/2014 - 12:31
Thanks Ana!
Thanks Ana! It was a lot of fun to do and your base plans were perfect for it! Love your site!
In reply to Beautiful Creation! by Ana White Admin
Sun, 06/01/2014 - 12:32
Thanks!
Thanks Ana! It was a lot of fun to do and your base plans were perfect for it. Love your site!
In reply to Beautiful Creation! by Ana White Admin
Mon, 06/02/2014 - 11:54
Thanks Ana!
Thanks Ana! It was a lot of fun to do and your base plans were perfect for it! Love your site!
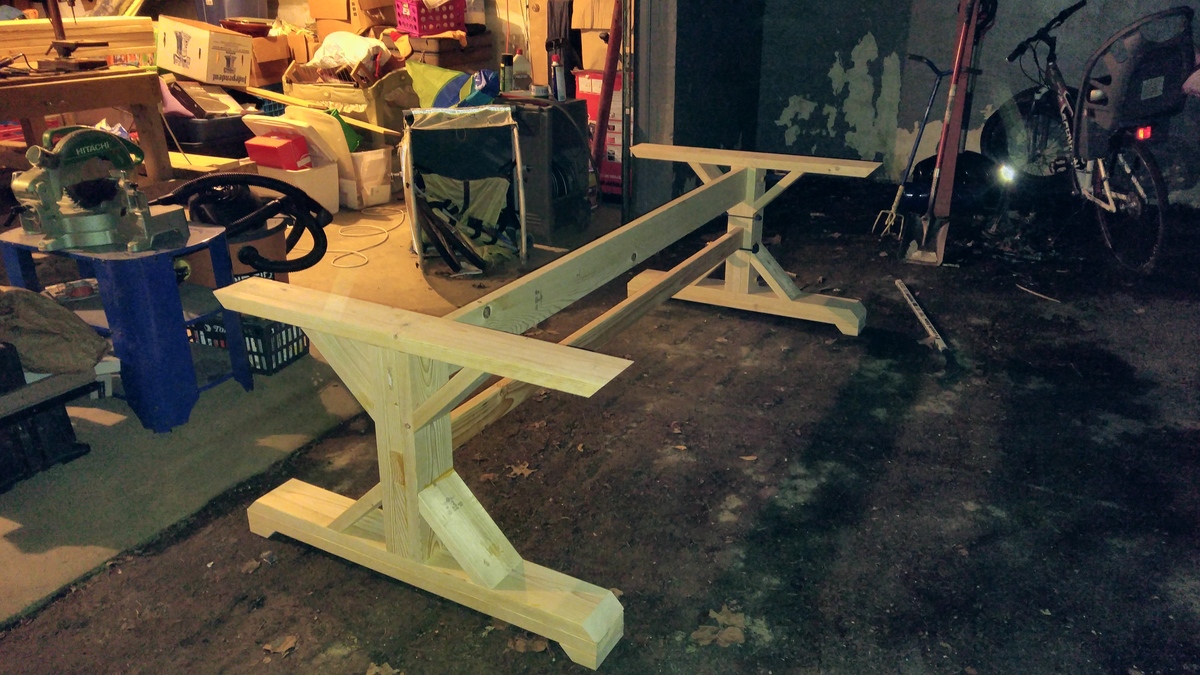
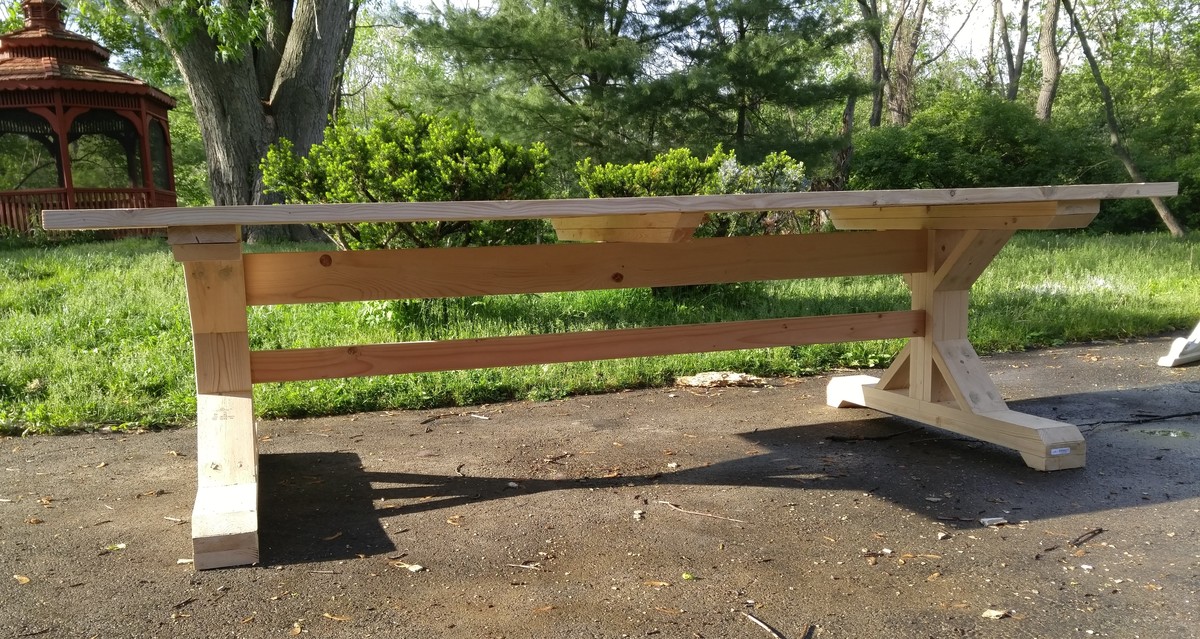
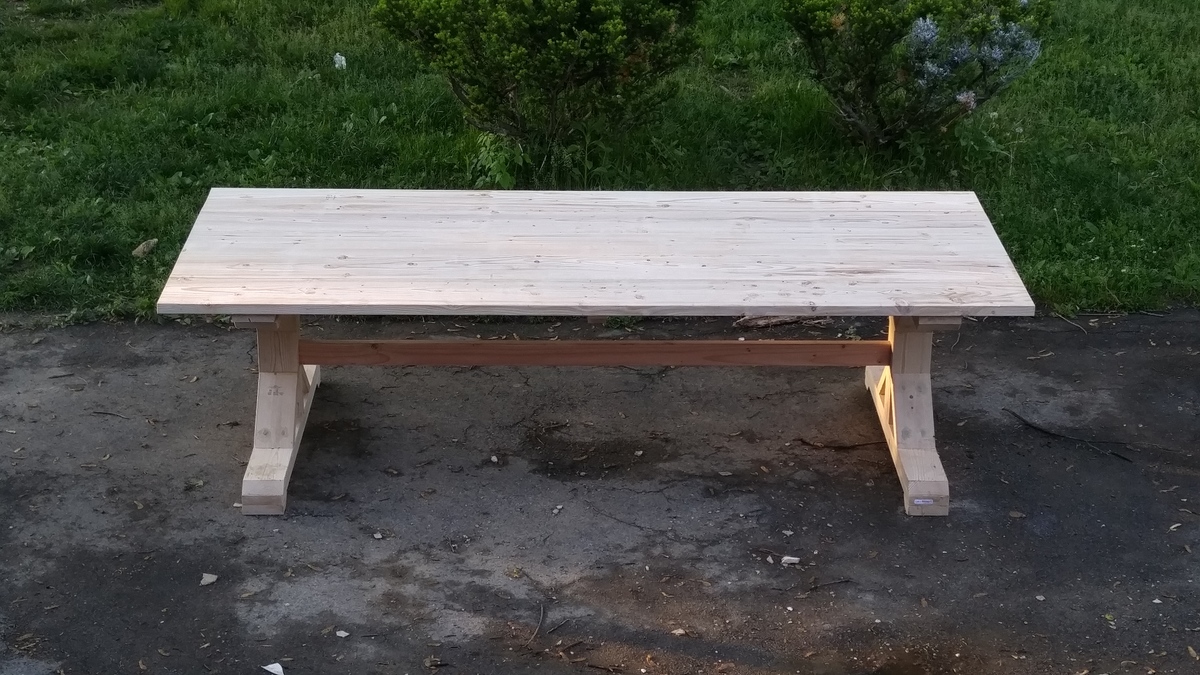
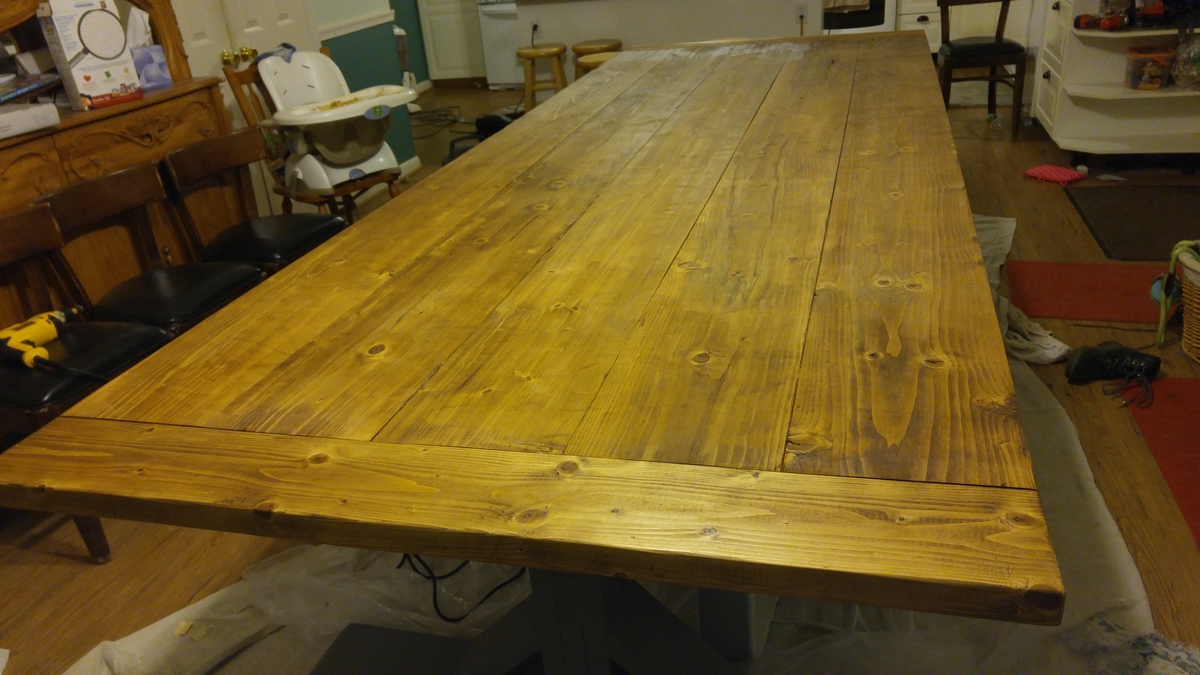
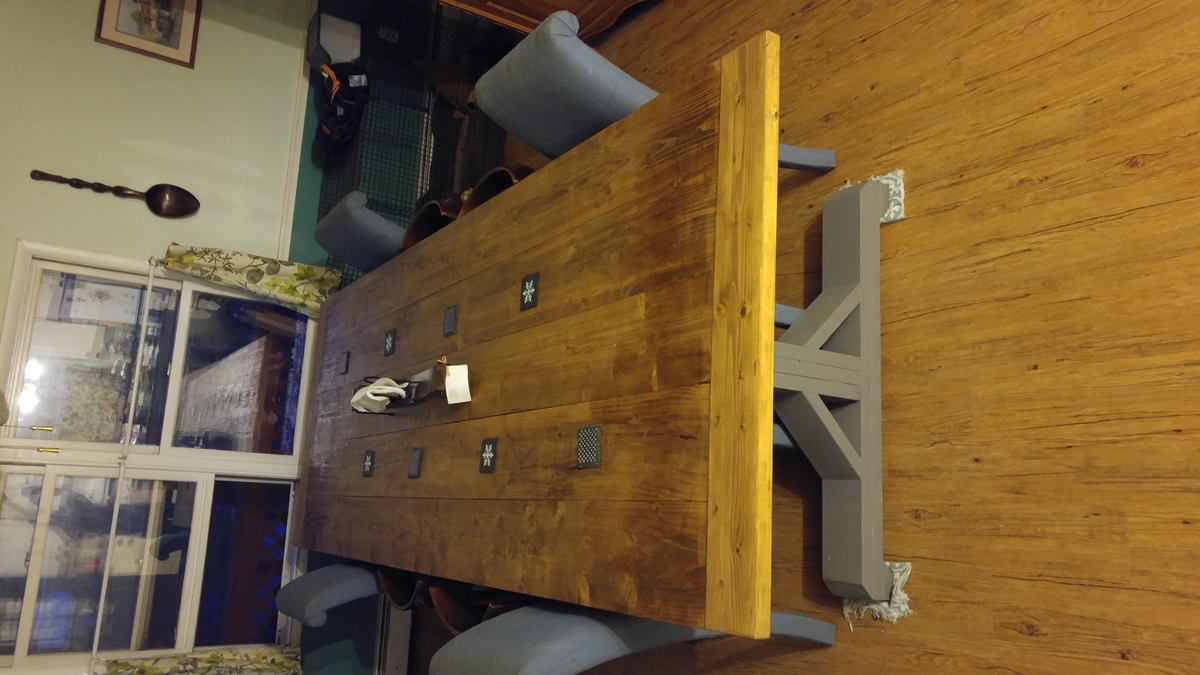
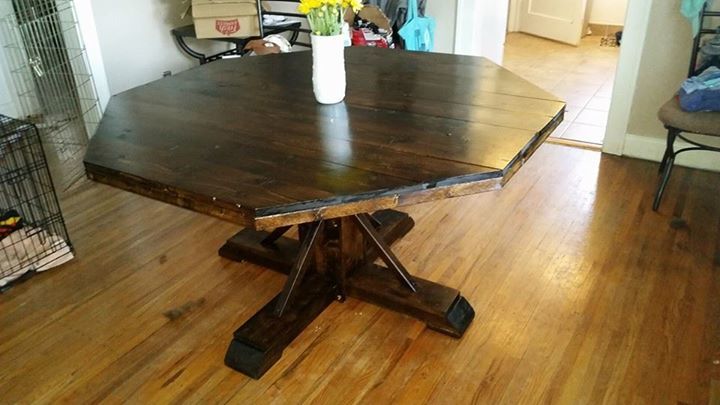
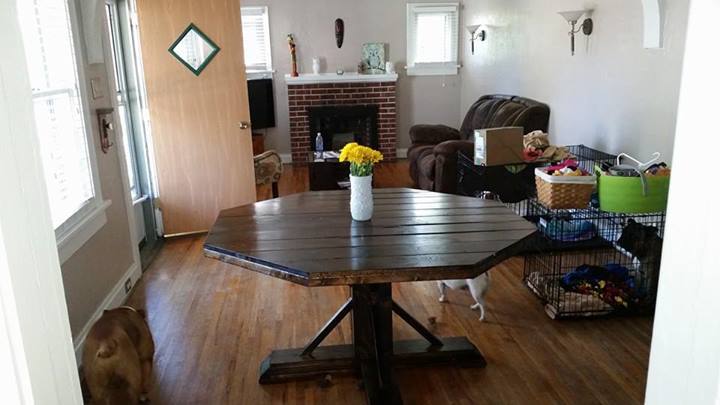
Farmhouse X Table - Modified

This was my first Ana White project, I modified the plans a bit because I didn't want the 2nd stabilizing bar on the floor. I also went a bit bigger, my table is 10ft 5.5in.
Overall I am very happy with how it turned out.
Built from Plan(s)
Estimated Cost
$150
Estimated Time Investment
Weekend Project (10-20 Hours)
Finish Used
WATCO Danish Finish Oil for the tabletop, Gray paint for the base
Recommended Skill Level
Beginner
Comments
Thu, 10/27/2016 - 05:59
Stability
Looks great. We were planning on doing a similar build where we get rid of the x braces in the middle and use the pedastals you built with the long boards in between. But the plans called for 3 of those pedastals. I was curious of the 2 pedastals/legs are stable enough? I like the look of just having 2 instead of the full 3.
Modern 2x4 Adirondack Chairs
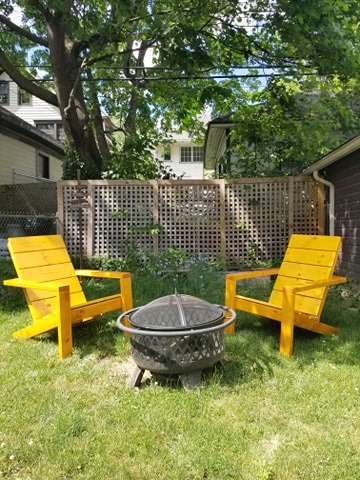
Modified 1x6 slats for seat and seat-back. Purchased four 1x6x8s for both chairs to replace 1x10s
Built from Plan(s)
Finish Used
Cabot Gold Sundrenched Oak
Open Bench Hall Tree
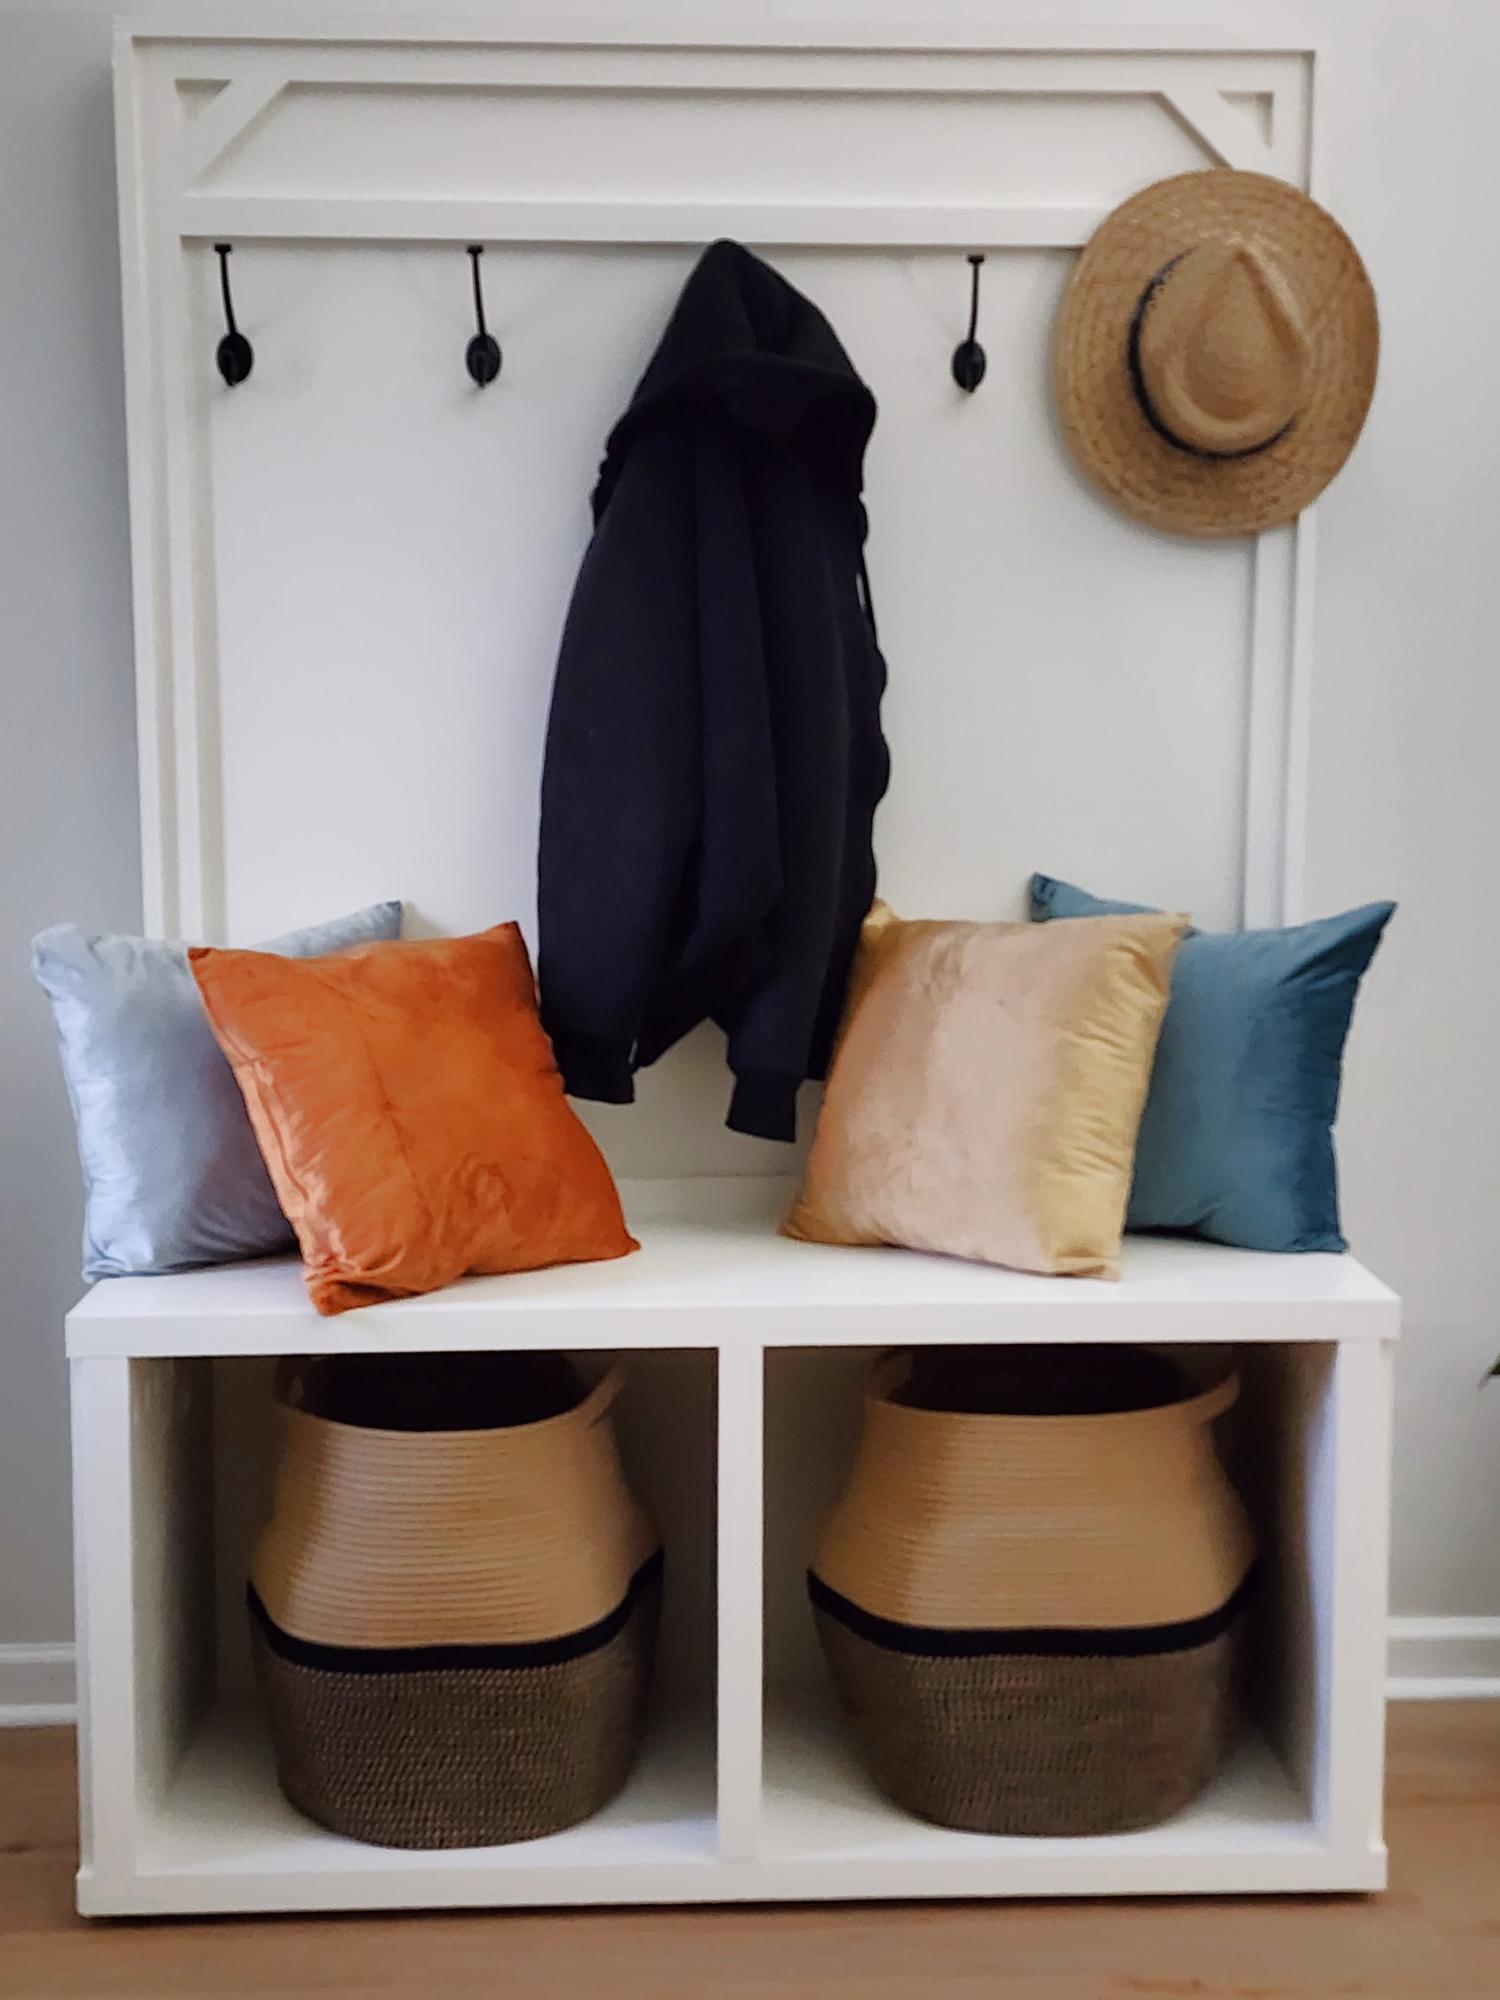
My husband built this coat rack and it is amazing and beautiful.i love it. I know the hooks look crooked in this picture but they are definitely straight.
Tracey and Wilbur Fawbush
Built from Plan(s)
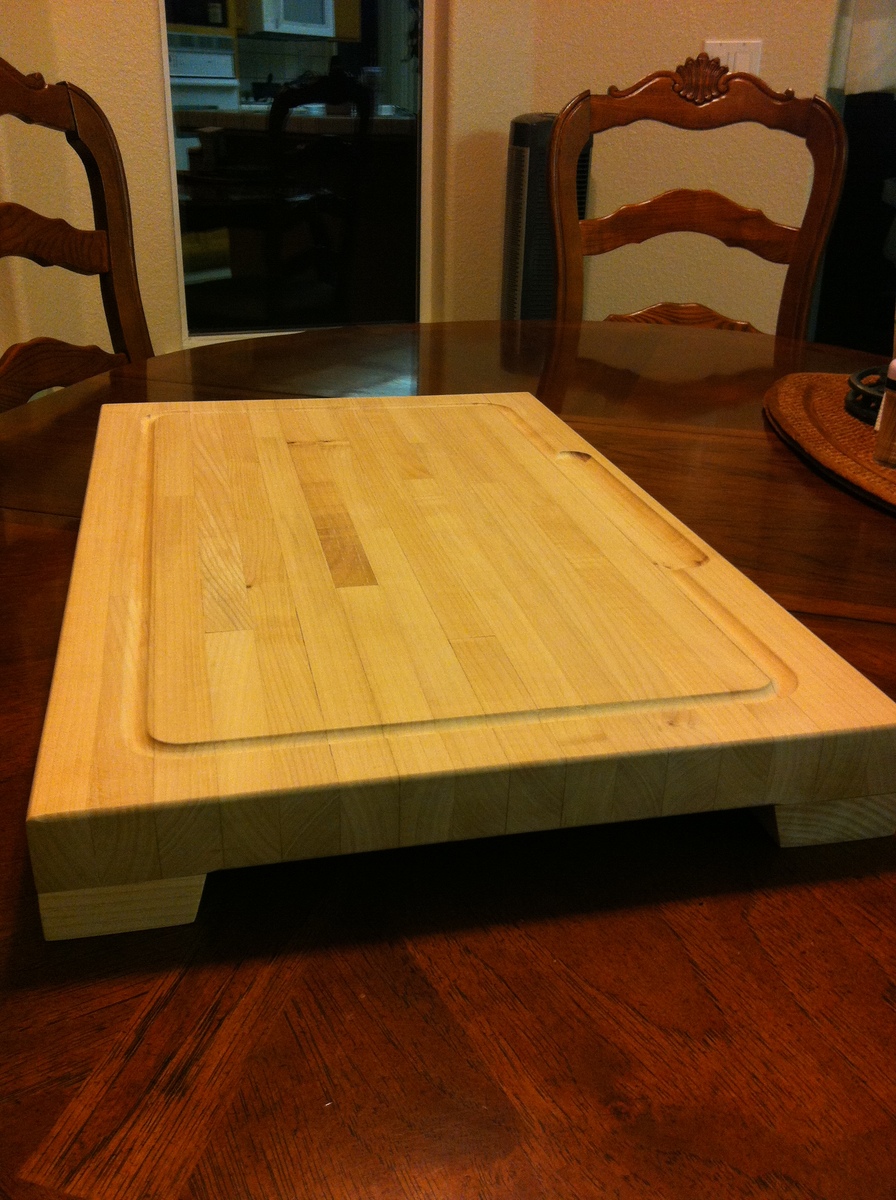
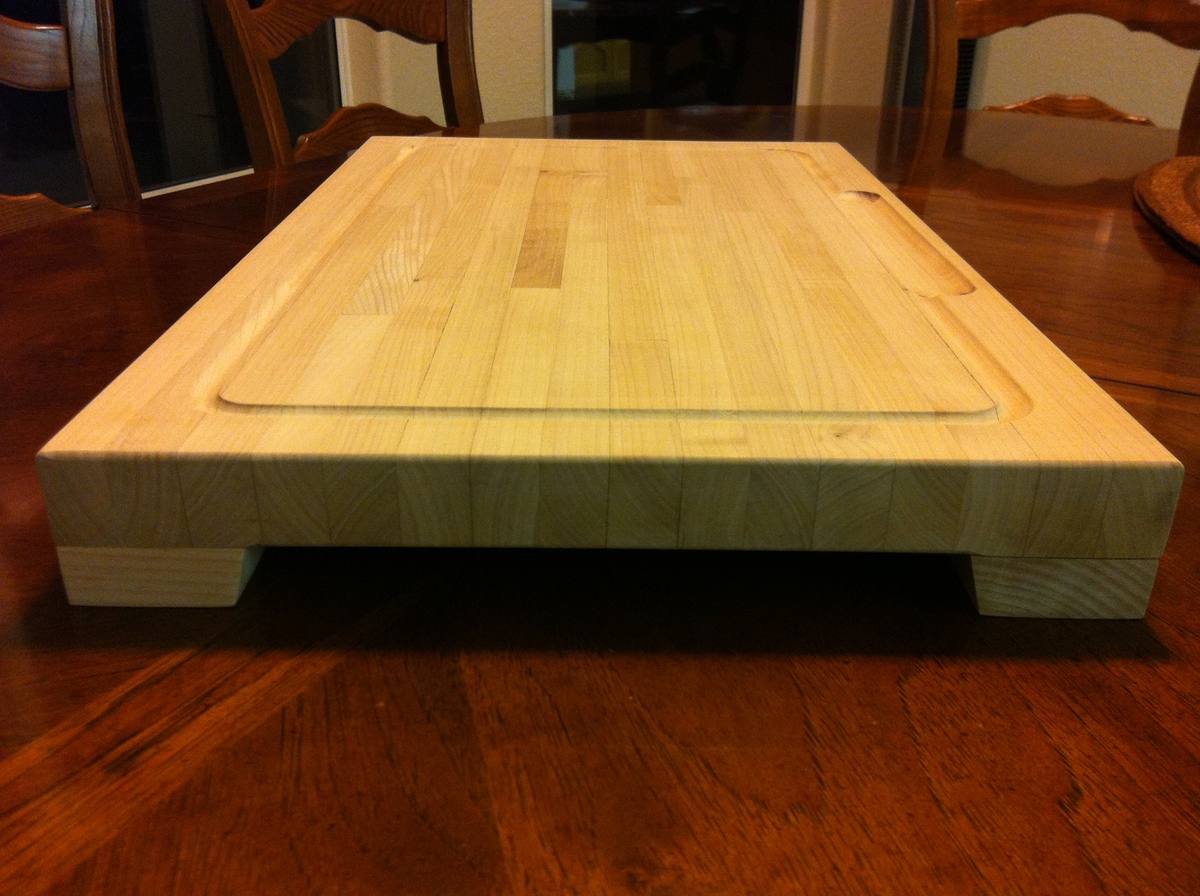
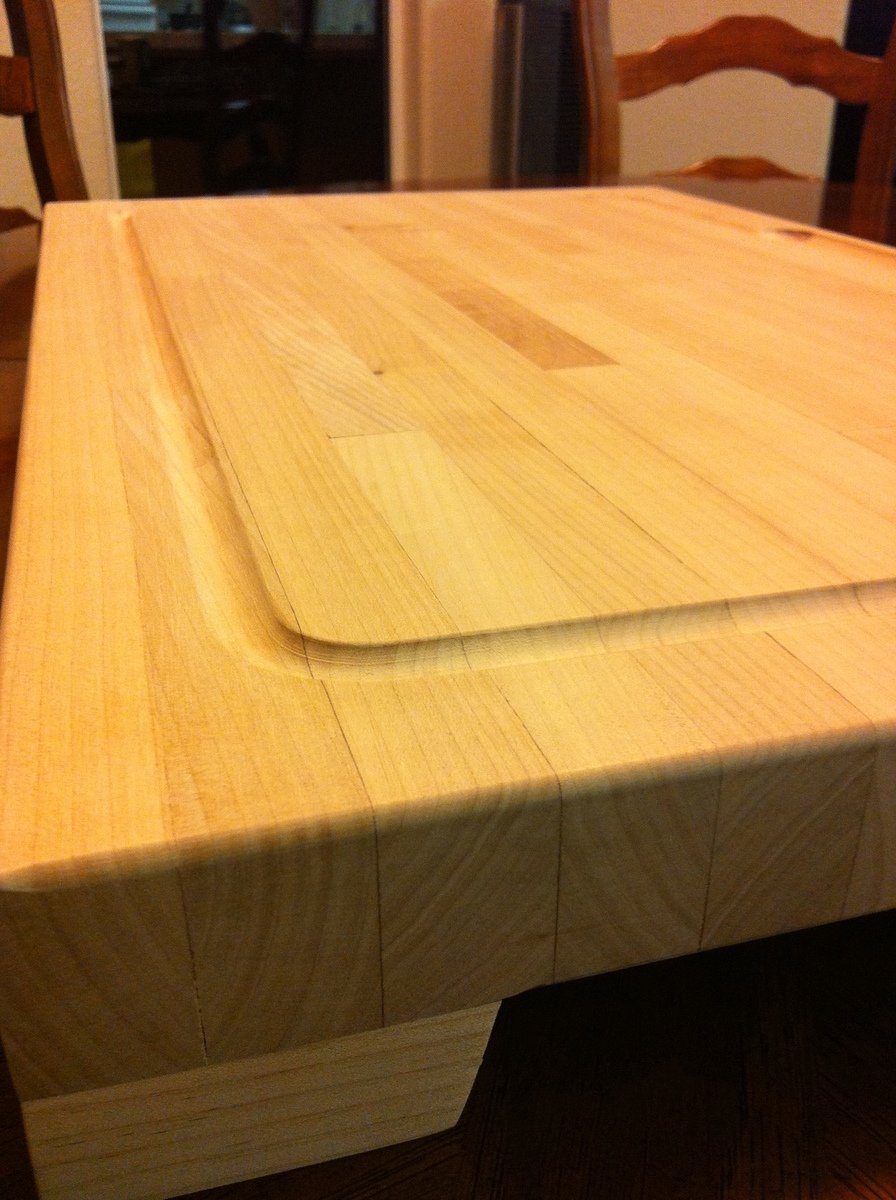
Huge butcher block cutting board - my very first build ever!
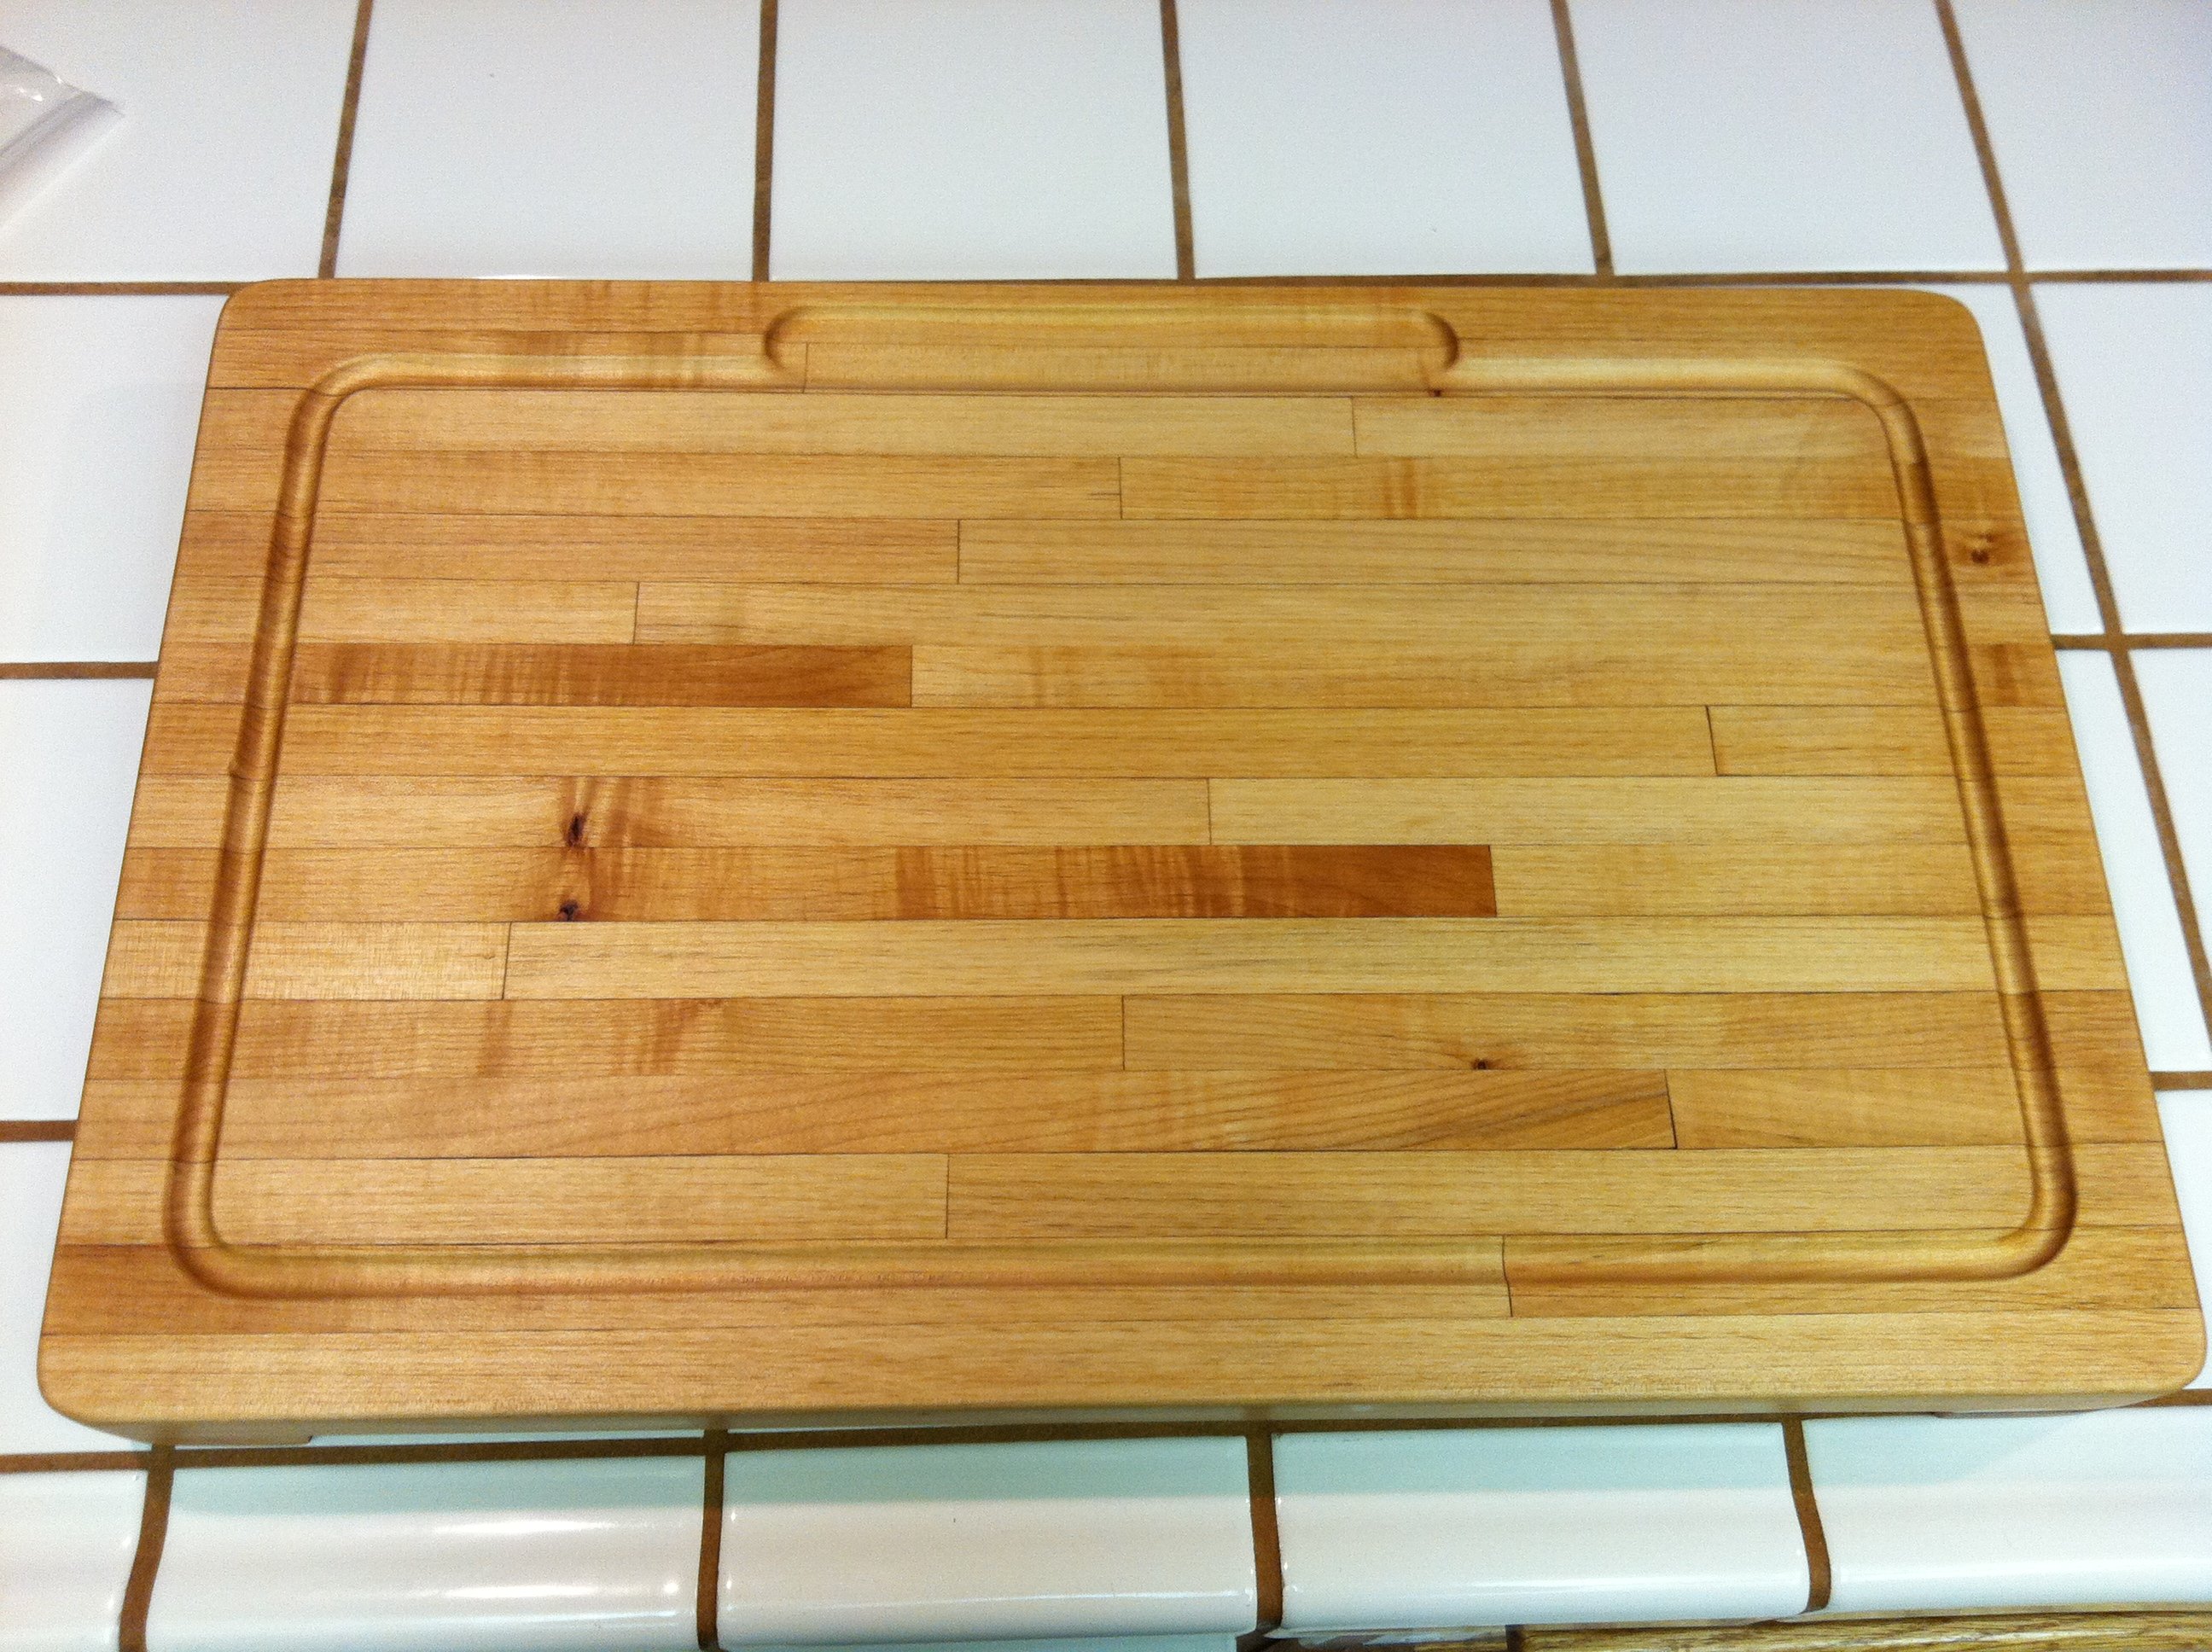
This was my very first build ever! I enrolled in a beginning woodworking class at the local community college and our first assignment was to make a cutting board. All that was required was a super simple cutting board with some wood strips glued together then cut into a shape of some sort. But I decided that if I was going to bother making a cutting board, I was going to make something awesome and useful. I wanted to make a butcher block style cutting board. My boyfriend's only input was that he wanted something "big enough to hold a tri-tip". This was the result! It's made of PC maple and measures 23-1/4" long by 14-1/2" wide and 2-1/4" tall with the feet (1-1/4" thick cutting surface). It took me way longer than most of the other people in the class, but I love it. For this project alone, I had to learn to use the table saw, the compound miter saw, the planer and jointer, the router, an assortment of machine sanders and palm sanders available in the school's shop, the glue scraper (oh goodness I hate glue squeeze-out), and how to do clamping set-ups. At the very end, I finished it with mineral oil, and we broke it in with an amazingly delicious prime rib at New Year's ;D
Estimated Cost
$20
Estimated Time Investment
Week Long Project (20 Hours or More)
Finish Used
Mineral oil, just a regular bottle from the drug store. Apply a liberal coat, allow to soak in, apply again, allow to soak in, and so on, until it goes for at least a few hours without absorbing any more, then wipe off the excess.
Recommended Skill Level
Intermediate
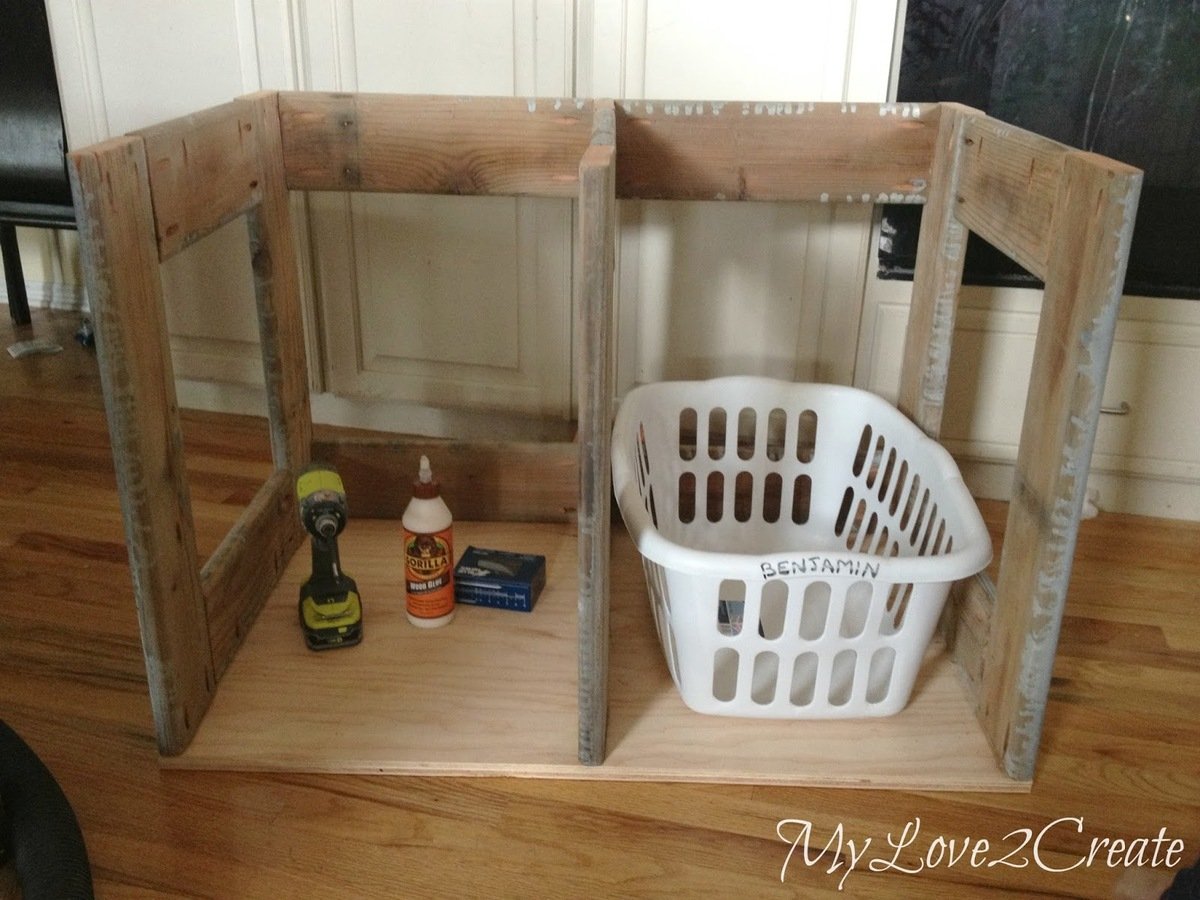
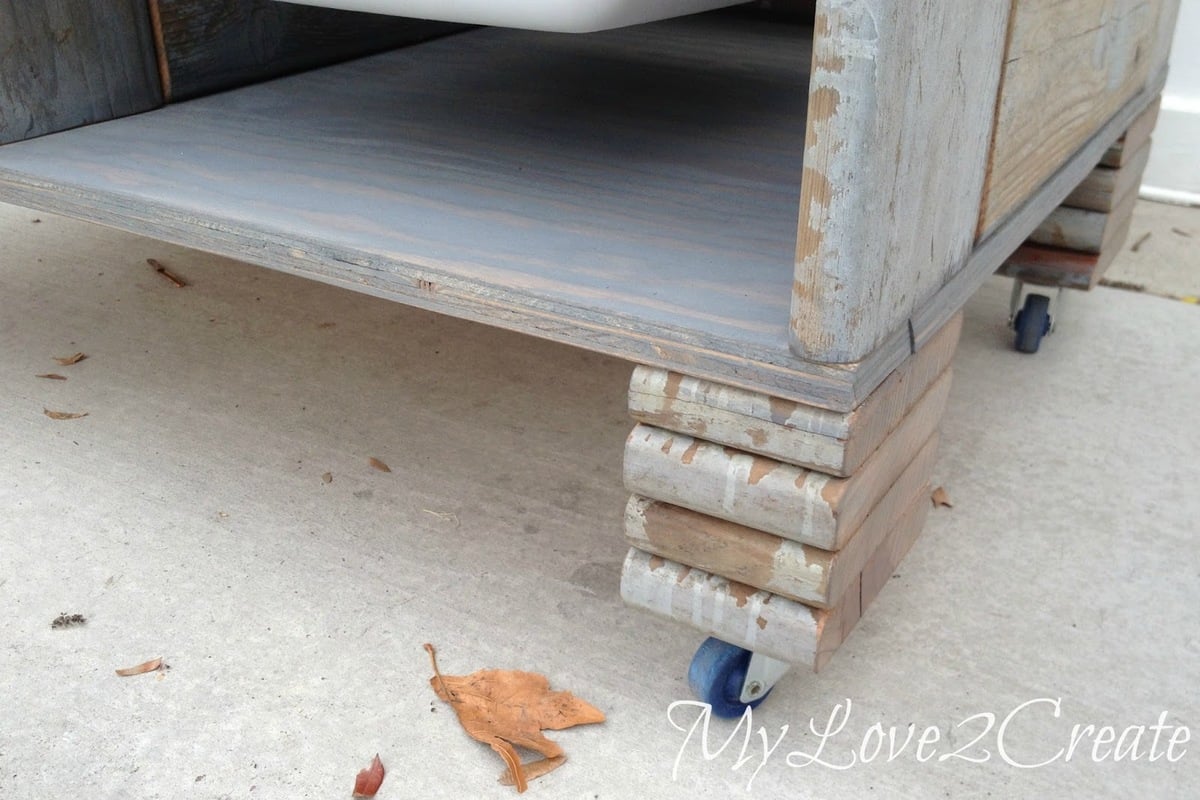
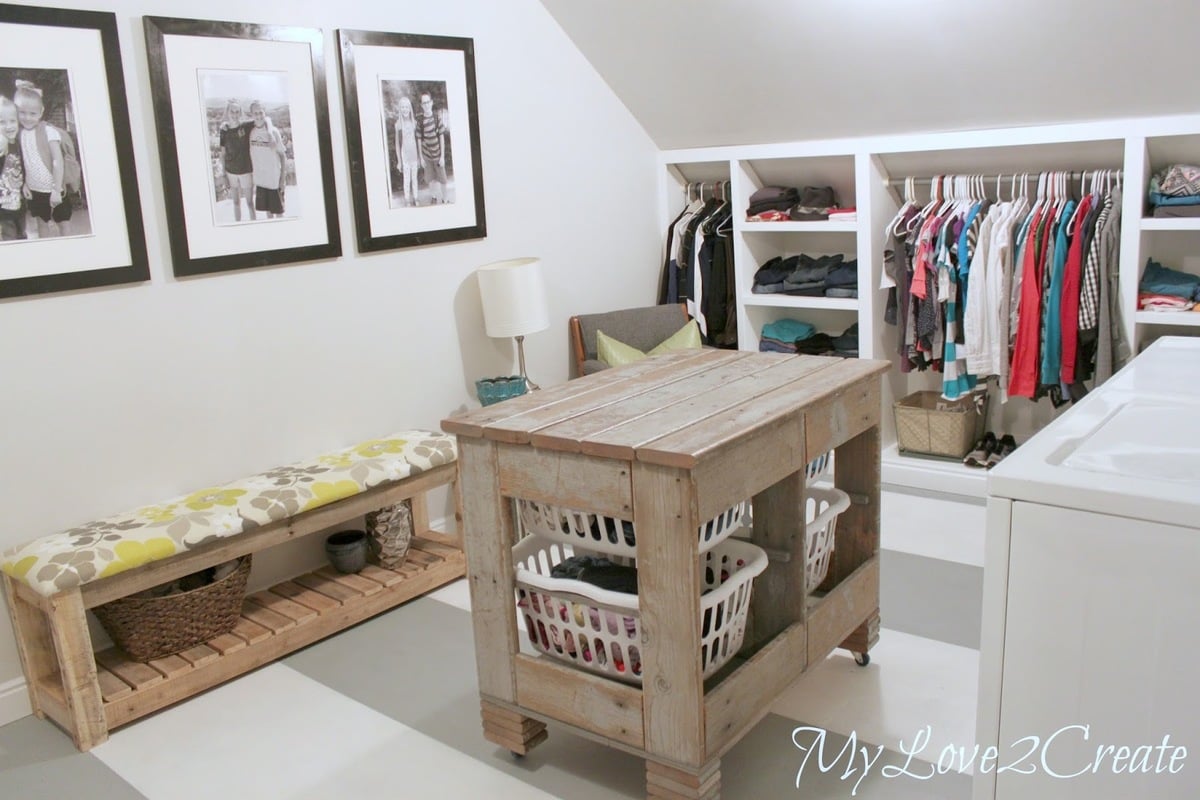
Old Deck Wood Laundry Crate
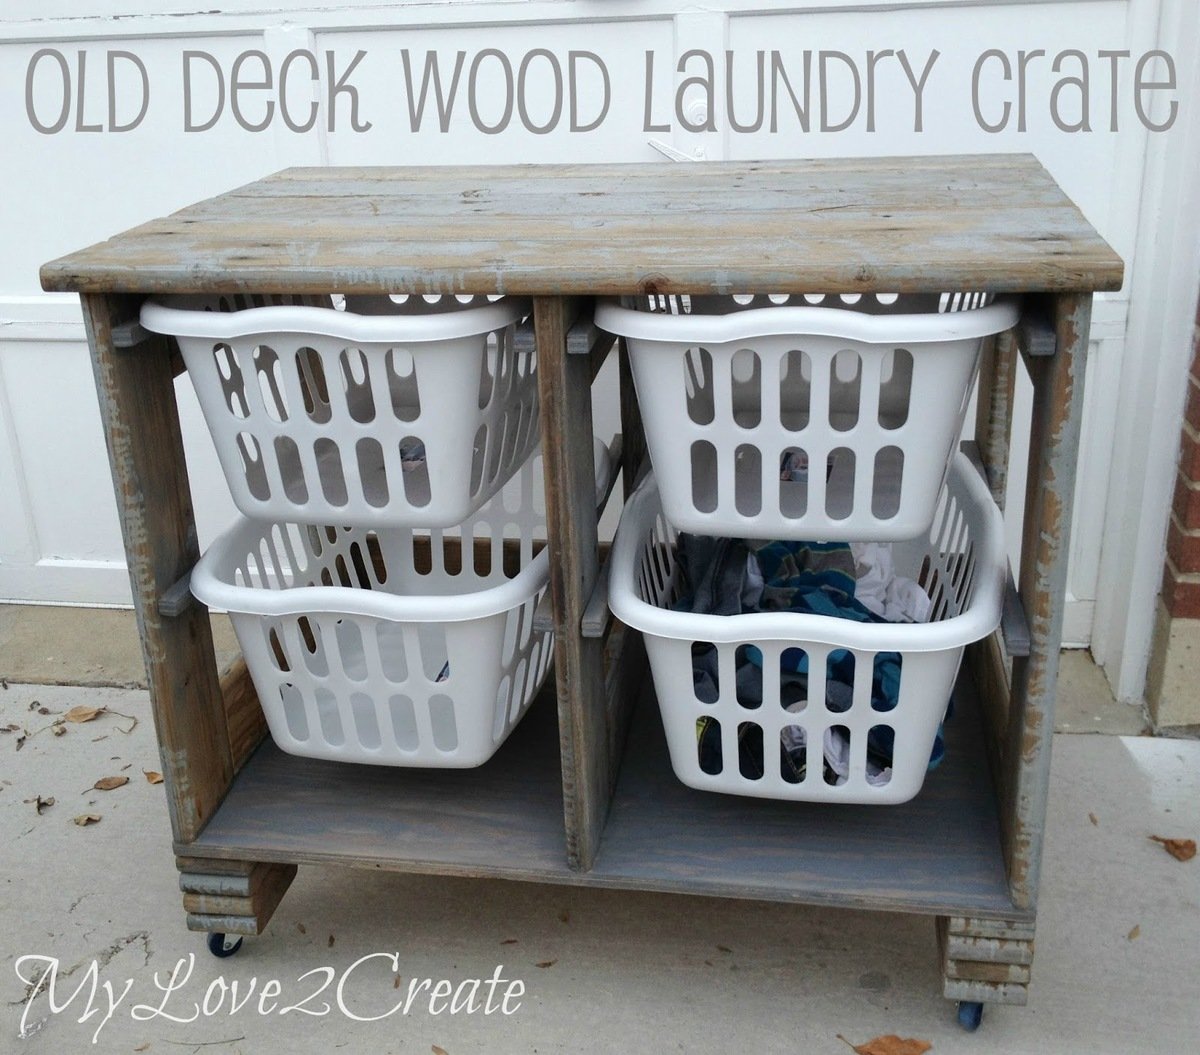
I have been in love with Ana's laundry dressers since she first posted them. When I helped makeover my sister's Closet/Laundry room I knew she had to have one! Only problem? We were out of funds. I wouldn't let that stop me!! With some free old deck wood I modified Ana's laundry dresser into a rustic awesome laundry crate! Talk about bringing cute to the laundry room, this totally fits the bill, and it is of course useful. She uses the top as a folding station too. To make it taller I cut small pieces of the deck wood and stacked them for feet, which I love! Then I added casters so she could roll it around the room. For a full tutorial check out my blog post, you won't be sorry!
Built from Plan(s)
Estimated Cost
Free! (ok, I spent $4 on casters, they were on sale at Harbor Freight)
Estimated Time Investment
Afternoon Project (3-6 Hours)
Finish Used
Three coats of poly on the top.
Recommended Skill Level
Beginner
My Fancy Farmhouse Bed
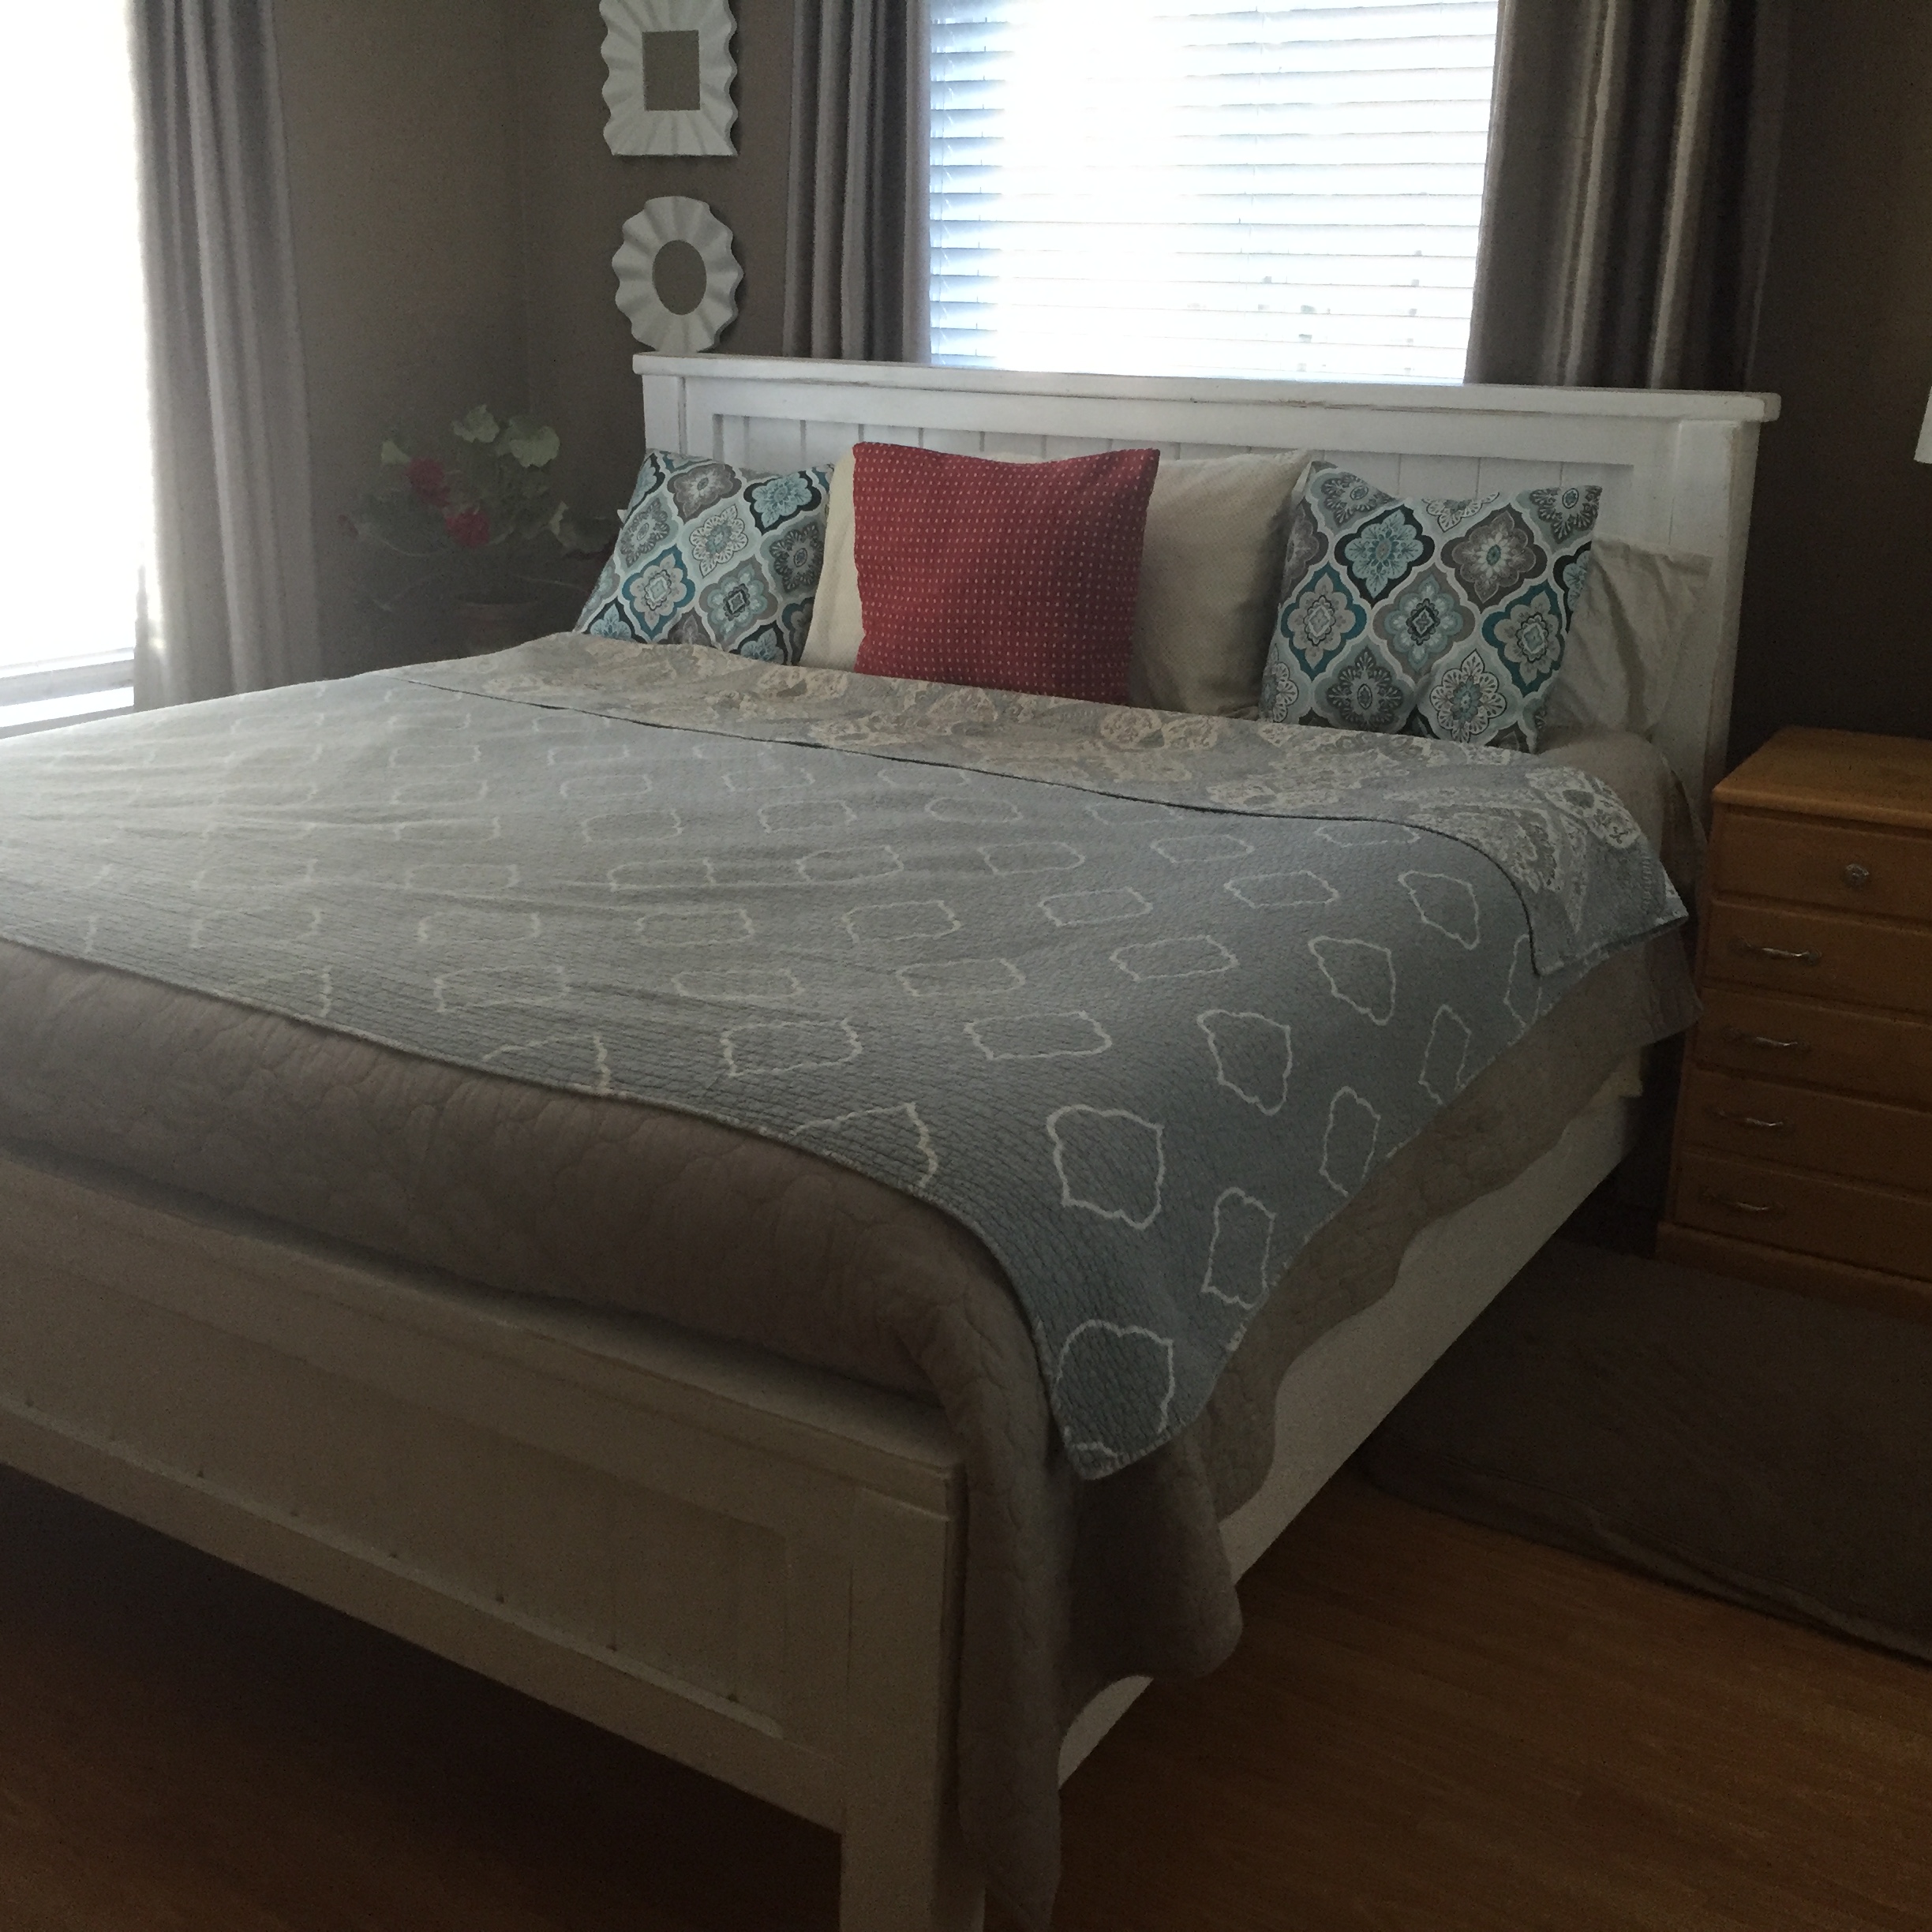
I loved this bed and after making Ana's fancy farmhouse table for my daughter, I couldn't wait to try this. It turned out beautifullly and even accomodates our three labs. Extra support added underneathe, of course! Love it!
Estimated Cost
$125
Estimated Time Investment
Weekend Project (10-20 Hours)
Finish Used
White roughed up
Recommended Skill Level
Intermediate
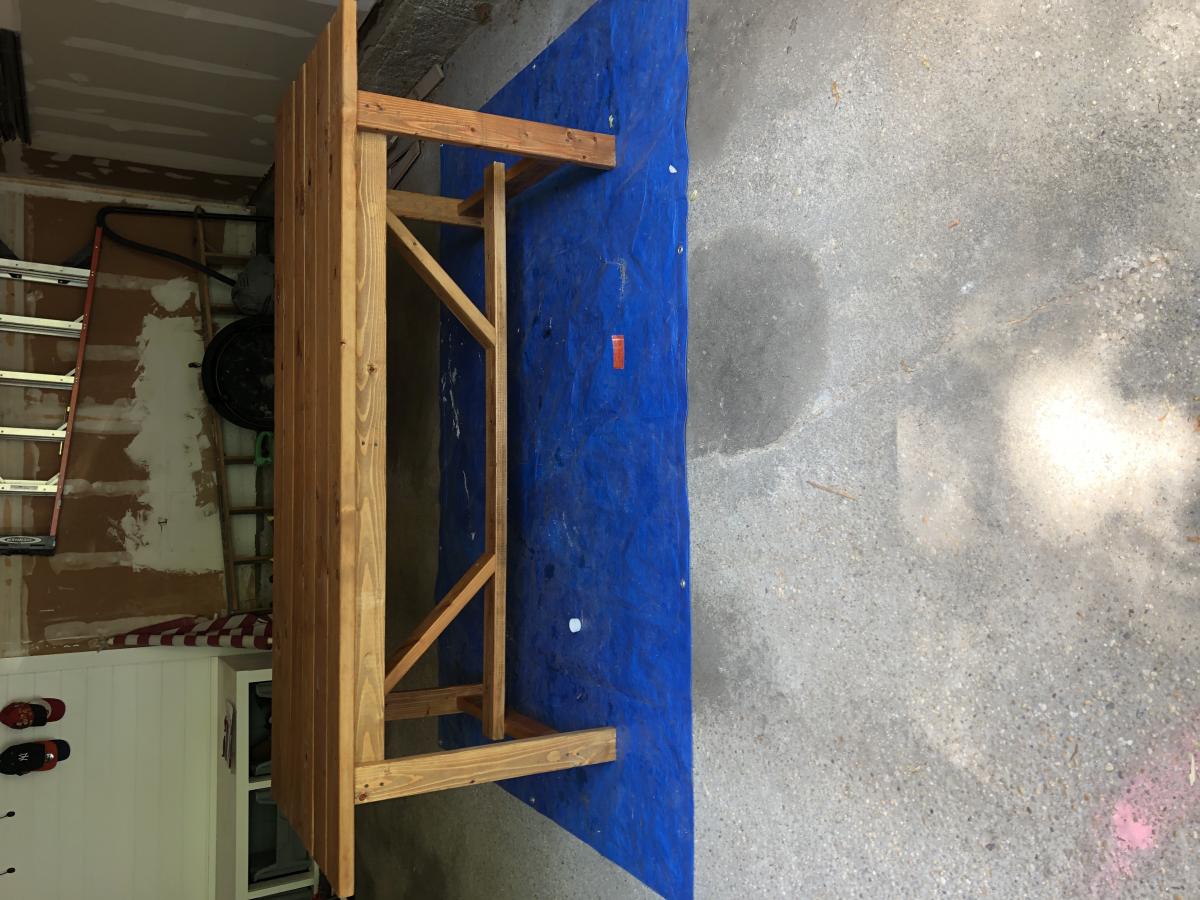
Easy Farm Table
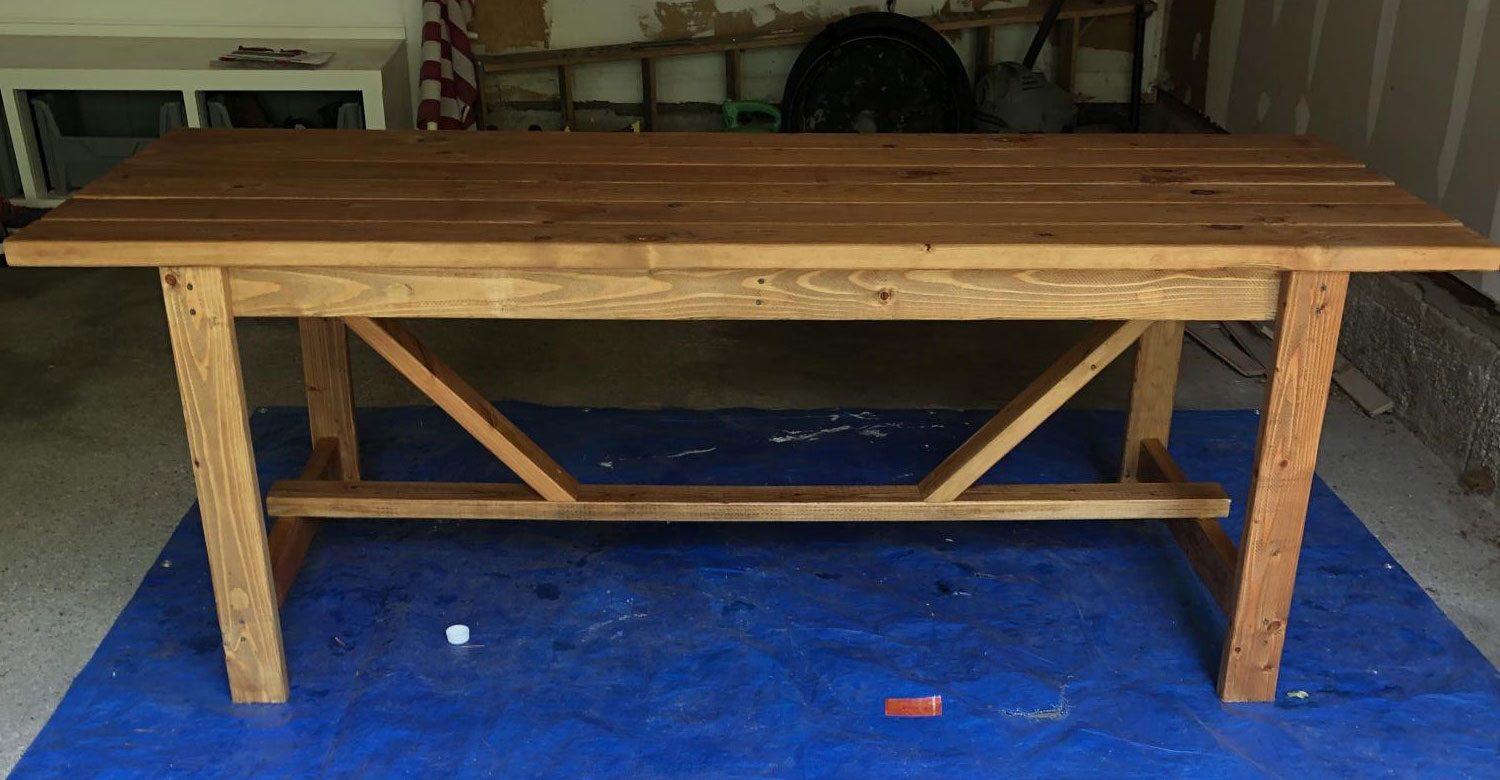
Used watco danish oil. Table will be used outside not sure how the danish oil will hold up by itself. May add polyurethane or if it falls apart I’ll build new next years. Also added diagonal supports at the bottom because it swayed a bit
Built from Plan(s)
Estimated Cost
75
Estimated Time Investment
Day Project (6-9 Hours)
Finish Used
Watco danish oil light walnut
Recommended Skill Level
Beginner
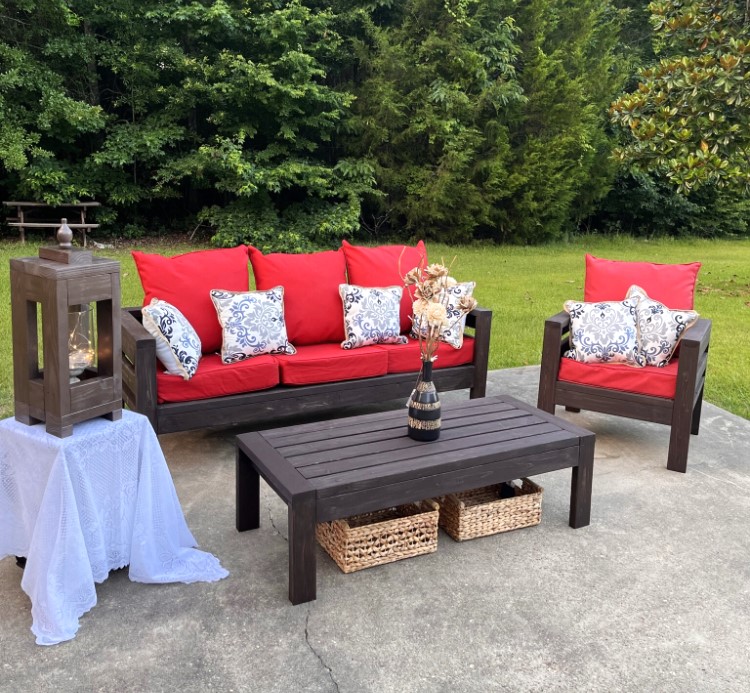
Comfy Outdoor Couch
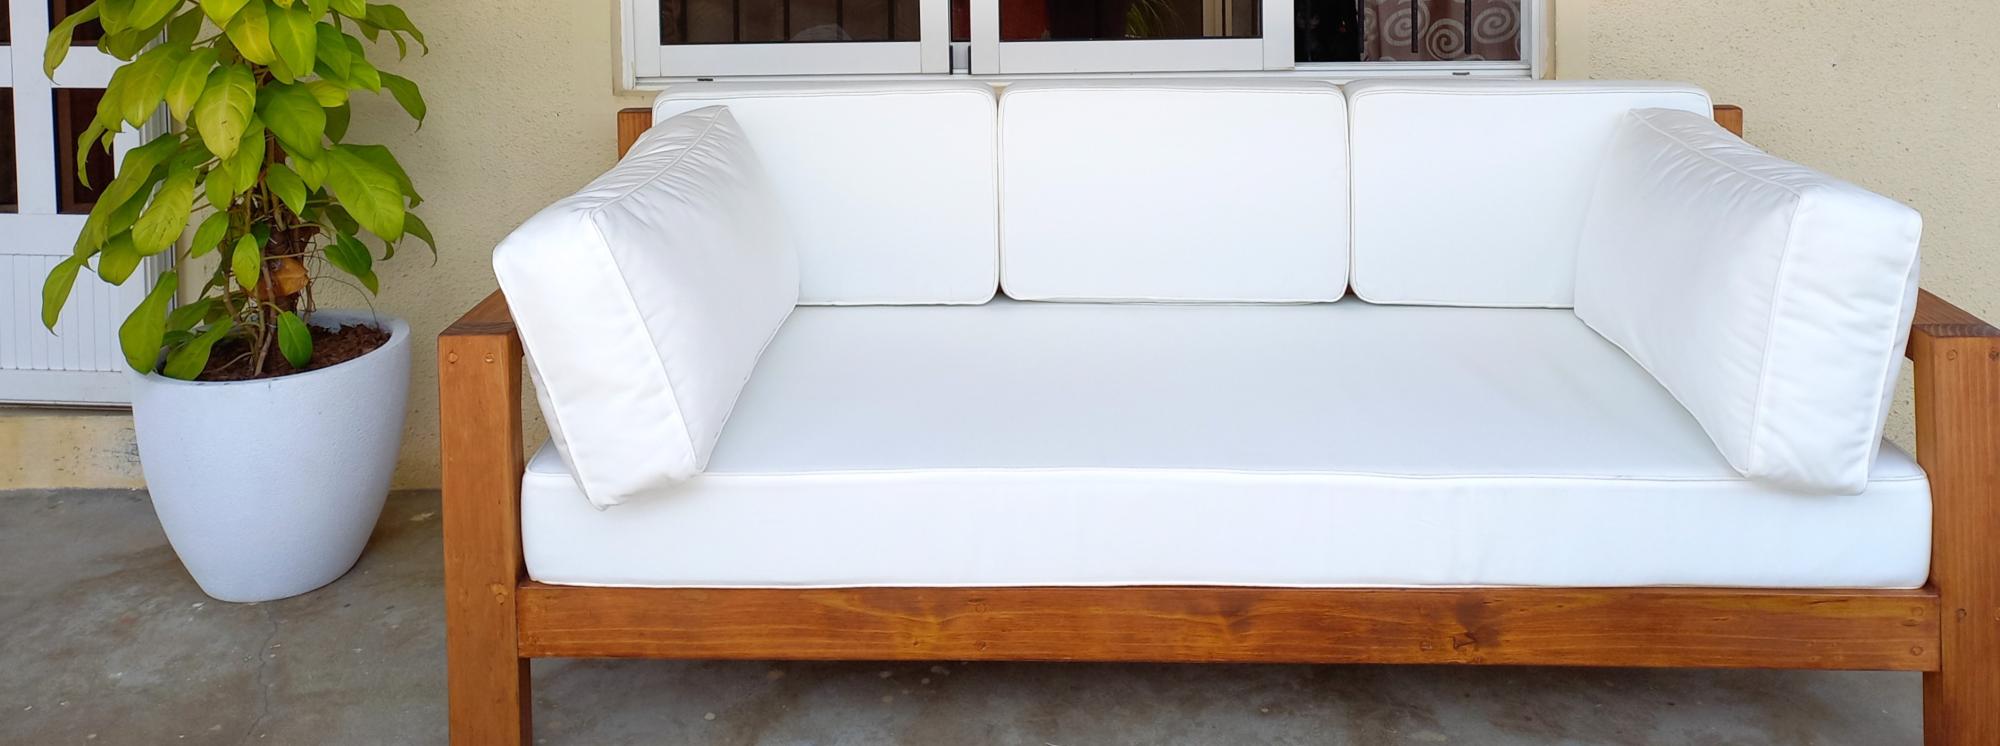
DIY outdoor couch, reader build
Daybed cushions and pillows, modified depth
Built from Plan(s)
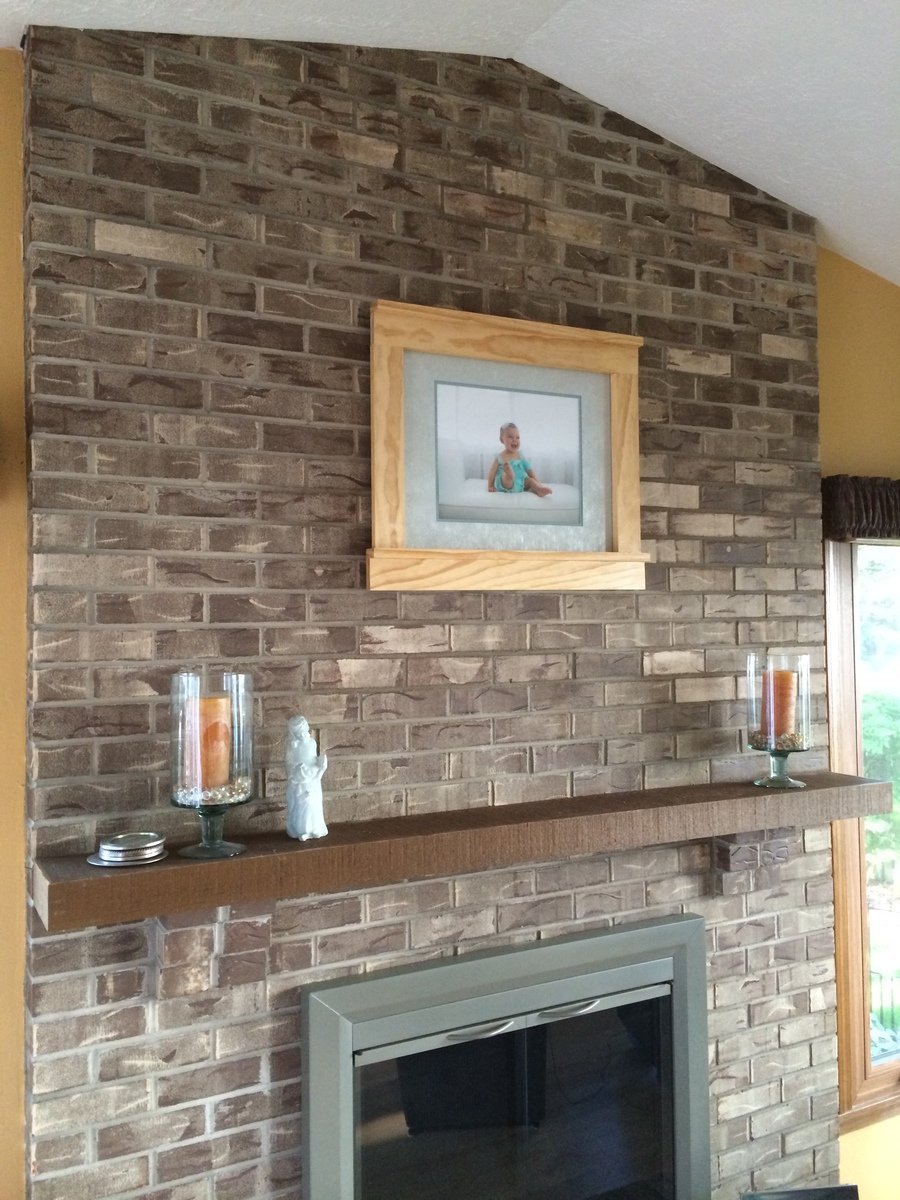
Craftsman Frame
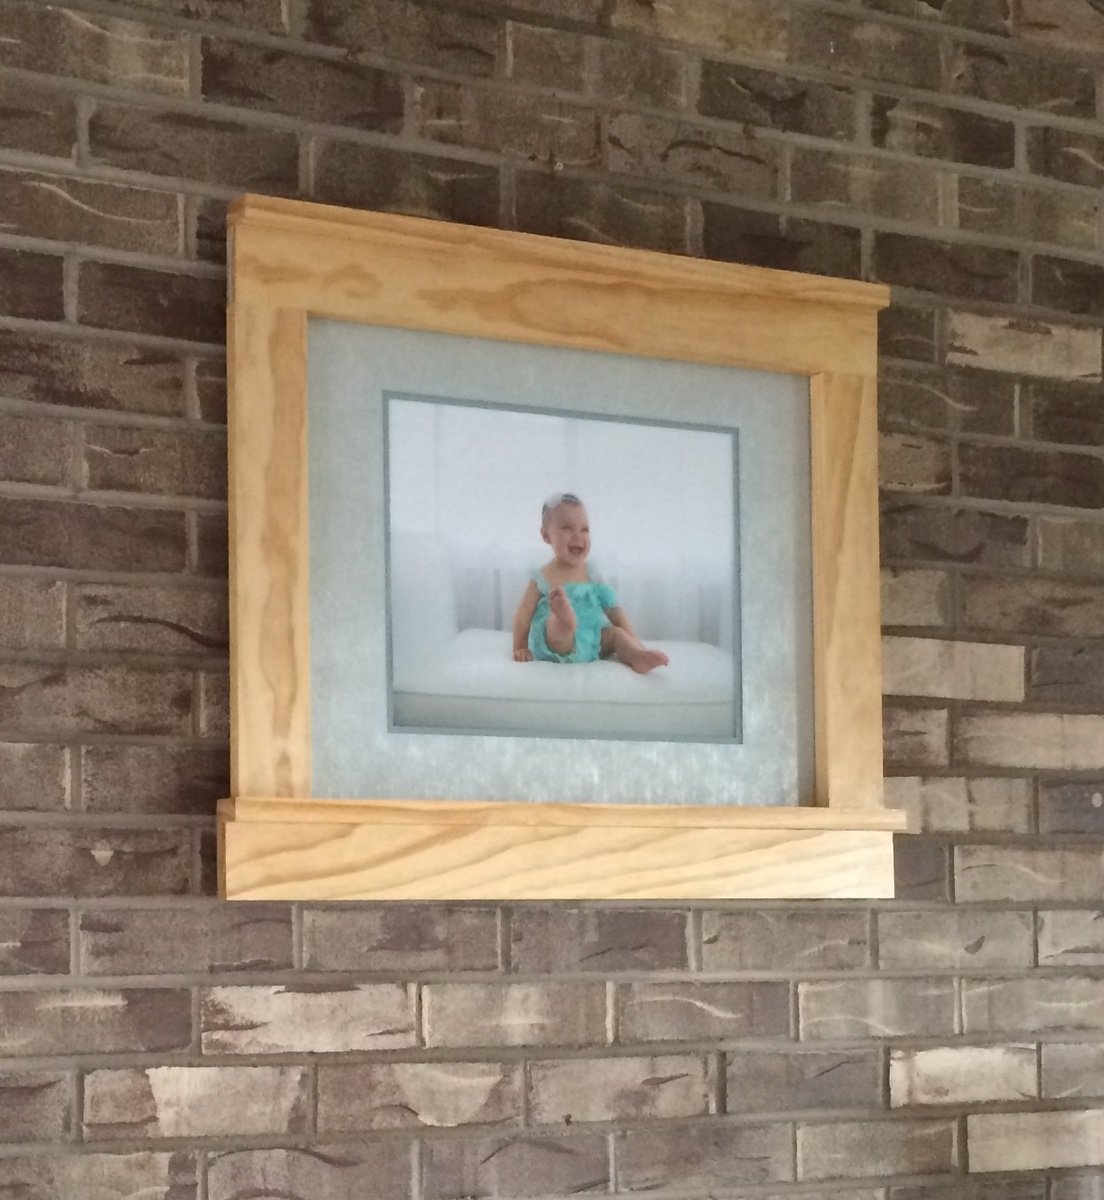
Our new house has an imposing exposed brick wall over a fireplace and mantle. To fill the big wall, we wanted to post enlarged pictures of our baby/family, but did not want to spend to money on a massive frame. Executing these plans turned out awesome. We blew up a photo, had a matte and glass cut to size, and then I built the craftsman frame to fit around everything. The framing probably would have been better/easier if I had a router to cut out an indent on the backside, but I ended up framing the photo/glass/matte inside some plain molding I nailed to the back.
Built from Plan(s)
Estimated Cost
$10
Estimated Time Investment
An Hour or Two (0-2 Hours)
Finish Used
Minwax Ipswich Pine with Polycrylic
Recommended Skill Level
Beginner
Farmhouse table

Farmhouse table and benches

Built from Plan(s)
Estimated Cost
$200
Estimated Time Investment
Weekend Project (10-20 Hours)
Finish Used
early American 230 stain with semi-gloss white paint and clear semi-gloss polyurethane
Recommended Skill Level
Beginner
Comments
Patrick’s Router Table
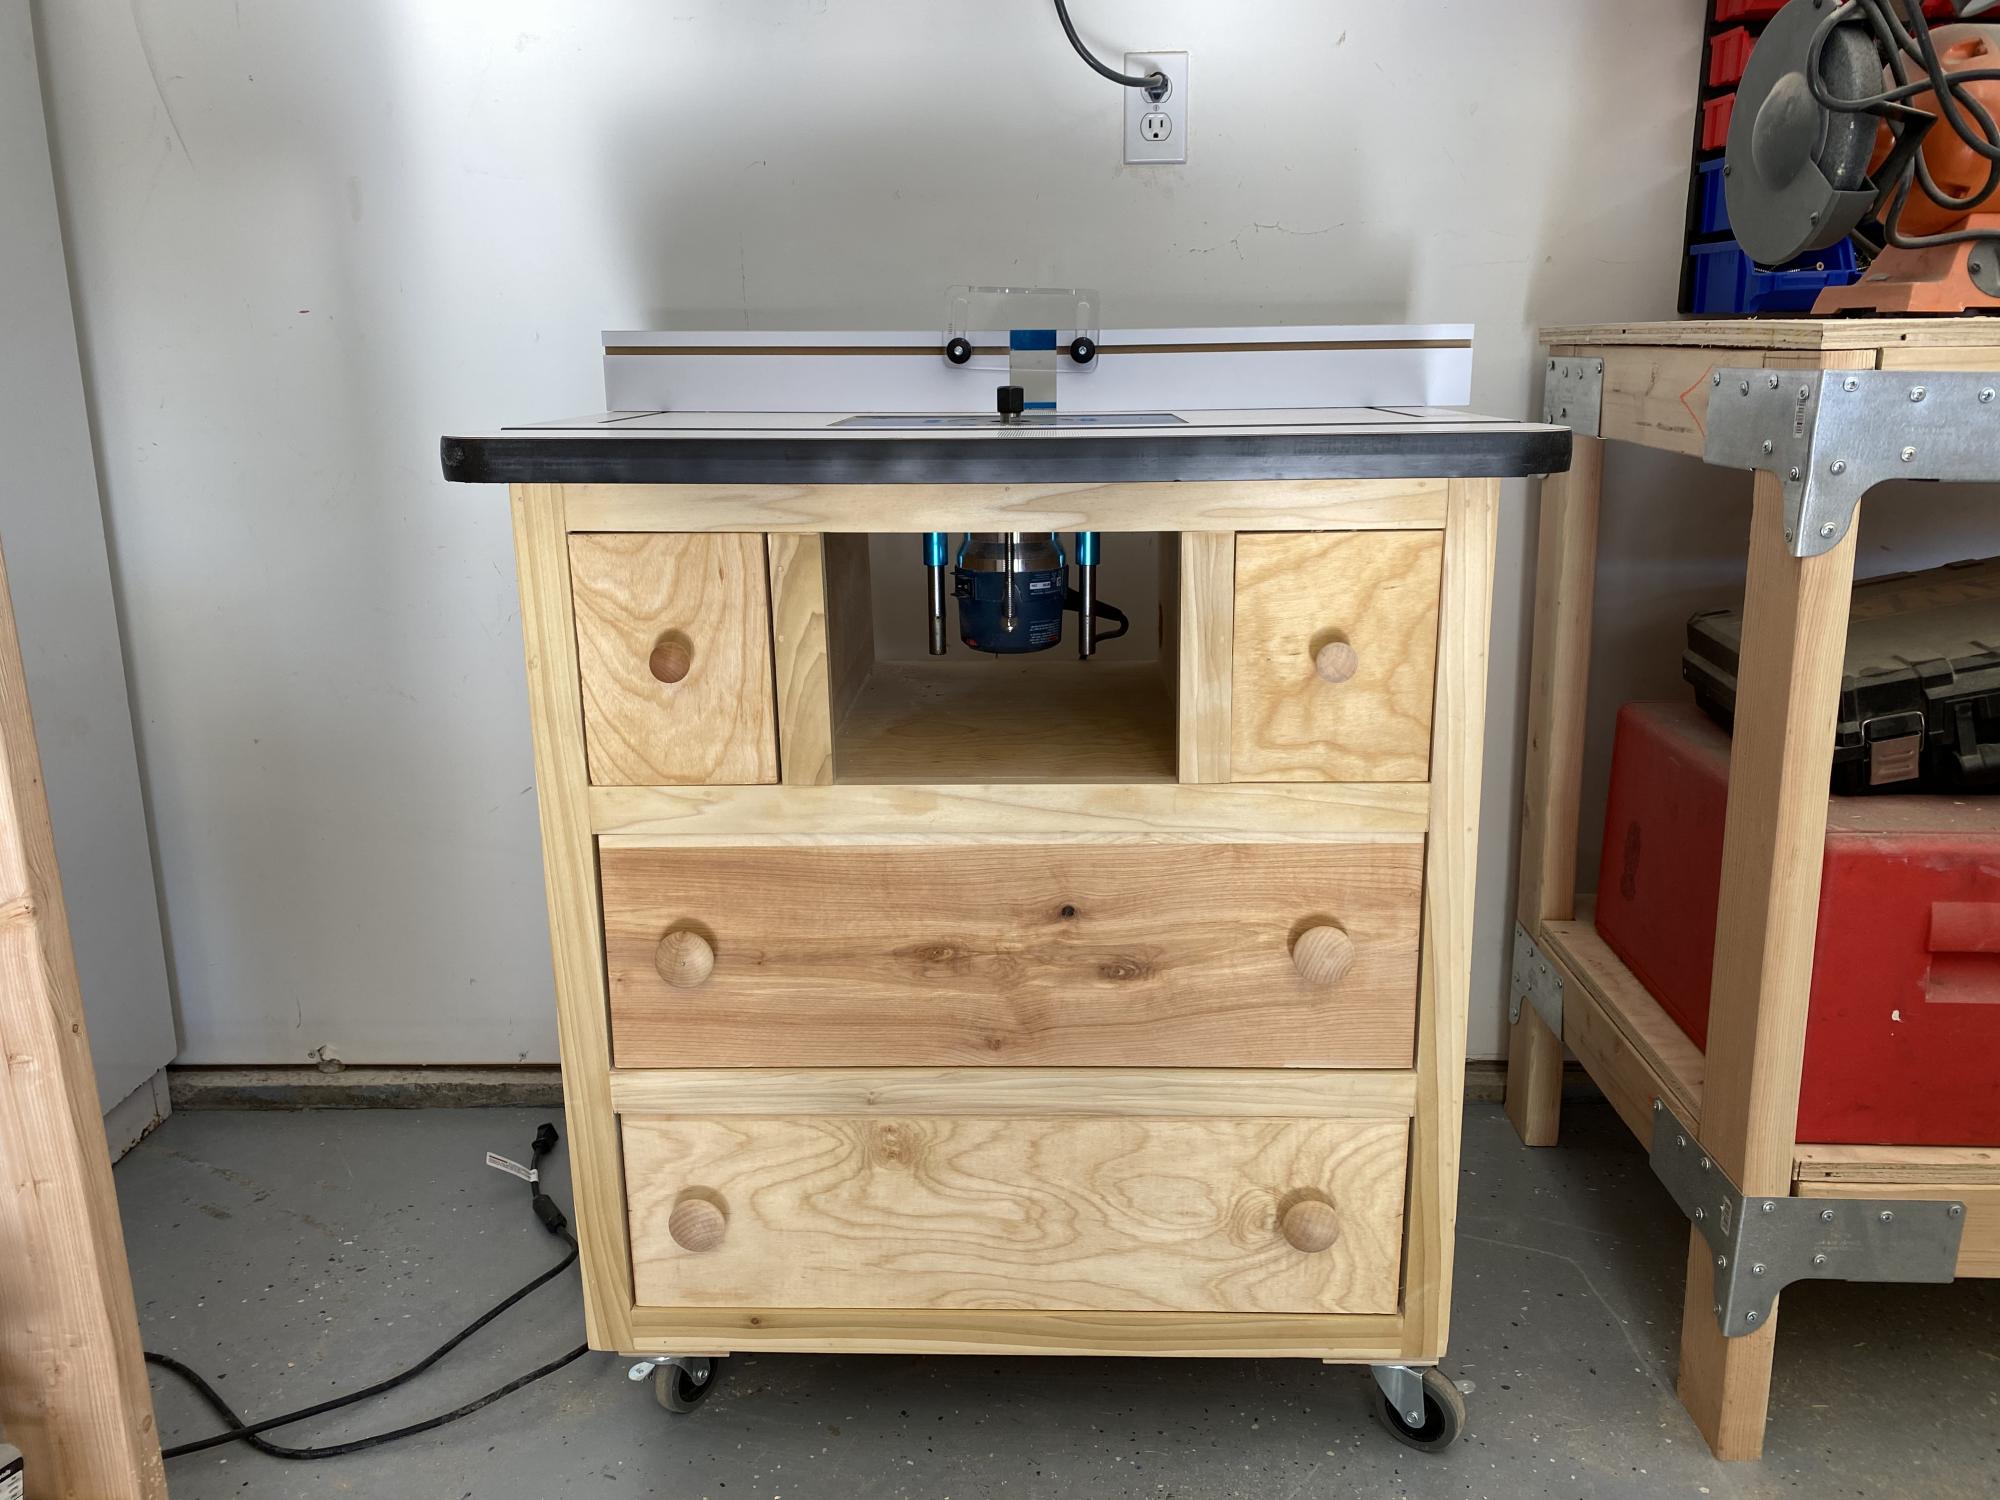
As a beginner woodworker I was searching for a router table project and came across this one. I constructed it entirely out of birch plywood. I will admit is was a challenge for me as I had never done drawers before. The biggest challenge was the small drawer for bit storage. I used a Rockler table top and it worked perfect. Overall I’m pleased with the way it turned out and have already used it in several projects
Built from Plan(s)
Estimated Cost
$200
Estimated Time Investment
Week Long Project (20 Hours or More)
Finish Used
Linseed Oil
Recommended Skill Level
Intermediate
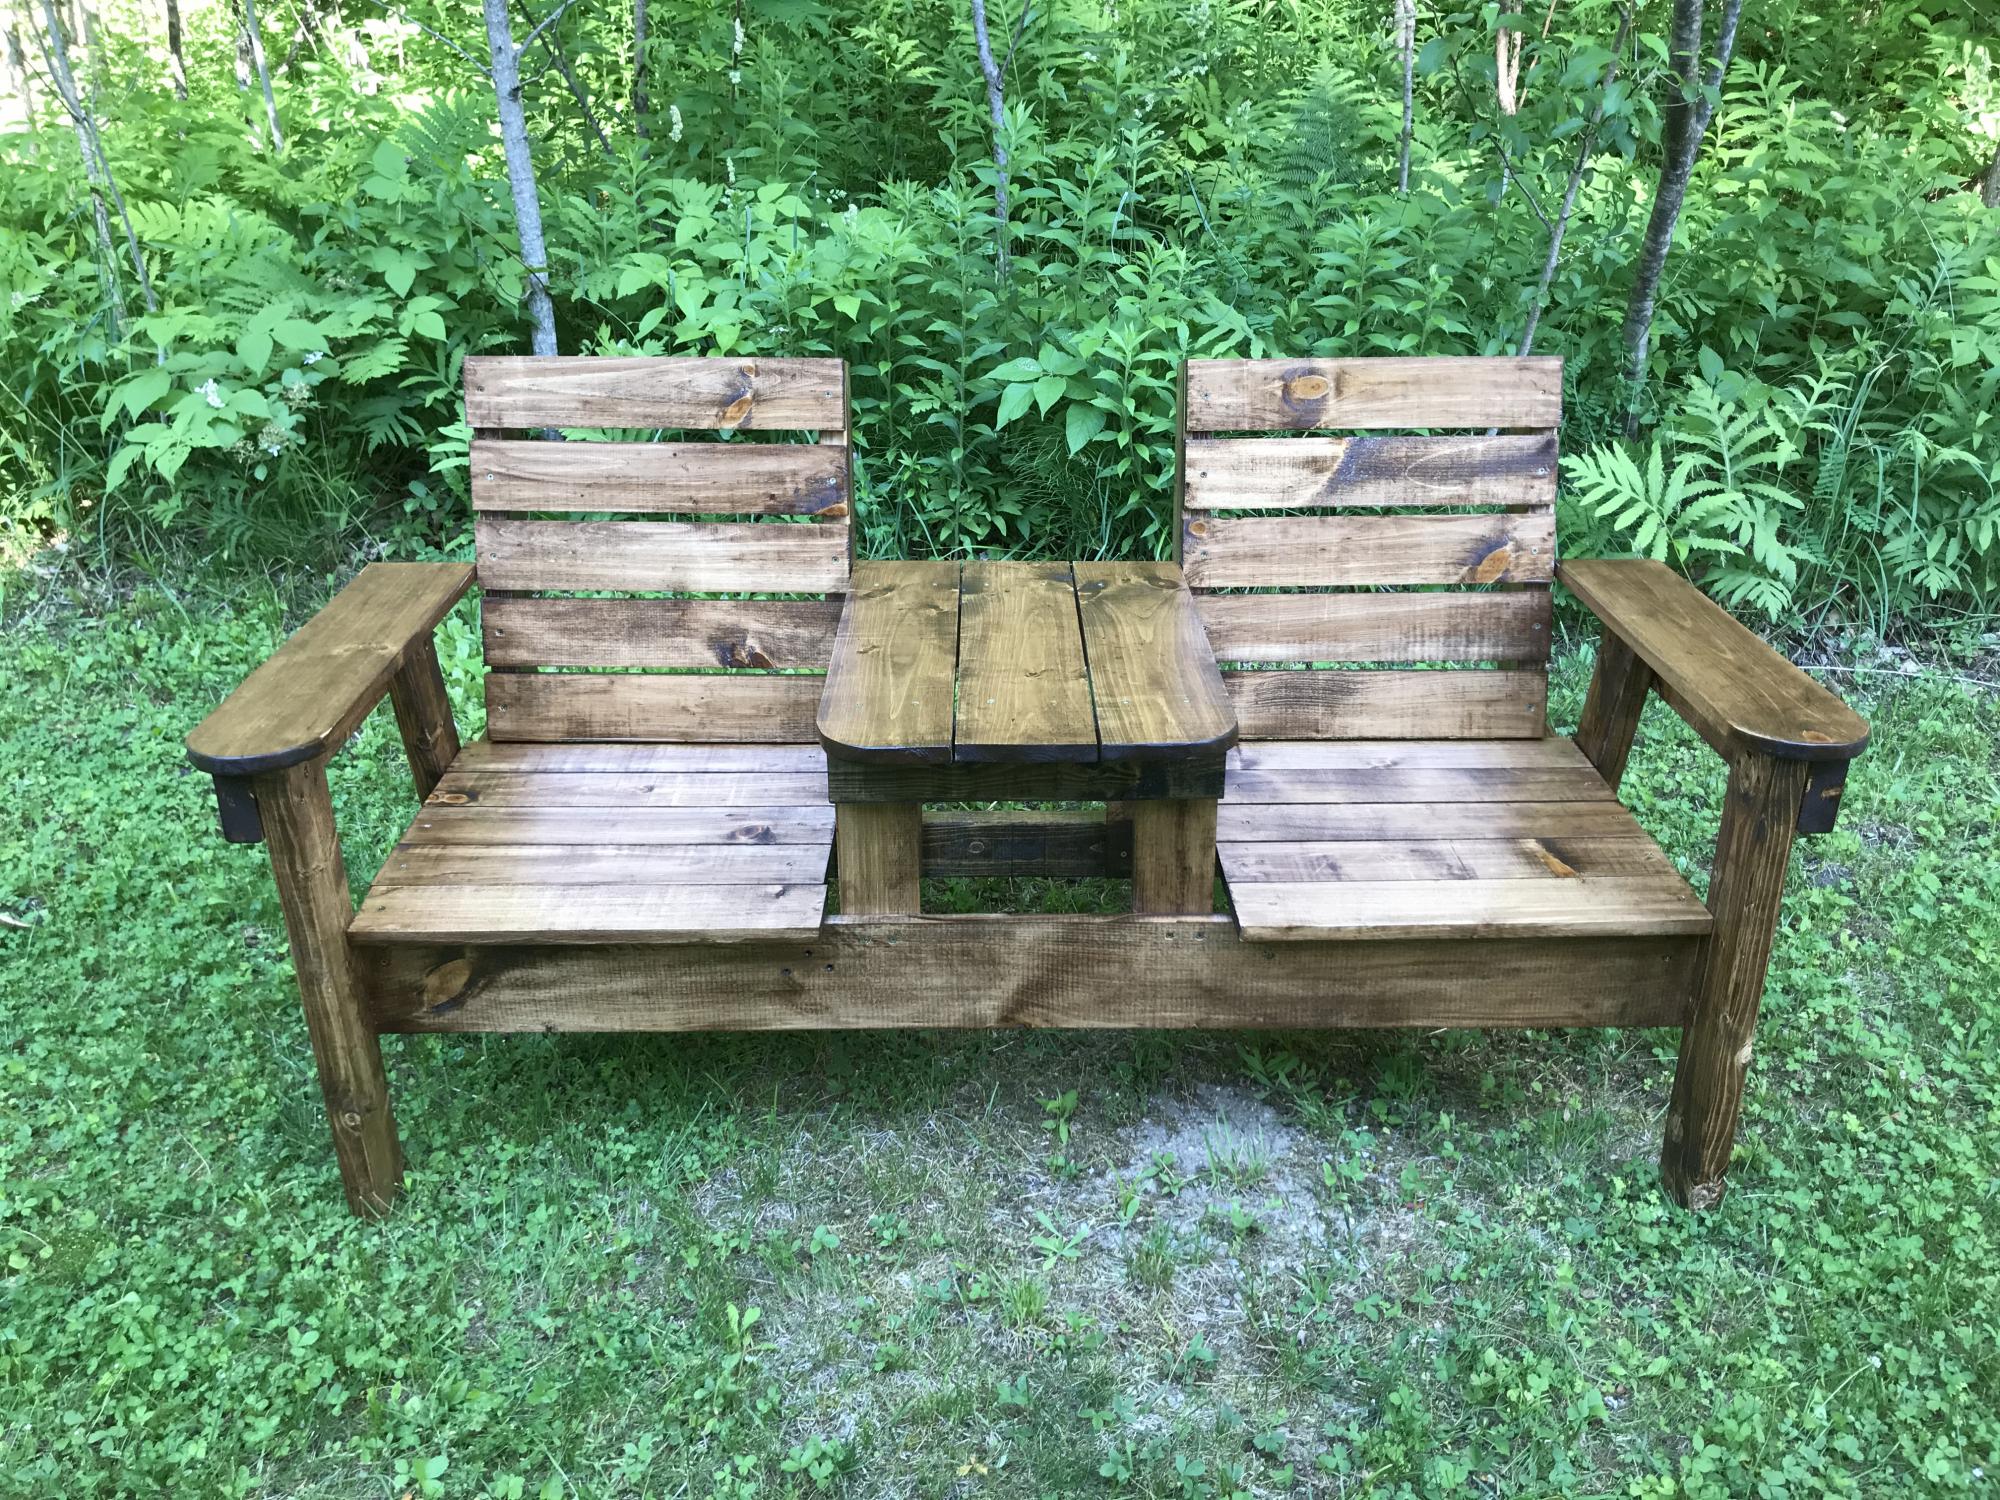
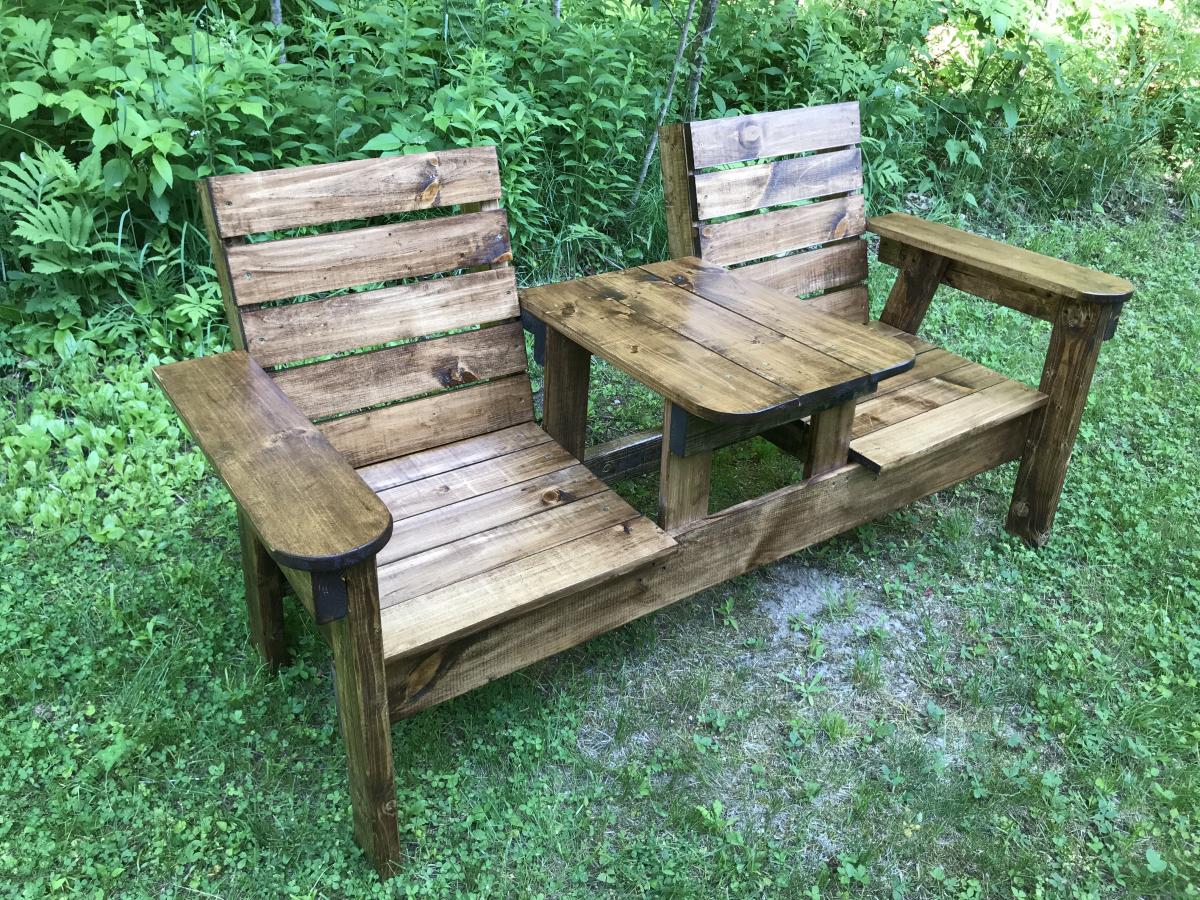
DIY Outdoor Furniture
Reader Build
Built from Plan(s)
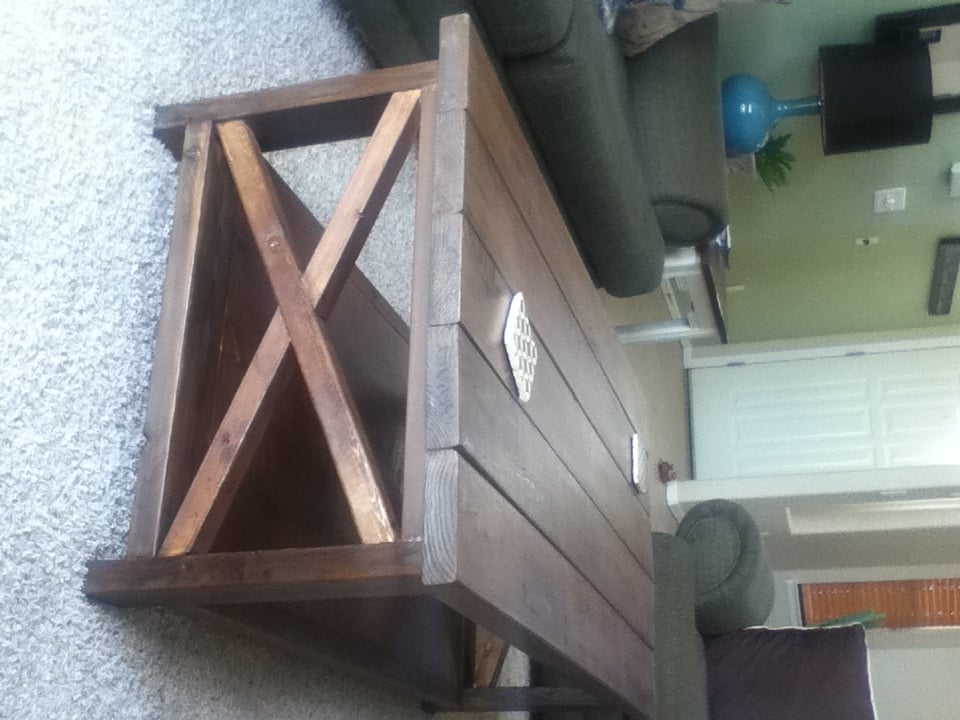
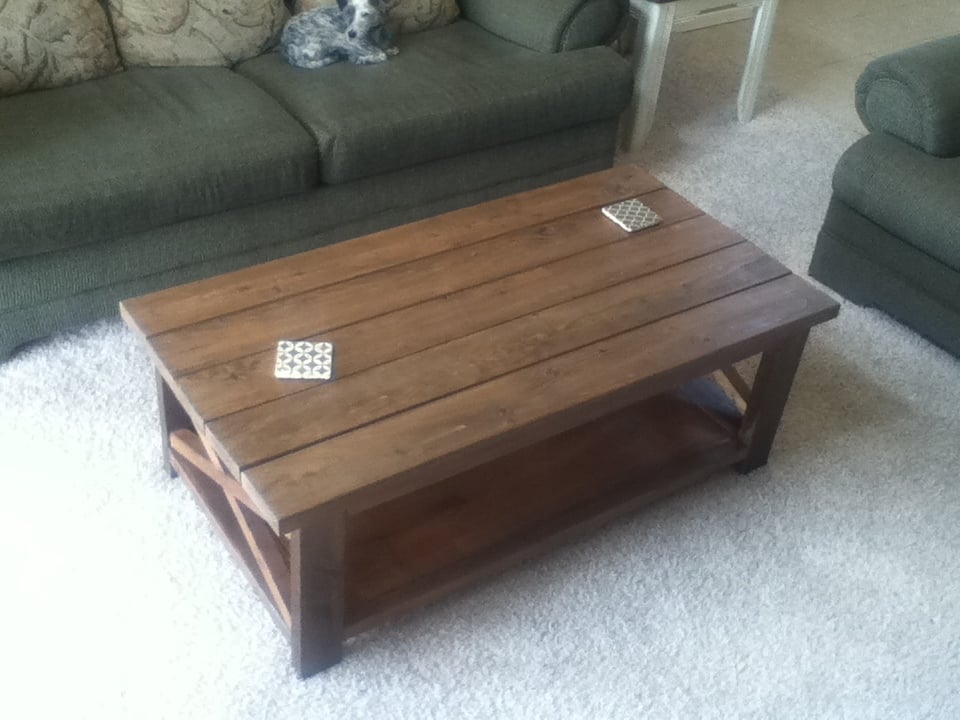
Rustic "X" Coffee Table

This table was super easy to make and is solid as a rock! I'm very happy with the way it turned out. It is the first piece of indoor furniture I have made. I did need 3 2x2x8's instead of two though. I don't know if it was my inexperience or what, but that is the only thing I had trouble with.
I finished it exactly like Hillary did, with the steel wood vinegar concoction, but mine came out much more brown than hers did. It wasn't exactly what I had planned, but in the end I'm happy with it. I guess that's one of those things that can't be controlled.
I can't wait to build the end table to match!
Built from Plan(s)
Estimated Cost
$75
Estimated Time Investment
Weekend Project (10-20 Hours)
Finish Used
Hillary's oxidizing method starting with strong tea, then adding a coat of steel wool and vinegar mix. Then used Minwax Finishing paste wax.
Recommended Skill Level
Beginner
Comments
Mon, 08/27/2012 - 22:41
Gorgeous, Meagan! It did come
Gorgeous, Meagan! It did come out a lot more brown than mine. That is so strange. I guess with oxidizing you never really know what you're going to get! I go a bit crazy with scraps before I oxidize and I experiment with more or less vinegar to tone down the effect. Anyway, yours is really beautiful and looks super square and sturdy. You did a great job.
Dining Table
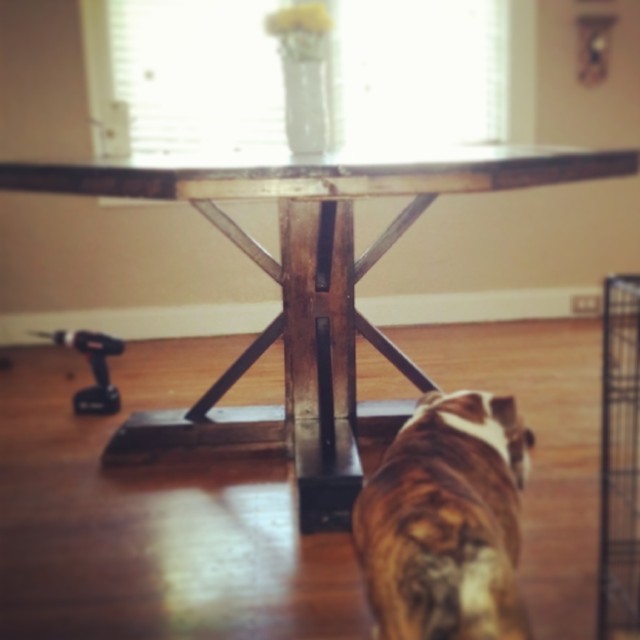
This is my first major DIY project and was relatively easy if you follow the instructions (I have done the crate coffee table and turned an old coffee table into a bench).
Built from Plan(s)
Estimated Time Investment
Weekend Project (10-20 Hours)
Finish Used
Min-Wax dark walnut and 6 coats of poly
Recommended Skill Level
Beginner

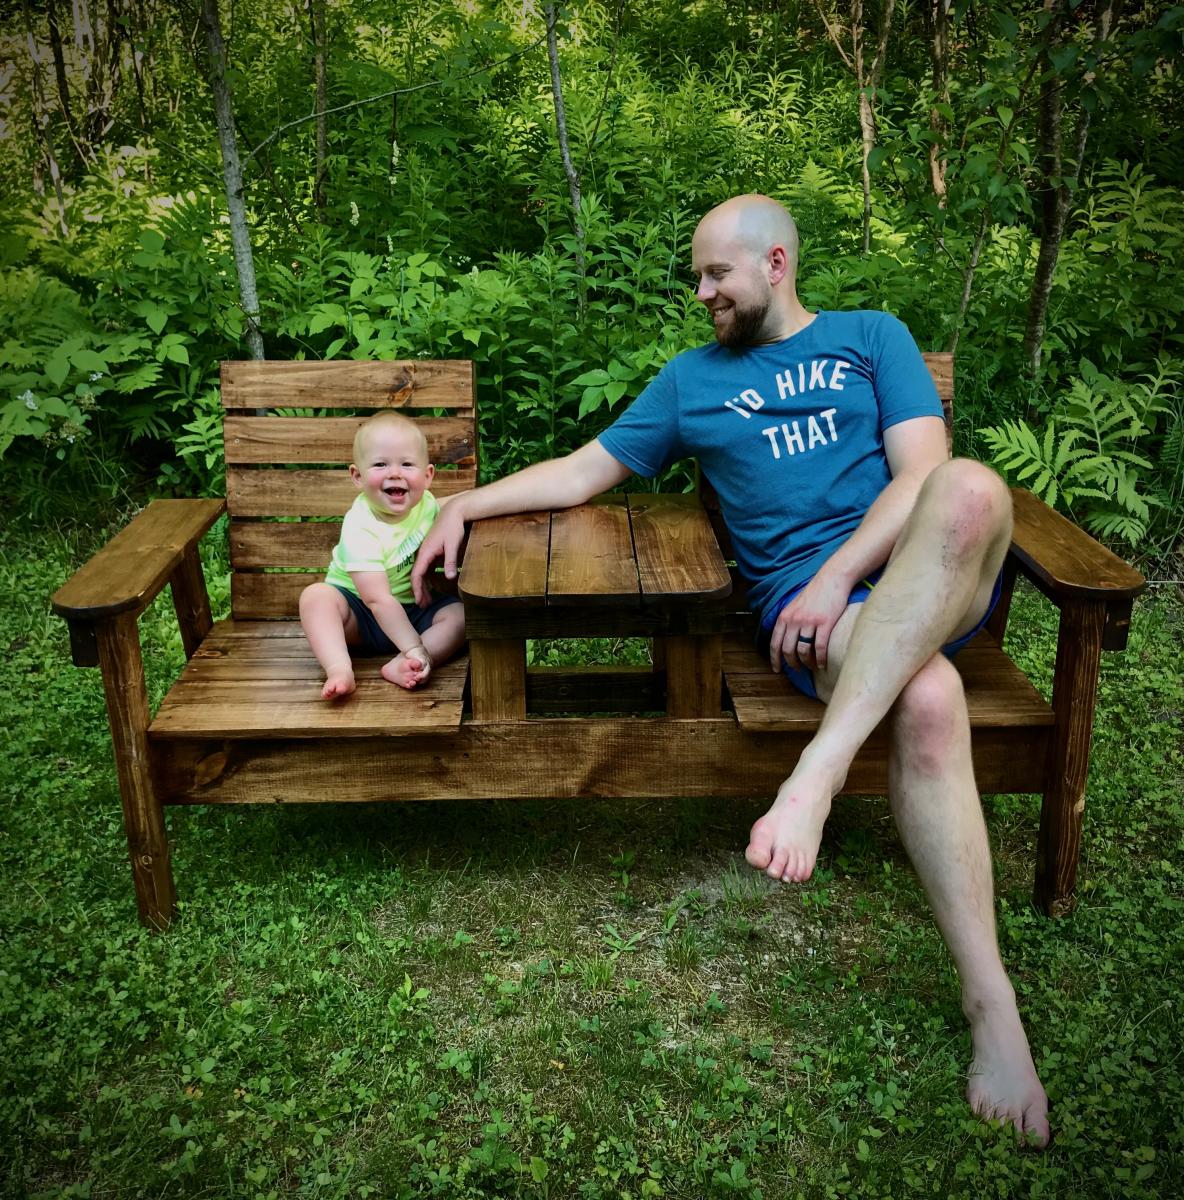
Fathers Day Gift
This was my second bigger builds. It came out beautifully and I am so proud to have built this for my husbands very first Fathers Day. Easy to build.
Built from Plan(s)
Estimated Cost
100
Estimated Time Investment
Day Project (6-9 Hours)
Finish Used
Special walnut Minwax
Recommended Skill Level
Beginner
Wooden Bunny Easter Basket

Happy Easter for the grandchildren. Your post inspired me....thankyou. I was happy with my
outcome.
Built from Plan(s)
Seasonal And Holiday
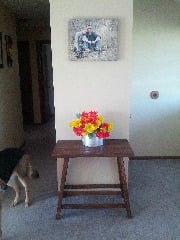
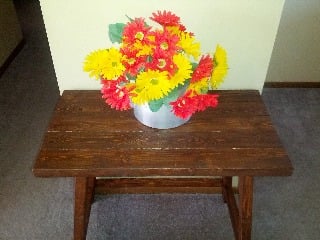
Truss End Table
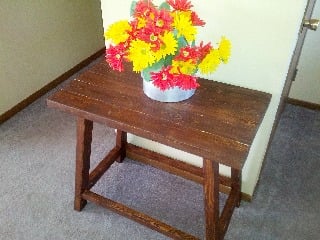
I had trouble with this project. I wasn't sure of the terminology, off square and such. It went well, I ended up not putting the truss part on due to not paying attention when cutting the wood.
Built from Plan(s)
Estimated Cost
$20
Estimated Time Investment
Afternoon Project (3-6 Hours)
Finish Used
Rust-Oleum Ultimate Dark Walnut
Recommended Skill Level
Beginner