My attempt
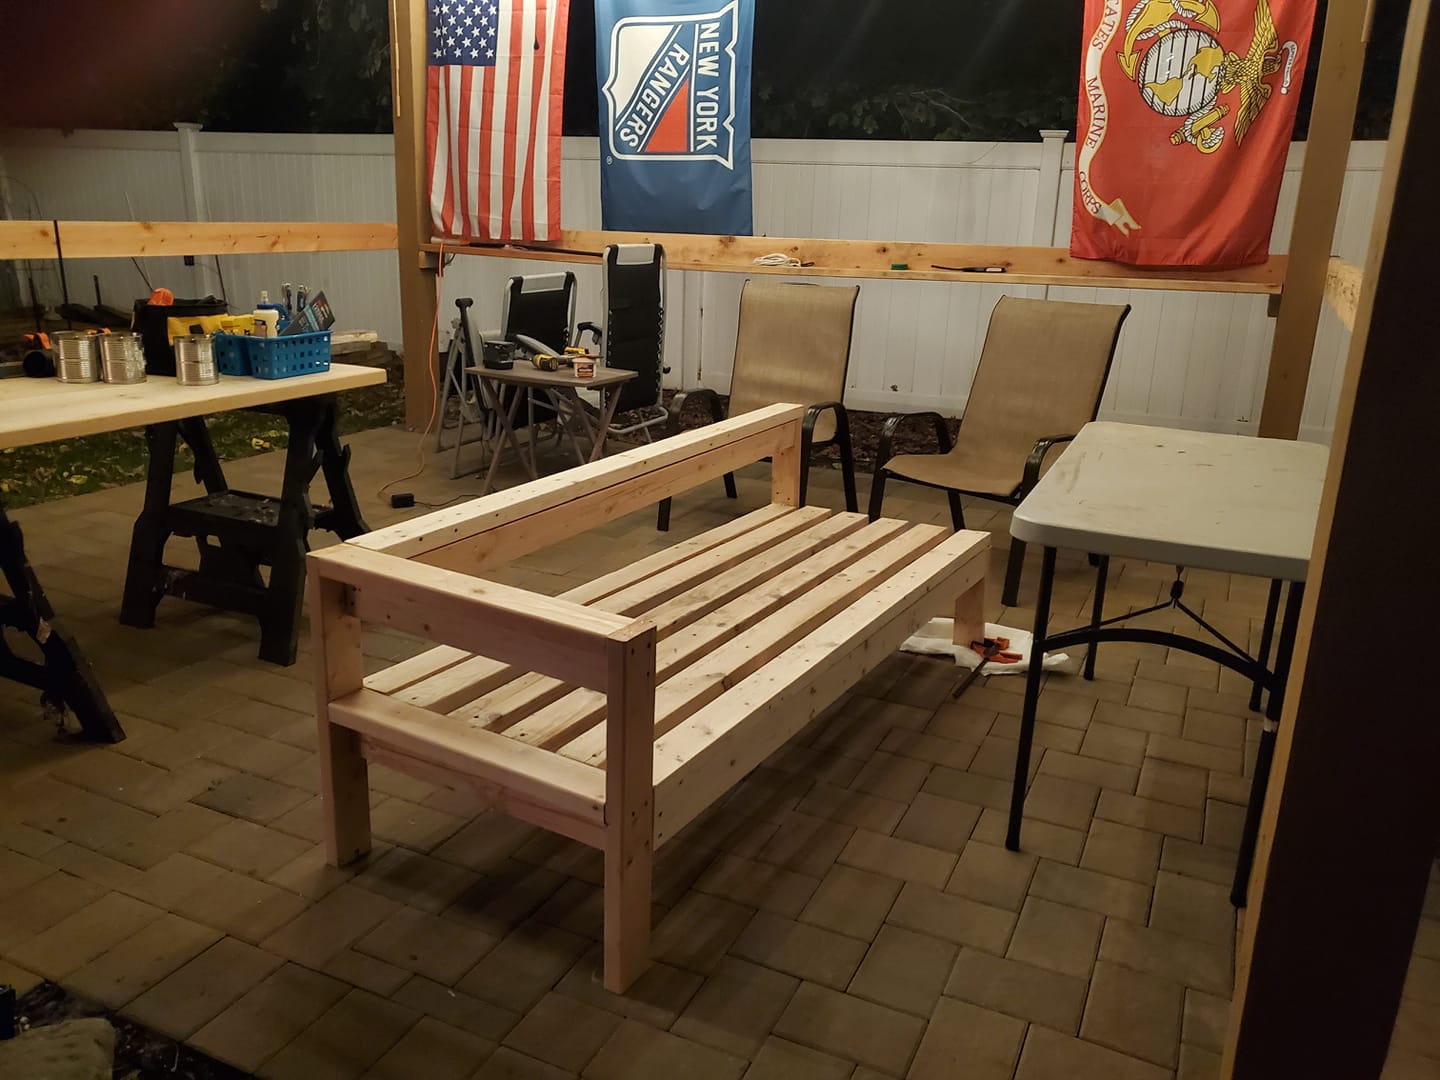
Couldn't find anything that would fit my area and this seemed to work out perfect. Almost done with the other side. I will post pic of finished products.
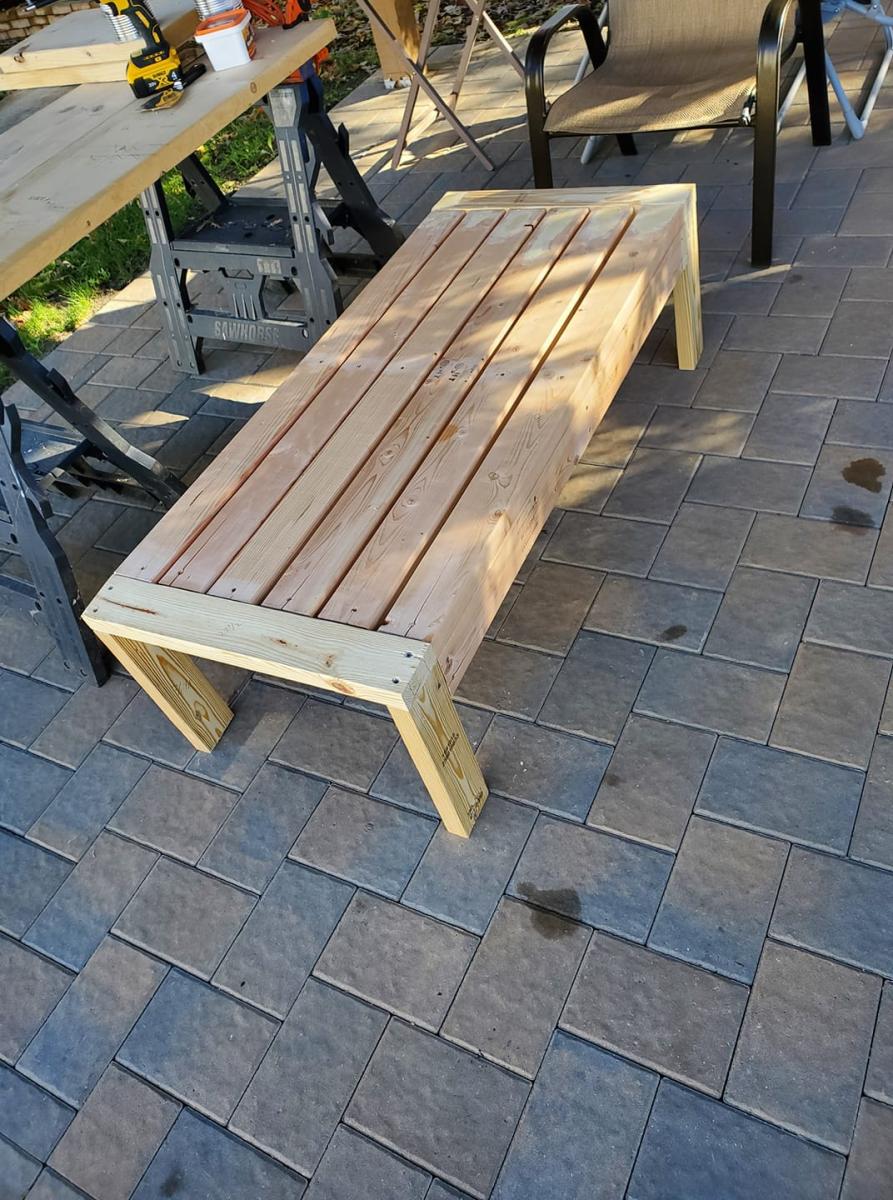

Couldn't find anything that would fit my area and this seemed to work out perfect. Almost done with the other side. I will post pic of finished products.

I made this step stool in around four days. It took longer because of the five coats of paint. It has two coats of paint and three coats of finish. It should stand up to many years of use. With the storage area empty, the lid dropping closed can be somewhat loud. I added felt bumpers underneath the top step to dampen the sound. It's light enough for my 18-month old to push around.
The jigsaw cuts weren't always perfect. I filled any gaps and countersunk screws with wood filler. I used a mouse sander to smooth everything out after screwing it all together. The longest part was the painting. I painted every surface, hidden or not, to protect the wood and hopefully make it last forever.
I didn't list an estimated cost because I had to purchase several tools, including a jigsaw, sander, and countersink bits. It was probably user error, but the countersink drill bit was a pain to use. The locking nut couldn't be tightened enough to keep the adjustable drill bit in place.
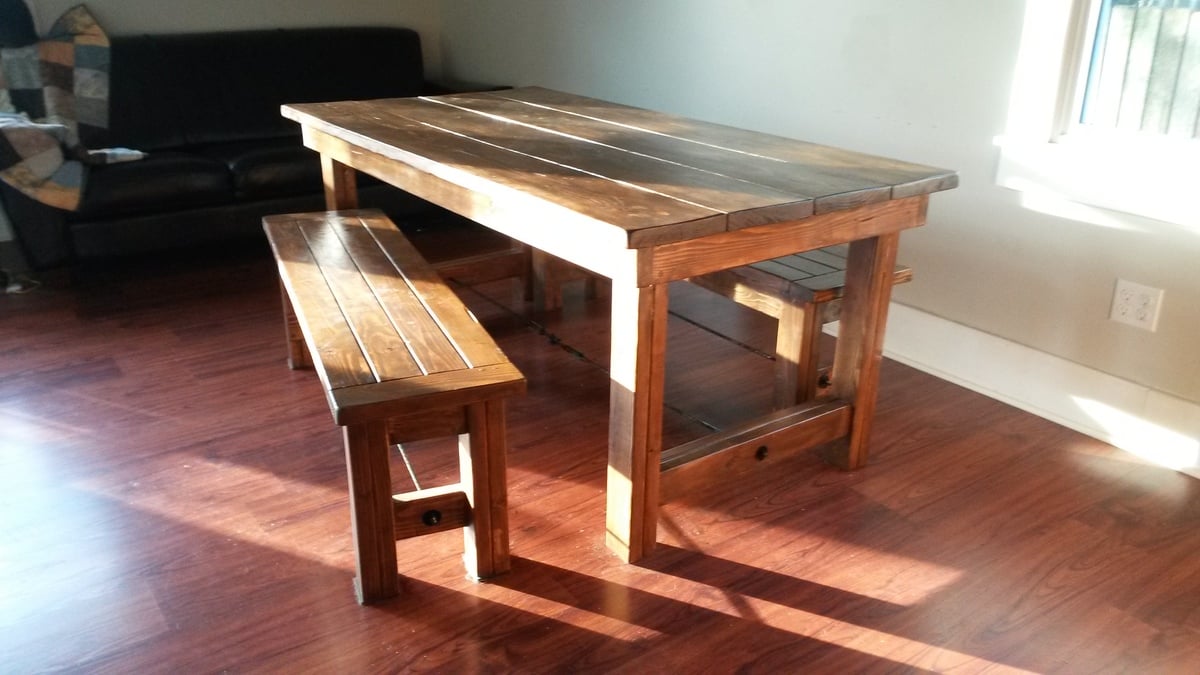
Easy starter project that has gotten me hooked on this site. Wish I could go back and re build it with pocket holes. Changed the farmhouse bench dimensions to fit with the table.

I really like vessel sink vanities, so I did some research and found a couple of DIY projects I liked on Pinterest. I showed them to my husband and after telling him that I wanted a hybrid of about 3 vanities I liked he came up with the vanity that we (we as in he) built :)


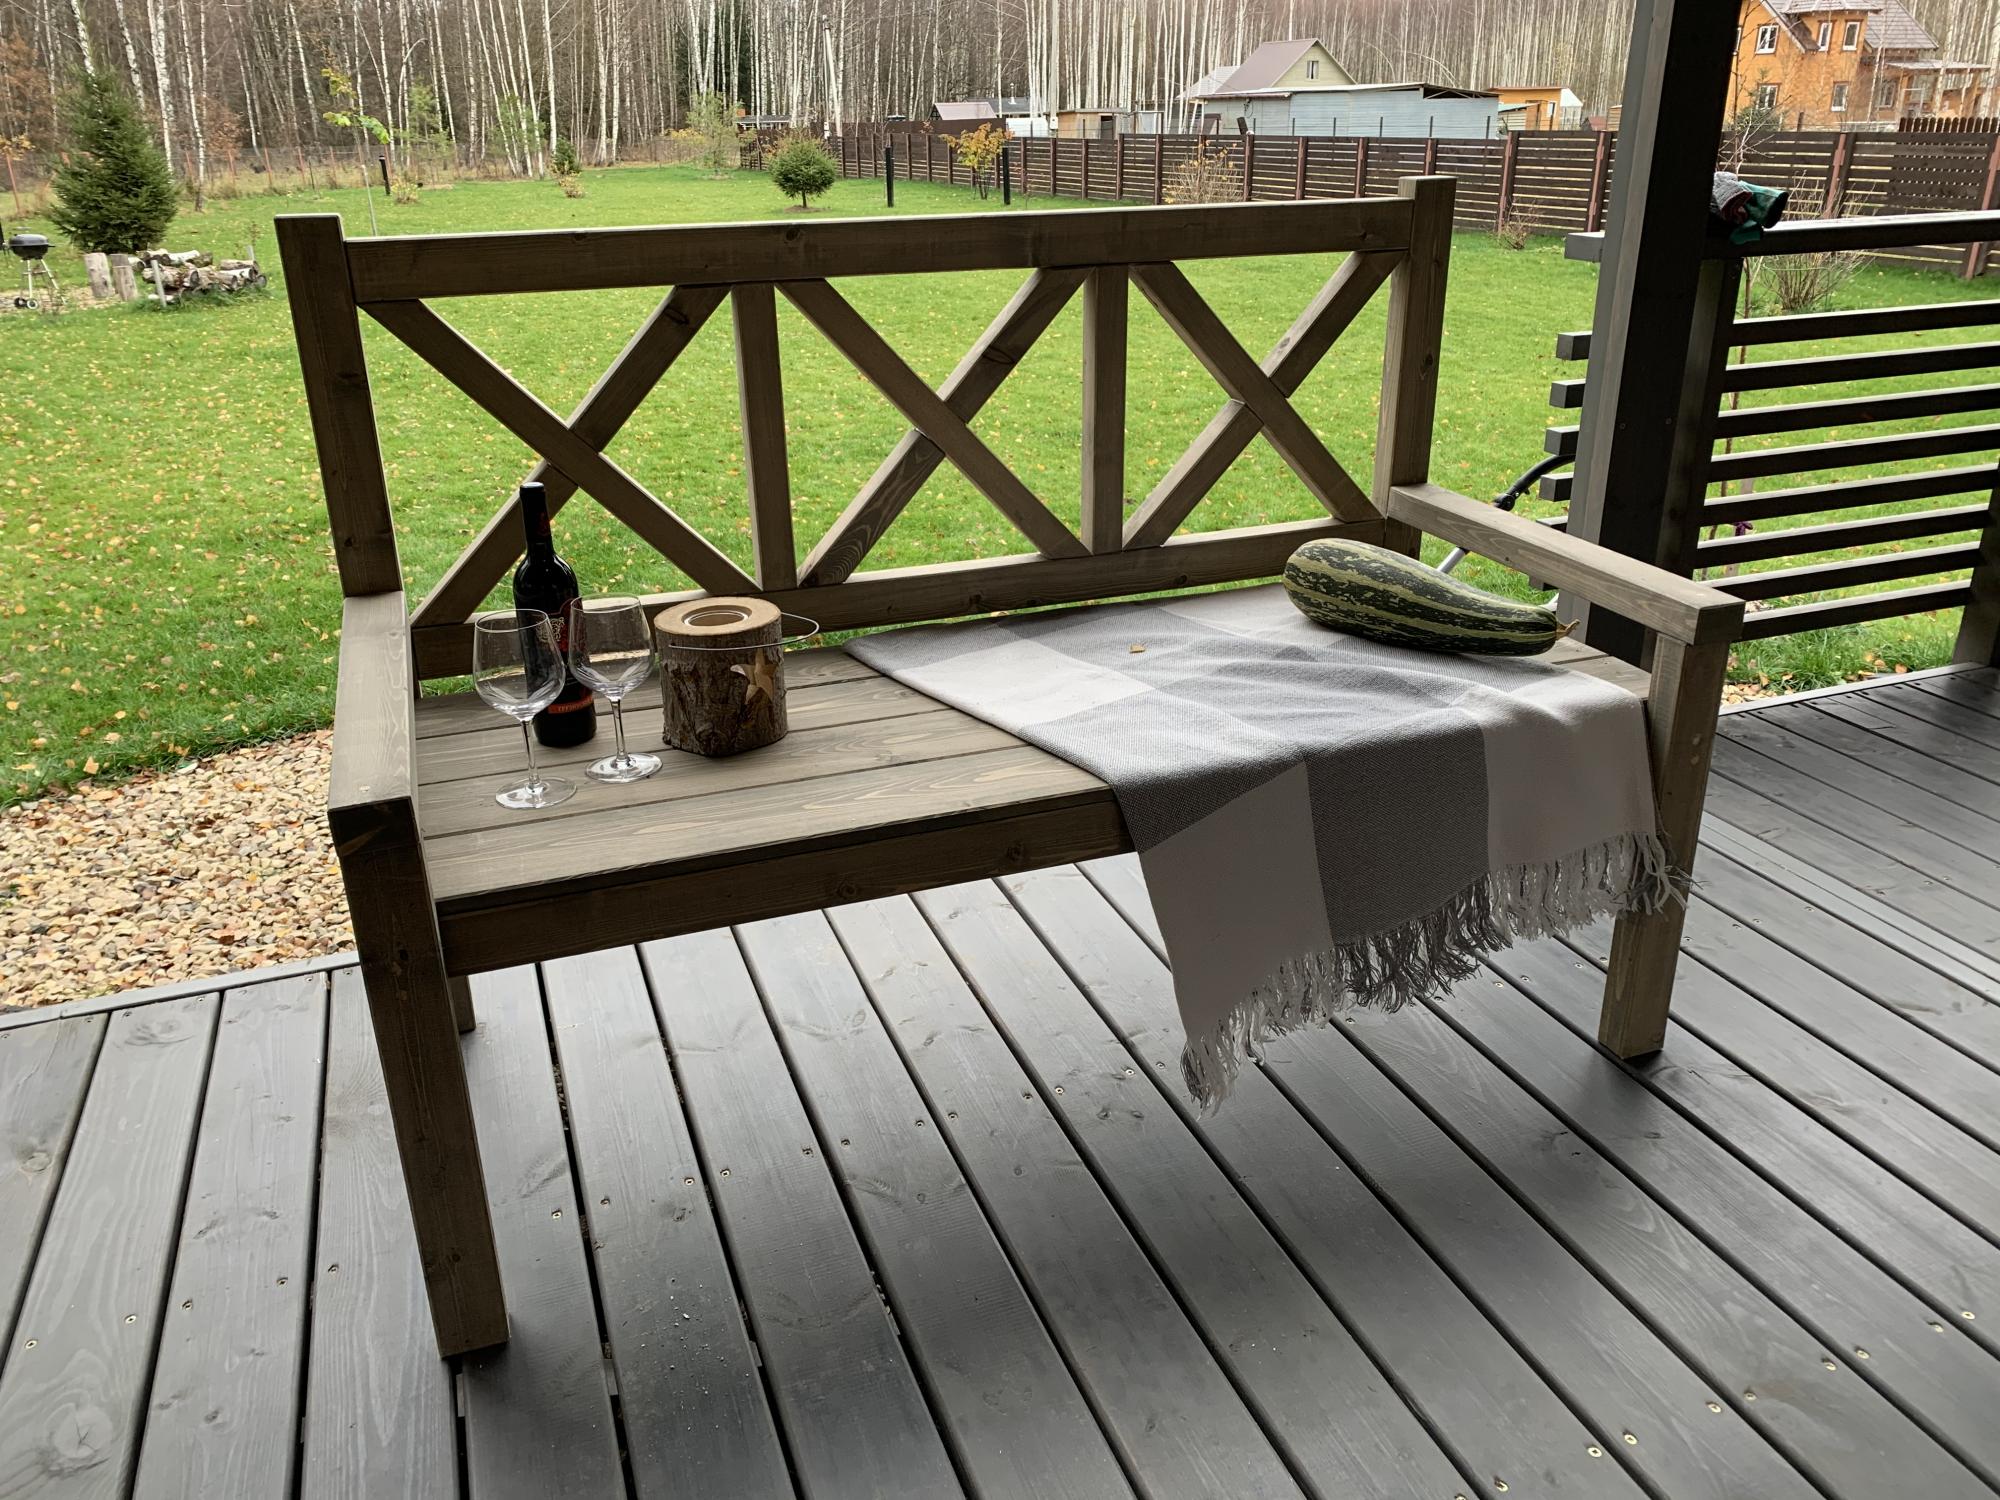
My first bench ever, i like it
A smaller version of the original plan, intended to be a nightstand for our bedroom.
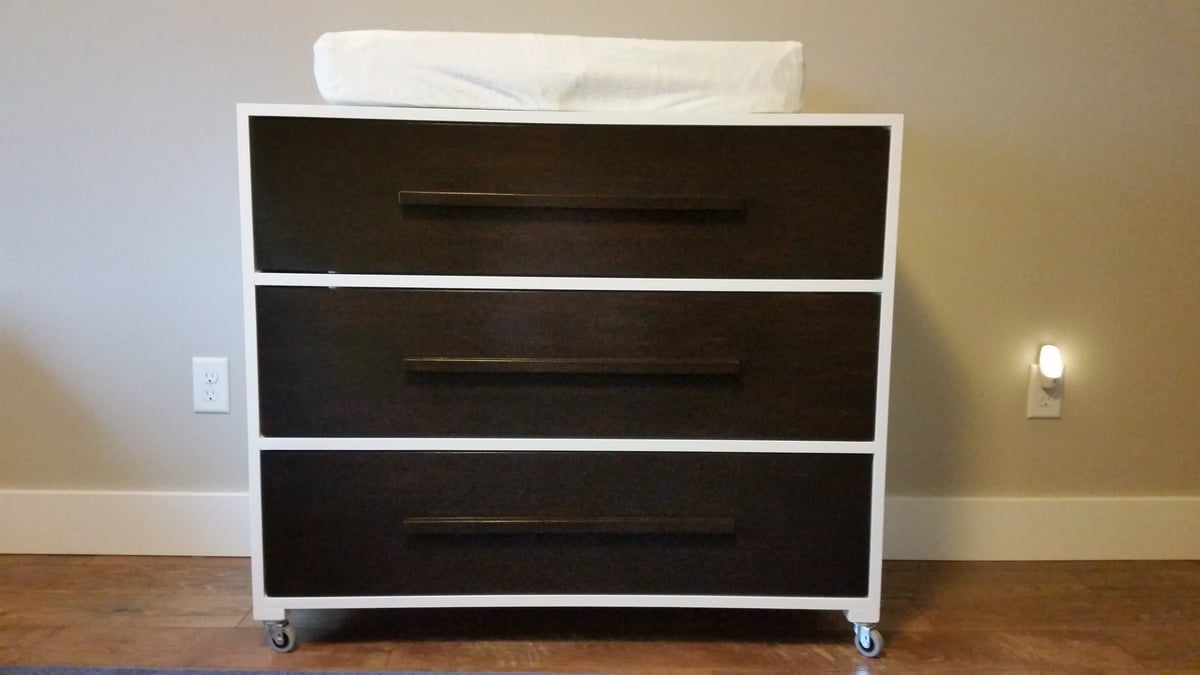
My 15 month old needed a new dresser and a place to put his changing pad as he outgrew the changing table with rails but still fits on the pad itself. I stained the drawers dark to match his existing crib. I used plywood for the drawer faces and attached 3/4 inch square poplar as pulls. I wanted an integrated look and the bonus is that my son has a harder time getting a good hold to open the drawers. I used the plans for the three drawer dresser but omitted the face frame because I wanted to cut costs (I used poplar not pine or else it would not have added much). I just made the plywood wider and I added some stabilizing pieces in the back.
Fri, 11/07/2014 - 09:27
Looks good! I like the combo of the dark wood with the white paint.
I made one fairly major change. When I was buying the boards, I noticed the store sold a panel of joined wood that was just a bit bigger than the final table top was going to be for just a couple dollars more. My kiddo likes to write and color, so I figured a smooth-topped table might make sense. I could have cut down the panel, but as it was only a few inches bigger (36x20x1) I modified the design a little bit instead and just made the cross beams a little longer. My only concern is that the large panel won't drain water as well as the the four boards in the original design, so after I painted the stencil (I got a die cut machine for Christmas, so suddenly everything needs a stencil...) I applied 4 coats of spar urethane to the top and two coats everywhere else. We'll see how it holds up.
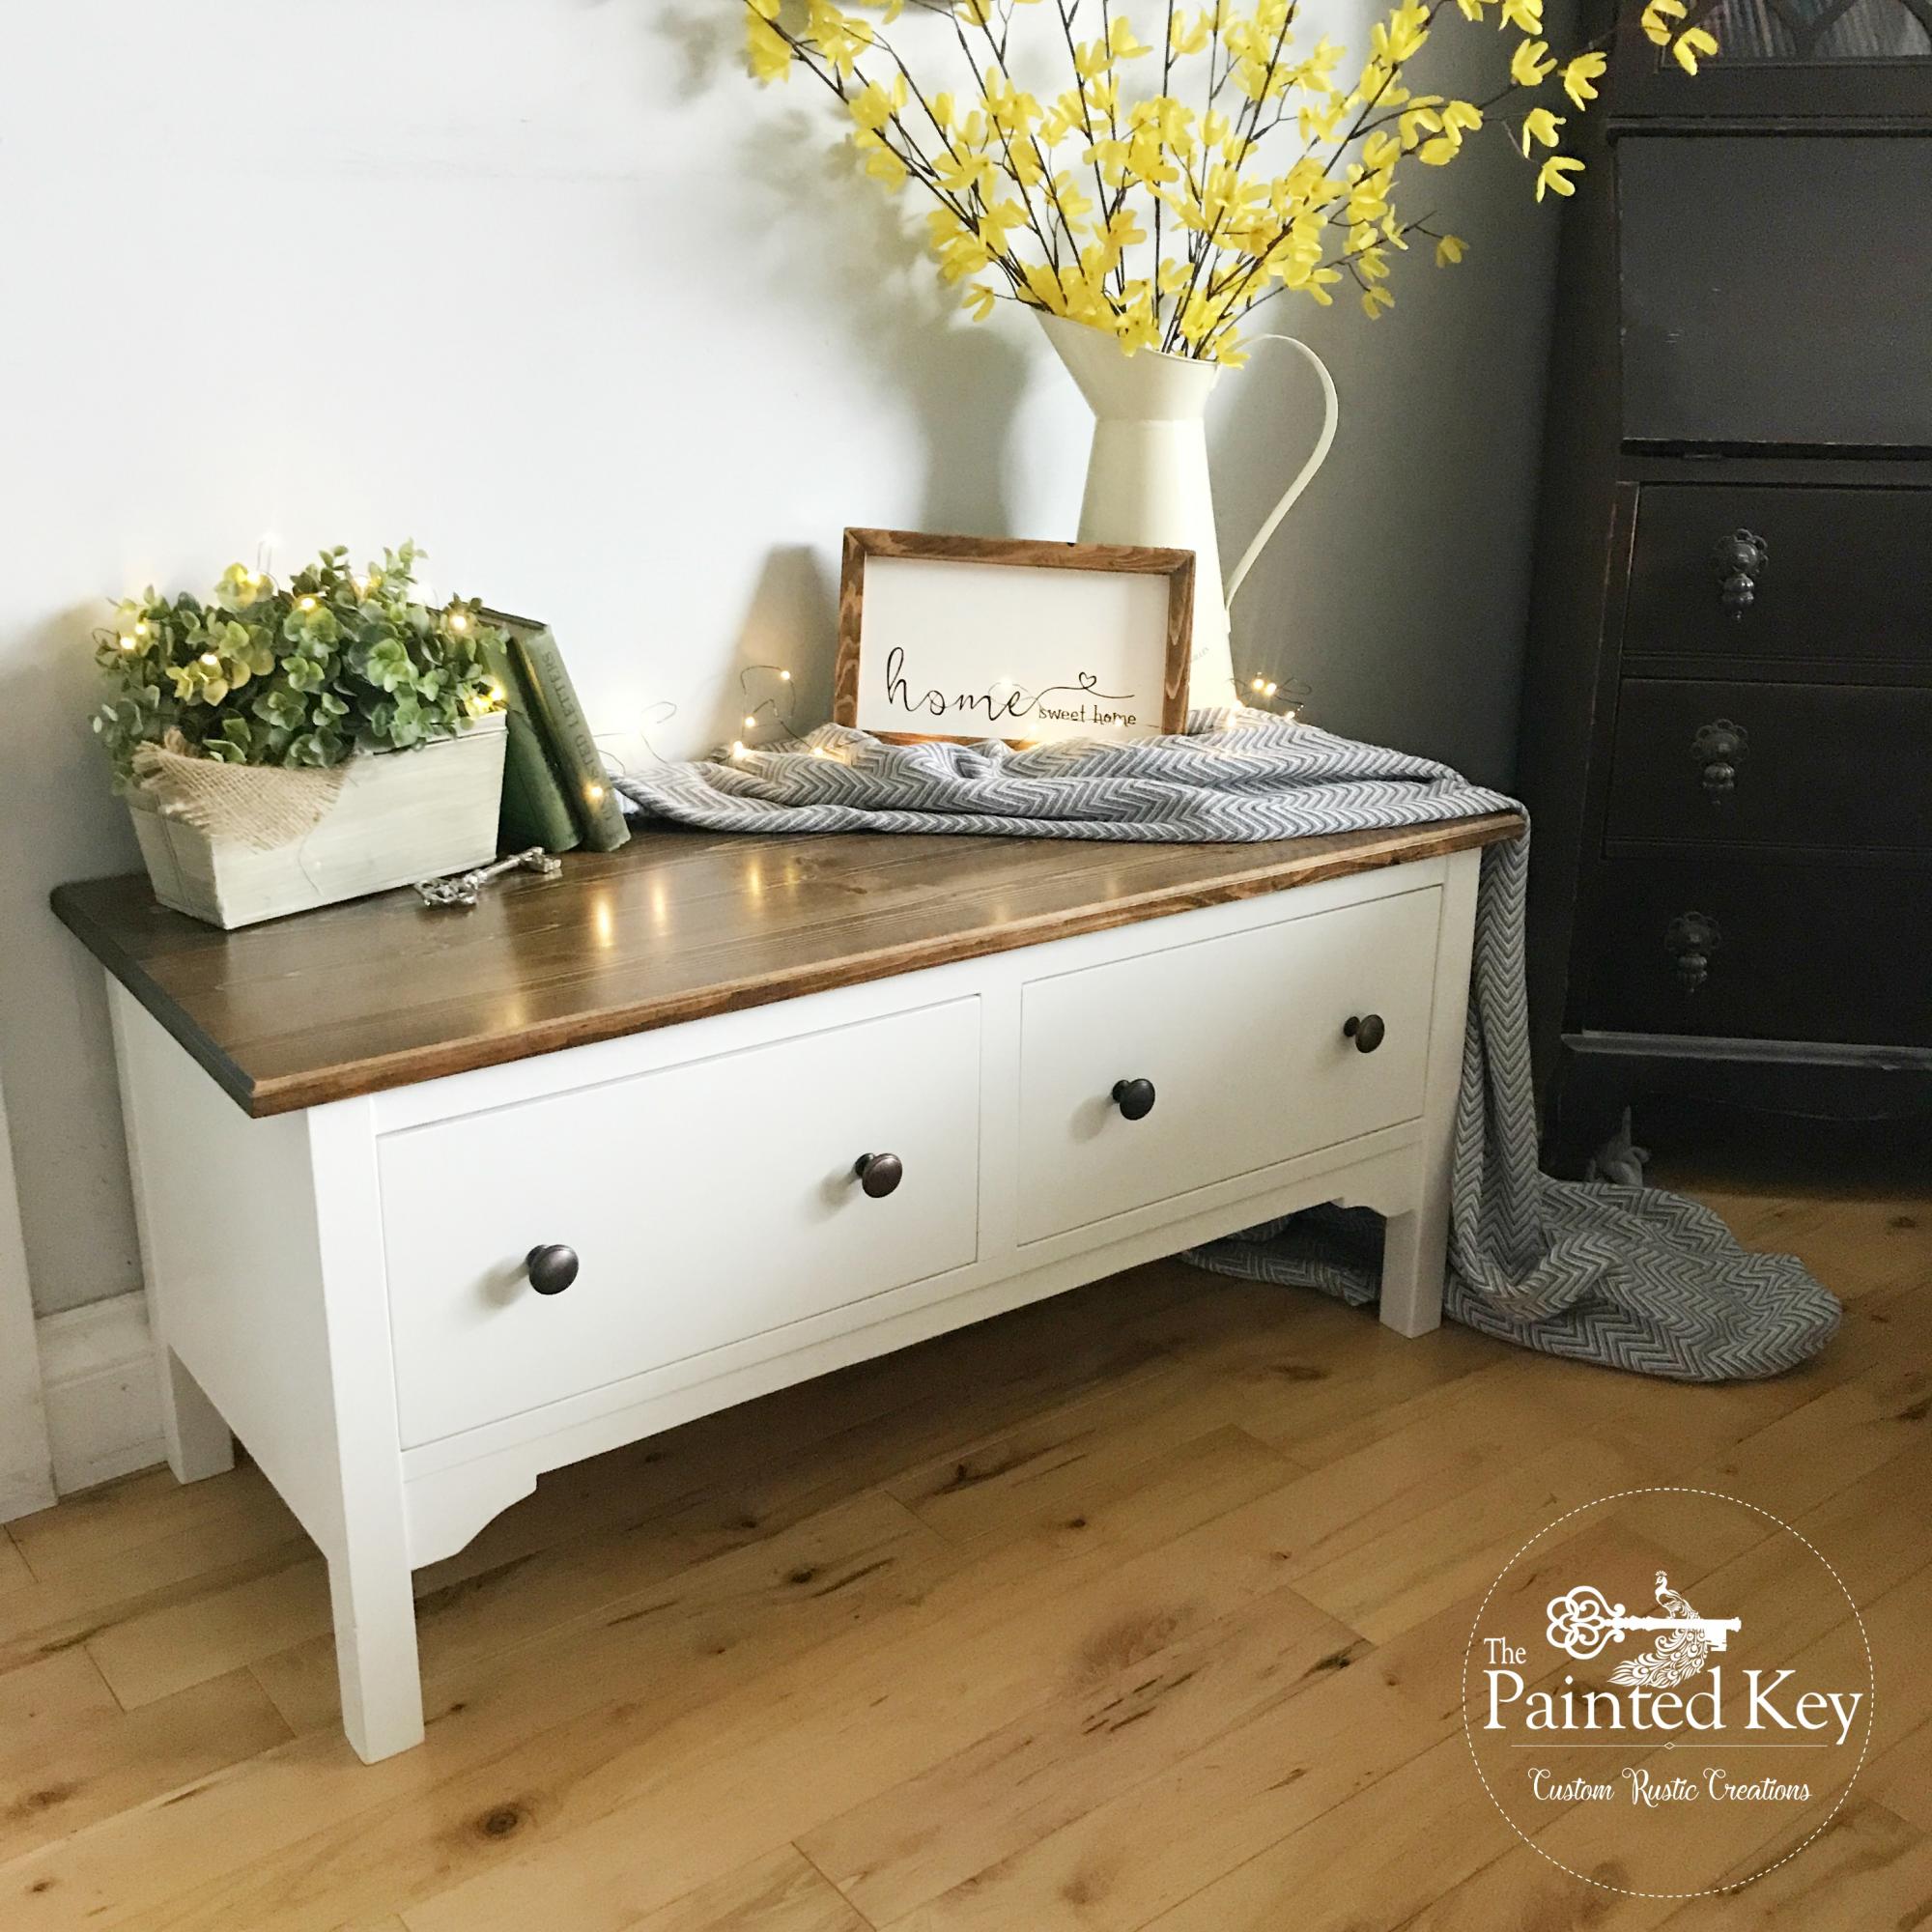
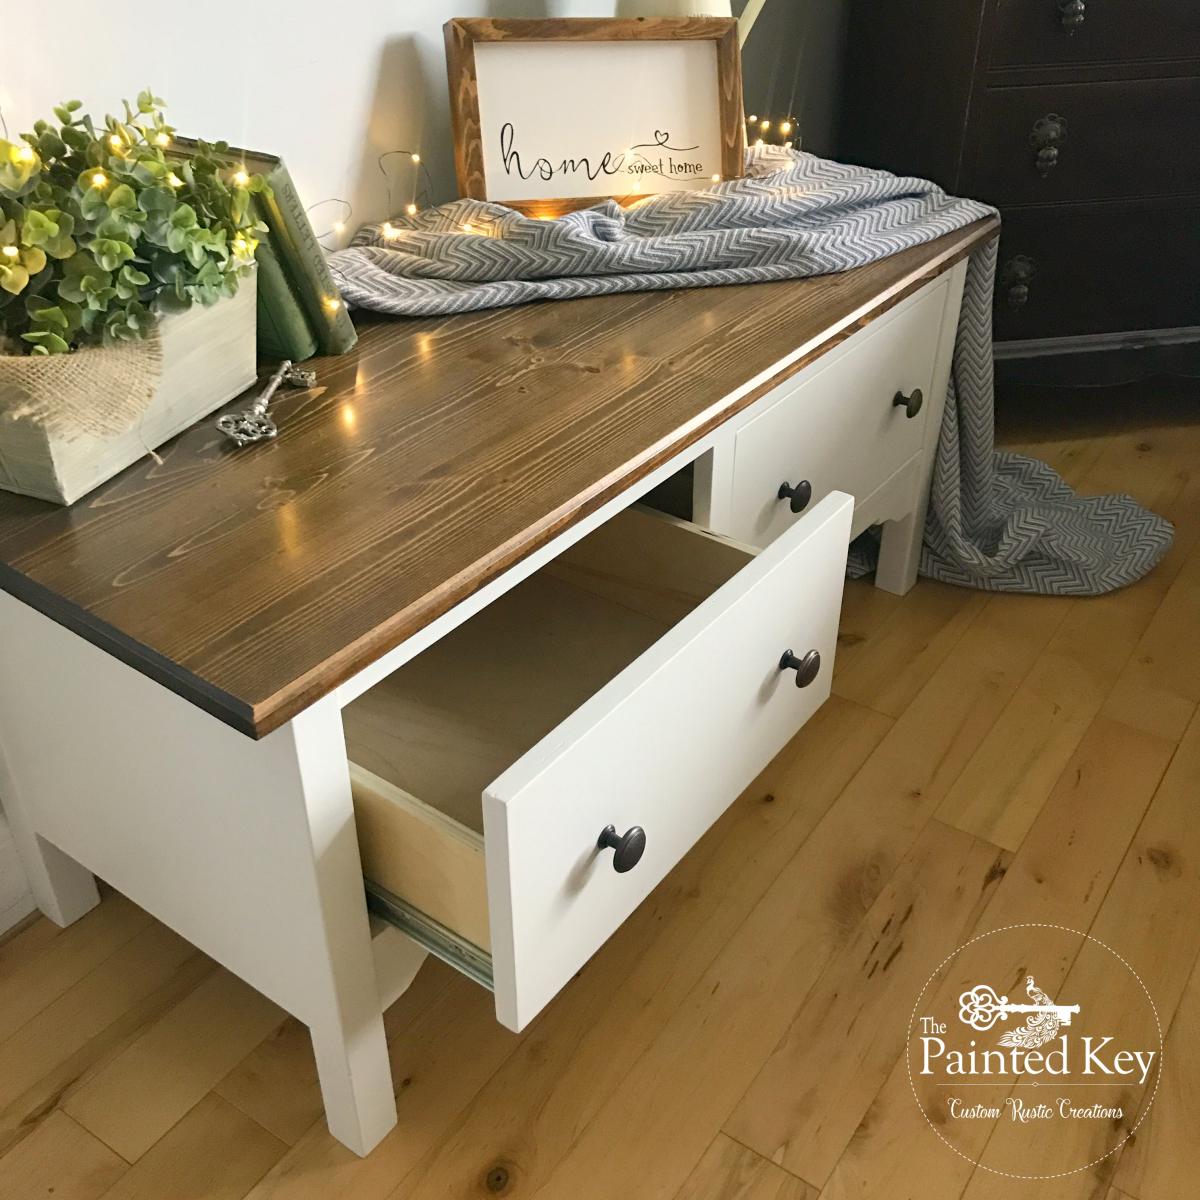
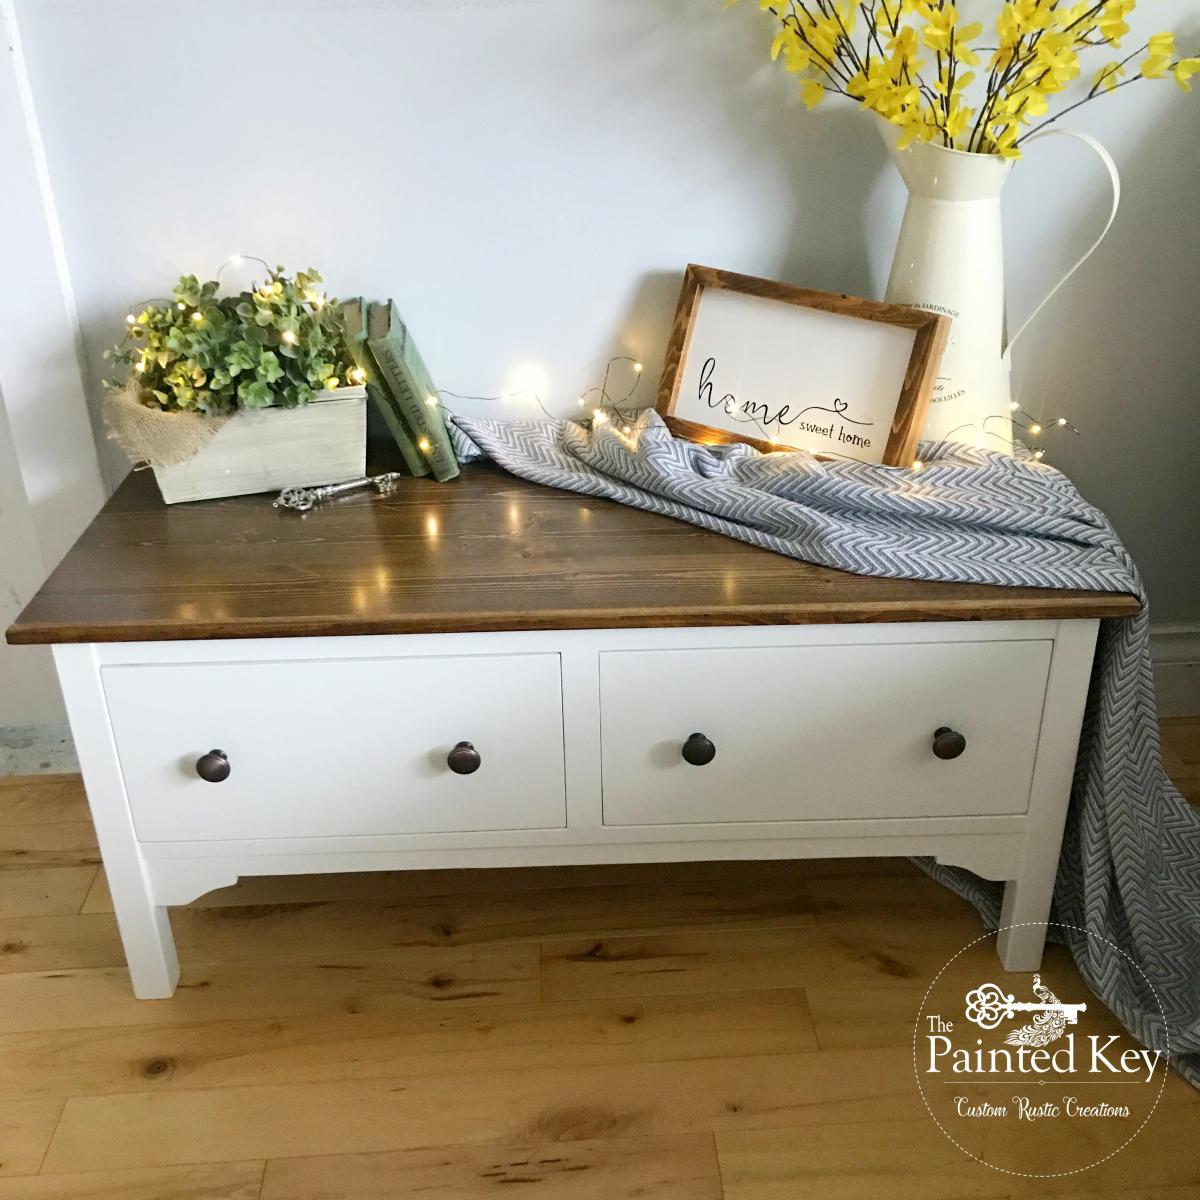
Just under a year ago, I decided to put together a small project using up a few of my scrap wood pieces I had. This "quick" project ended up sitting half finished in my shop until this past week. I'm on a mission to finish up the remaining unfinished projects I have and this one was higher on the priority list. I based it on the Alexia bench with a couple modifications. The only thing I ended up purchasing to complete it was the drawer slides and pulls.
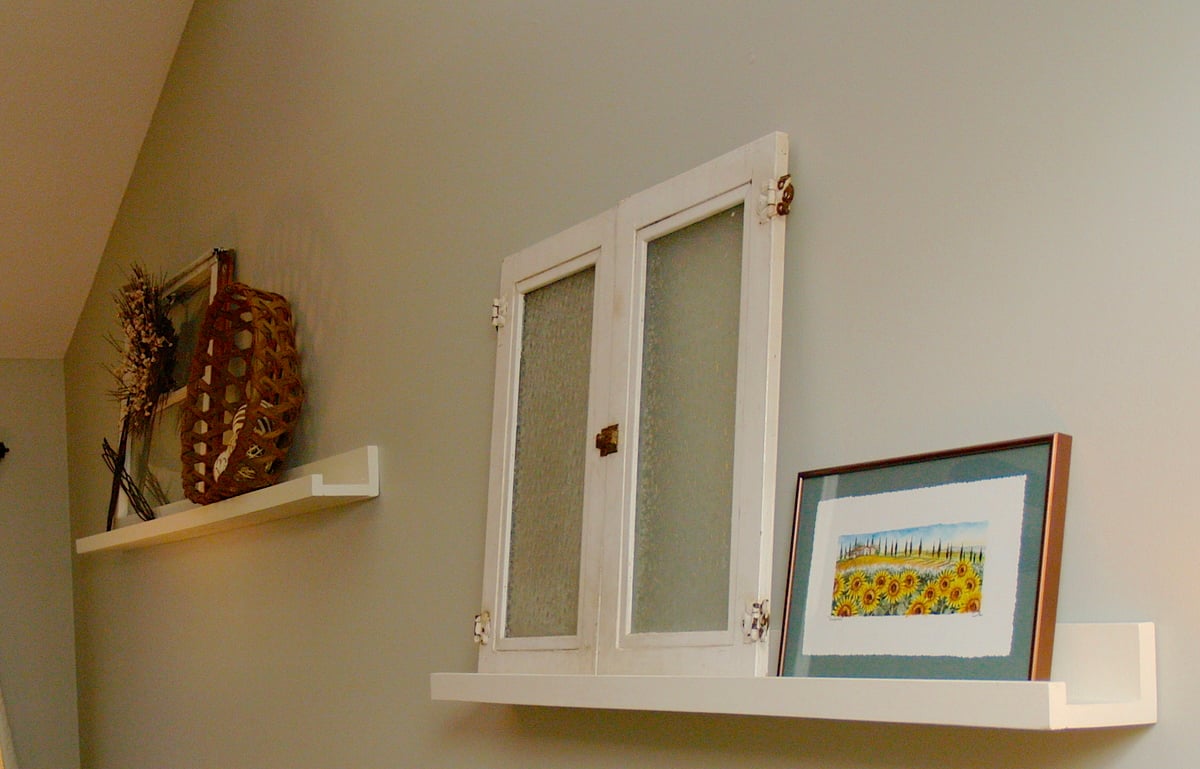
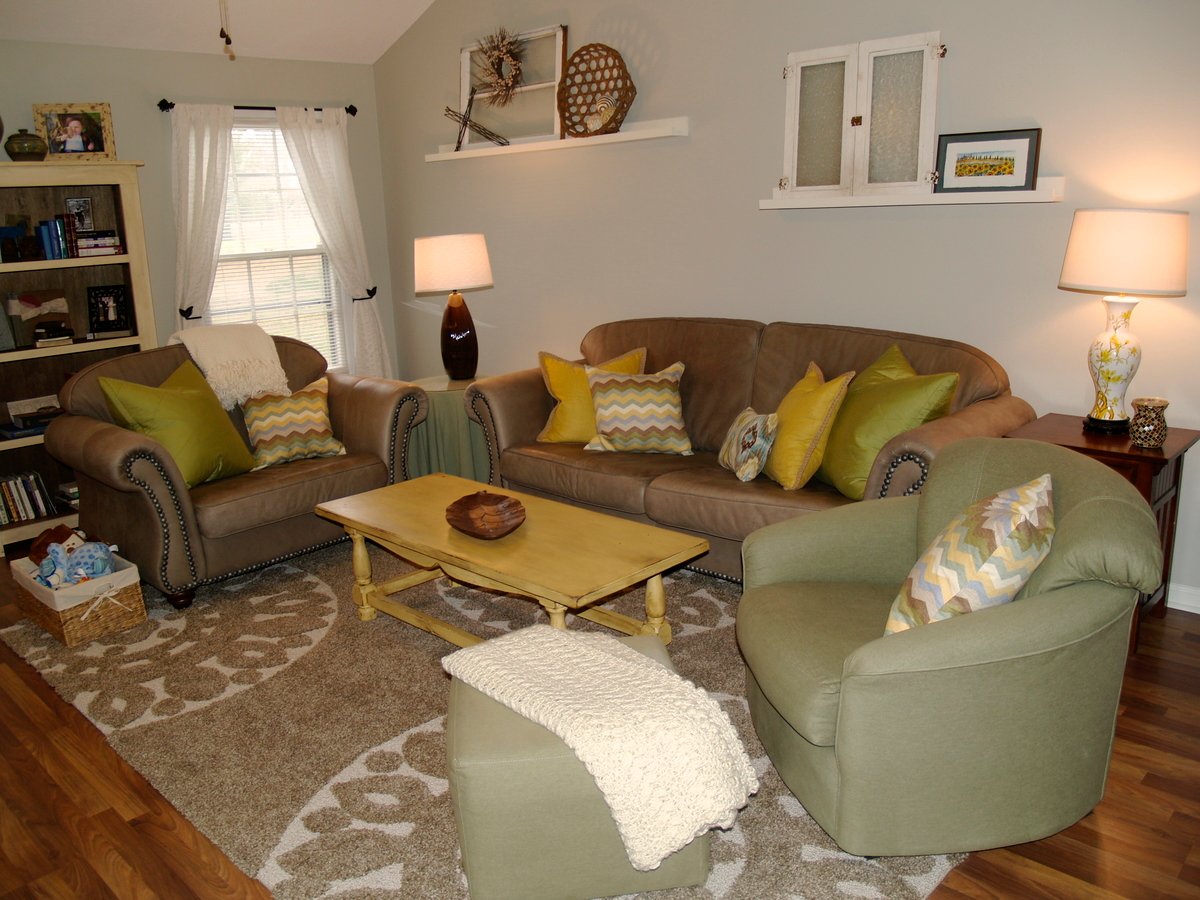
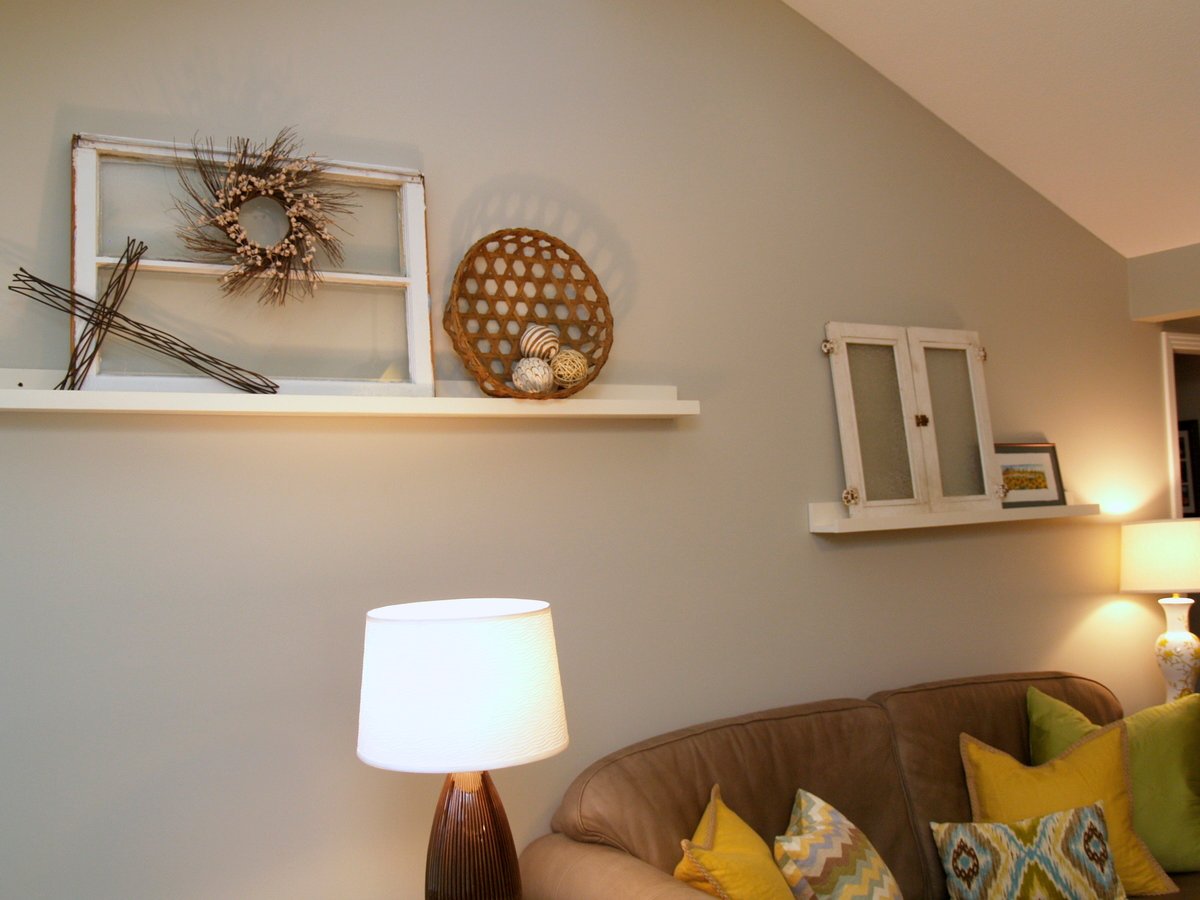
Our living room is long with a vaulted ceiling. I wanted to find a way to break up the length of the room visually, and Ana's ten dollar ledges were the perfect solution. They also had a great price tag!
I changed the the plan just a tad to break up our wall space, creating two ledges - one 6' and one 4' long - instead of one that is 10' long.
The only other variation we made to the plan was adding kreg pocket hole plugs (http://www.kregtool.com/solid-wood-pockethole-plugs-prodview.html) since we hung our shelves high enough to see where screws were drilled in.
After shelves were assembled, I painted them using Lowe's Antique White in satin finish. This project was easy, fast, and very affordable! I love that we can change out the items on display either seasonally or whenever we want a fresh new look. These ledges would work in any room and even instead of a chair rail in a dining room... and the lip on the front makes them safe so that nothing will slide off!

This was a frist time project for myself. I'm always trying to prove to myself and my husband I can take these new projects on, and found this plan to be very easy to follow. I used the modified plans from "House of Wood" as the more square-ish version of the table, becuase those dimesnions were more suitable for the space I was trying to fill.
This table is quite large, and that is what drew me to it. I loved the solid-ness of it. It almost seems indestructible (something that is handy with 3 young ones running around)
Can't wait to start another project! :)

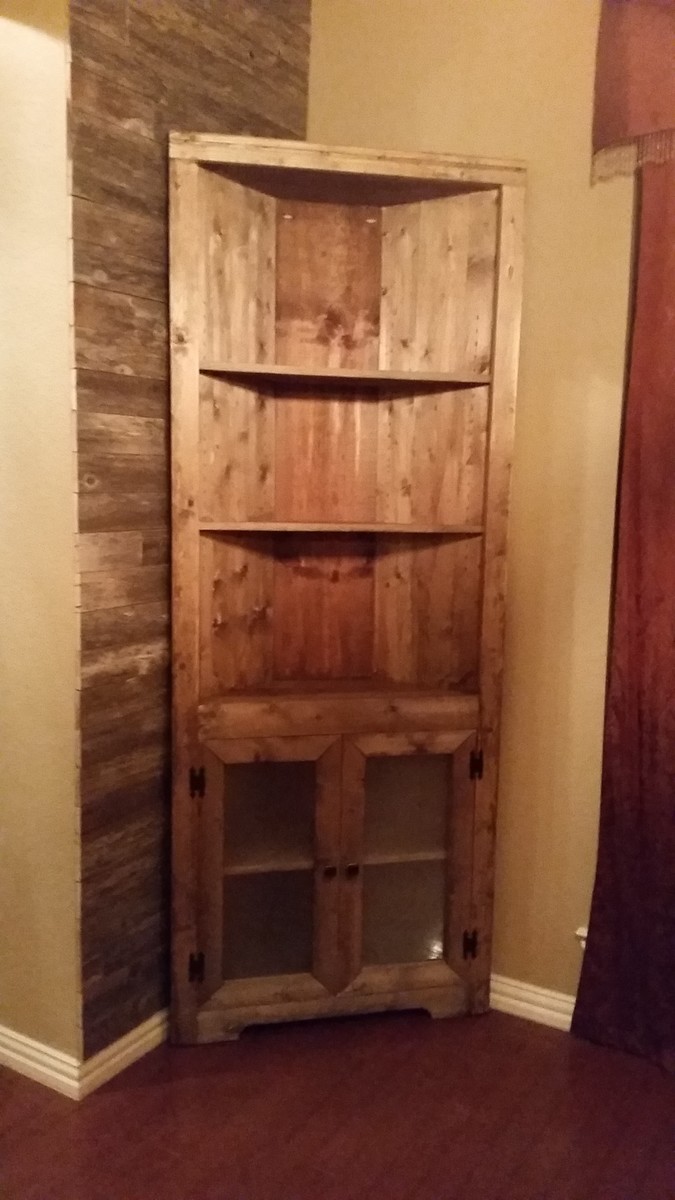
Needed a corner hutch in our dining room and what better way to get one than build it!
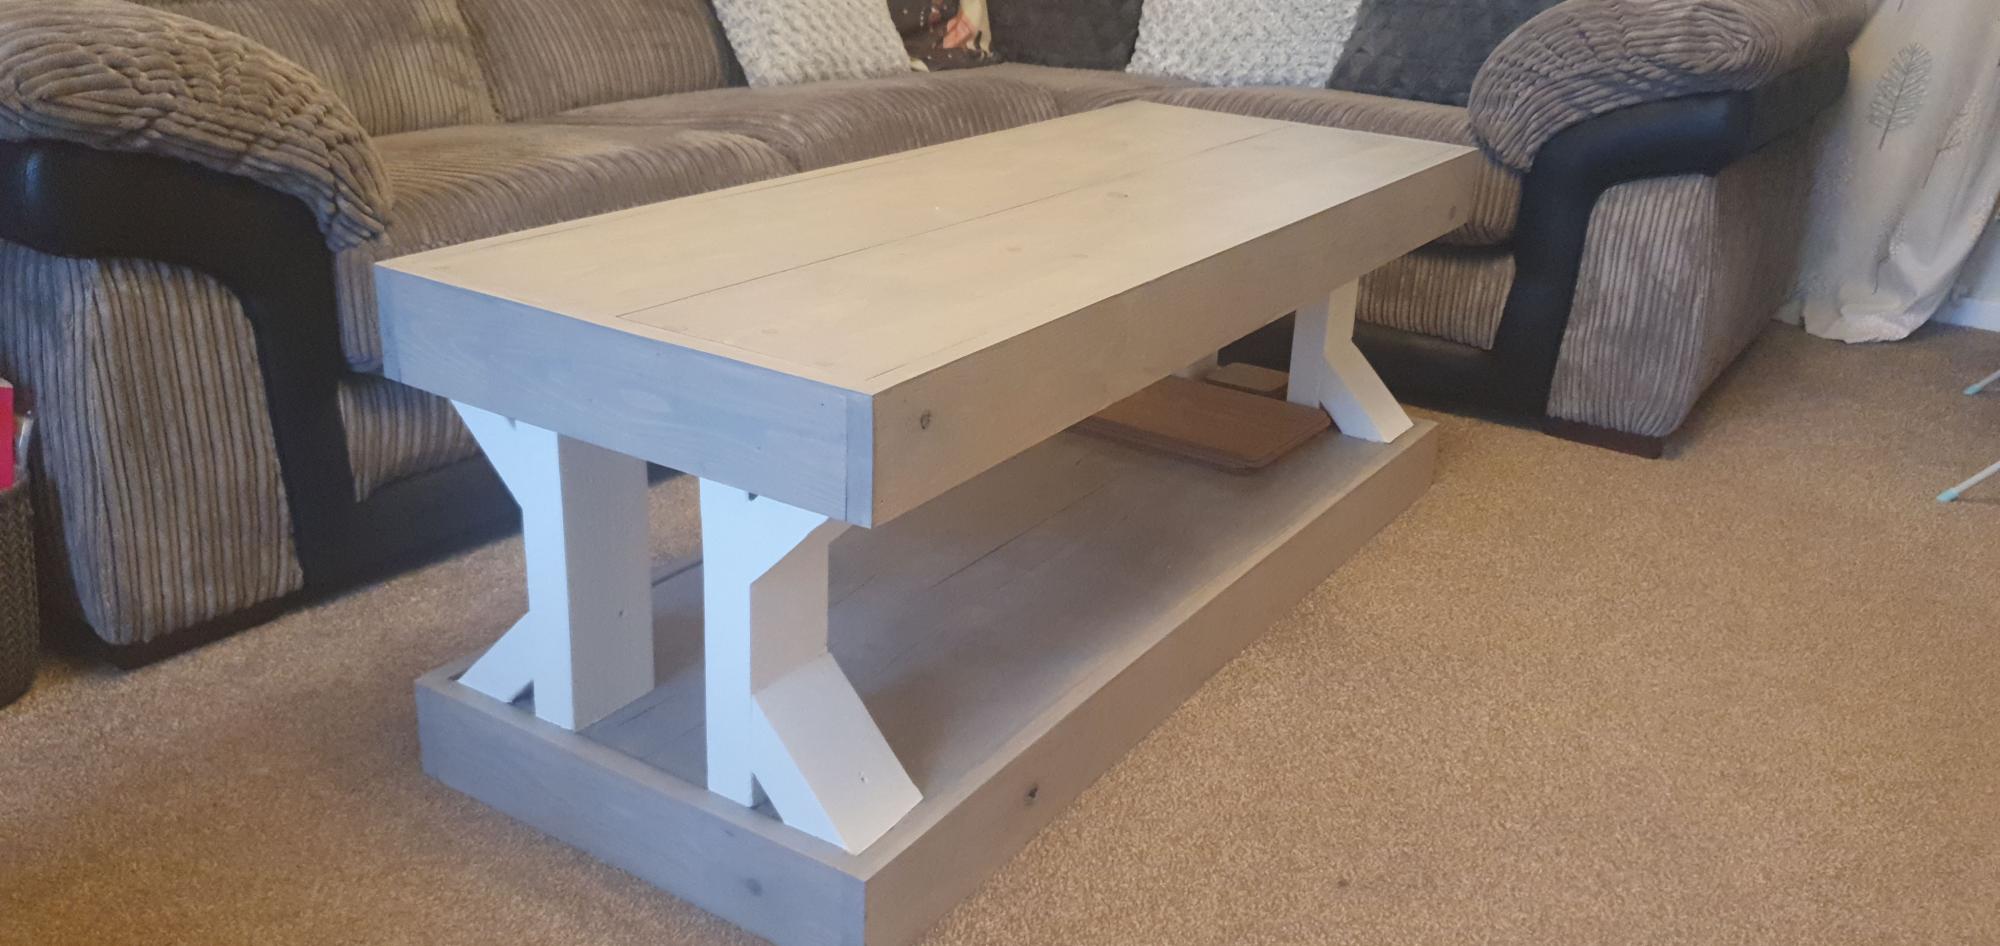
Loved the design. As I live in the UK finding 1x10 is difficult so I used scaffold boards(6×1) fixing 2 side by side using my nice new kreg pocket hole jig(which is amazing, thank you Ana). I then used a light grey stain applied using a sponge and painted the legs a off-white. Due to having to spend 1 day sanding the scaffold boards it took a little longer, however the construction was quick.
Thank you Ana
Tue, 11/17/2020 - 22:38
Absolutely love this and that you were able to accomplish what you needed! The kreg jig is a fantastic tool, thanks for sharing:)

Material: Re-purposed dresser from thrift store.
Finish: Rustoleum High gloss black paint finish with brushed nickel drawer pulls
This is a very manageable weekend project that does not require any power tools. For more photos of the transformation check out my blog.


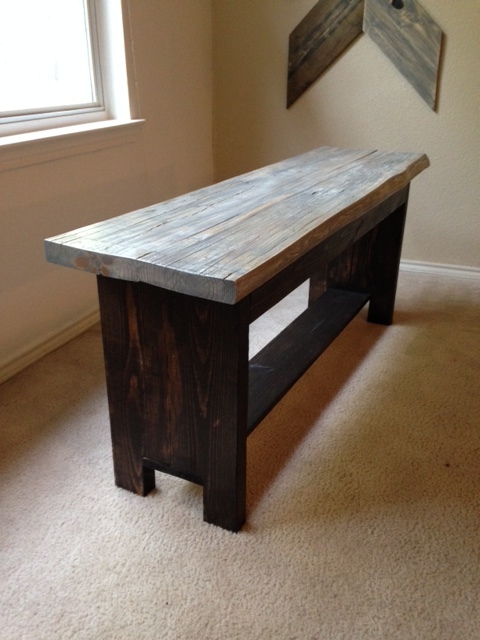
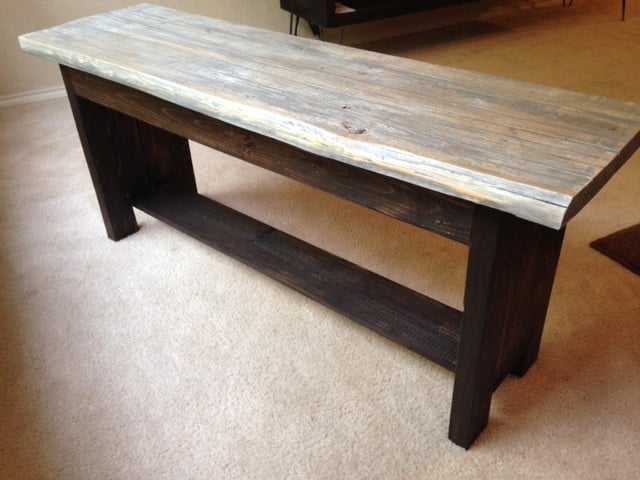
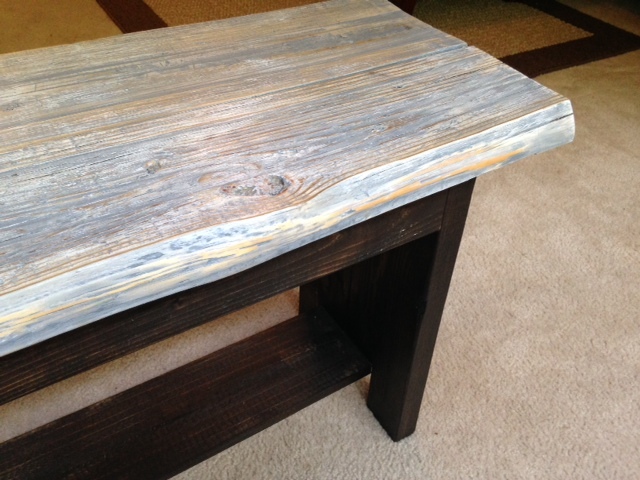
Built a simple bench to put under our big living room window. Top boards are were reclaimed and left over from my buffet table project. One of them was fracturing on the outside, and upon cleaning it up it gave it kind of a live looking edge that I think looks cool. I used 2x6 pine for the legs and support underneath with 2x4's.
Fri, 11/14/2014 - 03:56
It is a good idea to collect some recycly material and create some stuff, be imaginative. Recently I have discovered your site so can get some extra ideas of how useful things can be created in spare time.
Thanks for sharing your ideas.
Fri, 11/14/2014 - 03:59
It is a good idea to collect some recycly material and create some stuff, be imaginative. Recently I have discovered your site so can get some extra ideas of how useful things can be created in spare time.
Thanks for sharing your ideas.
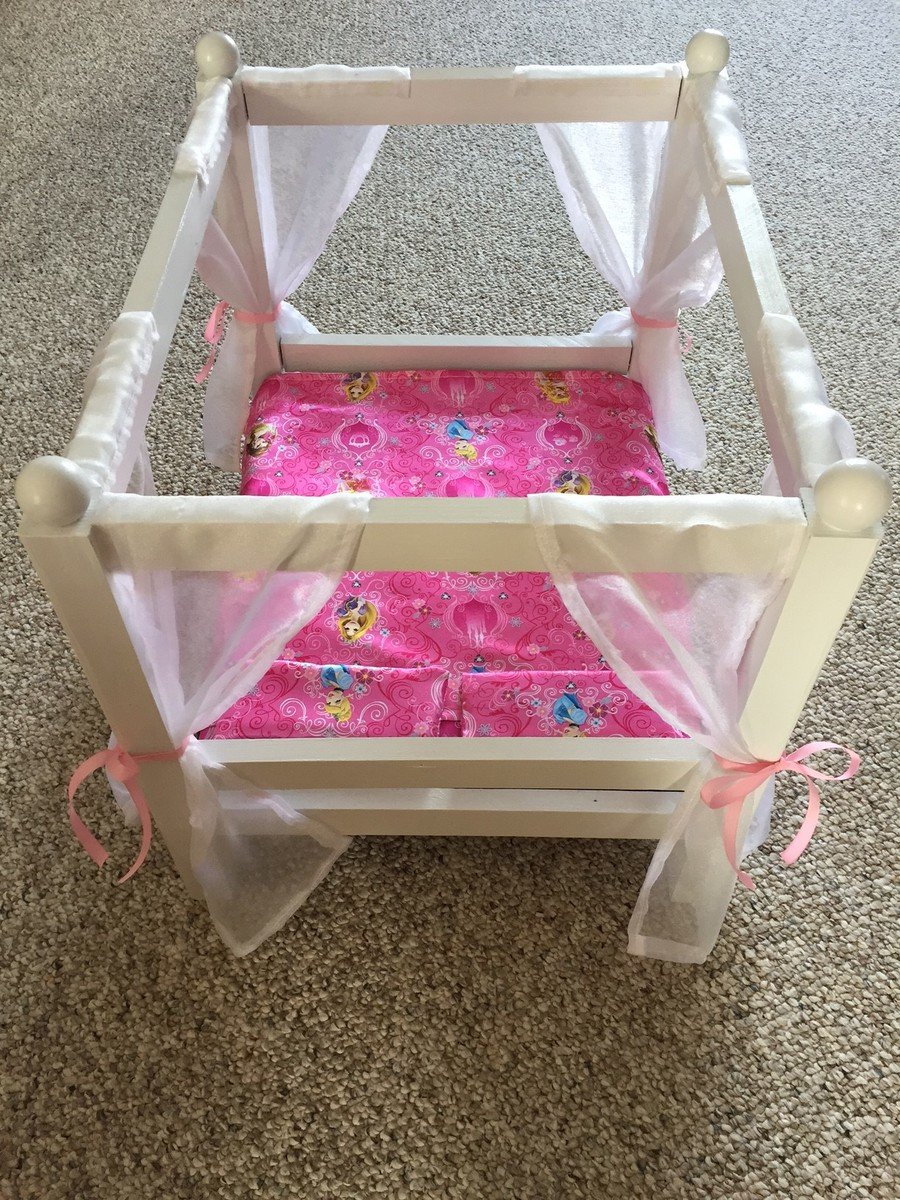
My wife and I came across your plans for a single canopy bed which we modified since our granddaughter Adelyn has two American dolls. Modifying your plans to widen the bed was easy. We elected to go with a "split rail" design for both the headboard and the footboard.
My wife made the bedspread, pillows and "curtains".
Today (2/17) is her birthday - can't wait to see her reaction. Thanks for posting the project plans for this, as well as many others.
Bob & Marilyn, Rochester NY
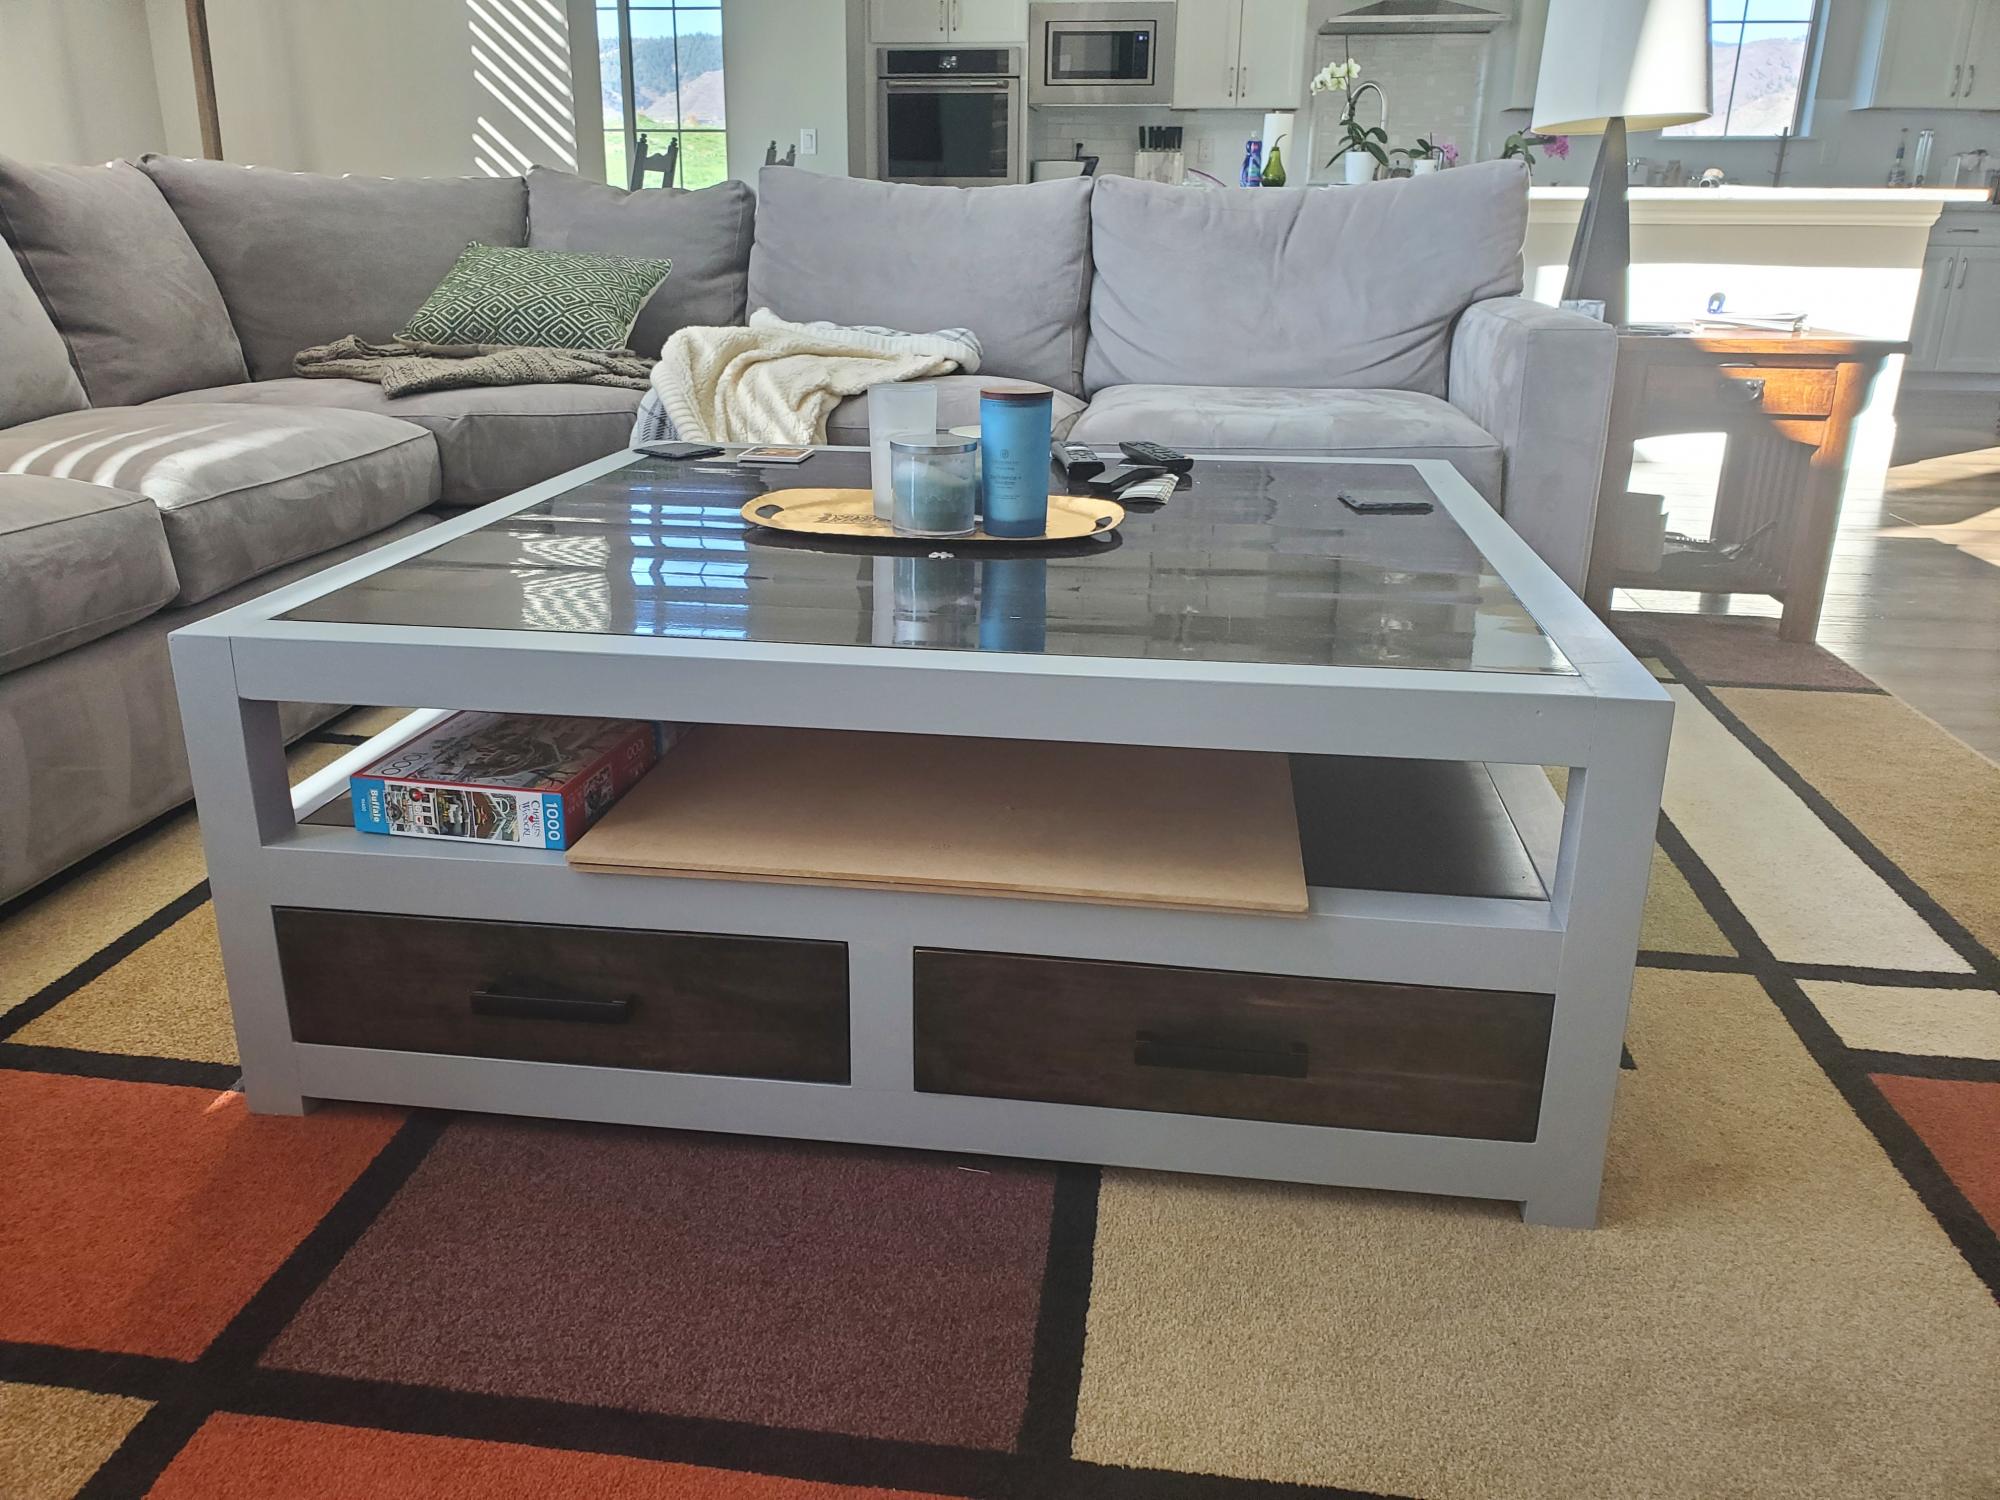
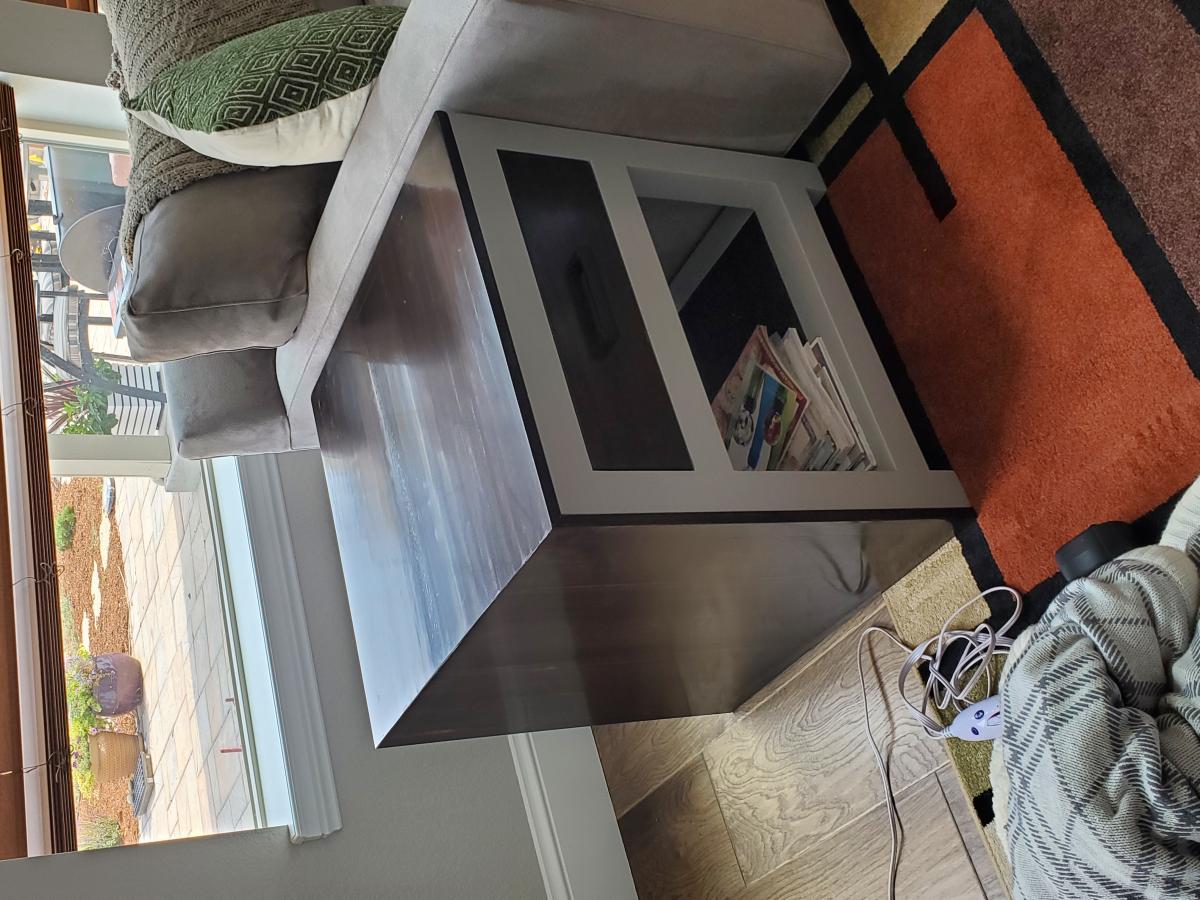
Modified the Rhyan Coffee Table plan for a square, 4-foot by 4-foot coffee table. Used poplar 1 x 3s glued together and then planed down to 2.25-inch square for the structural members. The stained wood portions are glue-ups make from Hemlock 1x 6s from Lowe's.
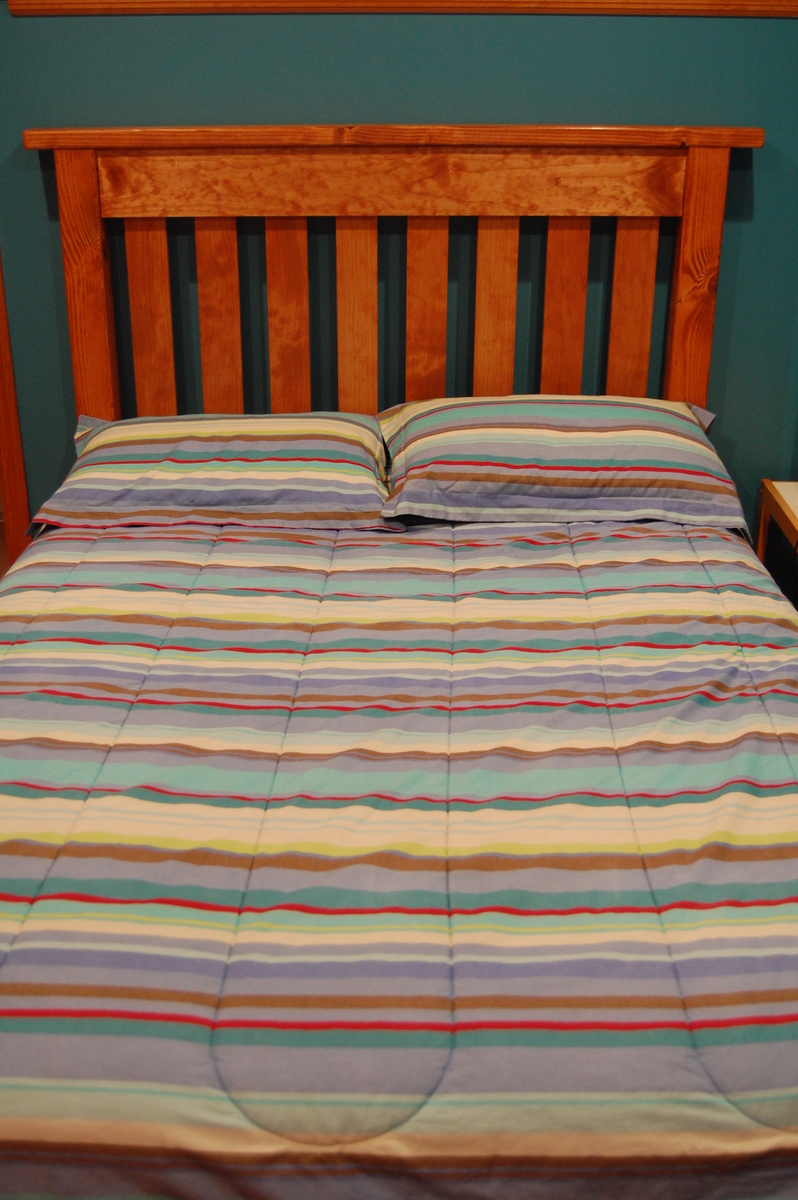
We had been looking for a headboard for our son for the longest time, but could never find anything we liked in the shade we needed in the stores. Fell in love with this bed, thought it was one of the more "boyish" styles that I've seen which was what I wanted for my son. Asked my husband if he thought he'd be able to build it, he said he'd try and voila! We, however, modified the plans a bit and only made a headboard, but overall, I love it!

My daughter's 4th year-old birthday gift.


Mon, 11/17/2014 - 22:01
This is super awesome! I love the colors...your daughter is going to be so HAPPY!!
With six people in our household, we were in desperate need of easily accessed storage for our off season clothes/gear. This ended up being a perfect solution. We customized shelf heights to fit the bins that we use for storage as well as made an area for our cat box (at the bottom right). It's such a relief to finally have everything tucked away but easy to get at when we need it.
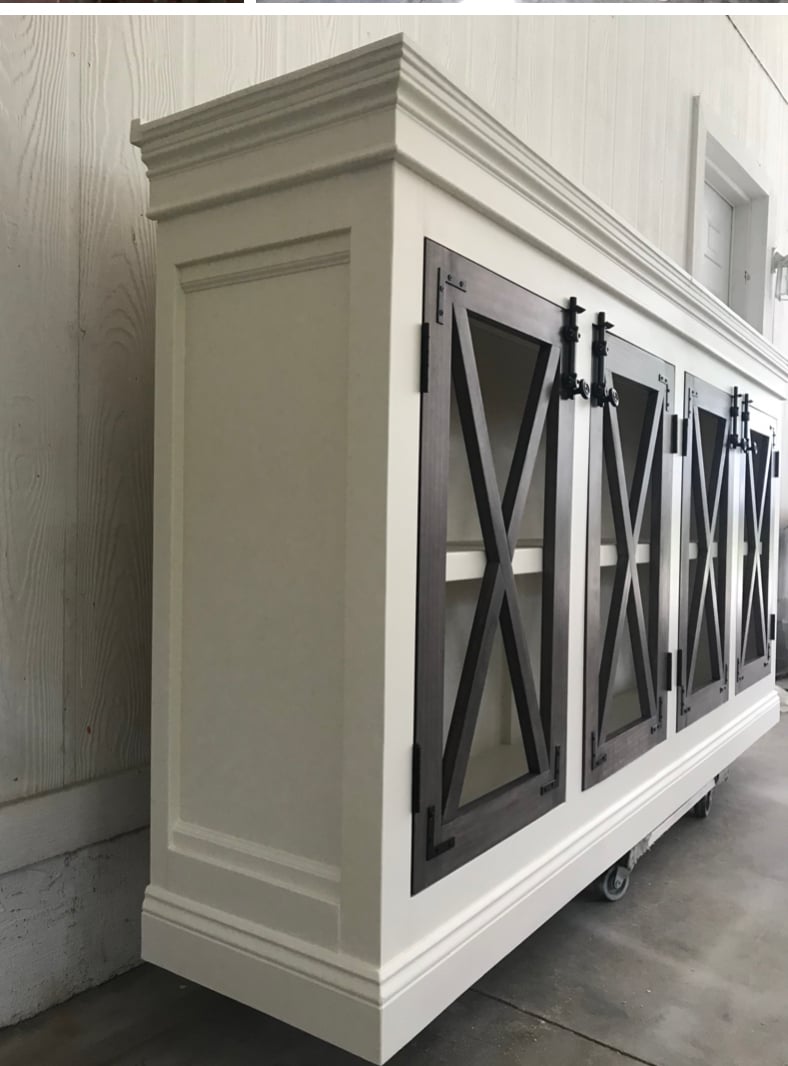
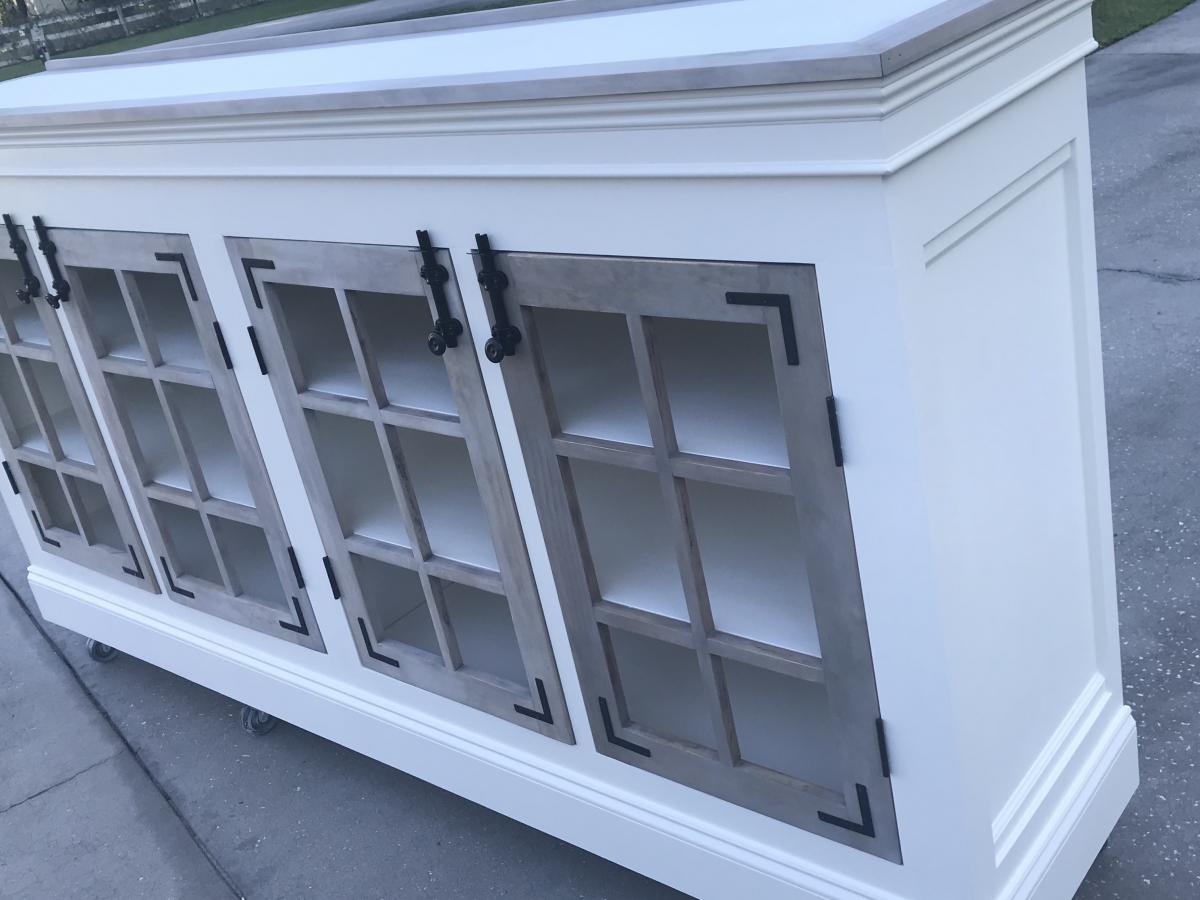
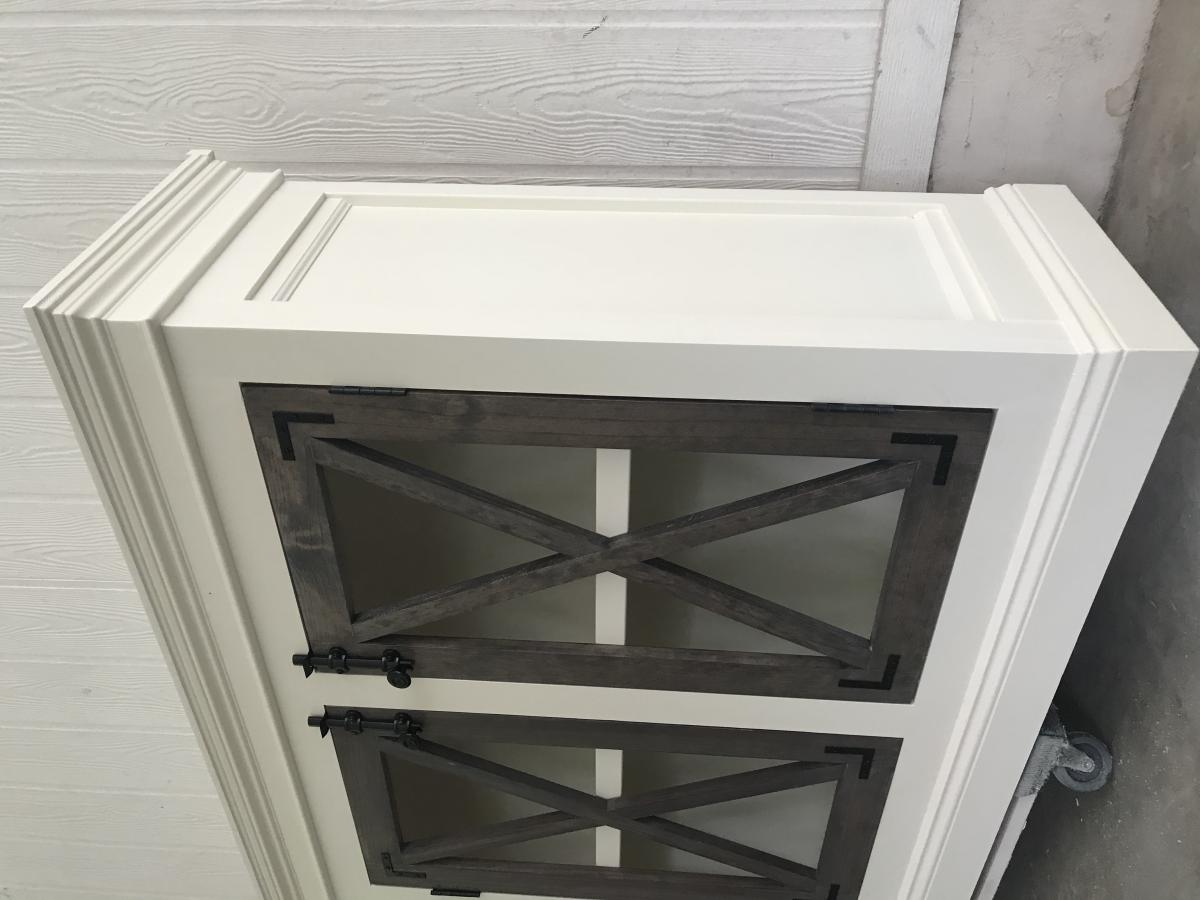
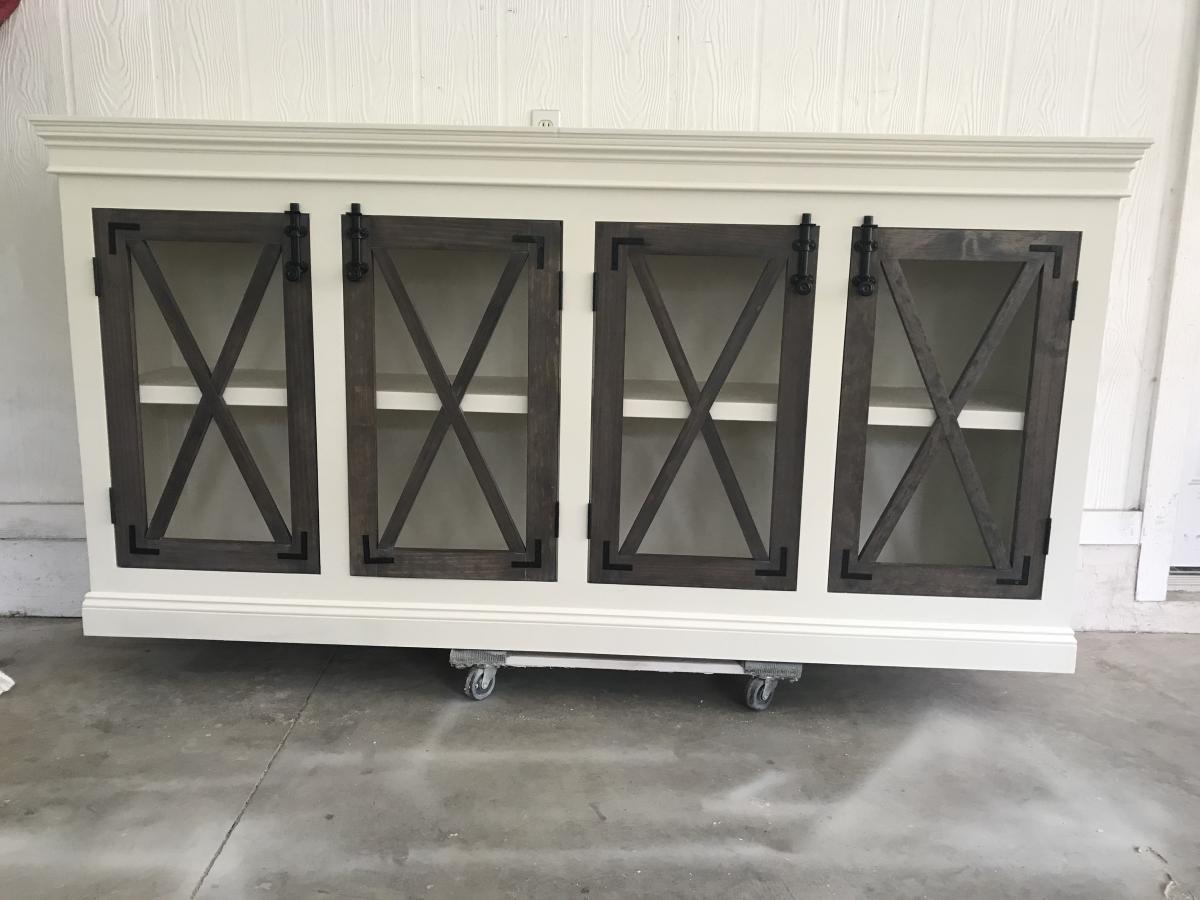
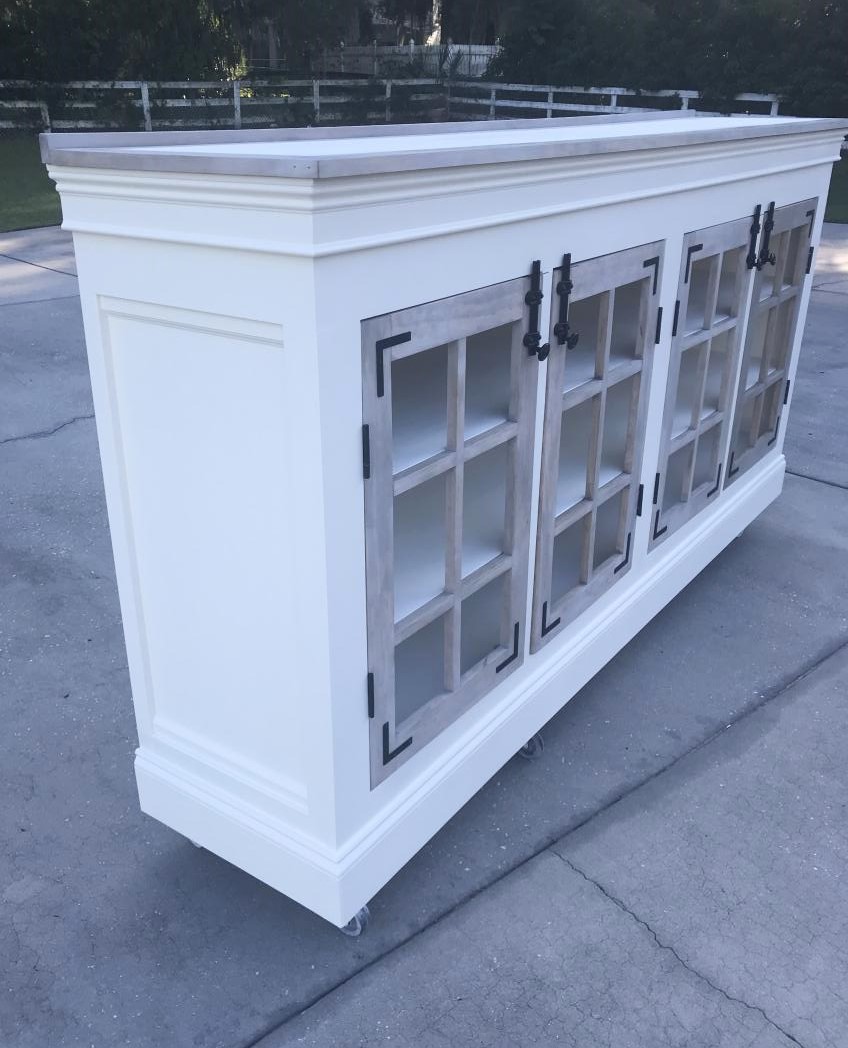
I wanted to switch things up. I have made and sold many of the Grandy consoles with barn doors but my current new (to us) home was more modern traditional, definitely not very farm house. The Grandy plan makes a solid piece of furniture which is exactly what I need for it to survive amongst the giant teenagers that we are raising BUT I wanted to switch up the doors and add some traditional elements with a pop of modernish hardware. Make sure that your face frame openings are square. Add some non-mortise hinges, latch bolts and L brackets and this plan appears transformed!
Sat, 11/28/2020 - 10:29
Love the added elements for a traditional look! Stunning:)
Comments
Ana White Admin
Wed, 11/04/2020 - 10:04
Can't wait to see it finished!
Looking good:)