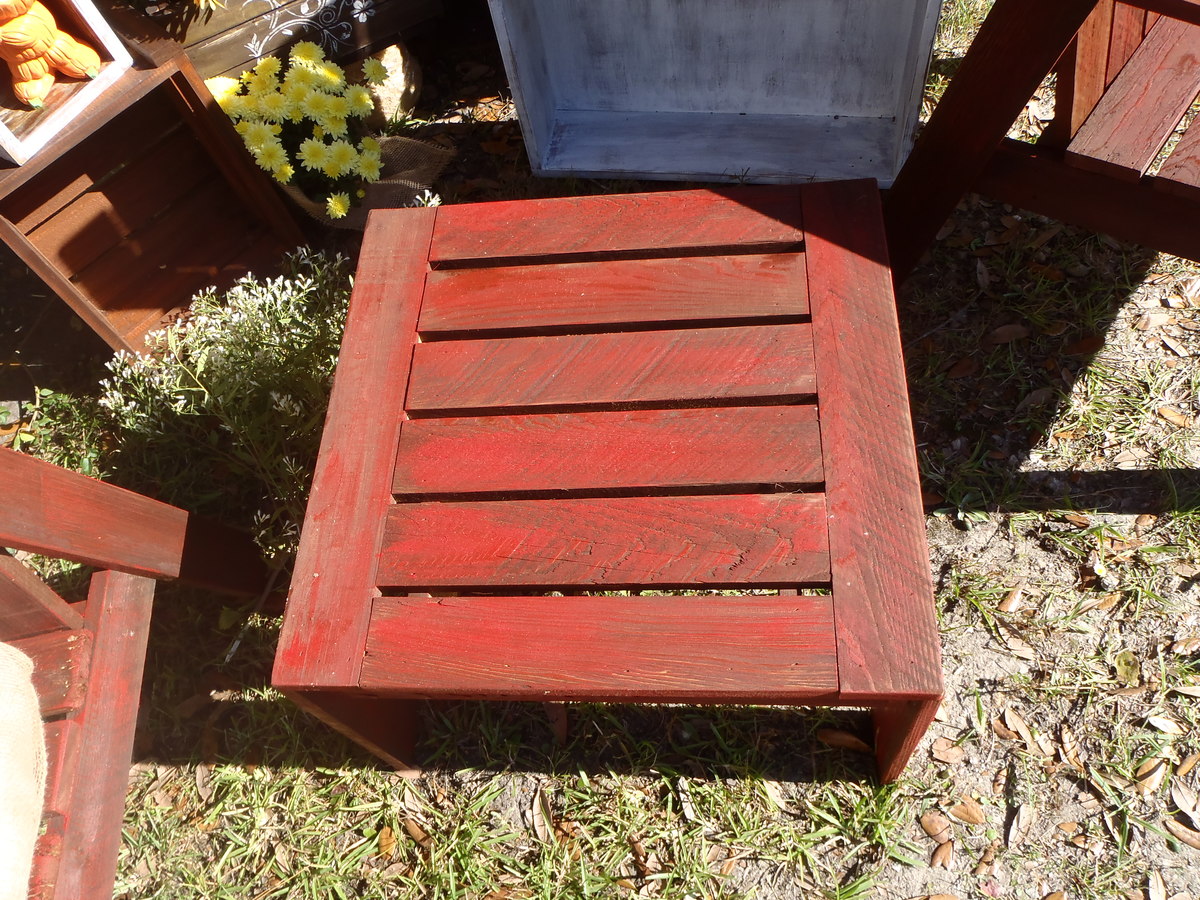
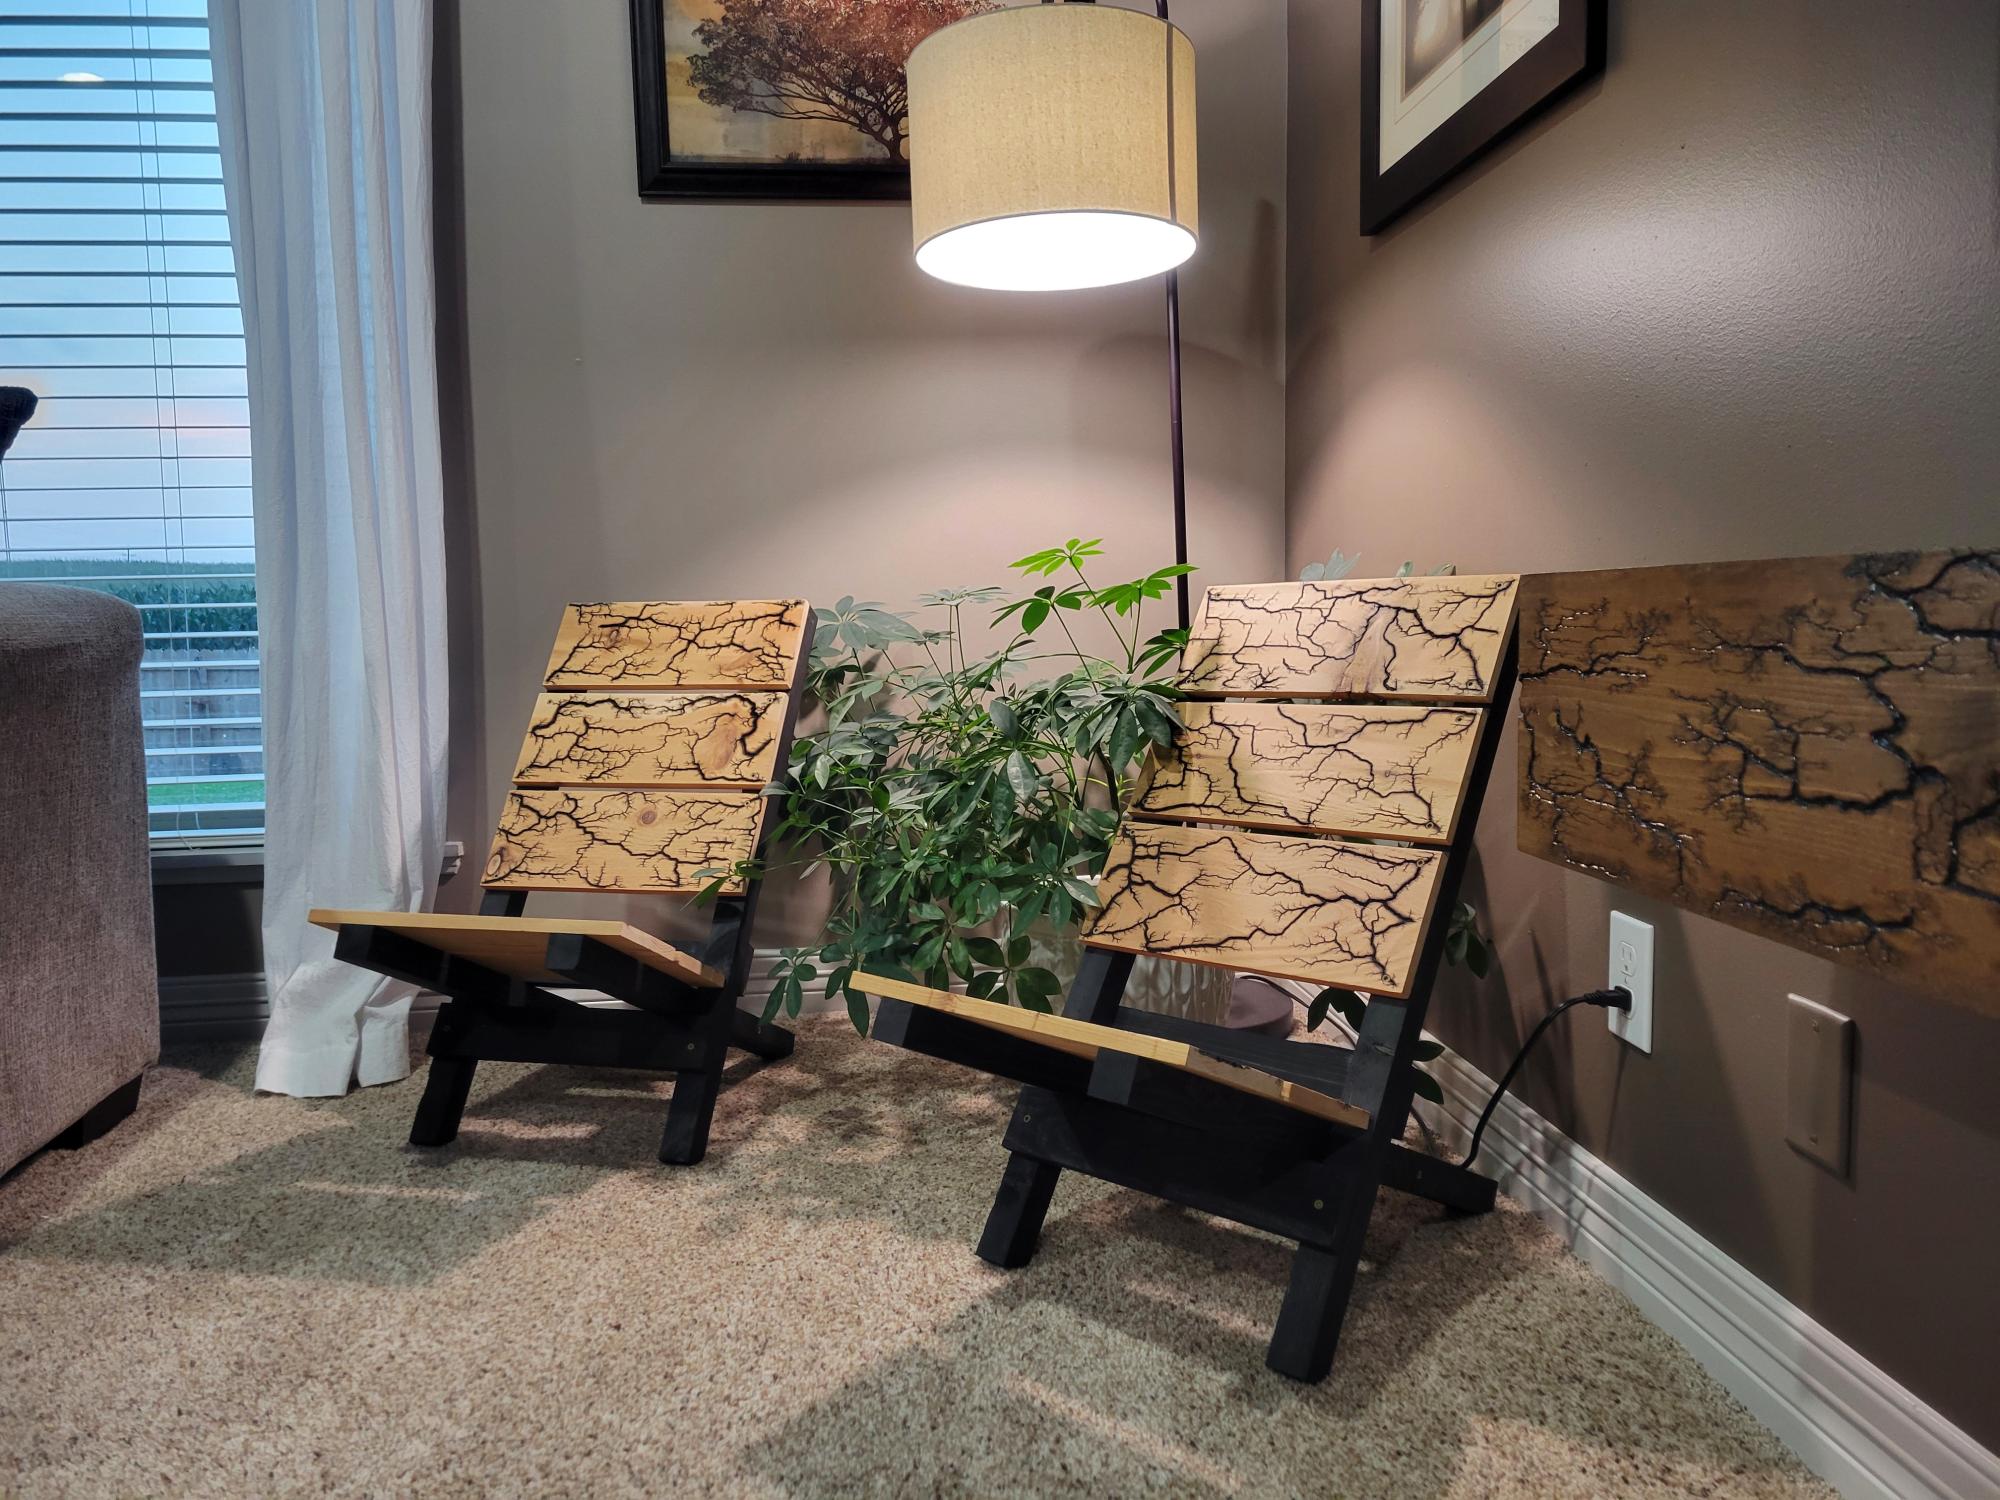
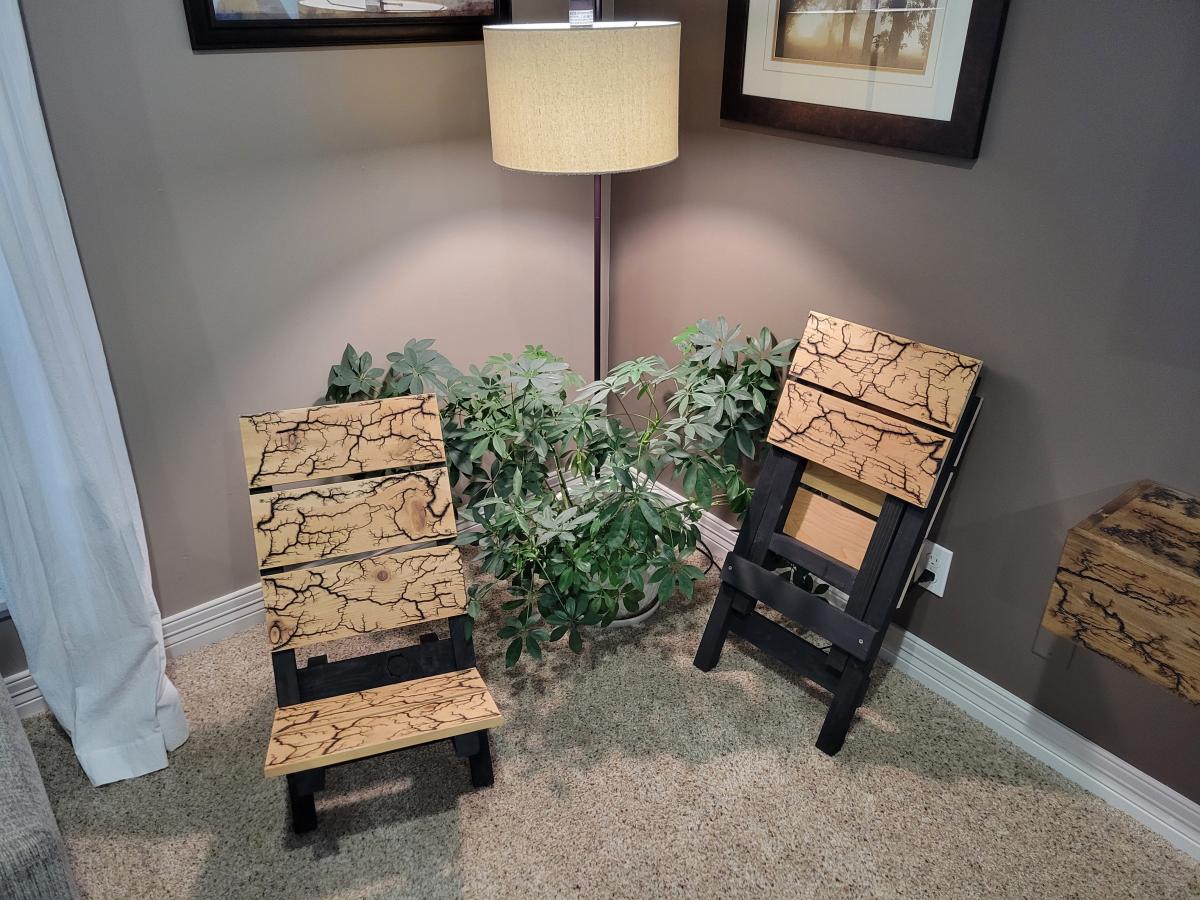
Wood Outdoor DIY Furniture Set
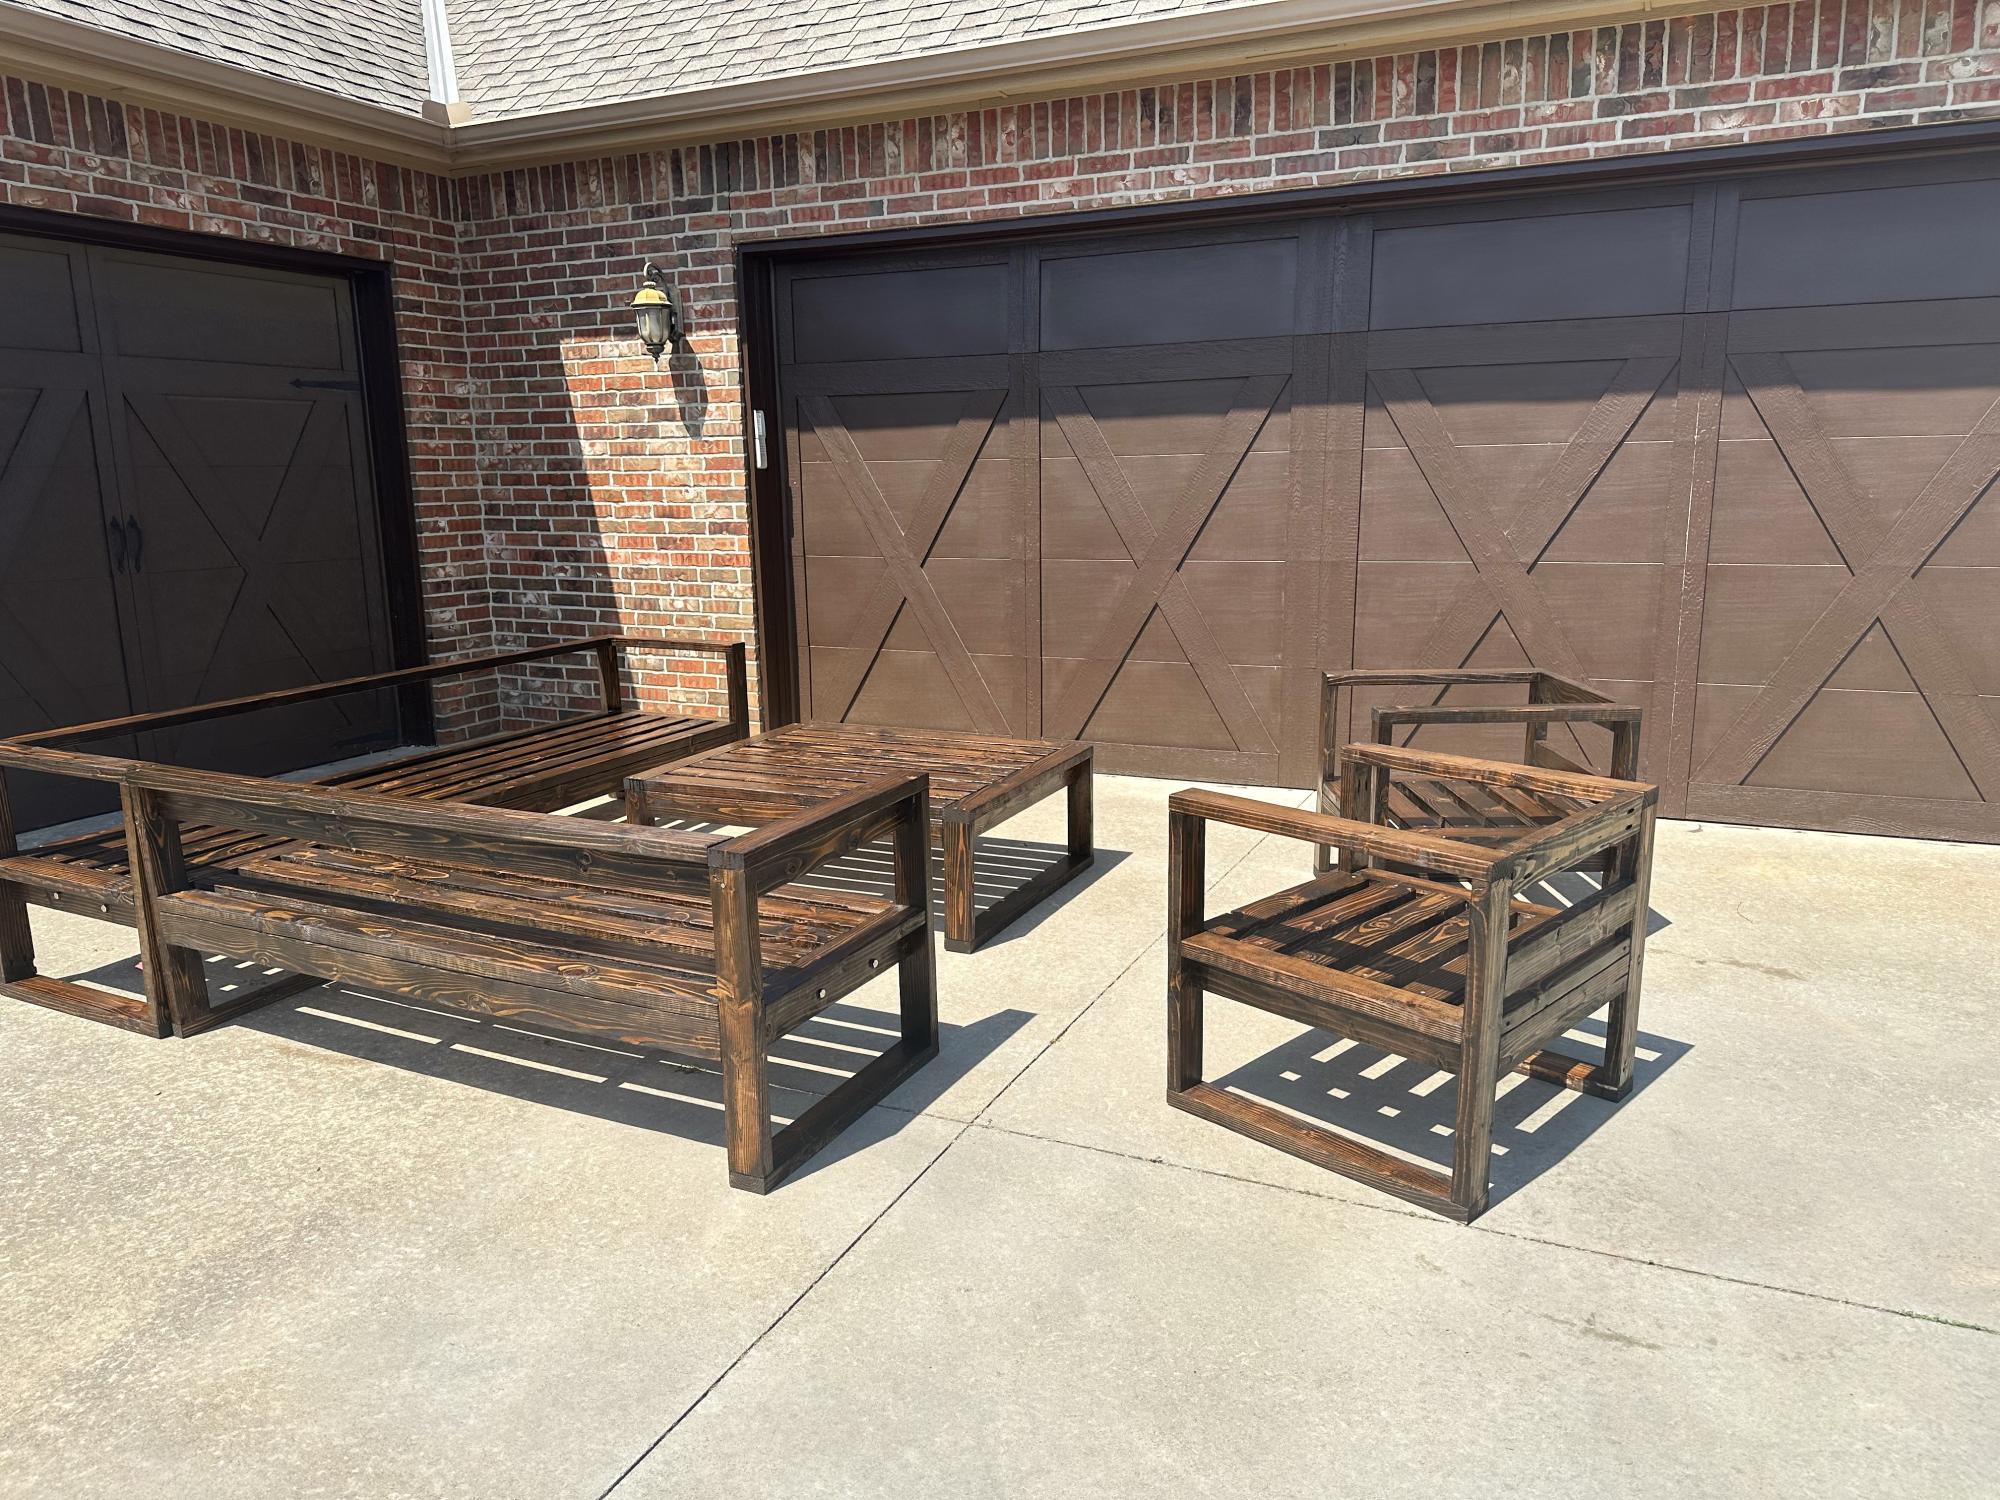
Built this 2x4 deck furniture set. Stained in espresso color.
Kelly Kesler
Built from Plan(s)
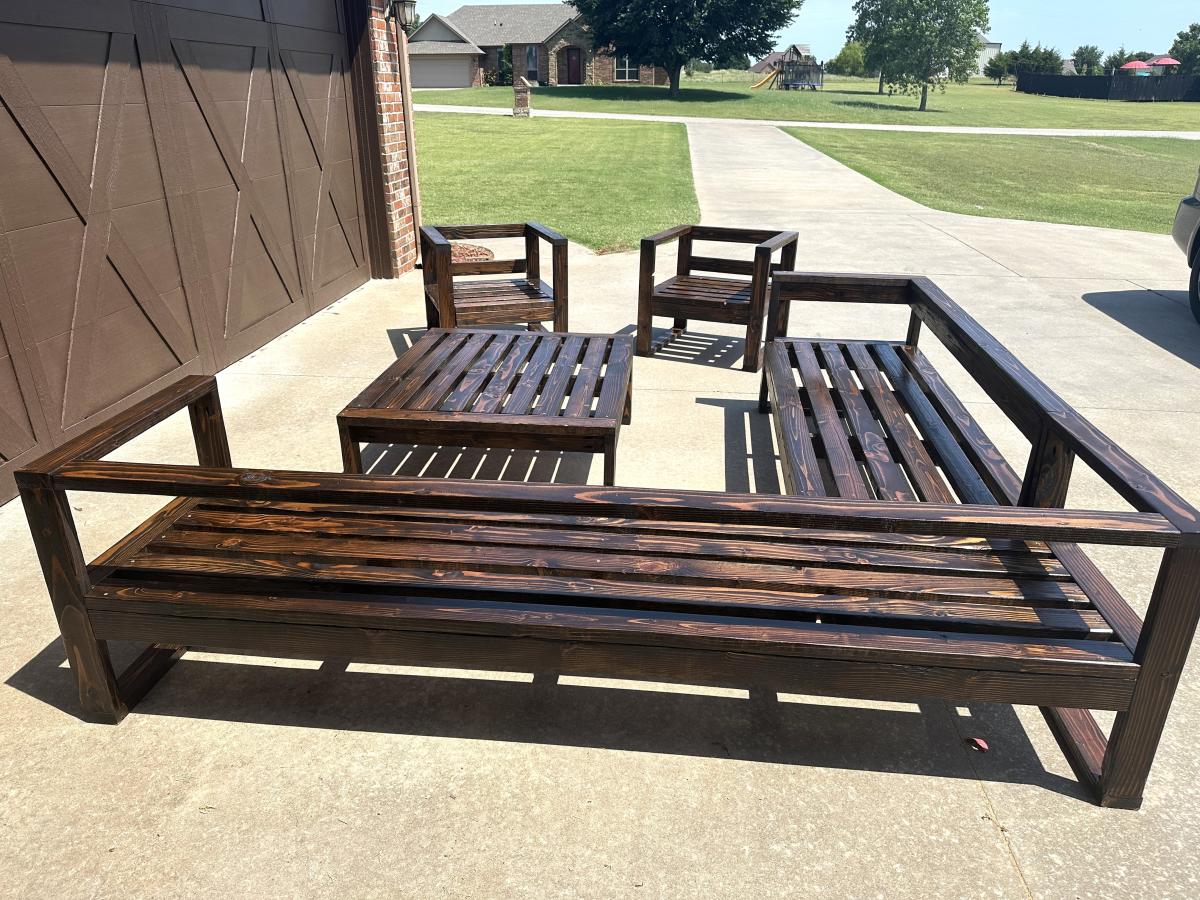
Built this 2x4 deck furniture set. Stained in espresso color.
Kelly Kesler

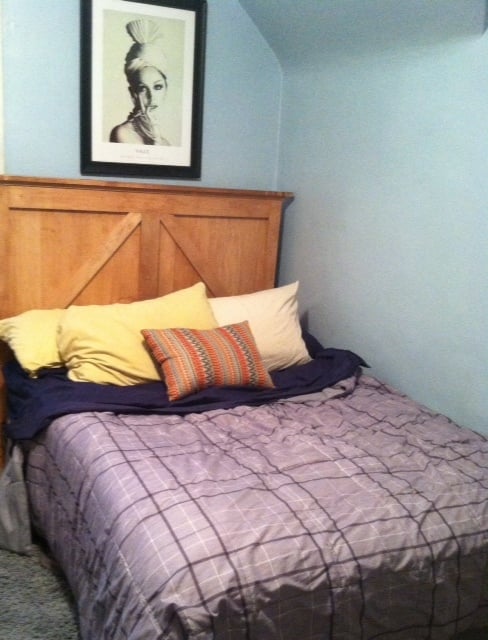
modified that bed, it is higher. We also paid our neighbor, who is an artist, to design and paint our foot board. Our cats love this bed too! We are putting the sideboards to cover up the mattress tonight.
p.s., If you live in GA and want to do something like this, let me know and I will give you the name of our artist
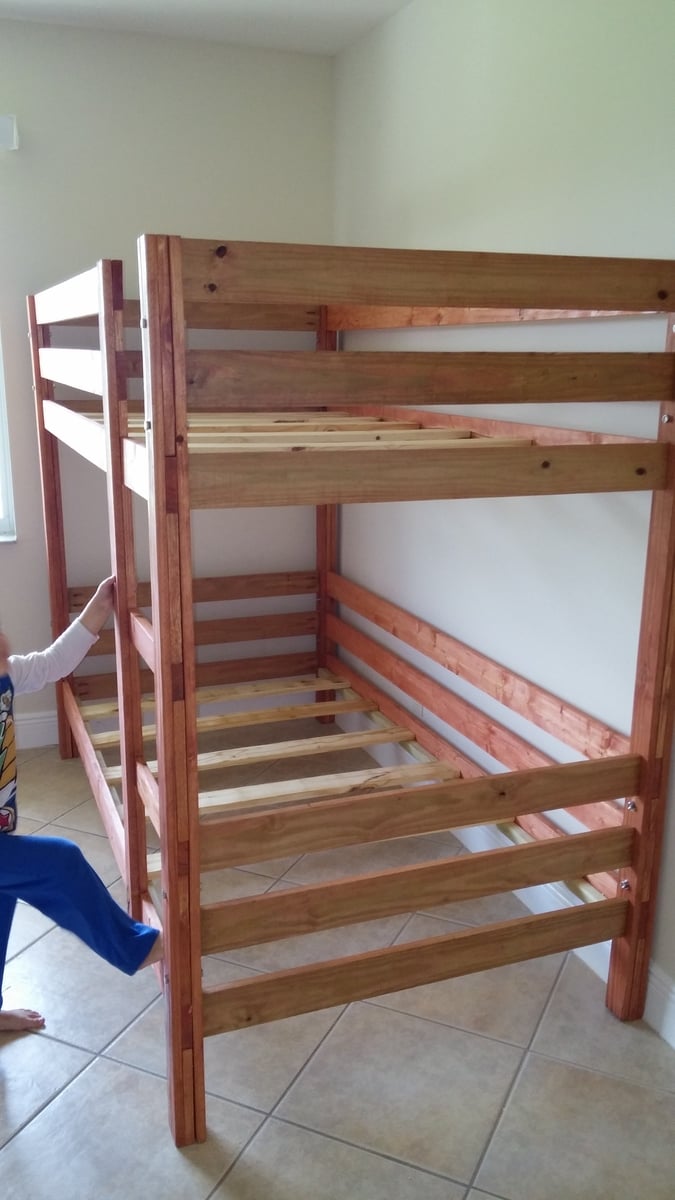
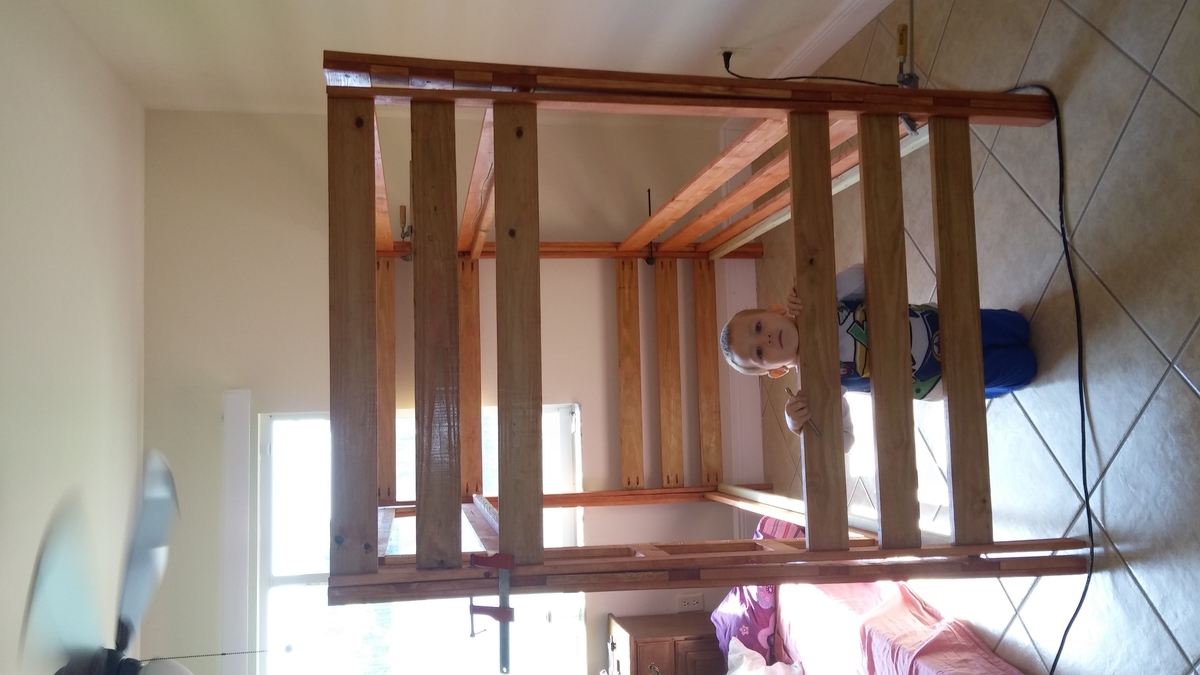
We built this out of solid Maple for my son's 30th birthday. He has a full-size bed, so we had to adapt the queen size plans. It turned out great....he was thrilled...but it was heavy to carry upstairs to his apartment!
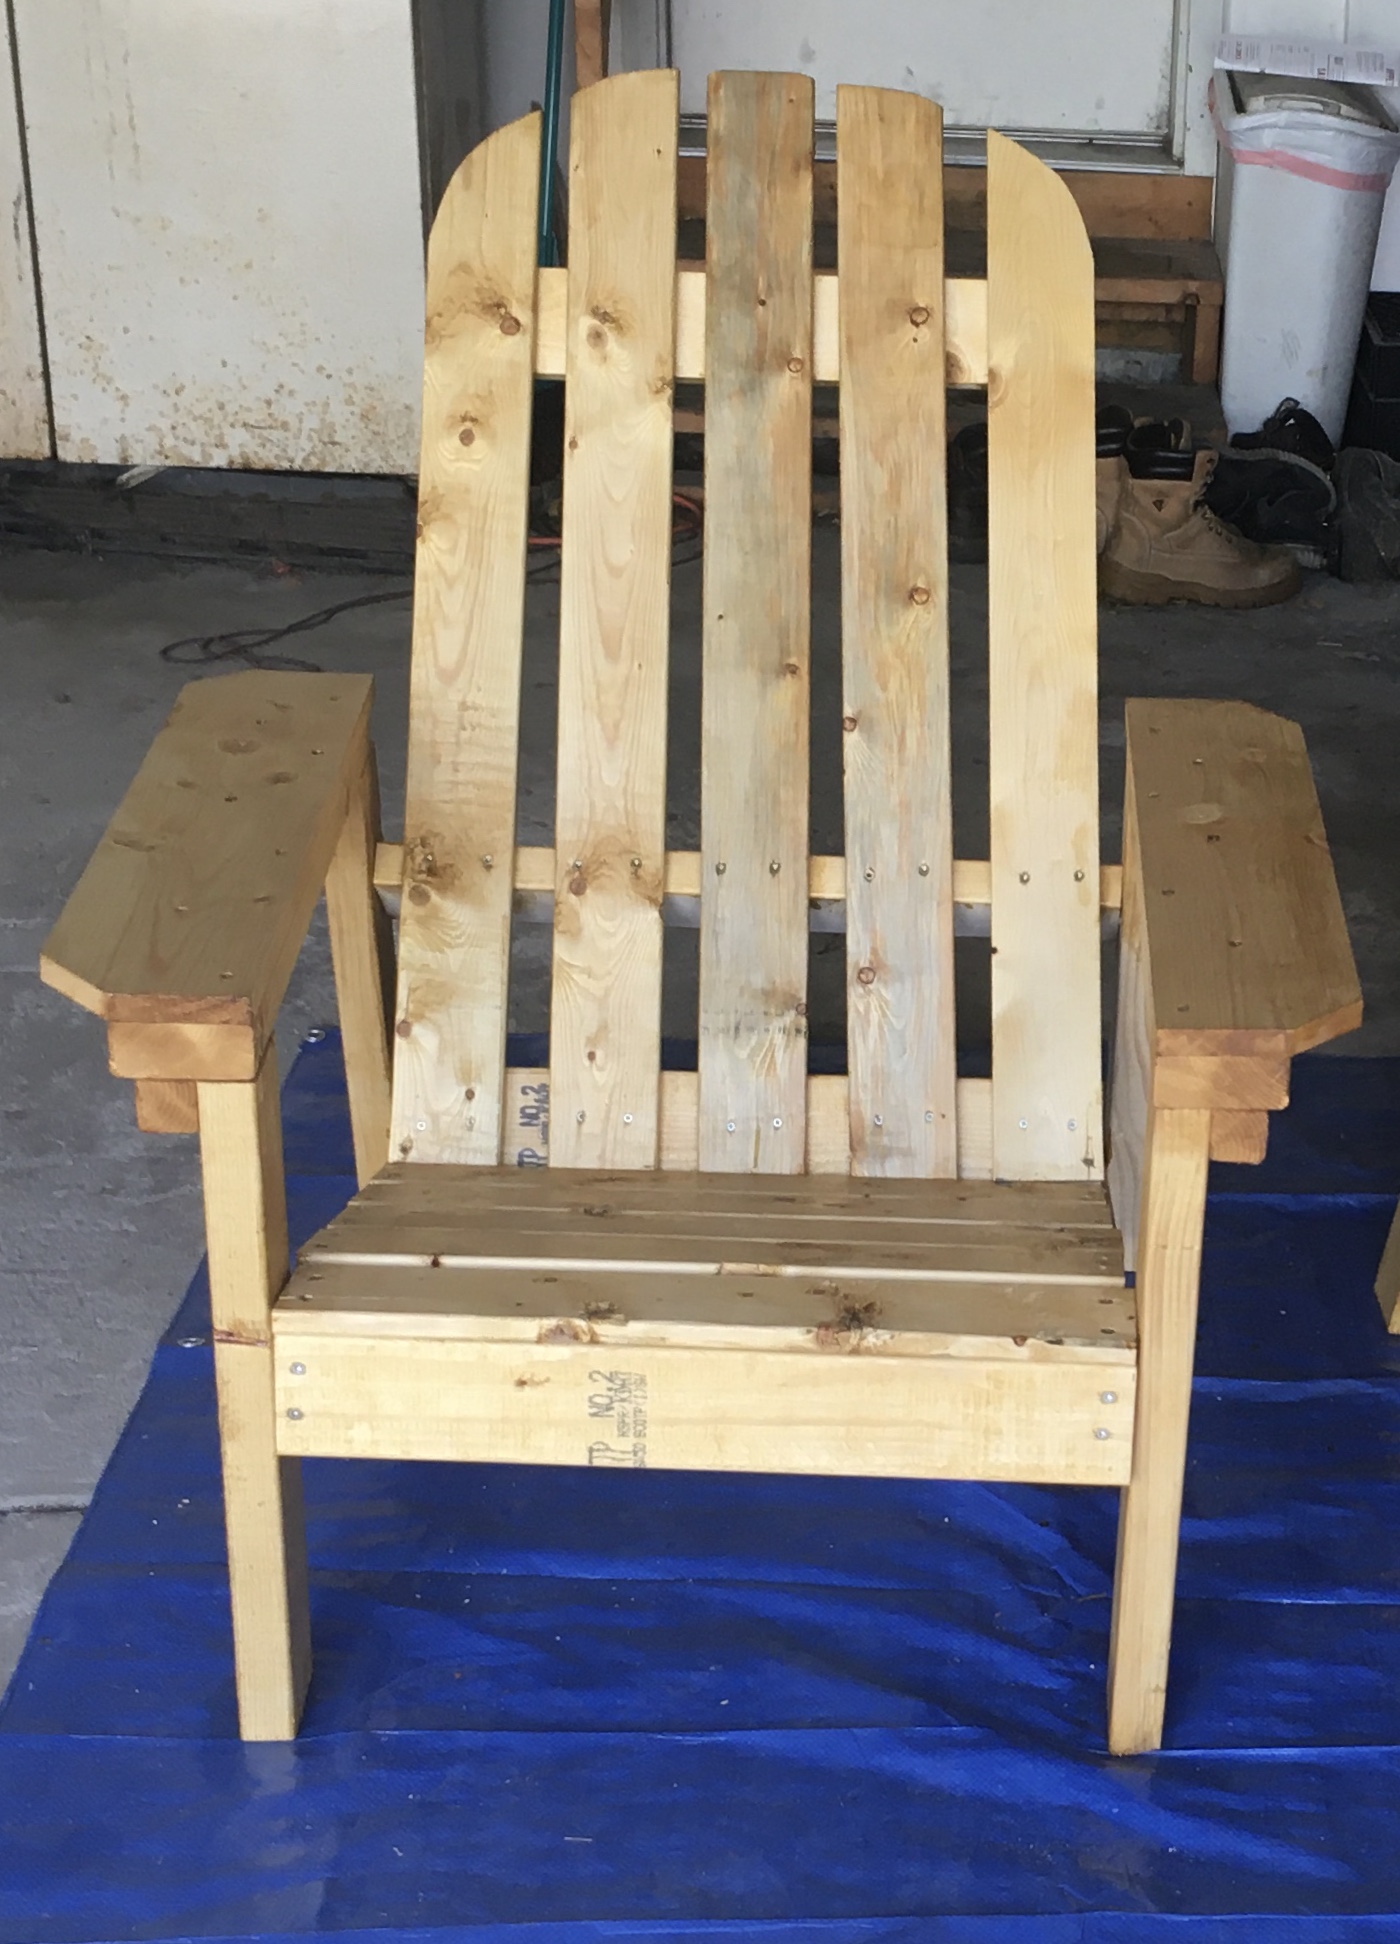
This was my first attempt at furnature. I didnt use the best quality wood, and had a hard time finding straight boards at my local Lowes.

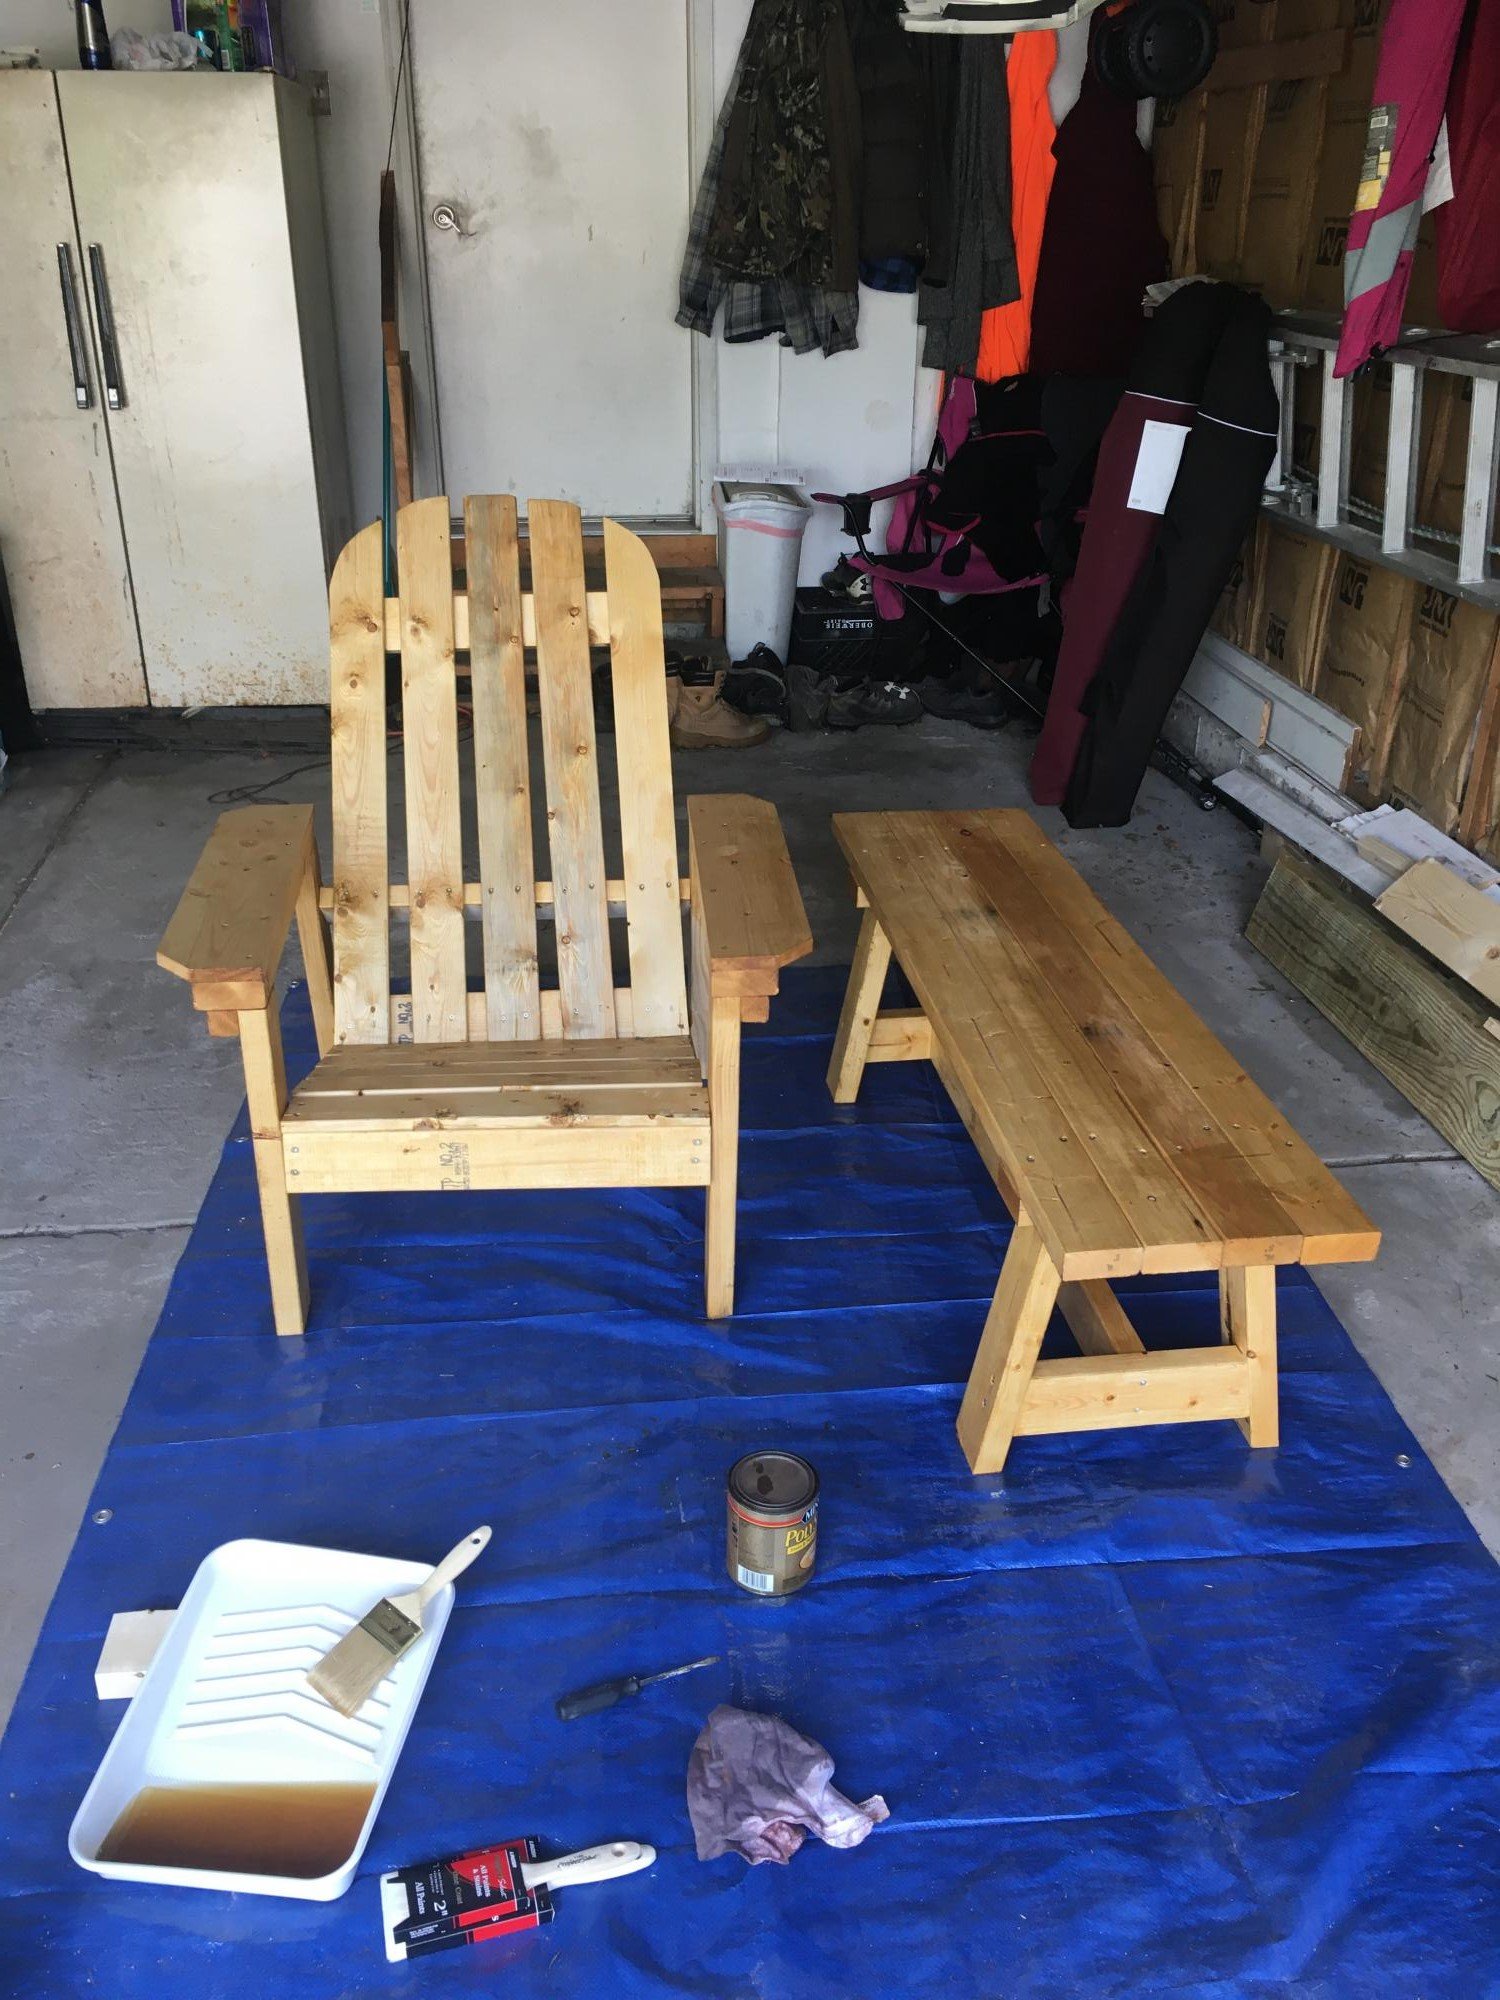
Had already posted the truss bench but since I was staining both it and the Adirondack chair together thought I’d share both side by side. Thanks for the wonderful, simple plans!
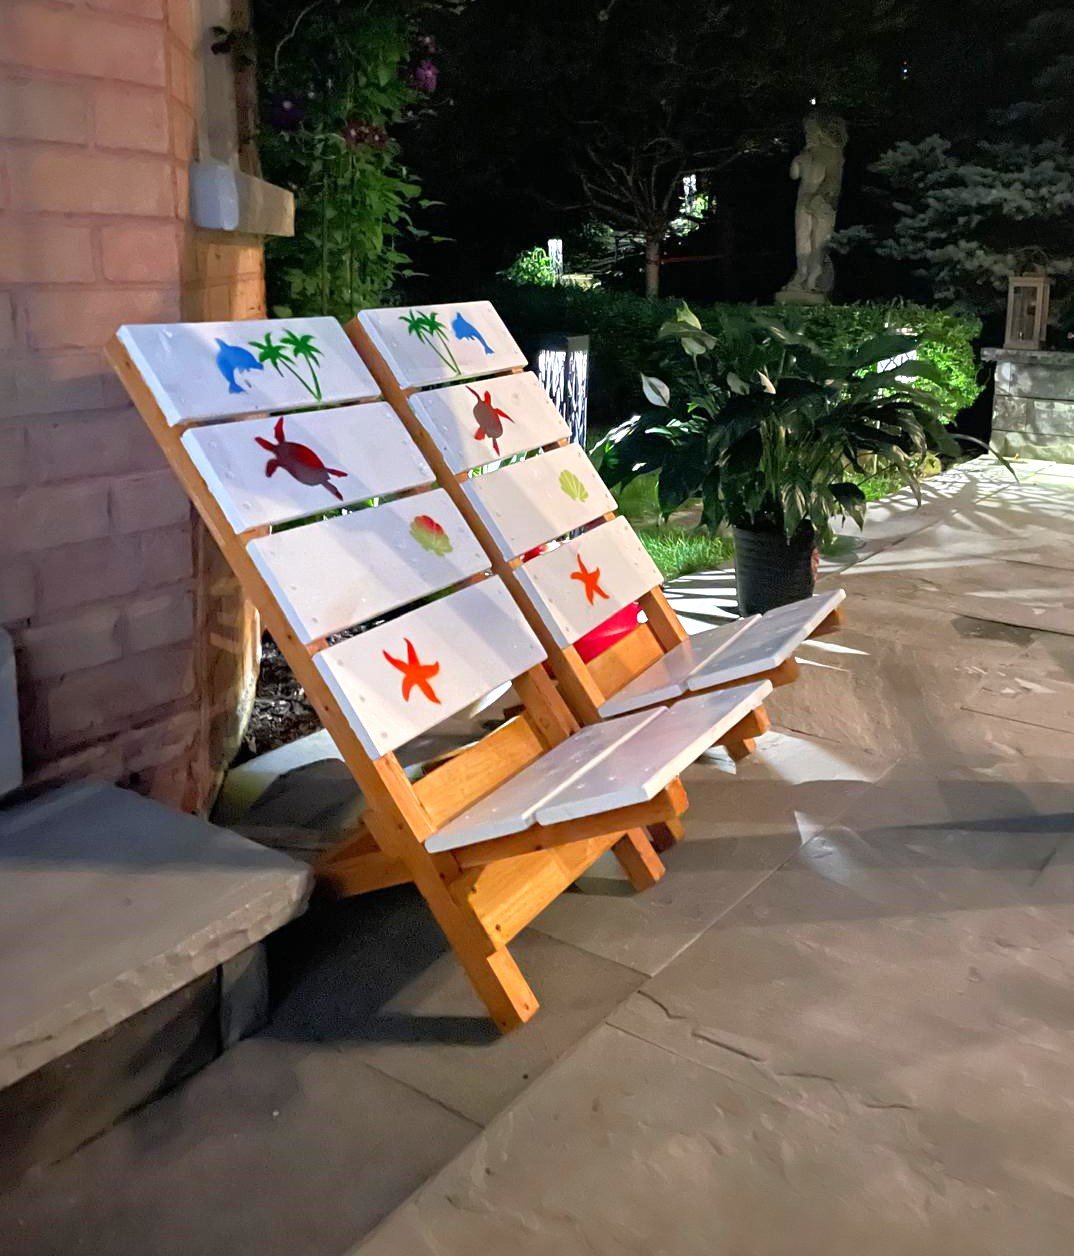
I made a pair of these beach chairs from recycled lumber. I extended the back rests by one board. They will add to my grandson’s tree house furniture. The frame is treated with Australian oil stain and the boards are rolled on acrylic paint decorated with sprayed on marine shapes aided by paper cutout templates.
Ana White plans are excellent! Thank you!
Noel
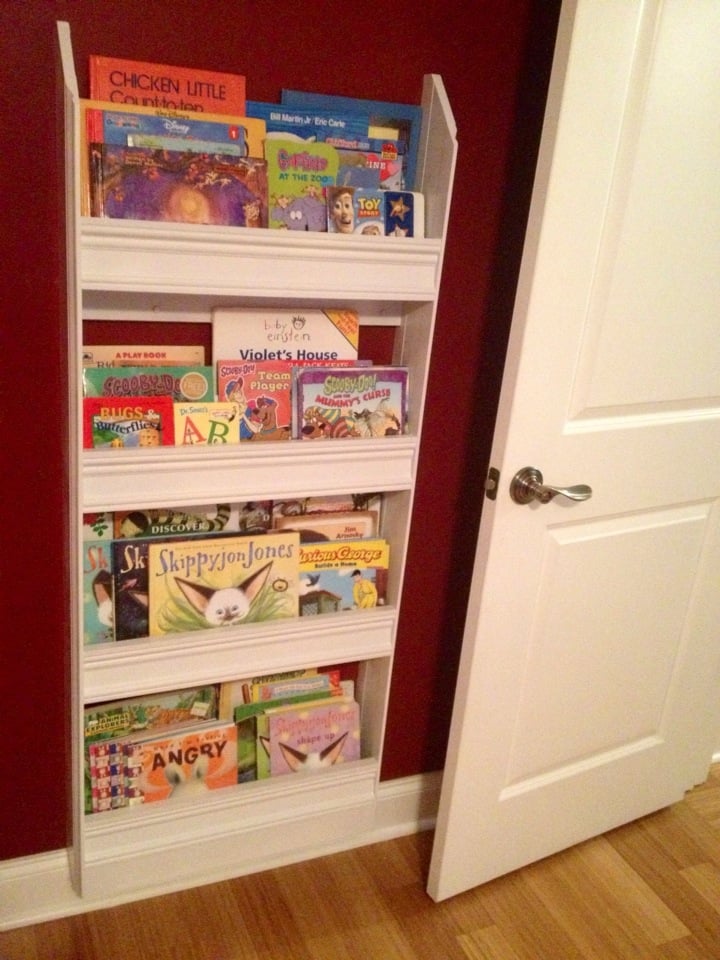
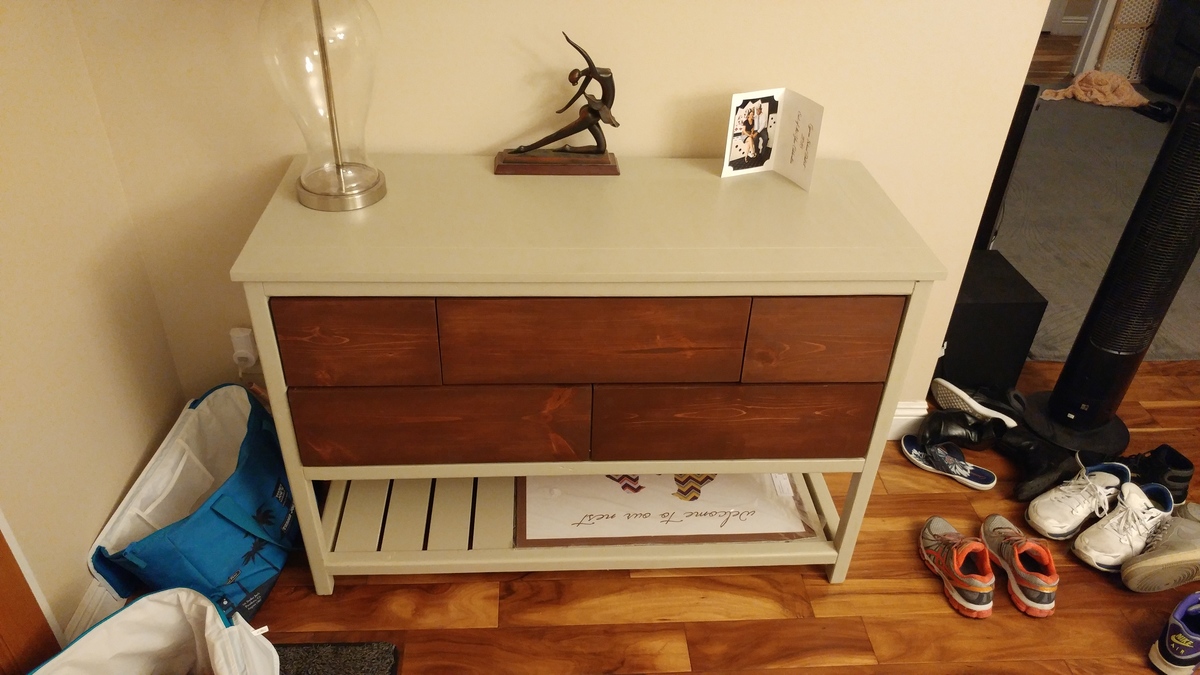
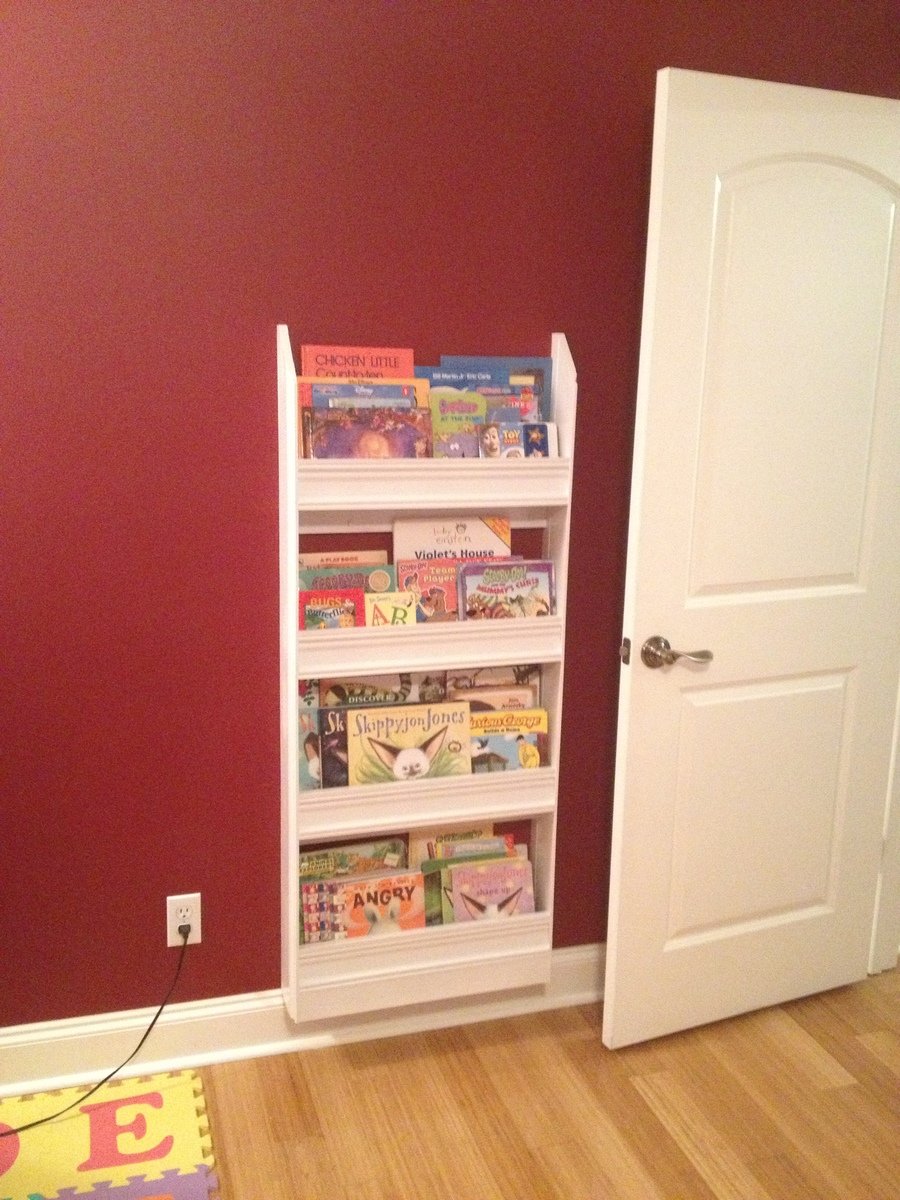
This was made entirely of scrap molding. The sides and bottom shelves are left over baseboard. The front stops are made out of door/window casing.
We wanted this to hang on the wall instead of the floor, so we added 1x3 scrap under the 2nd and 4th shelf and countersunk screws into the studs in the wall.

We recently moved to across country and couldn't fit all our belongings in our moving van so I am on a slow but steady quest to my own "hand built home"! While my husband works with his computer genius types, I am pulling out my tools......rather basic and simple tools because none of my good ones fit in the truck either!
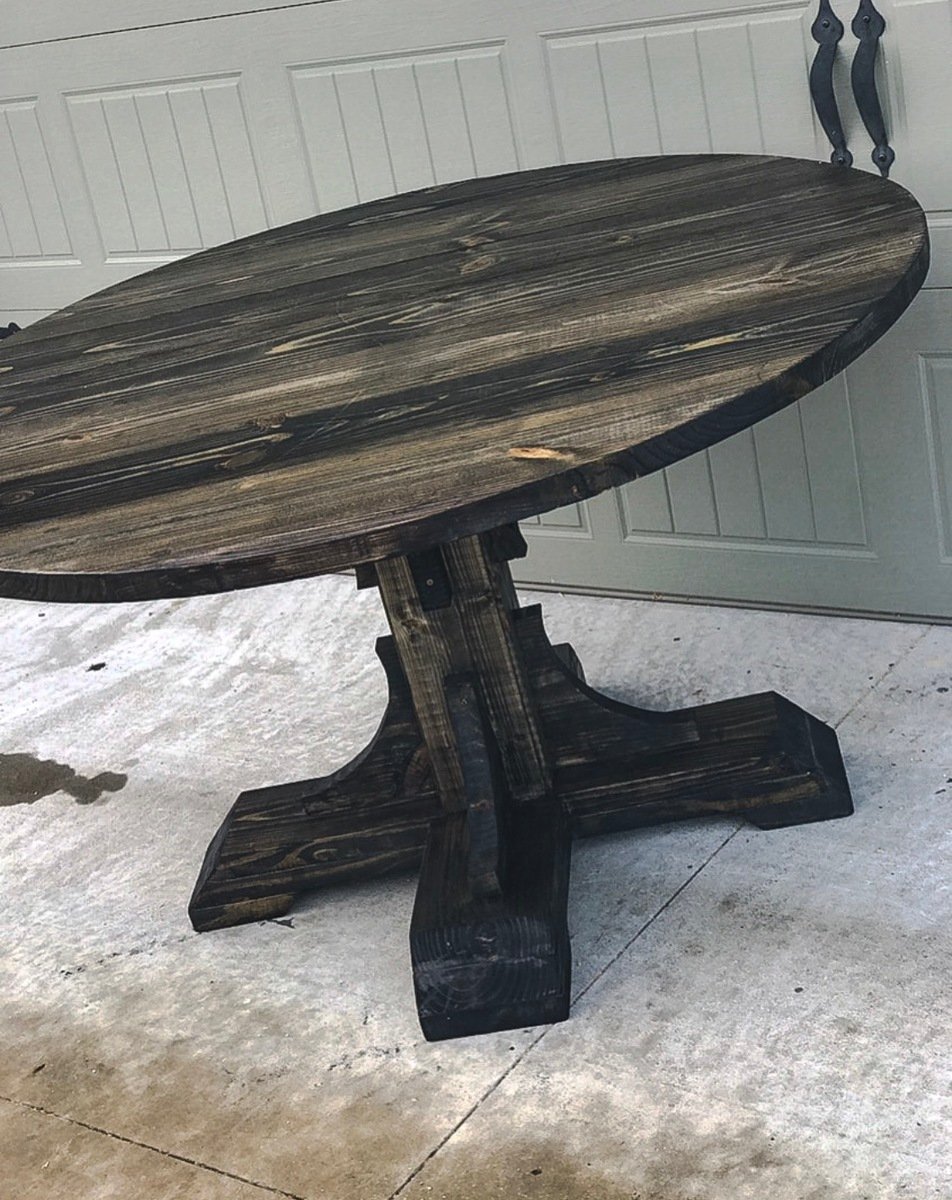
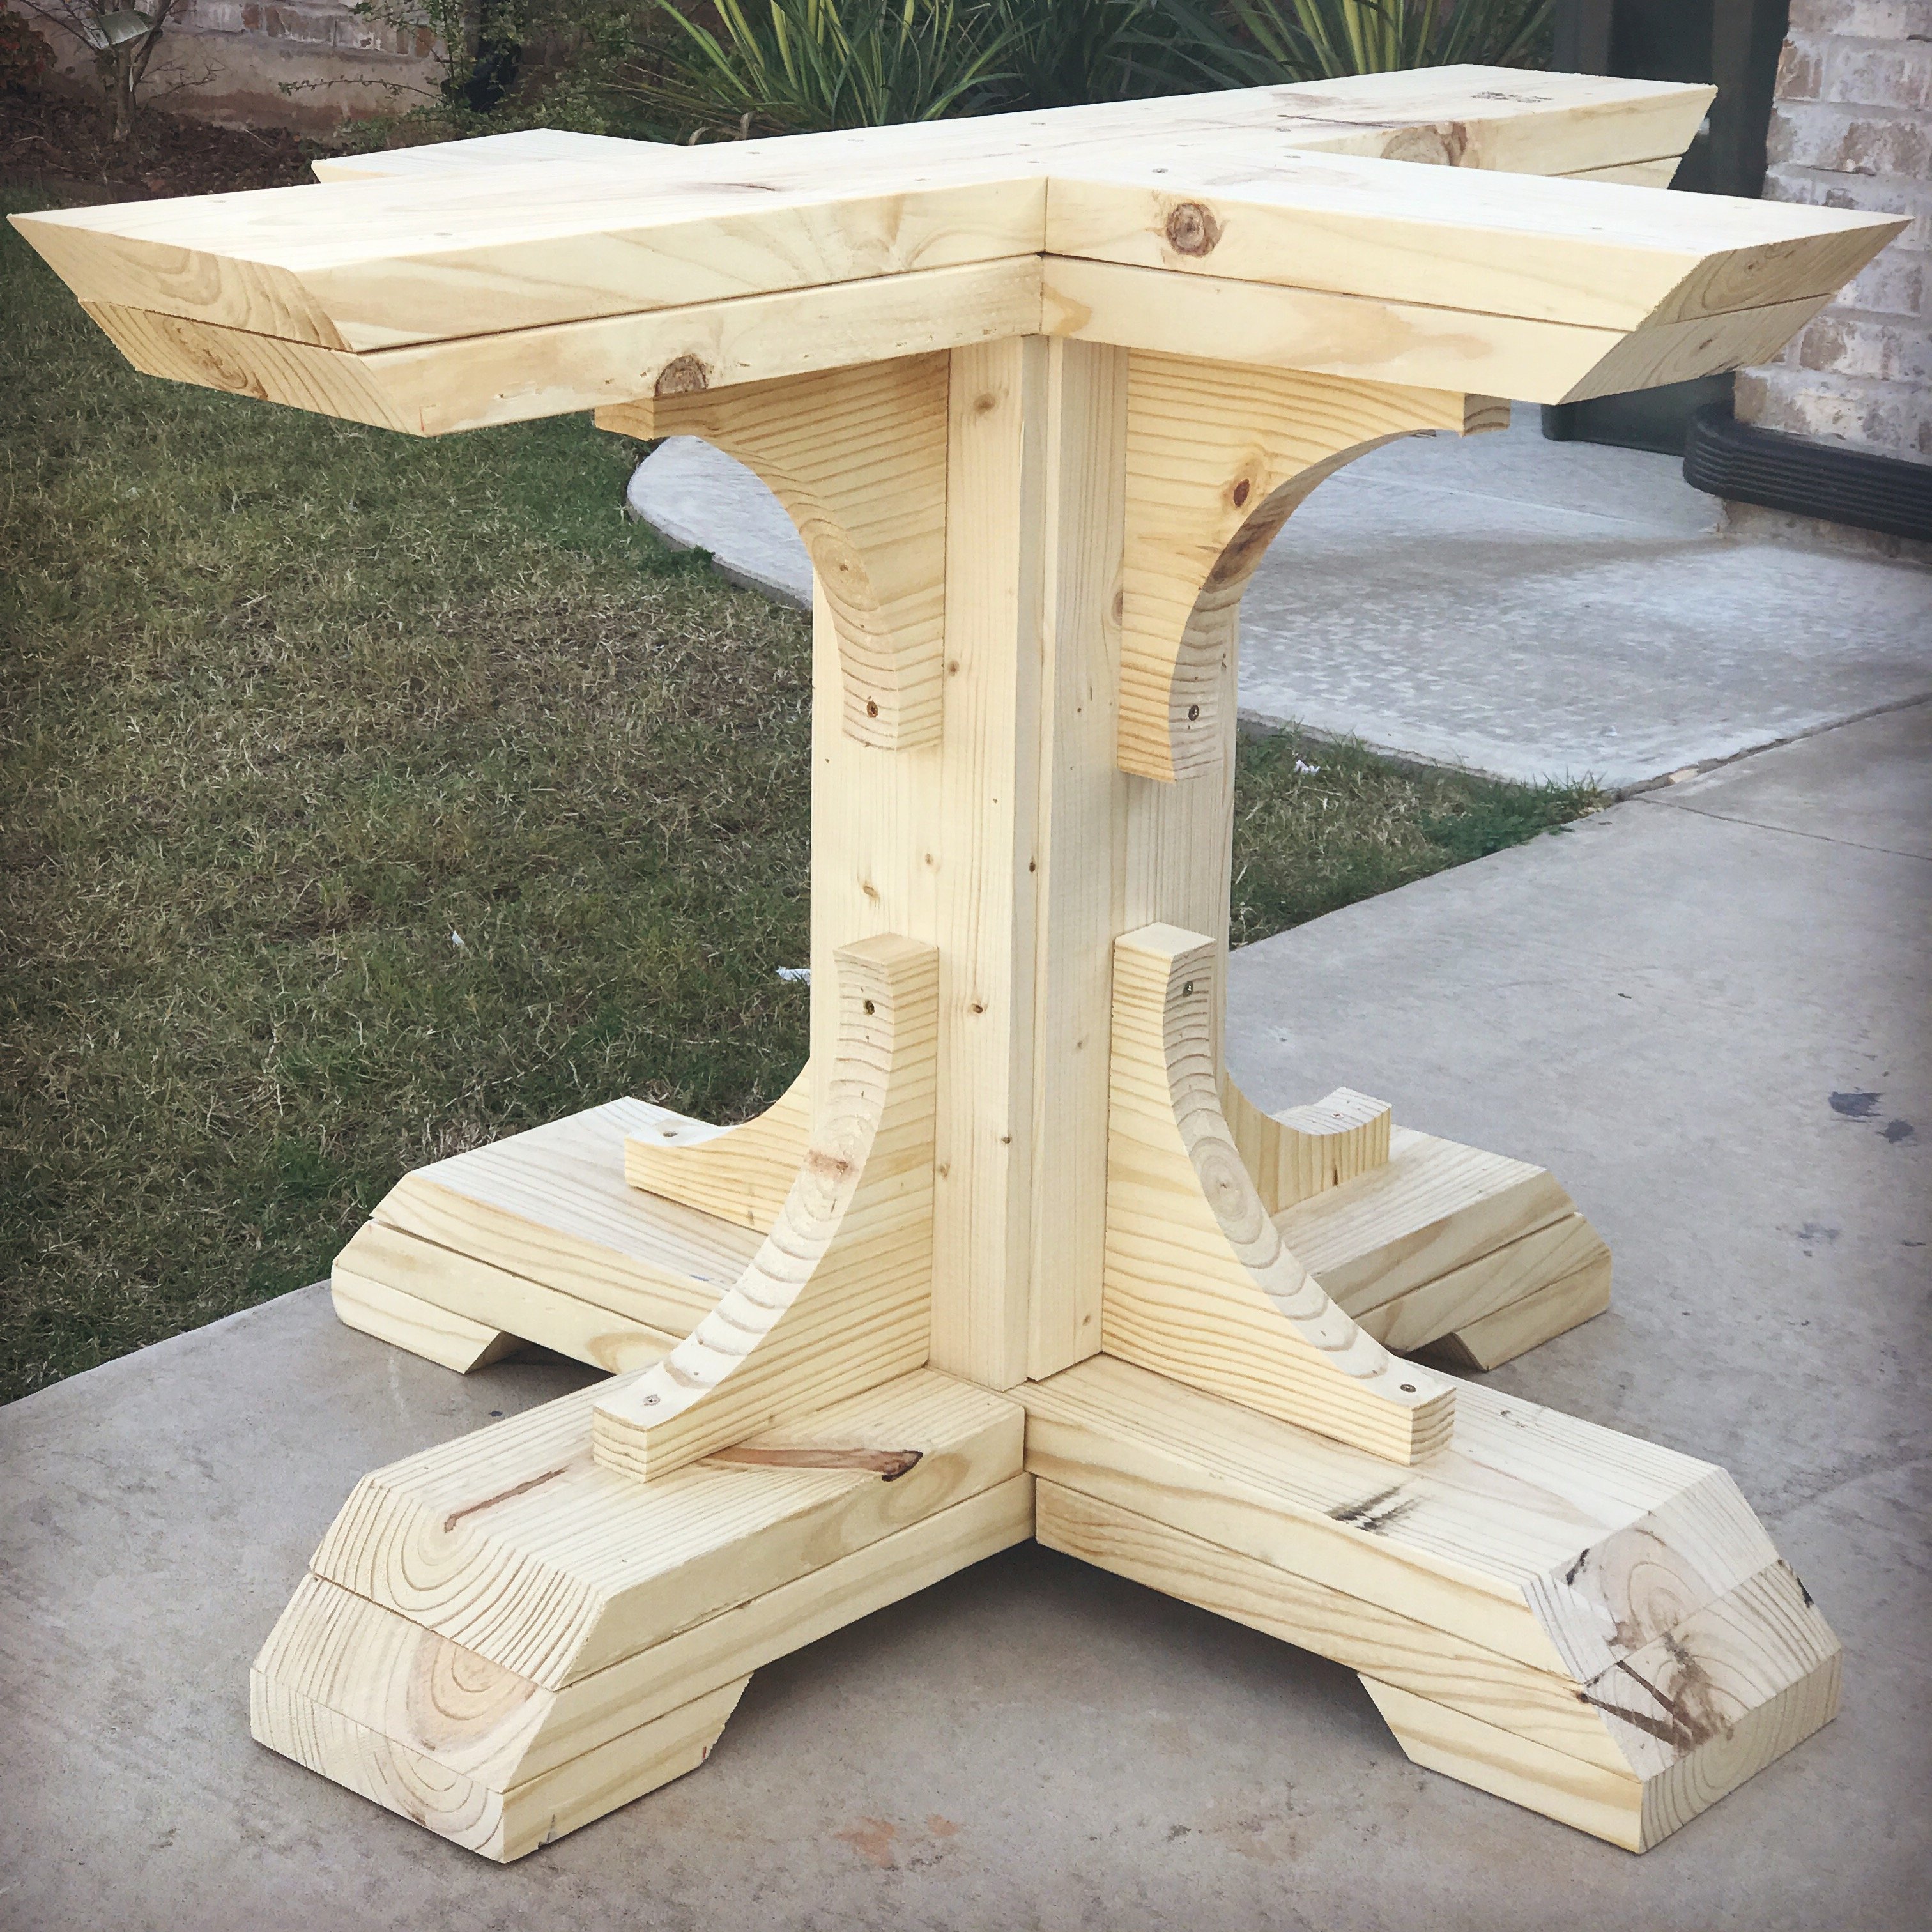
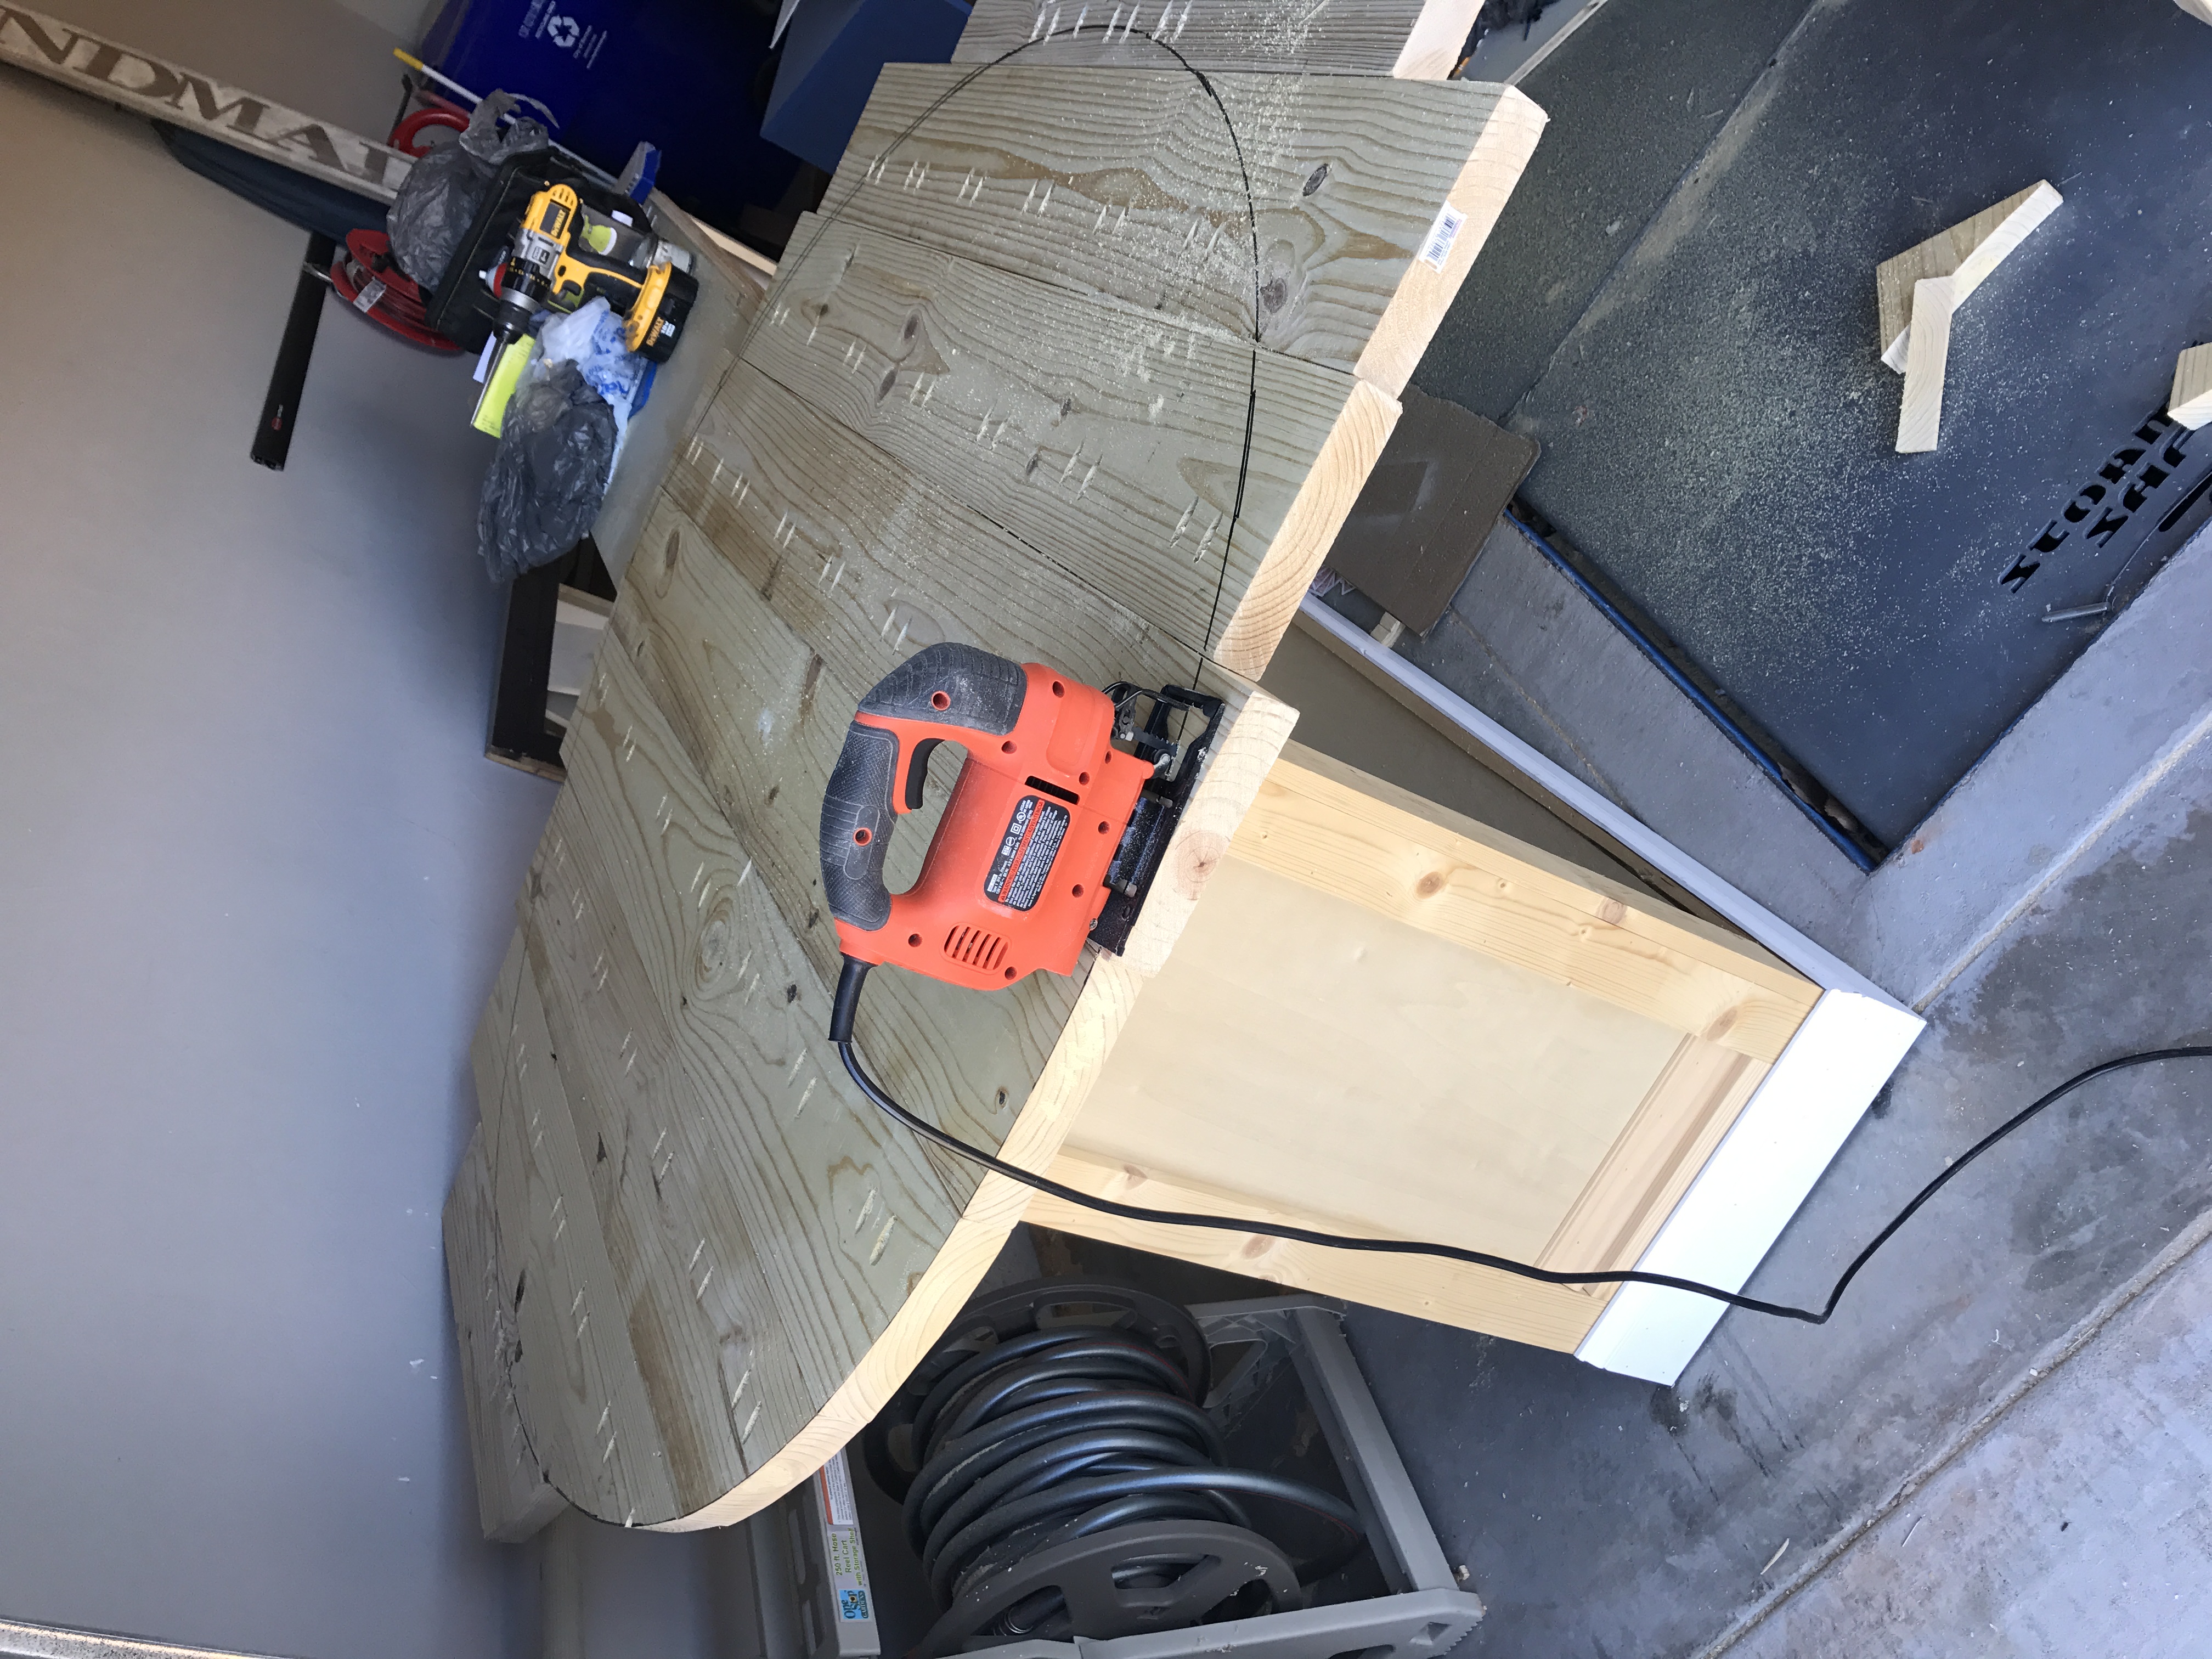
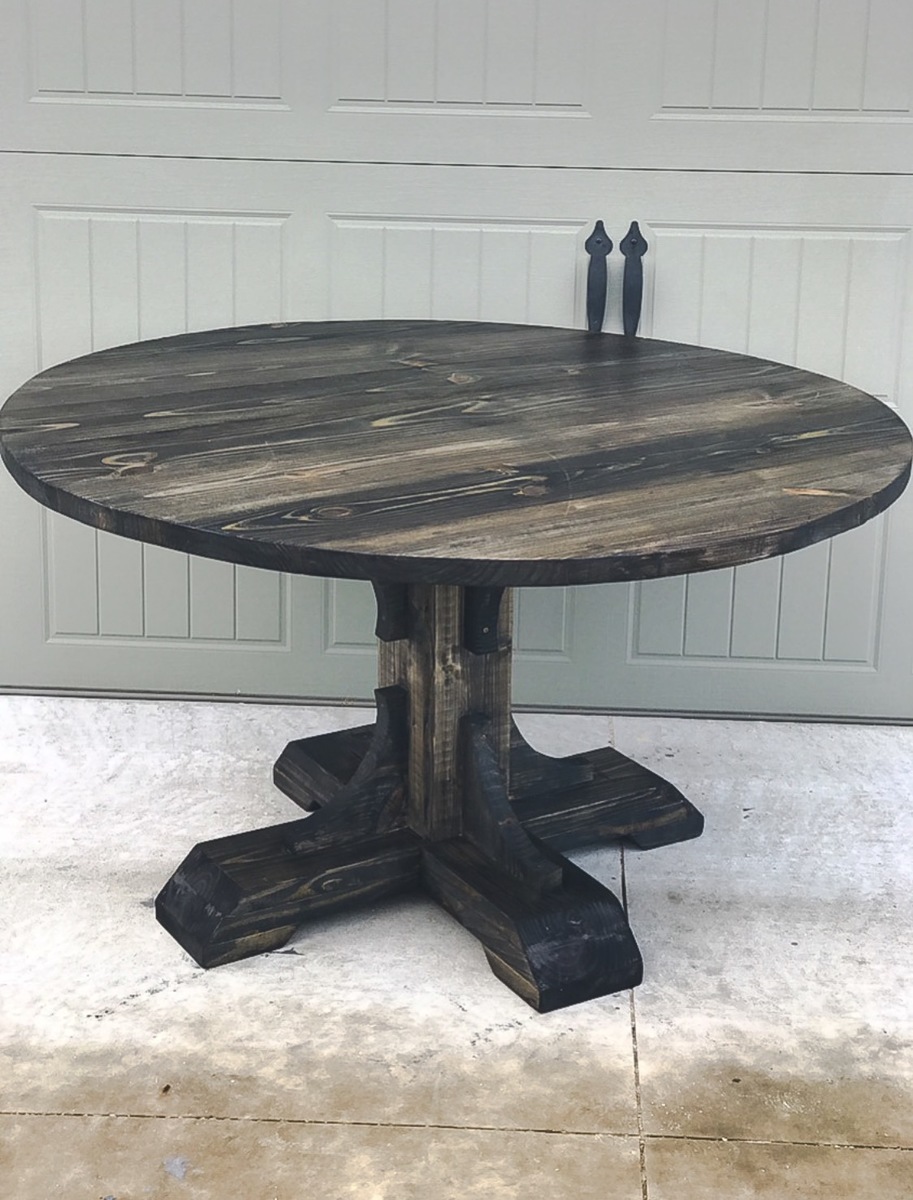
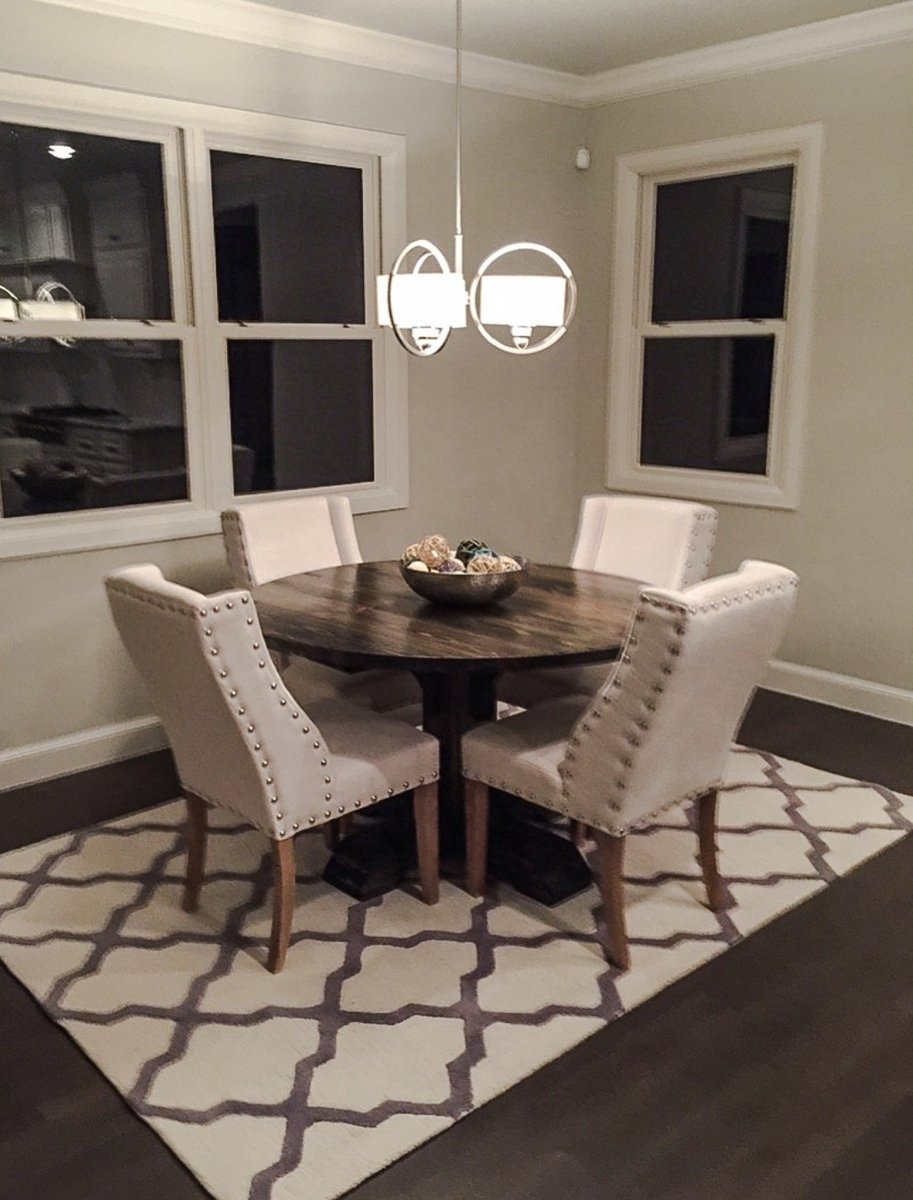
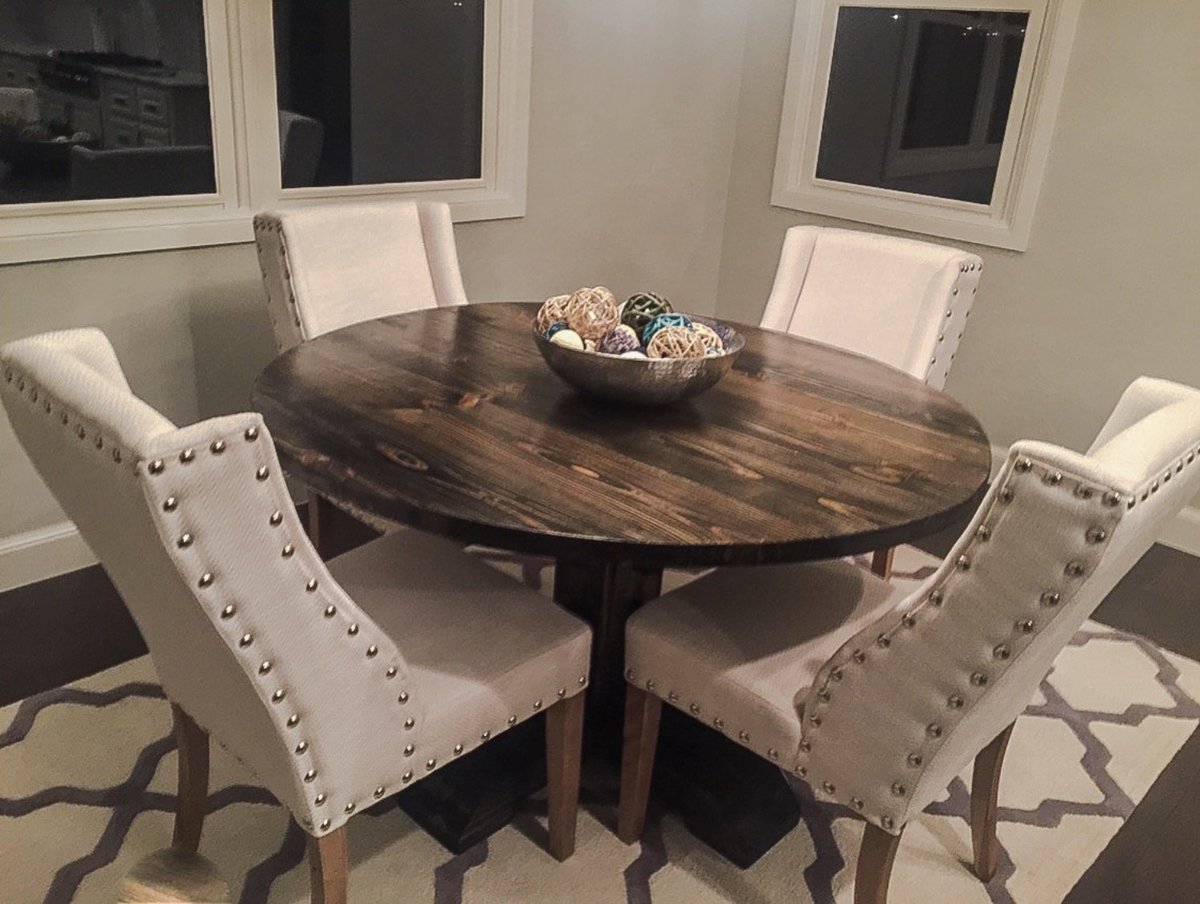
This was such a fun build. Instead of the square table top I opted for a 54" round table top and I also altered the plans for the base. I upped the size for each board used to give it a chunkier look ( Ex: instead of 2x4s, I used 2x6s and so on)
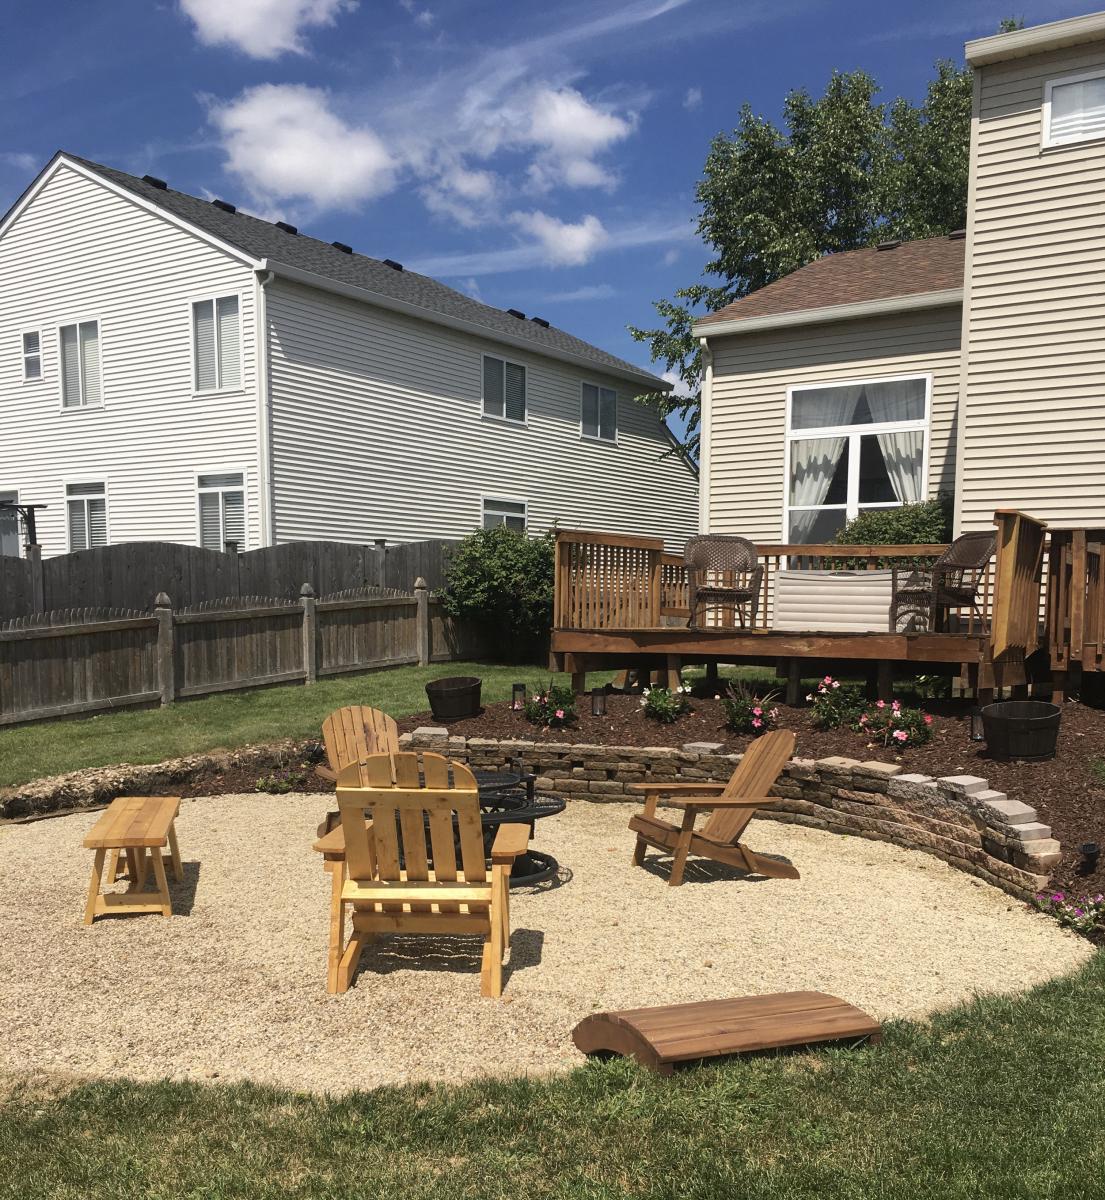
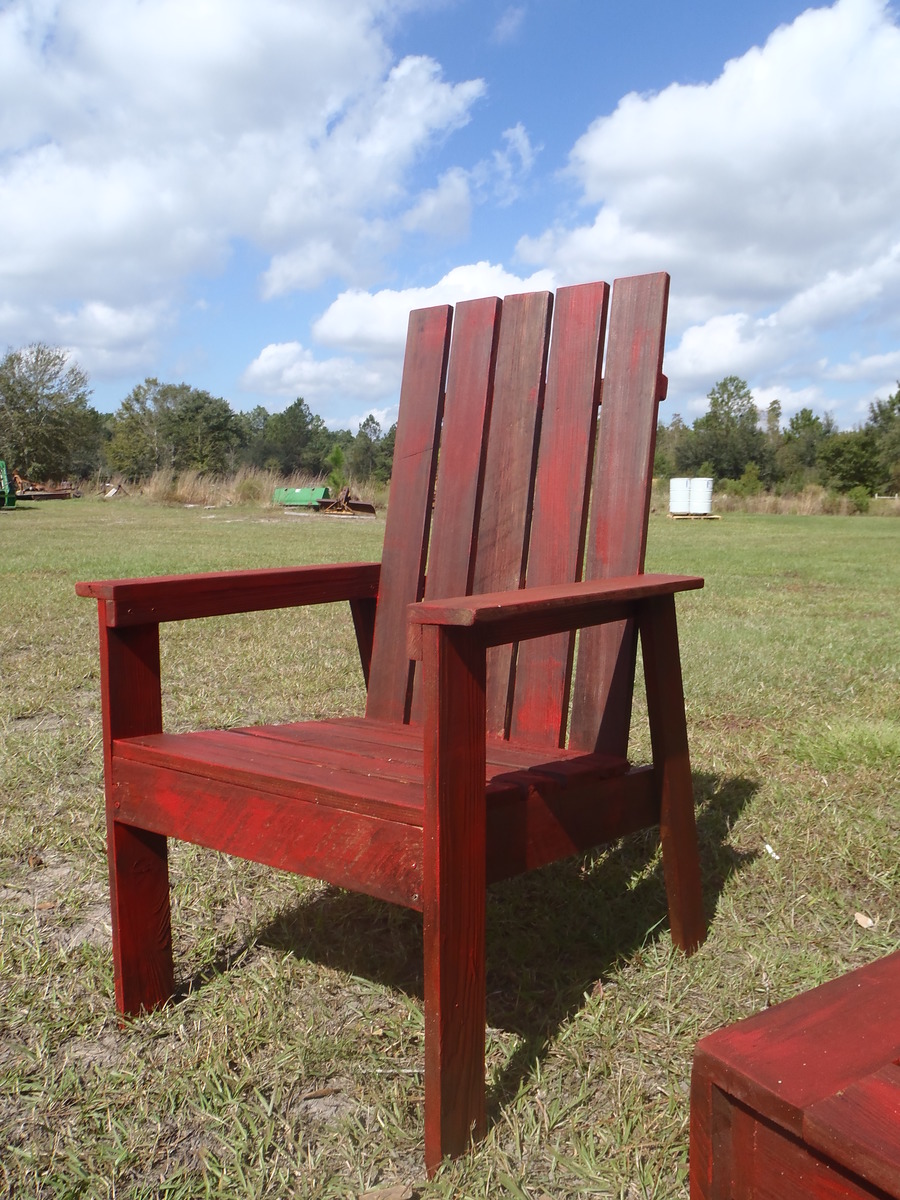
First project tackled after discovering Ana’s site. For our backyard fire pit area. (Store bought Adirondack chairs are $$$!) So happy for the plans to make it myself.
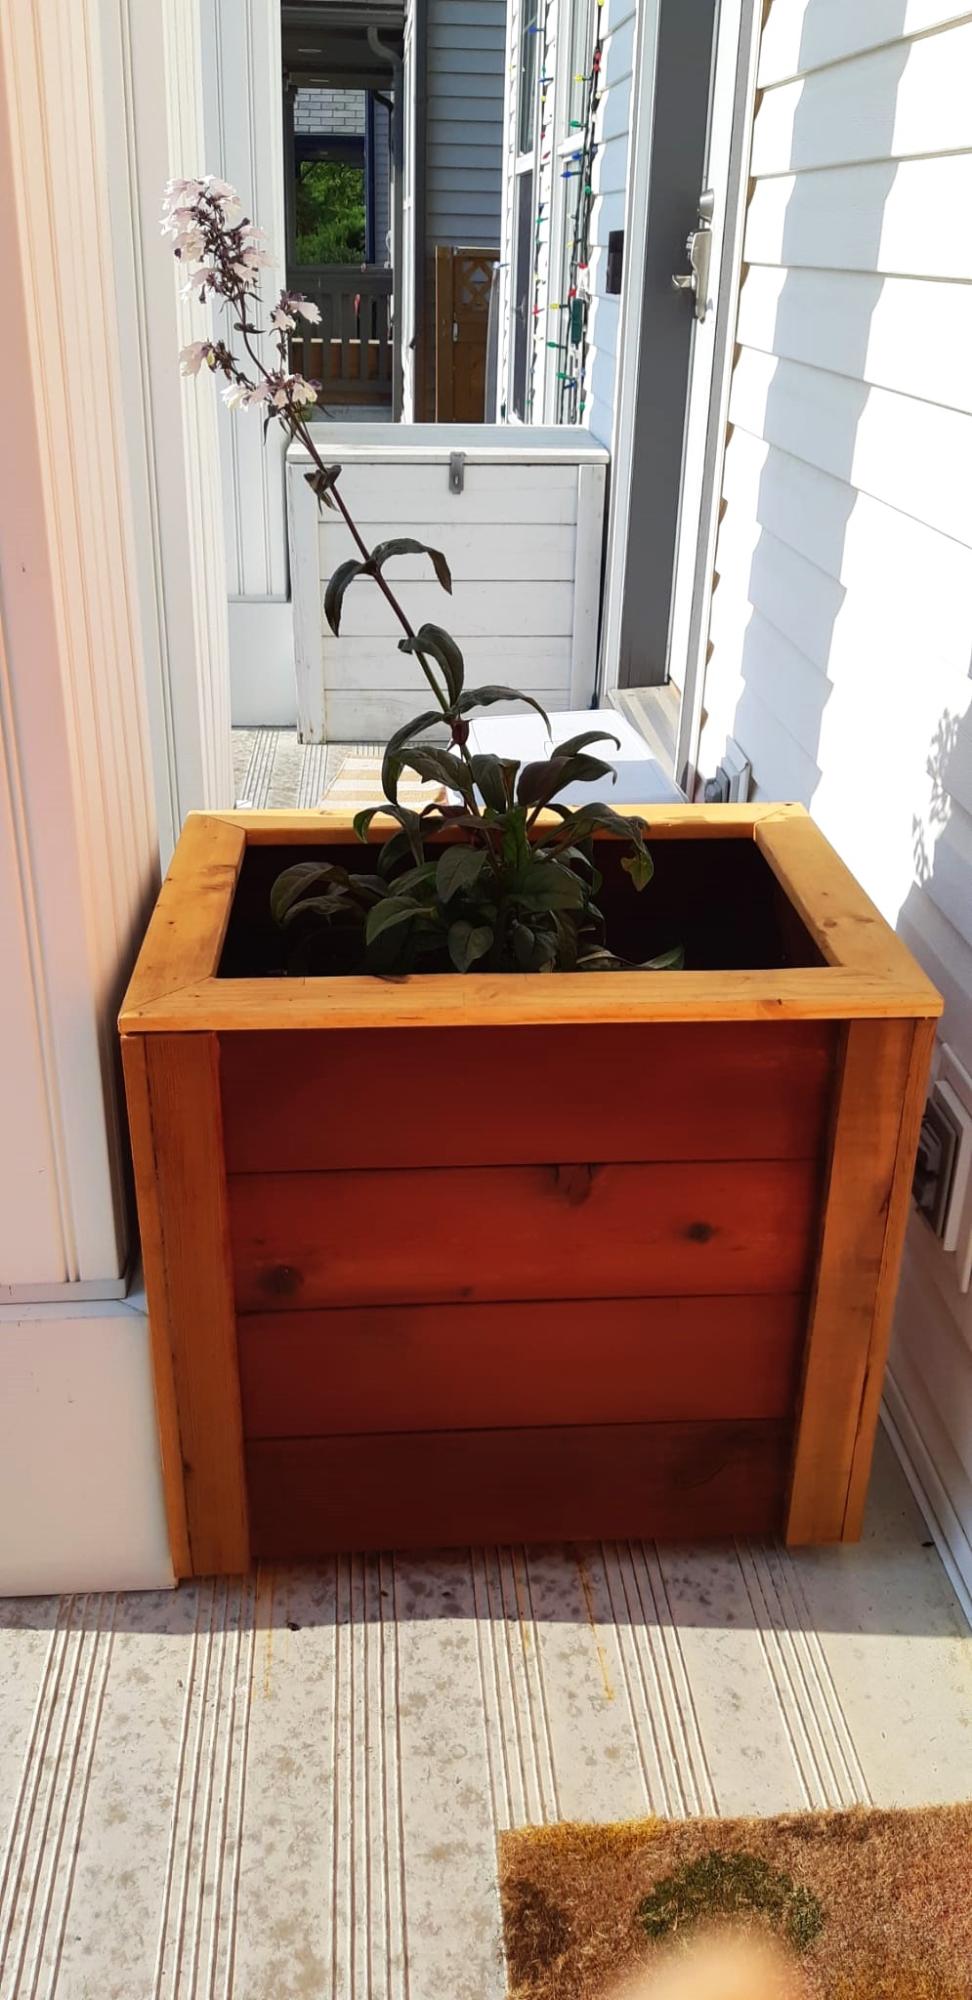
DIY Wood Planter
by James Thorlakson

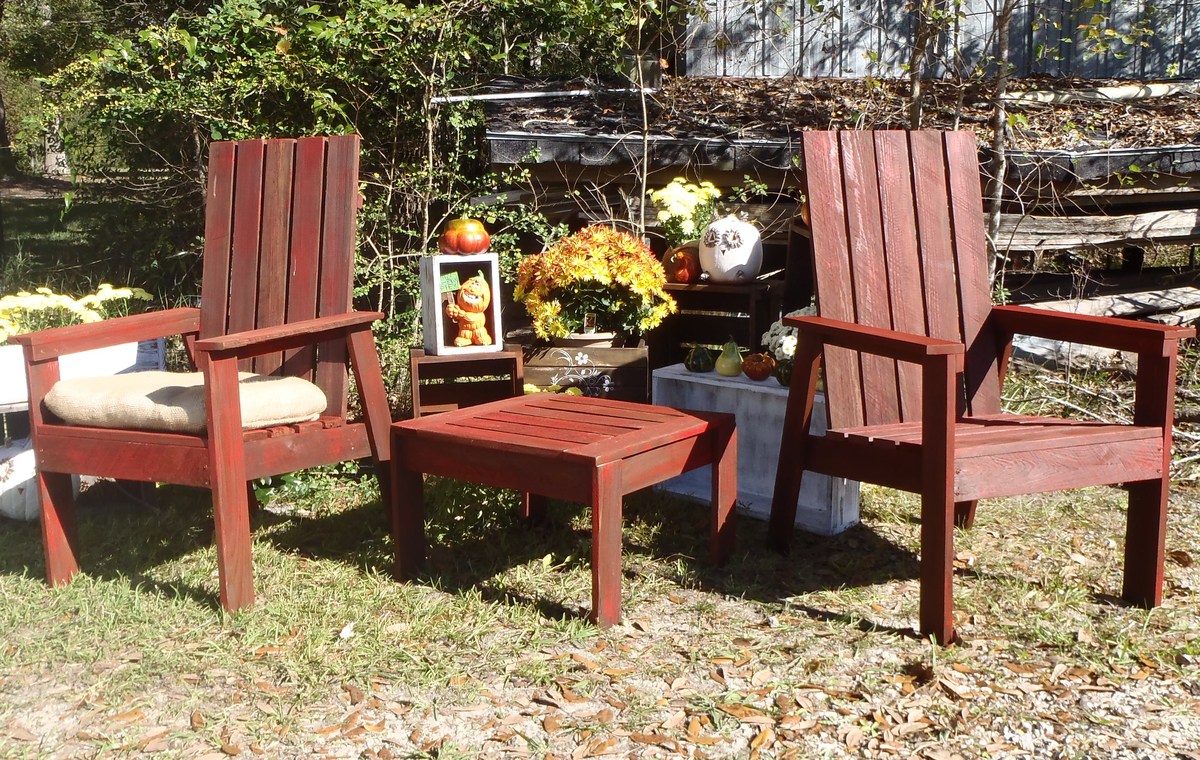
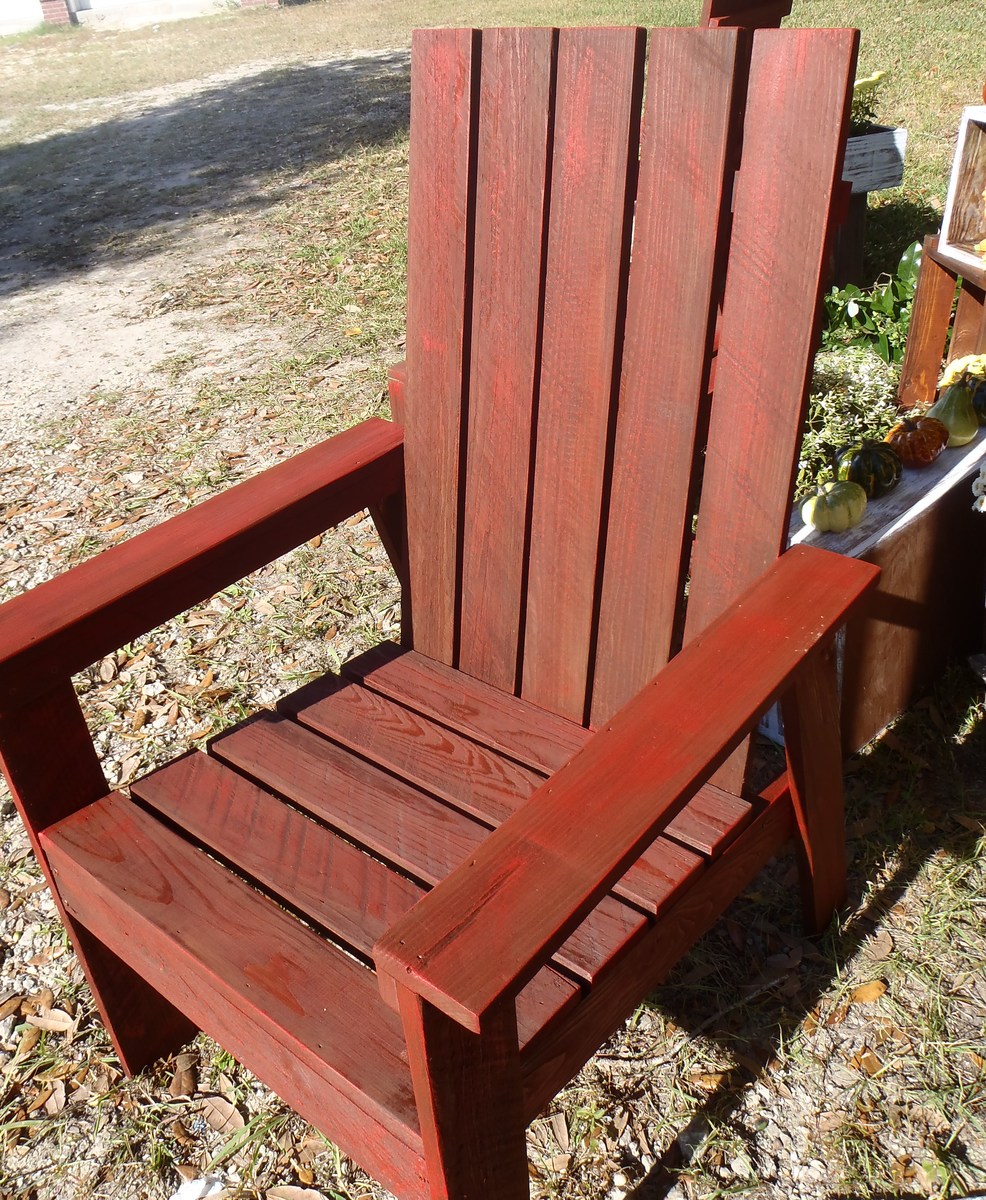
We had some roughcut cypress lumber left over from building our house which has been laying in my yard for a few years. Once I received Ana's new book, I knew just what to do with it! We love our new chairs so much we built a firepit to go with them!
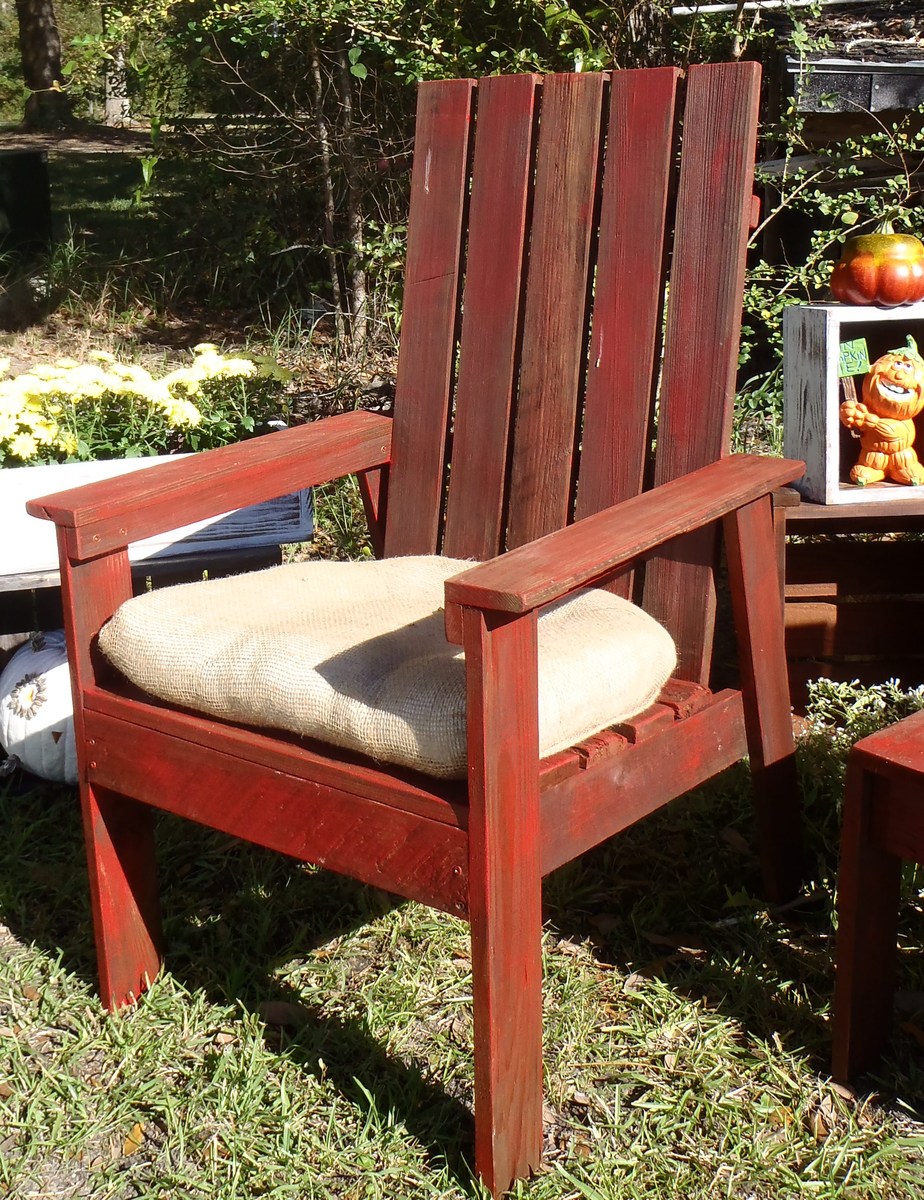
Since the original post, I made burlap seat cushions. Love it!
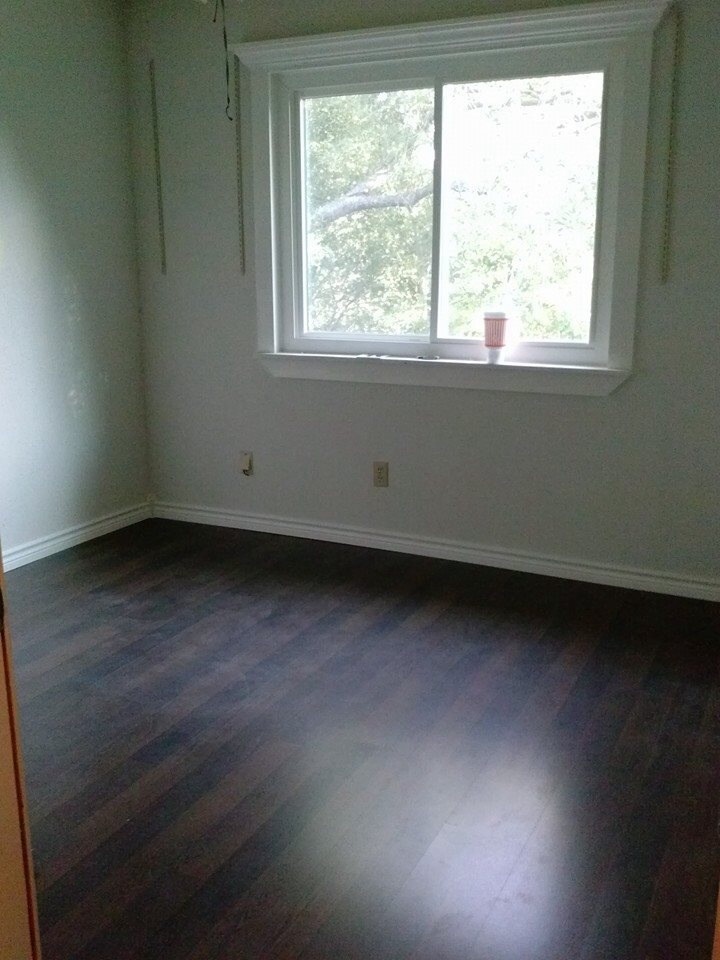
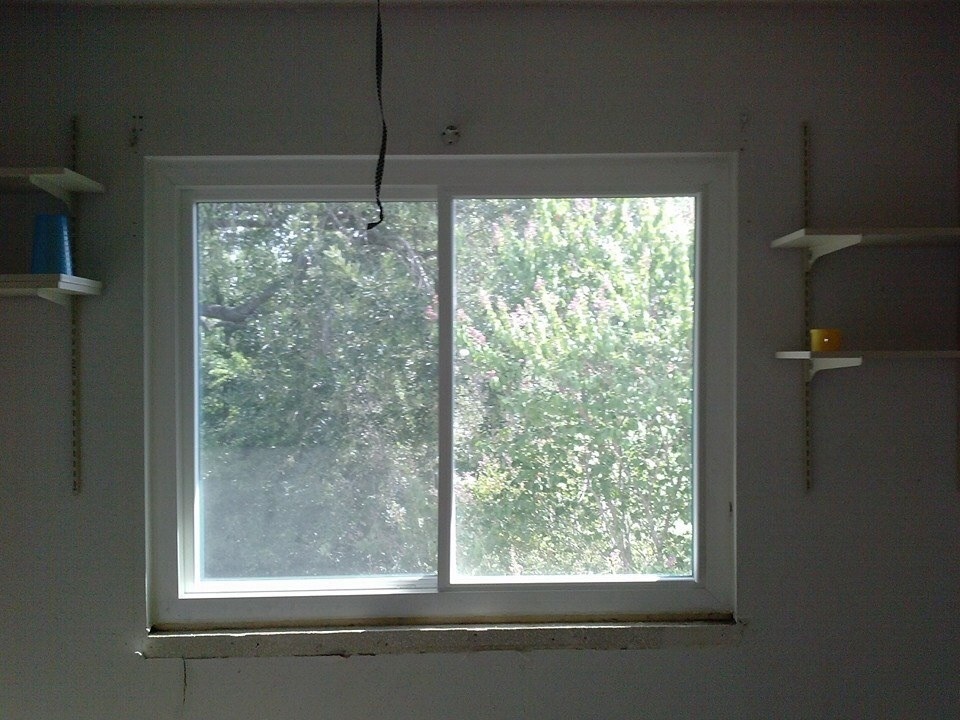
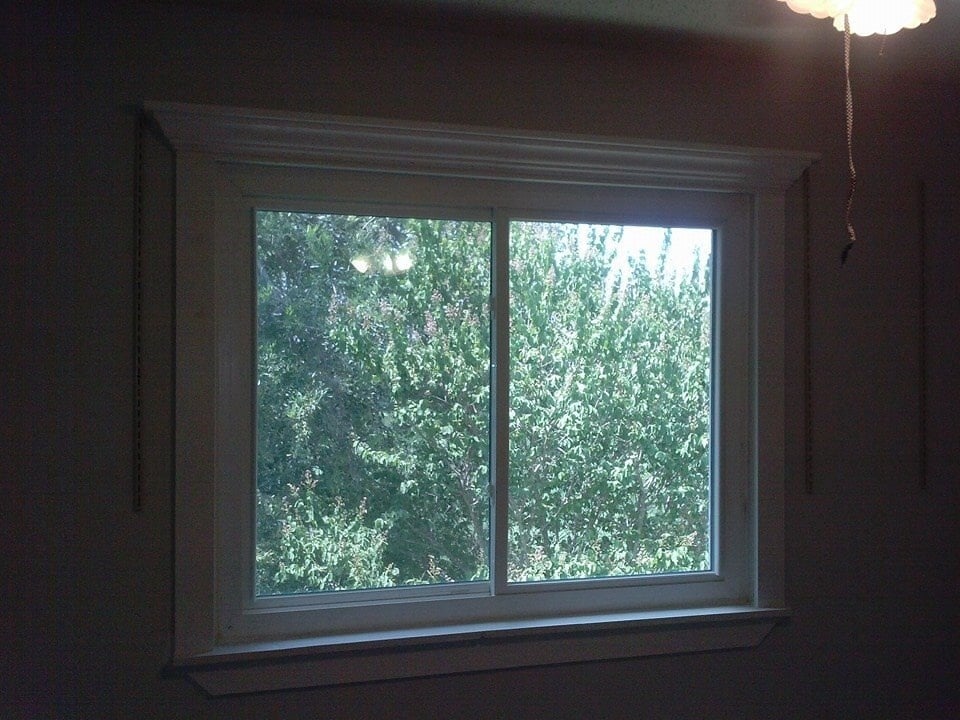
I took the plan for the crown ledges and put it above the window then added pre primed 1x4s as the trim also.


First try at building something. Start up cost in tools is not reflected in the estimated cost. Learned a couple of valuable lessons in cut accuracy and order of work. For us, we will buy/cut/sand/paint/assemble. Dont let Home Depot cut your plywood. They did a terrible job.
Beach Chair Build

An easy afternoon project. Thanks Ana White! The painting was more laborious than the building, by far.
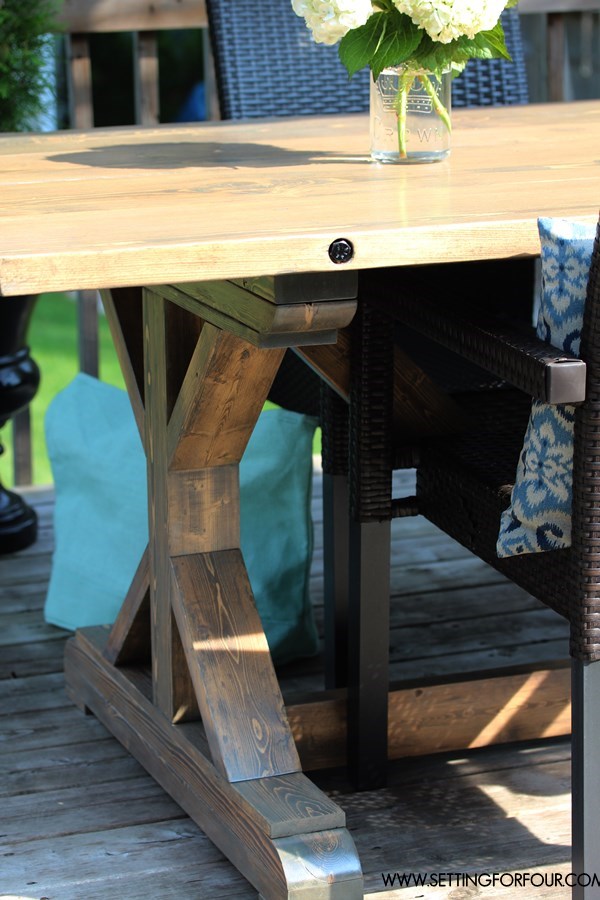
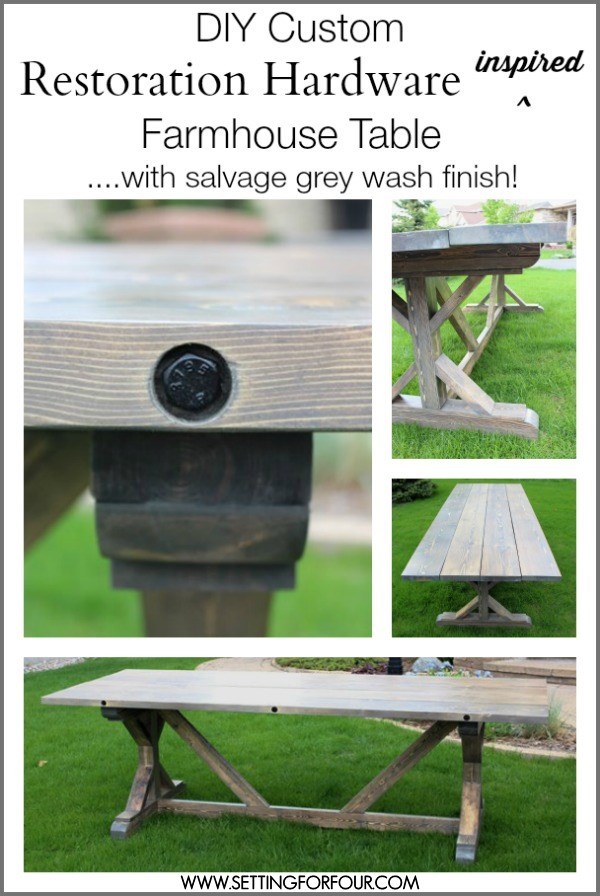
My family needed a new outdoor dining table so my husband and I made this DIY Restoration Hardware Inspired Farmhouse table with Salvage Grey Wash Finish! I combined two popular RH table styles, the rectangular X-base Table and the Brickmaker’s Table, to come up with this distinctive innovative design: an X-base bottom with an industrial bolted plank table top! This will blow your mind....this table cost us only $157.00 to make, just a small fraction of the the RH $4690.00 price tag for their tables! We started with Ana White's Farmhouse Table plans, added inset lag bolts to the planked top and then gave our table a customized salvage grey wash finish to add a touch of gorgeous grey to a dark walnut base layer. We've had many fun dinners on our large farmhouse table with family and friends! See my blog post for all of the steps and materials!

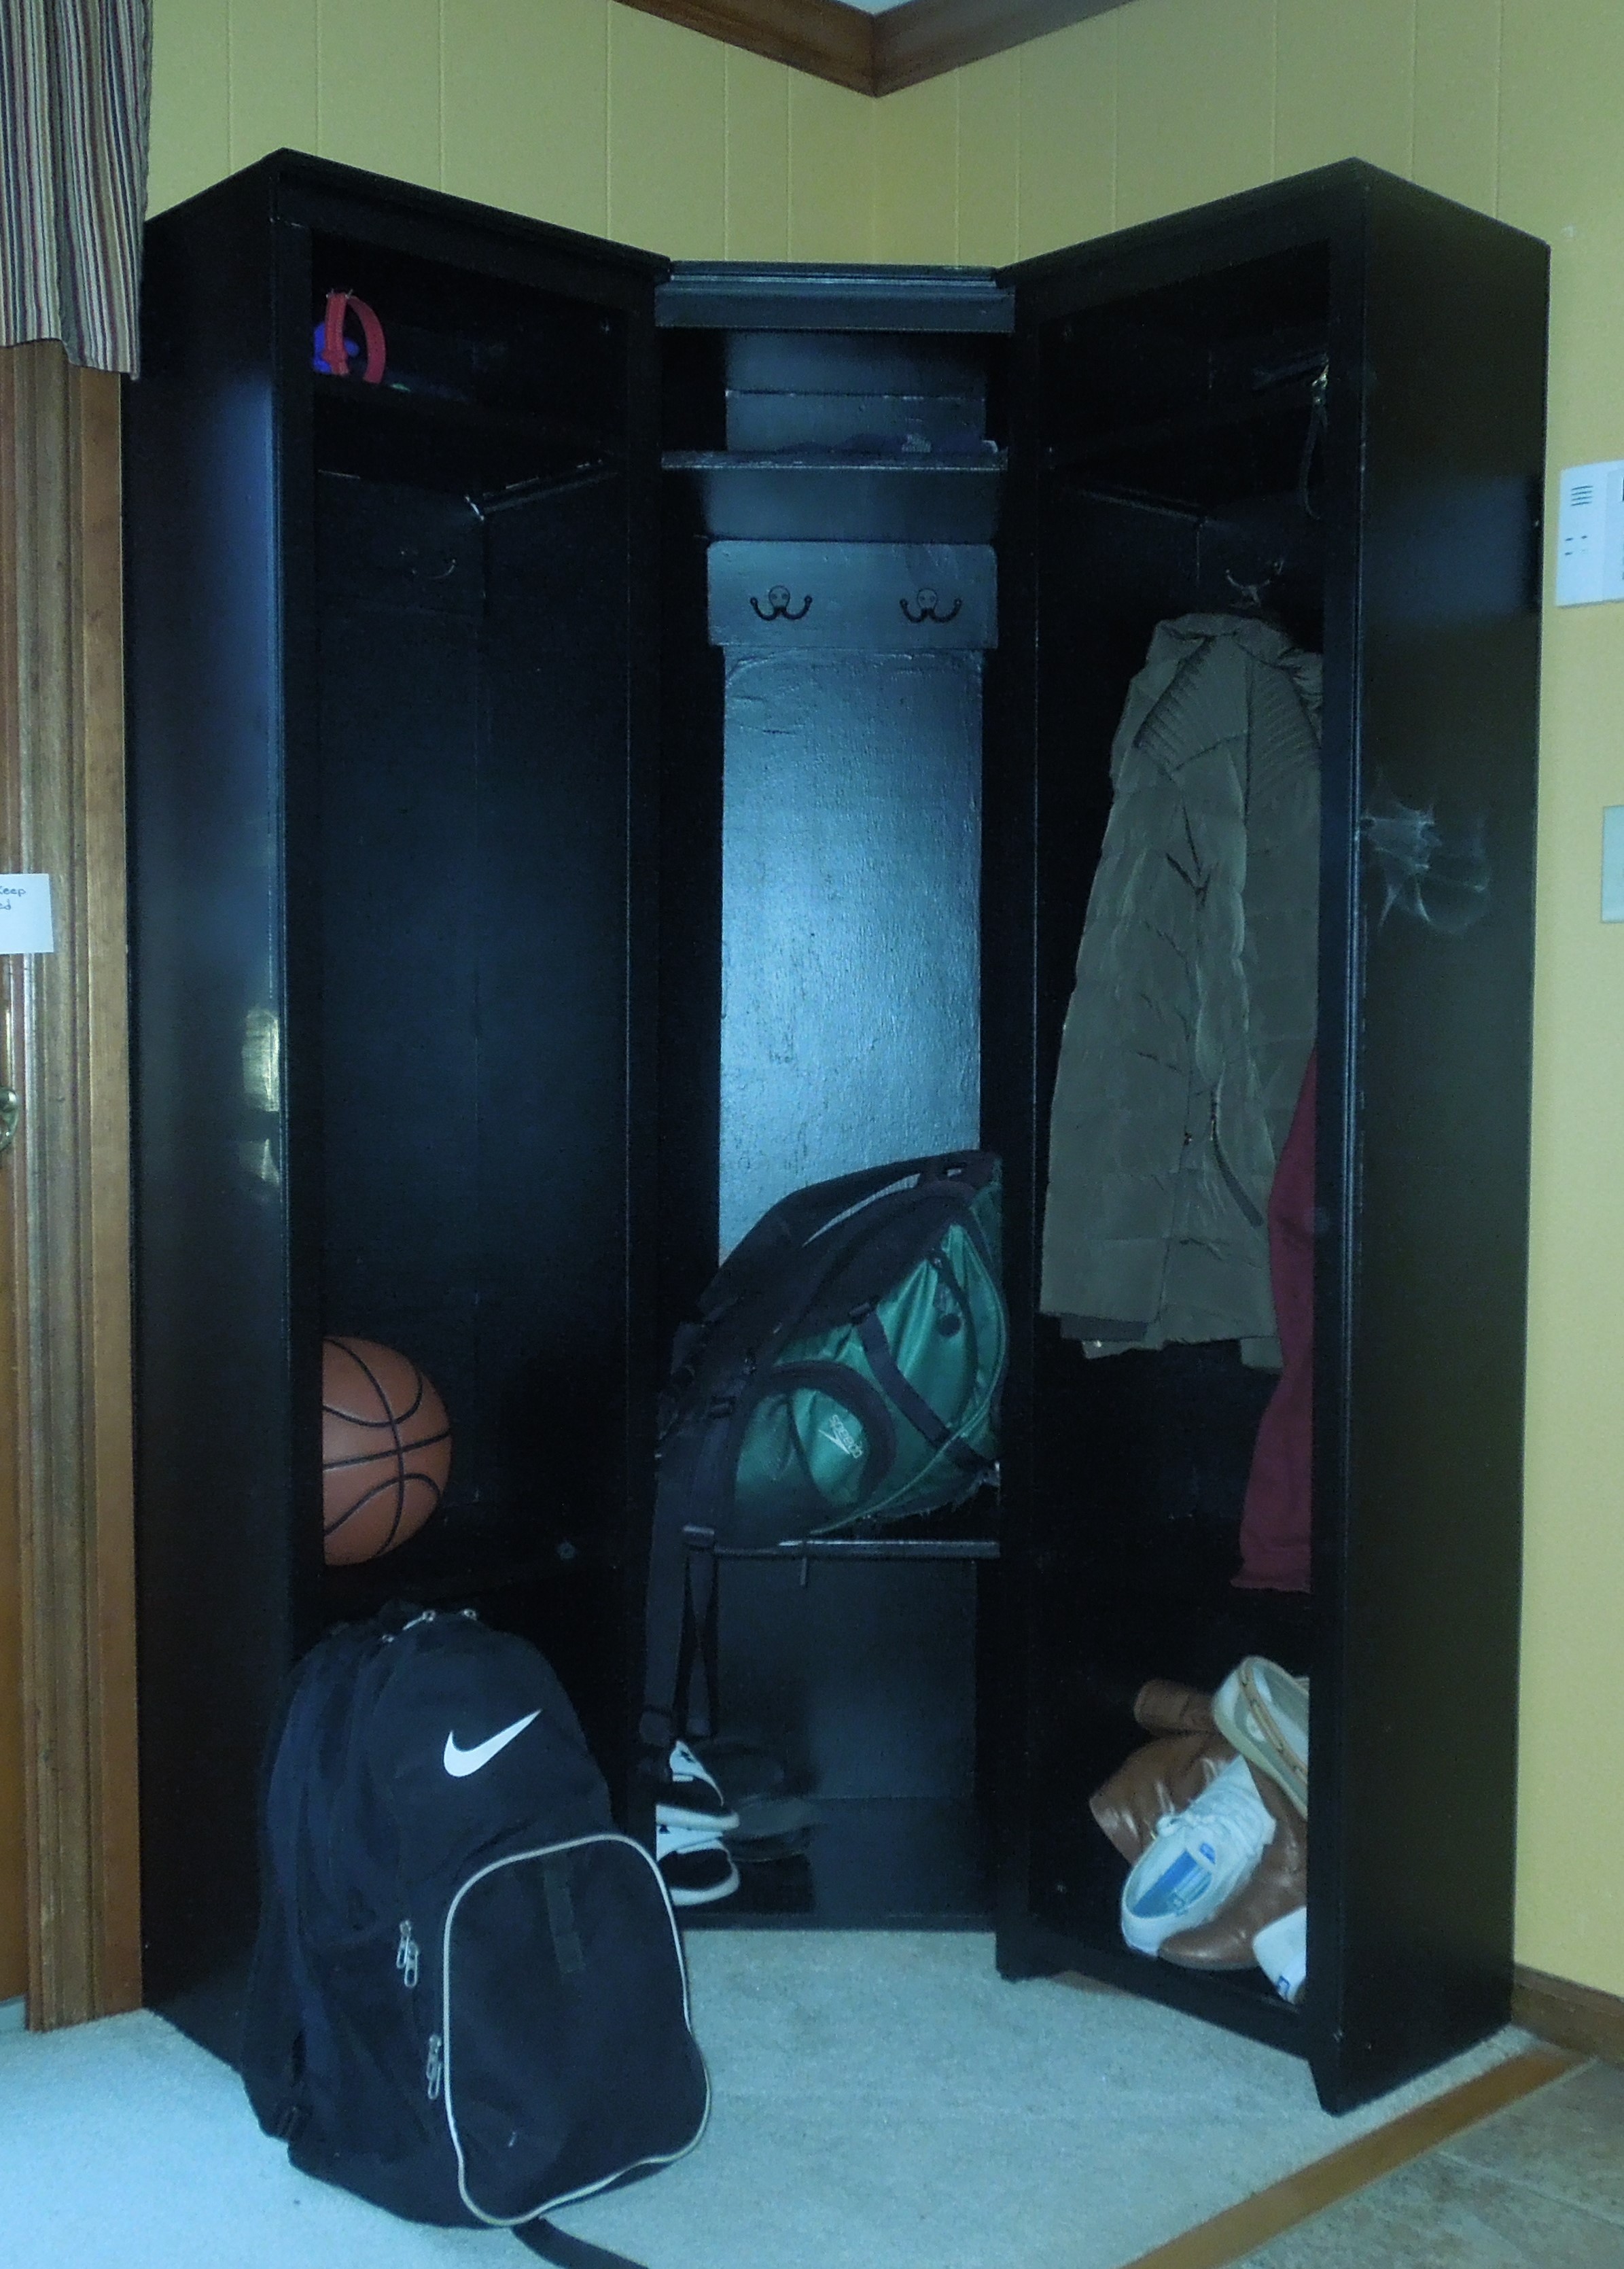
My daughter asked of I could make cubbies for three grandchildren, and the single unit on this site seemed perfect. After I made the first two we could see that there was not a good way to fit three into the designated space, so I decided to make a corner unit and bolt them together. They love it!
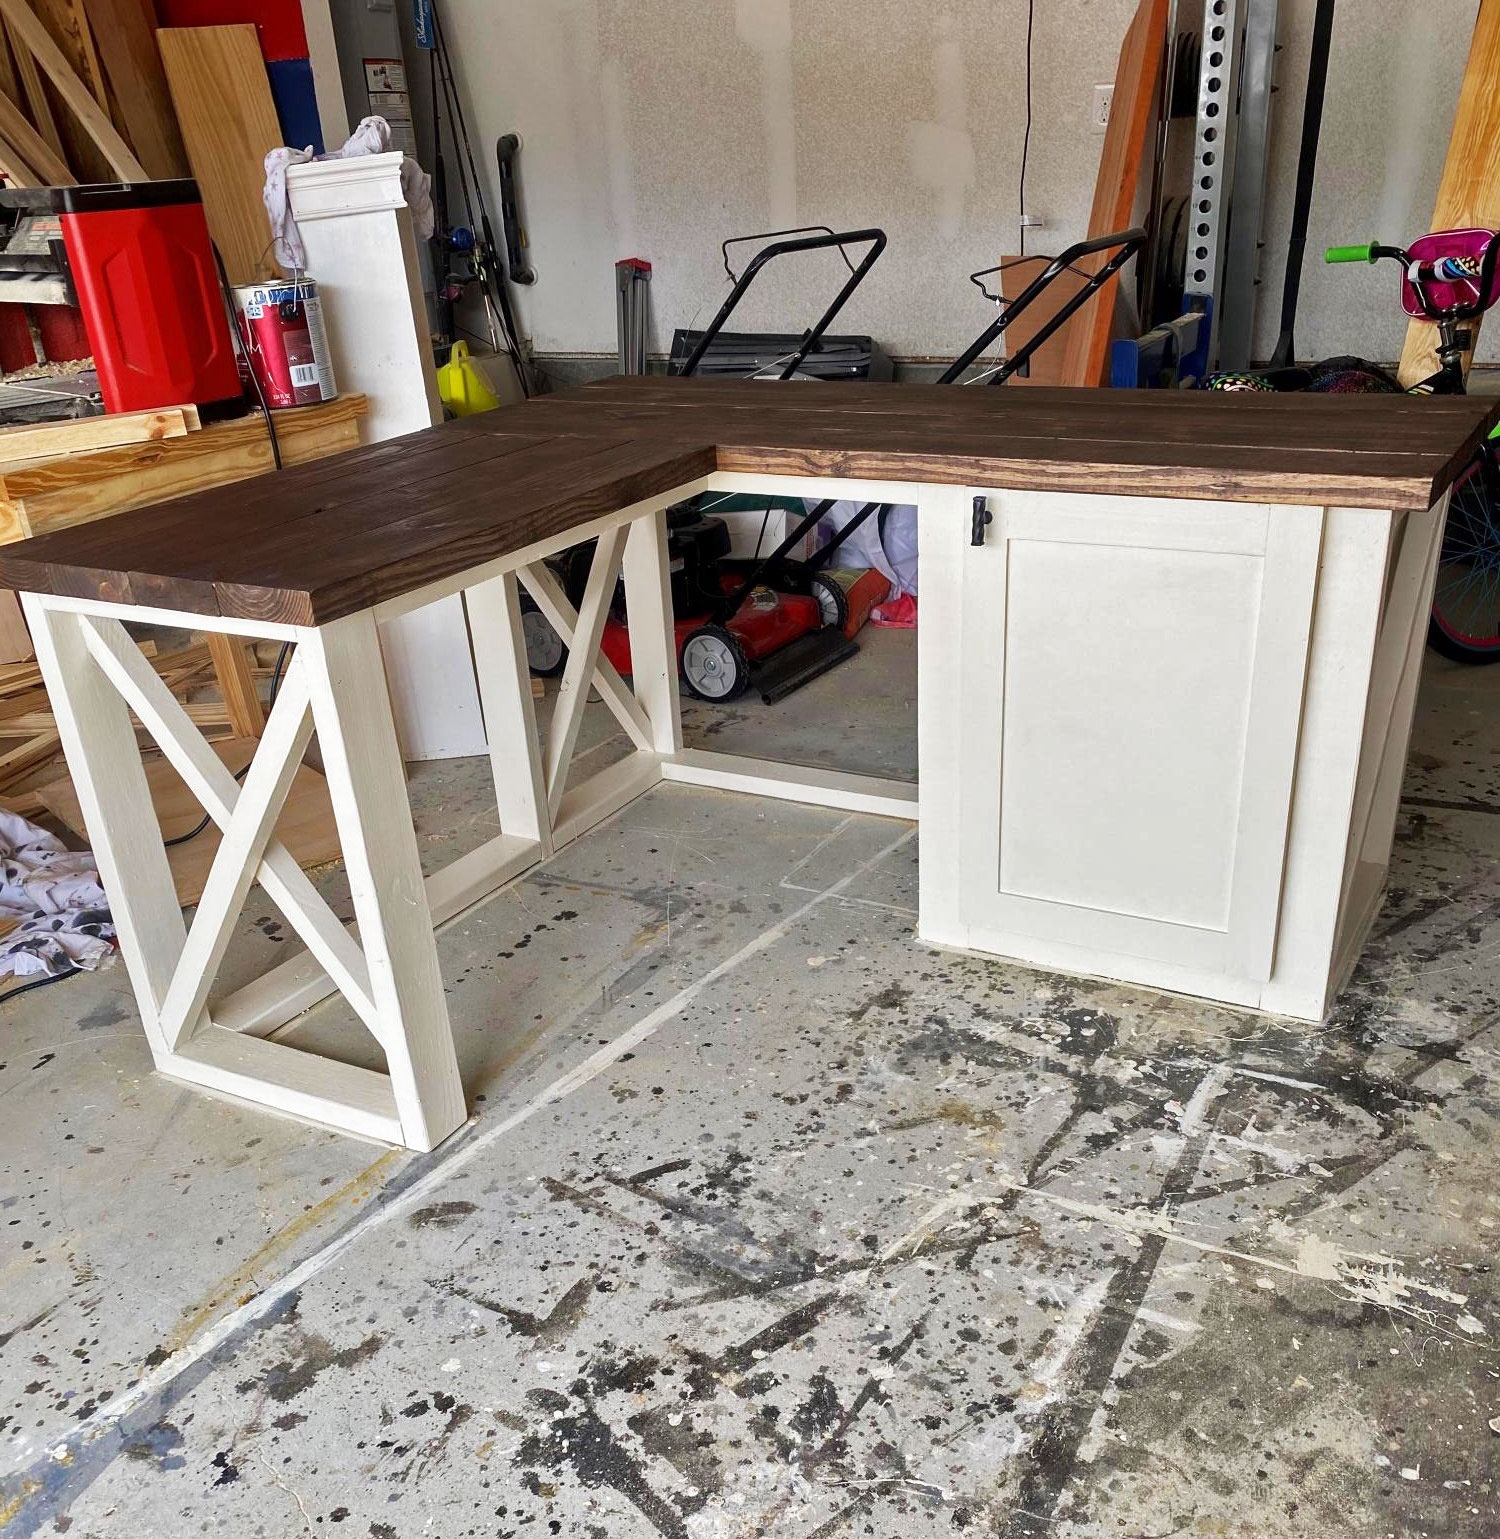
Put a twist on the farmhouse desk plans
Wed, 12/09/2020 - 11:03
This is beautiful, love the finish! I would love to see it in it's space!:)
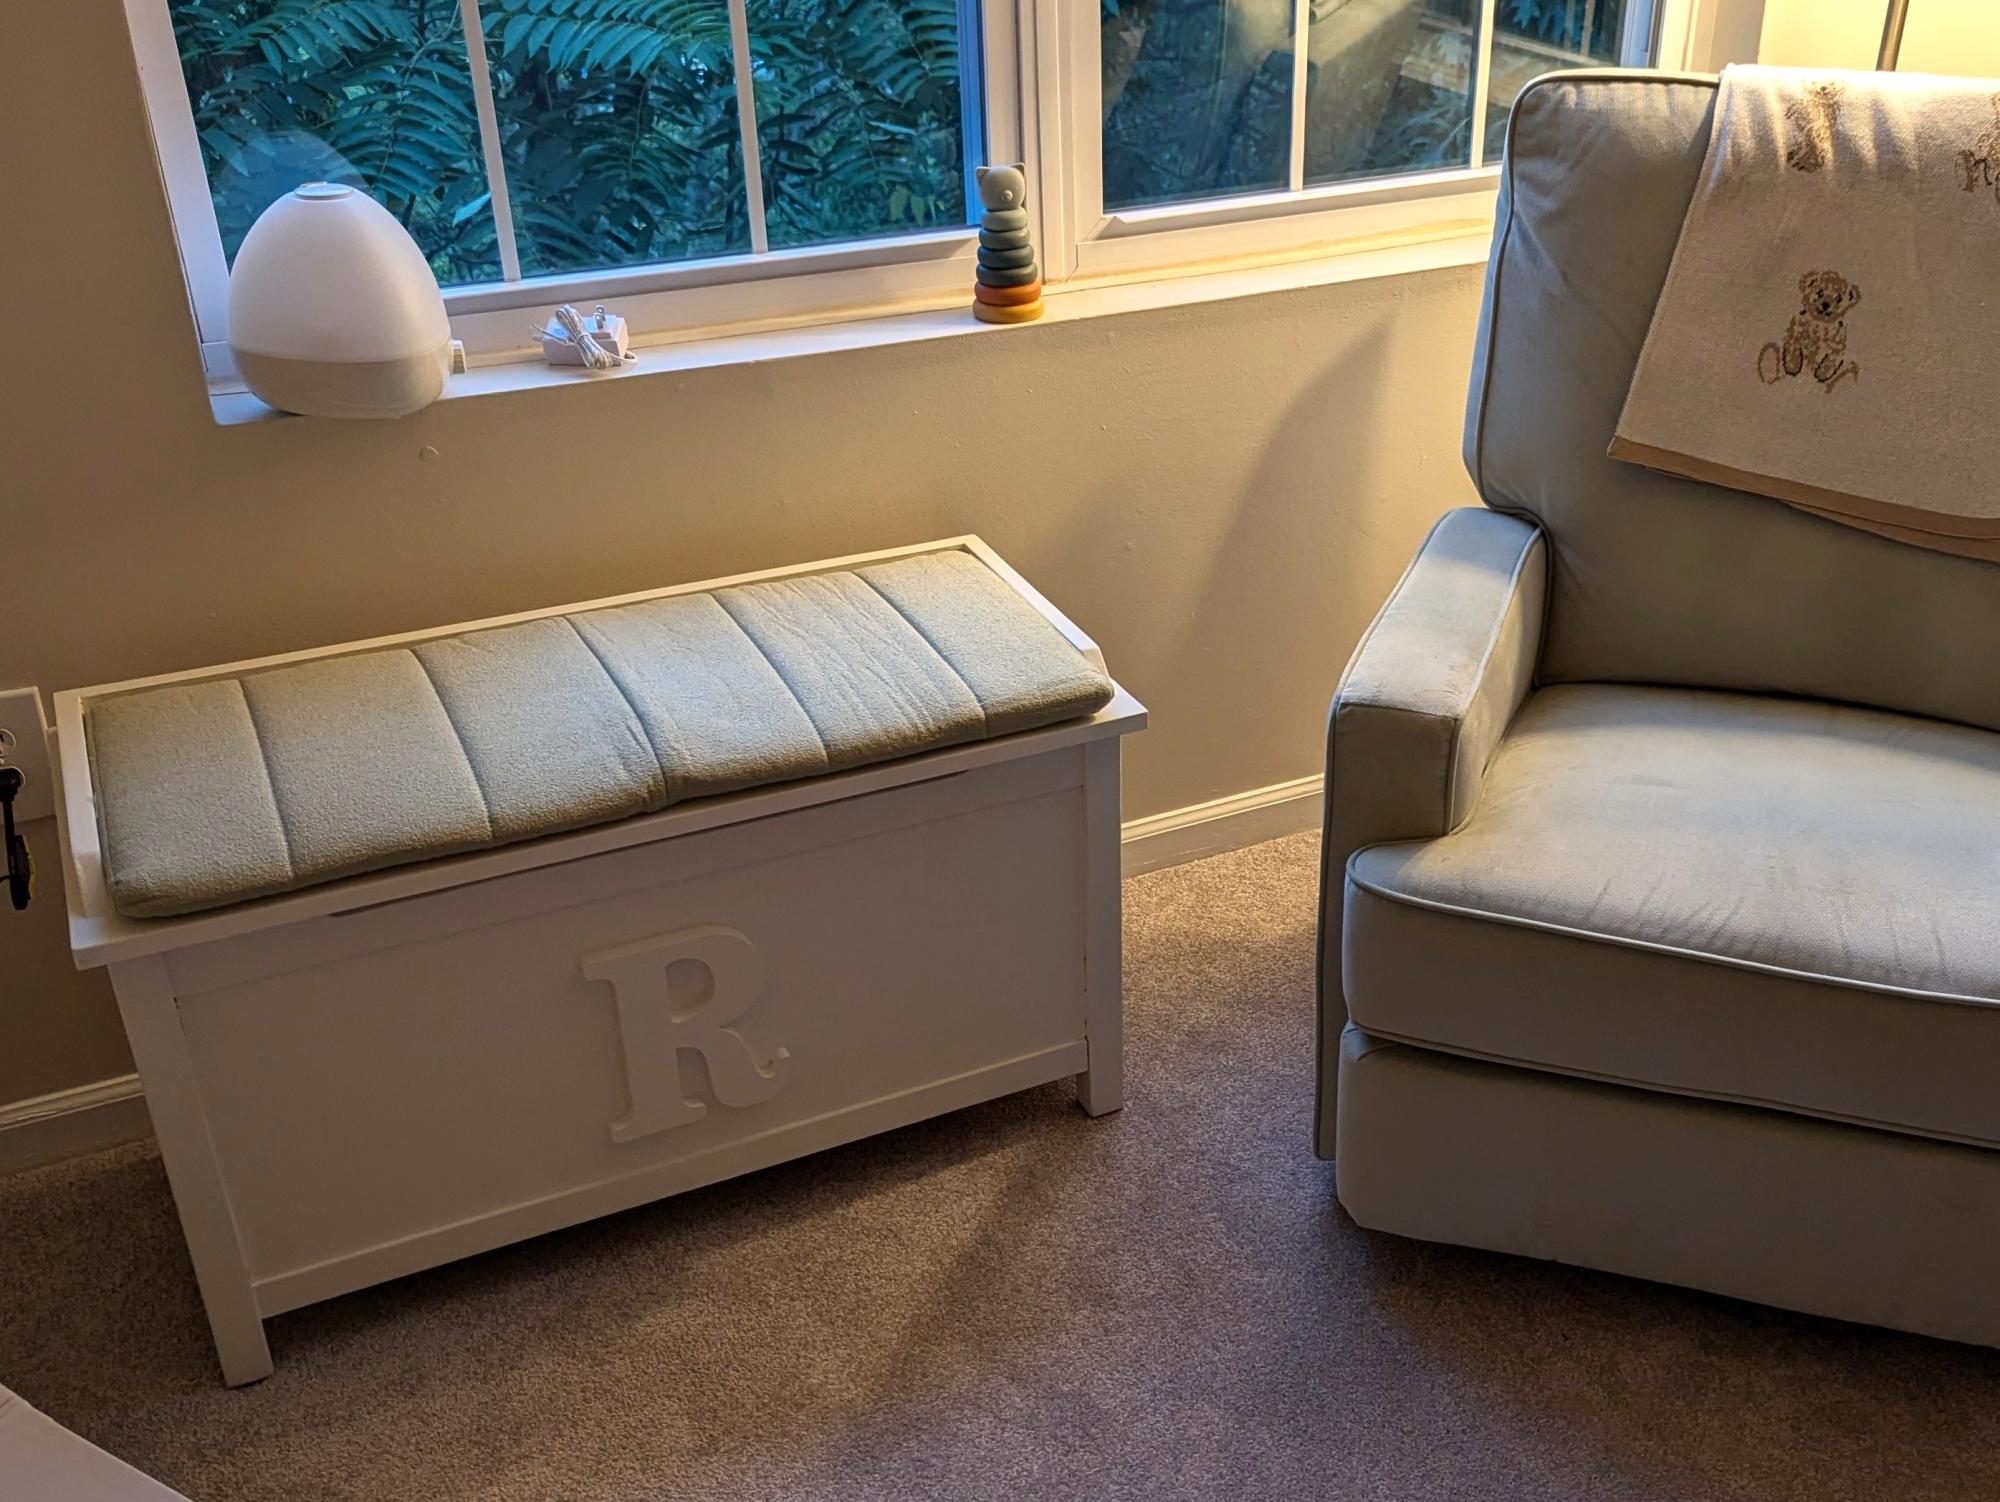
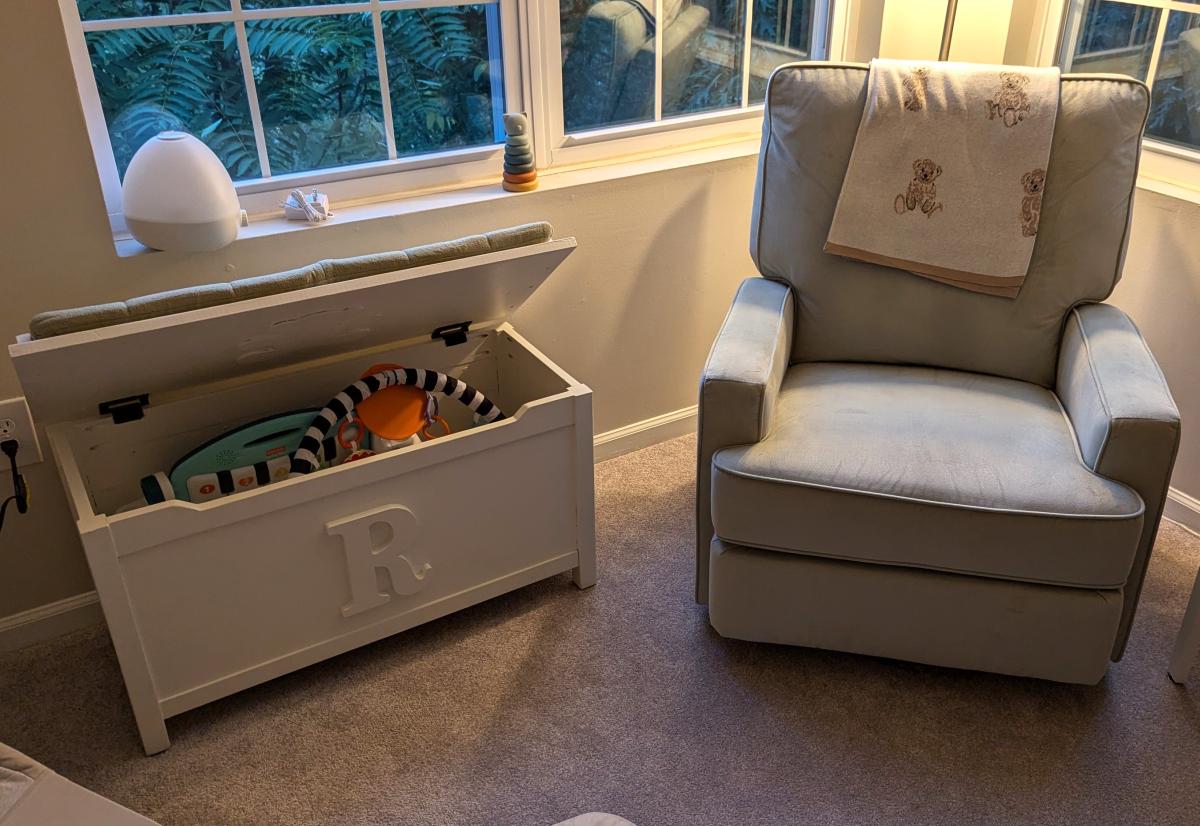
Fun project. I built for my newest grandson Rowan. I used Rockler hinges which keep the top open at any angle and got the cushion custom built on Amazon for $30.00. Nice accent to the nursery. Raised initial and teddy bear also from Amazon
Richard Vaillancourt