Custom Corn Hole Boards
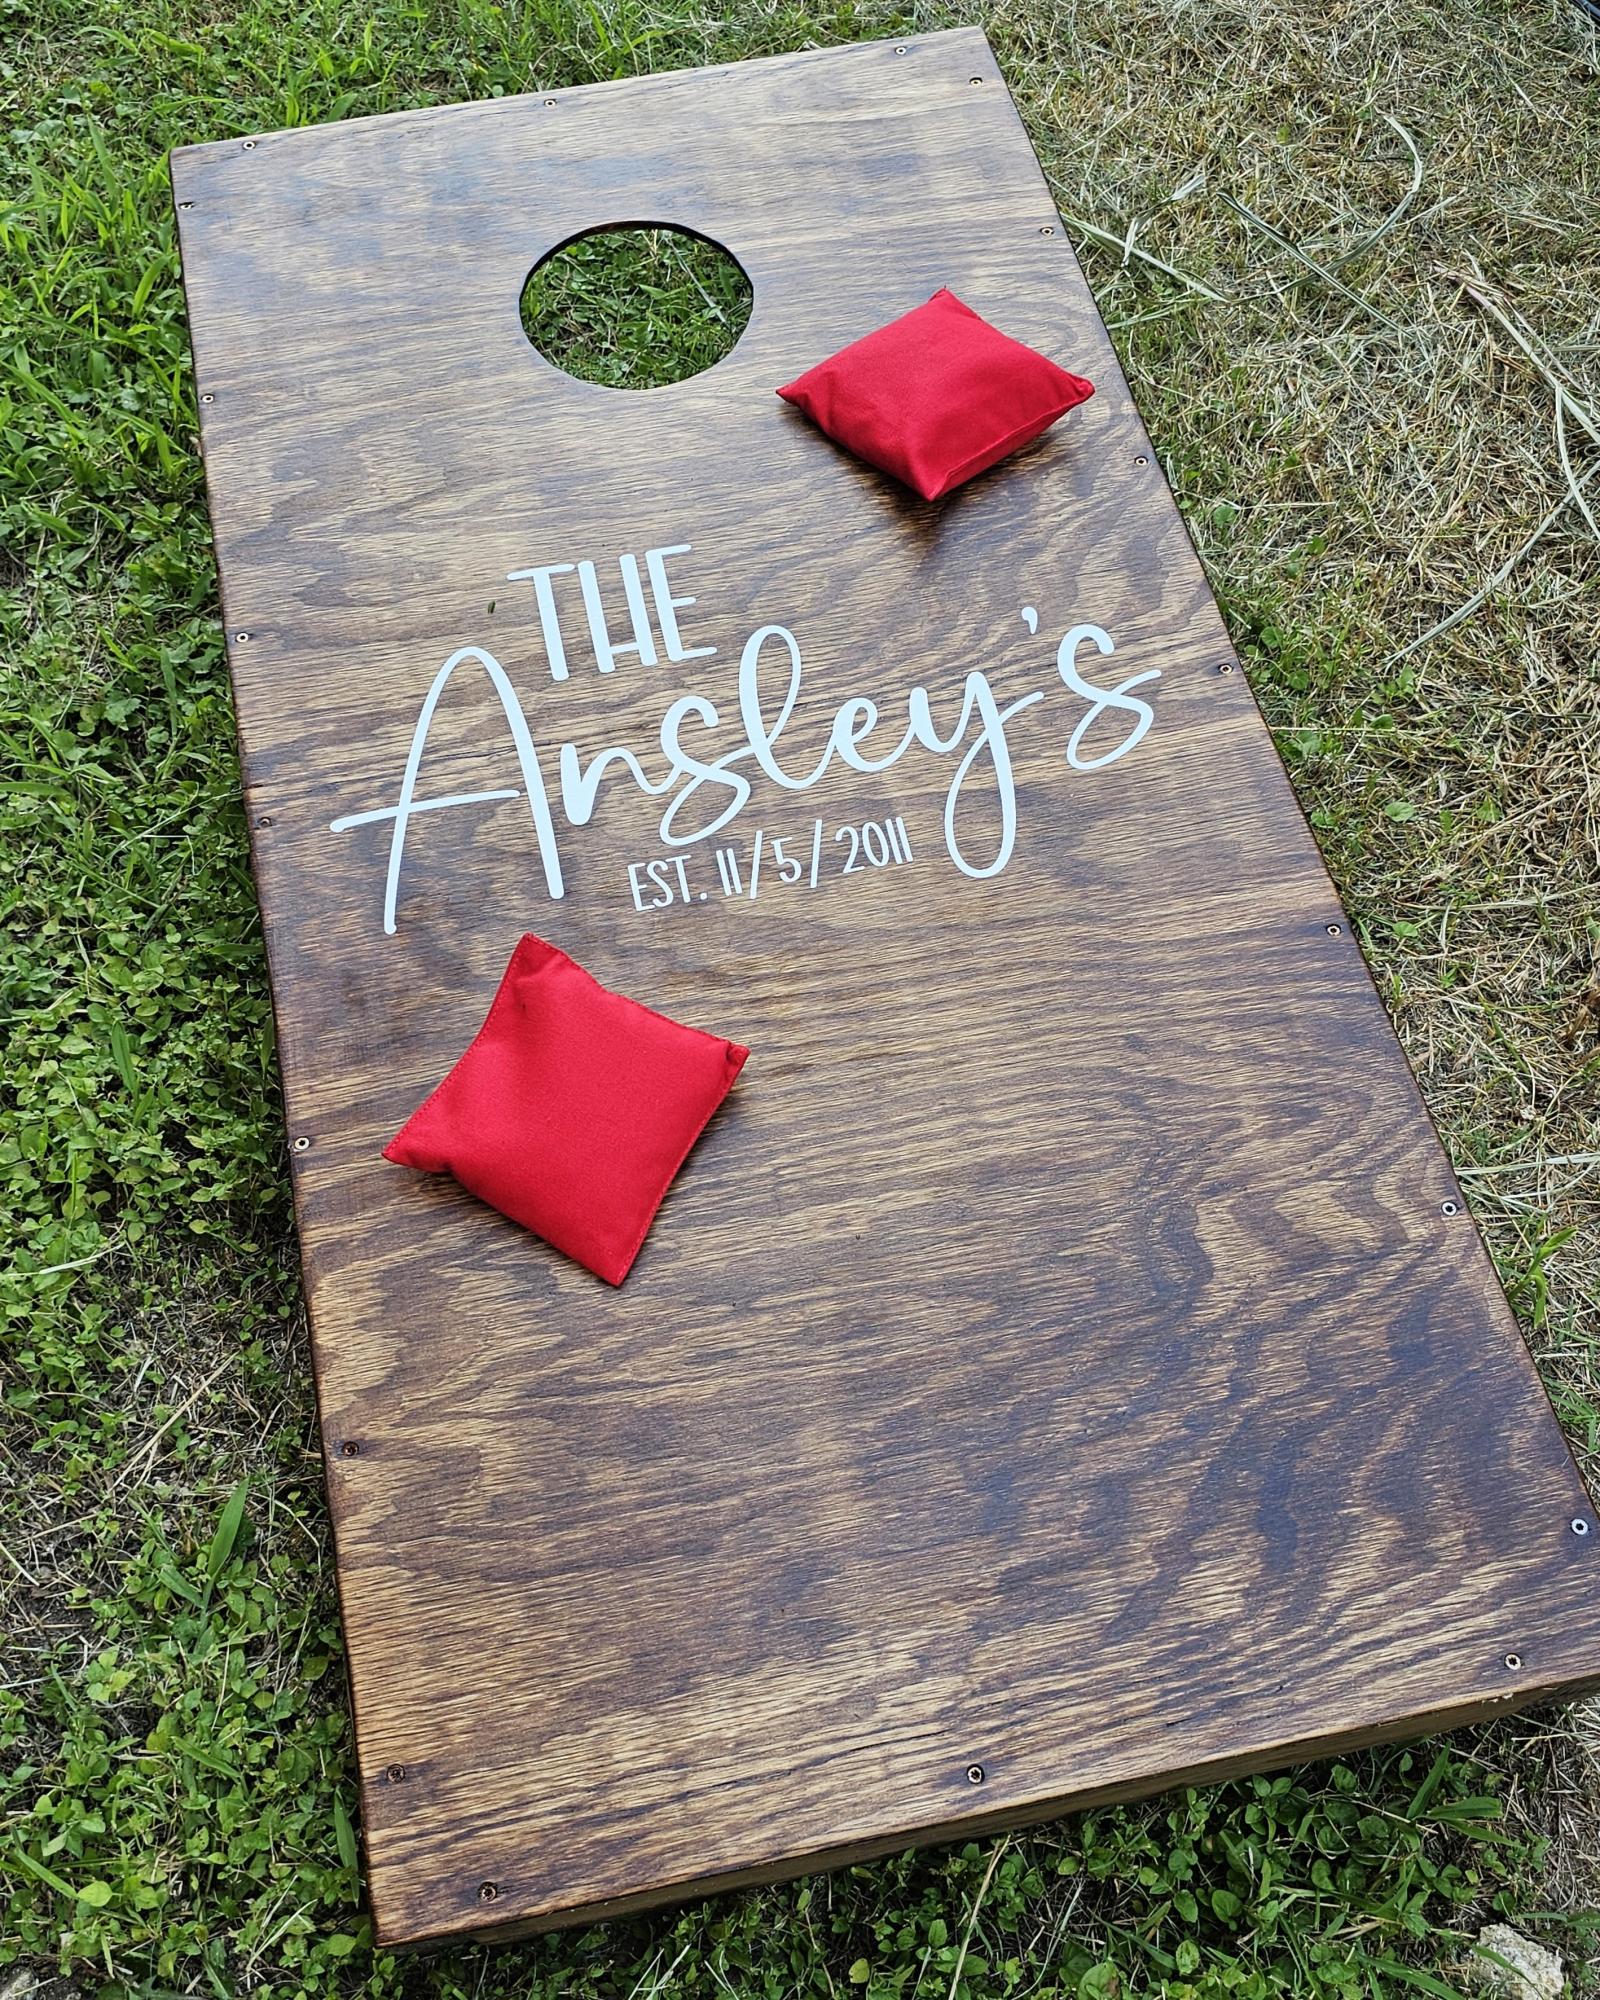
I have followed Ana for many years and made my first project! This corn hole board set was for a customer and they loved it! Plans at fun and easy to follow!
Lela Patterson
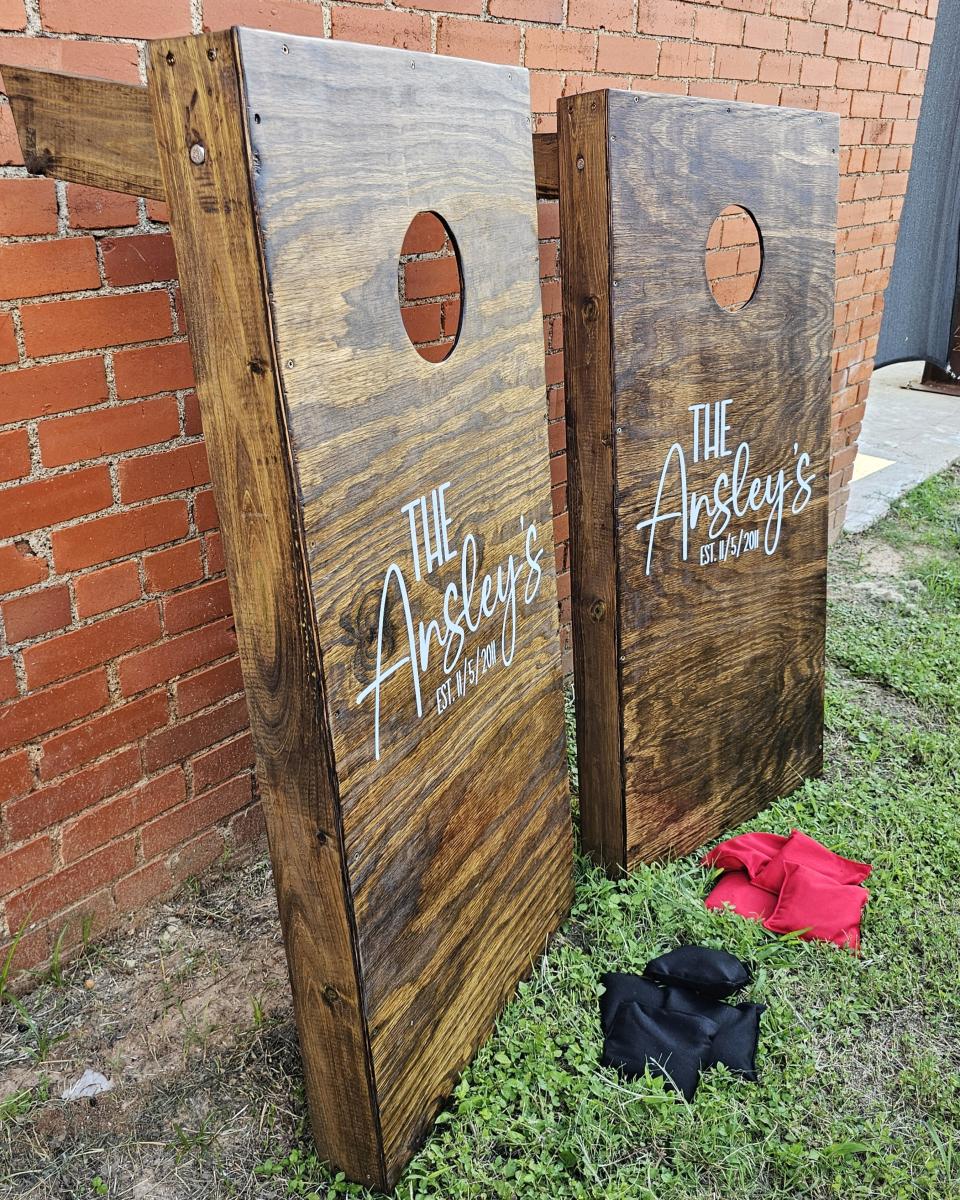
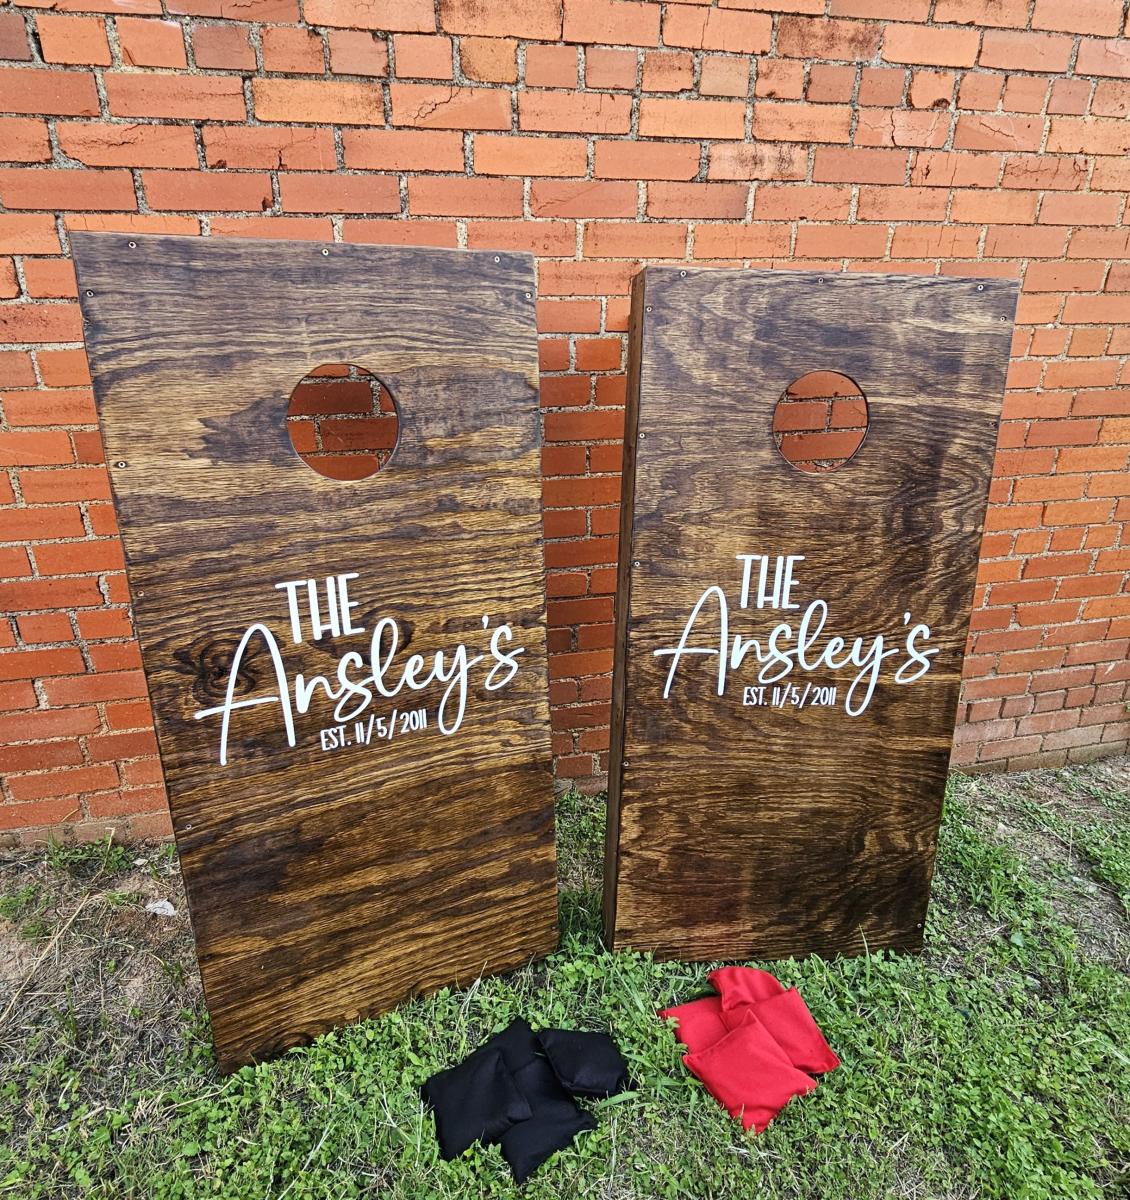

I have followed Ana for many years and made my first project! This corn hole board set was for a customer and they loved it! Plans at fun and easy to follow!
Lela Patterson


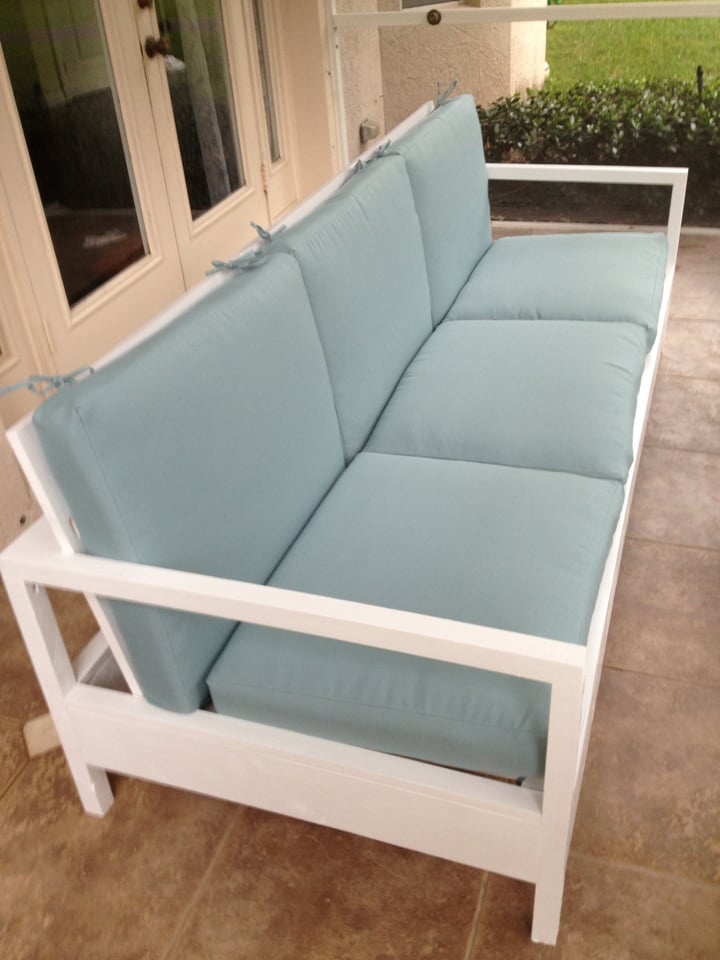
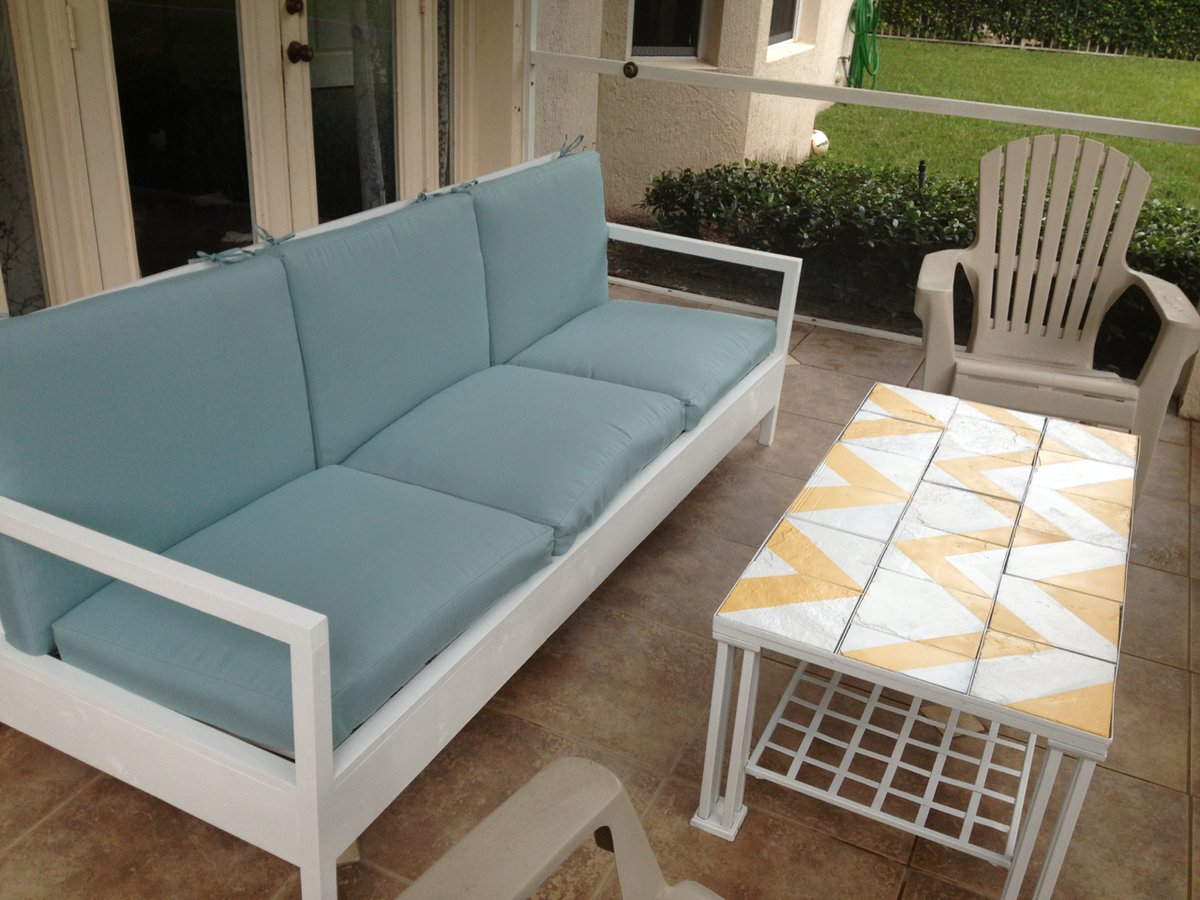
This was one of my favorite DIY projects. It's so much more affordable than buying patio furniture, and the building instructions make it sturdy as ever.
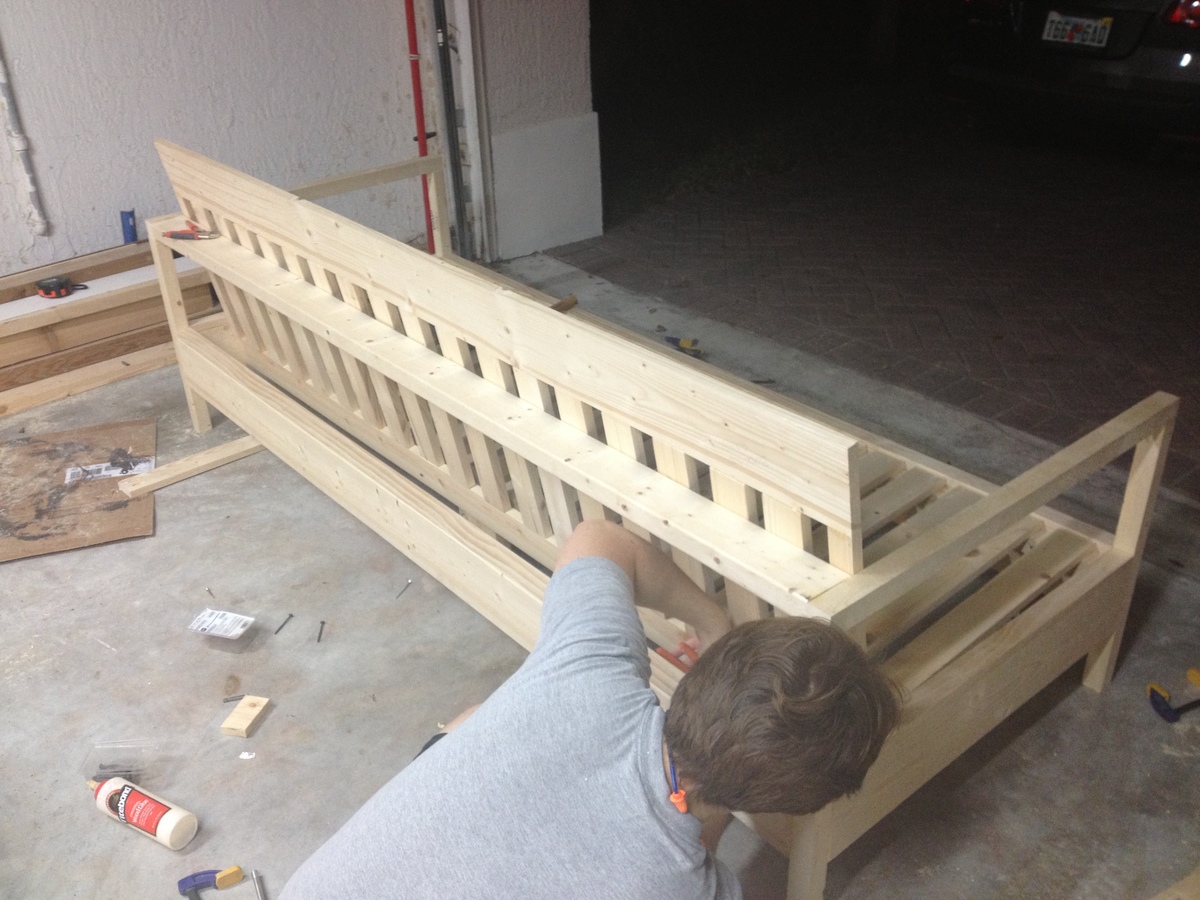
I built this with my fiance, who you'll see in the image of the in-progress bench. It was a snap for us, since we have a fair amount of experience building our own furniture. With the right tools, this project can take only two days, including wait time in between coats of paint and varnish.
We made our sofa to fit the cushions we found, and thus, the sofa is actually 84" wide, instead of 72" wide. By doing this, we also eliminated the need for a love seat, and instead are in the process of making two chairs to match this sofa. All in all, our patio will seat 6, which is what we were aiming for.
TOOLS
The most important part of making this an easy, fun project is having the right tools. I highly recommend you purchase or borrow:
- Compound miter saw
- Kreg jig
- Square head screws (stripping these is nearly impossible)
Mon, 04/12/2021 - 09:52
where are the plans for this? the link goers to the new plans which are different
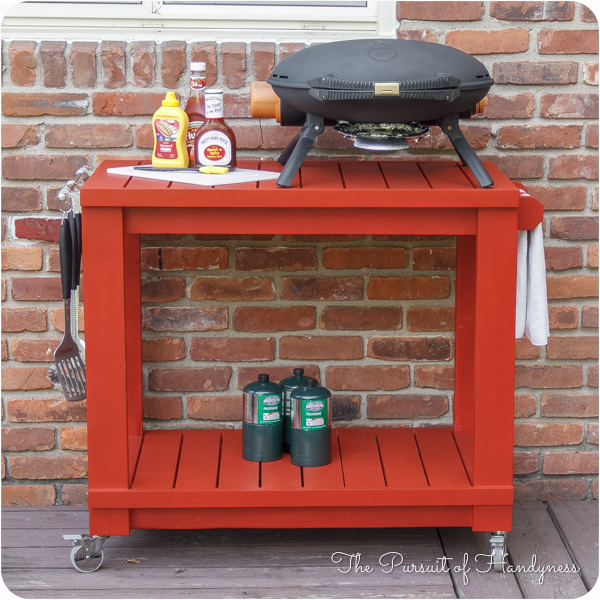
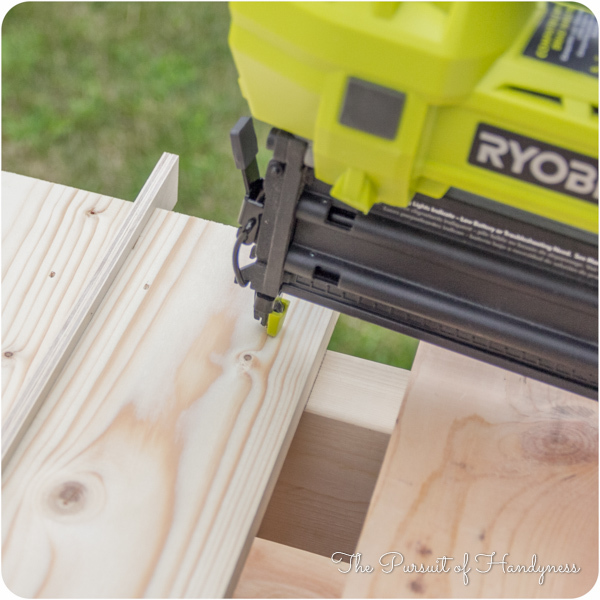
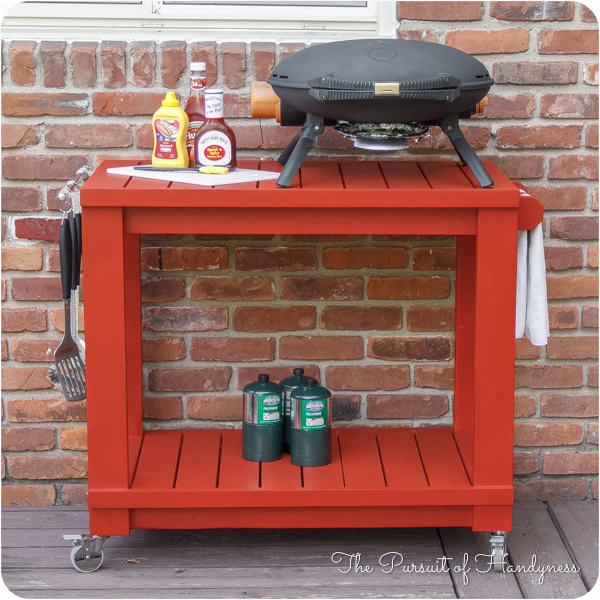
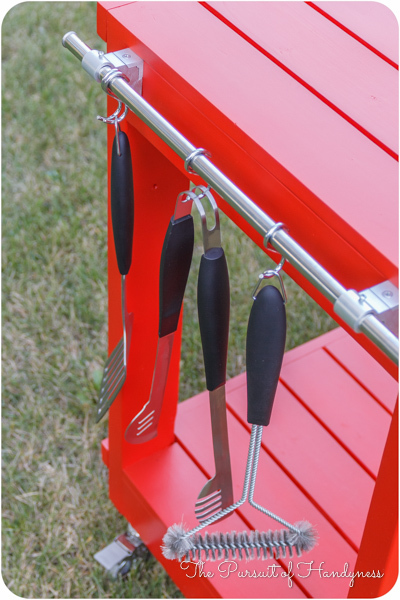
I honestly think Ana is a mind reader. Whenever I need plans for a particular piece of furniture, they magically appear on her site. Of course if she was a true mind reader, everything will be exactly as I need it requiring no modifications. That's what makes her plans so amazing. I can build bigger and better because I've learned to modify her plans to fit my current needs.
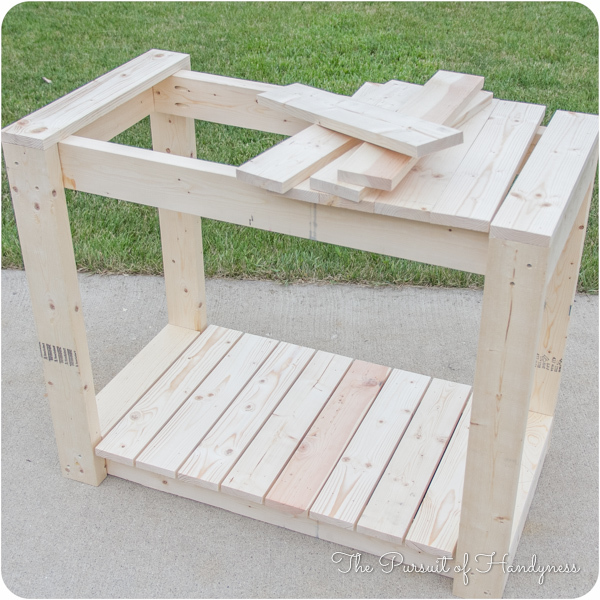
This Cart was no exception. I had to make mine a few inches deeper and change the height of the legs and it was a piece of cake. I put this together in less than 2 hours and finishing was easy too.
I did a blog post all about what I did differently including how I constructed a towel bar instead of the pipe. Check it out at www.thepursuitofhandyness.com

Super excited for my new media cabinet! I painted my cupboard doors white and added L brackets on the inside of the doors for support. I had never worked with crown molding before so this was a great starter project on how to cut crown. My cost was kept down by using supplies such as paint and hardware that I already had.

Rustic X end table I just finished. Our pattern throughout our house is White painted bottom with stained top in Jacobean stain.
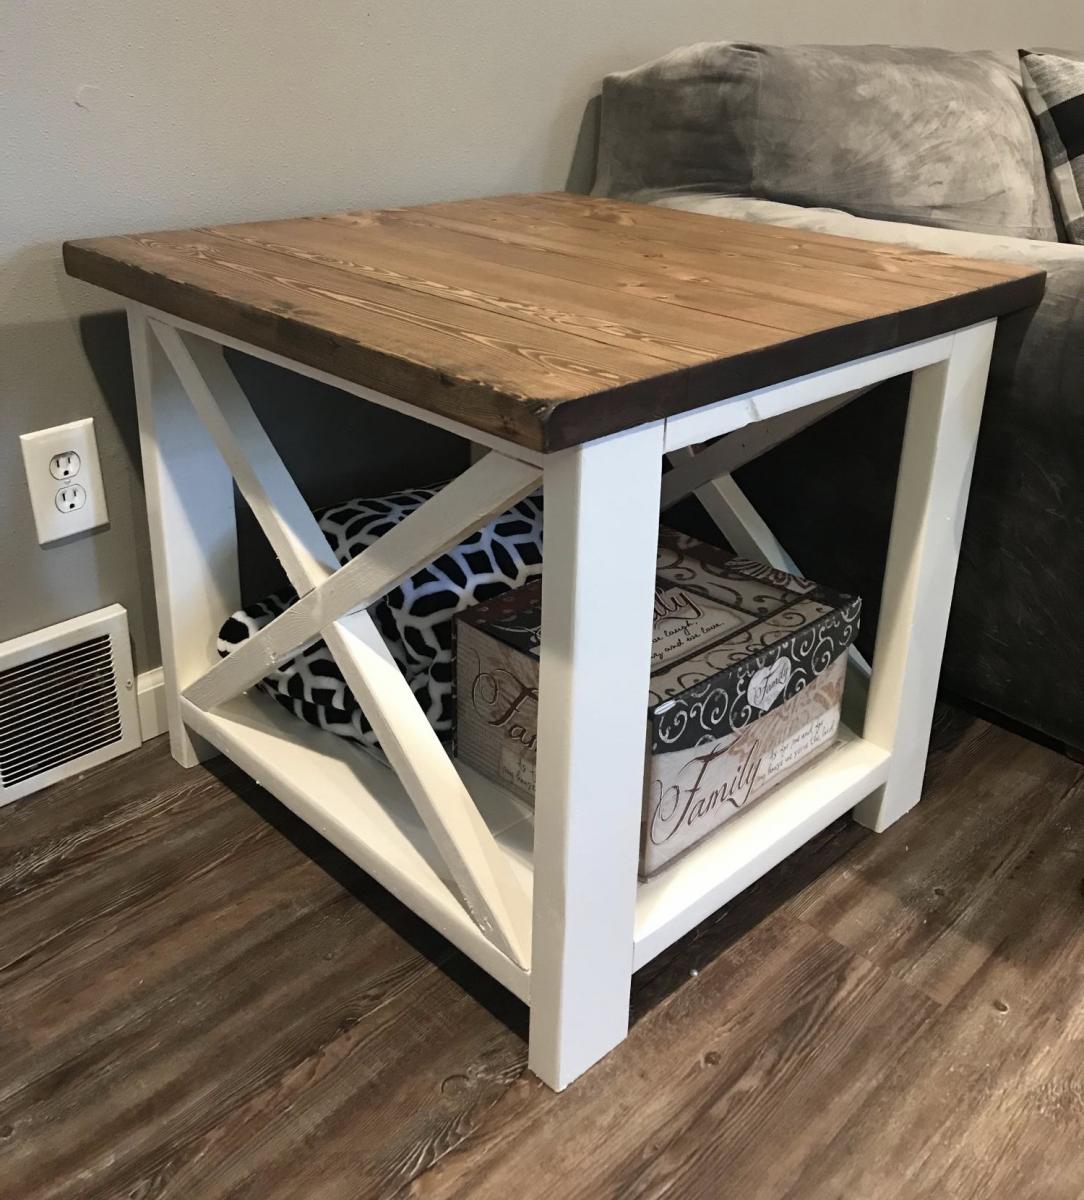
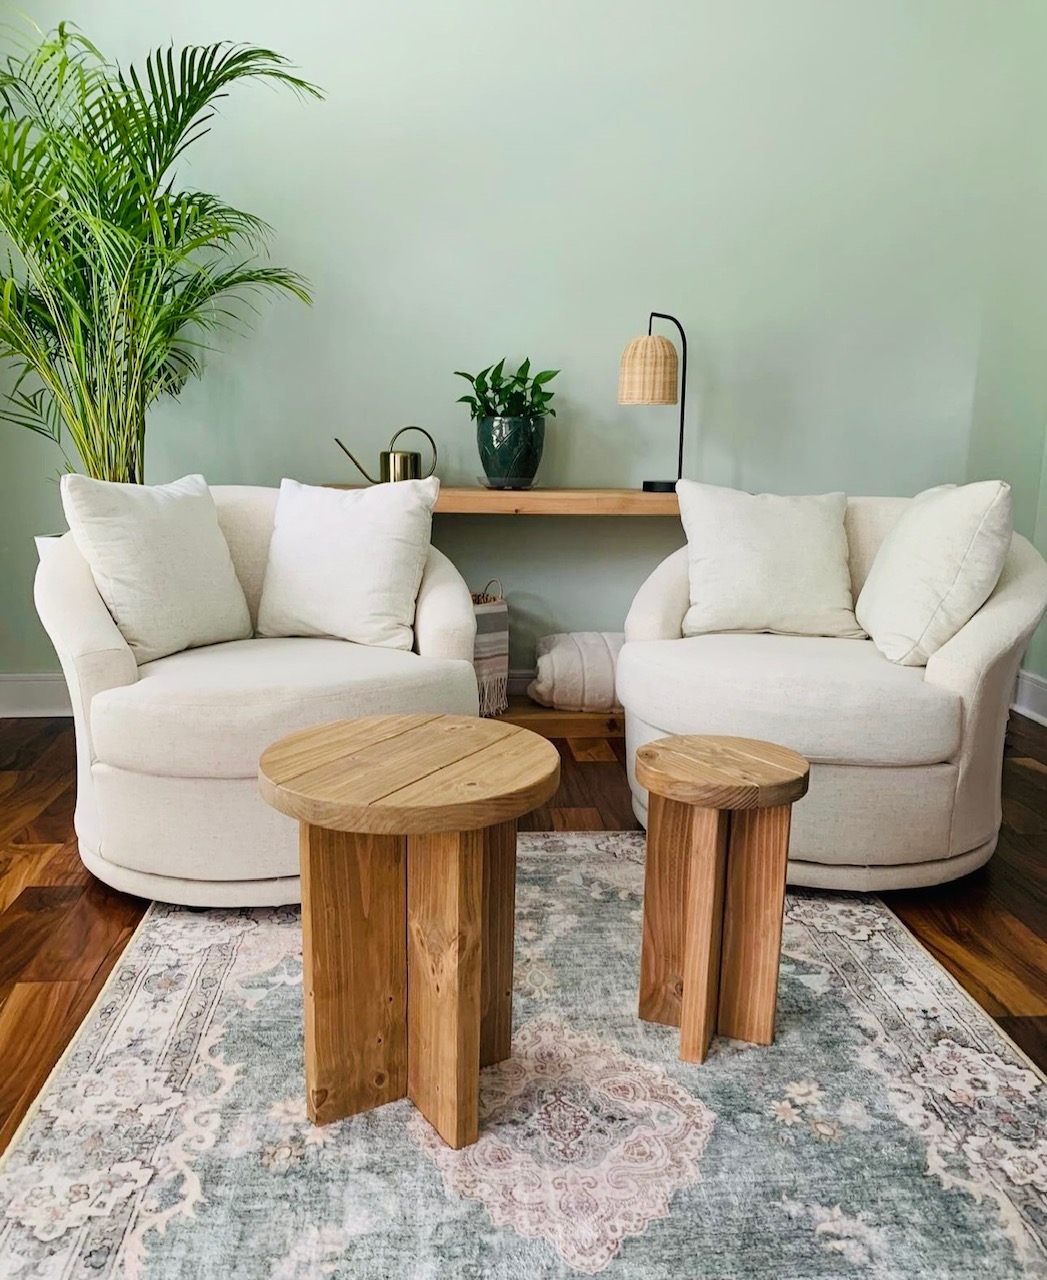
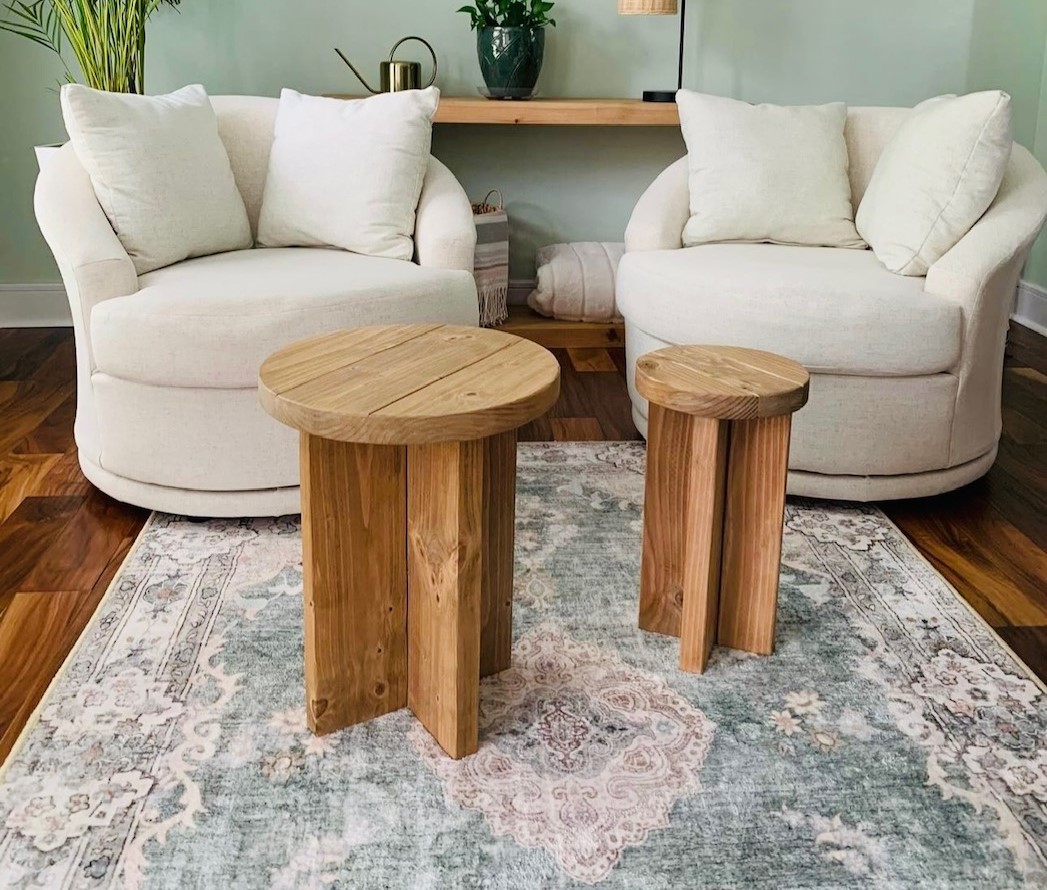
Another @anawhitediy project complete! Our go to website for DIY furniture plans.
Round Modern Wood Side Tables.
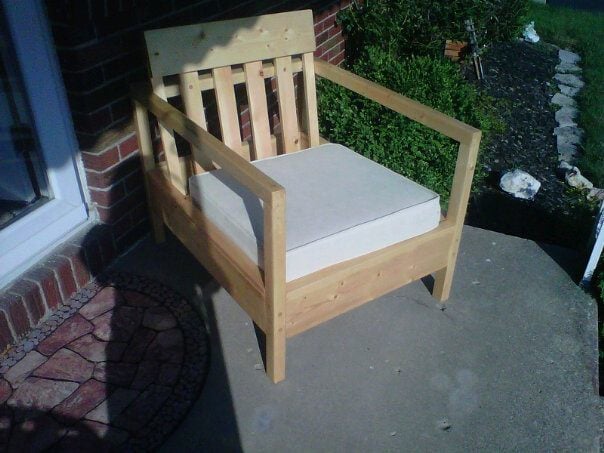
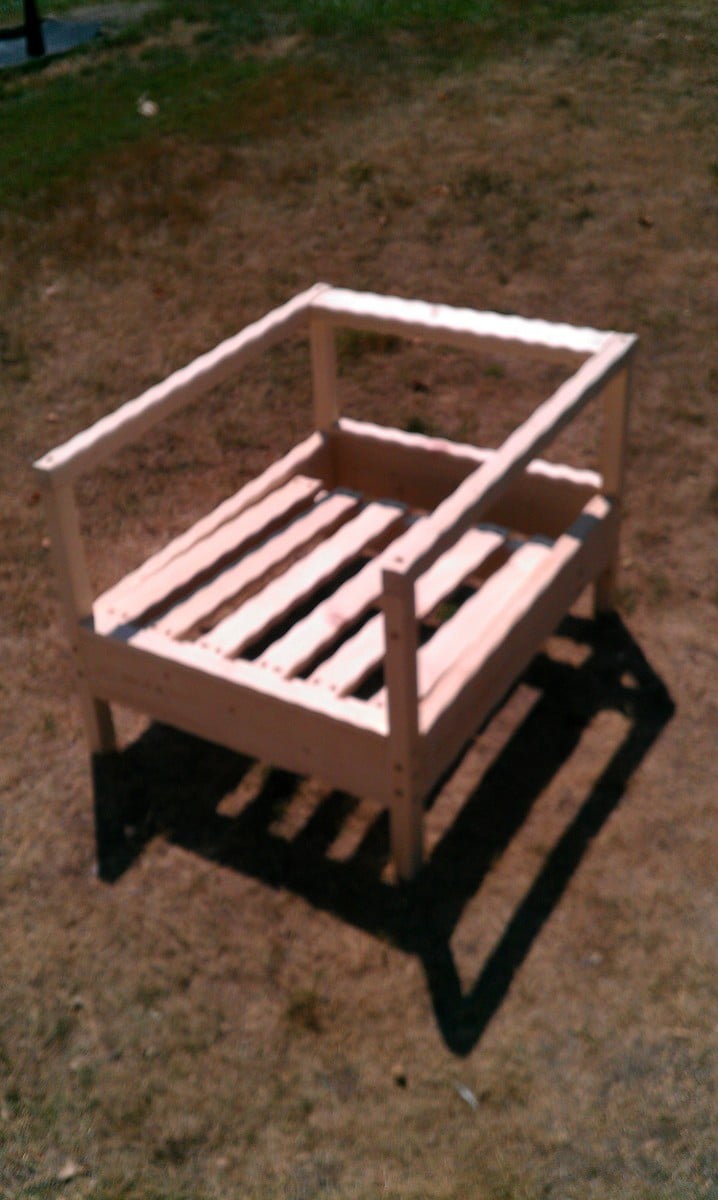
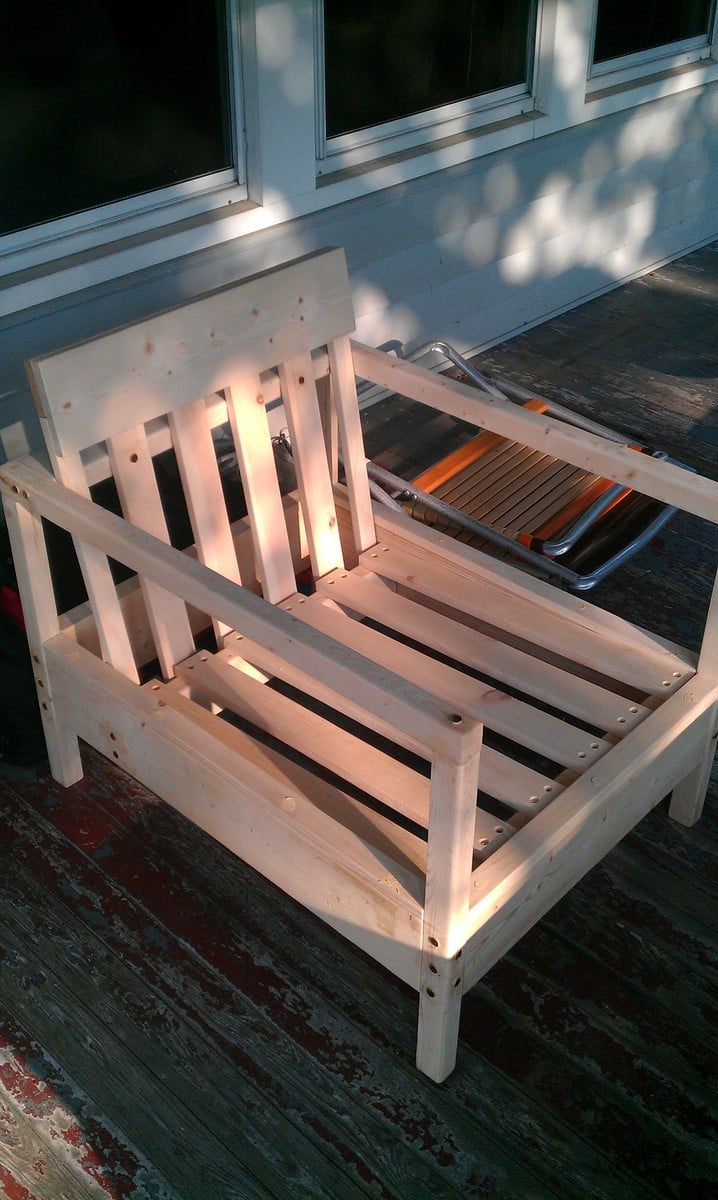
I made this chair as a part of an outdoor furniture set including a loveseat and coffee table (also featured on this site). Very simple and easy to follow instructions..I did not have a jig to create the pocket holes, so I decided to leave the screws exposed and then cover them with wooden dowels sanded down. It created a little more work but added a little more character.
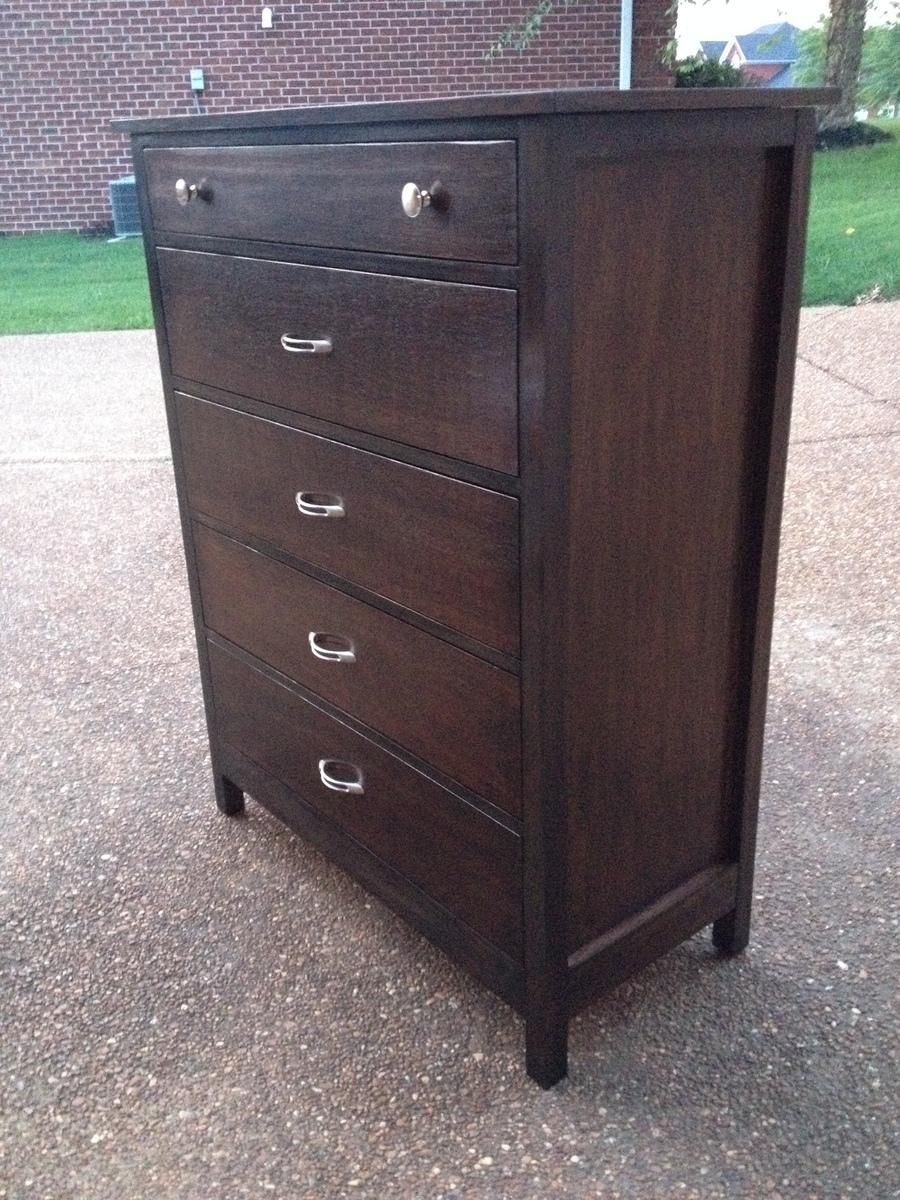
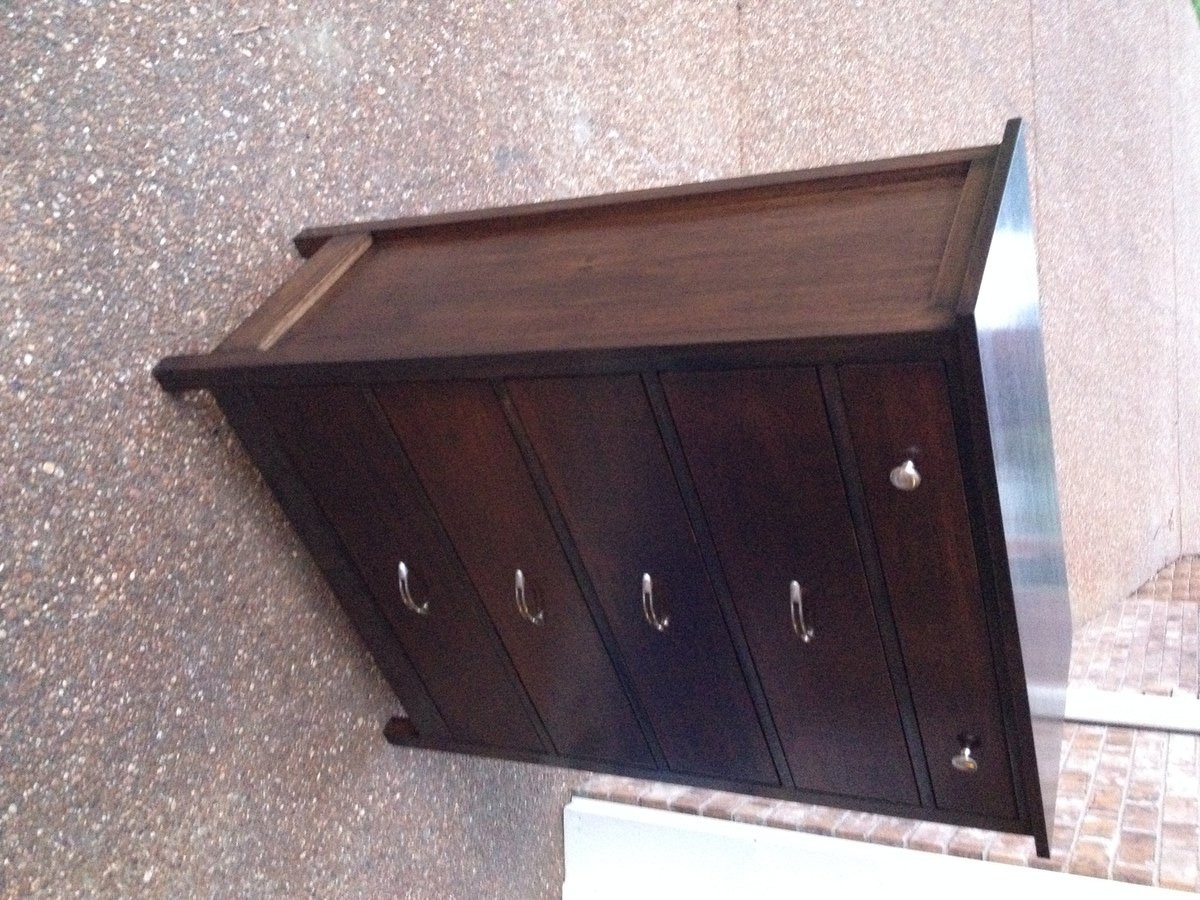
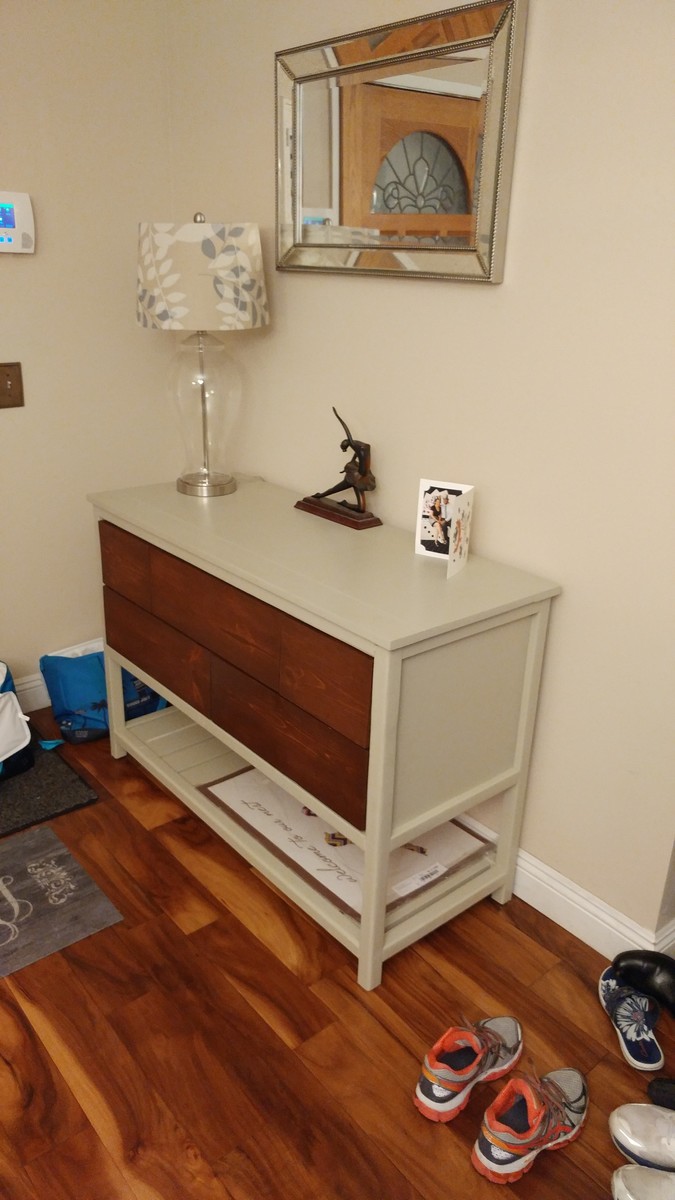
I needed this to be a little taller, so I added another drawer. Other than that, all the other dimensions were the same. I built it in one weekend, but the finishing took about 5 days (for drying time between coats). I was trying to match a baby bed (expresso) so I stained it dark. I also used plywood on the sides, top and drawer fronts instead of pine boards. It really turned out great and matched the bed perfectly.
Mon, 08/04/2014 - 08:52
This turned out so nice, and the finish looks exceptional.
Mon, 08/04/2014 - 08:52
This turned out so nice, and the finish looks exceptional.
In reply to Finish by sharshar1960
Mon, 08/04/2014 - 11:43
No, I didn't alternate. I needed the base color to be a deeper brown so it took 3 coats of English Chestnut. Then 2 coats of Ebony over the English Chestnut, to get the black, layered look. I put each coat on, then wiped it off after a few minutes. On the last layer of Ebony, I only lightly removed the stain. The brown shows through in some areas which is exactly what the bed had. I used the oil-based Minwax.
Sat, 12/06/2014 - 18:40
I used Minwax poly (in the can), satin finish. I brushed it on with a foam brush.
Wed, 10/21/2015 - 11:44
can you comment on the stain with sandeply. did you use sanding sealer?
i have read many a comment on issues with staining sandeply but yours looks awesome.
i like the approach.
Thu, 08/08/2019 - 19:48
hi where is the plan for the taller version of this - looks great!!
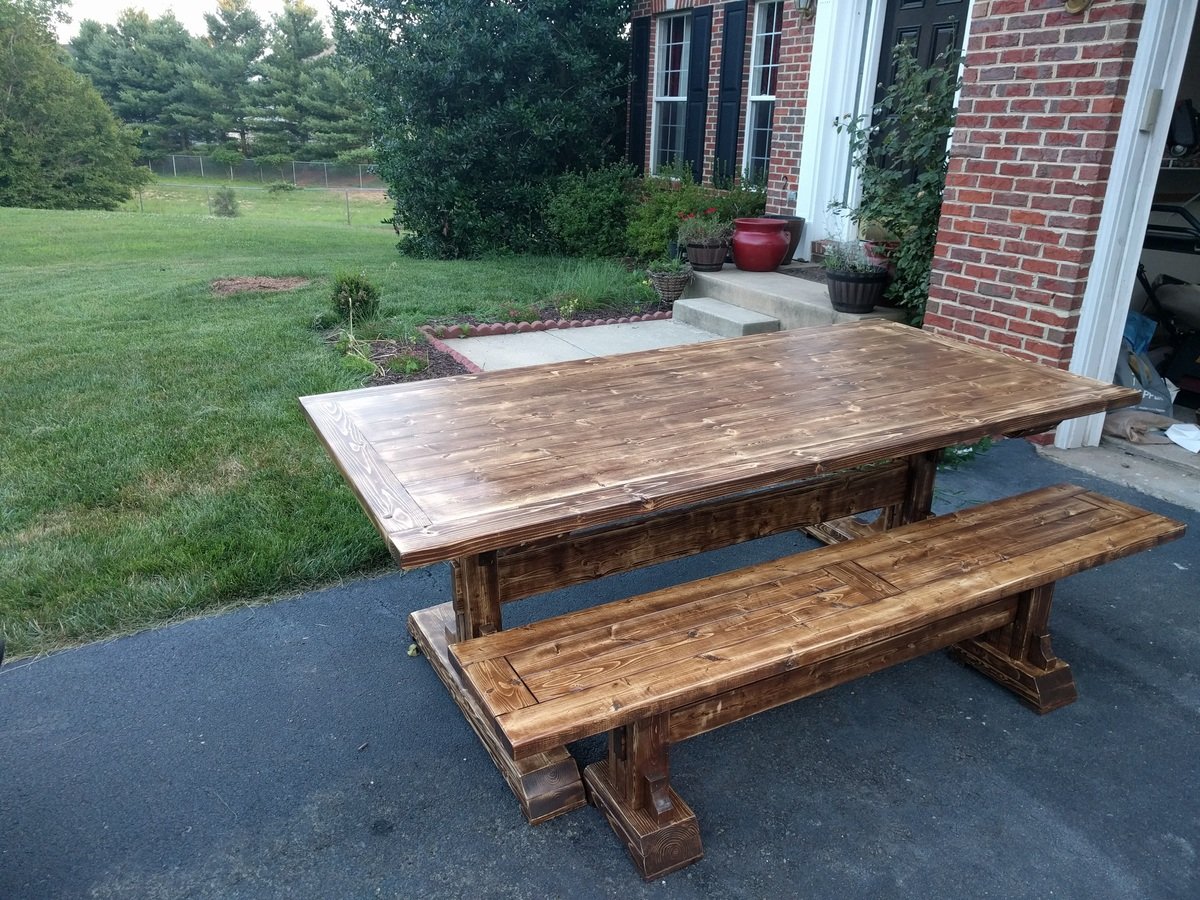
I modified it slightly by leaving off the trim around the perimeter. I also shortened the table to 84" which then only required 2 legs for a custom fit for the mom space. The finish was distressed to conceal heavy use (more like spills :-D) from kids which turned out to be a home run with moms
Check out some tips during my build @ charitybuilds
Building this console table was built over two weekends. Cutting the wood and assembling the pieces was fairly easy but choosing the right colors for the stain was not. We finalized on hickory for the frame and mocha for the top and X's. We decided to build it 6 inches taller then the plan and als to trim the inner edges of the 2x6's to eliminate the crumb catchers. We also rounded the feet because they were chipping on the garage floor during the build.
We loved the final result!
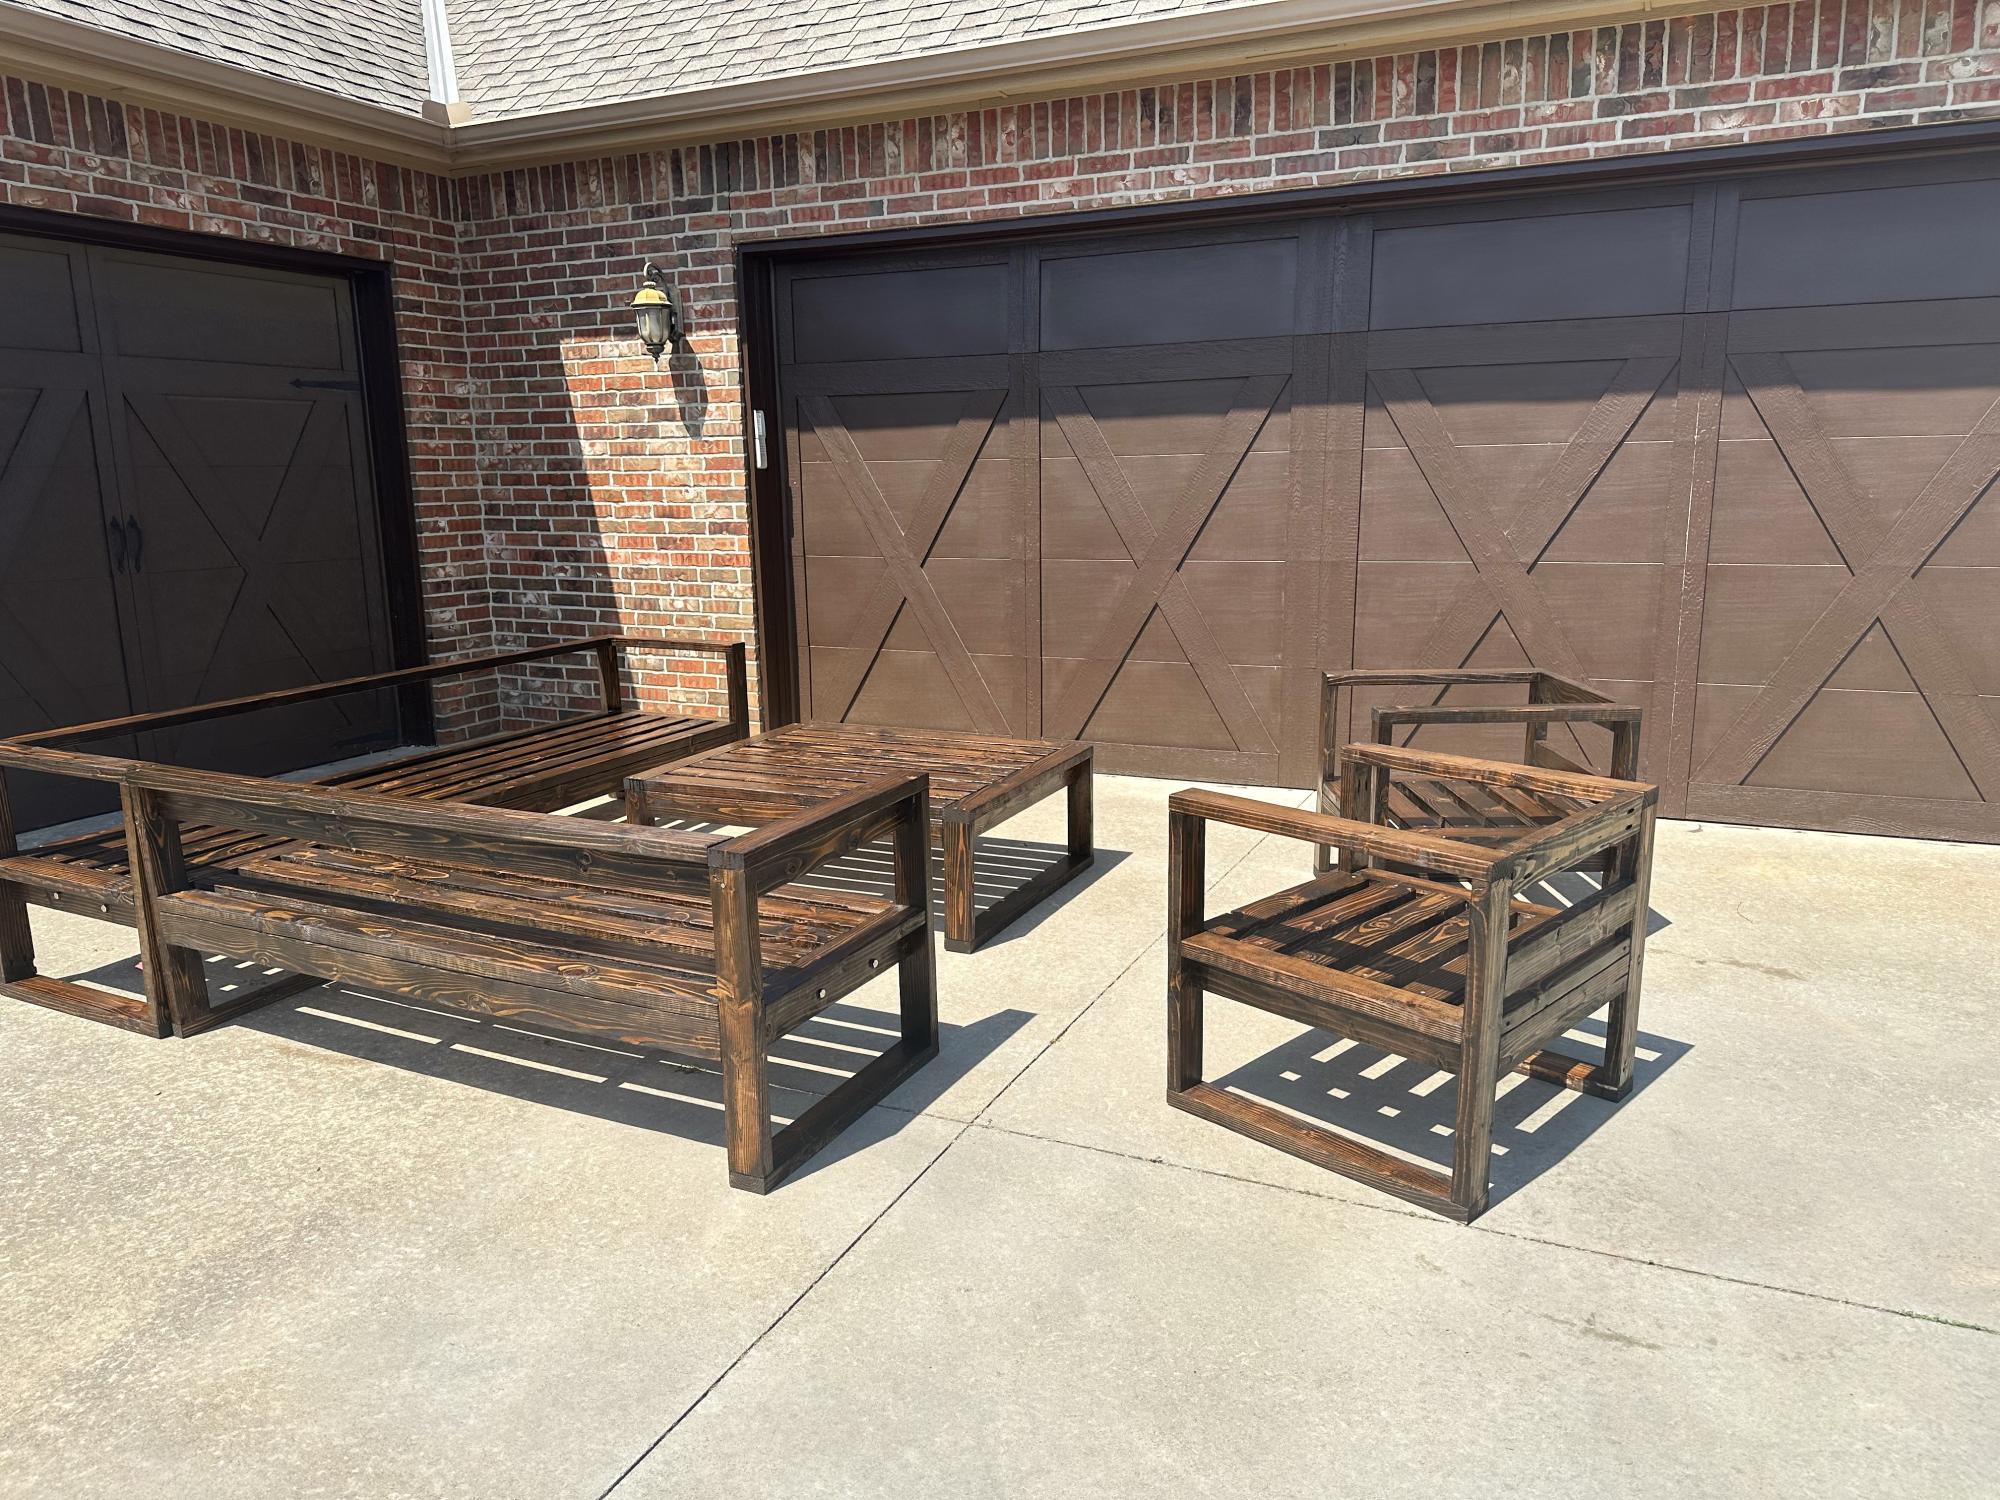
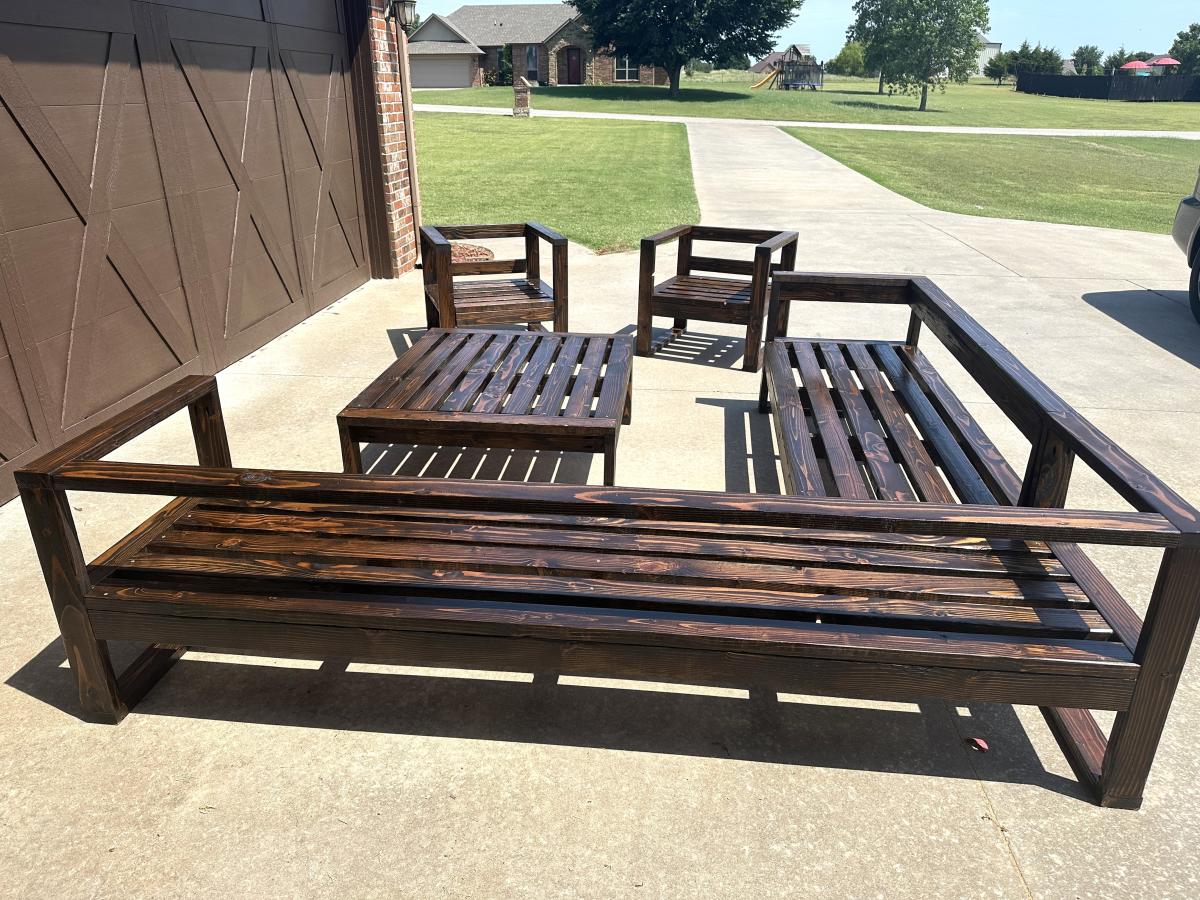
Built this 2x4 deck furniture set. Stained in espresso color.
Kelly Kesler

modified that bed, it is higher. We also paid our neighbor, who is an artist, to design and paint our foot board. Our cats love this bed too! We are putting the sideboards to cover up the mattress tonight.
p.s., If you live in GA and want to do something like this, let me know and I will give you the name of our artist
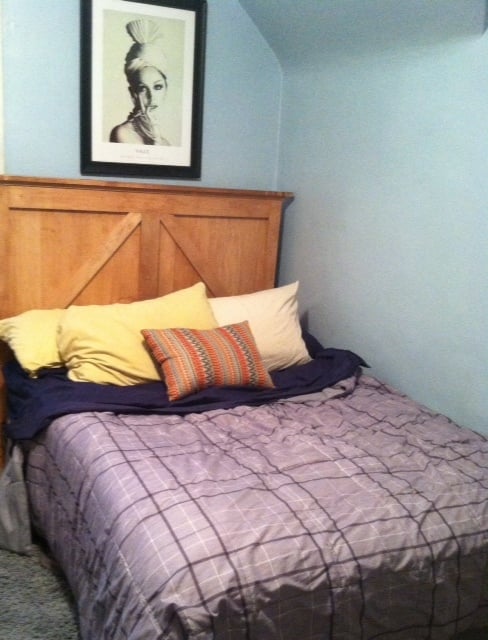
We built this out of solid Maple for my son's 30th birthday. He has a full-size bed, so we had to adapt the queen size plans. It turned out great....he was thrilled...but it was heavy to carry upstairs to his apartment!
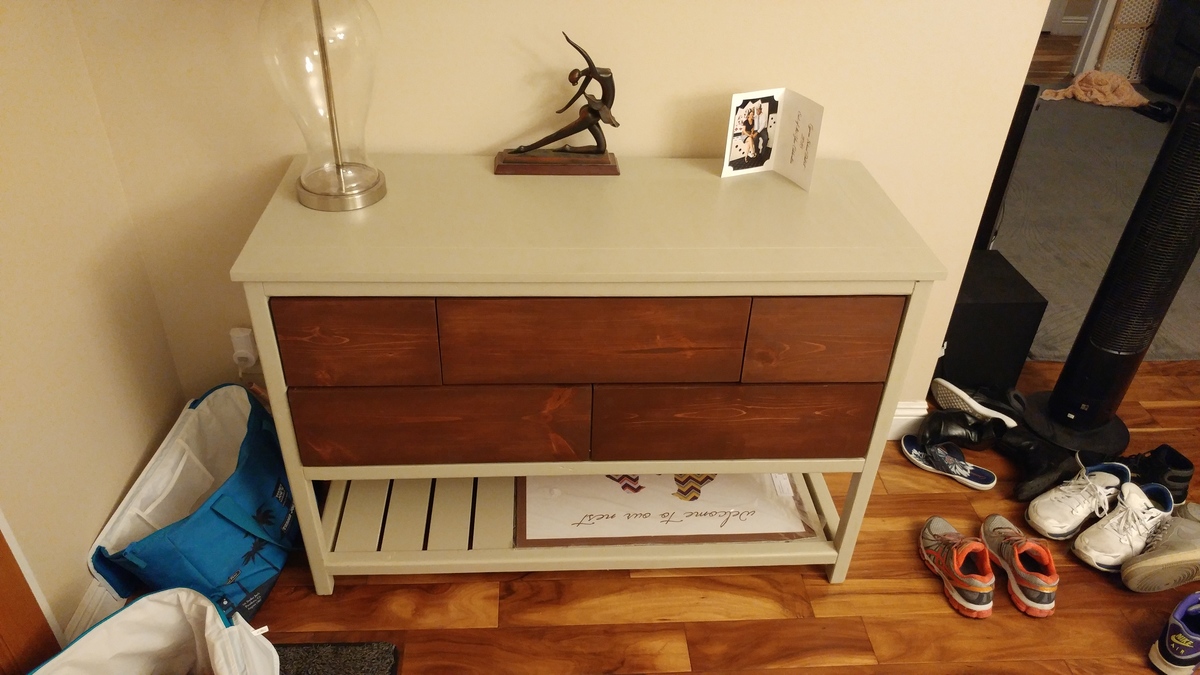
This was my first attempt at furnature. I didnt use the best quality wood, and had a hard time finding straight boards at my local Lowes.
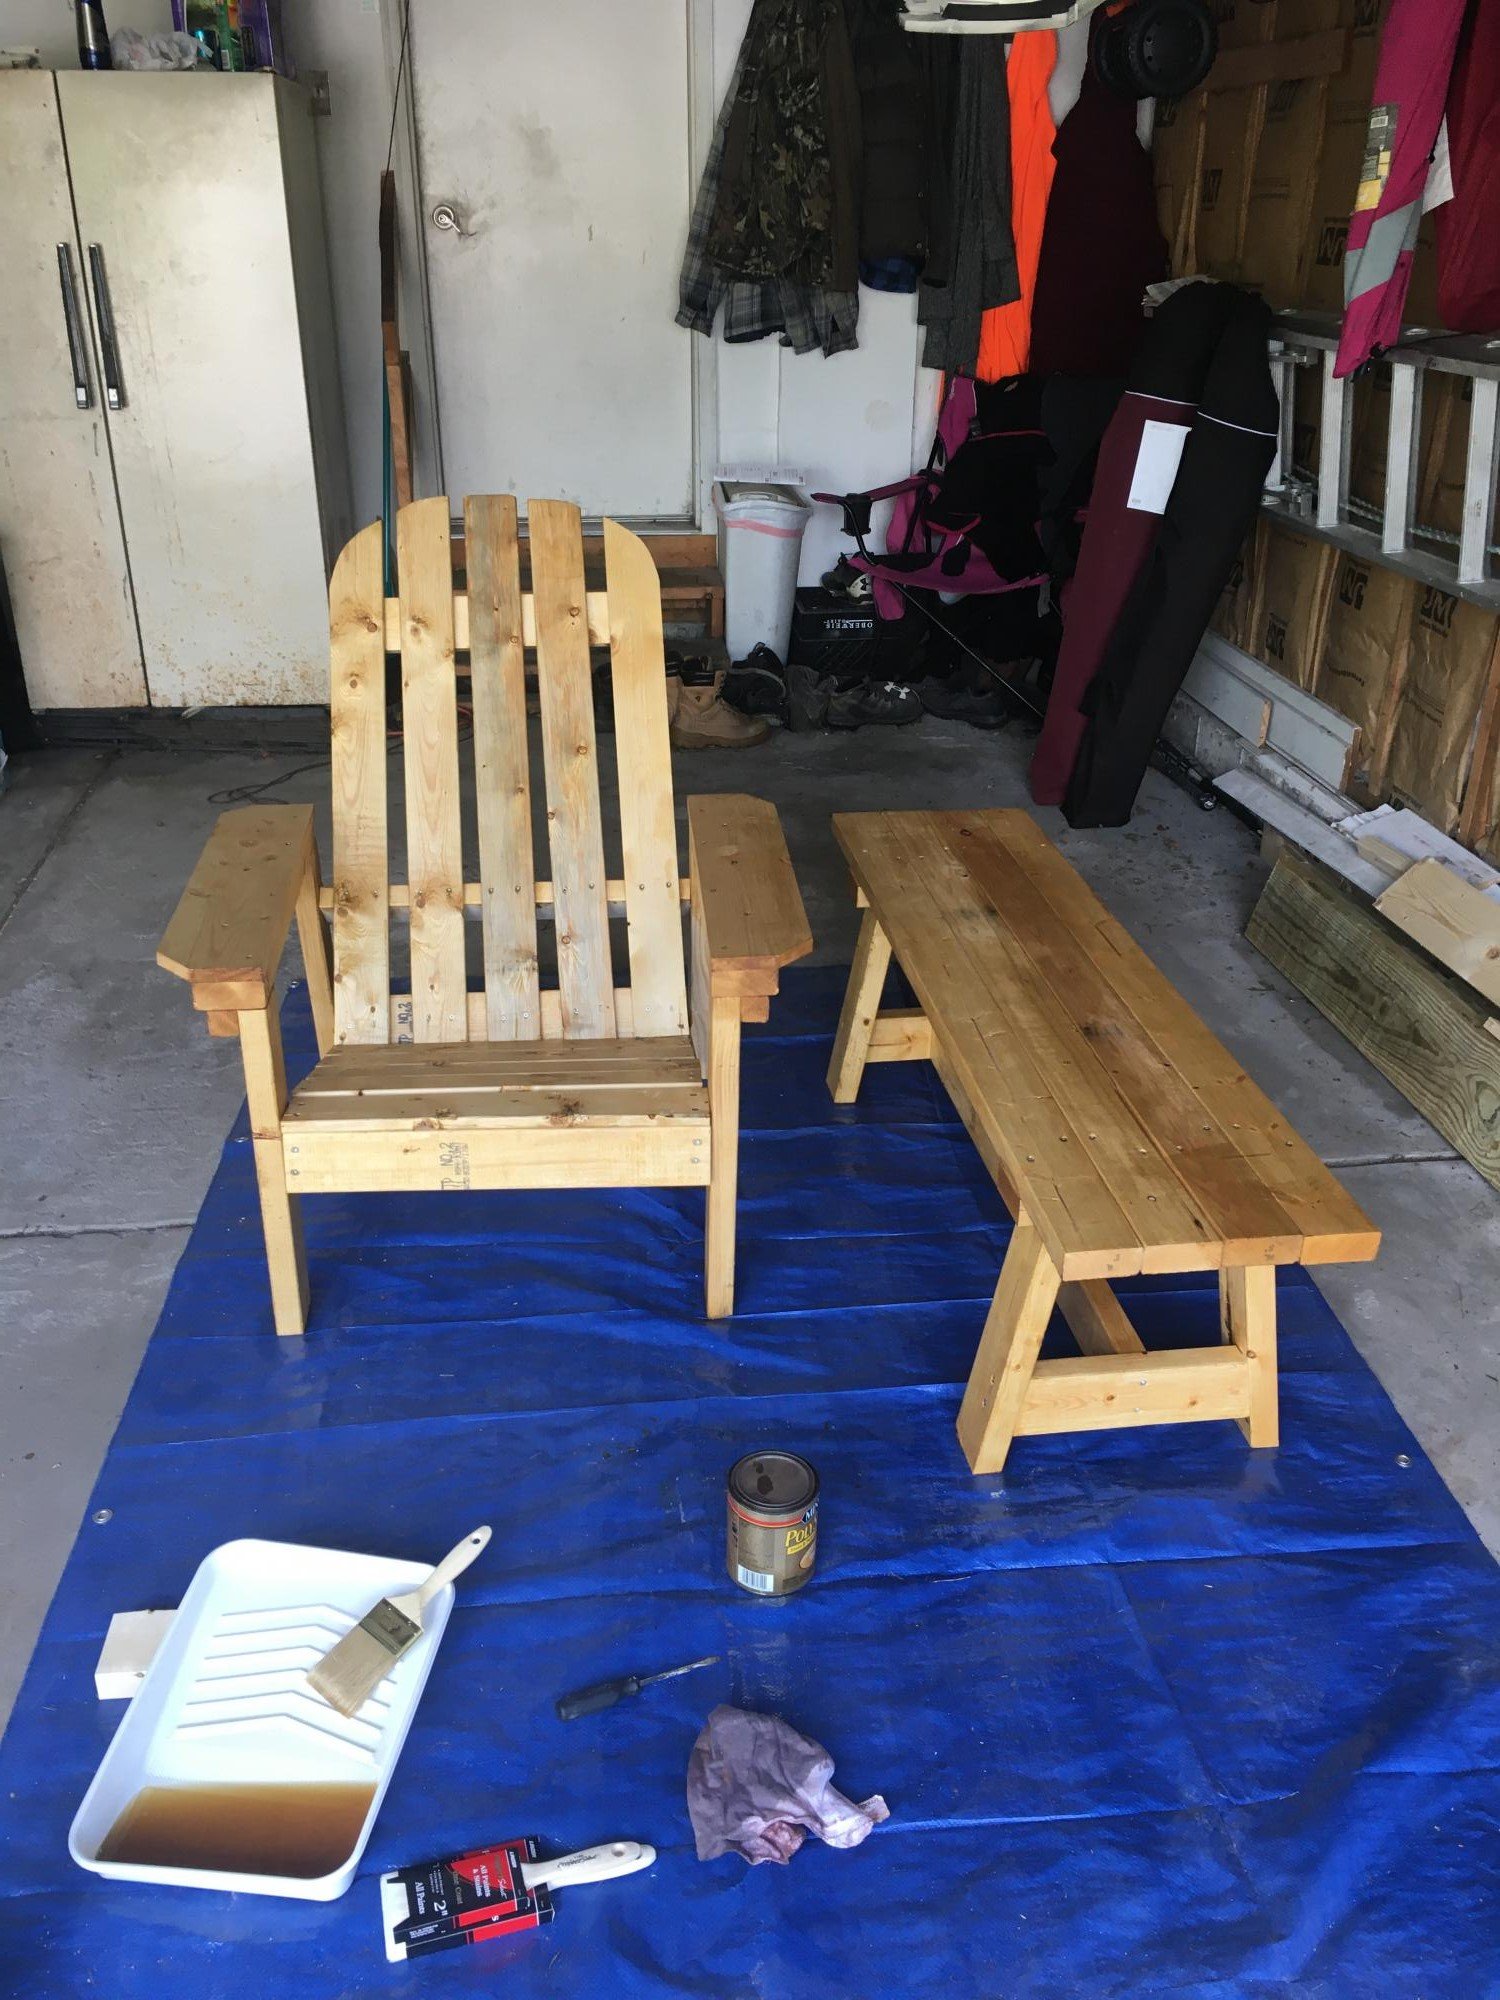
Had already posted the truss bench but since I was staining both it and the Adirondack chair together thought I’d share both side by side. Thanks for the wonderful, simple plans!
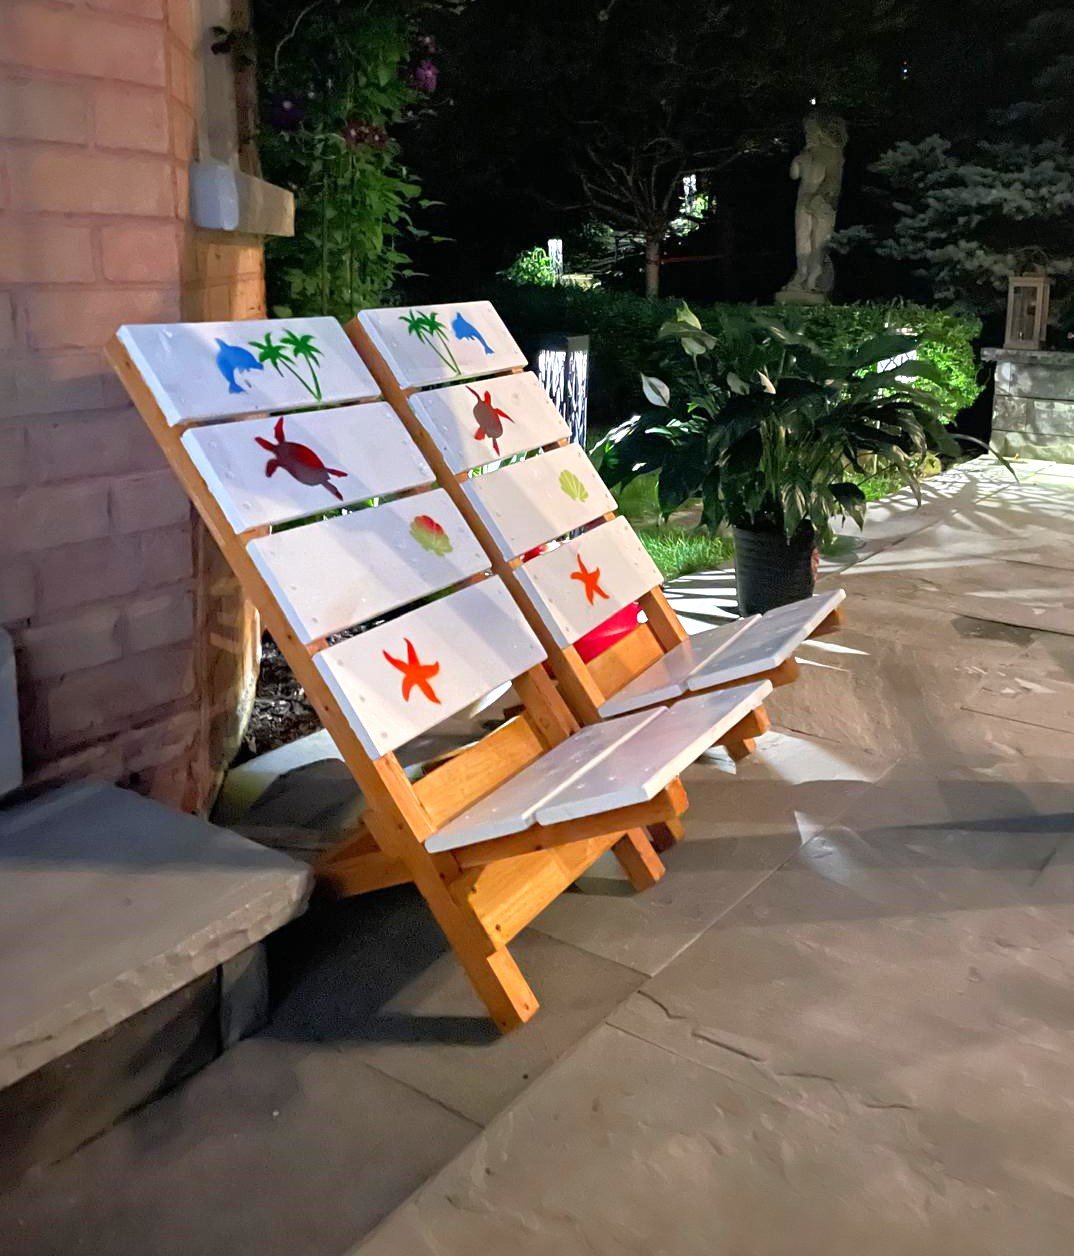
I made a pair of these beach chairs from recycled lumber. I extended the back rests by one board. They will add to my grandson’s tree house furniture. The frame is treated with Australian oil stain and the boards are rolled on acrylic paint decorated with sprayed on marine shapes aided by paper cutout templates.
Ana White plans are excellent! Thank you!
Noel
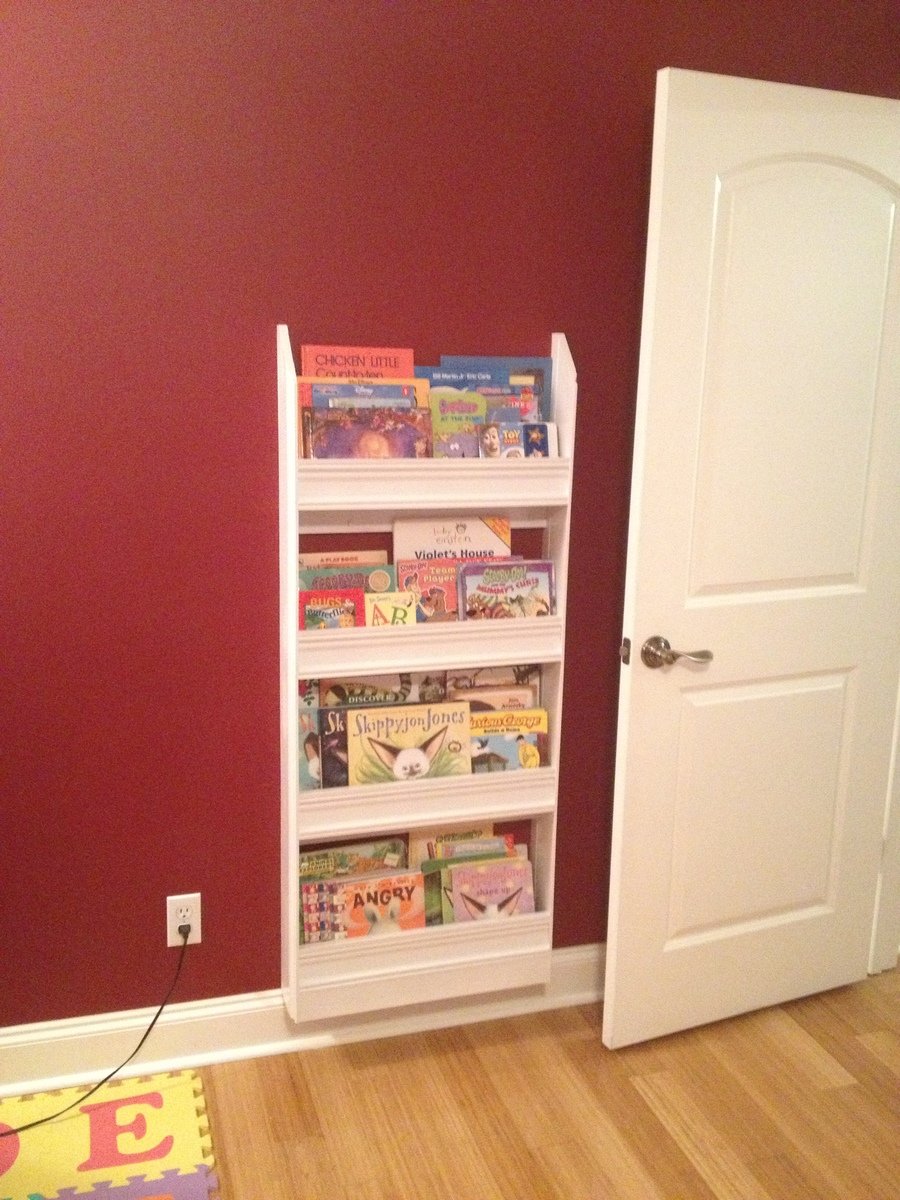
This was made entirely of scrap molding. The sides and bottom shelves are left over baseboard. The front stops are made out of door/window casing.
We wanted this to hang on the wall instead of the floor, so we added 1x3 scrap under the 2nd and 4th shelf and countersunk screws into the studs in the wall.
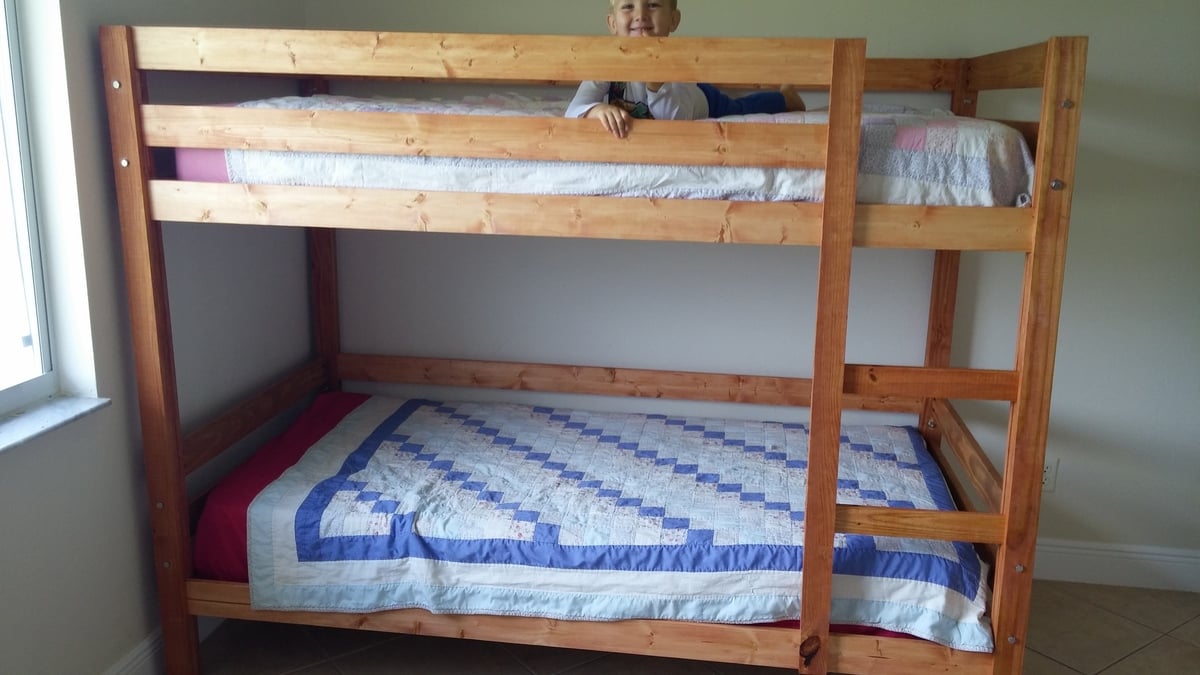
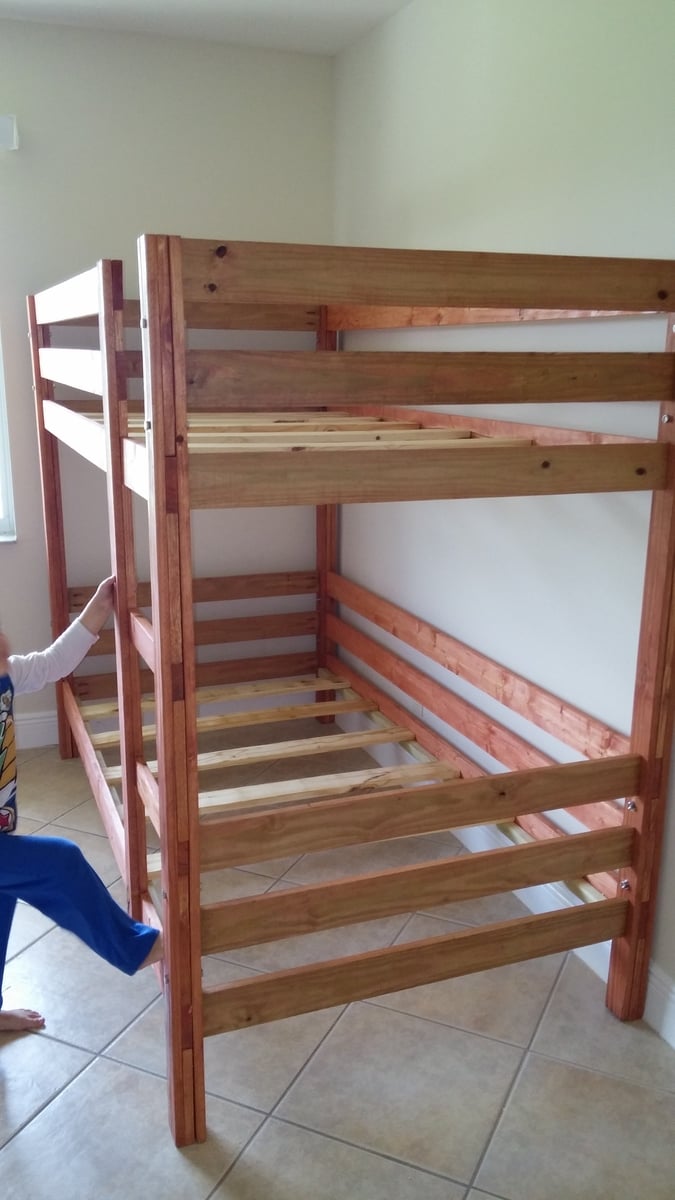
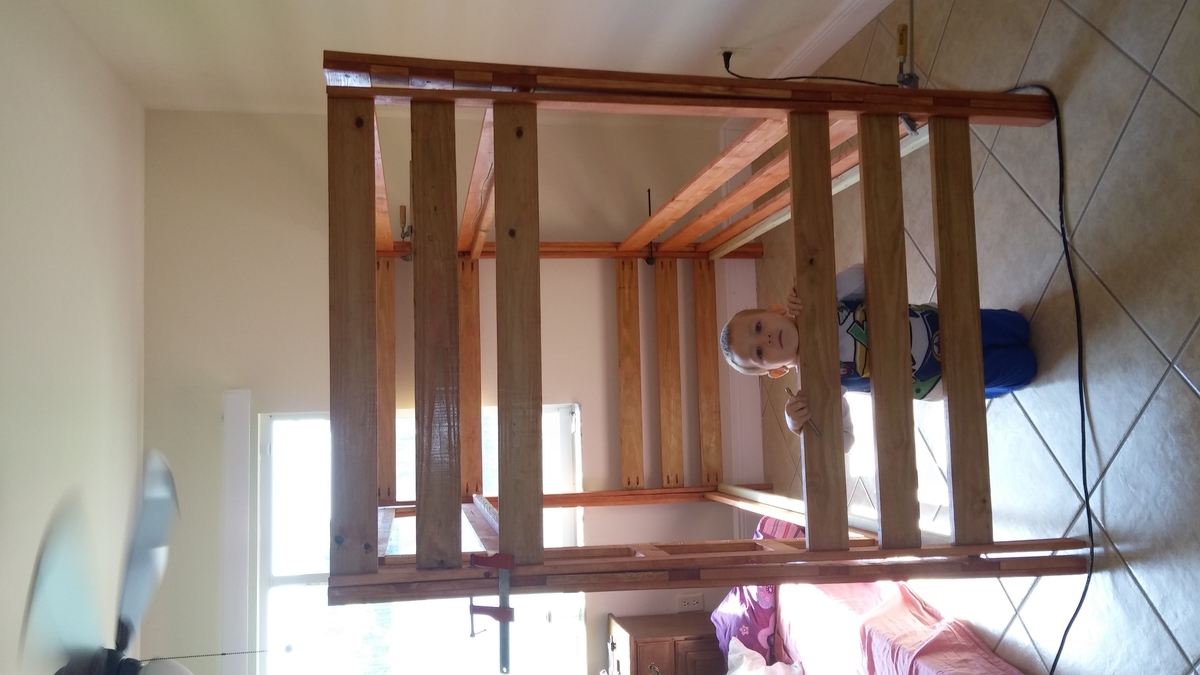
We recently moved to across country and couldn't fit all our belongings in our moving van so I am on a slow but steady quest to my own "hand built home"! While my husband works with his computer genius types, I am pulling out my tools......rather basic and simple tools because none of my good ones fit in the truck either!
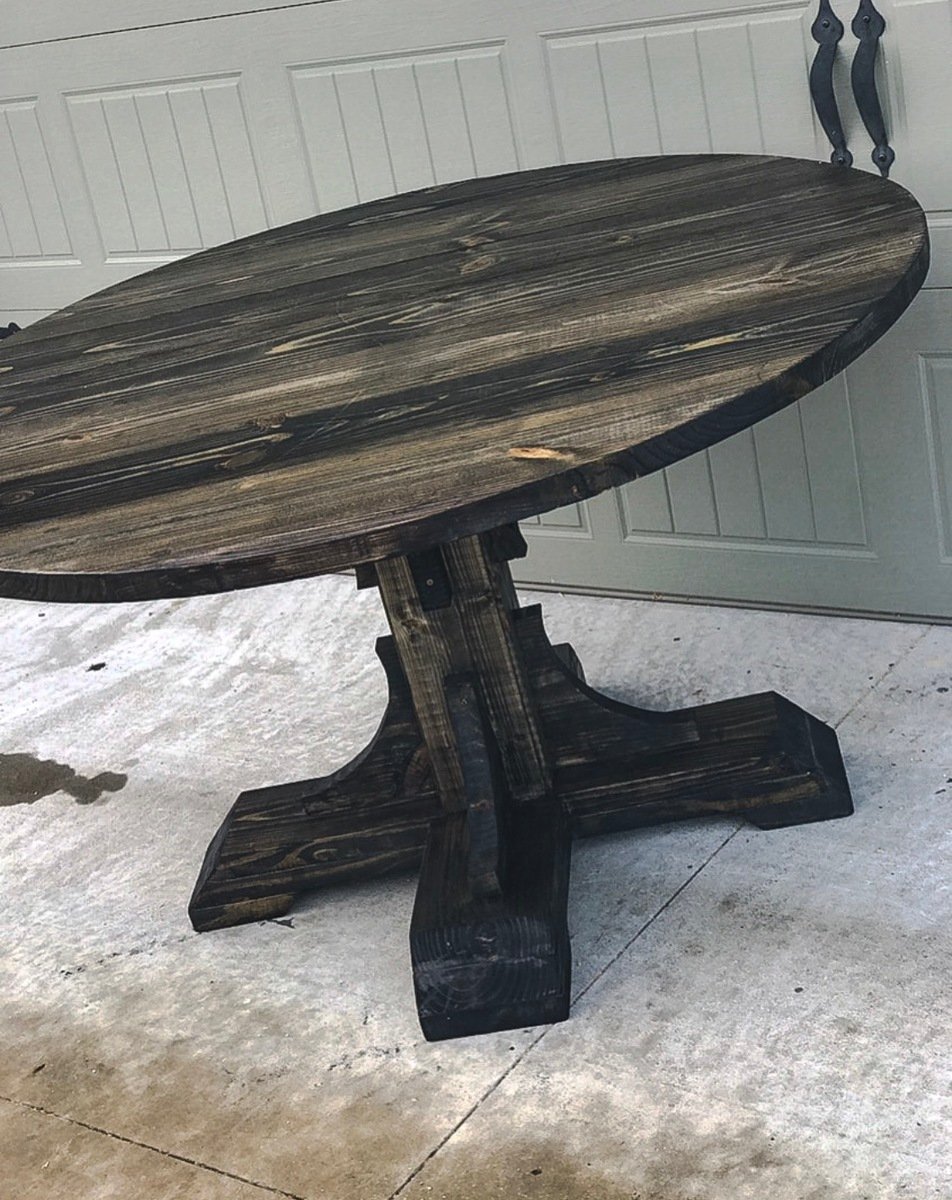
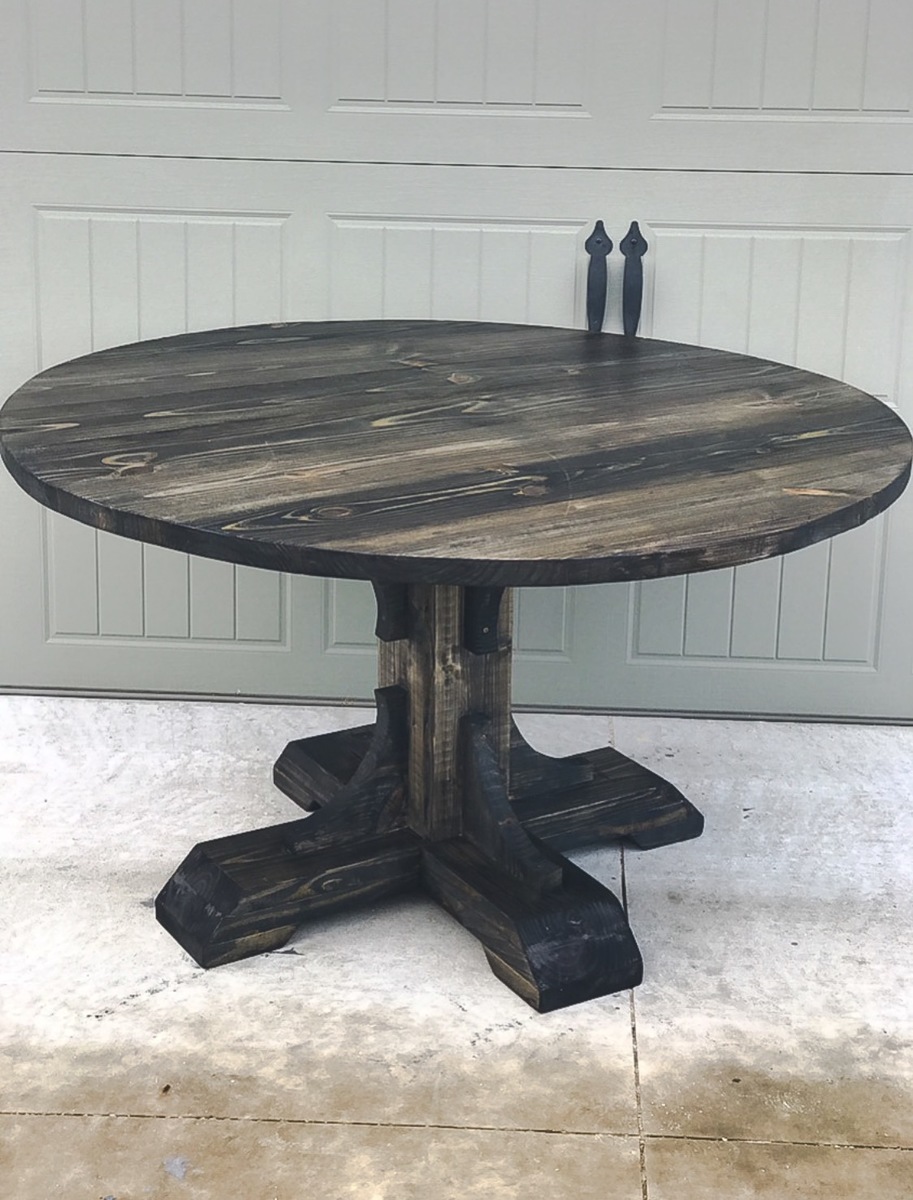
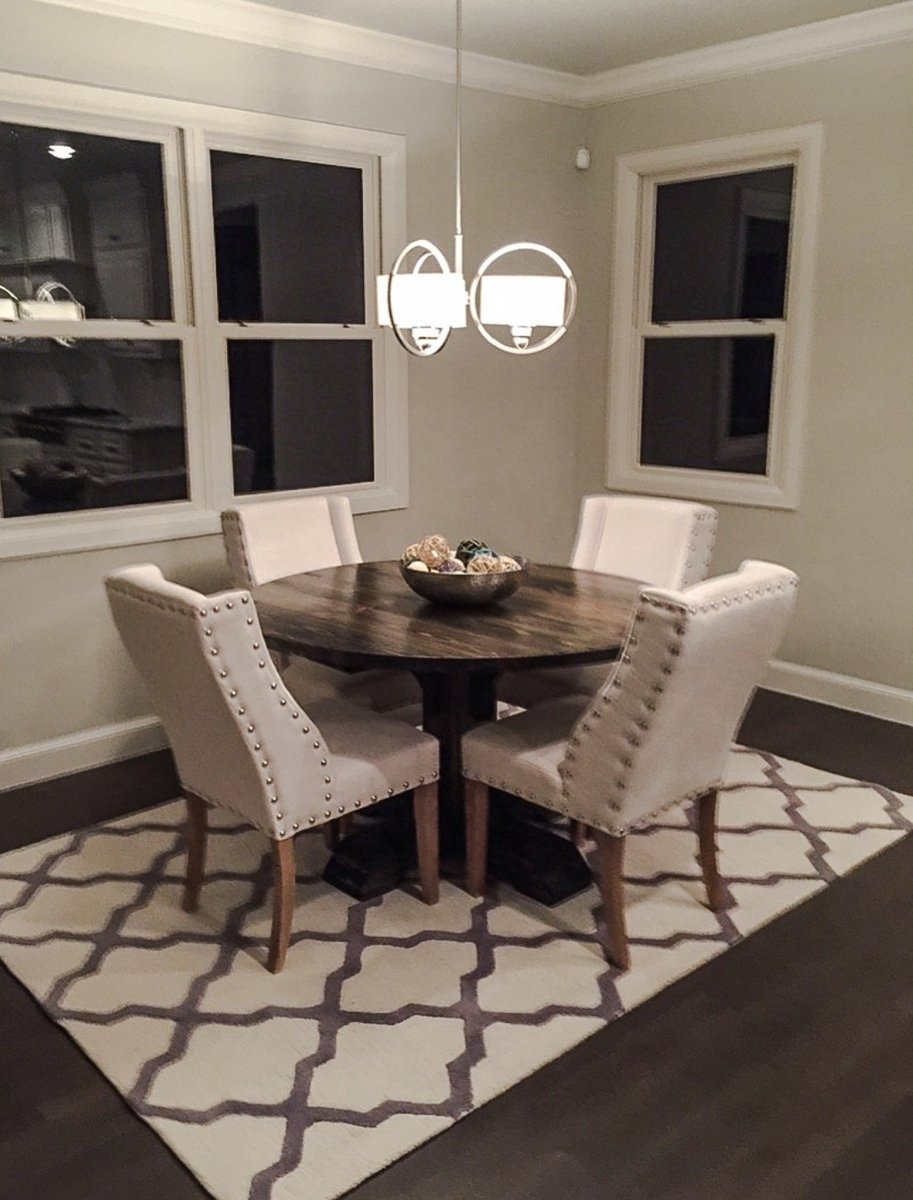
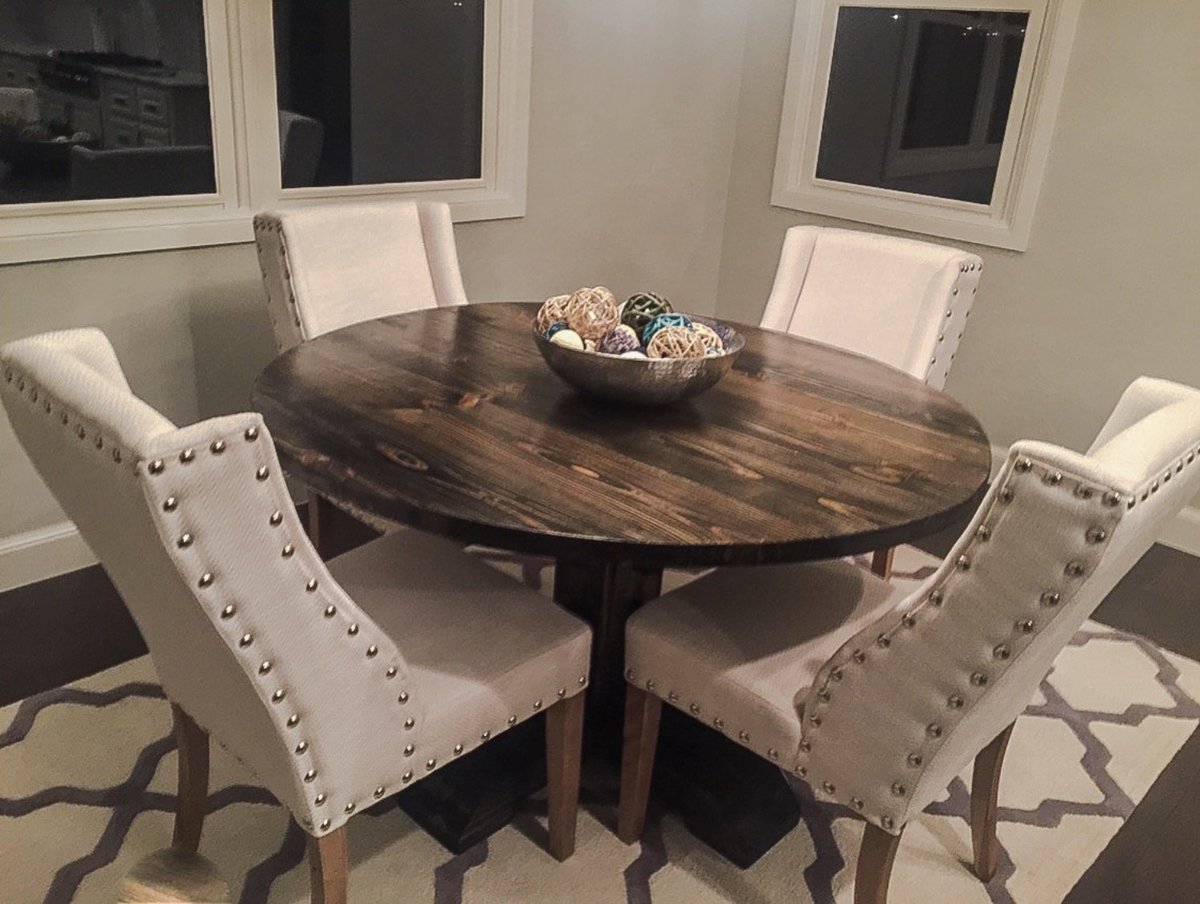
This was such a fun build. Instead of the square table top I opted for a 54" round table top and I also altered the plans for the base. I upped the size for each board used to give it a chunkier look ( Ex: instead of 2x4s, I used 2x6s and so on)
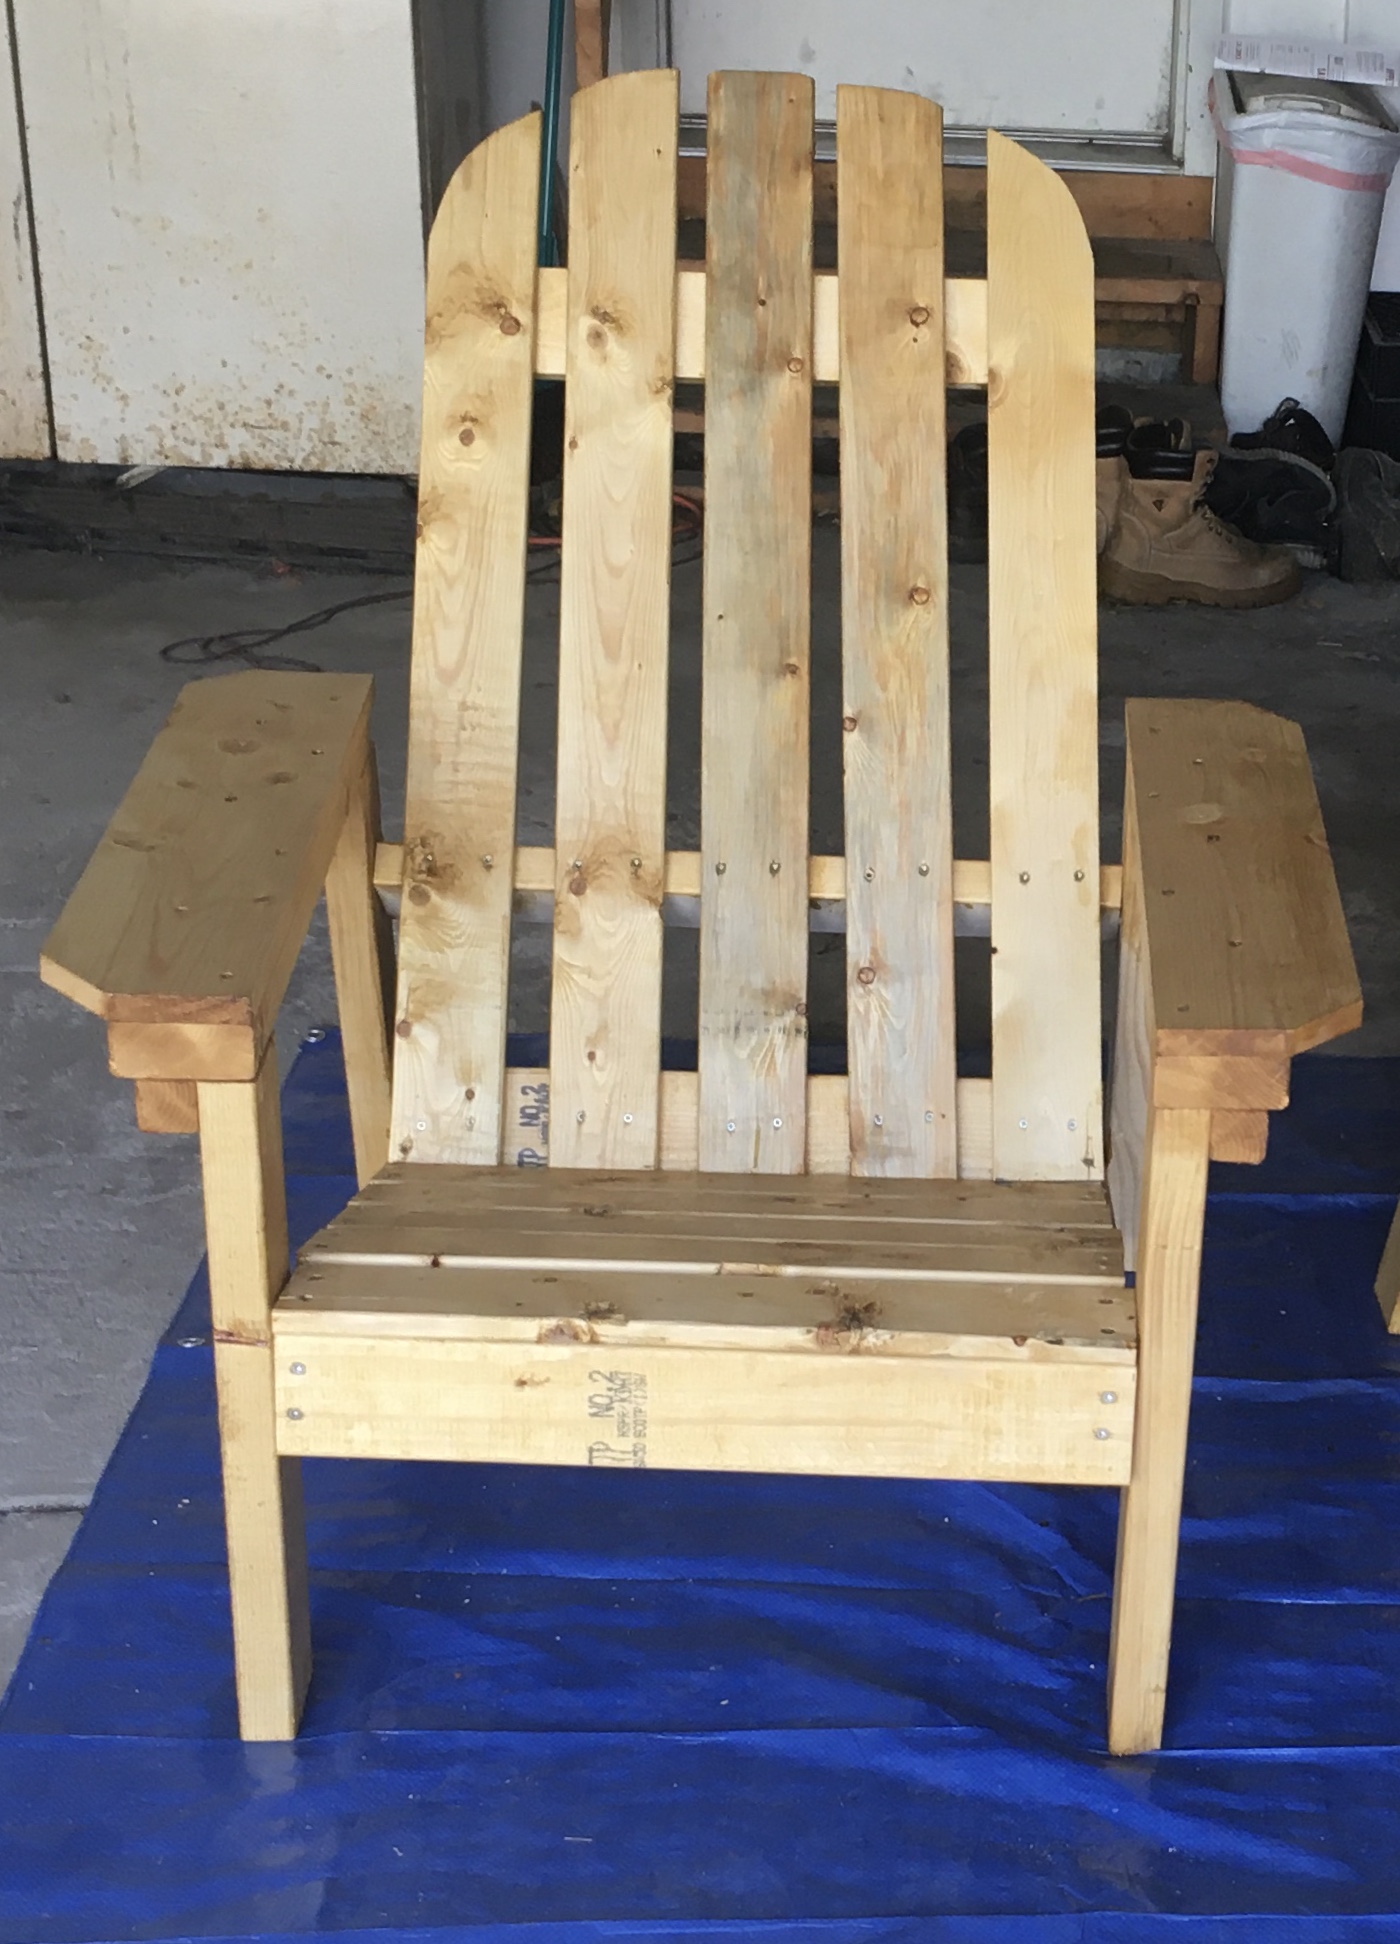
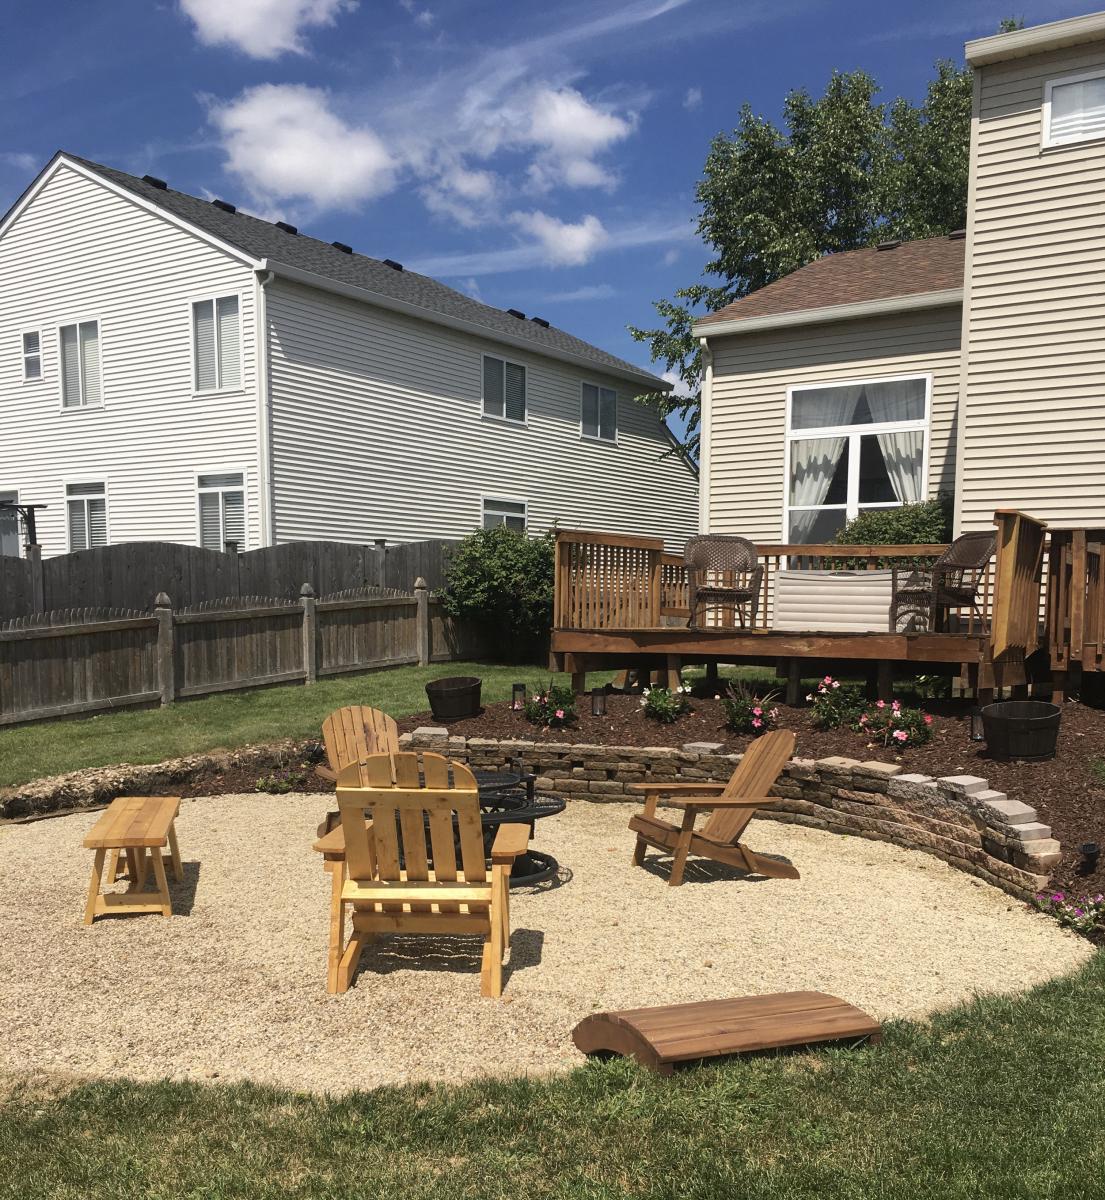
First project tackled after discovering Ana’s site. For our backyard fire pit area. (Store bought Adirondack chairs are $$$!) So happy for the plans to make it myself.
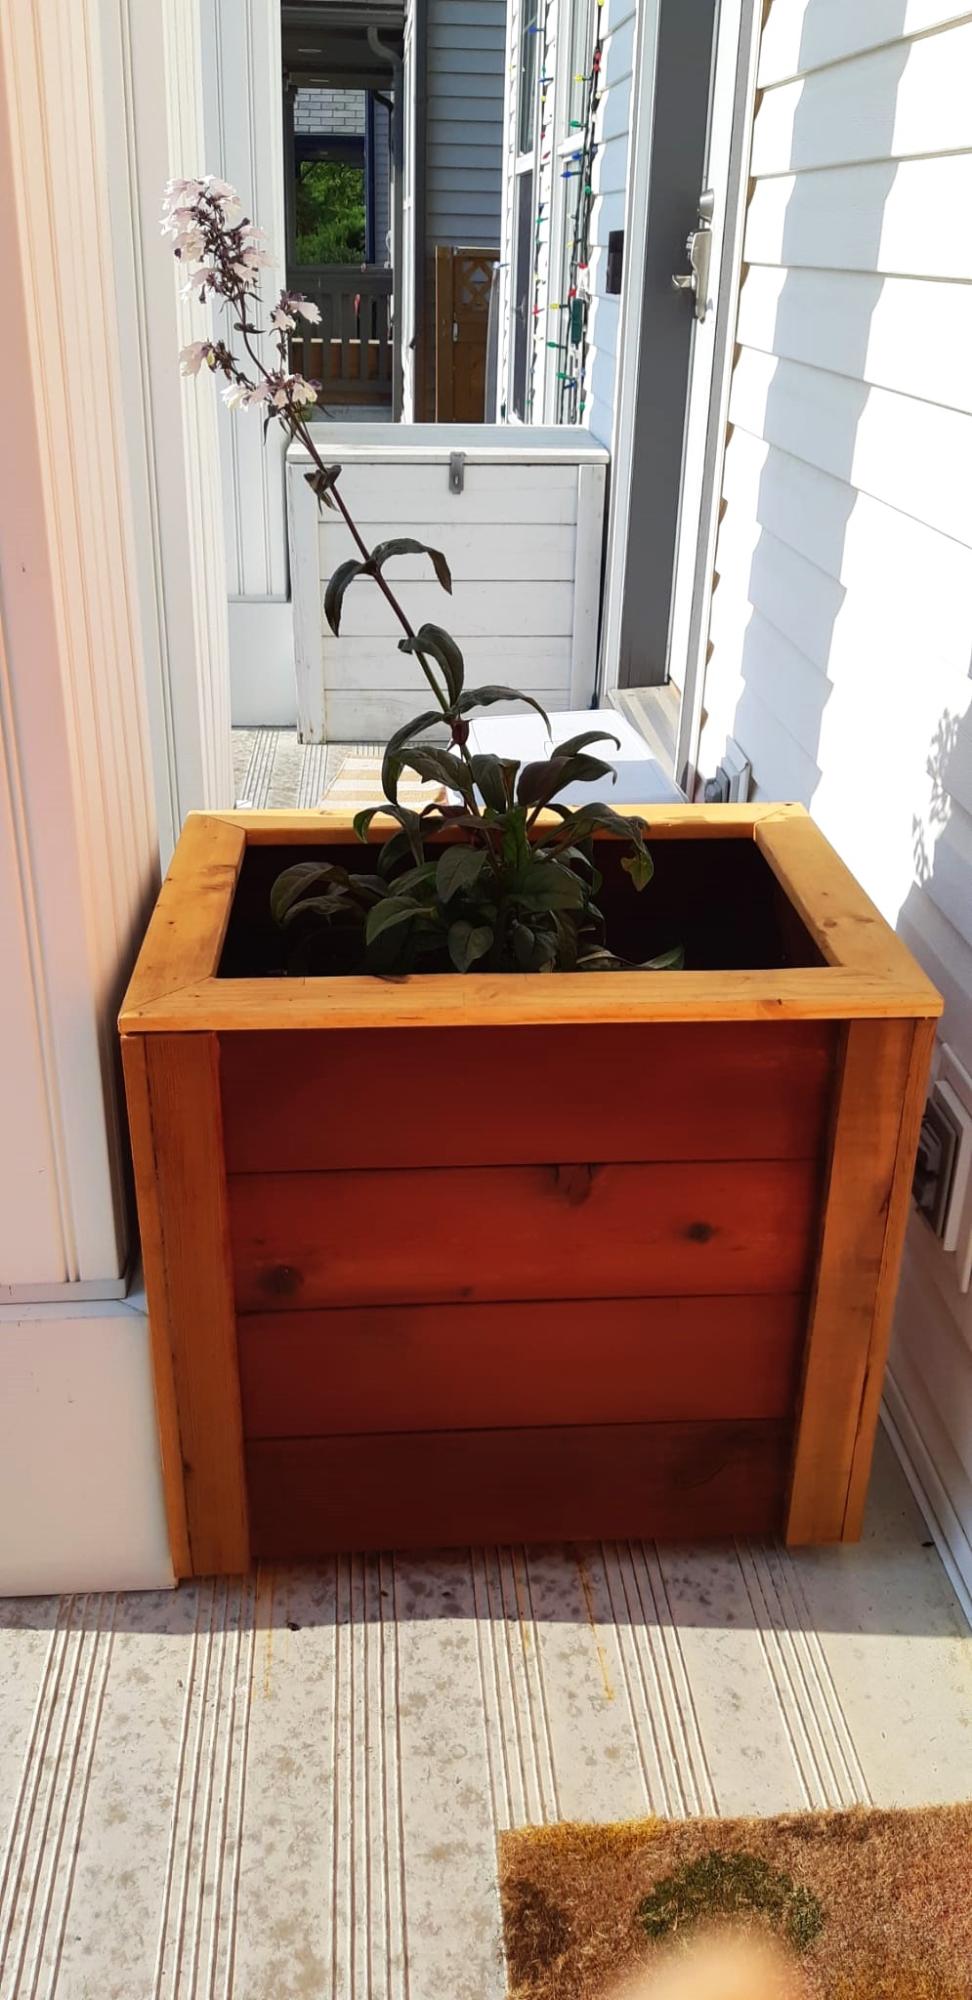
DIY Wood Planter
by James Thorlakson