Community Brag Posts

Step Stools are Awesome

Submitted by Jake on Tue, 08/13/2013 - 18:55

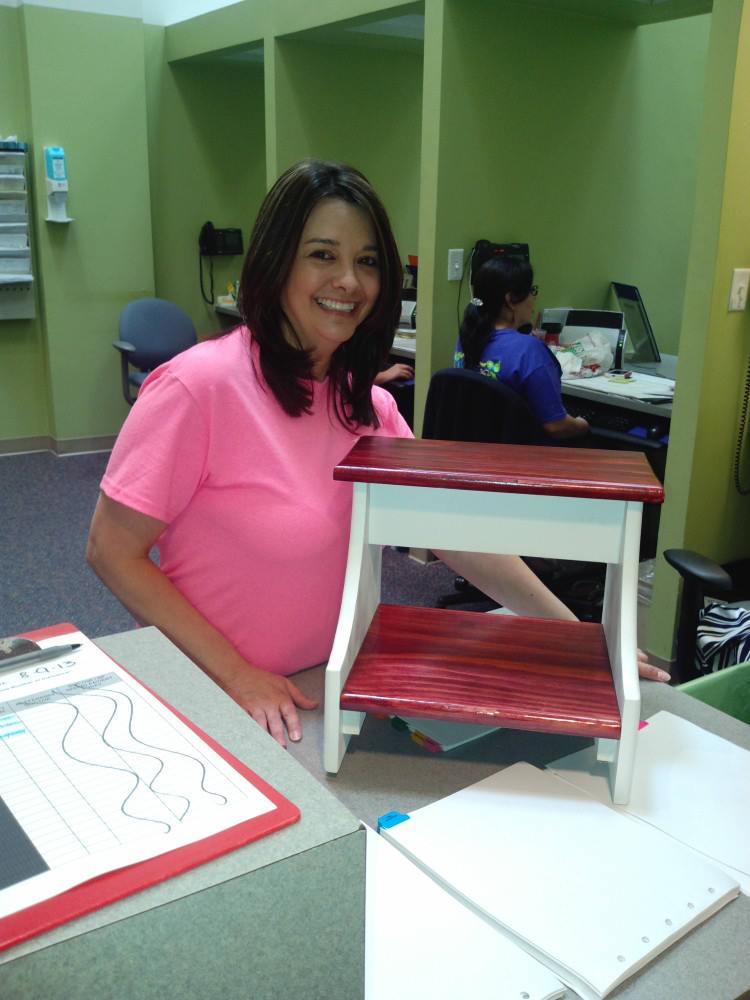
About three years ago I made my first project from Ana's plan for the Super Easy Little Tricky Ladder Table. It is the one on the right in the opening picture. That little step stool (that is what it is used for) has stood the test of my 175 lbs and the terrors of two grandkids dragging it around for all sorts of mischief. Since then I have made another version of that same stool but a little wider and shorter for more stability and I like the new proportions

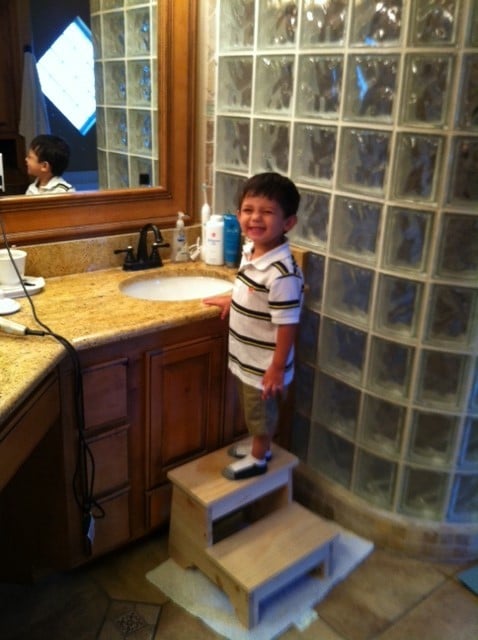
I have also made one of Ana's Vintage Step Stools and that is the one with the kid standing on it in the bathroom. Perfect. The last picture shows my knock-off of a classic Shaker step stool except I hinged the top to add a small amount of storage under it. That is not me in the picture. Its a co-worker.

I encourage everyone to build these stools. My family has found them to be very very useful in the kitchen, in the bathroom, reaching high places in closets and I even use them to paint rooms. Easier than dragging a step ladder around.

My only caution is to use the best grade of pine or a stronger wood and to overdo the strength of the lower step connections. Do NOT build these out of furring strip wood. I did and it collapsed immediately. Not the joint but a leg below the lower step connection.

Estimated Cost
About $36 for all four. Two days per stool to build and finish.
Estimated Time Investment
Weekend Project (10-20 Hours)
Finish Used
A great variety as the photos show. On the last stool I tried the paste stain to my horror.
Recommended Skill Level
Beginner

Colorado Backyard Gable Greenhouse

Submitted by Anonymous (not verified) on Tue, 05/24/2022 - 20:17

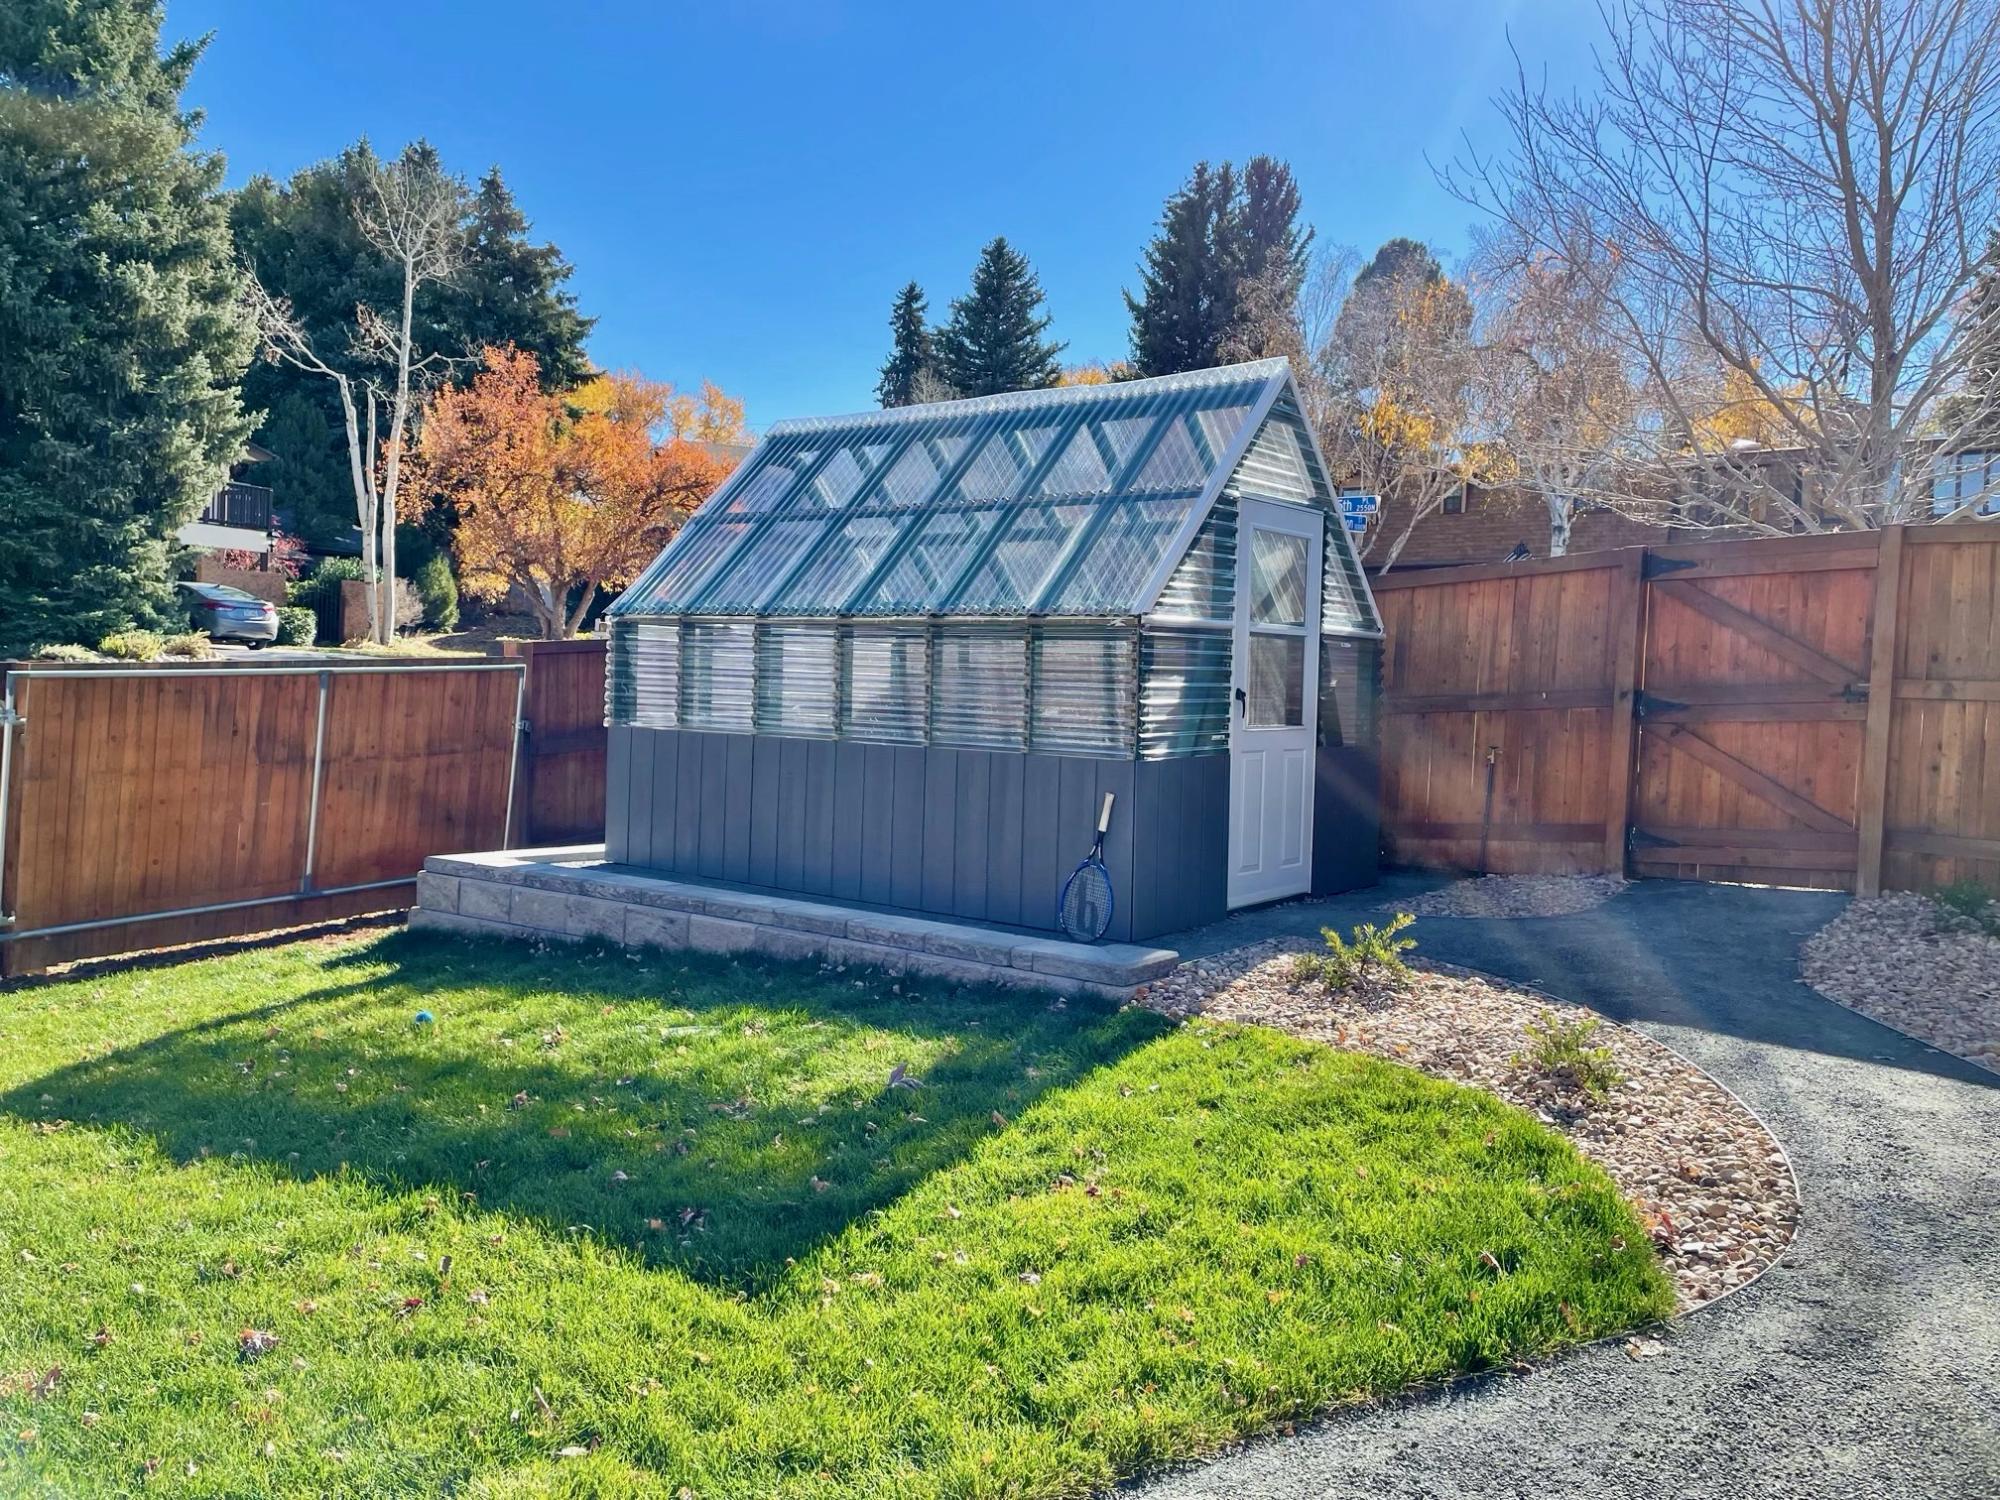
We started this project last fall with the goal of creating a multi use hobby greenhouse with plenty of space for the kids to get their hands dirty. We purchased the Small Gable Roof Greenhouse plans and made our first (of many) trips to the hardware store. Since becoming homeowners in 2015, we've done countless projects but nothing as big as this. We are still very much learning the nuances of greenhouse growing in Colorado, but that has become a fun experience for our entire family. Since completing the structure, I've found that I'm more interested in making the space more functional than I am in actually gardening. I added a shelf built almost entirely from old pallets, a raised cedar bed and solar powered exhaust fan/lights. Luckily, my wife loves spending time in there tending to the plants! As the summer heat sets in, we will face new challenges of how to keep the space cool. Maybe by adding a shade cloth and misters? Regardless of what the "output" looks like we are loving this new hobby and are looking forward to learning new skills!

Comments

Clara Table and $4 Chairs

Submitted by canesa on Thu, 07/14/2011 - 22:58

These chairs were super easy to make and so was the table. I did make a couple of changes if you'd like to read about it on my blog.
http://isteppedoutofmycomfortzone.blogspot.com/2011/01/i-love-to-build-…

Built from Plan(s)
Estimated Cost
$15 - $20
Estimated Time Investment
Afternoon Project (3-6 Hours)
Finish Used
I sanded it smooth with 320 grit sandpaper and gave it to her unfished so she could choose her colors.
Recommended Skill Level
Beginner

Outdoor Farmhouse Table

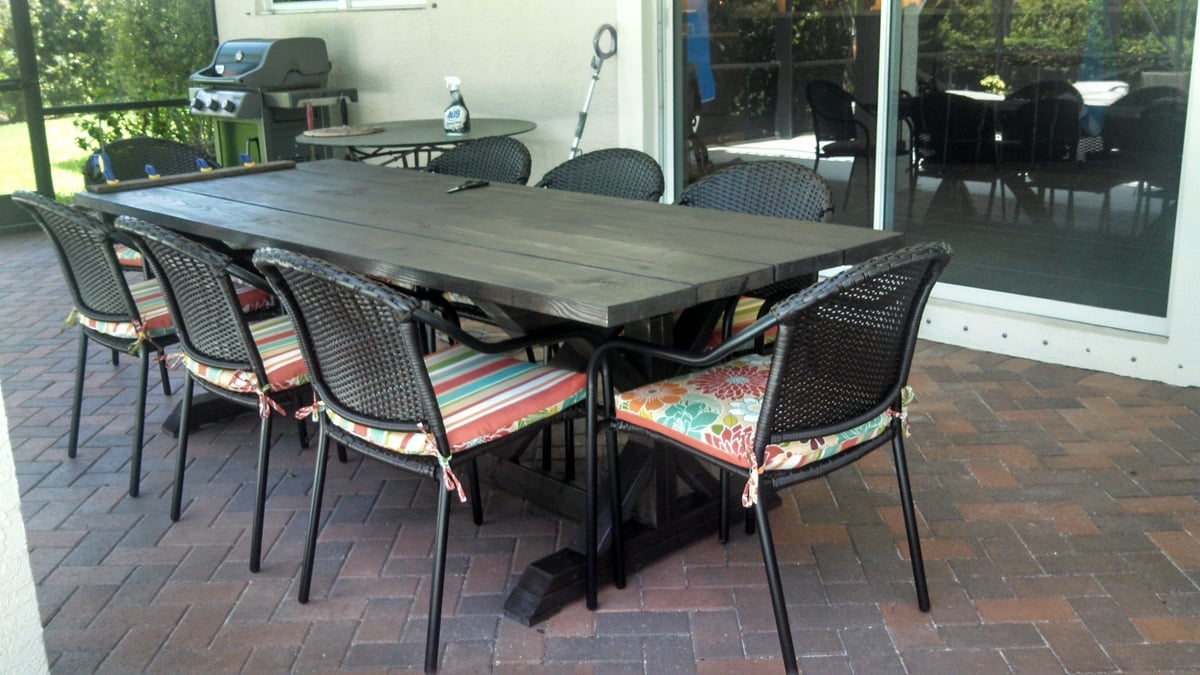
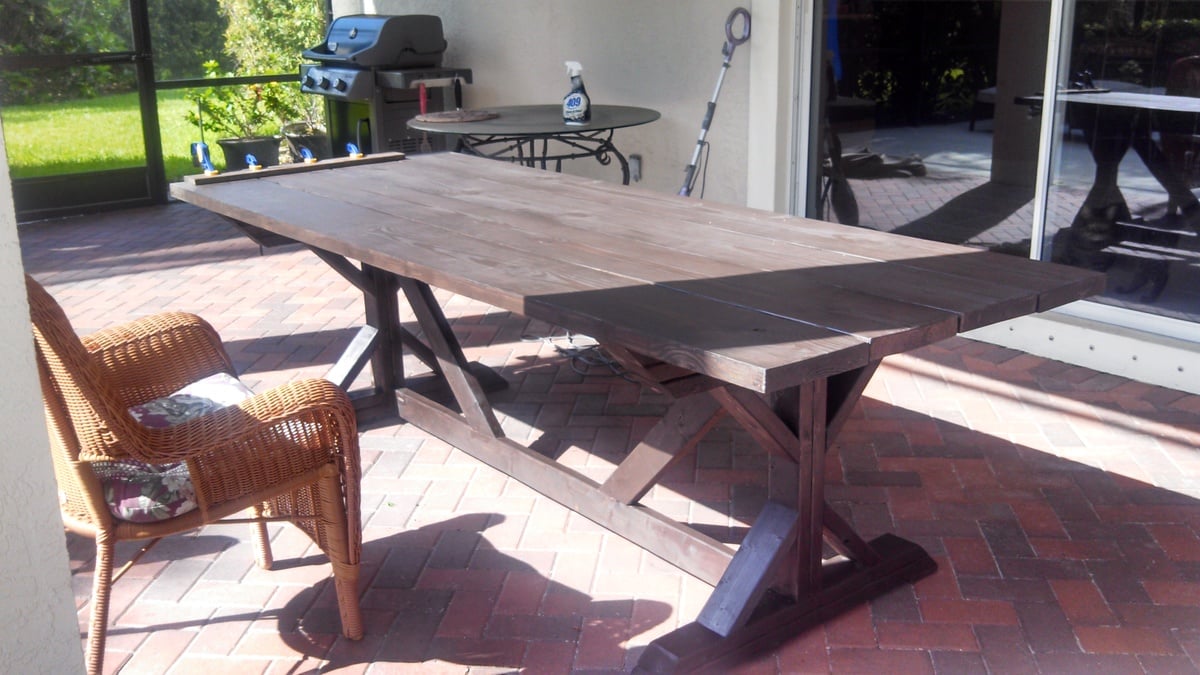
Outdoor farmhouse table built using Ana's plans. Modified the plan slightly, used 3 2X4s on the top (instead of the 2 1X4's that Ana's plan used) and attached everything from underneath using pocket screws so that no hardware is visible from the top. Used a nailer board under each side of the tabletop to provide a place to attach the top without using huge screws.

Table was built using non-pressure treated lumber (because we wanted the stain to stick well). The finish was done with 2 coats of a chocolate outdoor stain. Took 2 days from start to finish, although much of that time was waiting for the paint and/or glue to dry. Very simple project, only used a few tools. The only "big" tool we used was a 12" sliding compound saw to make the end cuts. Also used the Kreg jig in a few places where we didn't have clamps large enough or, in the case of the table top, we wanted the wood to be able to "float" without warping other boards.

Built from Plan(s)
Estimated Cost
150
Estimated Time Investment
Weekend Project (10-20 Hours)
Finish Used
Chocolate outdoor stain/sealant (2 coats), no rubbing off the stain, applied moderately thick coats and allowed the wood to absorb the stain.
Recommended Skill Level
Intermediate

Kids' Desks

Submitted by docfin02 on Mon, 09/14/2015 - 18:52

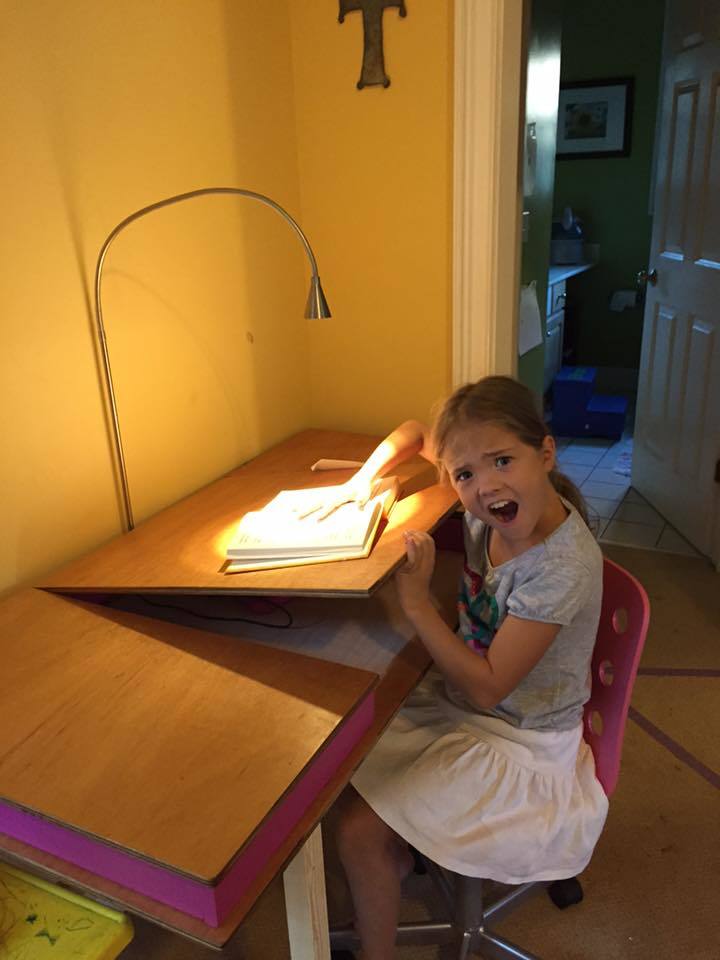
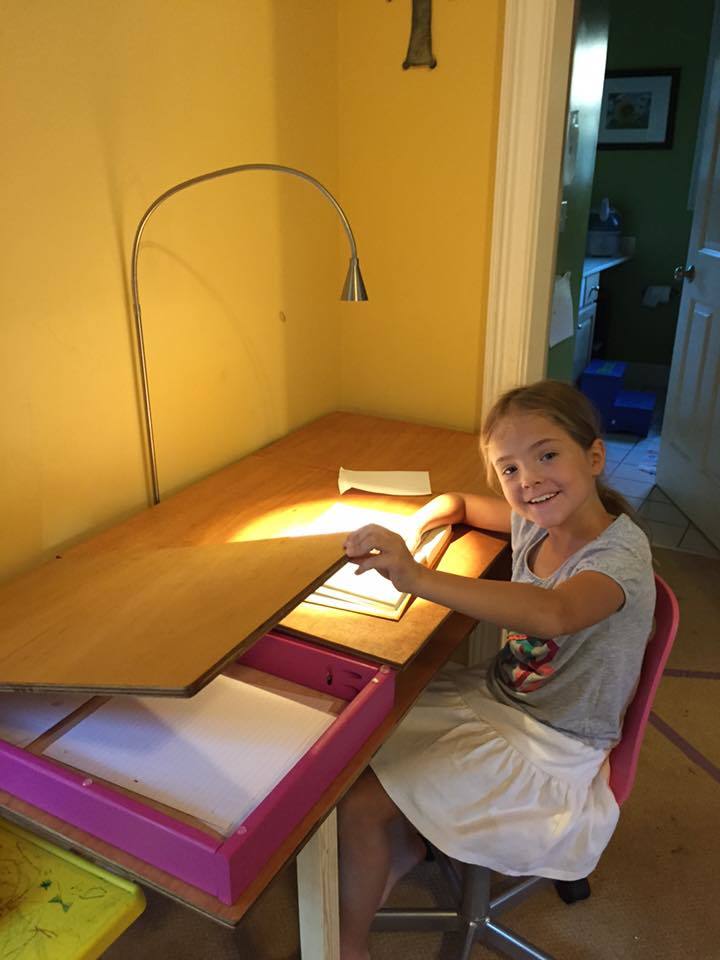
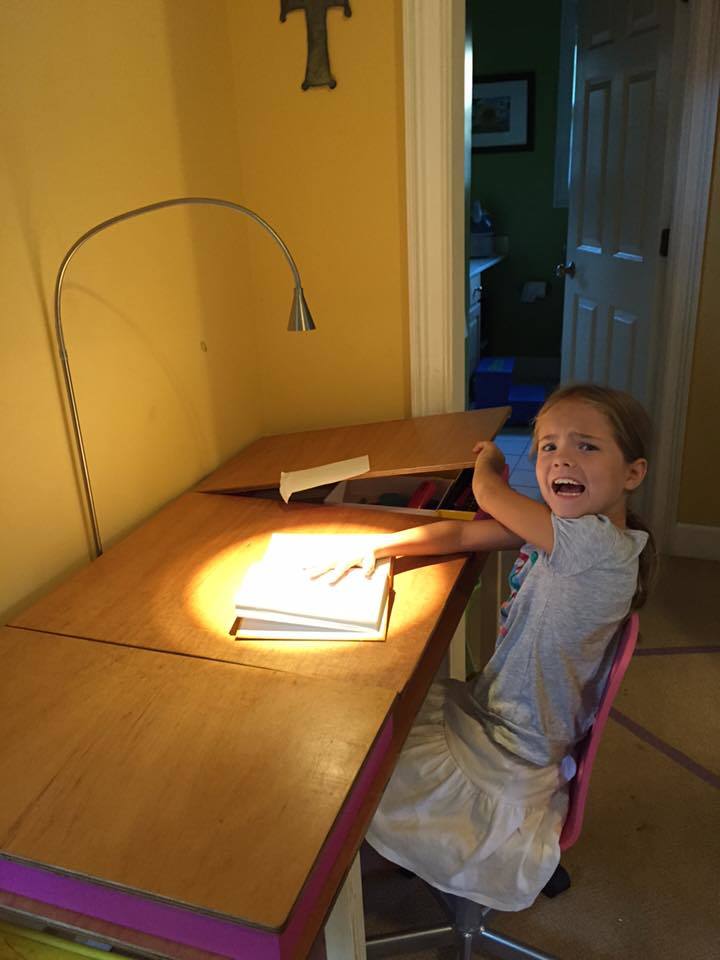
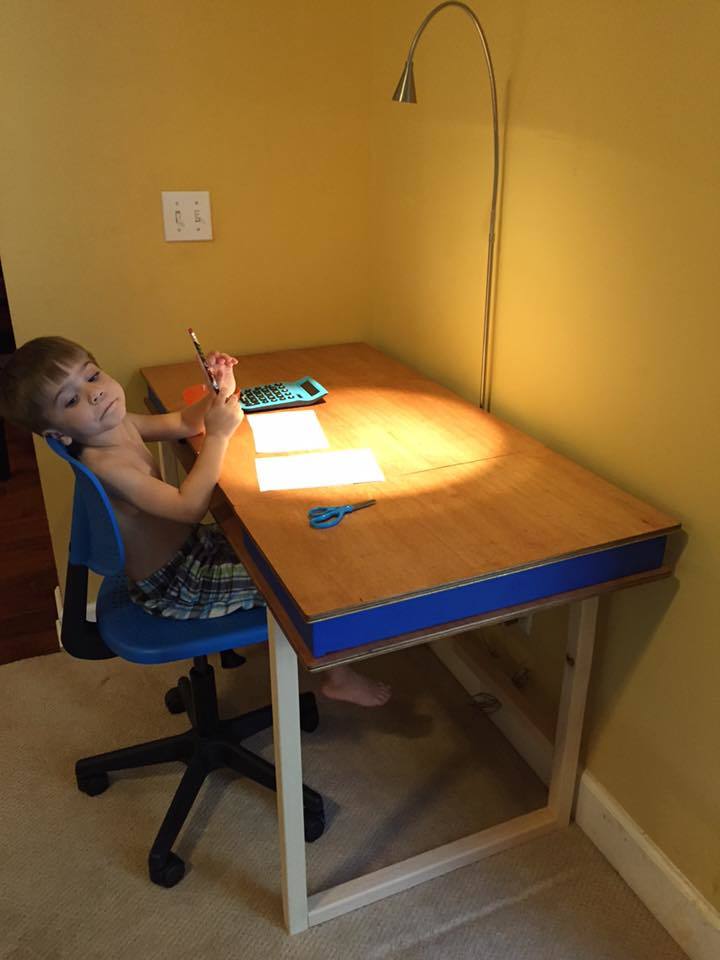
Simple design, very practical, and the kids love them

Estimated Cost
$100 for two desks
Estimated Time Investment
Weekend Project (10-20 Hours)
Finish Used
polyurethane on desktop
Recommended Skill Level
Beginner

Comments

L-Shaped Triple Bunk

Submitted by mommy to 3 on Sat, 09/01/2018 - 20:21

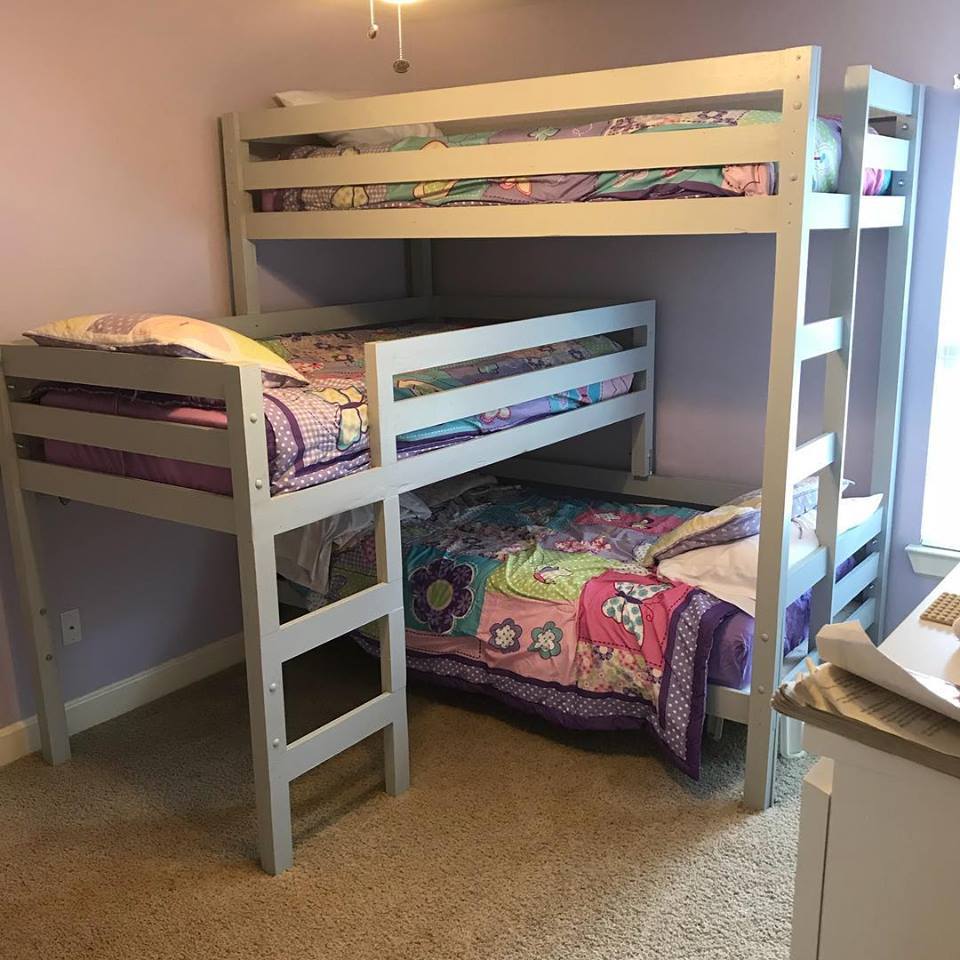
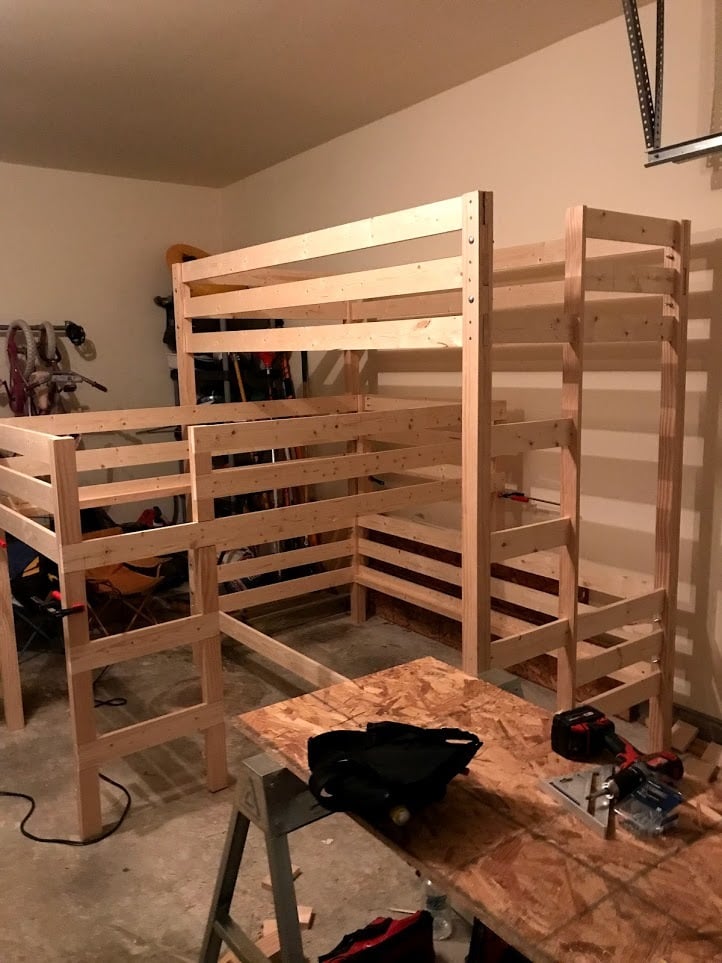
We recently had our 6th child and needed to rearrange our kids' rooms.  We decided to put our 3 oldest girls together and wanted a triple bunk.  We used the classic bunk plans, but increased the height to allow for a middle bunk.  We wanted L-shaped to give each child some headroom.  We used pine wood, common board and select pine.  We finished it off with two coats of Behr interior latex paint/primer in one, satin finish.  Finished dimensions--height from floor to base of bottom bunk, 10 in.  from floor to top of top rail, 79.5 in.

Built from Plan(s)
Estimated Cost
$350 for wood/screws
$40 for paint
~$500 for tools--this was only our second build and our last build only required a drill.
Estimated Time Investment
Week Long Project (20 Hours or More)
Finish Used
Behr interior latex paint/primer in one, satin finish. Color is "classic silver"
Recommended Skill Level
Intermediate

Comments

bcheese06

Tue, 02/18/2020 - 20:41

This is exactly what my boys need in their room. I'm having a hard time grasping how you did the middle bunk. Is it just the top bunk chopped right before the horizontal slats of the bottom bunk? tia

Husky Farmhouse Table and Bench

Submitted by frmoody on Fri, 06/03/2022 - 09:23

I have built several of these tables but this was the first one with turned table legs. They were somewhat expensive but I think the final product looks great with them. I actually stained the bottom aprons and legs the same colour as the top and then put on two coats of an antique white followed by a little scuffing up with sandpaper. I also cut the aprons from 2 x 6's so they were actually 4" in width. I used MinWax Jacobean stain which I had never used before. I then applied three coats of Varathane Satin finish. Not the best photo from my garage but no way I was getting it inside my house for a better photograph. Thanks for the great plans Ana.

Built from Plan(s)

Comments

Tall Farmhouse Queen

Submitted by chbowman on Fri, 07/15/2011 - 19:41

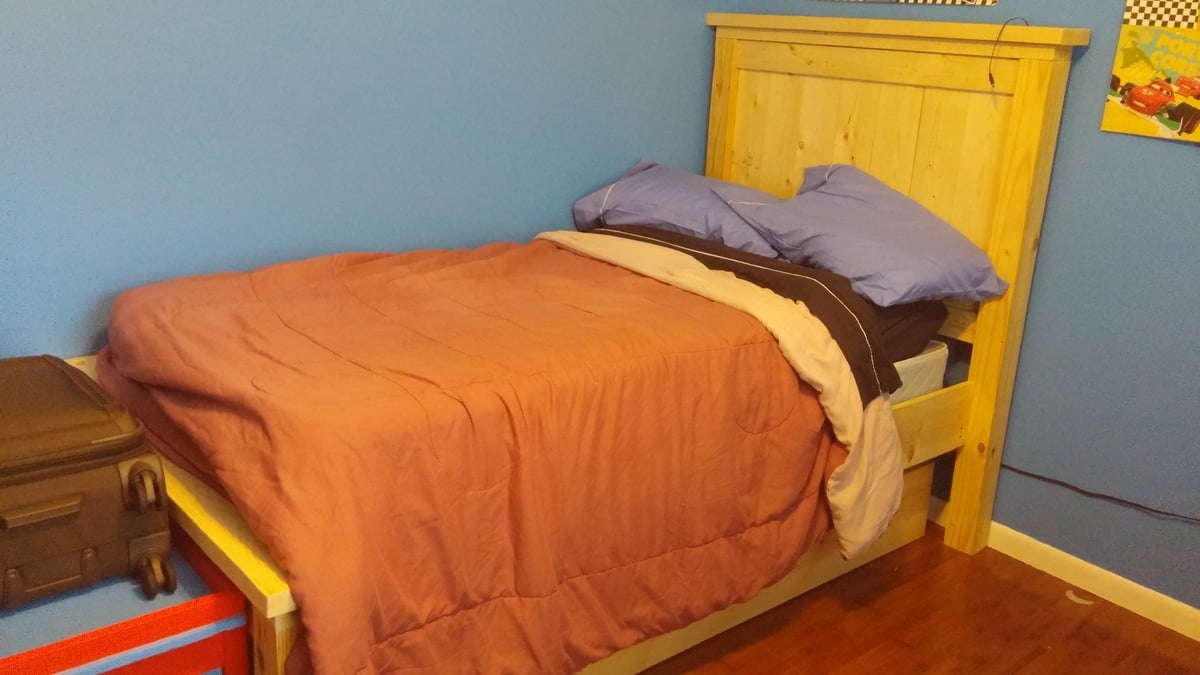
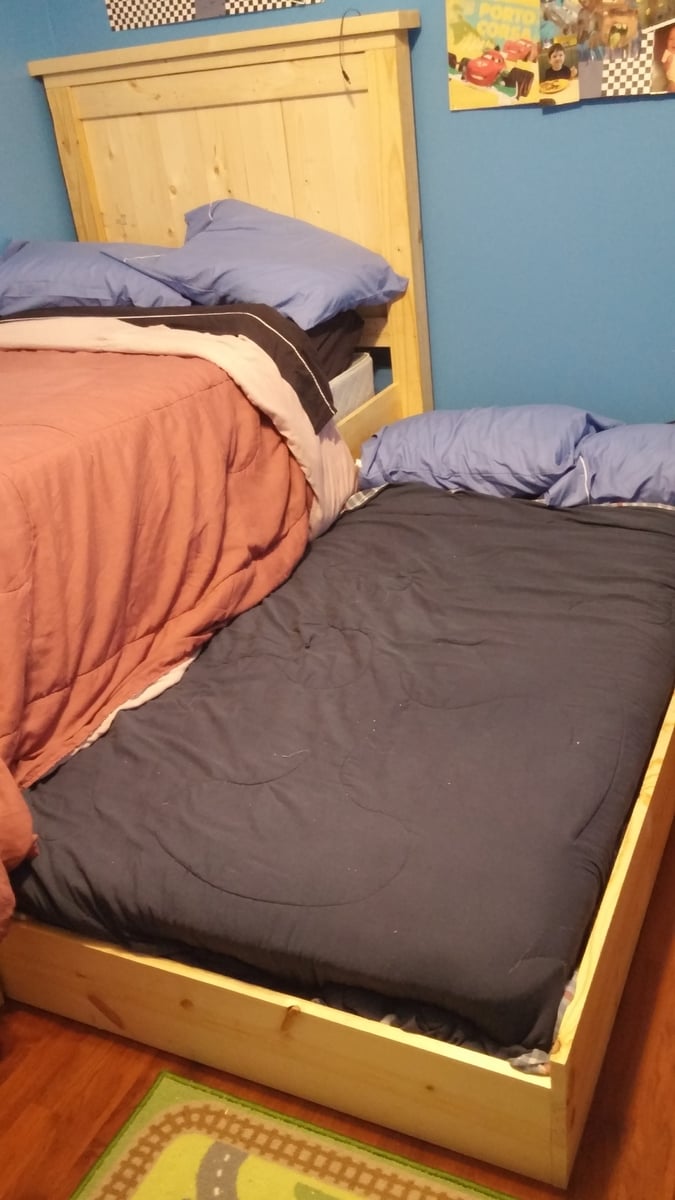
This bed is our first build. We added 4 inches to the height of posts on headboard and footboard. We also used brackets rather than screwing directly into footboard to make the bed easier to move if we ever need to.

Built from Plan(s)
Estimated Cost
$175
Estimated Time Investment
Weekend Project (10-20 Hours)
Finish Used
Two coats of Bin primer followed by two coats of Behr Premium Plus Ultra Heavy Cream.
Recommended Skill Level
Beginner

Comments

Brandon R. (not verified)

Sun, 07/15/2012 - 01:43

I just finished building this same bed and I'm looking for
an easy way to mount it together invade I new to move it. Where did you find brackets for the head and foot board? Could you post a picture of them?

Thanks,

Brandon

Mrs Johnson (not verified)

Mon, 10/01/2012 - 00:42

How tall is the bed from the ground to the bottom of the side rail? I'm wanting 14" so I don't need a box spring {we're both tall so I don't want to feel like I'm on the ground}

Patchwork Three Drawer Rolling Dressers

Submitted by nmnguyen7 on Tue, 08/20/2013 - 05:42

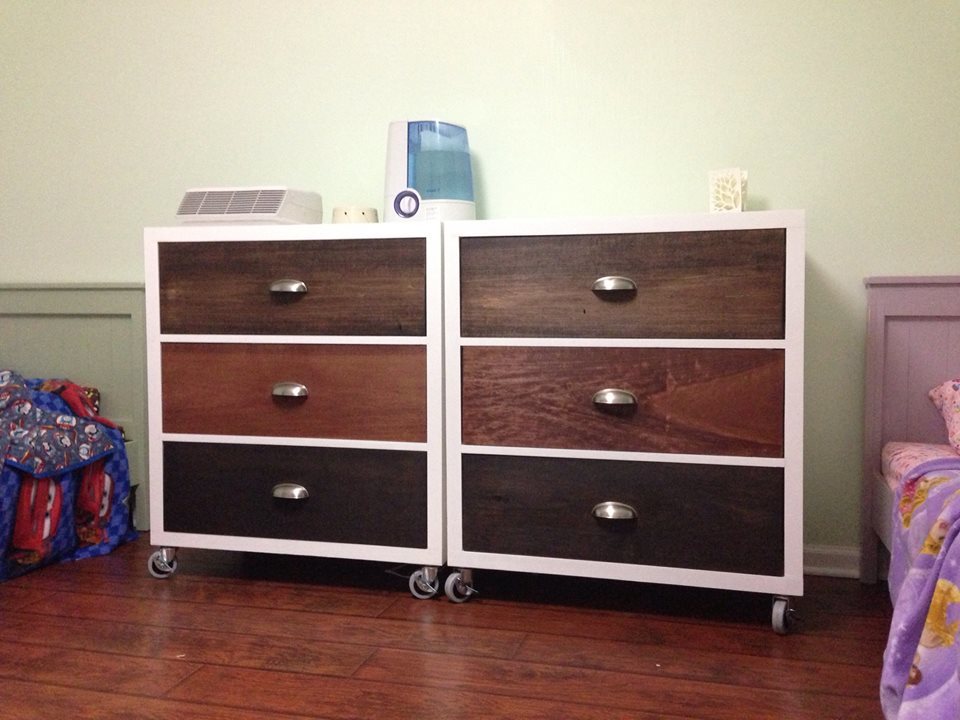
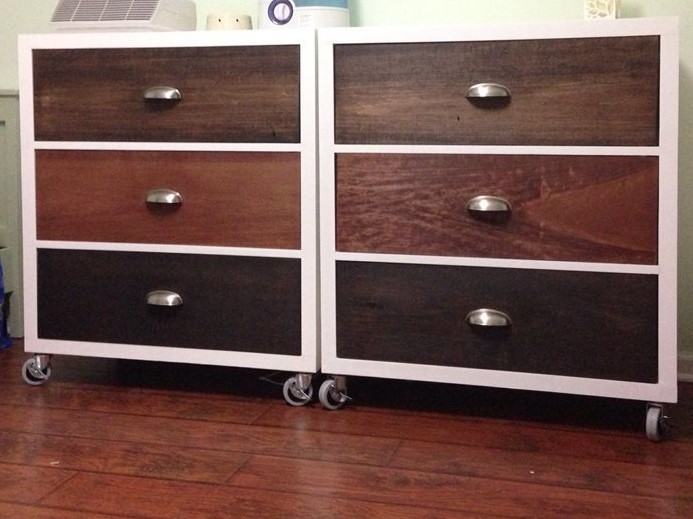
We decided to build these for the kids, to get the old Ikea dressers out of their rooms. The build went very easy. Now the kids have a room full of only handmade (ana-white) furniture!

Built from Plan(s)
Estimated Cost
$400 for the pair, including hardware
Estimated Time Investment
Weekend Project (10-20 Hours)
Finish Used
Random left over stains :)
Recommended Skill Level
Beginner

Comments

Rustic X Console

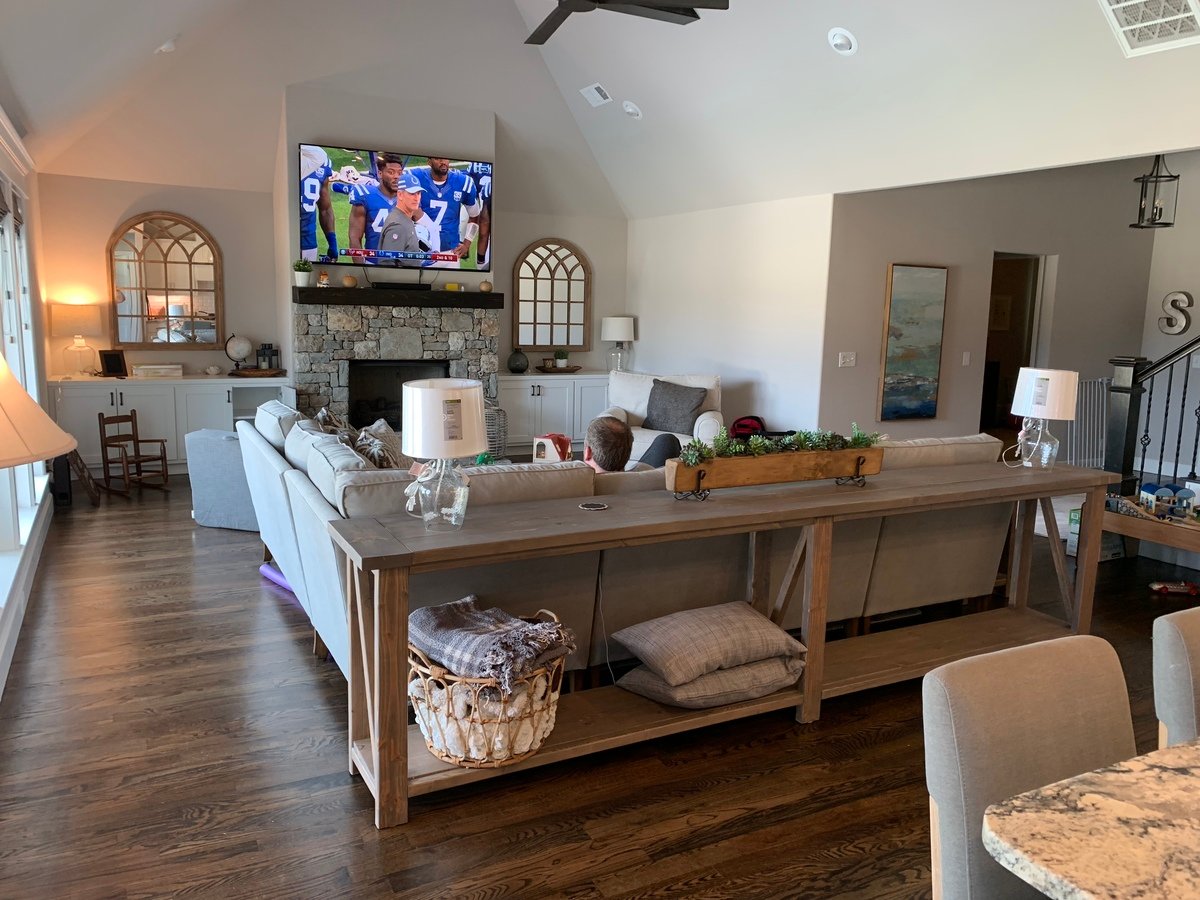
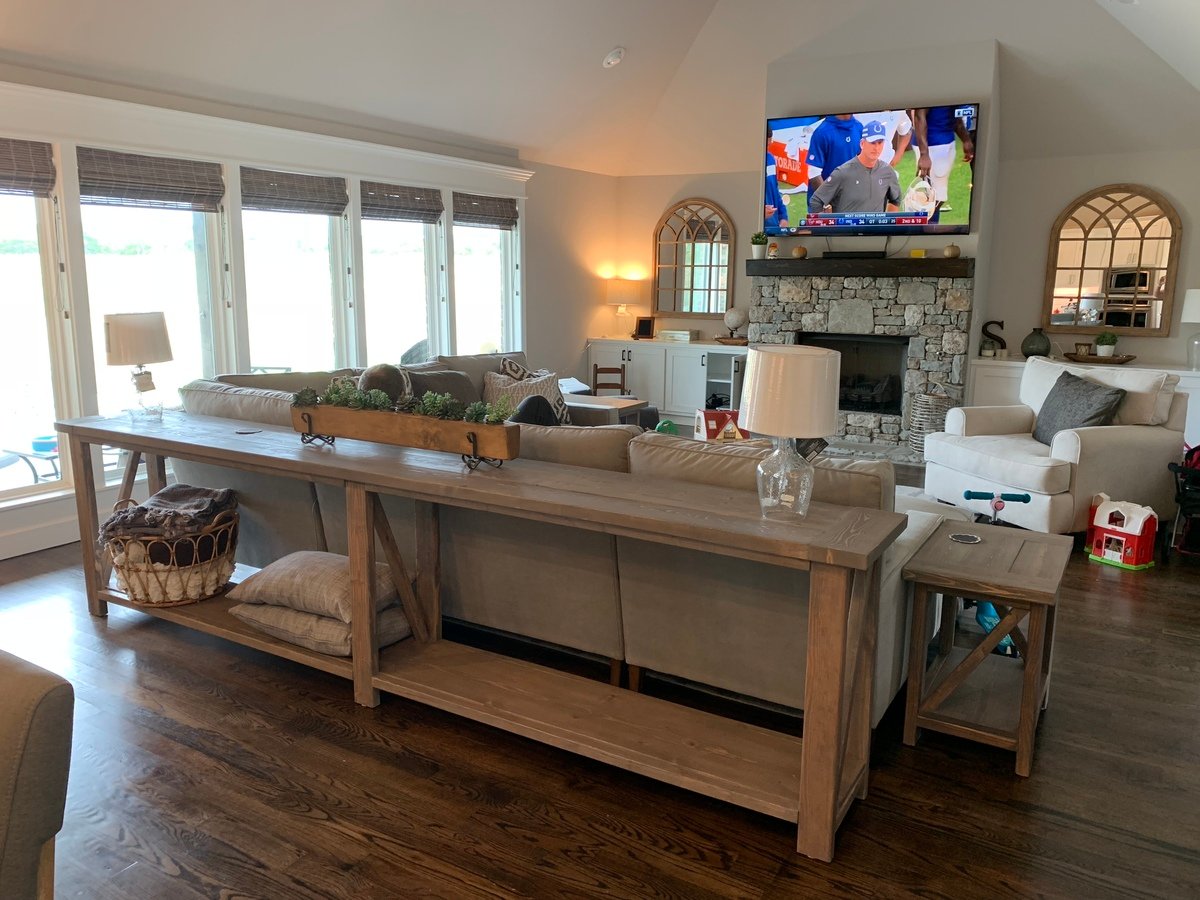
Modified to have more of a modern style. Removed shelf and half the X. Also, lengthened it to 11ft. Love!

Built from Plan(s)
Estimated Time Investment
Weekend Project (10-20 Hours)
Recommended Skill Level
Intermediate

Comments

Kids Sized Square Picnic Table

Submitted by Anonymous (not verified) on Sun, 06/12/2022 - 17:59

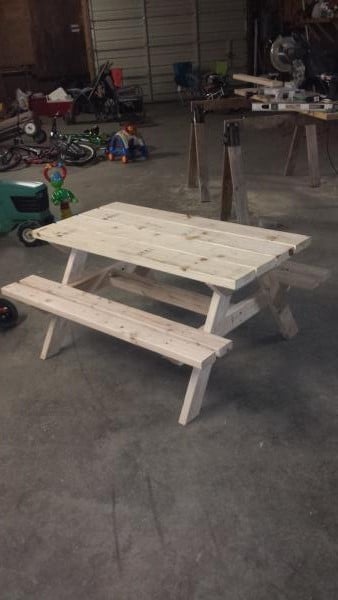
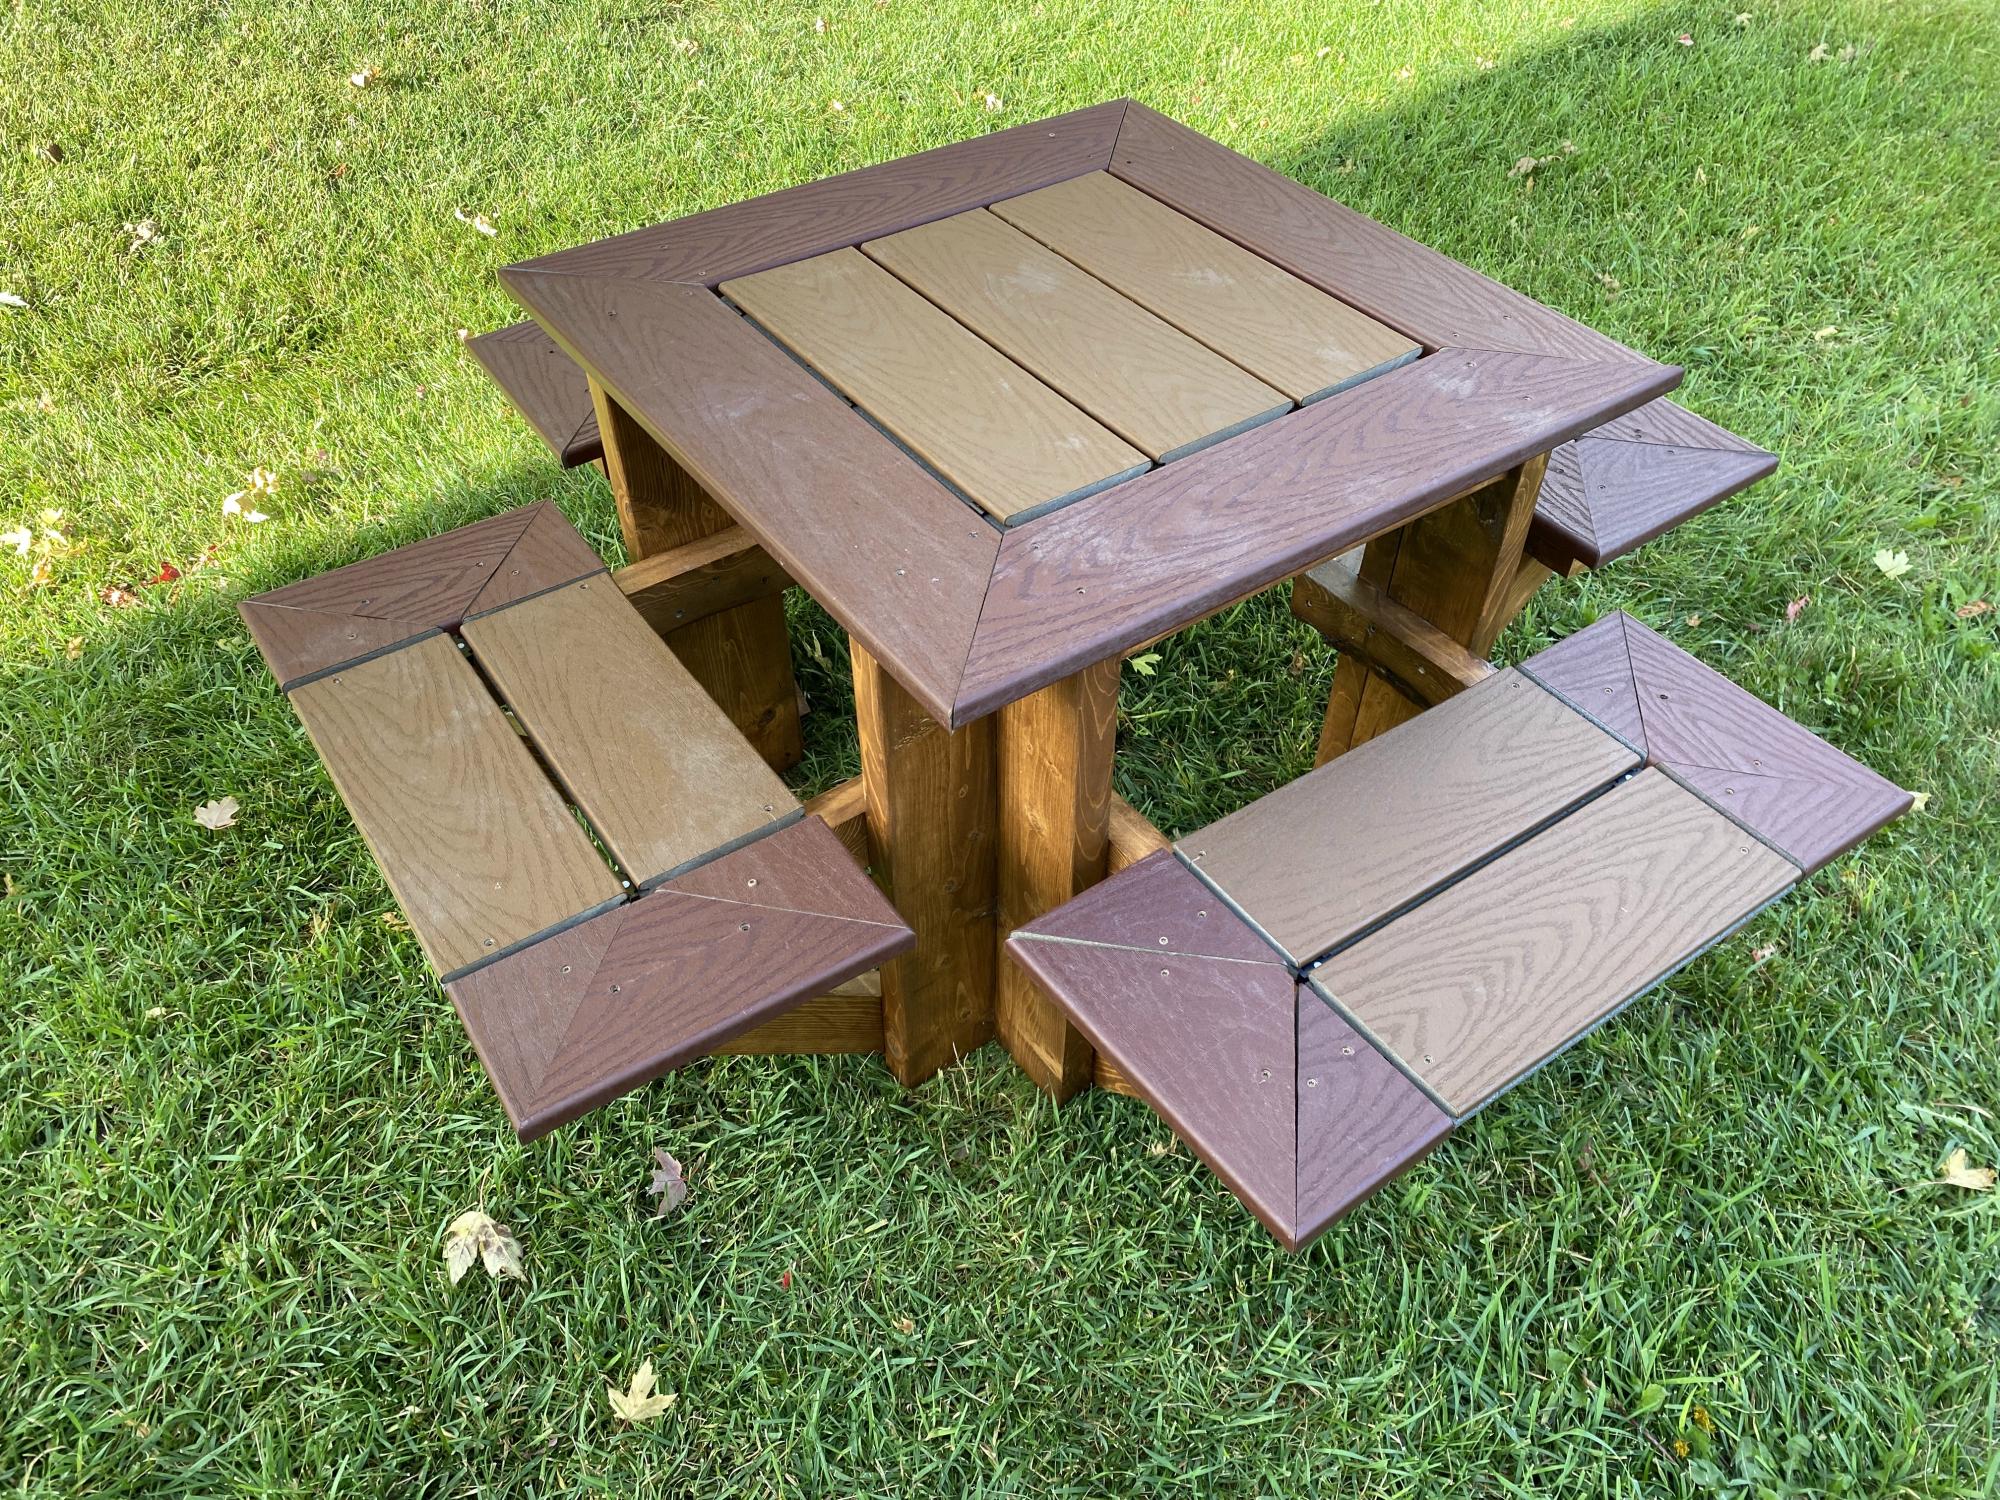
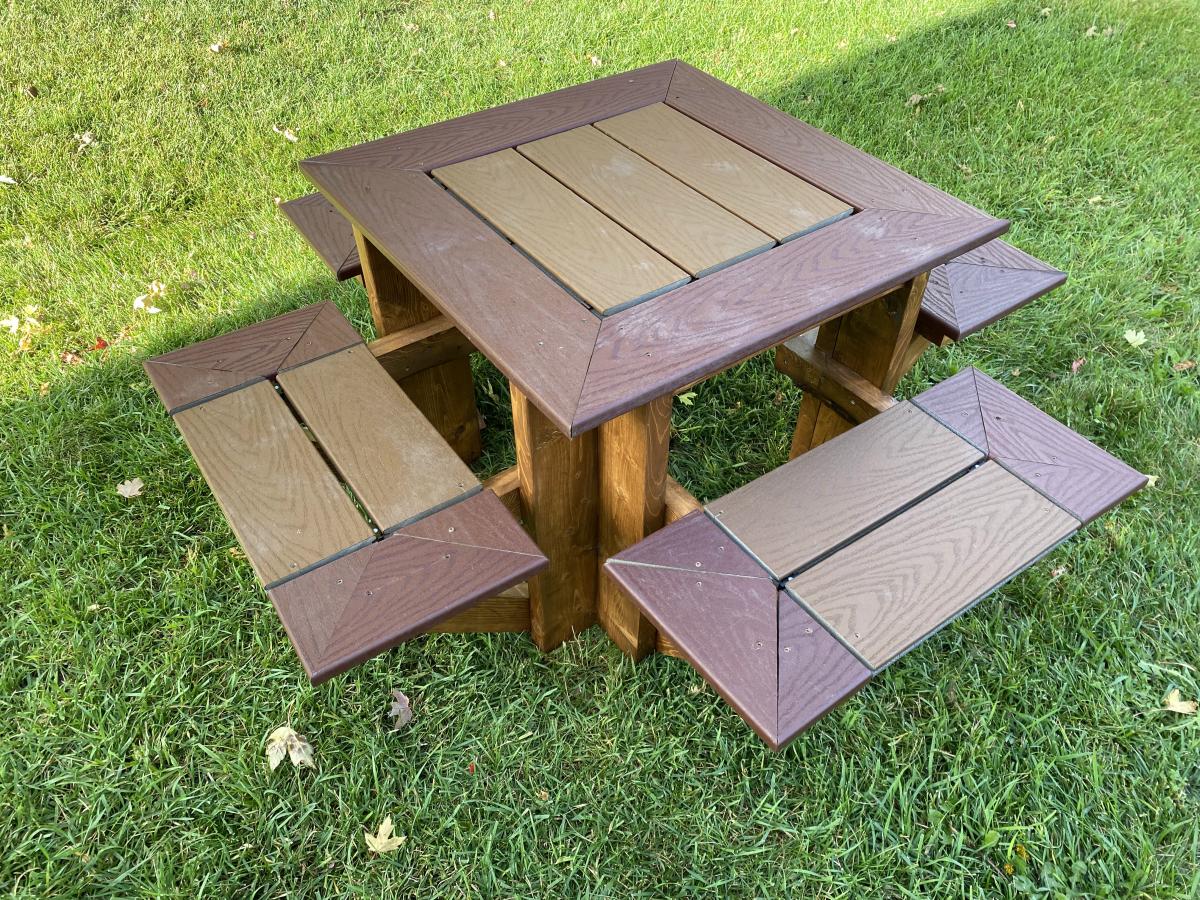
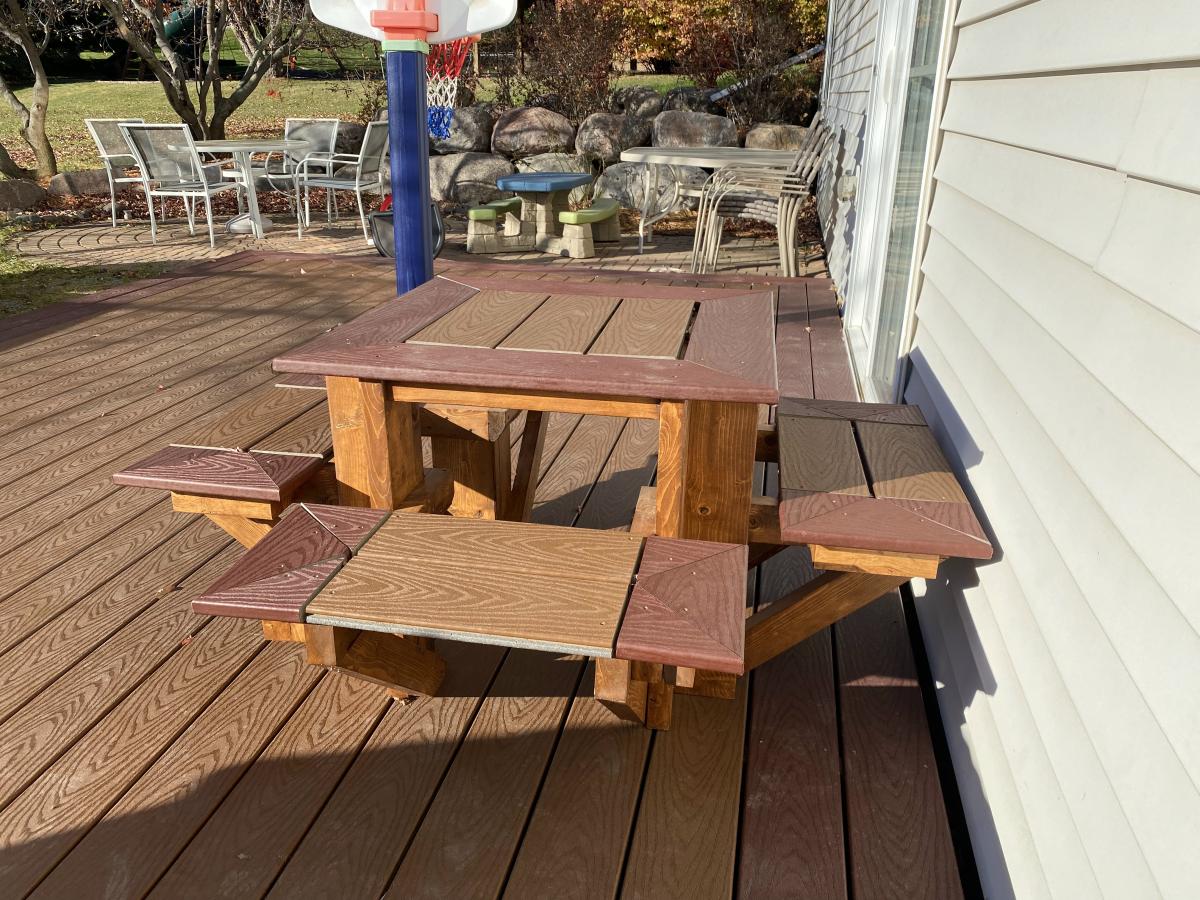
I love the design but needed it to fit my young kids instead of adults. So I modified the scale of this plan to make it fit my kids. The other kids picnic tables we have tried all had some negatives to them. Additionally, it seems if my kids are sitting next to each other there will always be fights and/or someone bumping their brothers plate on the ground. So the four sided table was a must and it apparently is not a very common style. That was why I fell in love with Ana Whites design.

I had just completed a deck and had leftover materials. This table was designed to compliment the deck - using the leftover Trex decking materials for the top and seats. This also led to some of the design decisions on how I altered the seat design to match the look and style of my deck.

This was a great project and a VERY sturdy table. It's rugged, heavy, and easily holds adults as well.

Built from Plan(s)

Comments

Farmhouse Table

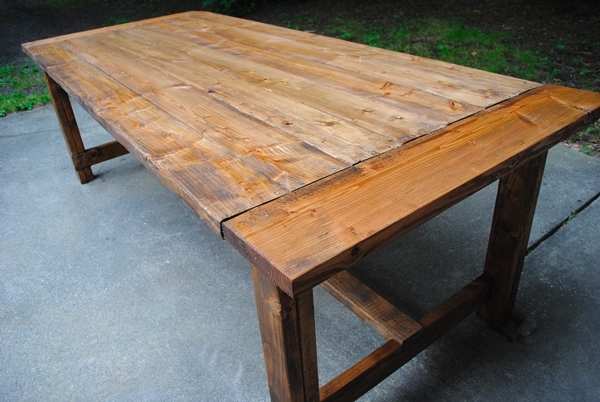
This is my very first woodworking project (except for a Paper Towel Holder in High school over twenty years ago).I have always wanted a long farmhouse table, so when I saw the plans,I was excited to try building my own. Thanks so much Ana for making this doable! 

Estimated Cost
Under $200.00
Estimated Time Investment
Week Long Project (20 Hours or More)
Finish Used
Minwax Special Walnut #224 and Polyurethane
Recommended Skill Level
Beginner

Comments

Puzzle Bookcase

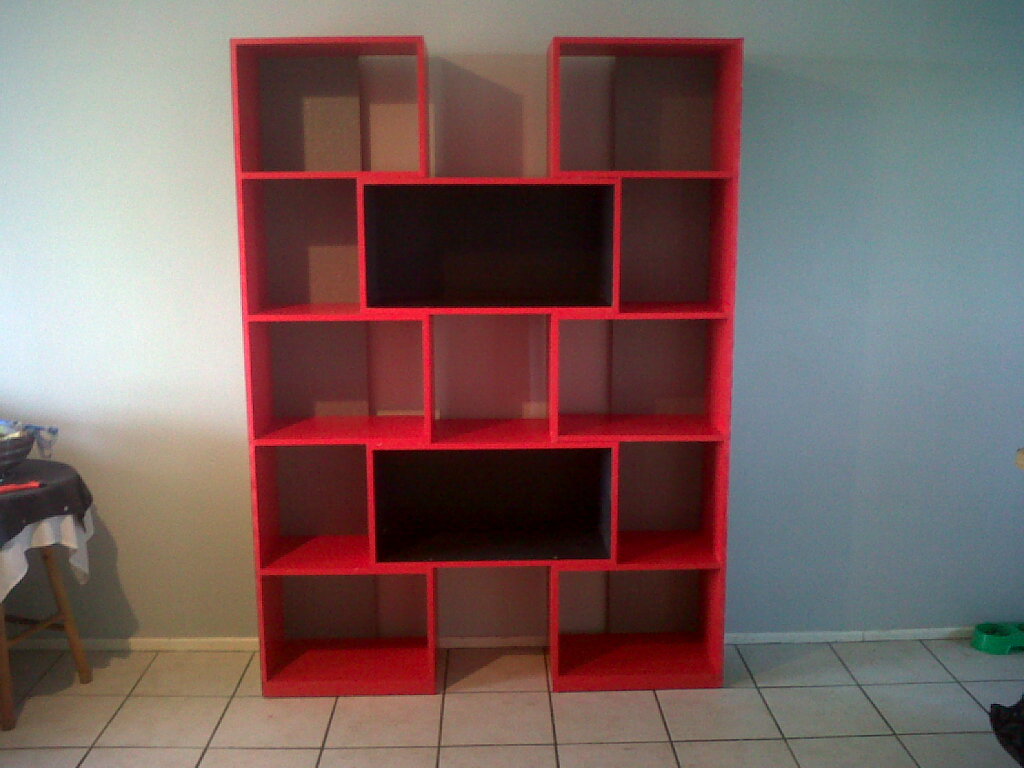
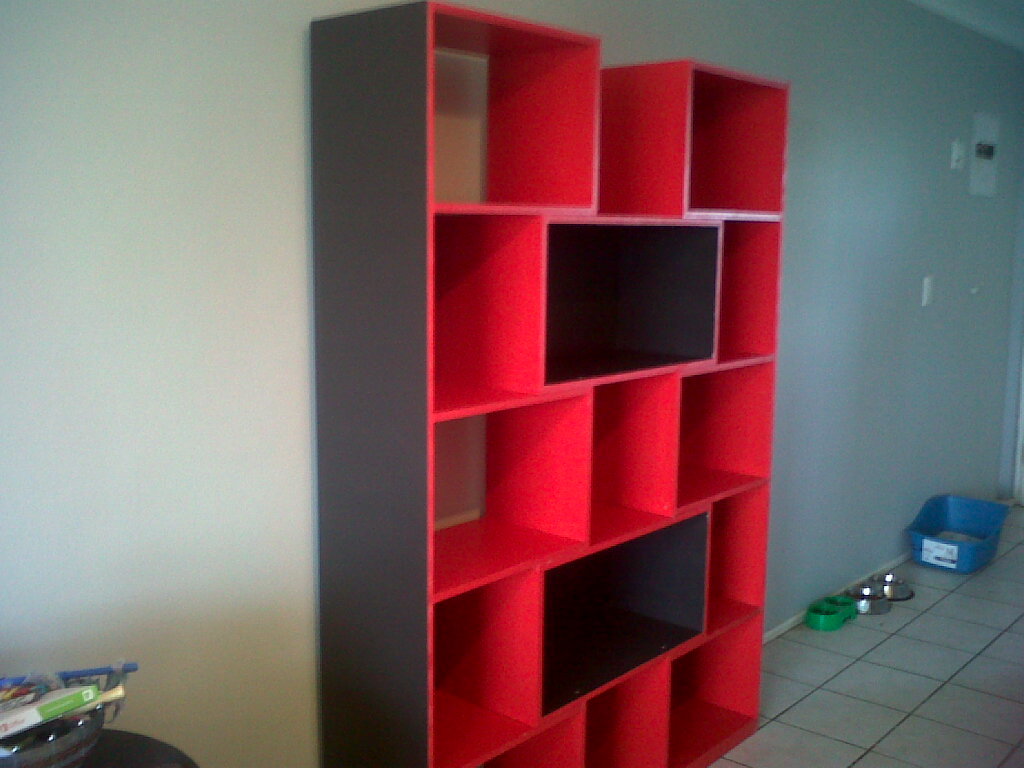
This was my first attempt at DIY - had to convert to Metric! thank goodness I calculated right - end product is awesome. I lined the back panels with textured Silver wallpaper - gives an awesome contrast.

I'm Hooked, already looking for my next project!

Finish Used
Matt sheen enamel paint and wallpaper
Recommended Skill Level
Starter Project

Full Size Camp Loft

Submitted by jcygan on Wed, 09/30/2015 - 16:37

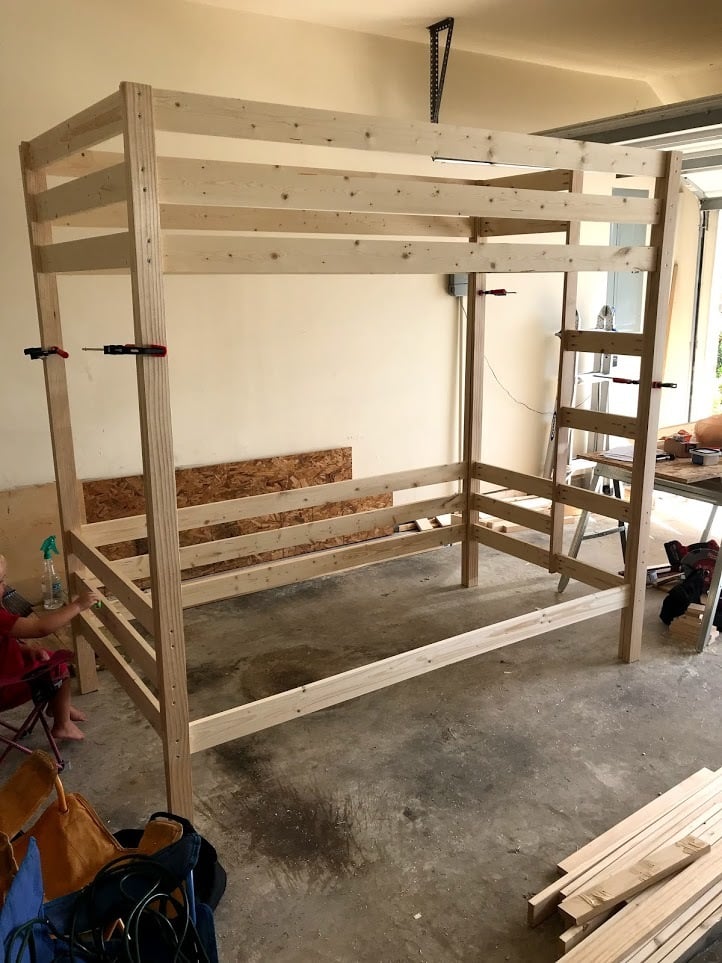
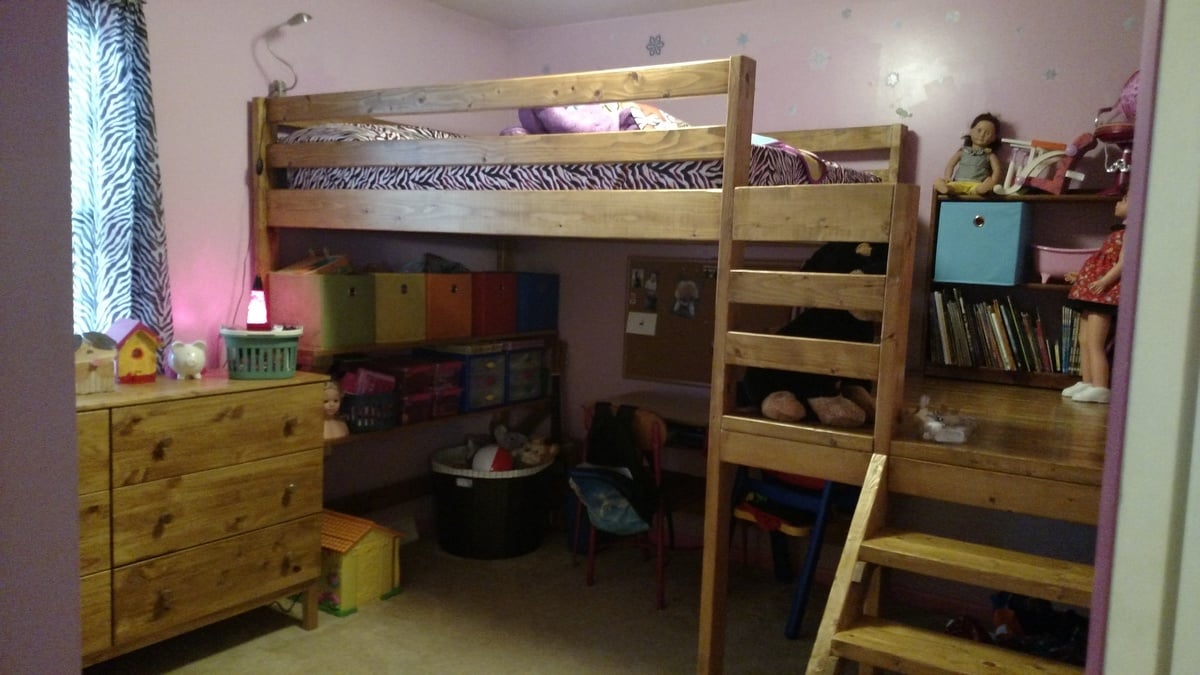
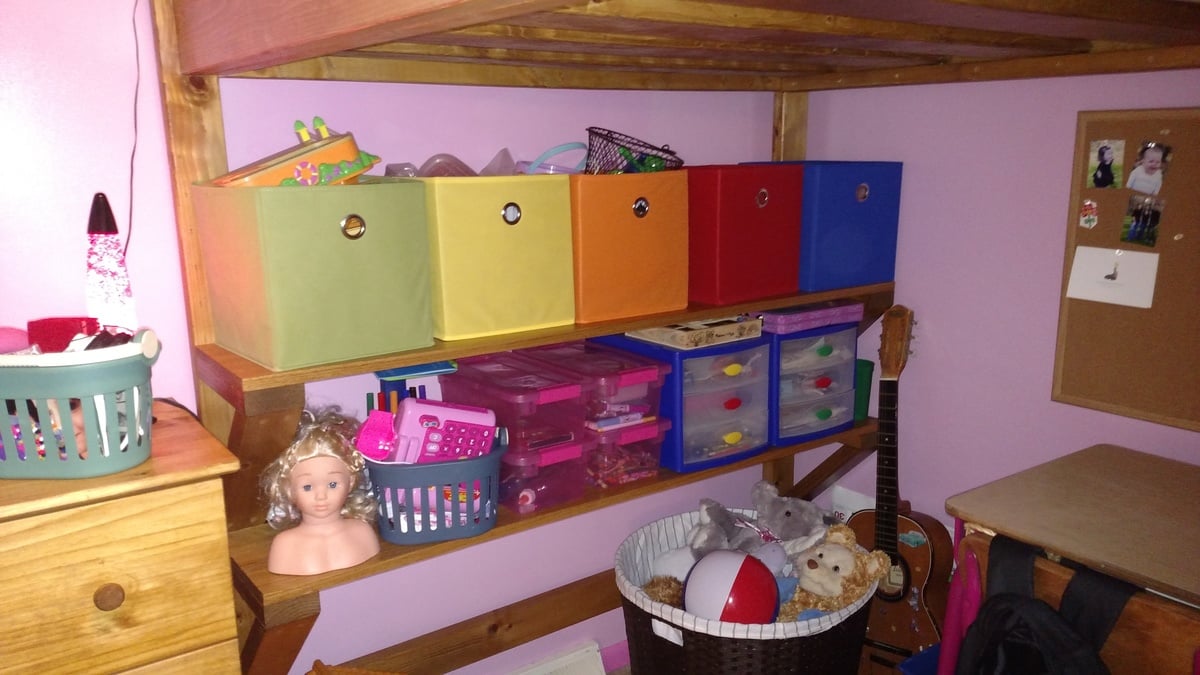
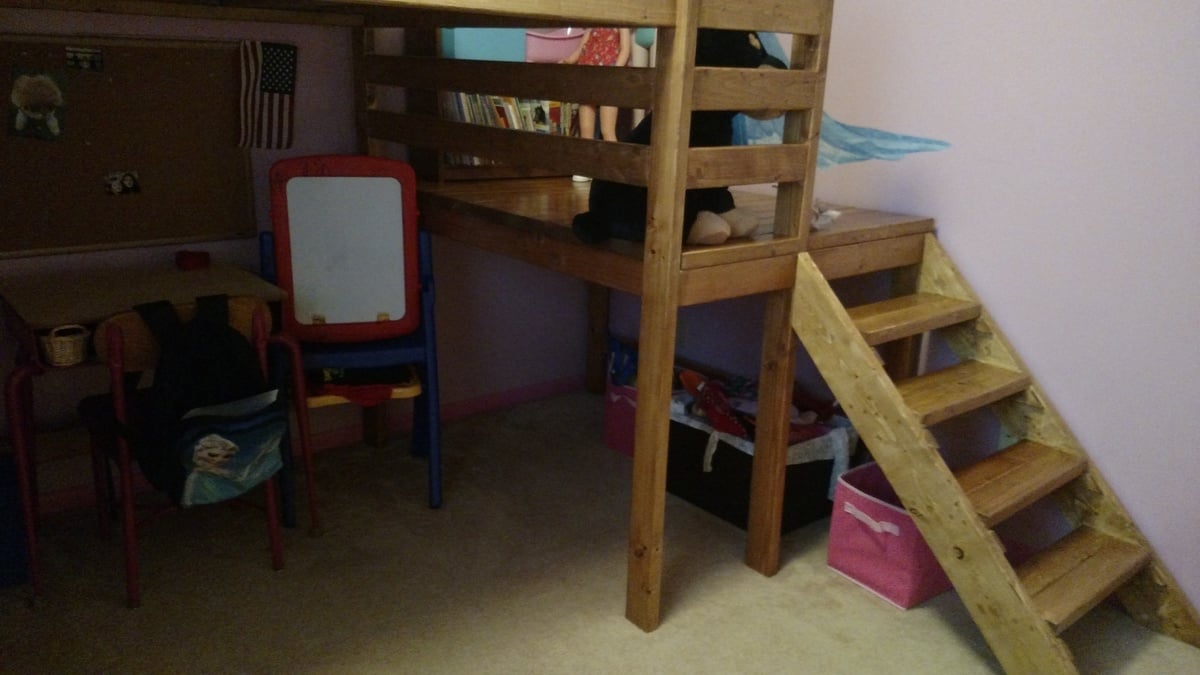
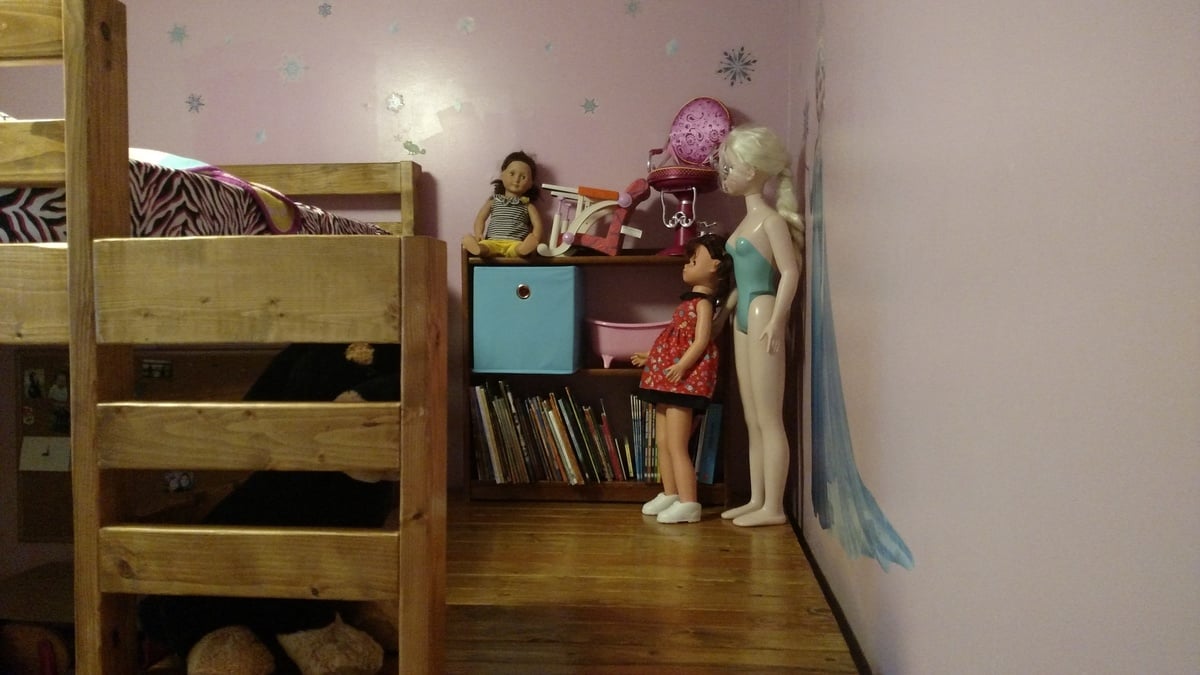
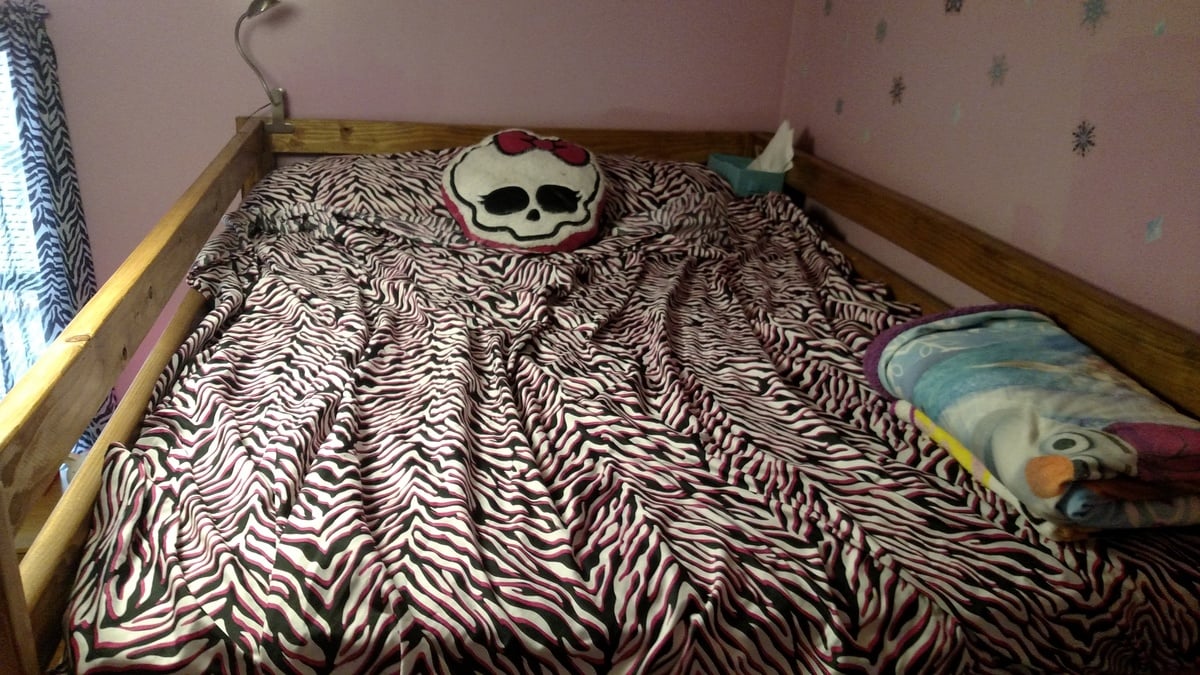
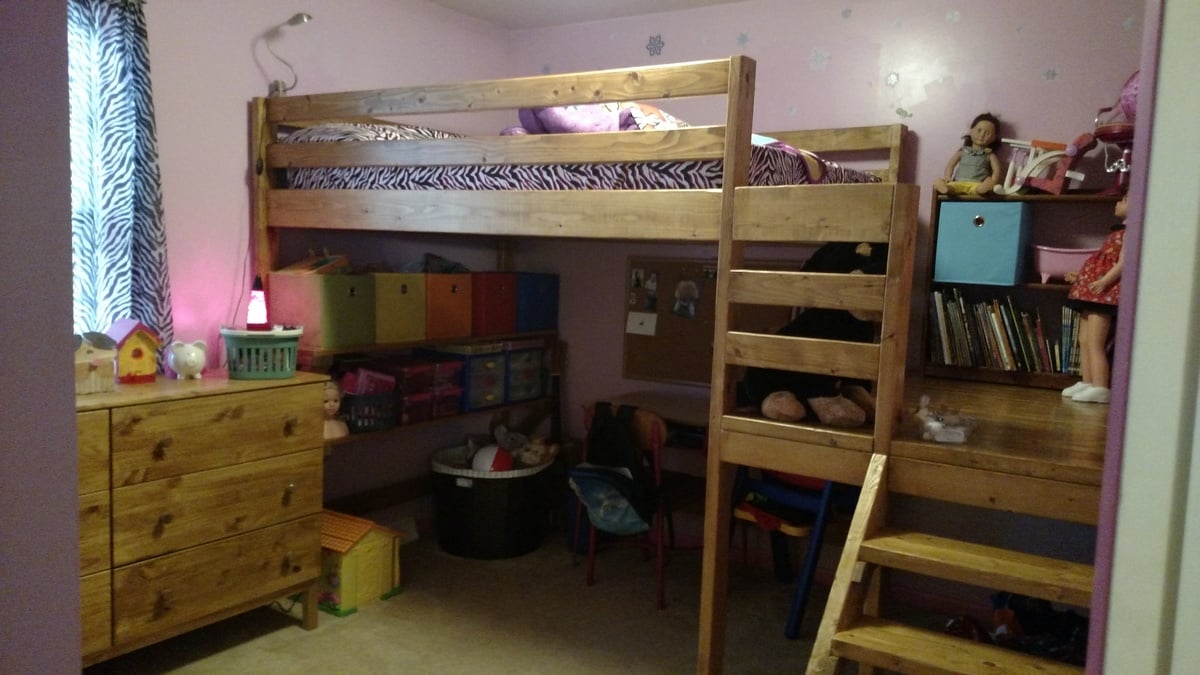
We modified the plans for the Camp Loft Bed to accommodate a full size mattress.  We also extended the platform so that the bed spread wall to wall in the bedroom.  Since the platform was extended, we added a short railing to prevent falls.  The height was pushed up to make it taller than the junior size of the original design.  This way we were able to place a desk and add 2 pine shelves underneath the head of the bed.  

We added a board along the long side at the bottom to take out some wiggling.  The bed itself still seemed a little shaky until we attached the platform and now it is rock solid.  We have had 1-2 adults and multiple kids up there at the same time with no problem.

The bed itself could have been built in a weekend.  However, the time it took to sand, stain, and clear coat added many more hours.  Those hours were definitely worth it for a finished product.

Estimated Cost
$500
Estimated Time Investment
Week Long Project (20 Hours or More)
Finish Used
We used the medium warm stain used on the original bed. The directions are found here: http://ana-white.com/2012/07/medium-warm-stain
Recommended Skill Level
Intermediate

Comments

Albright777

Fri, 10/02/2015 - 10:43

Thank you so much for posting this.  My oldest wants a loft bed, but has a full right now.  I am building my 2 youngest the junior loft this fall and the oldest was jealous.  I was scared to build one.  Afraid it would not hold up.  Thank you for showing that it does.  Great job!!!


Island

Submitted by Anonymous (not verified) on Sun, 10/14/2018 - 14:37

3 foot by 4 foot slider wine rack island. 

Built from Plan(s)
Estimated Cost
$200
Estimated Time Investment
Weekend Project (10-20 Hours)
Finish Used
Black paint sponged on and dark walnut by minwax
Recommended Skill Level
Intermediate

Comments

coffee table

Submitted by JMG on Fri, 06/24/2022 - 21:00

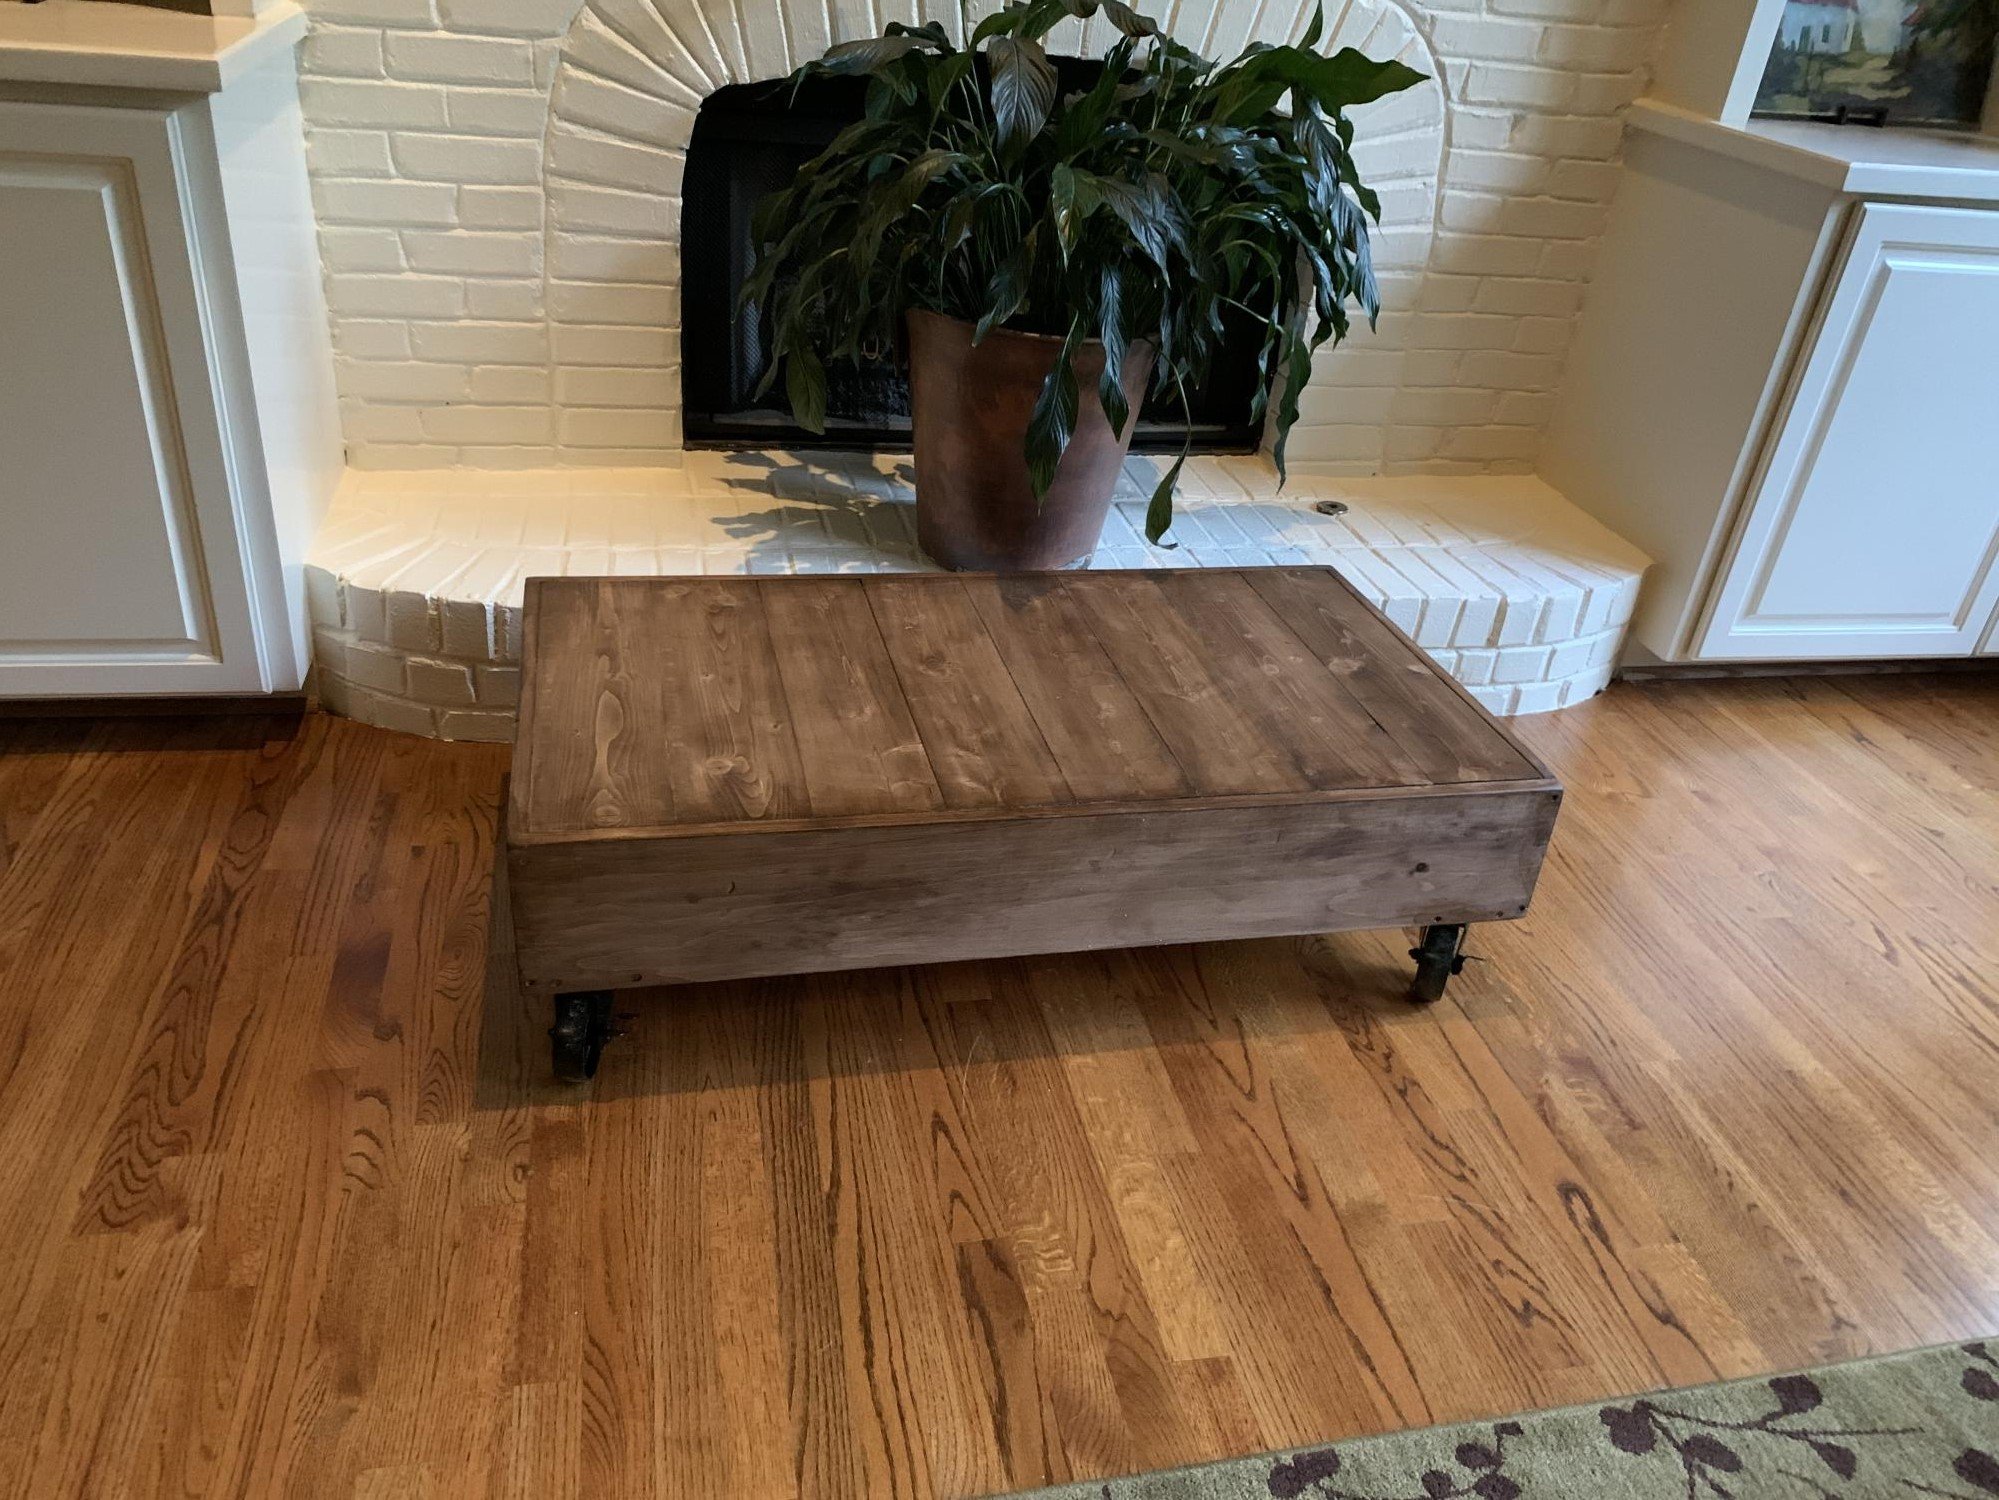
I have wanted a "factory" coffee table for years and could never find one that was exactly the right size. I built this one to fit the space and love it! I have no idea why the picture is upside down!

Built from Plan(s)

Comments

Simple Trestle Table

Submitted by ajp529 on Fri, 08/23/2013 - 18:01

Built this from lumber from a daybed that I tore apart. Total cost was about $10 for the pieces for the top. Built in a small apartment with a Kreg jug and some clamps on the kitchen floor. The top is not completely even but close. Was fun to build and I am very happy with how it turned out, thanks Ana!

Estimated Cost
10
Estimated Time Investment
Afternoon Project (3-6 Hours)
Finish Used
Painted with tea, let dry, then paint with vinegar and steel wool solution, sand and shellac.
Recommended Skill Level
Starter Project

Outdoor Sectional and Cocktail Ottoman

Submitted by Annacakes on Mon, 10/05/2015 - 11:48

I made a few changes to Ana's plans to basically work with my cushions.  I found cushions on clearance at Ballard's Backroom.  I had to adjust the size of the sofas in order to fit the cushions.  I also adjusted the height of the sofa, as I found it to be a little higher than I would have liked.  The project took a while to complete, but it wasn't due to difficulty.  This was an easy project for a novice like myself.  I just primed every piece of wood with exterior primer and then painted the whole thing with 2 coats of exterior paint.  It was the drying time that added to the total project time.

I also made a cocktail ottoman out of a lounge chair cushion that I purchased at Ballard's.  Basically, the ottoman is a rectangular box built to the size of the cushion.  I added feet purchased at Home Depot just to make it look a little less box-like.  I applied a couple of coats of primer as well as the exterior paint to every piece.  

Estimated Cost
Not sure really, but I know it was a lot cheaper than the sectionals at the outdoor patio store down the street.
Estimated Time Investment
Weekend Project (10-20 Hours)
Finish Used
Binz Exterior Primer
Behr Ultra Exterior Paint in Satin Finish - Espresso Beans
Recommended Skill Level
Beginner

Comments