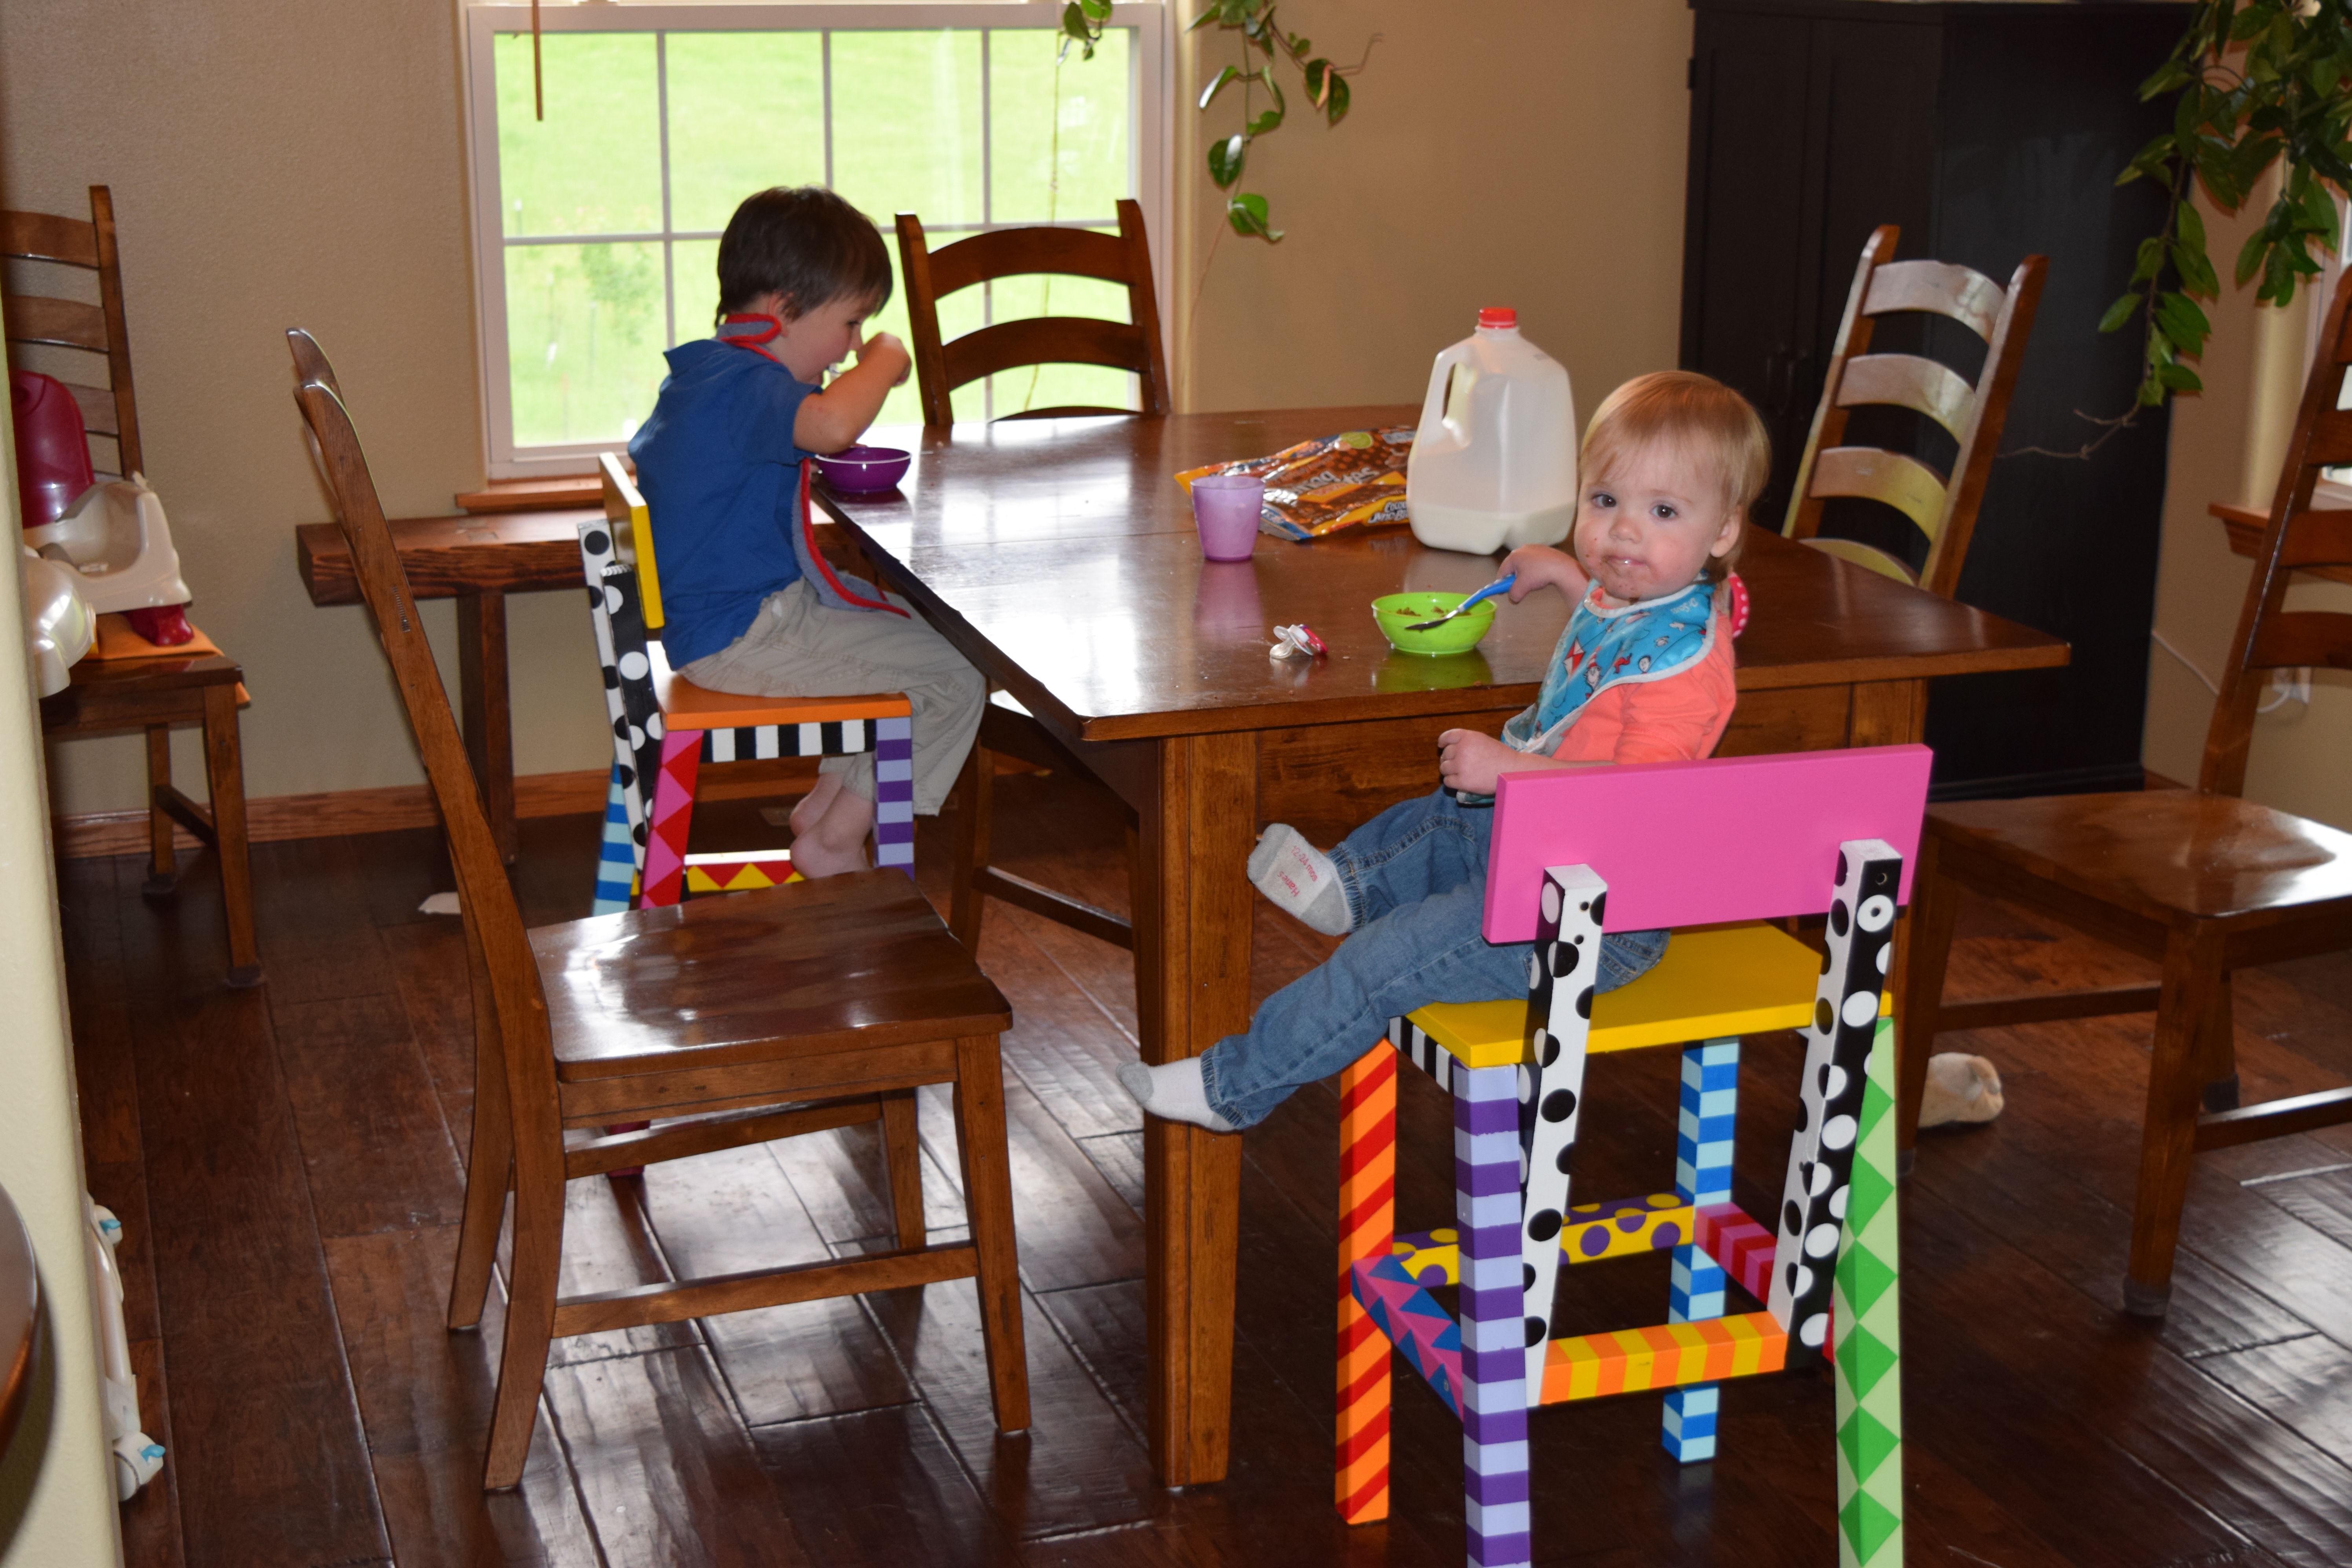
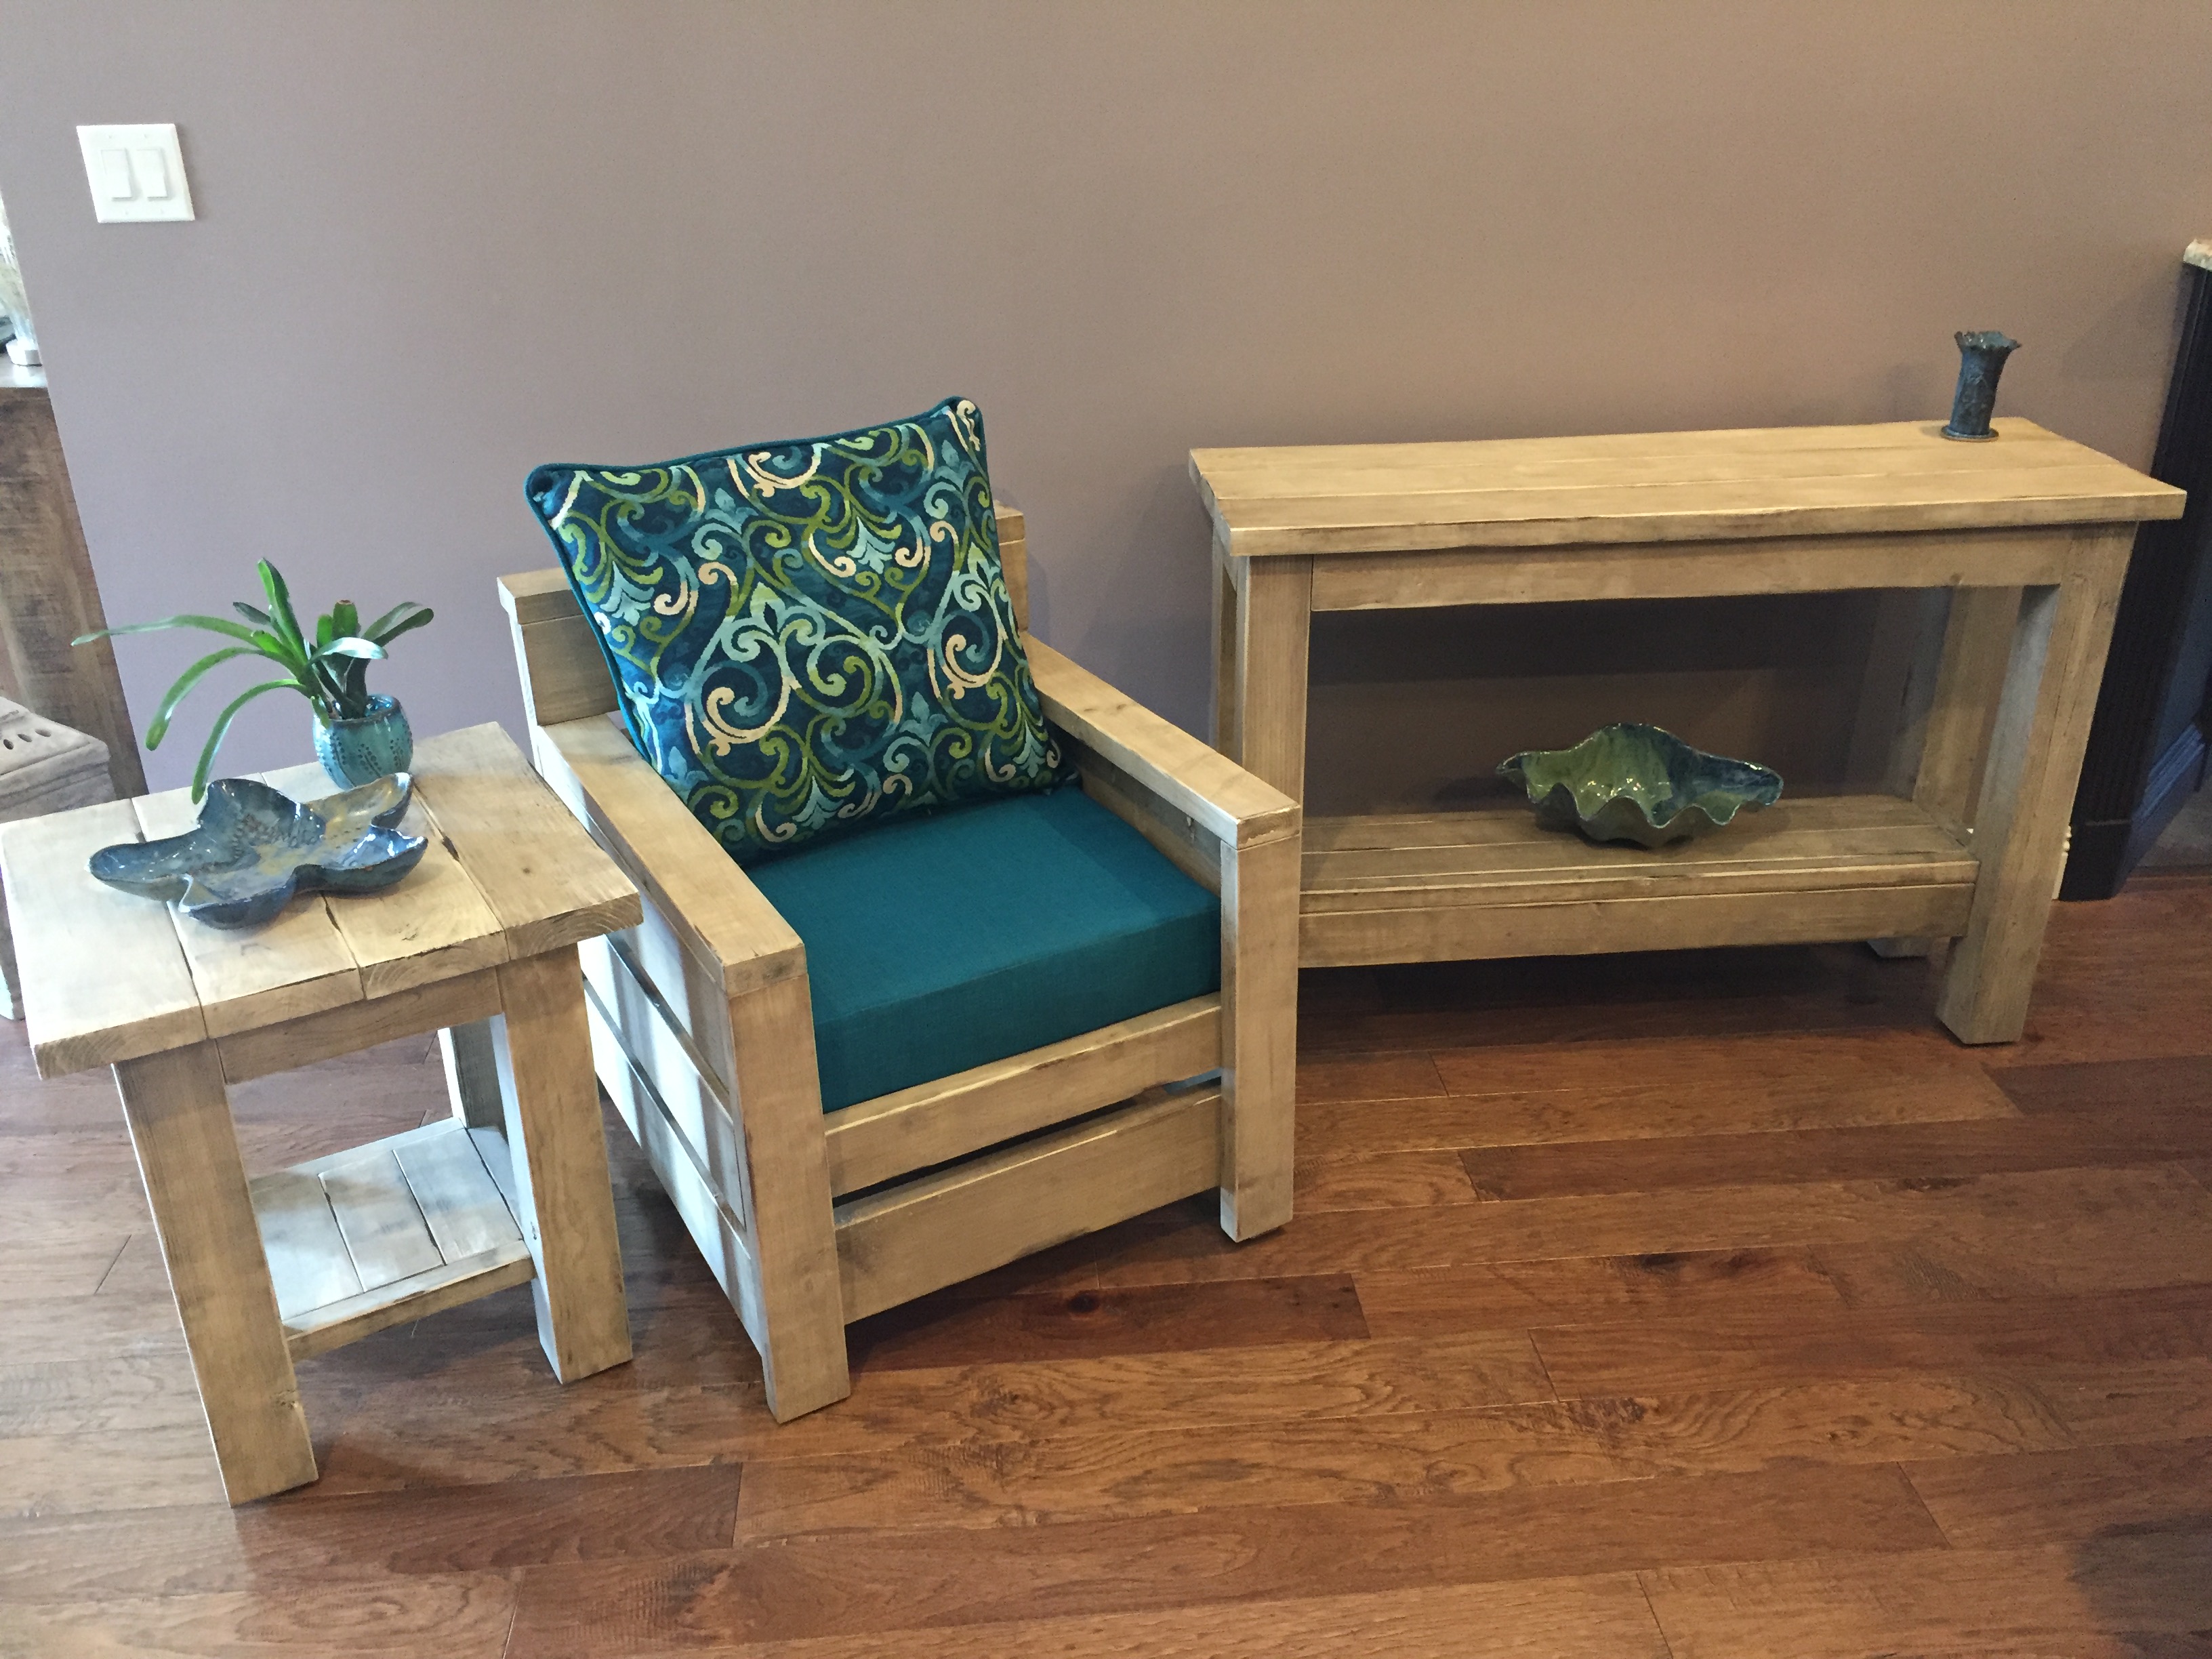
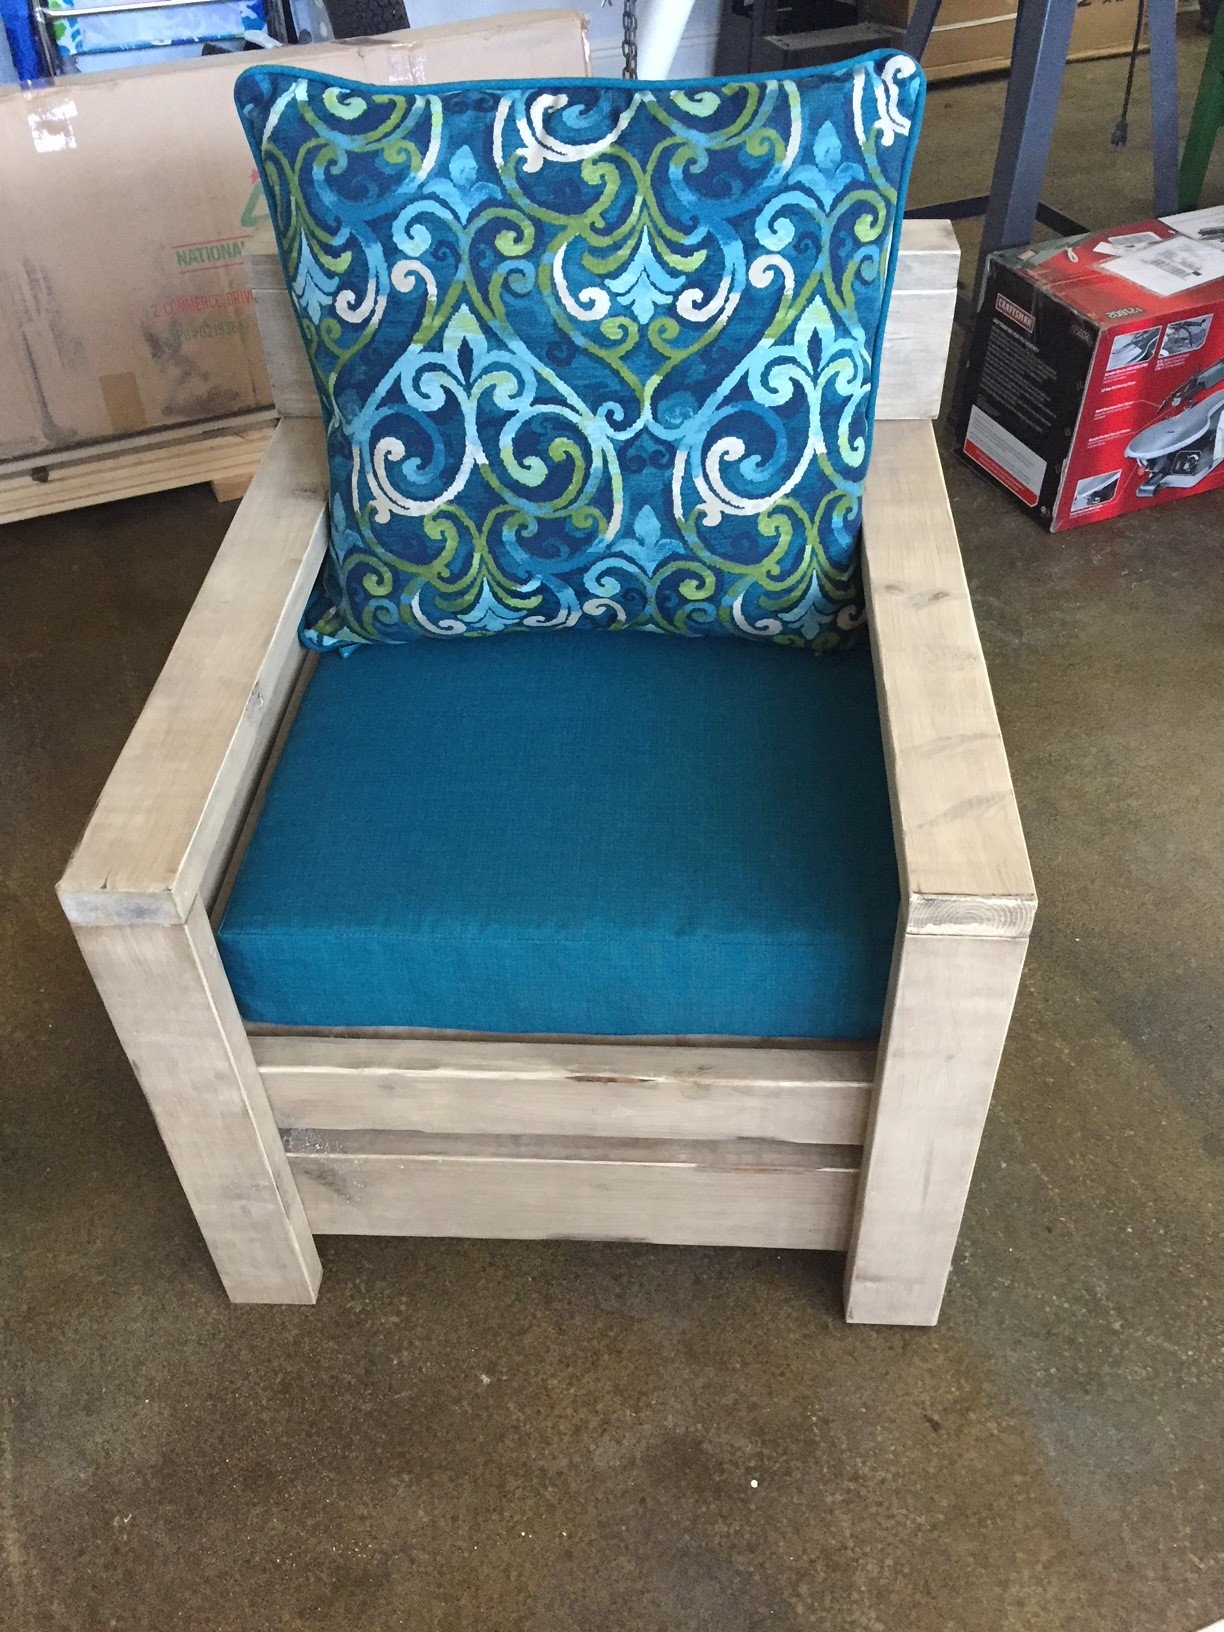
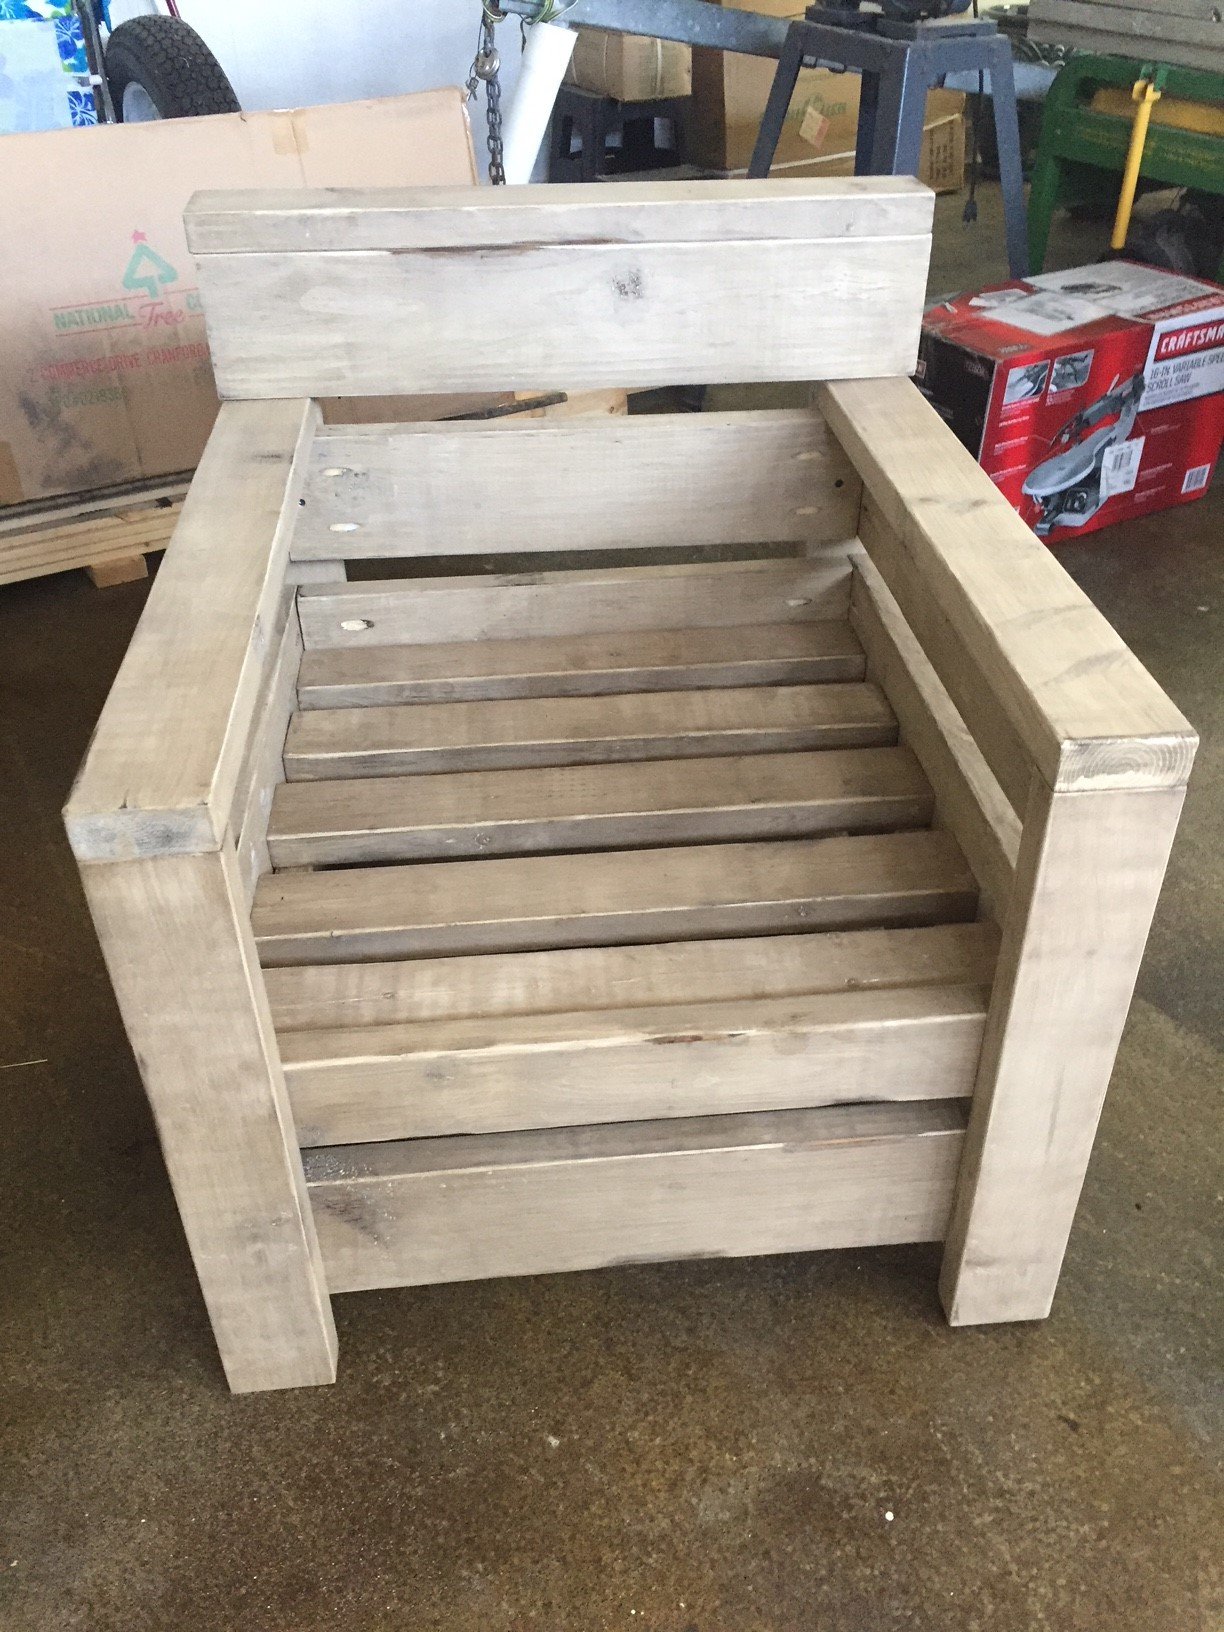
Perfect Height Chair
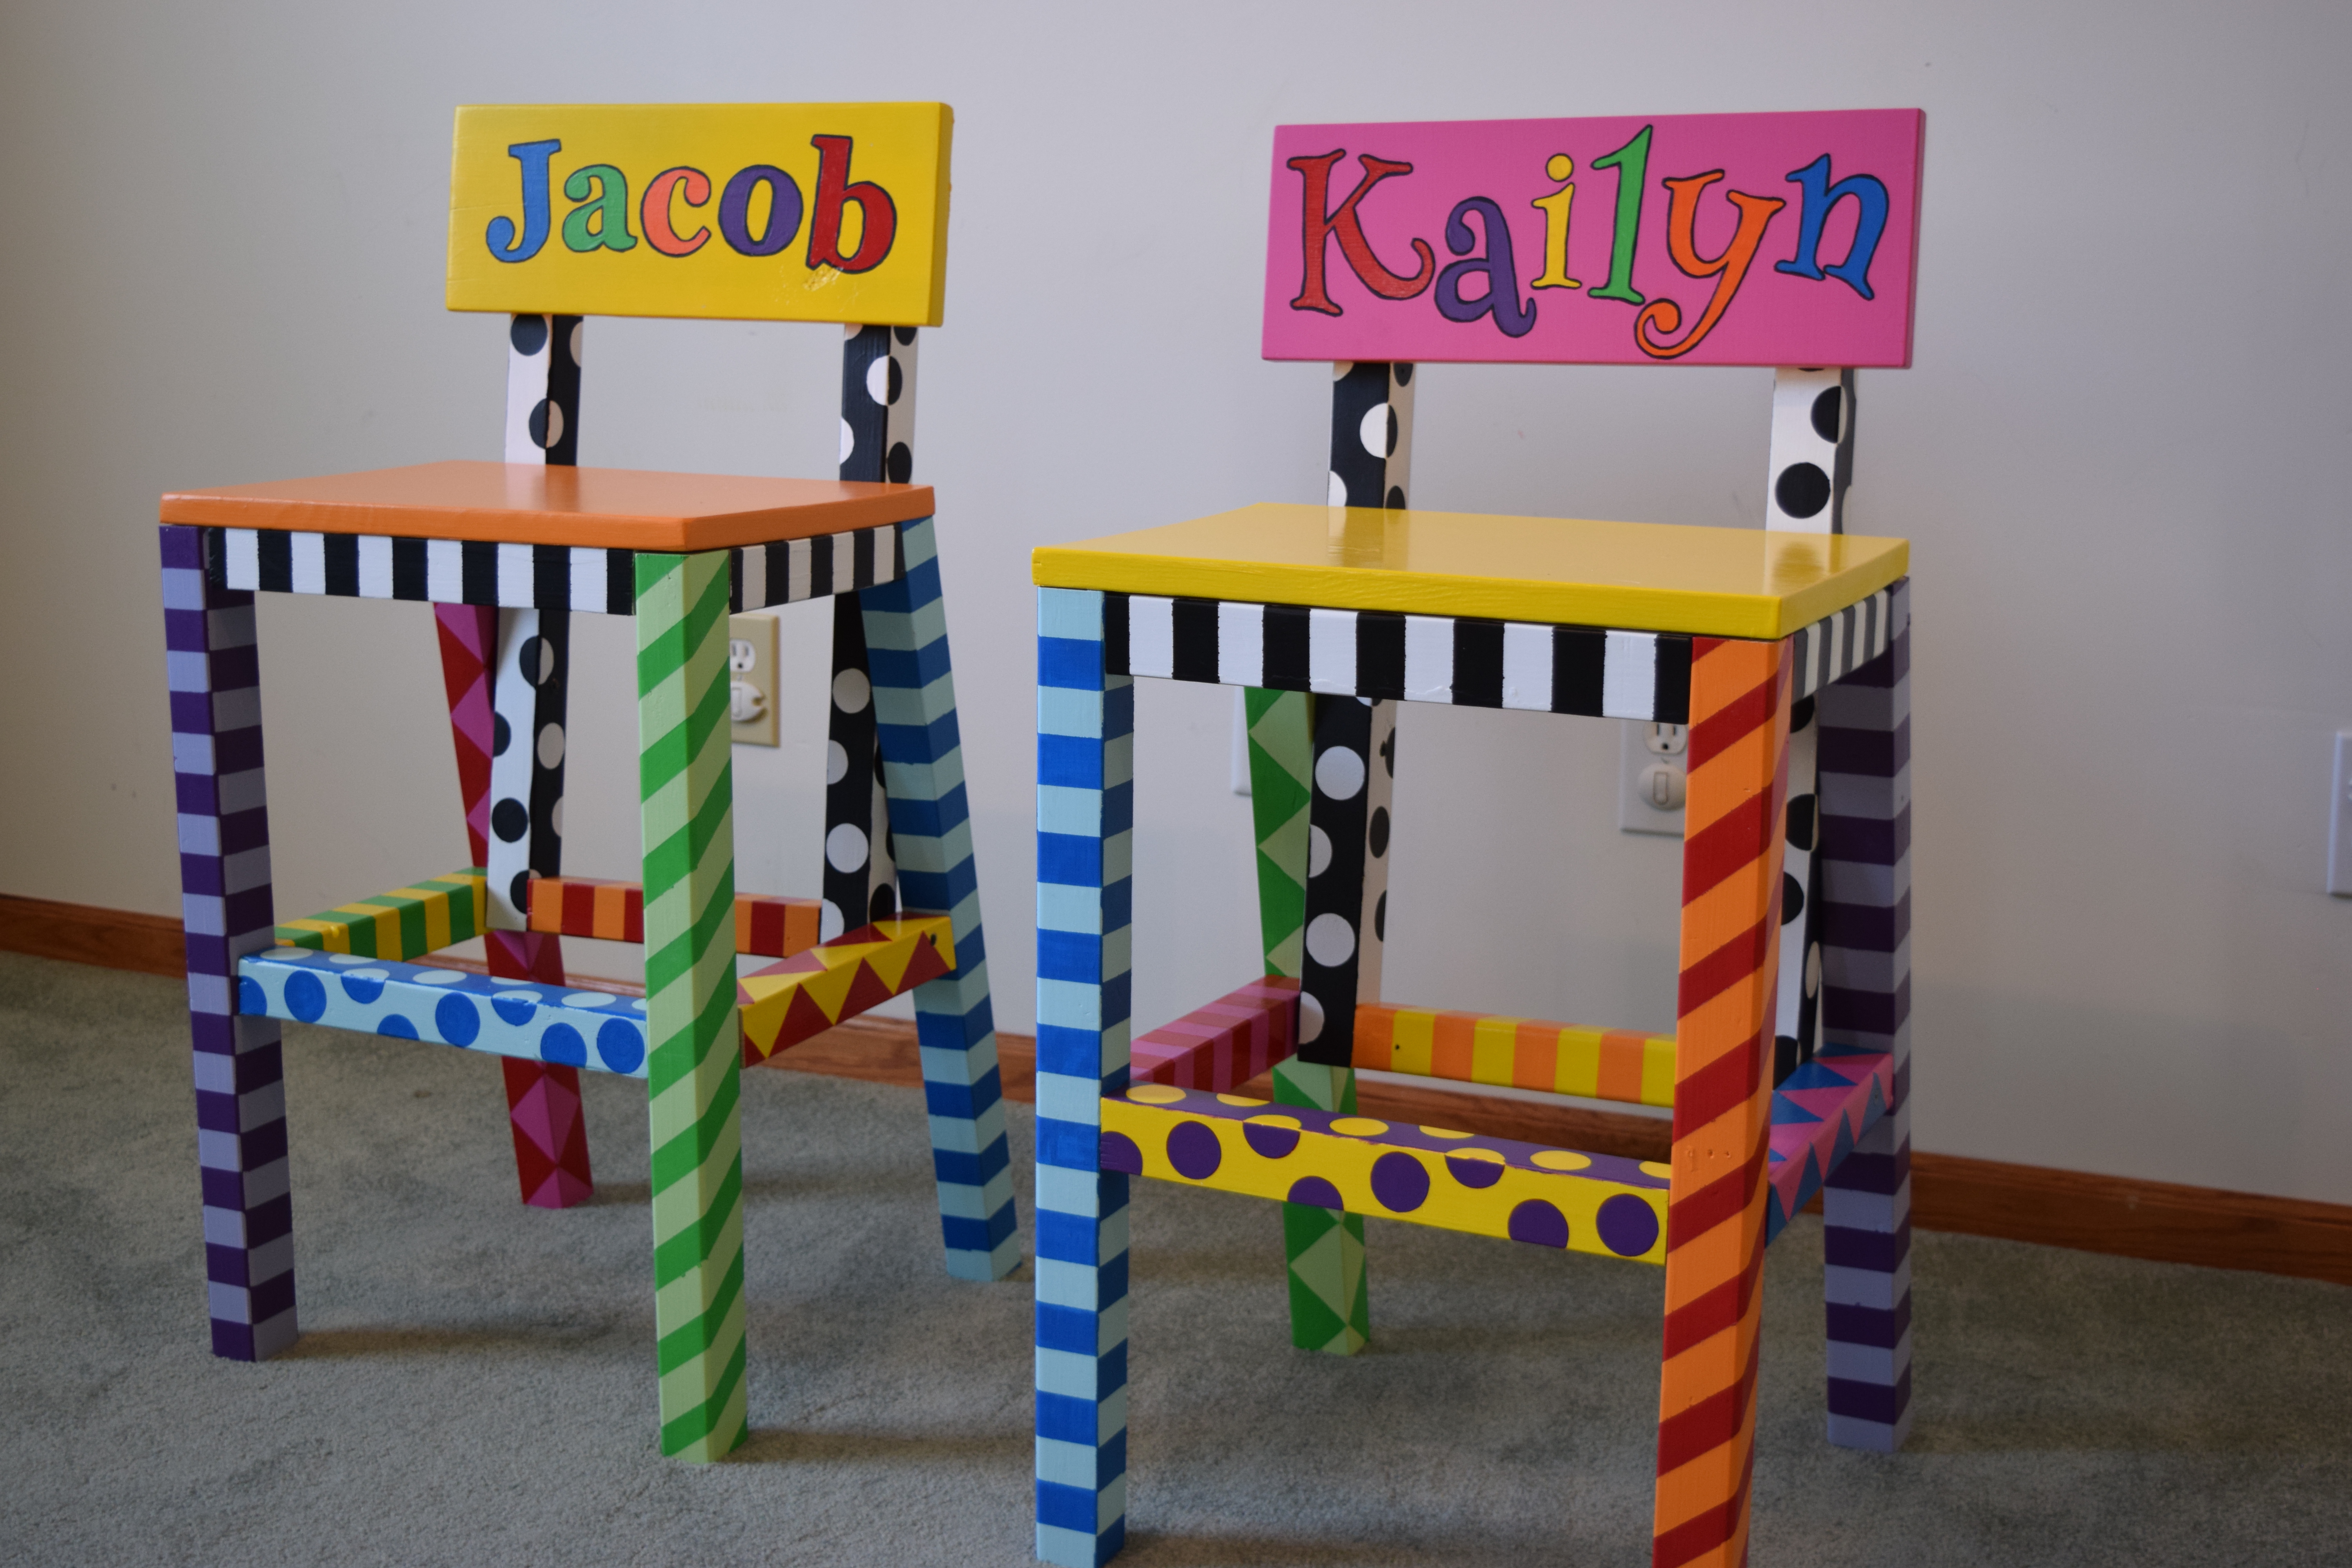
These chairs are easy to build and the kids love them. I wanted them to be colorful, fun, and personal. My son has been using his chair before it was finished for two years now. It was supposed to be used temporarily for a dinner party one night and we didn't want to part with it long enough to finish it. I built a second chair for my one and a half year old and decided to finish both chairs at the same time. With a little bit of planning and some painters tape this is how they turned out.
Built from Plan(s)
Recommended Skill Level
Beginner


Comments
ladybug'13
Sat, 06/27/2015 - 22:14
love the paint!
Love the finish here, so cute! For the circles, did you use those circle stickers? I may need to do something like this for a very special little girl :)
In reply to love the paint! by ladybug'13
fun2bee
Sun, 08/02/2015 - 18:40
circles
I used a stencil to draw the circles then just painted them in.