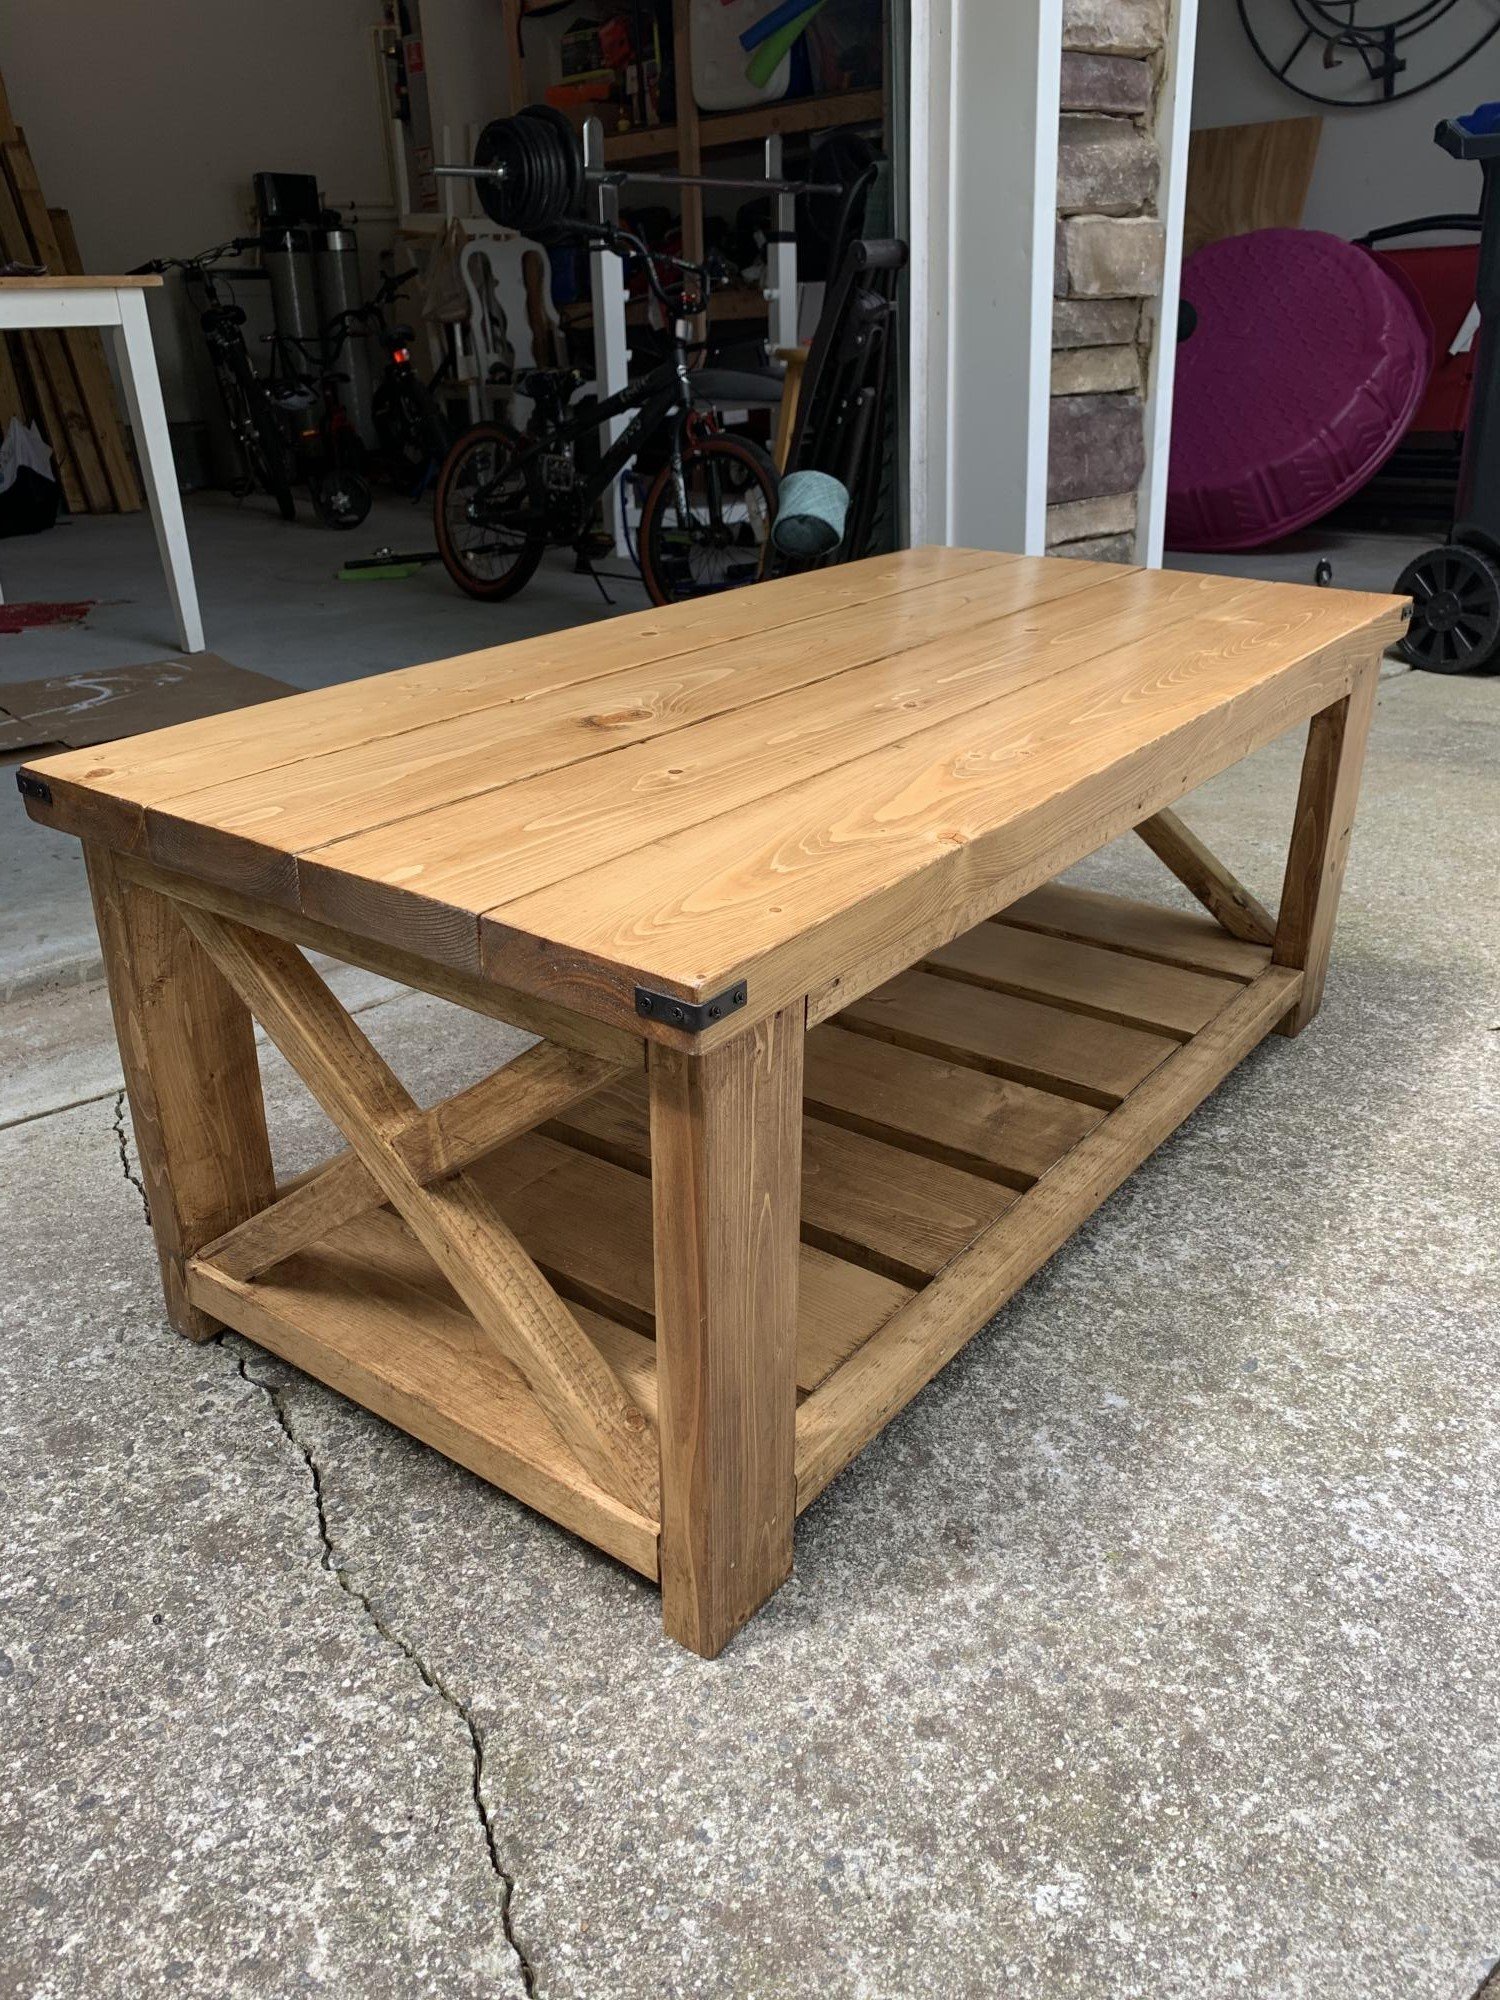
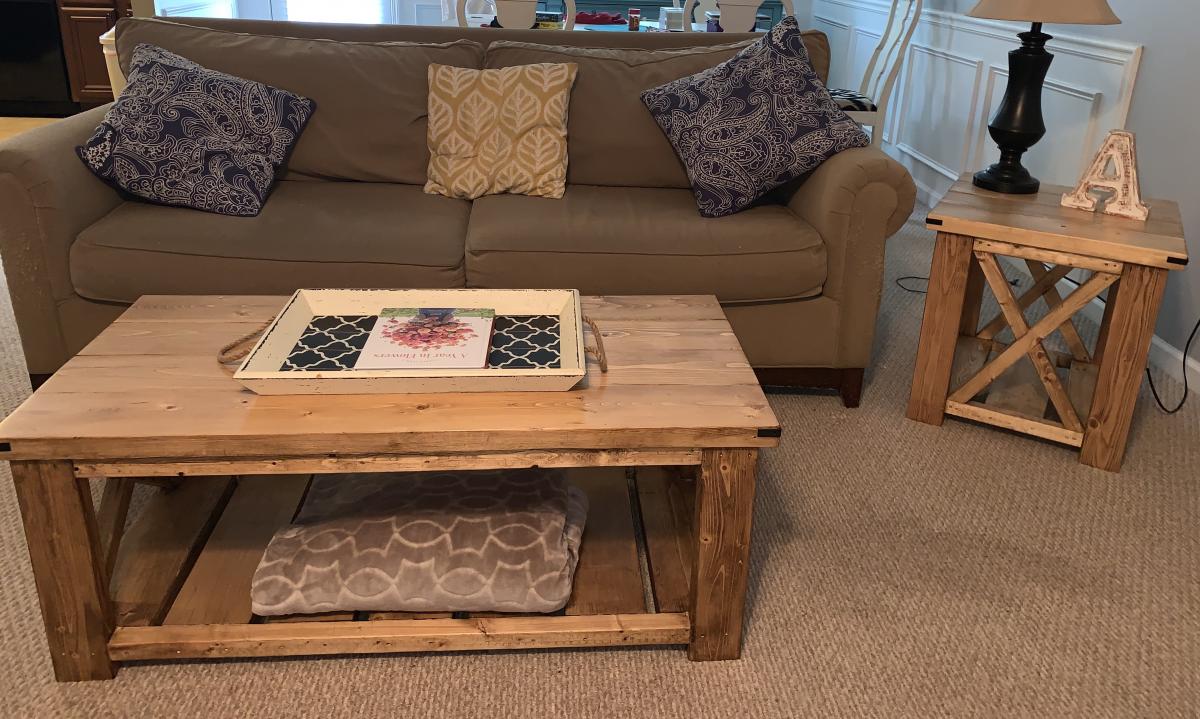
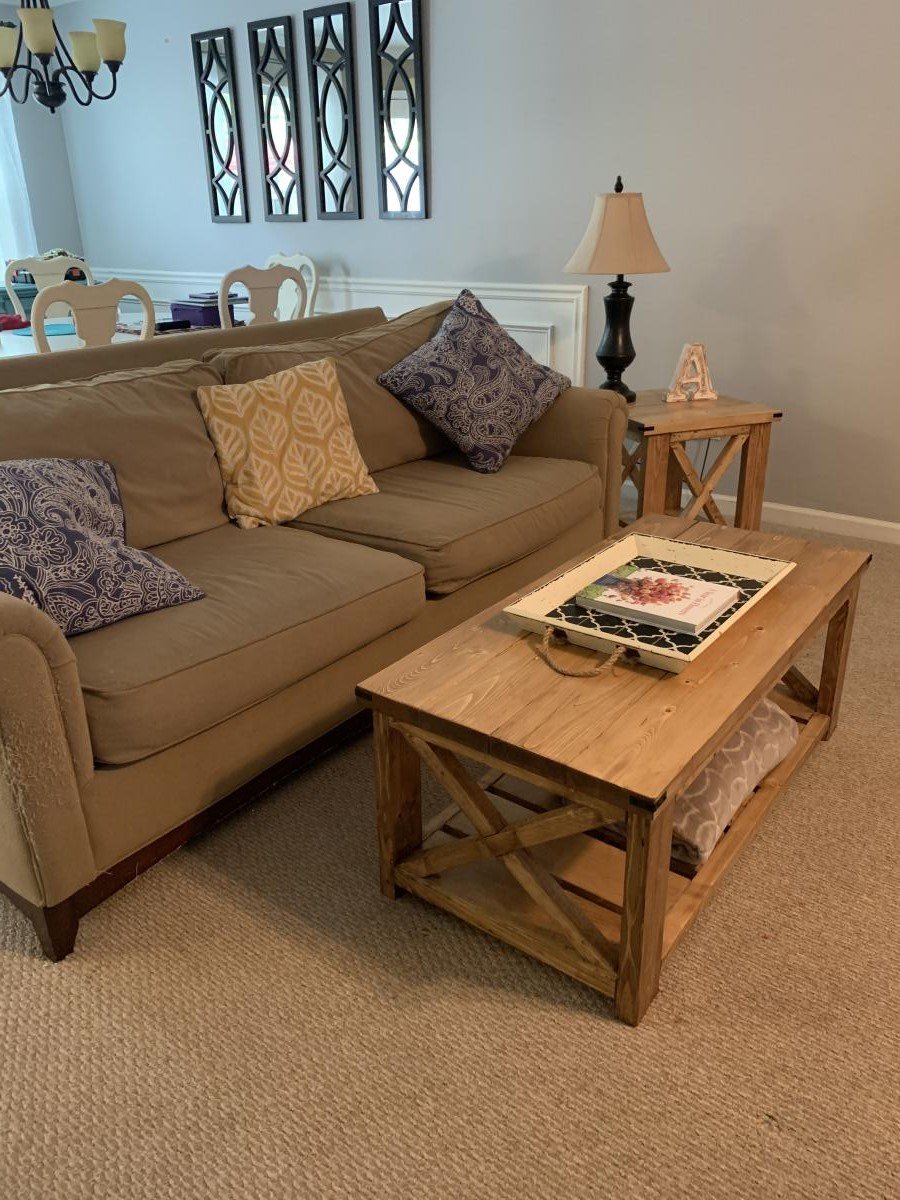
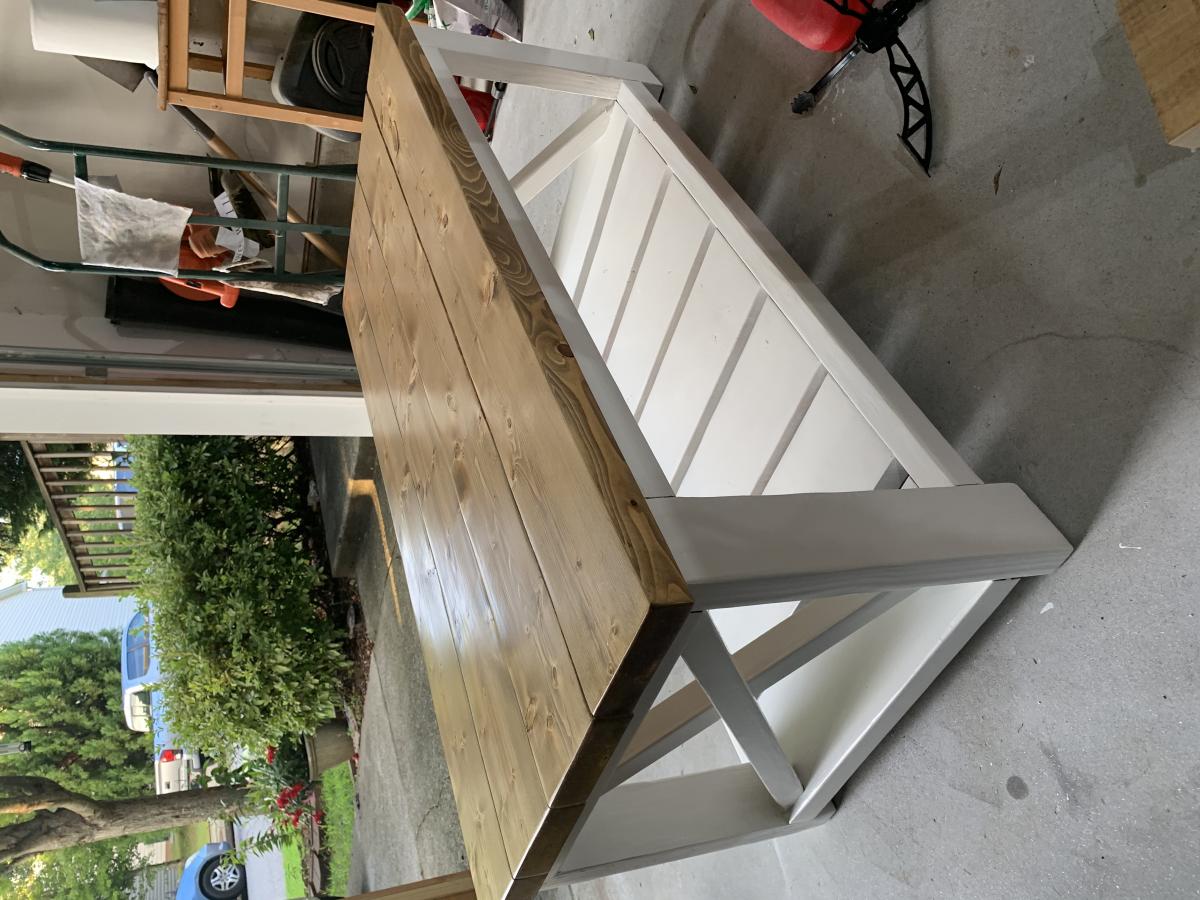
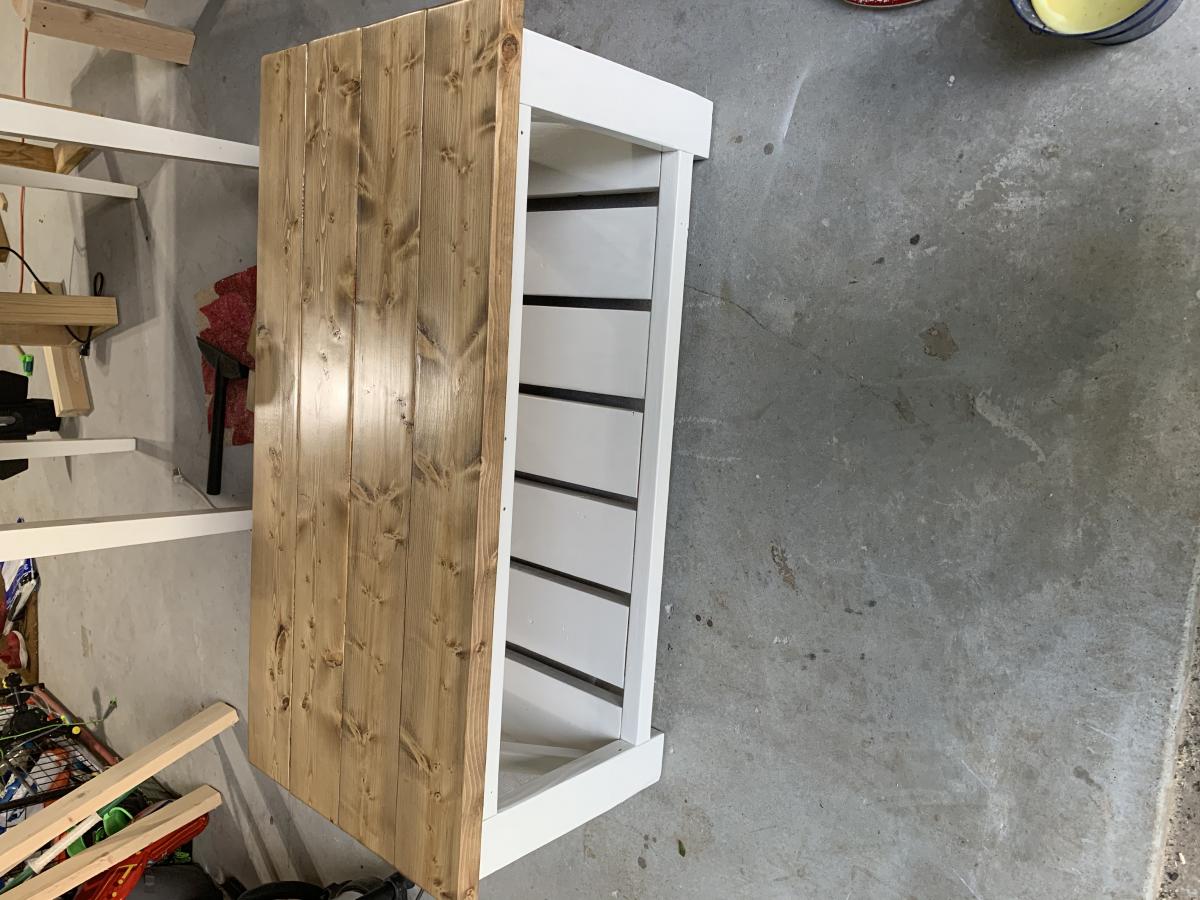
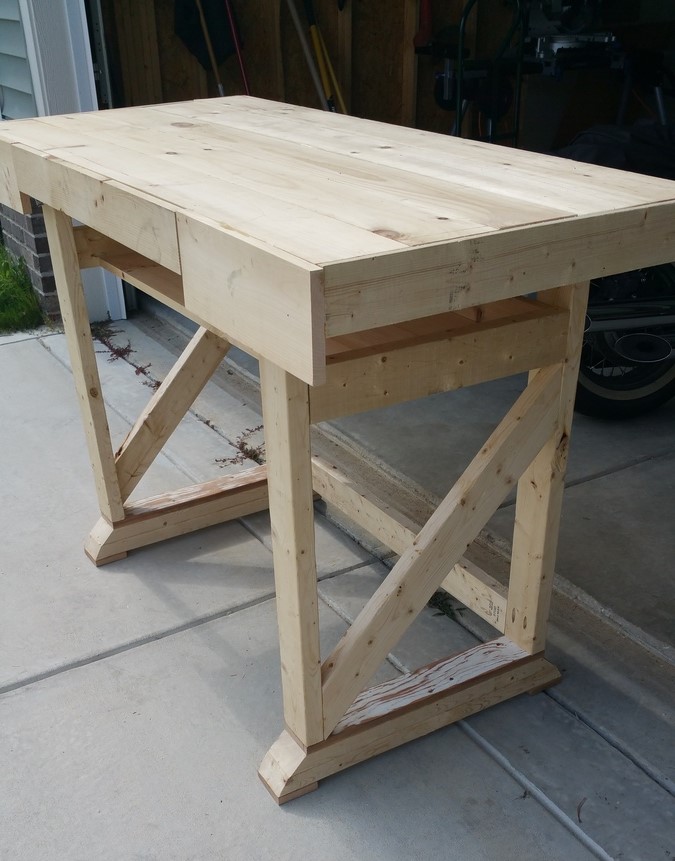
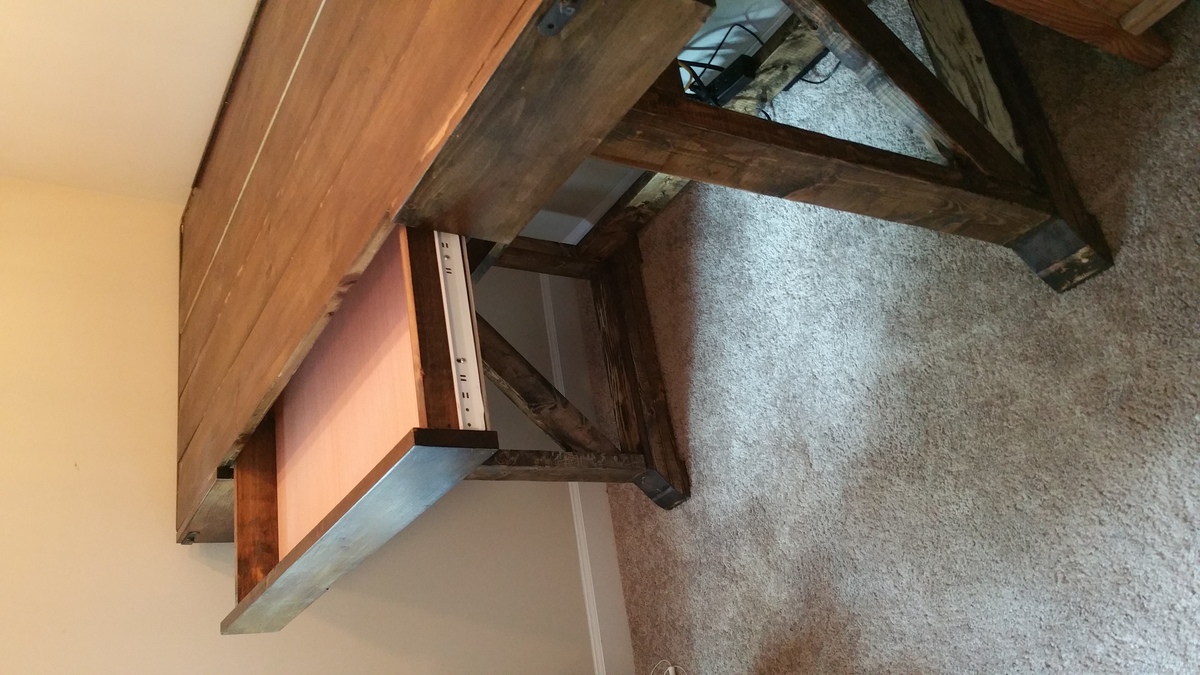
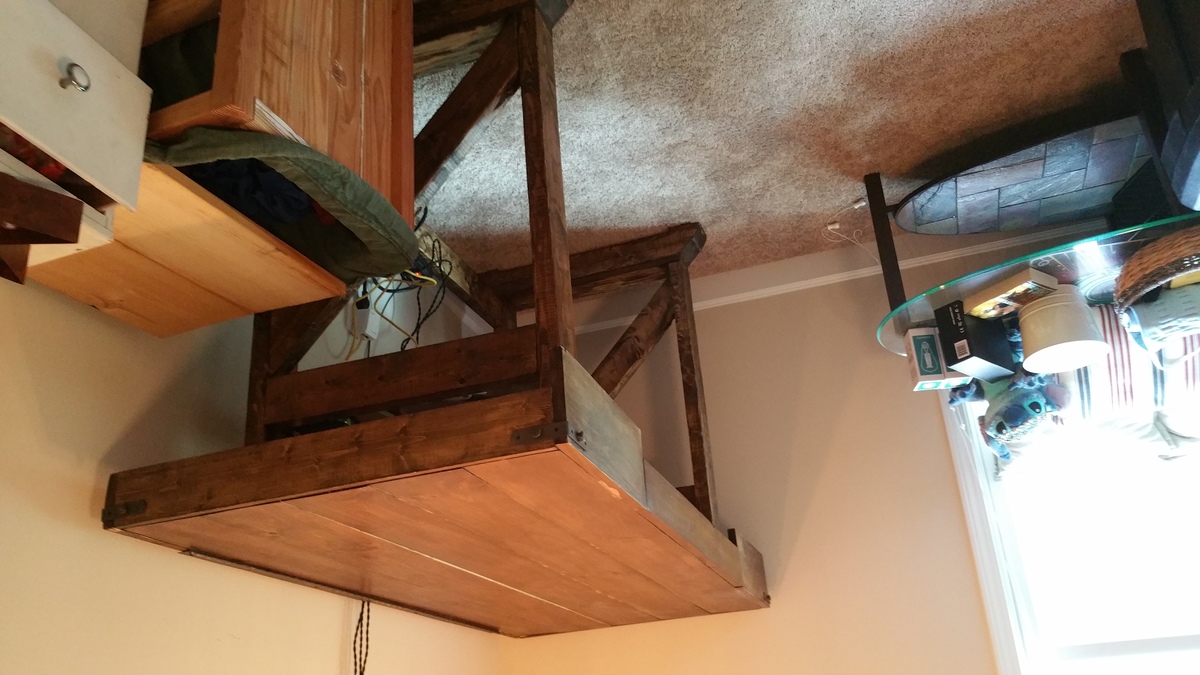
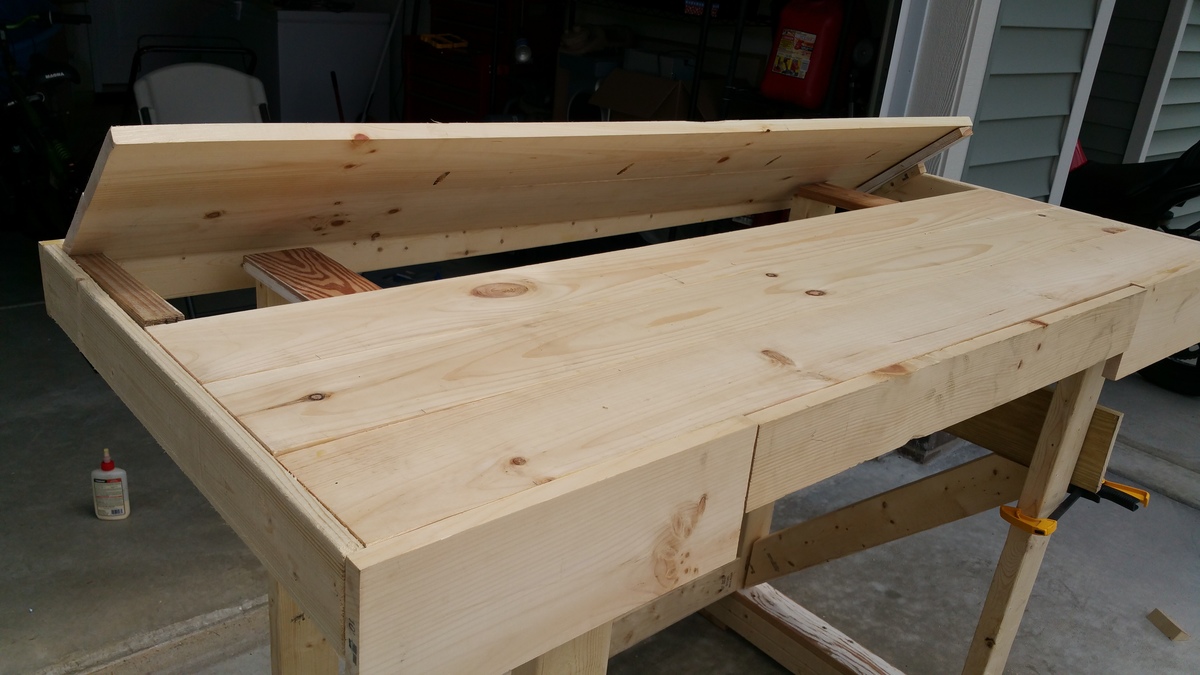
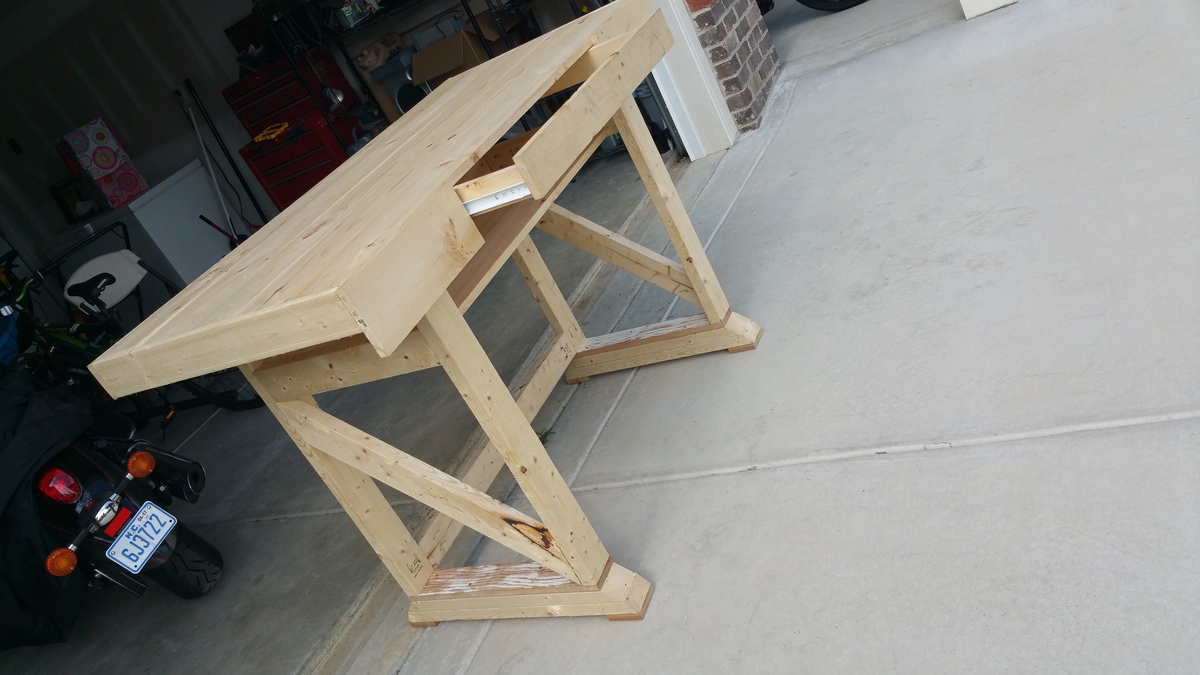
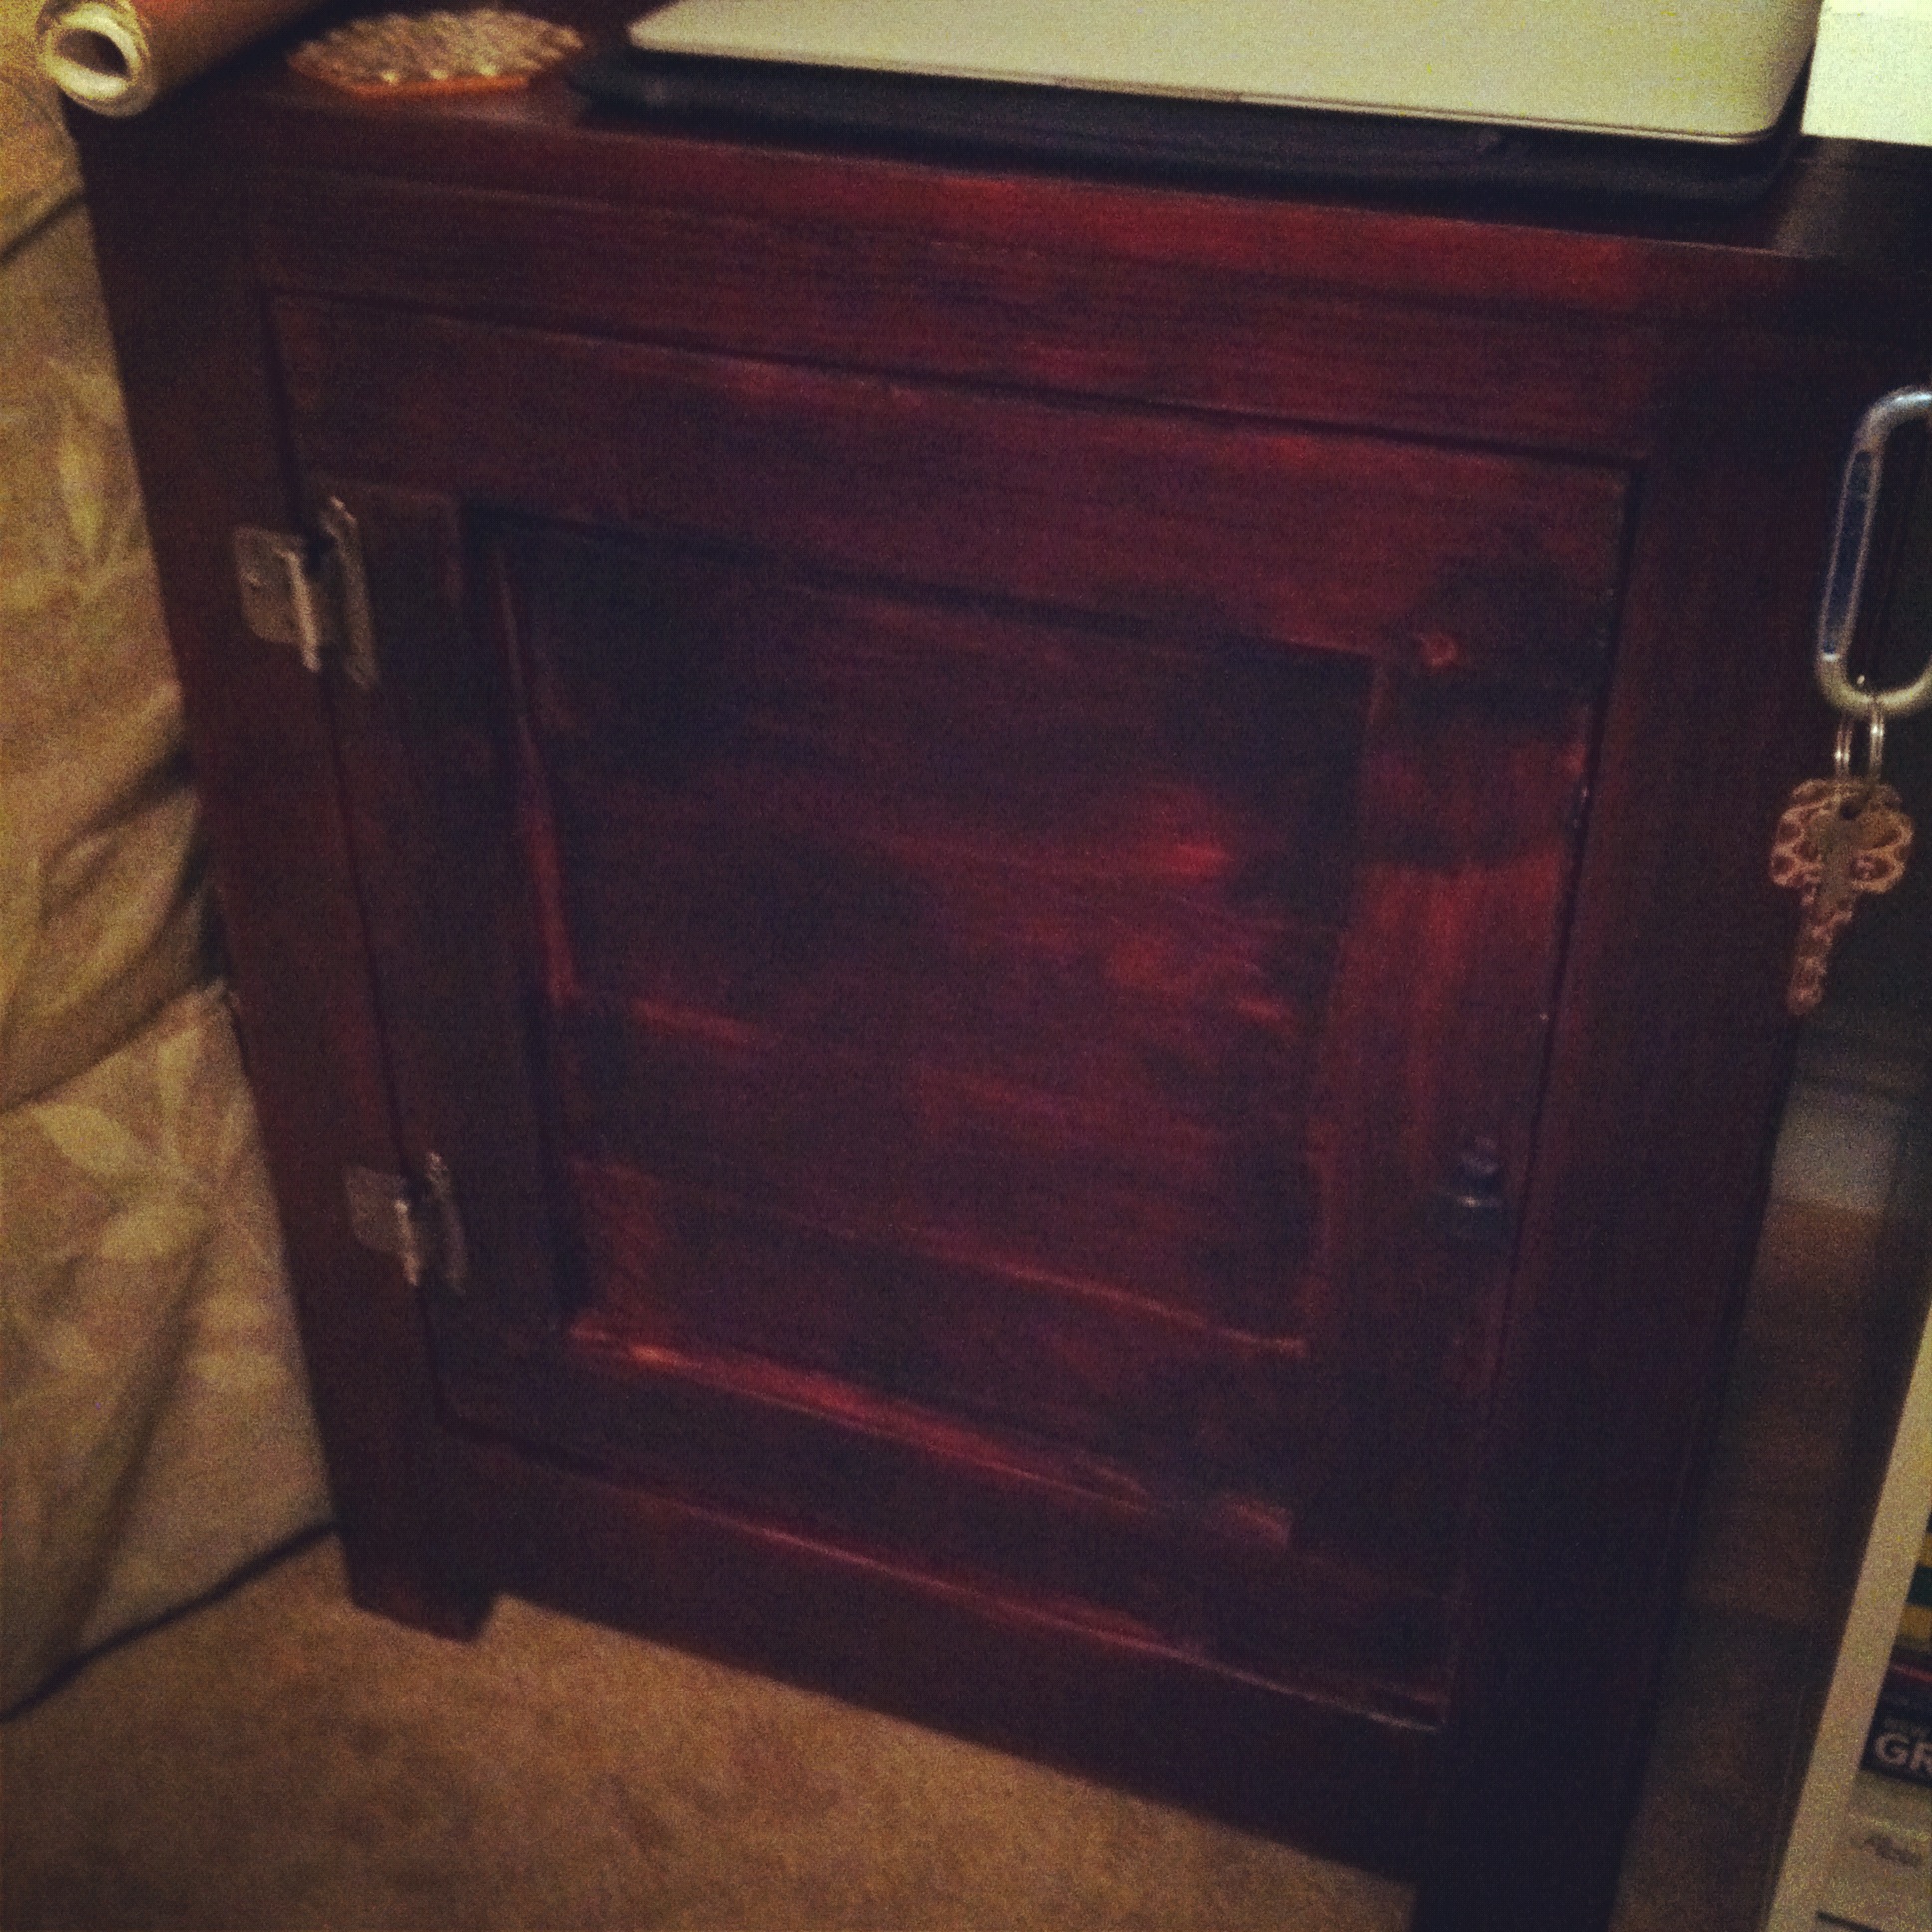
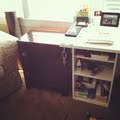
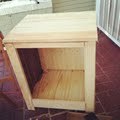
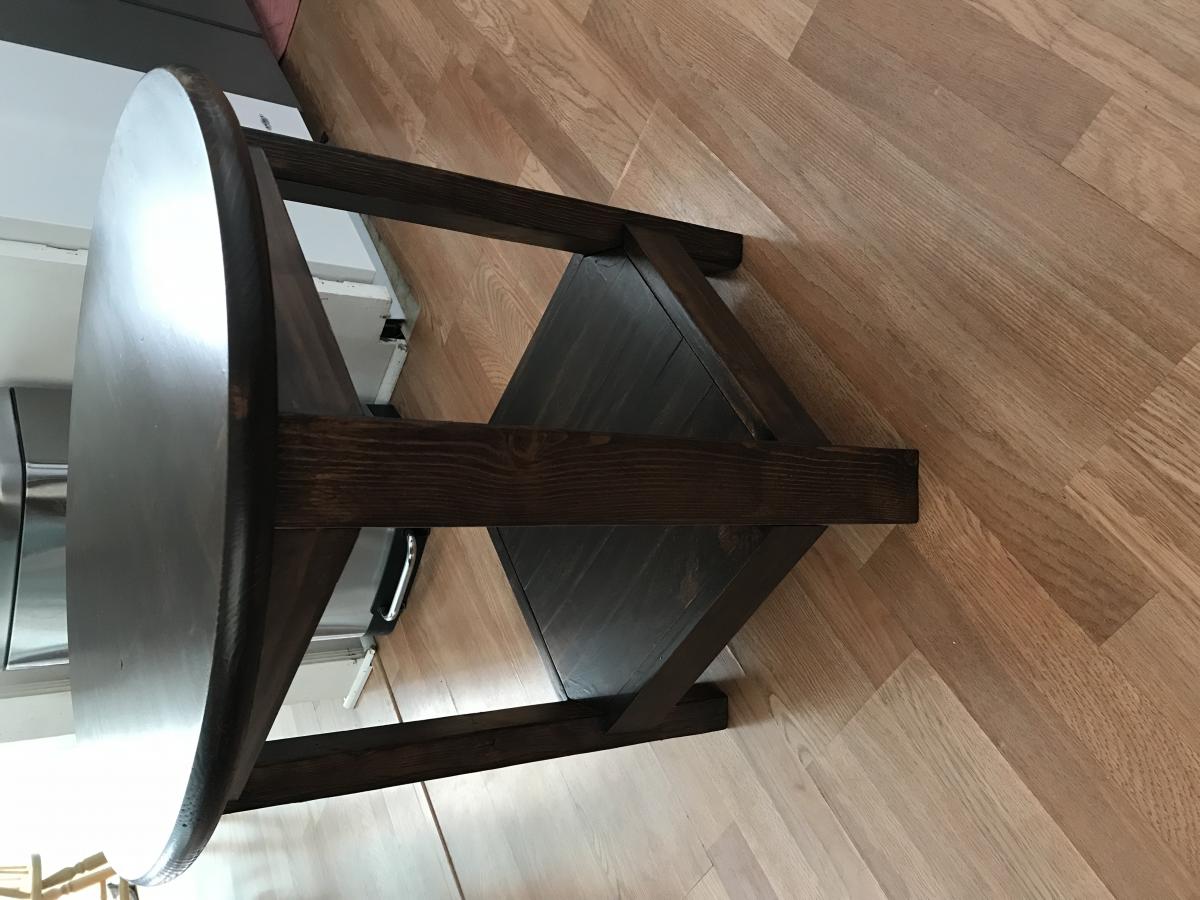
Benchright Round End Table
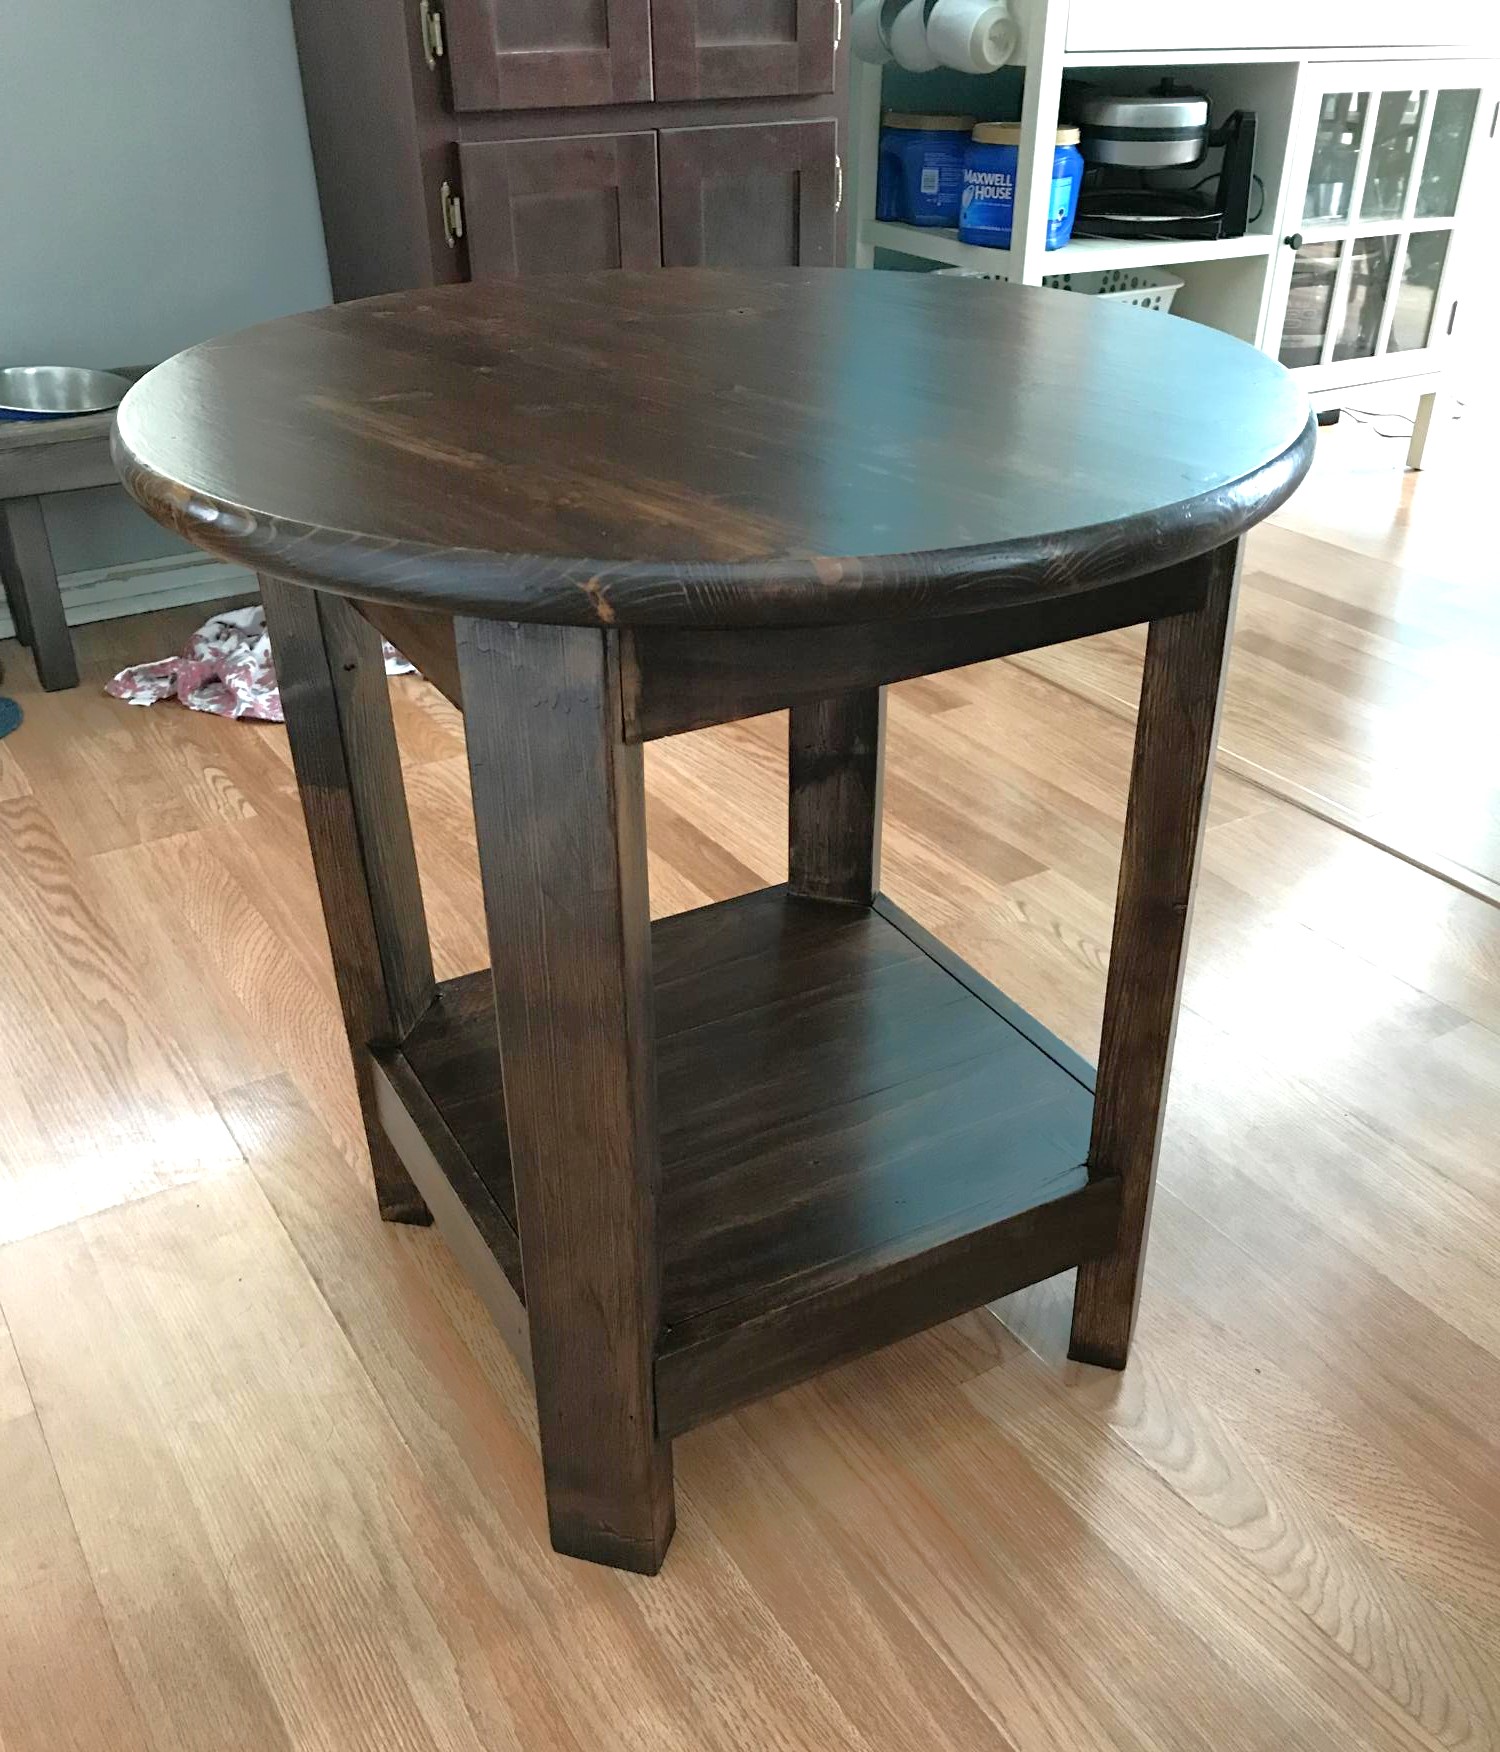
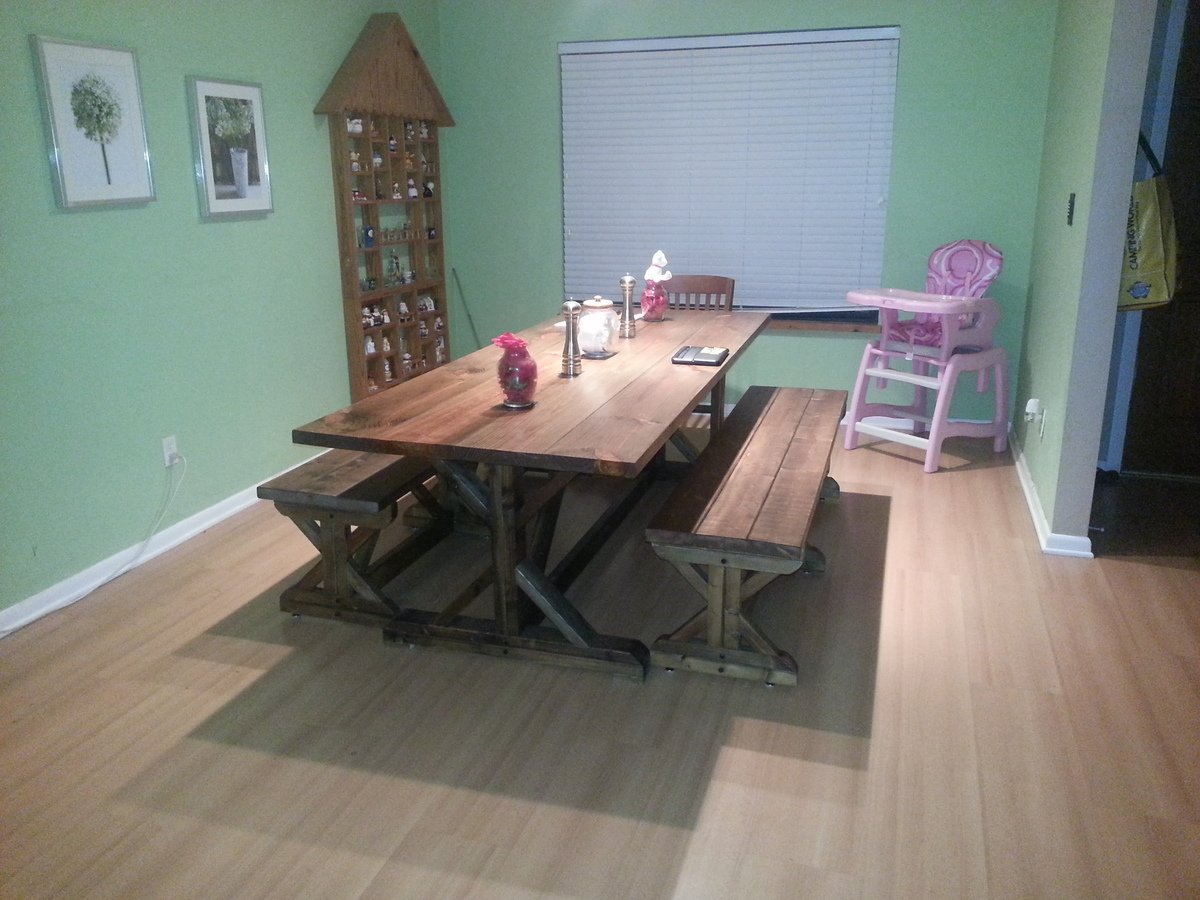
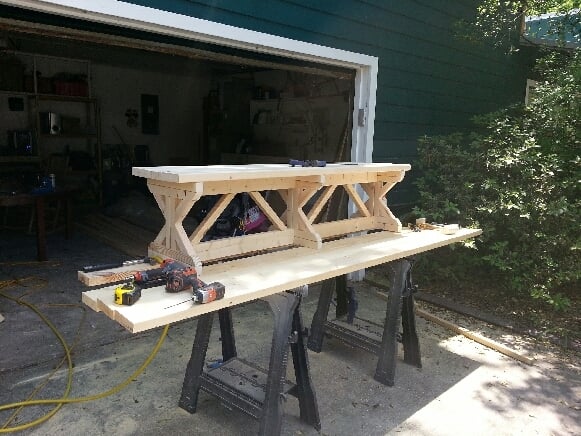
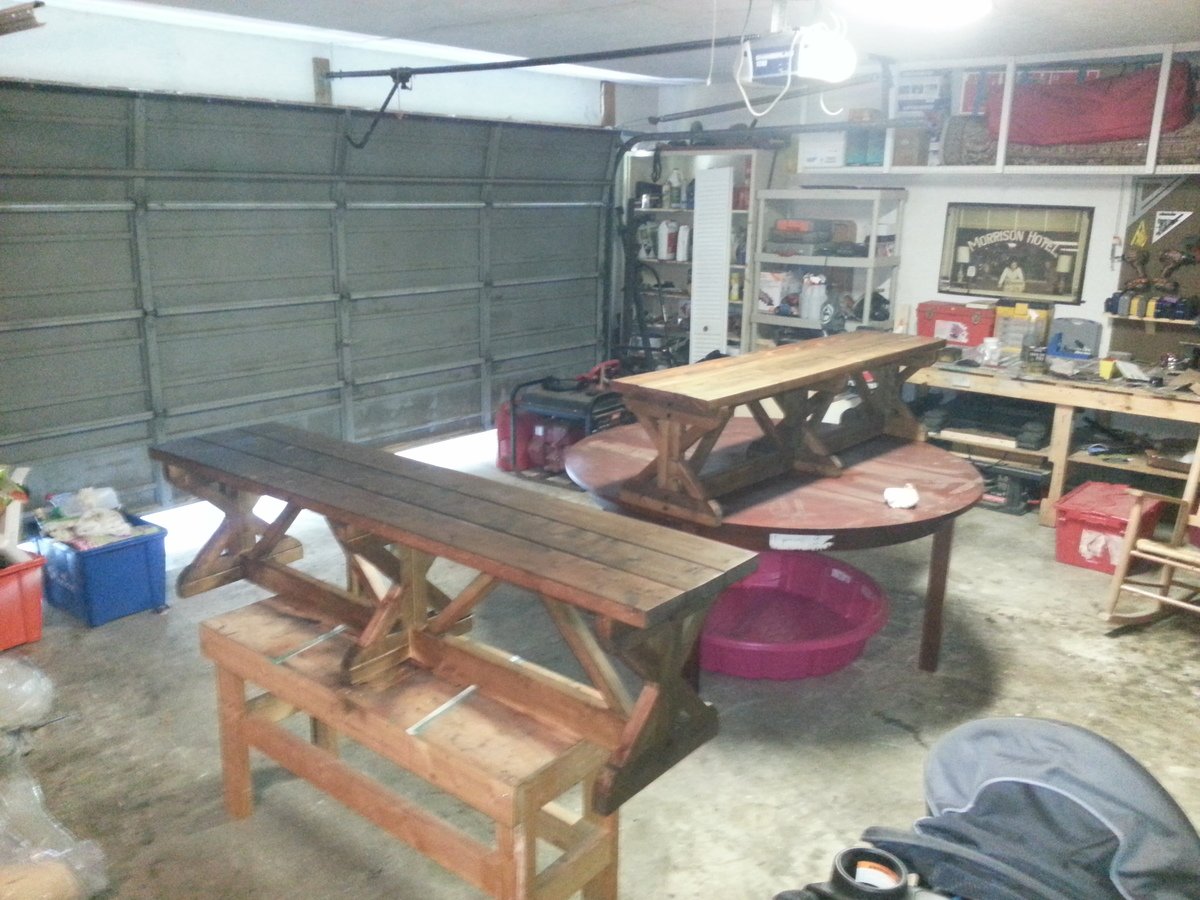
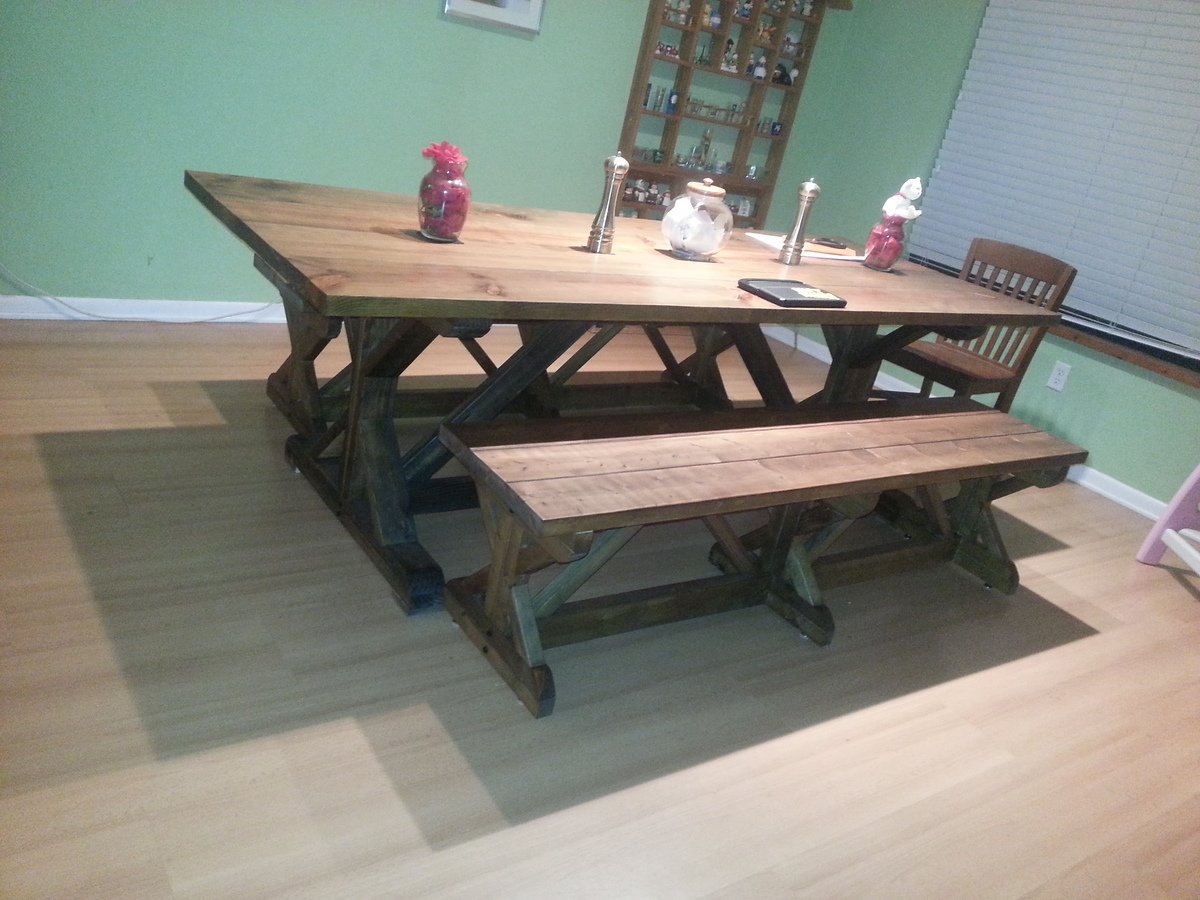
I built this table for my mother-in-law. I added a brace/frame for under the top. That helped me with the angled legs. This table takes a beating at their house as she watches kids all day long. The plans produce a very sturdy table. The whole table is Dark Walnut stain and Satin Poly(oil based).
Built from Plan(s)
Estimated Cost
50.00
Estimated Time Investment
Weekend Project (10-20 Hours)
Finish Used
Dark Walnut stain
Satin Poly(oil based)
Satin Poly(oil based)
Recommended Skill Level
Intermediate