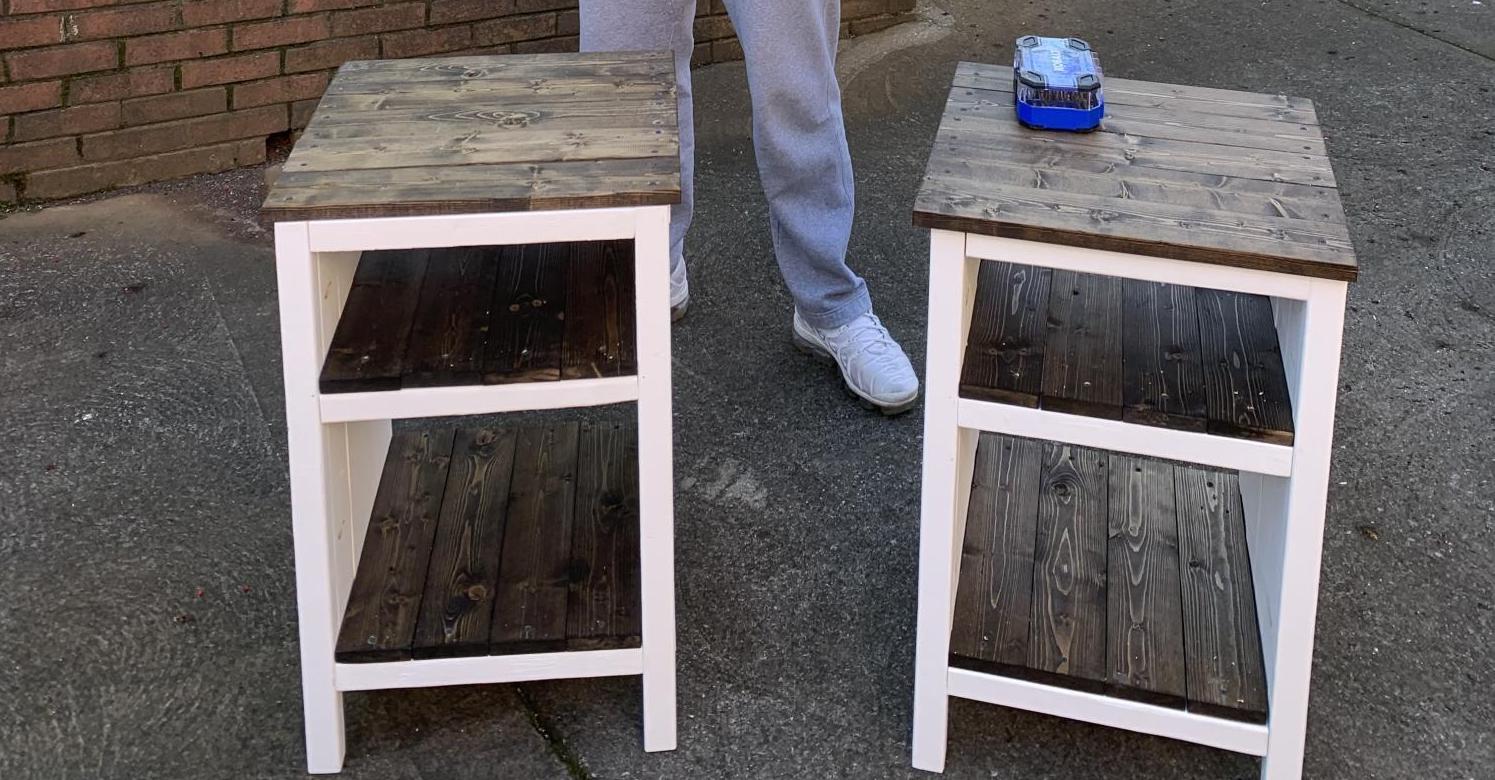
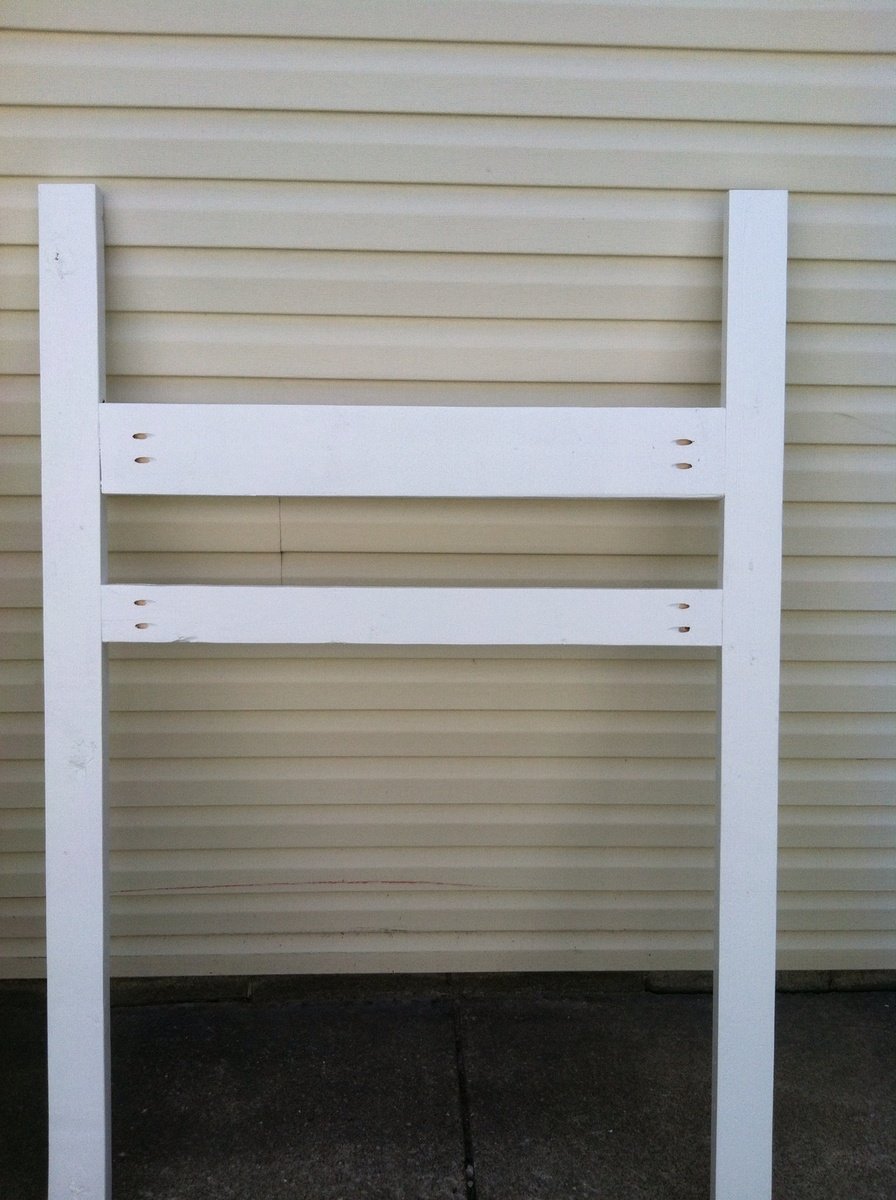
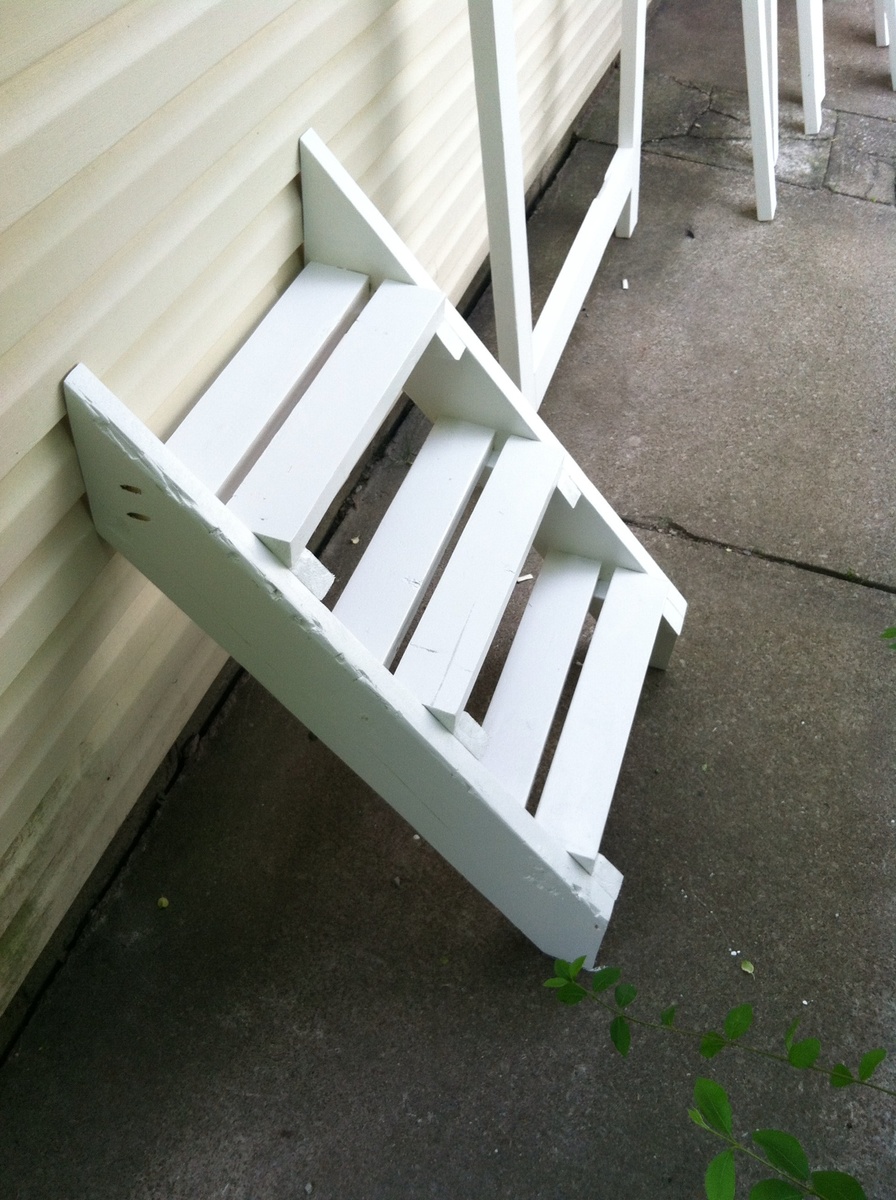
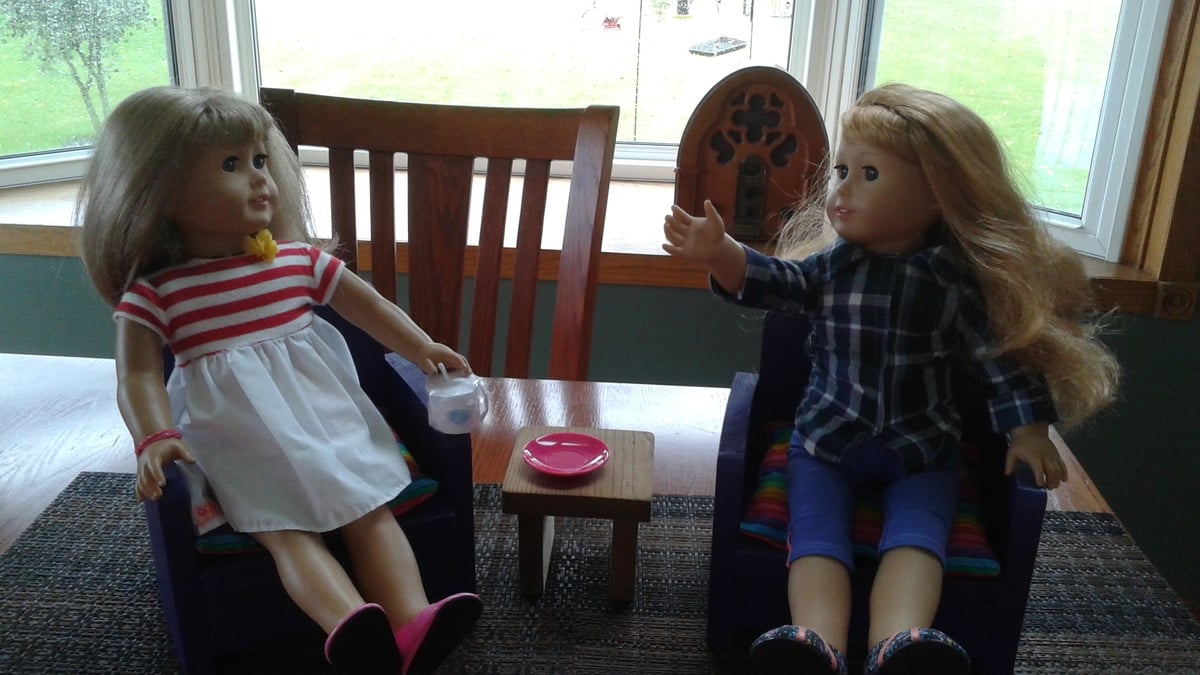
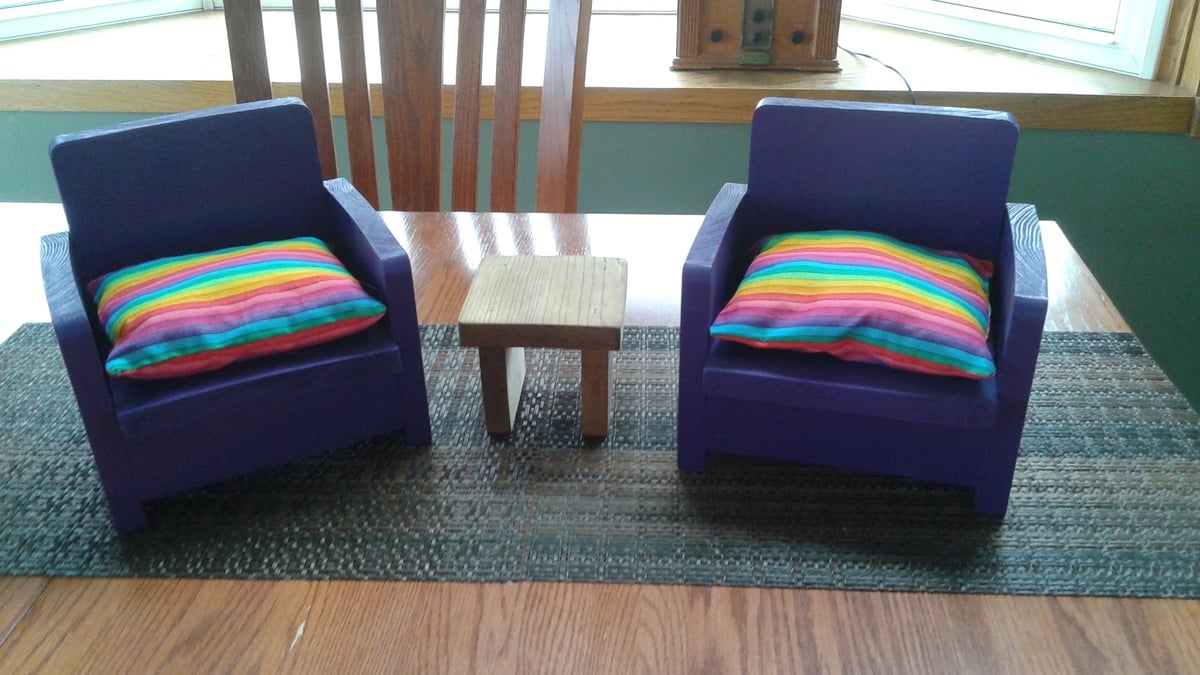
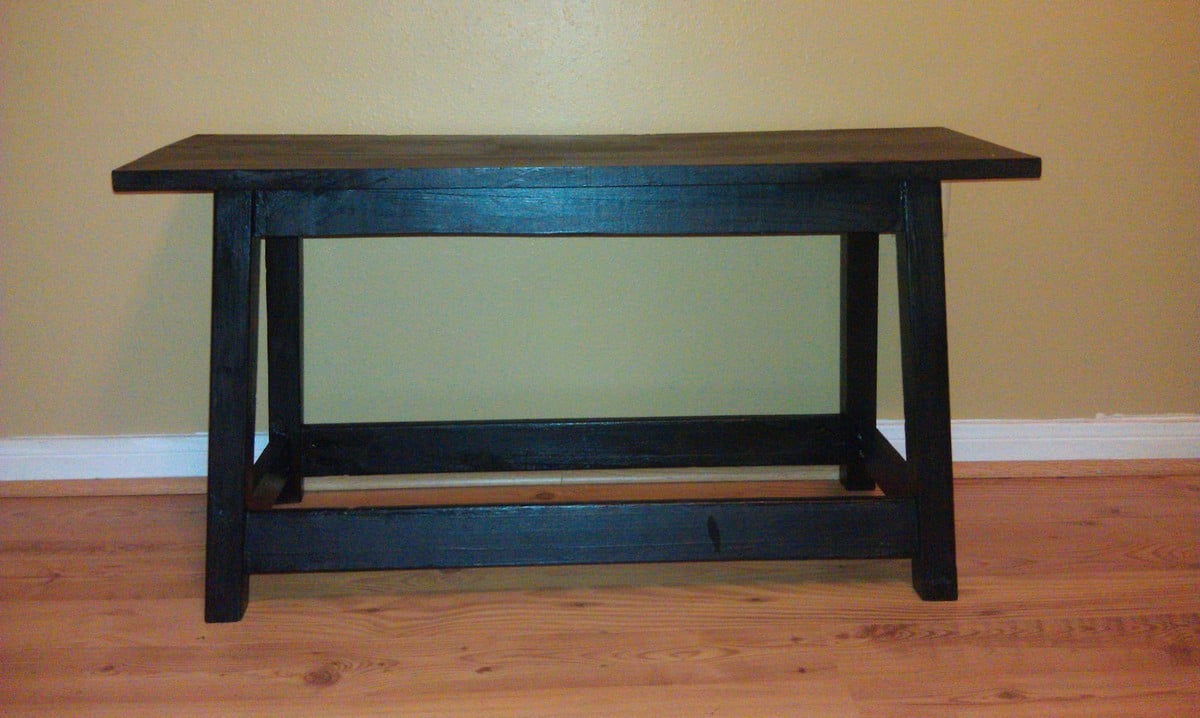
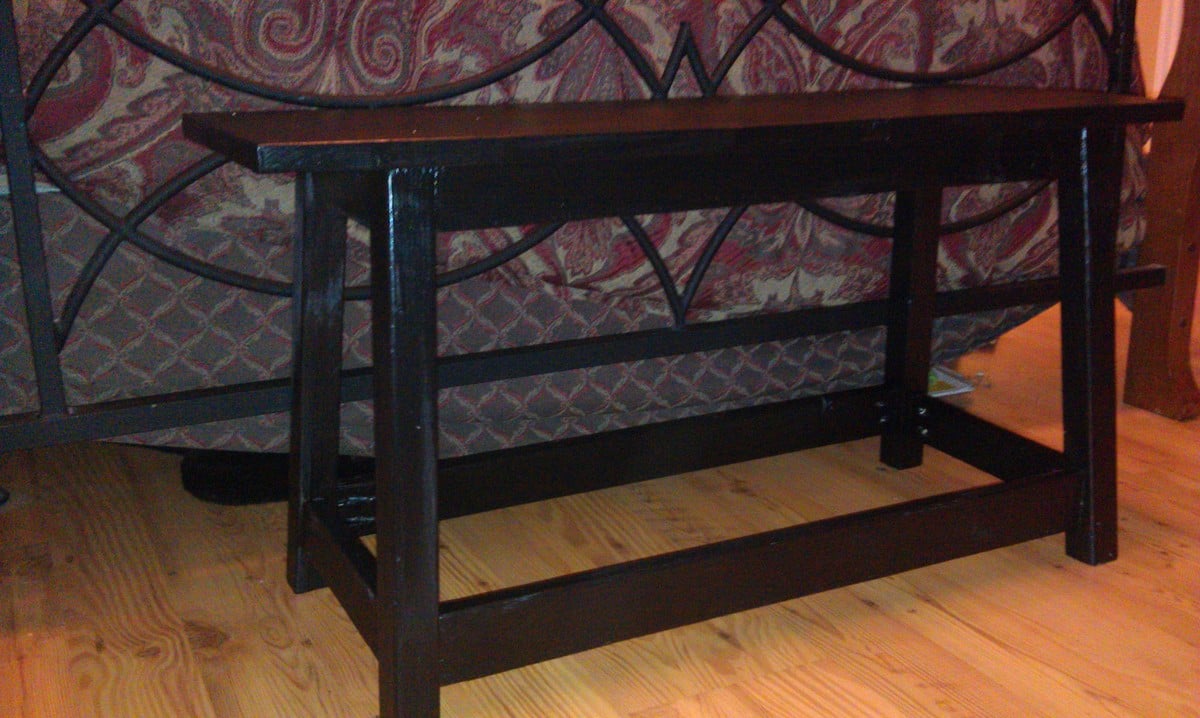
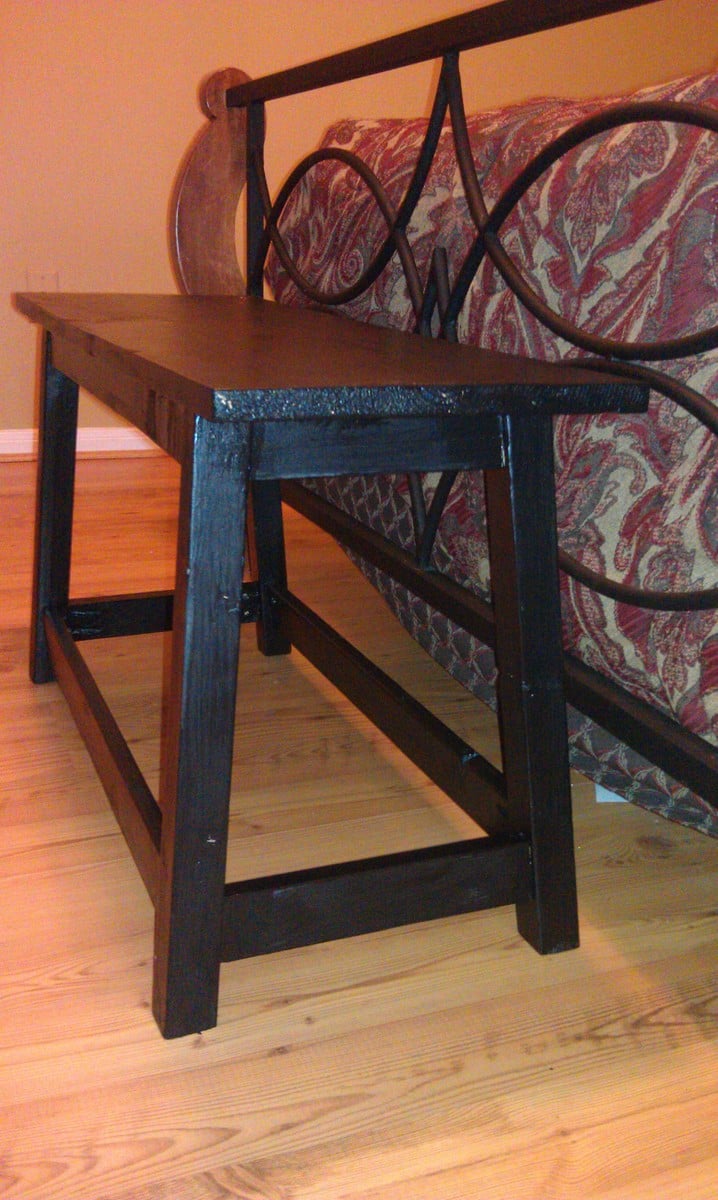
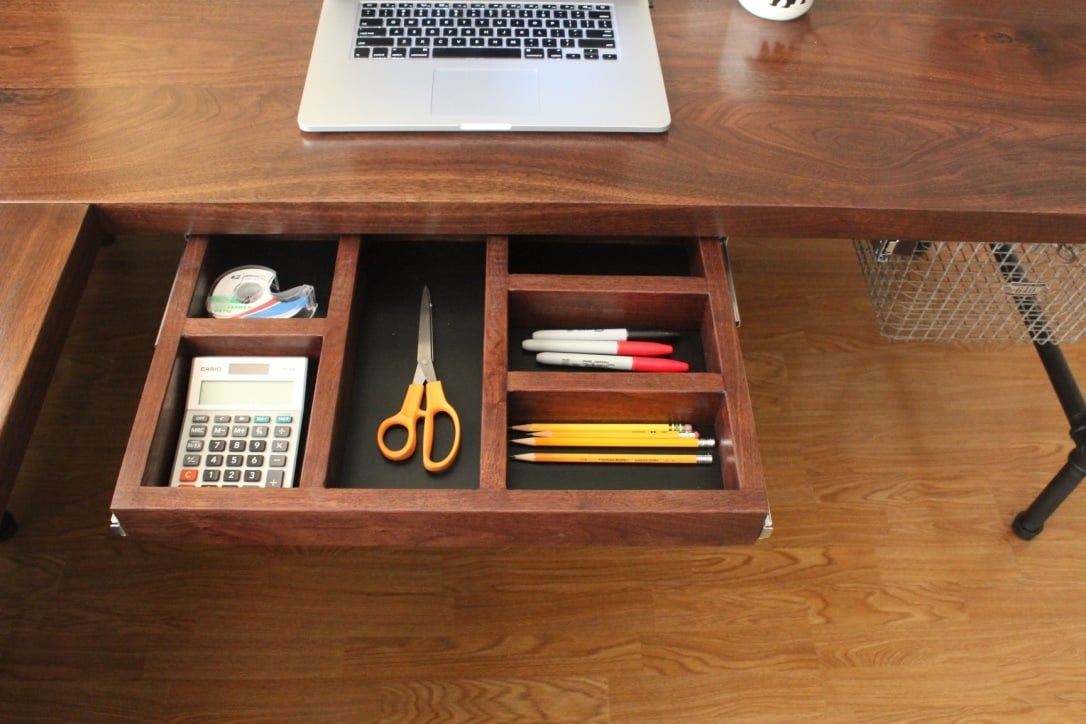
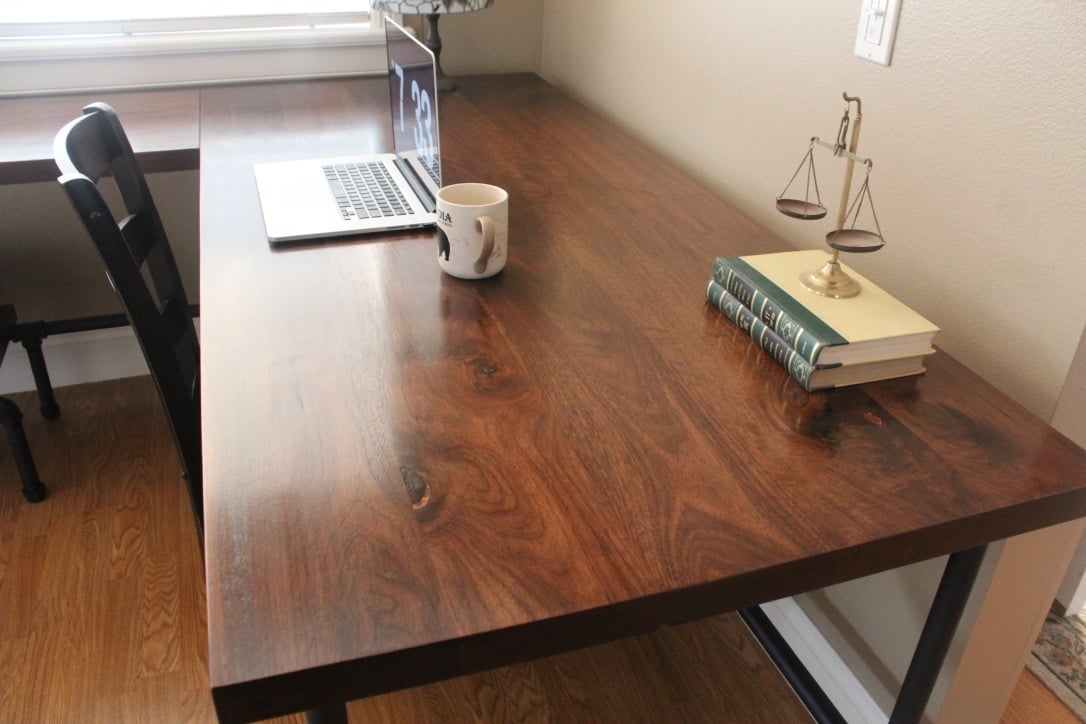
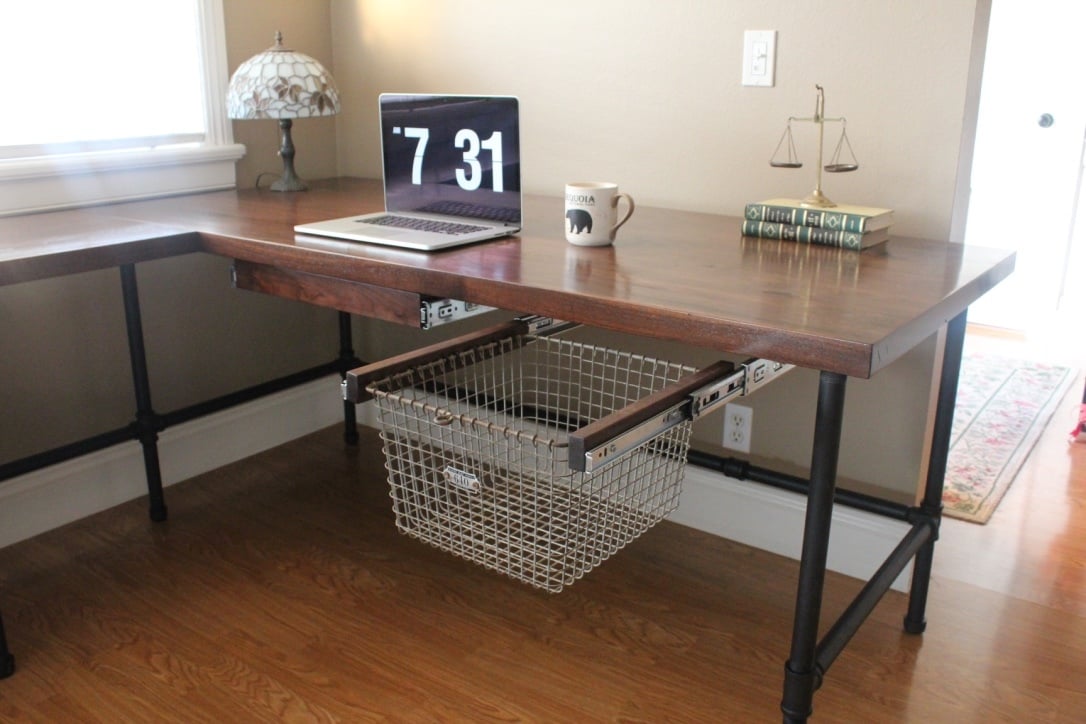
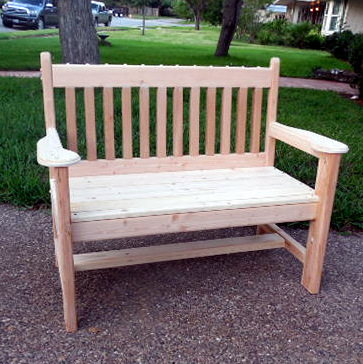
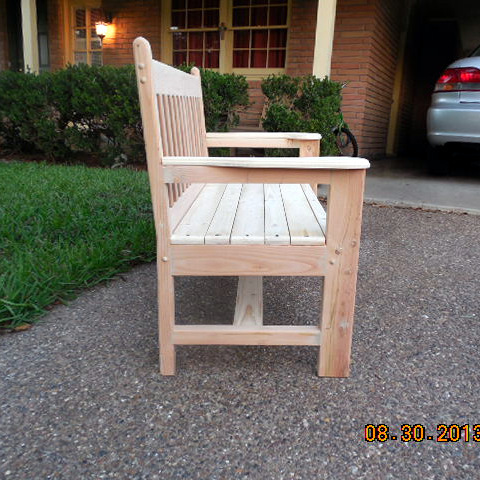
$1 Cedar Planter
![](/sites/default/files/3154822164_1360934125.jpg)
You were right, this really was super-easy and super-cheap!
I did not like the way the X looked with our other furniture so I decide to replace it with 2 upright 2x2's.
My brand new $1500 kitchen! New countertops, new peel & stick backsplash, new homemade diy real wood doors to cabinets, new self-closing hardware and pulls, painted old body of cabinets to match doors, painted accent wall and area behind fridge. With appliances, total cost was more like $3000. Also, pics do not show other side of kitchen, with sink, bar & dishwasher. Still looking for "before" pics of that. Will update as I find them.
LOVE my "new" kitchen! <3
The concept of hidden boot storage at the back is genius!!! I knew as soon as I saw your plan that I needed that in this space! Thank you so much for what you do!
Fri, 01/22/2021 - 11:42
May I ask how you would assemble if you wanted the hinge in the back as in this picture?
Thank you.
Wed, 08/25/2021 - 04:51
Hello, can you tell me how to find the plans for the Mudroom Closet makeover? I’m interested in doing the one pictured on this page.
Thank you
My first project besides some simple shelves. I wanted to use old sturdy wood I had from parts of a bed so I used the ana white plan but improvised quite a bit. I also accidentally made it much higher but like it this way. I am going to paint it a deep bright greek blue in the spring. I am happy with it!
This is a toy box I made for my cousin's son for Christmas.
Wanted a couch that could also fix my storage issue for all my paperwork. I saw a plan for a filing cabinet bench and some plans for a storage couch and used them as inspiration to make my own. The railings are made with PVC pipe because of my budget, they hold up under my weight, but probably wouldn't work for a heavier individual. I'll eventually upgrade to iron pipe when it's in the budget. Still trying to figure out what to do for the armrests.
My Biggest build so far. We have a large living room and needed something large for that wall. I really had fun on this one. It took longer than I wanted but in the end, I’m really proud I finished. This was my first time to use the router and learned how build shaker style doors. -Instagram.com/theorthfam
Easy Peasy!
Materials & cost: Framing grade pine and 1x3 furring strips. $110 including finish materials.
I used some of the excess 2 x 6 that I had left over to make the feet square instead of just using 2x4s like in the plans. just cut them to the same length as the 2x4 feet, then butt them up against the 2x4 feet and mount them to the frame.
Also, I made the support beam removable by using face-mount 2x4 joist hangars to hold it instead of bolts.
Total build time = less than one week
Next project will be a custom headboard for it..
Made this out of a ton of scrap wood I had laying around. On the downside it made the project more difficult, but on the upside all I had to buy was hinges and handles...
Awesome Tree Swing built in about an hour! Super easy plans to follow. Two quotes of Stain and Three coats of exterior Poly!
I saw Ana's tilt trashcan plan and I knew that I had to tackle this bad boy. I didn't want anything stationary because my 1910 kitchen is big but also pushed against the walls. My stove is 7 steps from a counter top so prep is kind of a pain.
I modified Ana's original plan to be taller and even (well, close) with the stove's height for extra counter space. I also wanted a slide out cutting board with a hole so that while I'm chopping my ingredients, I can scoop it into the hole that drops directly into the trash.
I'm a very ambitious girl who doesn't like to be told that I can't do something. This is also my second built....my first is a huge craft supply cabinet made from old barn wood that is lovingly referred to as 'The Outhouse'. My tools are limited to a 7in circular saw, drill, and Kreg Gig. I knew this would be tough but after a few head scratches, I have a pretty cool island.
If you have questions about what I asked, please ask. There are all types of wicked little tricks/fixes in this beast.
Sun, 09/21/2014 - 08:11
we are about to start building and island based off this plan as well and i love the holy cutting board idea. do you have pictures of that or advice on how to accomplish it? we plan to make it twice the width with two trash cans. ( we have 5 kids= lots of trash!)
Used your plans to do these for our mudroom I just remodeled.My wife loved them.Took the original plan and modified it to fit the corner.The bench ended up being white with a grey top.And for xmas my step mother made cushions for it.Love your plans.Thanks
Balustrade Coffee Table made of cedar and pine wood. Approximately 49.5 length. Stained in special walnut and white painted chalk paint base. Used dark wax to distress base and legs.
Unfinished pine bathroom tower shelves. I assembled all pieces with kreg jig and pocket hole screws. It was a quick and easy project.
I needed a new laundry system, and thank goodness I found Ana White's projects on Pinterest! I incorporated the laundry sorter and added casters to the bottom as well as a paper towel roll on the side since it is next to the sink. I also used a modified version of the washer/dryer platform into my space. It does not have the bottom platform and the 4x4's are inside the 2x4's and attached to the platform as well as the 2x4's. Sterilite makes organizer drawers that fit exactly in the opening of under the platform. And, voila! New colors, new organization, new light bulbs :0), new laundry room!
Sun, 02/24/2013 - 12:48
Great job! Looks much better and I bet it's a lot easier to get laundry done now.
Wed, 02/27/2013 - 19:18
That looks like it was a lot of work, but totally worth it!
We modified the original plnas to convert one set of front shelves into thread storage. We used 1/4" wooden dowel cut to fit 2 spools of thread on each.
Made this for my 14 month old, this was my first ever attempt at making/building anything! Hand painted and assembled with inspiration from the Tennessee Titans. My son loves standing in it by the window watching the trucks go by our house so I added his own jungle gym steering wheel and bike horn.
For my first solo project this table had enough challenges to keep it interesting but not overwhelming. I love how it looks in my home.
Here it is. Our first building project (not attached to a wall) that we used plans for:) I am so happy with the way it turned out. We had been looking for a bench for months. I was thinking that I would find something I like, refinish it and then upholster the top. But then I came across this post from a wonderful blog (that I will be using TONS more ideas from) and knew that this was going to be our bench:) I am happy to say that I think I have finally found a hobby that we can ALL get use to:) The kids have fun, we have fun...and we actually walk away with a finished piece! Love that!
Thank you so much Ana for this plan. Our 2 year old is too big for a high chair and will not use a booster seat. He wants to be like his older sibilings and use a real chair. This was perfect because it is a real chair (no booster seat) and then we put a Mickey Mouse on the back and he absolutely loves using it now.
Sat, 01/03/2015 - 16:46
This chair is just darling with that Mickey Mouse on it! You did a great job!