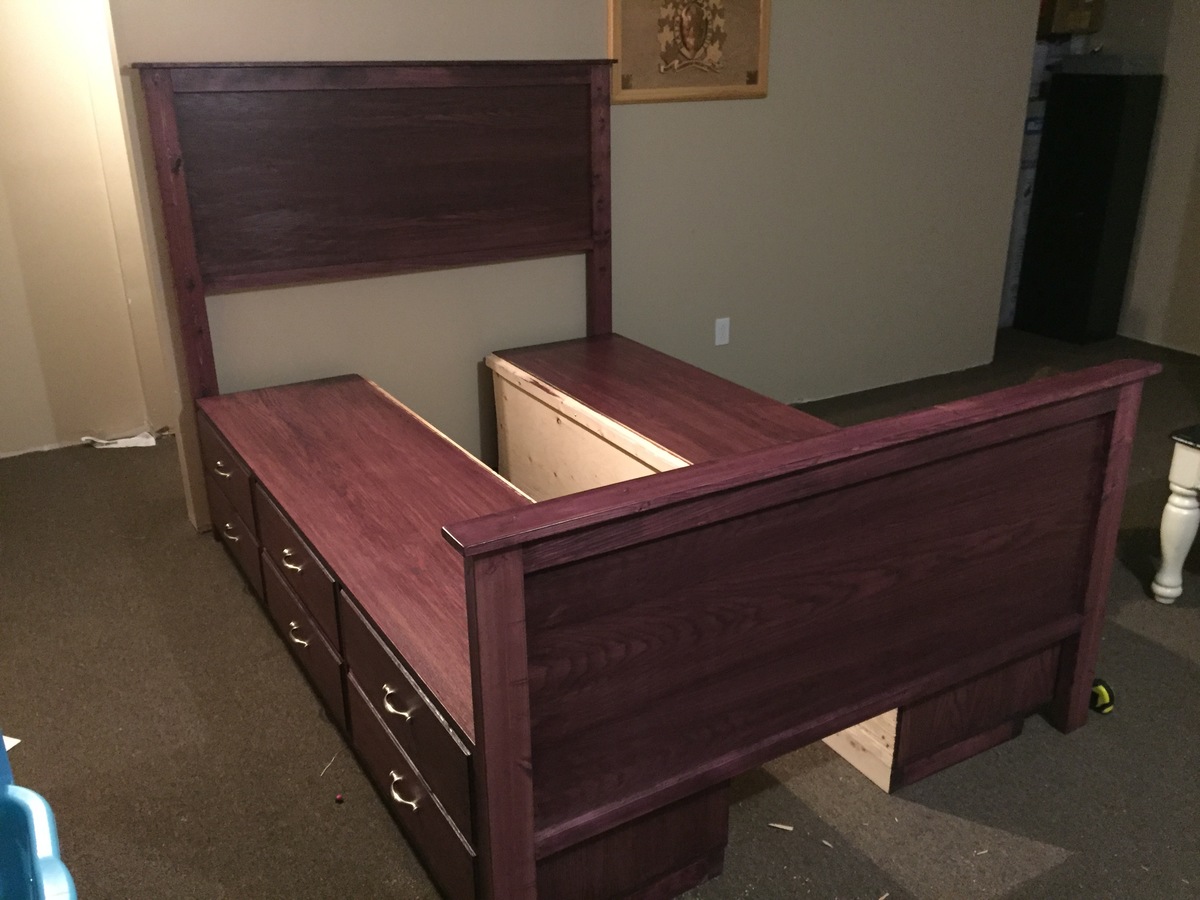
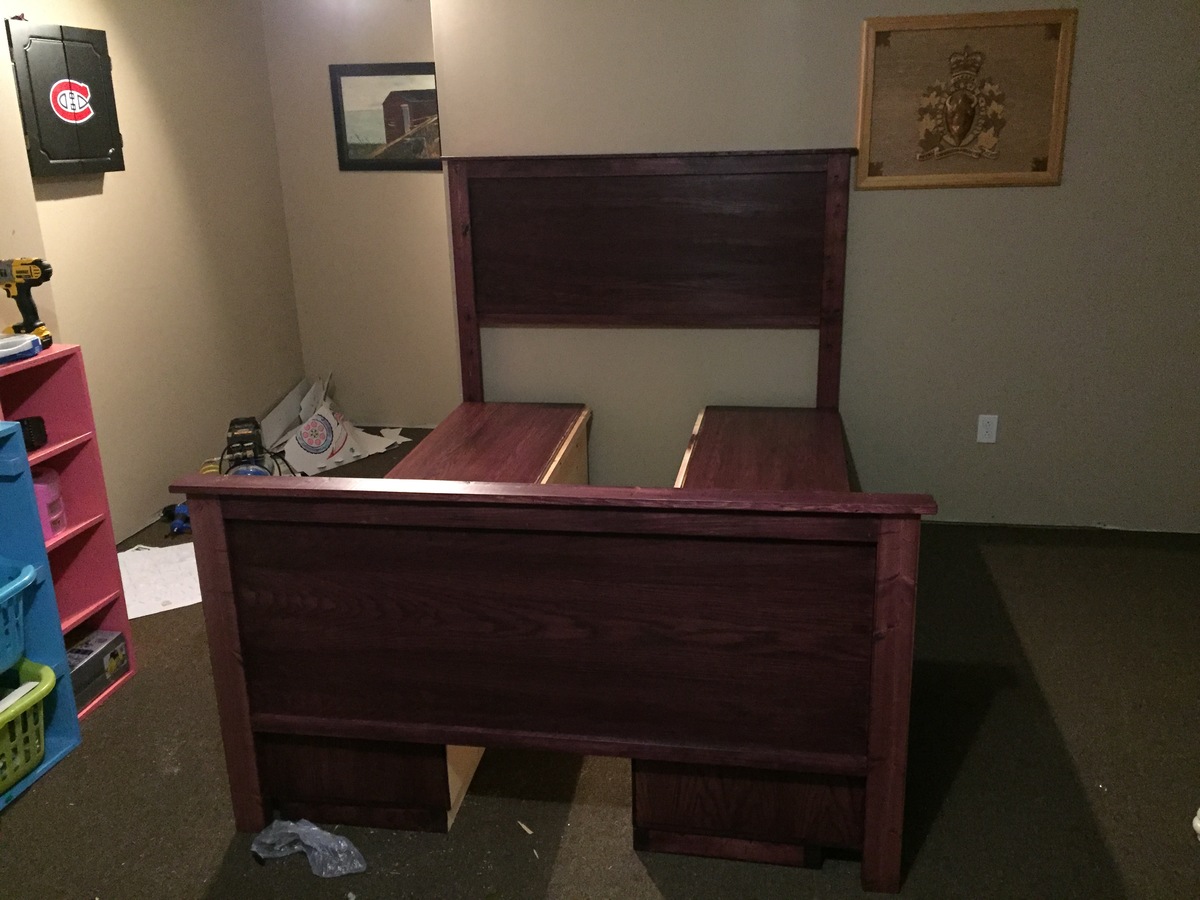
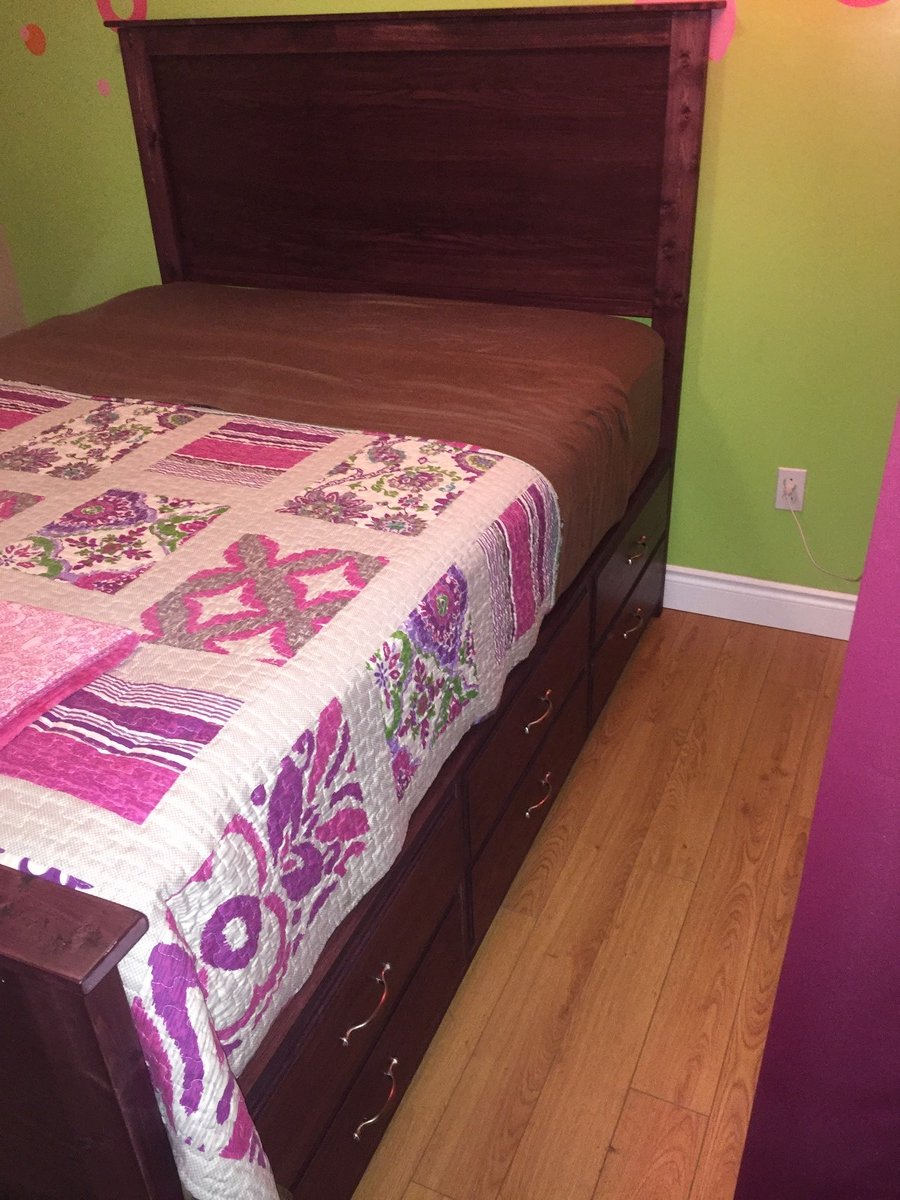
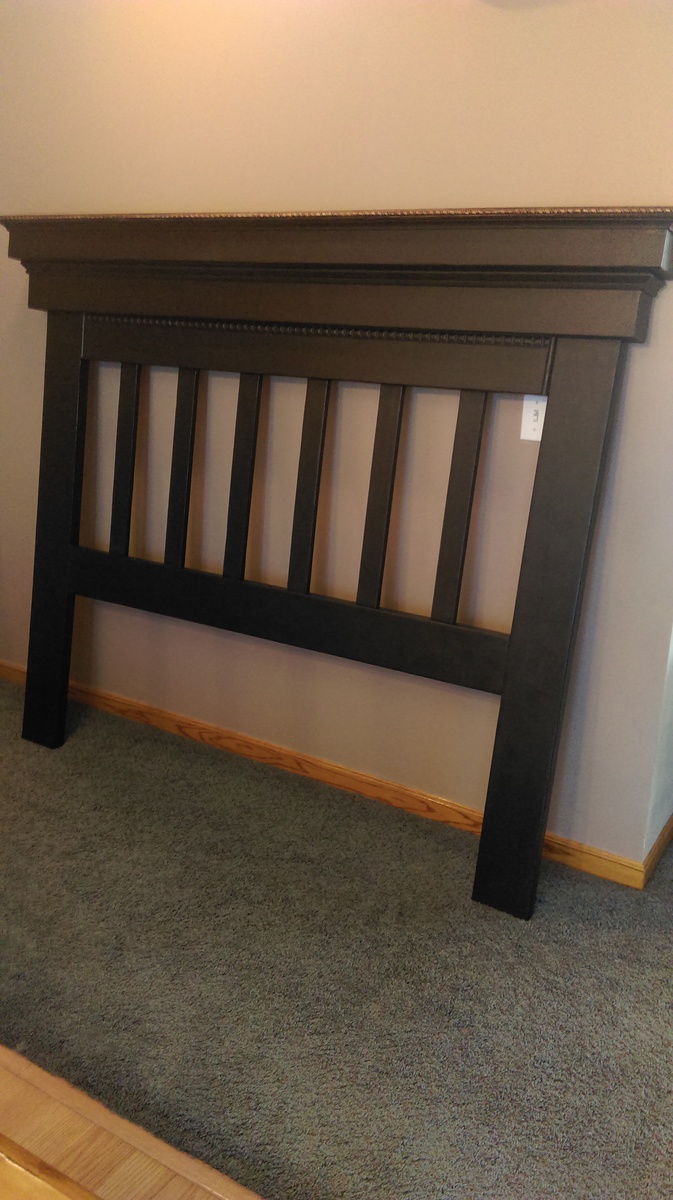
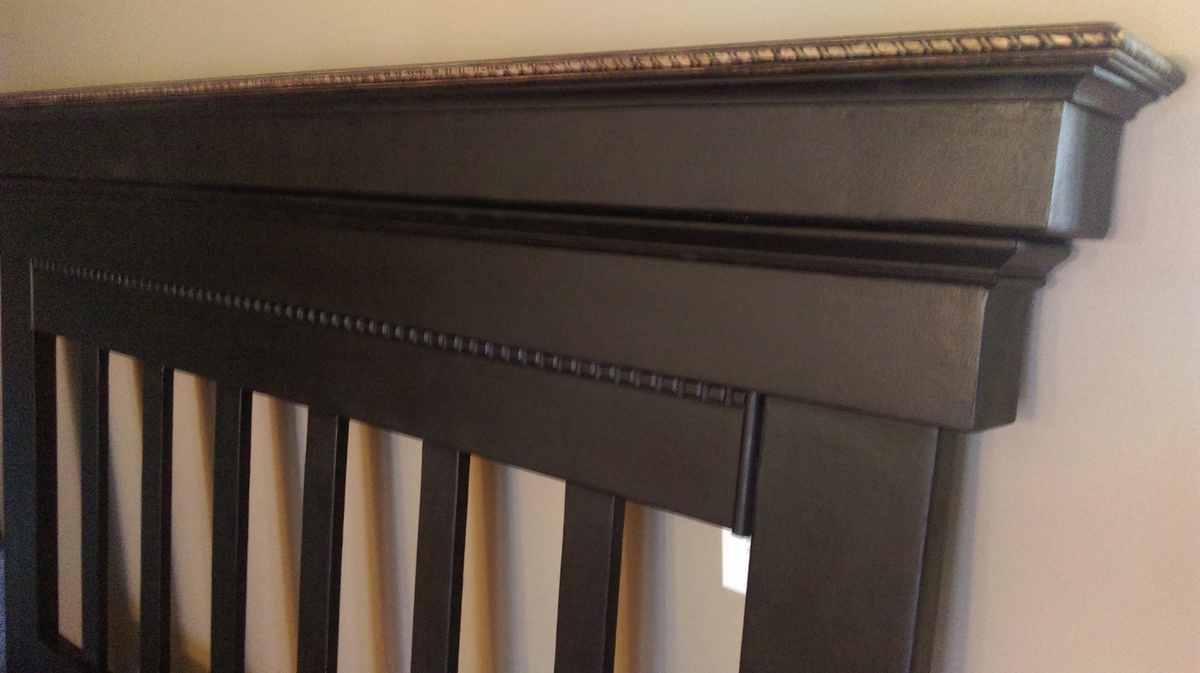
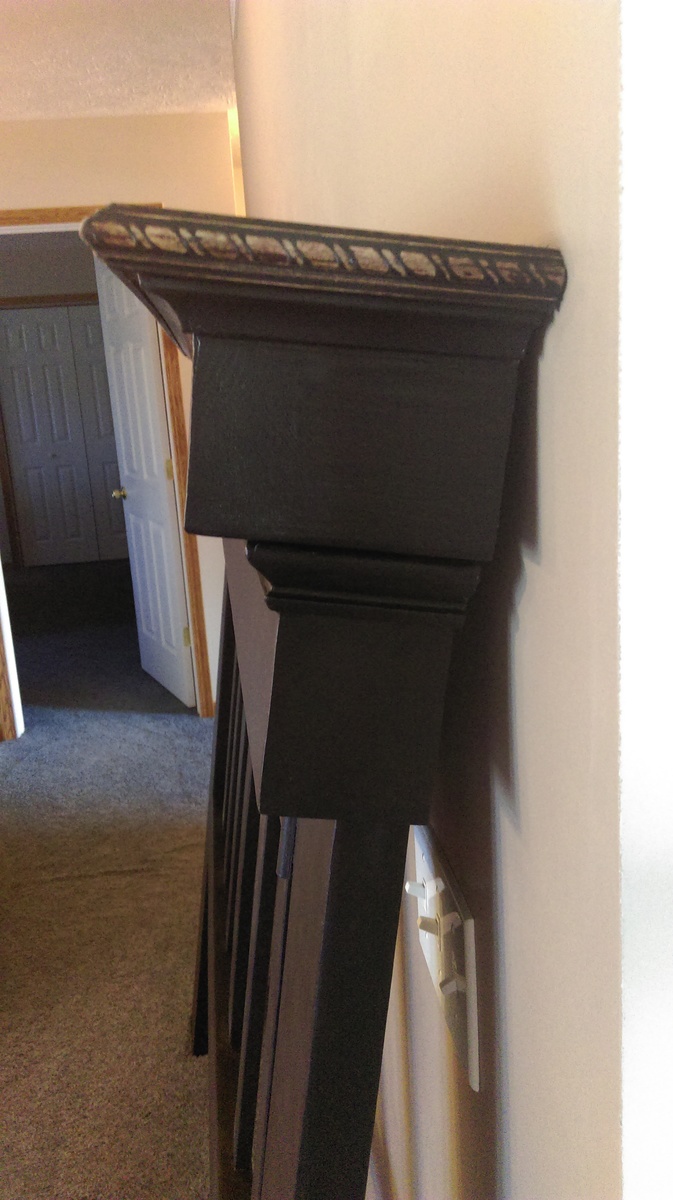
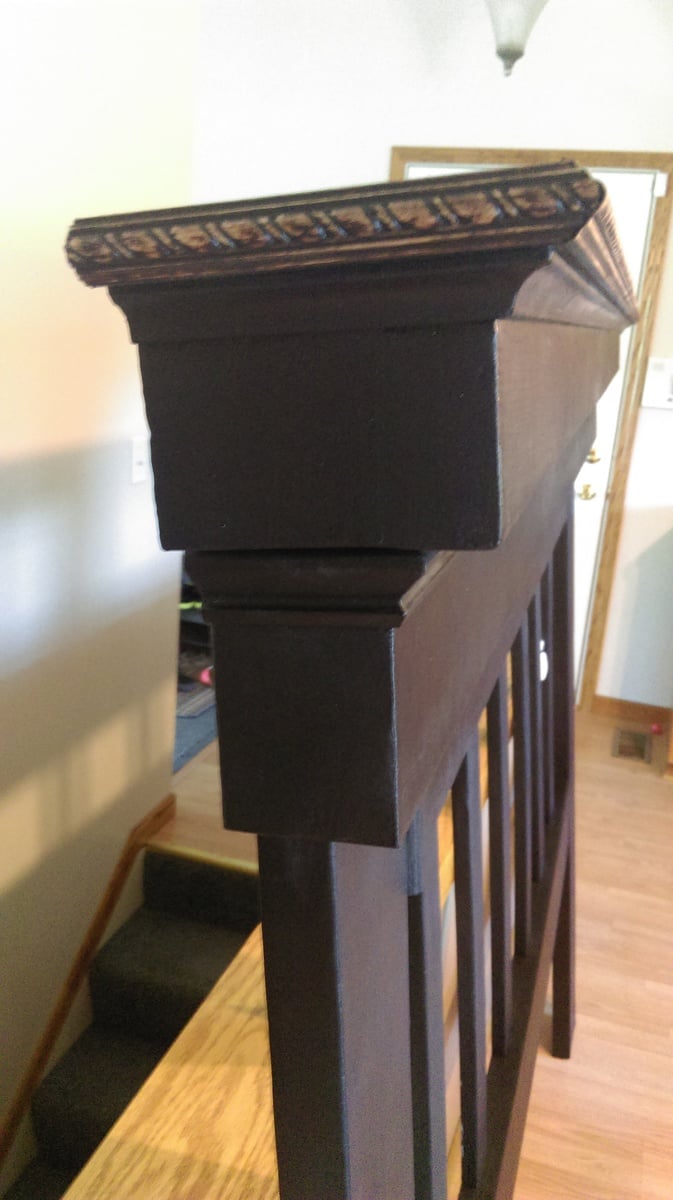
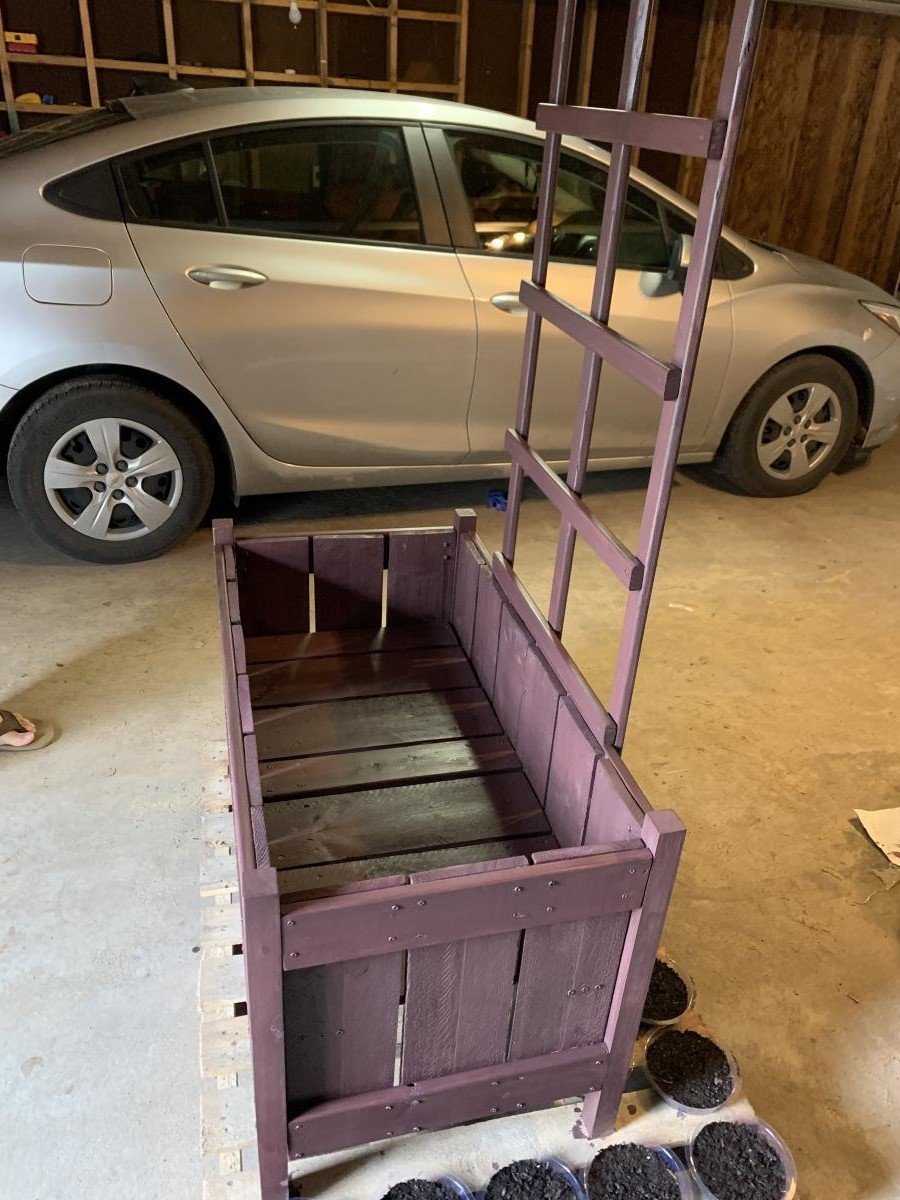
Walnut stain clubhouse bed
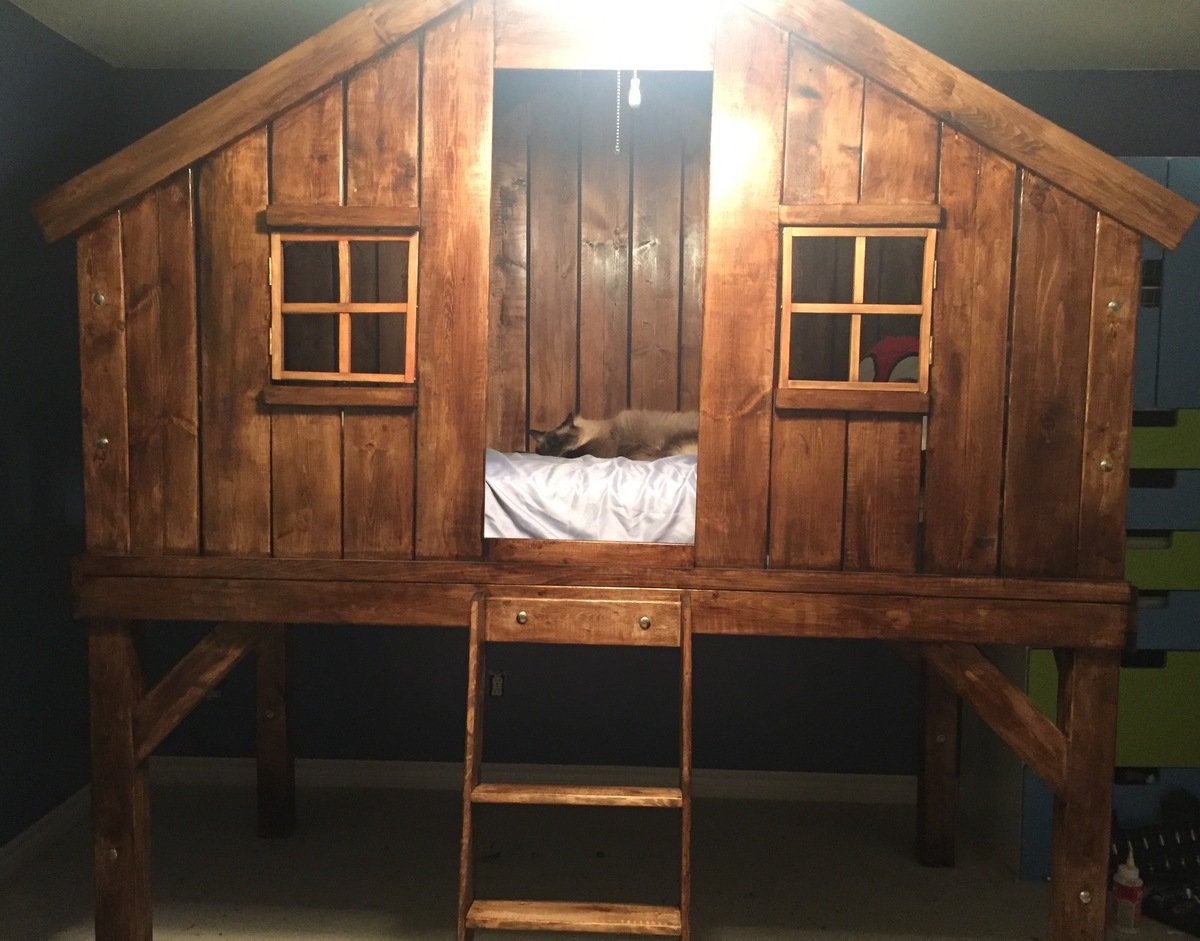
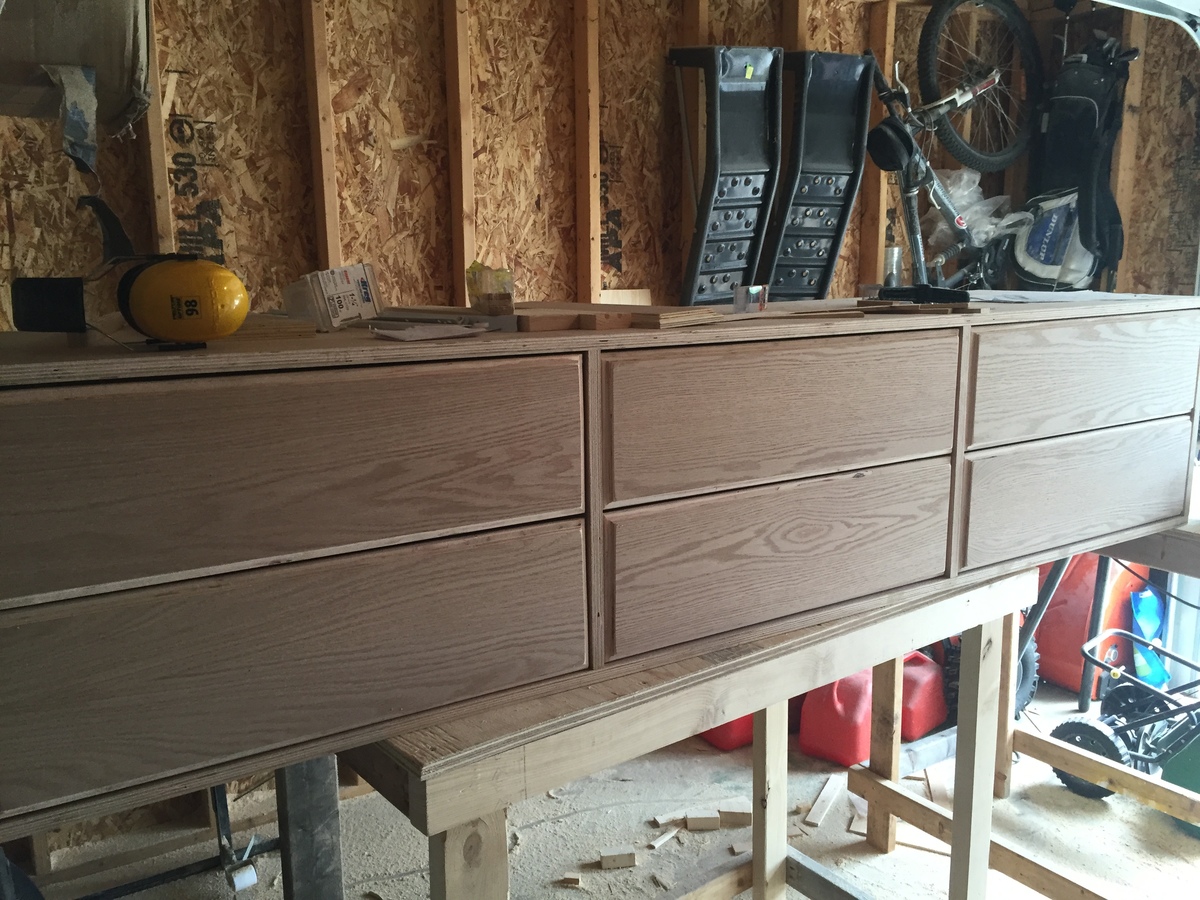
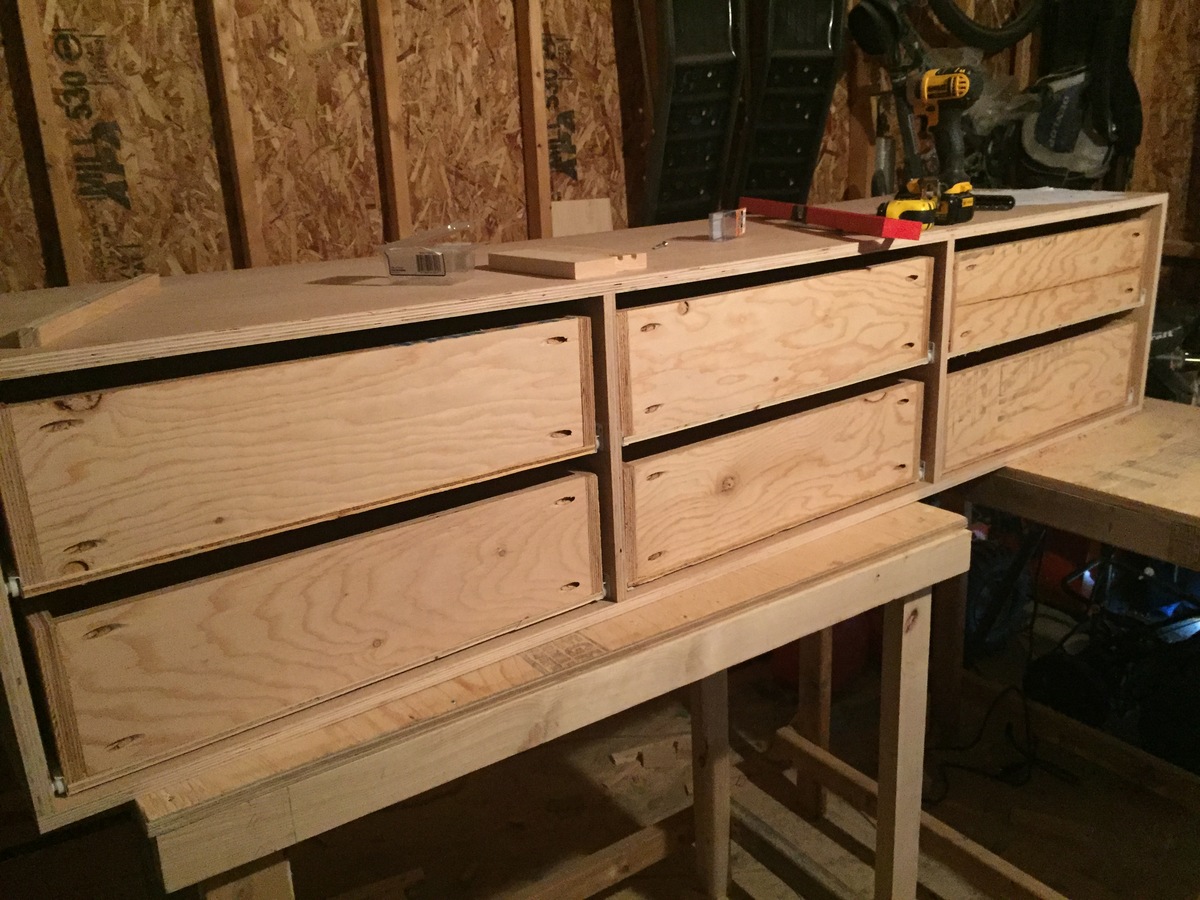
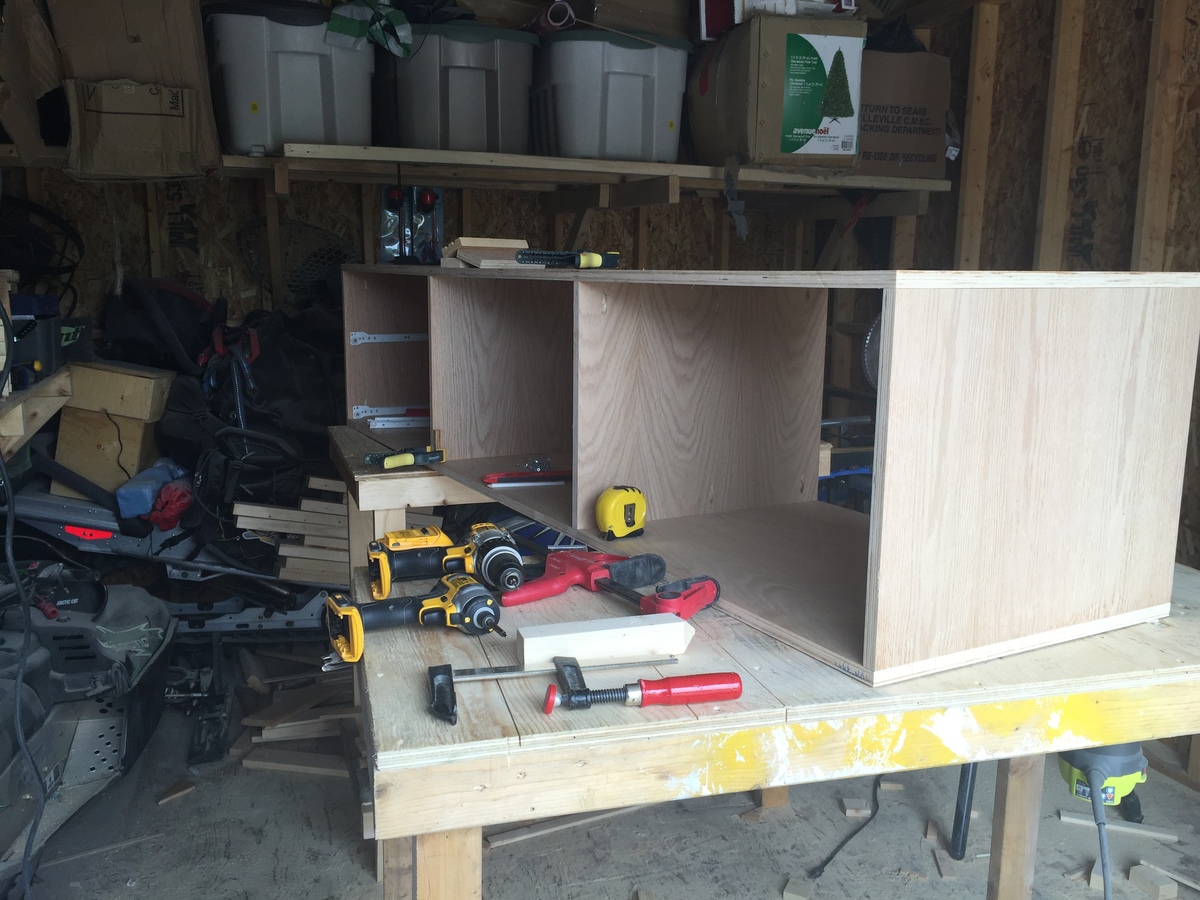
My son saw a similar bed online that he wanted, but unfortunately we couldn't purchase it due to the 9' ceiling requirement. So, while searching for another store that might carry an 8' ceiling version, I found the instructions to build your own clubhouse bed on Ana's site. I have no idea what possessed me into thinking that I could build this myself, as I have never built anything before, but....I went for it. I bought all the tools and lumber, and took my time with building it. It was a great learning experience! As a divorced mother of two, I feel proud that I was able to build this completely on my own. My kids now look at me like I am some superhero that can build anything. (They are busy compiling a list of other things they would like me to build!) Thanks Ana for the instructions and the inspiration!