Community Brag Posts


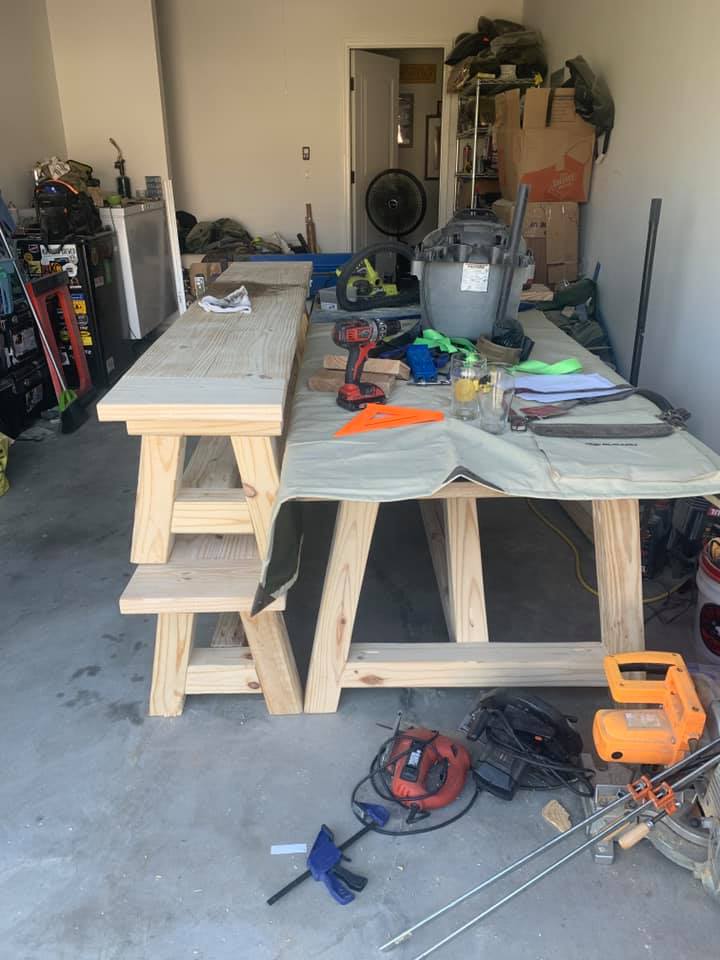
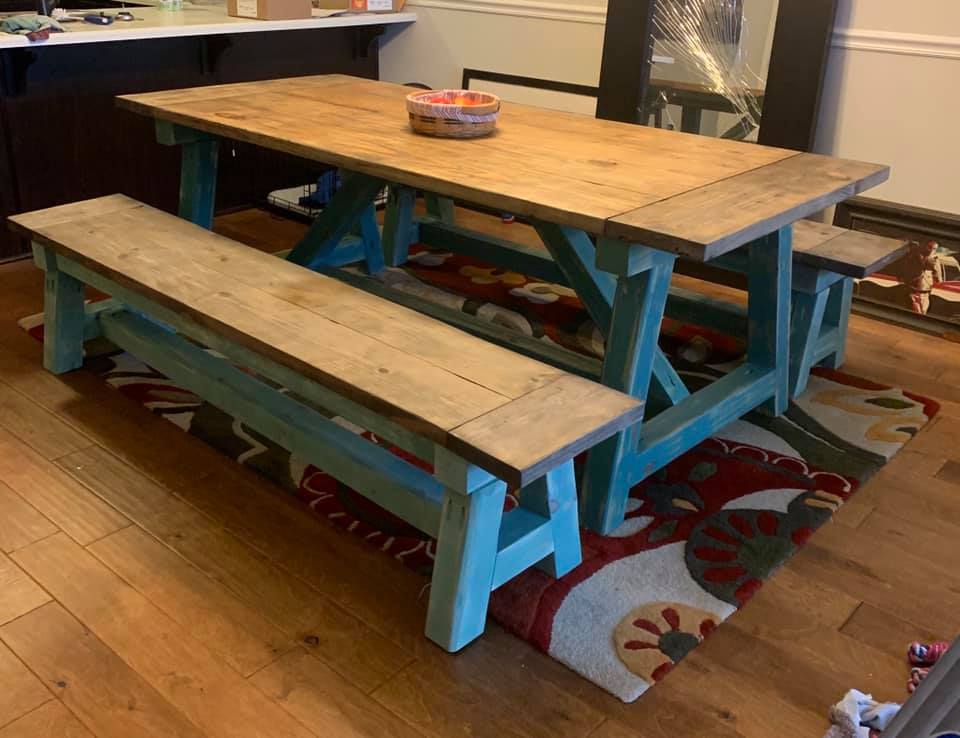
4x4 Truss Benches
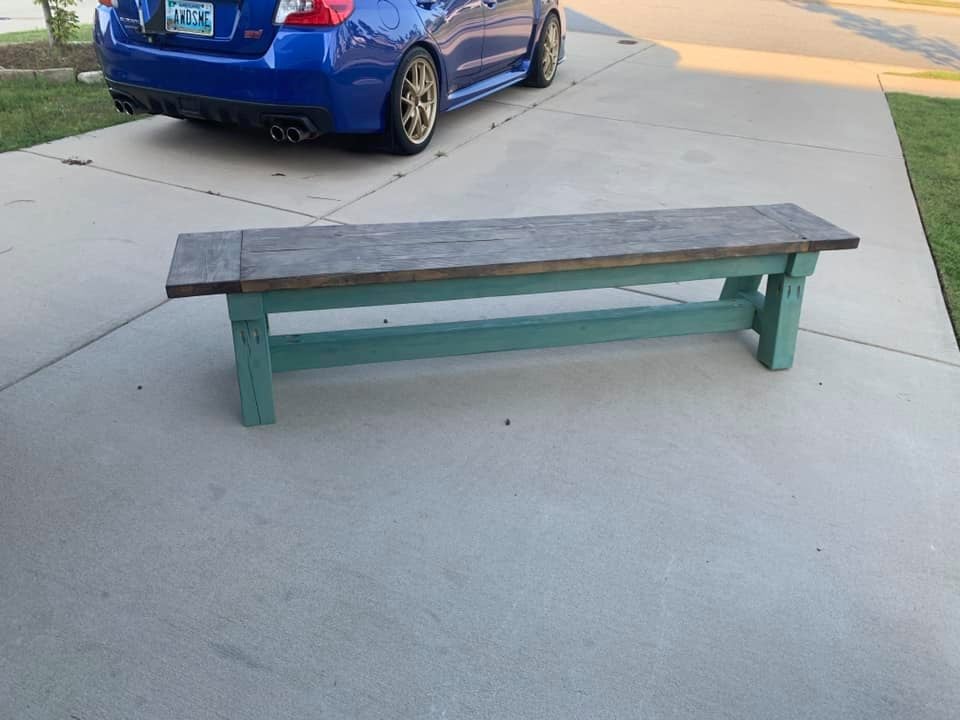
Made these to match my truss table. I am very happy with the end result.

Built from Plan(s)
Estimated Cost
60 each
Estimated Time Investment
Day Project (6-9 Hours)
Finish Used
I used an antiquing wax, milk paint for the top and sides. Then I used butcher block oil and wax to finish.
Recommended Skill Level
Beginner
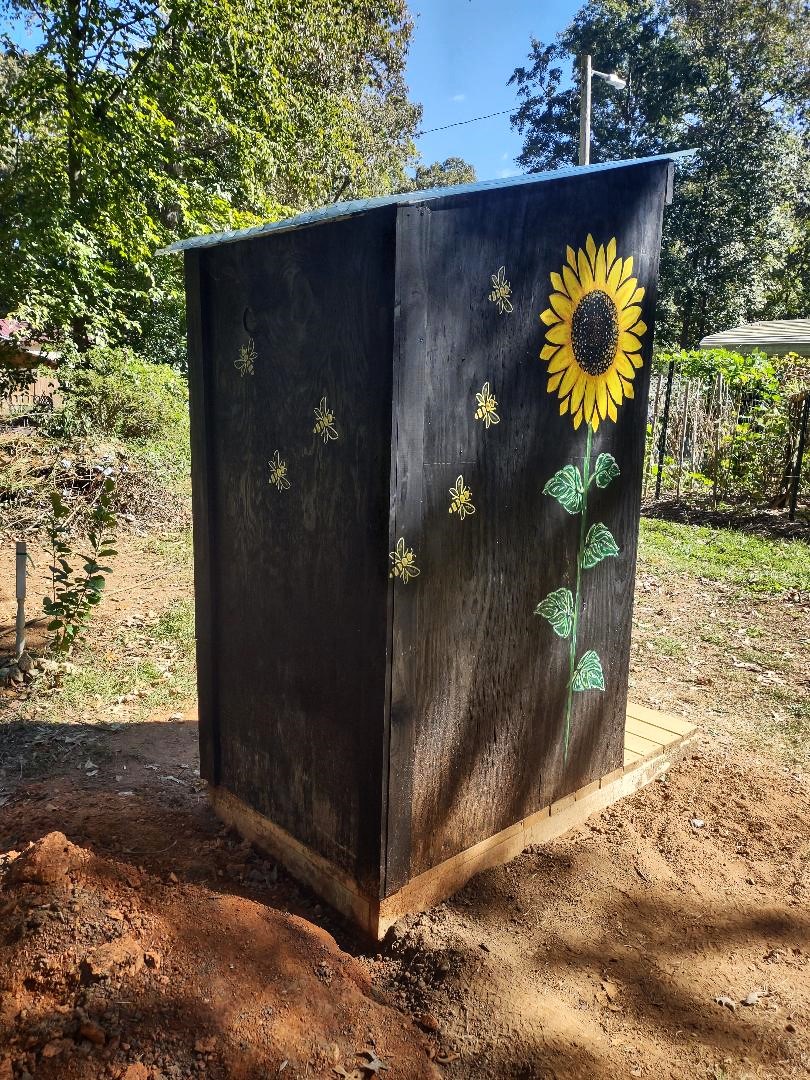
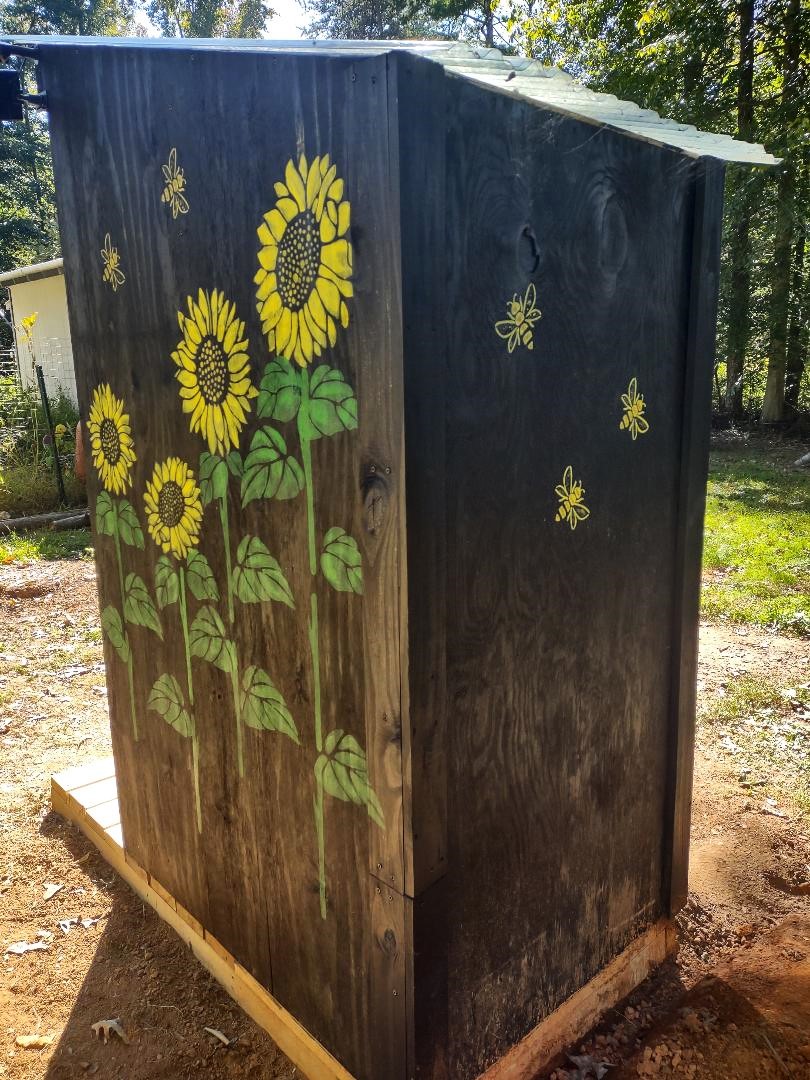
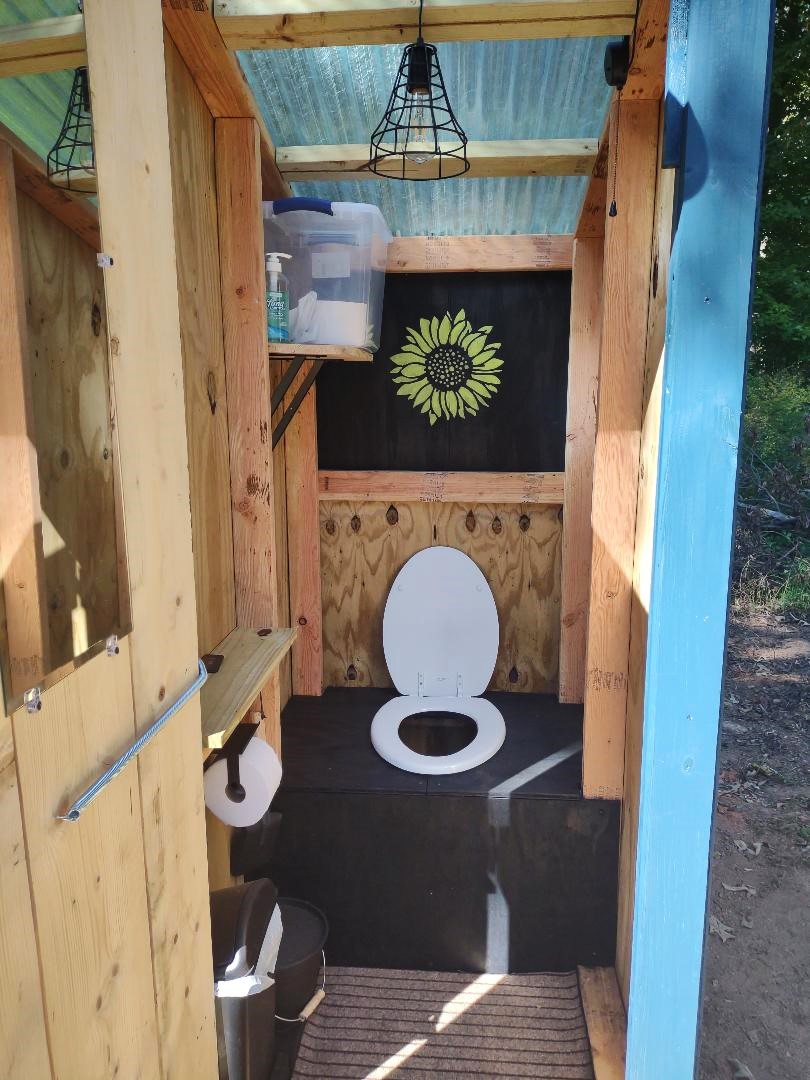
Simple Outhouse for Homestead
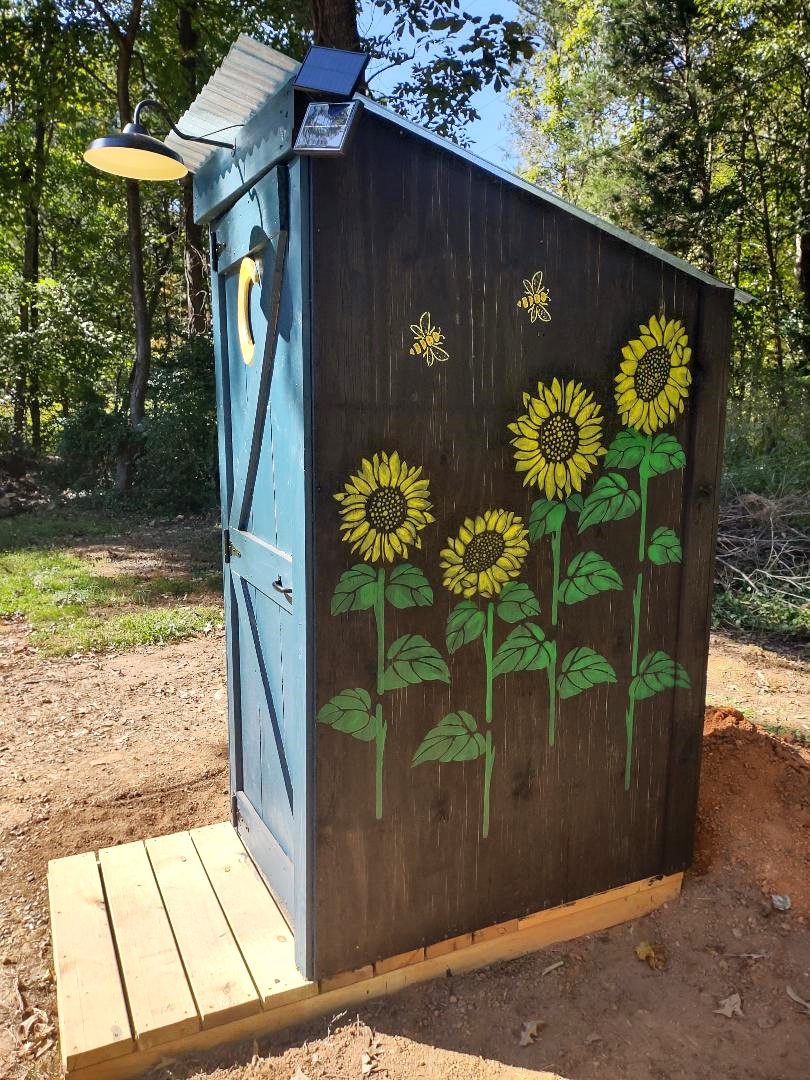
I'm a 60-year-old woman and this project took me two weeks to complete. I found AnaWhite.com from the Girl in the Woods video on YouTube whereas I watched her build this outhouse. I'd never built anything except chicken coops, dog and bird houses.
I don't live off grid but felt having an outhouse might come in handy during a power outage. It has a solar outdoor light, a pull chain interior solar light and poly roof. I used a screen door spring so the door closes automatically and hook and eye closure to secure the door on the inside.
I didn't have many options of where to place it because I live on a little two-acre homestead, so I wanted it to be pretty.
It makes me smile when I look at it.
P.S. I'm going to start building the firewood shed next week. I love this site!

Built from Plan(s)
Media built-ins

I wanted to build some cabinets to his our computer, stereo, game consoles, and seeing machines. I needed something that would allow a remote control to work through, so I used decorative metal sheeting found at the orange hardware store. They're built to be nearly flush with the fireplace. The left cabinet is made of 1x8s and measures 36"x36". There are 2 interior shelves. The shelves are slightly shorter cuts, measuring 34 1/2. The right cabinet is the same as the left, but with a 18"x36" unit kreg jigged to the front. That was to accommodate the larger media units while keeping the cabinet flush with the fireplace.
The fronts are just 2" trim frames with metal sheeting screwed to the inside. I used metal corner braces to hold the corners in place. They're mitered corners. The hinges are cheap $2 hinges and magnetic closures hold the doors closed.
I also made the mantle. It's a piece of 1x12 on top with a flat foam piece of molding and 2 corner pieces.
Estimated Time Investment
Day Project (6-9 Hours)
Finish Used
None yet. Will be white washed
Recommended Skill Level
Intermediate
Rustic X coffee table - first project!!
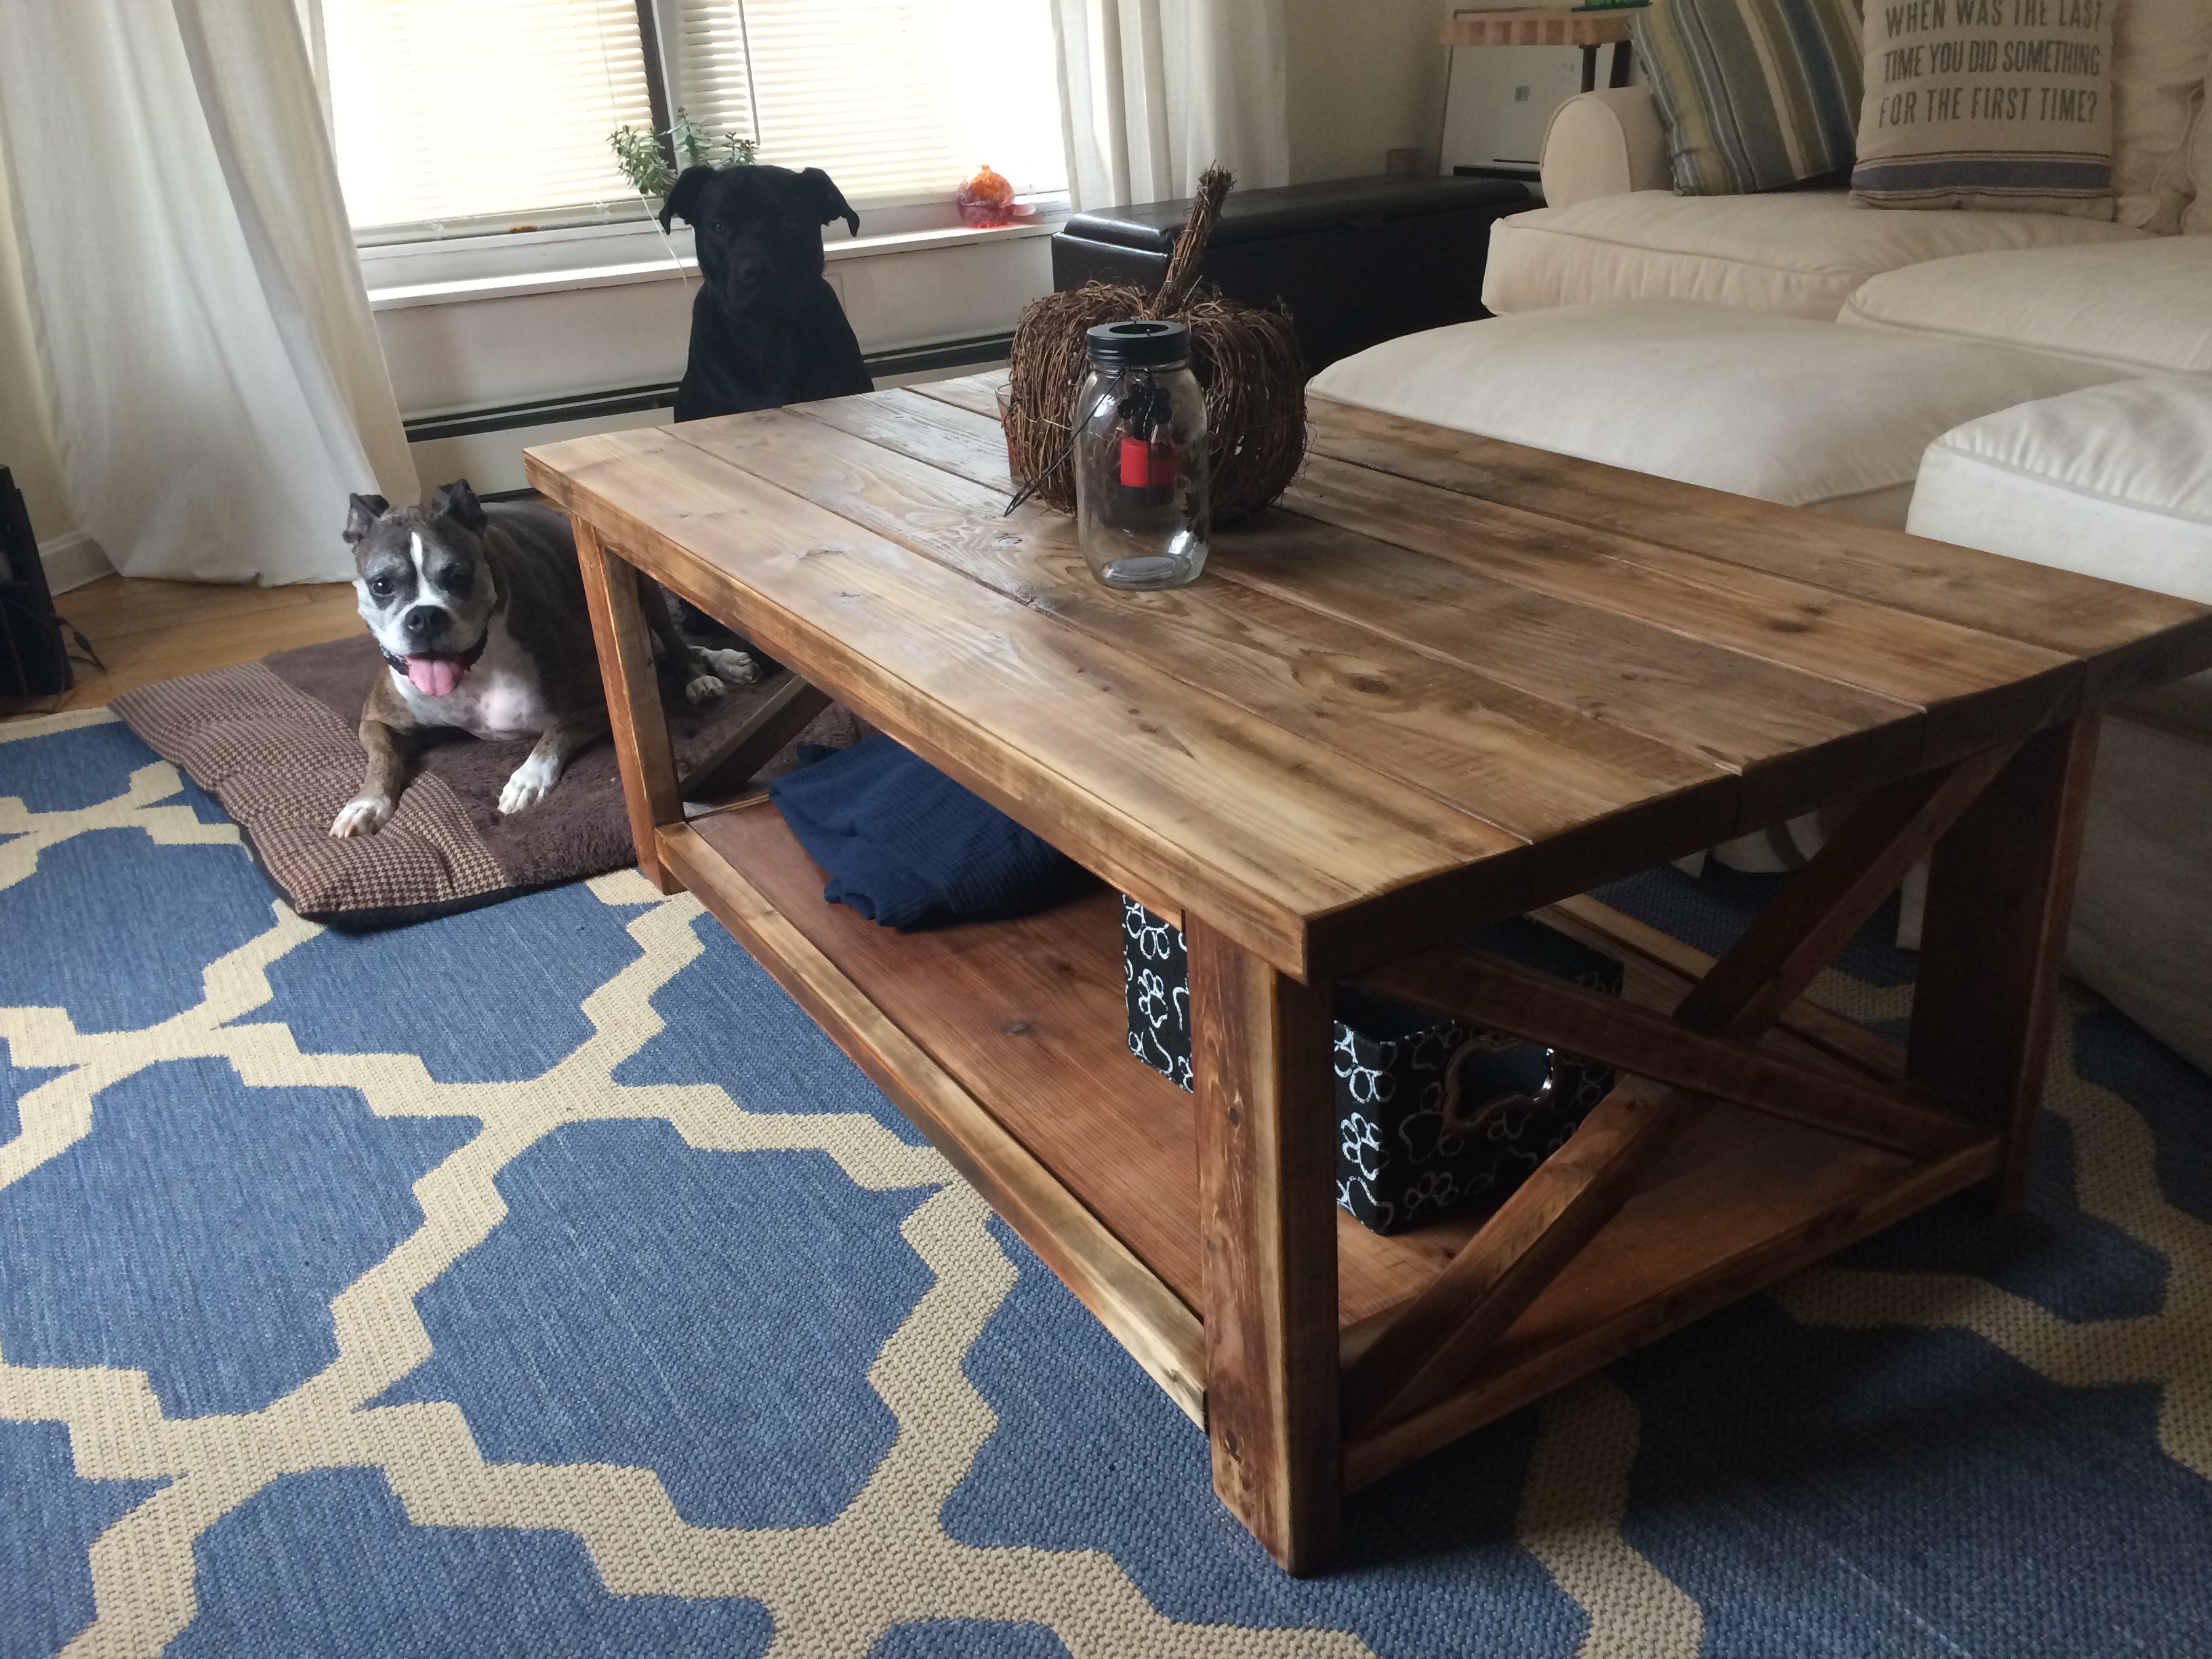
A little warmer than I had planned but very happy with my completed first project. Thanks Ana!
Built from Plan(s)
Estimated Cost
~200
Estimated Time Investment
Weekend Project (10-20 Hours)
Recommended Skill Level
Beginner
Comments
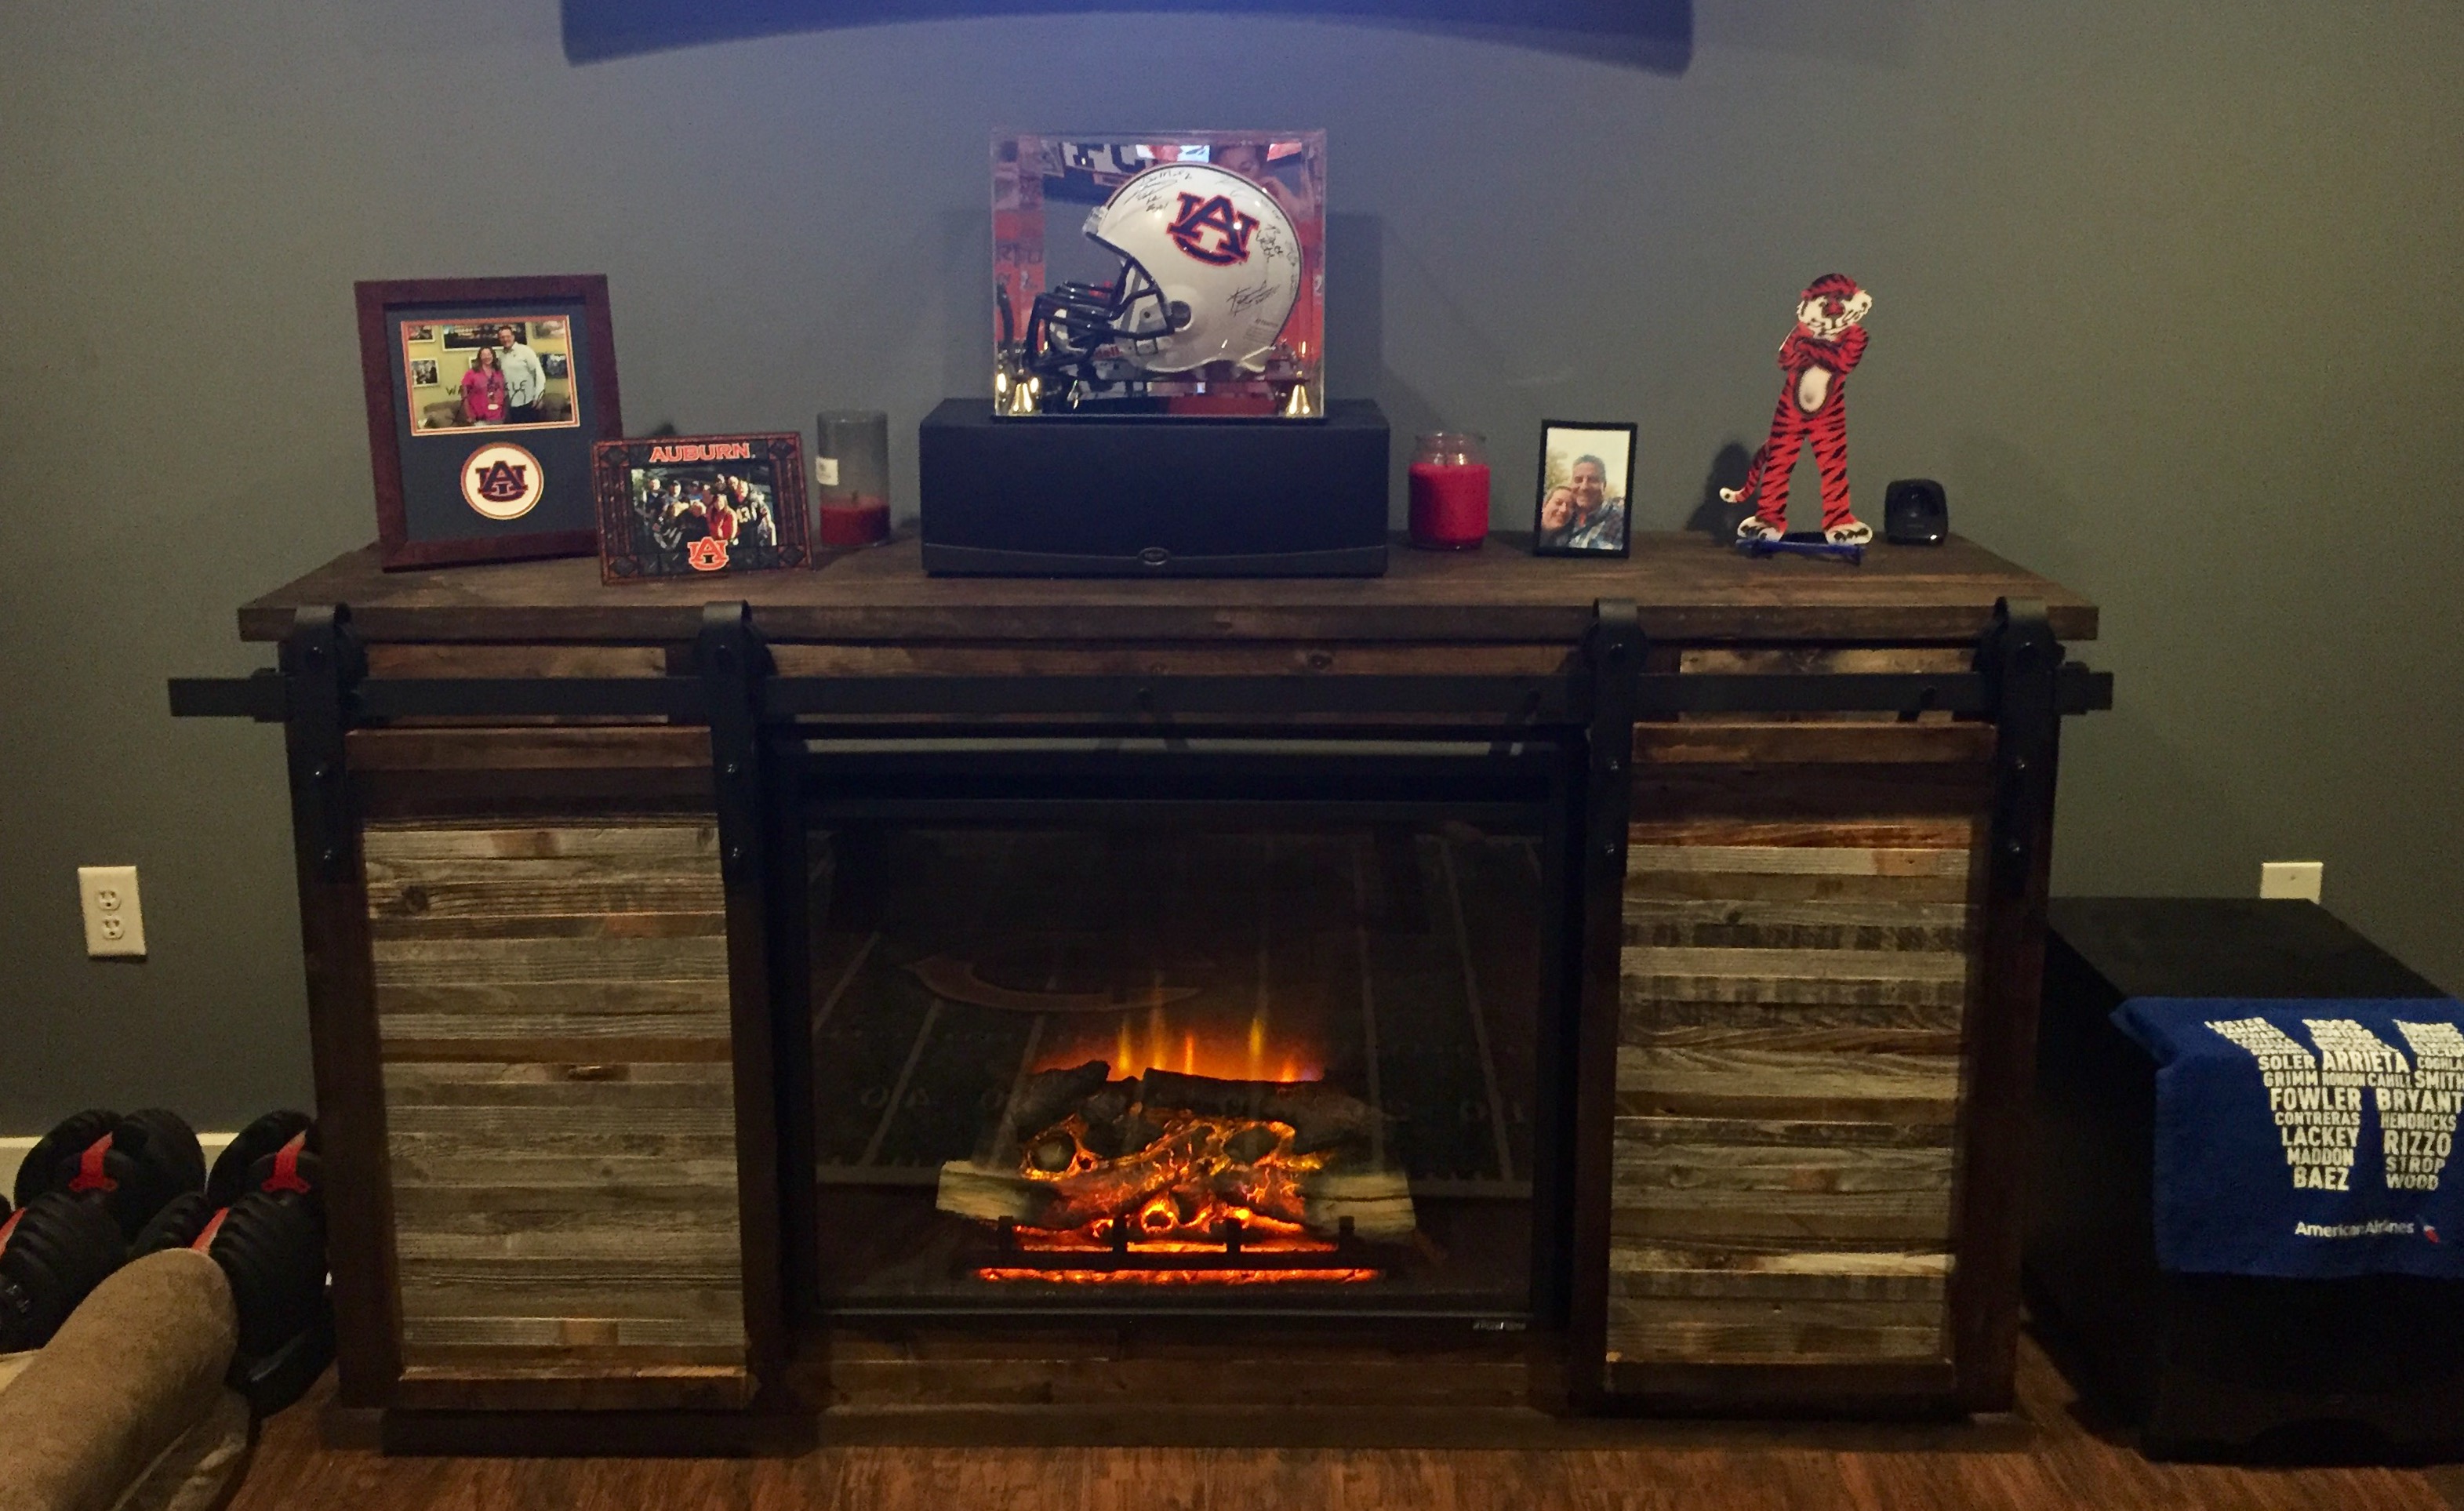
Sliding Door Console w/ Fireplace

I used the Sliding Door Console and modified it for a 36" Electric Fireplace insert. Behind the doors are the shelves as per the original design.
I did purchase the door track - and used reclaimed wood for the doors. These pieces are about 1/4 - 3/4" wide and vary in color.
Built from Plan(s)
Estimated Cost
Wood was around $125. Door hanger was just under $100. Fireplace was $349.
Estimated Time Investment
Weekend Project (10-20 Hours)
Finish Used
Miniwax Dark Walnut and Polycrylic - No stain on reclaimed wood
Recommended Skill Level
Intermediate
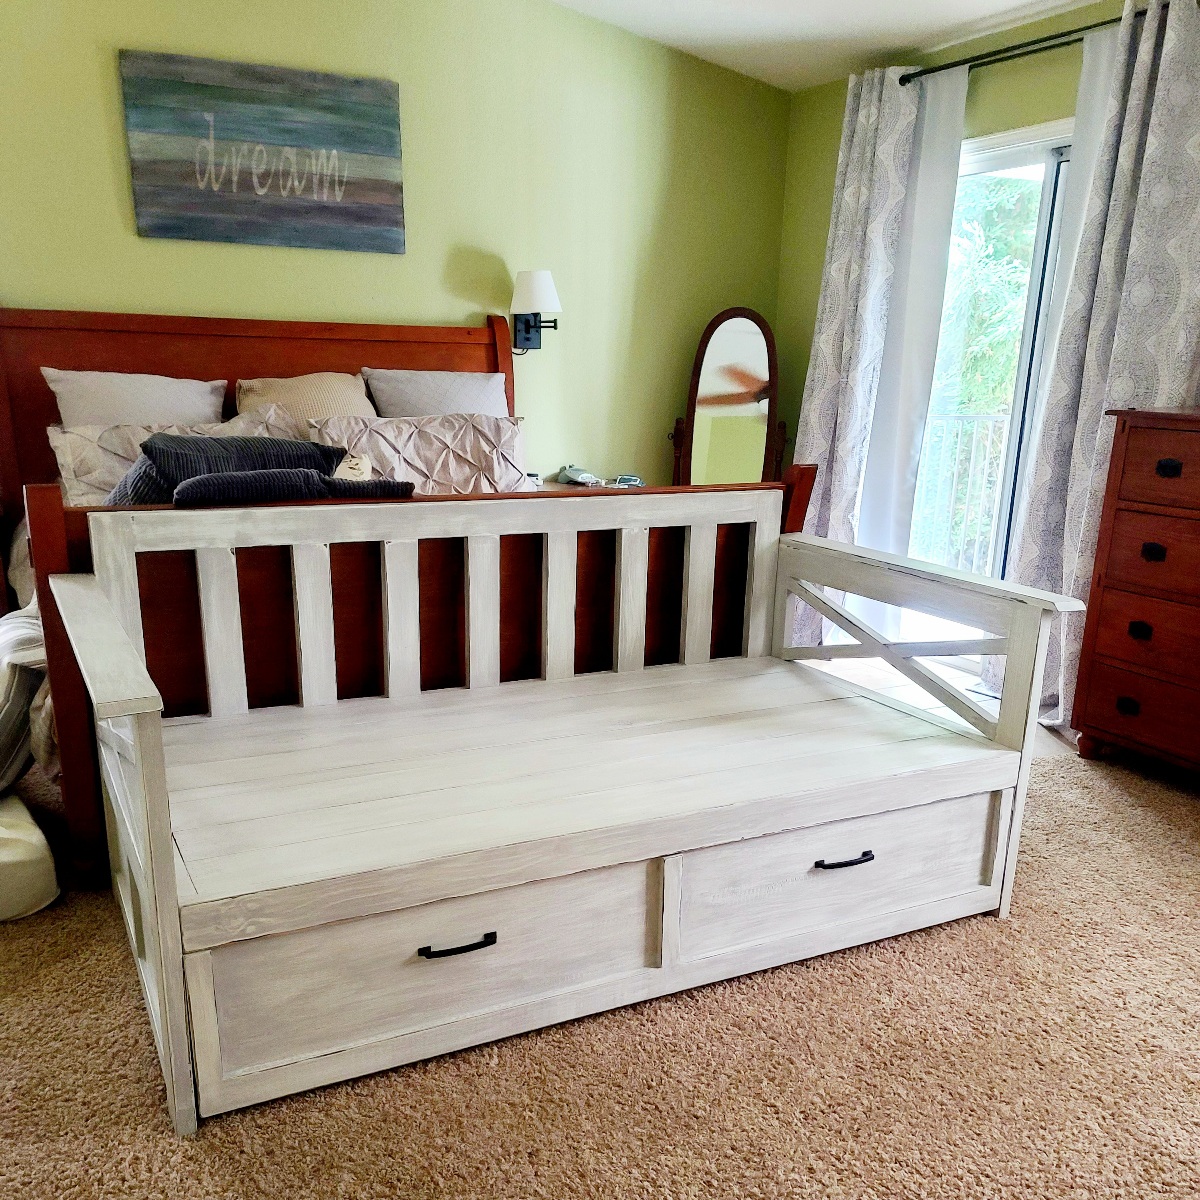
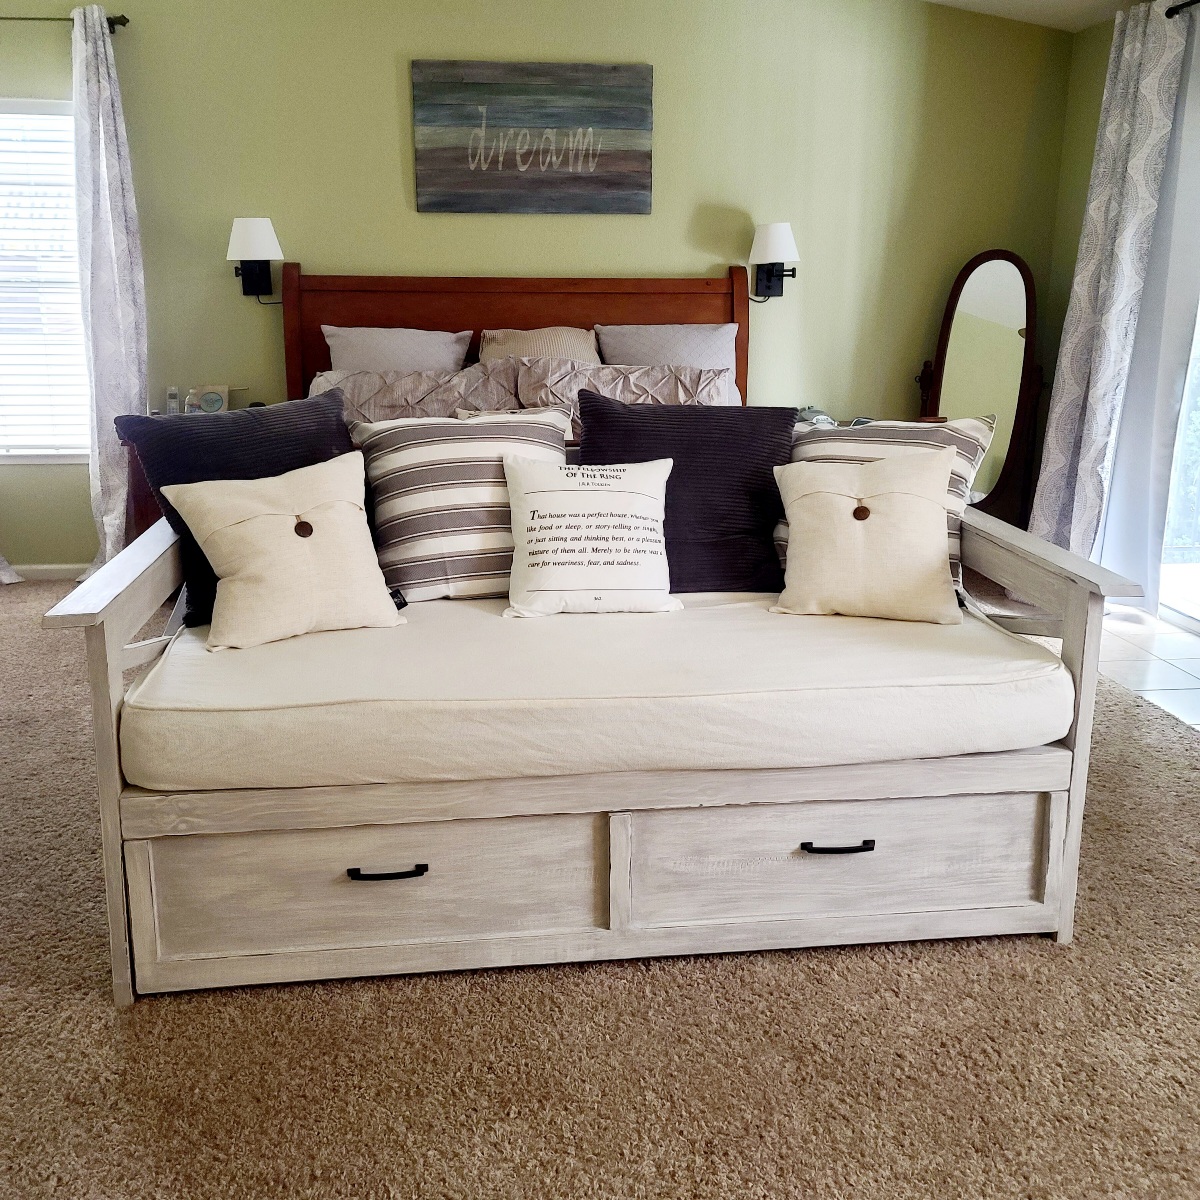
Daybed with Storage Trundle Drawer (Modified)
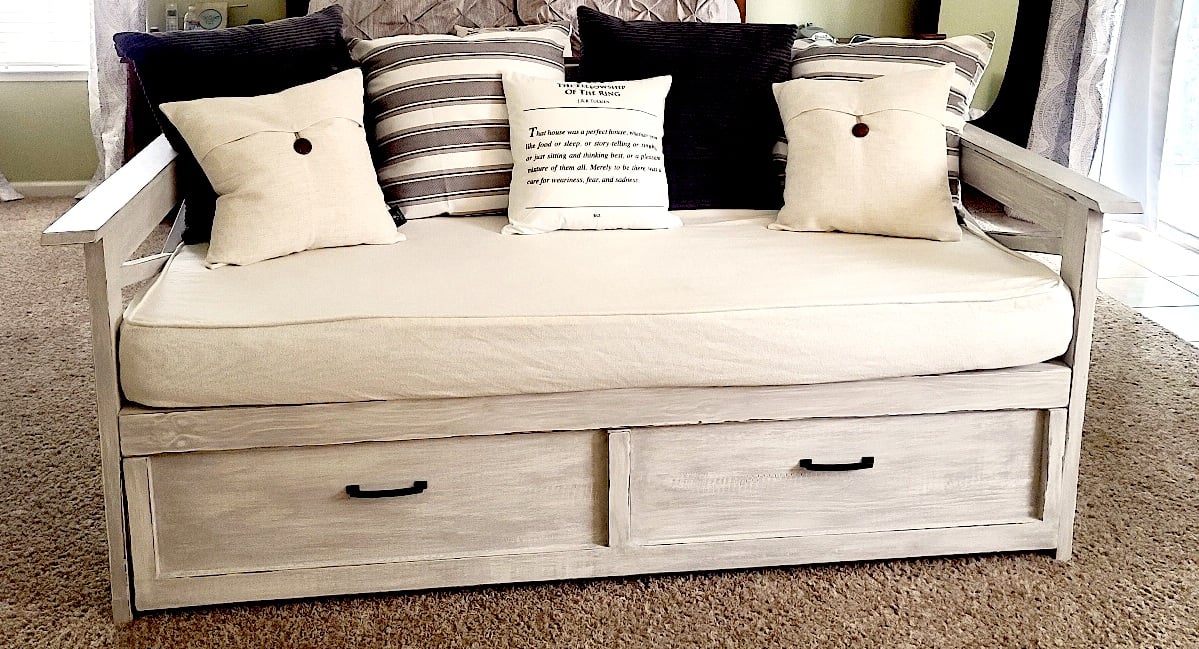
Great plans for a really useful storage daybed! I modified the plans to include a slat back and rustic x sides, as well as changing the Trundle drawers to a single drawer to fit my exercise equipment. I finished the daybed with stain and chalk paint in old white and Paris Grey distressed for the perfect shabby chic look!
Built from Plan(s)
Estimated Cost
$200
Estimated Time Investment
Weekend Project (10-20 Hours)
Finish Used
Varathane stain in Dark Walnut, Annie Sloan Chalk Paint in Old White, color wash over the white with Paris Grey and then sanded for the white and some of the stain to show through.
Recommended Skill Level
Intermediate
Comments
Rustic Coffee Bar
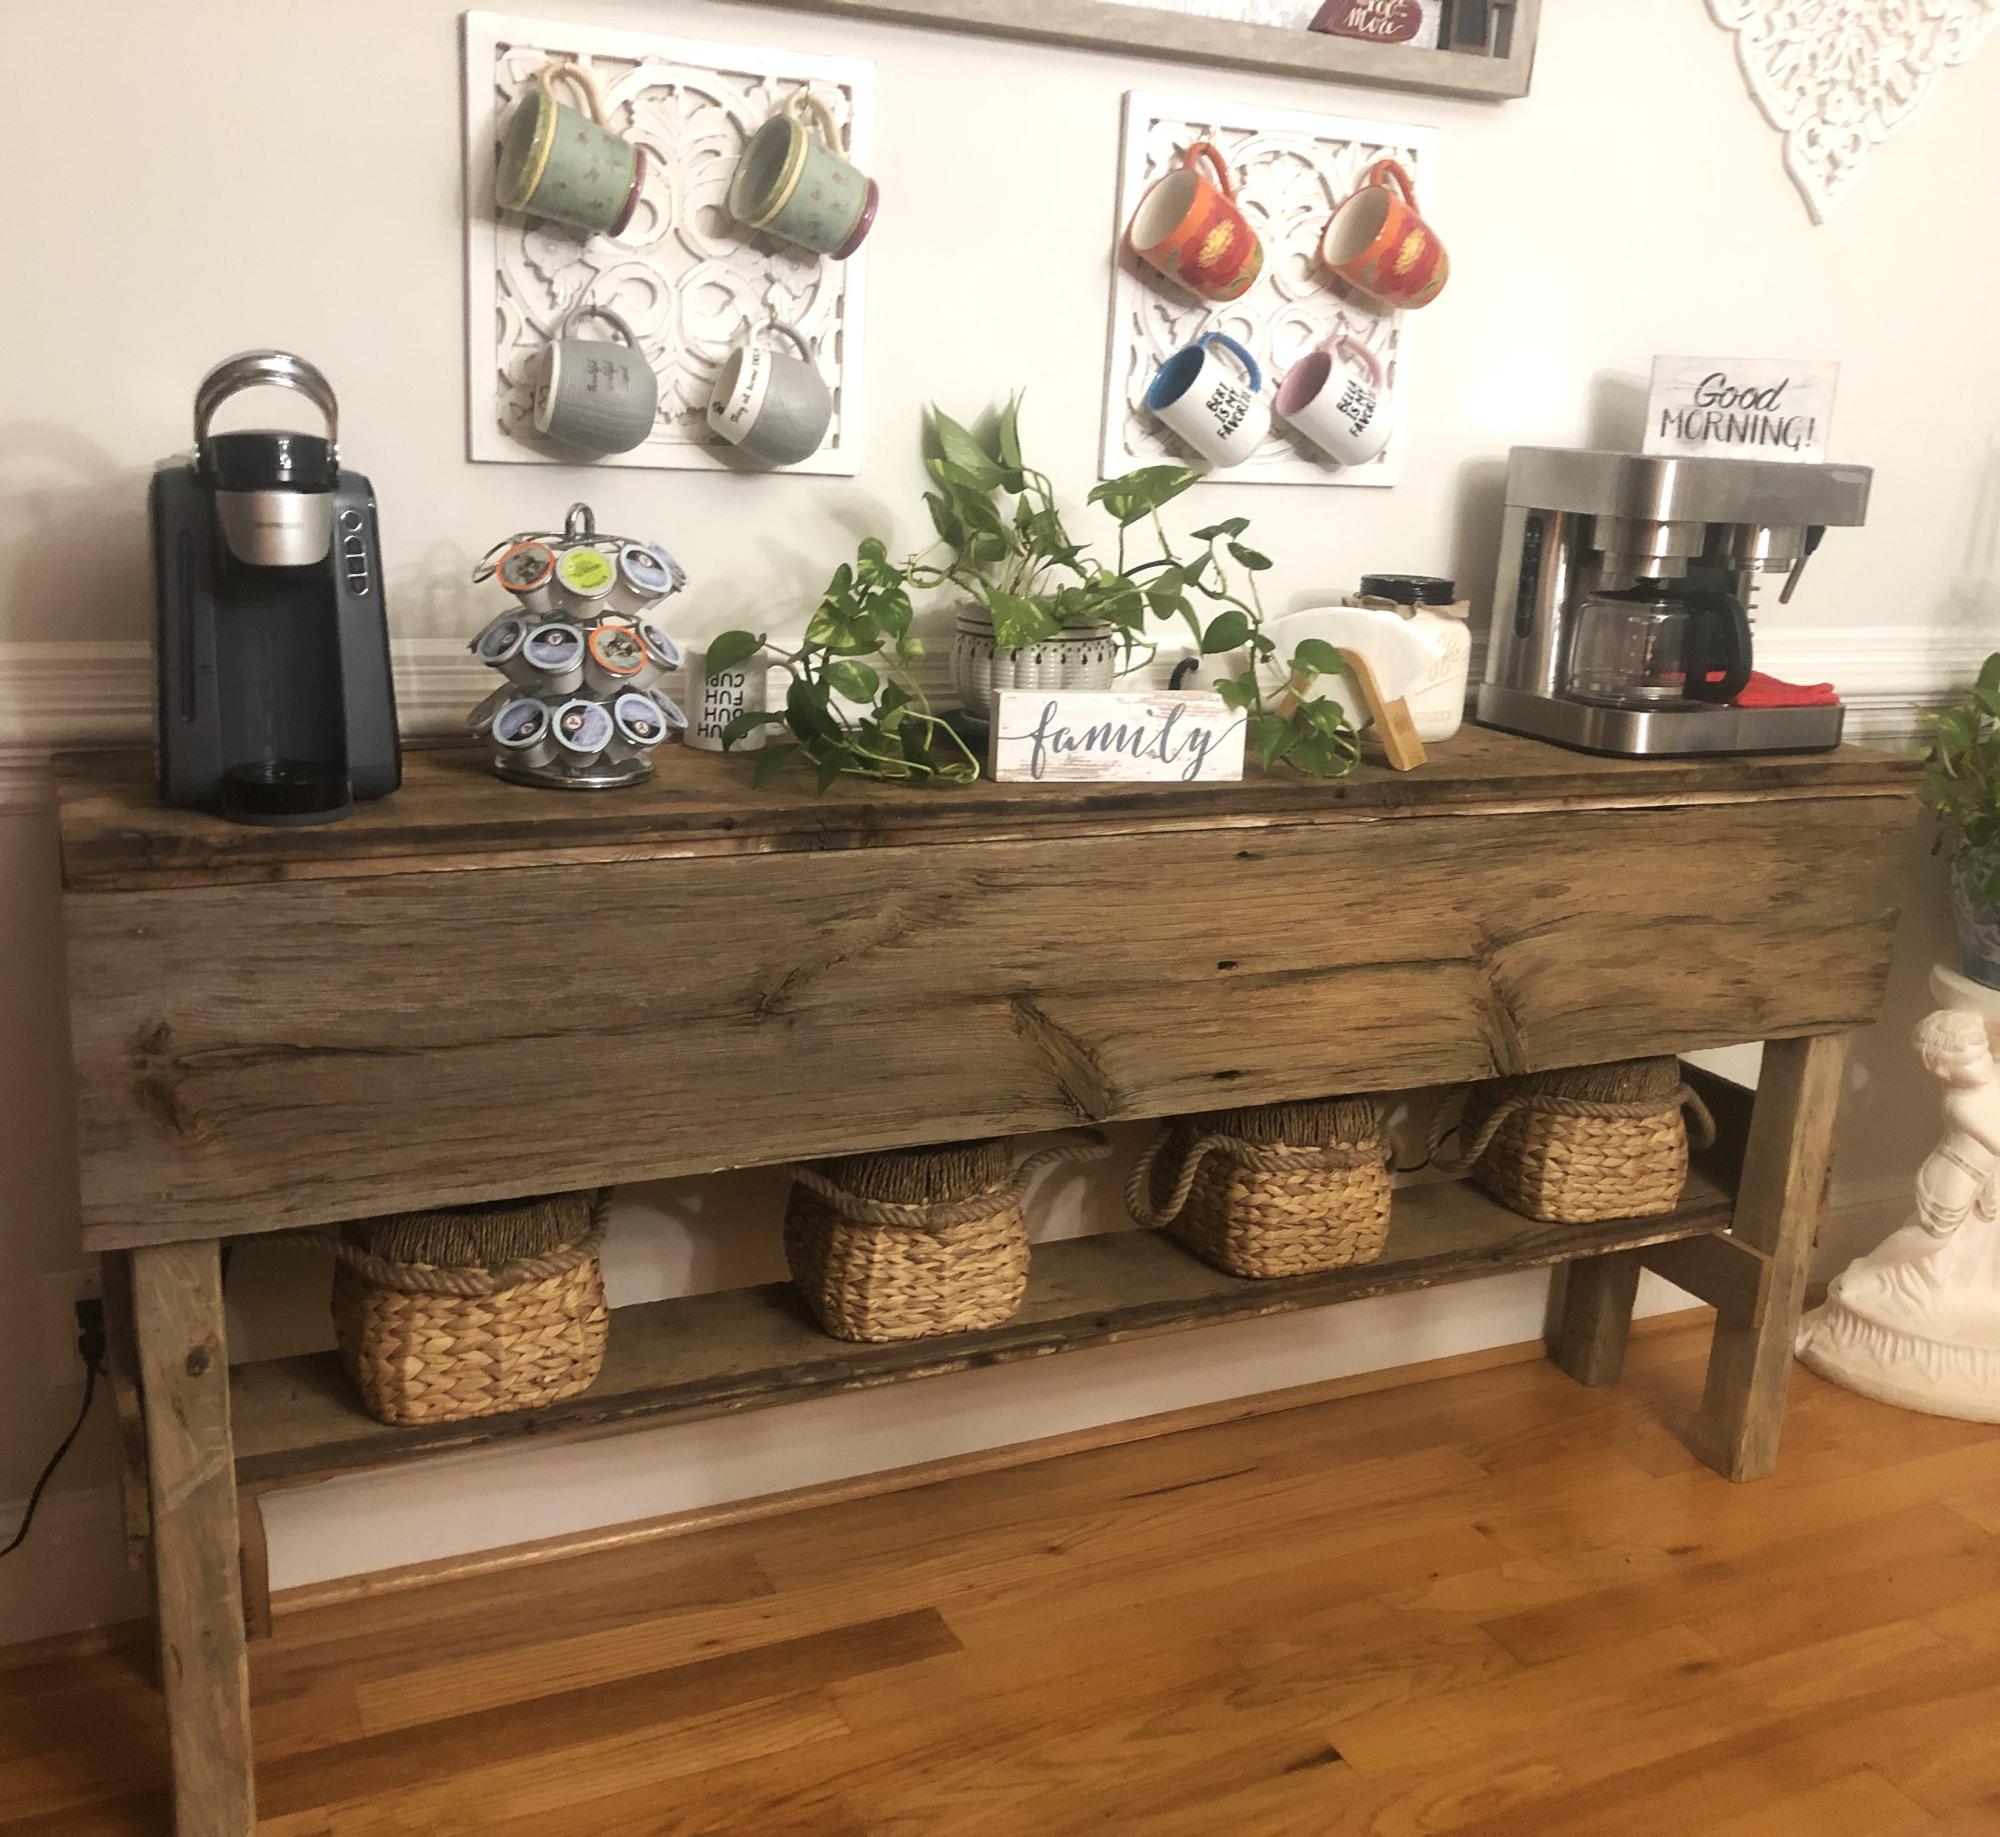
This coffee bar is build with three different kinds of wood. The top and bottom shelf are floor boards from a 150 yr old barn. The front and side panels are siding from a 200 yr old barn. The legs were cut from a tree on my property. I used an Alaskan chainsaw mill to get them to thickness and a table saw to square them up. Assembled with nails, where visible for the antique look and a screws where not visible. Natural finish for natural appearance. - David Girard - (G-rod Enterprises)
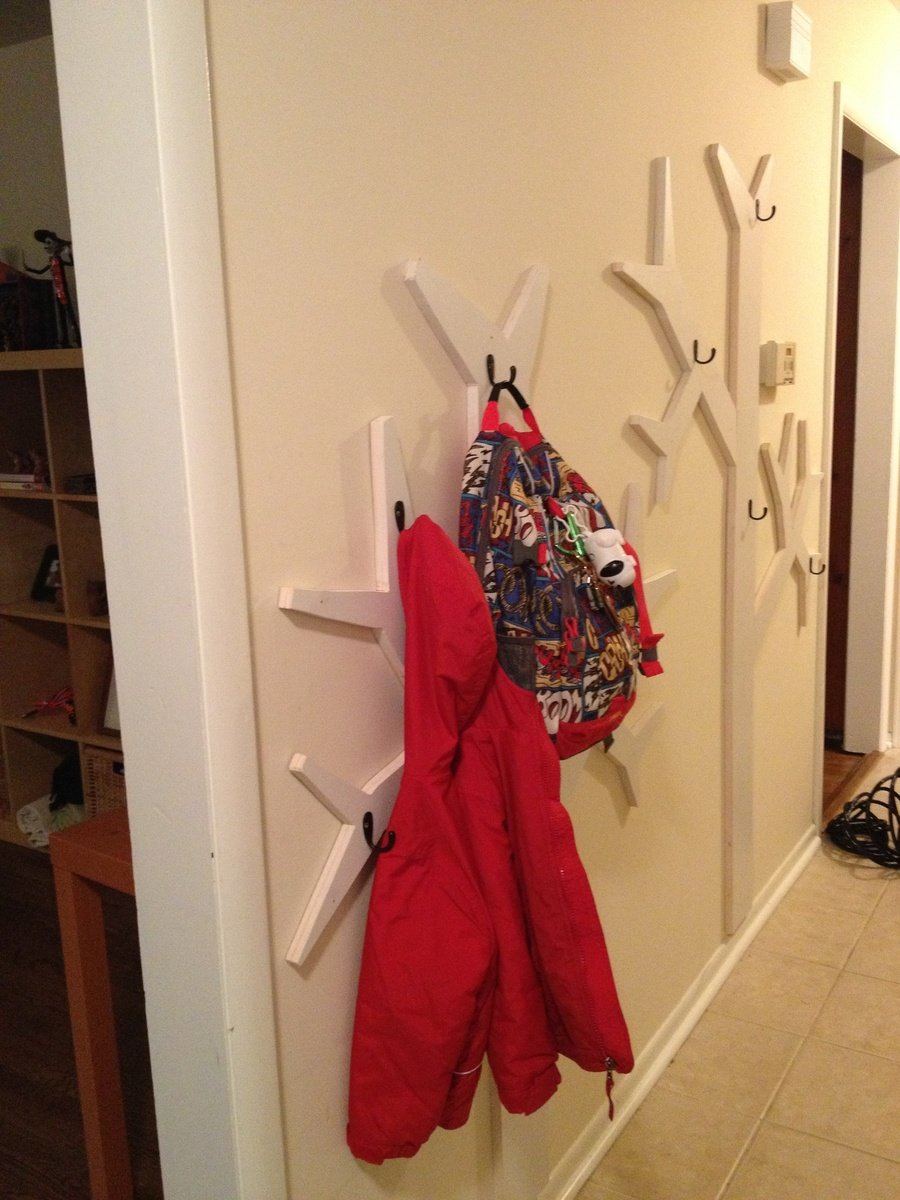
Wall Mount Coat Rack Tree -- Style Meets Function
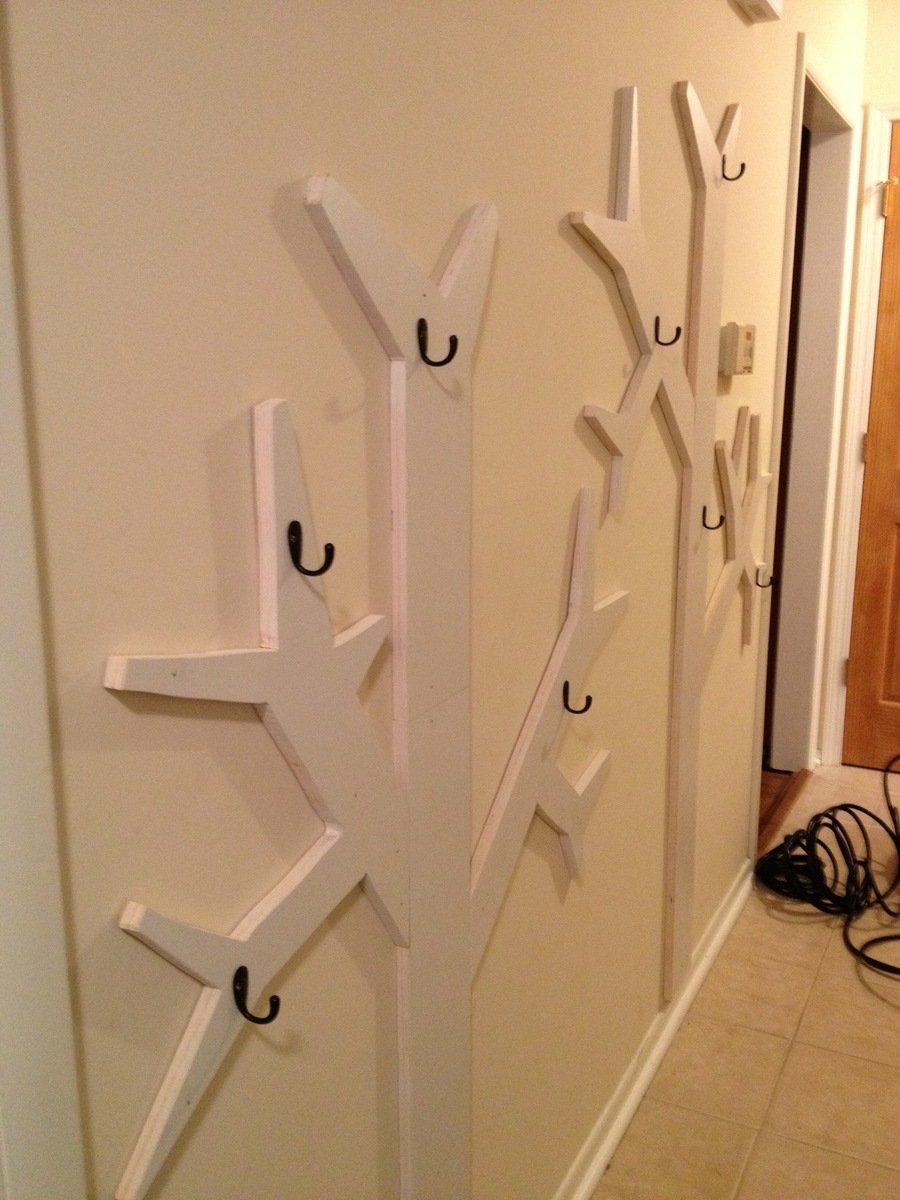
This is a coat rack that I recently built for a friend of mine who was struggling with a way to organize her kiddos' coats and packs. She doesn't have a coat closet off of the entry way, so we installed this wall-mount tree design on an interior hallway as you enter the home. This would also be cute in a kid's room or a mudroom. I posted step-by-step instructions with pictures on my blog at www.momthebuilder.net. Let me know what you think!
Estimated Cost
100
Estimated Time Investment
Day Project (6-9 Hours)
Finish Used
Semi-gloss interior white paint
Recommended Skill Level
Beginner
Comments
Tue, 12/08/2020 - 20:51
link is broken
It looks like your blog is down. Is it posted anywhere else, or could you send the plans to me?
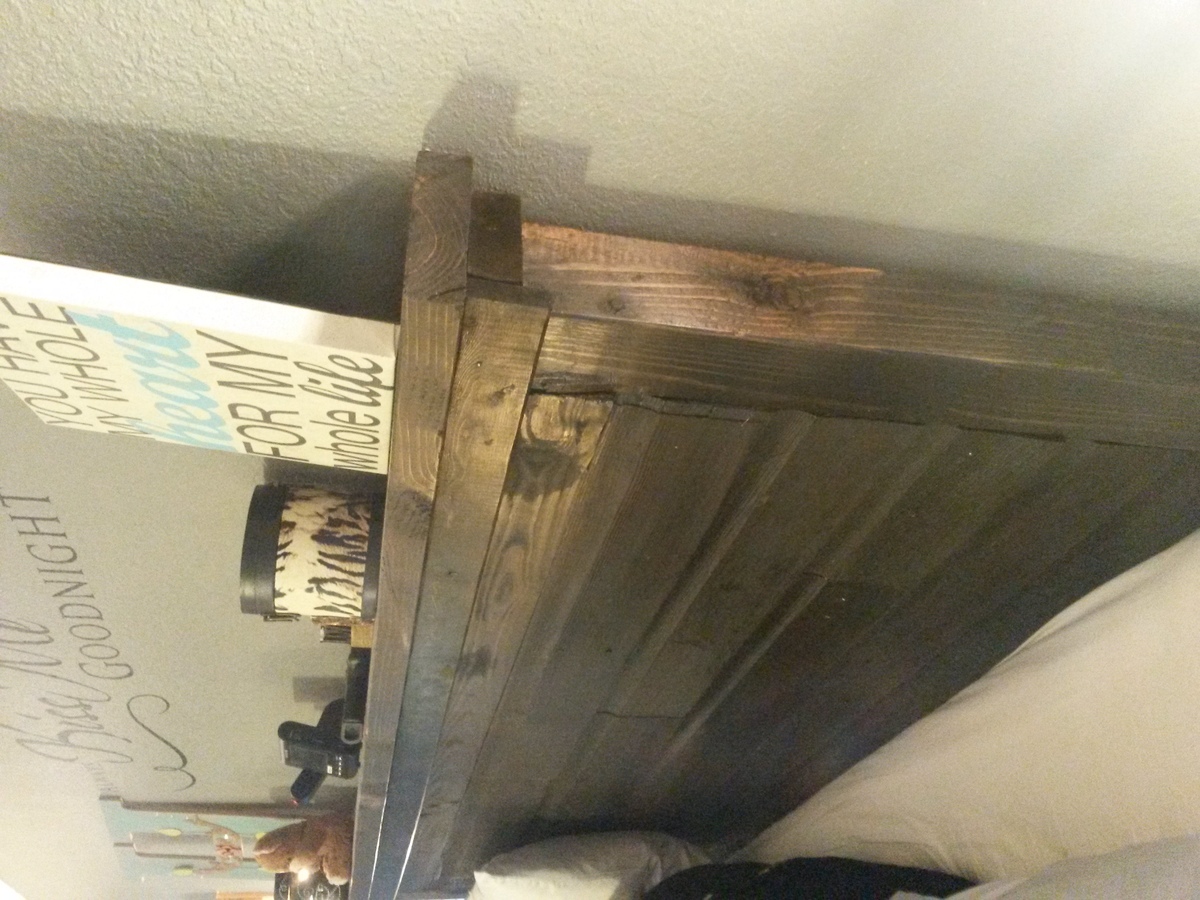
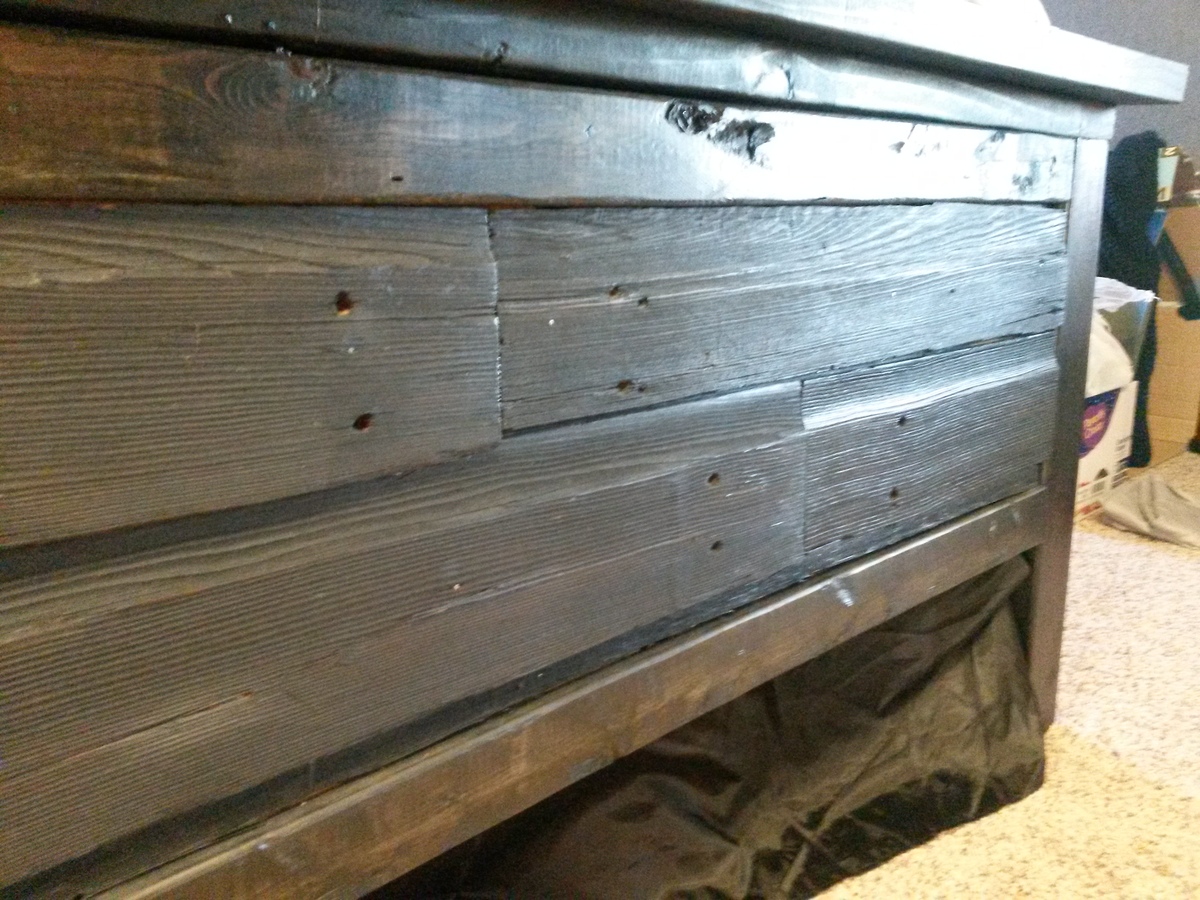
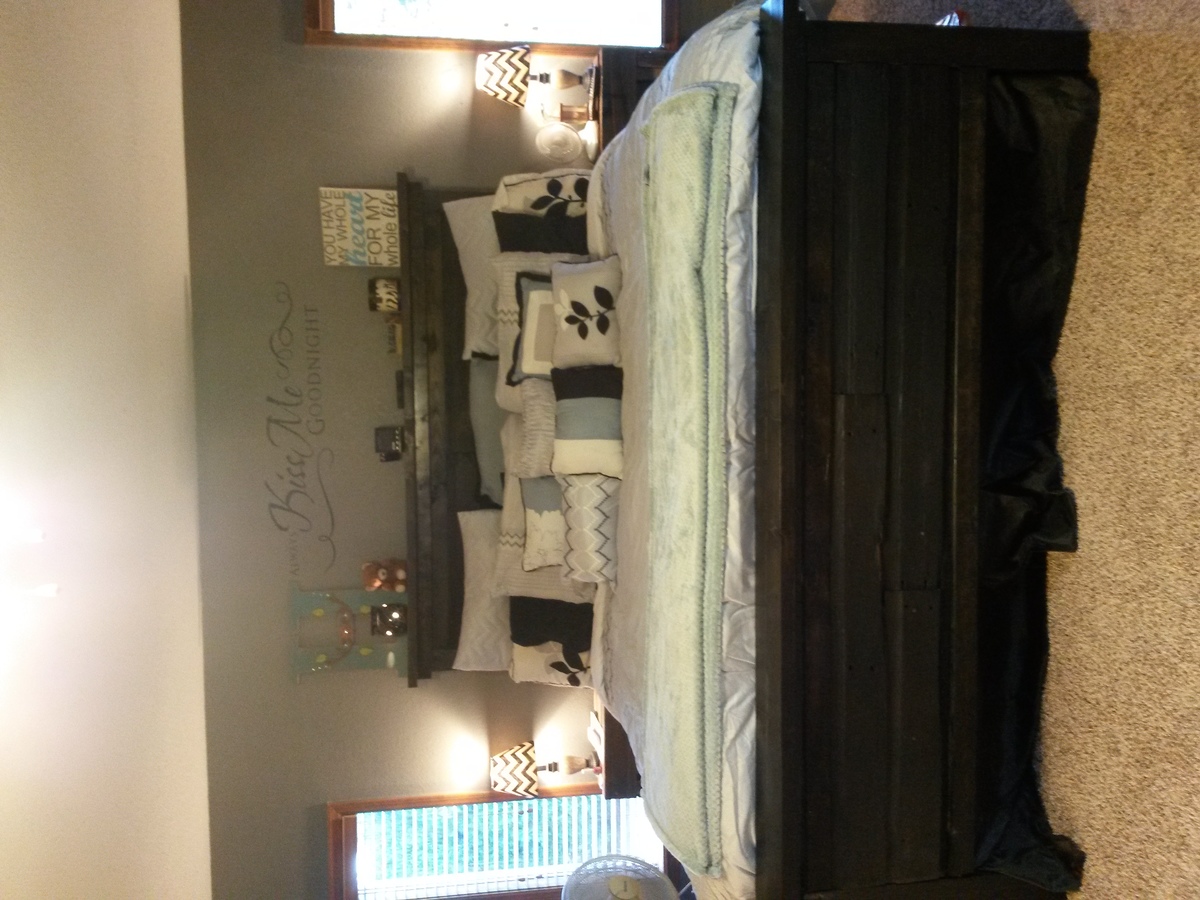
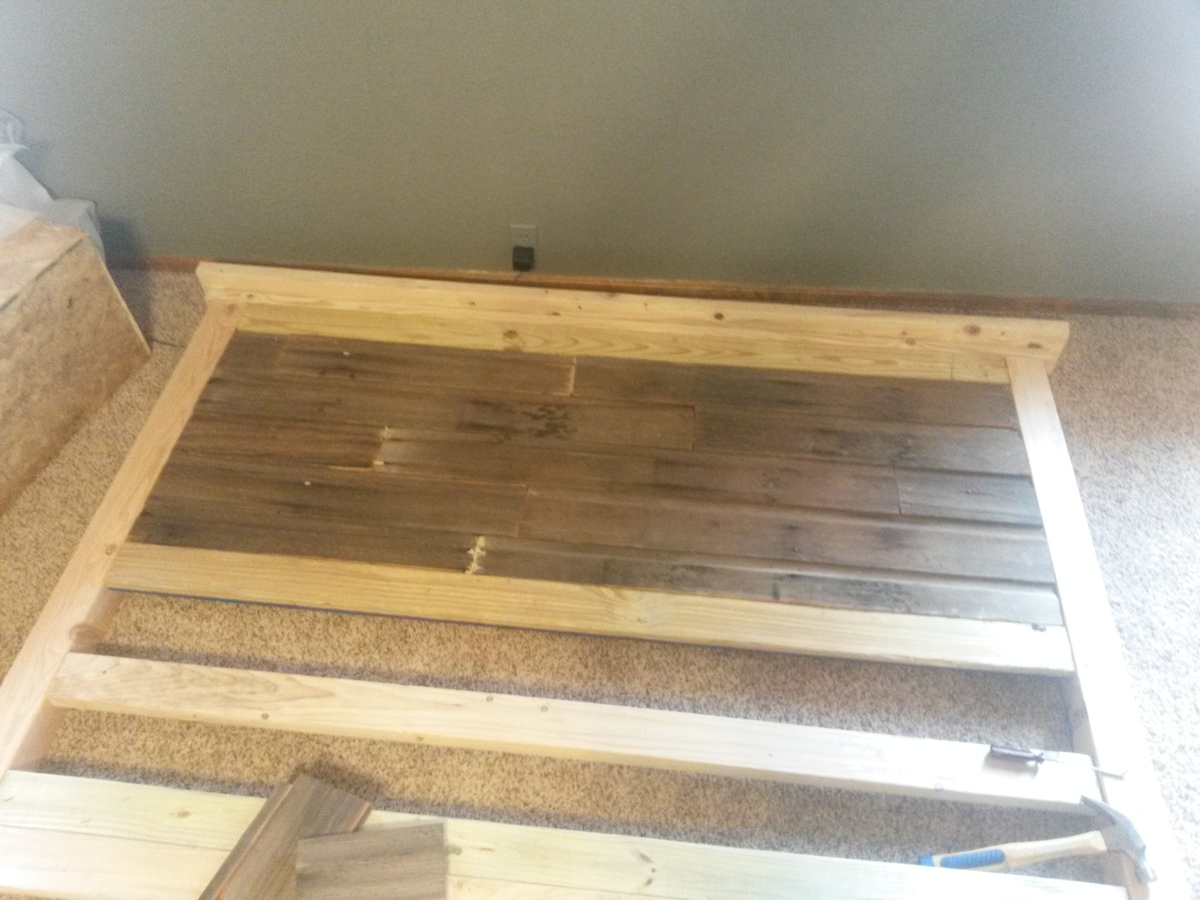
king bed from reclaimed barn wood
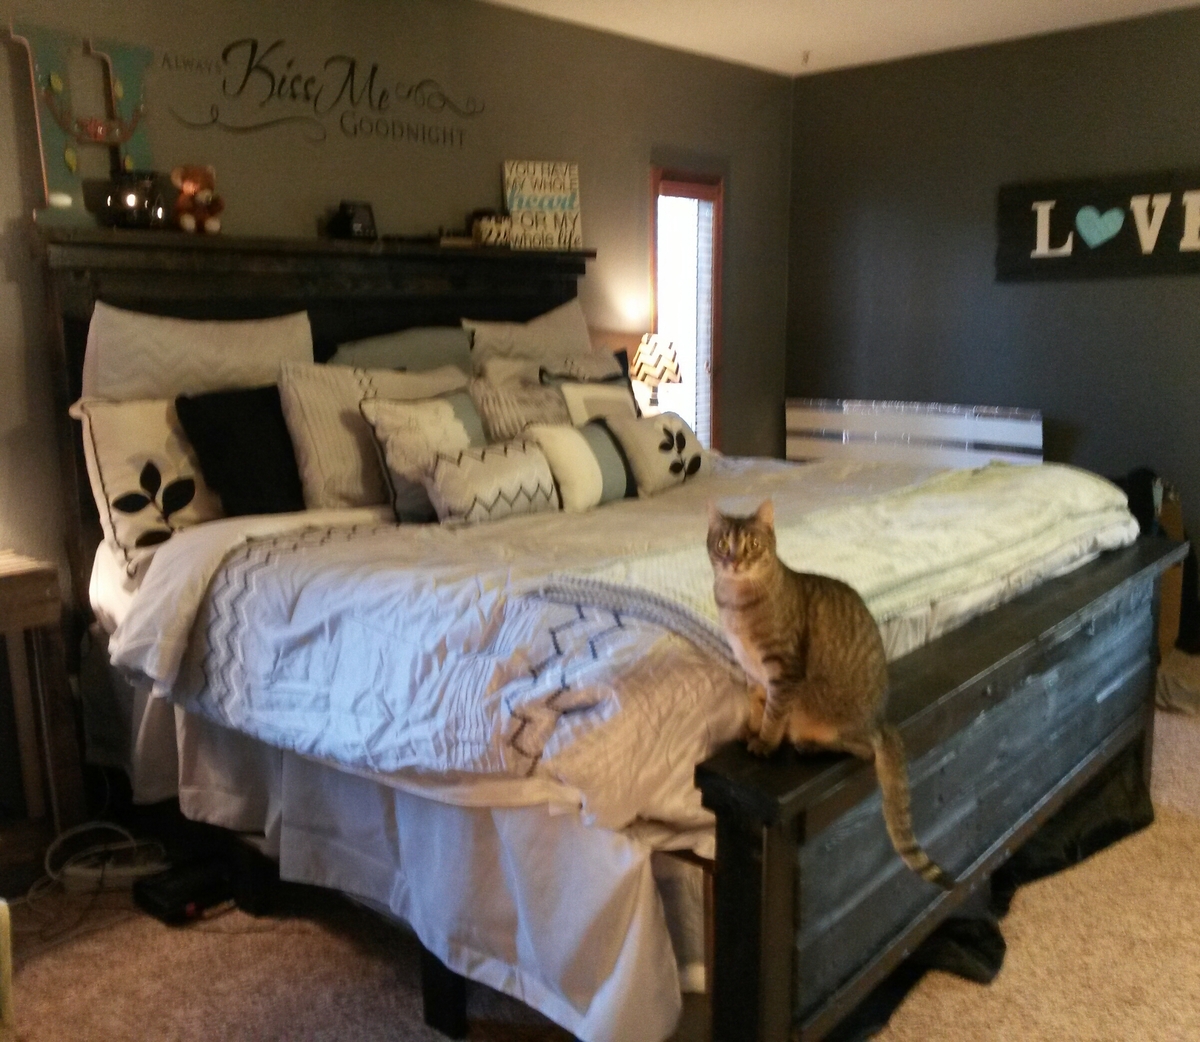
First project from dad tearing down his barn. Used ana's plans for queen bed and added to fit king dimensions. Husband also requested a tall bed so I added 6 inches to her measurements.
Estimated Cost
$80 bc I used reclaimed wood. Most of that is screws and plywood
Estimated Time Investment
Weekend Project (10-20 Hours)
Finish Used
Stained with a mix of dark oak and black. Many coats of polyurethane bc it soaked in to the old wood
Recommended Skill Level
Beginner
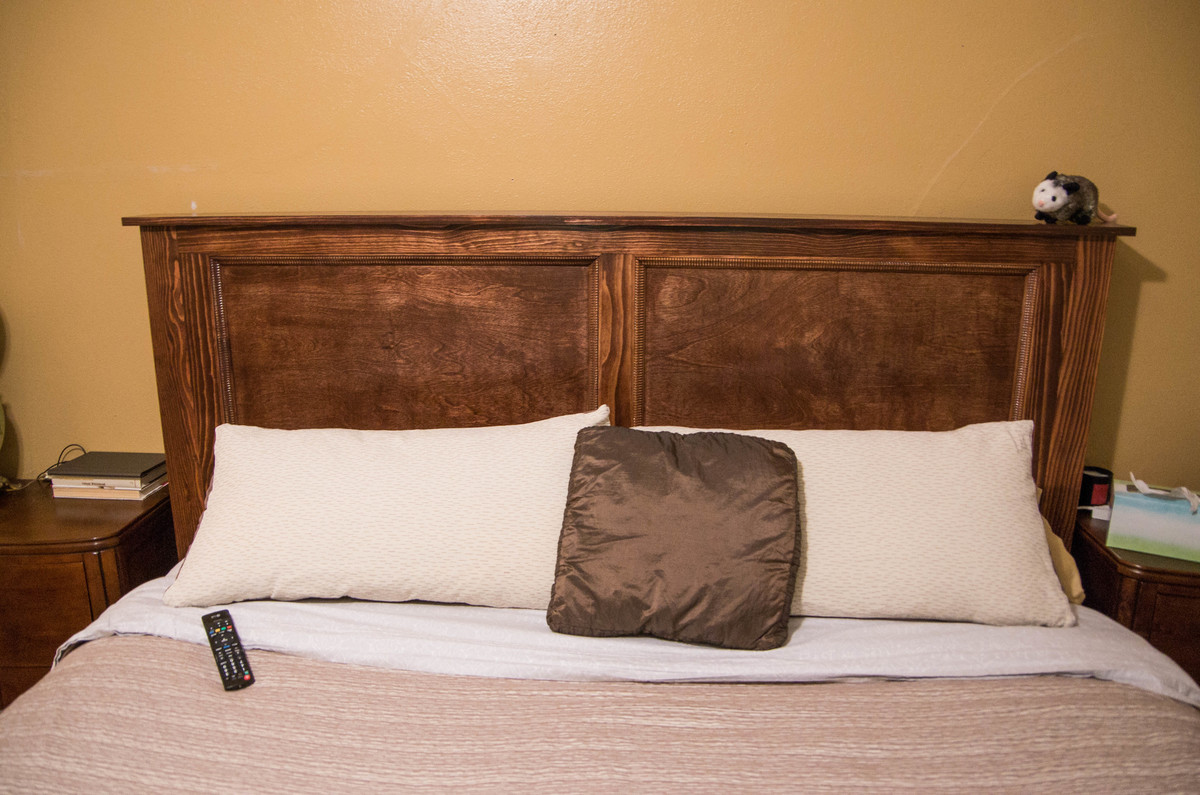
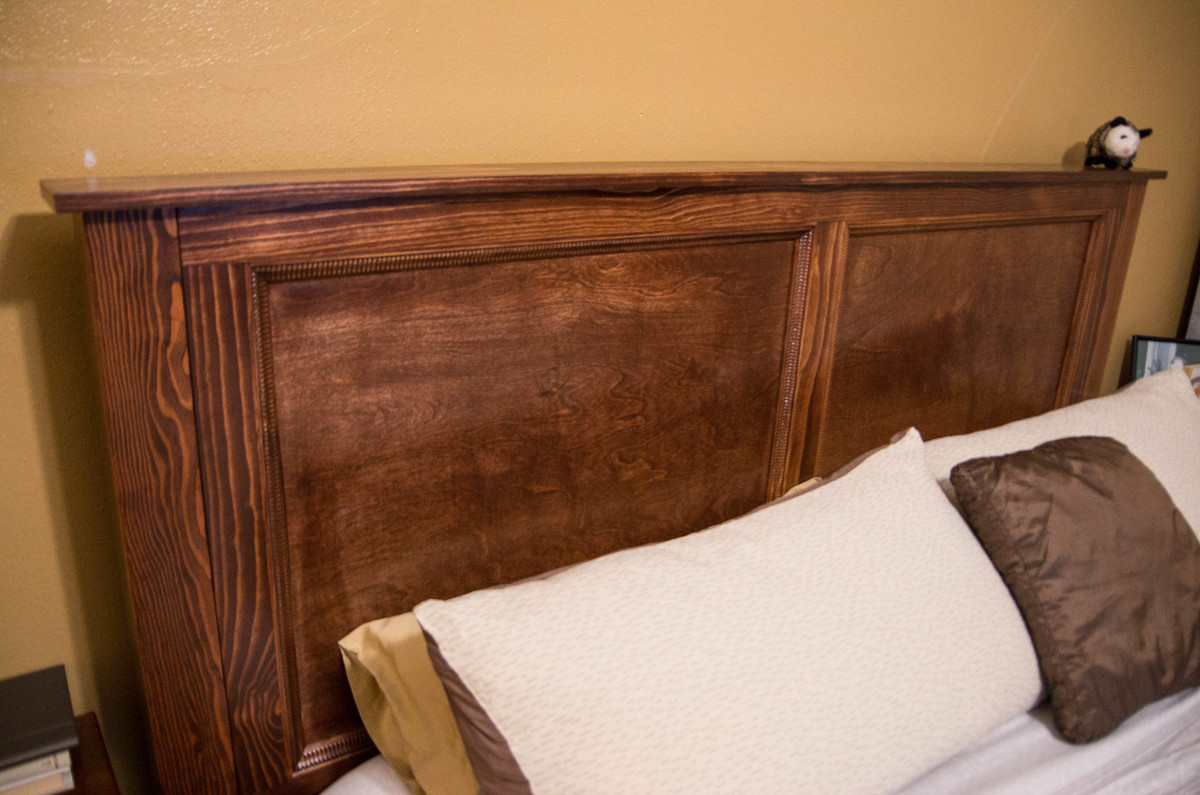
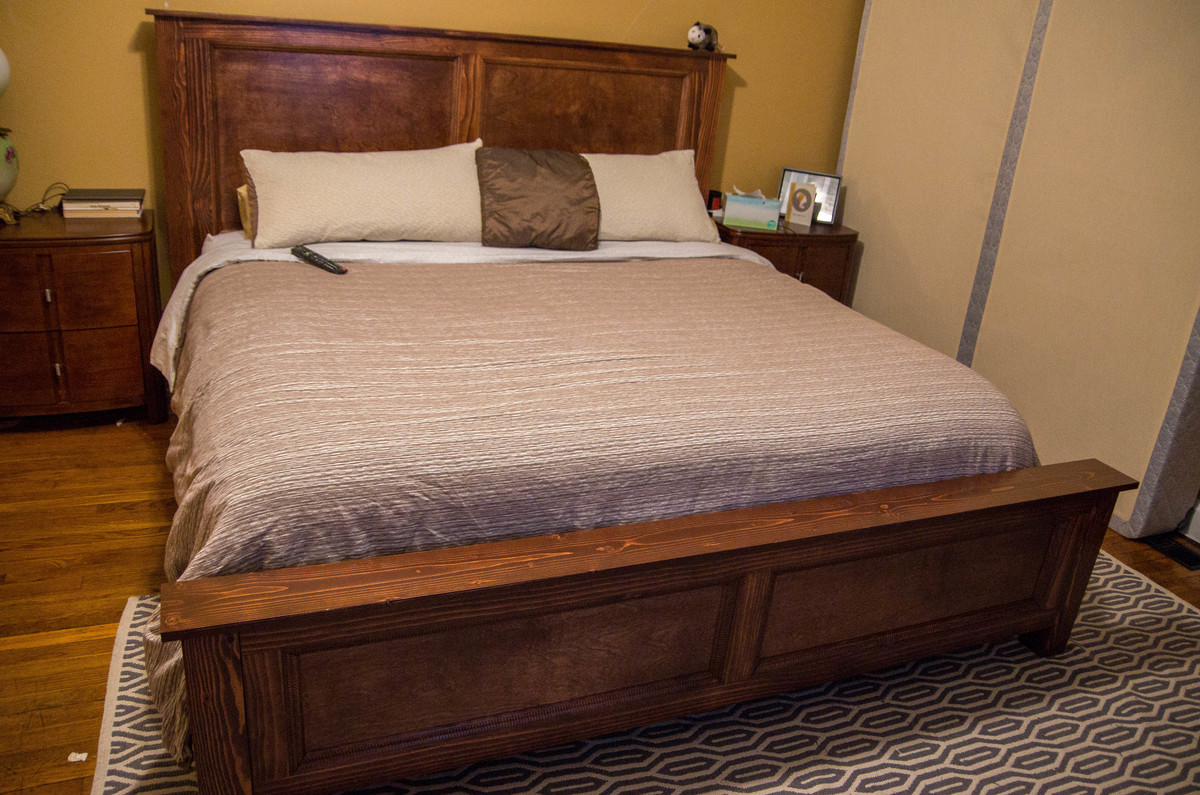
Cassidy King Bed

We executed the Cassidy King bed plan to the letter apart from the shims decoration on the head and footboard. We opted for trimming both the head and footboard with some simple trim to keep the design clean. We also used 2x12s for the side rails and added extra frame supports to ensure the bed was extra sturdy, and it is rock solid! As you can see from some of the pictures after putting the bed together using our box springs we felt it made the mattress look too high. We then decided to put down ¾ inch plywood and take out the box springs (our mattress is really thick, nearly 18’’). All in all, we are very pleased with how this plan turned out. Thank you, Anna, for your awesome plans! This is the third project we have made from your site and all of them have turned out true to the plans and looking really nice.


Built from Plan(s)
Estimated Cost
$200
Estimated Time Investment
Week Long Project (20 Hours or More)
Finish Used
Sherwin Williams Classic Cherry stain and Sherwin Williams Poly
Recommended Skill Level
Intermediate
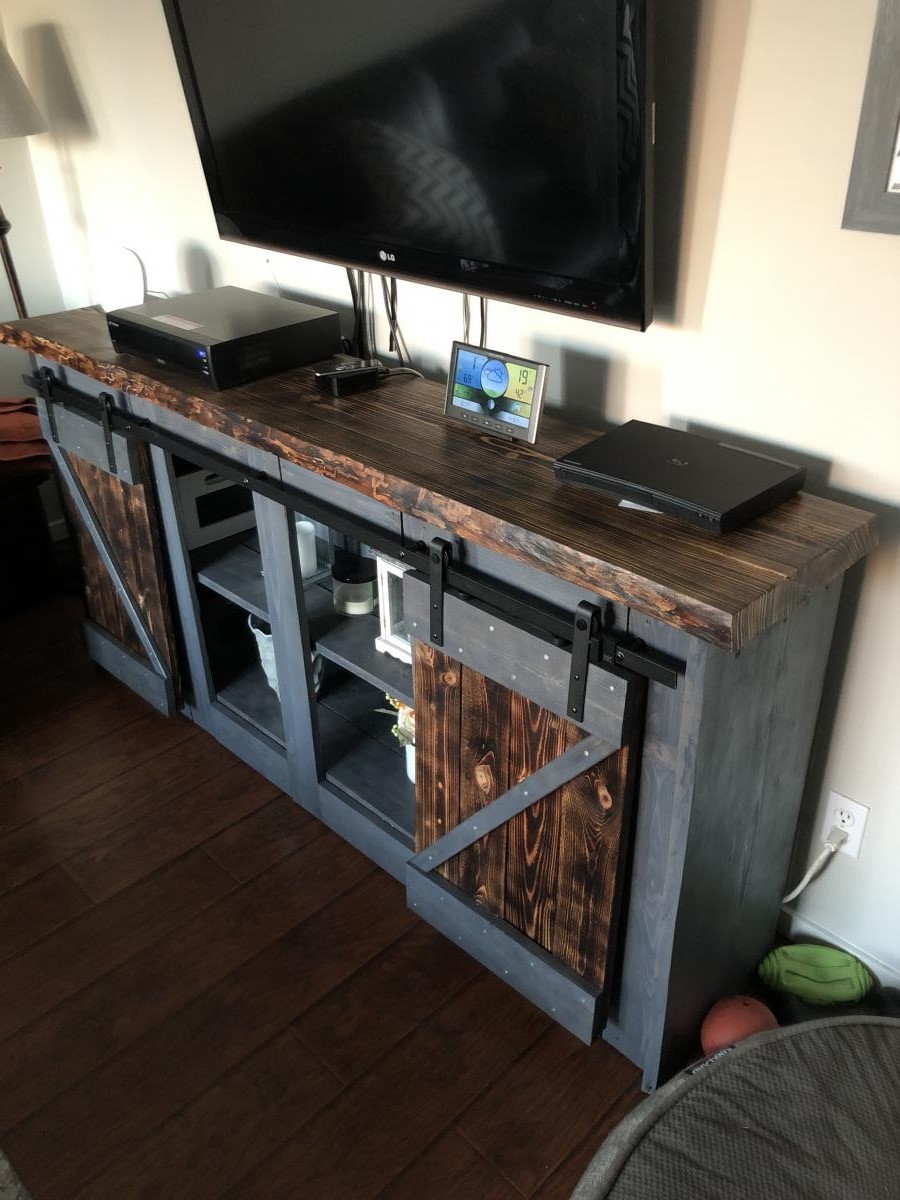
Barn door Console
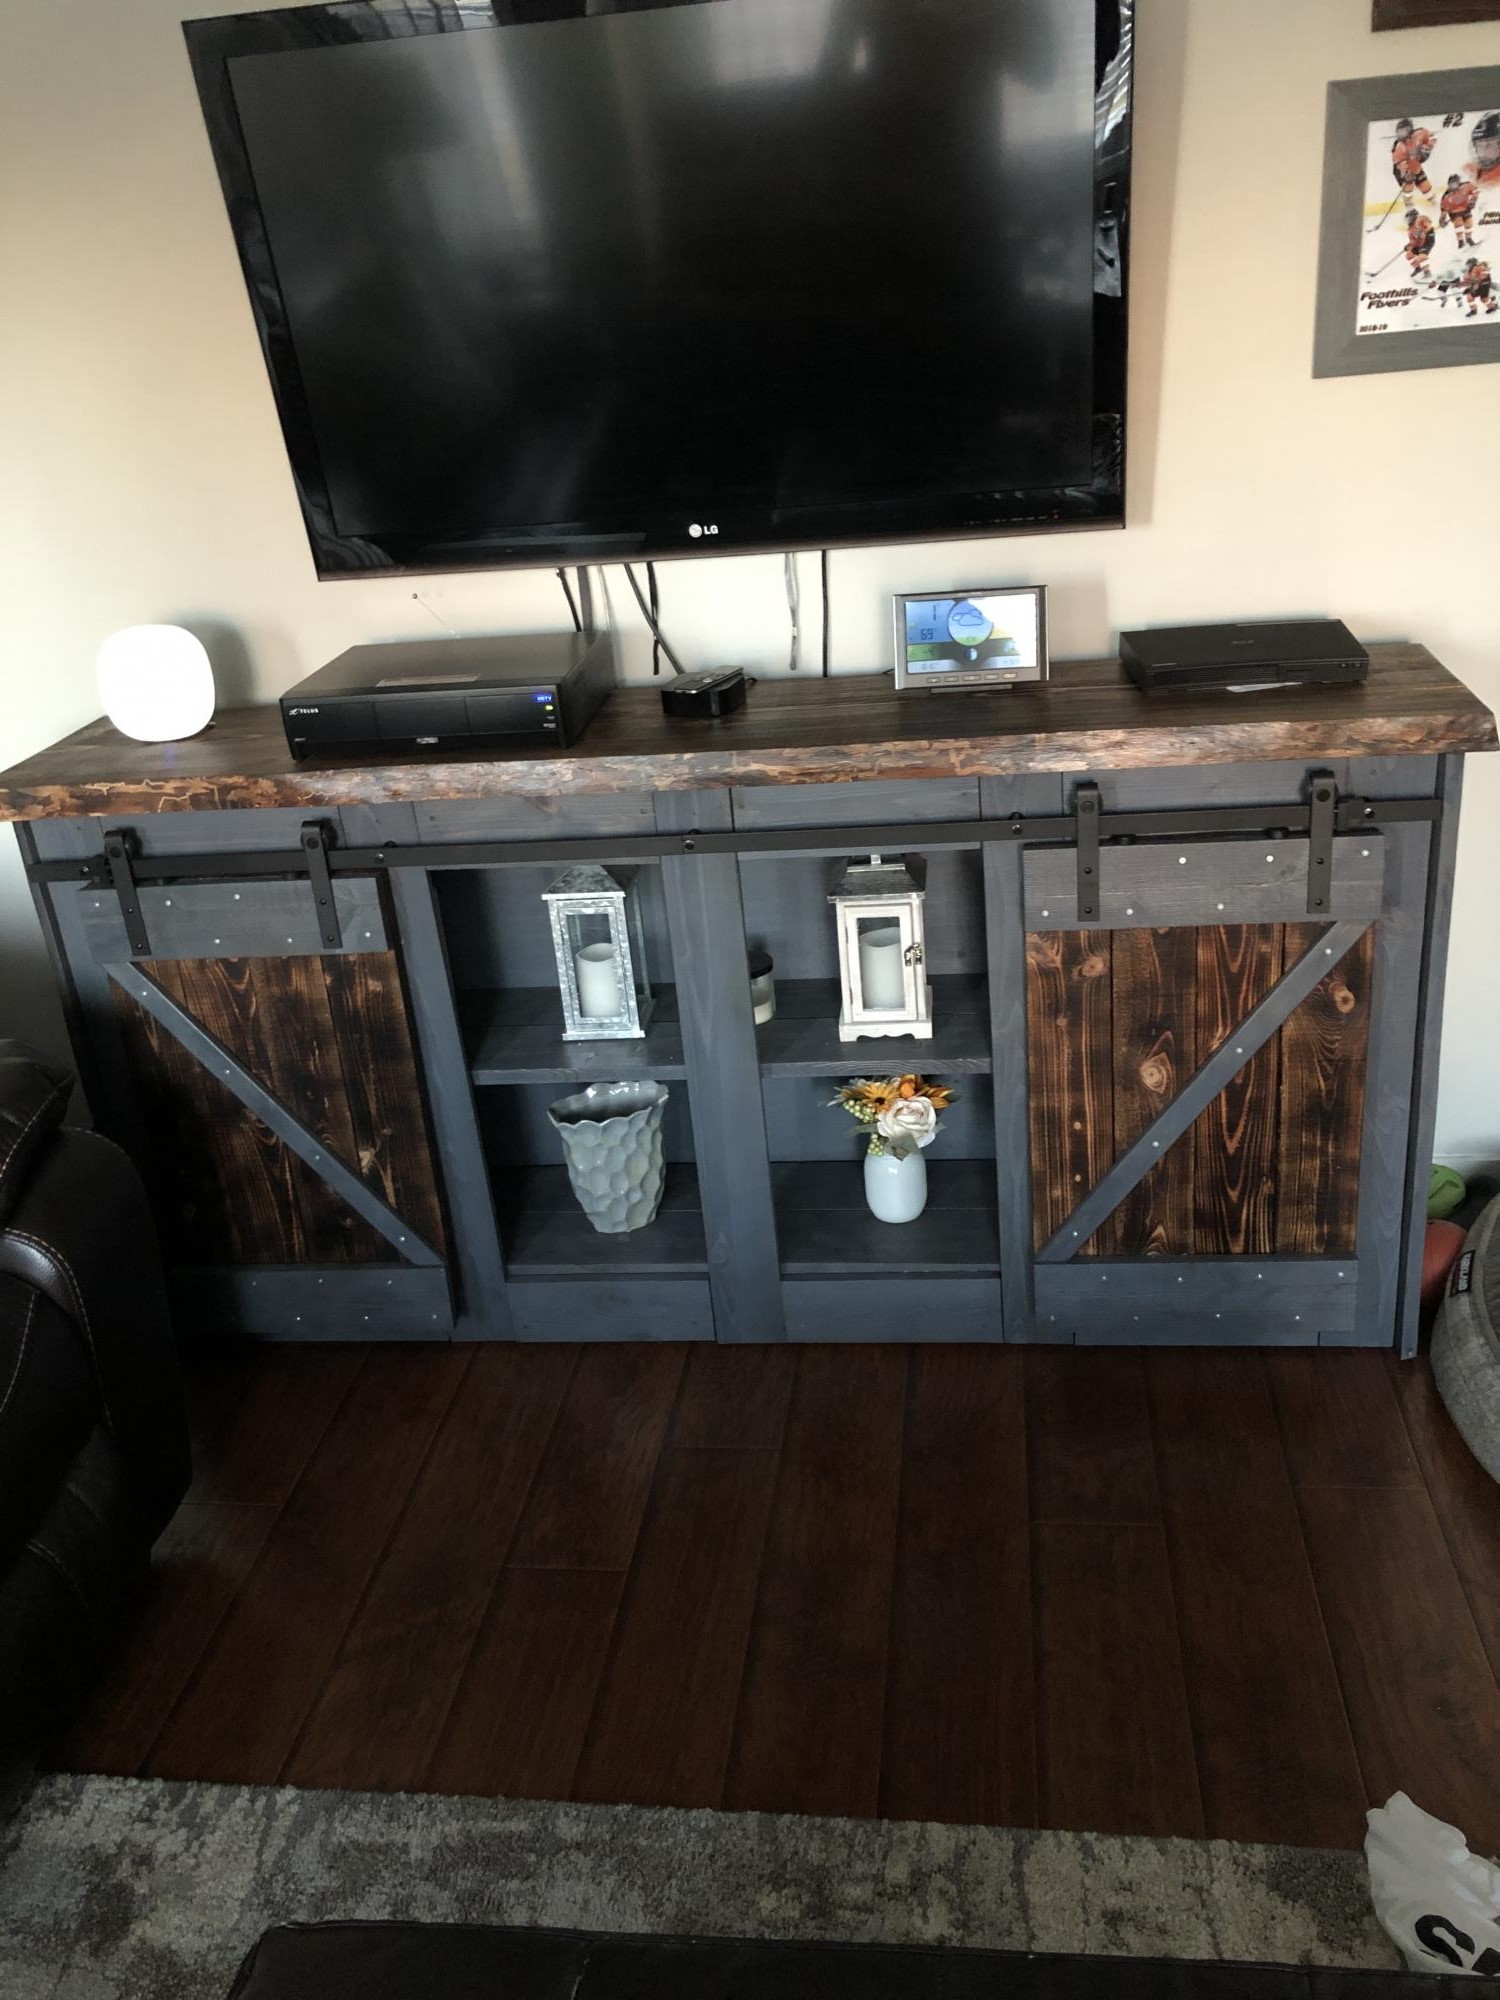
My first project, I built it out of rough cut lumber that I cut on my parents portable sawmill. Took me three weekends to build, turned out pretty good, but I would change how I did a few things.
Built from Plan(s)
Estimated Cost
$150-$200
Estimated Time Investment
Week Long Project (20 Hours or More)
Finish Used
Burned all the wood with a hand held torch
Varathane triple thick
Varathane grey stain
Varathane triple thick
Varathane grey stain
Recommended Skill Level
Intermediate
Comments
HB's Armoire

Armoire for 18 inch doll. Constructed using Ana White guide, with small alterations to doors. Stars were not cut, instead small wooden knobs were used. Two stars were painted pink and attached to the doors, to give the American Girl feel. The doors were difficult to keep shut, and an attachment was installed at the bottome of the doors to aid in keeping them closed. For any future builds, we will scale down the size of the armoire. It is quite large for an 18 inch doll.
Estimated Time Investment
Day Project (6-9 Hours)
Recommended Skill Level
Intermediate
Hall Tree - 1st Wedding Anniversary Gift
I combined Mimi's Hall Tree with the Alexia Bench for this project. It really turned out great. My son and his wife love it. It also made me feel pretty good that I built something for them that hopefully will be passed down to future generations.
Built from Plan(s)
Estimated Cost
300.00
Estimated Time Investment
Week Long Project (20 Hours or More)
Finish Used
Satin spray paint.
Recommended Skill Level
Intermediate
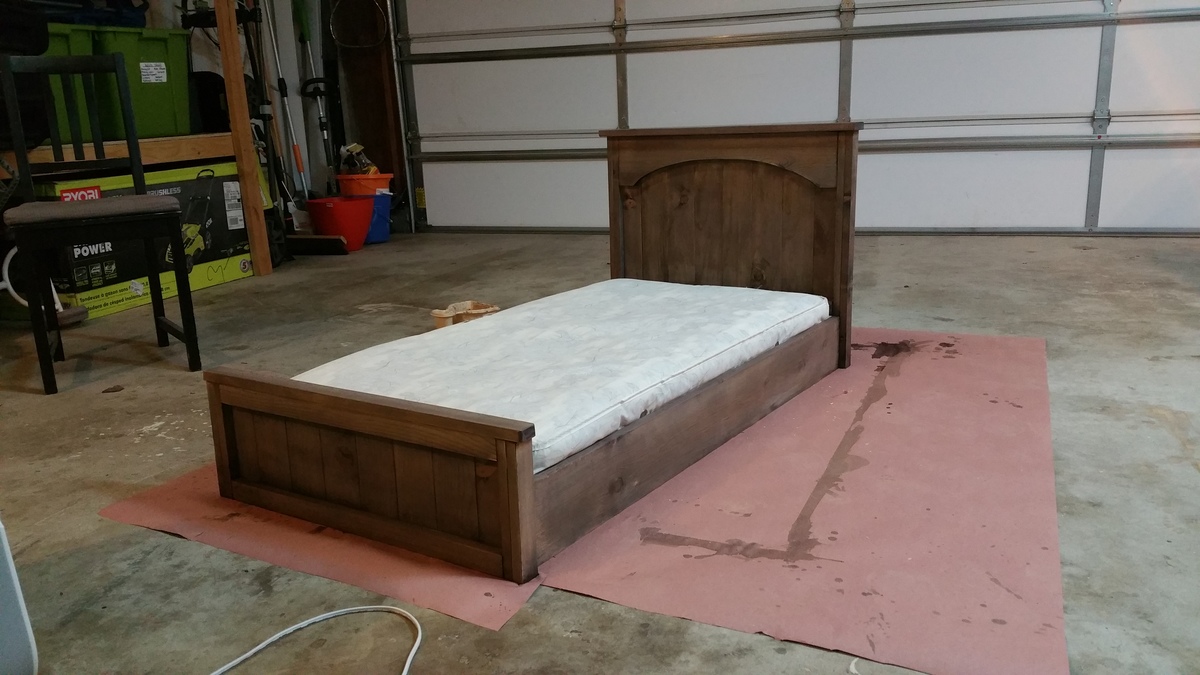
Toddler Farmhouse/Platform Bed
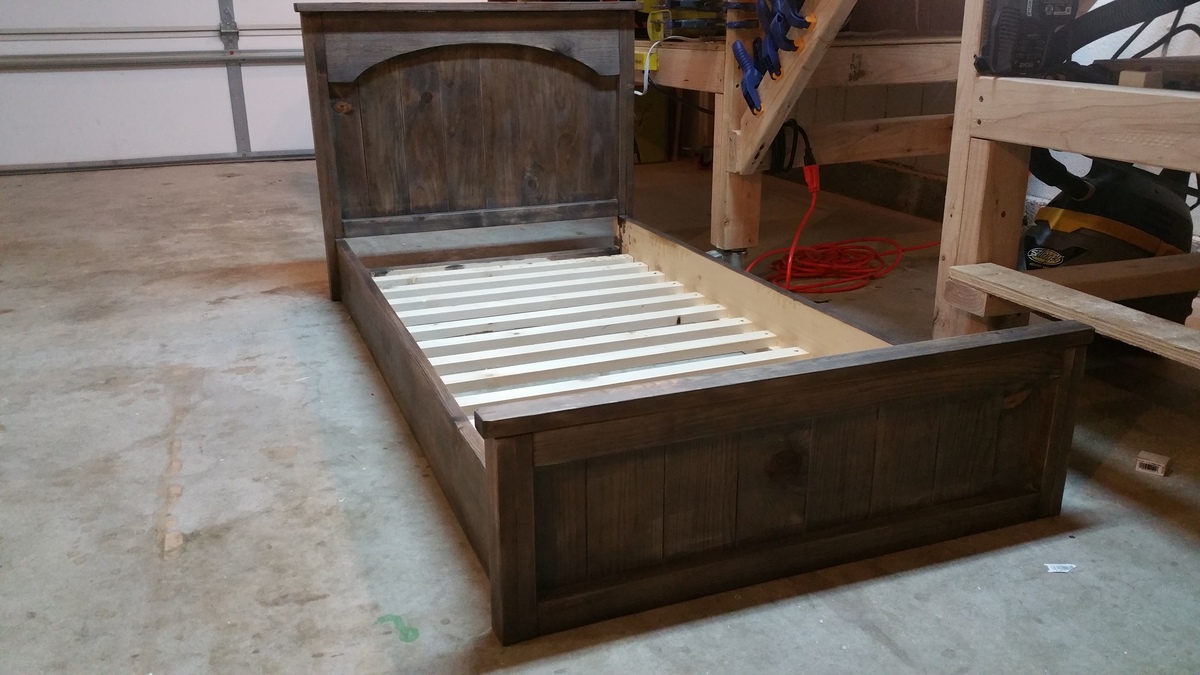
Our 18 month old was constantly climbing out of her crib so we got a cheap toddler bed and tried it out. She liked to go under the bed and almost always got one of her legs stuck between the slats on the under side of the matress.
I decided to build a bed and found Anna White's Toddler Farmhouse bed plans. We modified the plans ever so slightly to make it a platform style to address our original issue.
For the stain, we used 1 coat of steel wool and white vinegar that sat for 24 hours and prepped the wood with 3 bags of black tea steeped in boiling water for 10 minutes. The color was exactly what we were looking for.
This is my first project and there was a good amount of learning involved but it turned out amazing!
Built from Plan(s)
Estimated Cost
$35
Estimated Time Investment
Day Project (6-9 Hours)
Finish Used
White Vinegar and Steel Wool - 24 hour soaking time - 1 Coat
Large Mason Jar of Black Tea - Steeped for 10 minutes in boiling water, 3 bags - 2 Coats
Large Mason Jar of Black Tea - Steeped for 10 minutes in boiling water, 3 bags - 2 Coats
Recommended Skill Level
Starter Project
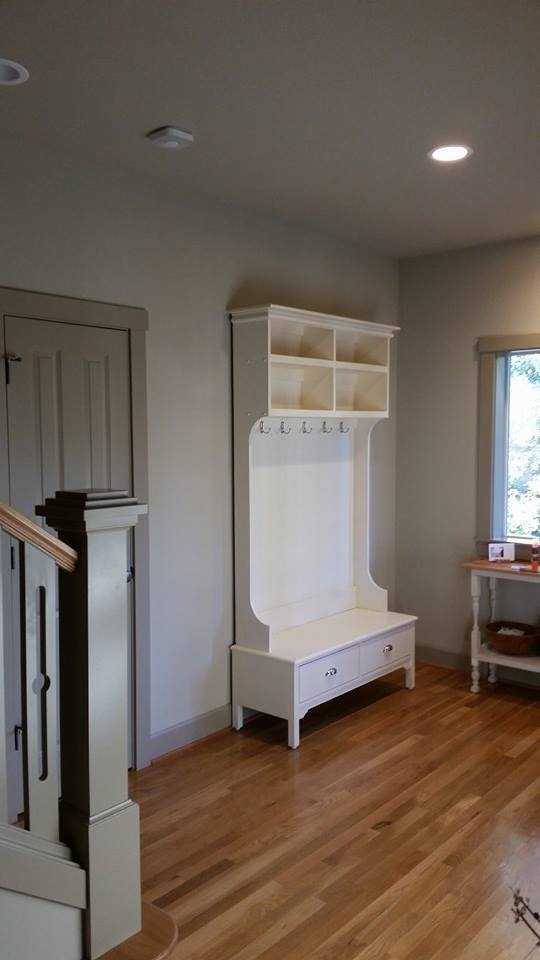
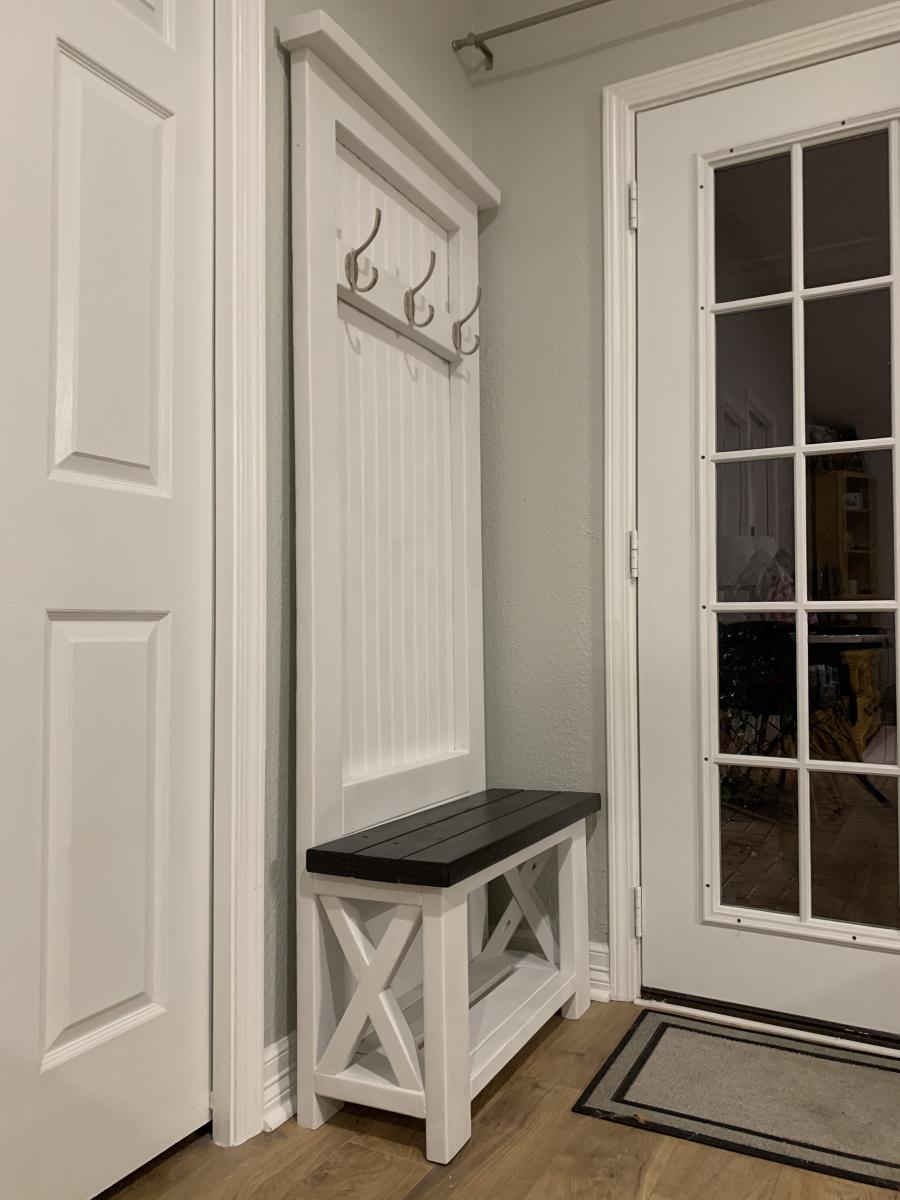
Rustic Hall Tree - just the right size!

Using Ana's Rustic X Hall tree - I modified the size to fit this small space in the cottage in my backyard. It was impossible to find something to fit this space -- and this is one of my first indoor projects; I am a beginner. It was so much fun building! I used pine from a big box store mostly but opted for Bead board for the backing to achieve a farmhouse type look. My daughter lives in the cottage and loves it!! Thanks Ana for the sweet plans!!
Built from Plan(s)
Estimated Cost
150
Estimated Time Investment
Weekend Project (10-20 Hours)
Finish Used
White Chalk Paint; Espresso Stain for the seat.
Recommended Skill Level
Beginner
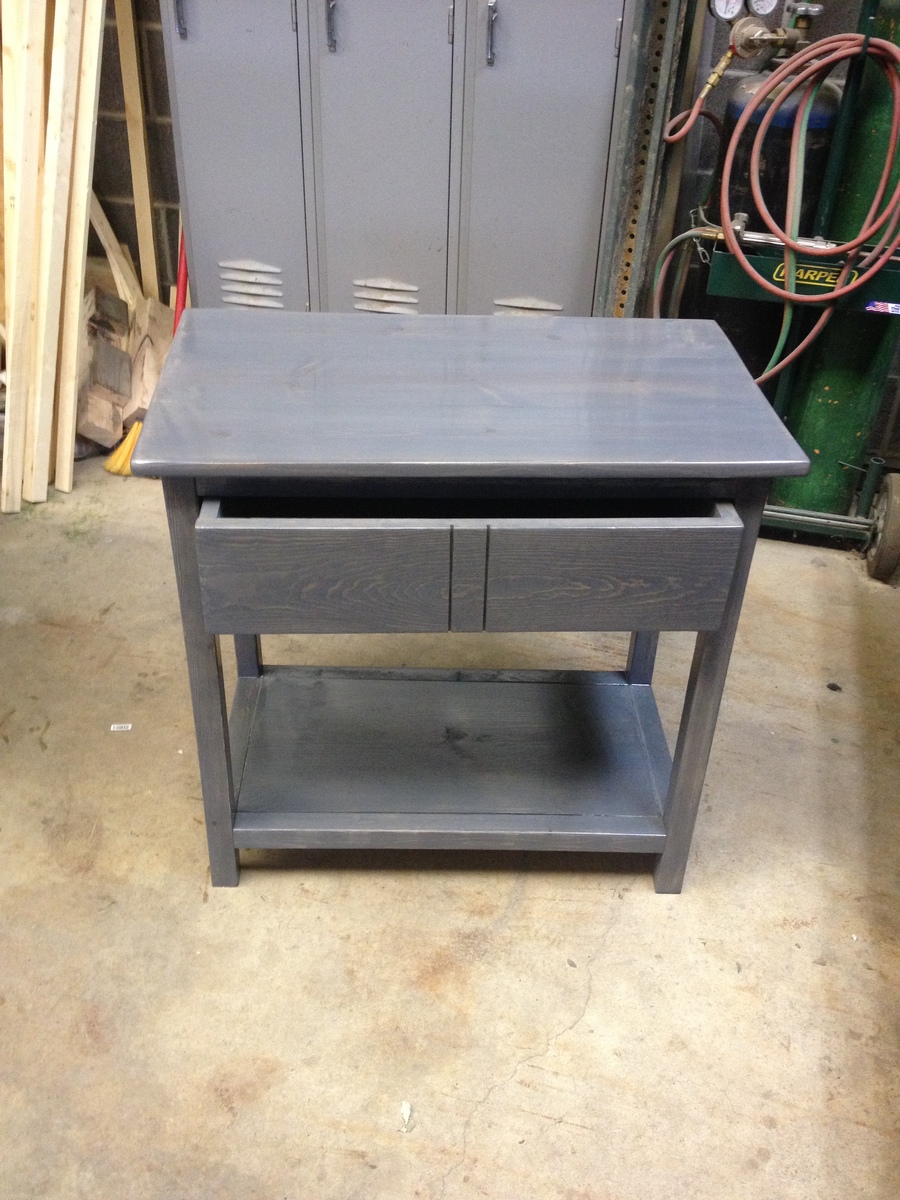
Farmhouse Bedside table
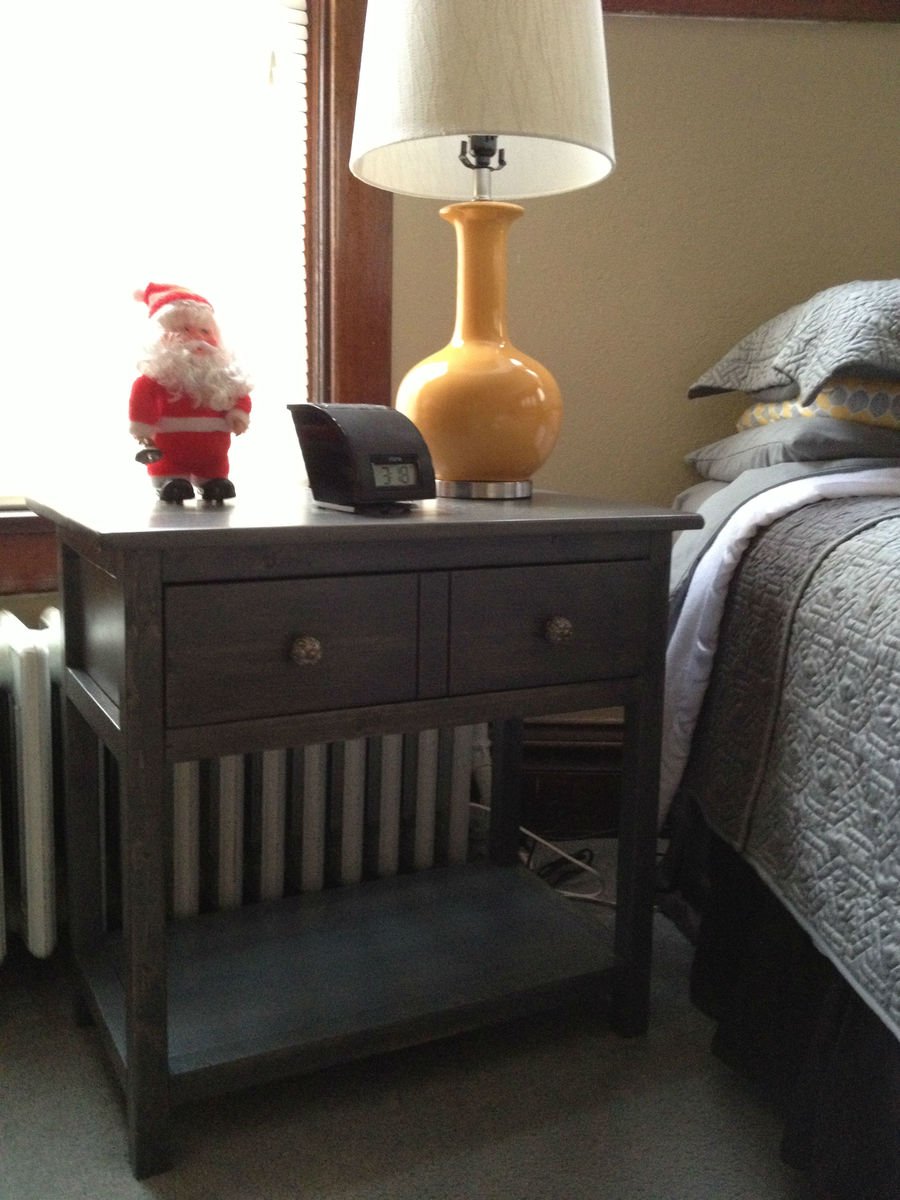
Wanted to build nightstands for our bedroom after tackling the farmhouse table plans. Followed the plans for the farmhouse bedside table. The build went really well. These were the first drawers I have made and they work great. I first tried to stain them using the vinegar and steel wool method which worked great on my trial piece. Then when applied to the nightstands...nothing. We ended up using Minwax grey. I was a scary color to start with but couldn't be happier with the results. People are loving the different color and still being able to see the grain.

Built from Plan(s)
Estimated Cost
roughly 75 dollars for the two nightstands
Estimated Time Investment
Weekend Project (10-20 Hours)
Finish Used
Minwax grey stain. I put the stain on pretty heavy and let it soak in a good 20 min. before wiping. I wanted more grey than the pine color showing through. I then applied 3 coats of Minwax satin poly.
Recommended Skill Level
Beginner
Comments

Little Cottage Loft bed
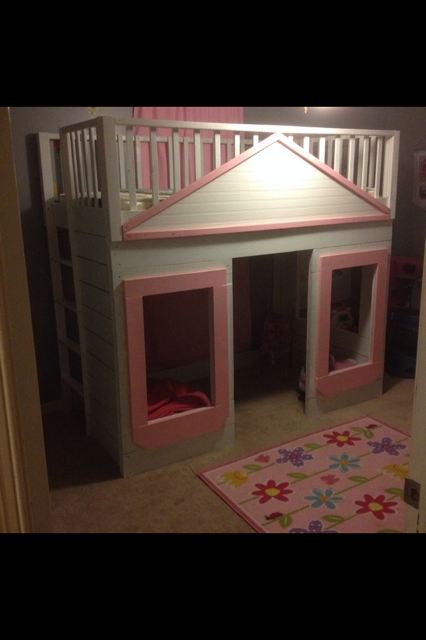
Built for my three year old and she LOVES it, Took a while to build but great plans!
Built from Plan(s)
Estimated Cost
$300
Estimated Time Investment
Week Long Project (20 Hours or More)
Recommended Skill Level
Intermediate
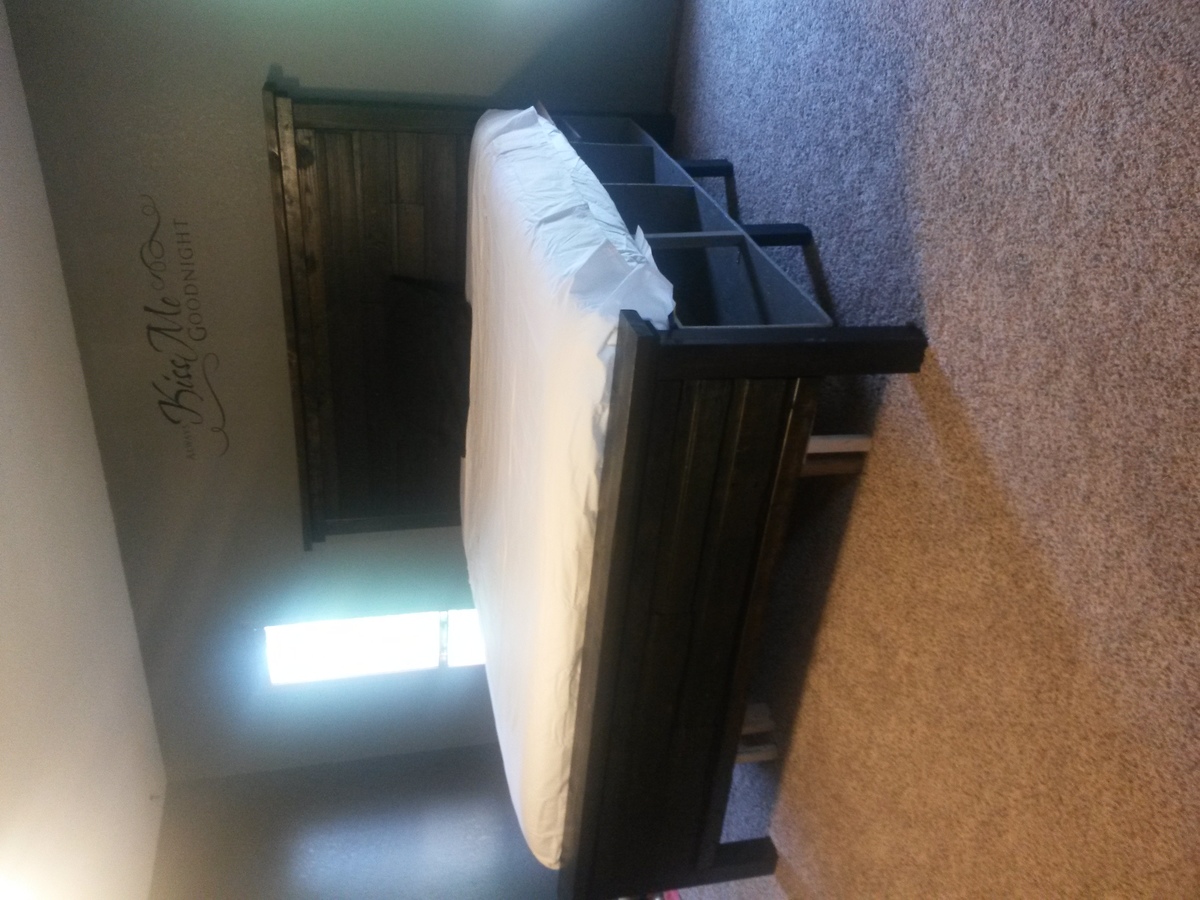
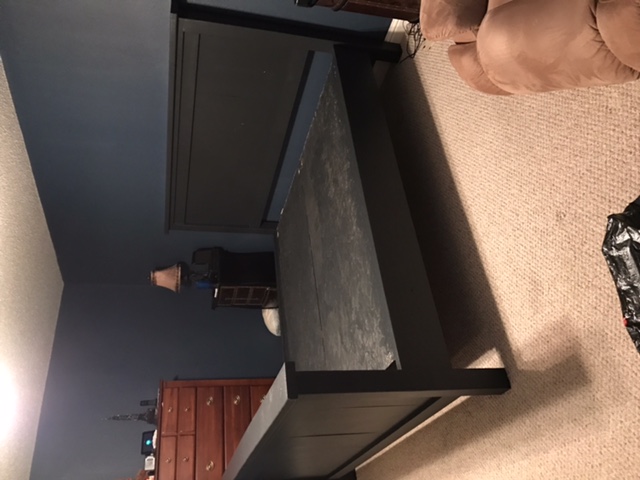
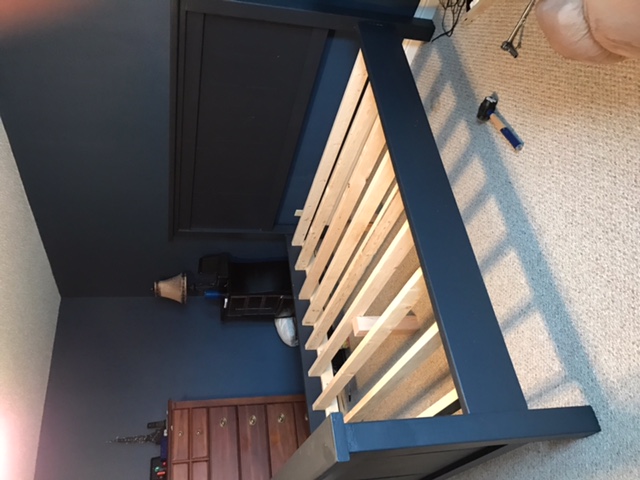
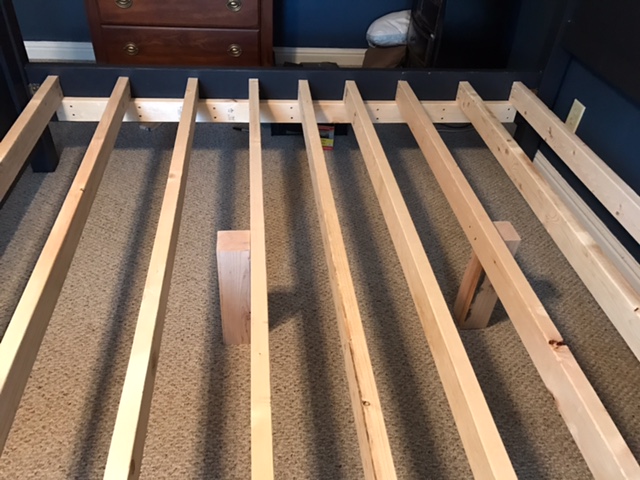
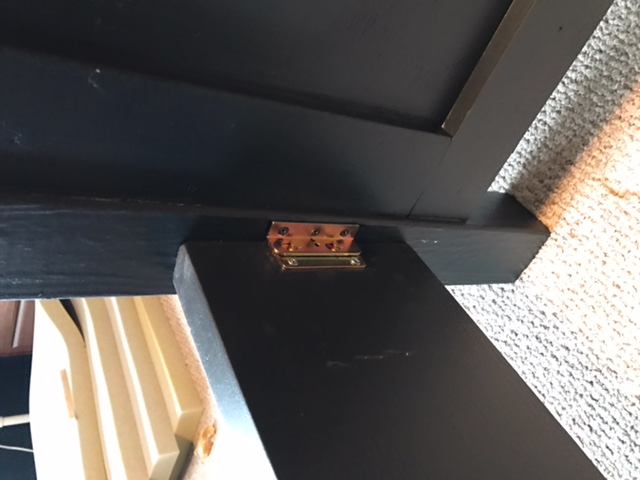
Farmhouse King
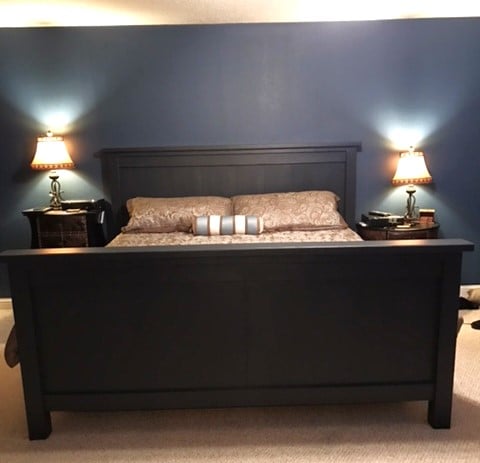
This was my first build this large and turned out great! Thanks to the DIY plans provided here. Thank you so much for such a great place!
We did make the foot board about 12 inches taller as we prefer a taller foot board.
Built from Plan(s)
Estimated Cost
$200
Estimated Time Investment
Weekend Project (10-20 Hours)
Finish Used
Primer and then black paint
Recommended Skill Level
Intermediate

