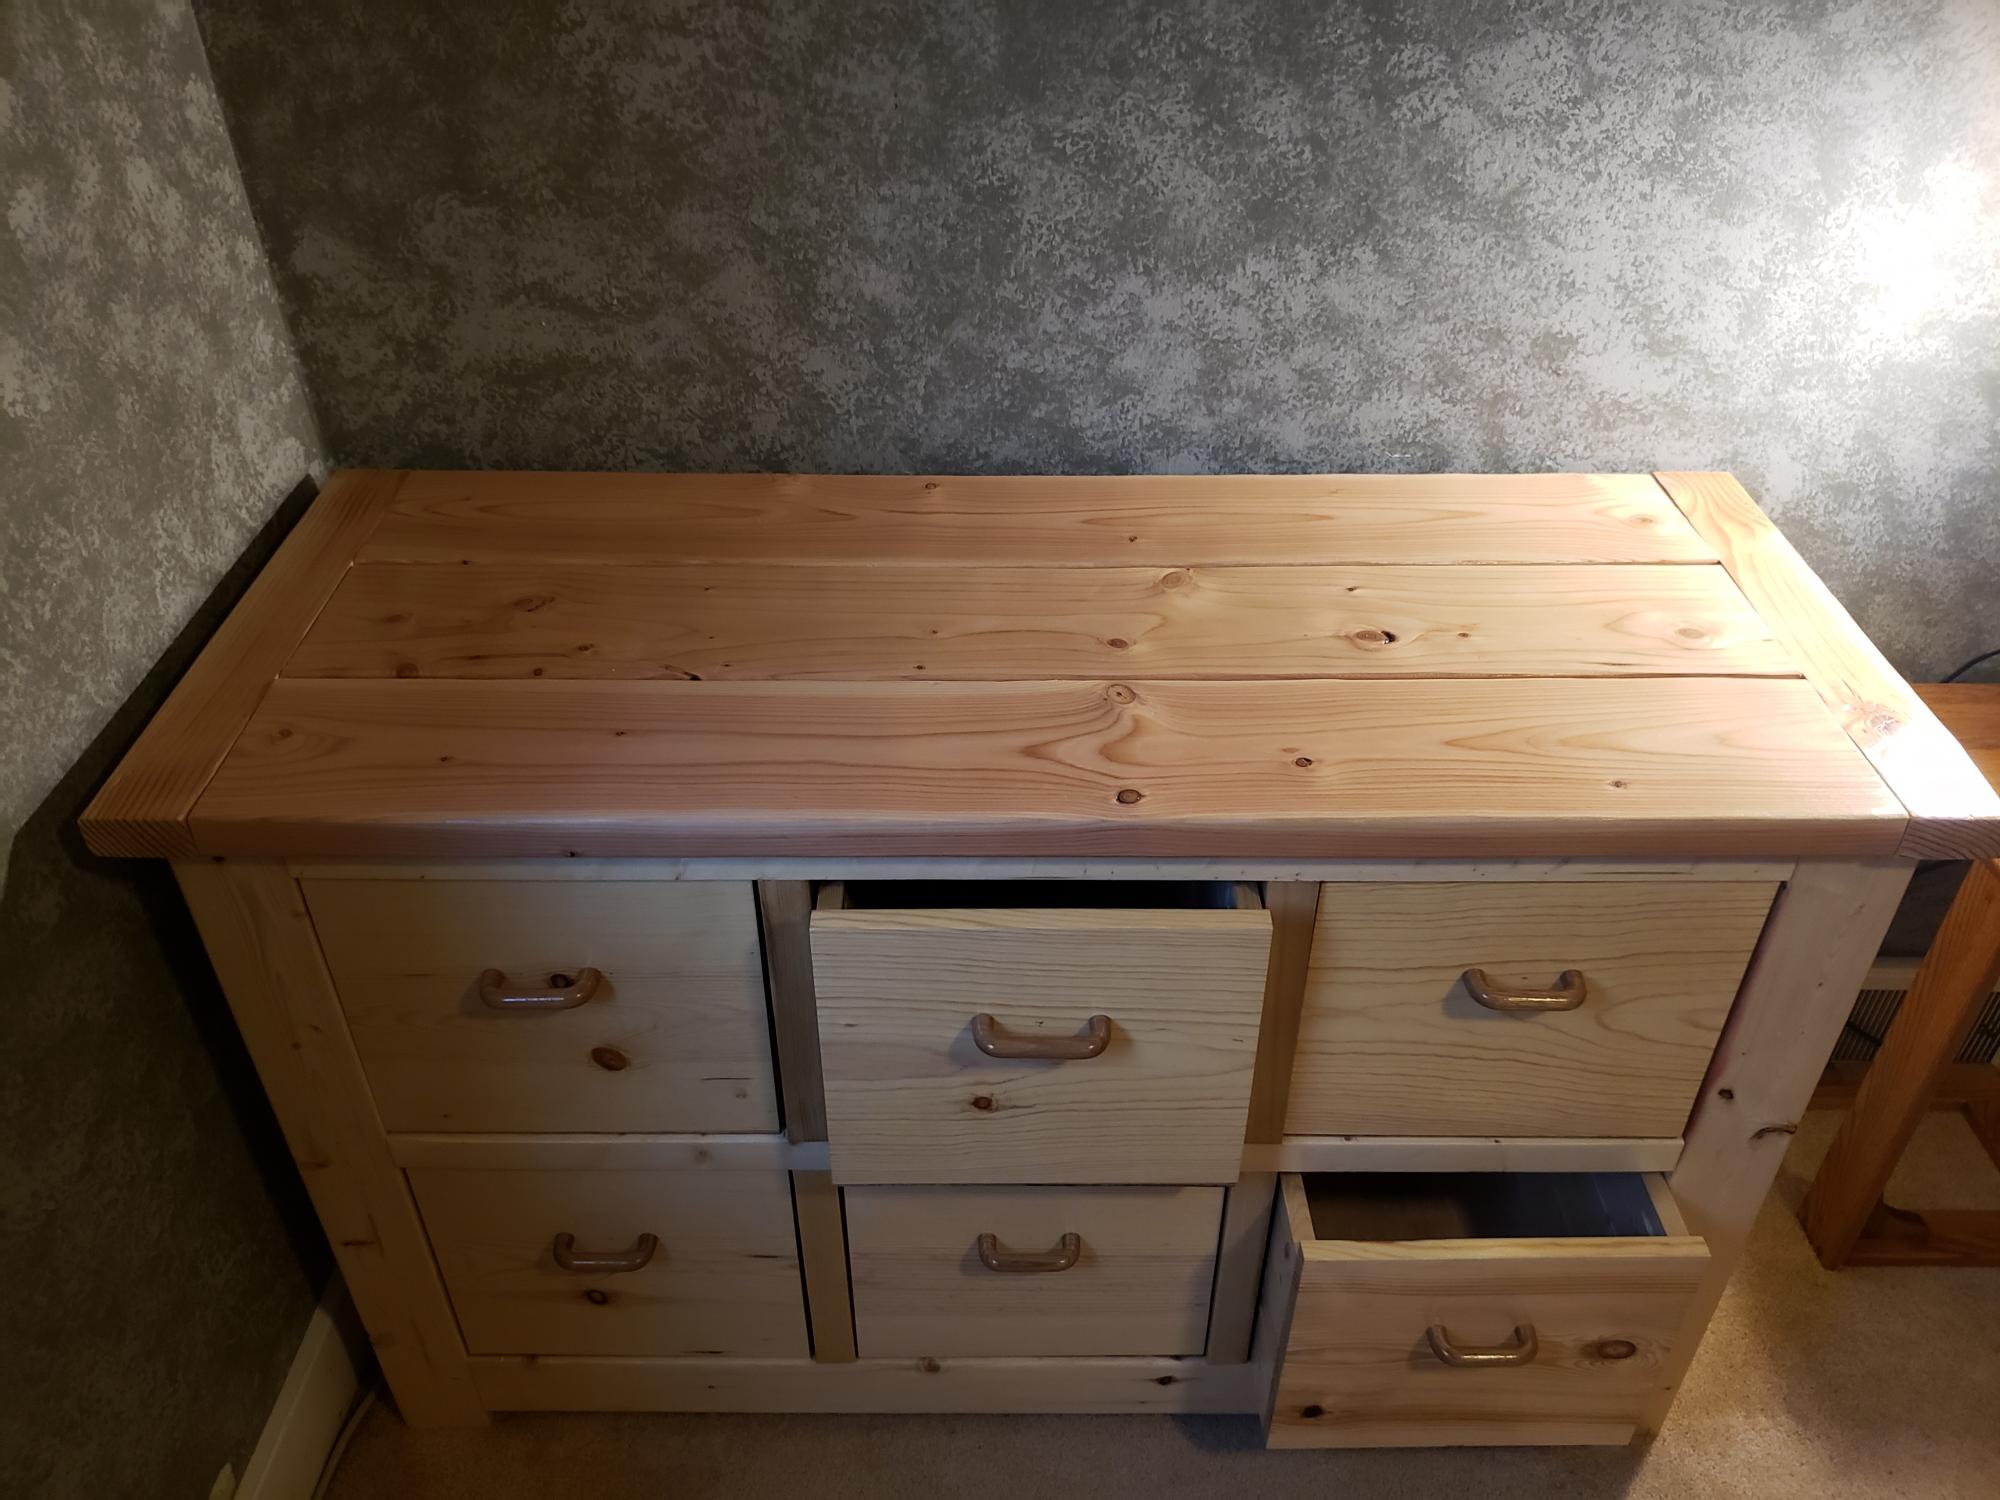
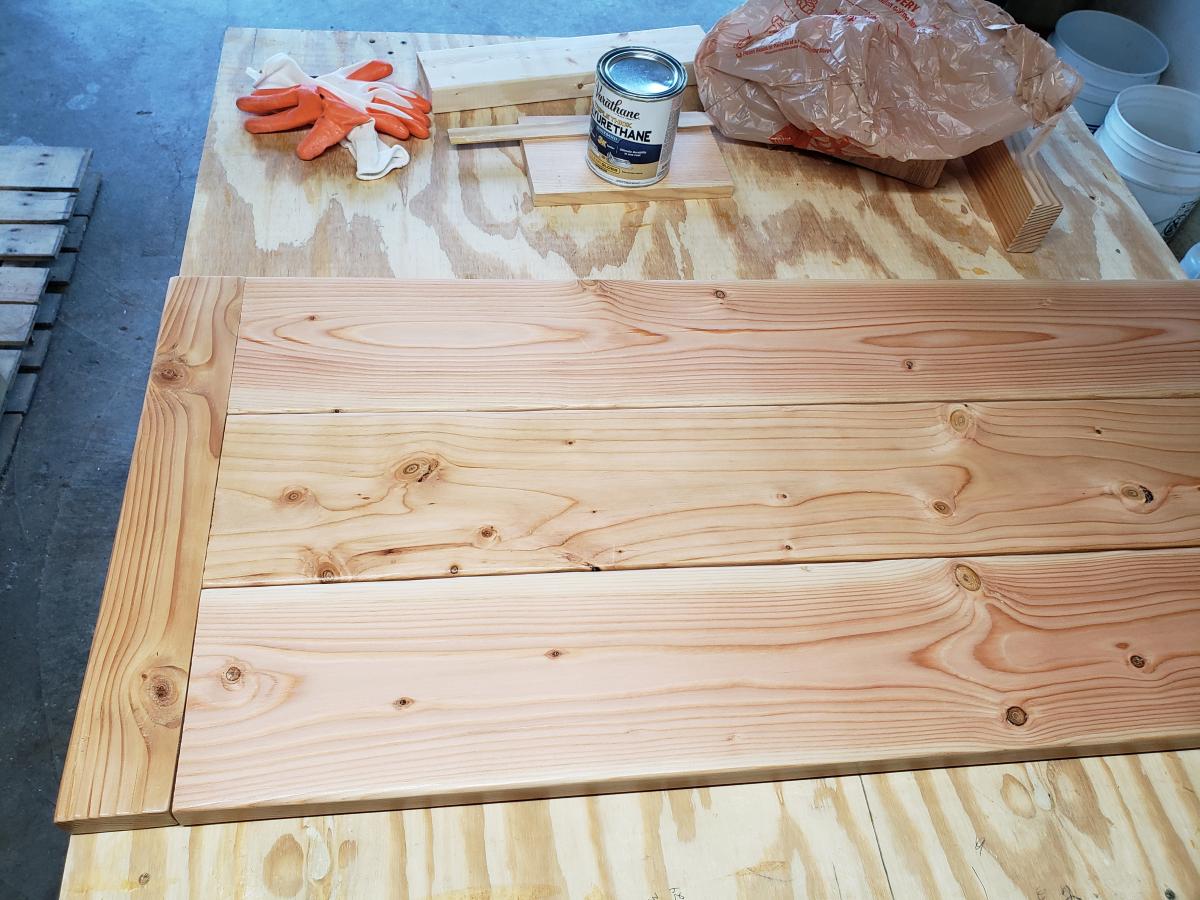
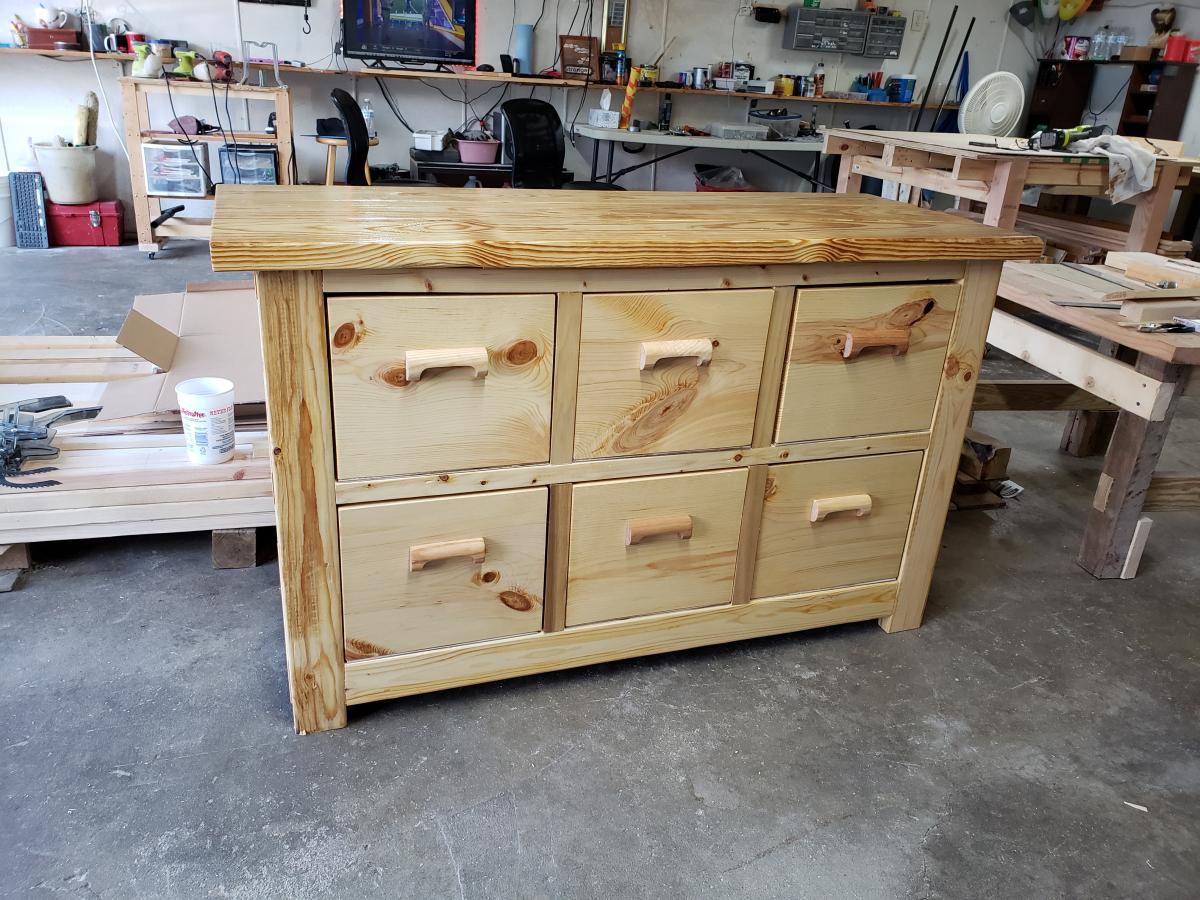
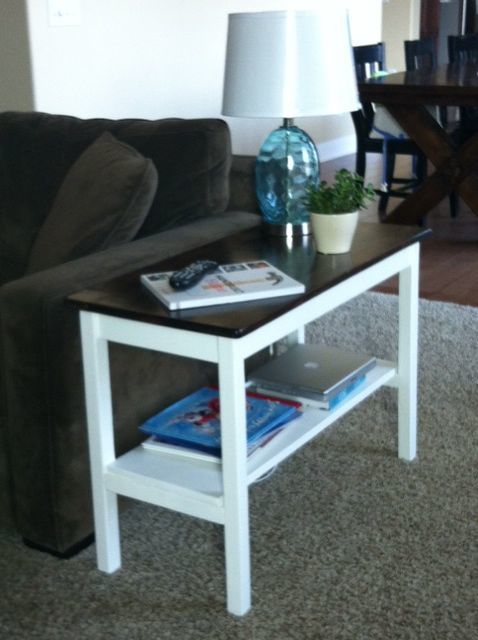
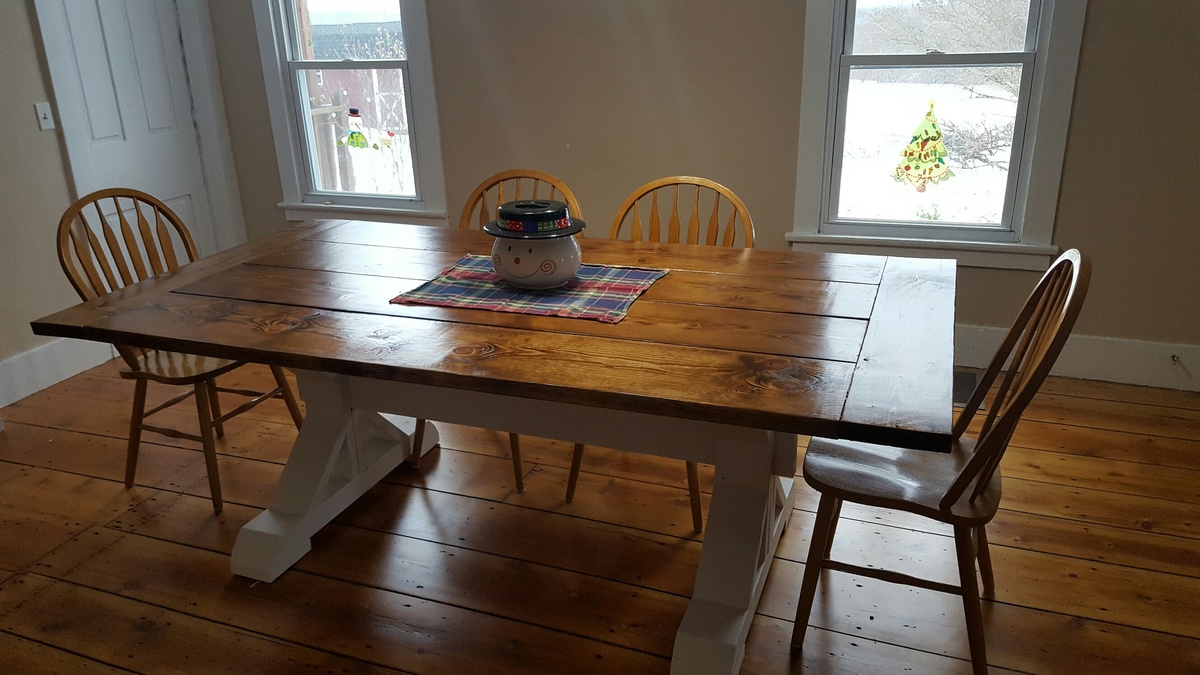
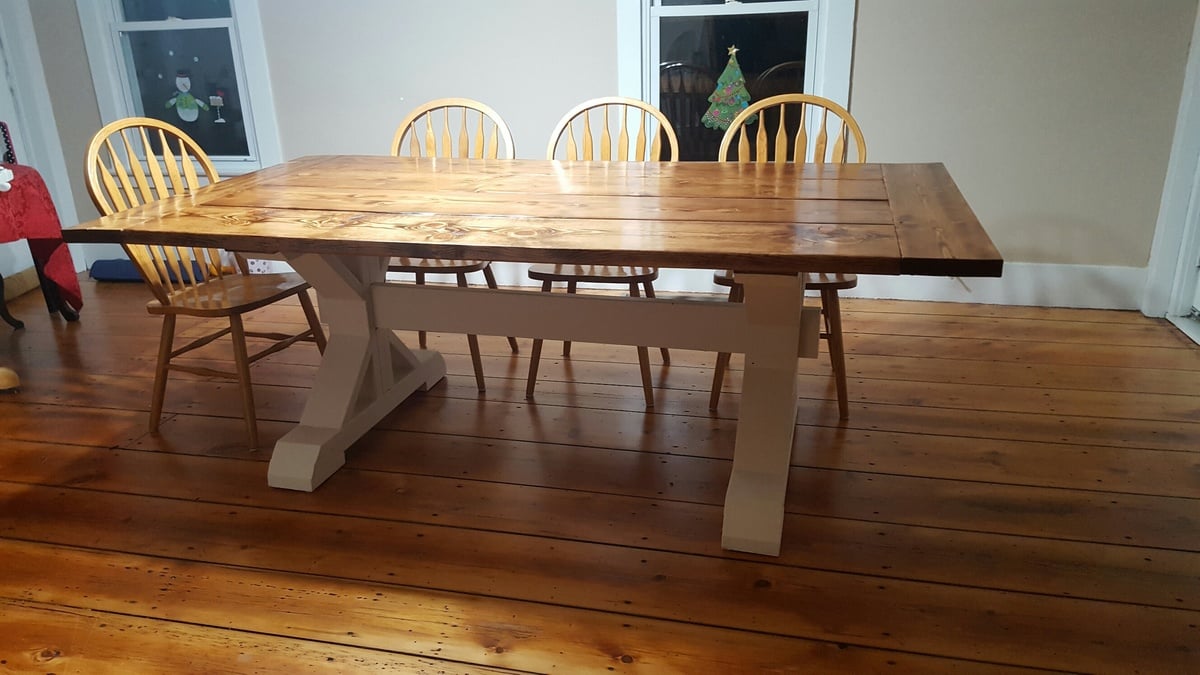
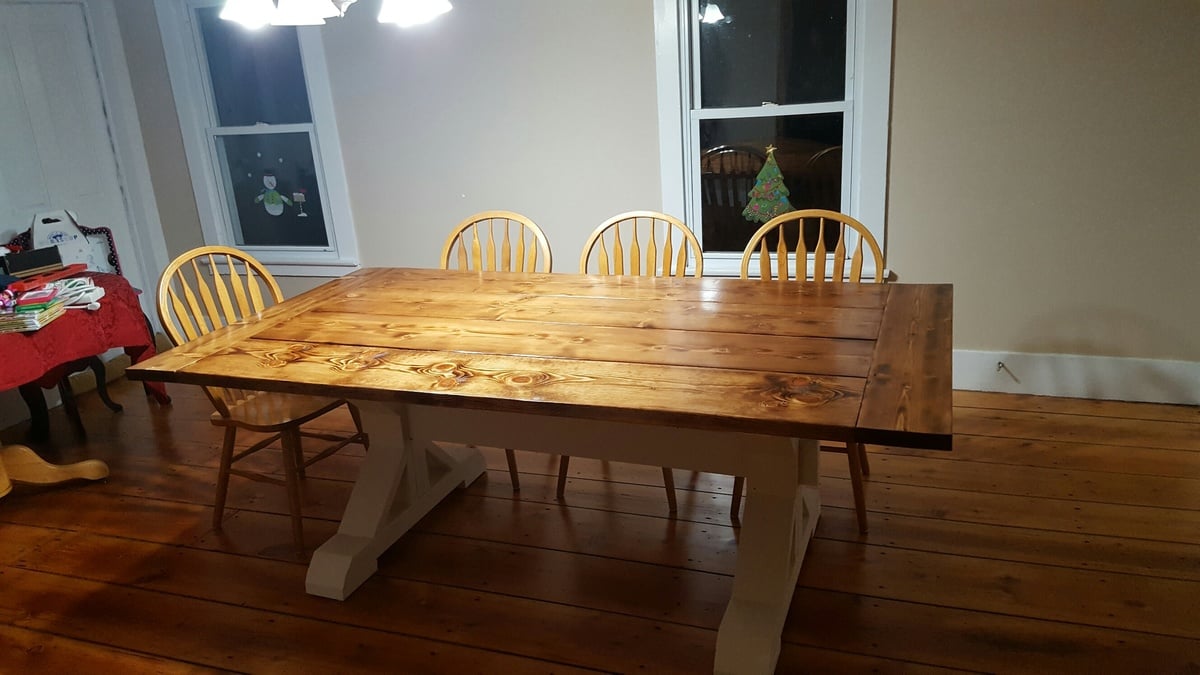
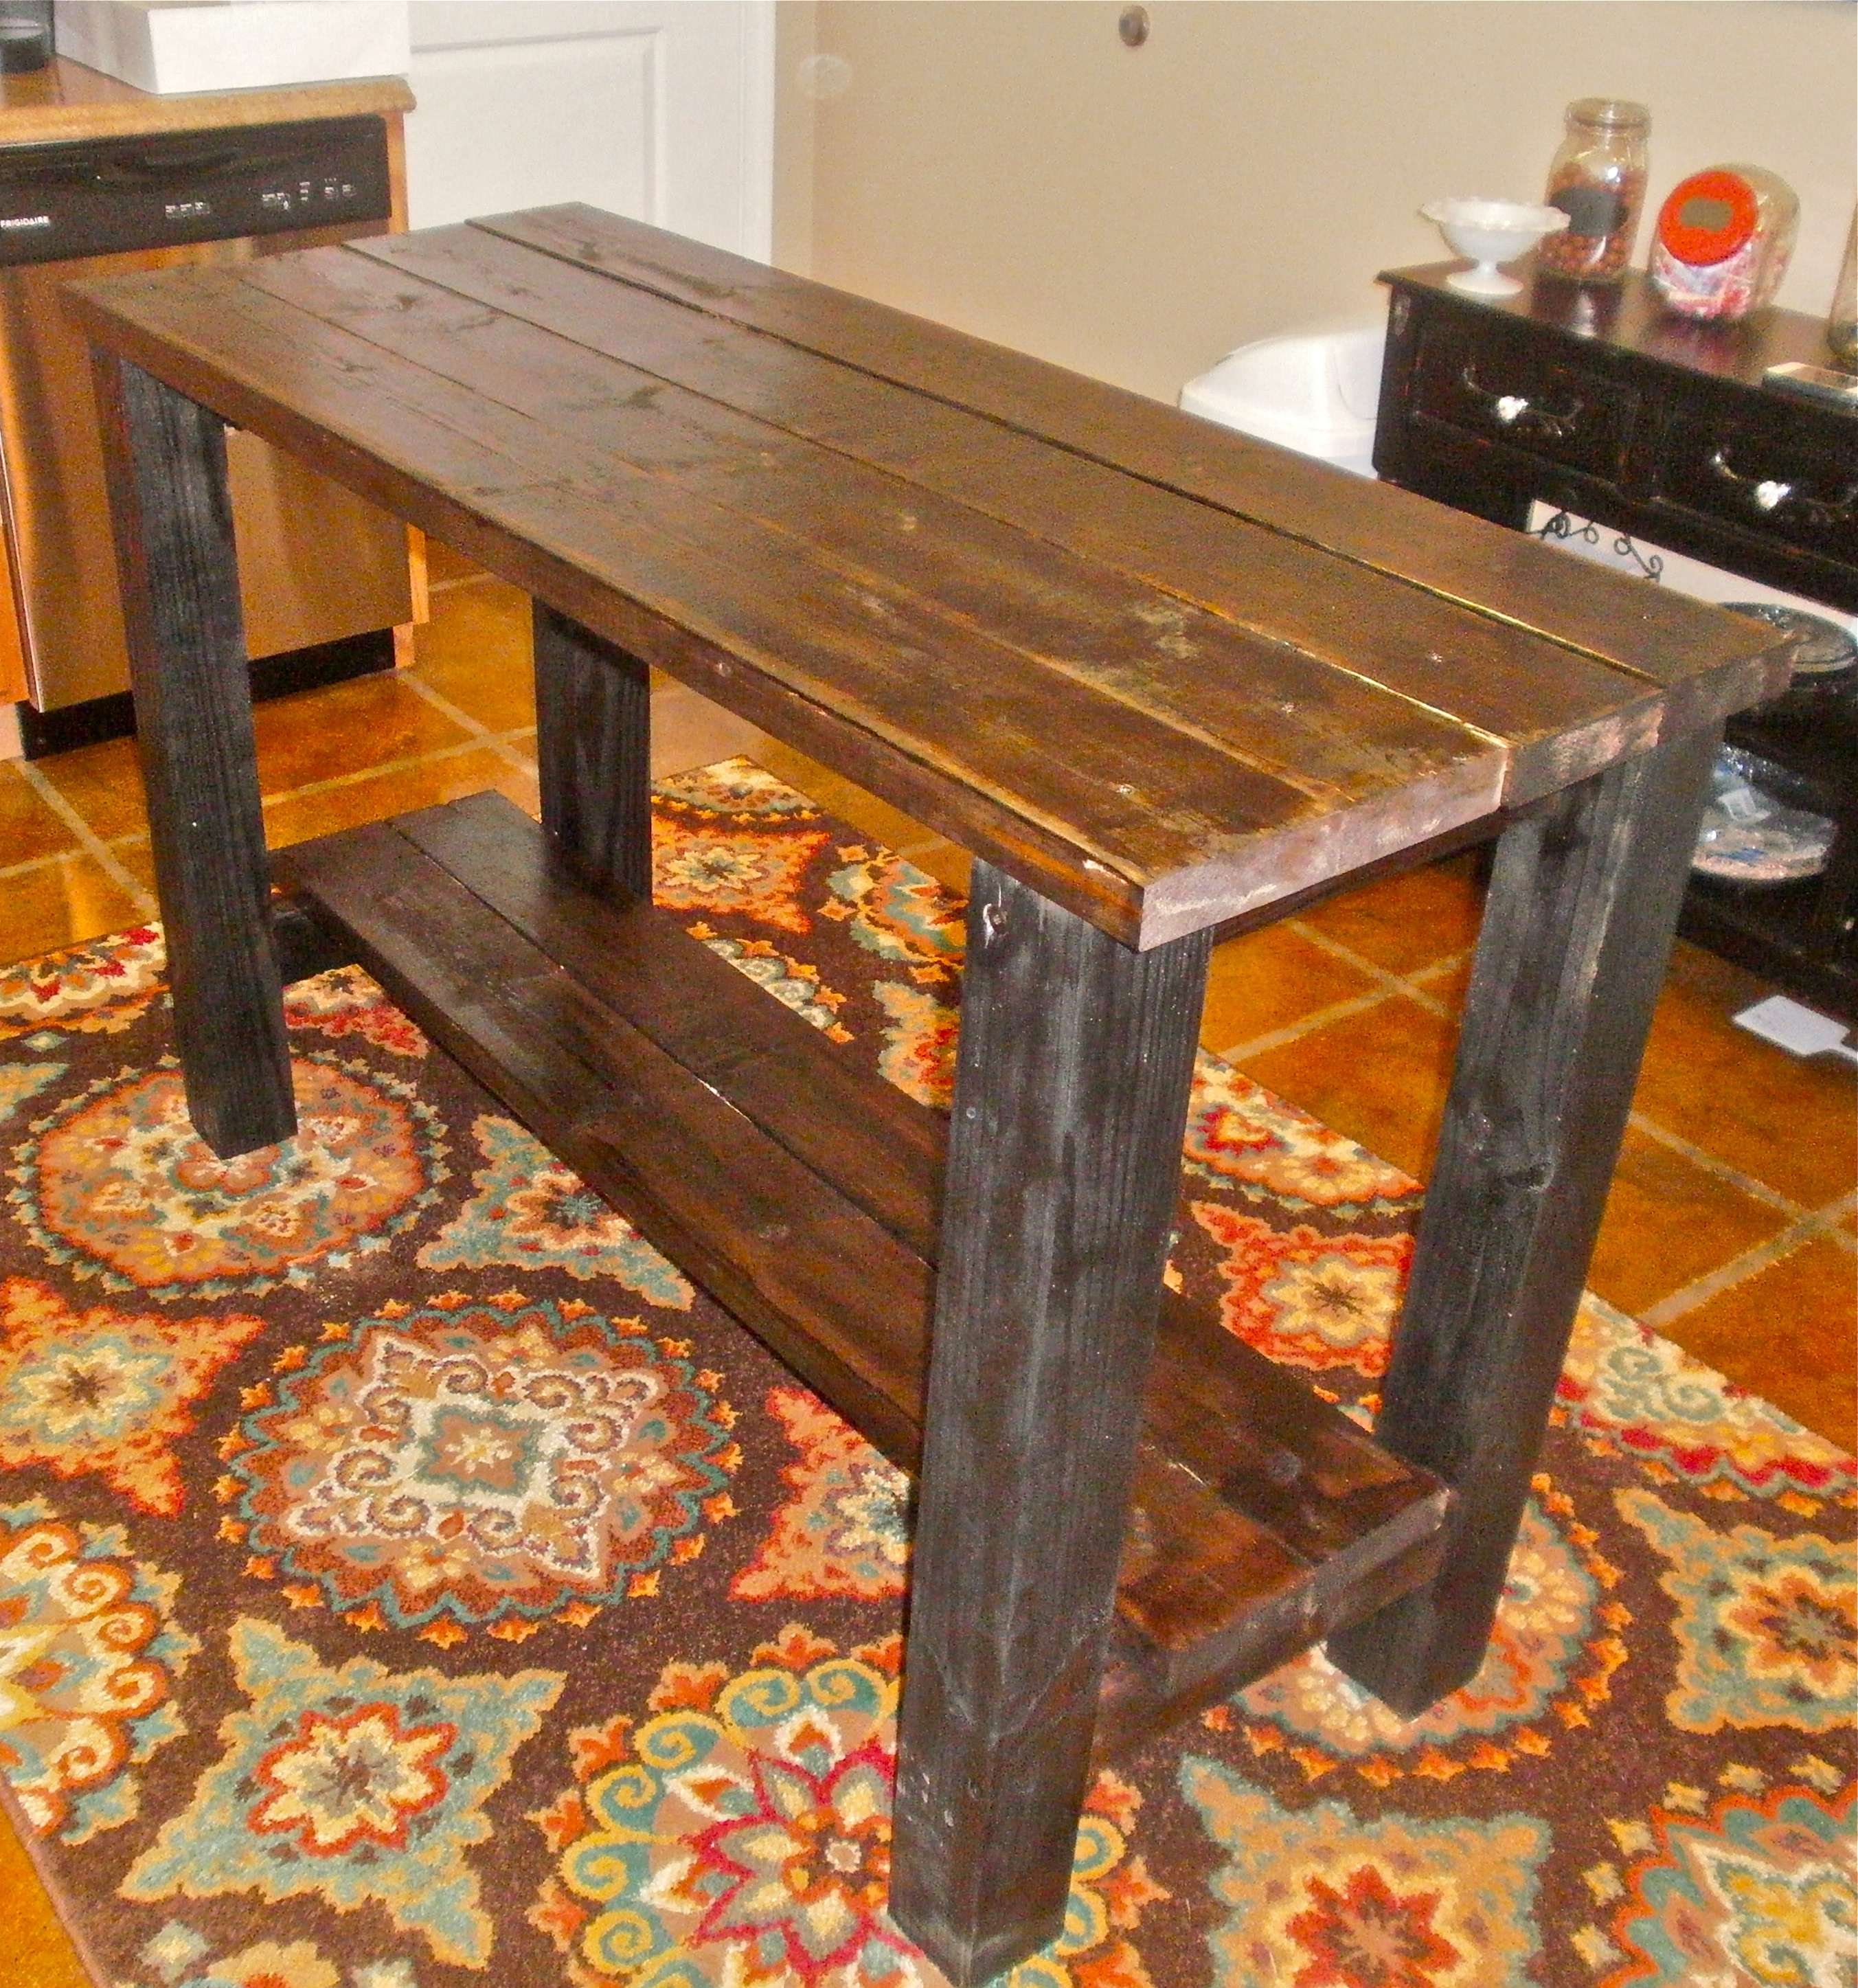
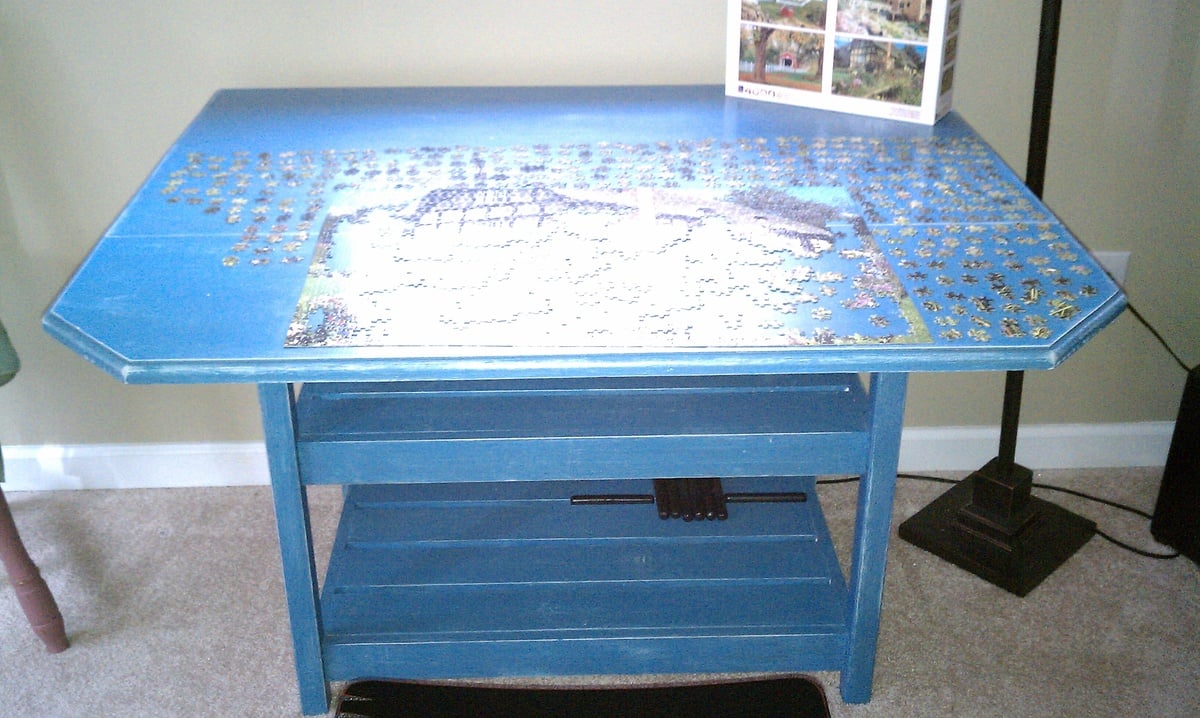
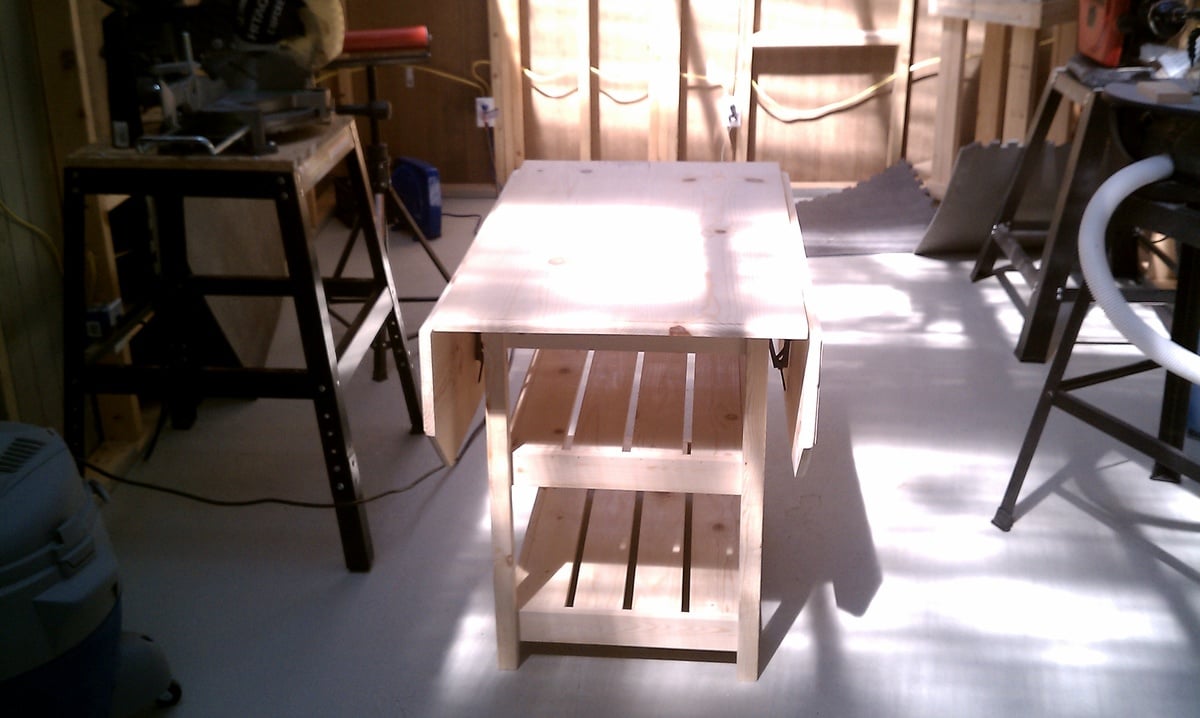
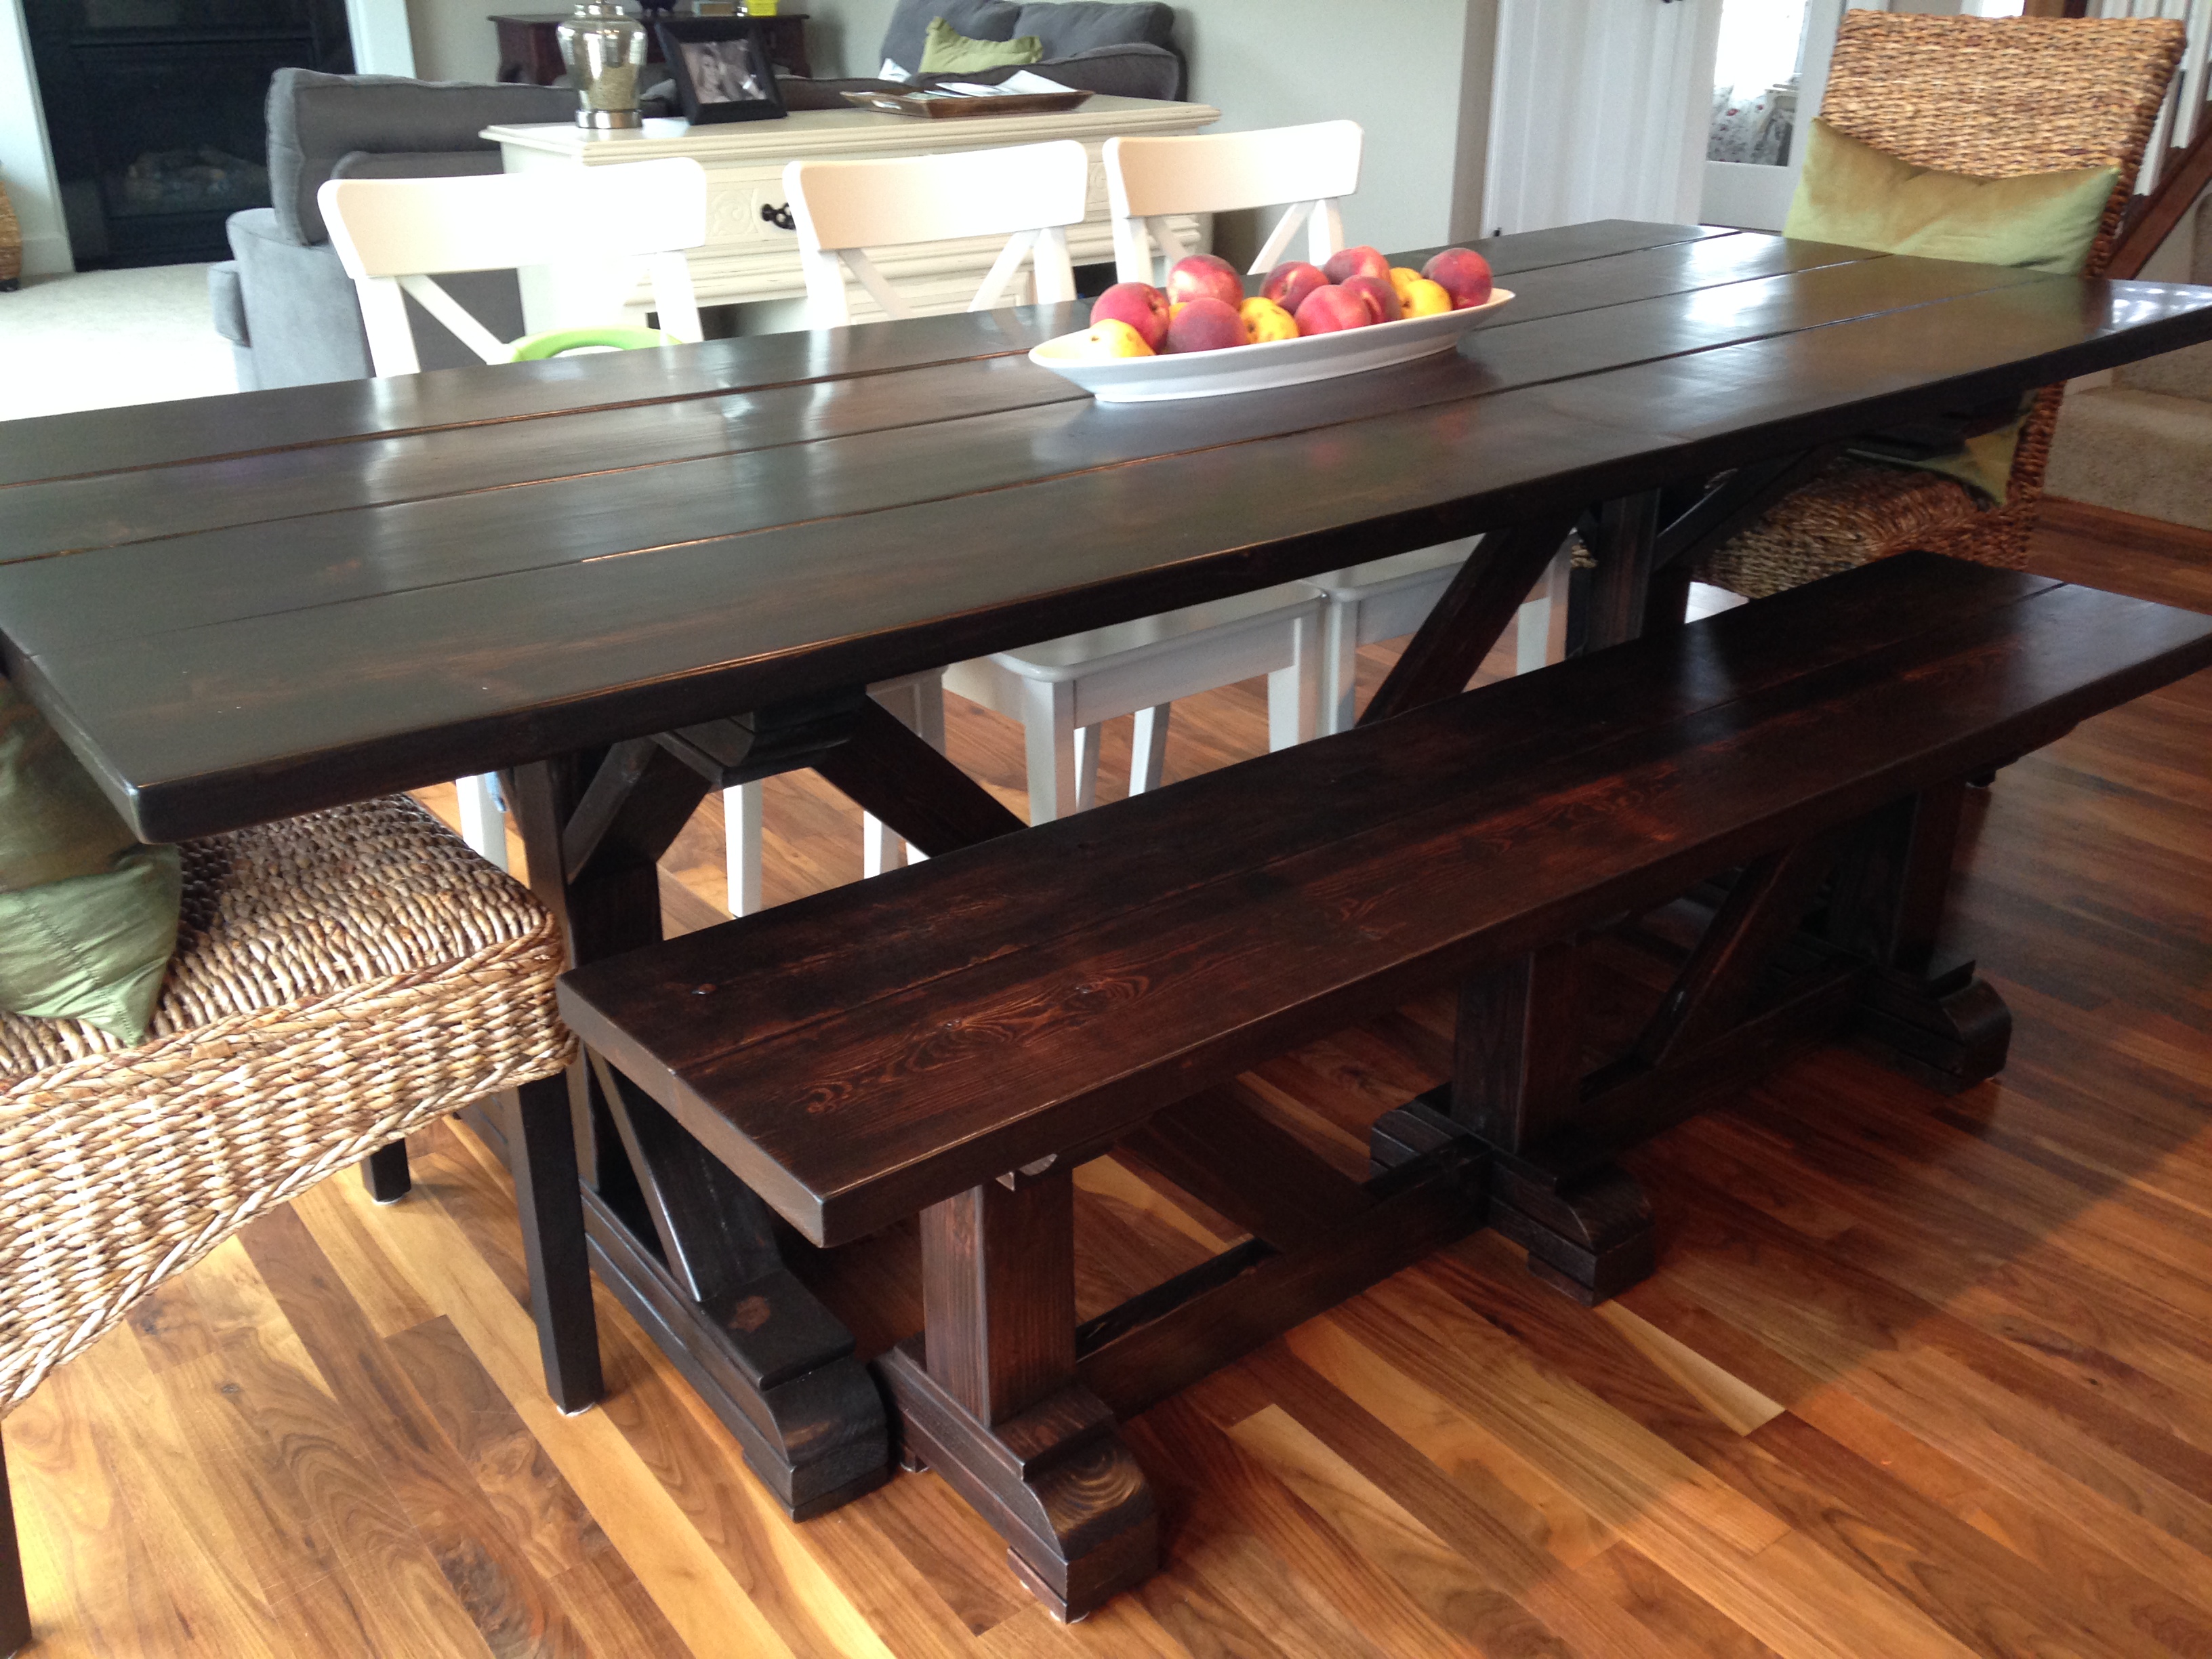
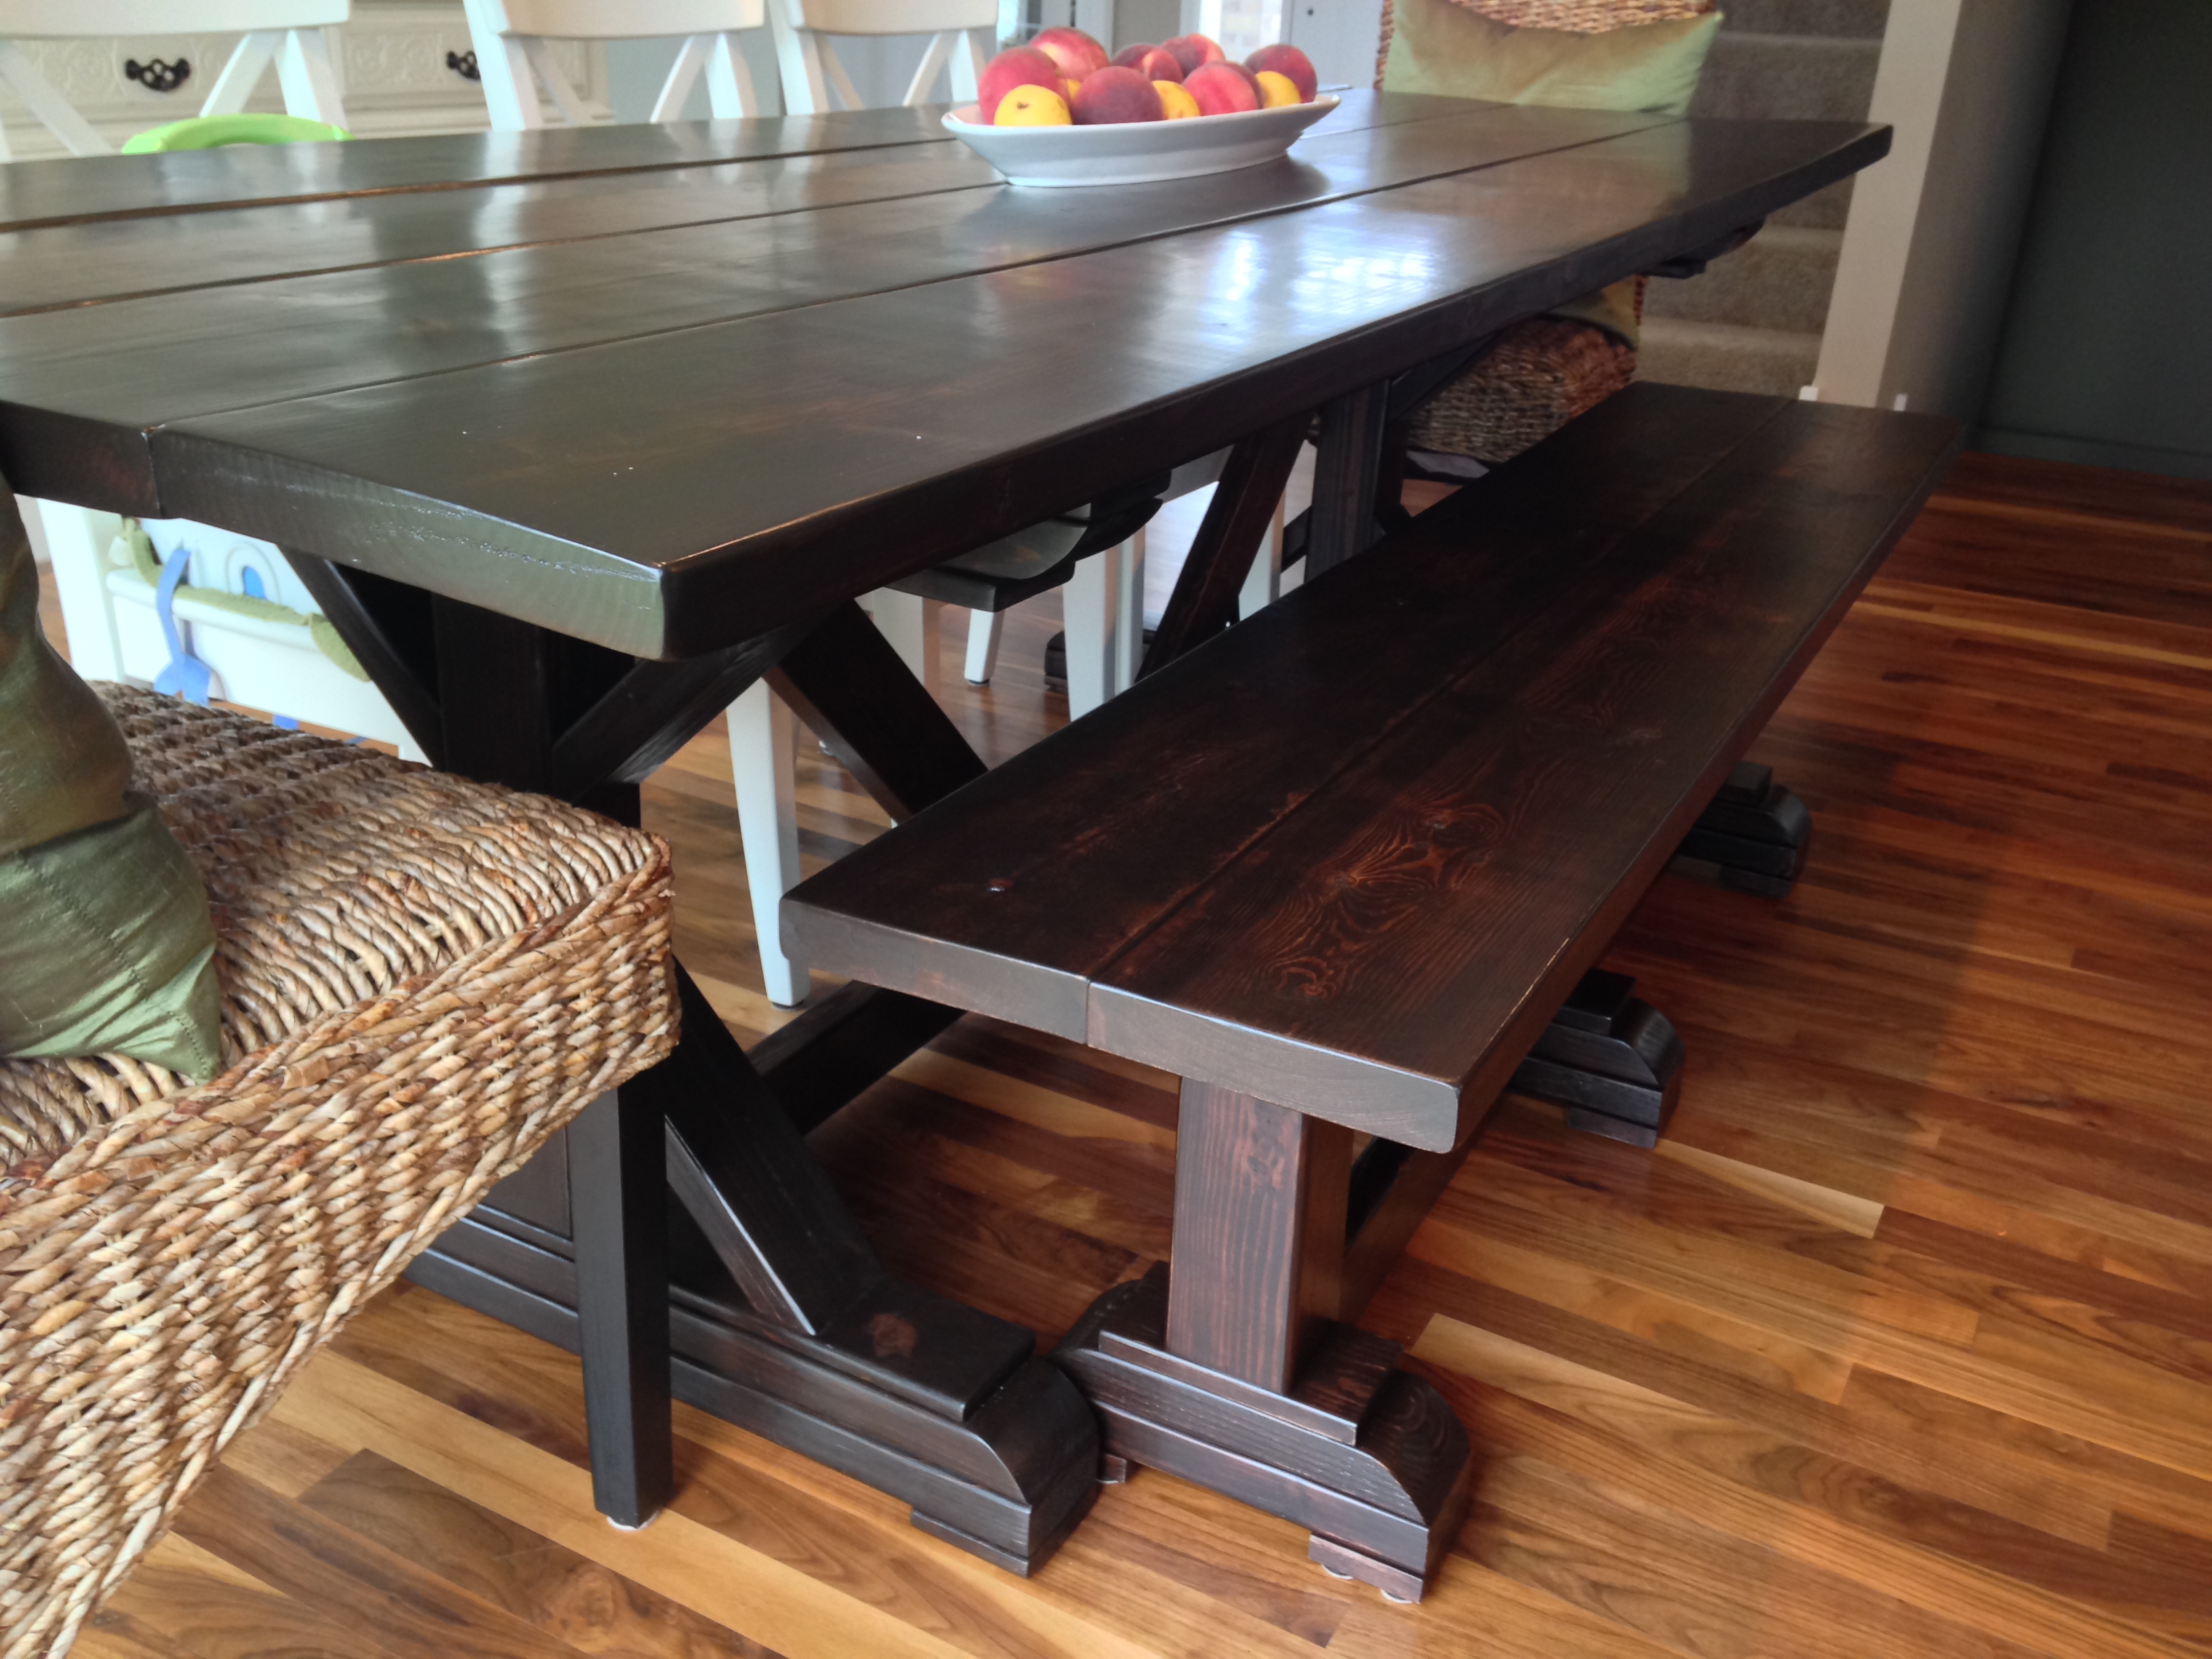
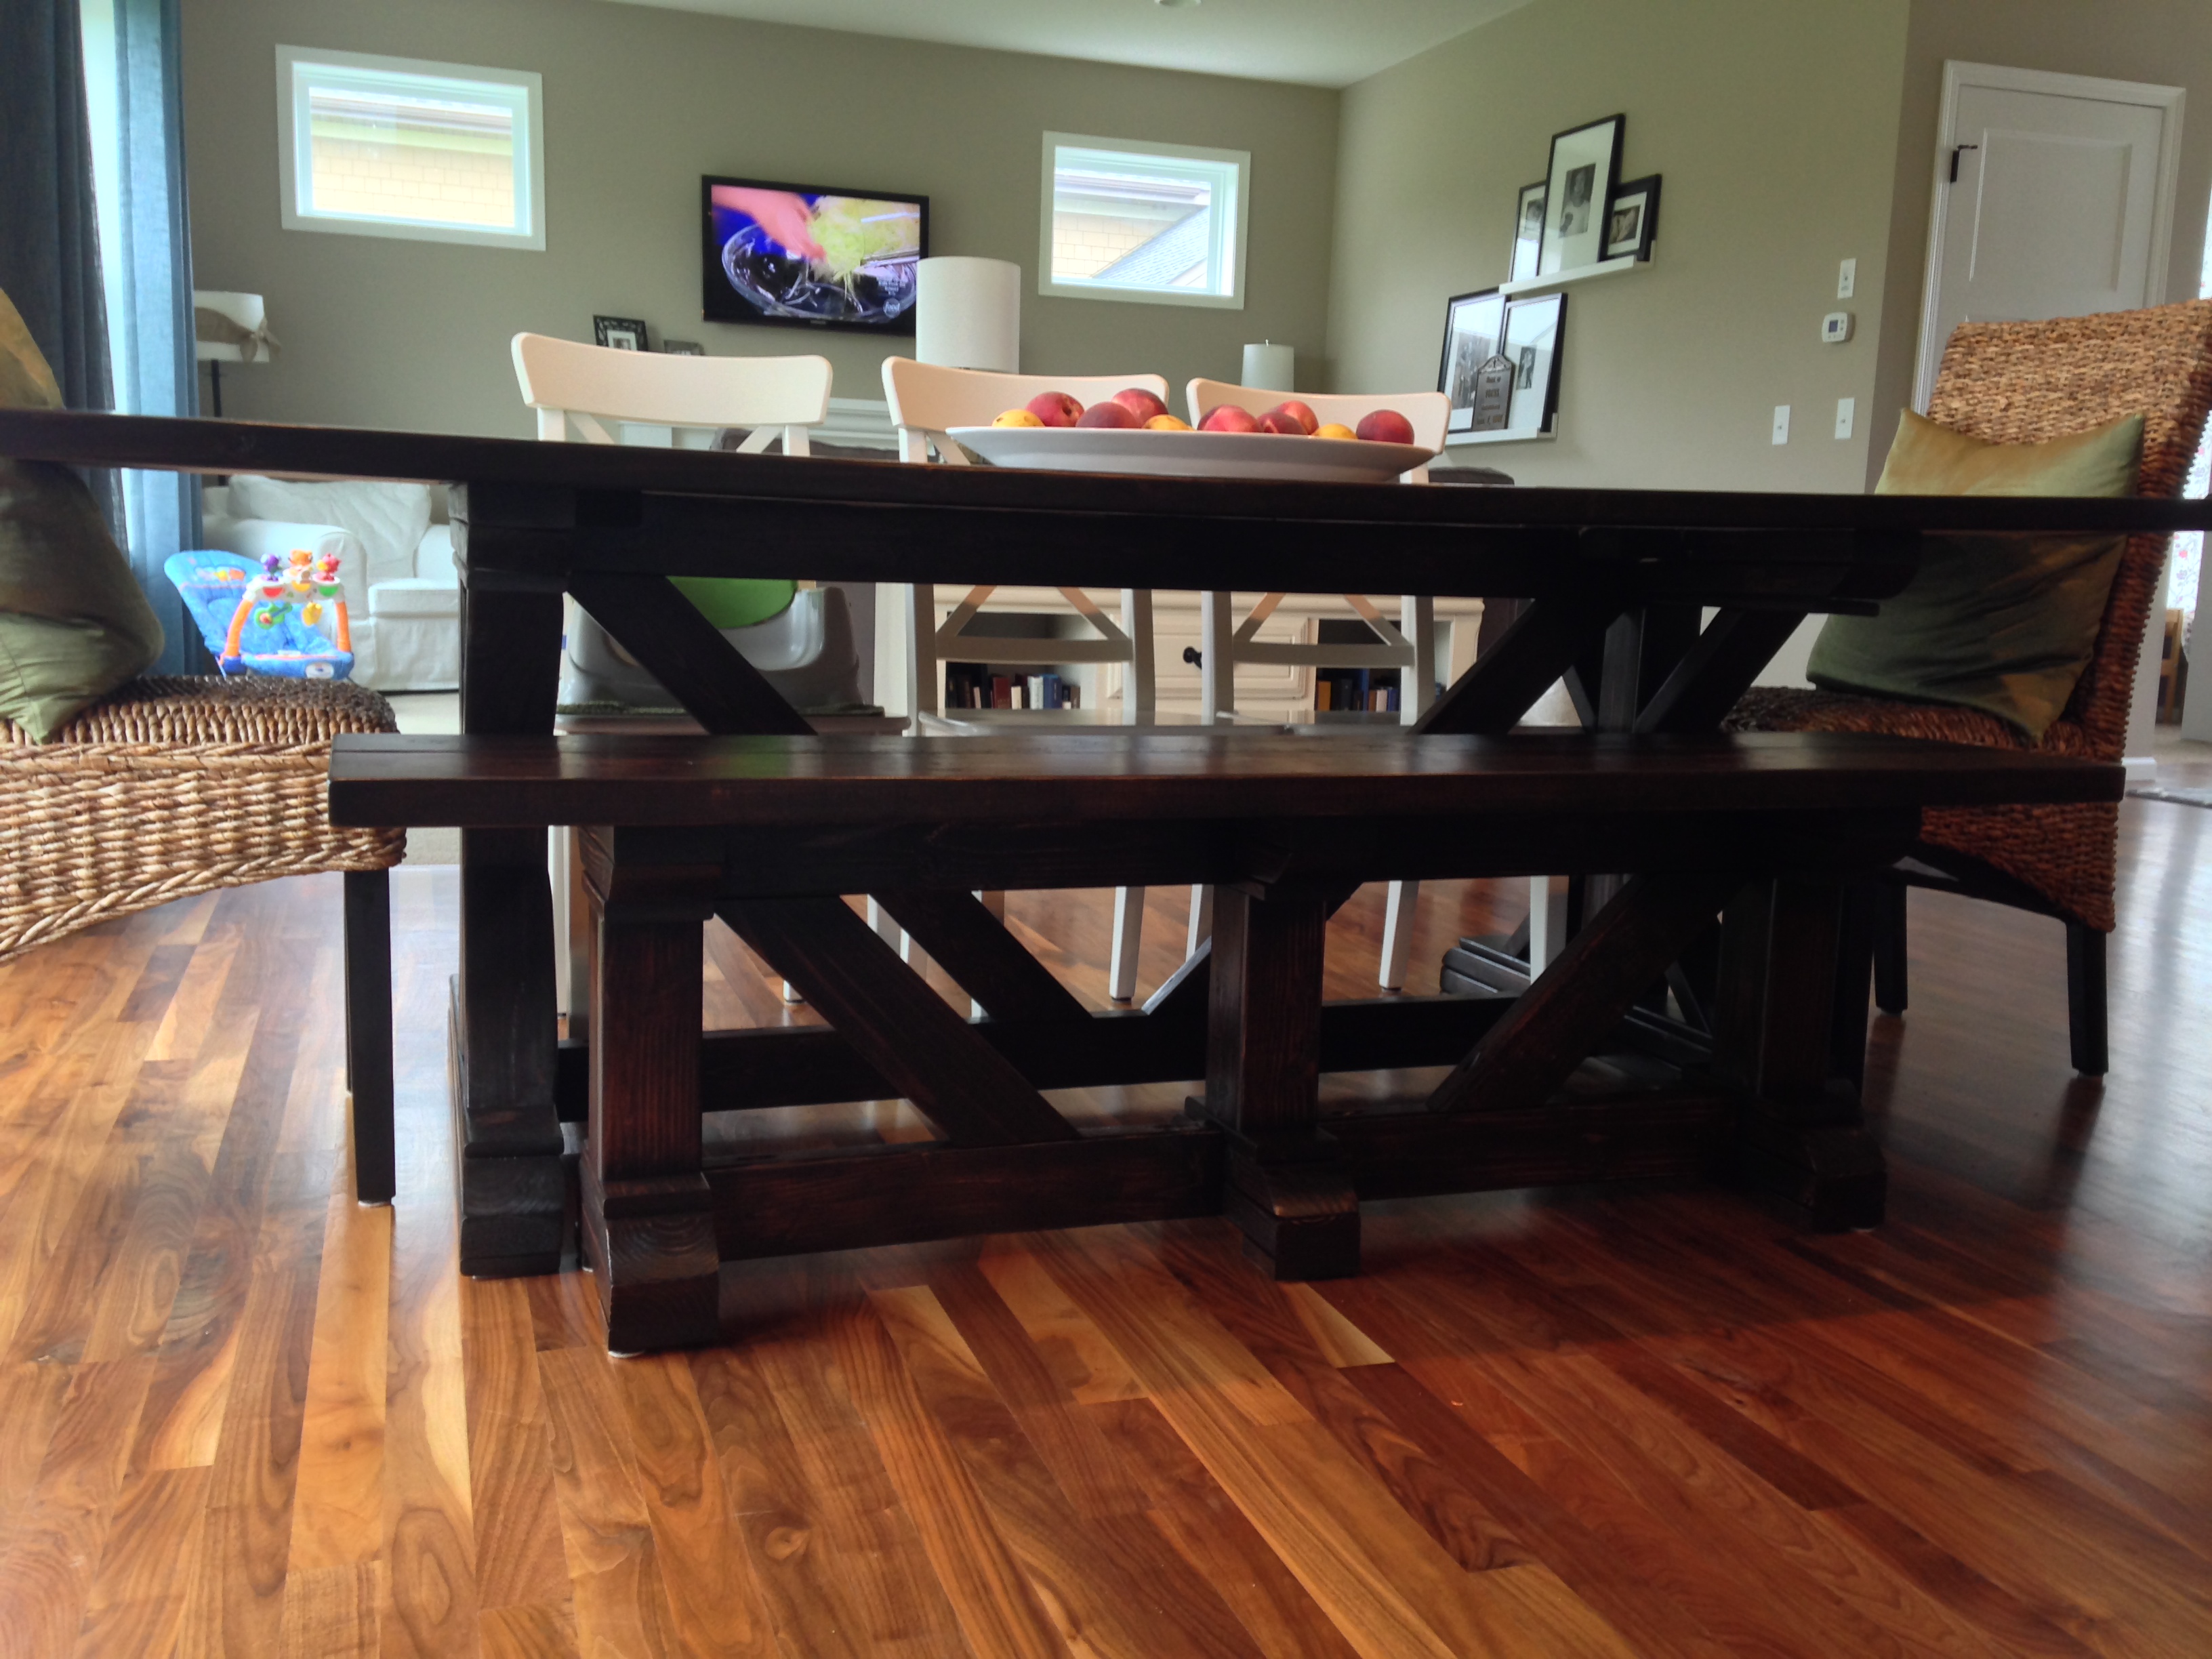
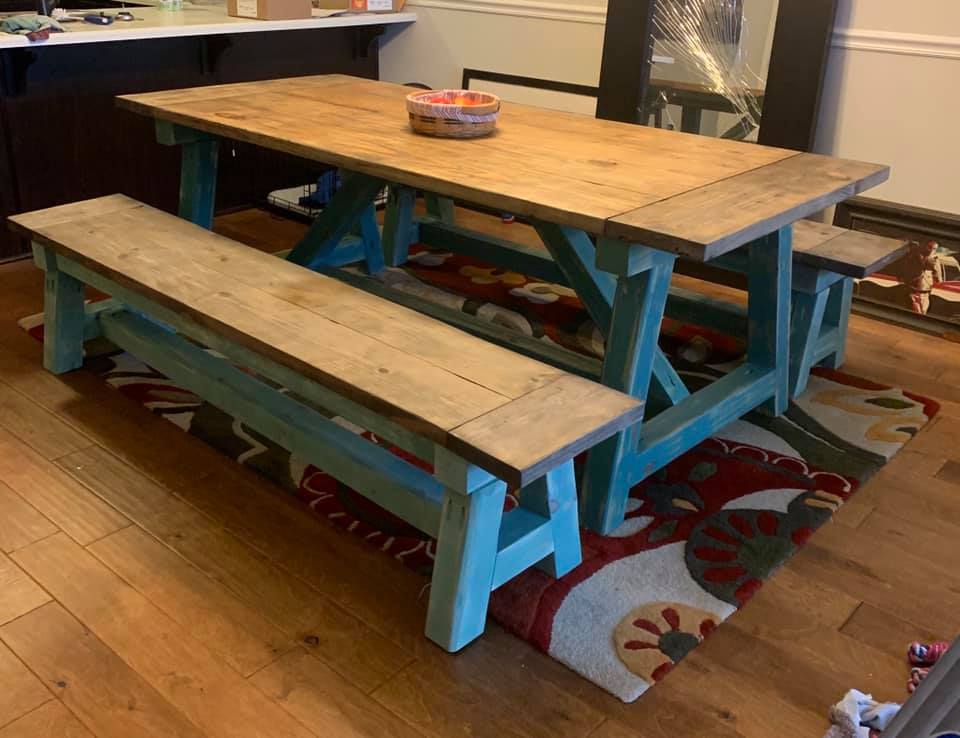
It took me longer than it would a normal because it was my first completed project. I couldn't decide if I wanted to build the top or use plywood or a project panel. I ended up building it using Aspen 1x3 for the apron and whitewood boards for the rest. I probably wouldn't buy the Aspen again. I would use whitewood for all or maybe pine. I do prefer the wider apron that the 1x3 provided.
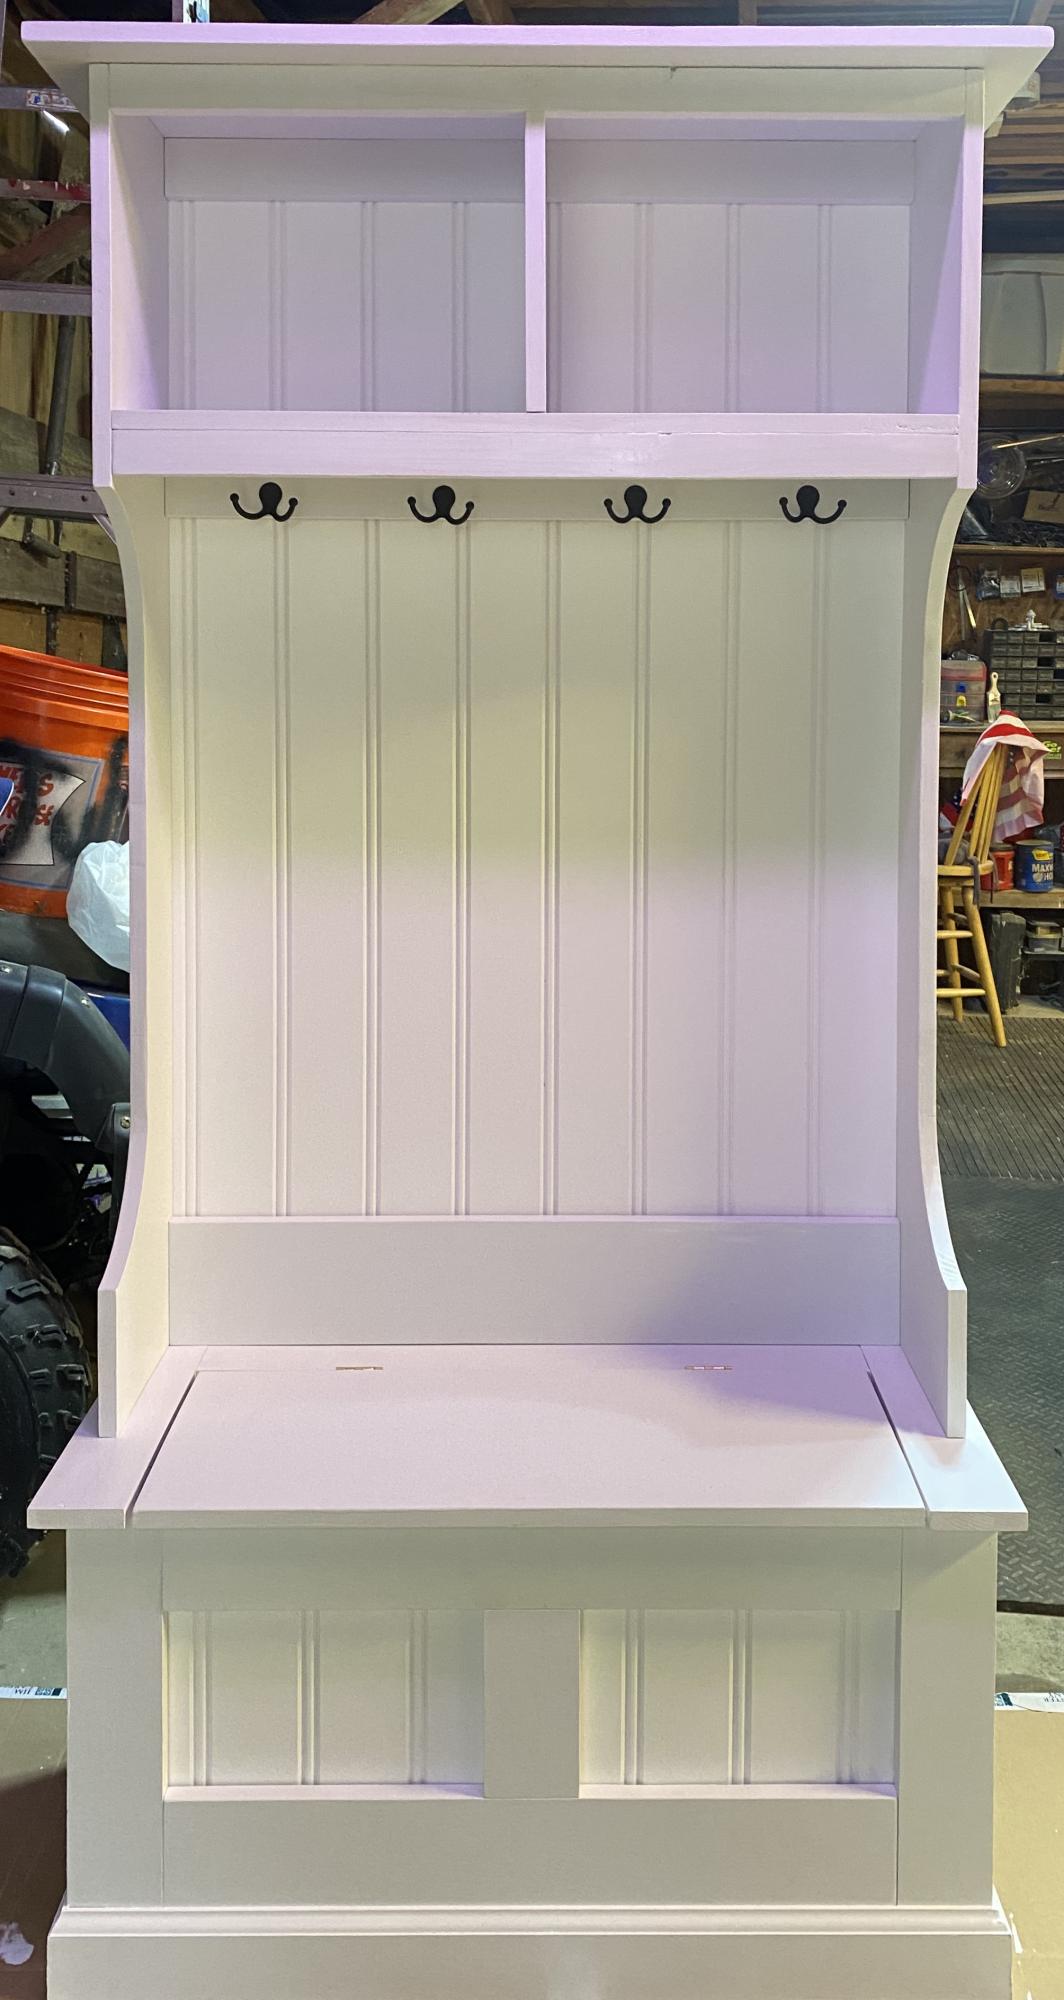
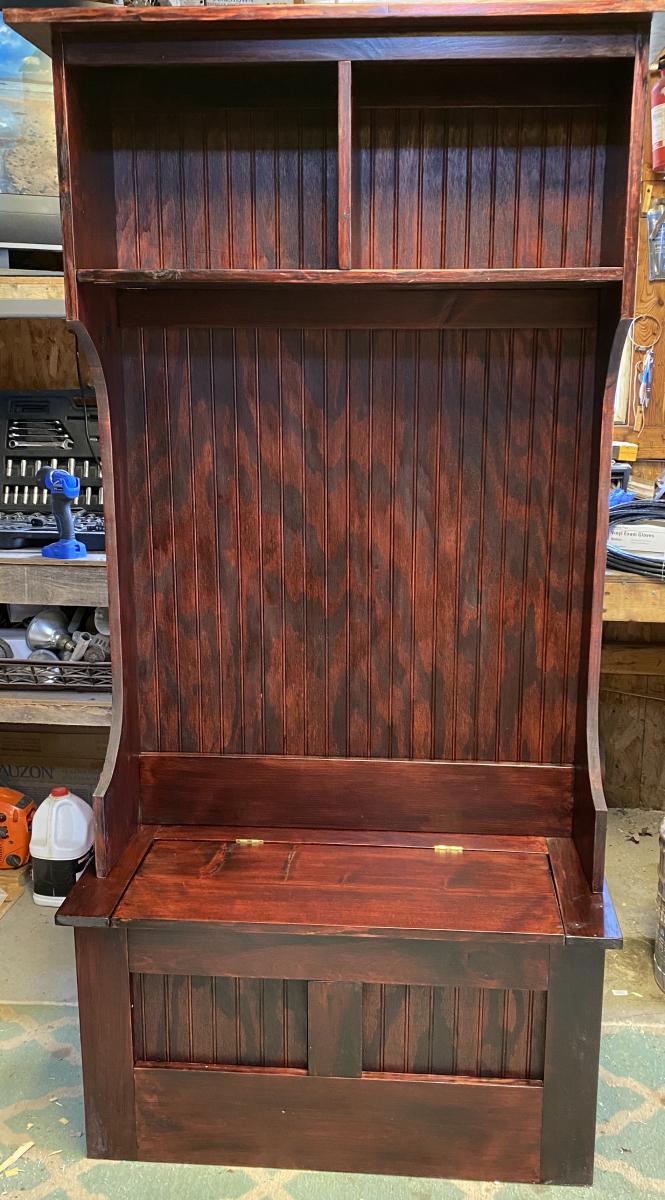
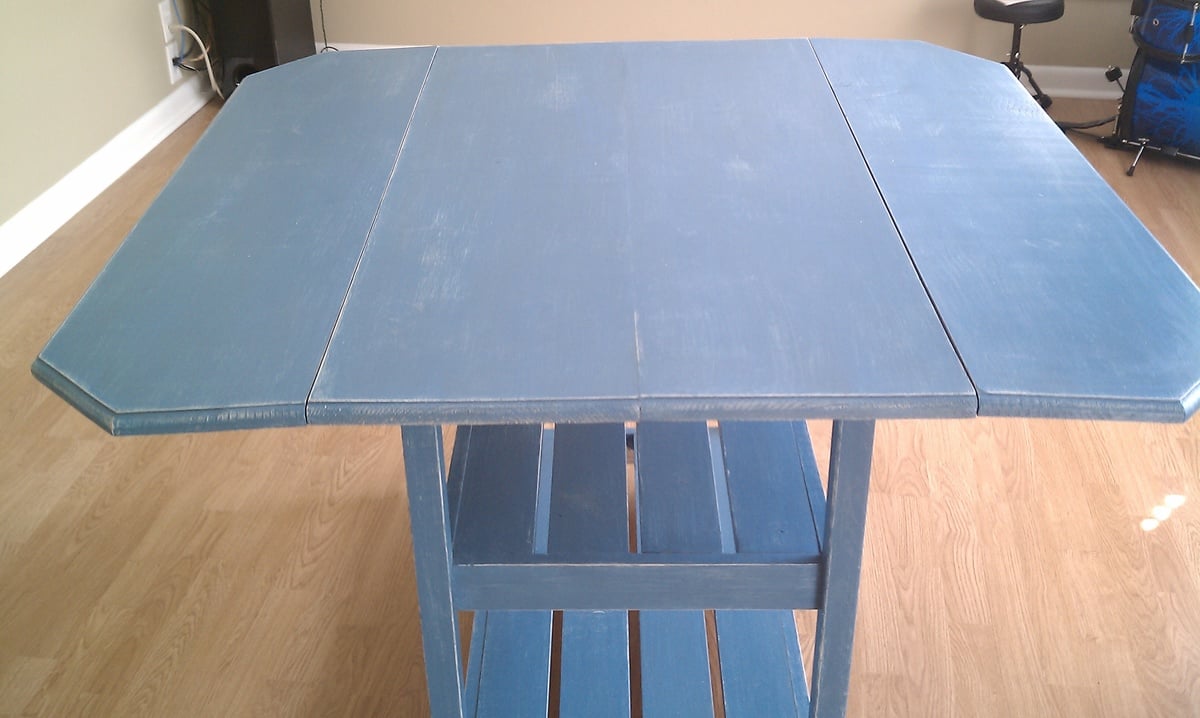
Also, Jen from House of Wood suggested painting prior to putting the top on which was a great tip!! I stained my top after I put it on though, because I didn't want to accidentally scratch it trying to move it into place.
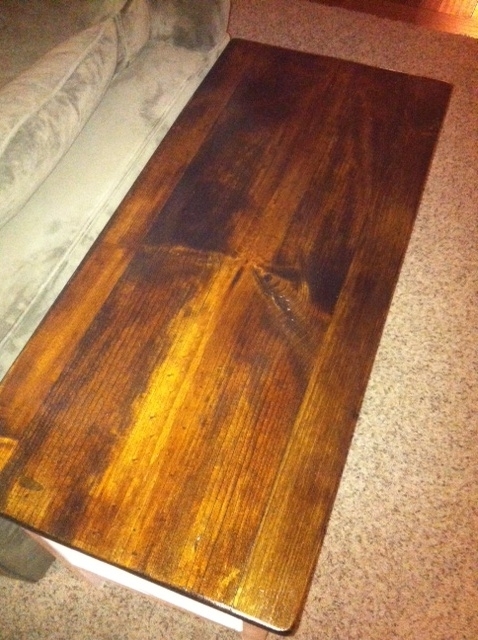
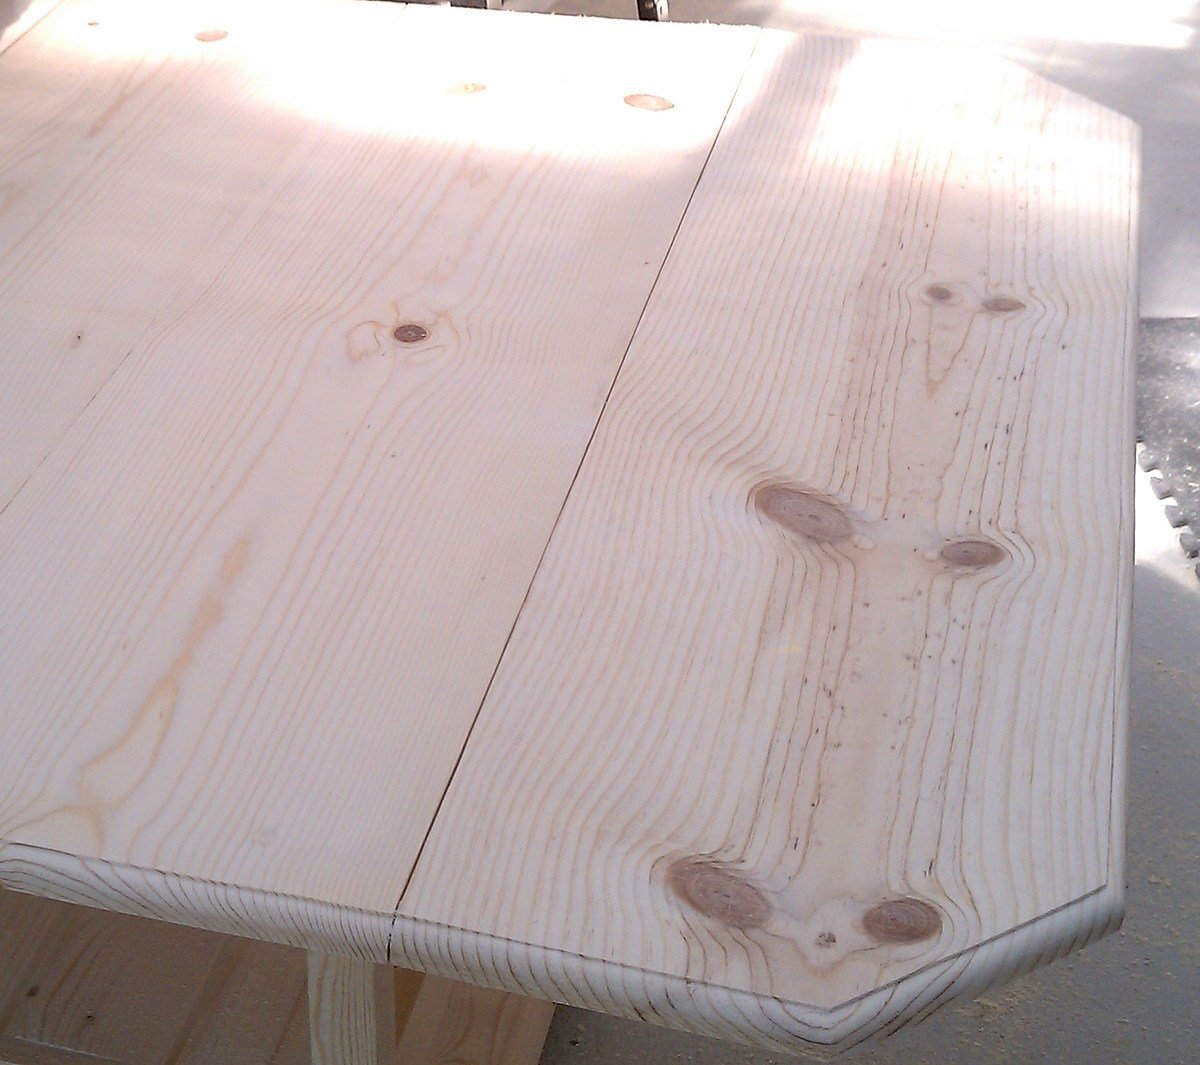
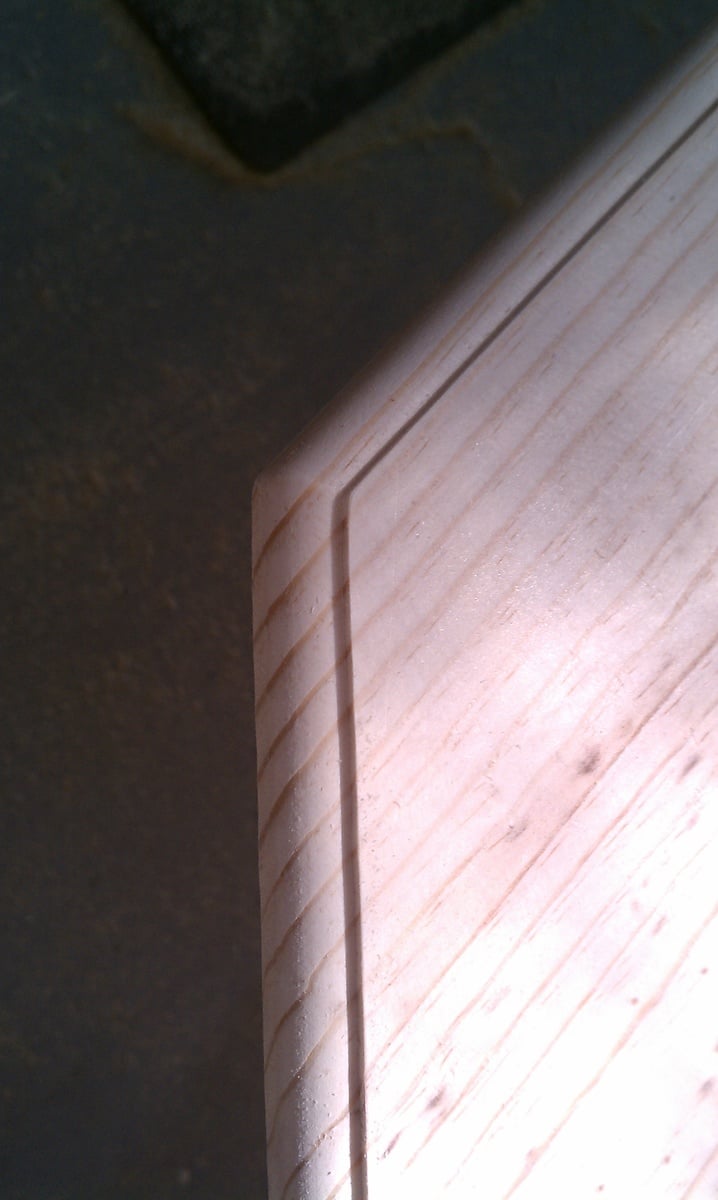
I glued everything and attached with pocket hole screws just for safety. One thing I learned is that wood glue does not stain, so I had to sand it down completely and sand off the glue that seeped for the final result I got.
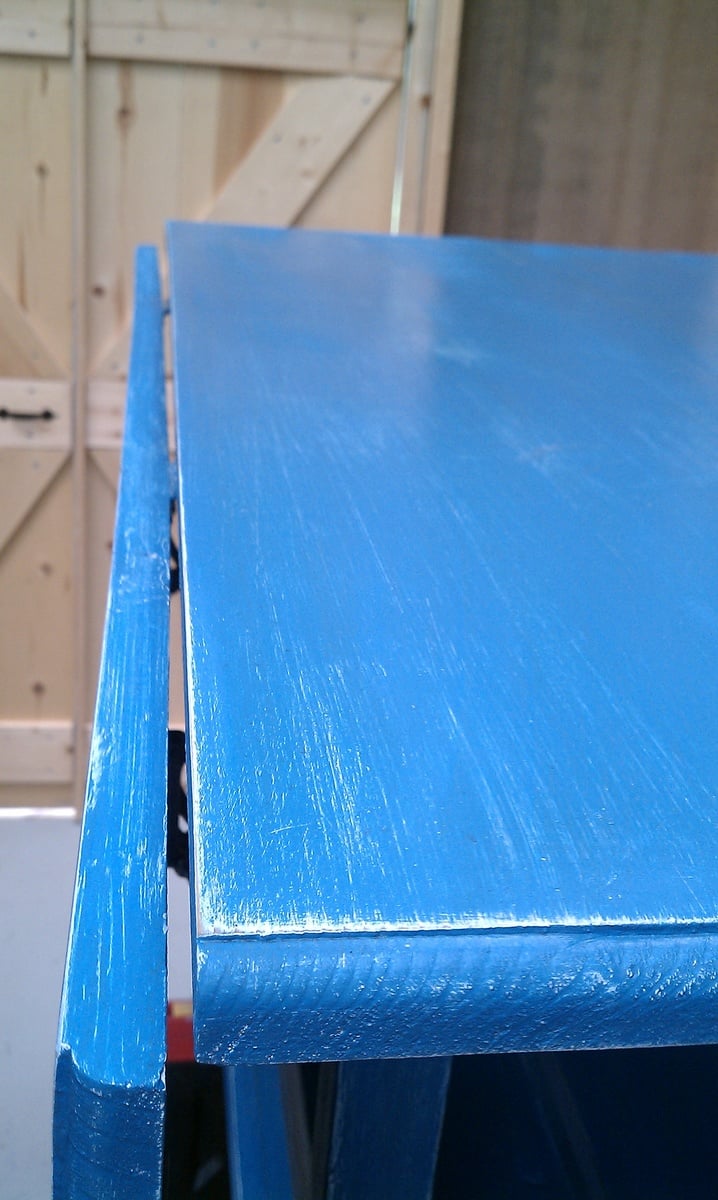
Also, having paintable caulk is a good tip. I got a board for my lower shelf that was slightly bowed and the caulk was great to hide my beginner imperfections.
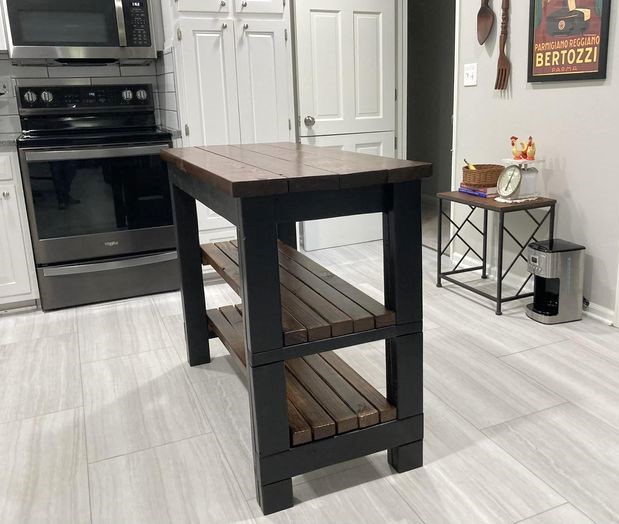
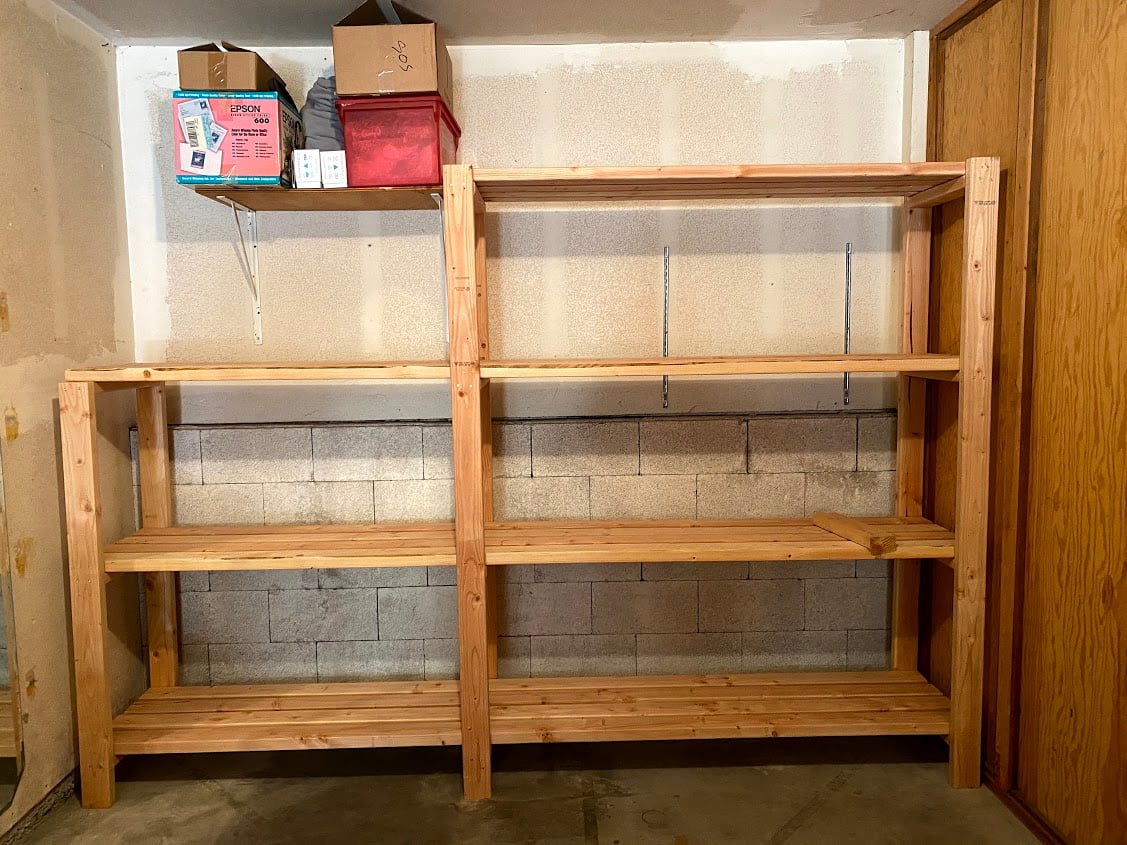
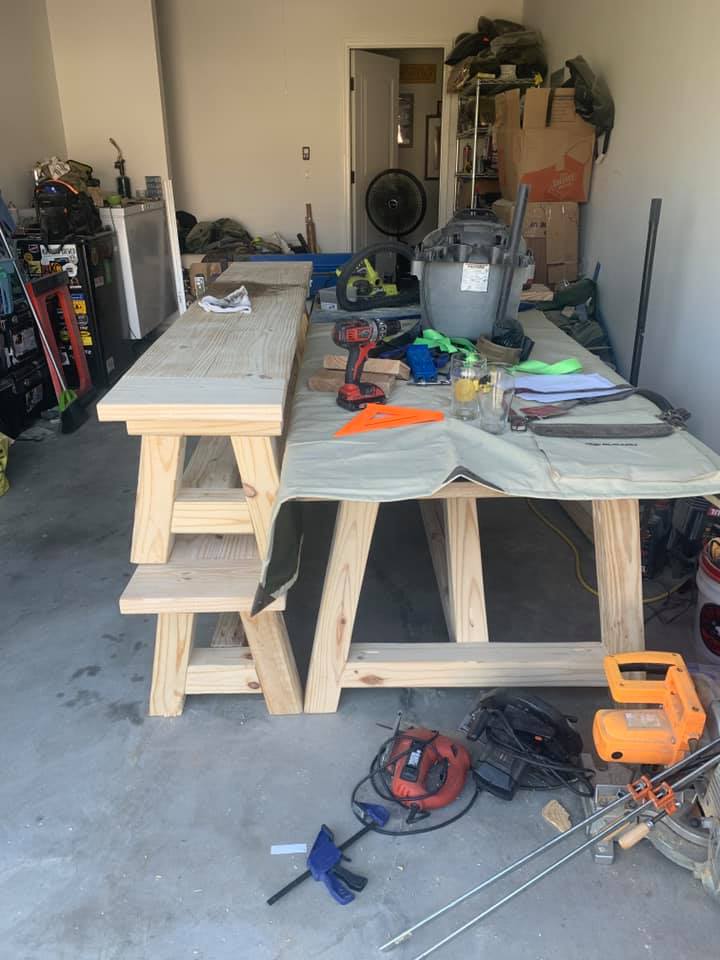
It was really easy build (keeping things square was the hardest part, but the carpet hides the small wobble I had on the cement). It looks great in our living room.