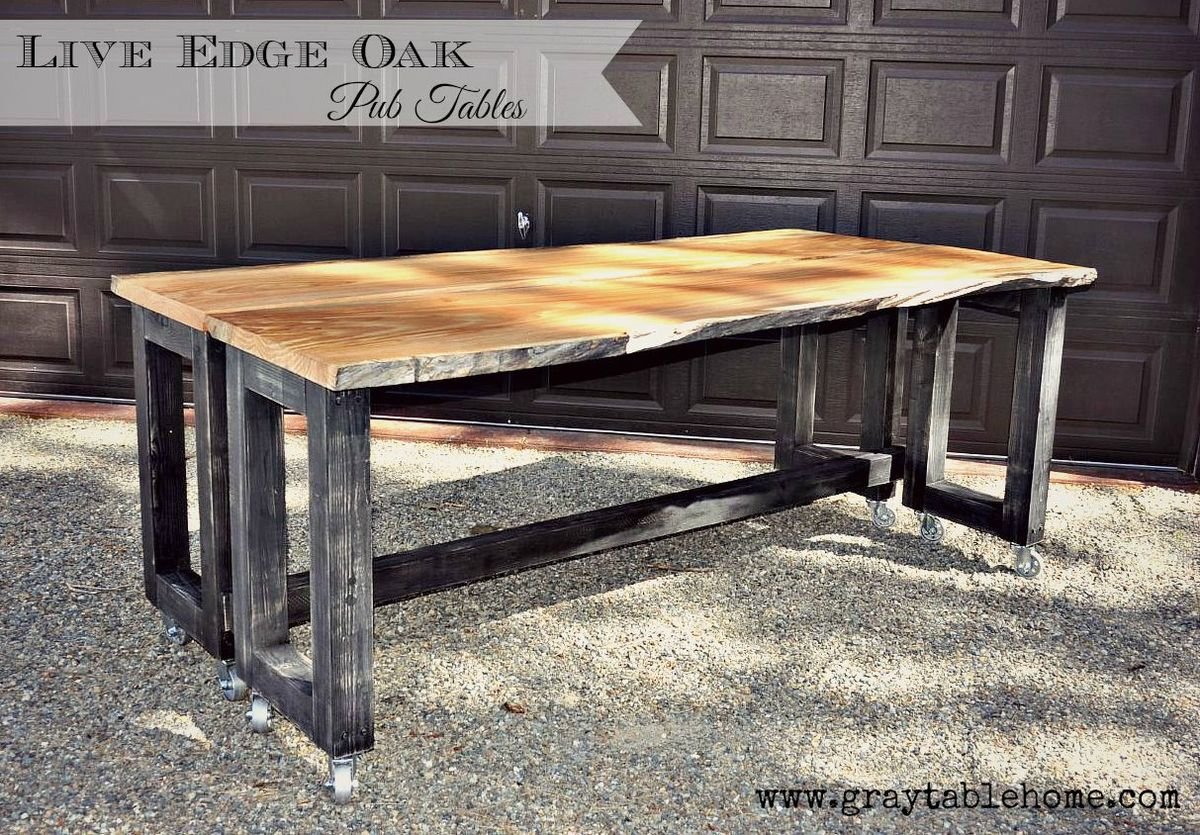
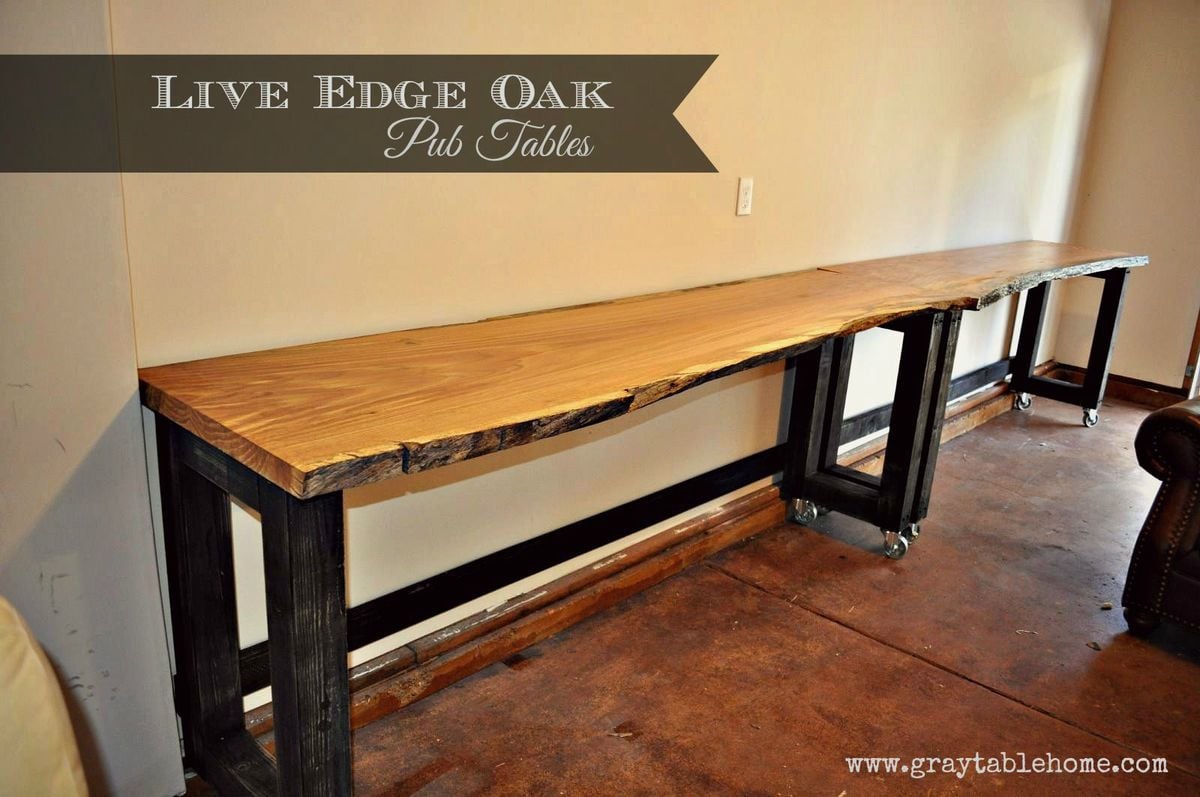
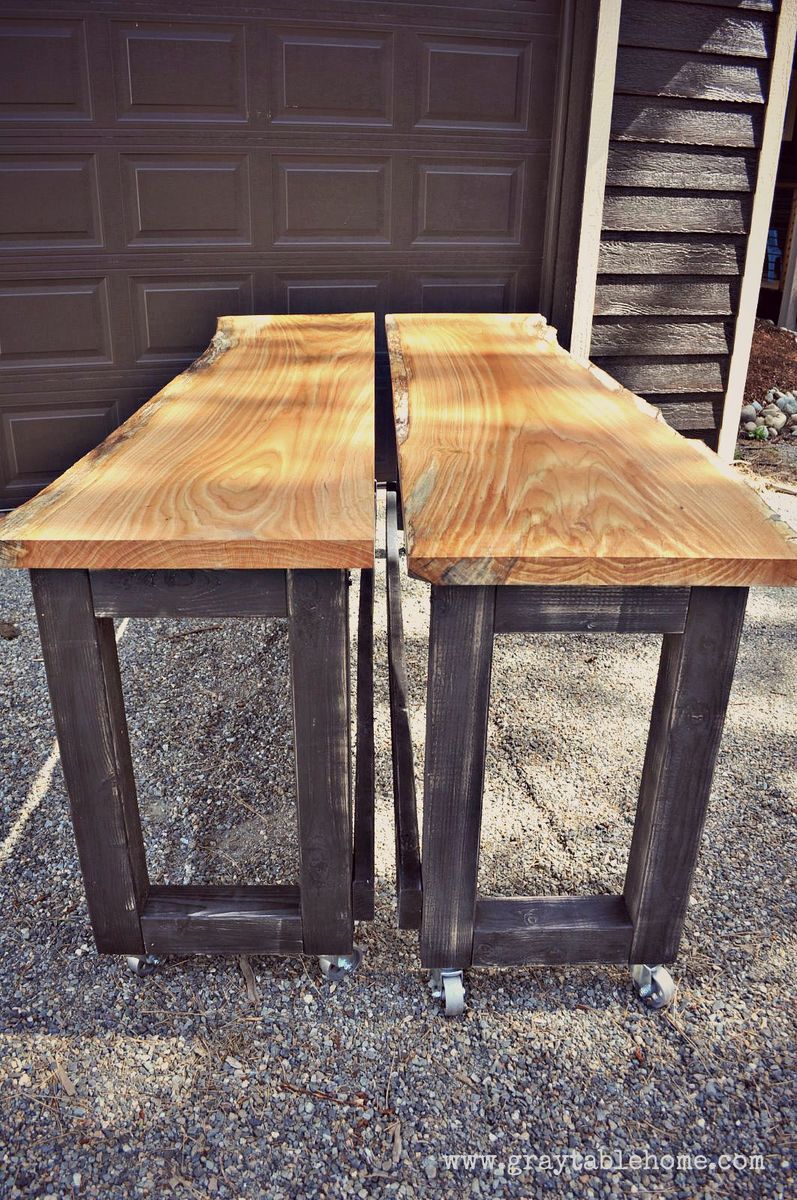
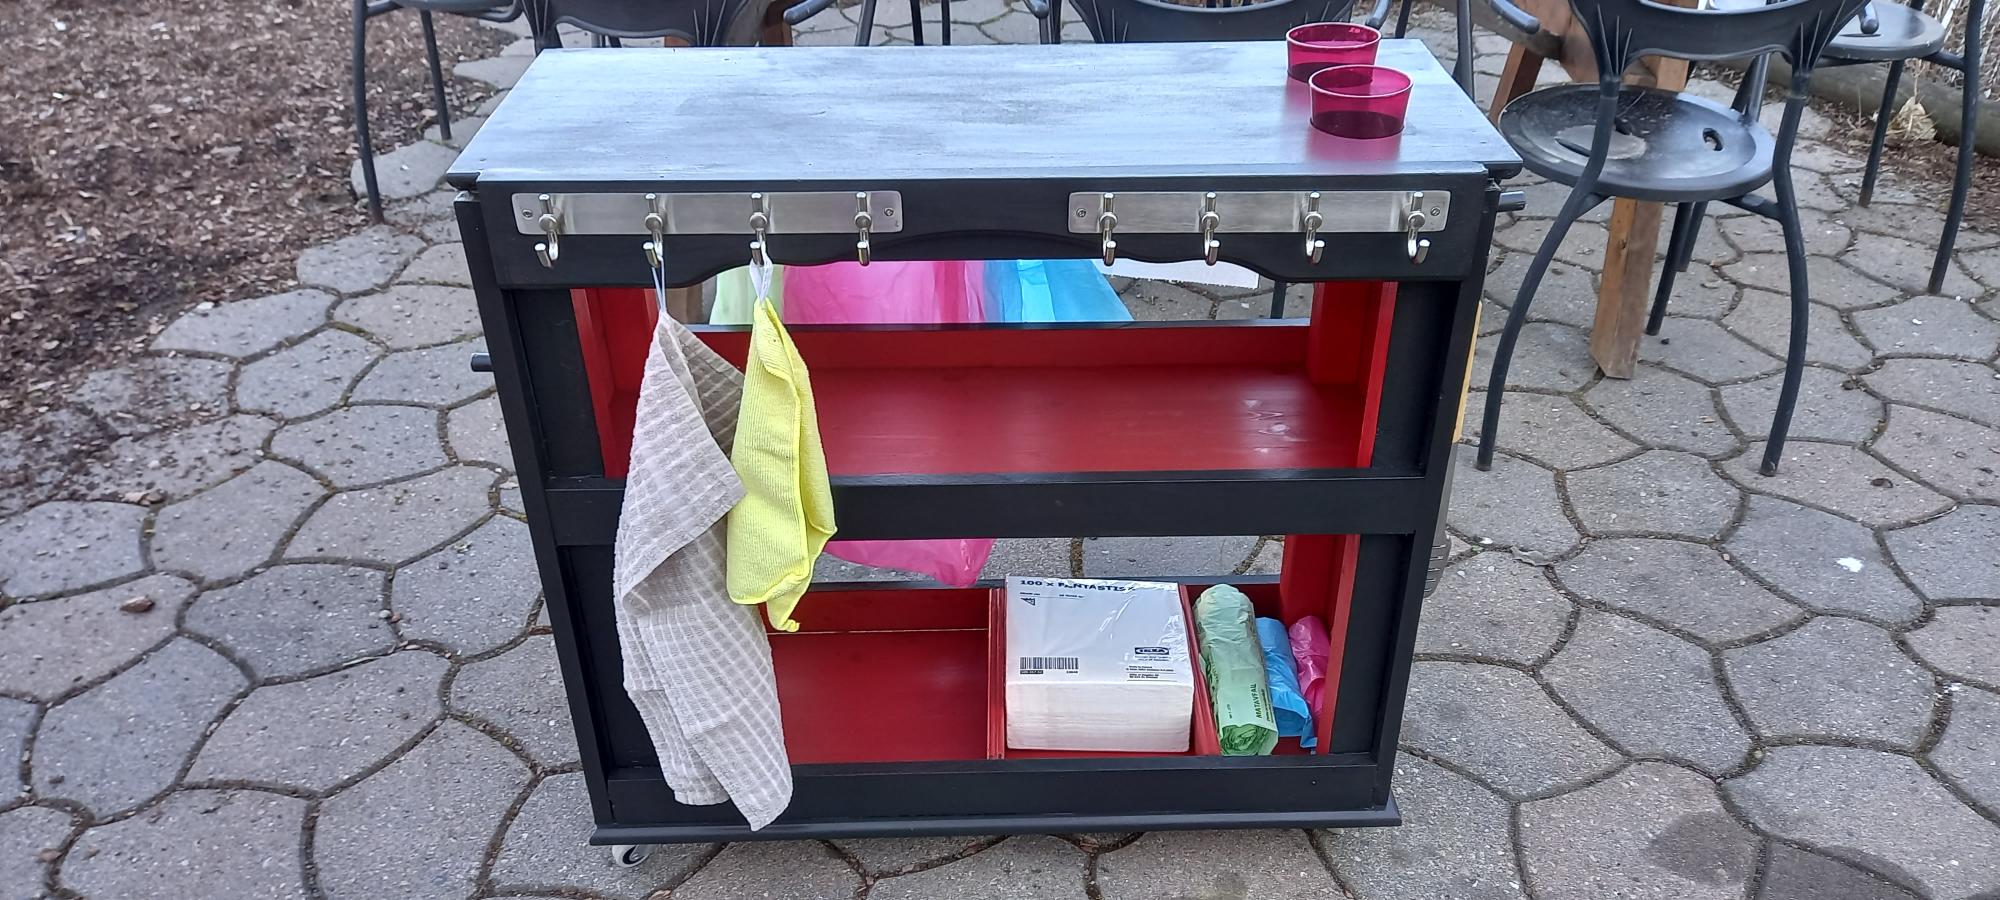
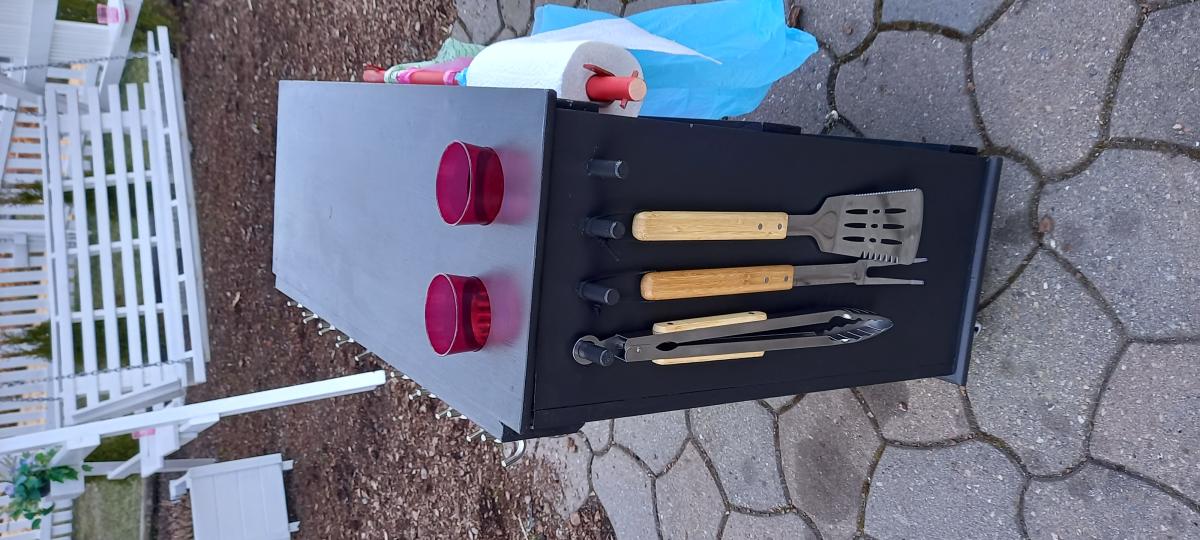
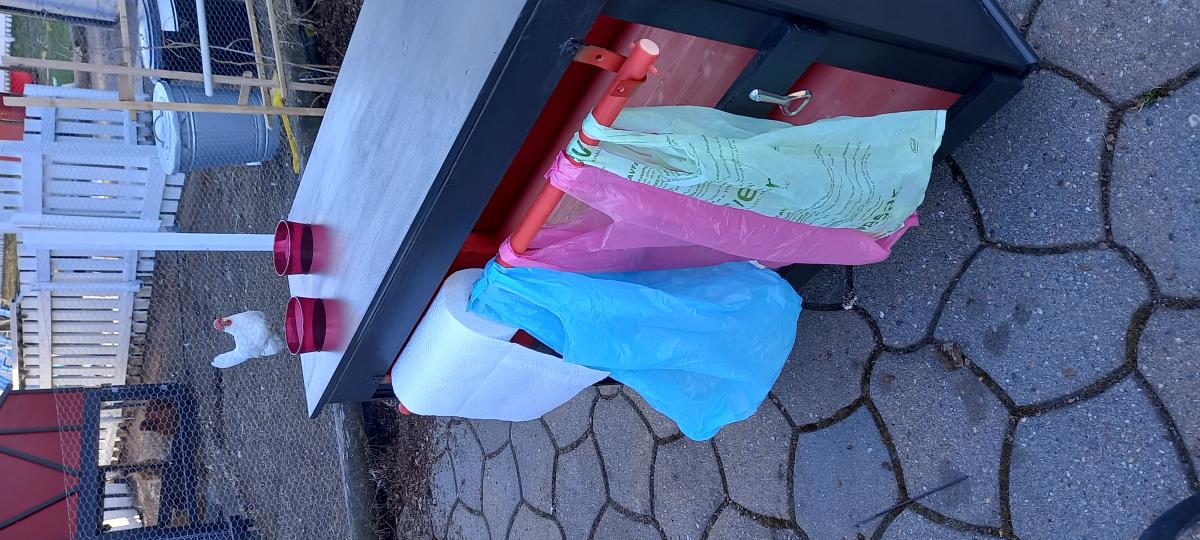
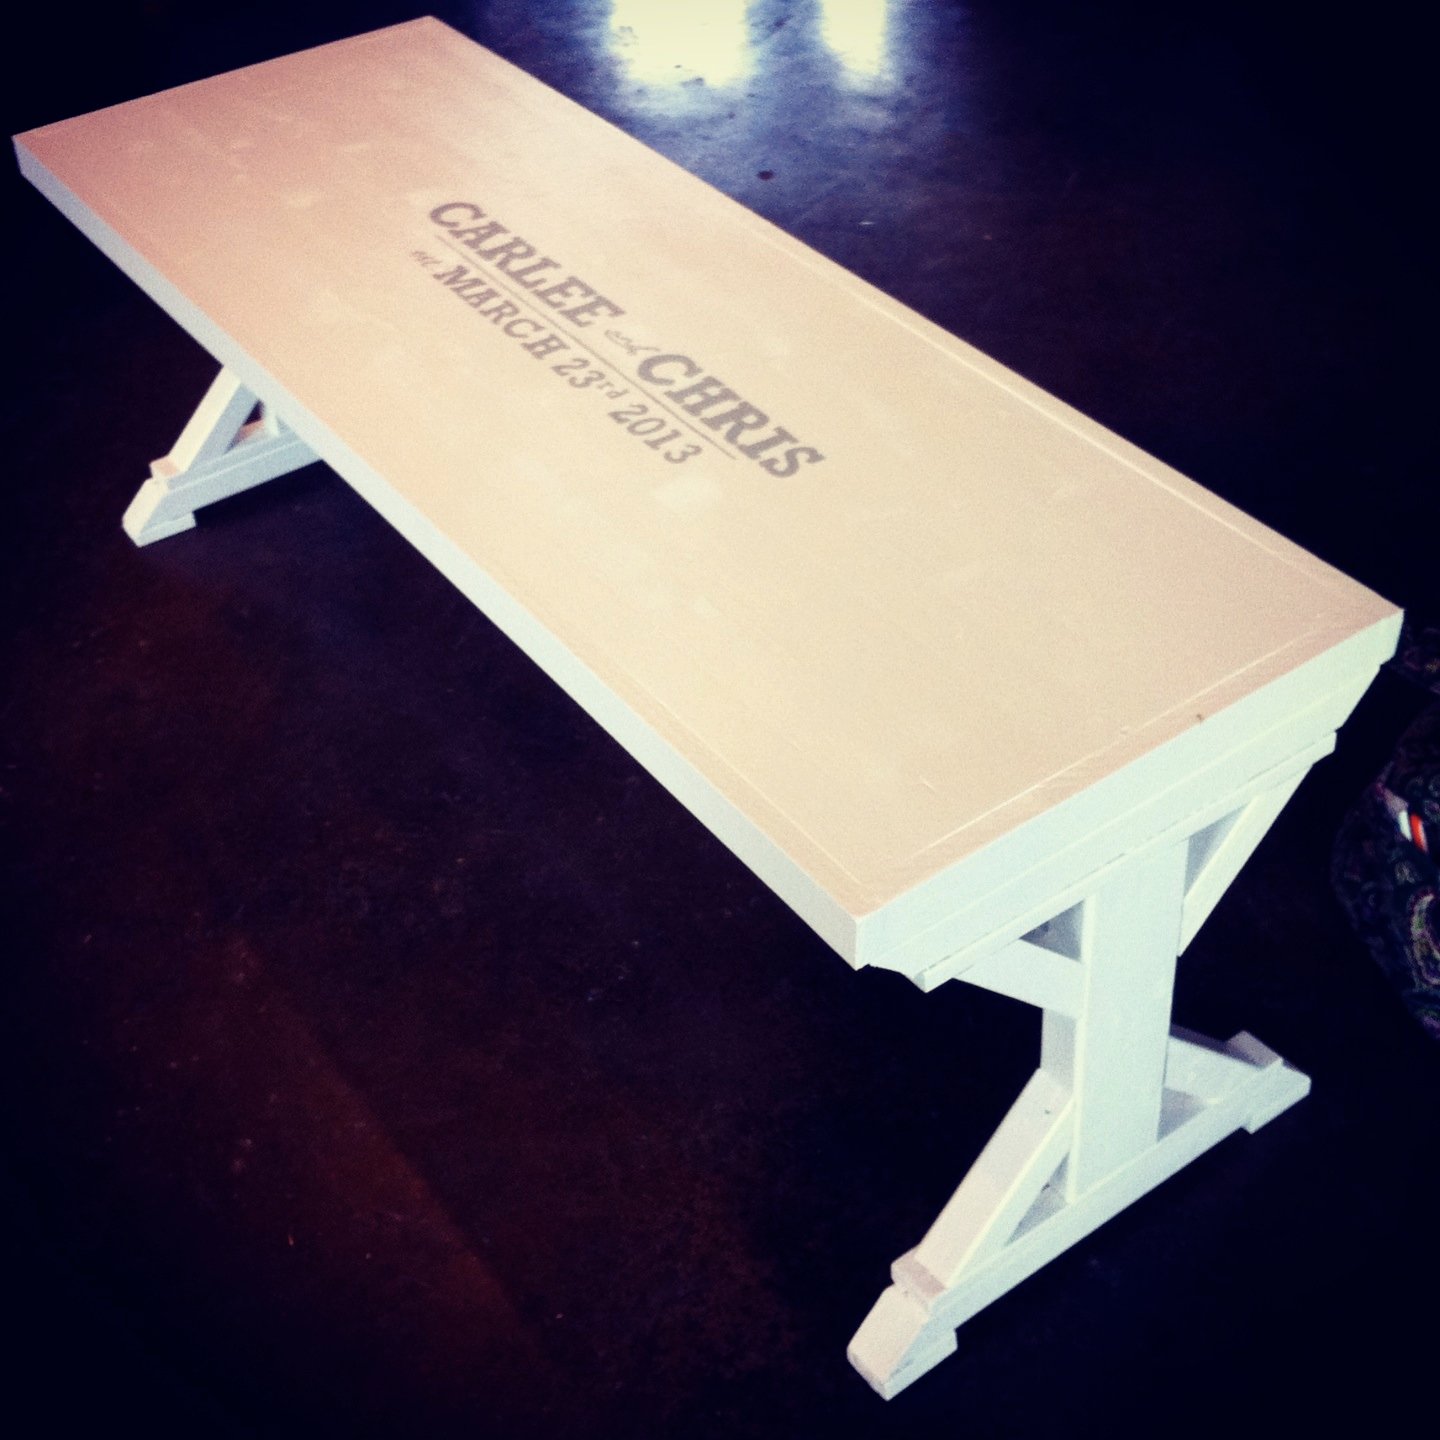
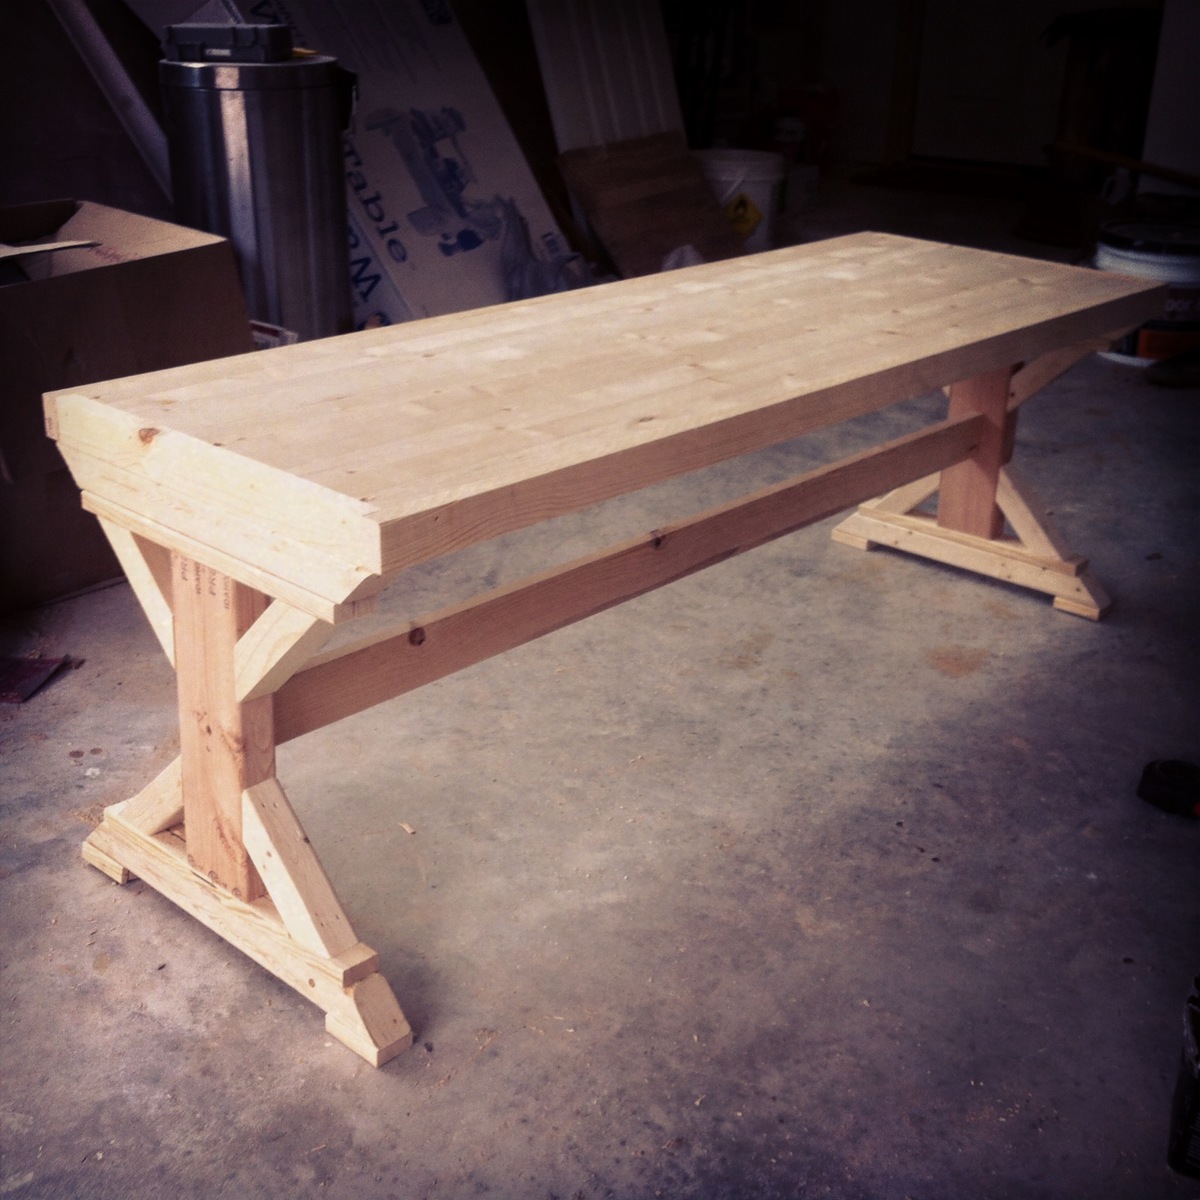
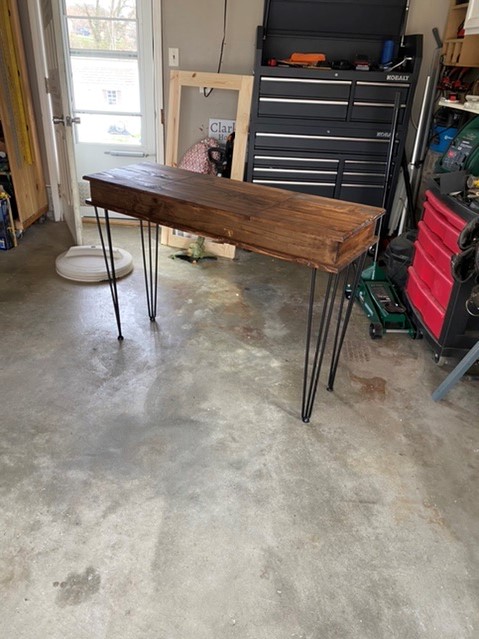
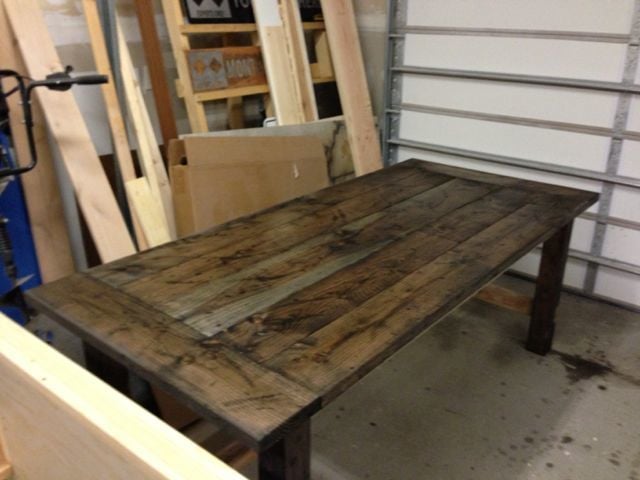
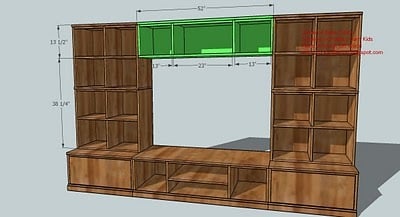
DIY Convertible Bar / Pub Table
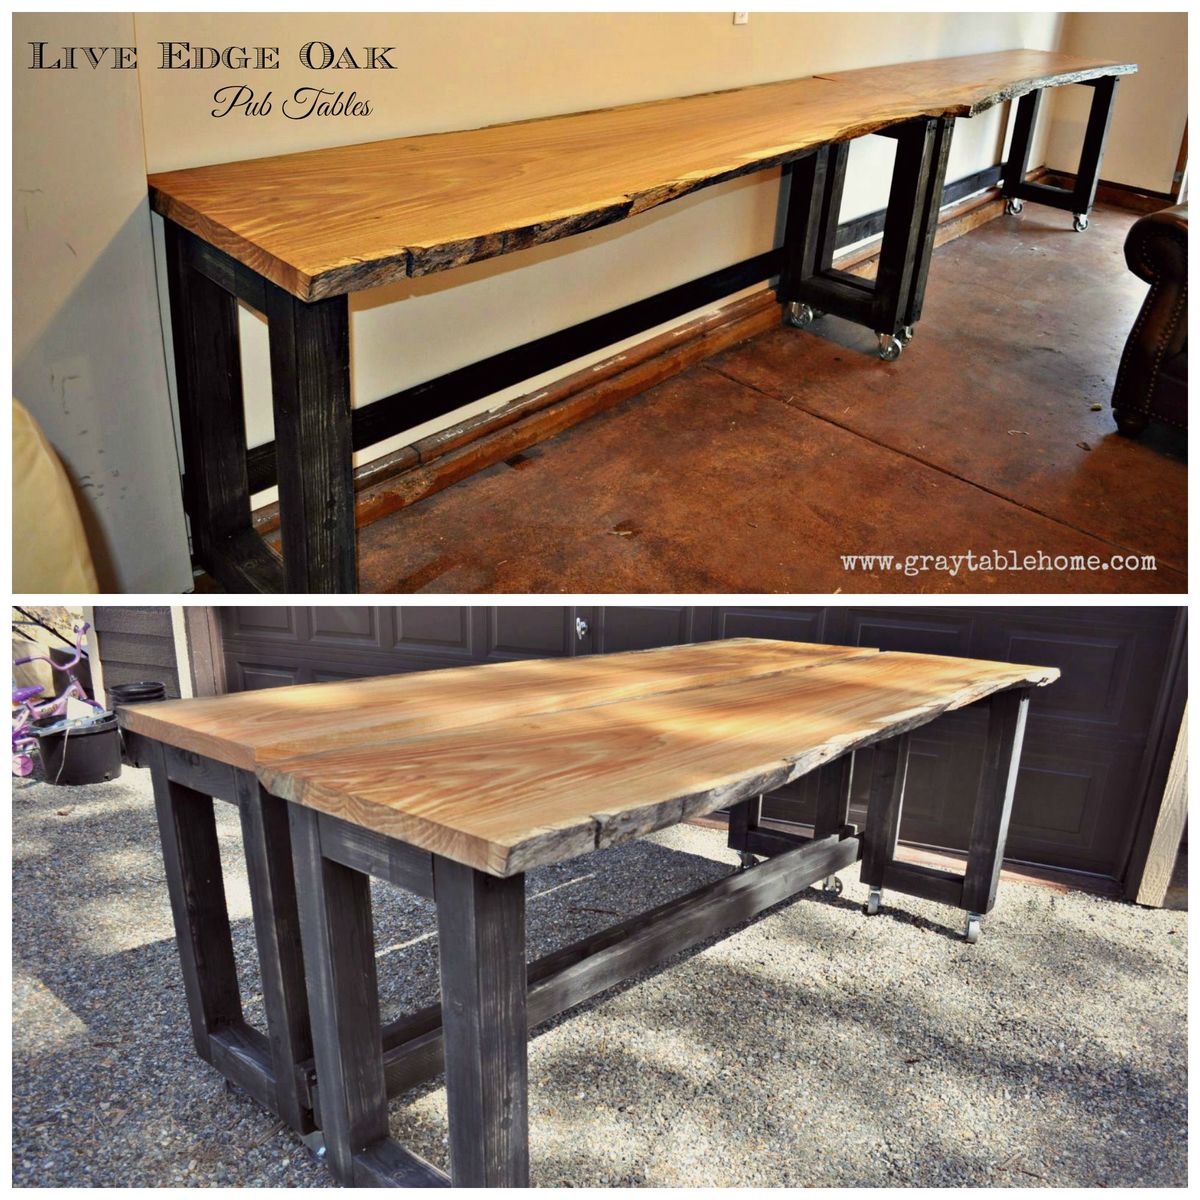
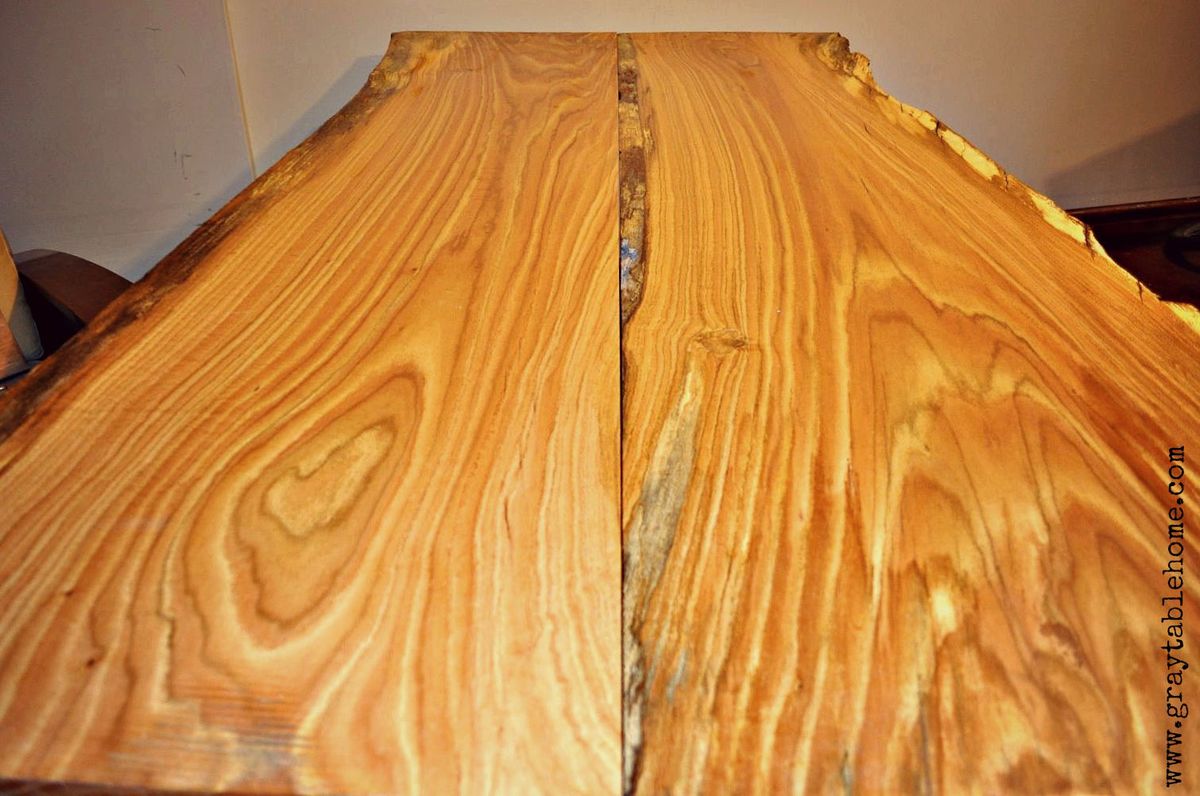
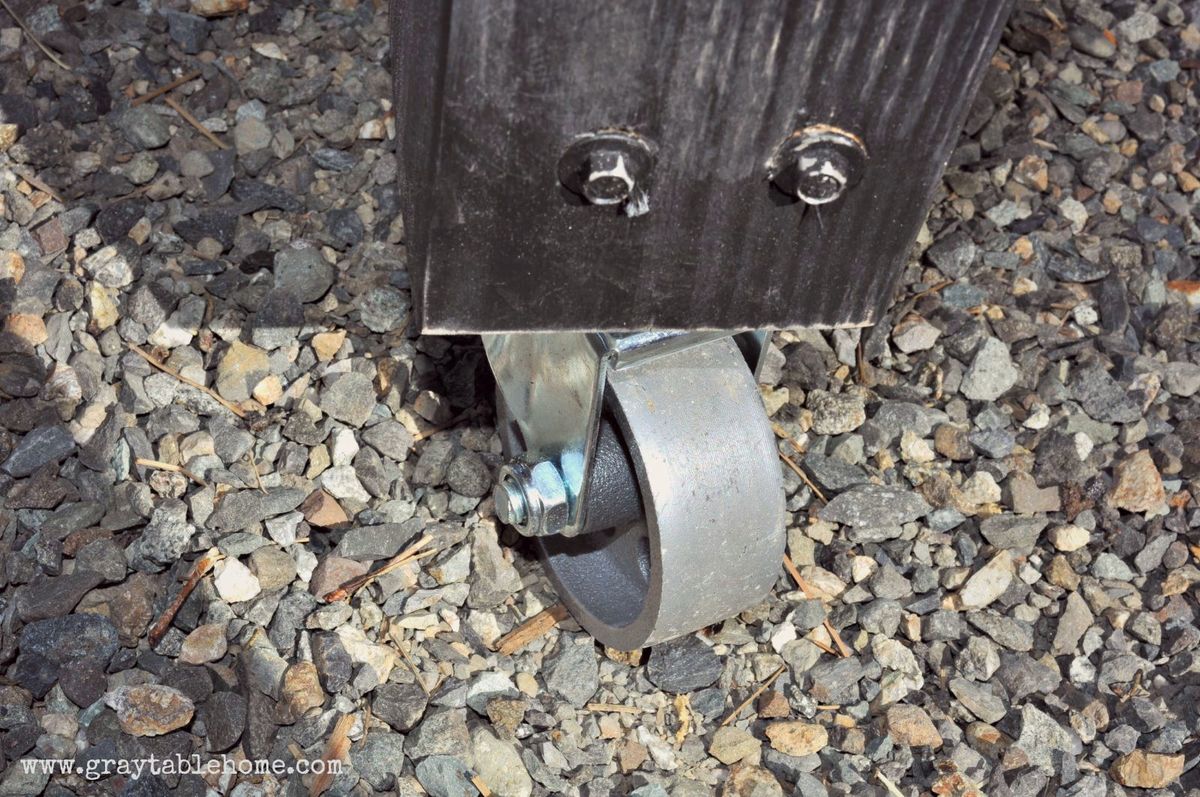
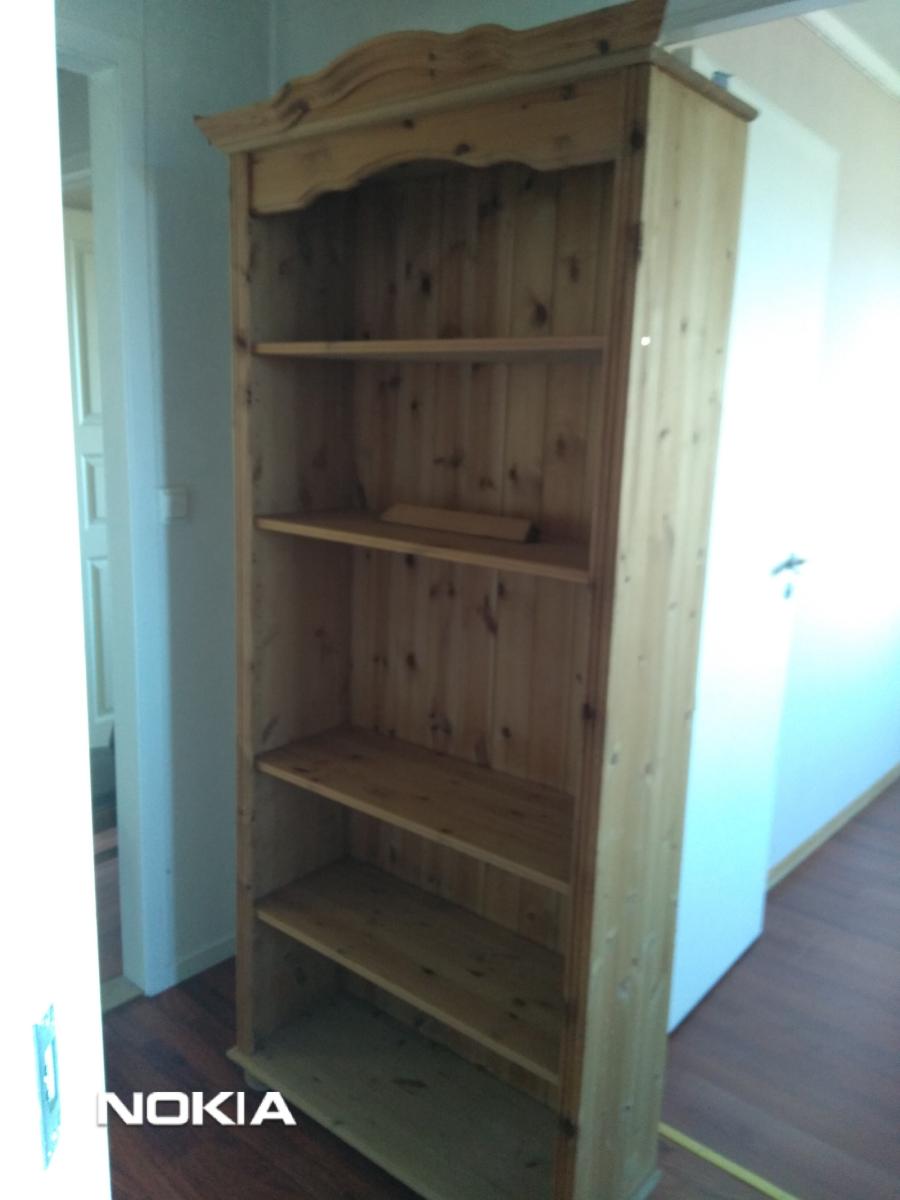
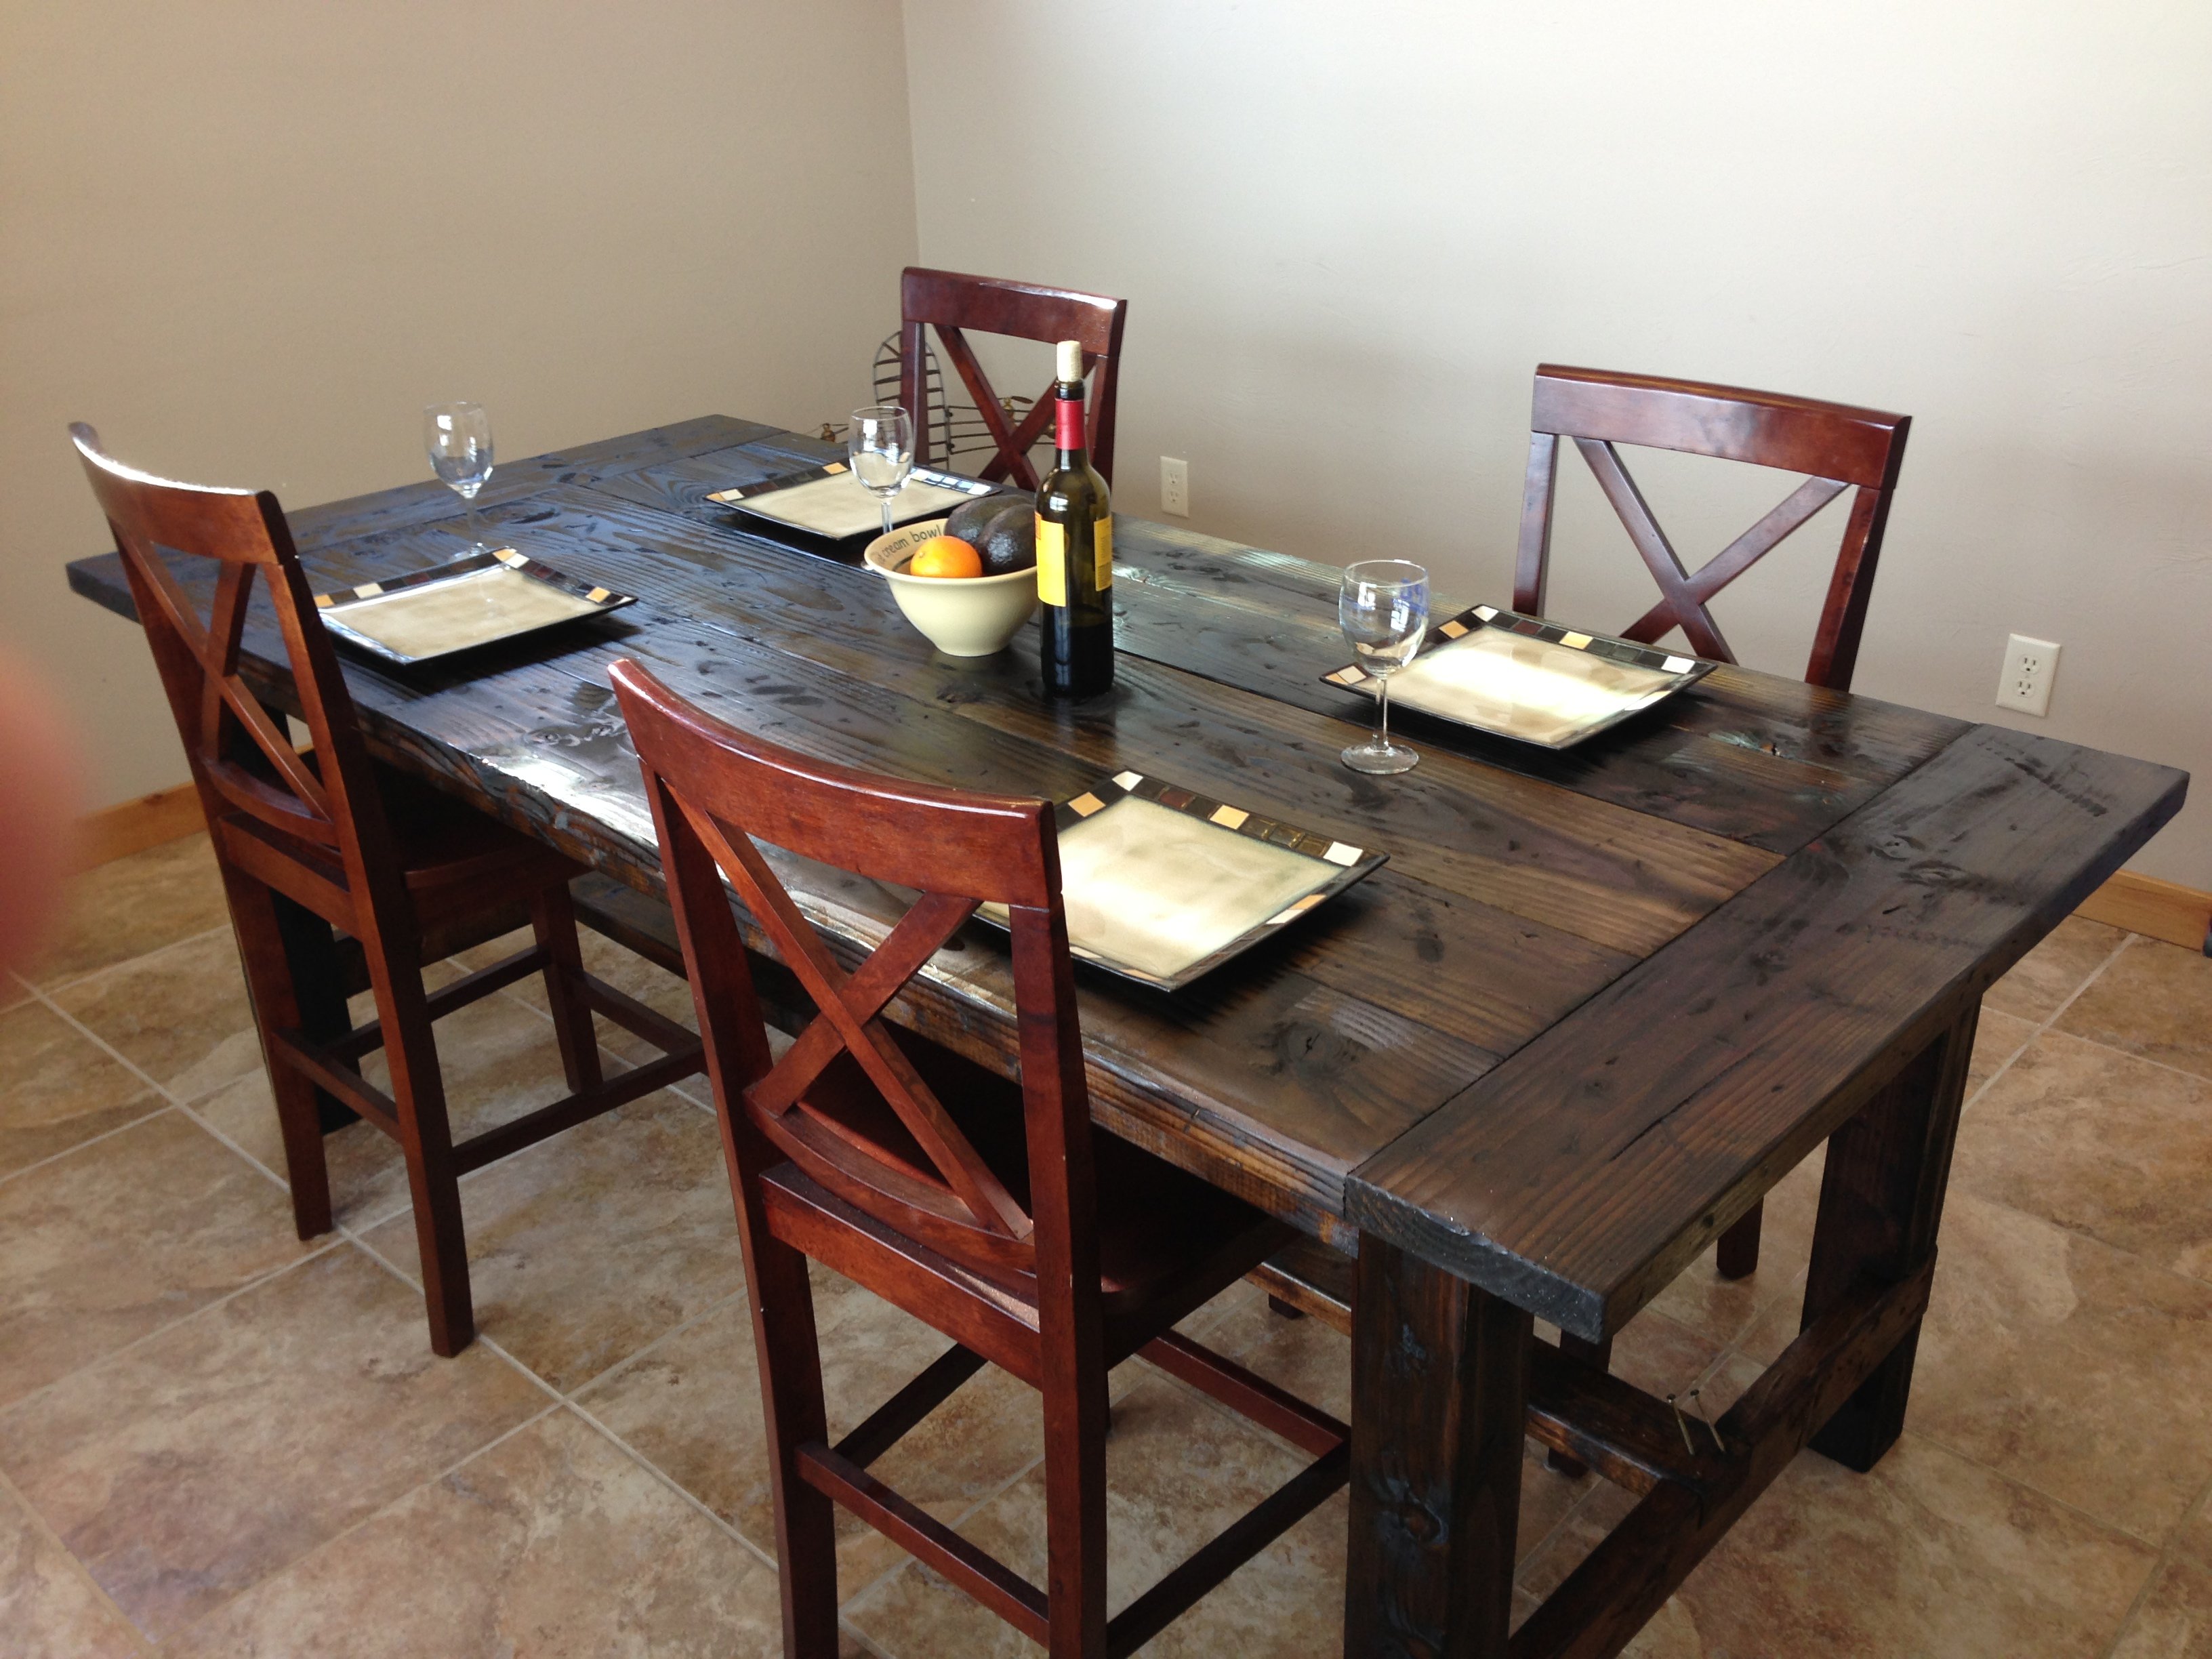
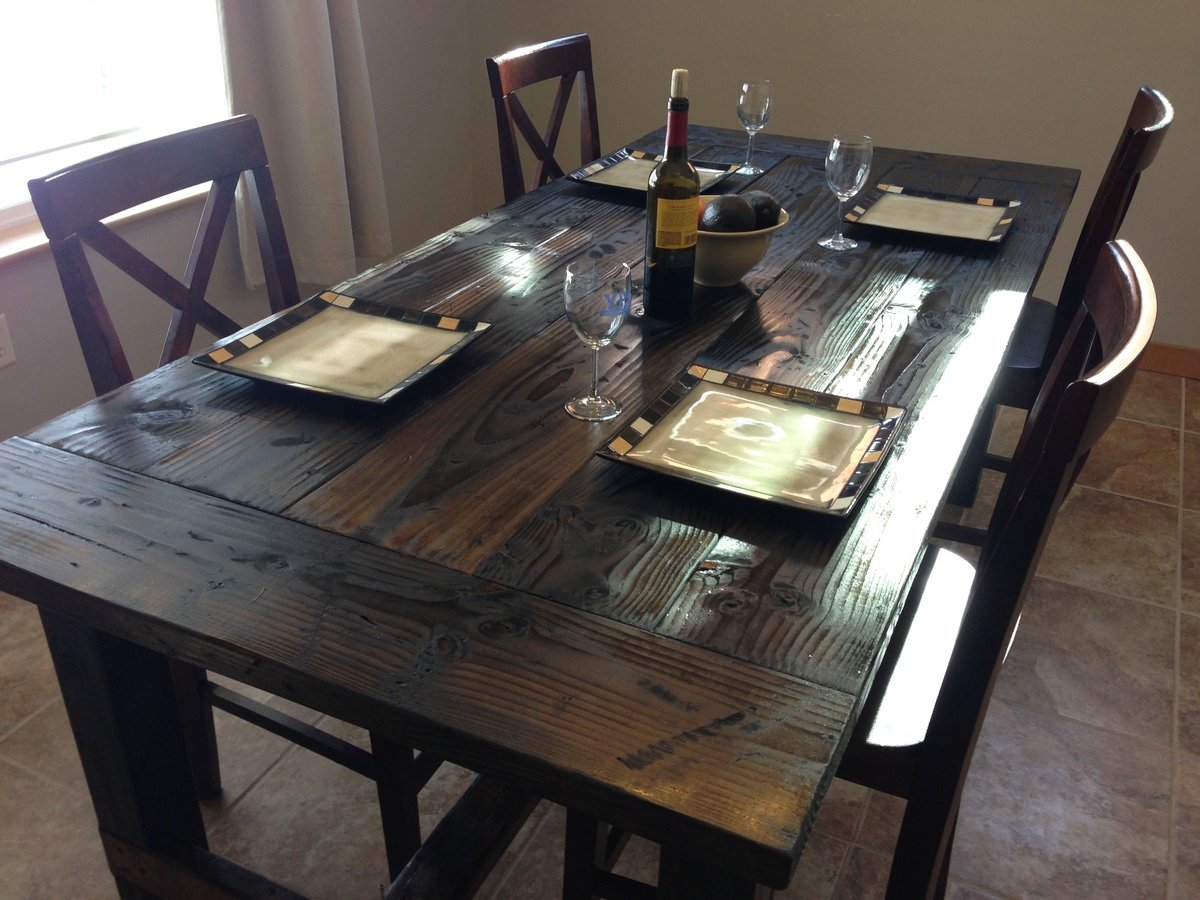
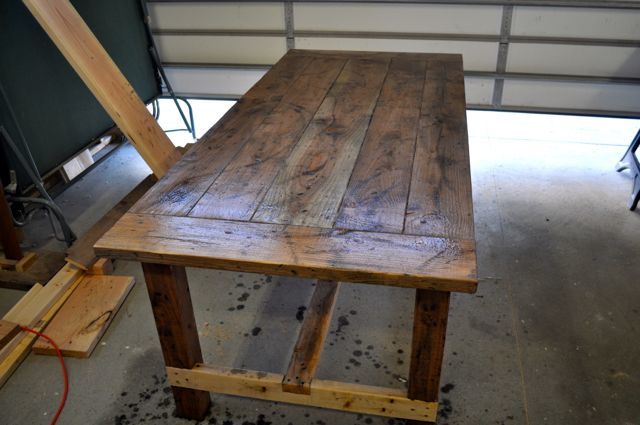
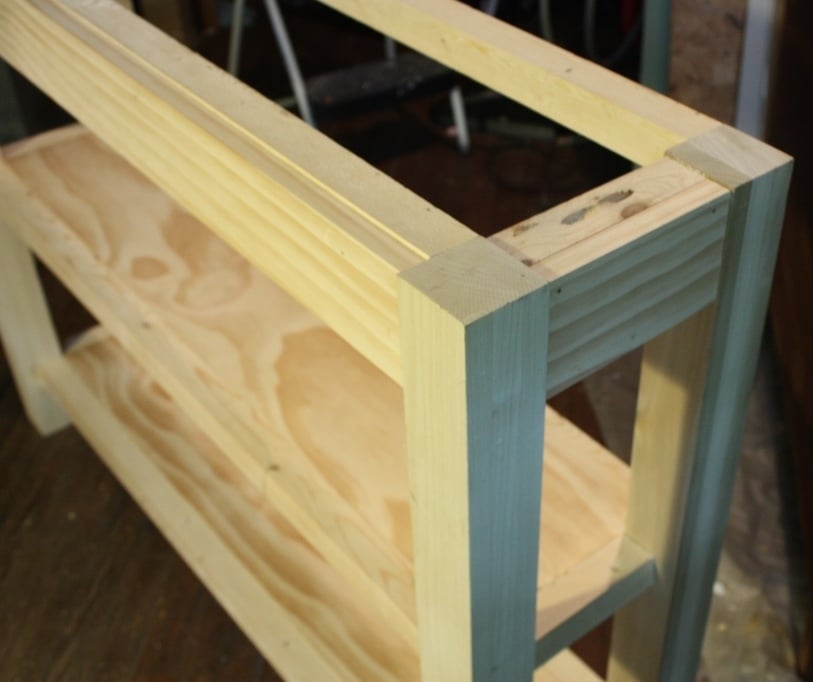
This rustic modern version of a pub table has multiple uses - it can rest along a wall to make a 16 foot long bar, or rolled together to form an 8 foot long pub table. It is standard counter height 36" and will accomodate seating for 8-10 counter stools. If you don't have live edge wood slabs, you can also use construction lumber (2x8s or 2x12s) to achieve similar dimensions and versatile use in a more cost effective way.
Built from Plan(s)
Estimated Cost
Using construction lumber, approx. cost is $50 per table
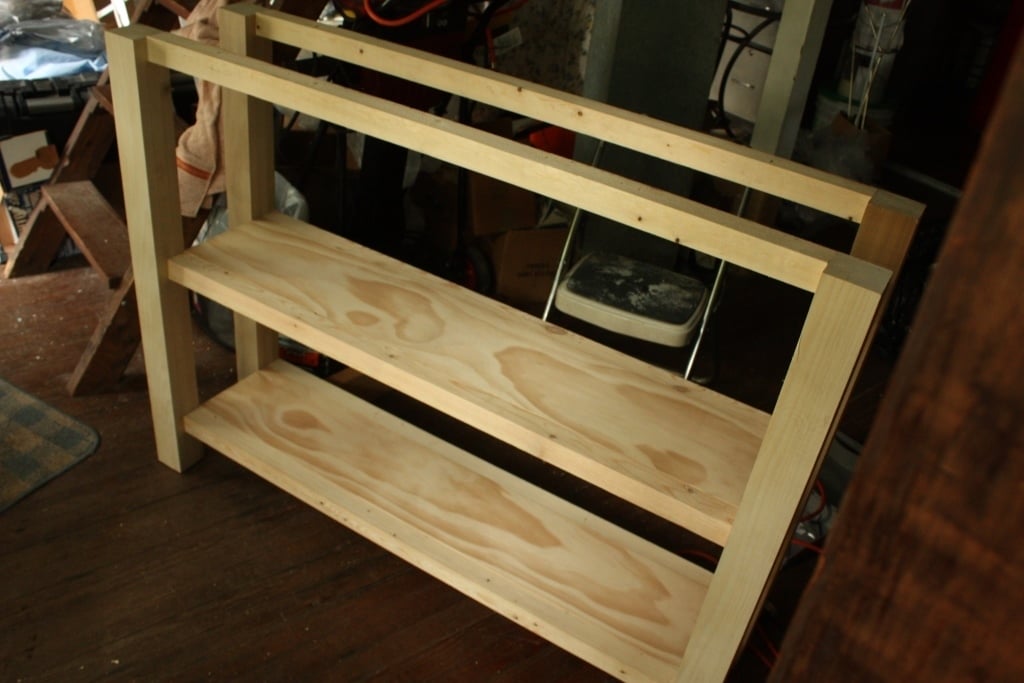
Estimated Time Investment
Afternoon Project (3-6 Hours)
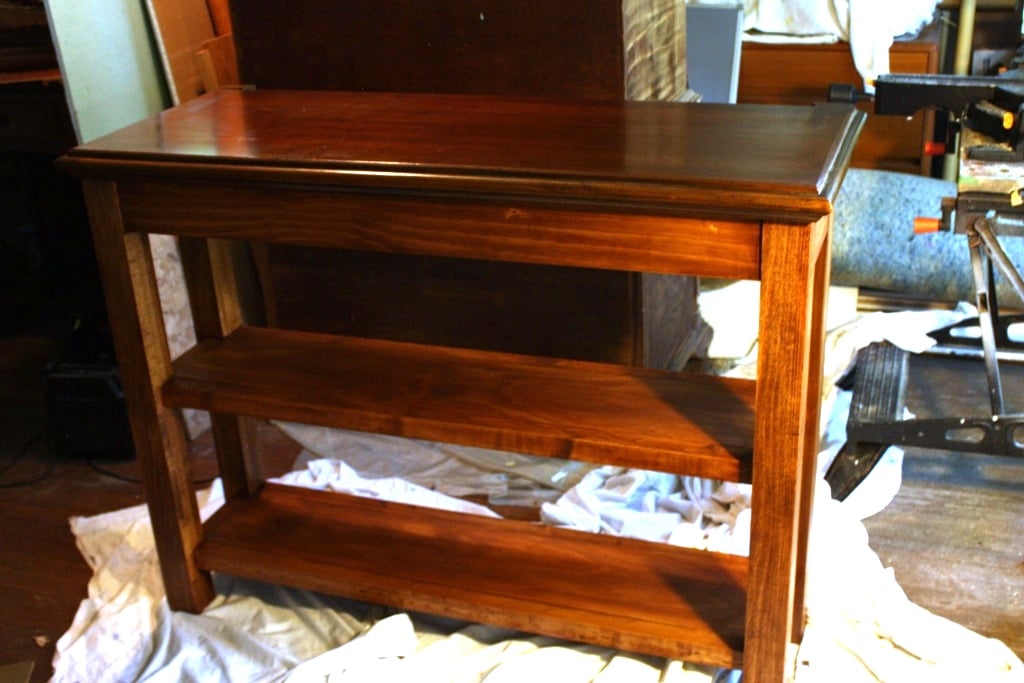
Finish Used
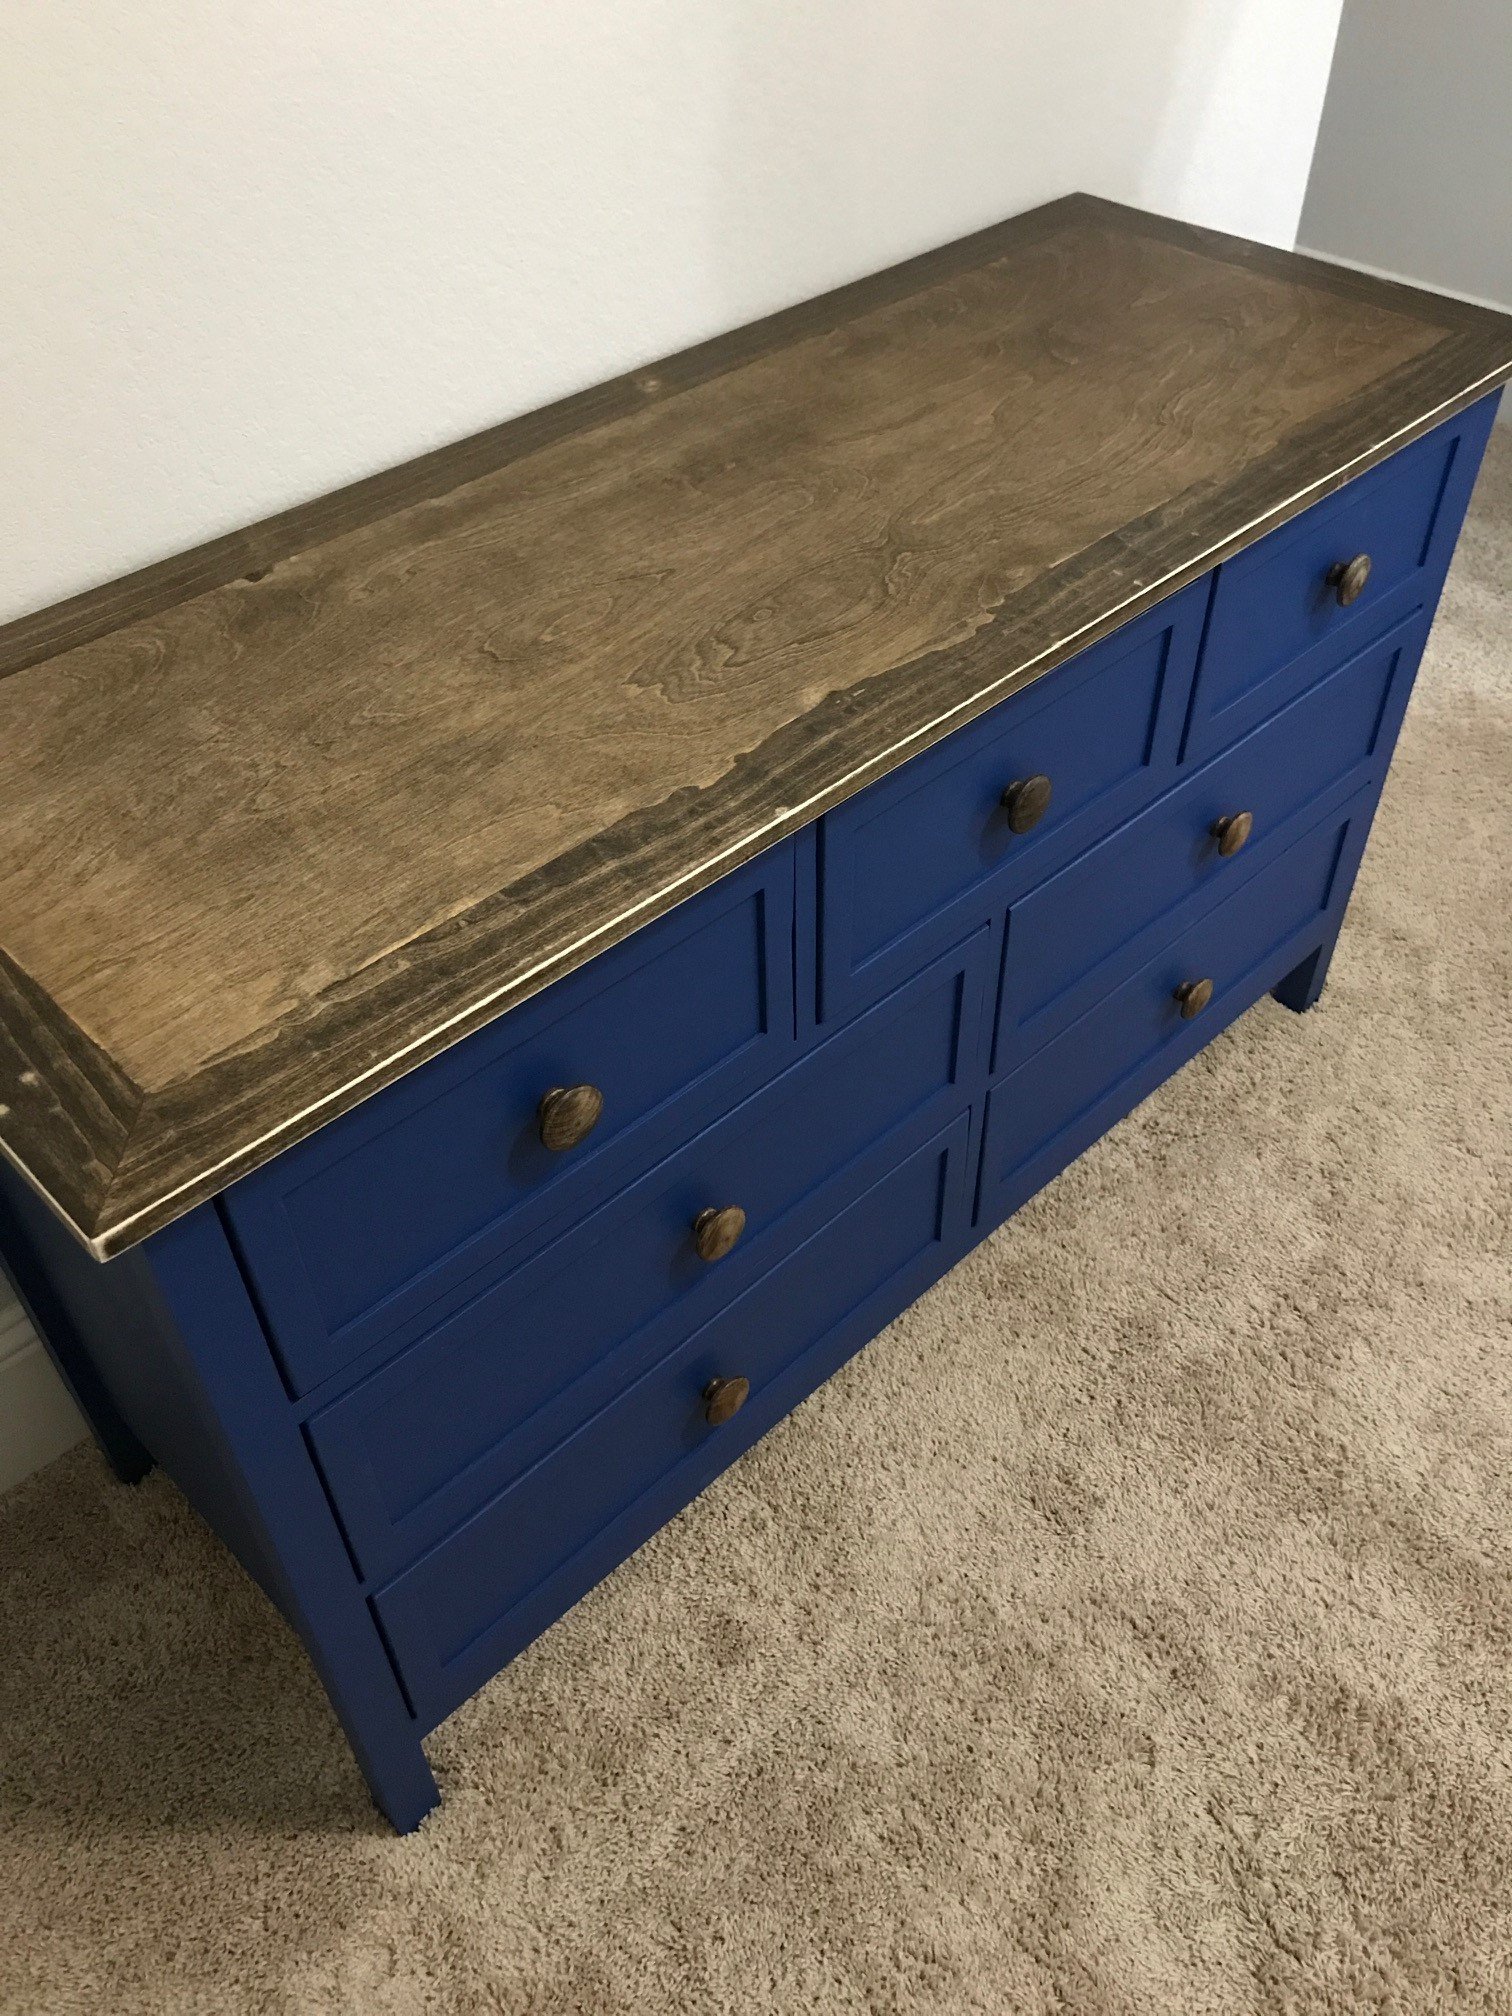
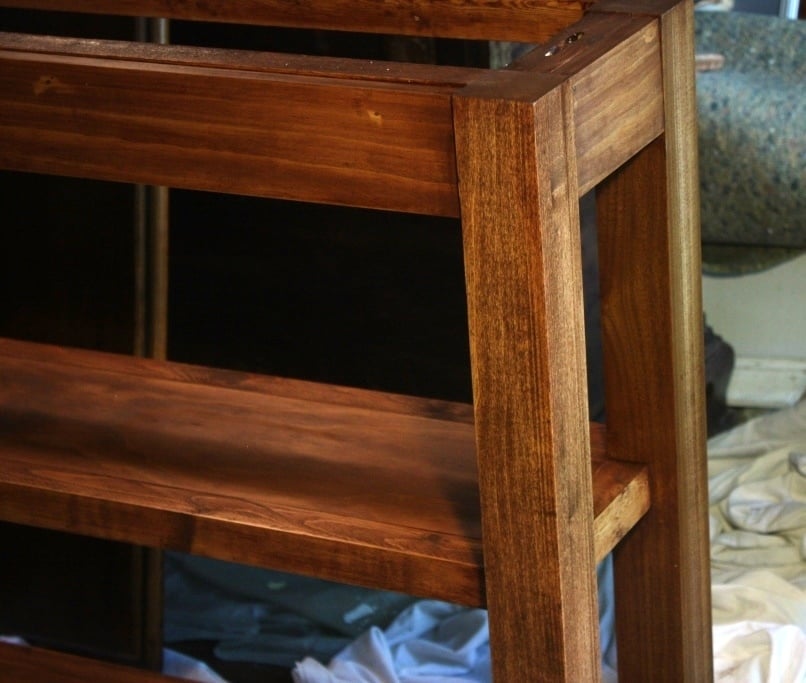
Poly on slabs, distressed black paint on base
Recommended Skill Level
Beginner


Comments
kev117s
Fri, 07/31/2015 - 04:10
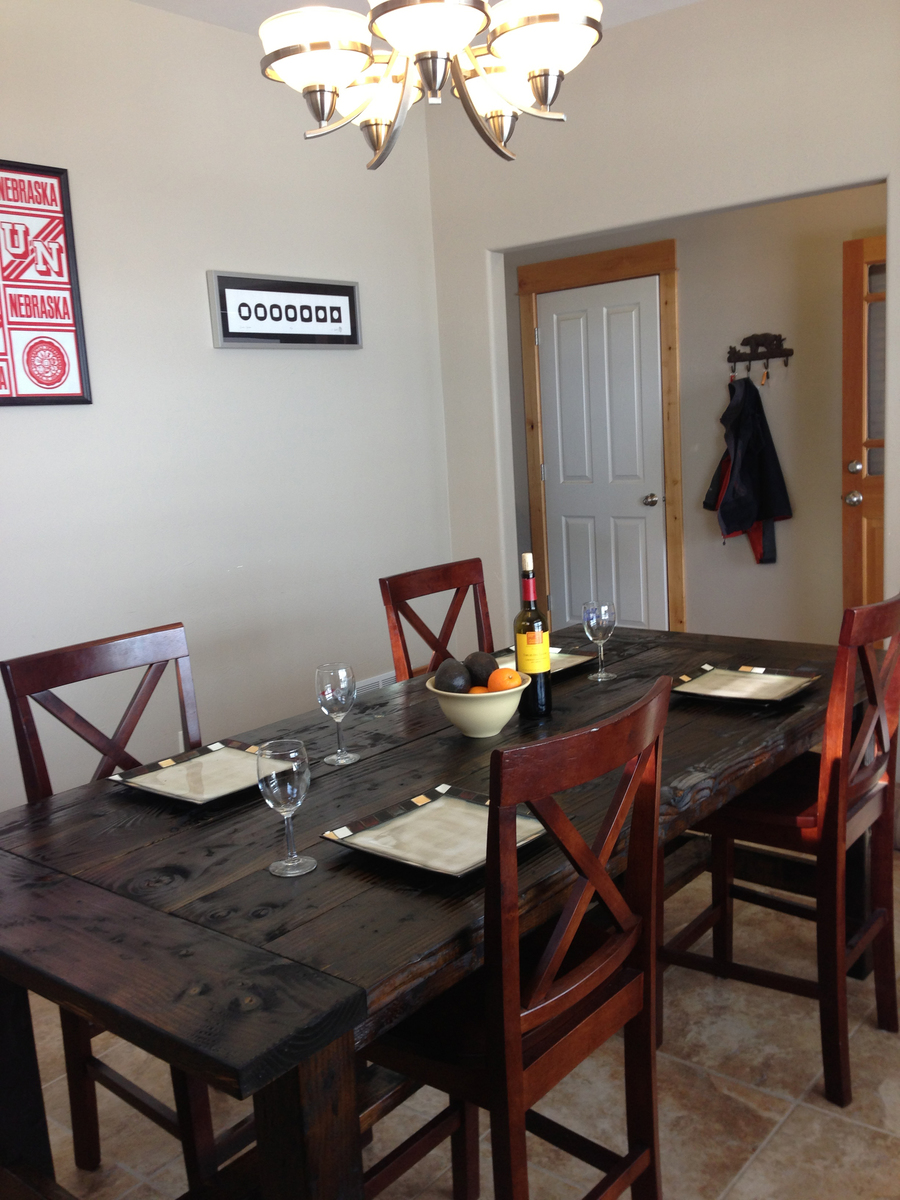
Dining table
Awesome idea! I think I will have to try for a dining table version of this table. Do you happen to have a way to lock the 2 pieces together?
Ana White Admin
Fri, 07/31/2015 - 10:50
Super Cool!
Love this awesome design, great job!