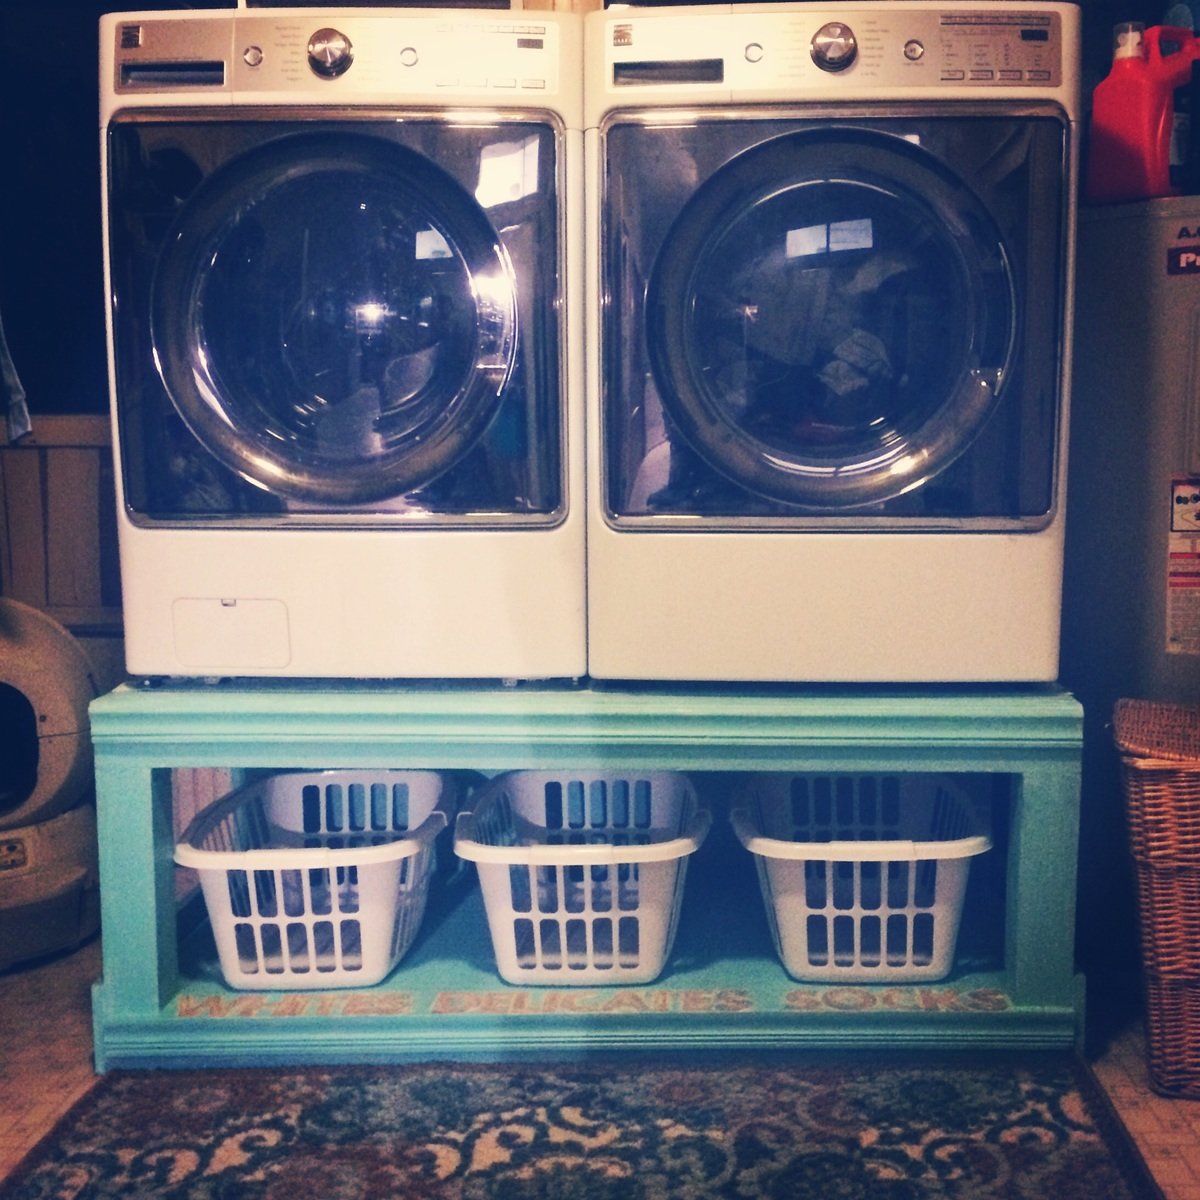
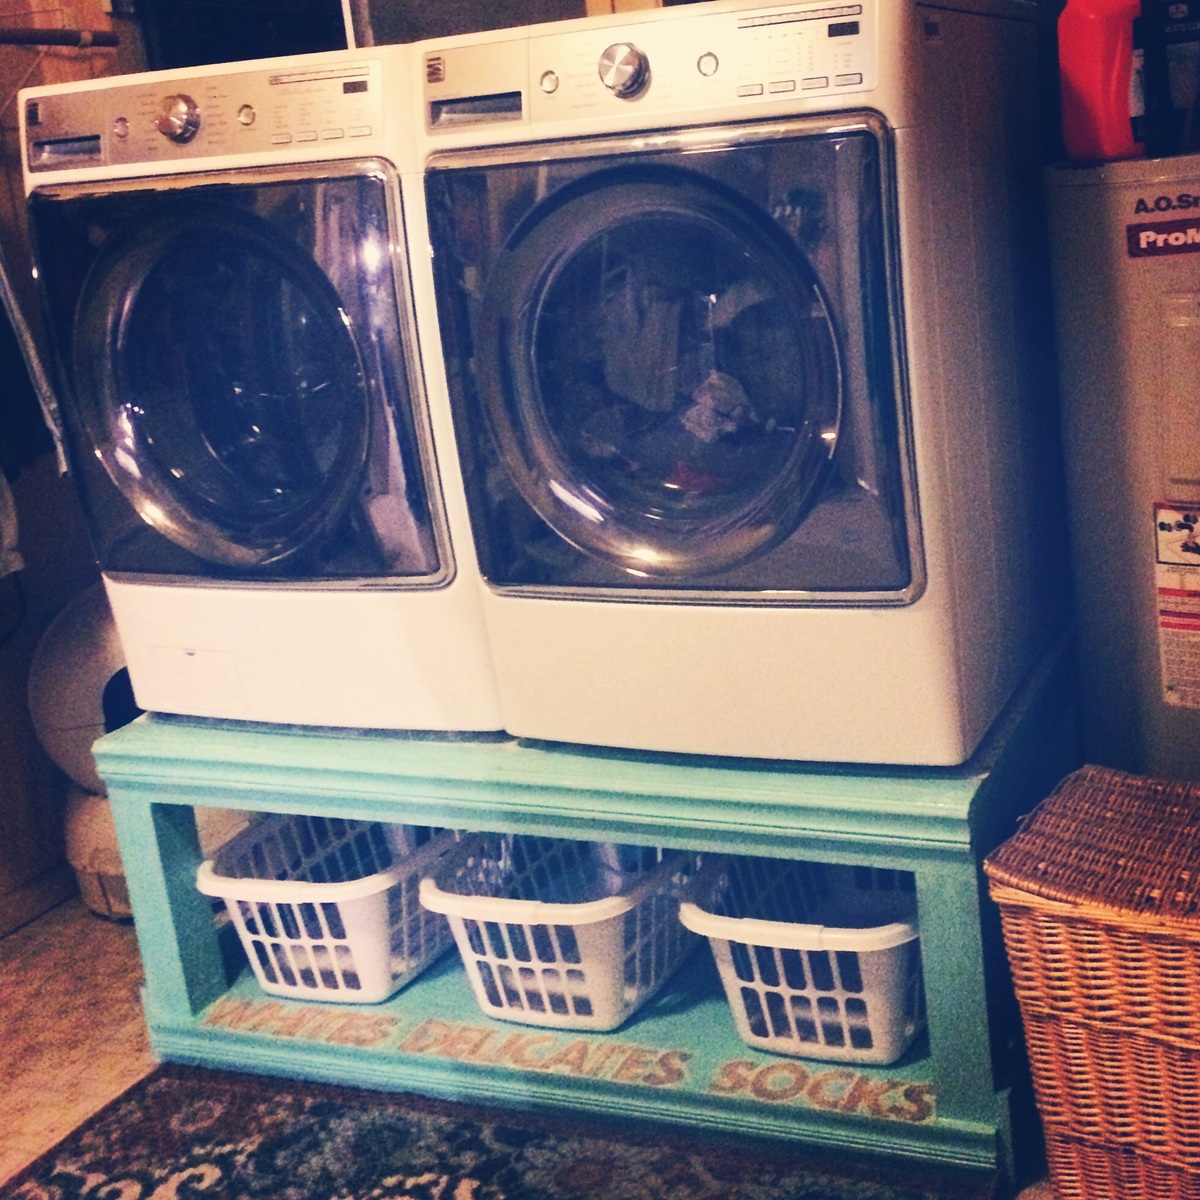
My beautiful pedestal!
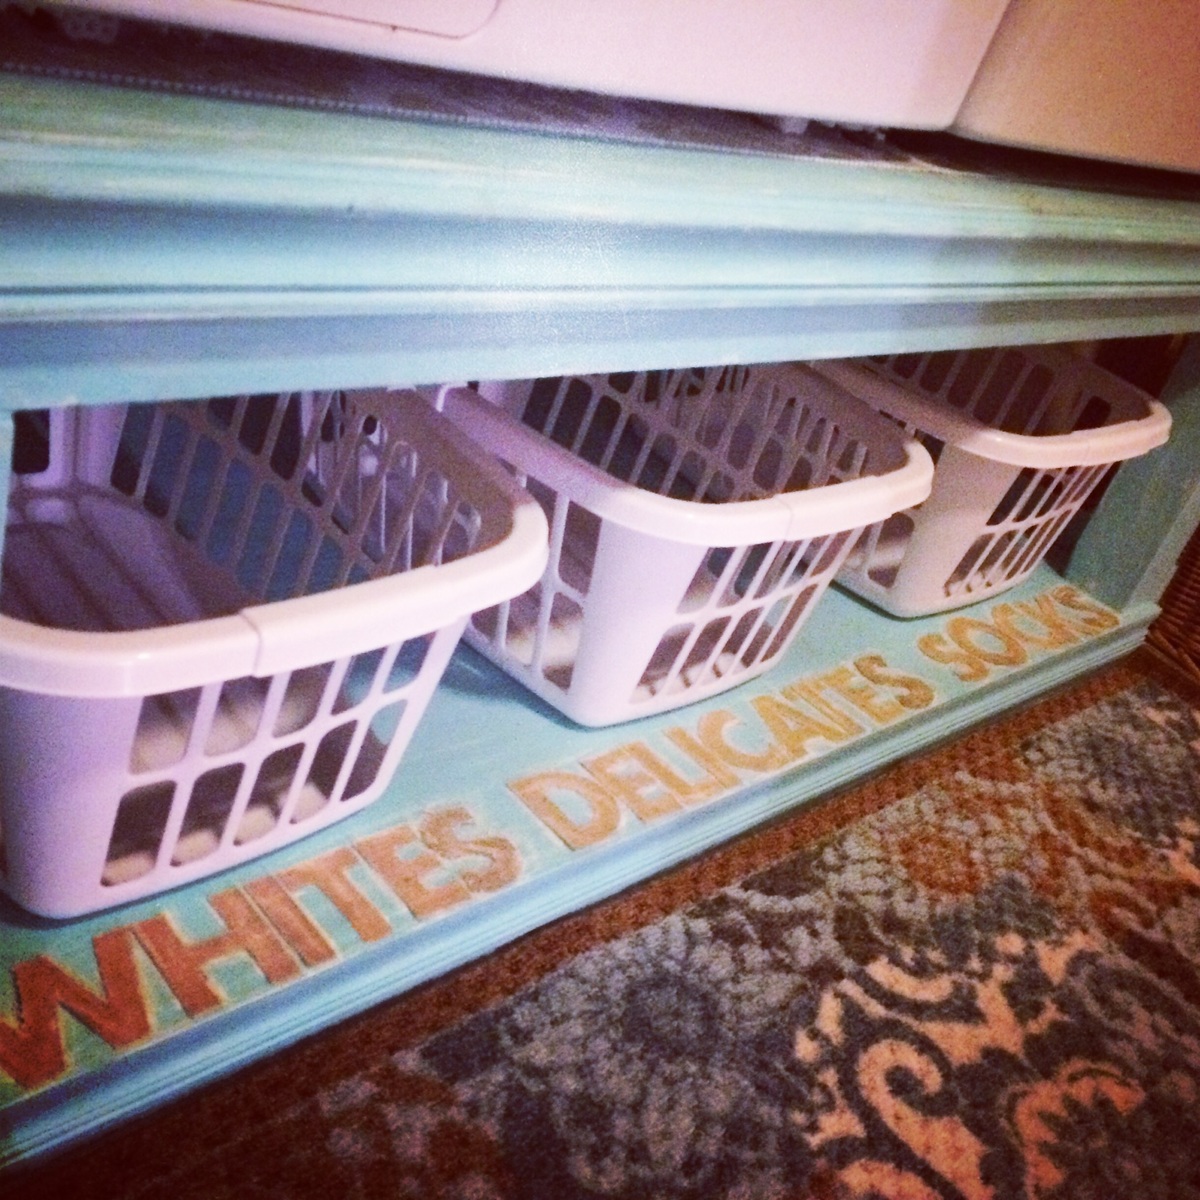
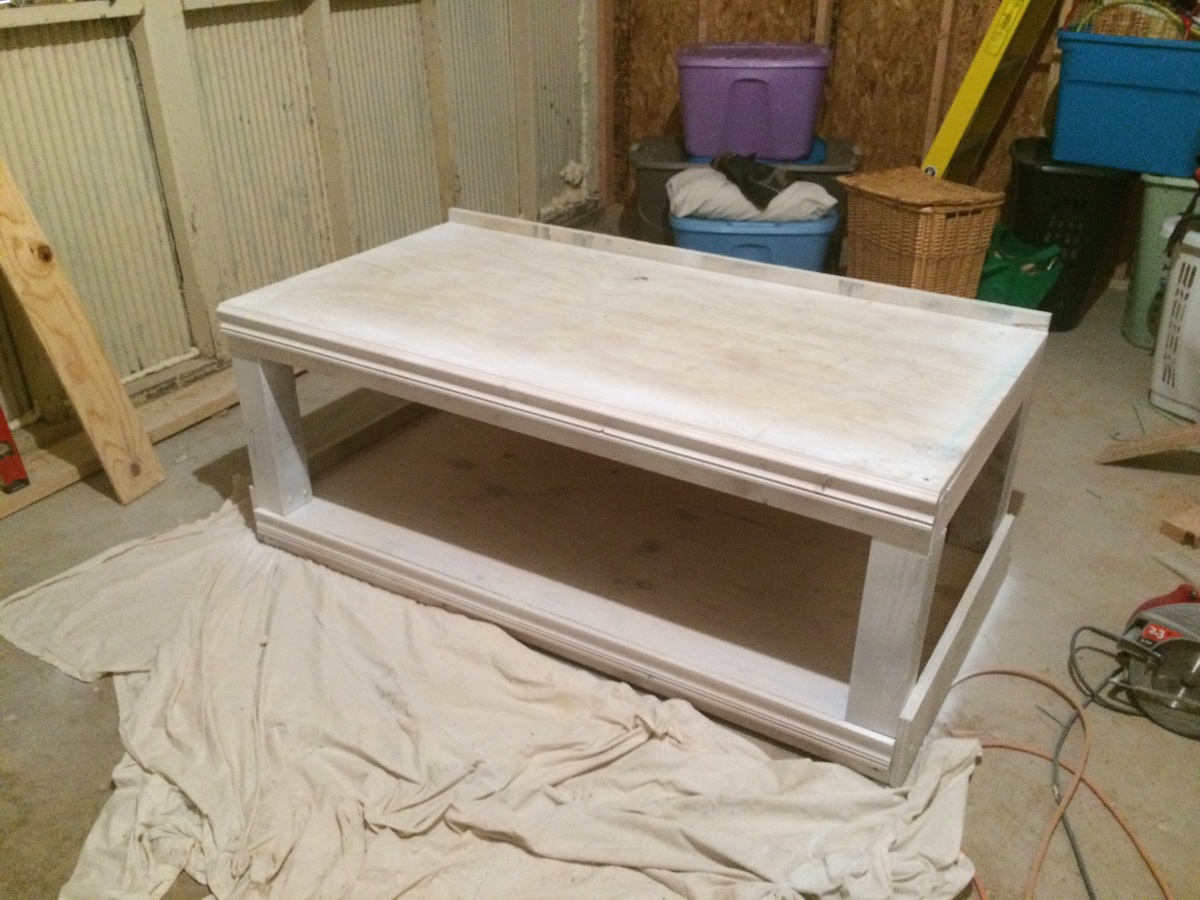
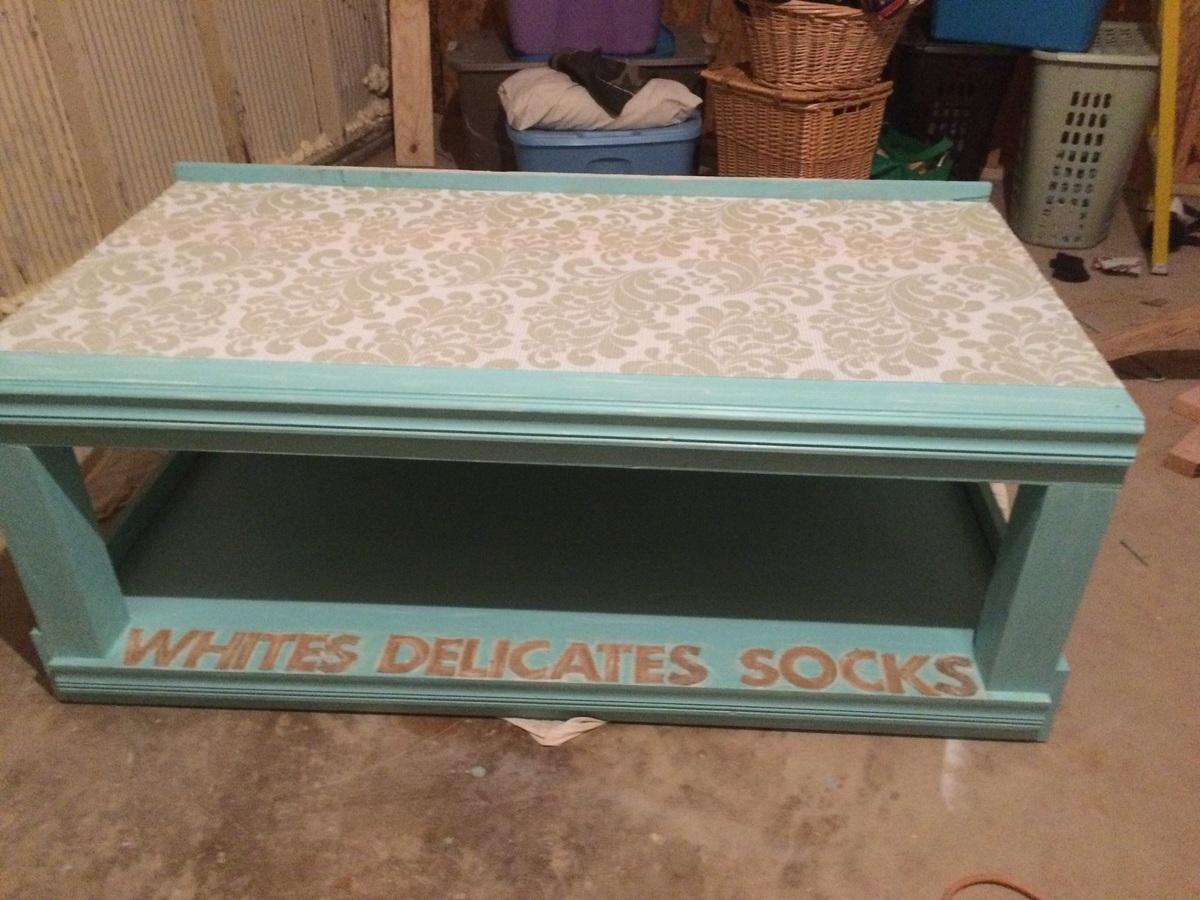
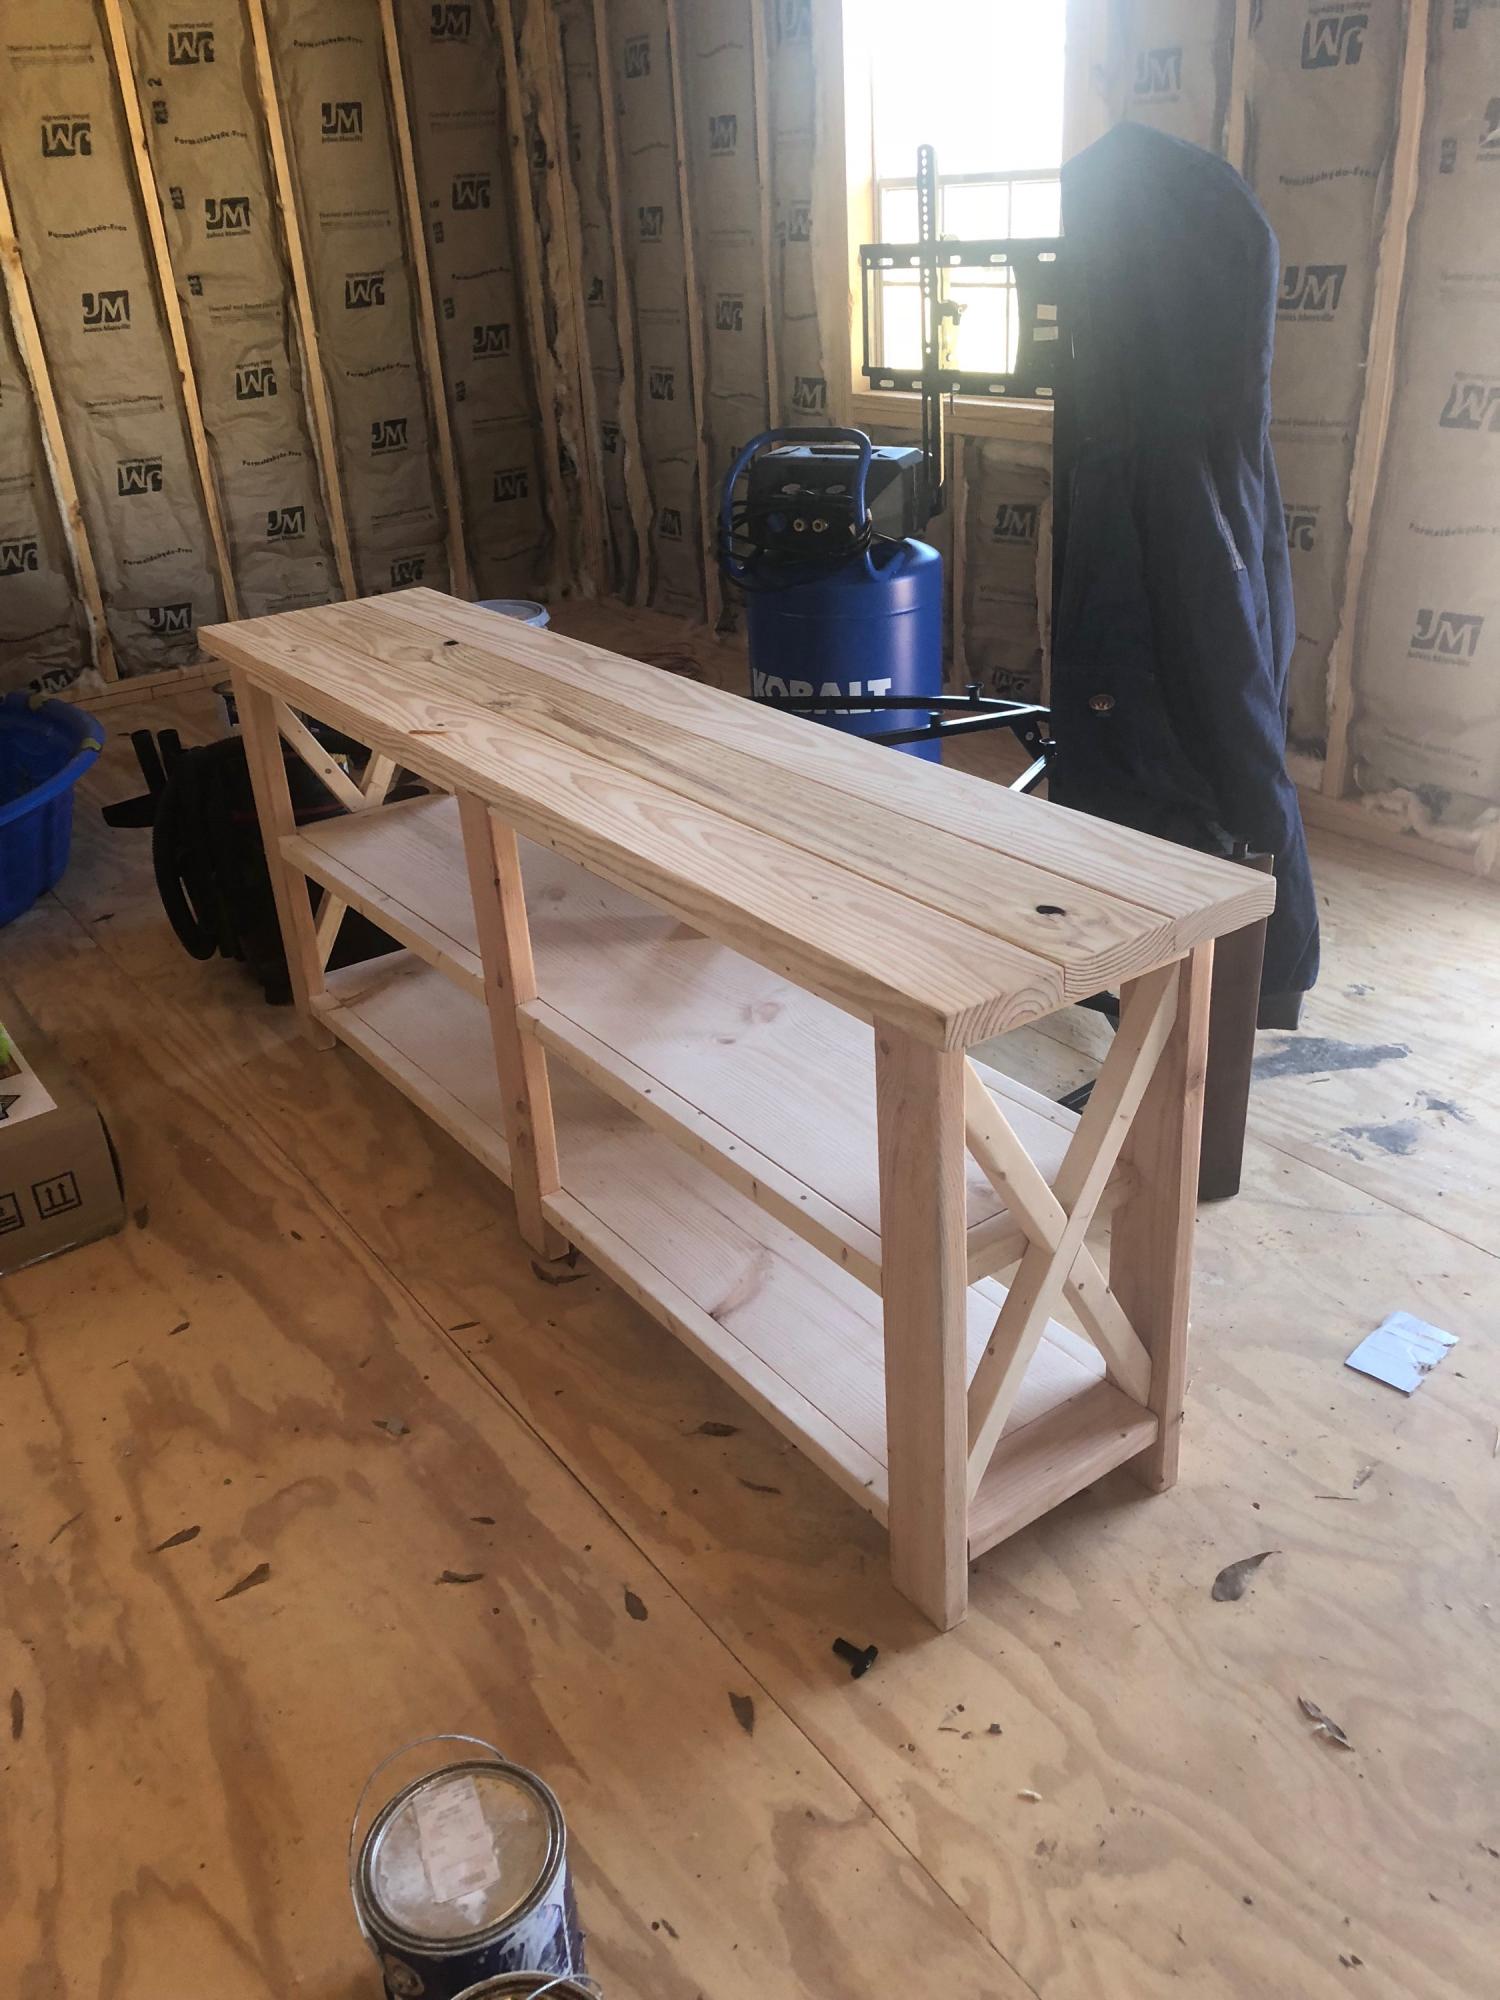
My best friend and I built these Easter weekend with very little husband intervention. I then painted and finished them and installed them with my husbands help. The main modification we made was to figure out the angle to cut the posts in order to adjust for the slope of my laundry room, which is a converted porch on a 1912 craftsman. It was not easy, but we jumped for joy when we tested it out and it was level! We decided to use plywood scraps on the side and back for more support and to keep laundry from falling behind the washer. I had the chair raiI trim from another project, so I used that along with a healthy dose of wood filler. I absolutely LOVE how it turned out...now I just need to find cuter baskets.
Built from Plan(s)
Estimated Cost
I had most of the supplies on hand, so I would say less than $60.
Estimated Time Investment
Weekend Project (10-20 Hours)
Finish Used
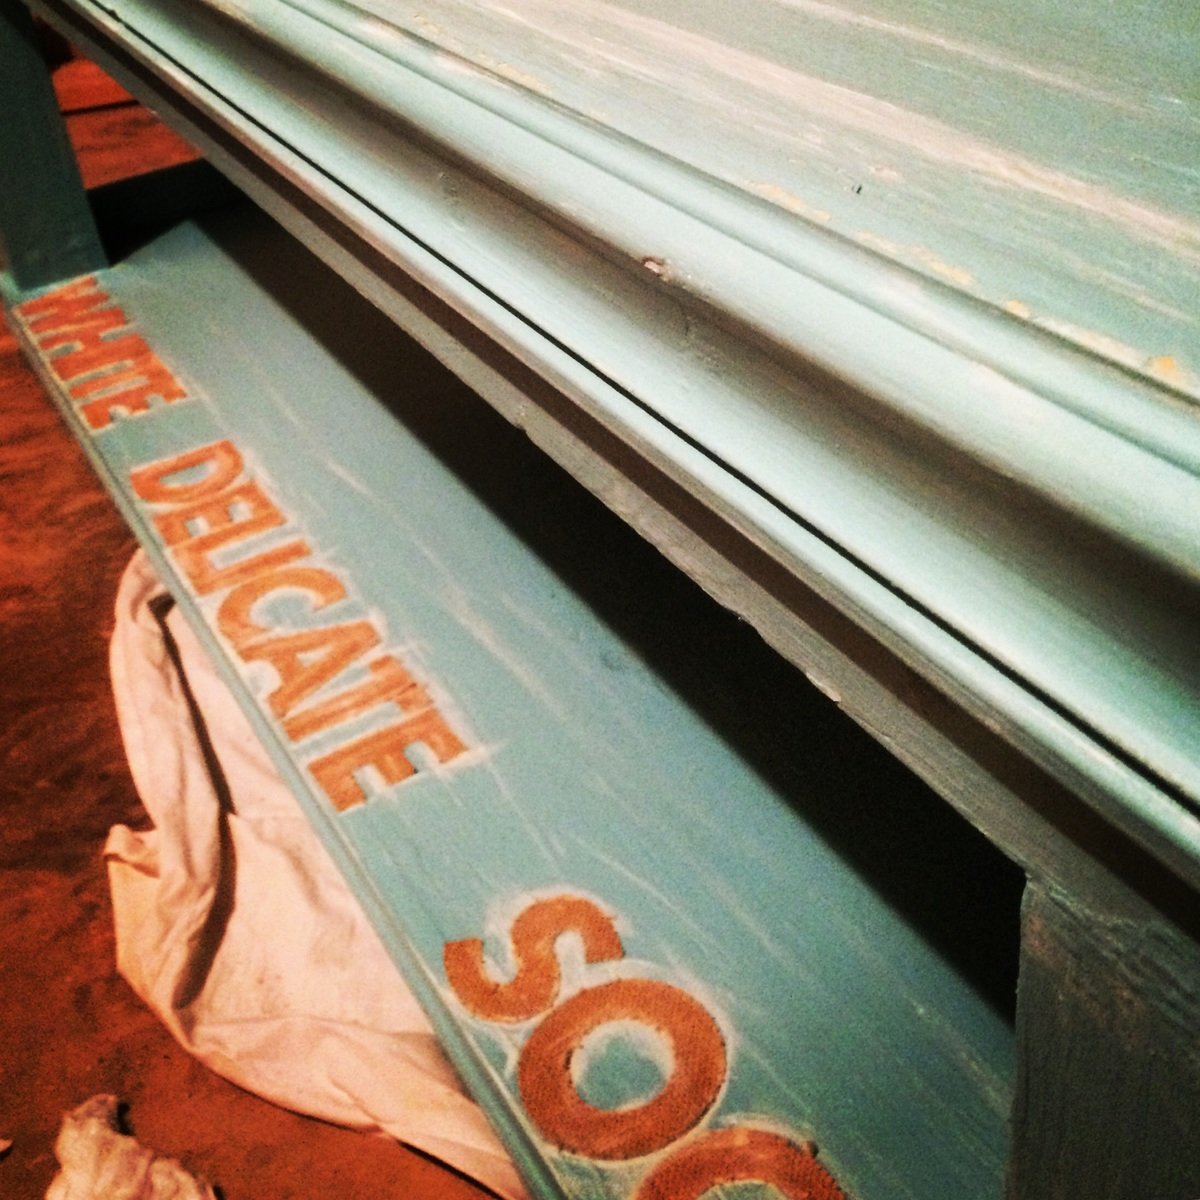
Primed with white primer, followed by blue paint, then I sanded to antique it along with adding a few vanilla highlights. I applied the burlap letters with craft glue and highlighted them with paint, followed by two coats of satin poly spray. I applied the pad on top with craft spray glue.
Recommended Skill Level
Intermediate


Comments
Ana White
Mon, 04/20/2015 - 15:30
Nice! So organized!
Nice! So organized!