Community Brag Posts

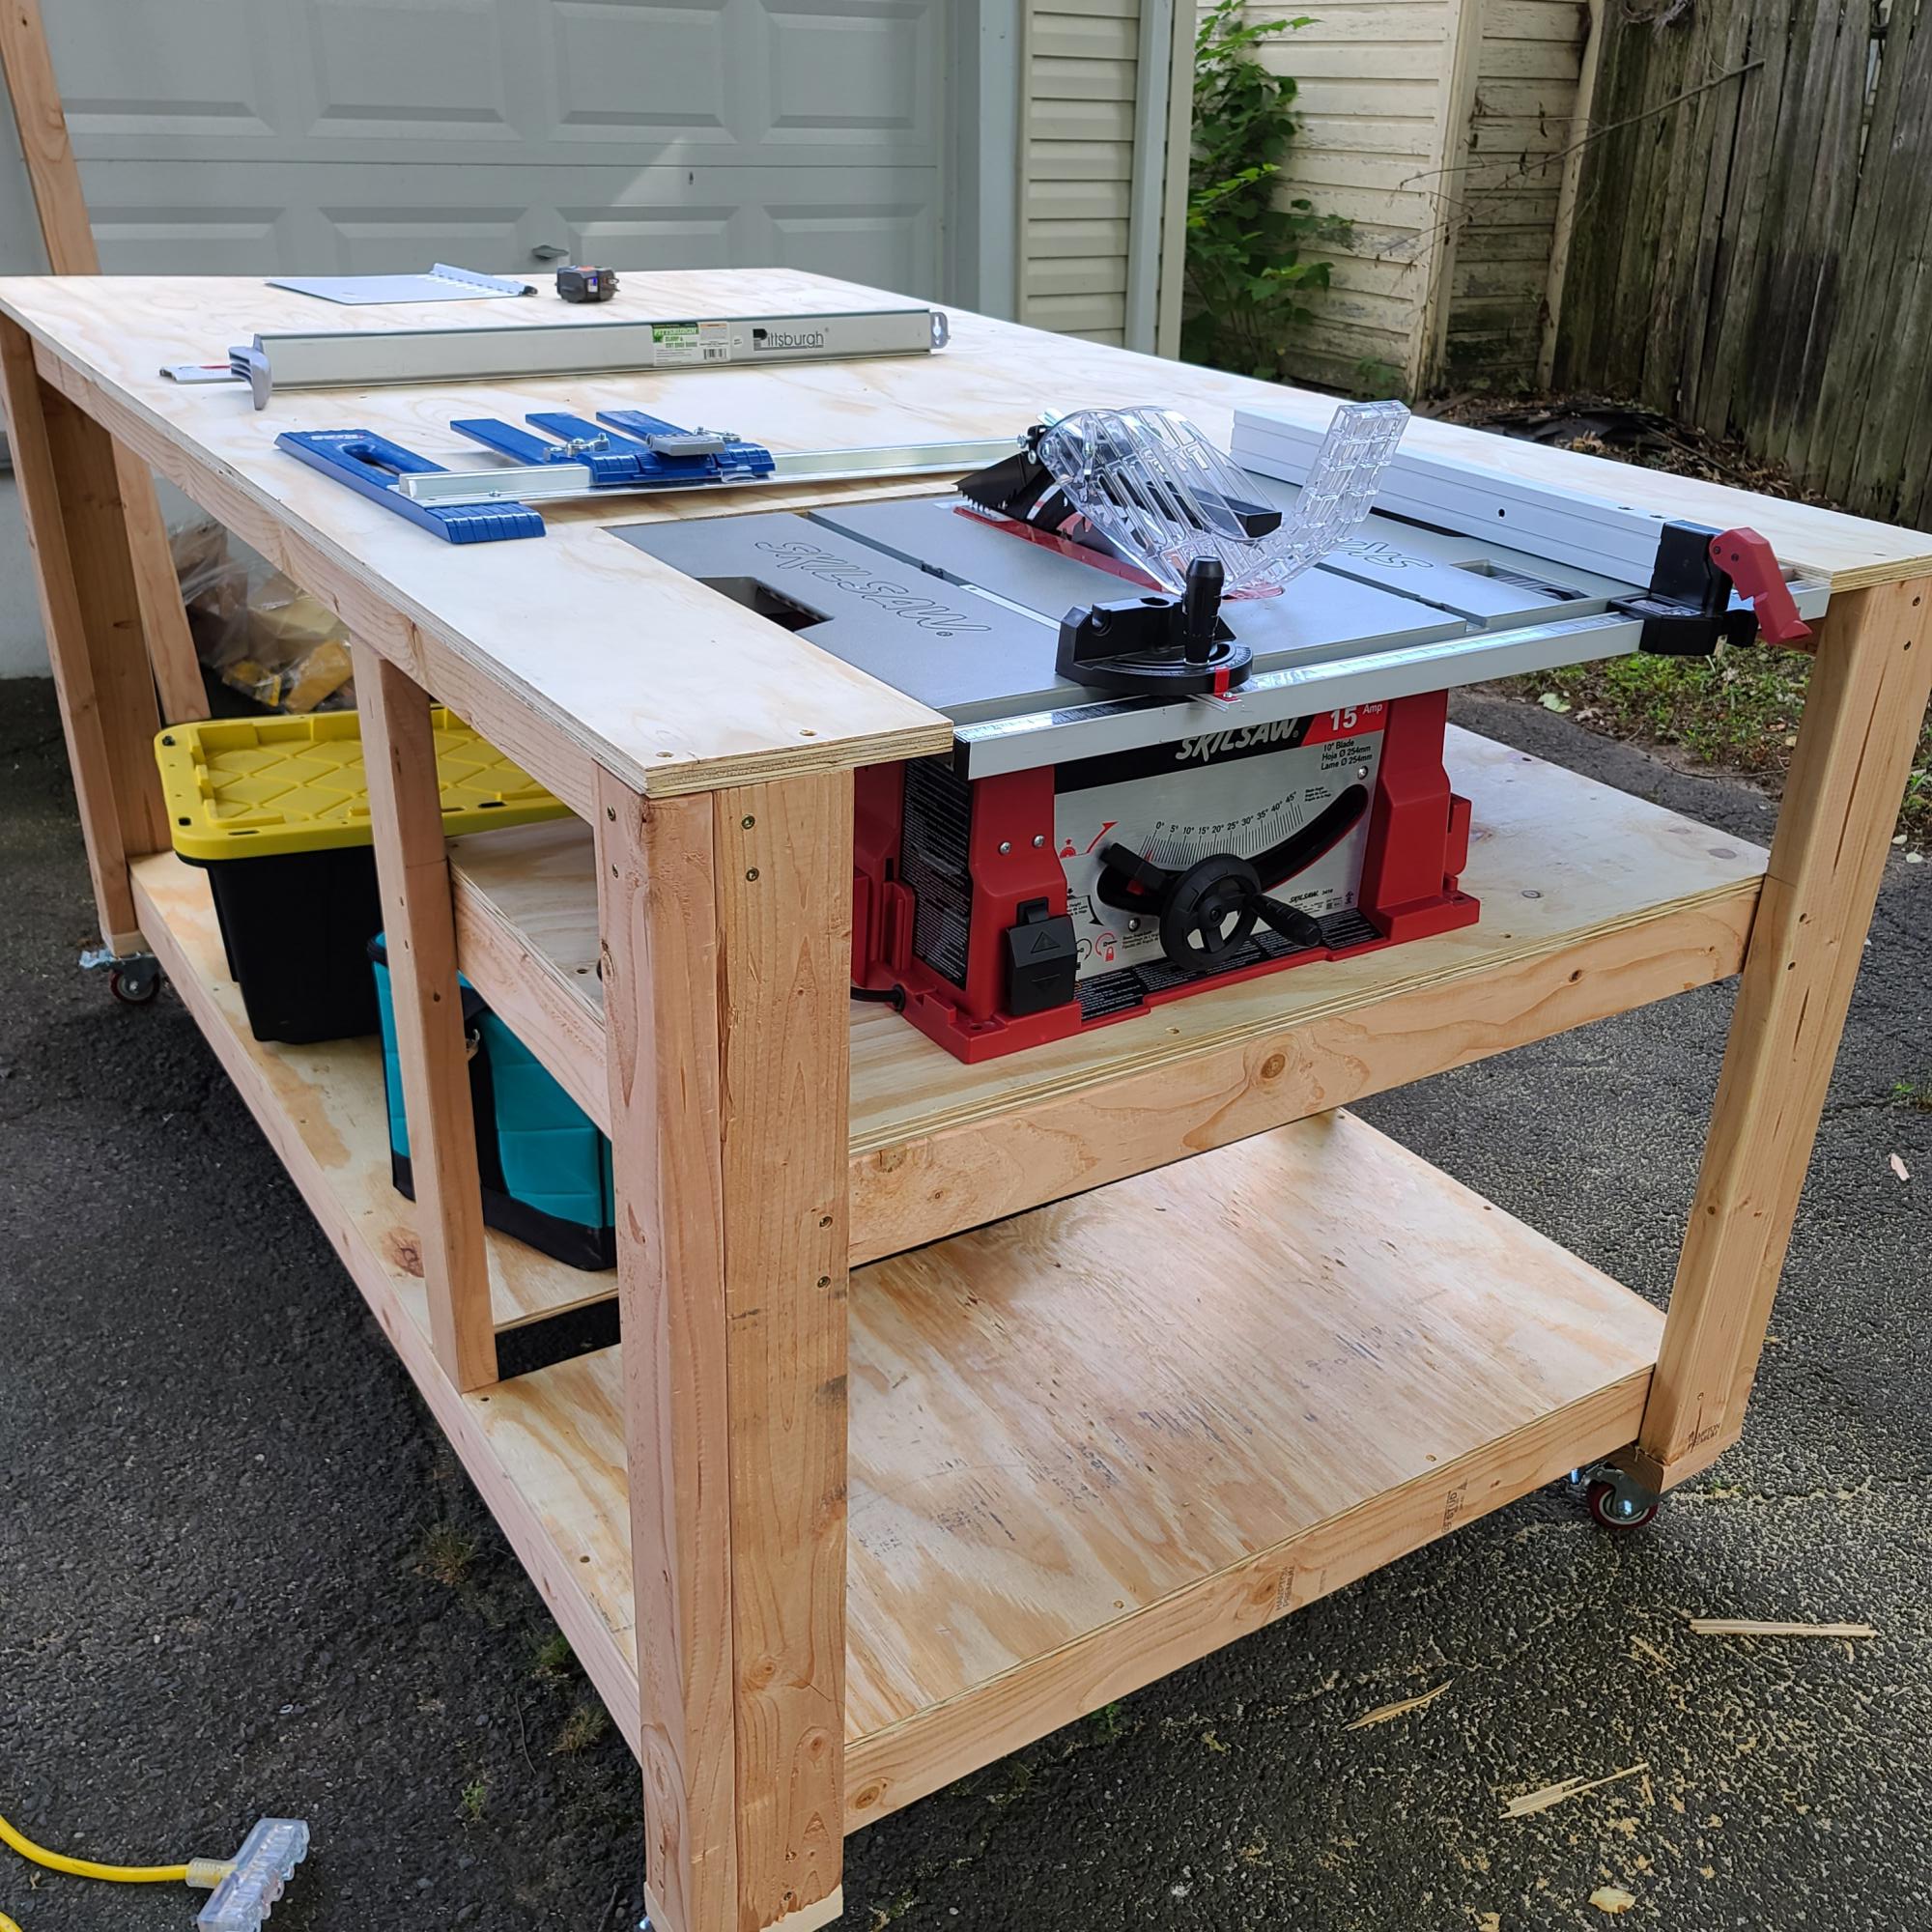
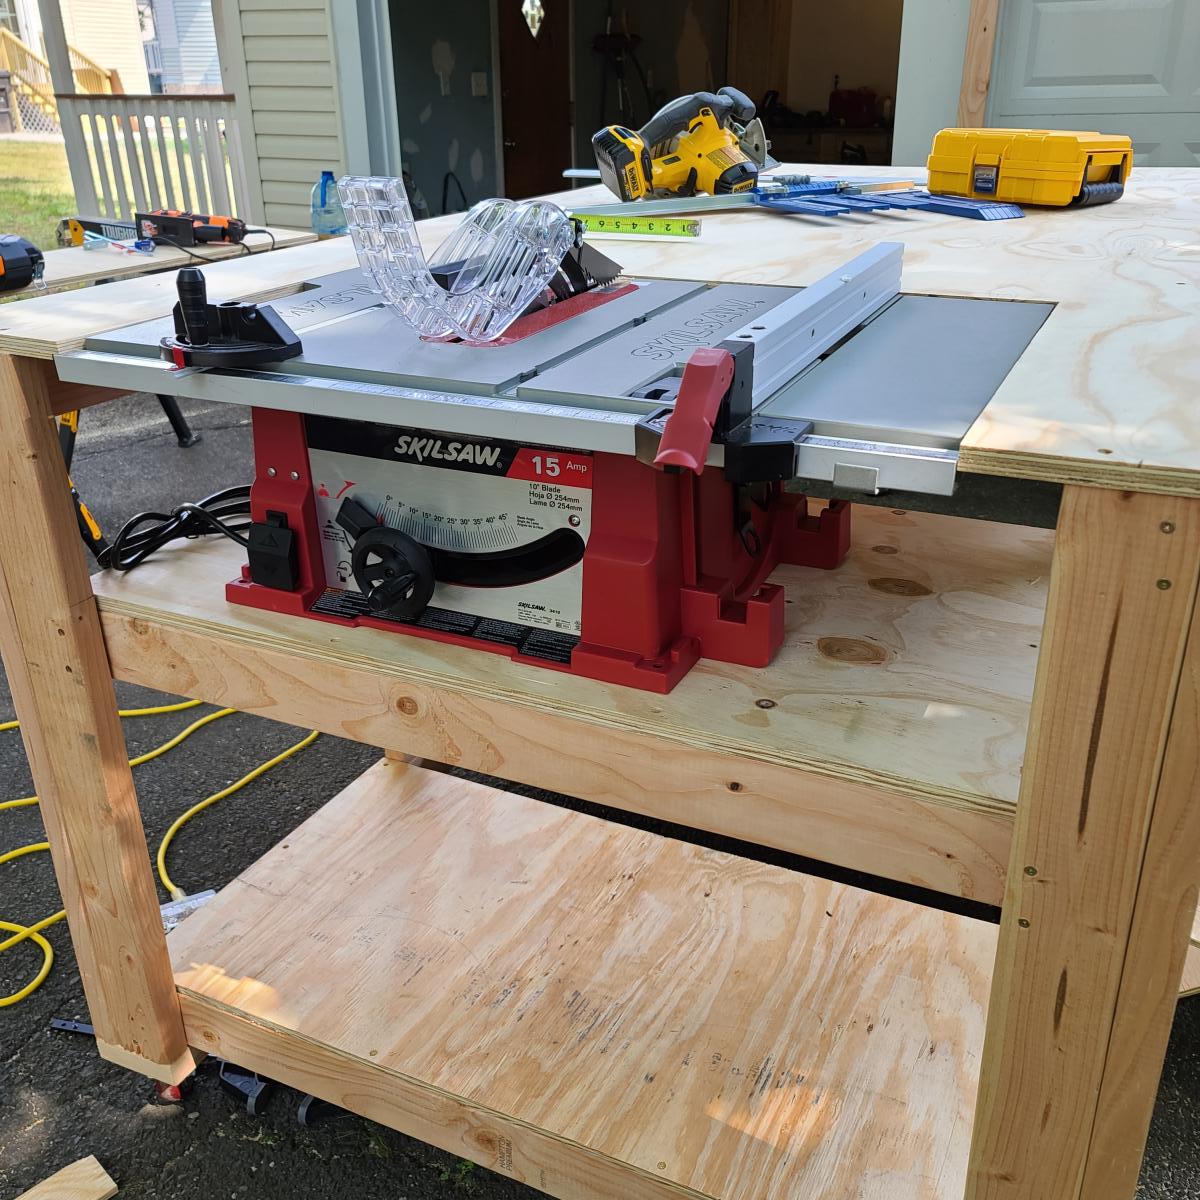
My first workbench

Submitted by DaDeDeuce on Mon, 07/06/2020 - 08:46

This is my first attempt and first woodwook project ever. I used the plans from this site for the workbench with space for a table saw. I changed the dimensions to 4'Wx7'Lx3'H (originally 3x6x2 1/2). It ended up bigger than I imagined though. But hopefully not bad for my 1st shot at a project of this scope. Next step is a polyethylene finish. It looks like the plan has been removed from this site though.

Estimated Cost
$200
Estimated Time Investment
Weekend Project (10-20 Hours)
Recommended Skill Level
Beginner

Comments

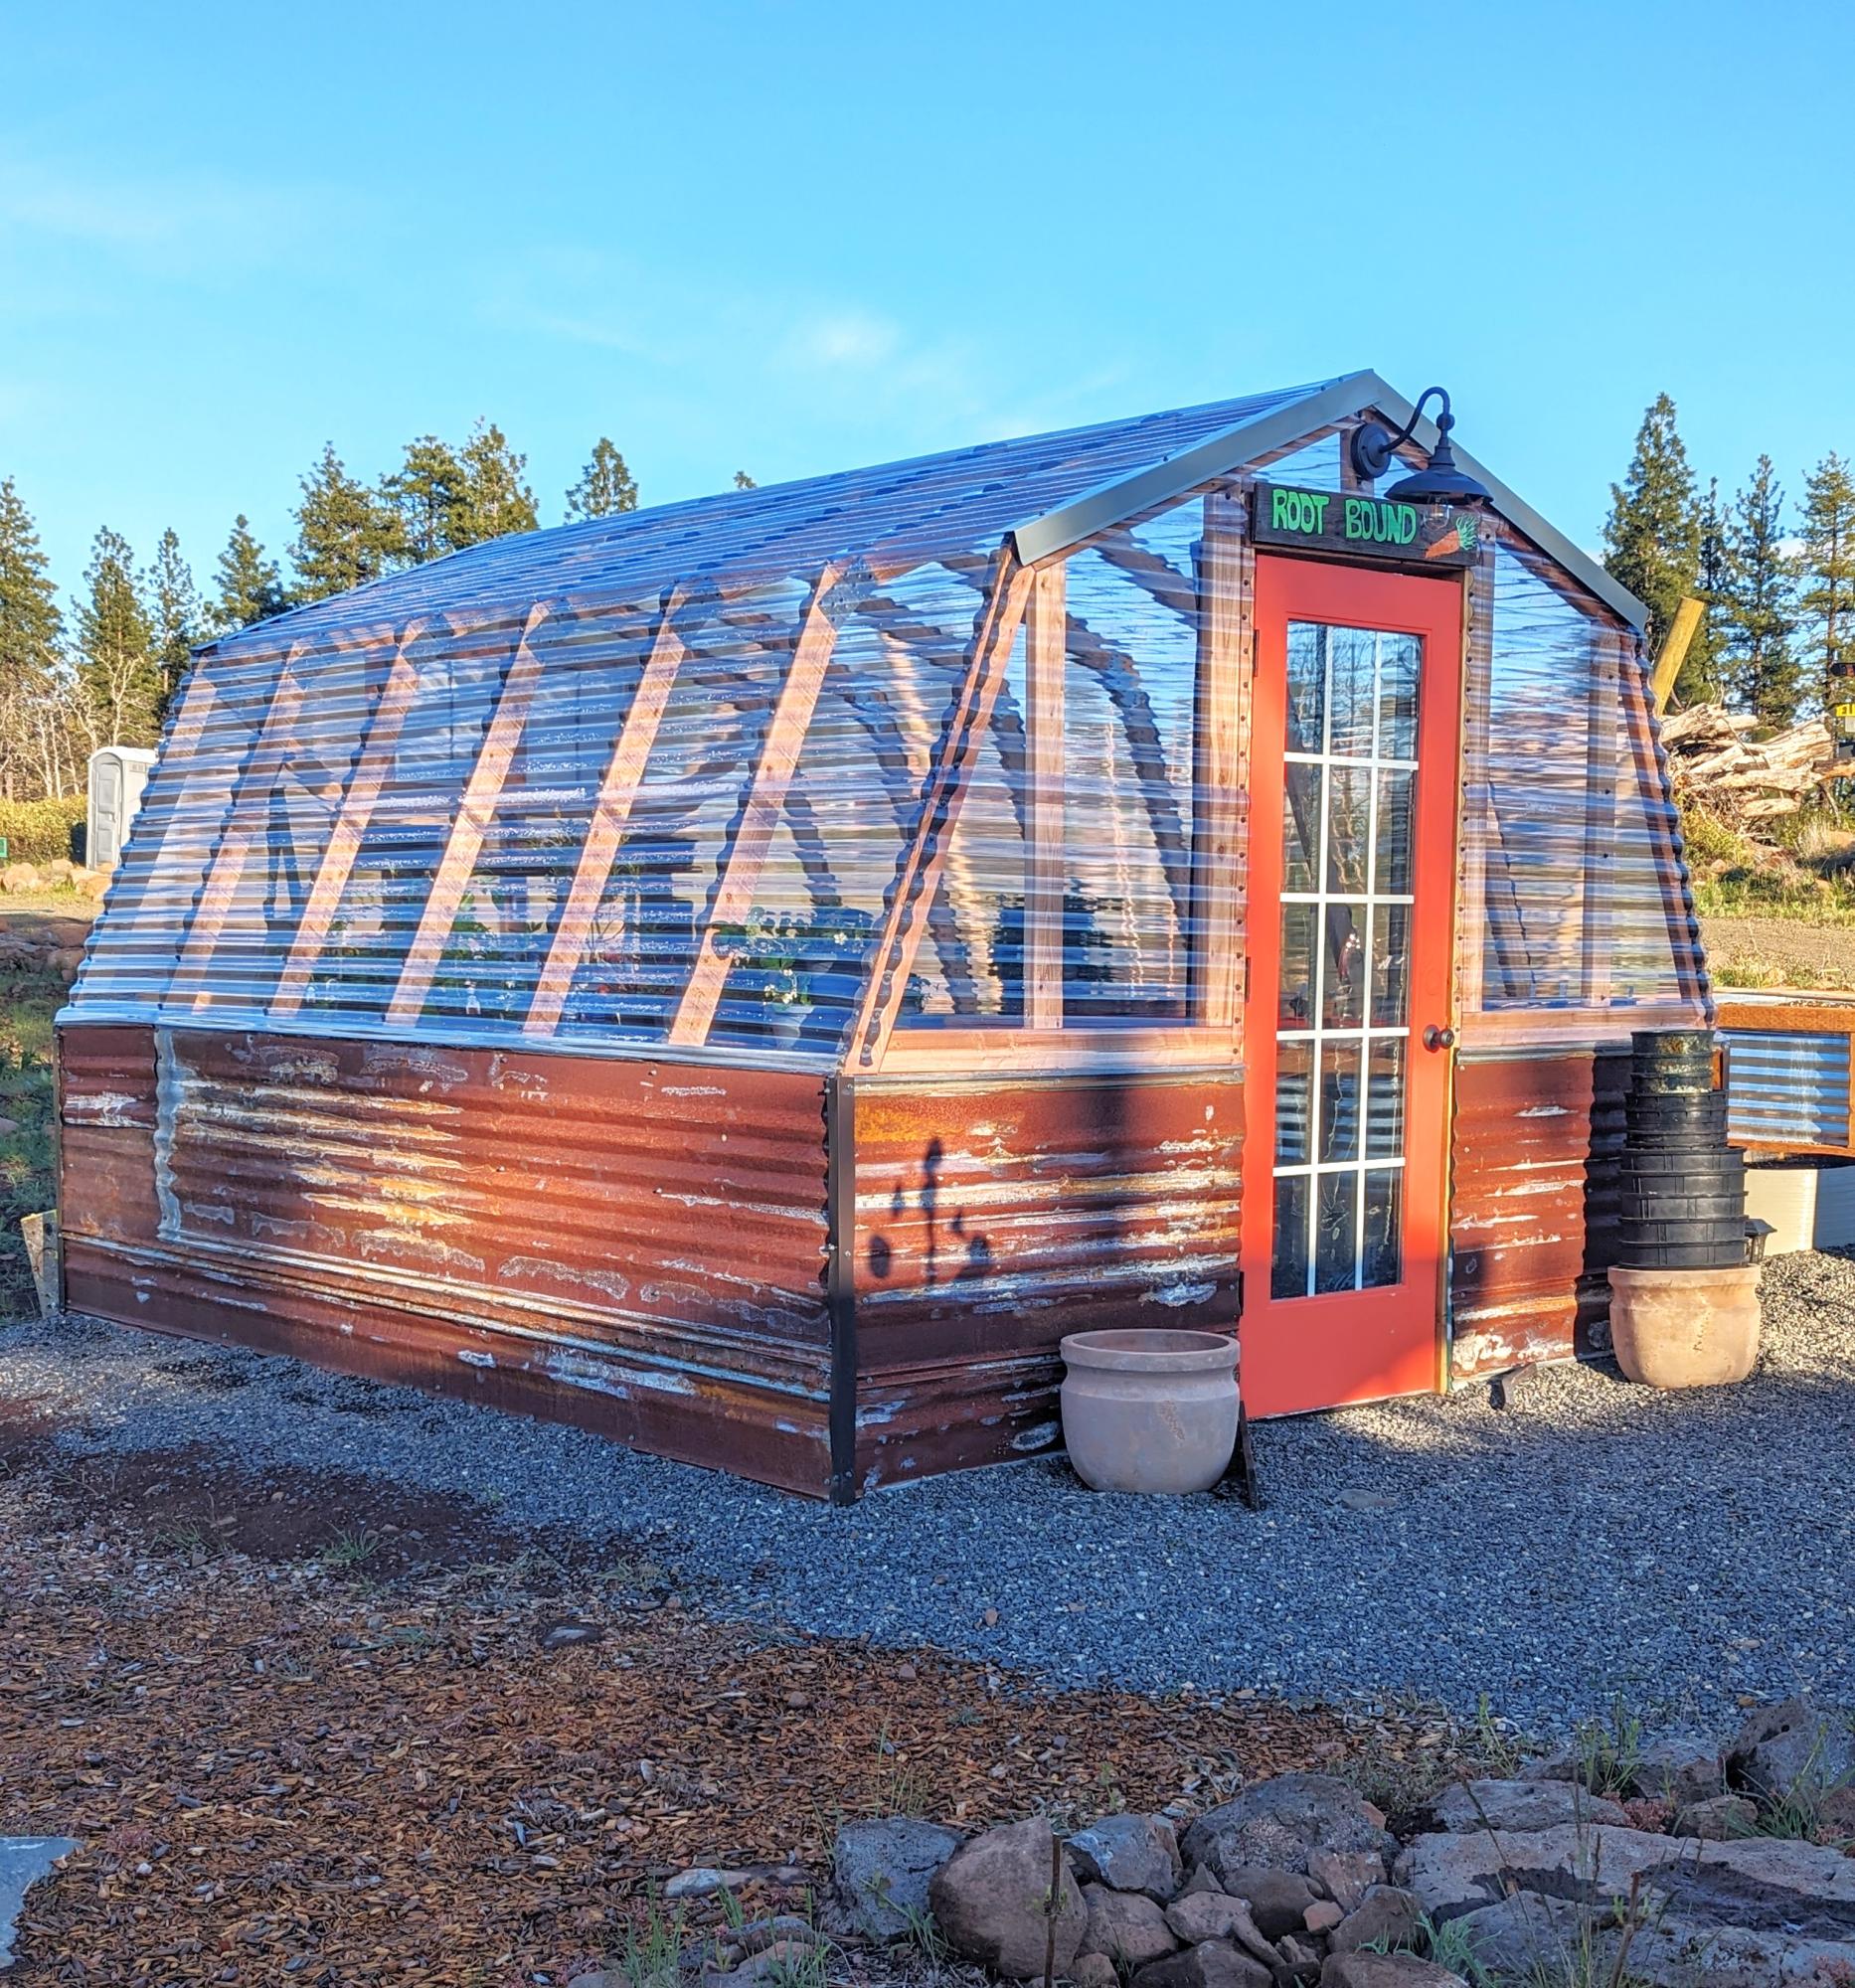
DIY Greenhouse with Reclaimed Material

Submitted by Anonymous (not verified) on Fri, 05/03/2024 - 08:00

My wife & I did this in two weekends, we're not that handy but your plans were easy to follow. Mostly reclaimed material. So fun & we love it!
Thanks!!

Tammie & Scott

Built from Plan(s)

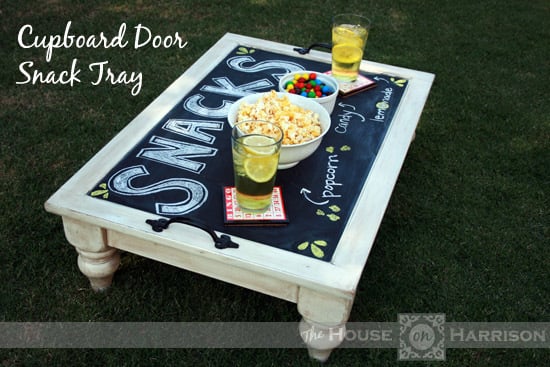
Cabinet Door Snack Table

We really needed some sort of coffee table for our game room loft, but we didn't want something that big taking up space in the small room. Armed with the plans for Ana's Turned Leg Coffee Table and an old cabinet door we found on the side of the road, we made a snack table instead.

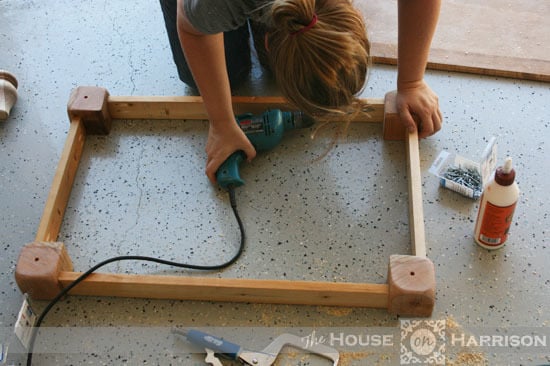
We modified Ana's plans a bit to accommodate the cabinet door. It was very simple, and only took us a few hours to build. You can find all the details on my blog.

Built from Plan(s)
Estimated Time Investment
Day Project (6-9 Hours)
Recommended Skill Level
Beginner

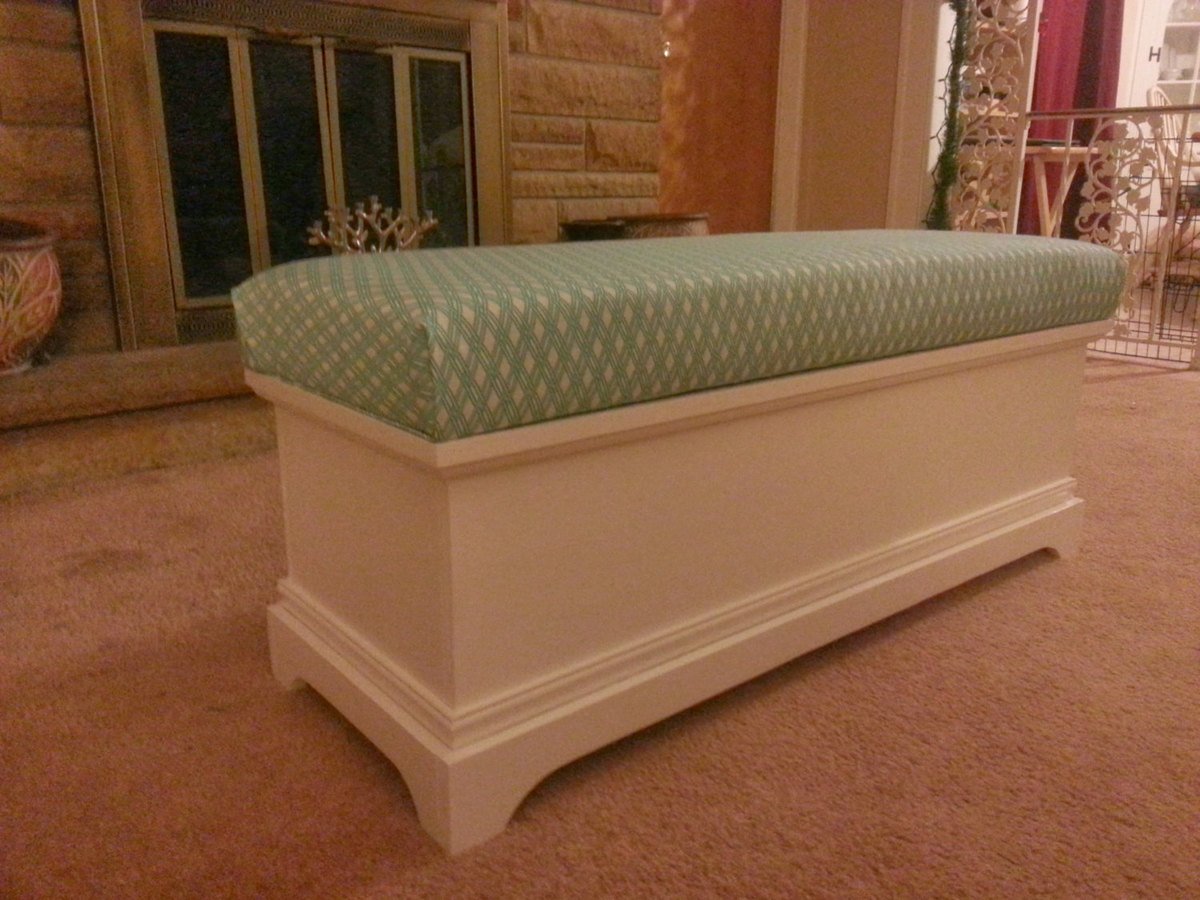
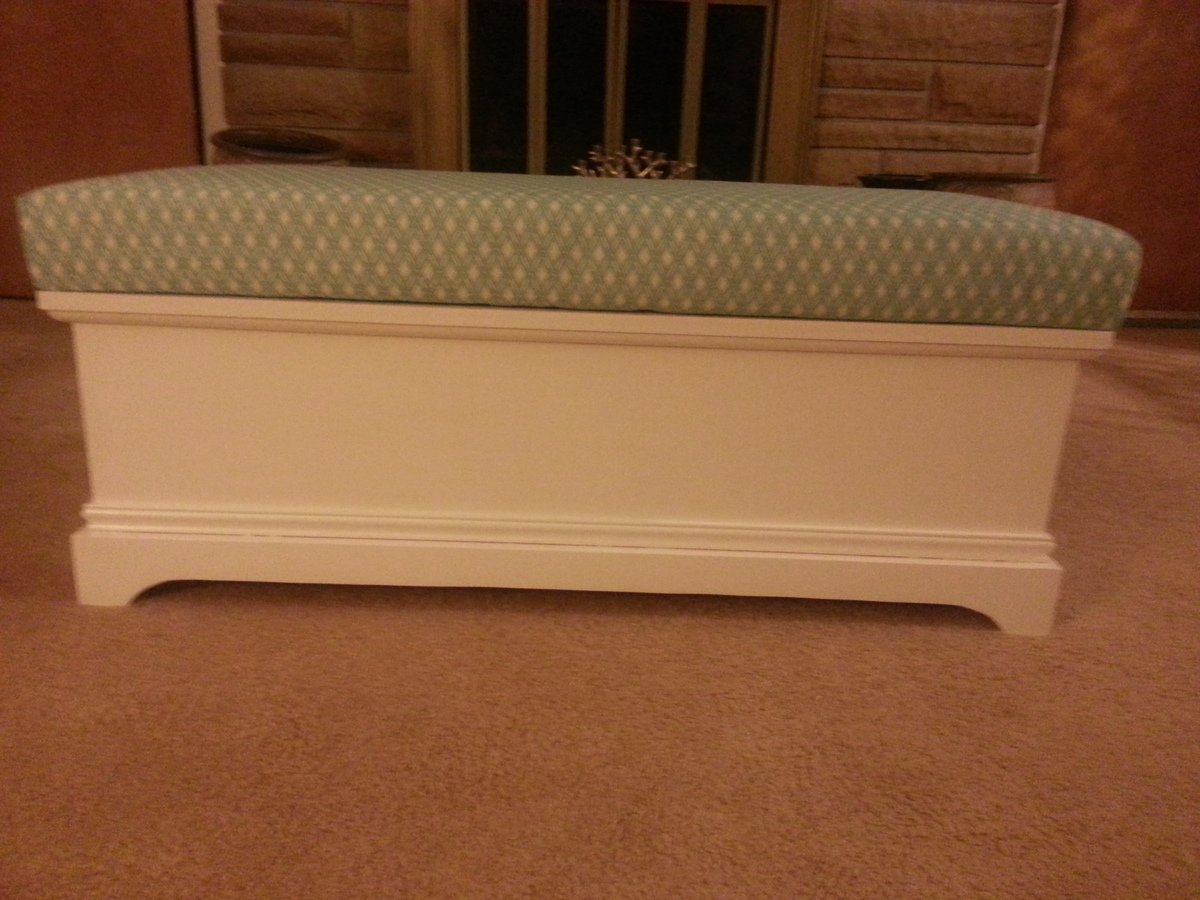
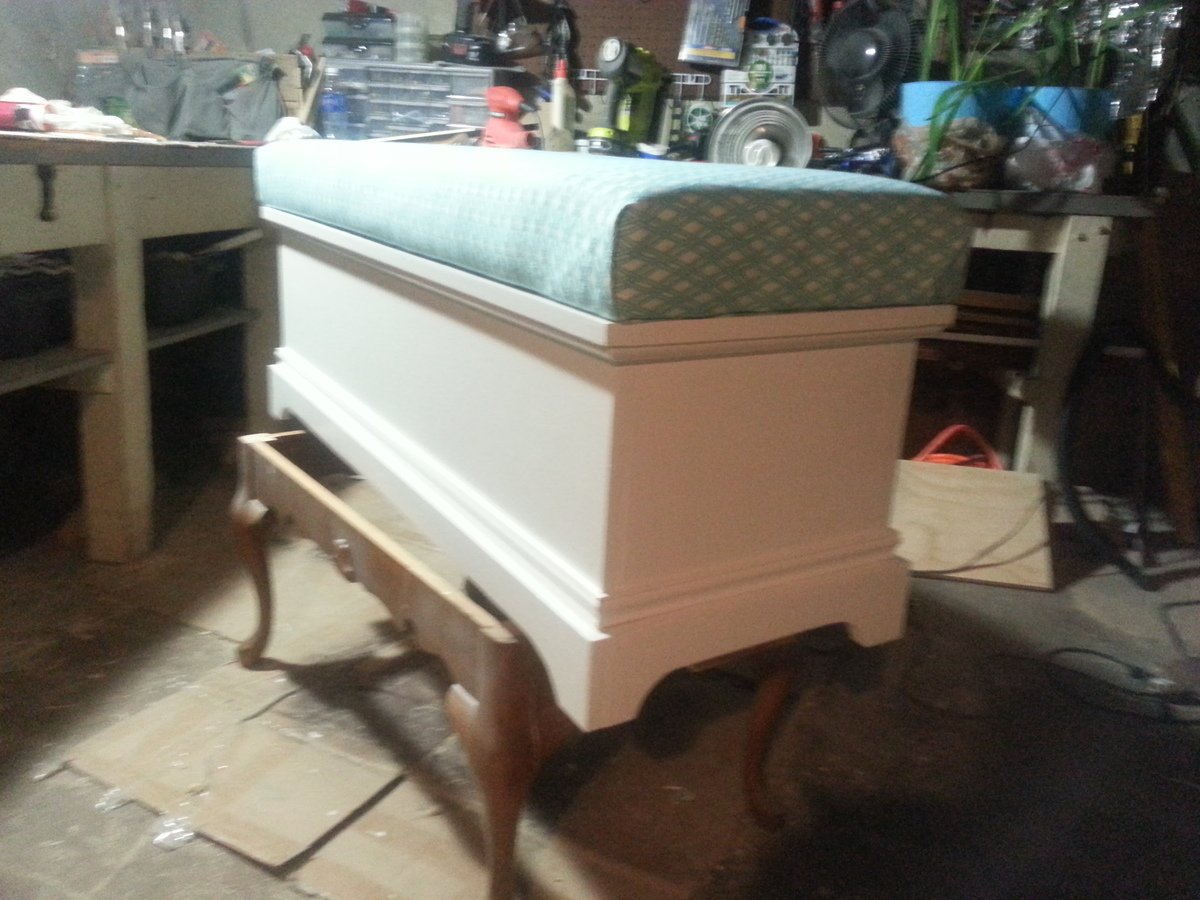
Toybox chest turned window seat

I've tried this before as a gift for a friend's new baby. I then wanted to do one for myself but change the measurements somewhat. This is 45" long and the same width as the original. I reduced the height to account for the 3" foam cushion. Besides that it's pretty much the same as the toy chest plan.

Building and sanding took about 3 days working after work only. Painting took the longest time.

Estimated Cost
$90 including foam and upholstery
Estimated Time Investment
Weekend Project (10-20 Hours)
Finish Used
Primer followed by white paint in semi gloss
Recommended Skill Level
Beginner

Another great project !!

Submitted by Wolverines on Thu, 09/29/2016 - 07:07

Using the 'Grandy Sliding Door Console' plans we were able to build this amazing piece of furnitire. Altered the plans slightly and made it work for us! 


Estimated Time Investment
Week Long Project (20 Hours or More)
Finish Used
Dark Walnut Stain with semi-gloss poly coat
Recommended Skill Level
Intermediate

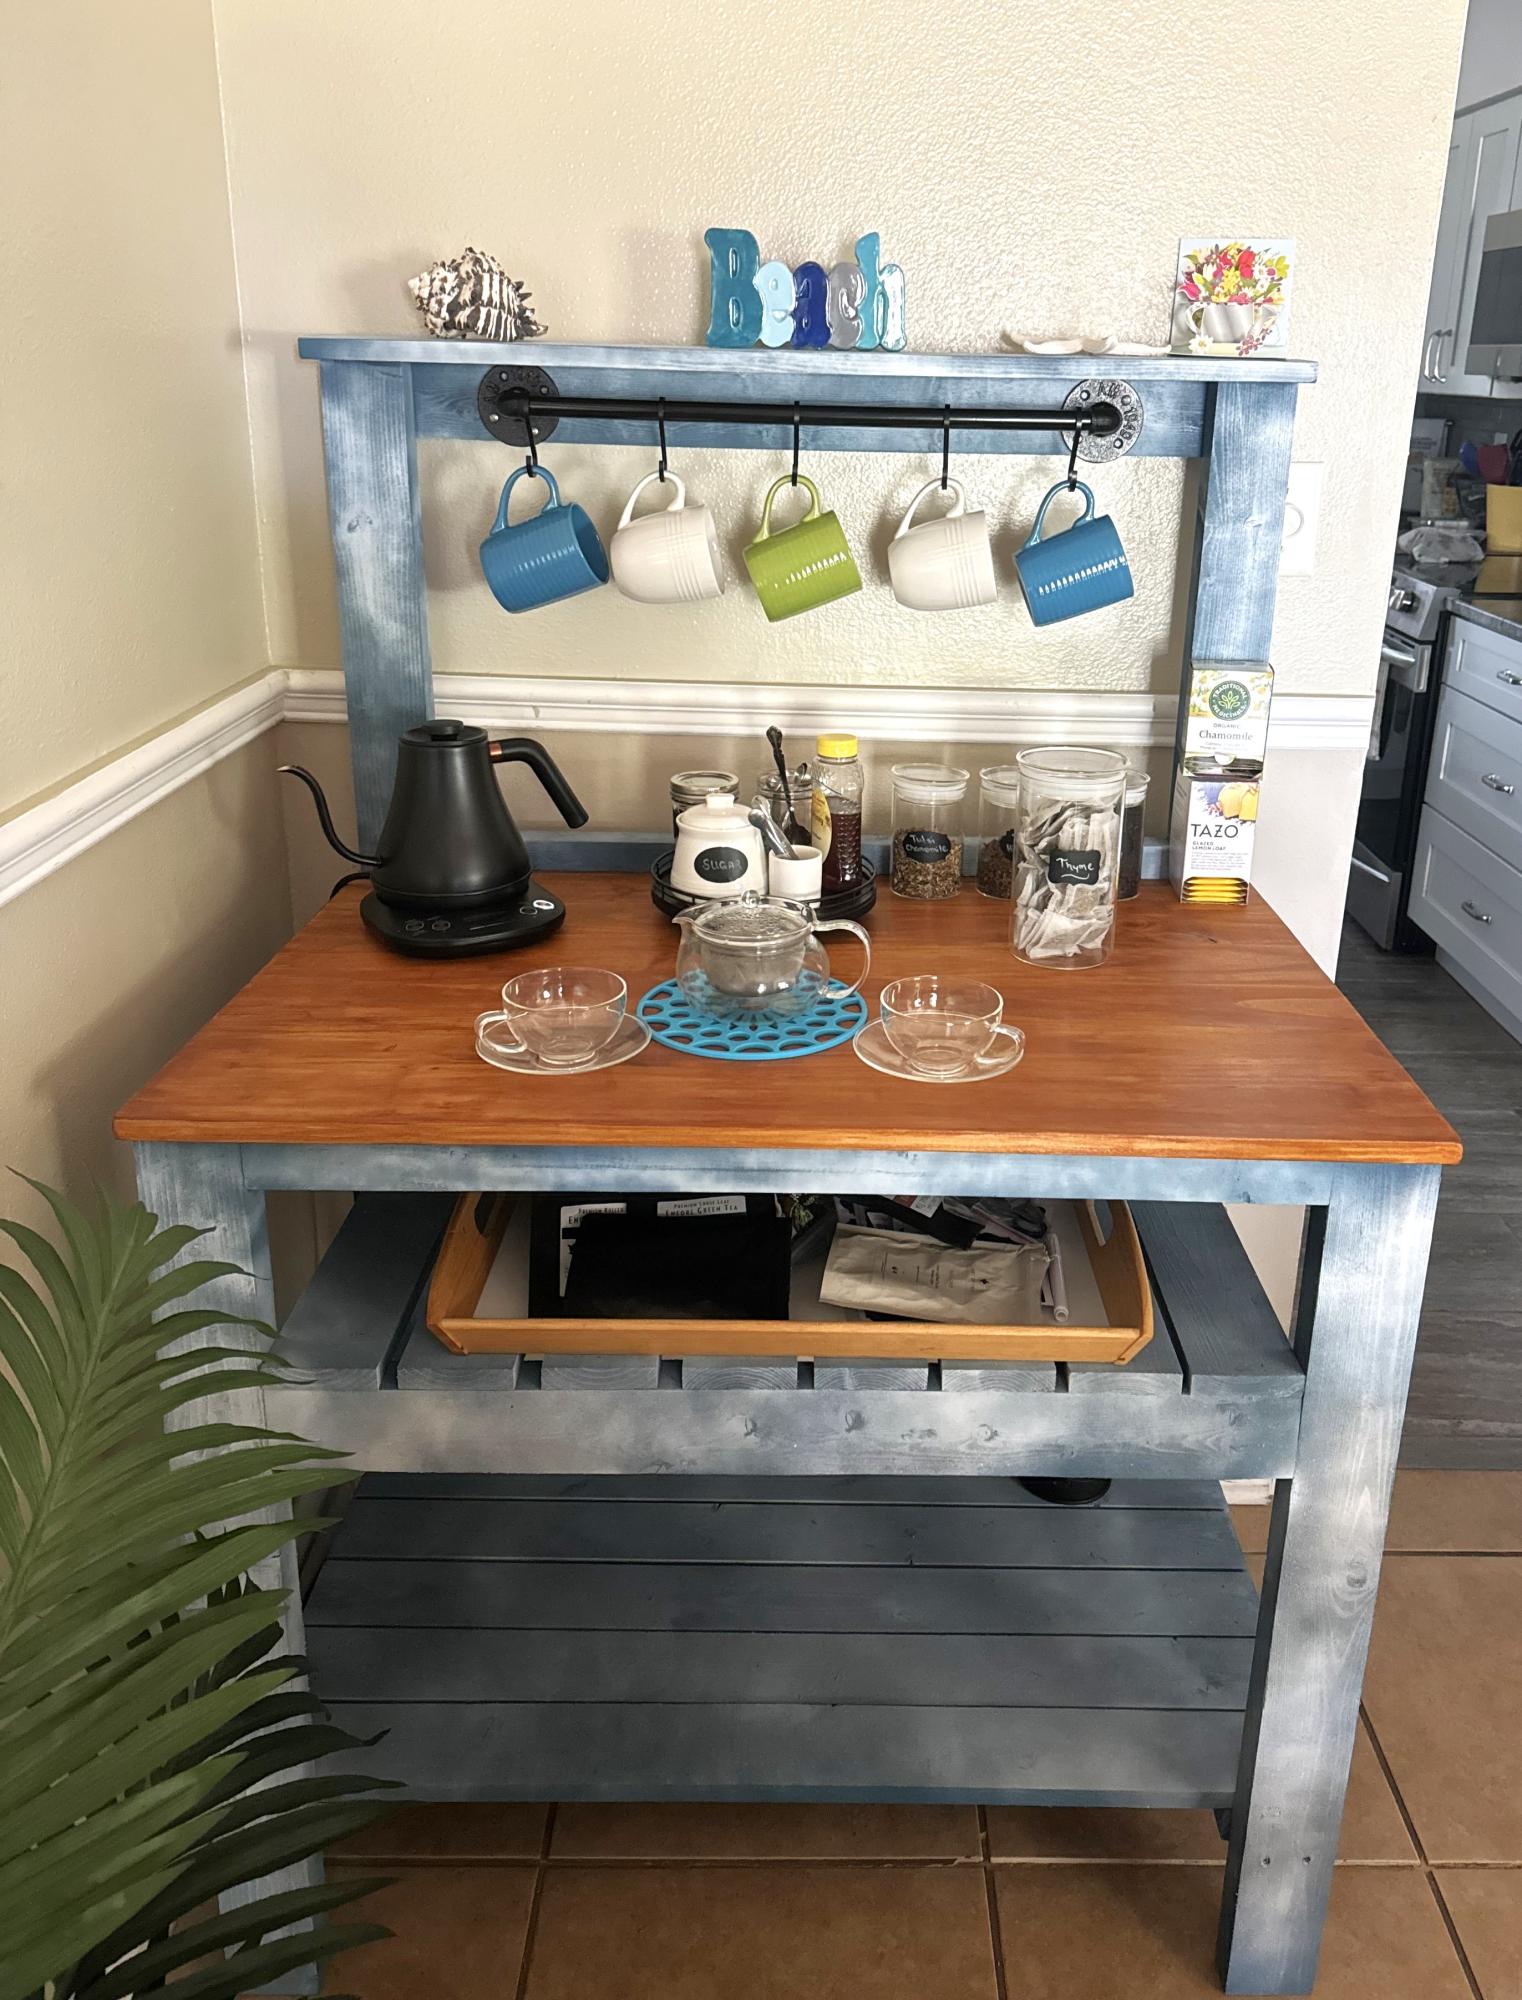
Tea Bar

Submitted by Anonymous (not verified) on Mon, 05/06/2024 - 13:14

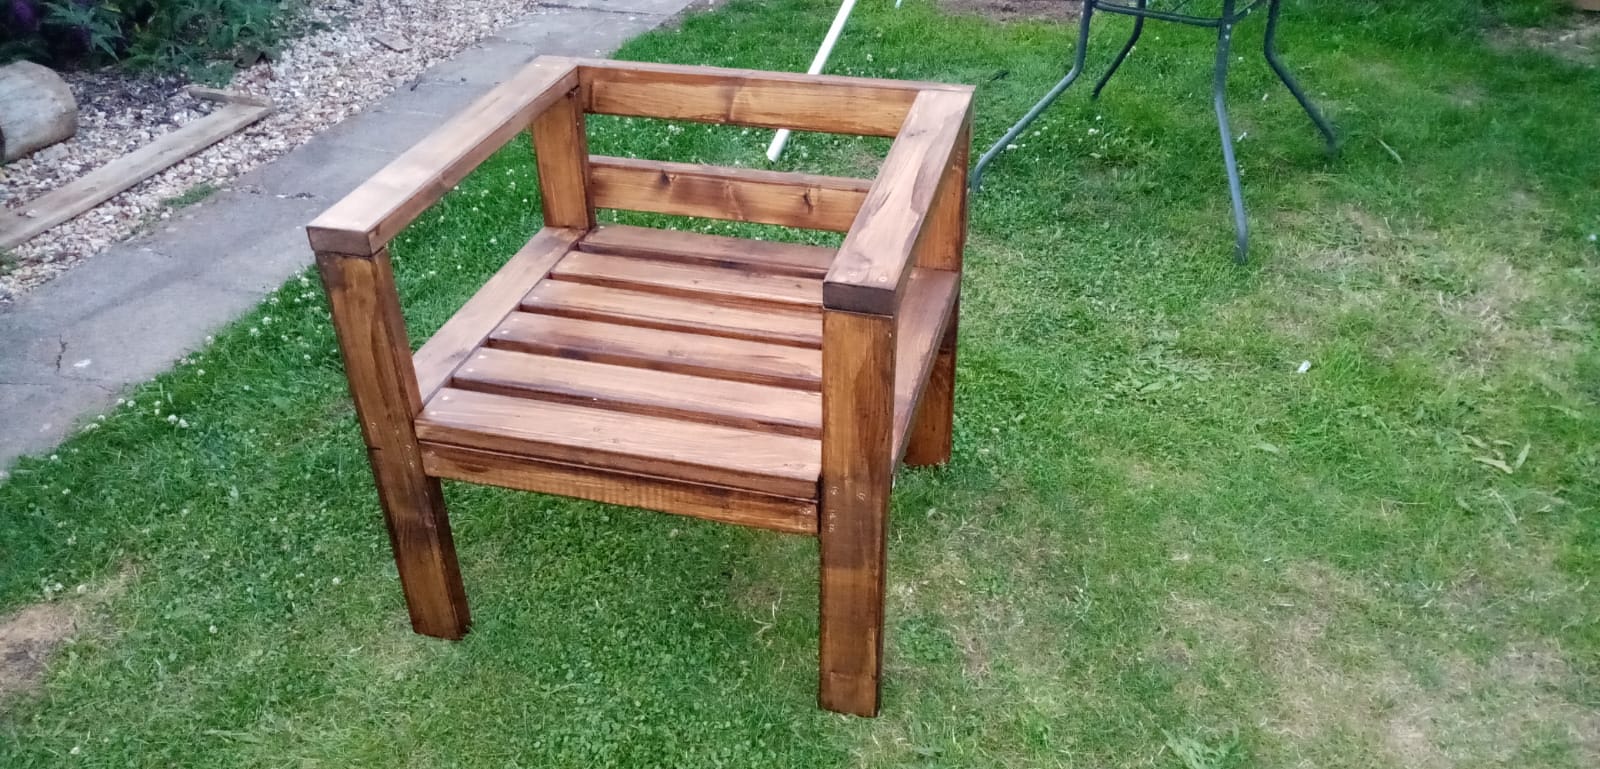
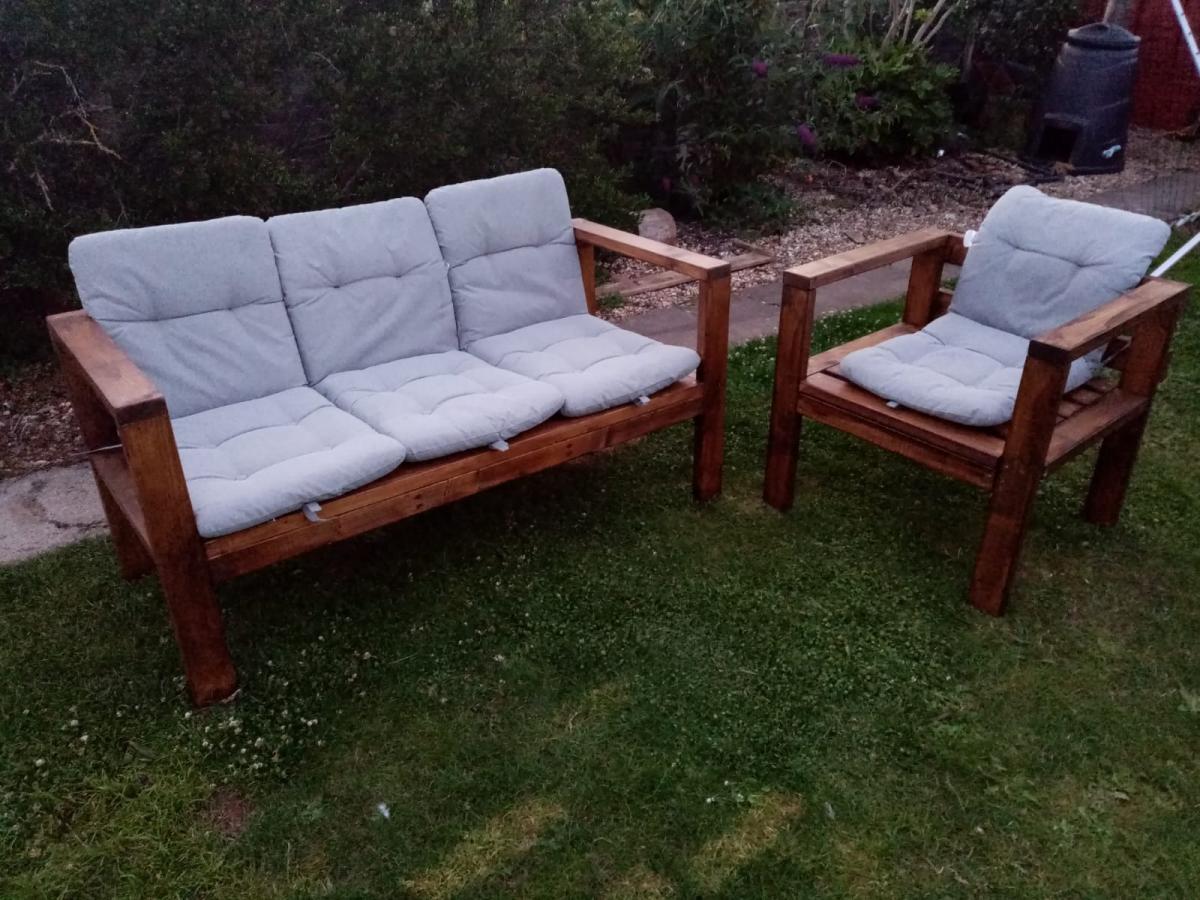
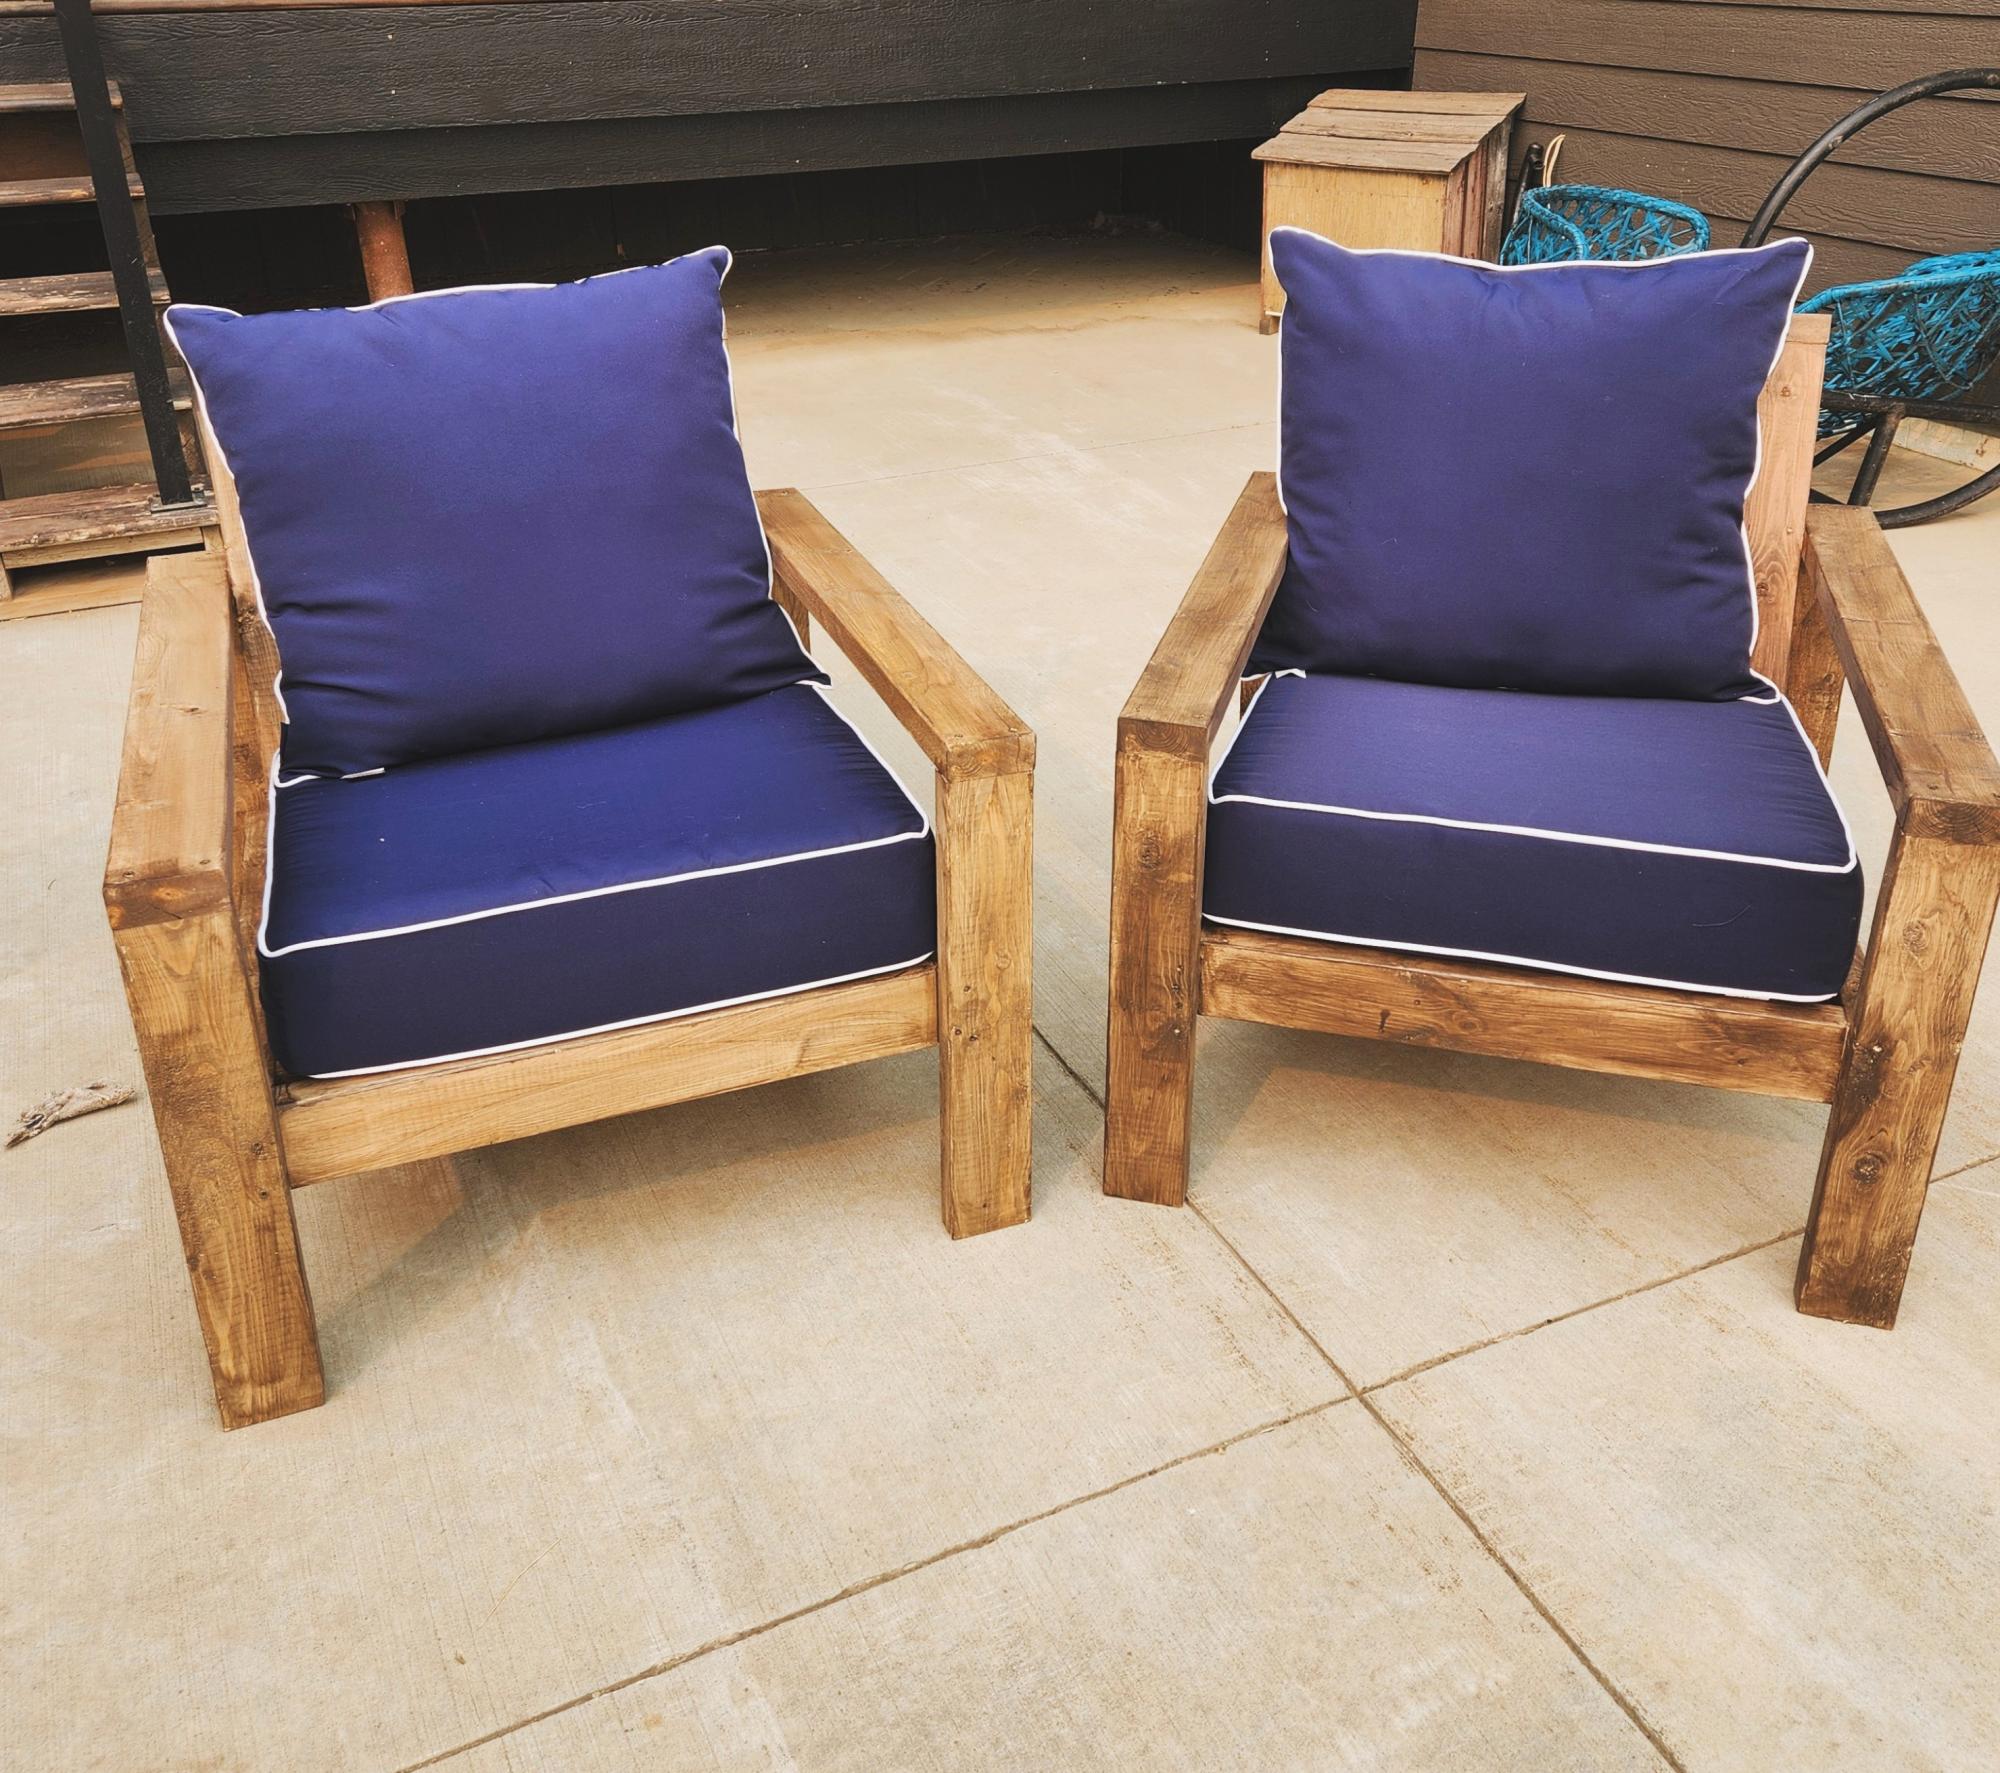
Two projects that I recently built for my wife and my daughter. My wife wanted a tea bar and a beach vibe, my daughter wanted an outdoor couch so it is made out of cedar. They both loved them.

Todd Springer

Built from Plan(s)

My Farmhouse Table

Here is my Farmhouse Table project! I made this table to fit my growing family.

Estimated Time Investment
Weekend Project (10-20 Hours)
Finish Used
Red oak on top
Recommended Skill Level
Intermediate

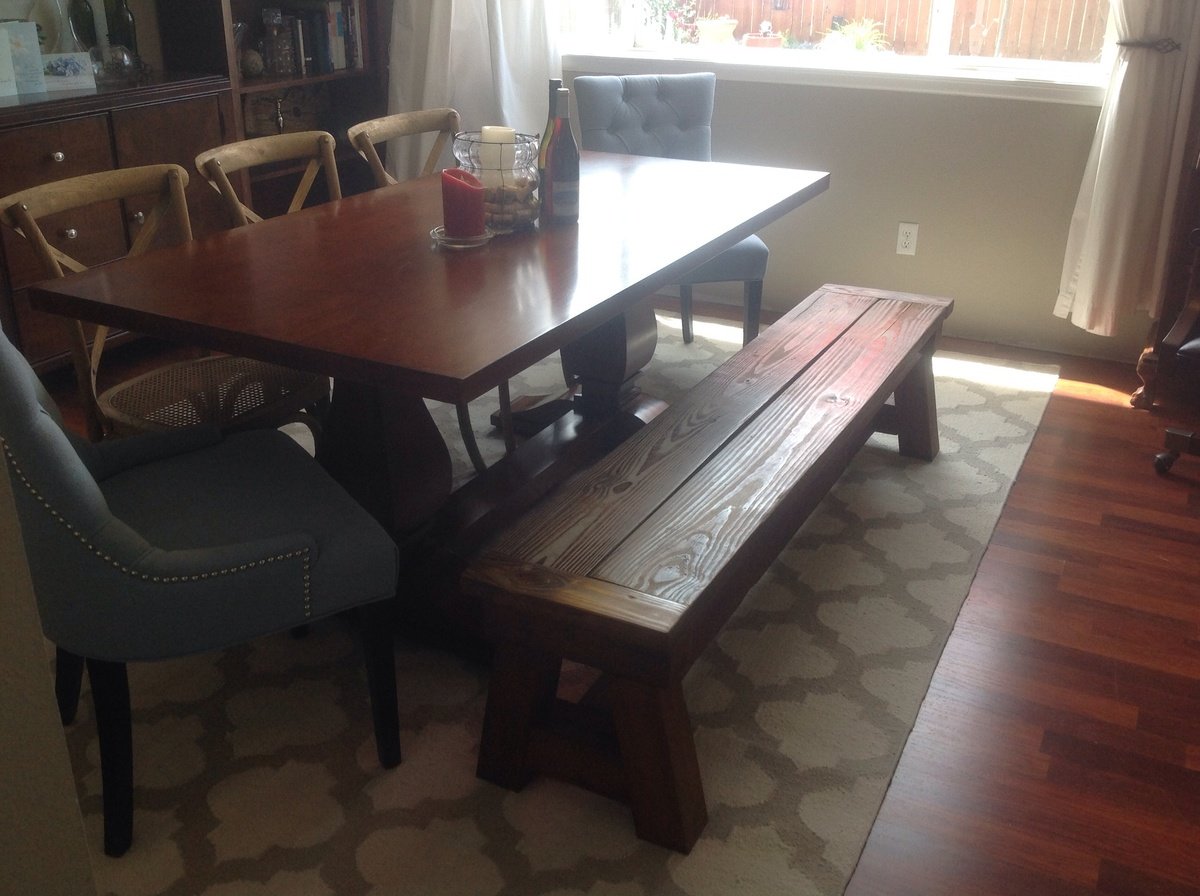
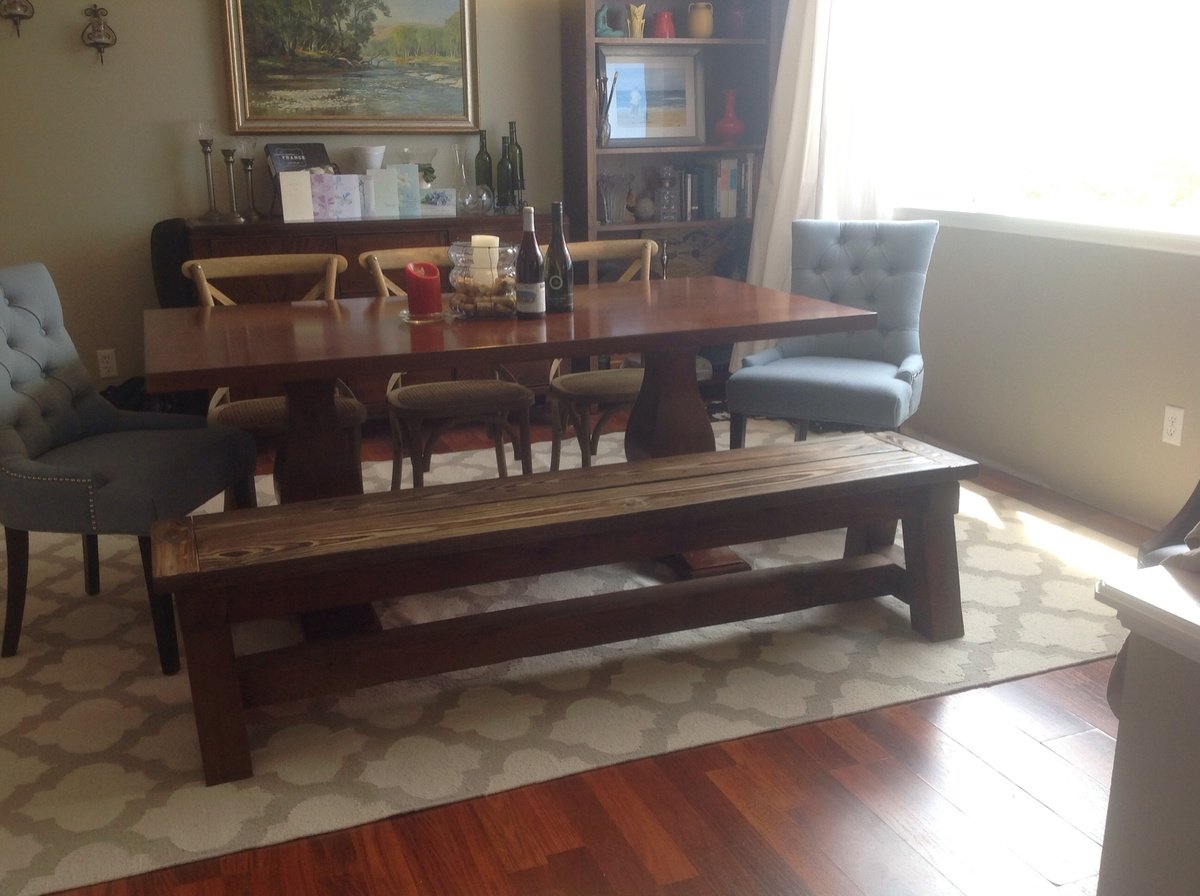
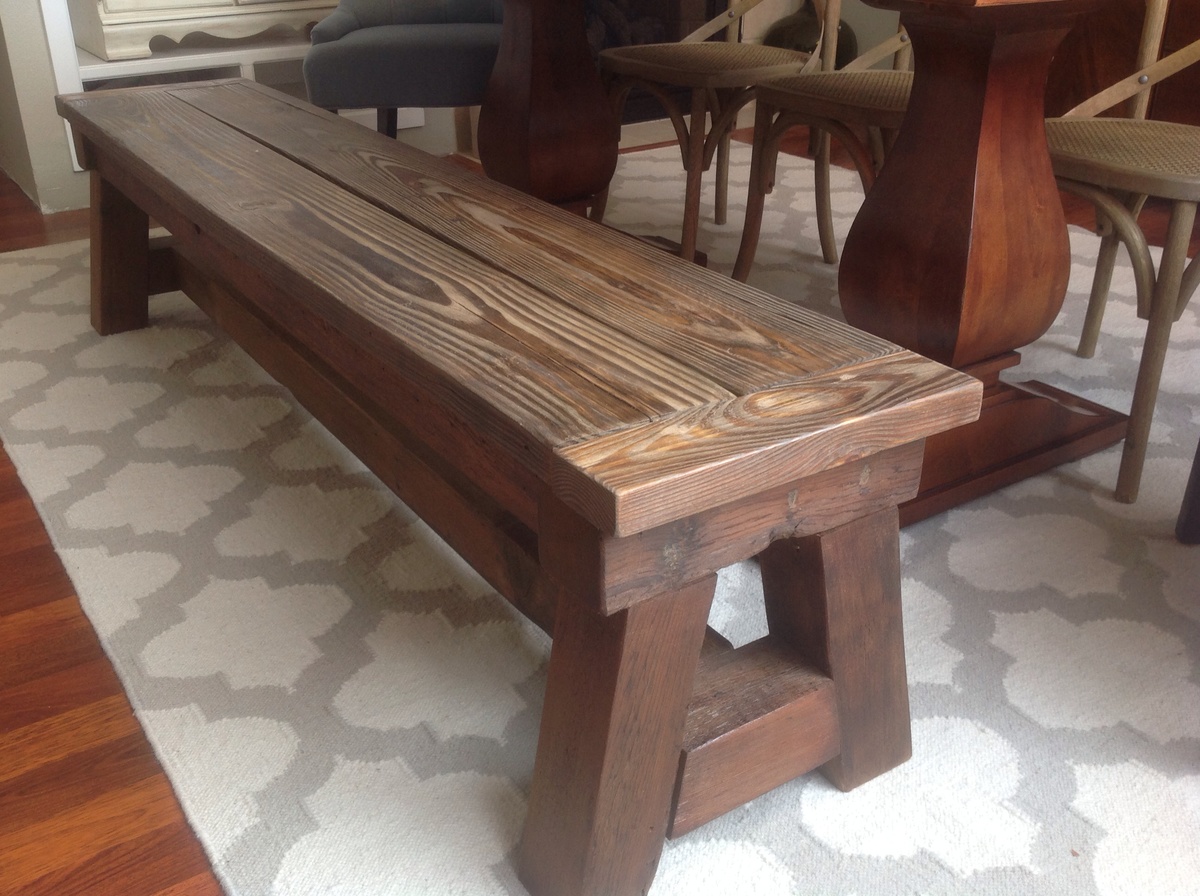
Dining Table 4x4 Truss Bench

Submitted by kyalamode on Mon, 06/30/2014 - 18:30

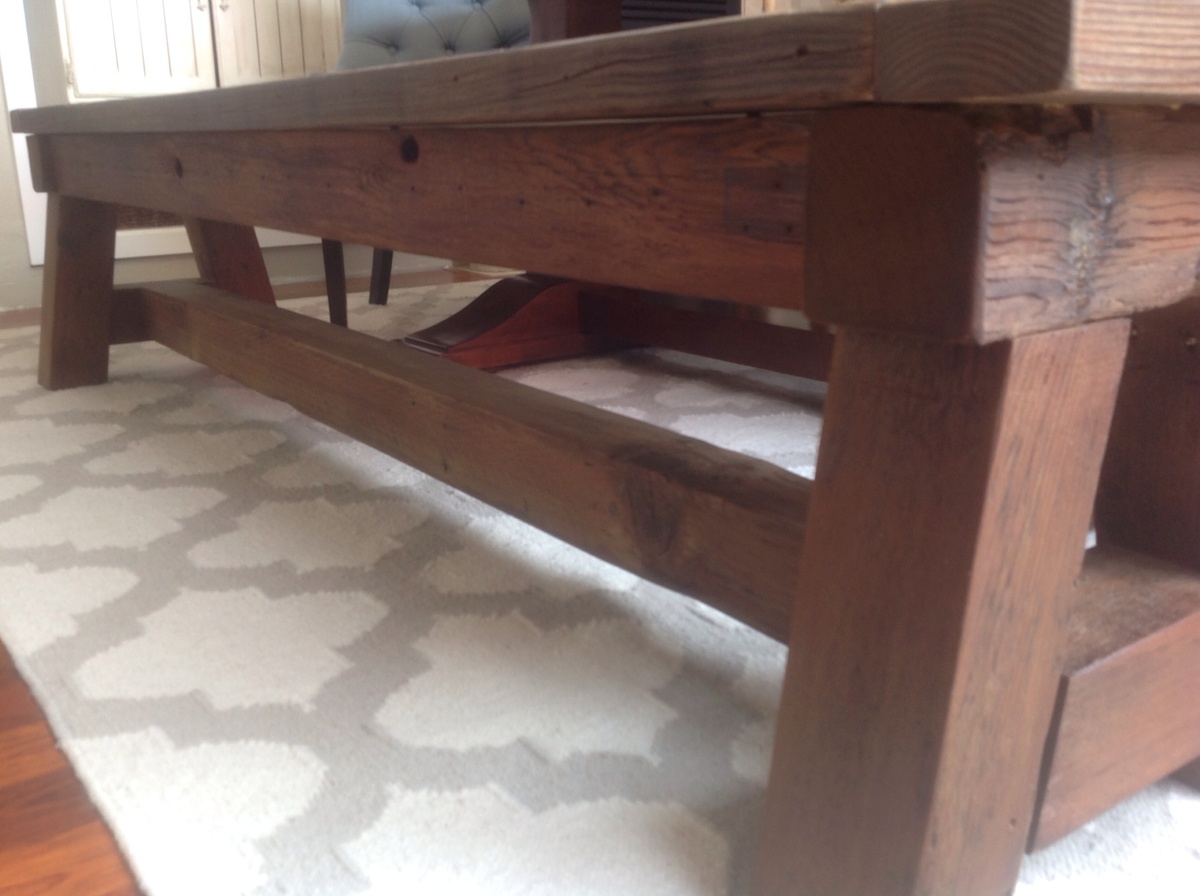
Using the 4x4 Truss Bench plan (http://ana-white.com/2013/10/plans/4x4-truss-benches), we built this bench using entirely reclaimed lumber. (We had removed an old patio and part of a fence.) We already had all of the lumber, screws, etc. so the only cost to us for this project was the cost of the stain.

We modified the plan slightly, using 2x4s on the ends.

My husband is obsessed with decking screws. Thus the entire bench is held together with 2 1/2 inch decking screws. (Unfortunately, we purchased our Kreg Jig a day following the completion of this project.)

Because the lumber was very old and weathered, there is a lot of character to the wood. There were some incredibly soft spots which made sanding a challenge, and some of the boards were somewhat warped. However, we still really like the way it turned out.

I sanded (and sanded and sanded) using 60 grit, then 80... then 120... then 220. I filled the screw holes with wood filler (and sanded again). I then conditioned the wood with Minwax pre-stain wood conditioner. I used Minwax Early American oil based stain on the entire project. I then went over the top only with Minwax Weathered Oak. After about 36 hours of drying time, I used 2 coats of Minwax Fast-Drying clear semi-gloss polyurethane.

This bench is a beast! I'm sure it weighs over 75 pounds. It is extremely solid, and quite beautiful in our dining room. The plans were easy to follow, and the whole thing went together fairly quickly. (It would have been completed even more quickly had we had our Kreg Jig at the time. Lesson learned.)
Built from Plan(s)
Estimated Cost
$10
Estimated Time Investment
Day Project (6-9 Hours)
Finish Used
I sanded (and sanded and sanded) using 60 grit, then 80... then 120... then 220. I filled the screw holes with wood filler (and sanded again). I then conditioned the wood with Minwax pre-stain wood conditioner. I used Minwax Early American oil based stain on the entire project. I then went over the top only with Minwax Weathered Oak. After about 36 hours of drying time, I used 2 coats of Minwax Fast-Drying clear semi-gloss polyurethane.
Recommended Skill Level
Beginner

Rustic Bench

Submitted by Clayton on Tue, 09/04/2012 - 23:16

I was looking for a nice project with compound angles and found this plan of Ana's, it was easy to build as well as fun and rewarding. I picked the colour as we had just returned from a trip to florida and then up the East coast and found this to be reminiscent of the beach.

Estimated Cost
10.00
Estimated Time Investment
Afternoon Project (3-6 Hours)
Finish Used
primed white then painted a teal green and sanded for a worn patina
Recommended Skill Level
Beginner

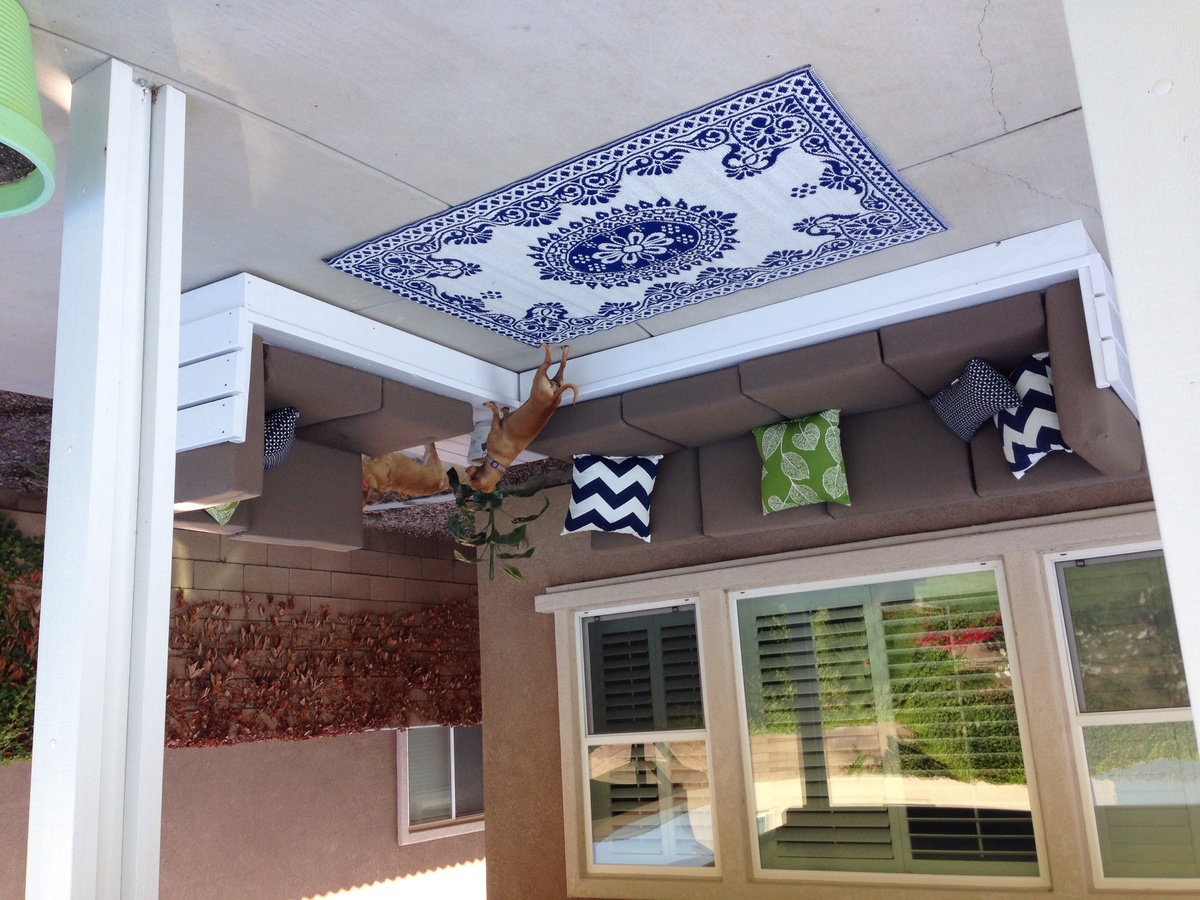
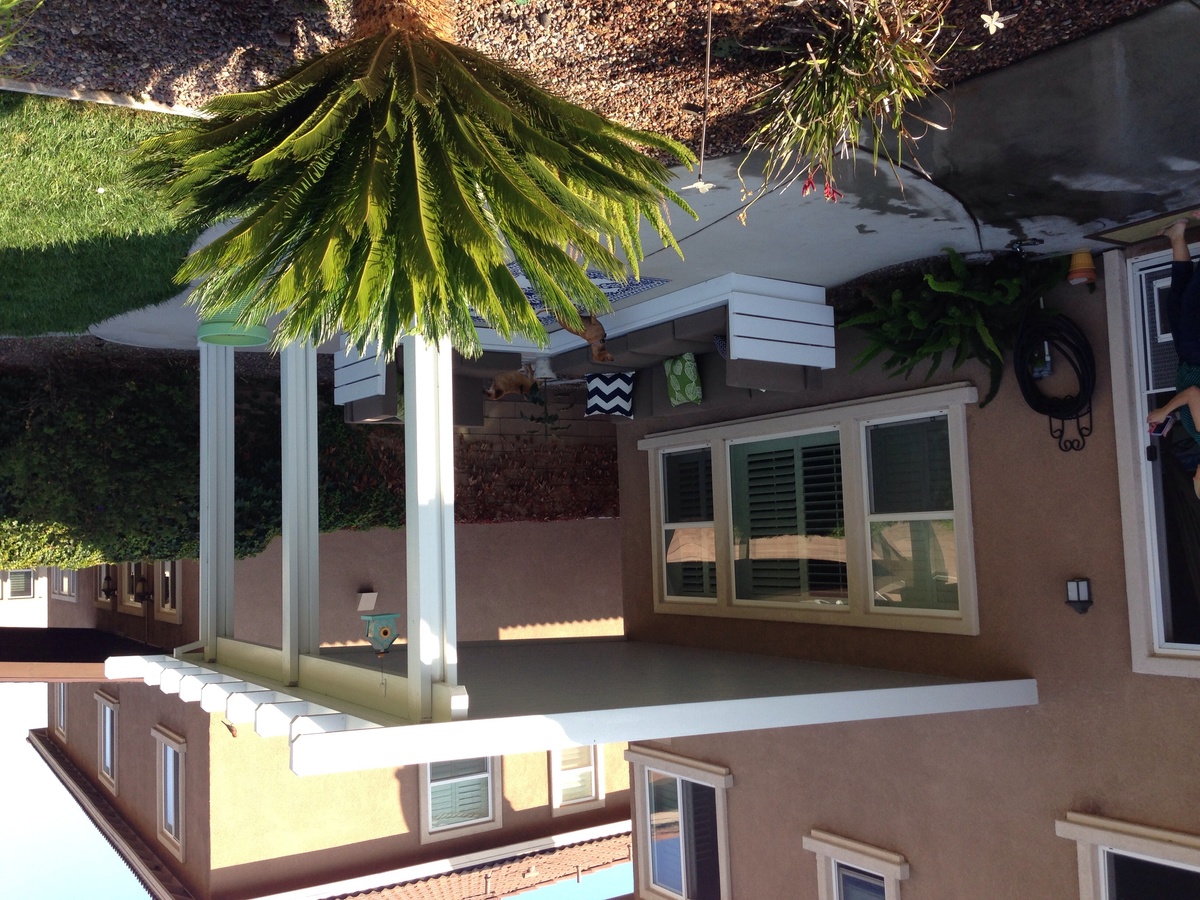
Outdoor sectional

Submitted by Tri4fun on Thu, 07/03/2014 - 11:35

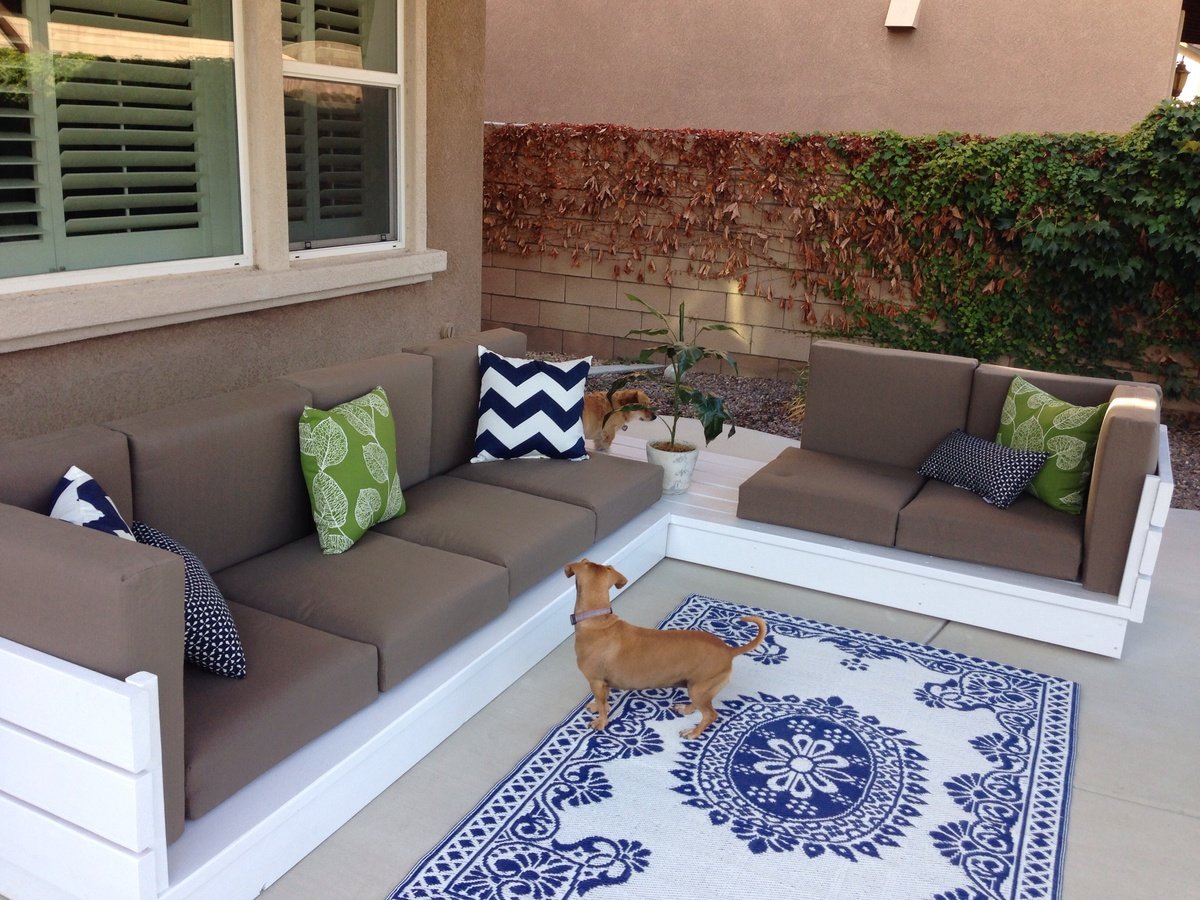
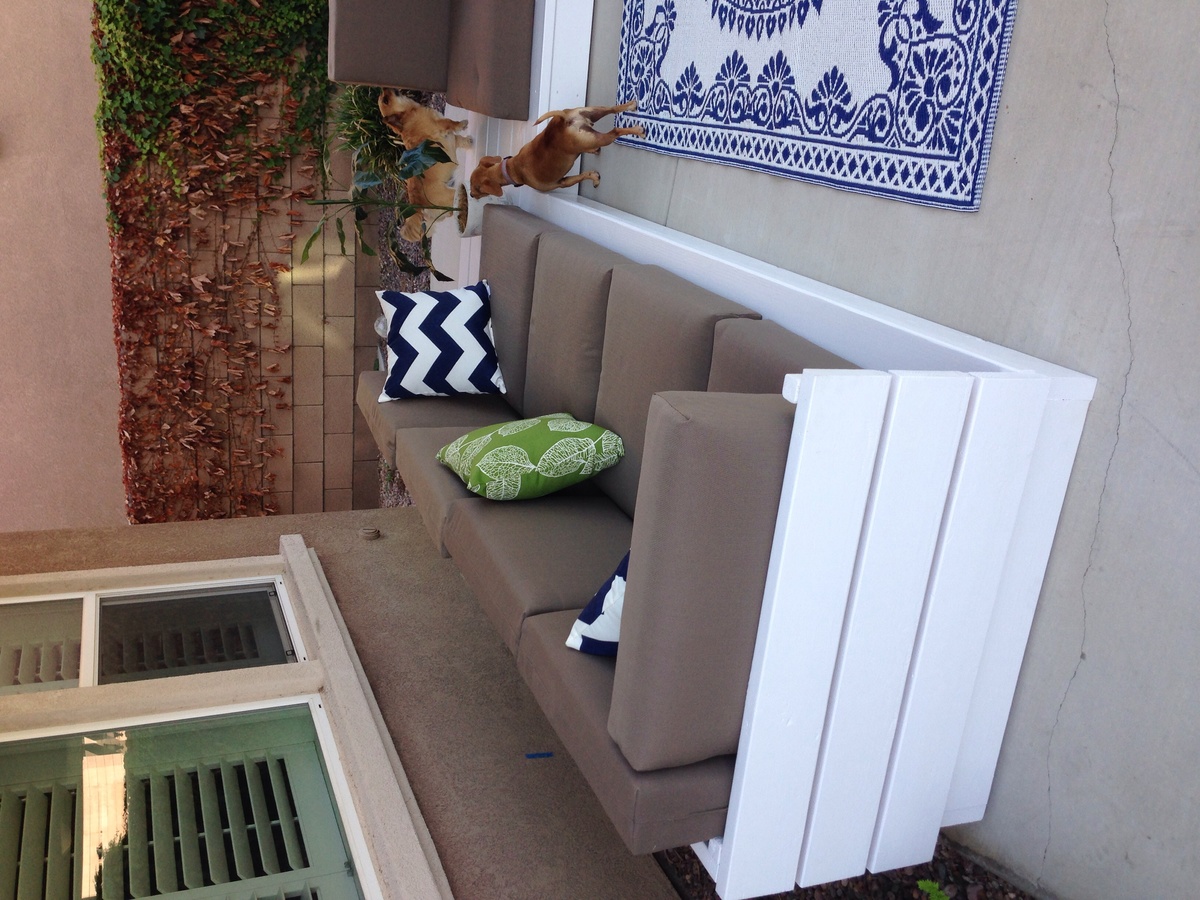
Wanted something for the outdoors. The minute I saw Ana's post I new this would be my starter project. Next on the list is work bench. Then coffee table for sectional, then some chaise loungers!

Built from Plan(s)
Estimated Cost
100 for wood, 300 for cushions.
Estimated Time Investment
Weekend Project (10-20 Hours)
Finish Used
White Valspar exterior paint/primer. Great coverage
Recommended Skill Level
Starter Project

Comments

Seasonal And Holiday

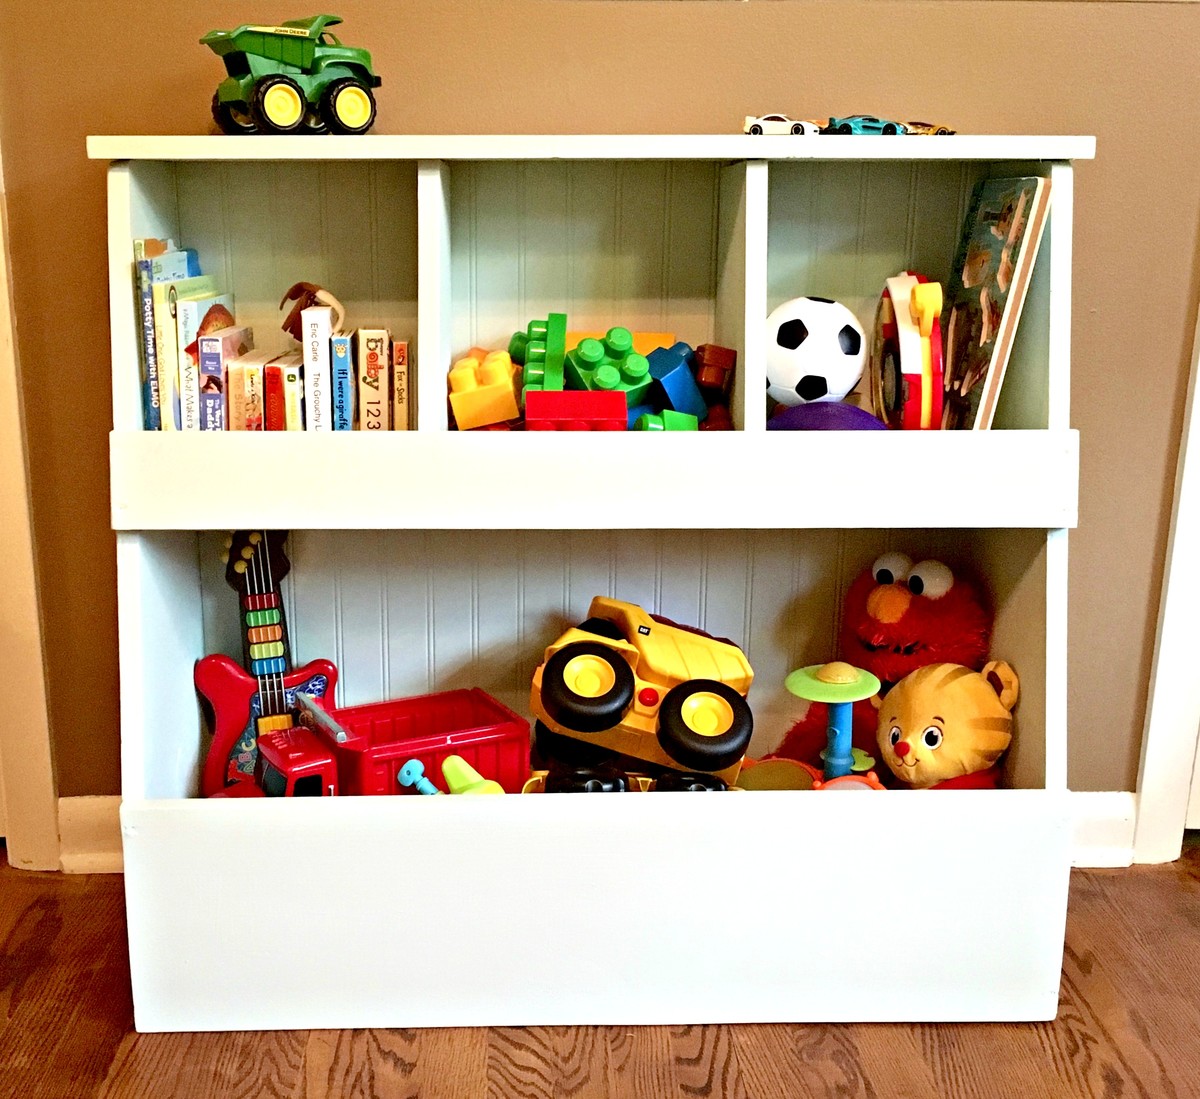
Toy Shelf

Submitted by Anonymous (not verified) on Thu, 10/06/2016 - 10:52

 I had heard about Ana on the YoungHouseLove podcast and she inspired me to take on this storage bin! It looks great and my 2 year old son loves it!  I documented the process on my blog at 1thing1week.com where I take on one new challenge each week. 

Estimated Cost
34$ for materials
Estimated Time Investment
Weekend Project (10-20 Hours)
Finish Used
extra paint I had lying around
Recommended Skill Level
Intermediate

Comments

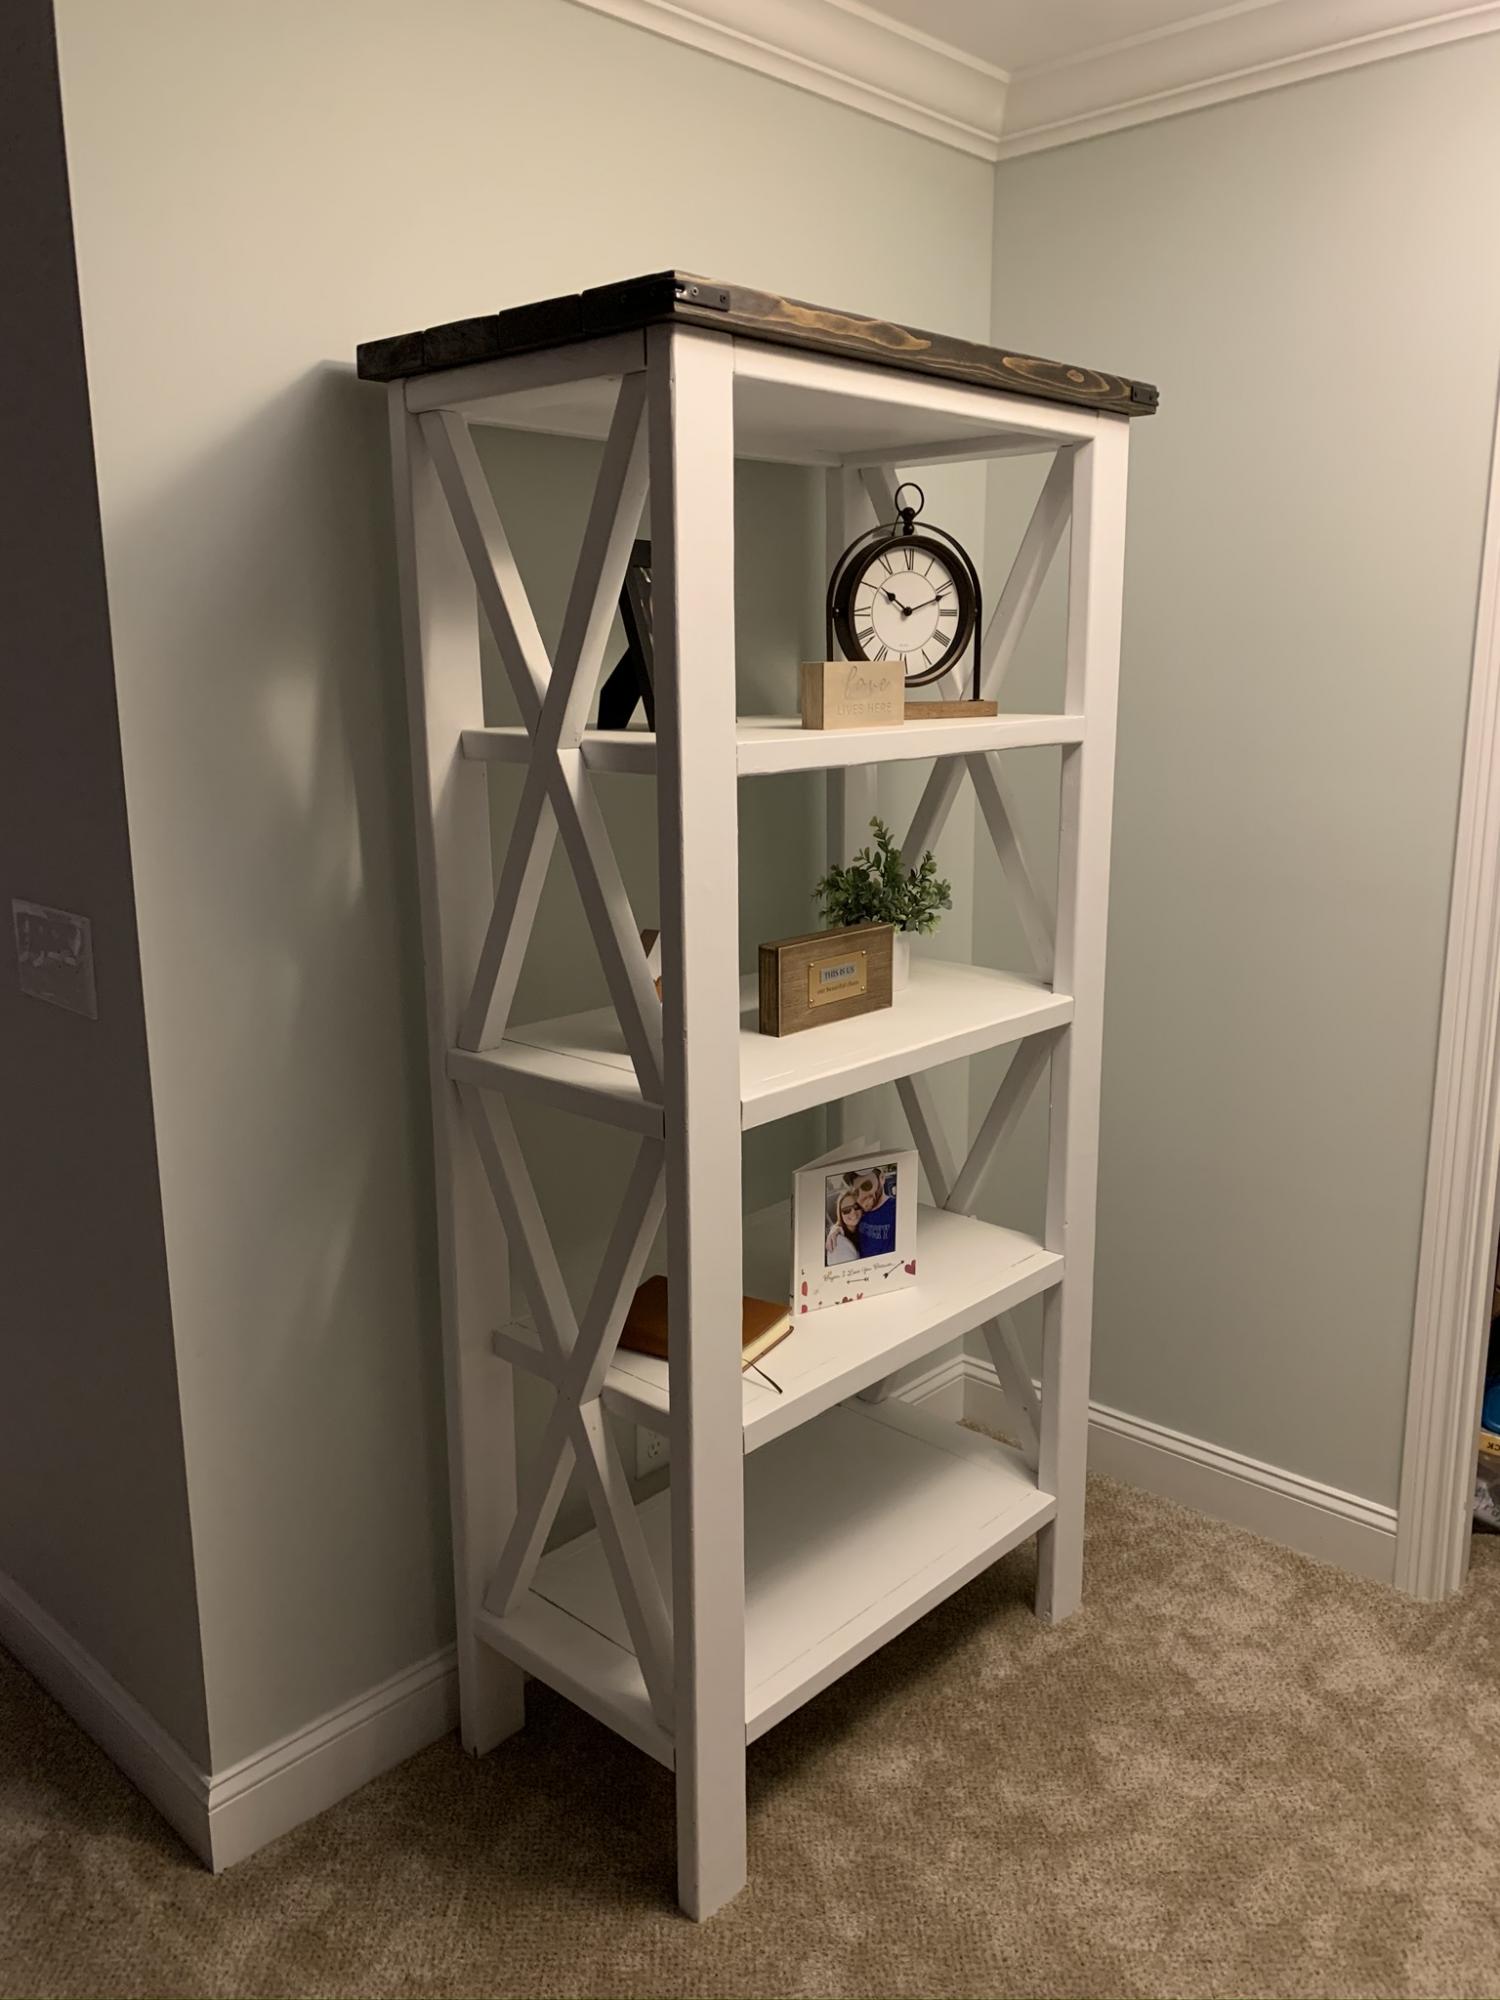
Rustic X Bookshelf

Submitted by boneill on Thu, 07/09/2020 - 04:31

Added a 2x6 stained top to the bookshelf to add accent .

Built from Plan(s)
Estimated Cost
$110
Estimated Time Investment
Day Project (6-9 Hours)
Finish Used
Minwax dark walnut , satin poly Minwax quick dry, satin white paint
Recommended Skill Level
Intermediate

Flip Top Console Table

Submitted by pixl8r on Fri, 09/07/2012 - 16:01

First project with my new (to me) wood shop. Really liked this plan and enjoyed putting it together! It came out great!

My cost was really low on this because I was able to use a lot of wood that I already had. The main cost was paint/stain and poly.

Estimated Cost
$45
Estimated Time Investment
Week Long Project (20 Hours or More)
Finish Used
Coffee Stained Antique White and Cherry for the Top.
Recommended Skill Level
Beginner

Comments

pixl8r

Tue, 09/11/2012 - 06:08

I chose the outdoor style "legs" for a rougher look. Thanks for your comment!
Thanks for the plan!

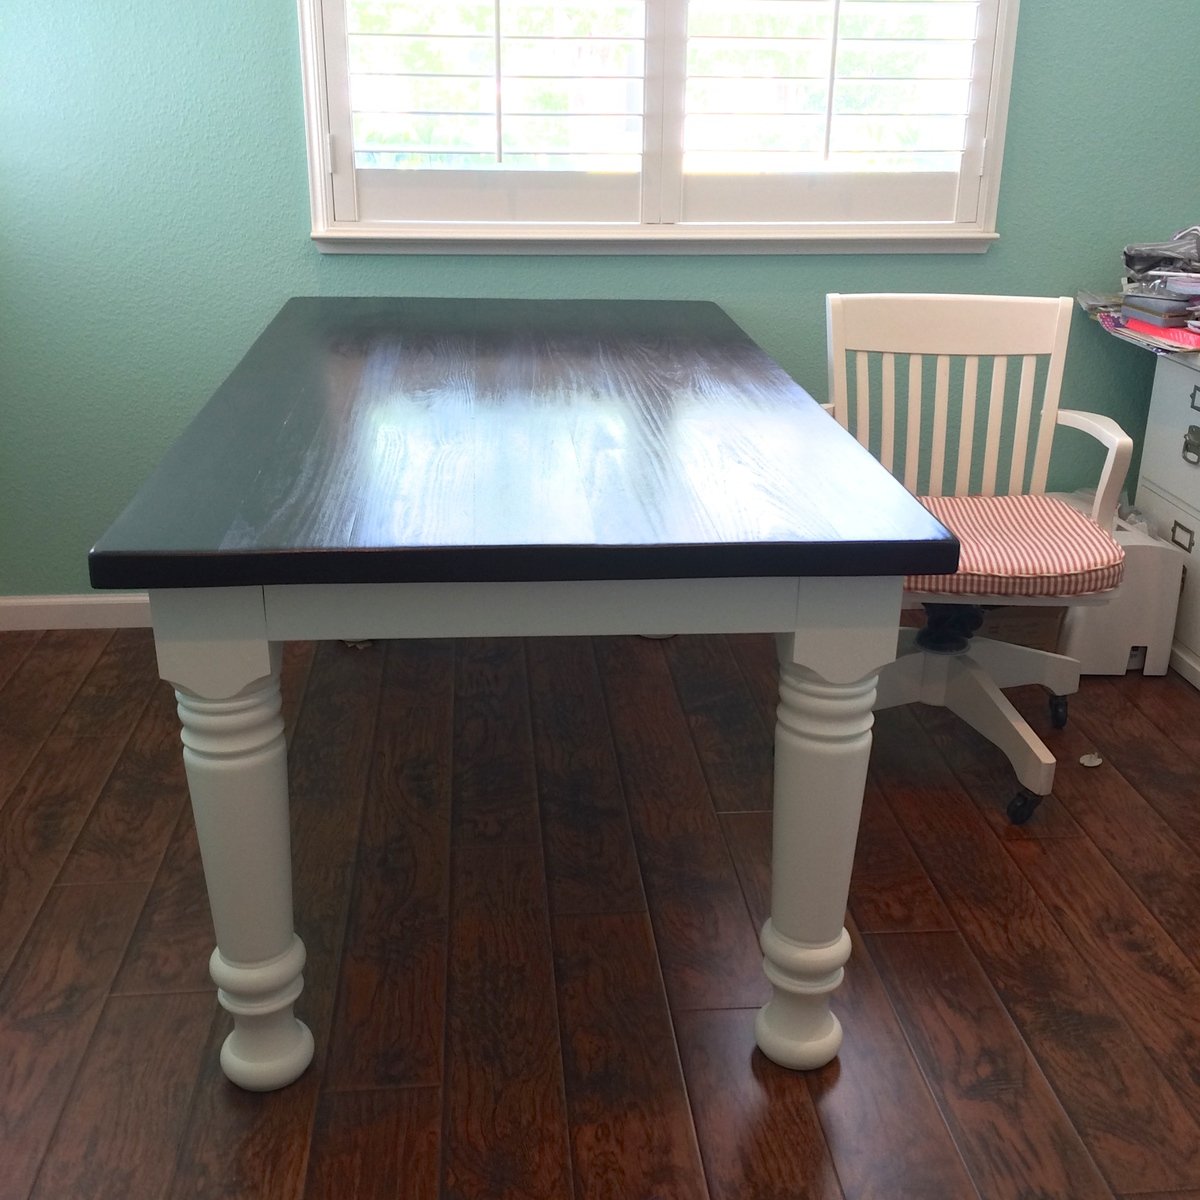
DIY Massive Farmhouse Table

Submitted by strohmy on Sat, 07/05/2014 - 22:32

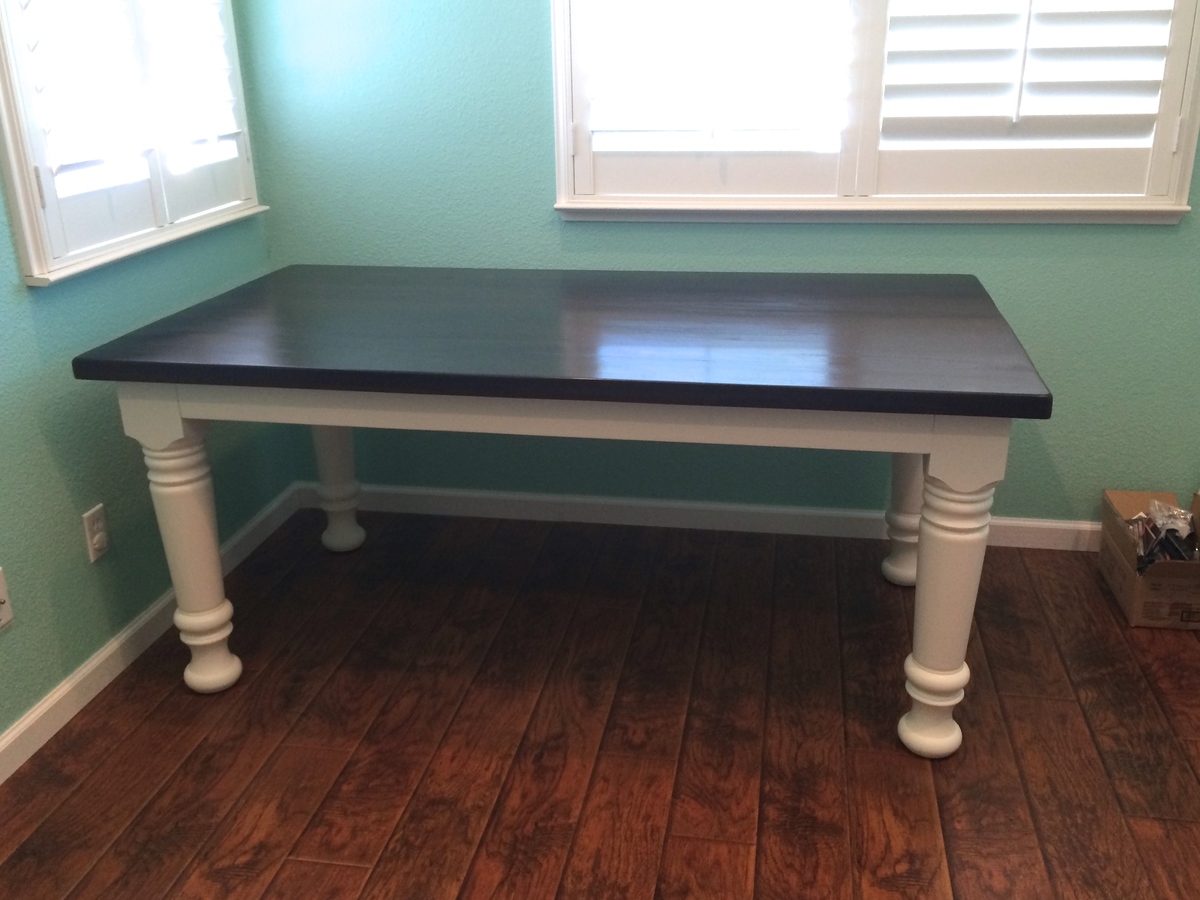
My wife wanted a rock-solid table for her sewing and craft projects, and this Ana White design fit the bill perfectly. We substituted Obsorne's Massive Farm Dining Table Legs to give it a more imposing look and feel.

I ended up spending a fair amount of time on the finish, but I couldn't be happier with the final product.

Built from Plan(s)
Estimated Cost
$400
Estimated Time Investment
Week Long Project (20 Hours or More)
Finish Used
General Finishes Java Gel stain and satin clear polyacrylic for tabletop, acrylic eggshell for the legs and apron.
Recommended Skill Level
Beginner

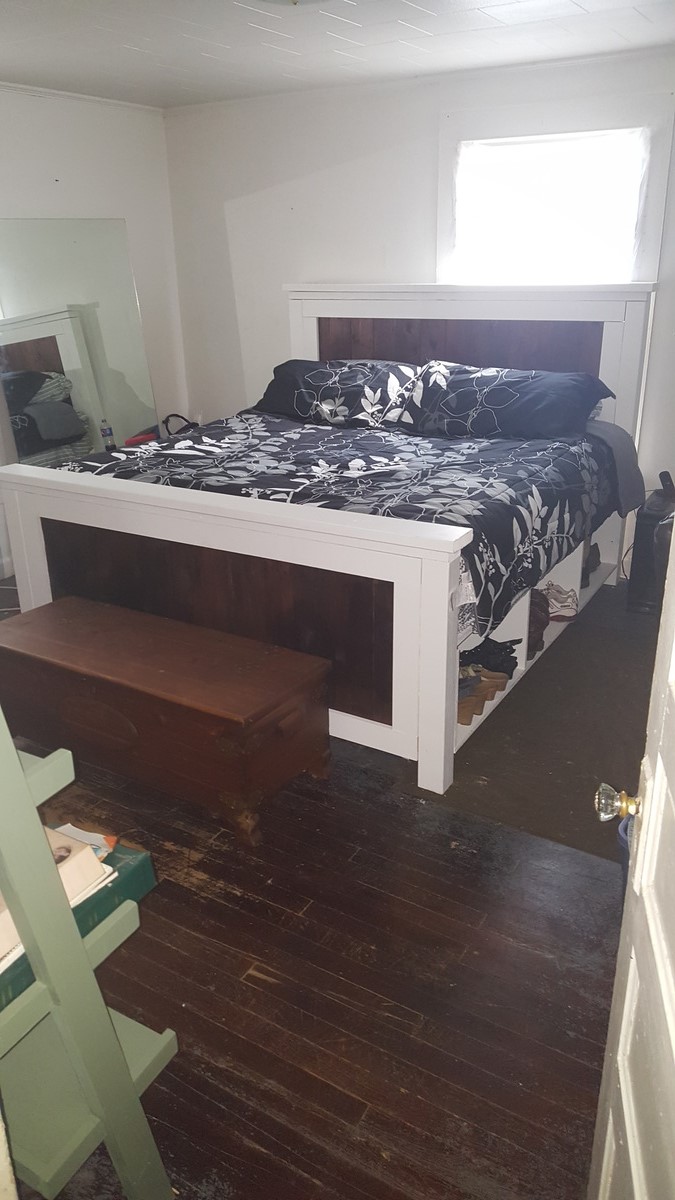
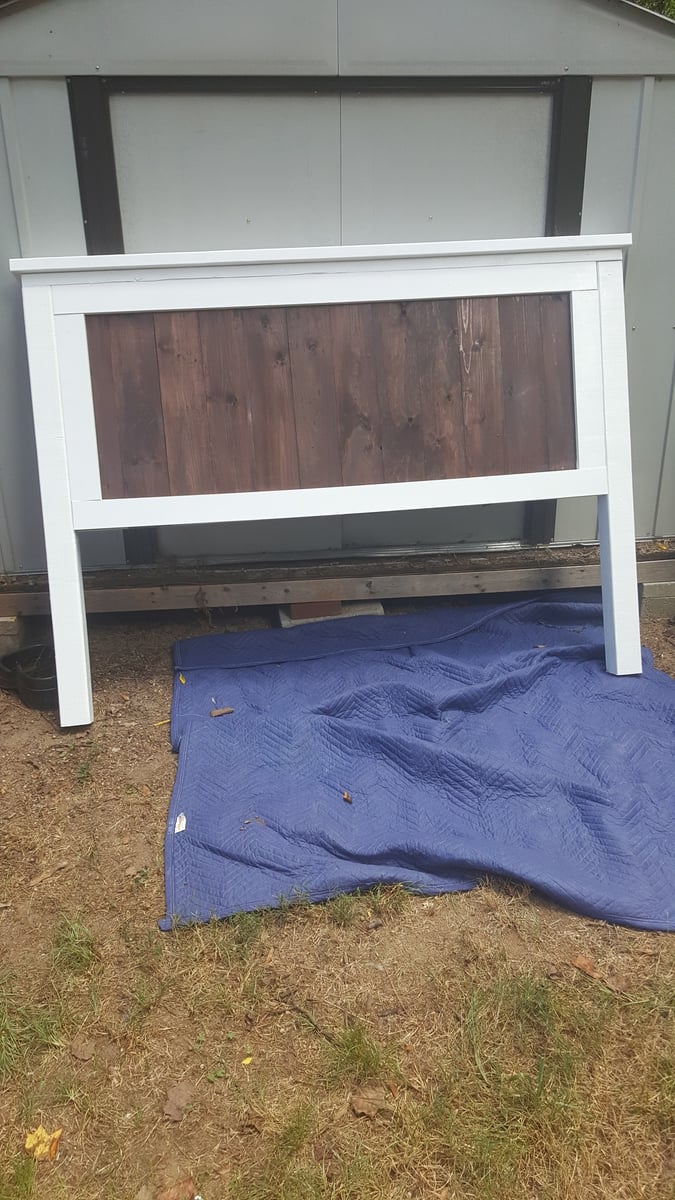
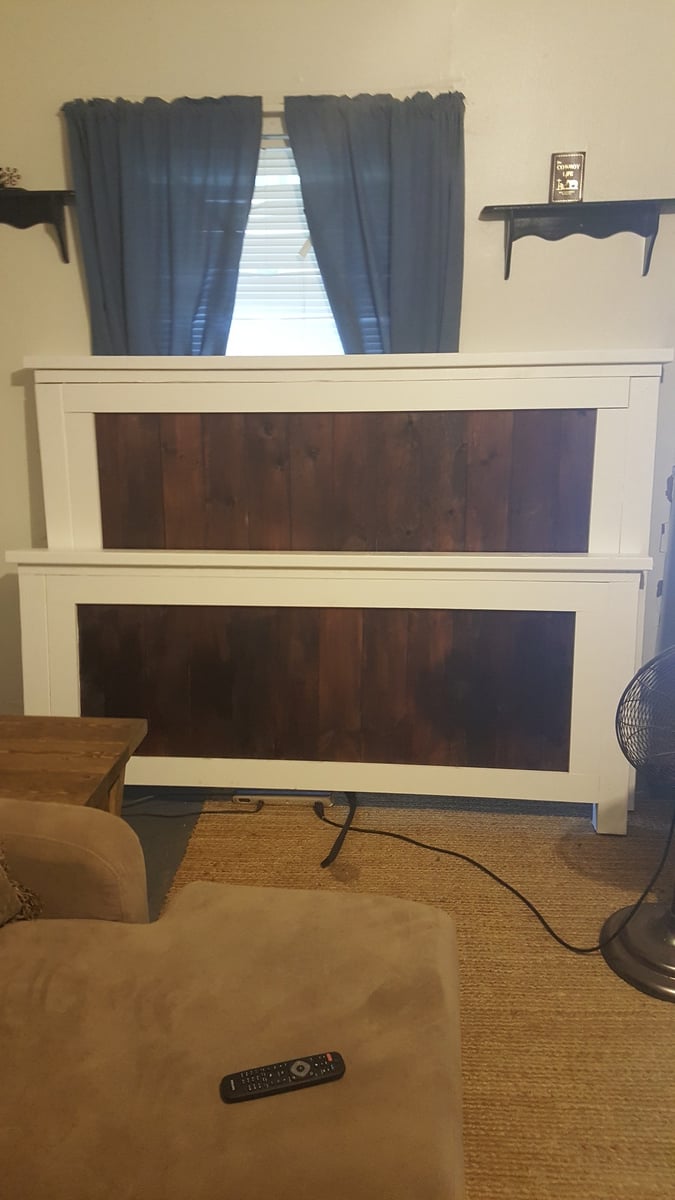
Hailey headboard

Submitted by Anonymous (not verified) on Mon, 10/10/2016 - 18:07

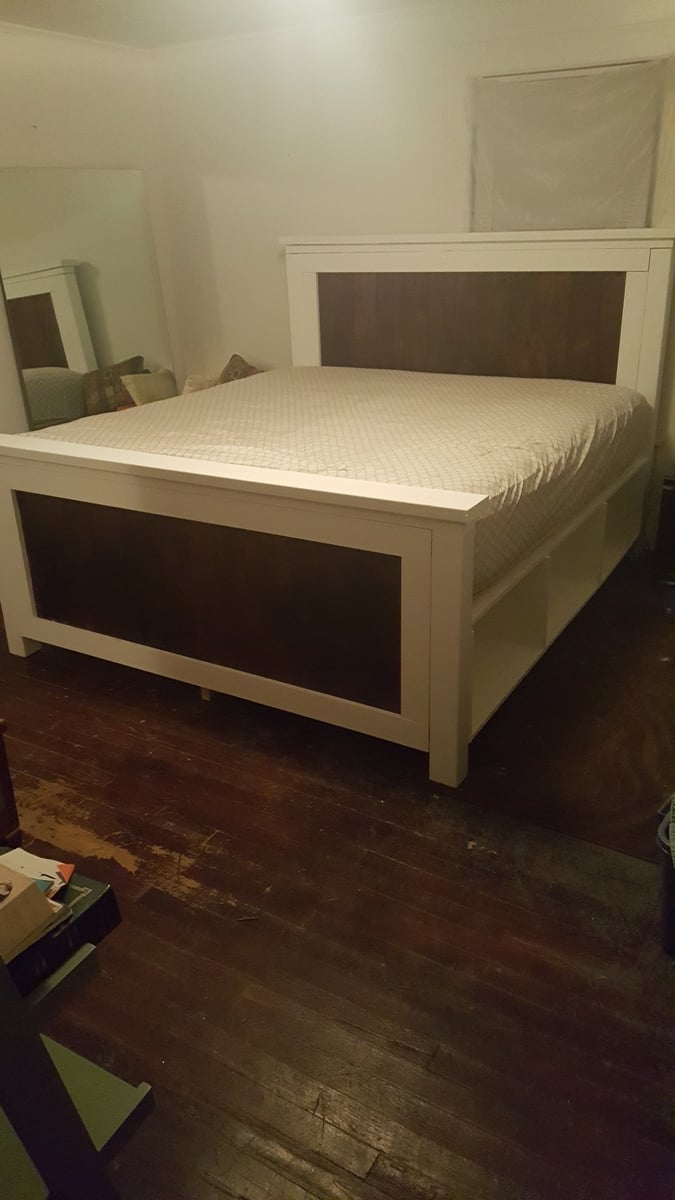
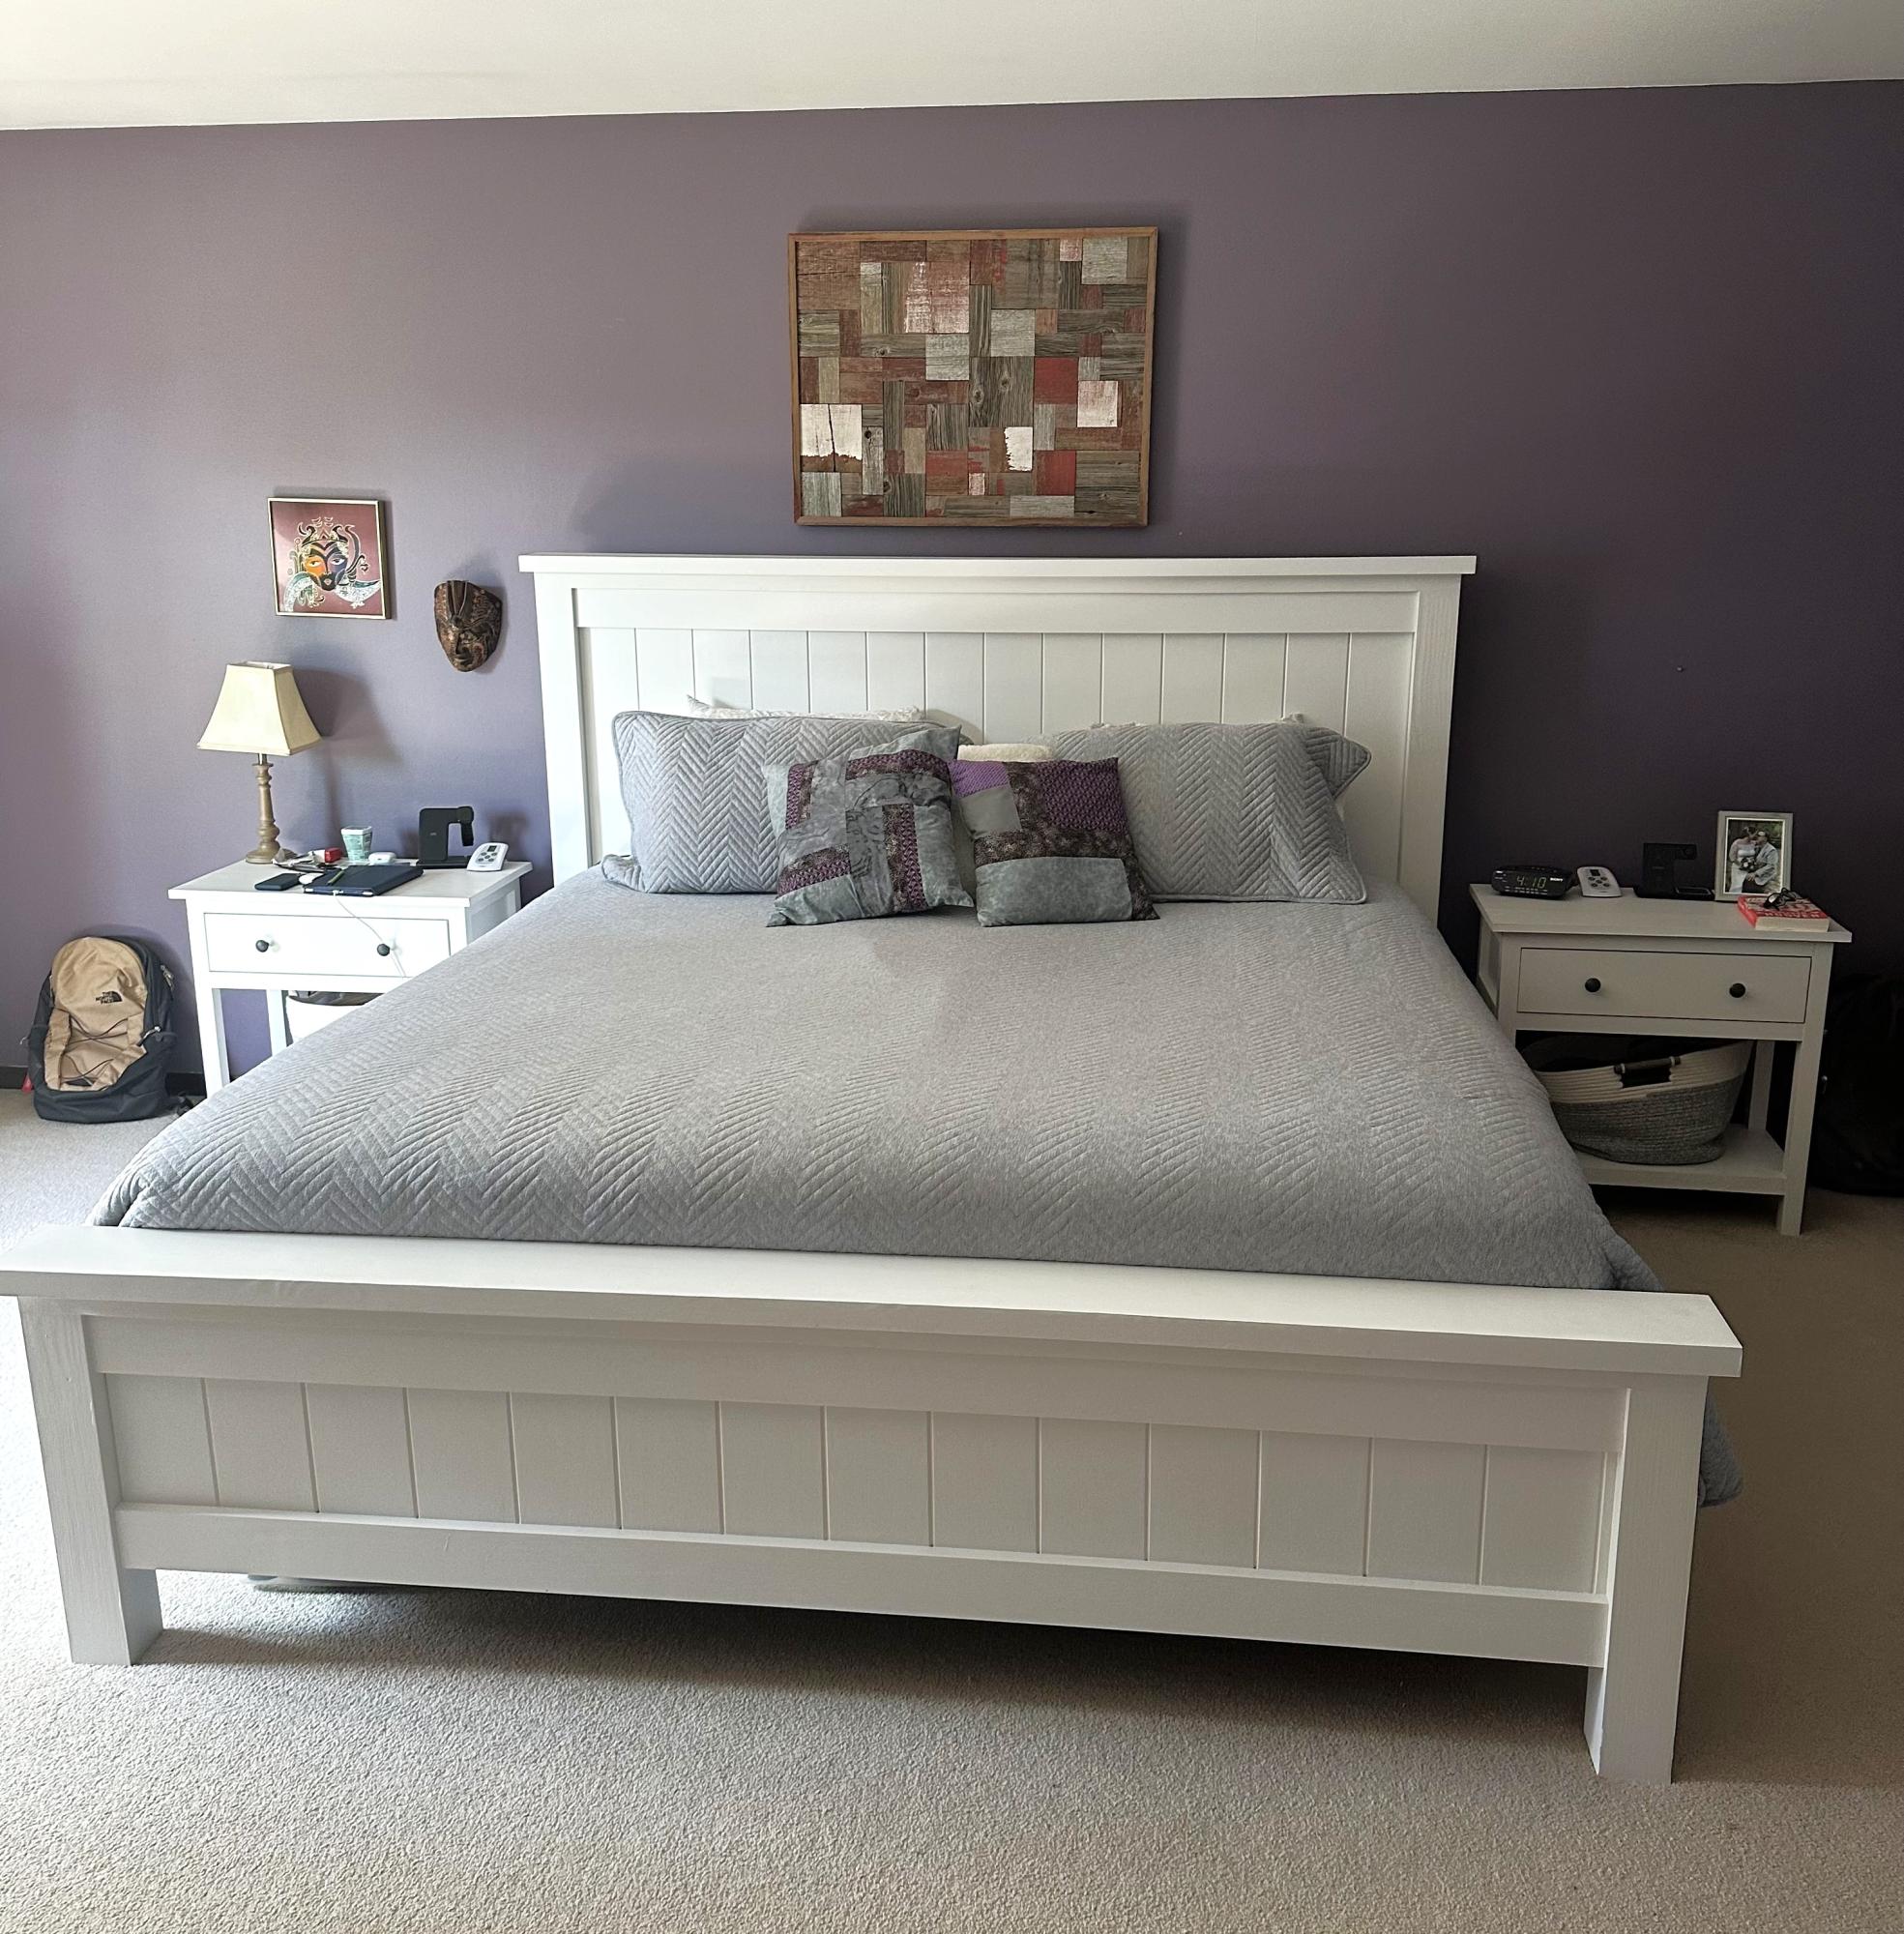
King size, so I added two 1x3 supports on the back. I love it!

Built from Plan(s)
Estimated Cost
200
Estimated Time Investment
Day Project (6-9 Hours)
Finish Used
Special walnut with classic gray on top
Recommended Skill Level
Beginner

2x4 Modern Adirondack Chairs

Submitted by chc469 on Fri, 07/10/2020 - 10:46

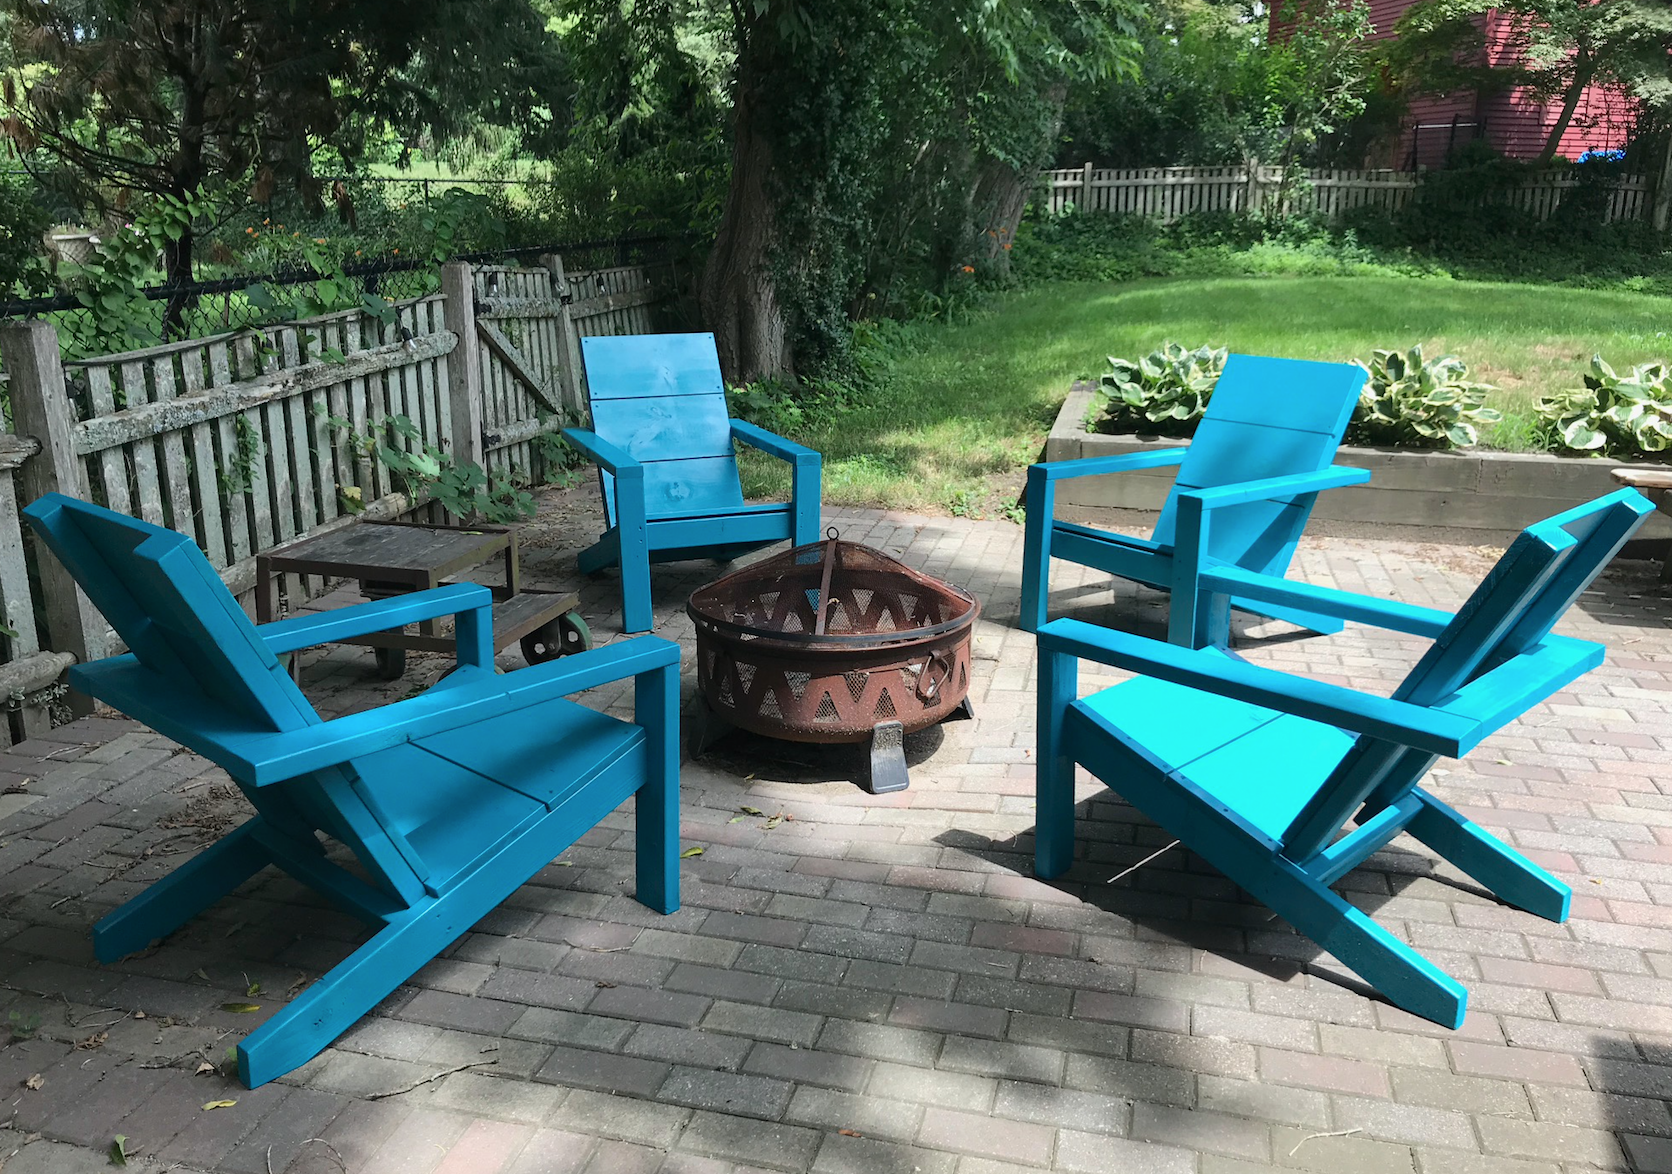
My first Ana White project! I'm getting so many compliments on these! My shop is my driveway so due to the weather, it took me about a week to get these built and painted. And I can only fit enough wood in my car to make one at a time! But they were so fun and easy to make!

Estimated Cost
about $50 per chair including paint
Estimated Time Investment
Week Long Project (20 Hours or More)
Finish Used
Spray painted with 2 coats of Rust-oleum in Satin Lagoon and 2 coats of Rust-oleum clear enamel (to keep the color from rubbing off on peoples clothing)
Recommended Skill Level
Beginner

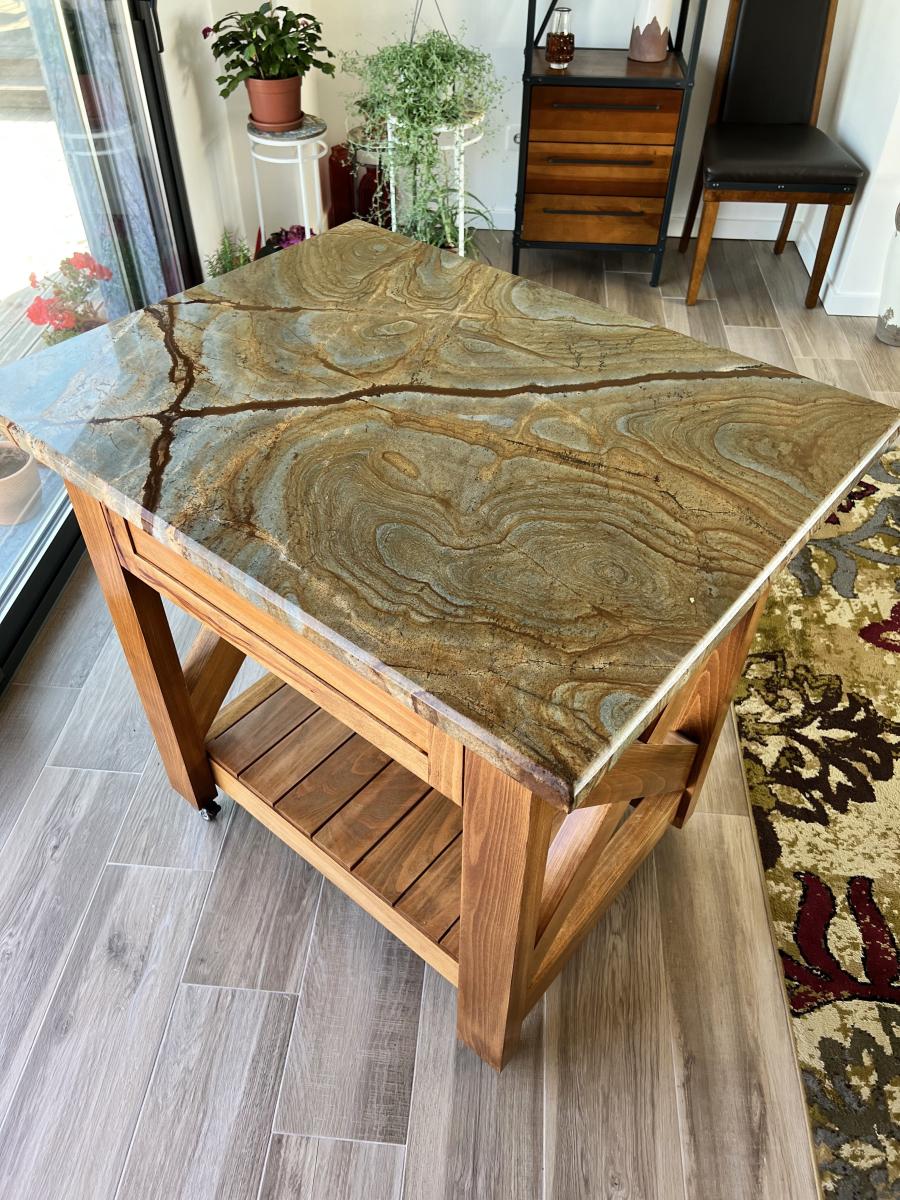
Custom Island with Granite Top

Submitted by Anonymous (not verified) on Thu, 05/23/2024 - 14:33

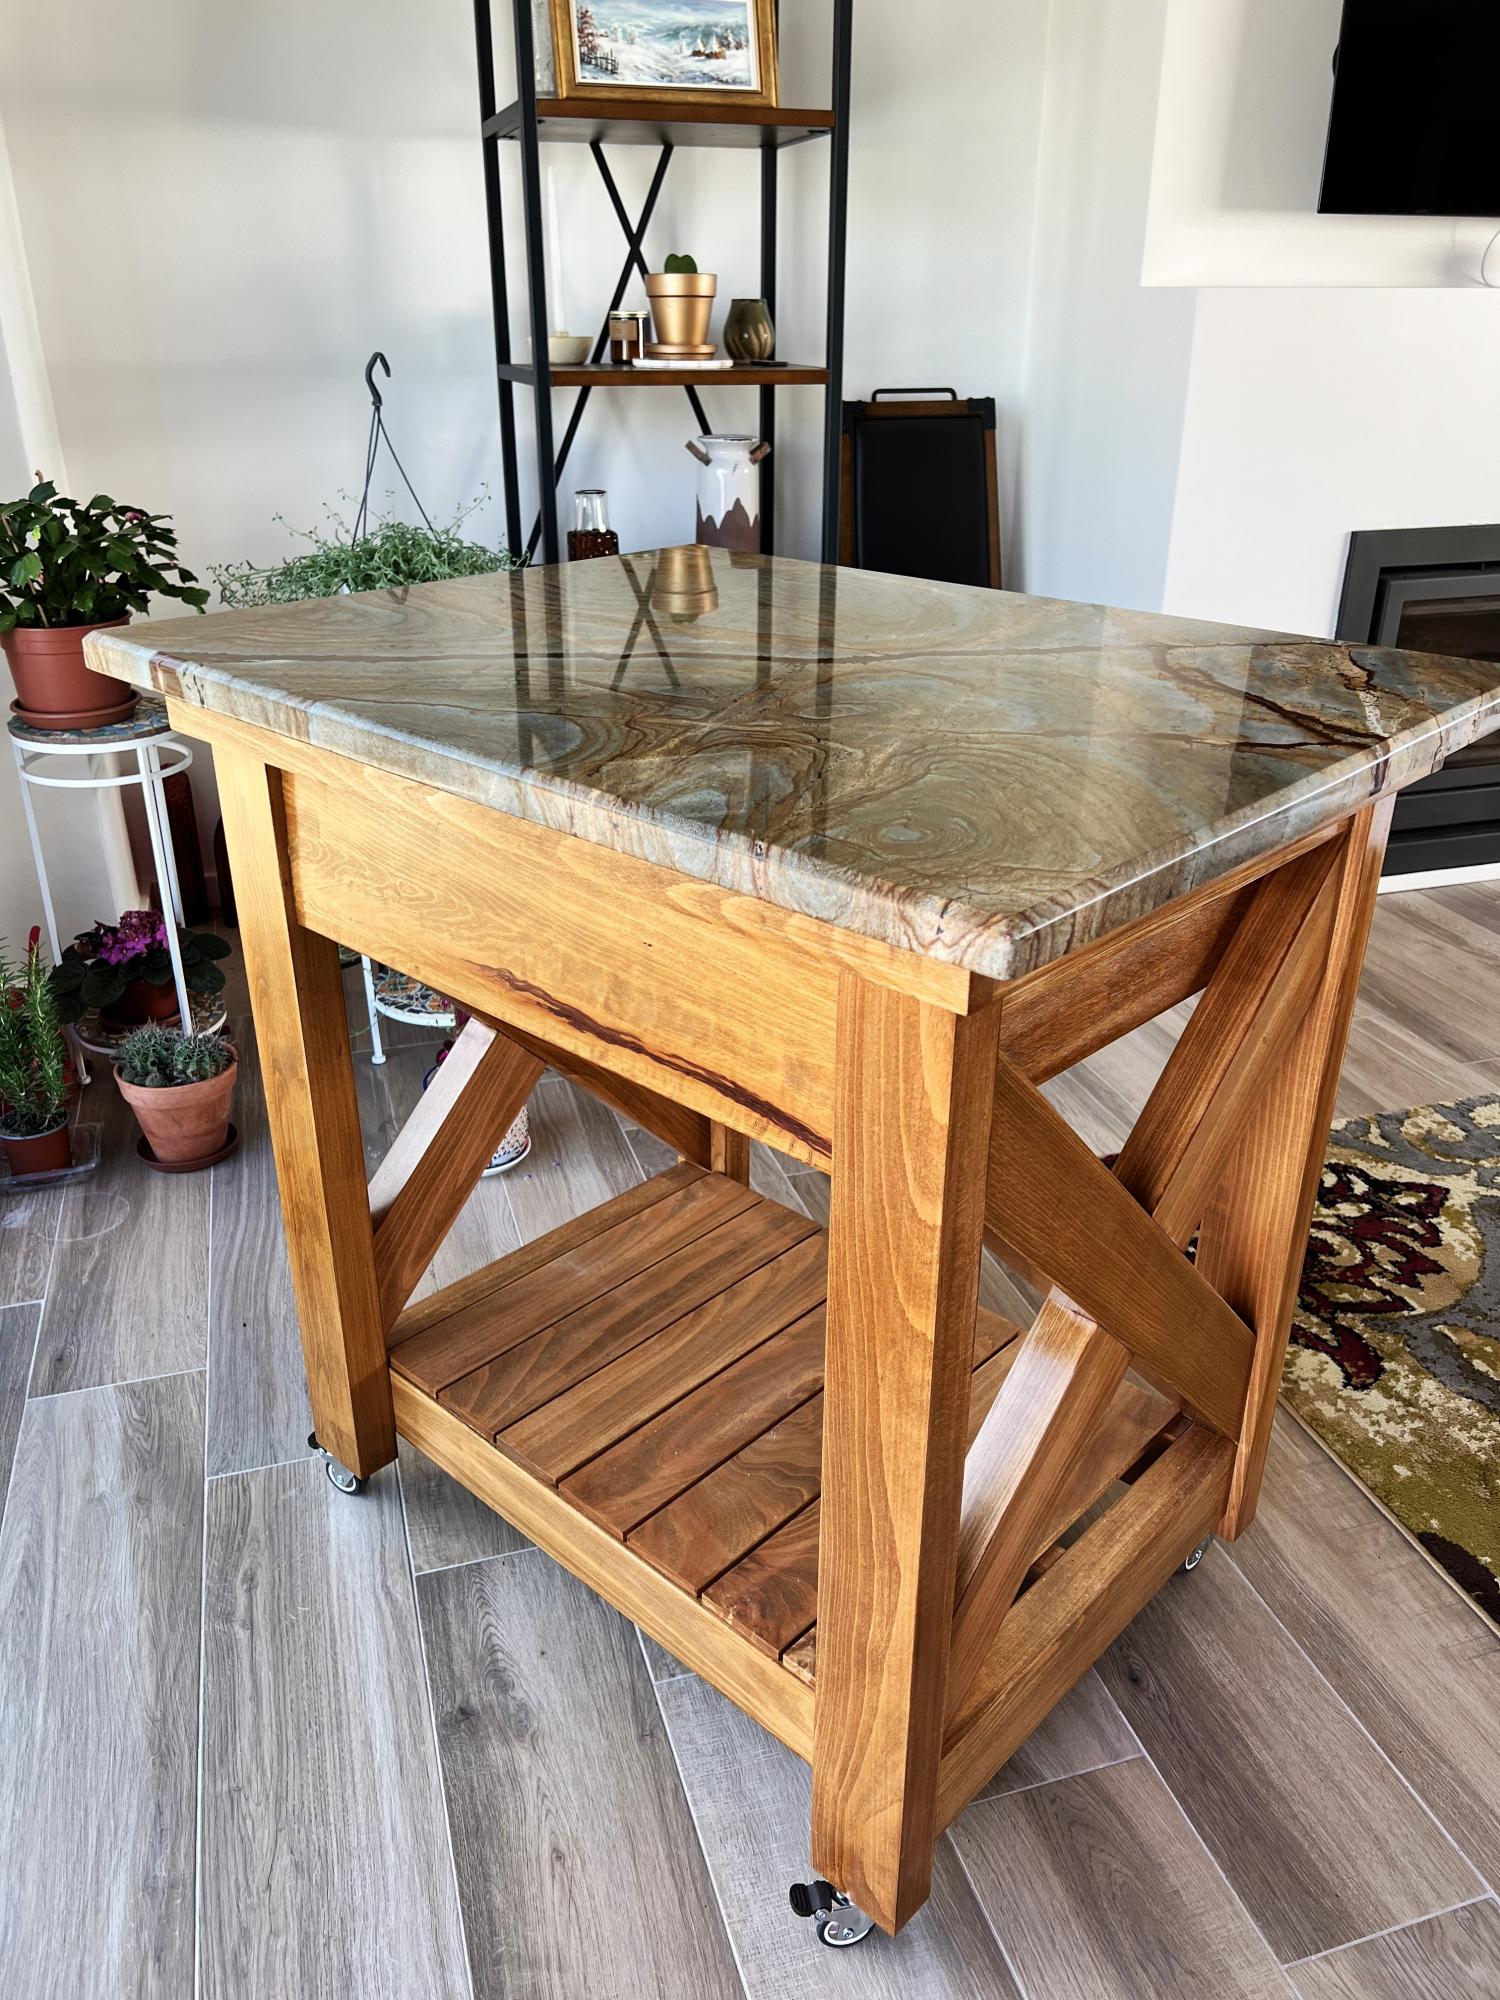
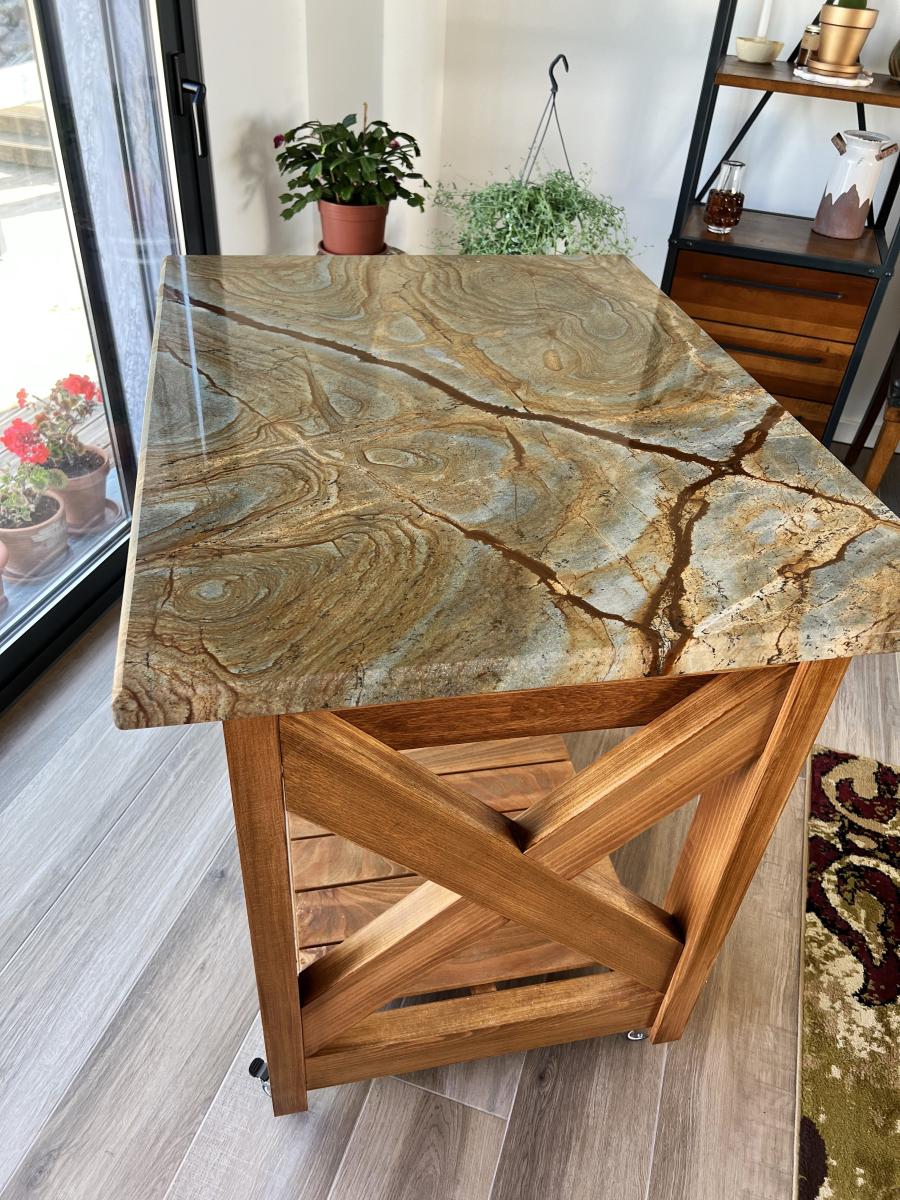
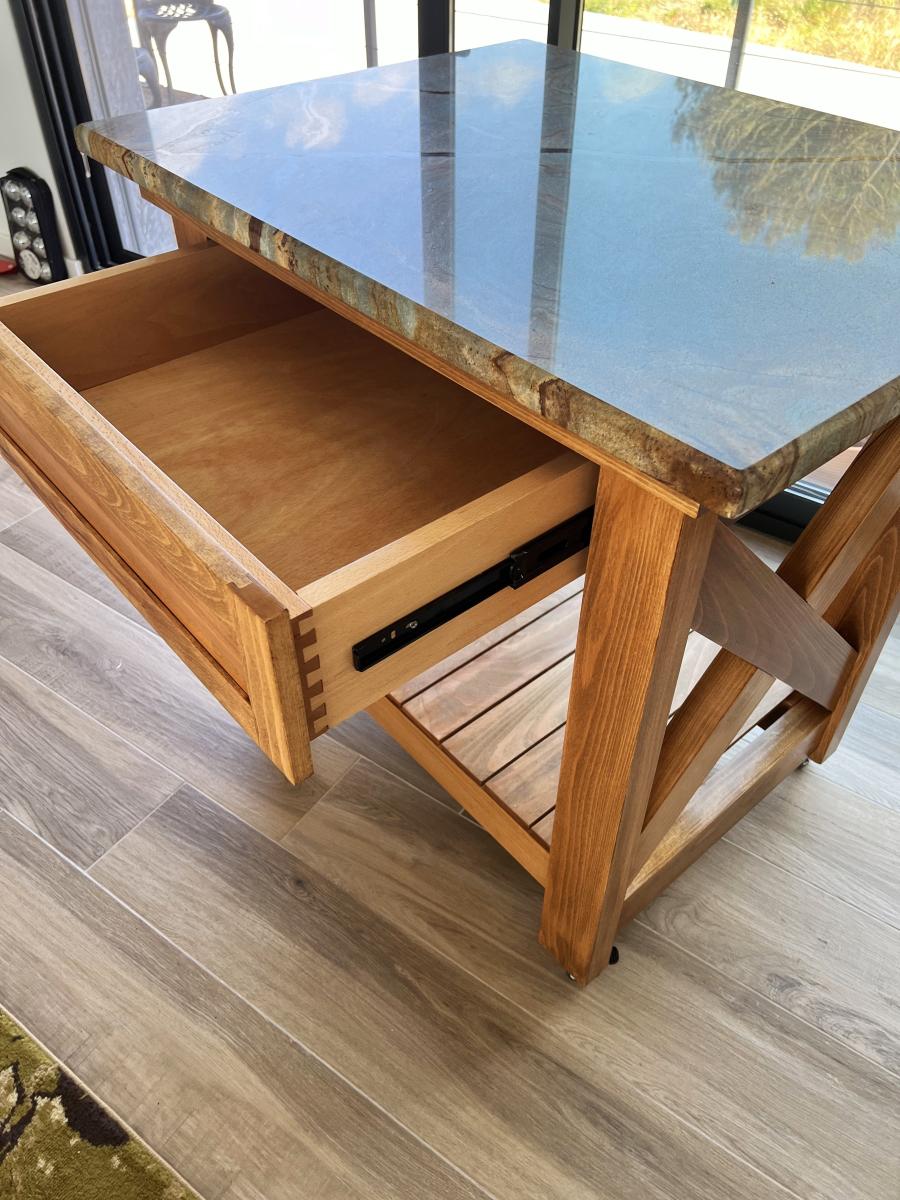
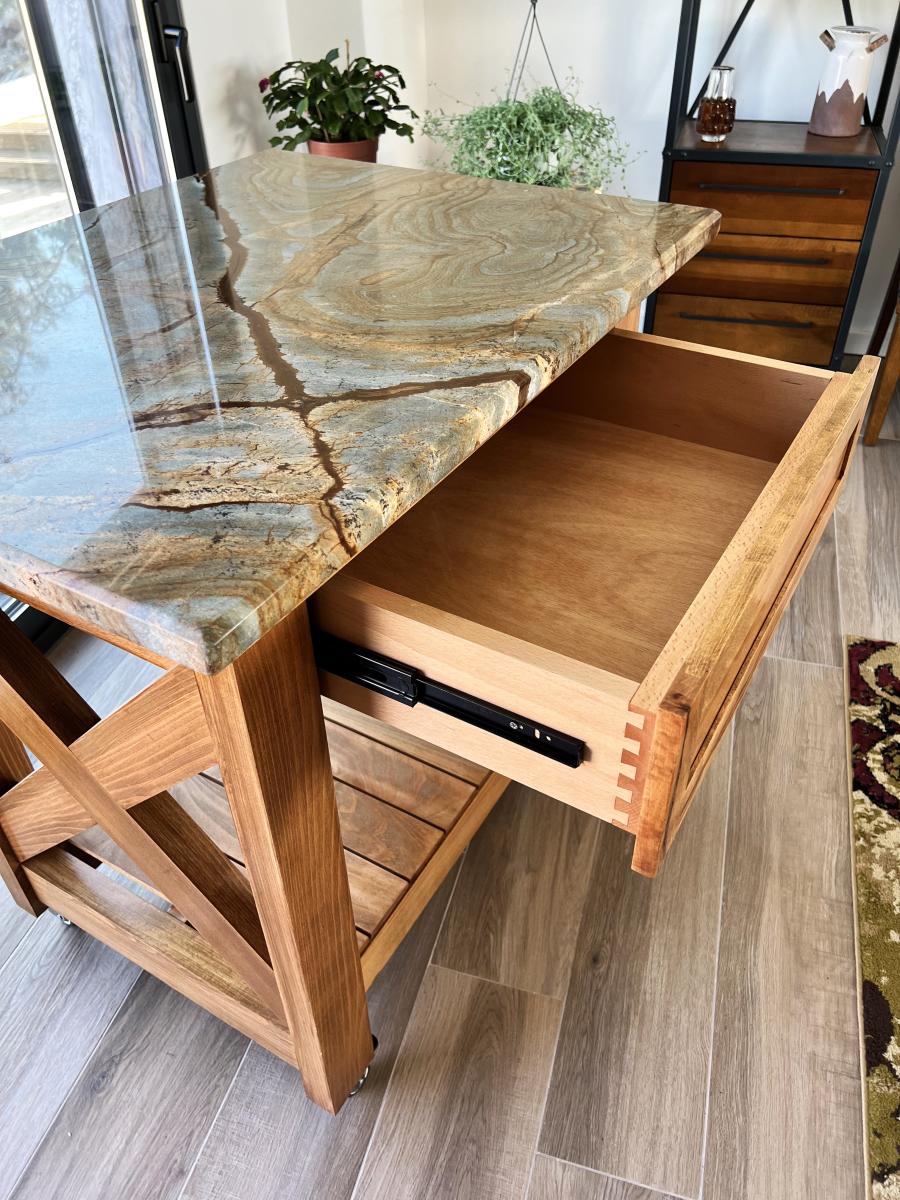
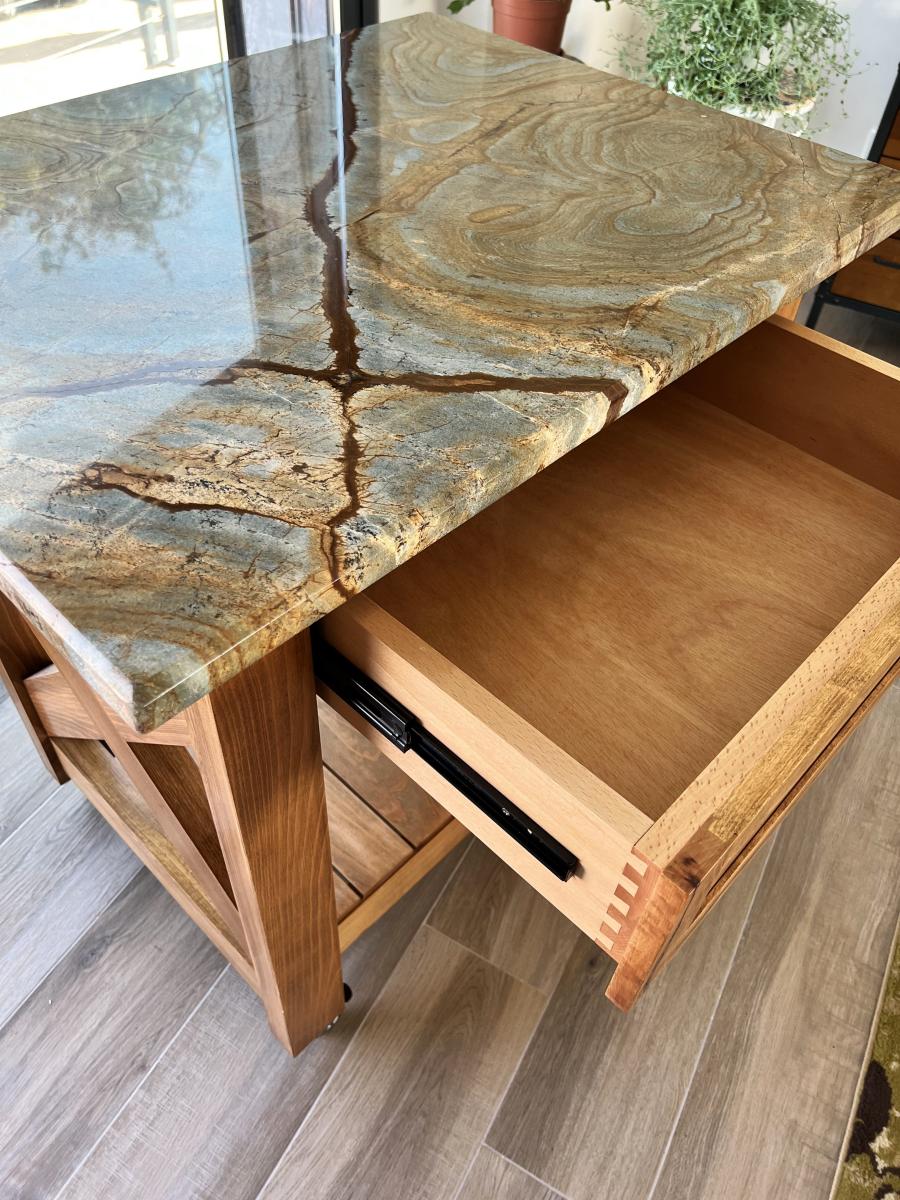
I made a few changes to the original plans for this island. I had to convert all measurements to metric to begin with. I live in Portugal and standard size woods, such as 2x4s are simply not available. I found a lumber yard that had some extremely nice German Oak which was a pleasure to work with. Although, this did add some weight to the finished project. All wood needed to be jointed and planed to ensure straightness. The "X" cross braces are full length. I used my router to remove half the thickness where they intersect so that they interlock with each other.
The granite top was a remnant we brought with us when we moved here and was sized and shaped previously. Instead of using pocket screws to join pieces together I opted for doweling all pieces and did not use screws at all, except when attaching the tracks for the drawer.
Fortunately, the overall plans did not require much alteration to accommodate the granite.
I would have liked larger wheels but these allowed for the island to match the countertop height in our kitchen.

Christopher Mathrusse

Back