Miter Saw Cart
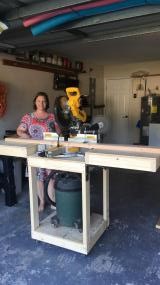
I love this Miter Saw Cart. The plans were easy to follow and tweak to work with what I had on hand. I love all of Ana White's plans, passion, and inspiration. Happy Building!
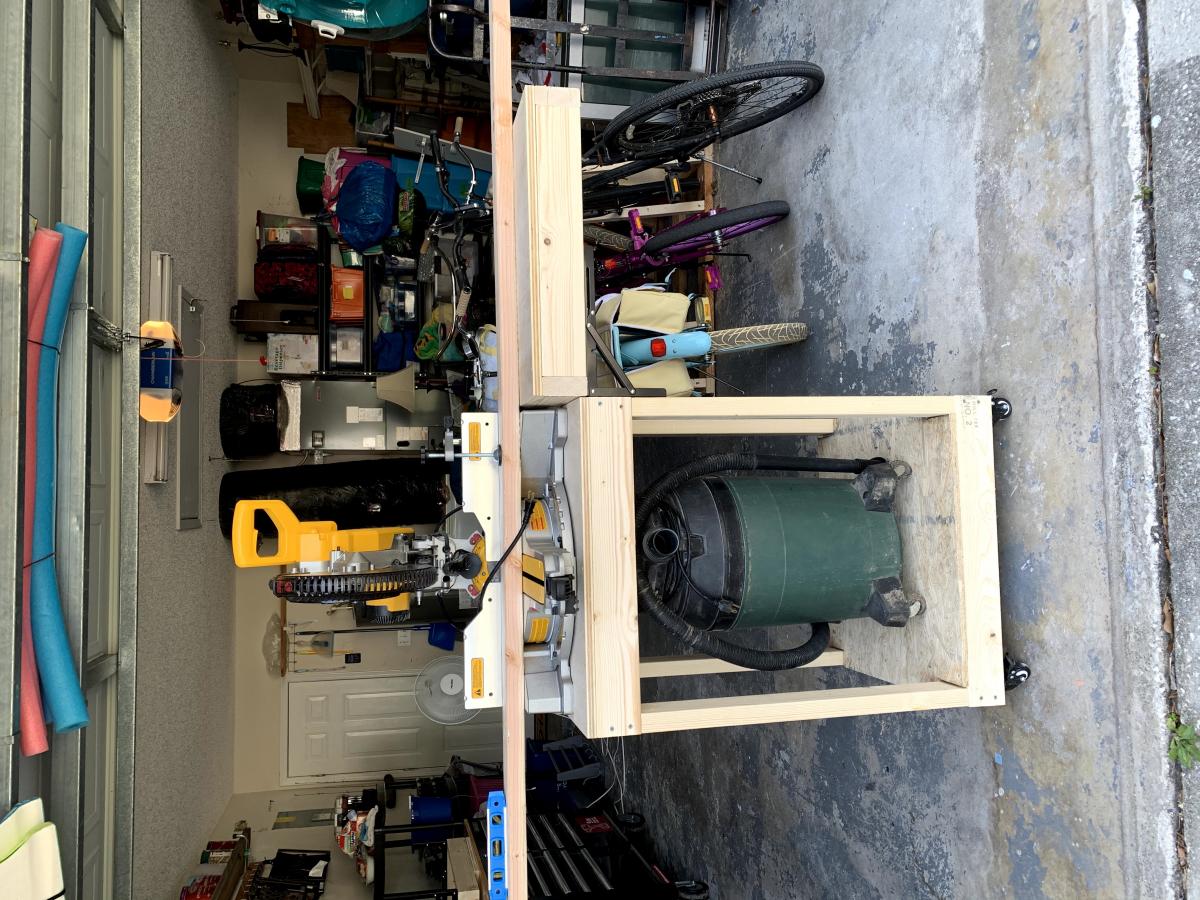

I love this Miter Saw Cart. The plans were easy to follow and tweak to work with what I had on hand. I love all of Ana White's plans, passion, and inspiration. Happy Building!

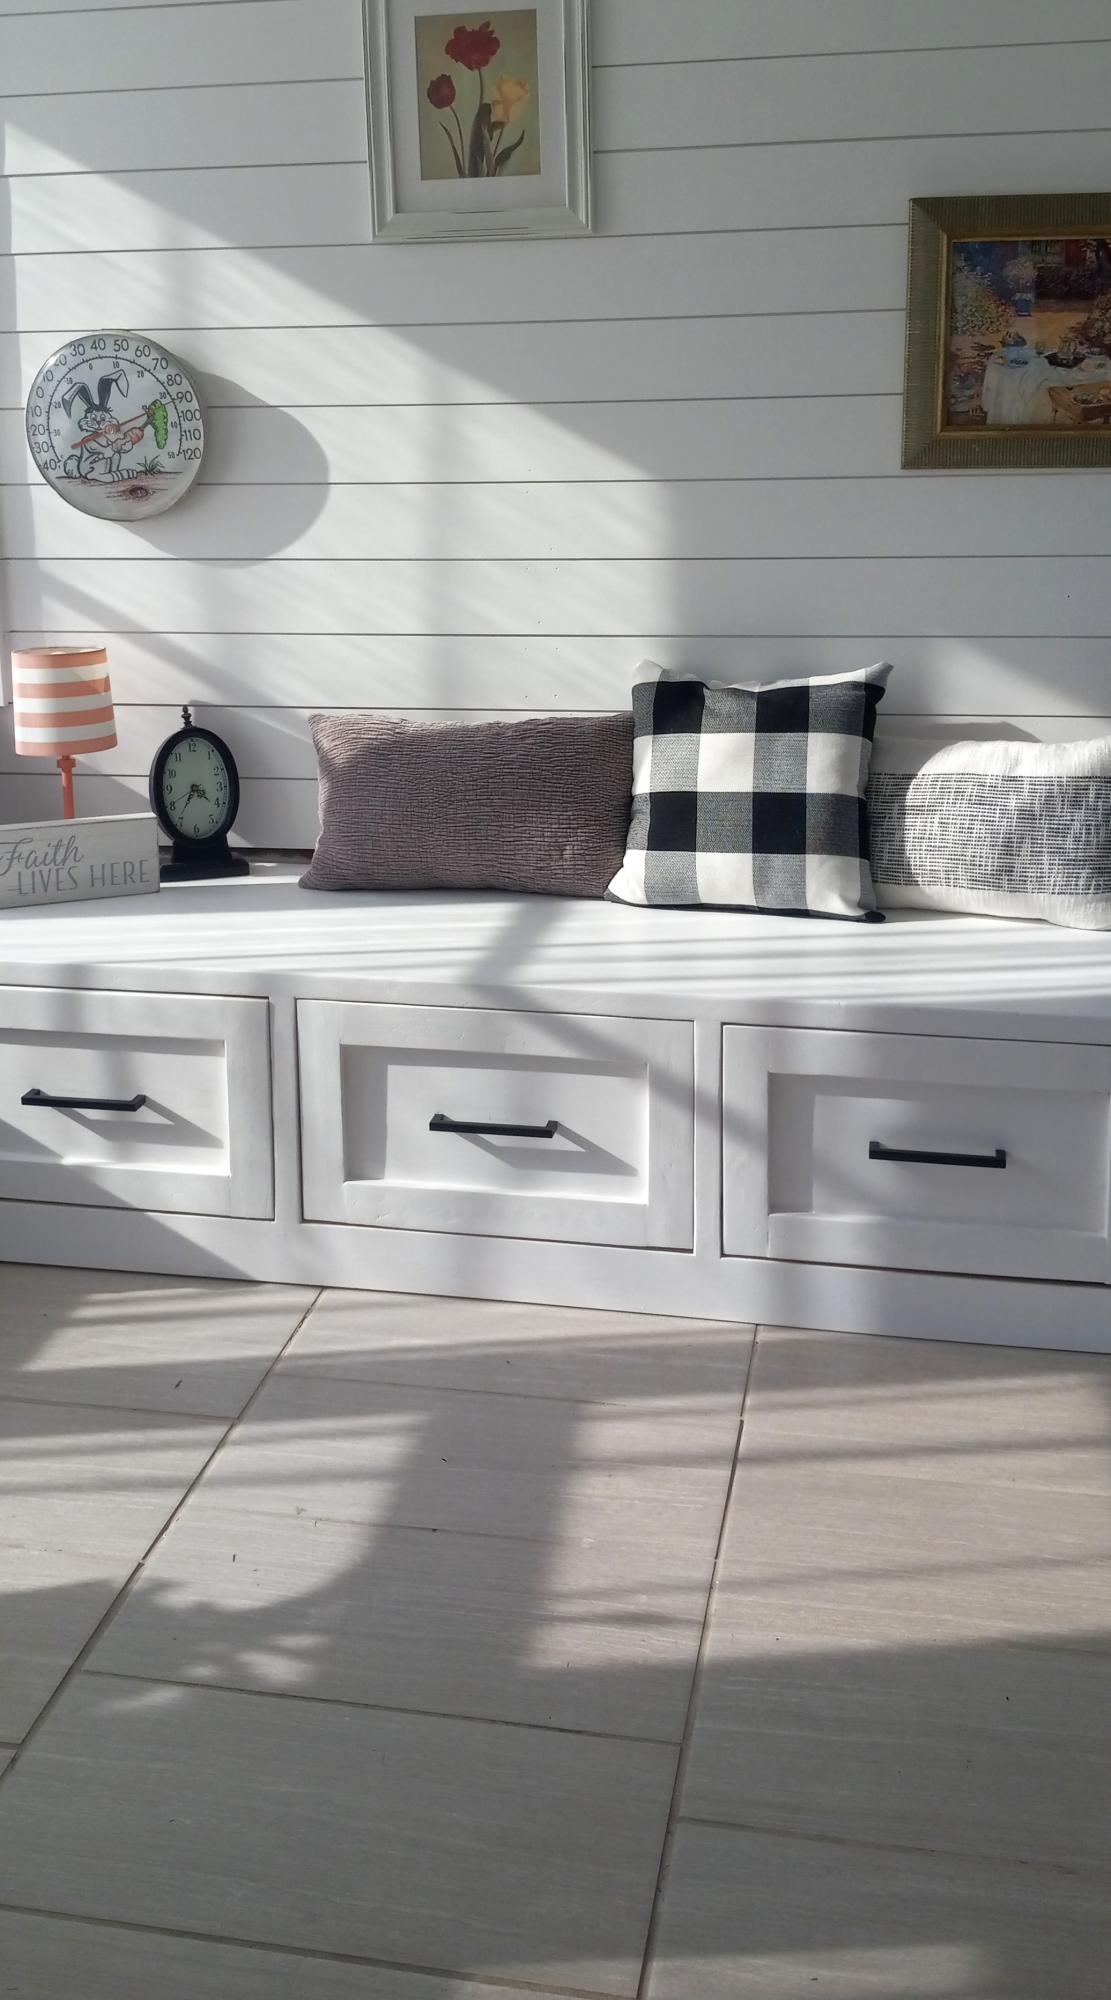
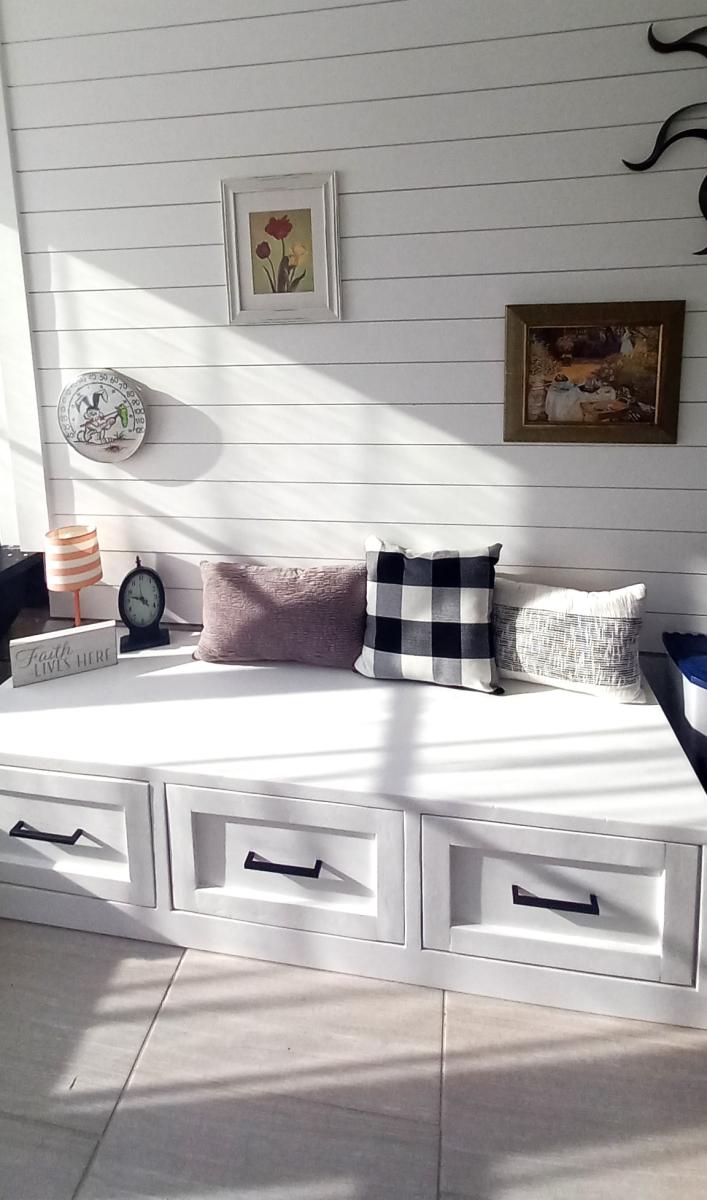
My 1st build ...I'm quite happy with it and hooked on building! I made this for storage in my puzzle room. - Elva Boots
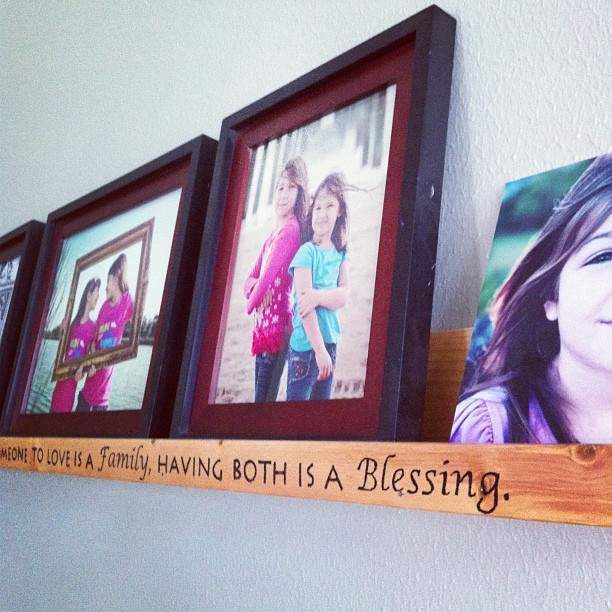
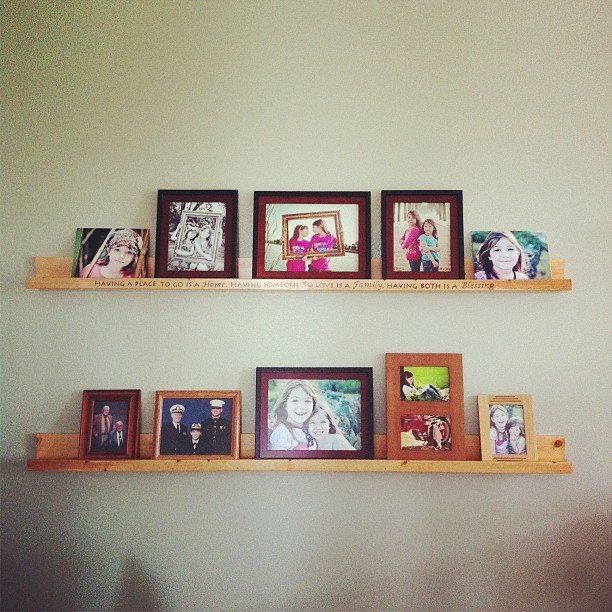
I wanted to add a little homey touch to my ledges so I burned a saying into one of the two ledges in each pair. My husband and I used the plan for the Ten Dollar Ledges and instead of painting, we finished them with Stain/Finish in one.
Tue, 12/11/2012 - 16:11
I love how this looks!! I must know! How did you burn it? And are they individual letters? Anyways, this is so lovely! Almost as much as the pictures on the shelves!! :)
Tue, 12/11/2012 - 16:35
Yes, please do tell! How did you burn the letters? I love how it looks and I love the saying. Very nice job.

This is my first "finished" project. It is made of 3/4 inch maple, which I purchased from a big box store. I cut the top boards to 38 1/2 inches long and used seven boards (1x6's) for the top. Using the kreg pocket hole tool, some glue and 2 clamps - I was able to easily join the top. This process took several days because I only had 2 clamps and took my time joining 2 boards at one time. The outer edge of the table is mitred 1x2's so the top looks like it is 2 inches thick, but it is only 3/4 of an inch.
The legs are made of four of the 1x4's glued together and cut to 18 inches in length. The base (apron) is made of 1x4's cut to 30 1/2 inches long and attached to the legs using pocket holes / screws and glue - leaving a reveal edge. I also added two 1x2's in the middle of the base for added strength for the top. The top was pocket hole / screwed to the base.
The finish is Generals gel stain in Java colour - two coats. Then I added three coats of gel polyurethane.


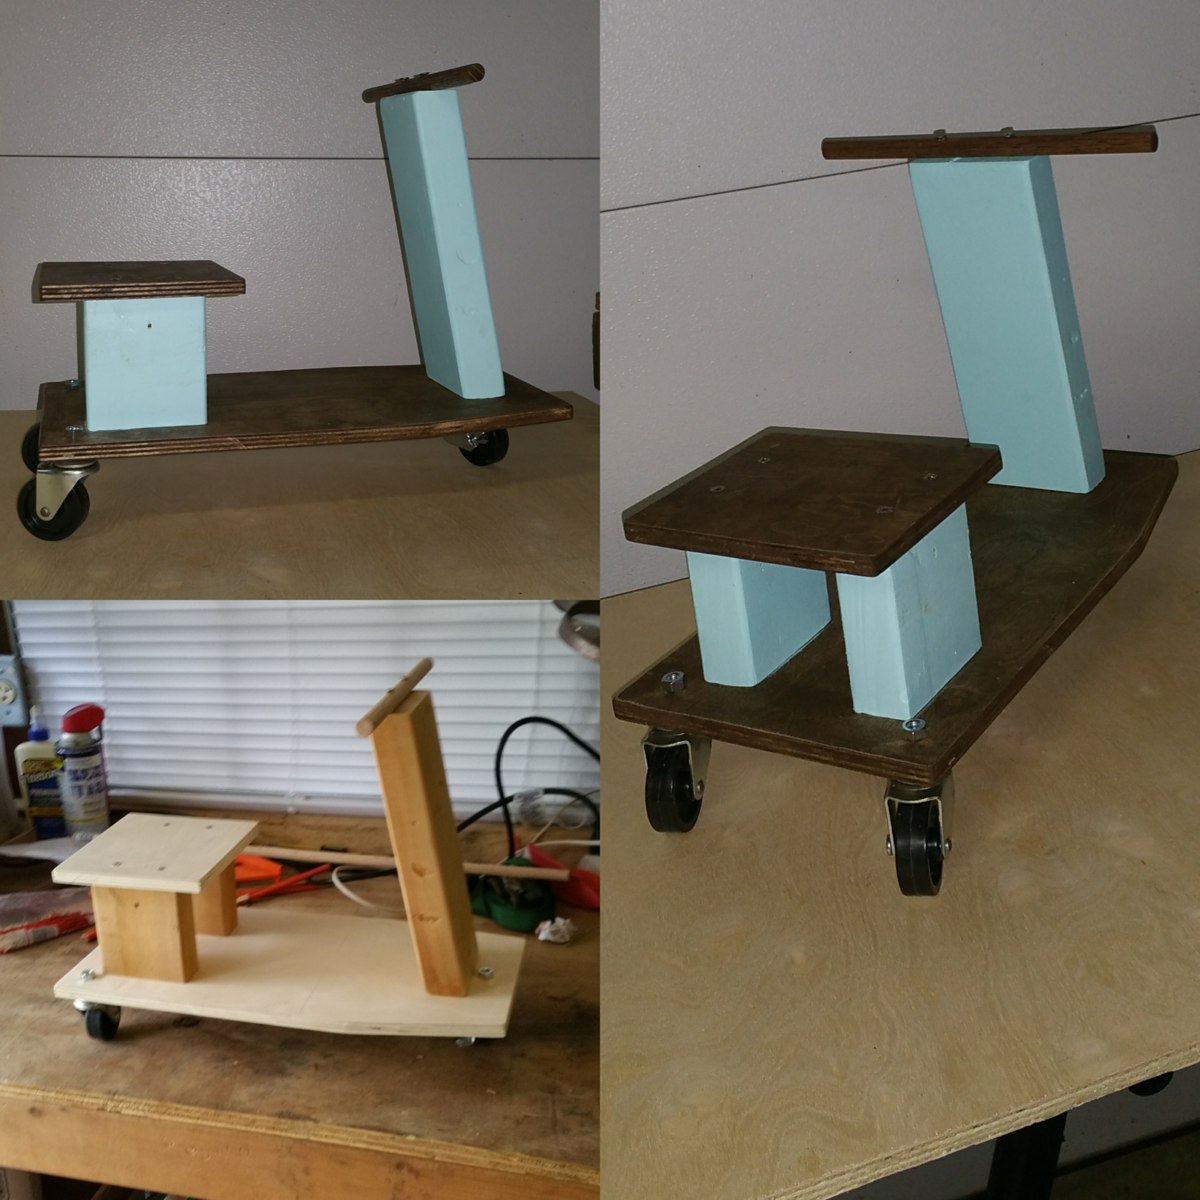
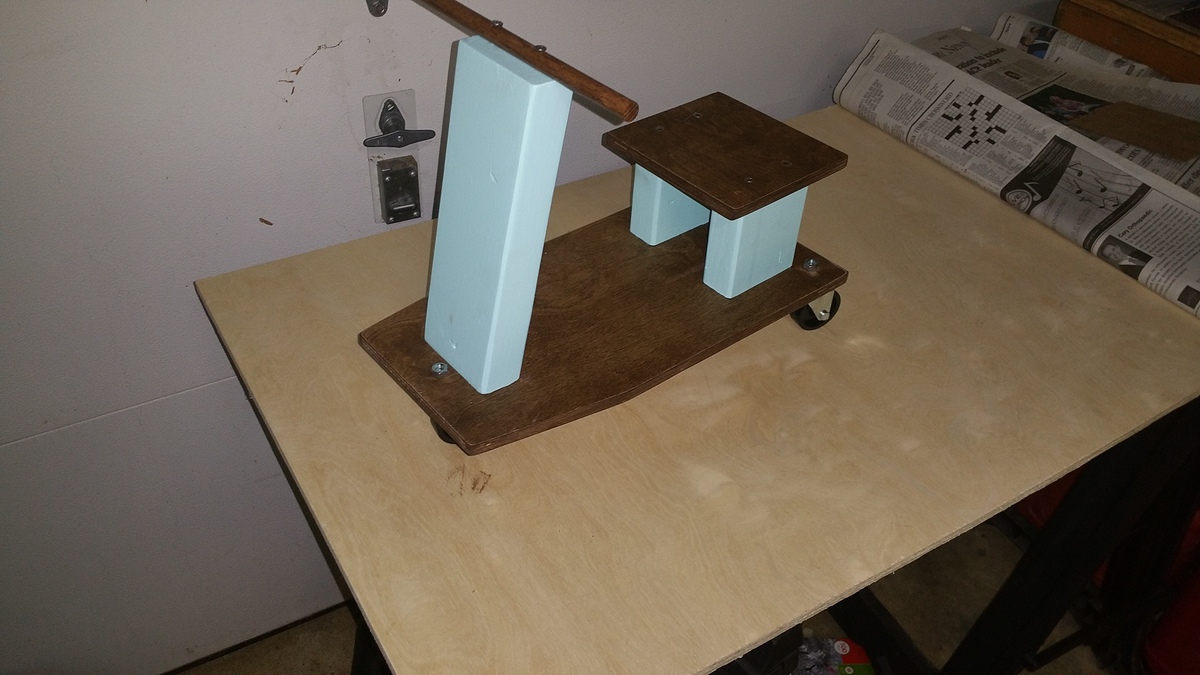
I use the plans as inspiration to build a scooter from scraps I had lying around. I spent about $5 on the can of stain.
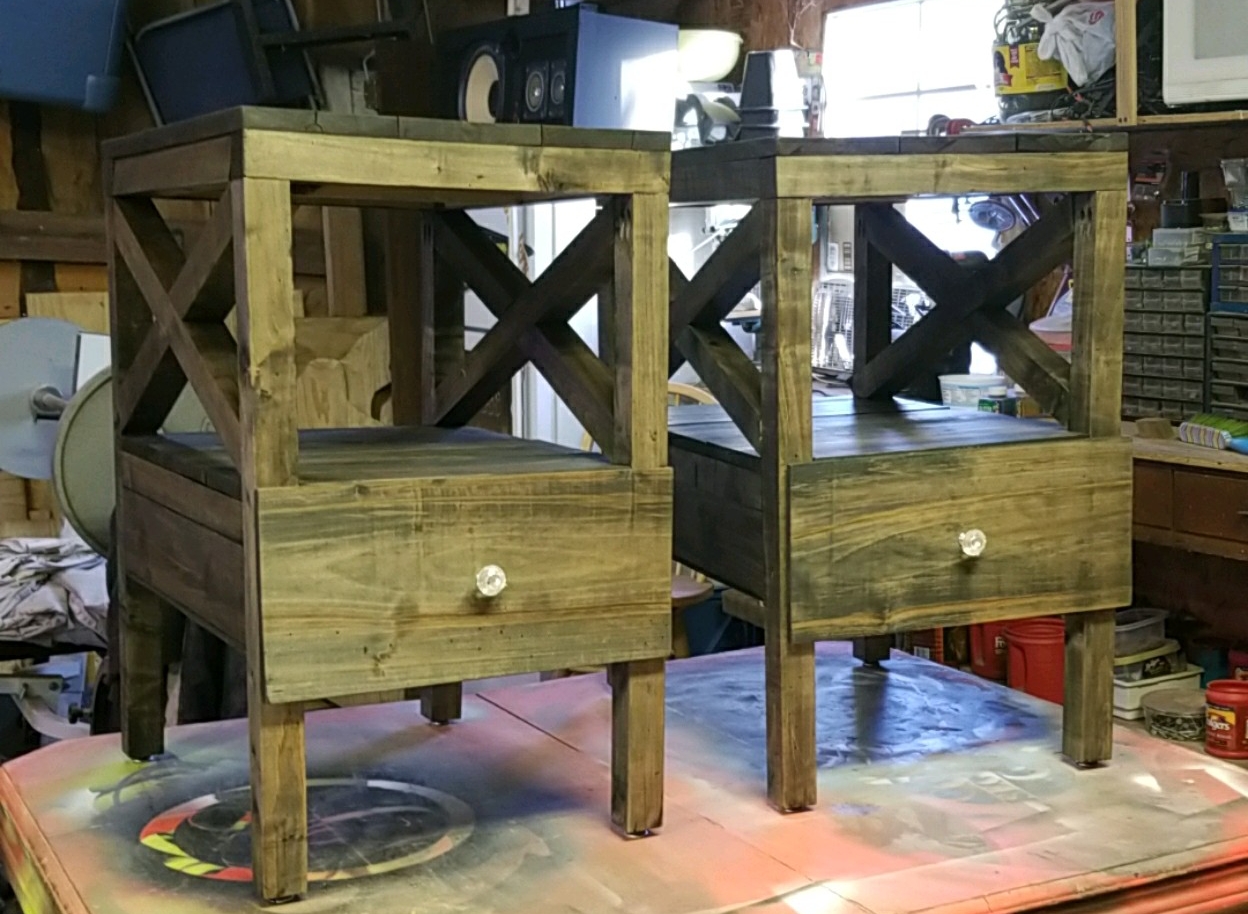
Love how these end tables turned out. The wood came from a maple tree and cut from my father’s sawmill, made for my daughter. They are stained gray.
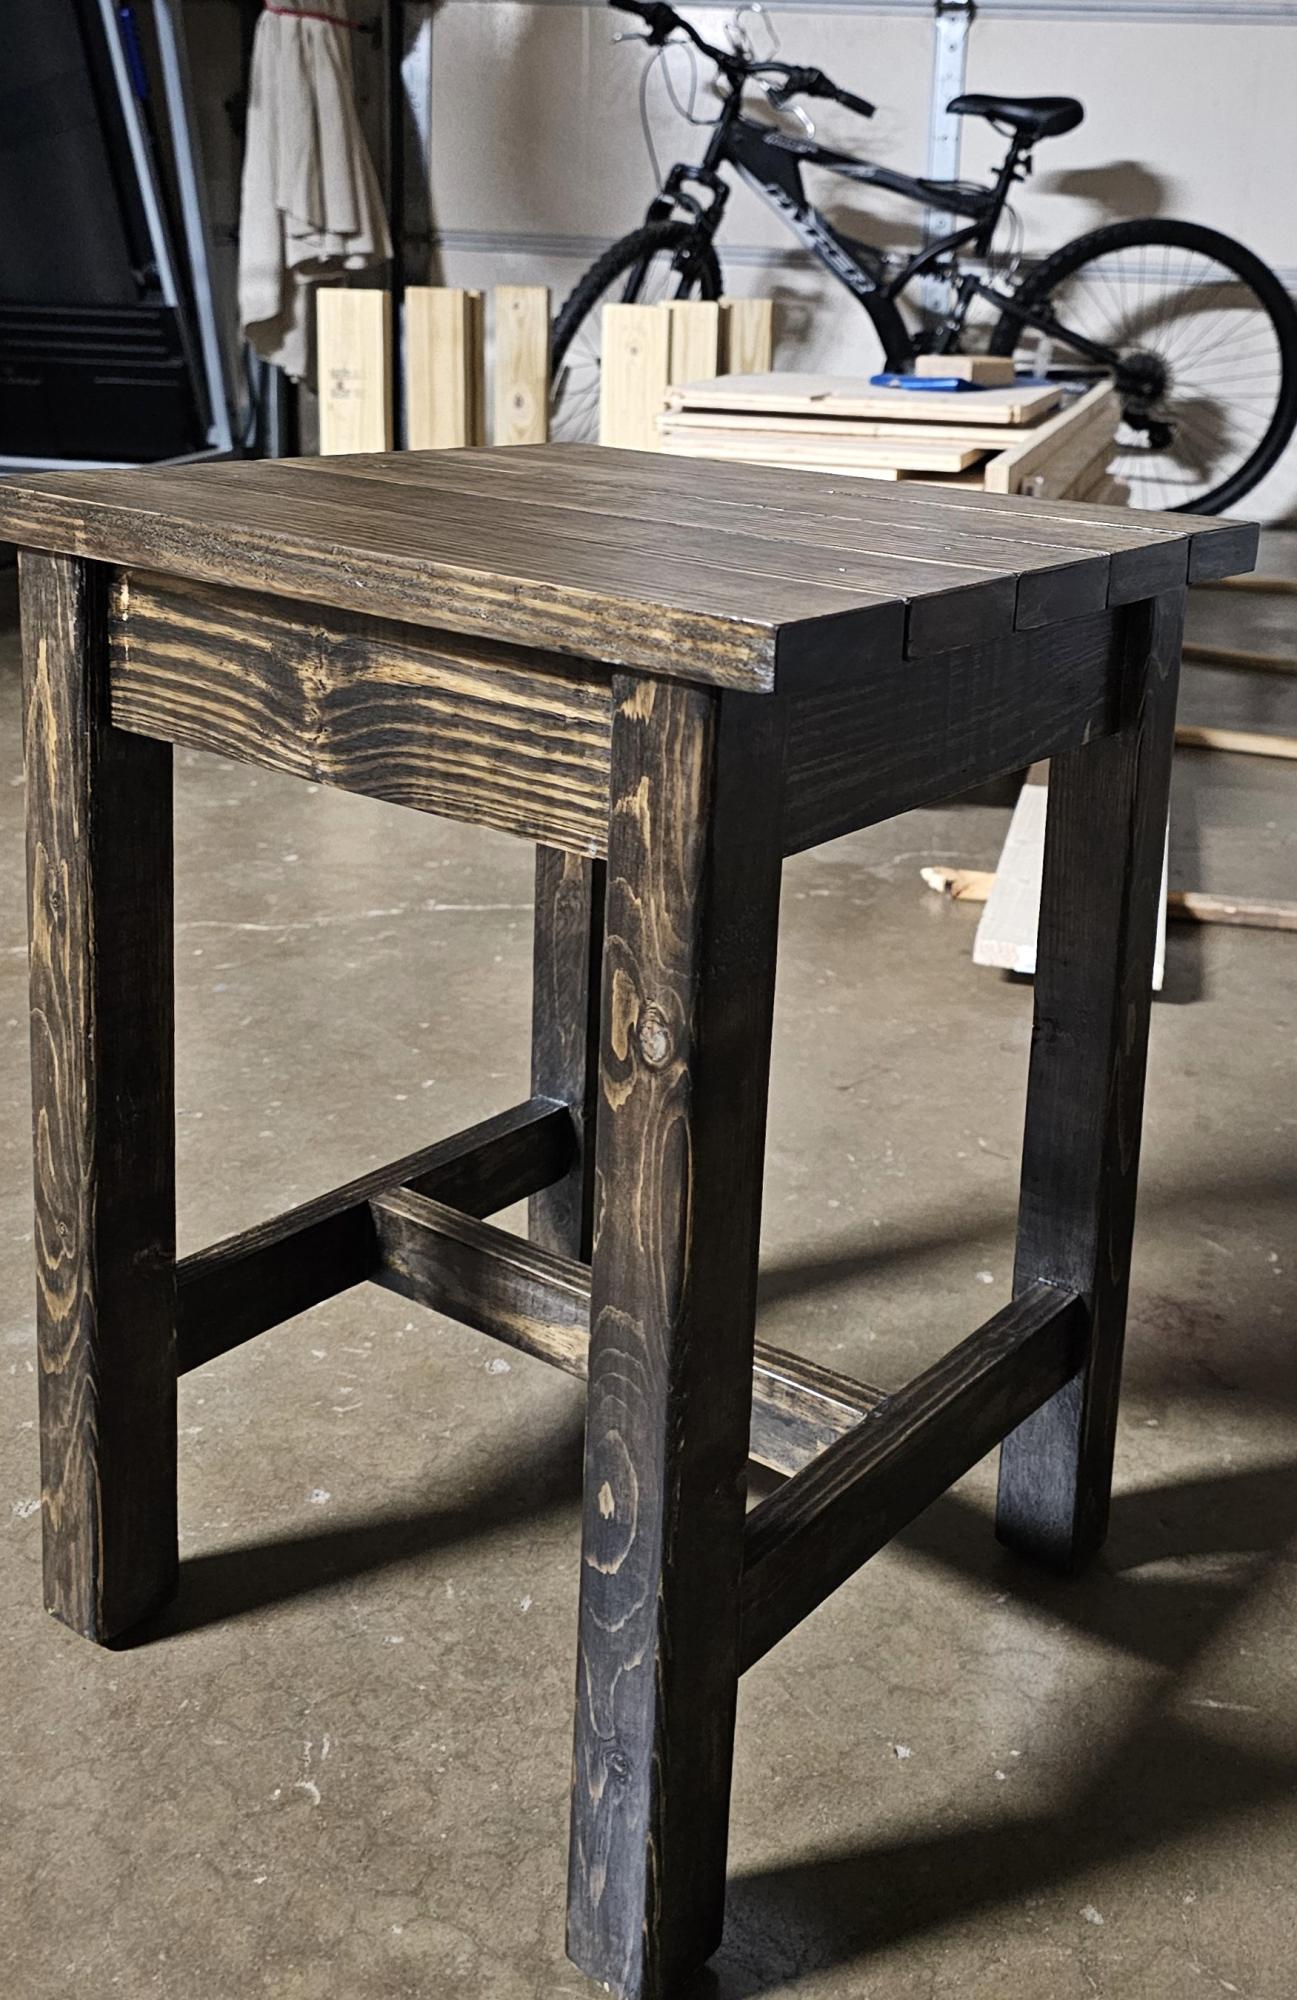
This was an awesome build. Thank you for the plans!

Built for our new puppy, Bullet. He is a brindle boxer, and our new pride and joy! Dimensions of this crate will work for him for approximately a year or so. I assume at some point i'll need to build another, slightly larger version of this one. But all-in-all it came out excellent. One issue in the cut list as mentioned before, but you figure it out when you get to it. Not a big deal. Time frame for cutting and assembly is would probably have been just a few hours(3-4) had I not spent 2 days sanding, staining, lacquering, waiting for lacquer to dry, sanding, waxing and polishing.


After seeing Ana's faux fireplace with the hidden DVD drawer, I knew this idea would be perfect for our master bedroom. My husband added river rocks to make it look a little more real, and installed shiplap above the mantel. I couldn't be happier with how it turned out.
Tue, 01/10/2017 - 18:12
I accidentally added the picture of our faux fireplace without logging in, but my totally awesome husband built this for me, and I love it!
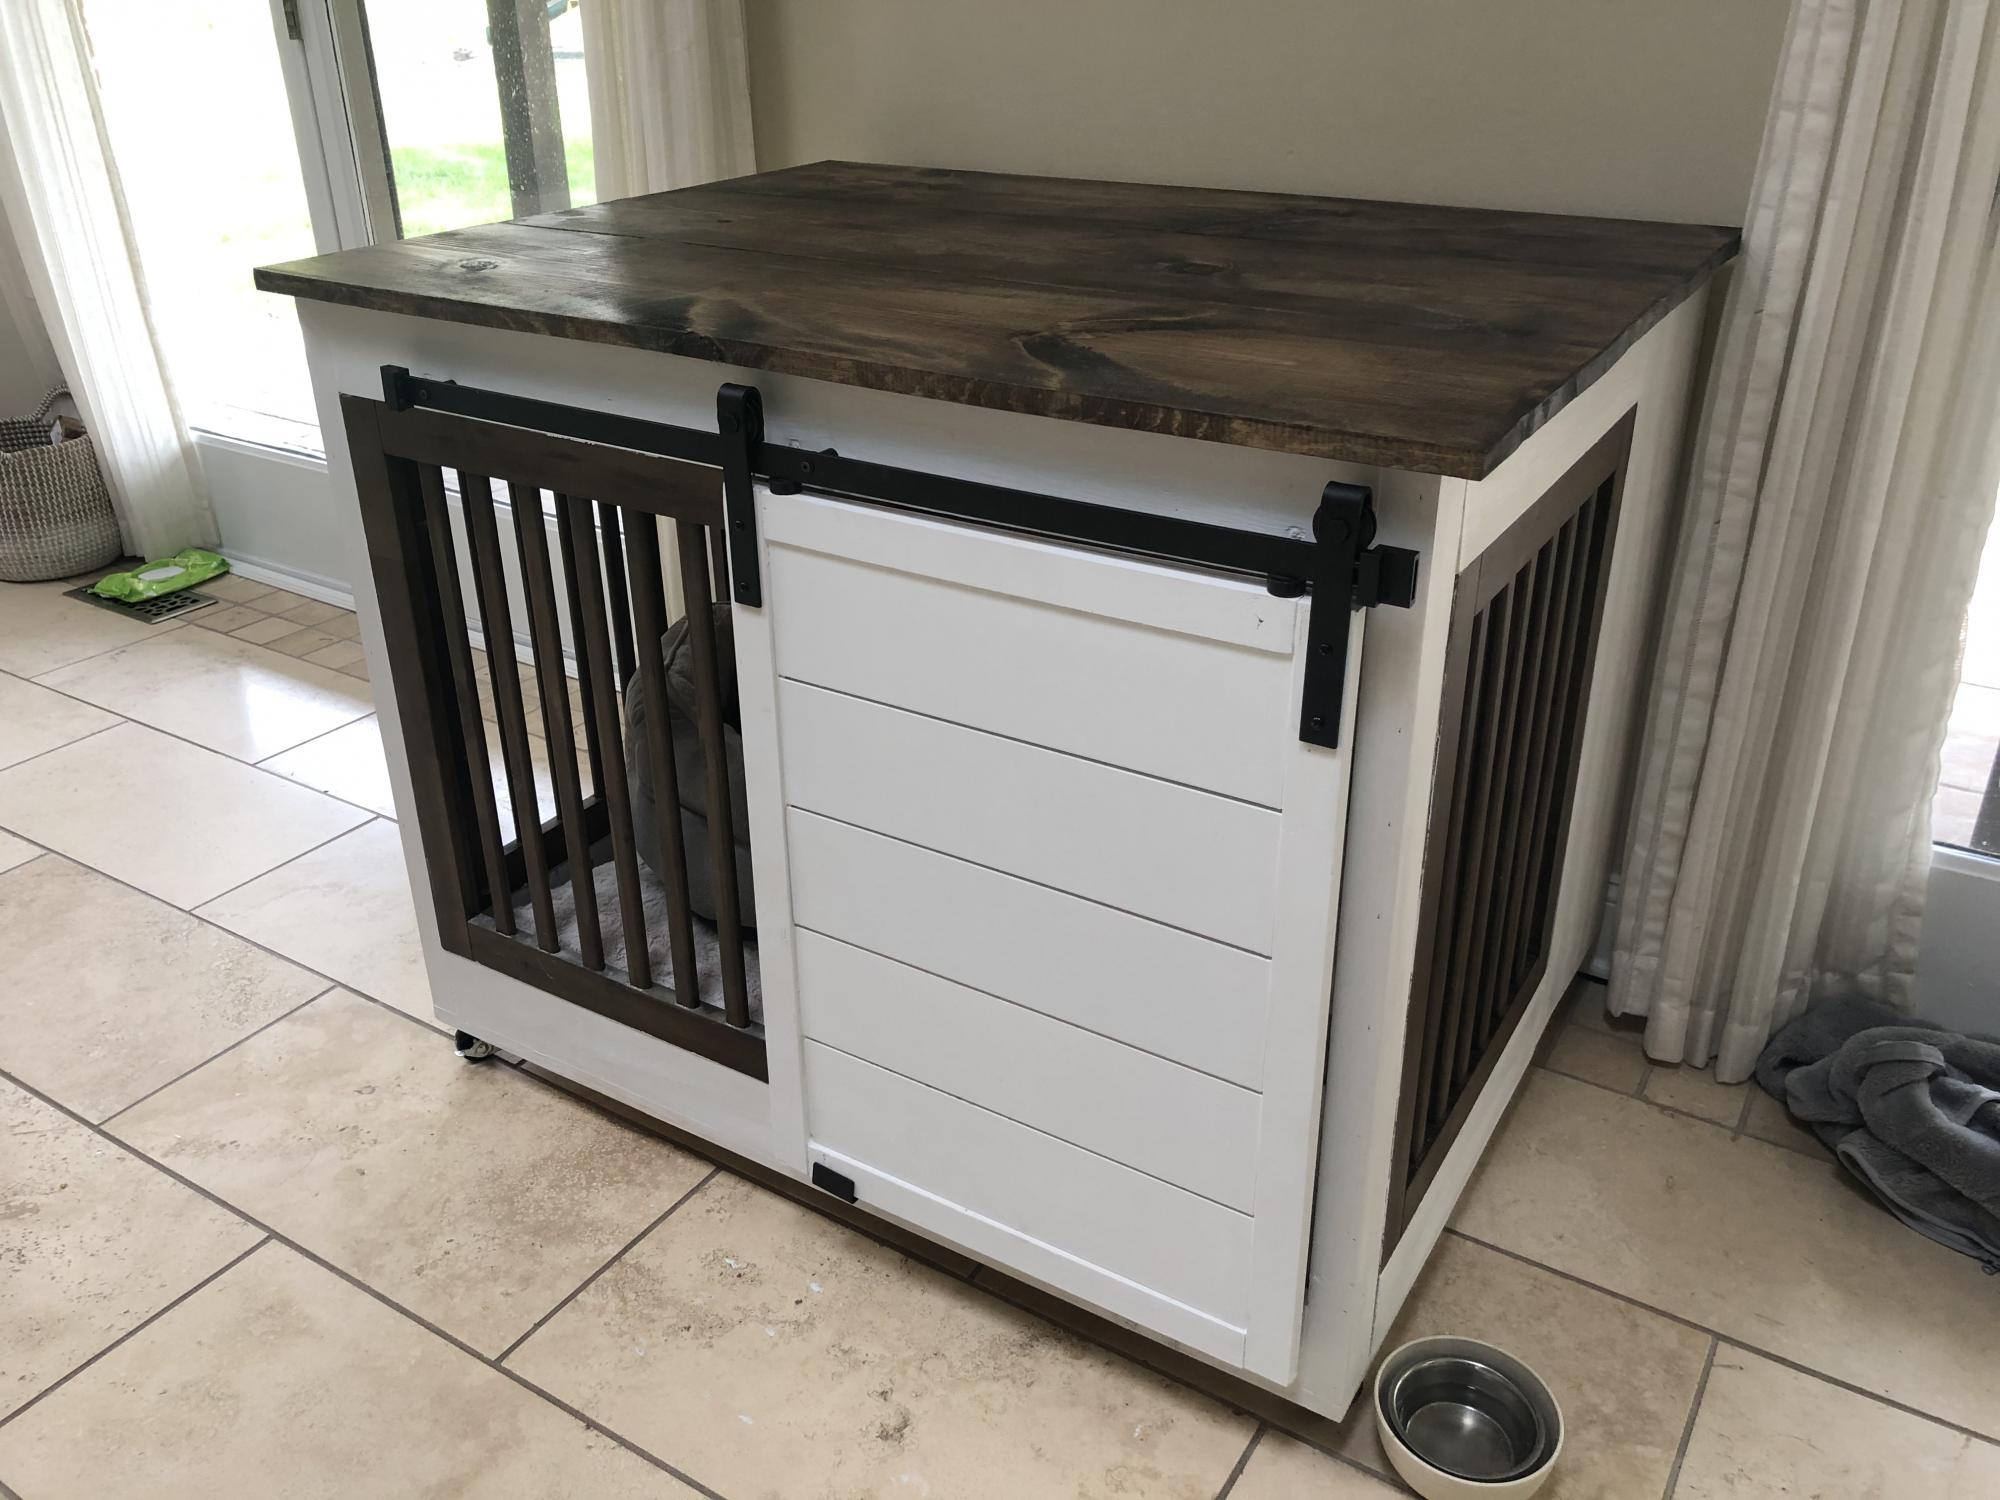
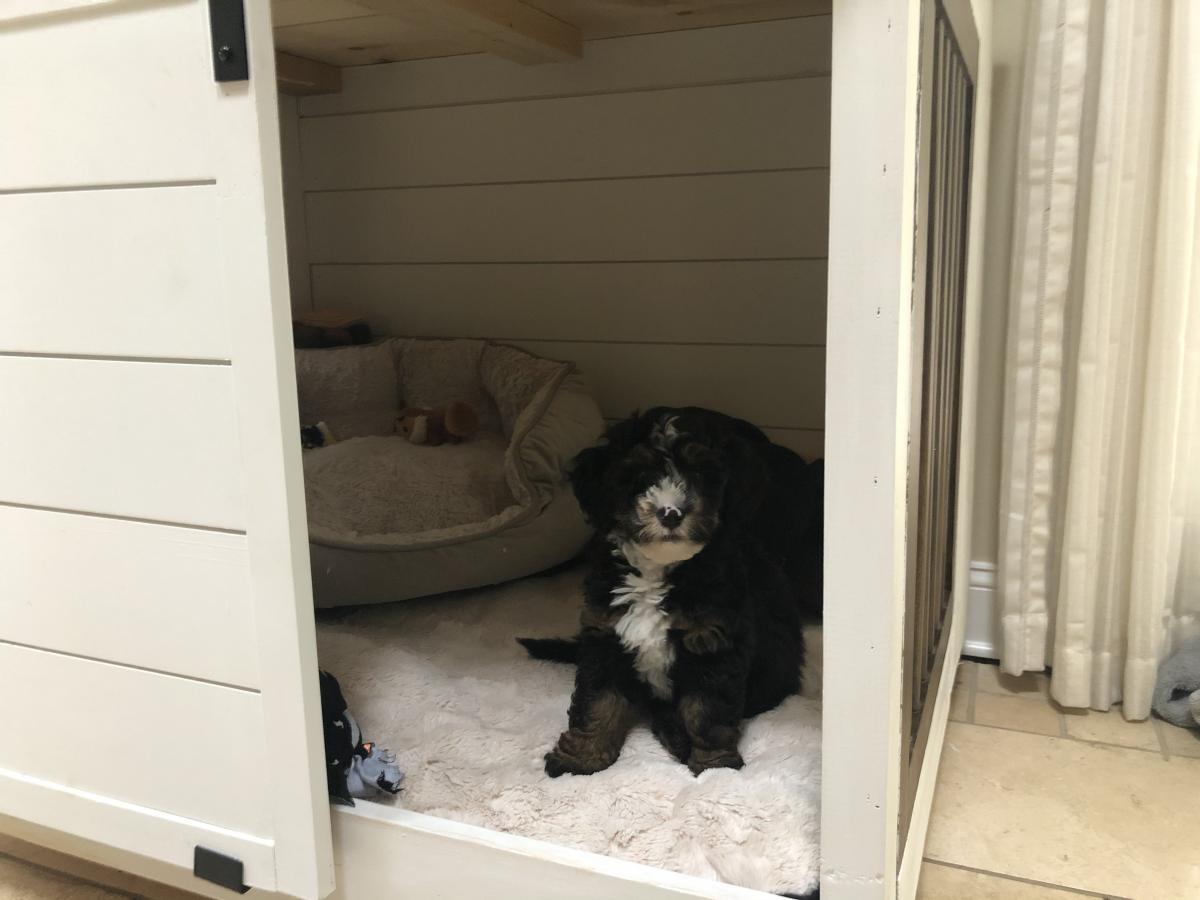
Custom dog crate built using pieces of a dog gate for the front and sides. Door and back of the crate are shiplap.
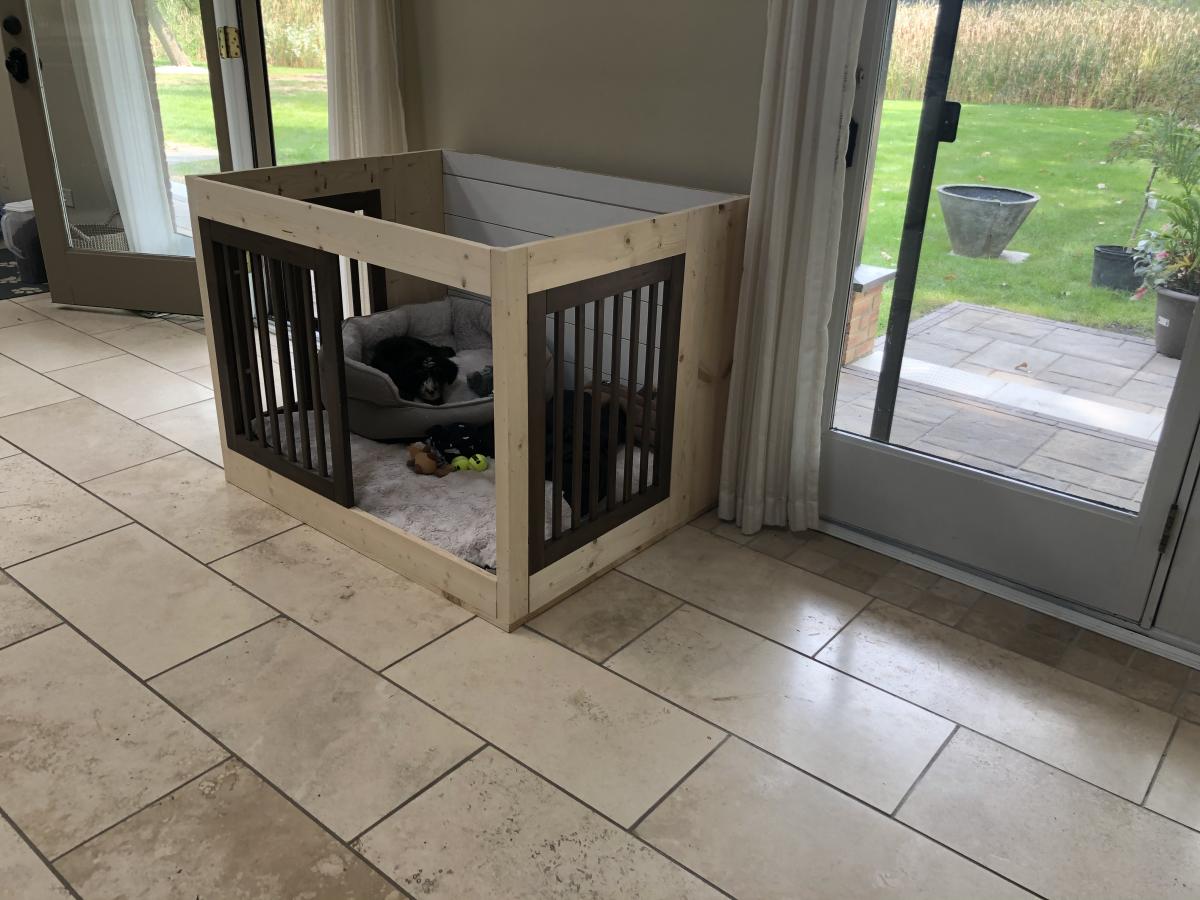
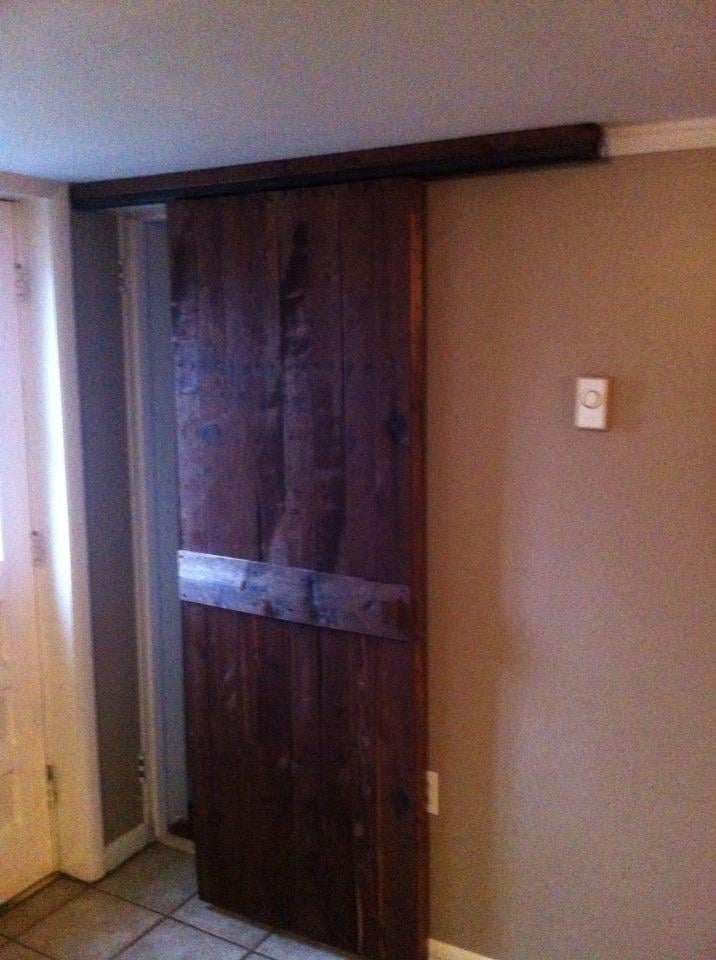
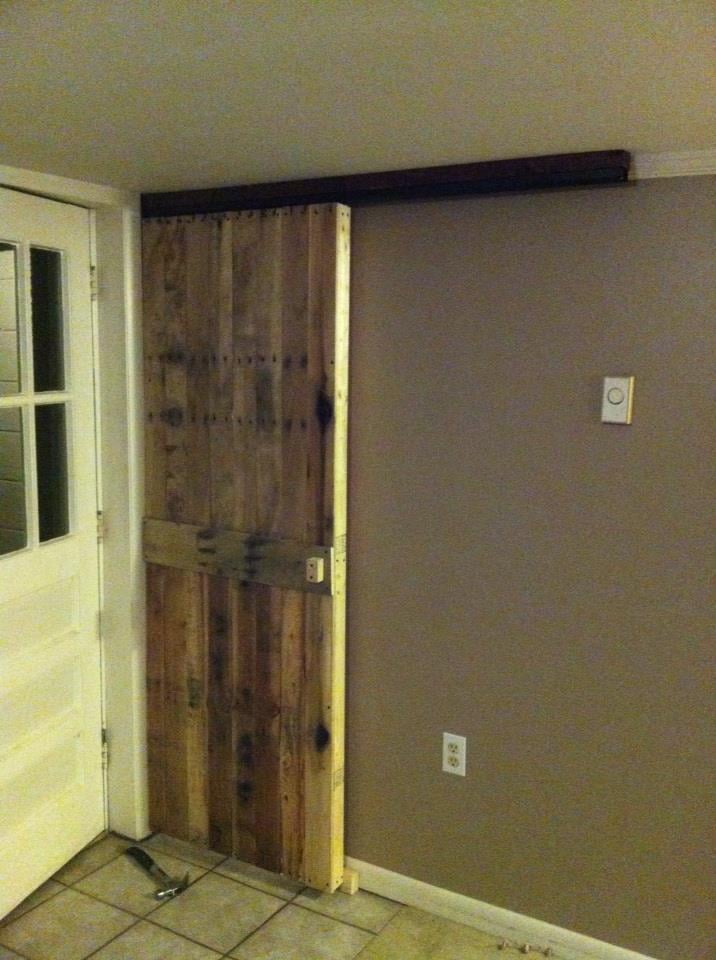
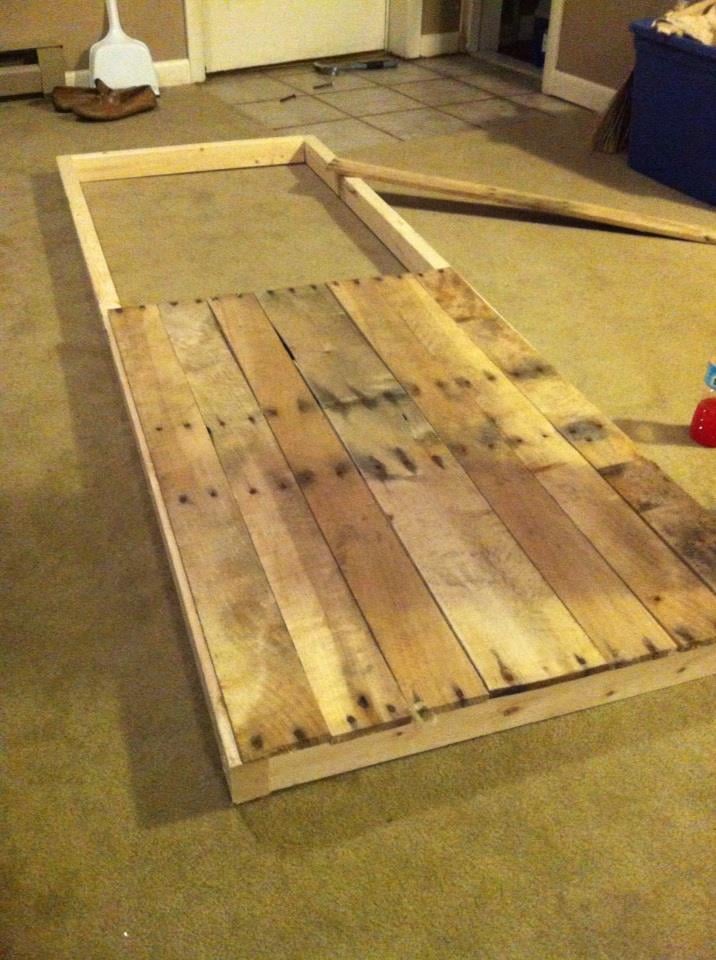
I saw many different sliding door projects online, so I did my own spin on one. I was able to get several old pallets for free (pine and oak). I went to Lowes and bought a few 2x3s which I used as the frame, and the track hardware which was only $13! Most doors I see are mounted from the wall, but since I have 7' ceilings downstairs I mounted mine from the ceiling. This project only took about 4 hours total and cost about $40 when you figure in costs for screws, stain, etc. The most difficult part was taking apart the pallets. Using a reciprocating saw with a 12'' demolition blade is the best way to take them apart. Thanks for the idea Ana.
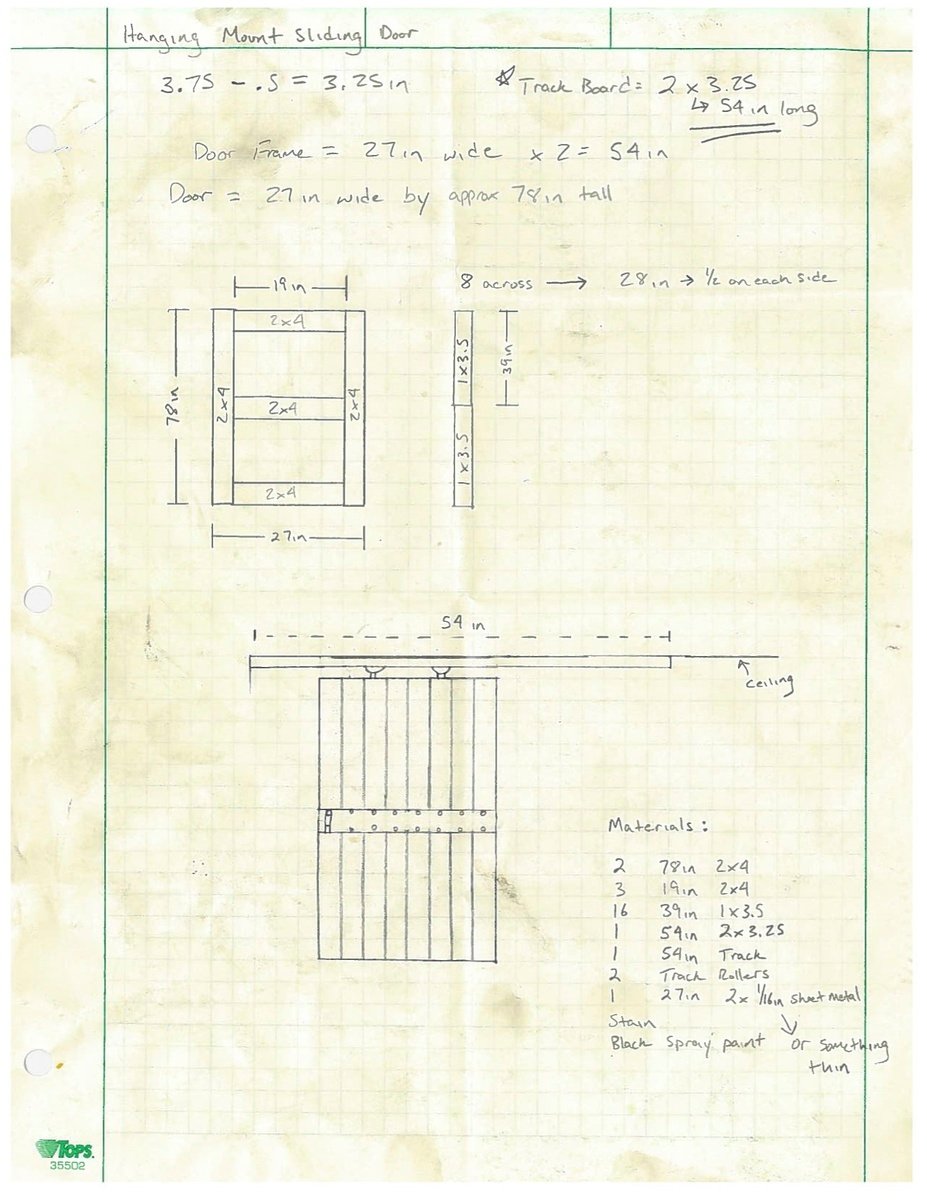
Mon, 05/13/2013 - 20:00
Hi!!
This looks so awesome! I came across this and was hoping to repeat it. You mention that you found the door hanging hardware at Lowes for $13. I can't seem to find it. Do you happen to remember the name of it? I'm entering "hanging door hardware" into Lowes and Home Depot and can't seem to find any hanging door hardware at all. I'd appreciate the help. Thanks!
Tina

Super easy and I love it!
Used plans from your site to build these, great experience, anybody could do this! The cheapest quote I got for these was 6500 cdn. All this including the router bits, stains, materials (pine) and hardware cost less than 1000, the countertop was a juniper tree my grandfather planted when I was a kid.
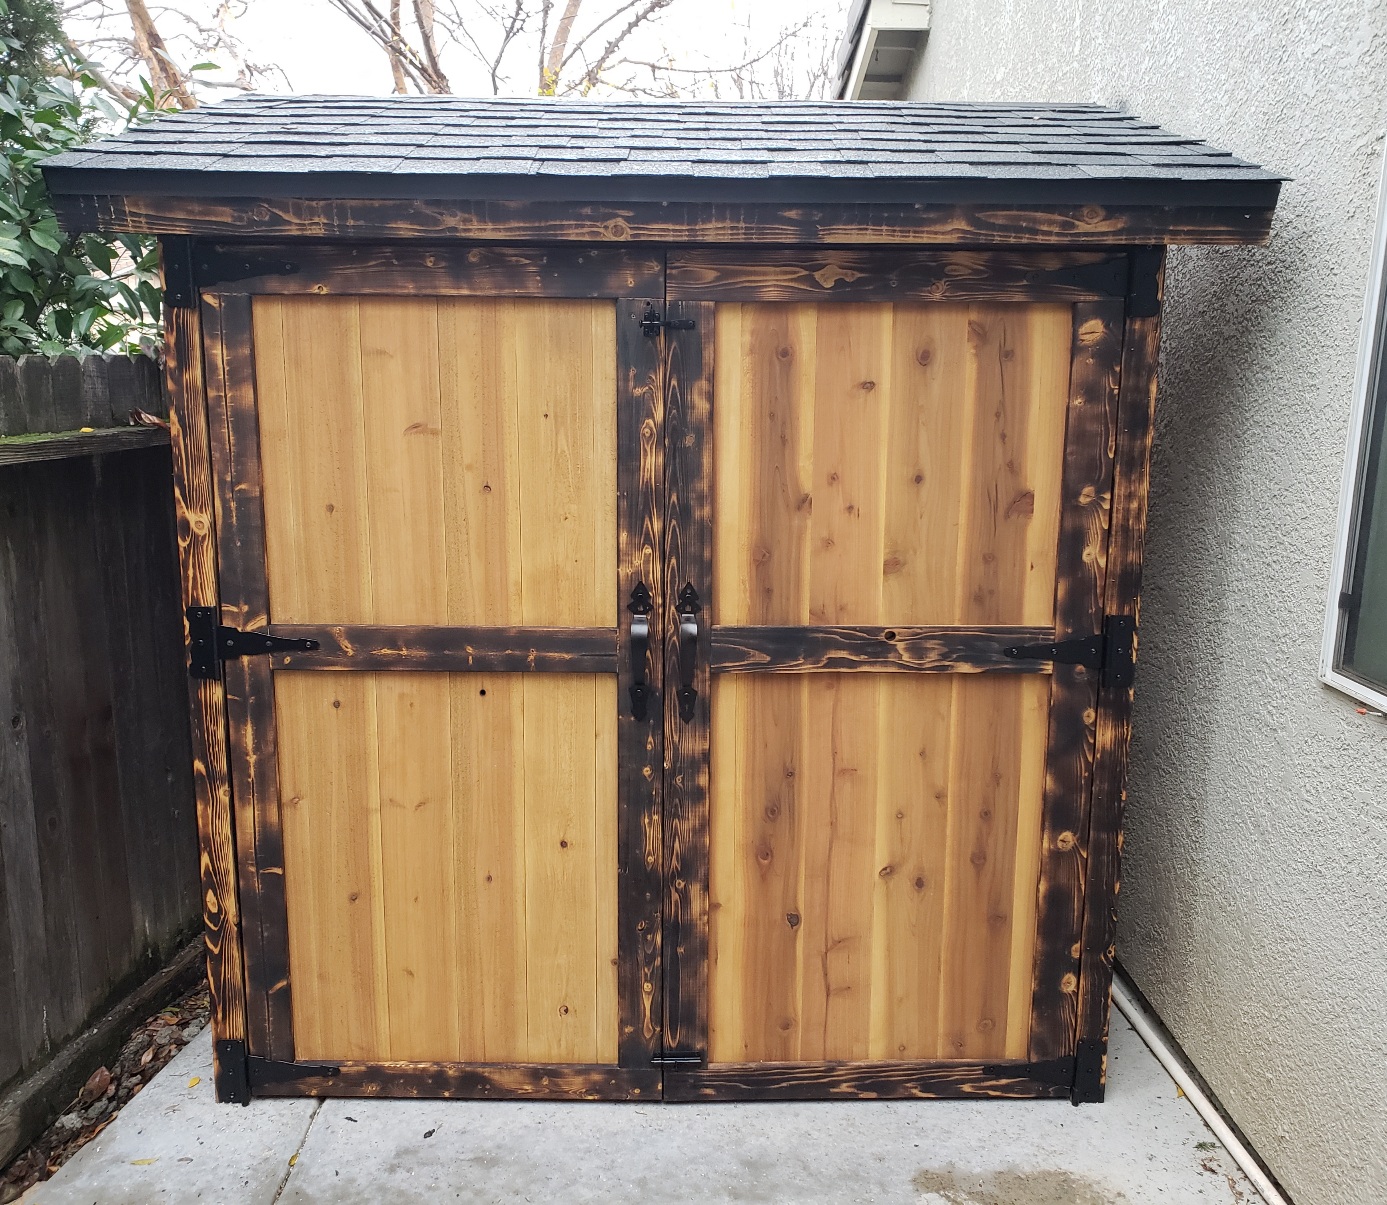
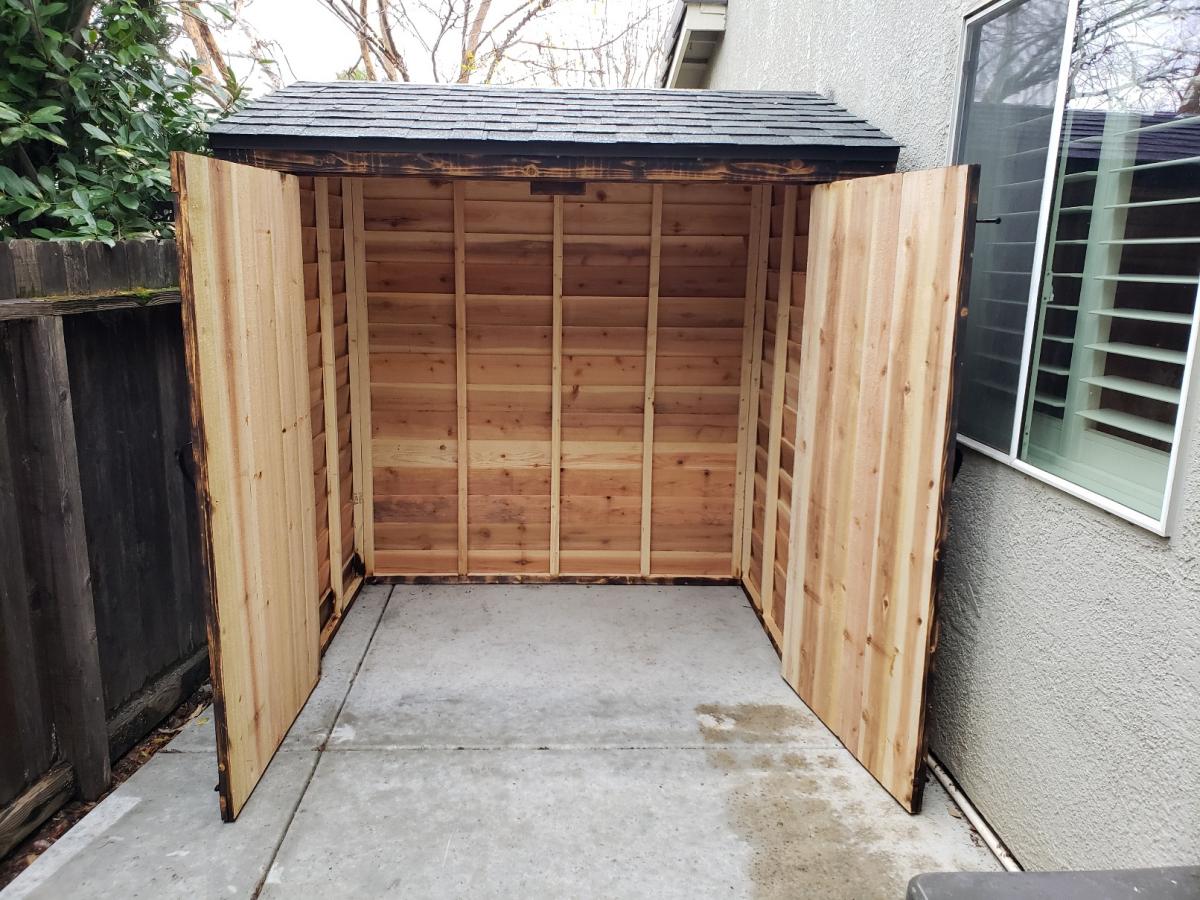
I built this using Ana's Small Cedar Shed plans. It was a fun and surprisingly easy build!
Sat, 09/26/2020 - 18:35
Looks like a fun project, I really like the look of the burned finish! Thanks for sharing your projects:)
This is modified from Ana's farmhouse table plans and Tommy's farmhouse table plans. It measures six feet long and I used 2x12's for the four parallel boards and 4x4 posts.
Wed, 12/26/2012 - 10:59
You did a great job on this table. I built the farmhouse table and I think I may add the supports you added to the bottom of the legs and between the end legs. I am interested if you could detail how this table cost $150? I was guessing no more than $75 or maybe even less.
Fri, 12/28/2012 - 18:56
Thanks Jake! The reason it cost $150 is primarily due to my location. I'm up in Anchorage, Alaska and the lumber I was finding at Home Depot and Lowes was either cracked or moldy since they seem to store their lumber outside in the snow until they need to restock the shelves inside. I went to a local lumber store and paid a little extra. Also, I spent $35 on the finish: pre-stain wood conditioner, rustoleum oil-based finish, rustoleum polyurethane. I bought a quart size can of each, but could have easily gotten away with half that. So, in reality it should have been a lot less. My lumber breakdown was as follows:
(4) 2x12x8' @$17 each
(2) 4x4x10' @$13 each
(5?) 2x4x8' @$4 each
In reply to Thanks Jake! The reason it by lphair
Fri, 12/28/2012 - 19:39
Thanks for clearing up the cost issue. I usually just estimate how much of the paint or stain I really used. Cheaper to buy by the quart or gallon. Sometimes if the project is small I buy the sample paint for $2 or $3 but it only comes in flat, You are not alone with cruddy wood. Orange and Blue in south Texas is just as bad. Mostly bent and warped wood with lots of knots and bark. I tried a regular lumber yard yesterday for three boards and I was looked at like I wasn't there. I am old enough to remember when I could go to the lumber yard and actually buy 1/4" and 1/2" lumber. Must be cold up there.
modified a bit to add 2 drawers and only 1 shelf, also make with 6" overhang around for stools or chairs.
Sun, 10/05/2014 - 08:51
Isn't that the best plan? So versatile. I love the look - would love to see a picture after you have the island as part of a kitchen scheme.
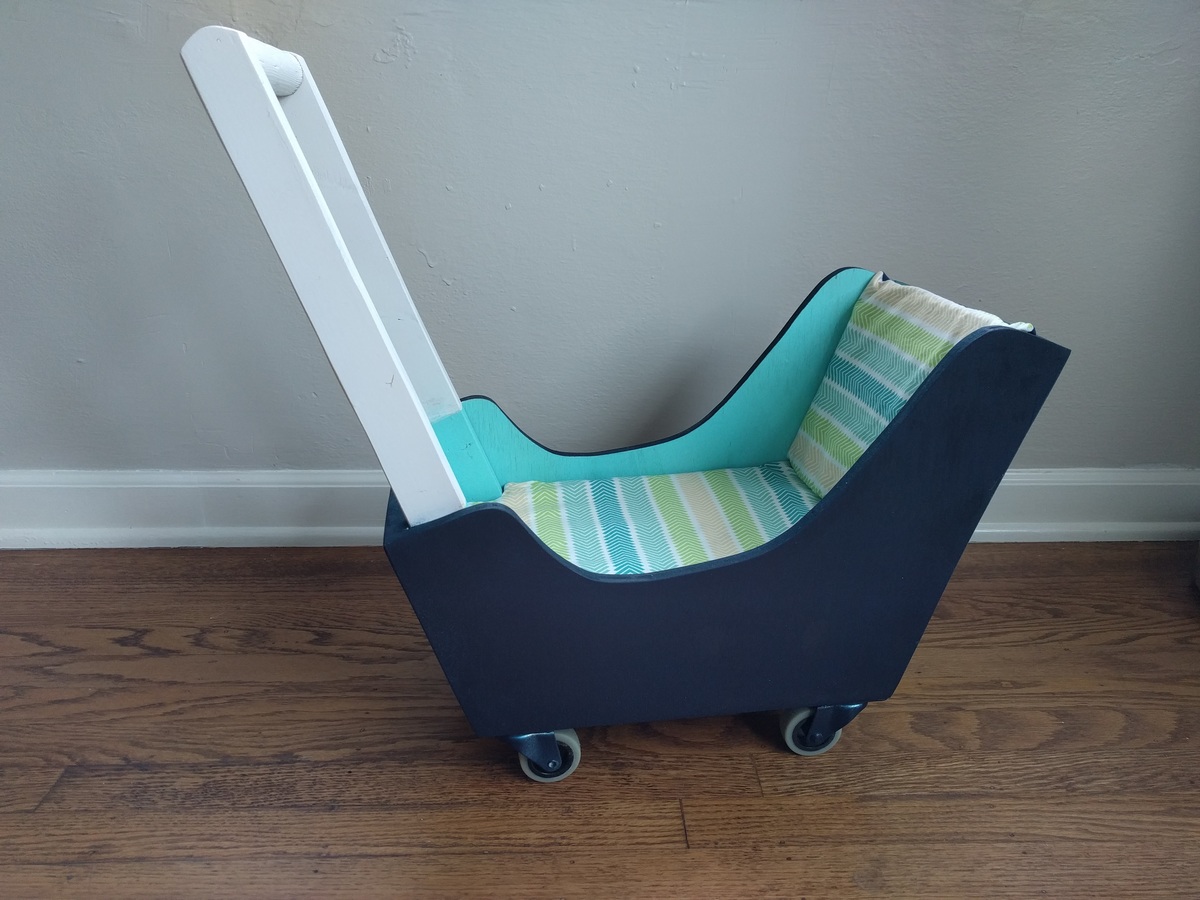
This was such a fun project and my daughter loves her baby carriage.

I took this on thinking it would be a great addition to my home. And I was not disappointed. I am just getting back into building things. My only training was high school shop back in the Stone Age. Lol But it was a challenge that I think I did well with. Thank you Ana for the inspiration and instructions.


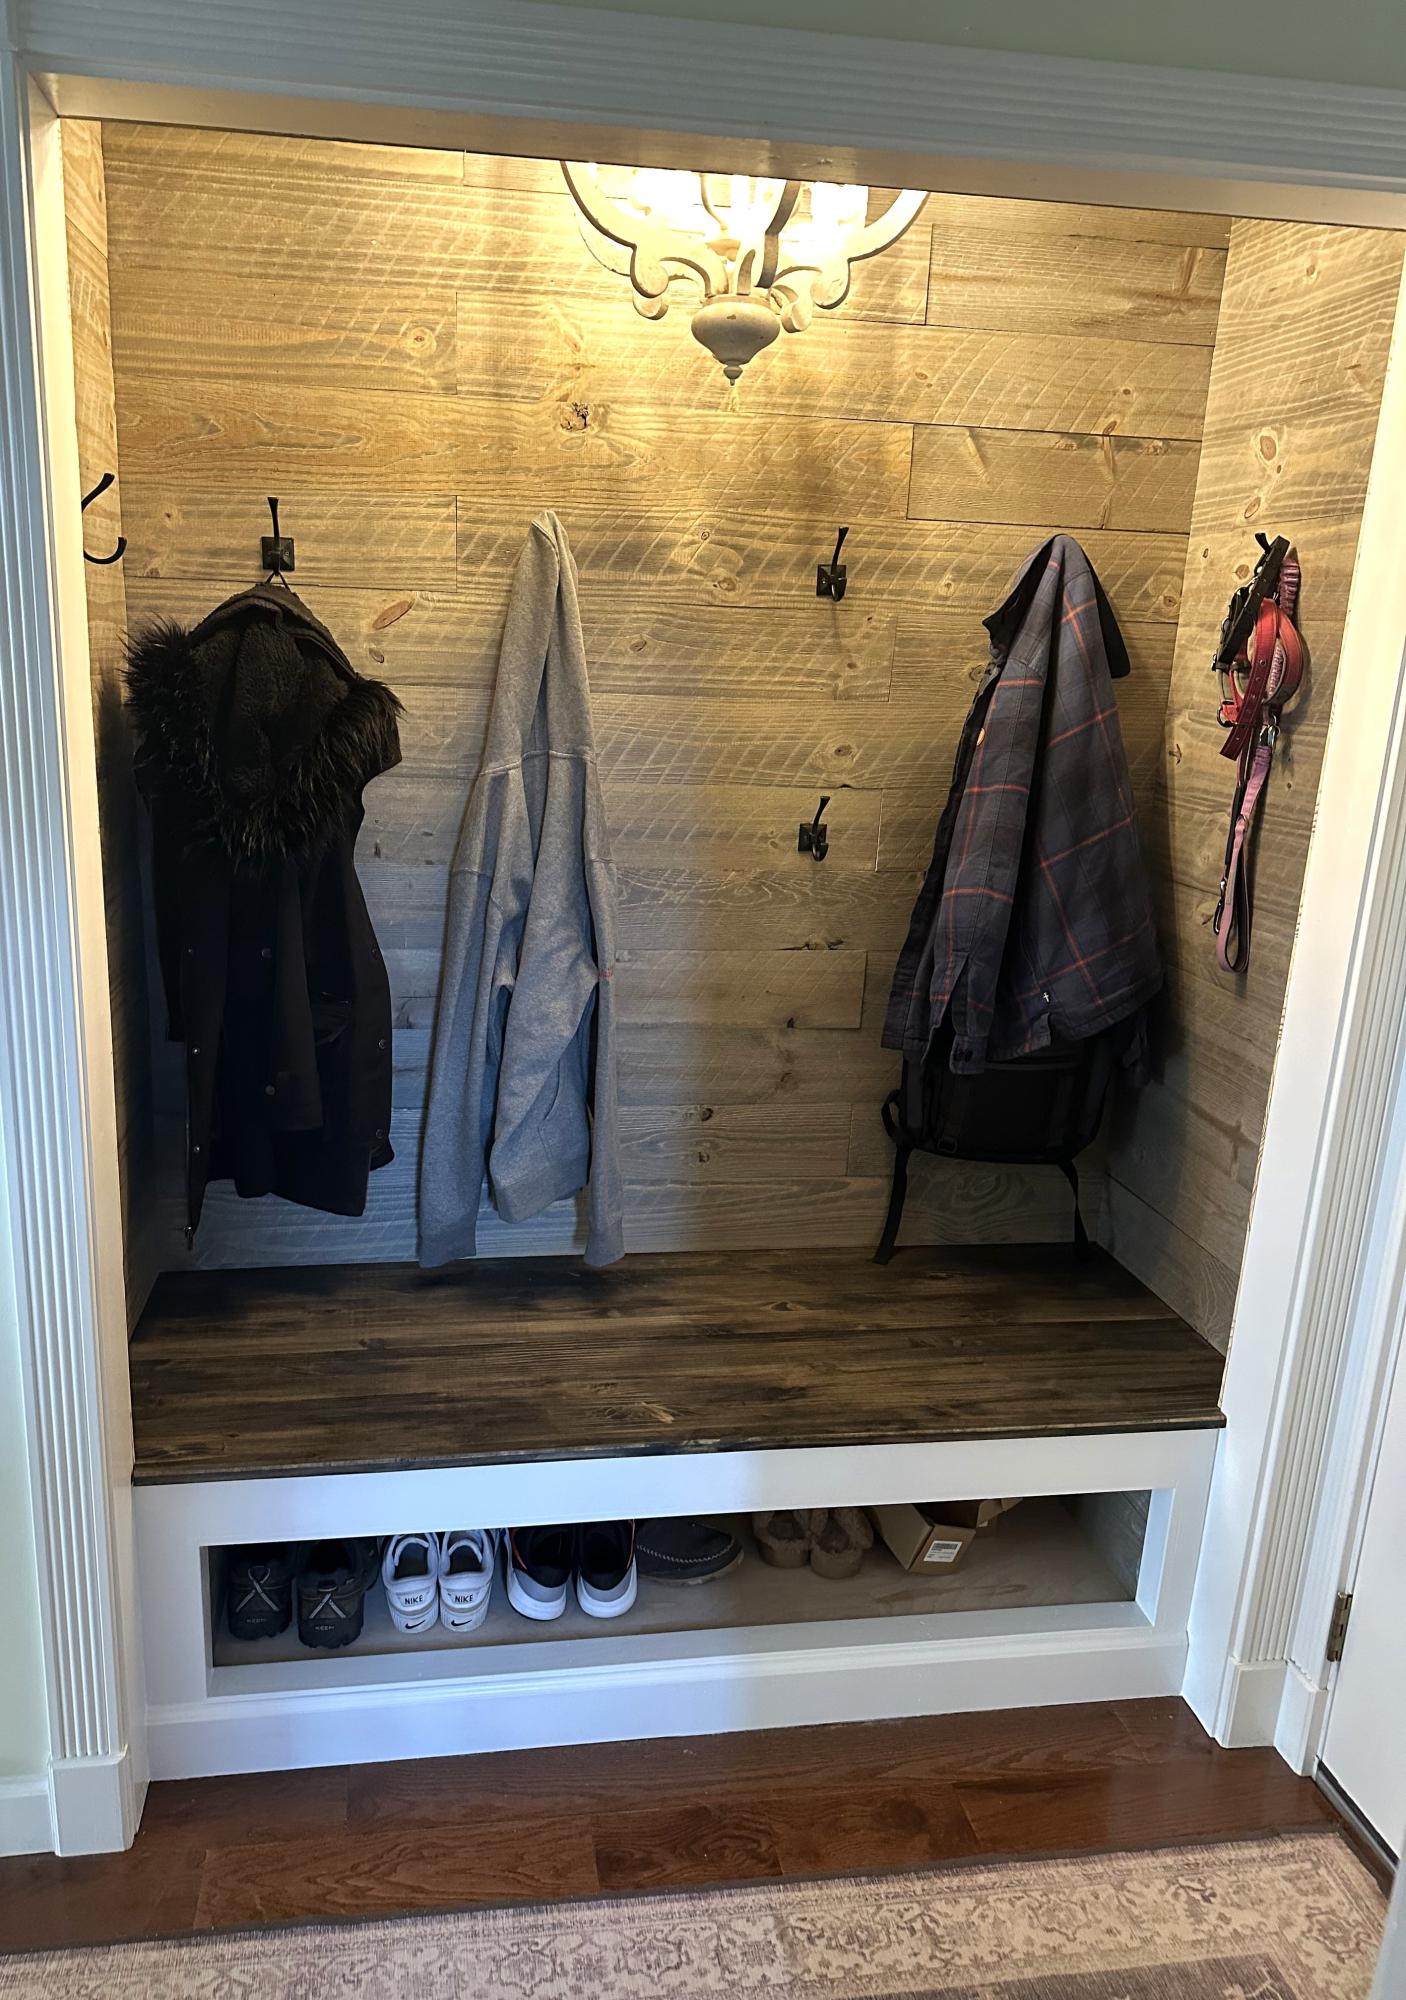
We moved our pantry to another closet. I made this so the family would have somewhere to put all there stuff right when then walk in. - Brian Hajdas
Comments
Ana White Admin
Sat, 09/19/2020 - 20:55
Fantastic!
I can imagine a lot of projects being built there! Thanks for sharing:)