tower
Teeny bathroom storage tower. Modified size to 12"w x 26"h x 10"d.
Teeny bathroom storage tower. Modified size to 12"w x 26"h x 10"d.
Hello, I was looking for a unique gift for a baptism baby.I started this chair with great enthusiasm. Gradually after my job, I made one mois.Du cutting the pallet until making coussins.J 'I used paint 0% solvent. I am very happy for the first time. I will now make a model adult.Conseil: Paint before because after the assembly is much more diffcile.Faire just after retouching at the screws. Start you! Thank you Ana. PS: Excus me for my English , Im french


this was a fun build had to tweak the plans a little but turned out great!
My wife loves the farmhouse style, so this was my first build based on the X console plans for sofa tables. Its very "rustic" to say the least, but is very functional and was a great project to get started.
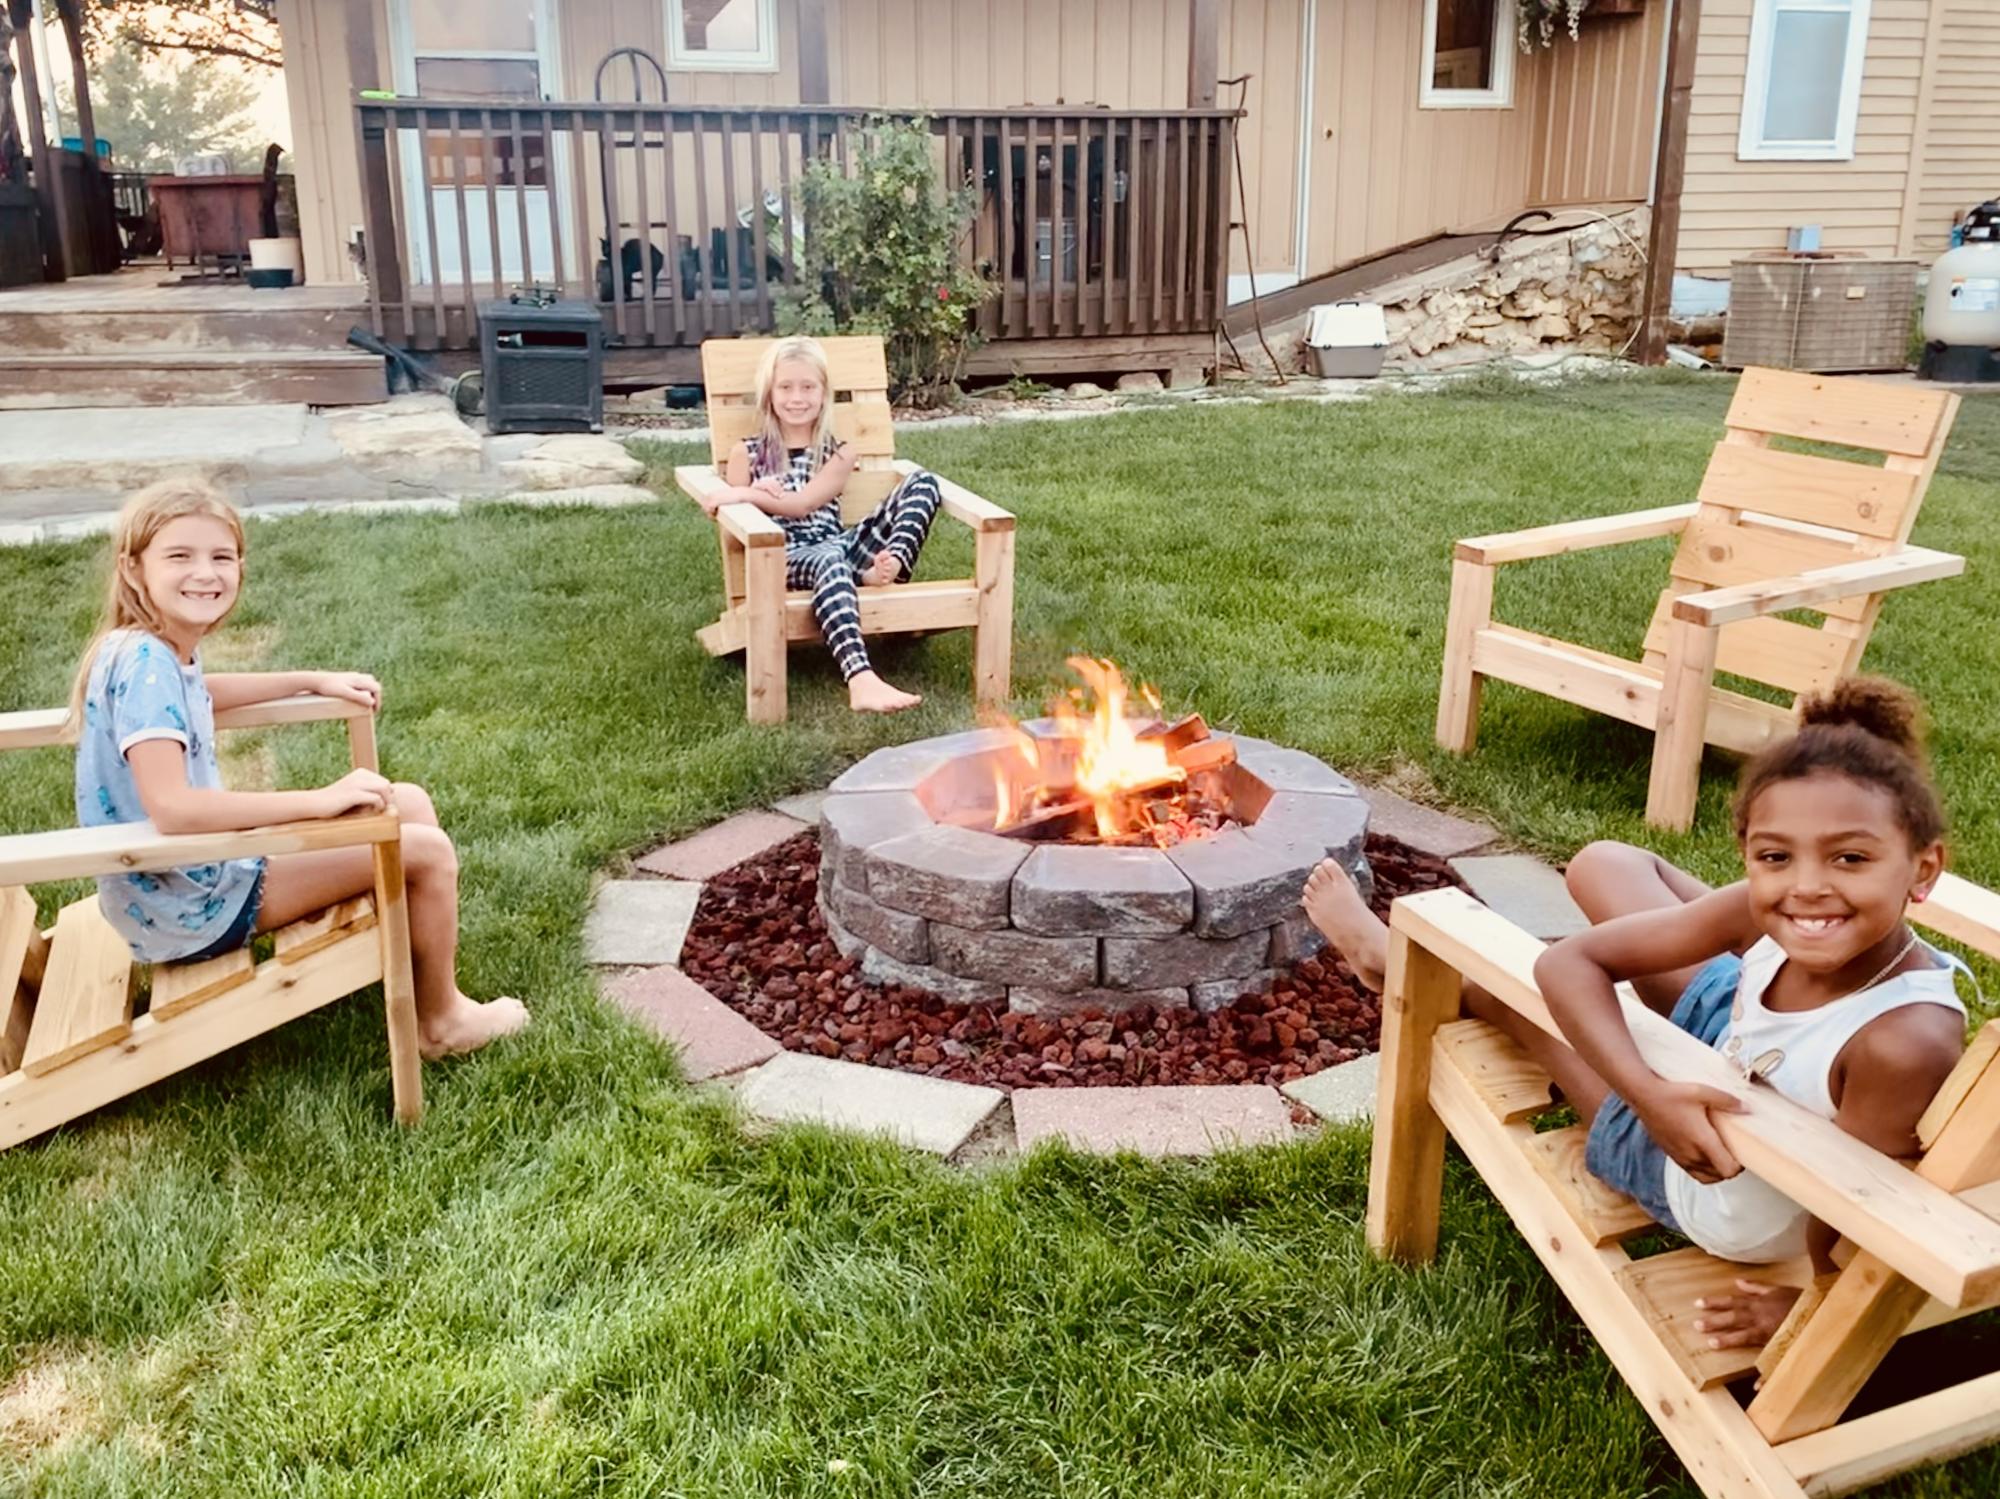
My mom and I made these together as our first Ana White project! So much fun making both these chairs and memories! Next up is the three pedestal farm table and bench!
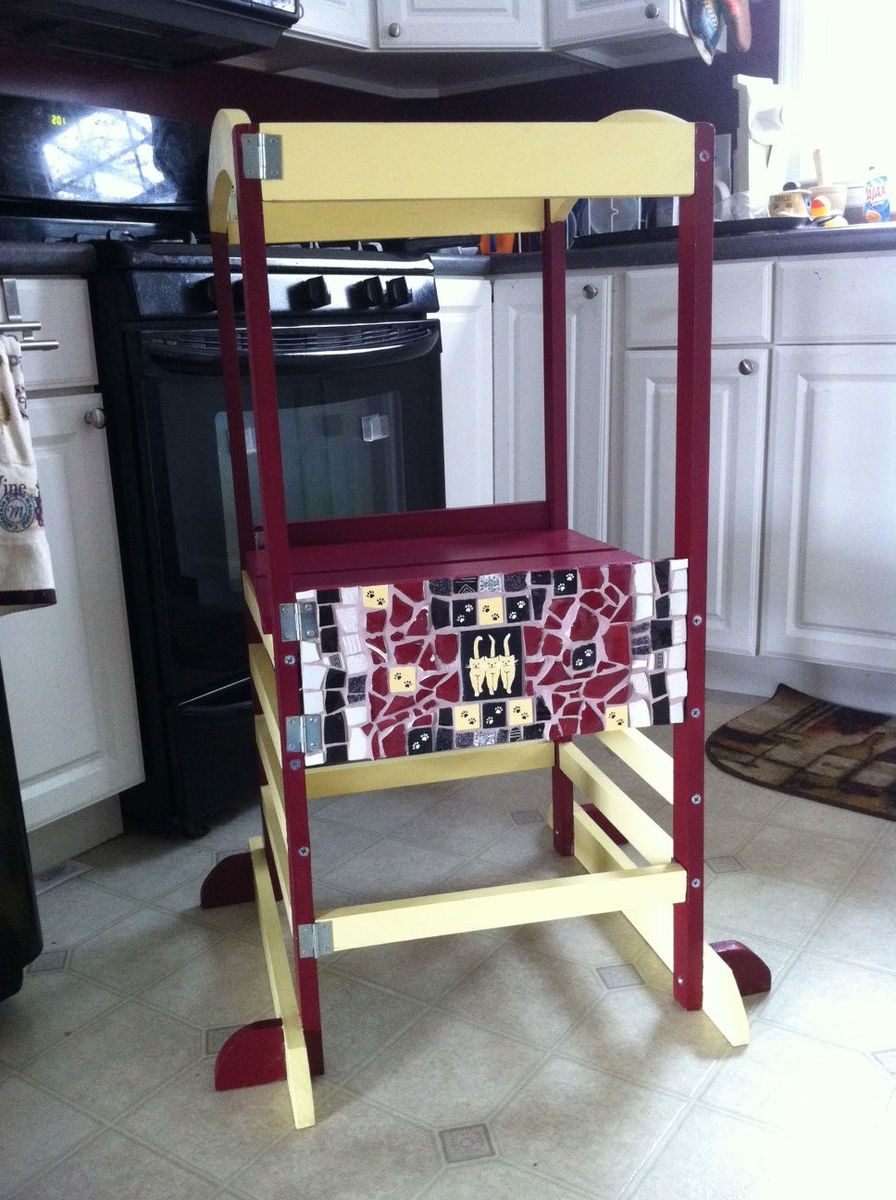
Built this helper tower for my munchkin so she has a safer place to stand when she wants to help us in the kitchen. Put a mosaic on the front and painted it to match the mosaic and the red color on some of the walls in our kitchen (hard to see in the photo). I am thinking of velcroing some ribbon to the sides to cover the screws and hinges. If I use velcro, then I can take it off easily to tighten the screws in the hinges if needed.
This cute step stool is my first build from Ana's book.
It is made of macrocarpa, and finished with "teak" water-based stain by Resene, danish oil, and clear furniture wax.
I took the plans and modified them a bit to build what we were looking for. - I used 2x8s for the top of the table so that the middle board could have two removable sections that could be used for ice buckets for drinks. I made those out of plastic planter boxes. I also used 4 2x4s across the top for support.
The last major change is that i used corner brackets and bolts or screws to attach all the pieces. I liked the industrial look it gave the table and benches.
Everything was sanded down and finished with a drift gray stain and seal.
The building part was easy, but sanding and staining prior to putting it all together is what took most of the time. It was probably an hour of cutting, an hour of building and the rest was sanding or staining.
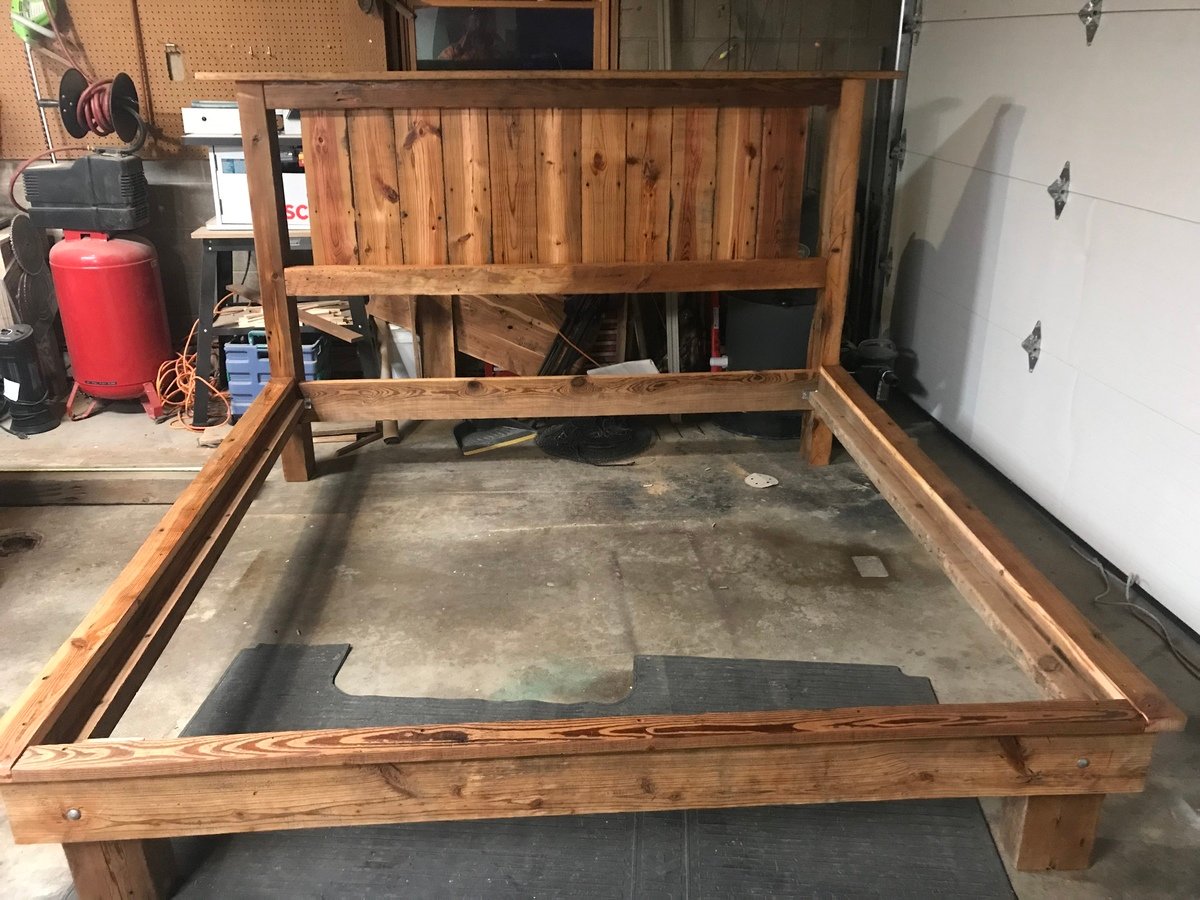
Just love your site so many great ideas
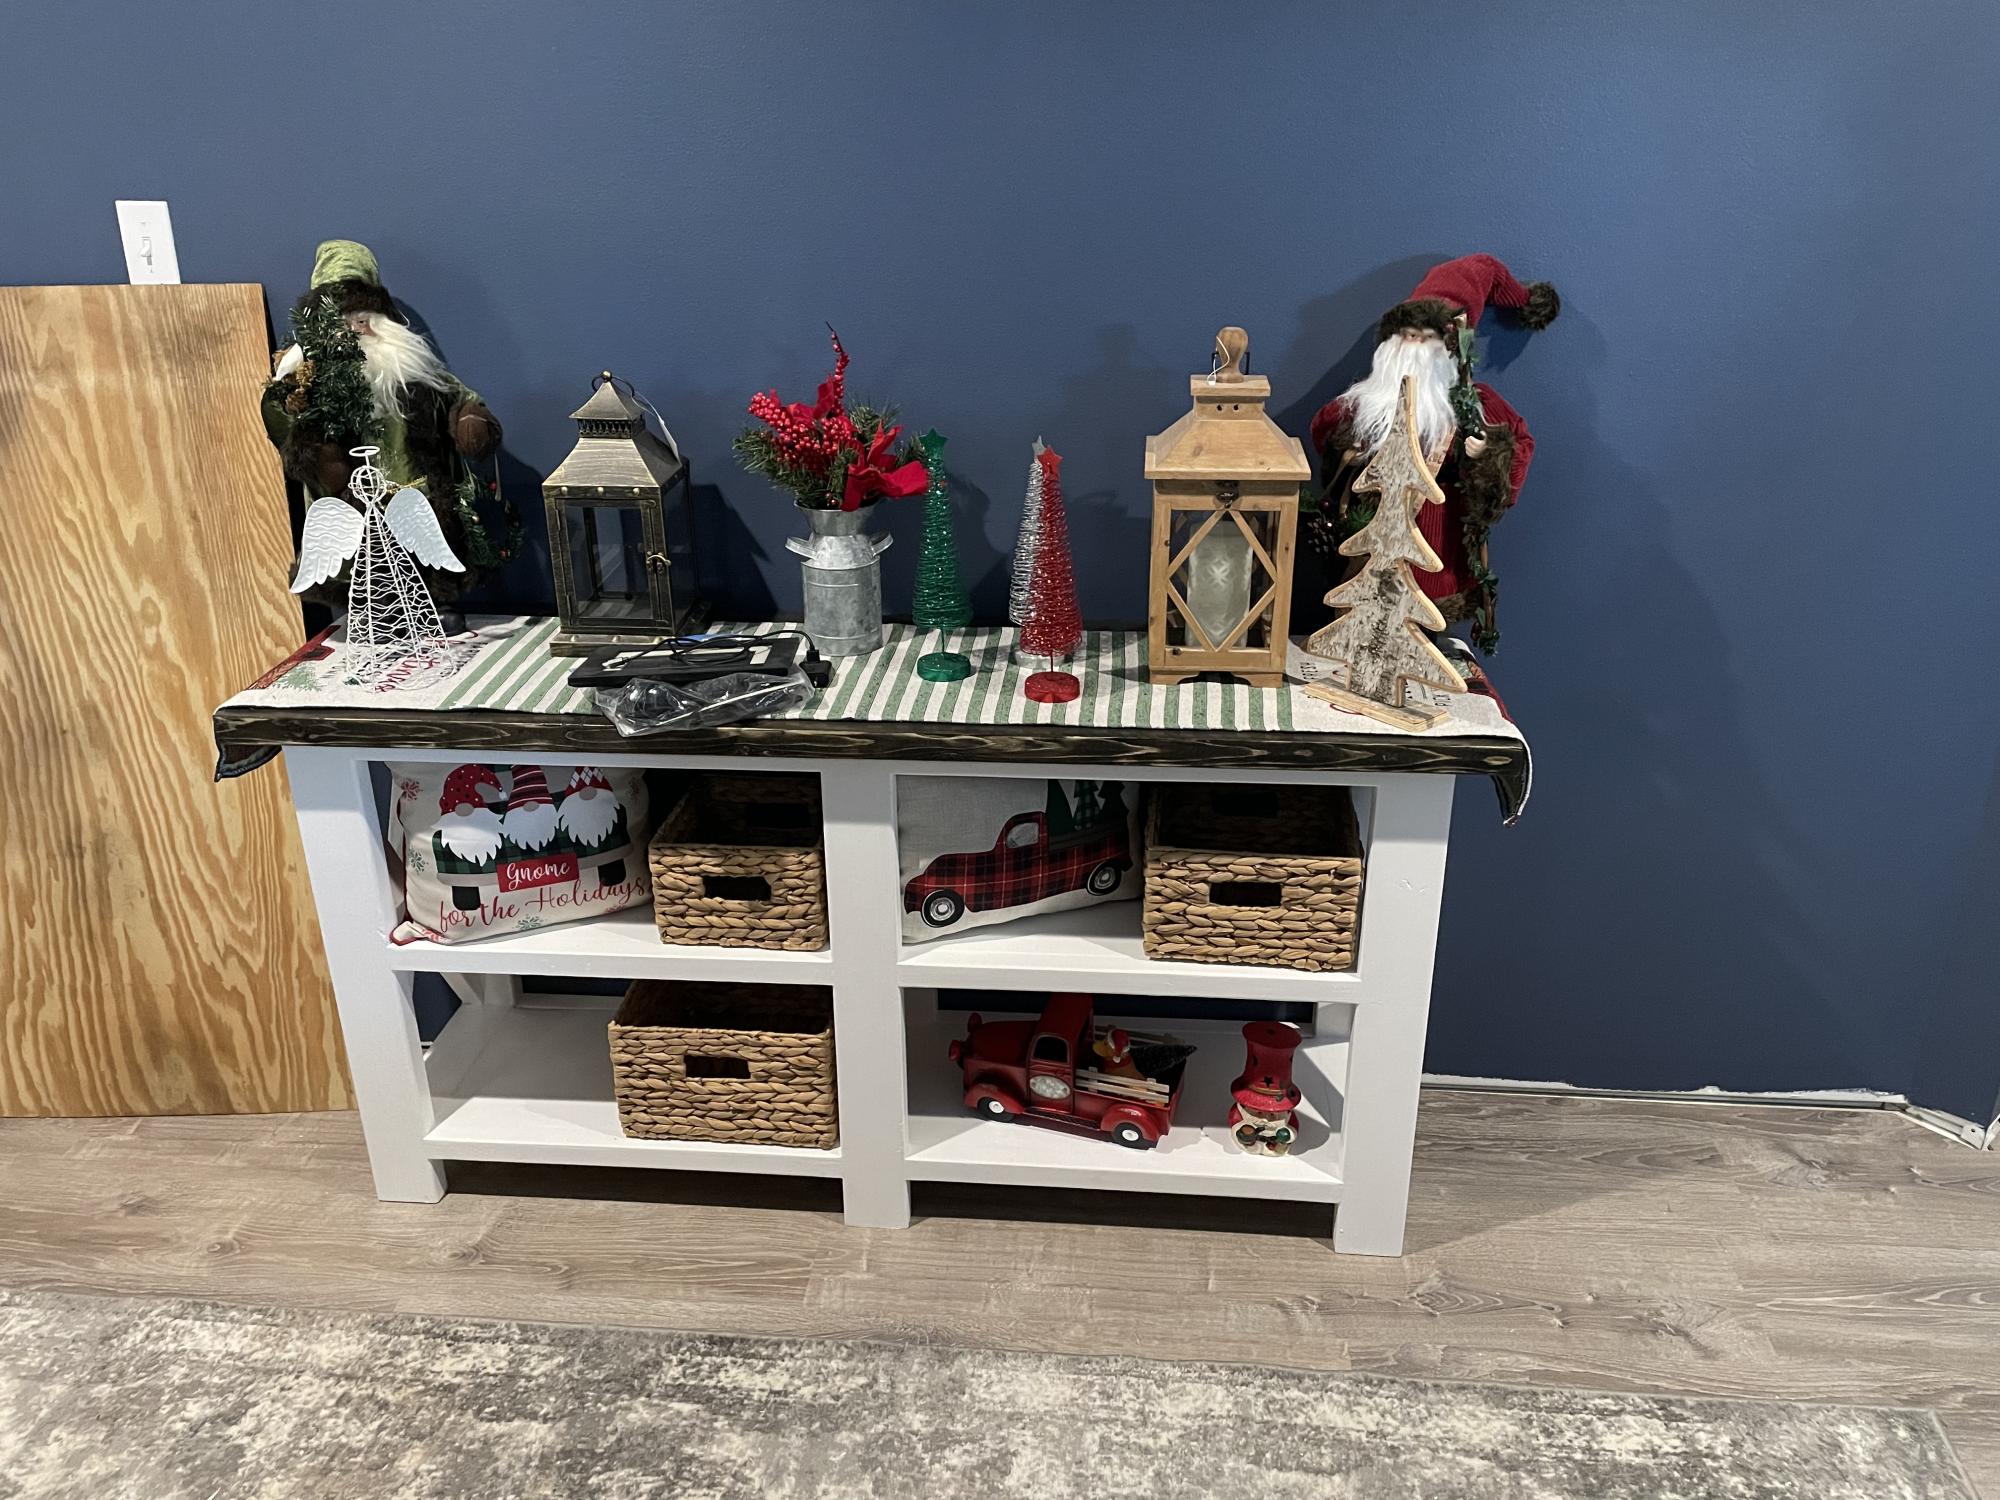
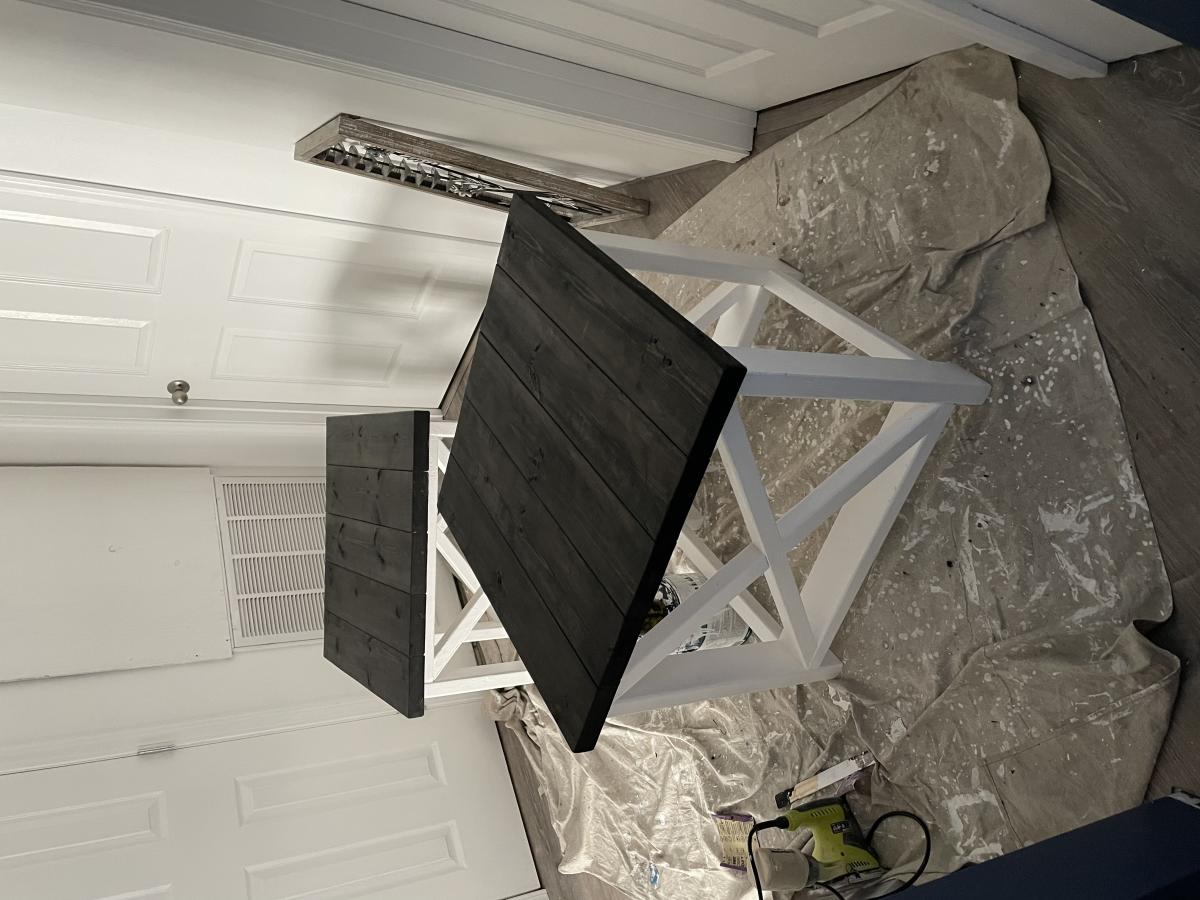
The Vanity was my first attempt ever at building any type of furniture. Then the console table w/ matching end tables. It was not hard at all I’m not even a carpenter. Just a guy who enjoys working with wood. I Just follow Ana White’s plans. This will not be my last builds bc my wife keeps finding things she wants me to build. Happy wife, Happy life.
Thu, 12/16/2021 - 13:39
Thank you so much for sharing, those are all lovely!

I have two little girls and two nieces...so I do not get to build boy stuff very often.
This was the second workbench I built as a birthday gift. I painted the first one white and did not round off the edges. There was some confusion as to what it was supposed to be. So, I painted the second one black and found a cardboard circular saw blade at Hobby Lobby that I painted metalic silver.

I have used one of your cooler plans to create this one of a kind piece. Love your website - Thank you !

Wed, 06/19/2013 - 16:15
It was fun to do this project on the Father's Day with my Husband! It was a gift for him!
Mon, 06/01/2015 - 12:20
Been thinking about making one of these. As a Texan this one definitely appeals to me !
Great job, it looks really nice.
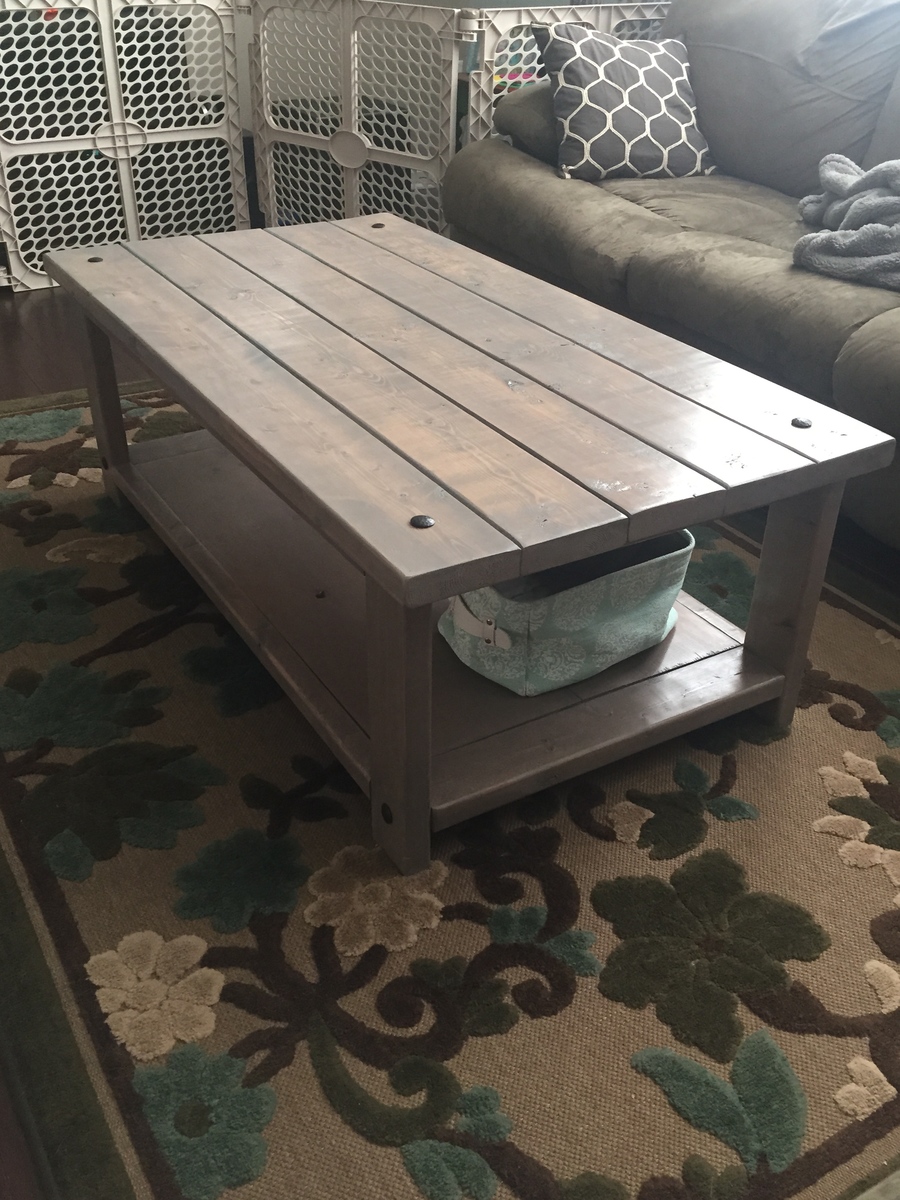
This was my very first build, and I'm so pleased with how it turned out! I decided not to add the X pieces because I didn't want the table to look too rustic. I did add clavos for an extra touch and I love it!
Thu, 05/28/2015 - 10:46
Great job! I wish my first build came out as nice as this!
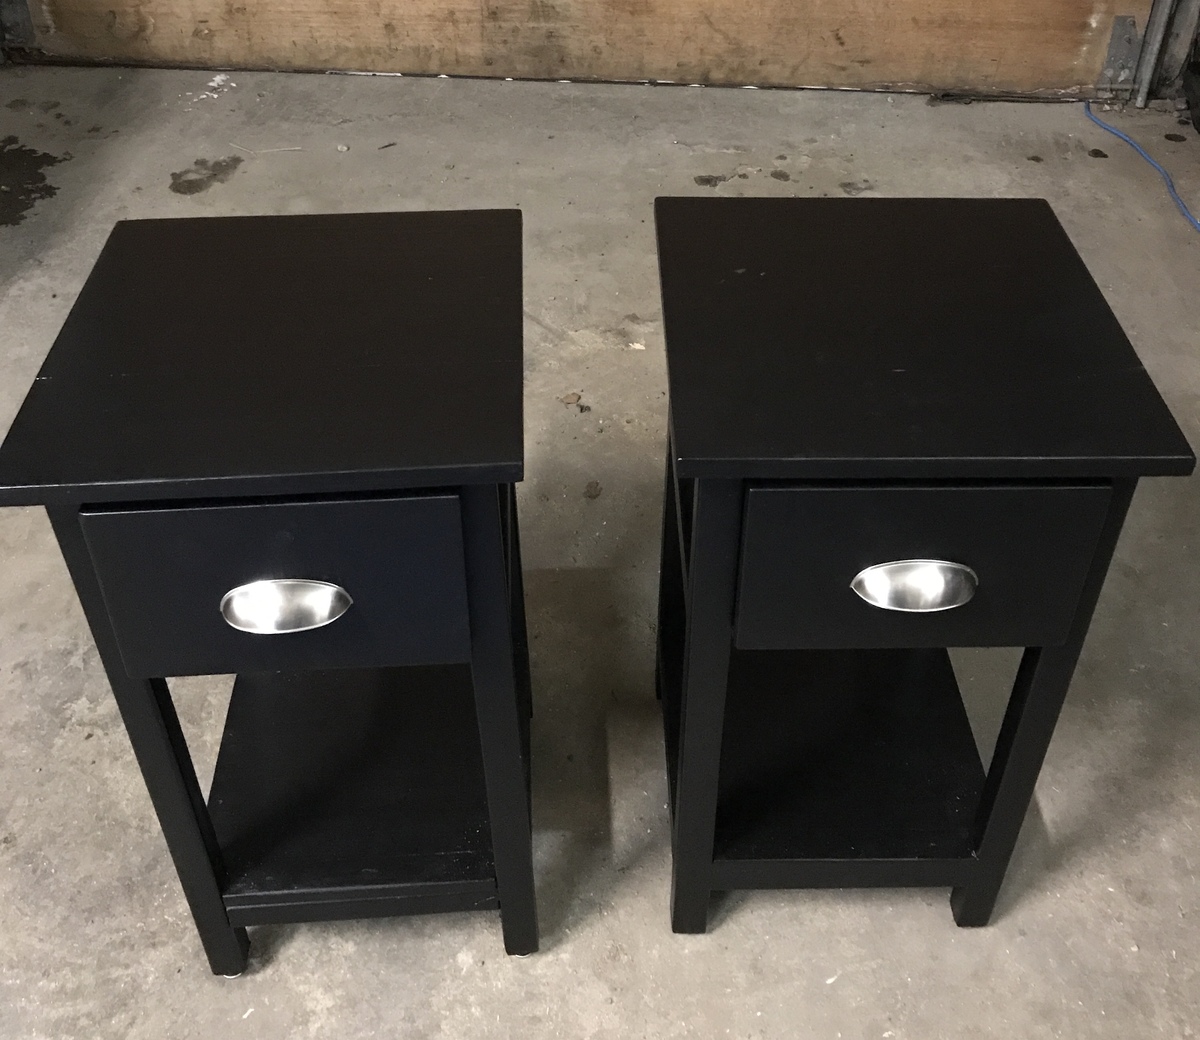
Added front to the drawers using the scrap 12x1 and feet on the bottom for maximum leveling
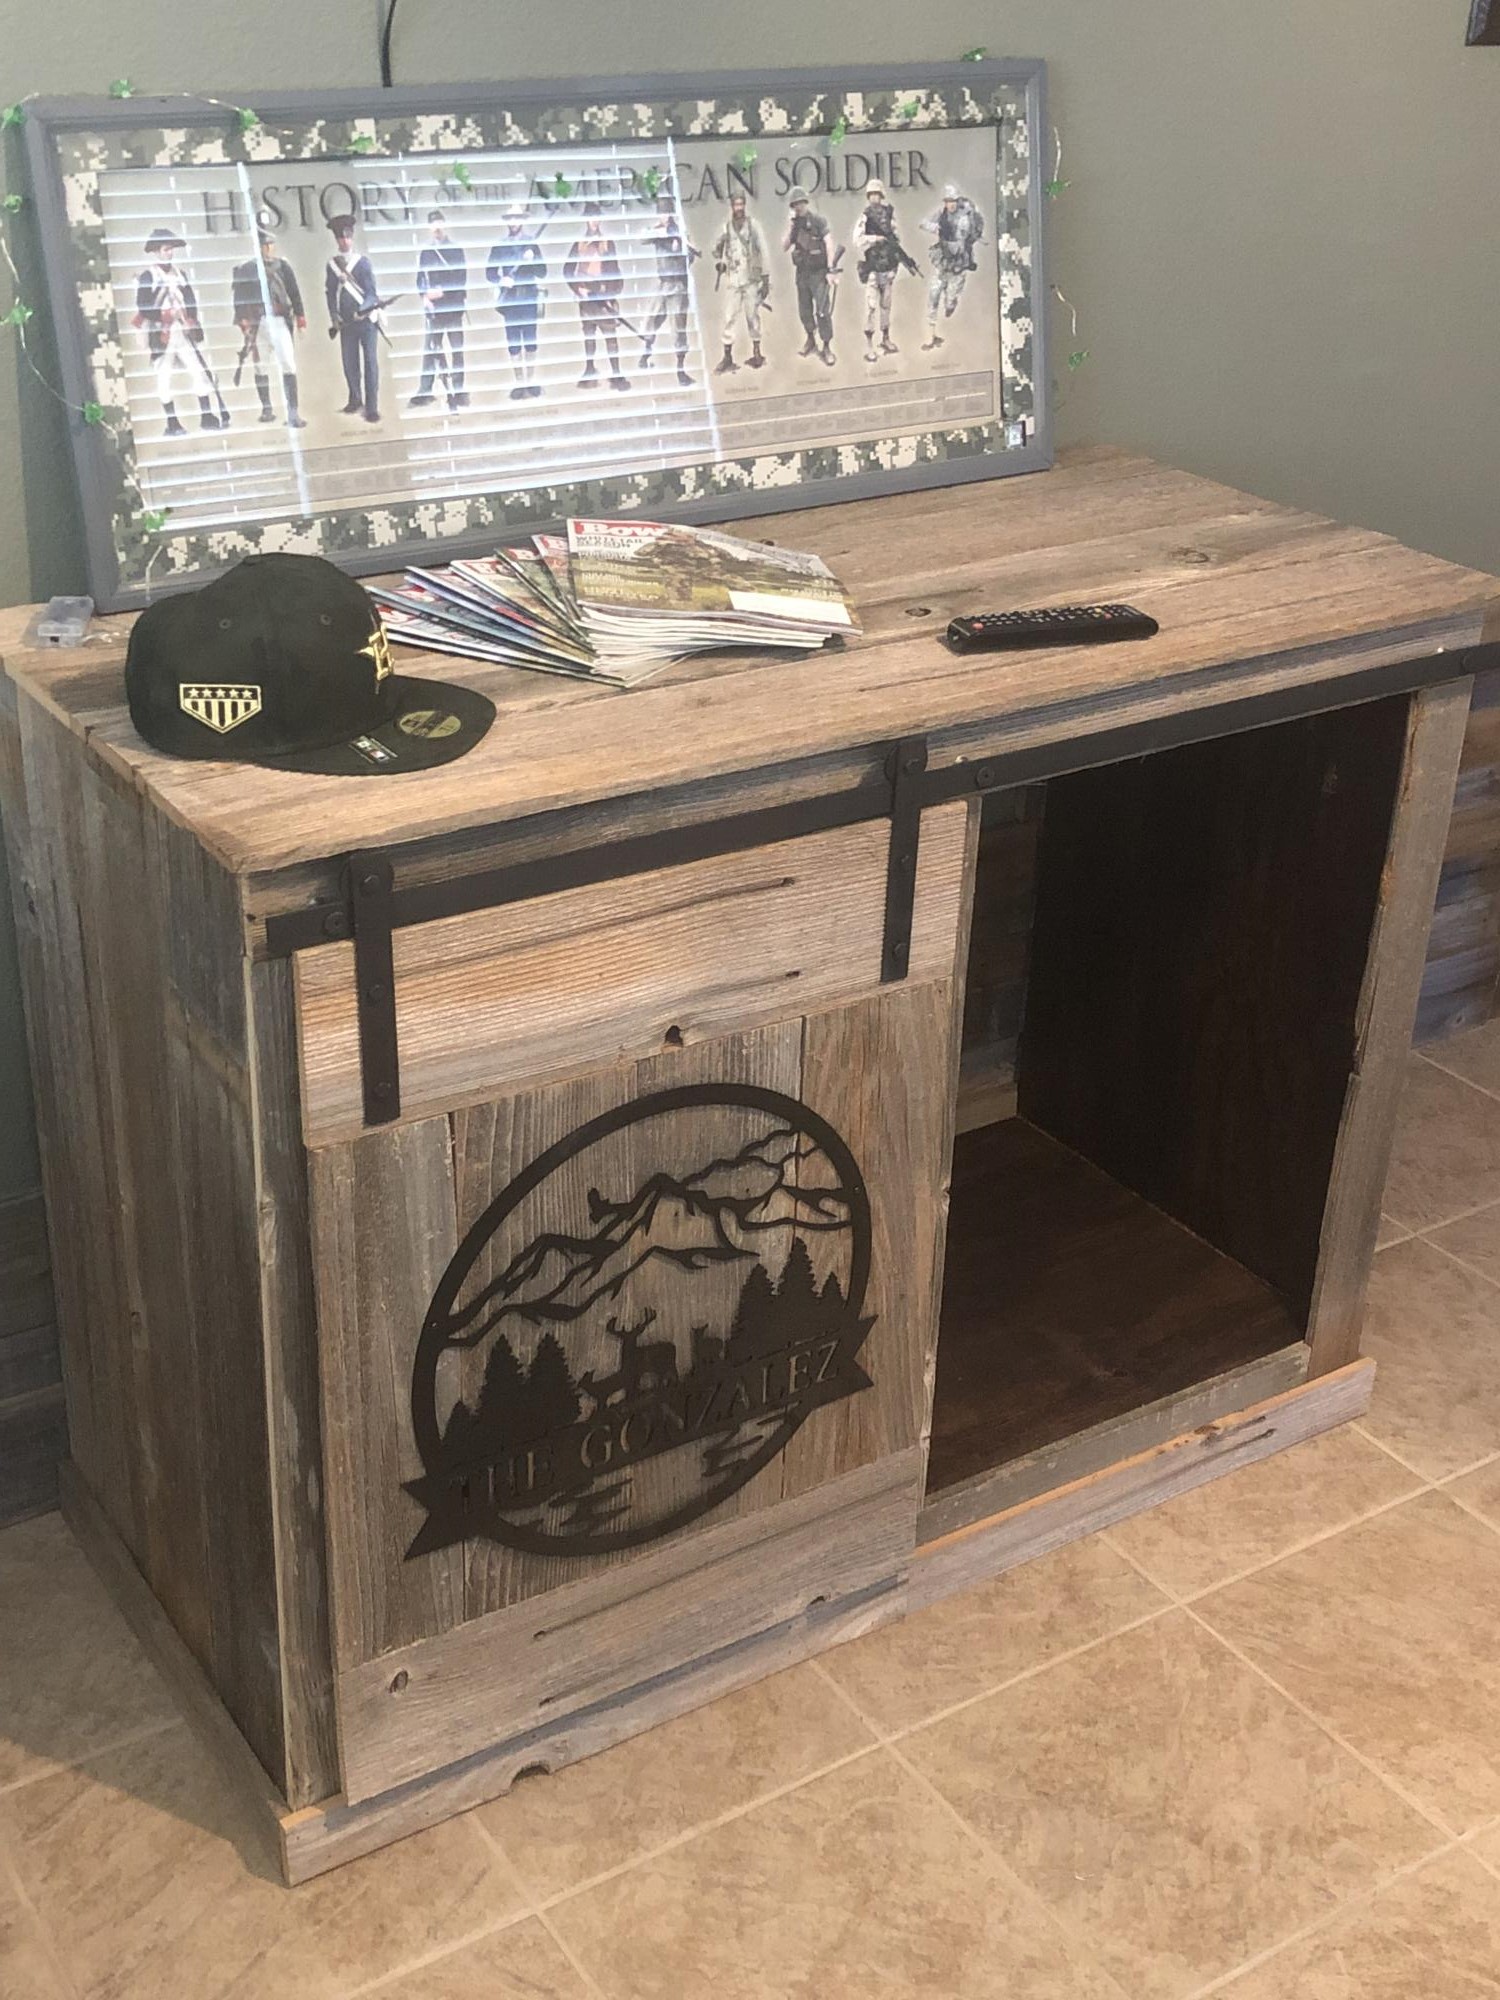
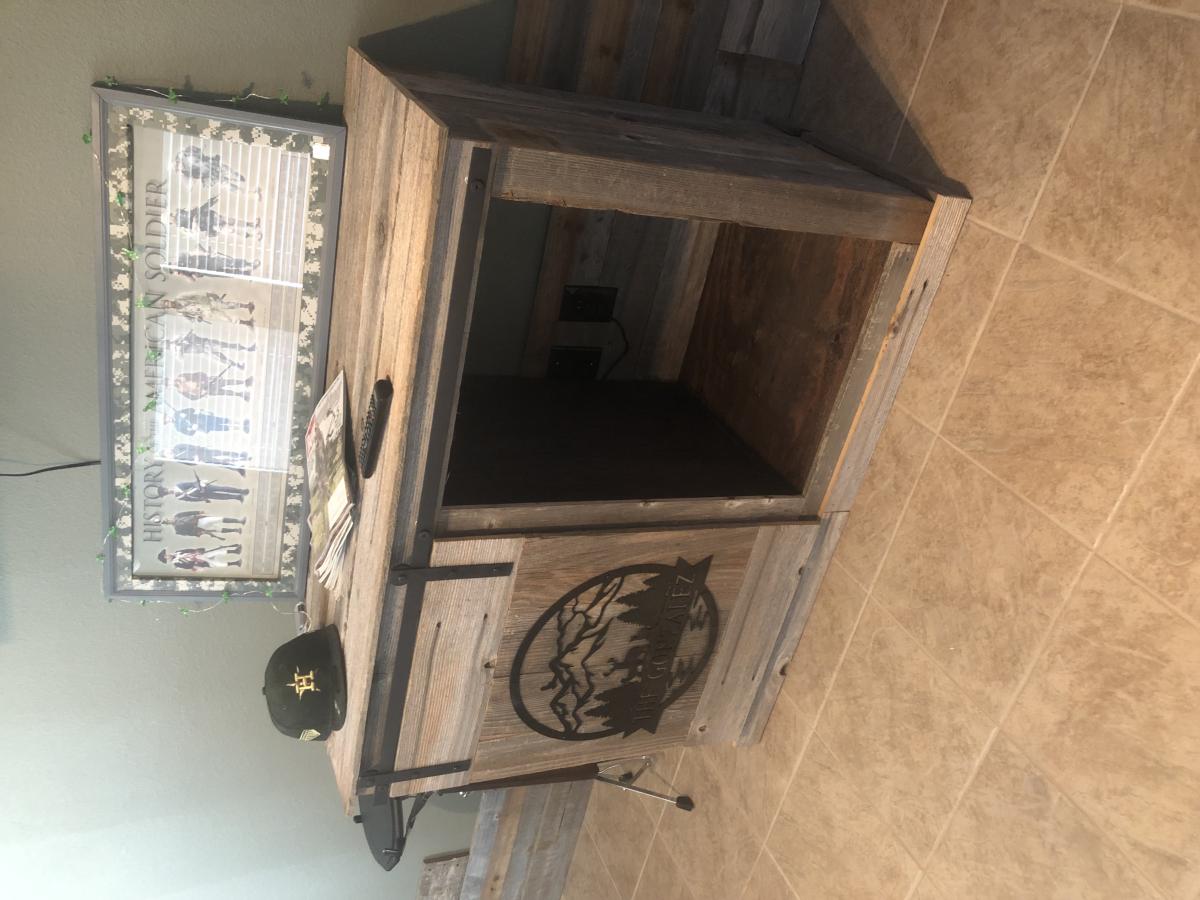
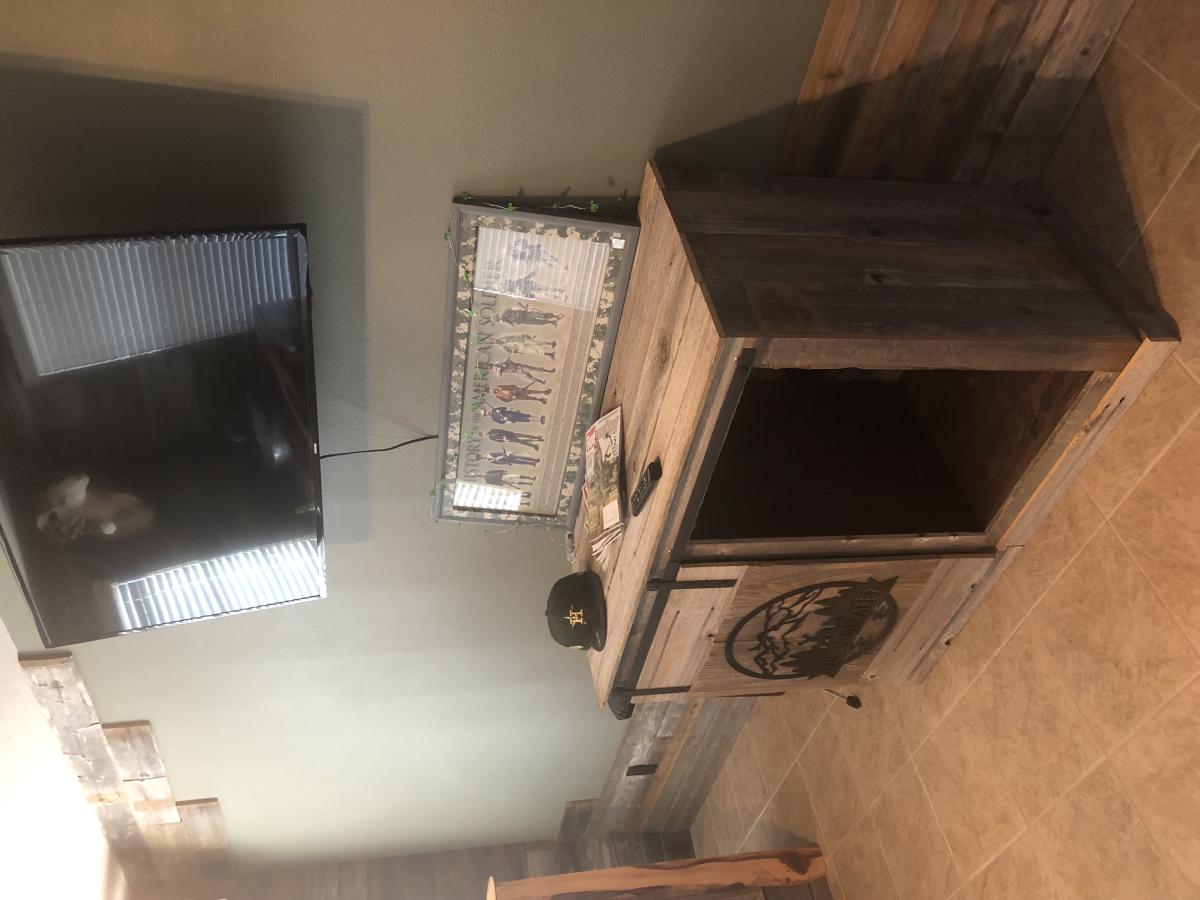
This was a great project. My son and I took your design from "Barn Door Cabinet with Mini Fridge and Microwave" and changed it up a bit. Let me start off I needed something small to a mini fridge in my "man cave". When I saw you design I used the plans to make the frame but then I took old fence slats and gave it a twist. All we need now is the mini fridge.
I built this in an afternoon and painted the next day. It was quite fun. BIG TIP!!! Paint BEFORE you build!
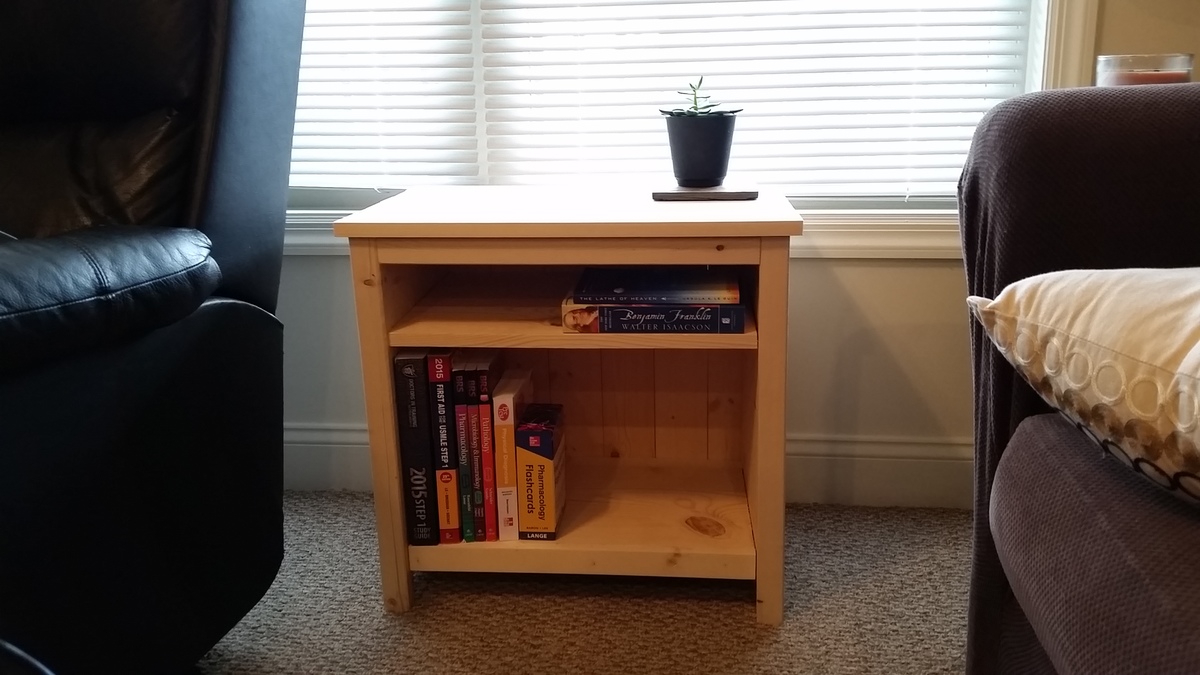
23" wide by 21 1/2" high by 15 1/4" deep
I needed a little bookshelf to fit under my window so I went with one full shelf (11 1/2") and a baby shelf (3 3/4" not including the area behind the top front lip - it's 5" from shelf to the bottom side of the top surface)
Now, to get around to putting on some stain...
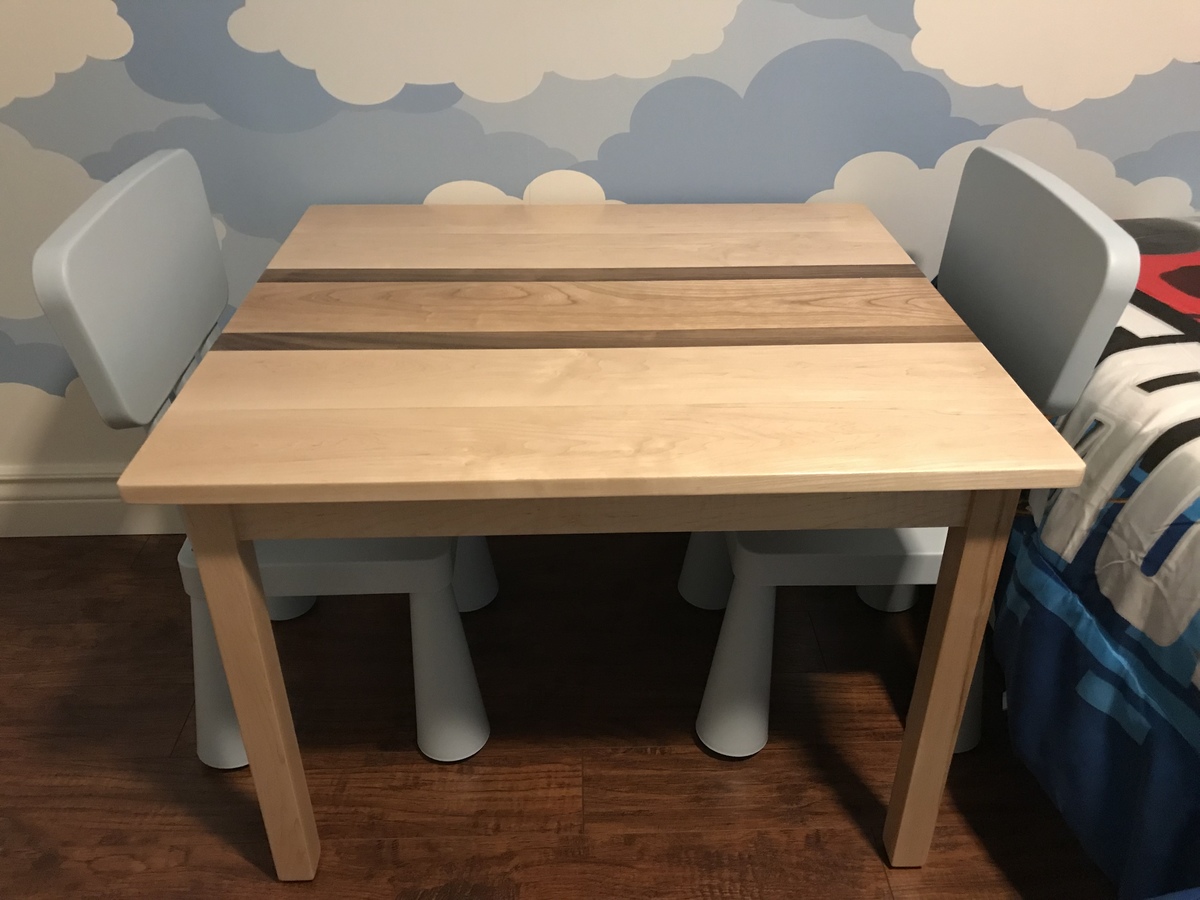
Plans were great, thank you. We made our table a little deeper to accommodate 3 to 4 little ones, and purchased some little chairs at IKEA.
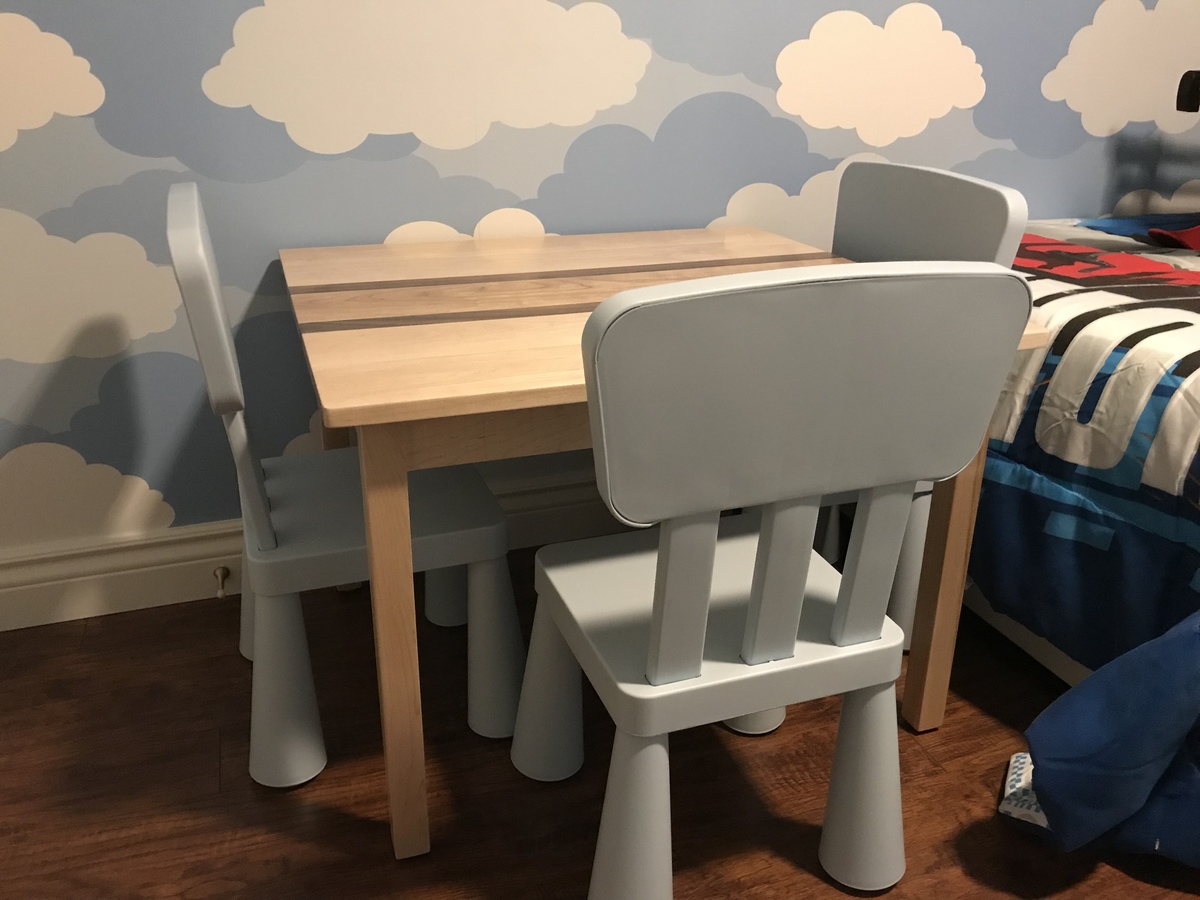

I made this for my 4 year old Granddaughter, and the first time she sat down she said “it’s just my size.”
I made the desk two and a half inches shorter than the plans.
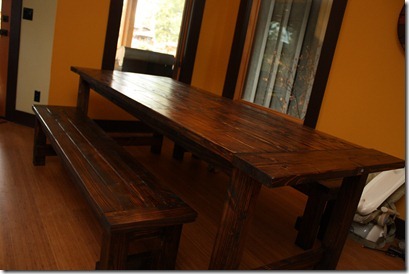
Took a couple of weekends to complete table and benches. As a sidenote, Orange was definitely the least expensive between the 2 box stores. They also had a much better selection of inexpensive wood. We made the table and benches for the same price we made our reclaimed wood king headboard (supplies purchased at blue).
A word to the wise: DO NOT CUT THE END, PERPENDICULAR PIECES OF WOOD FOR THE TOP UNTIL THE LONG, 2X4S ARE ATTACHED. Just cut it to fit at home. We found the cut list is a little off in that regard and had to get a little creative so we wouldn't have massive 2x4 overhang,as the 1x6 cut was too short for us. We just cut to fit when building the benches and found it was much easier!