Small Cedar Chest
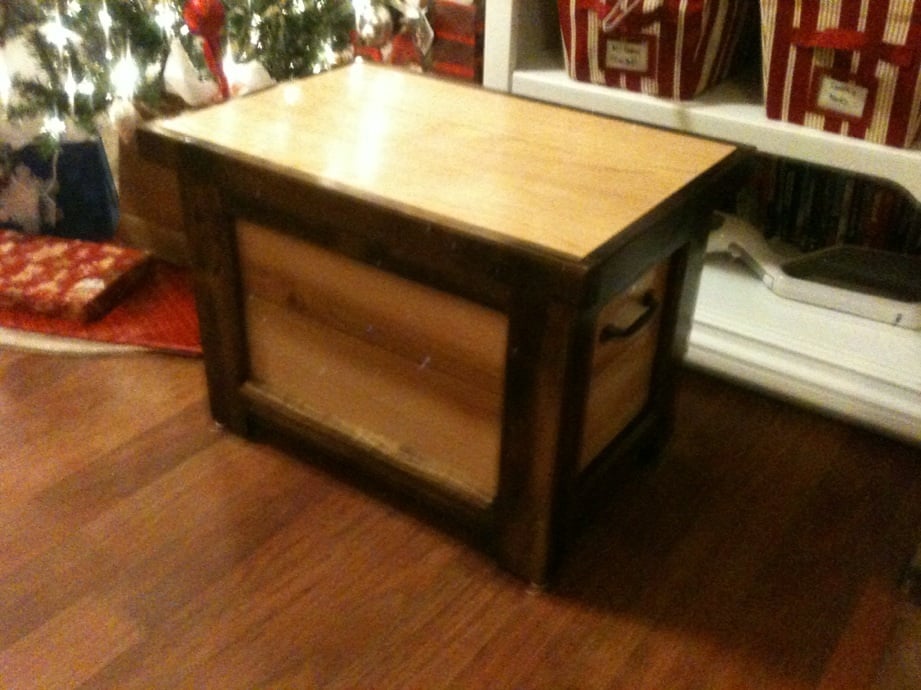
My husband built this for his grandma as a Christmas present. The frame is made of white pine and then the slats are cedar.
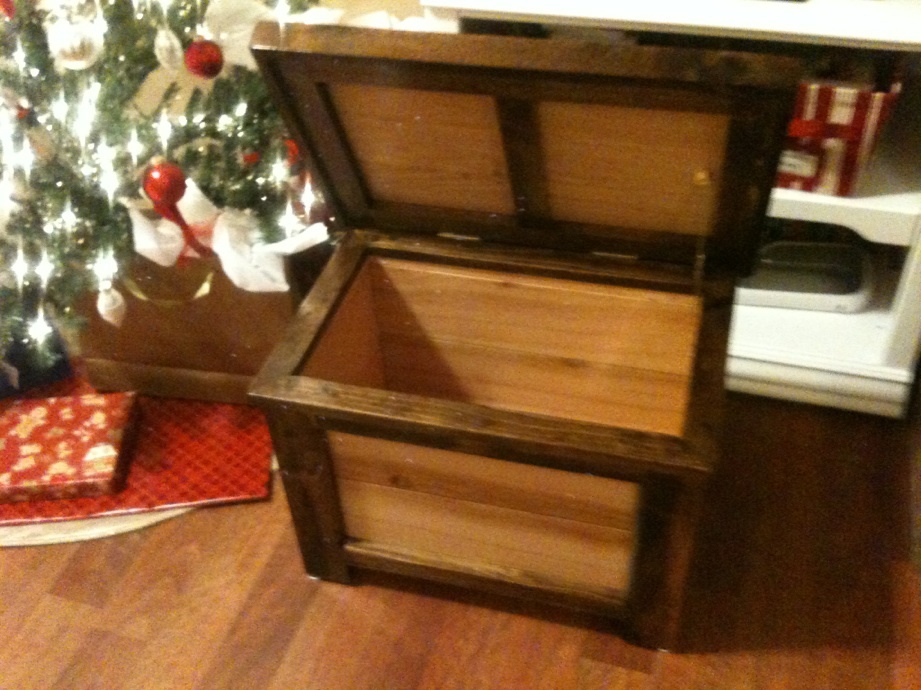
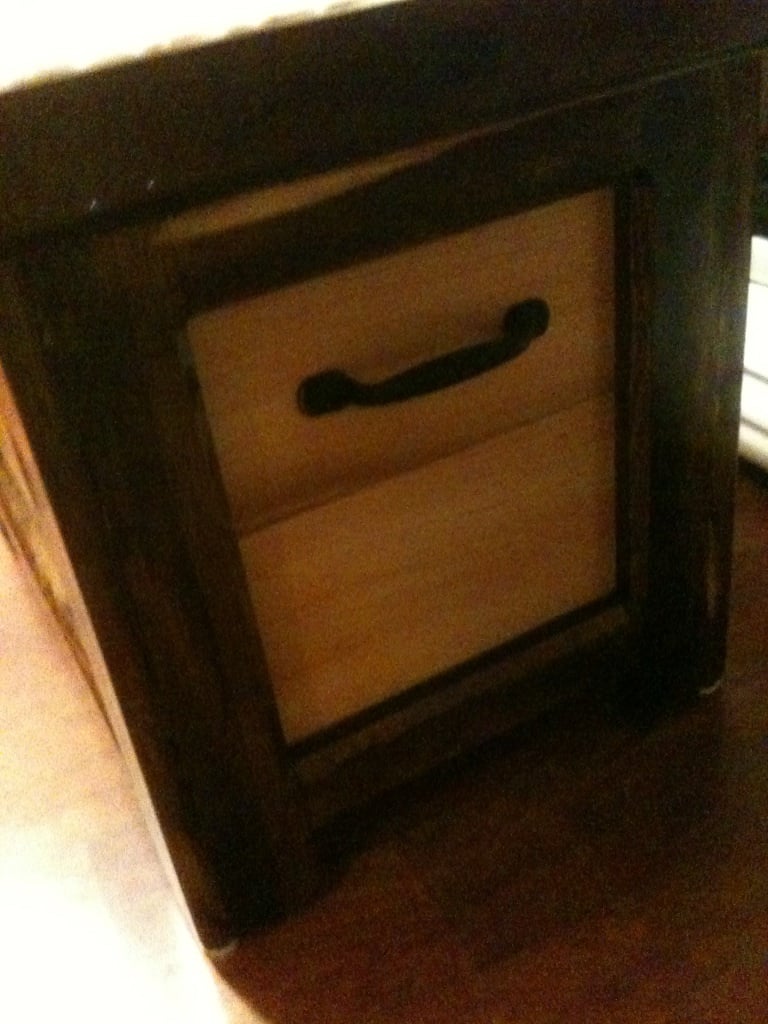

My husband built this for his grandma as a Christmas present. The frame is made of white pine and then the slats are cedar.


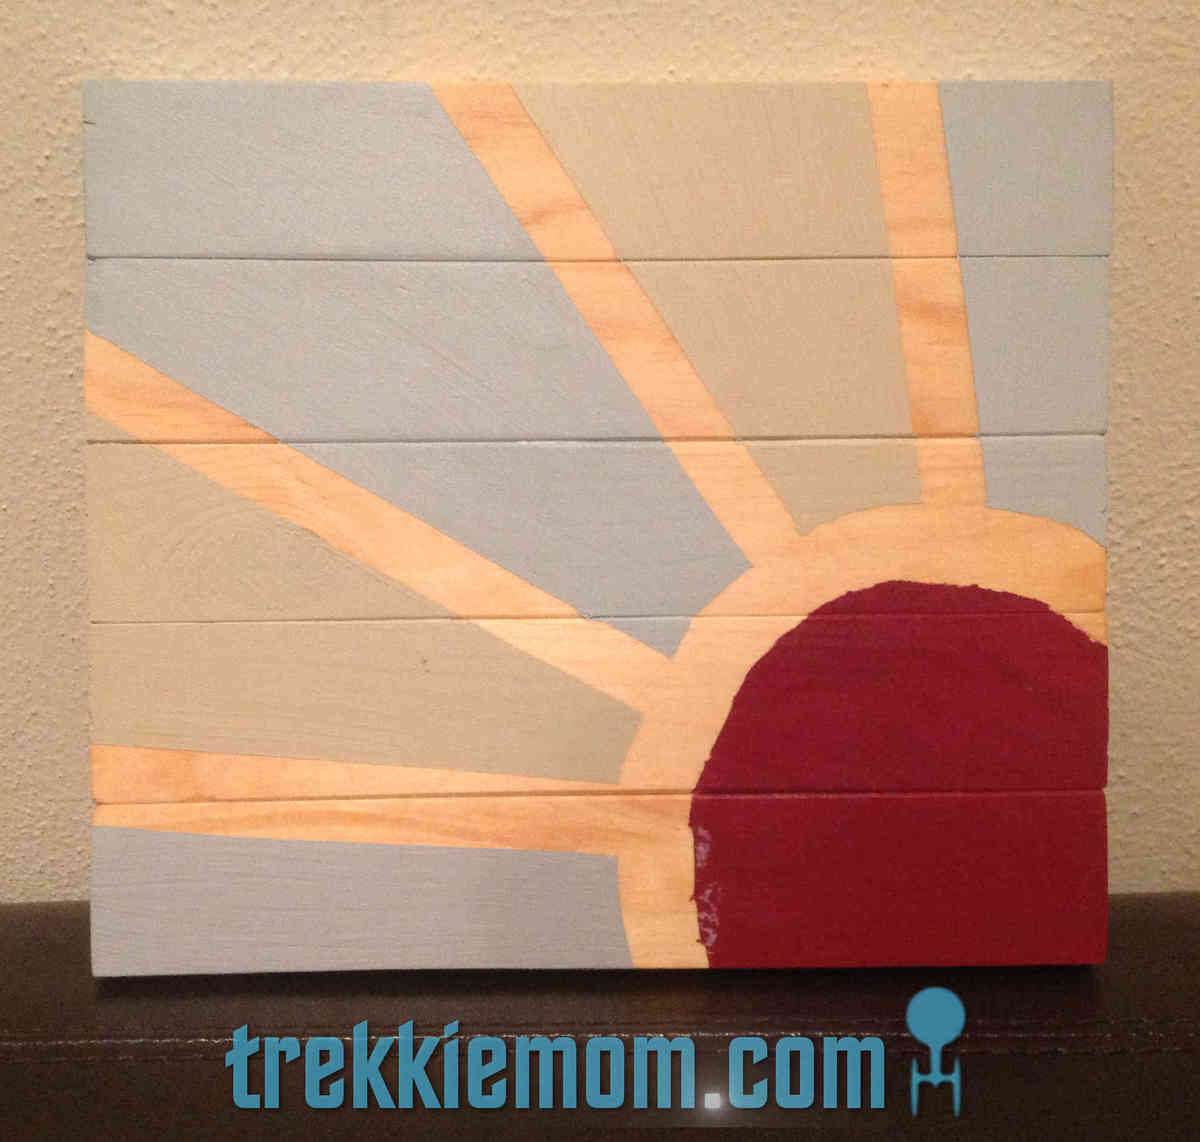
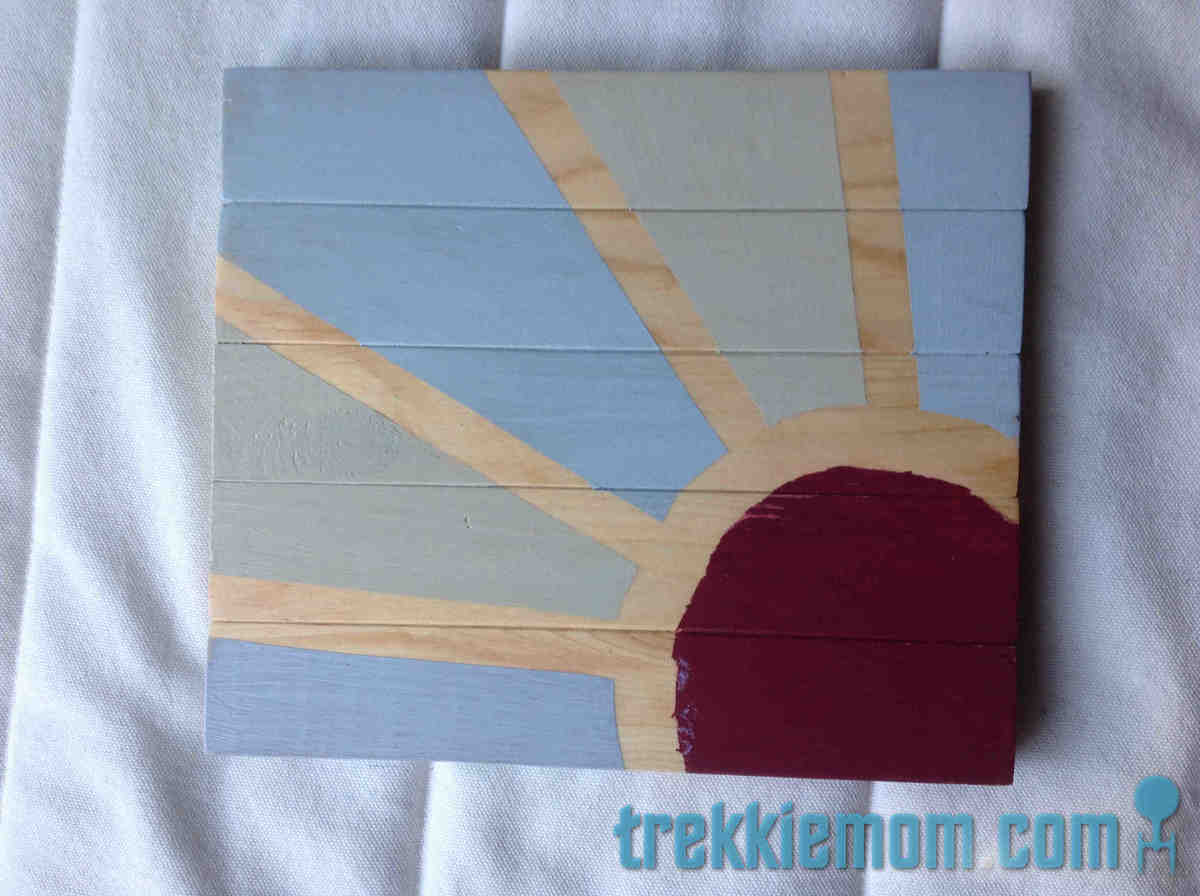
I used wood glue and scrap 1 x 2s (yellow pine). Cutting the 1 x 2s, 9 inches long (there are 5), I sanded them and then glued them together with wood glue, leaving them clamped together overnight. The following evening, I stained the piece with a light wood stain for the rays. The next night, I used painter's tape to create my version of the sun, so that my son, who wanted to paint it, didn't feel pressure to stay in drawn pencil lines with a paint brush. My son picked out the colors and where to paint them from my Lowes oops paint collection. After the paint dried, I sanded very lightly to give it a bit of an aged feel before applying 2 coats of Polyurethane to seal it, lightly sanding between coats. A self leveling picture hanger finished it off. The finished product was not too much bigger than my IPad.
I was inspired by two other bloggers' bigger projects.
http://www.iammommahearmeroar.net/2013/10/how-to-create-giant-art-for-g…
http://www.inspiredbycharm.com/2012/01/from-wood-to-wall-the-making-of-…
I like a bit of the sun on the wall.

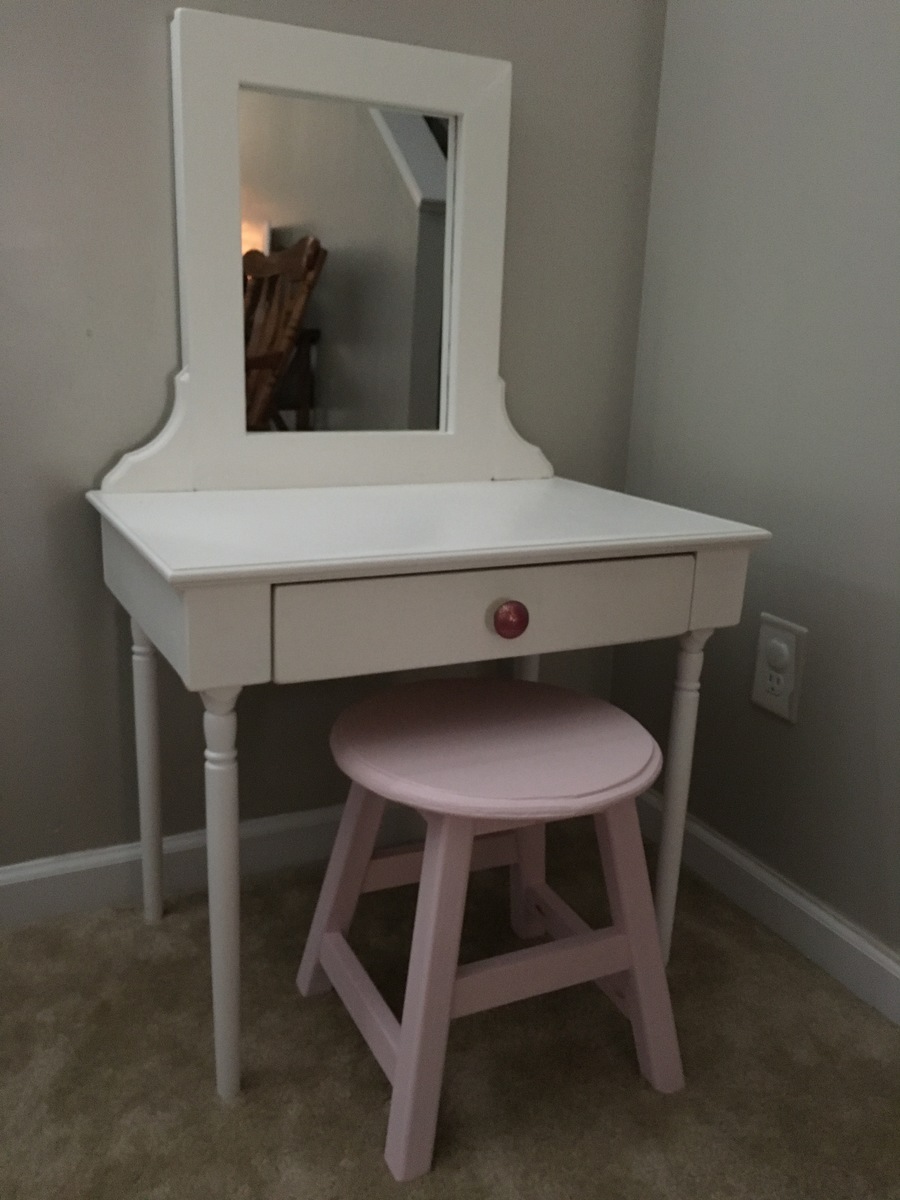
Last year I was fortunate enough to stumble upon Ana White's website when researching play kitchens as a Christmas gift for our little girls. I had never built anything previously, but the plans seemed simple enough, I enjoyed making their gift, and they love playing with the kitchen set. I looked for something to continue the Christmas gift tradition this year and found the play vanity plans shared from That's My Letter. It turned out great and was again simple for someone who doesn't have many tools or experience. The girls have enjoyed playing with vanity very much, much more than I imagined. I look forward to finding something to continue the tradition for next Christmas, and hopefully to have time for a few other projects in between! Thanks for all share these plans.
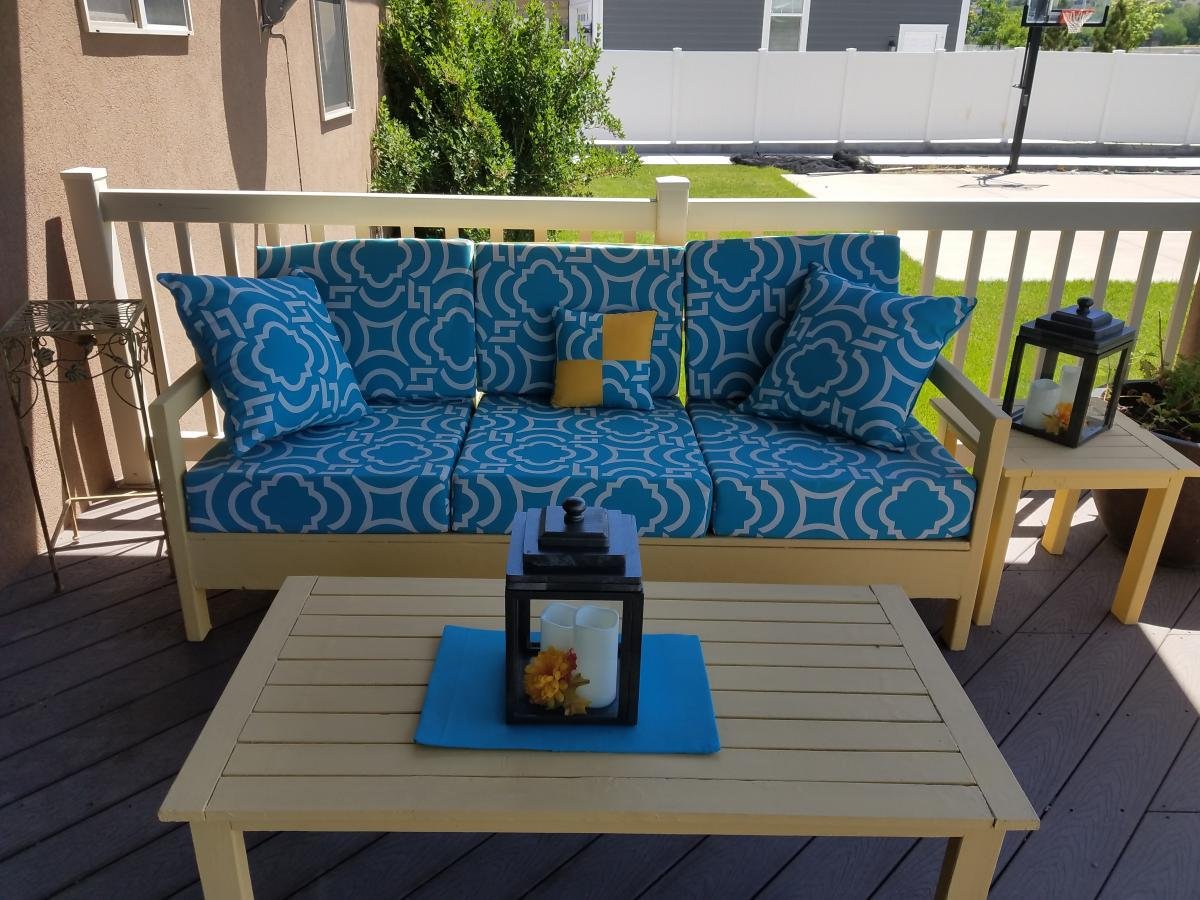
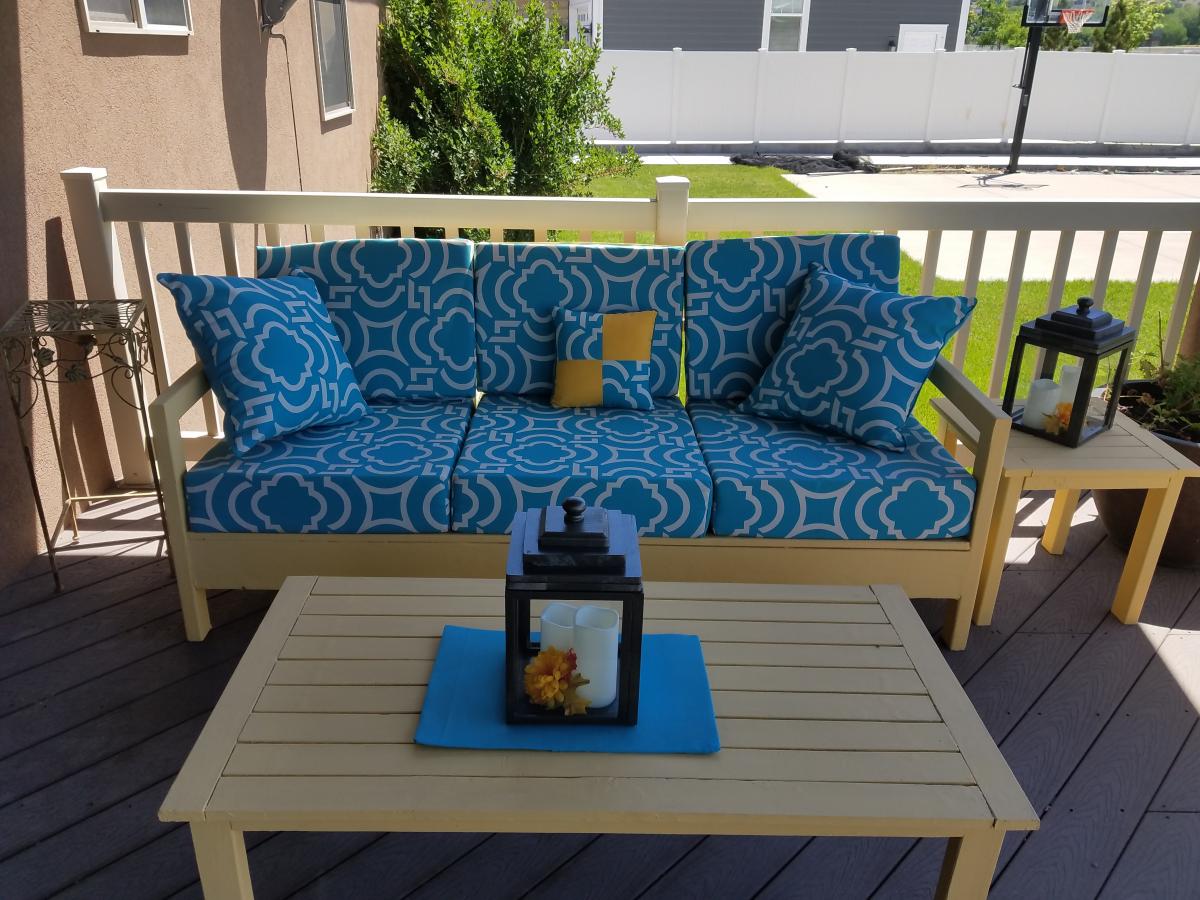
Love the fact that I can build just what I want for my deck furniture! I built this two seasons ago, and since I hate refinishing furniture, I used deck paint to finish it. It leaves a little rougher surface, but since I made cushions it really doesn't matter. The paint looks almost the same as it did the day I painted it after two years of winter snow and hot summer sun.
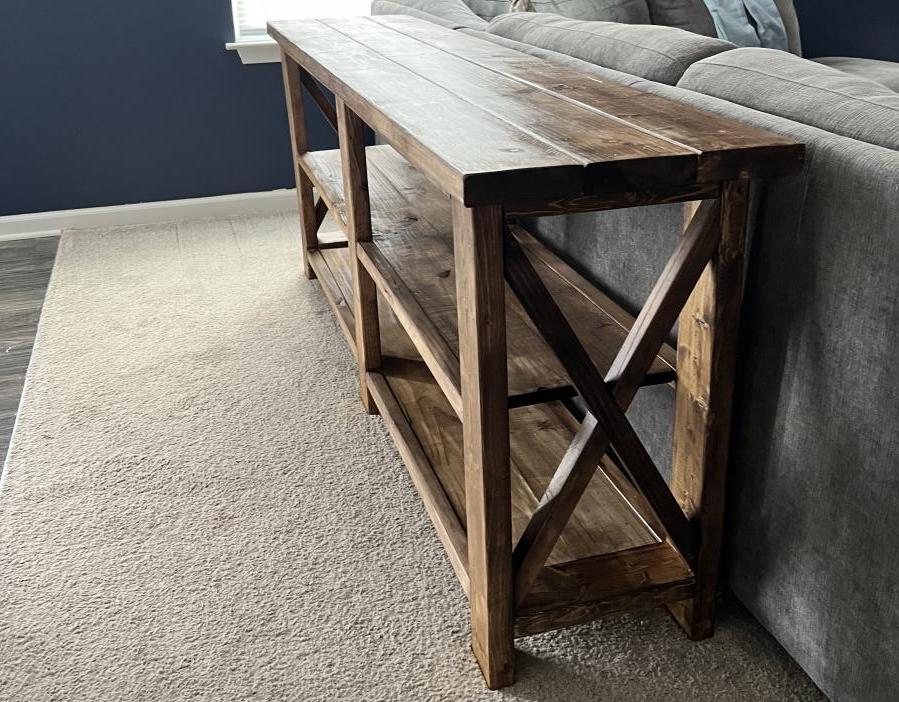
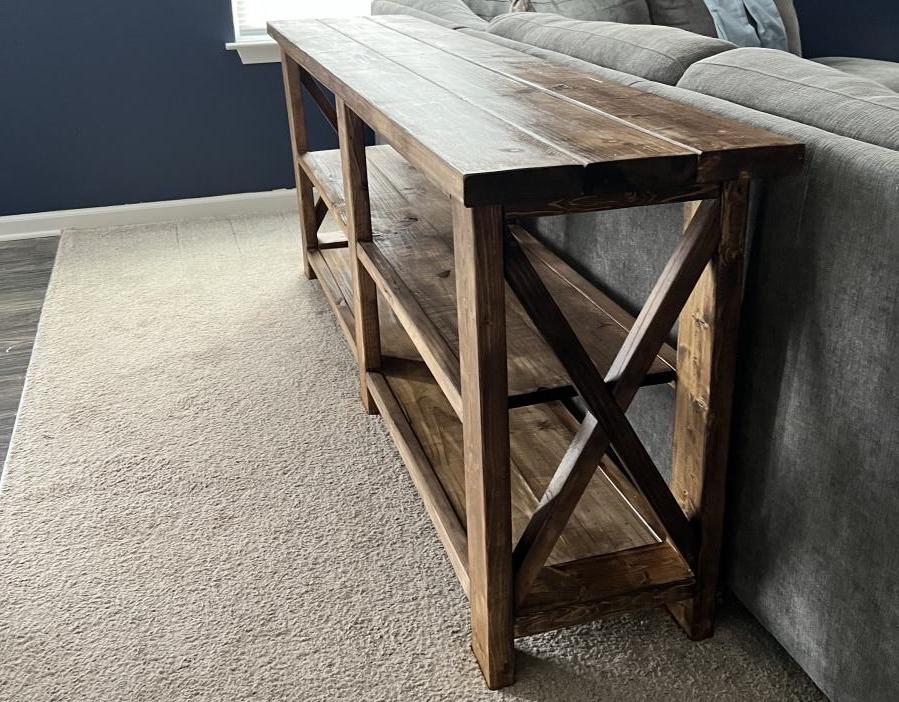
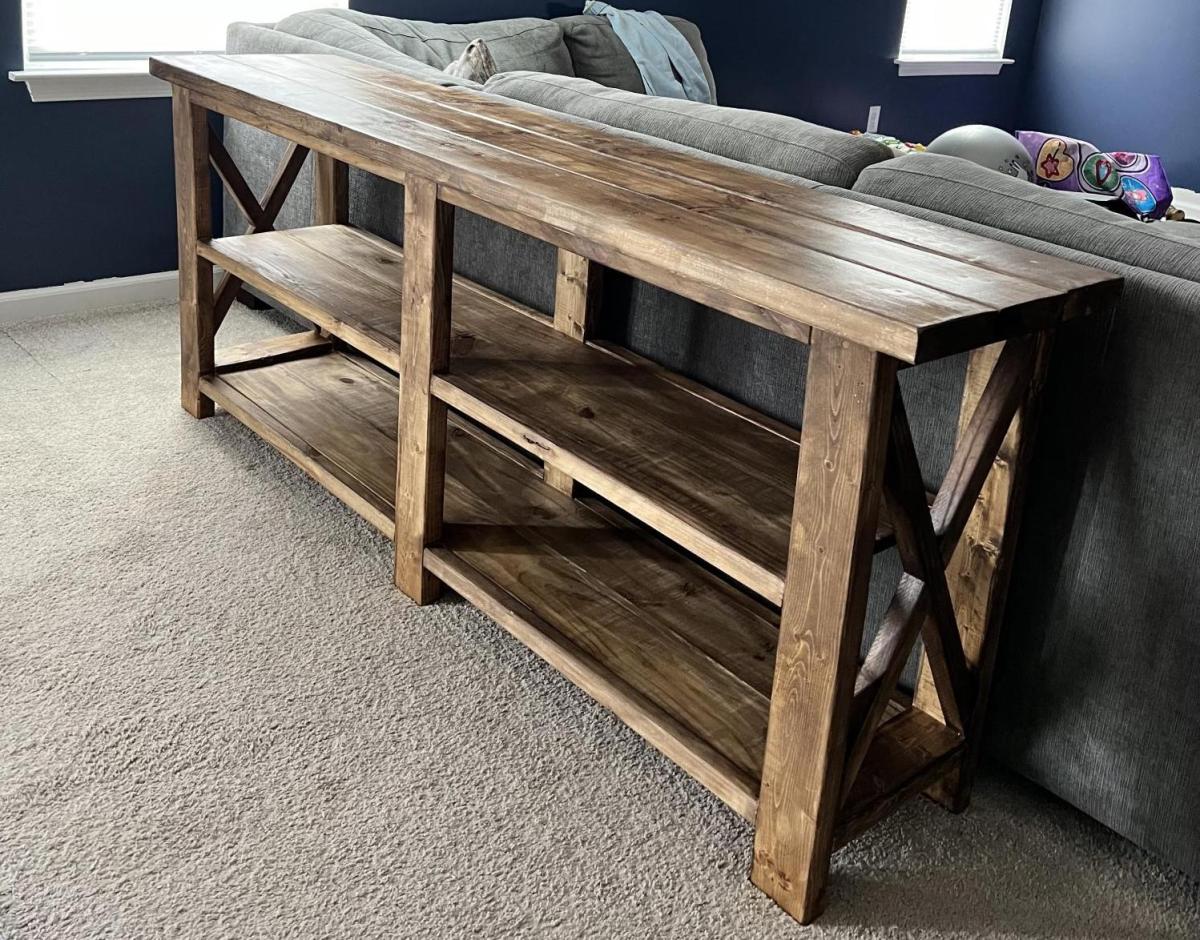
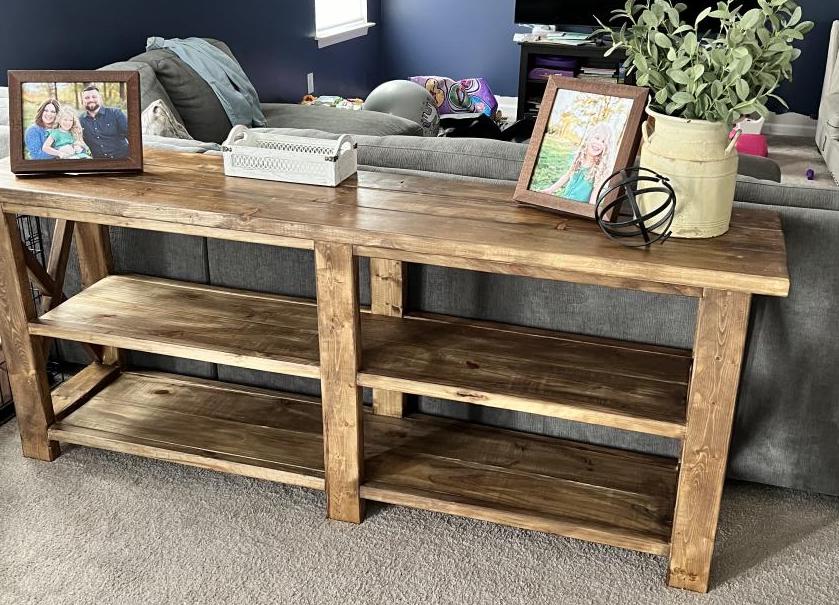
This was my first Ana White plan after lurking for awhile! I’ve dabbled with other DIY furniture and woodworking plans but this my first one for indoors that required some more meticulous finishing. Super happy with how it turned out!
Tue, 04/11/2023 - 11:43
Wonderful job, it looks perfect there! Thanks for sharing.
I used the design for the adirondack side table, but modified the top to have glass tiles. I just used a 12x12" sheet of glass tiles from the blue store to create the top. The wood is just clear poly. This is my Mom's Christmas present.
Tue, 12/20/2011 - 14:19
AWESOME!!! I'm inspired by this to take your design and turn it into a mobile chess table!!! soooo pretty!!
Fri, 01/06/2012 - 07:05
Plywood, particle board or MDF is what should be under the tiles, not solid wood. Better yet would be a plywood bottom with a thin cement board or hardibacker over it. If you put it over solid wood, expansion and contraction of the wood will pop the tiles loose over time, and probably sooner than you like to think about.
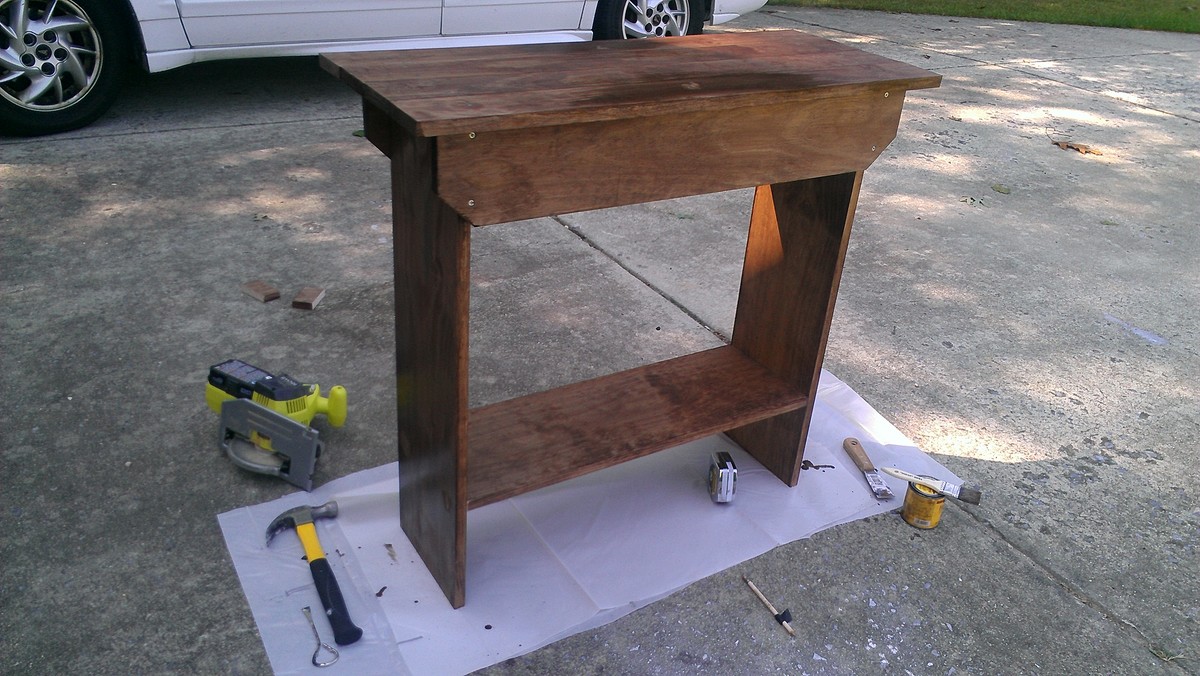
Used the reclaimed wood bench top plans for this project to make it a console table. This was very easy to alter. Rather than cutting out a triangle at the bottom, I left it uncut. I squared off the top edges too in addition to placing the boards longways instead of small pieces like a bench.
The finish I made it look rustic painting VERY lightly white one and instantly wiping it off for the rustic effect.
Pretty good for my first project every!
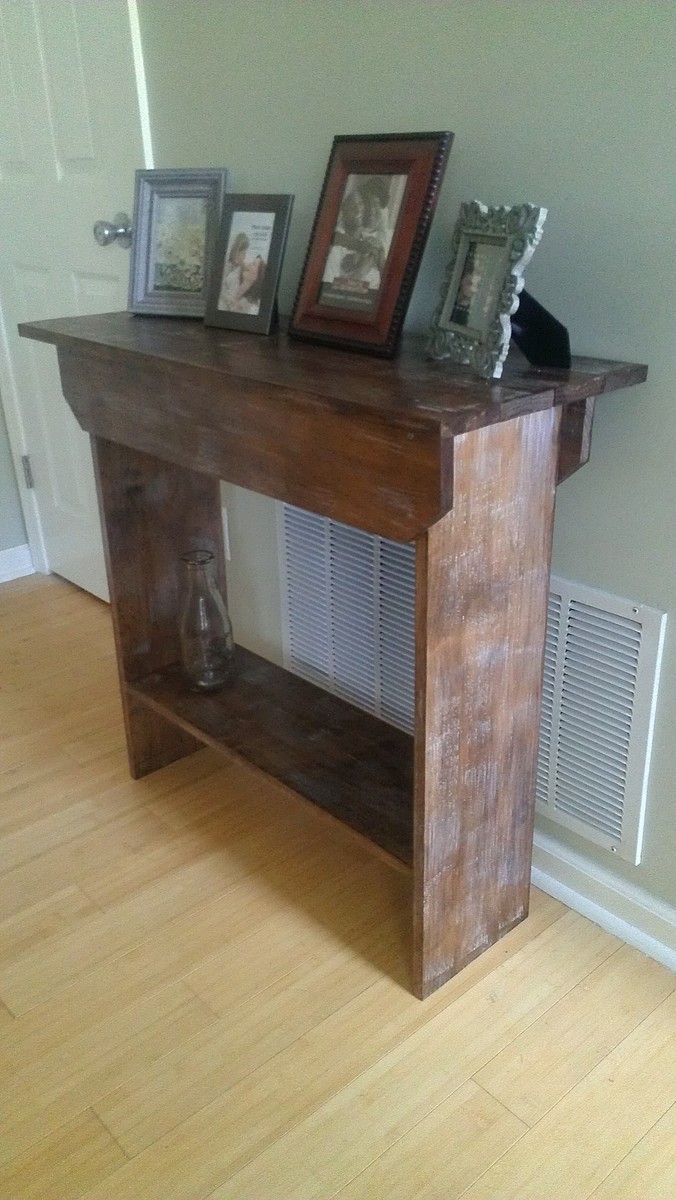
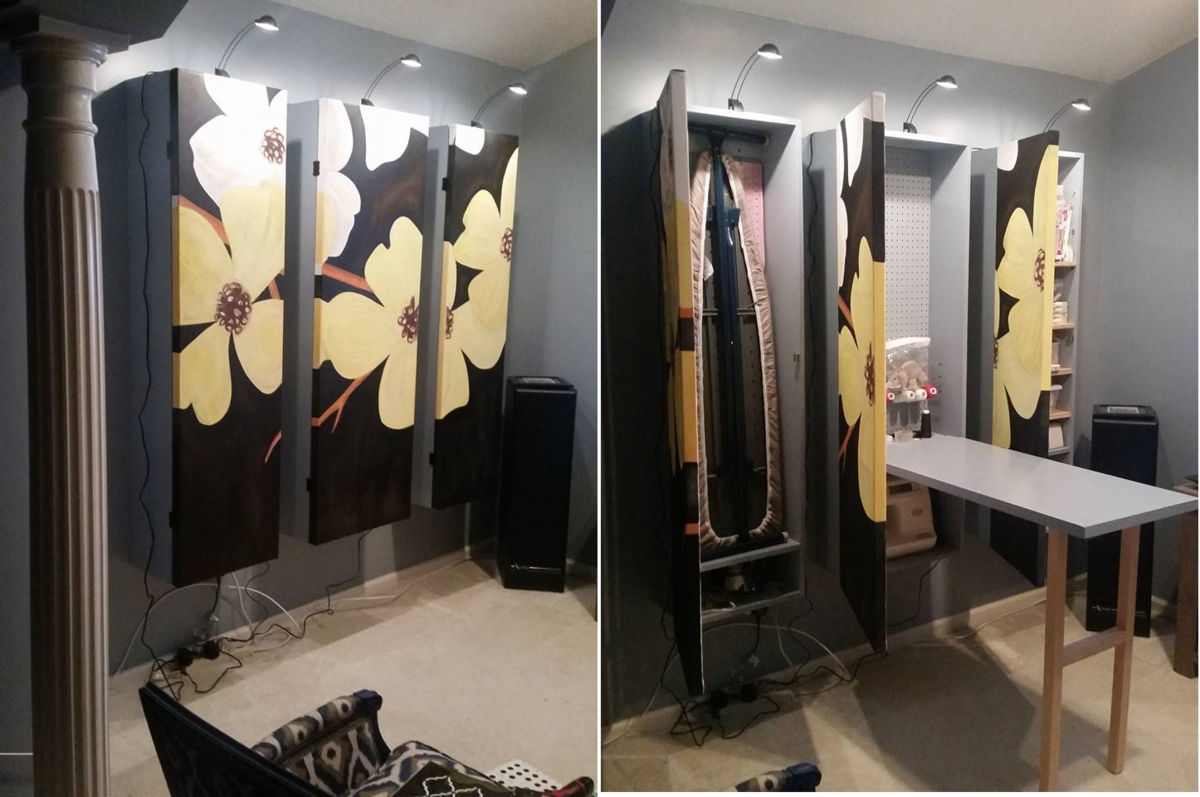
We wanted our sitting room to look more like a sitting room than my craft room. So My husband came up with the idea from my first woodworking project (I built a cabinet for our kitchen and used the canvas art work that was hanging on the wall as the door for the cabinet.) His idea was to make three large cabinets and make our own cavas frames to fit the cabinet. Our girls and my husband painted the artwork and I built the cabinets. Now I just have to hide all of the cables.
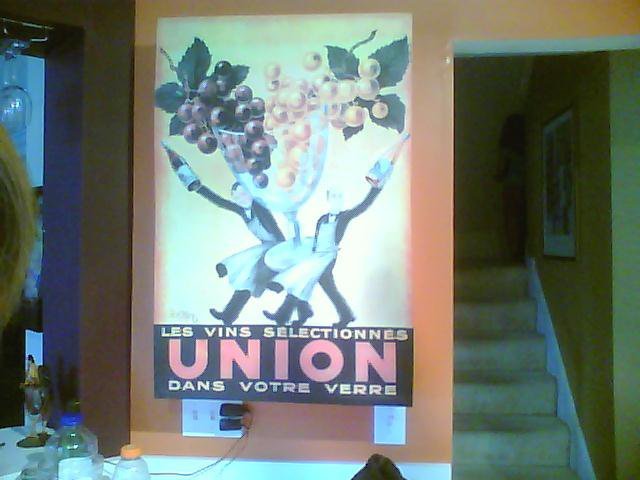

I only needed one step up, but replacing the old, cracked, weird, faux concrete step with the new planter box worked great!
Fri, 07/12/2019 - 19:36
This is perfect for your front door ! Love how you tied it in with your house colors.
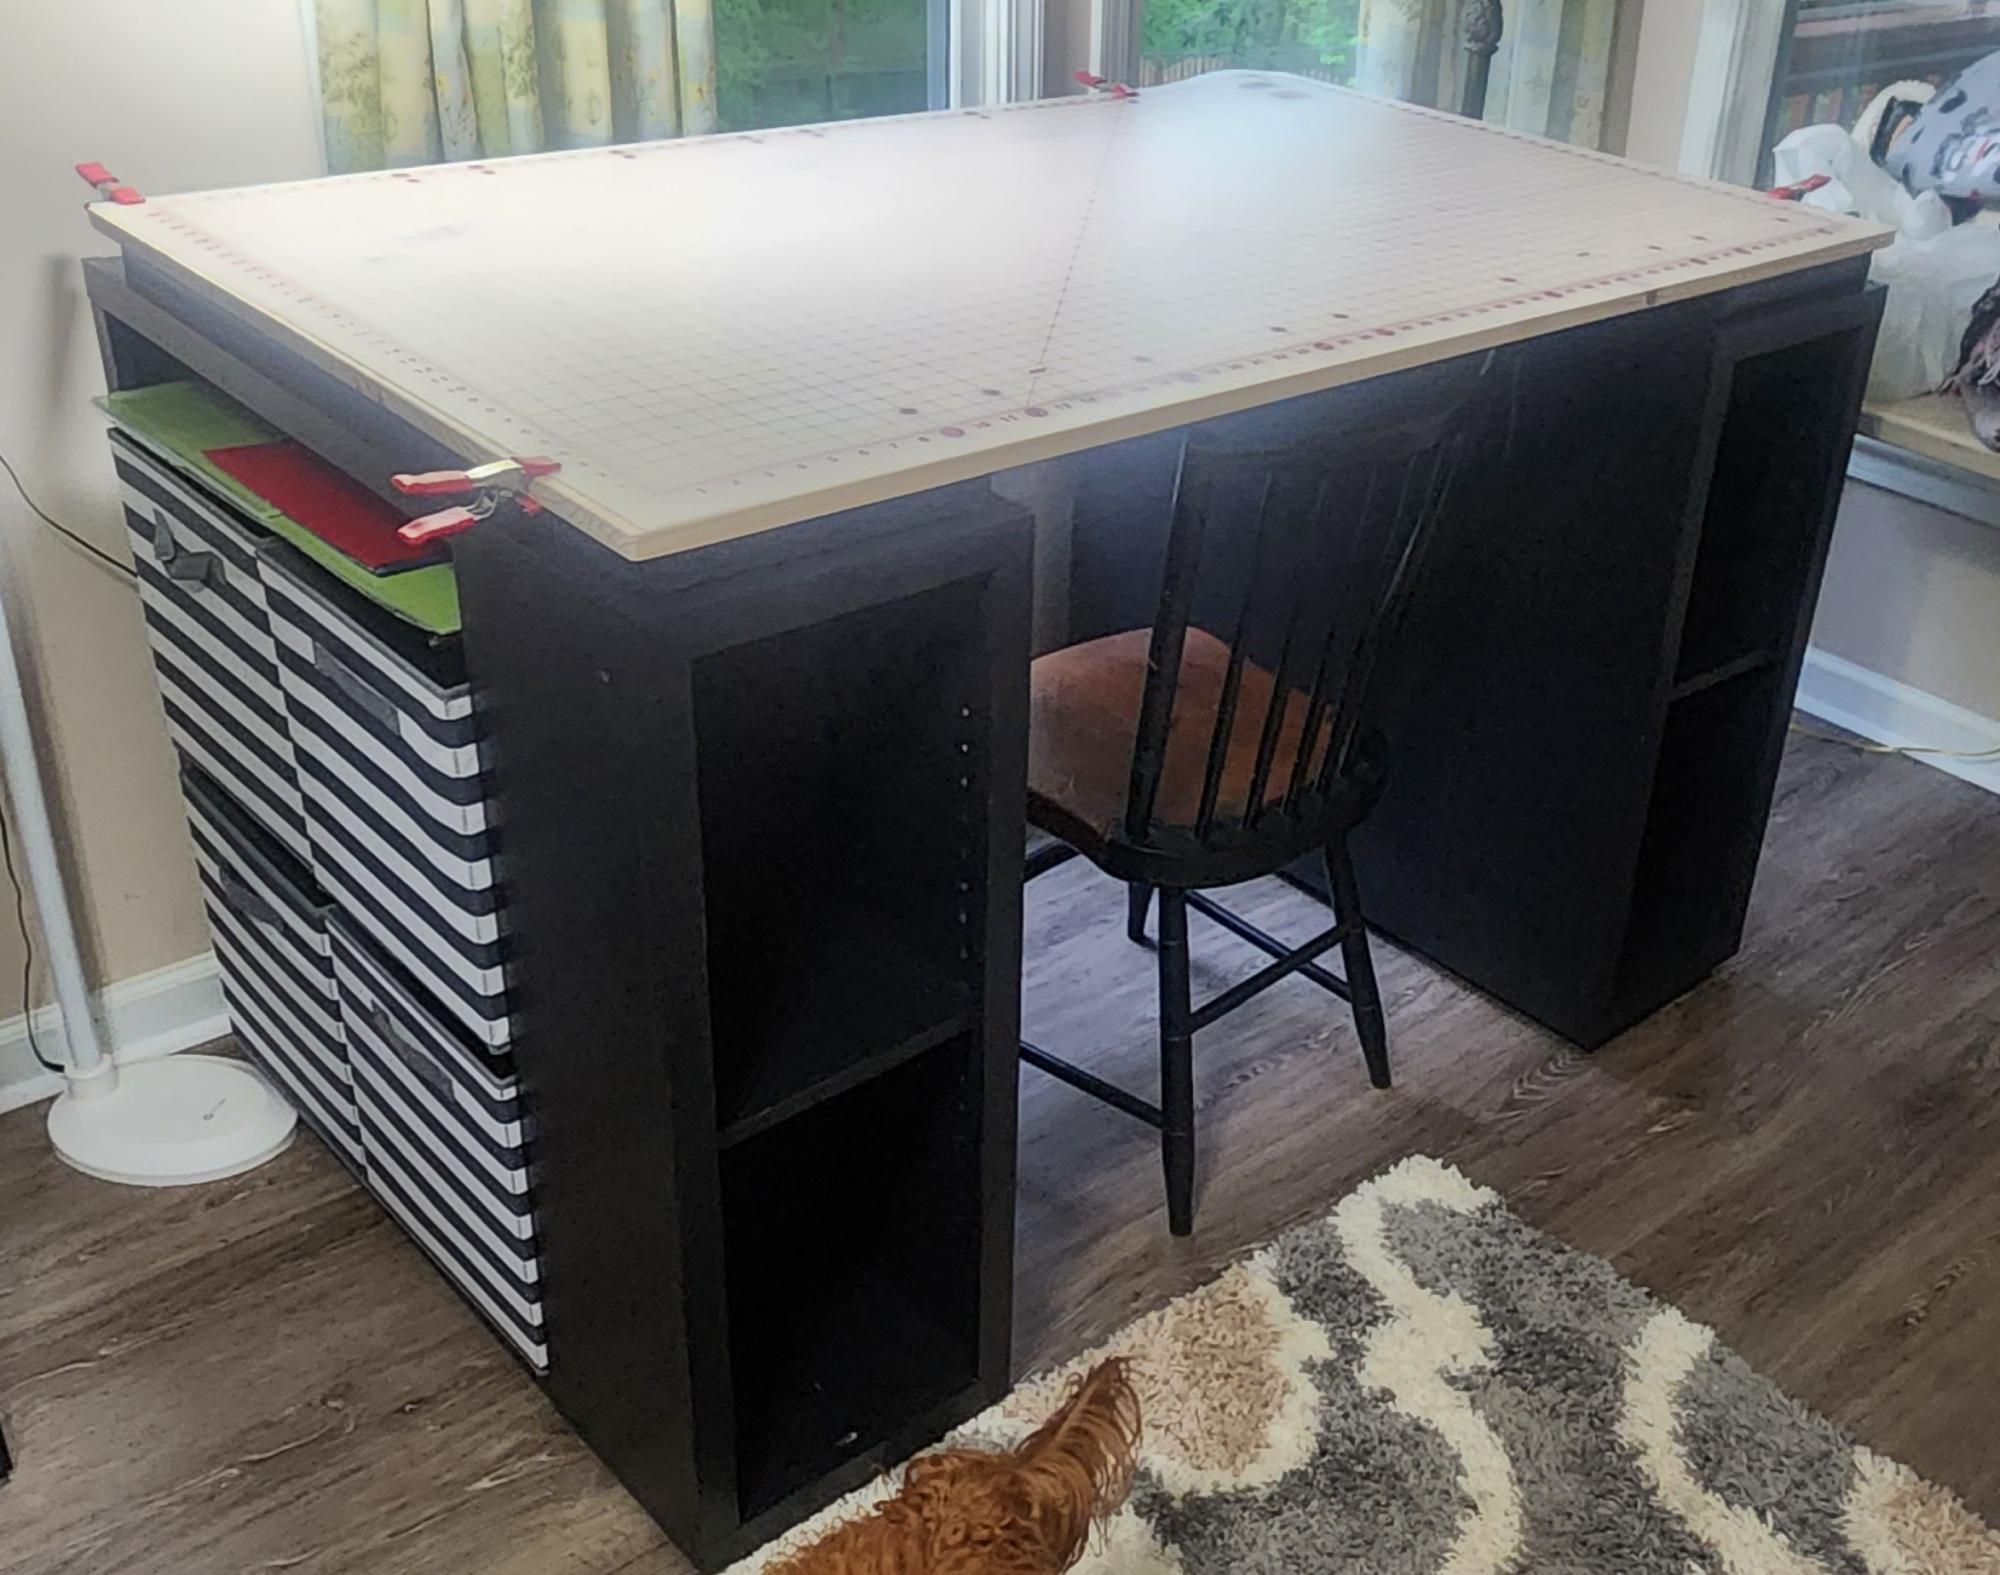
Fun build for my wife. Added back boards to the shelves. They were routed and set flush to the cabinet
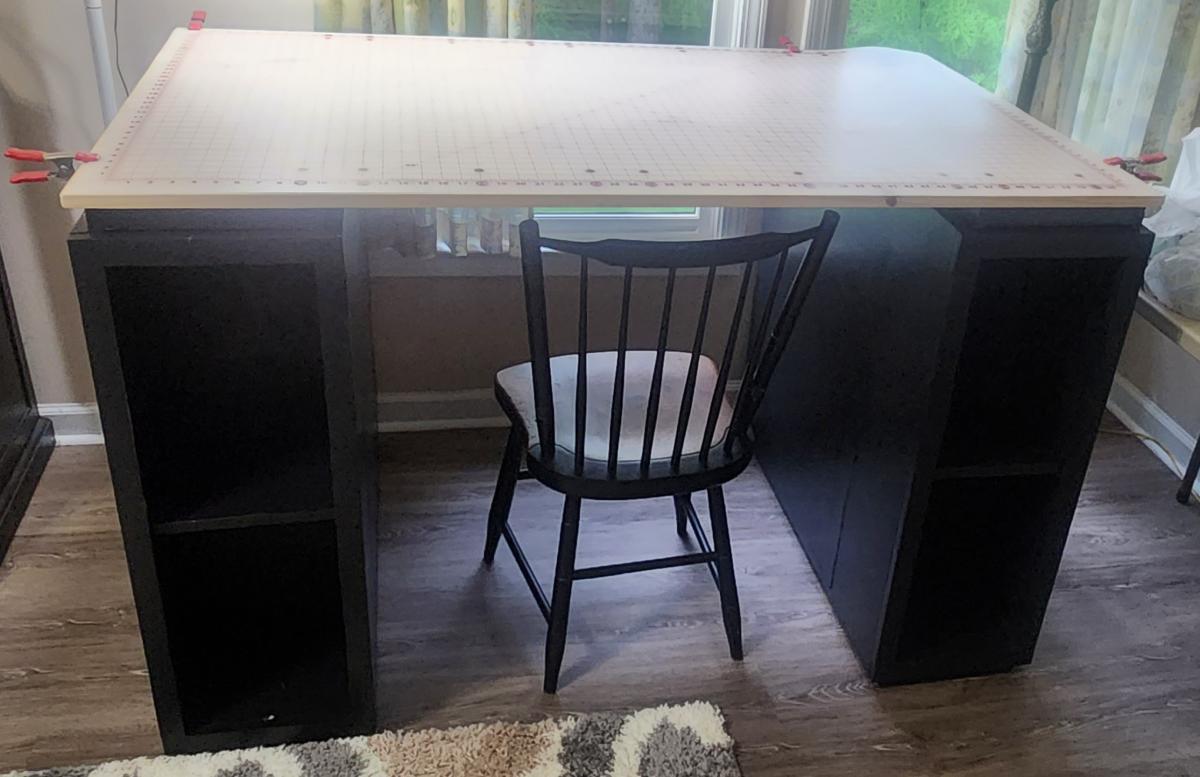

Please visit:
http://blog.prettyinprints.com/2011/12/quick-easy-diy-shelving-for-your…
For the cut list & instructions (:

Building this dollhouse was fast and pretty easy, but finishing it was super time-consuming. It should be big enough for her dolls...and dinosaurs. LOVE how it turned out and am so excited (for Santa) to give this to our 3 year old for Christmas!!!
Thank you, Ana for the plans!

Tue, 11/12/2013 - 08:03
I followed the plans for the Dream Dollhouse. (The text in the description is the link to the actual plans) It. Is. HUGE. I'm not familiar with the American Girl dolls, but this should fit nearly anything and could be modified easily if you had to make it bigger or only 2 stories.
Tue, 11/12/2013 - 09:41
Great job! This is also on my list of to dos for Christmas. I'm sure your little one will love it for years to come. :) The spiral staircase was a great idea and makes this so unique.
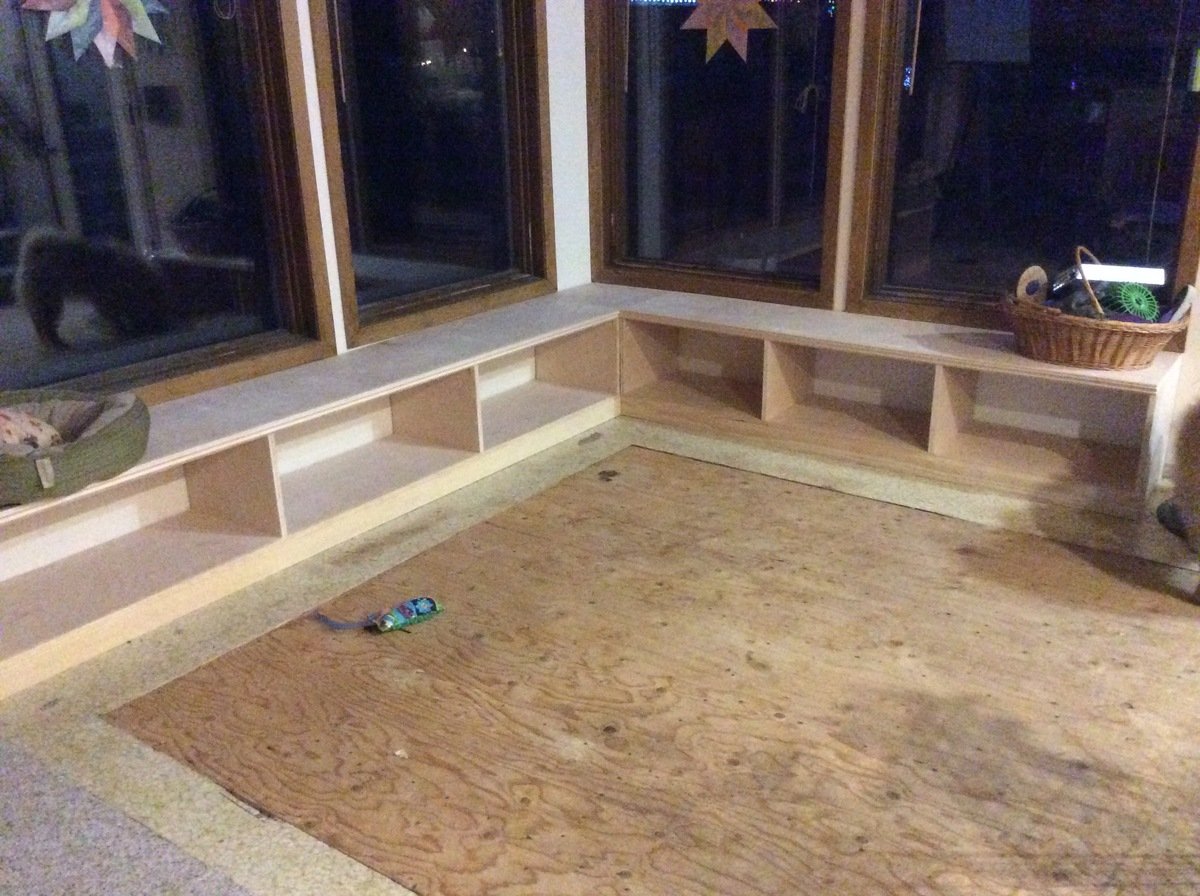
So I didn't build it myself but I just wanted to brag anyway. David built these for my sunroom. We changed the dimensions a bit on the shorter bench and didn't put a back on them. He also cut a corner piece so there's not a hole there. I love them. I will paint them, gray with orange and blue accents.
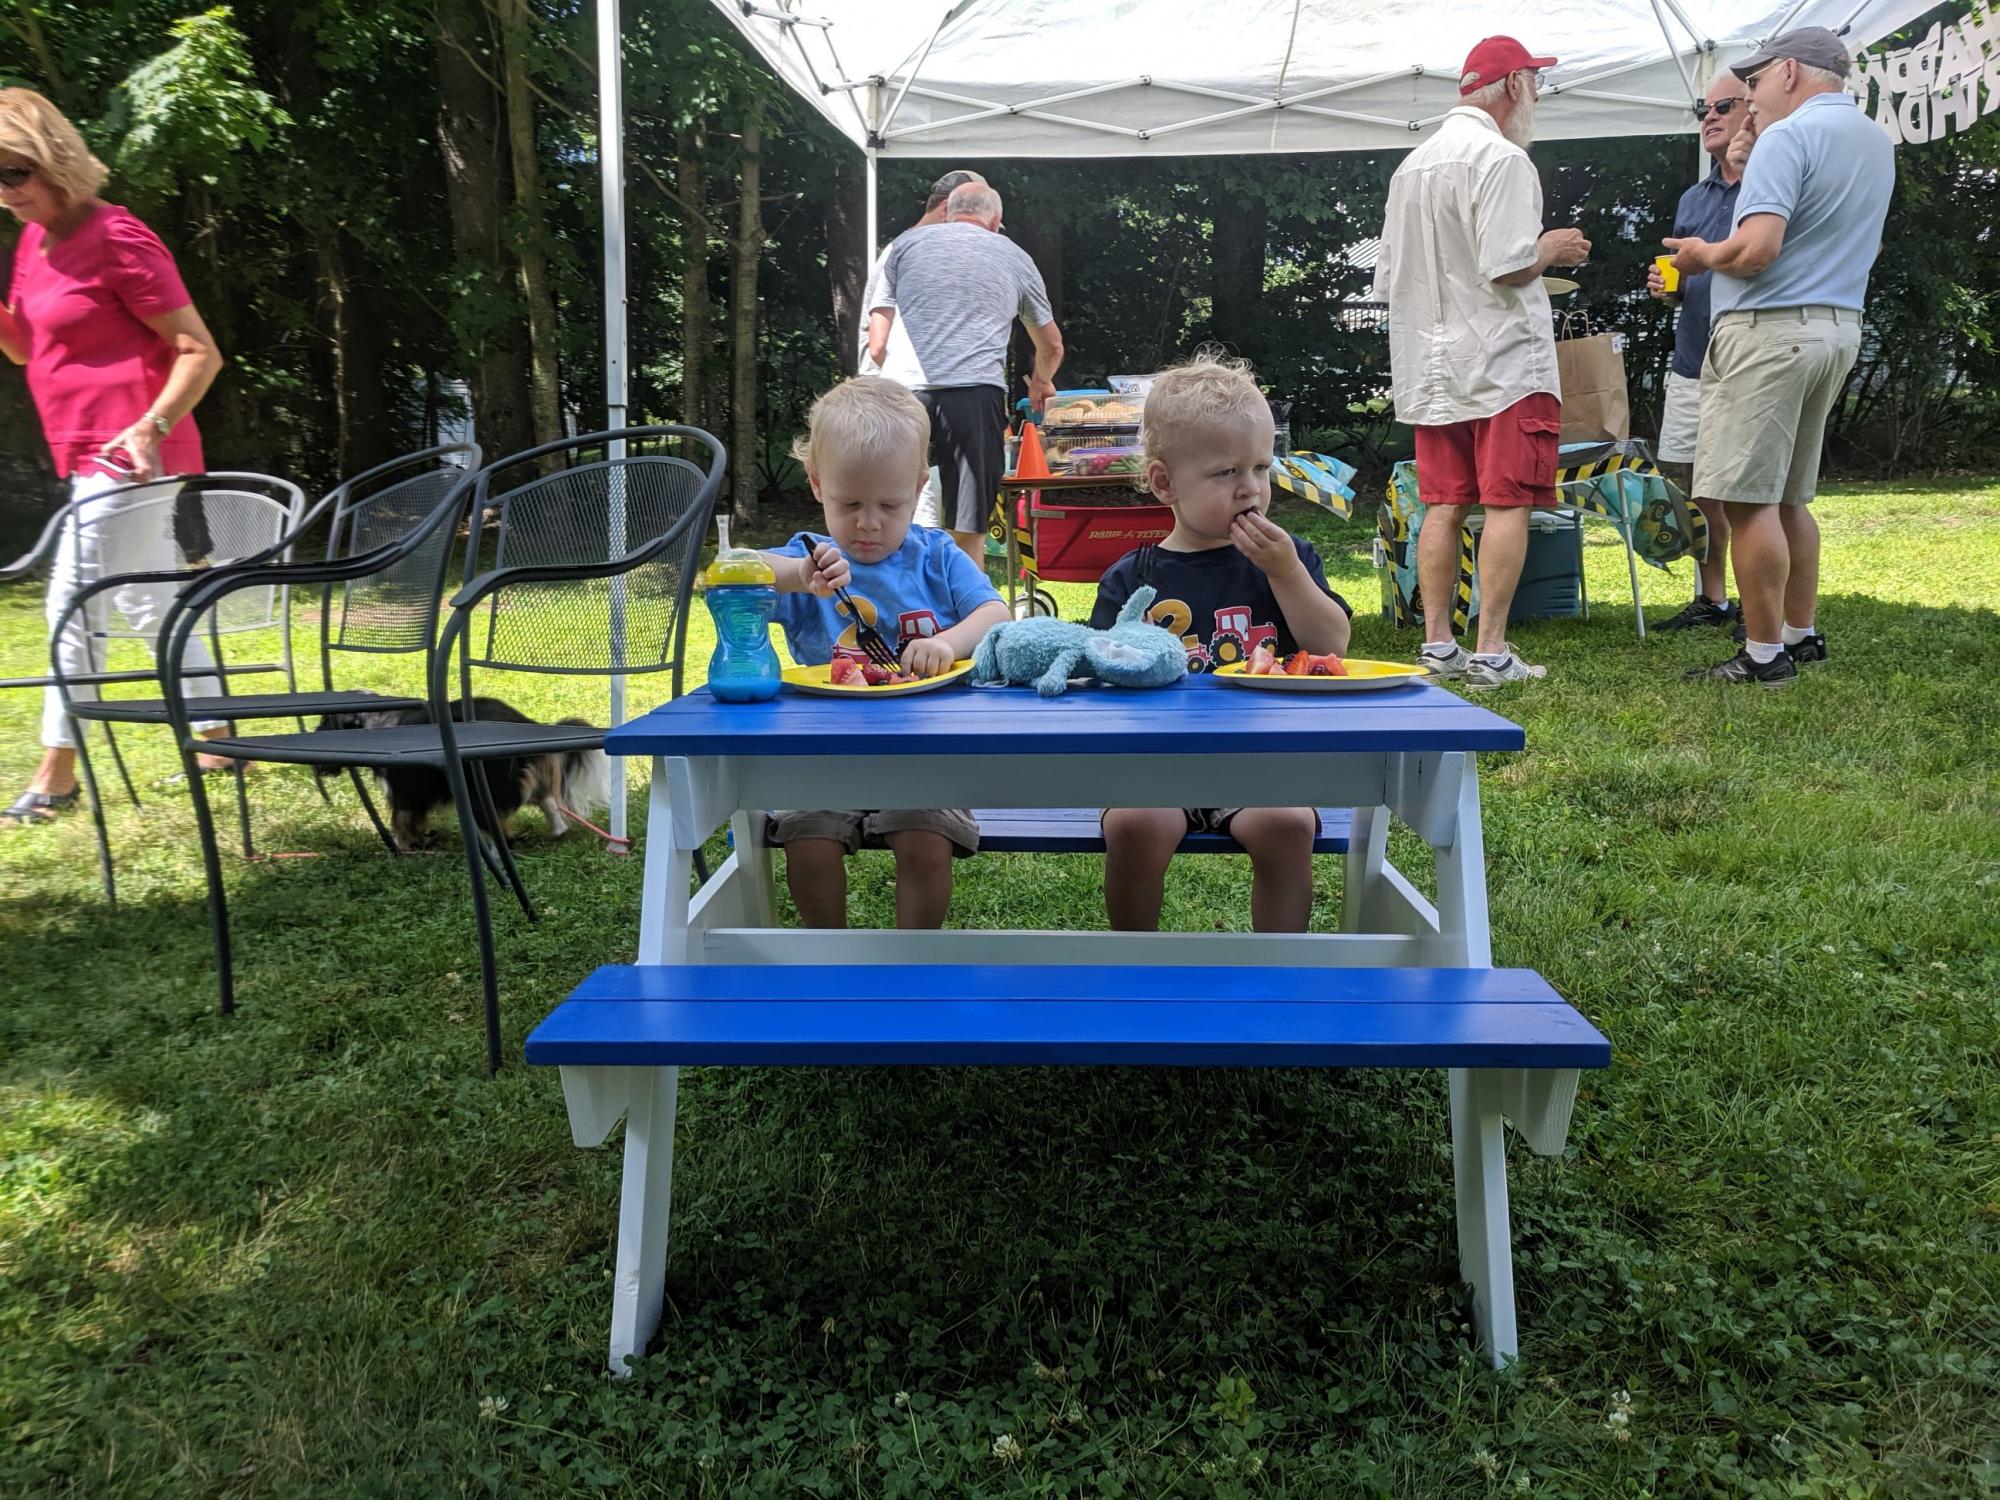
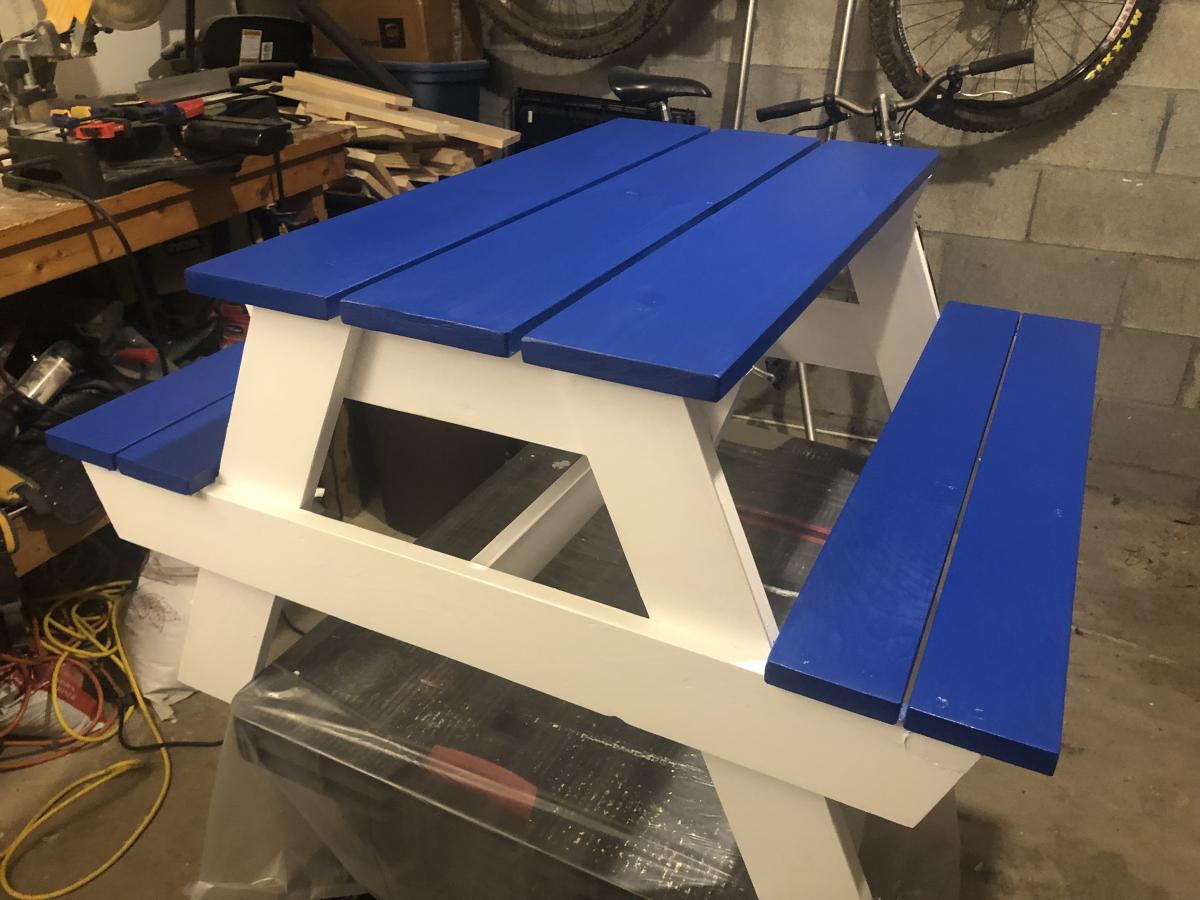
This was a really fun build. The bottom side boards were put on the outside instead of the inside (this was an accident) but it still seems very sturdy. Perfect for 2-5 years old.
Fri, 07/19/2019 - 16:01
Super cute! I don't think it matters if it's on the inside or out, looks awesome to me!
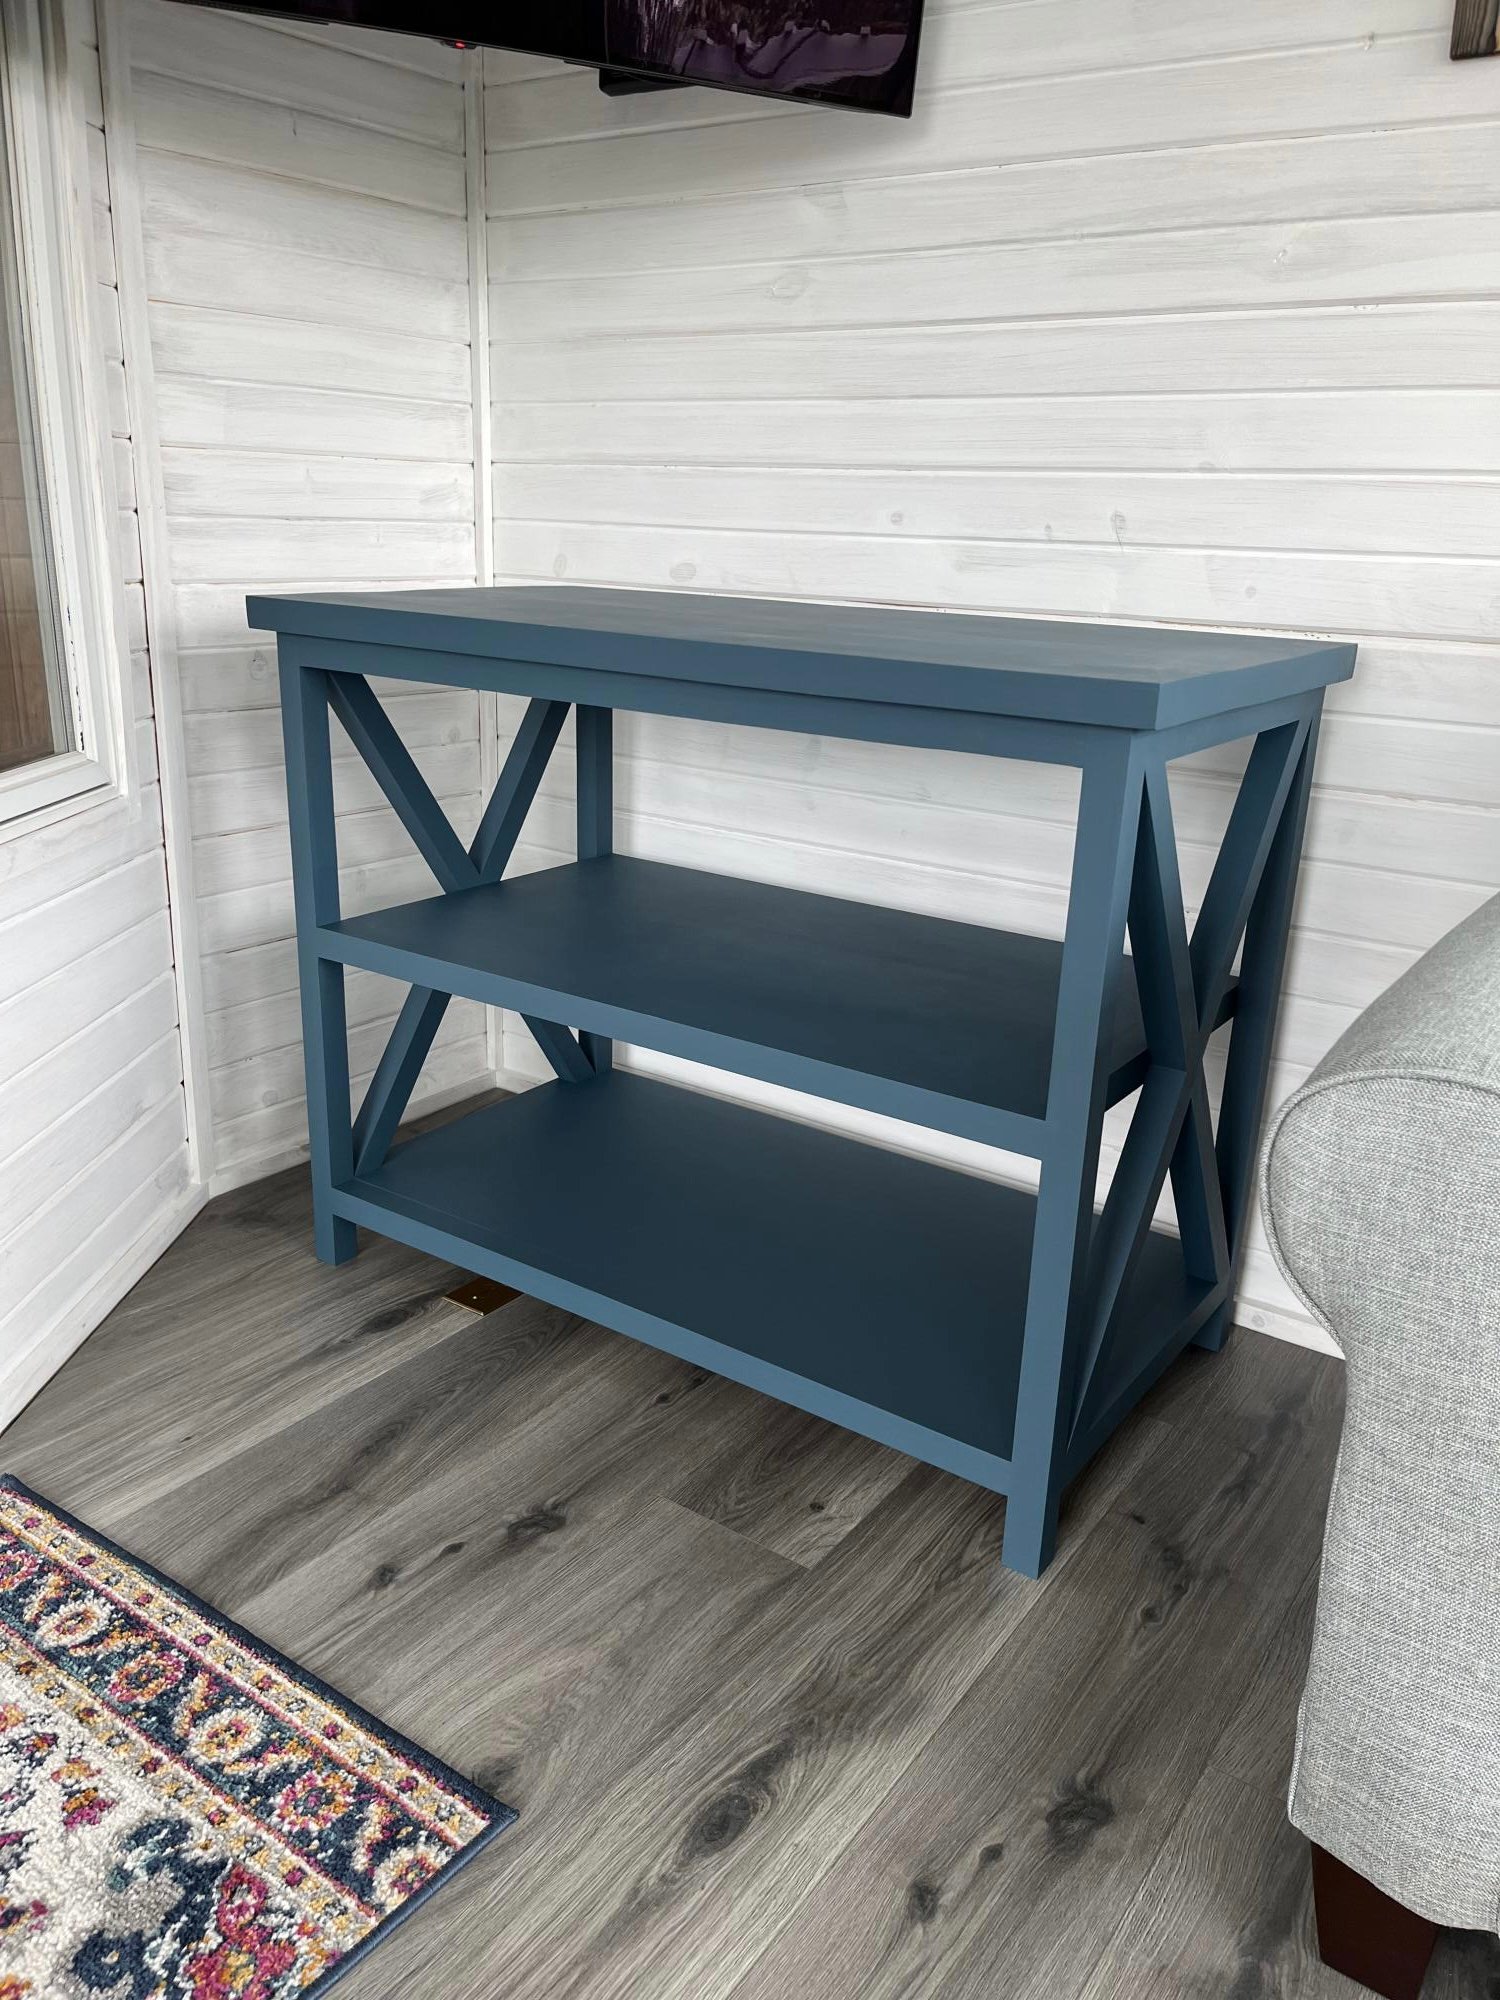
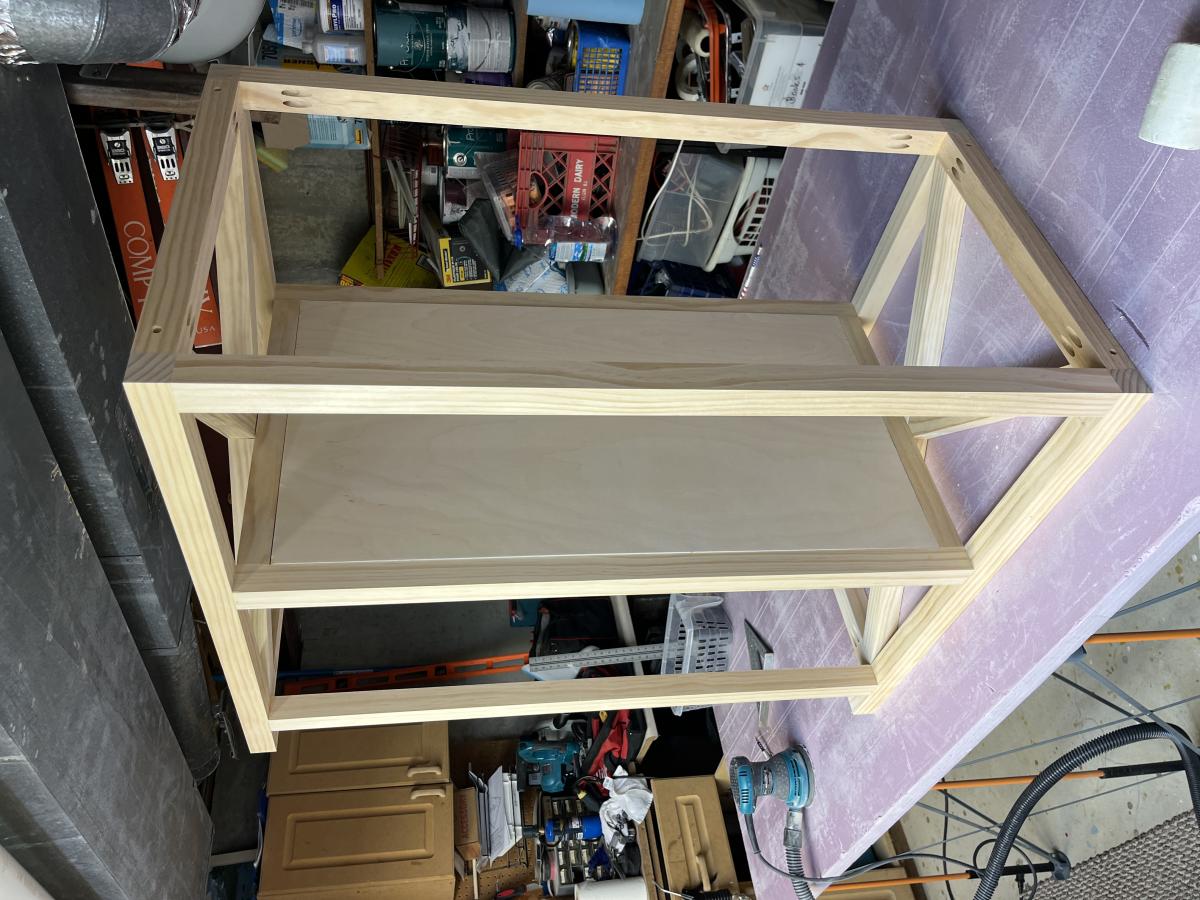
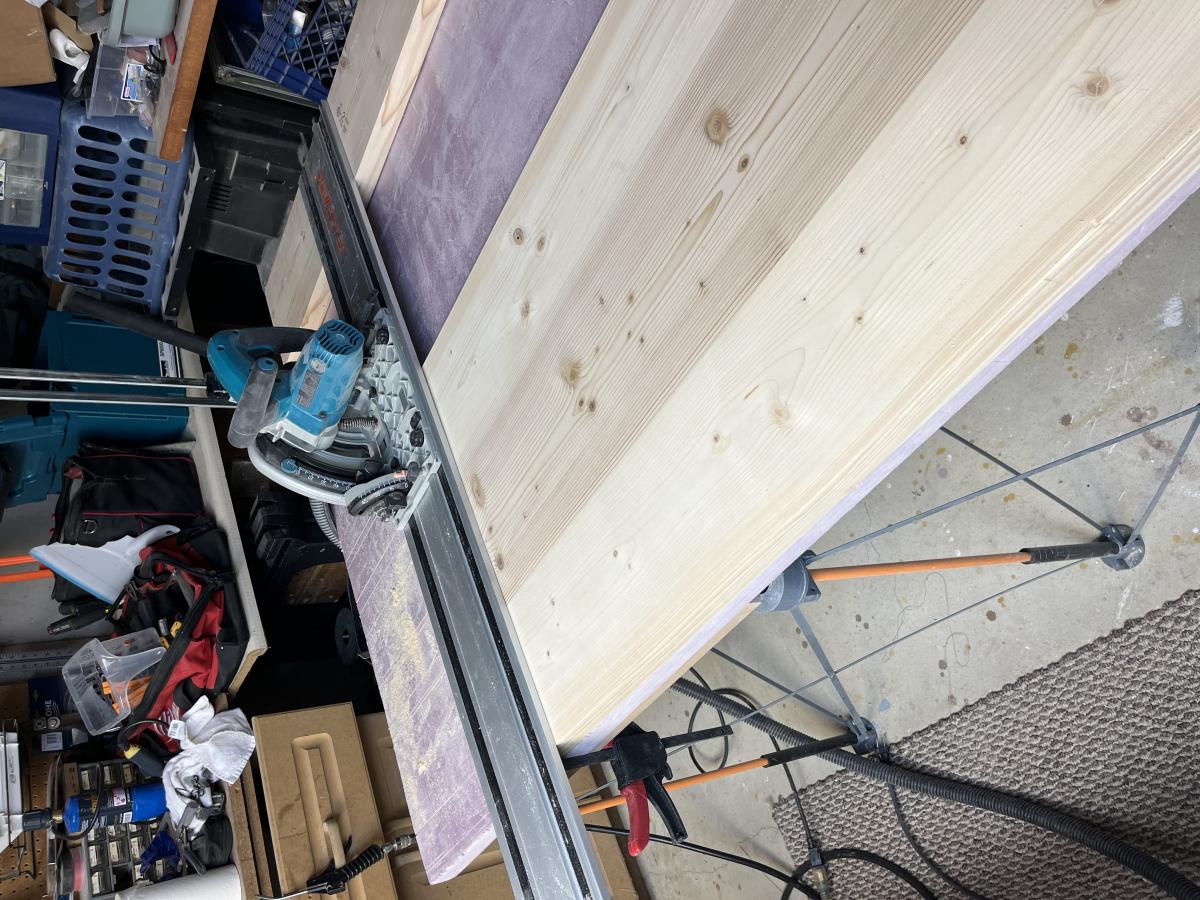
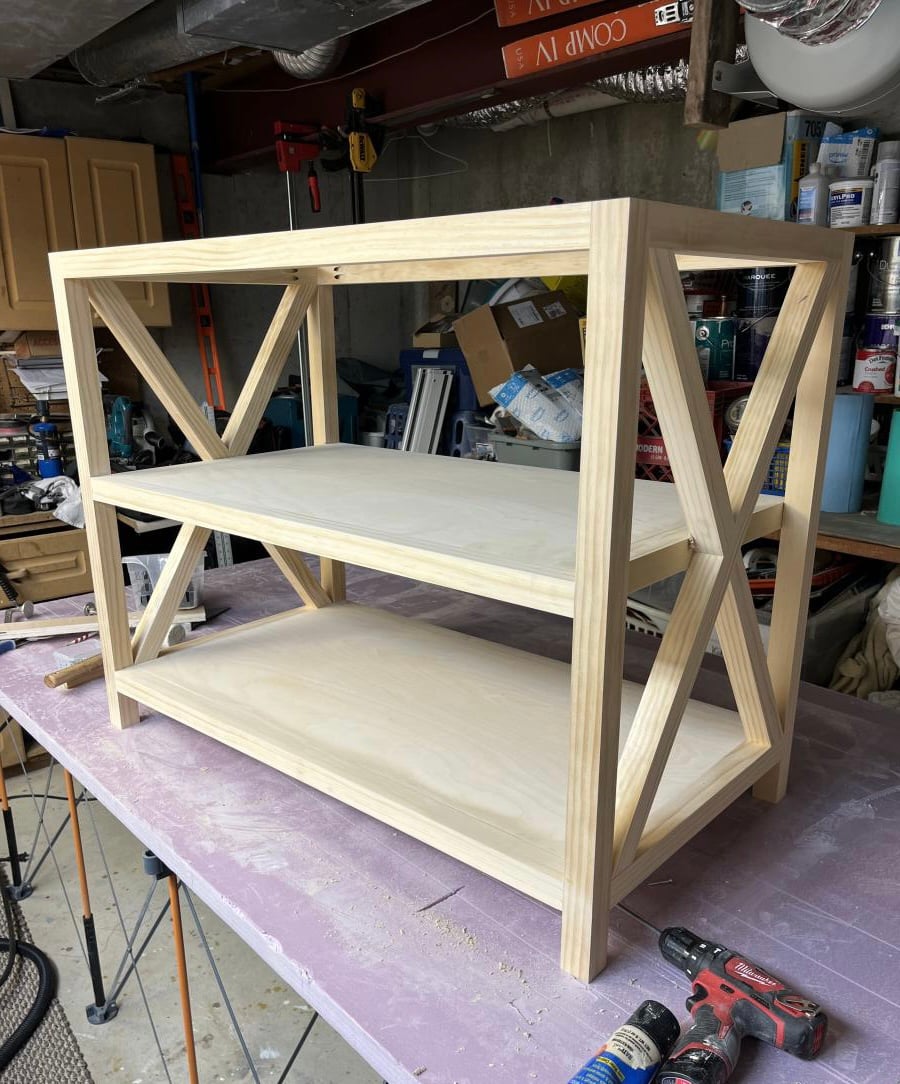
Built this from Ana White plans. Love how it looks in our four season room.
Fri, 04/21/2023 - 10:20
Gorgeous build and finish, well done! Thank you so much for sharing.
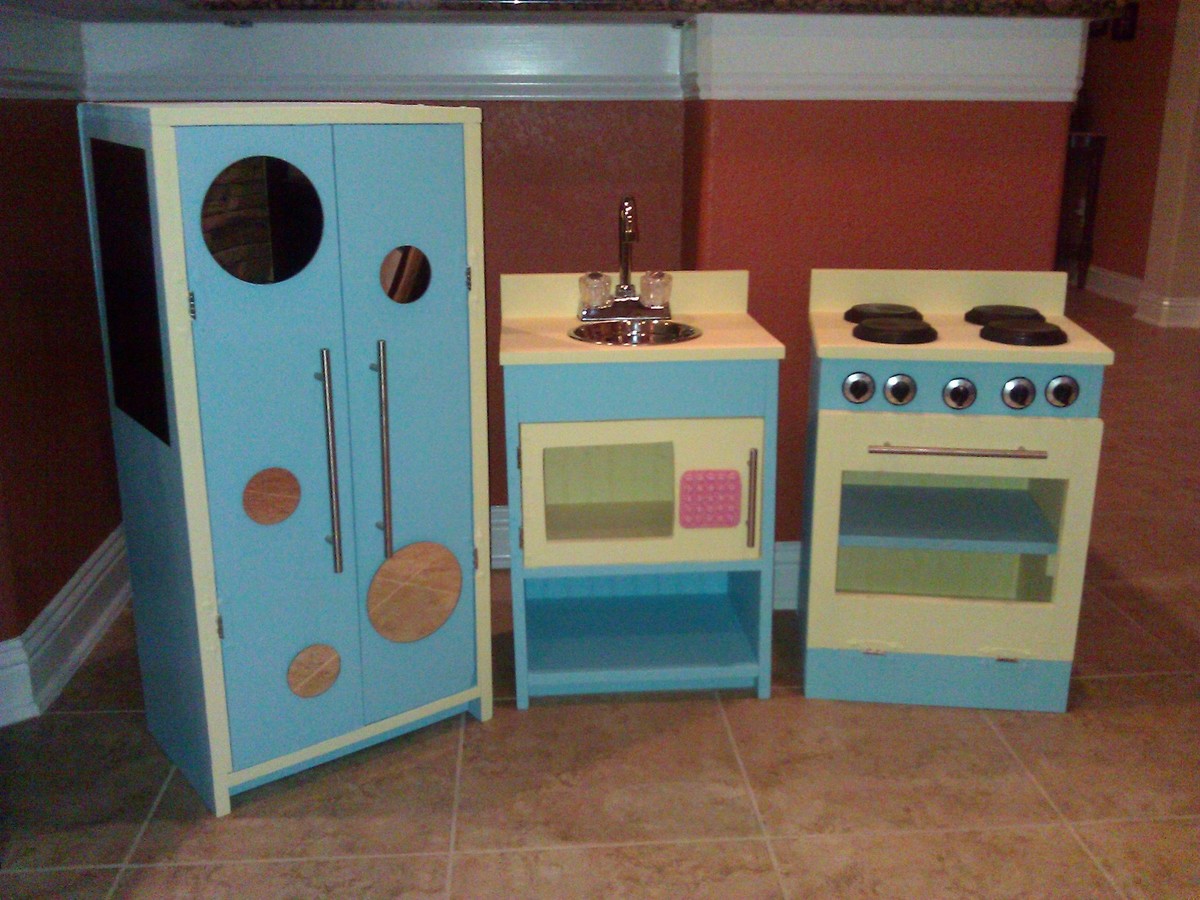
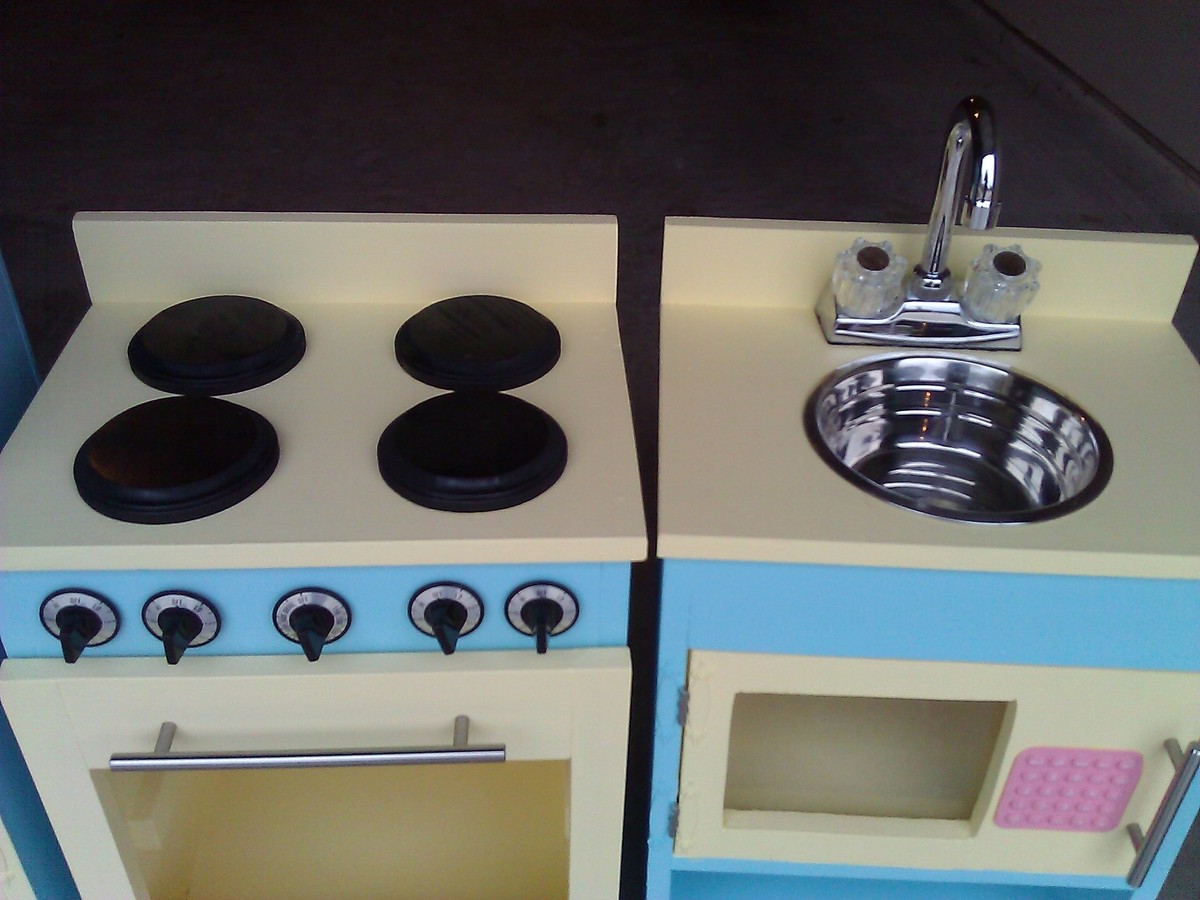
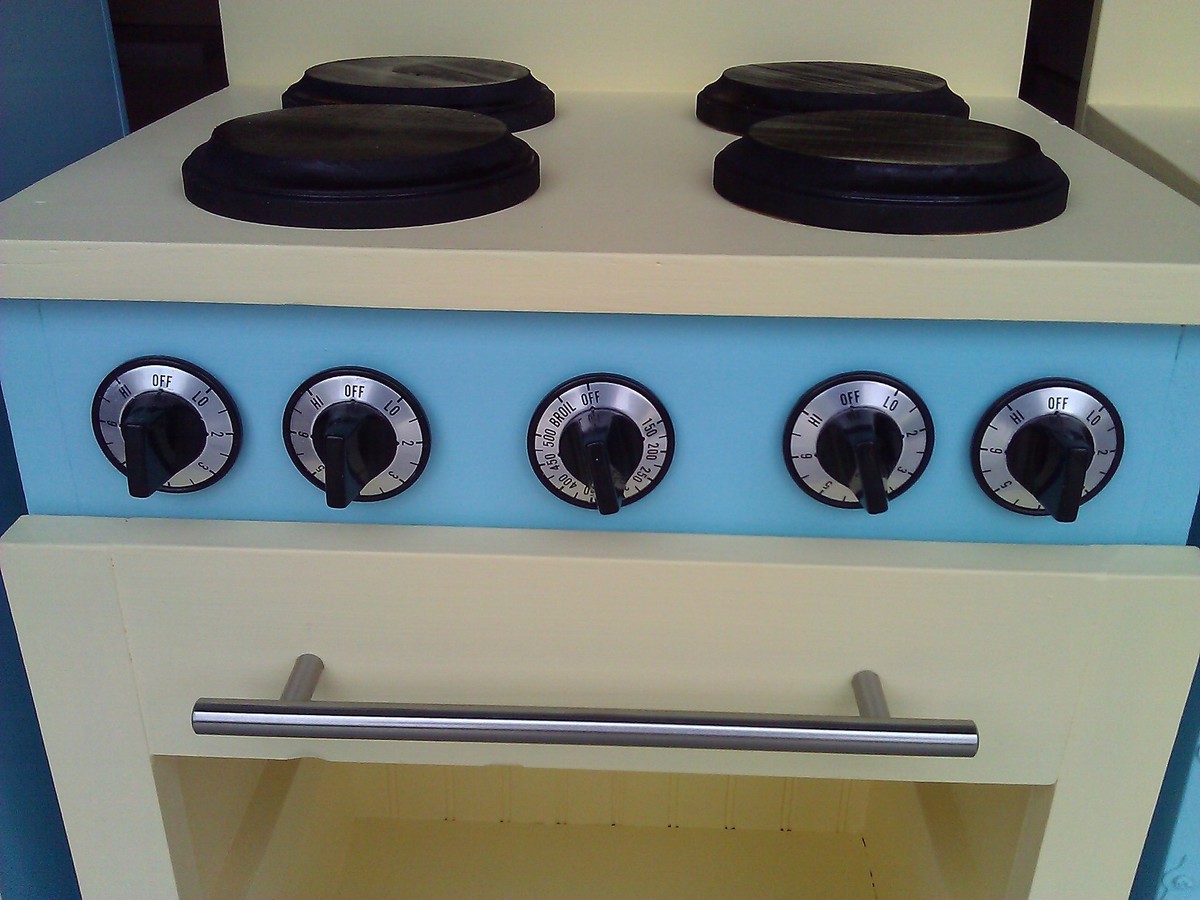
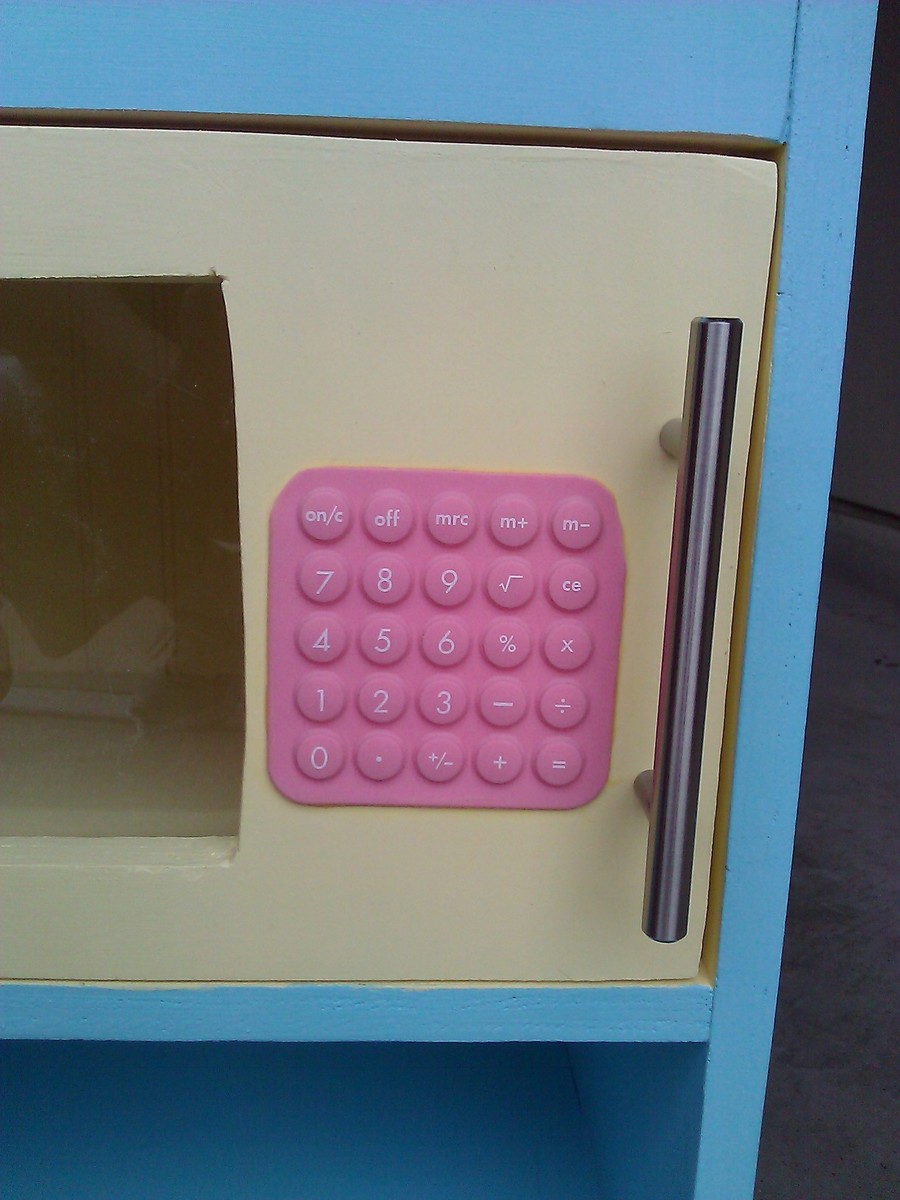
This was my first wood working project, and I made all the cuts myself (I'm pretty proud of myself!!). I only had a cordless drill when I started this project. Through good sales and craigslist, I ended up with a circular saw, a jigsaw, and an orbital sander to complete this project, plus I built myself a really nice large workbench so I had somewhere to work! It turned out very well, and my girls love it. I made some modifications by making the sink and stove 22" tall instead of 20" tall to better accommodate my 5.5 year old while allowing my 22 month old to be able to play too. Instead of putting a curtain on the front of the sink, I turned the upper shelf area into a microwave by lowering the shelf some to make the area larger, and added a flexible rubber calculator as the microwave keypad. This is my 5 year old's favorite part of the kitchen!
Tue, 12/27/2011 - 07:19
Your microwave is really clever! What a beautiful kitchen set. Way to go!
Sun, 01/01/2012 - 07:17
Absolutely adorable!! I made one too. Hopefully I will post mine later on today. How did you attach your knobs? Do they turn?
We had to modify the plans by a few inches to fit the space and we changed some other details to make it look more like a castle. But it came out awesome and our daughter loves it!
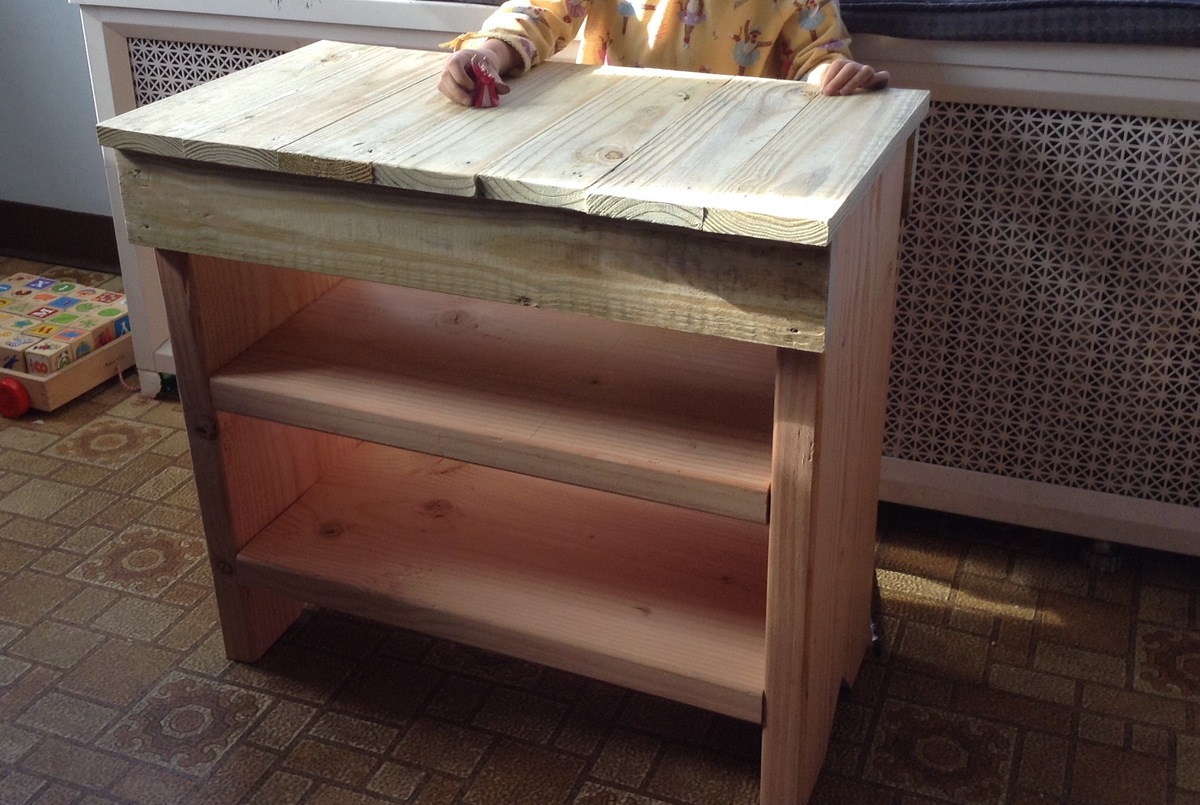
I made this taller and added and extra shelf. I also didn't add the angle cuts and for the front pieces. It was so easy and I built it within three hours with my 8 yr. old son.
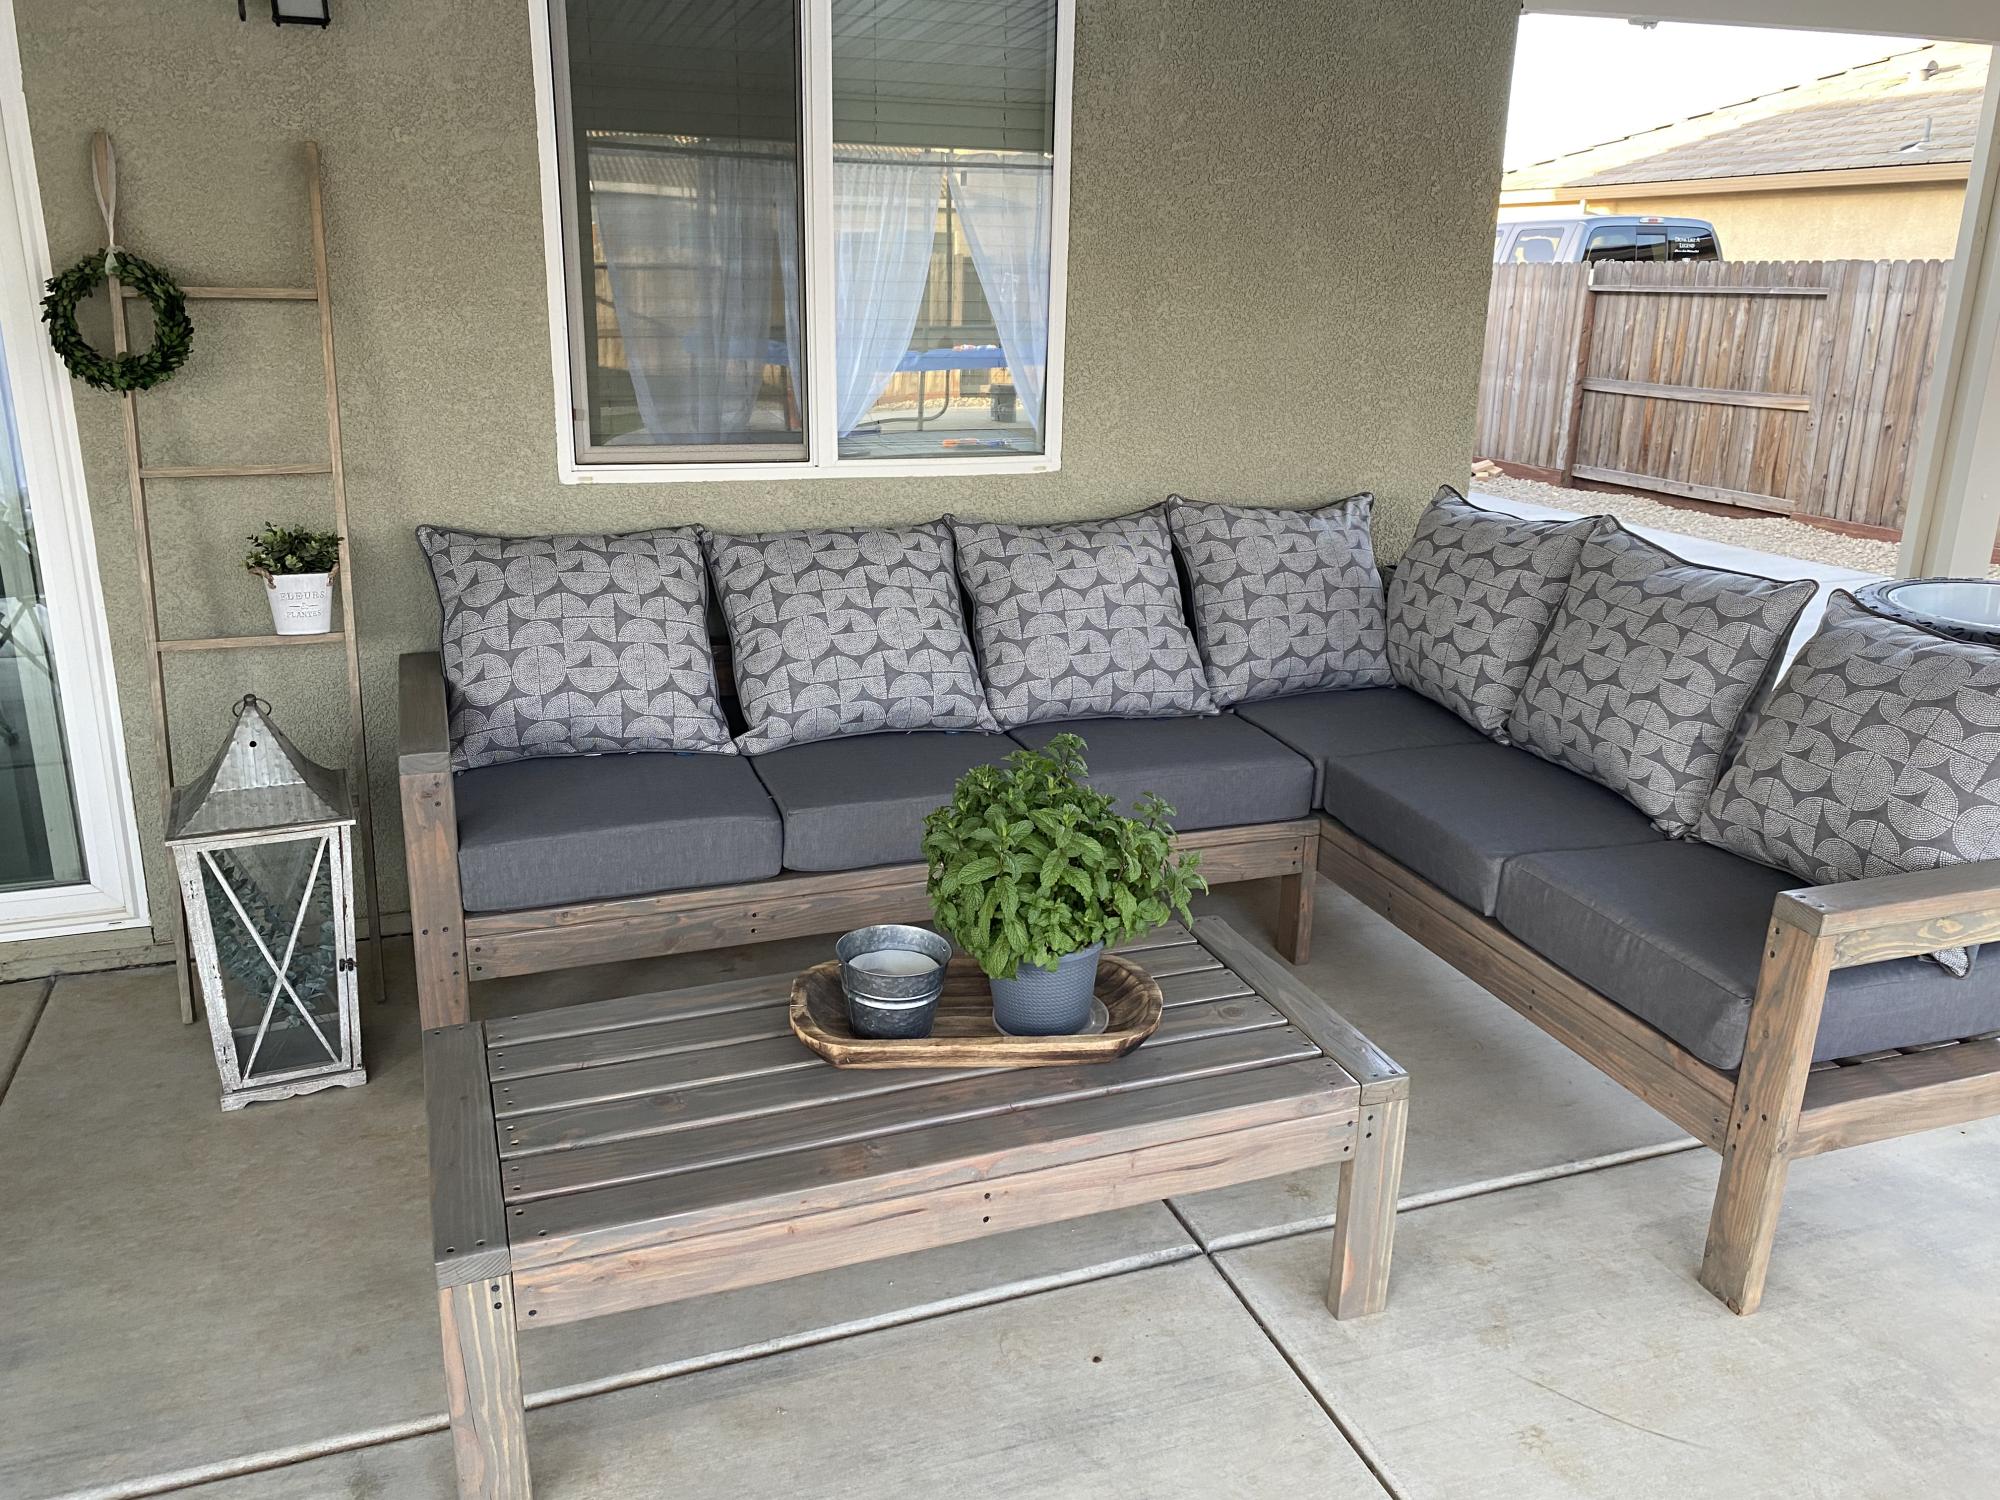
This project was fun to build with hubby said the shopping list and the cut list was perfect! Love all your designs! King bed is next!
Fri, 04/28/2023 - 09:15
Very well done, thank you for sharing your beautiful space and build!
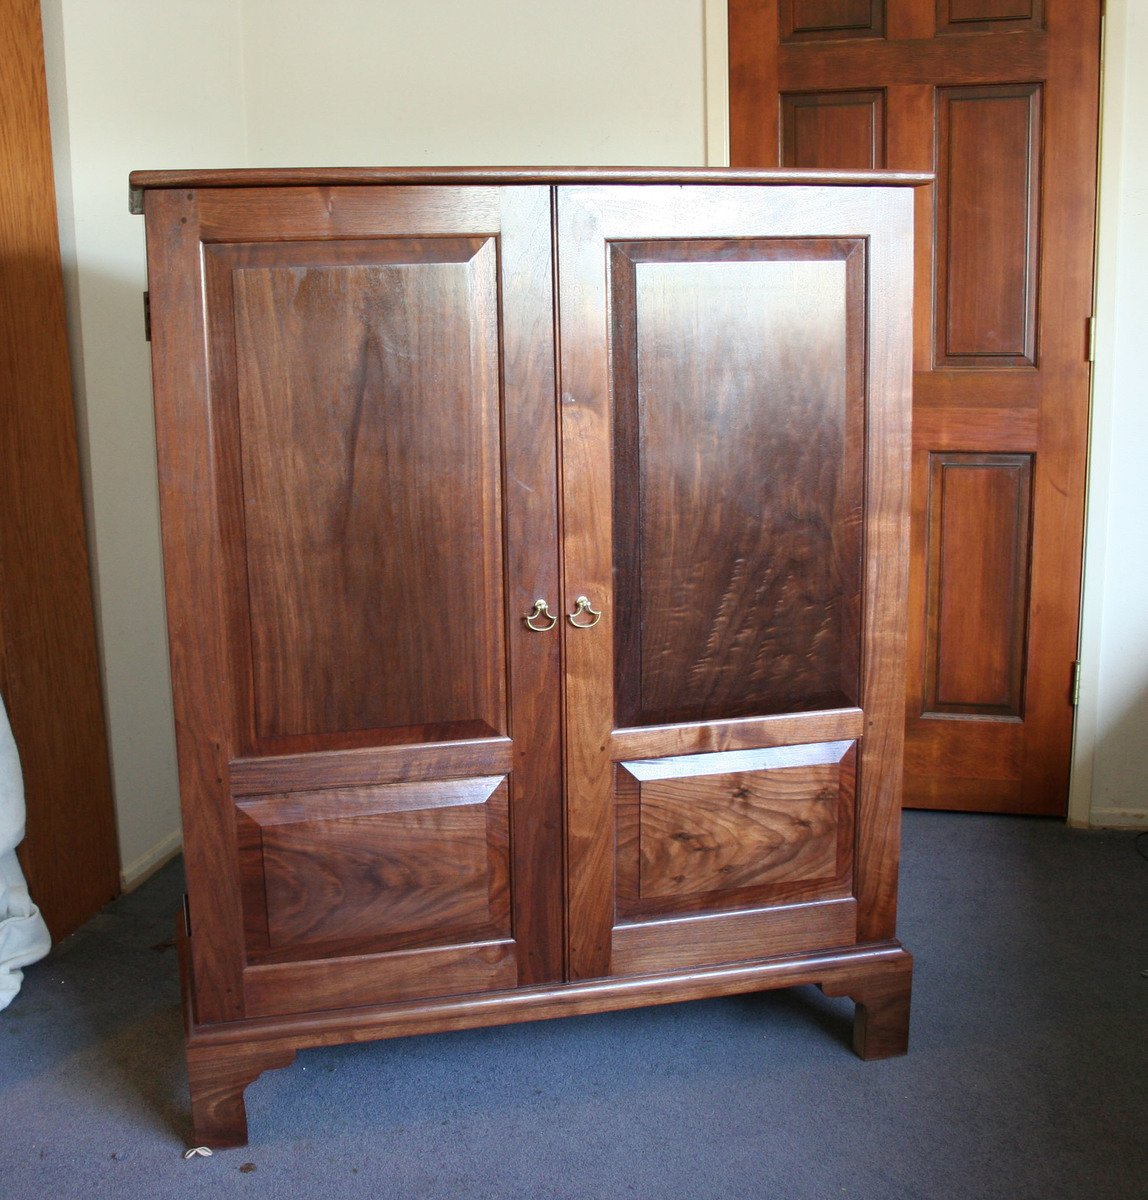
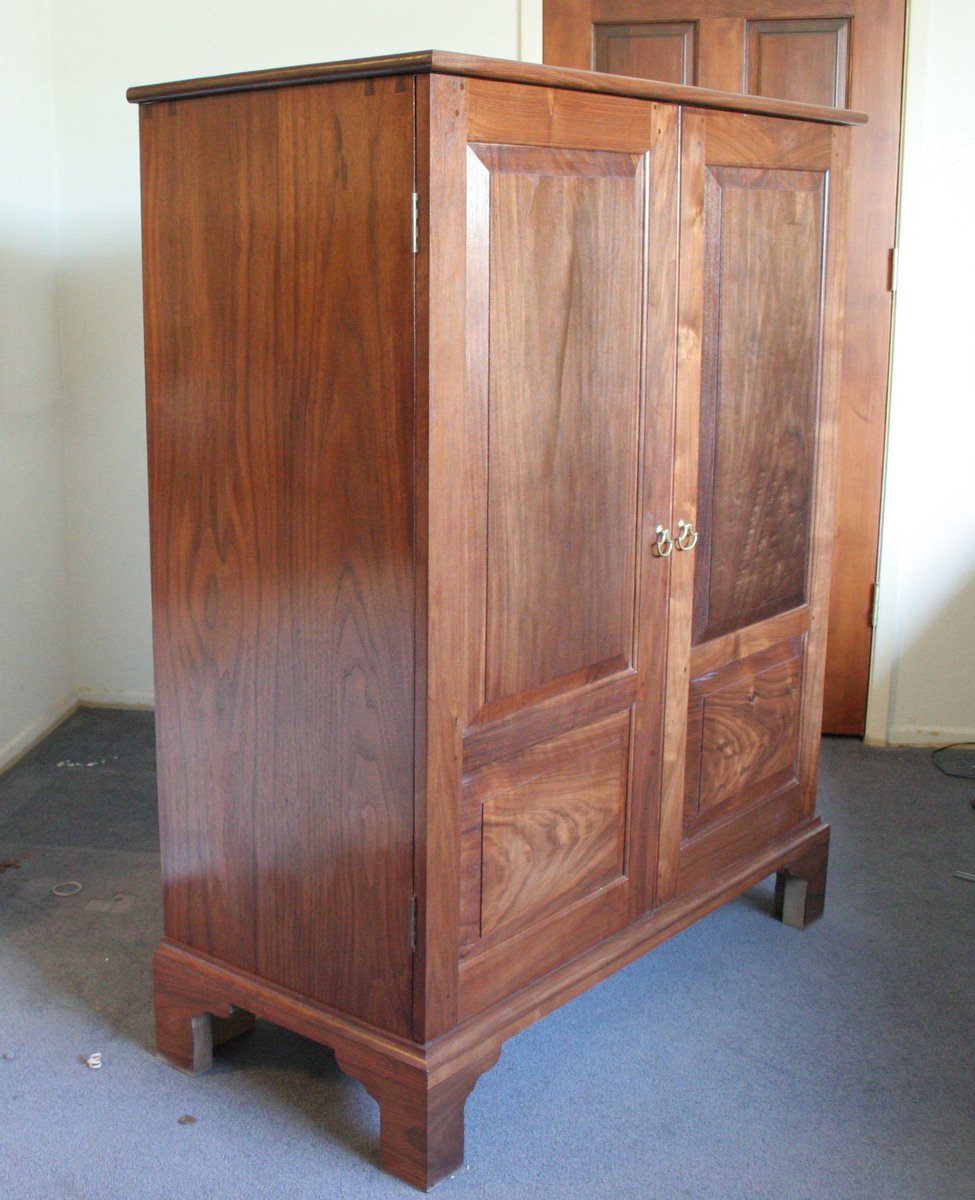
Here is a brand new piece I just made for holding my extra computer components. It is wholly made of American Black Walnut (juglans nigra). It took about four months to make. The original, from which this is copied, was made in Williamsburg, VA in 1765. When I first saw it, I fell in love at first site and had to make it. It was made with rough lumber, nothing pre-milled. I found 16 1/2" wide walnut which I used to make the single-panel doors. I think it looks great and is faithful to the original.
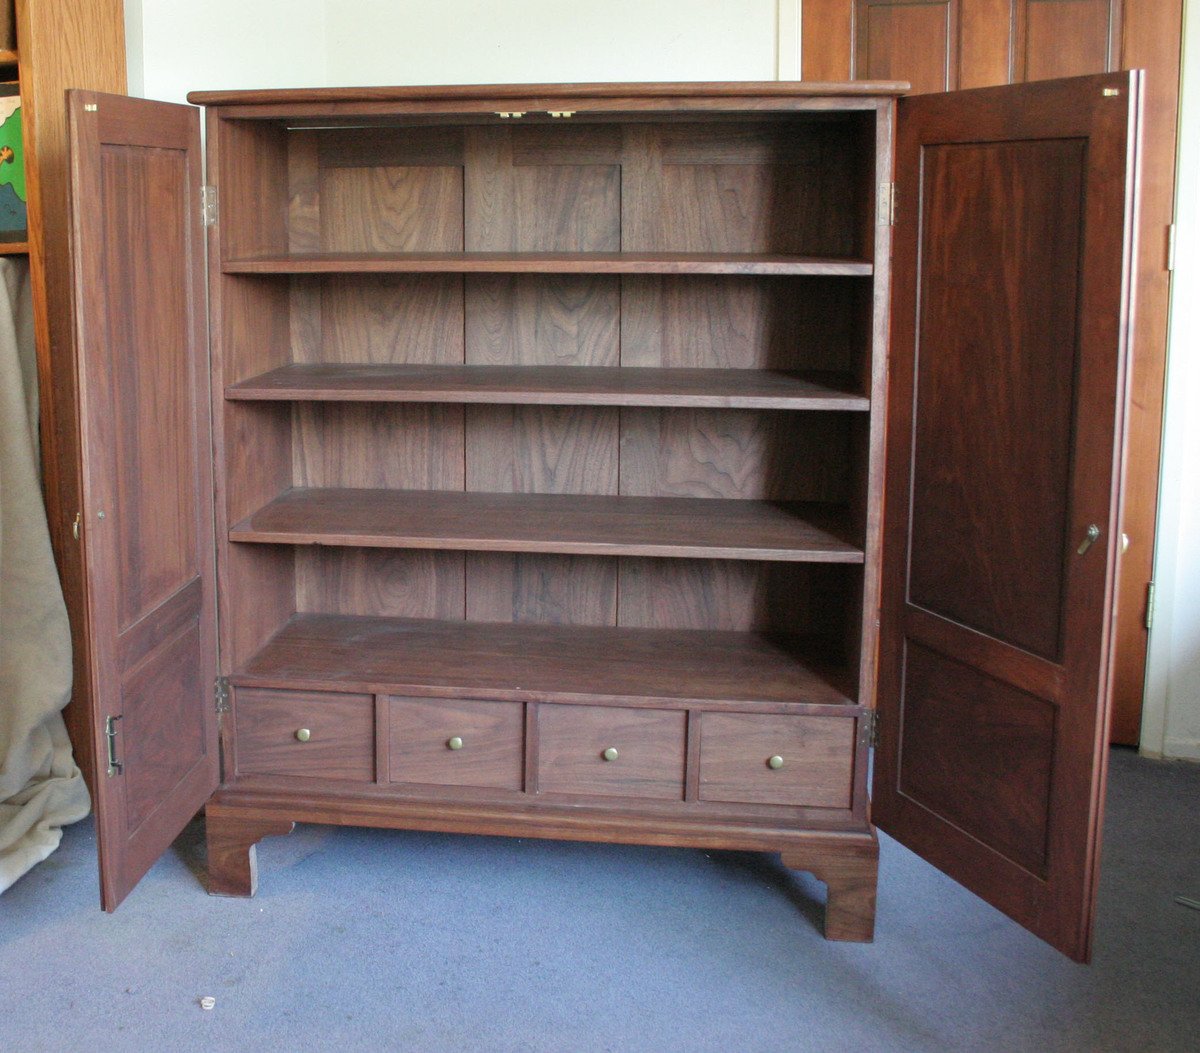
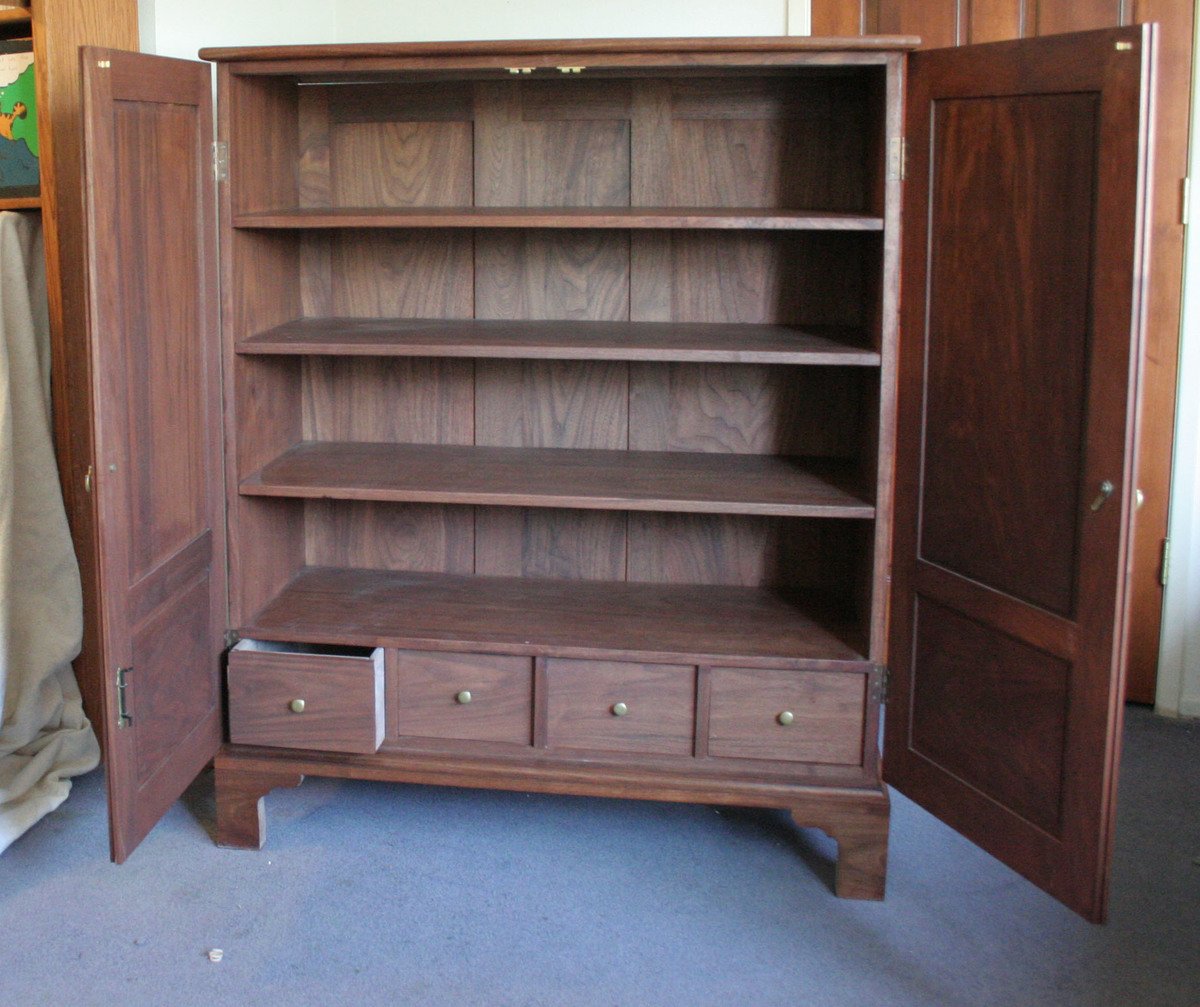
Fri, 12/30/2011 - 16:23
ABSOLUTELY STUNNING!!!! WOW, this is so incredible! Great work!
Comments
Old.Yeller@hot…
Sun, 03/06/2022 - 19:10
Plans?
Can you upload the plans? It’s very nice