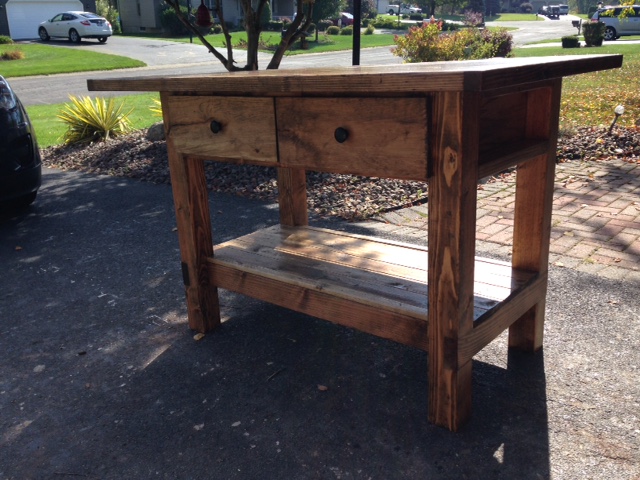
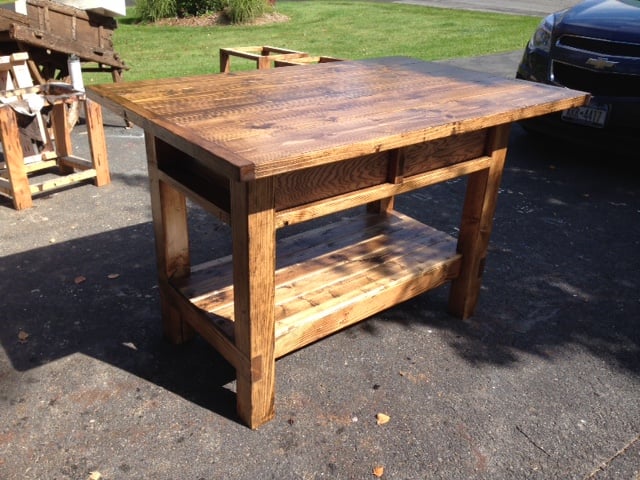
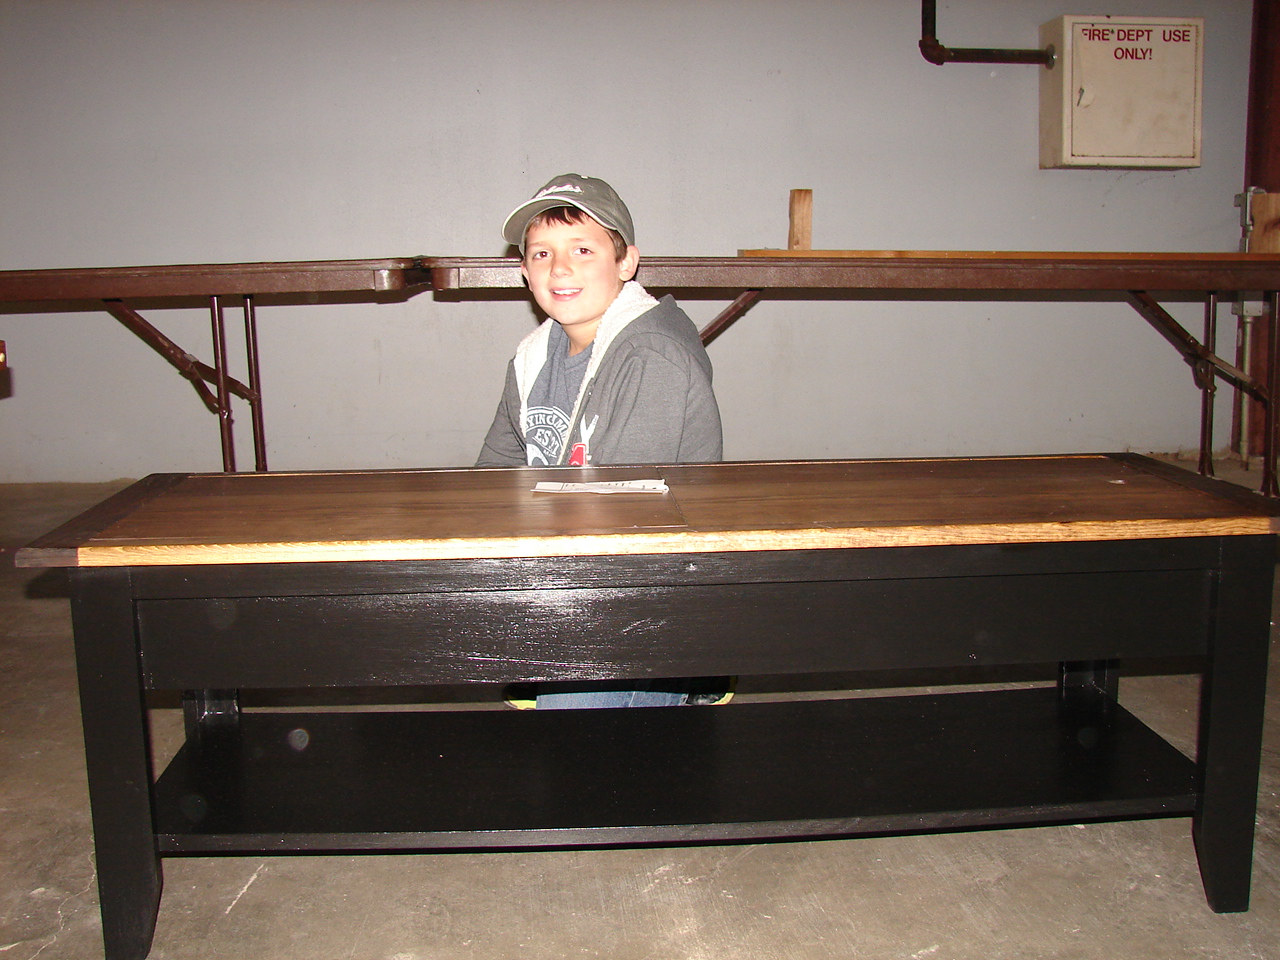
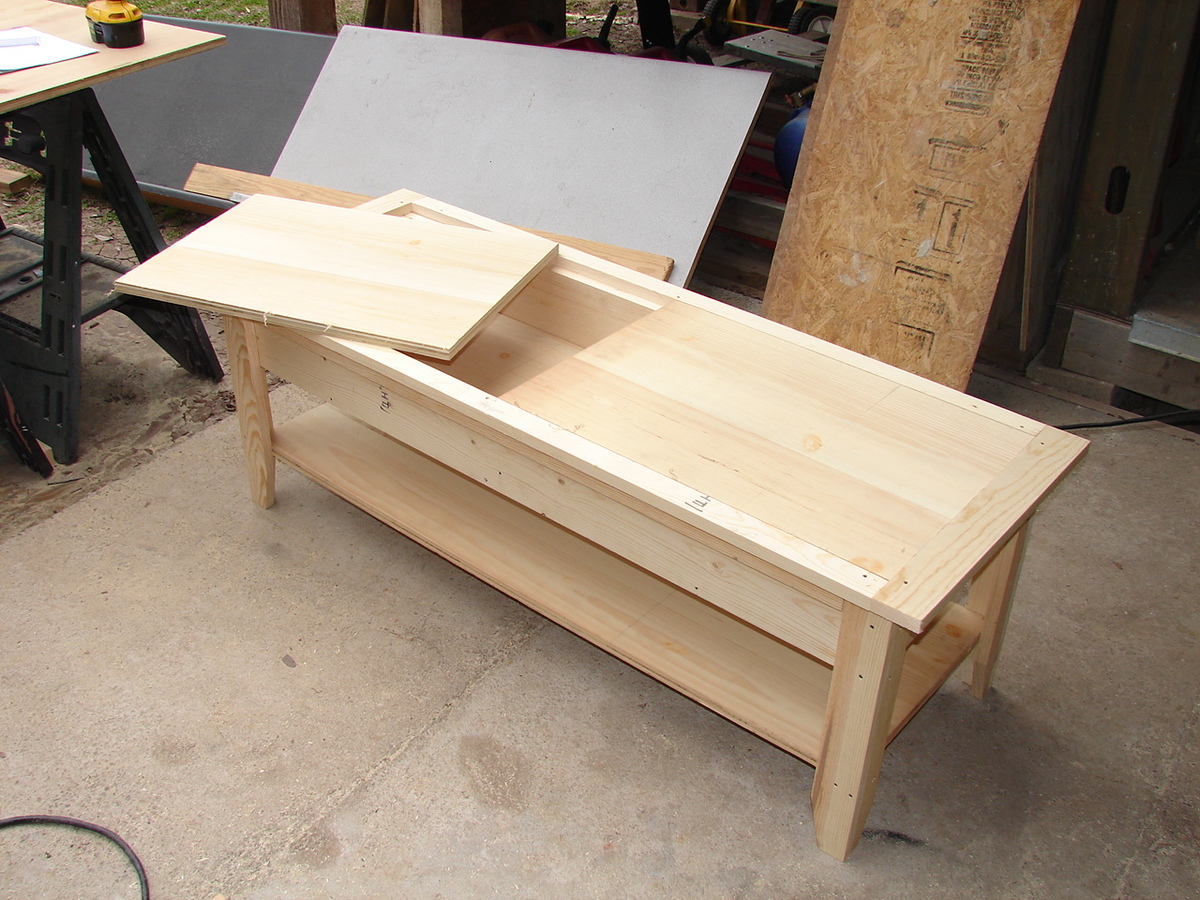
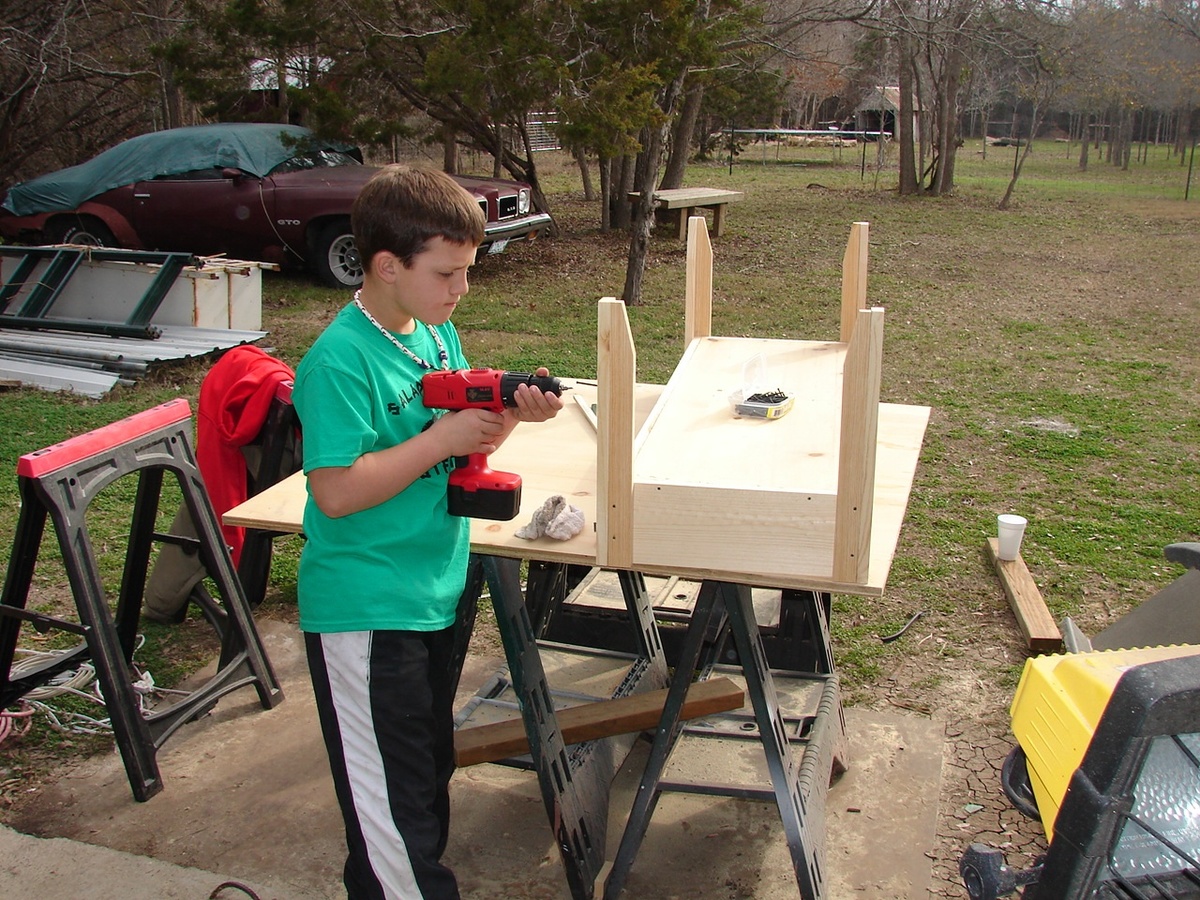
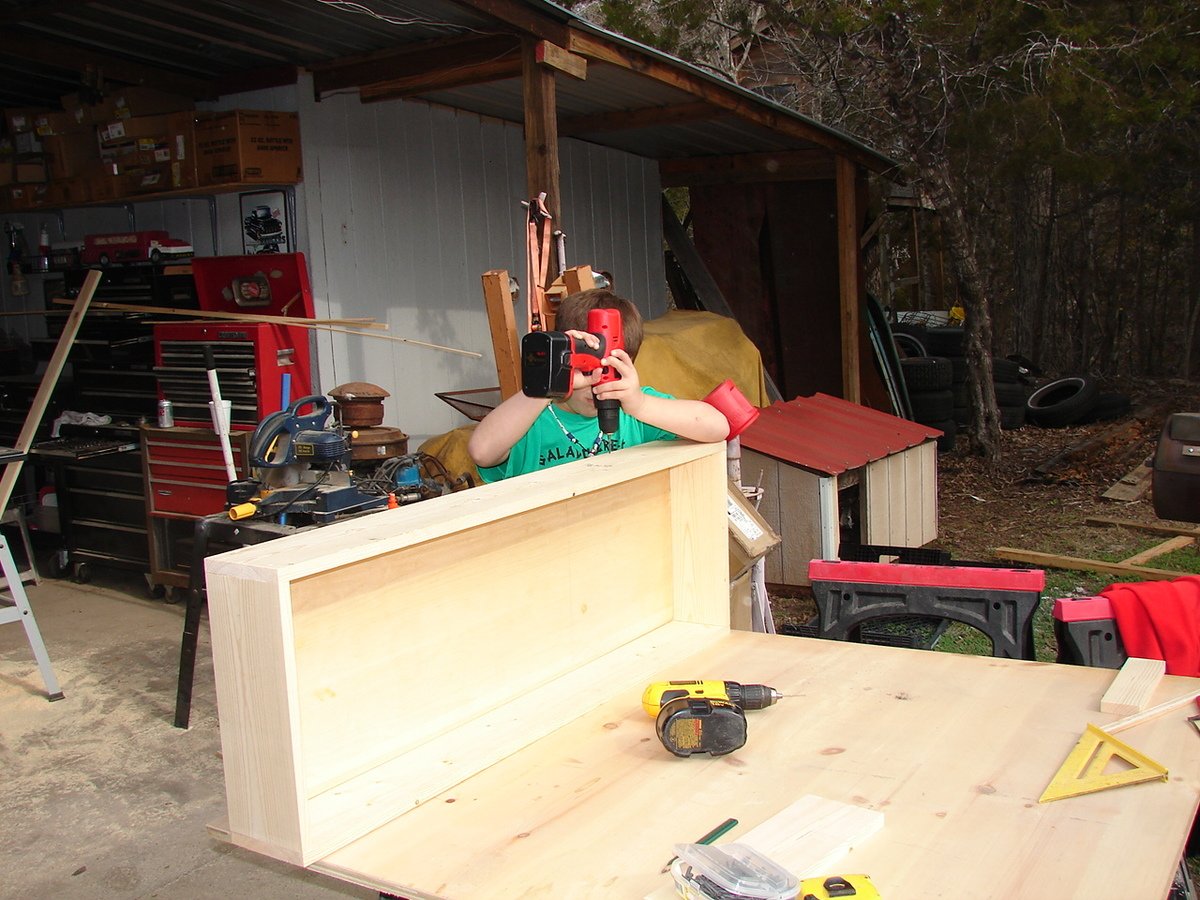
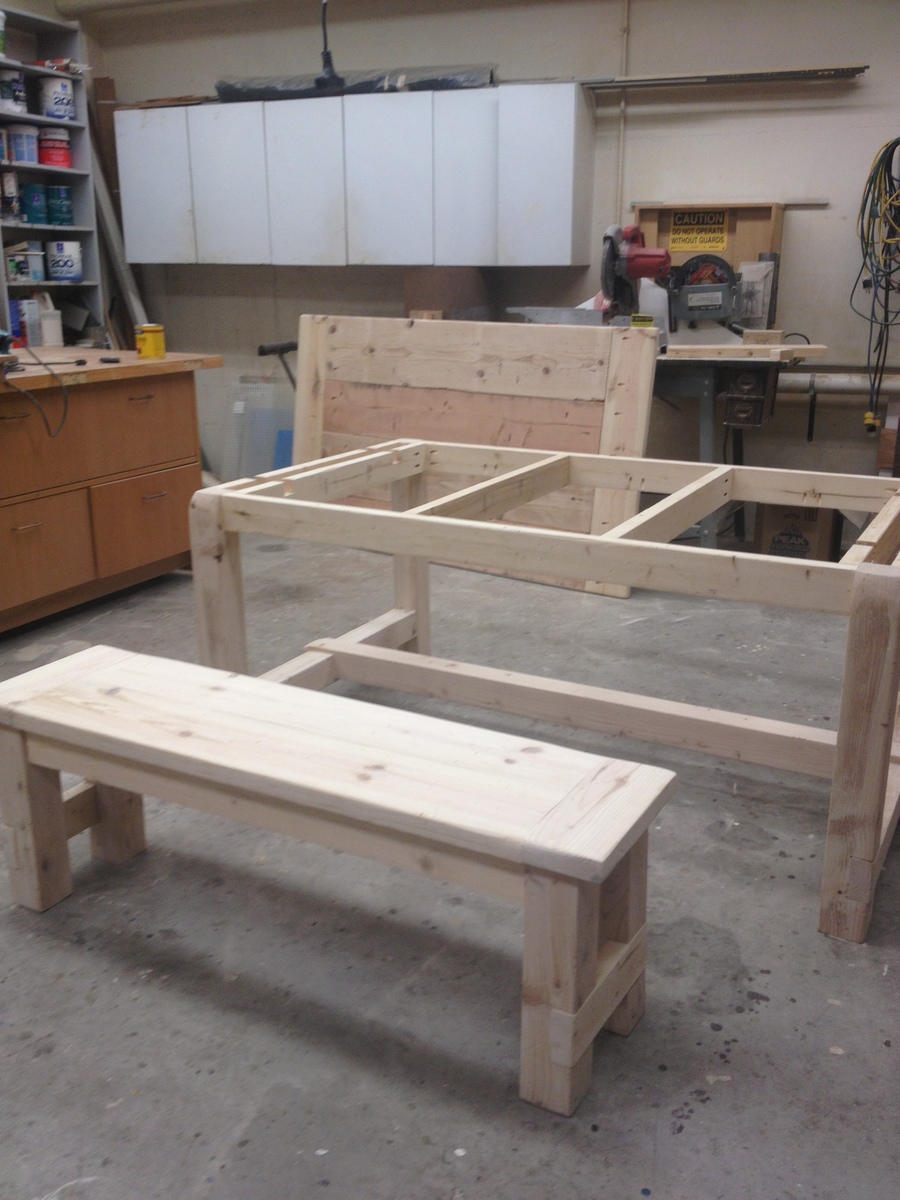
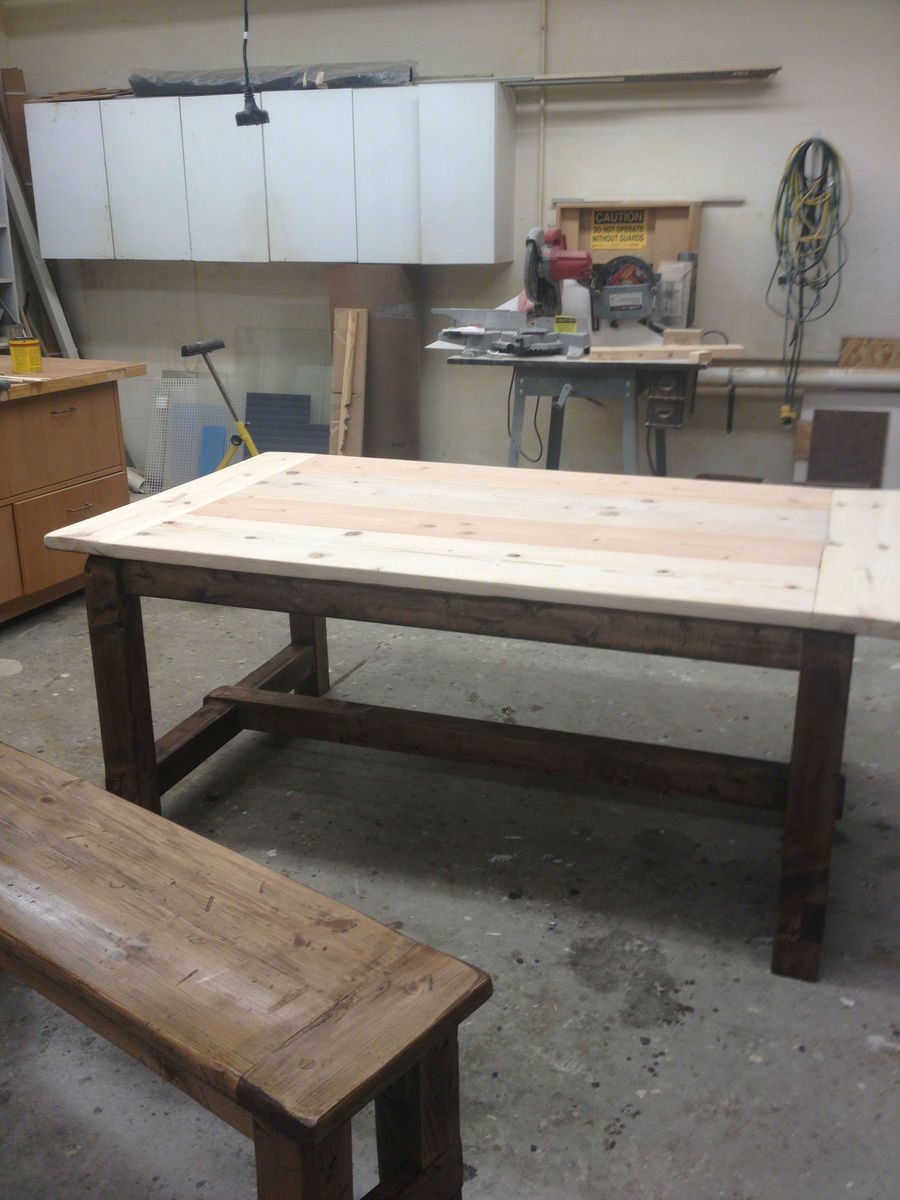
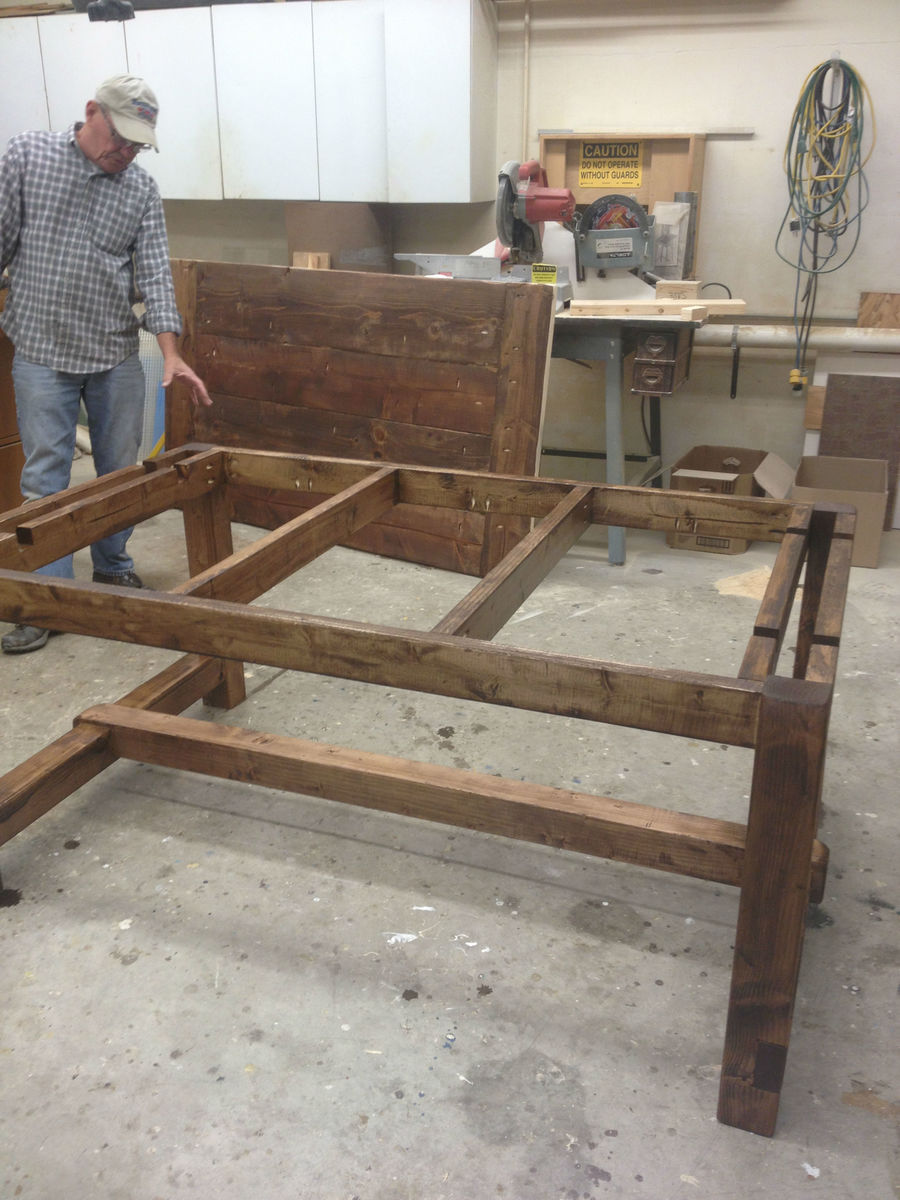
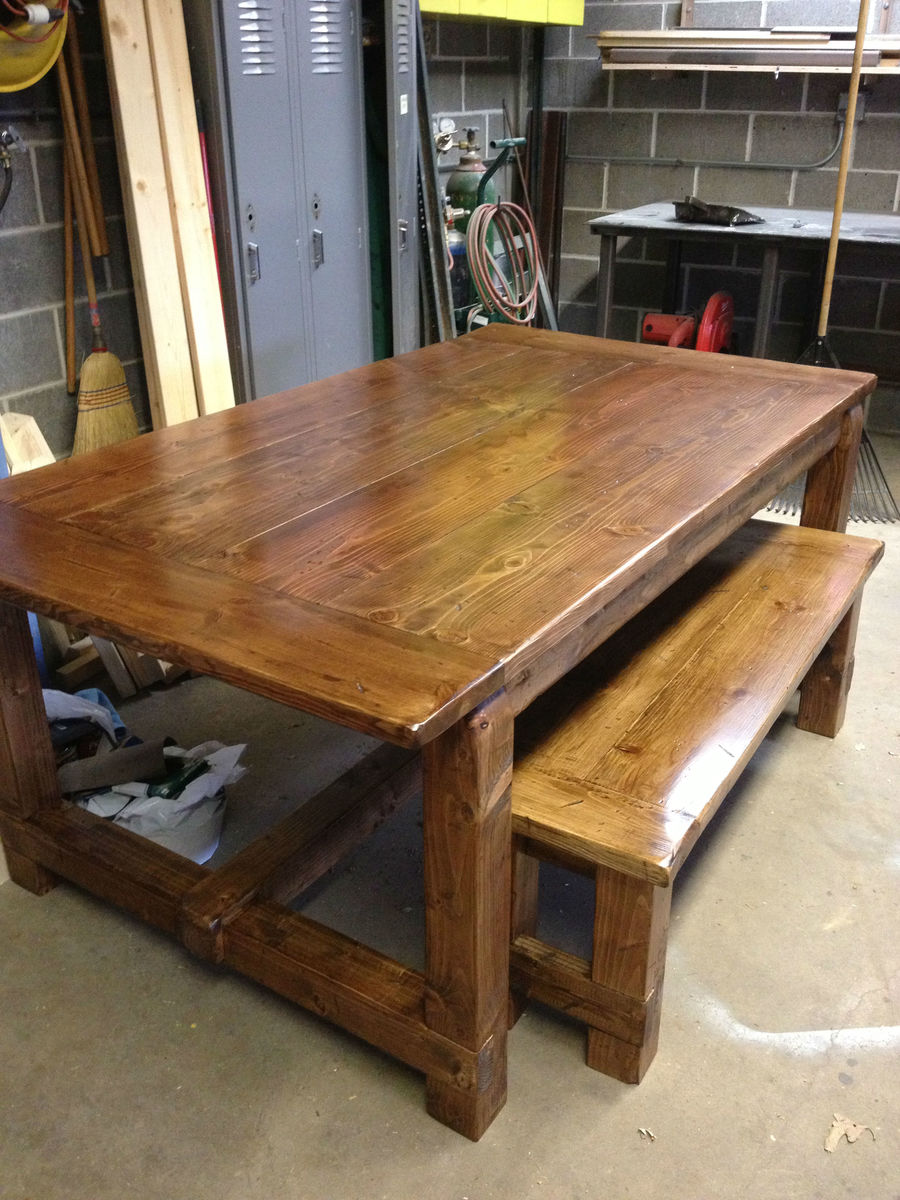
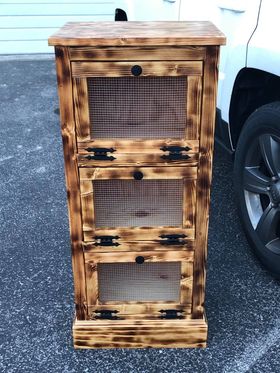
2 Drawer Rustic Kitchen Island
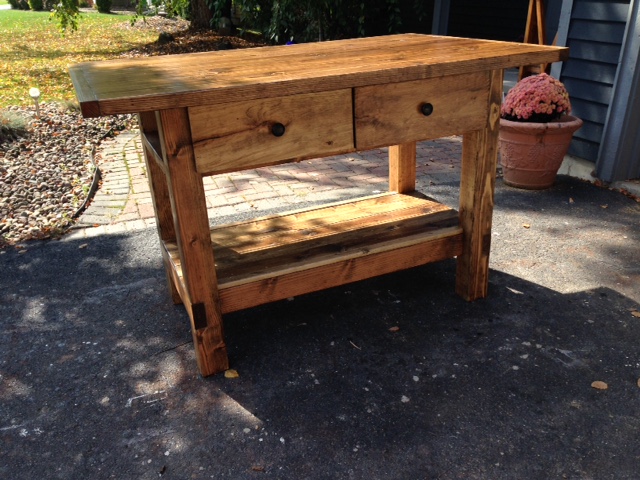
modified a bit to add 2 drawers and only 1 shelf, also make with 6" overhang around for stools or chairs.
Built from Plan(s)
Estimated Cost
225
Estimated Time Investment
Weekend Project (10-20 Hours)
Finish Used
Special Walnut
Recommended Skill Level
Intermediate


Comments
MegsBK
Sun, 10/05/2014 - 08:51
Fantastic!
Isn't that the best plan? So versatile. I love the look - would love to see a picture after you have the island as part of a kitchen scheme.