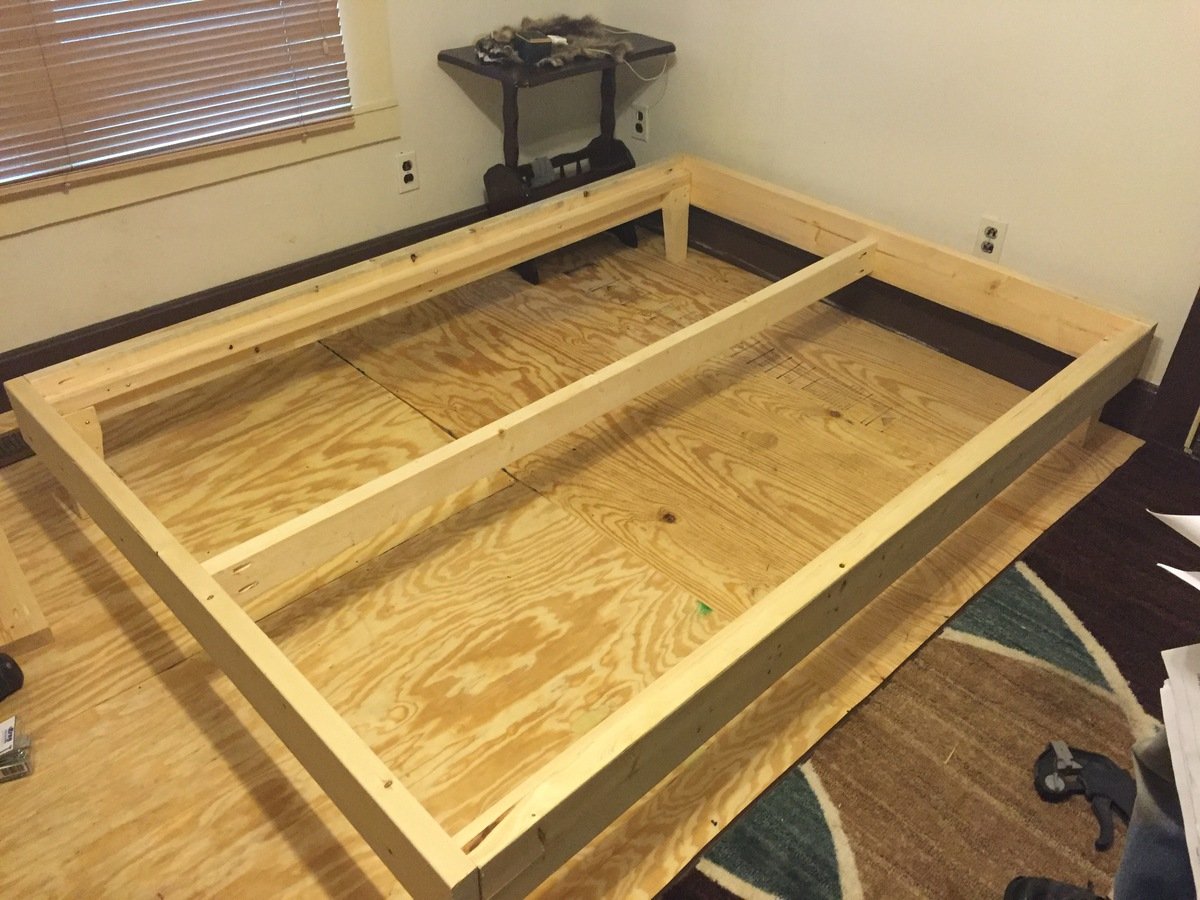
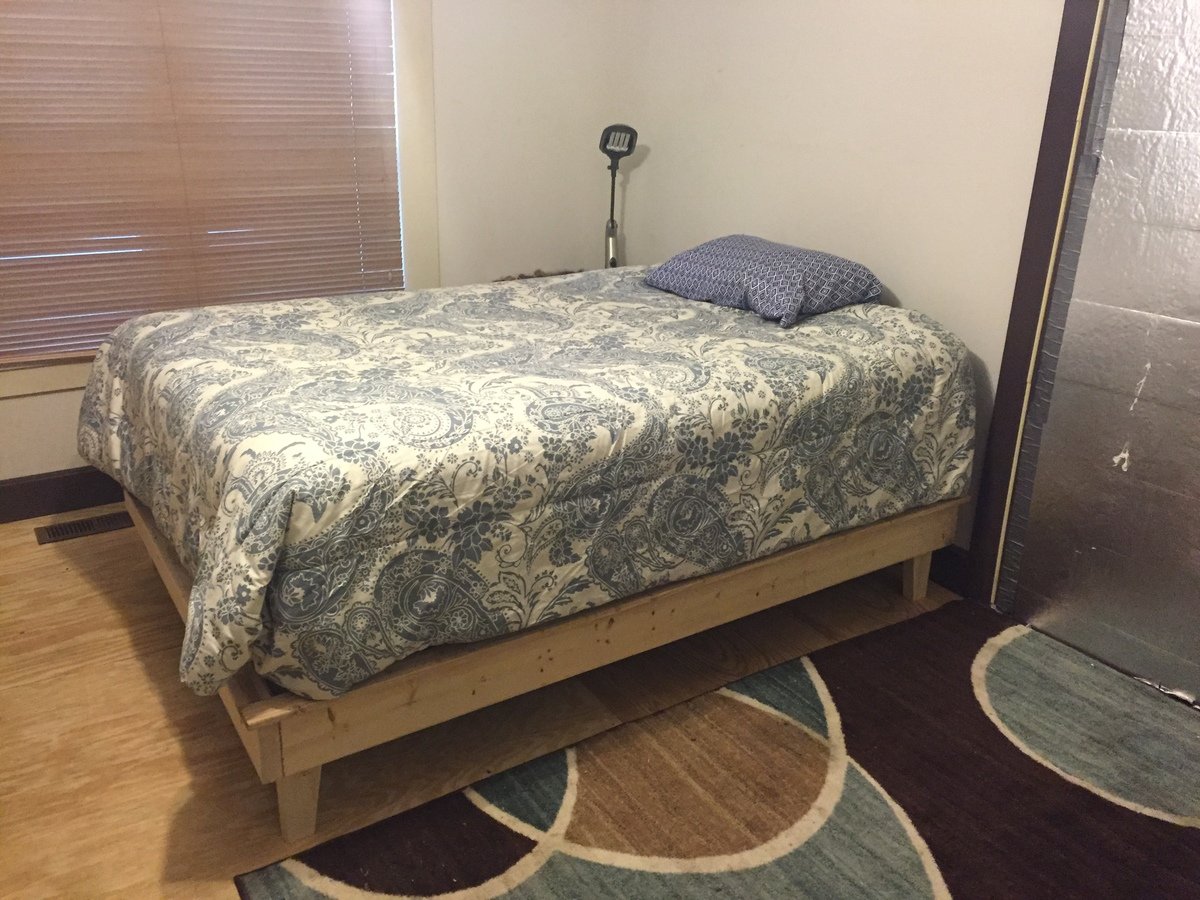
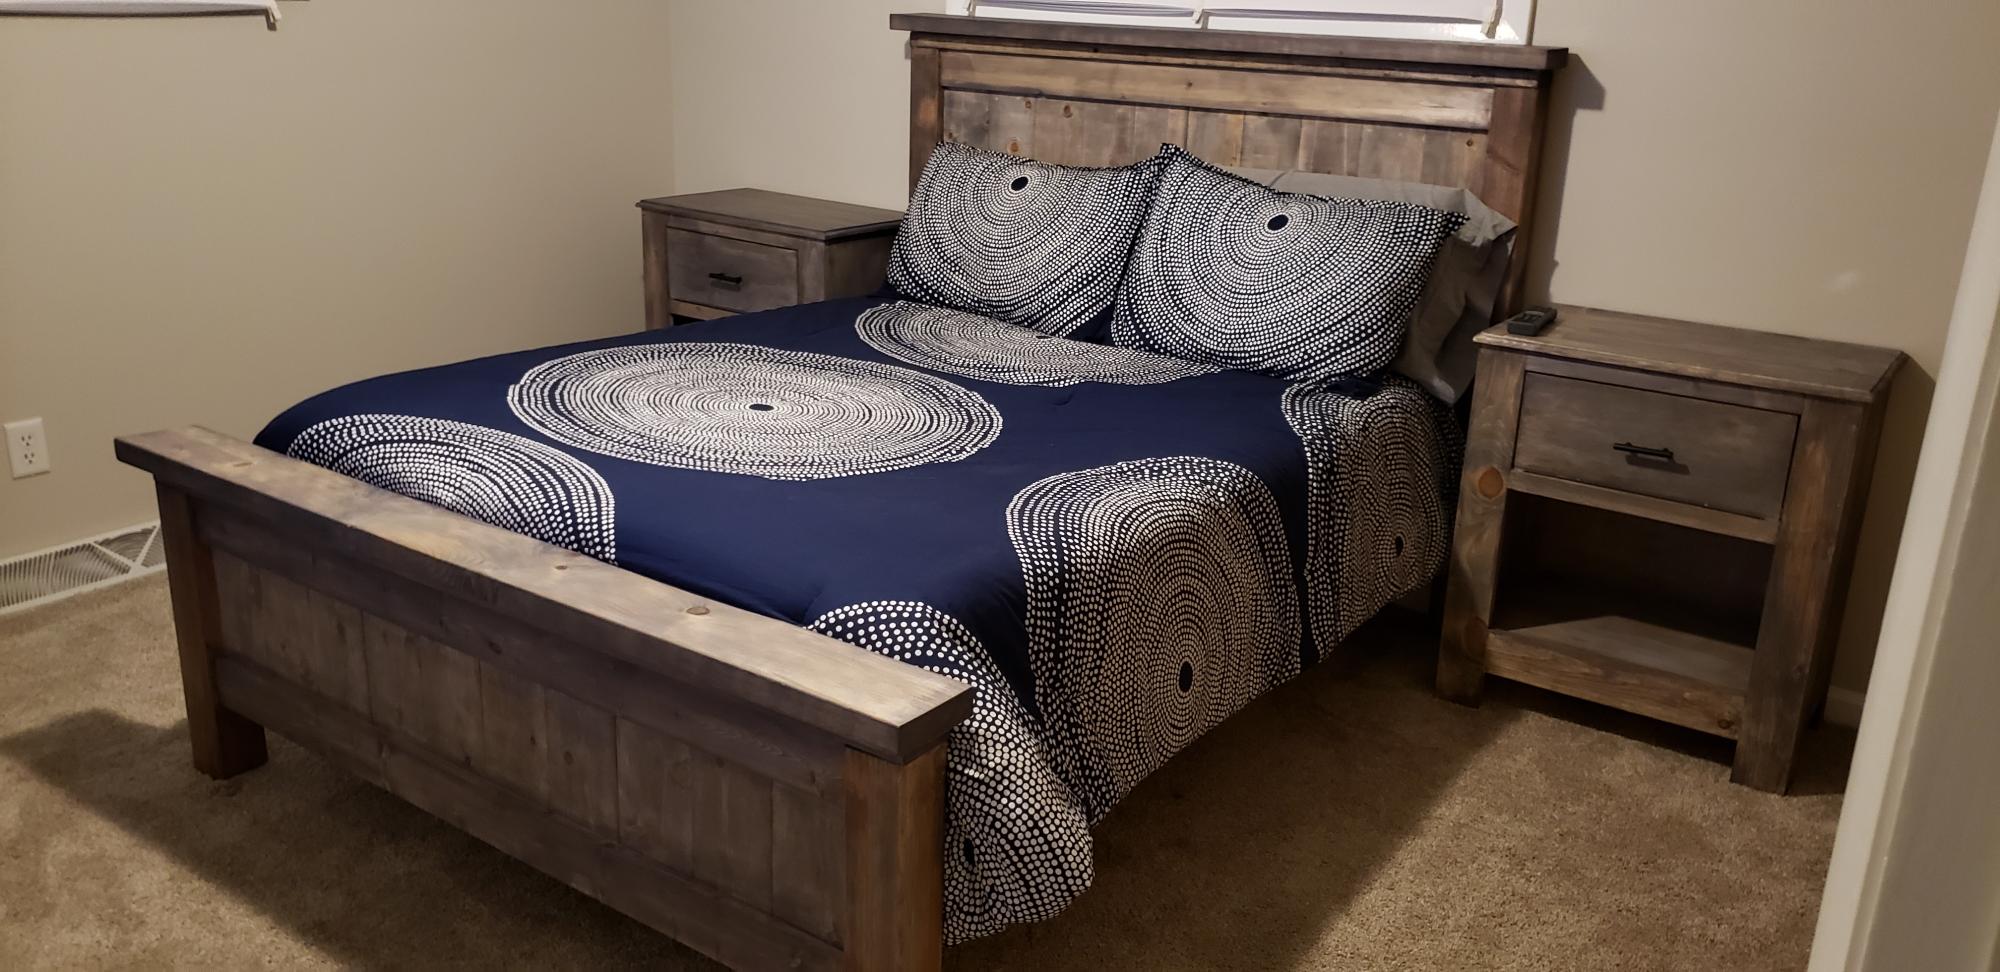
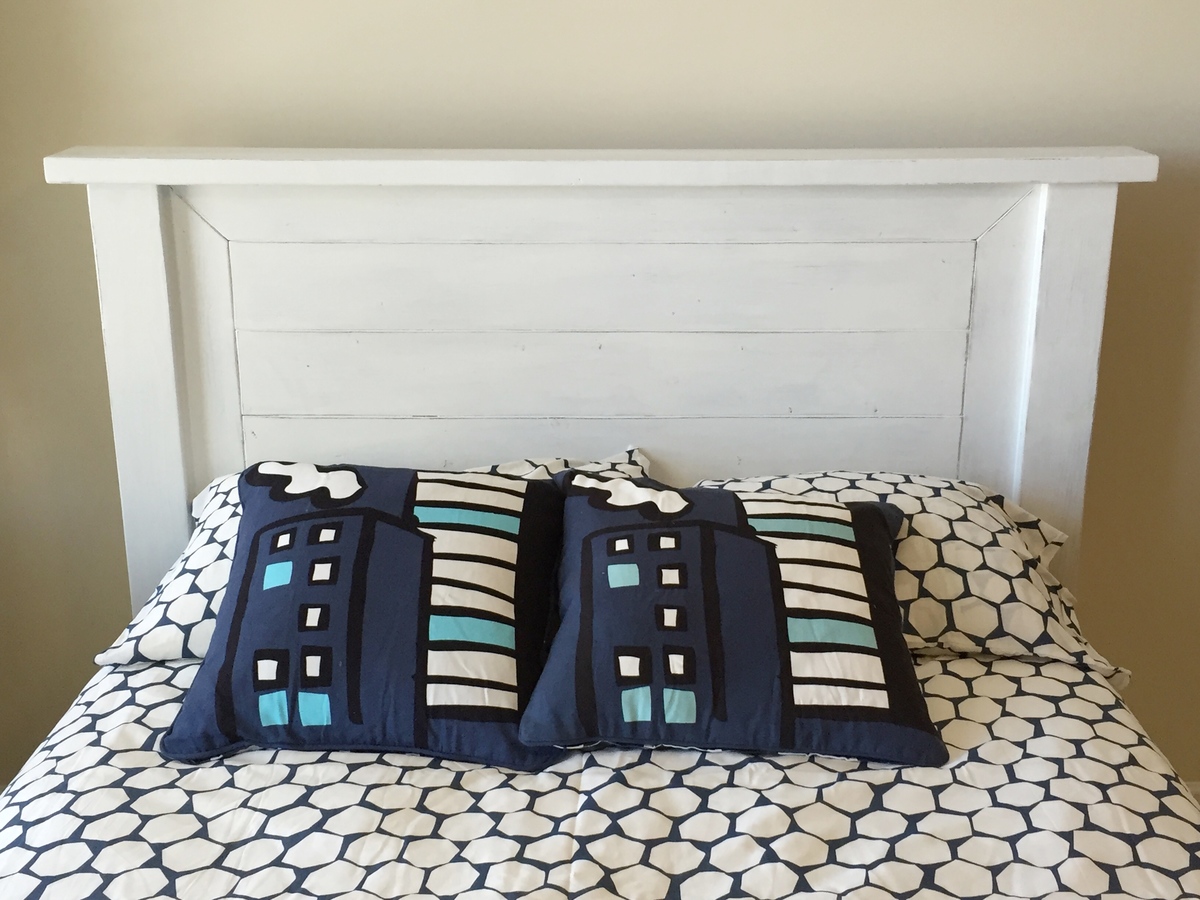
Full Size Bed Frame ("The Sofia")
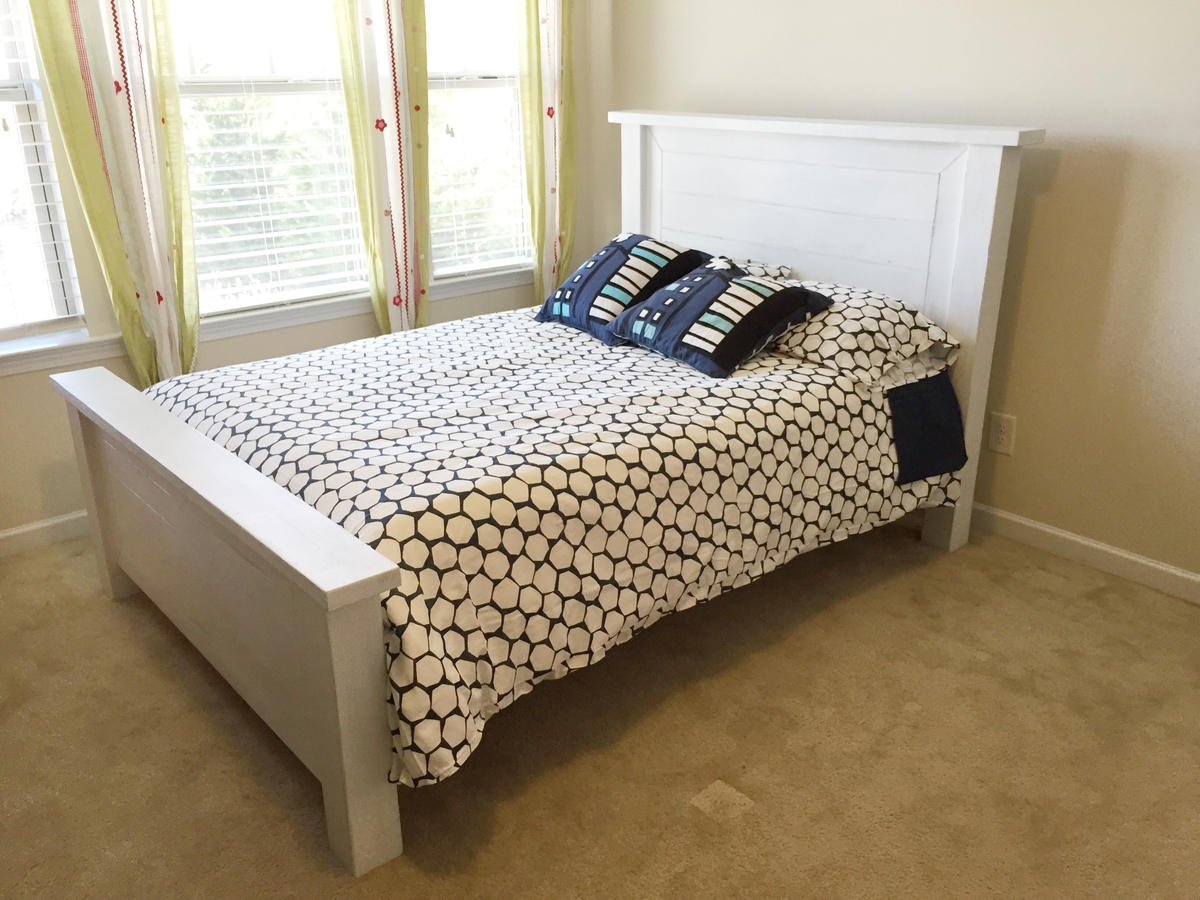
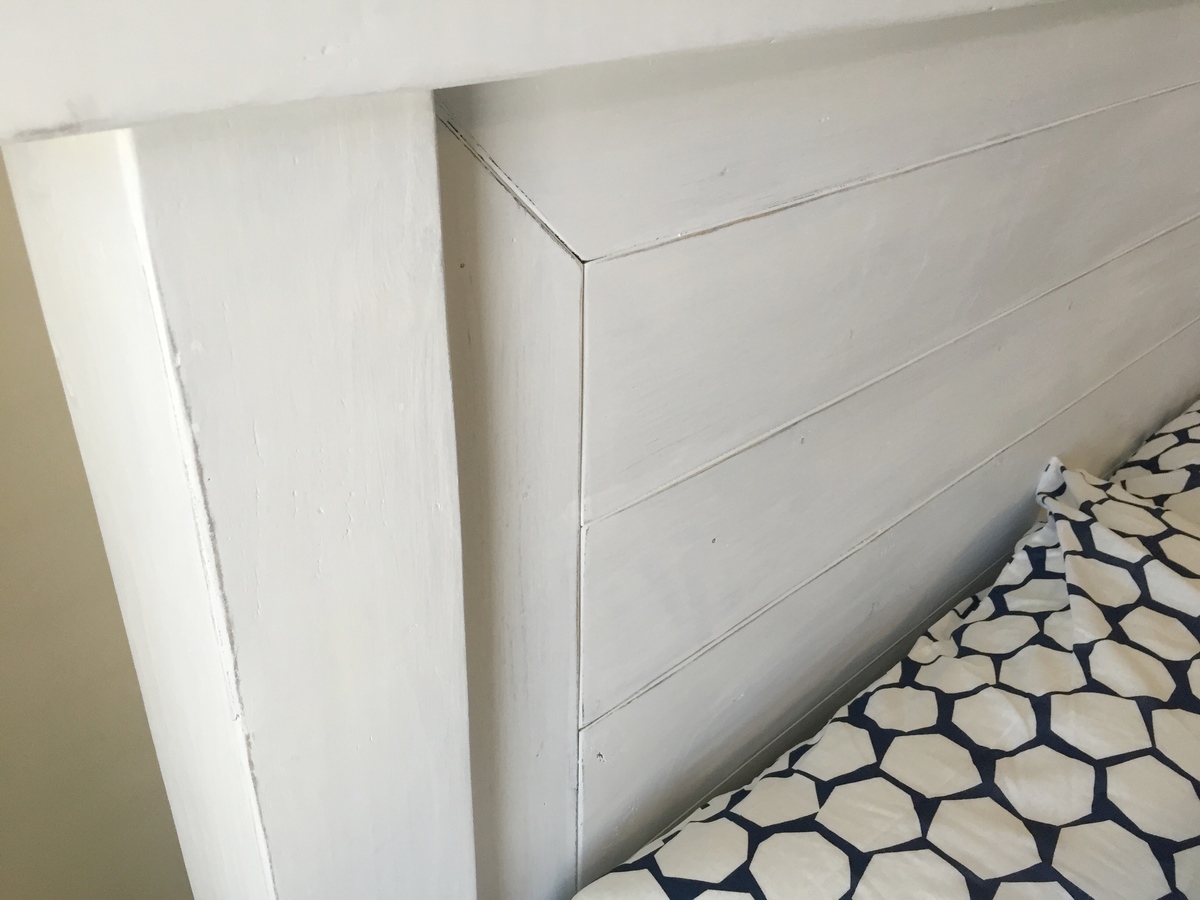
Full size bed frame. Made from 4 by 4 posts. ! by 4 and 1 by 6 boards for footboard and headboard.
Side rails from 1 by 8.

Estimated Time Investment
Week Long Project (20 Hours or More)
Finish Used
Stained in Minwax Classic Gray and then painted white with 3 coats and sanding between each coat to give an antique look.
Recommended Skill Level
Intermediate