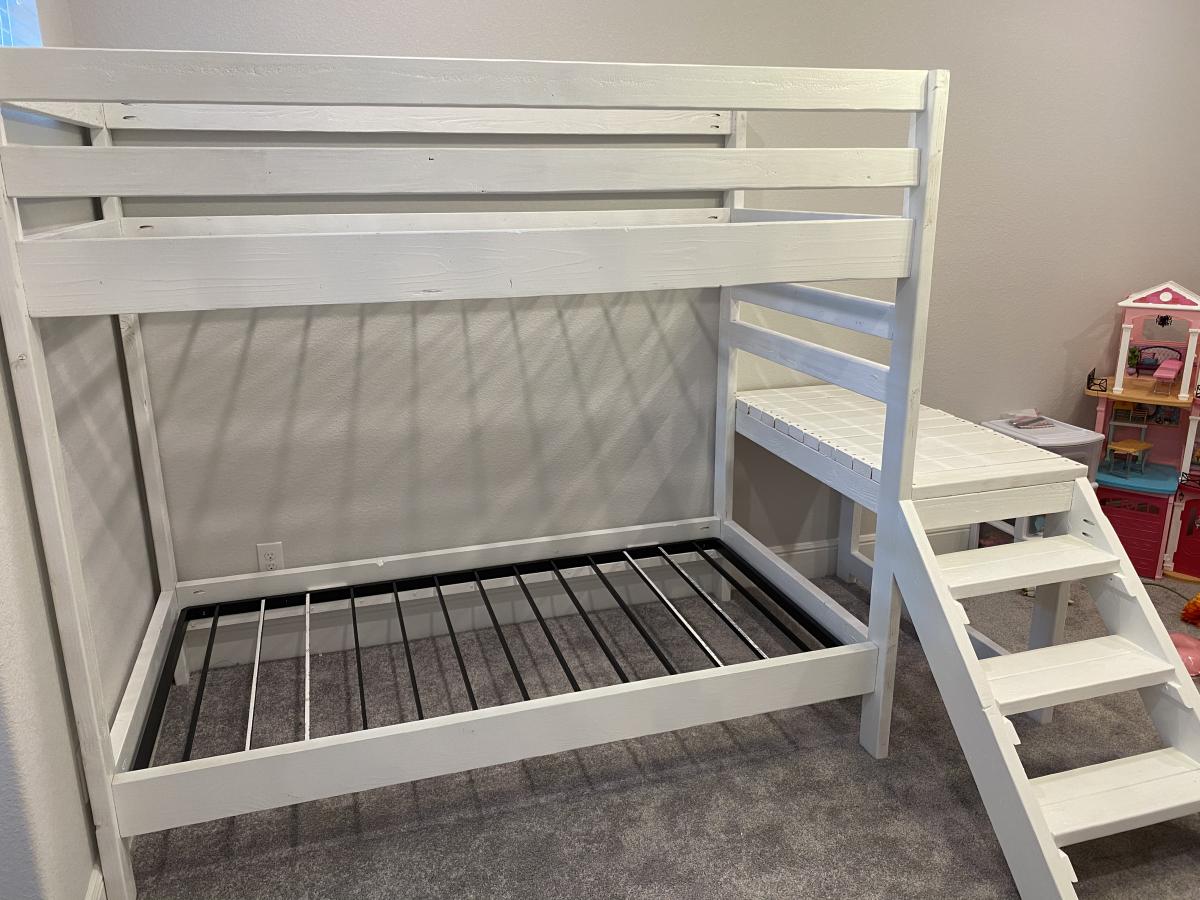
Wider Loft Bed with Storage
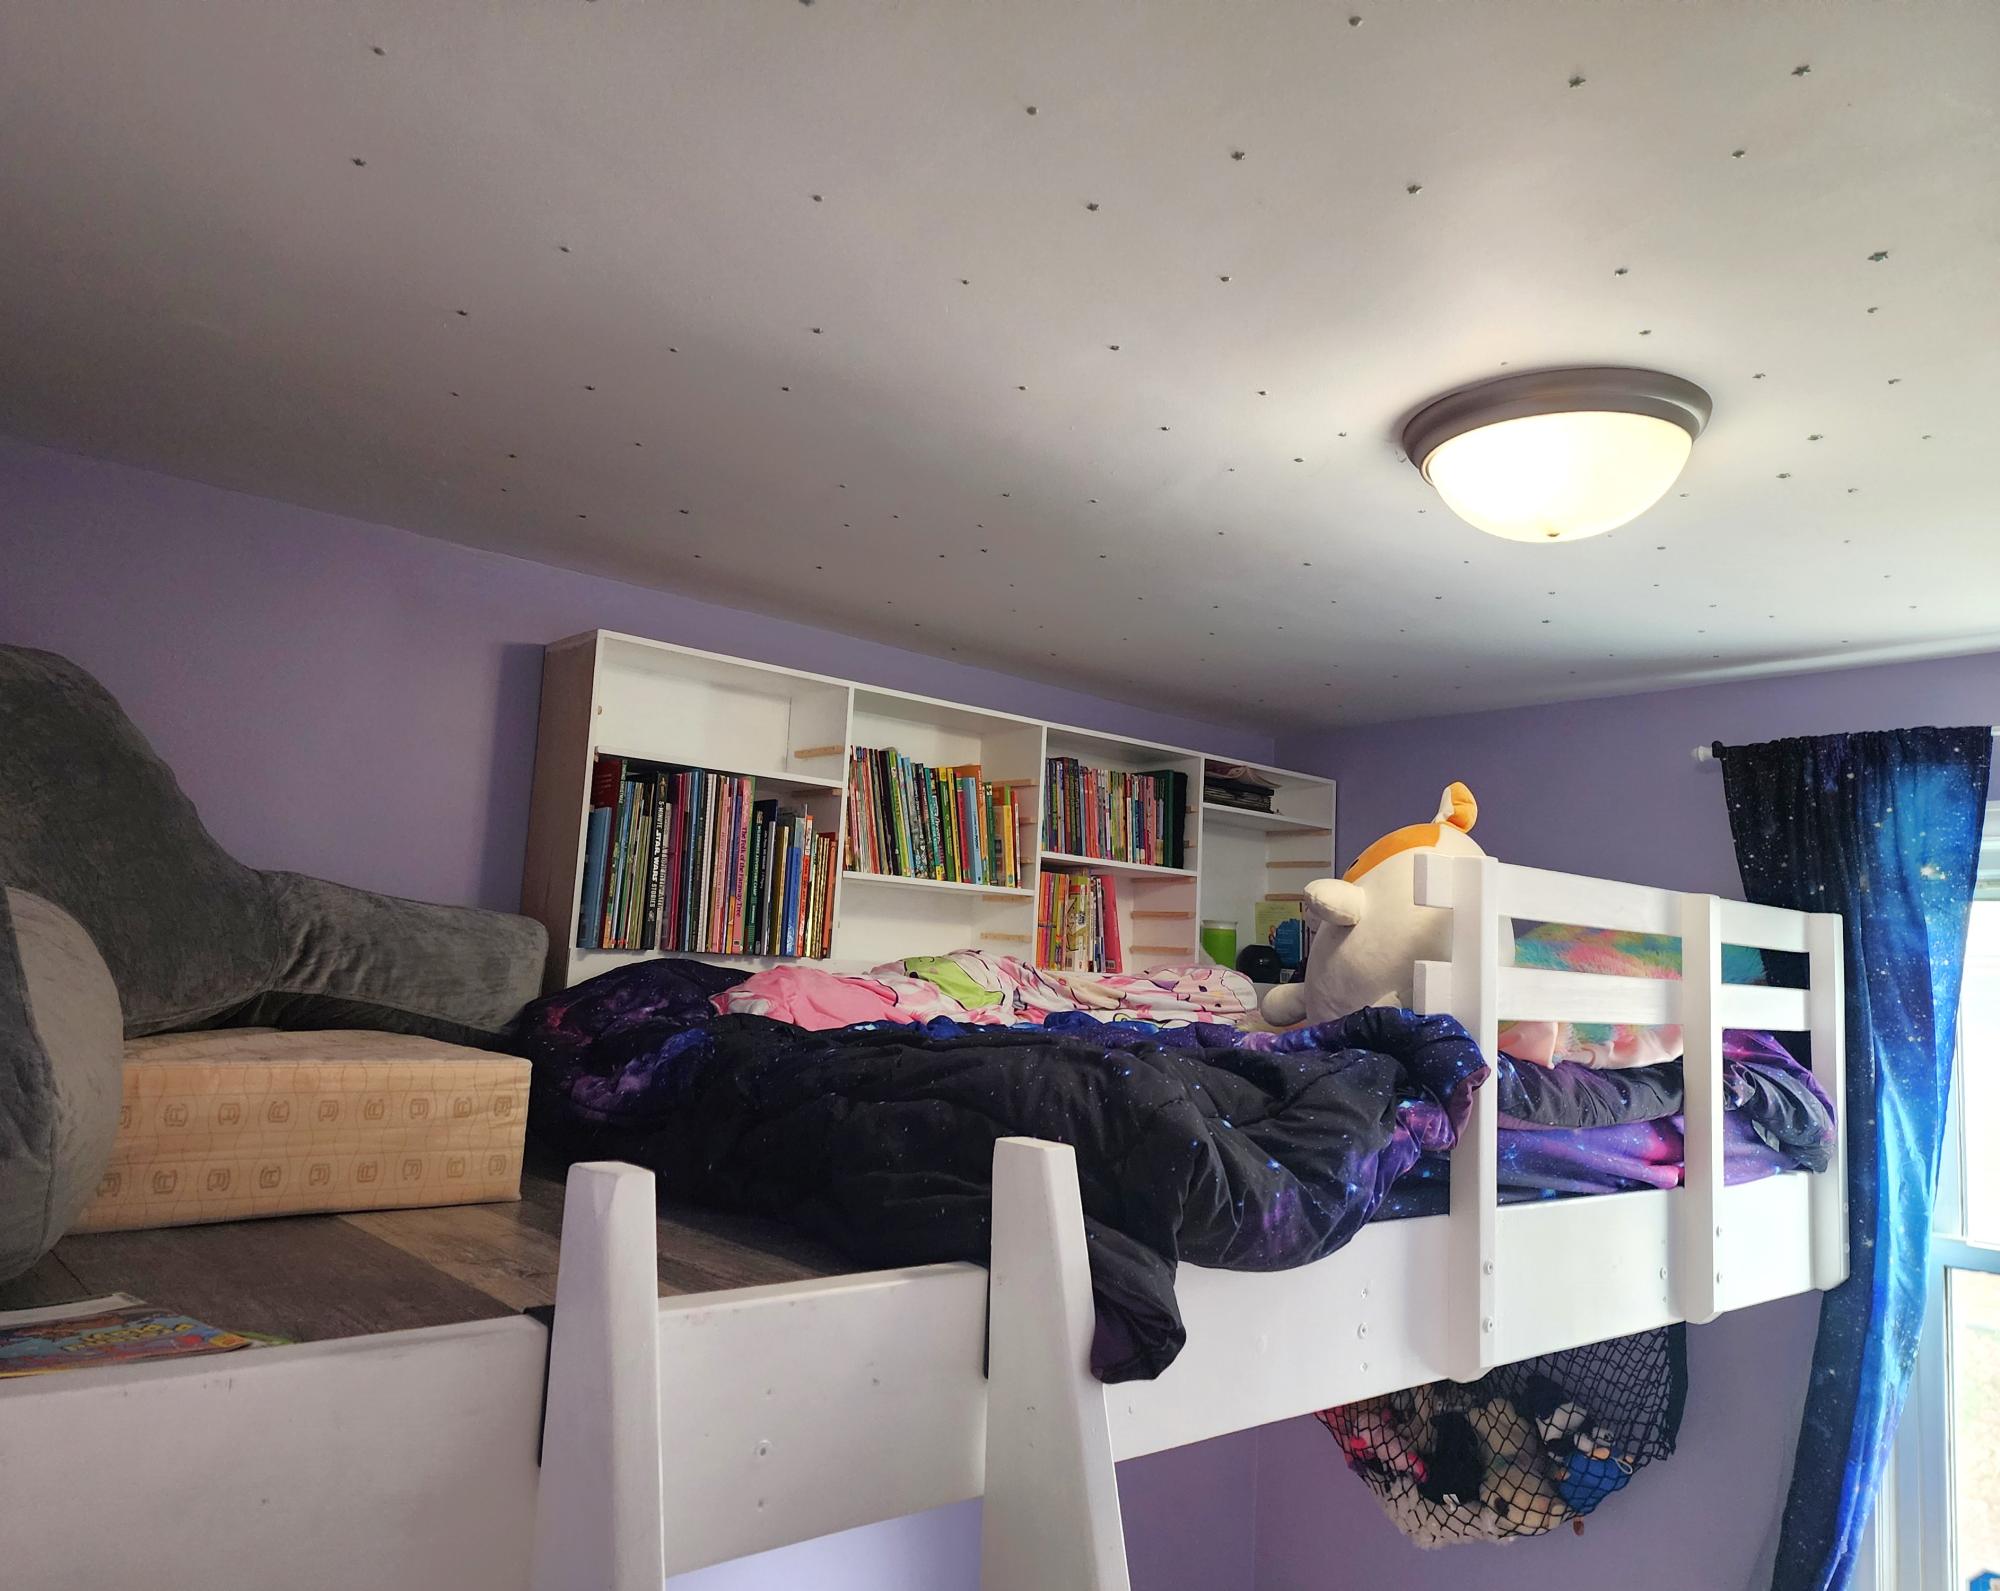
I built the loft platform wider than necessary so I could fit a narrow shelf beside it. - Meg
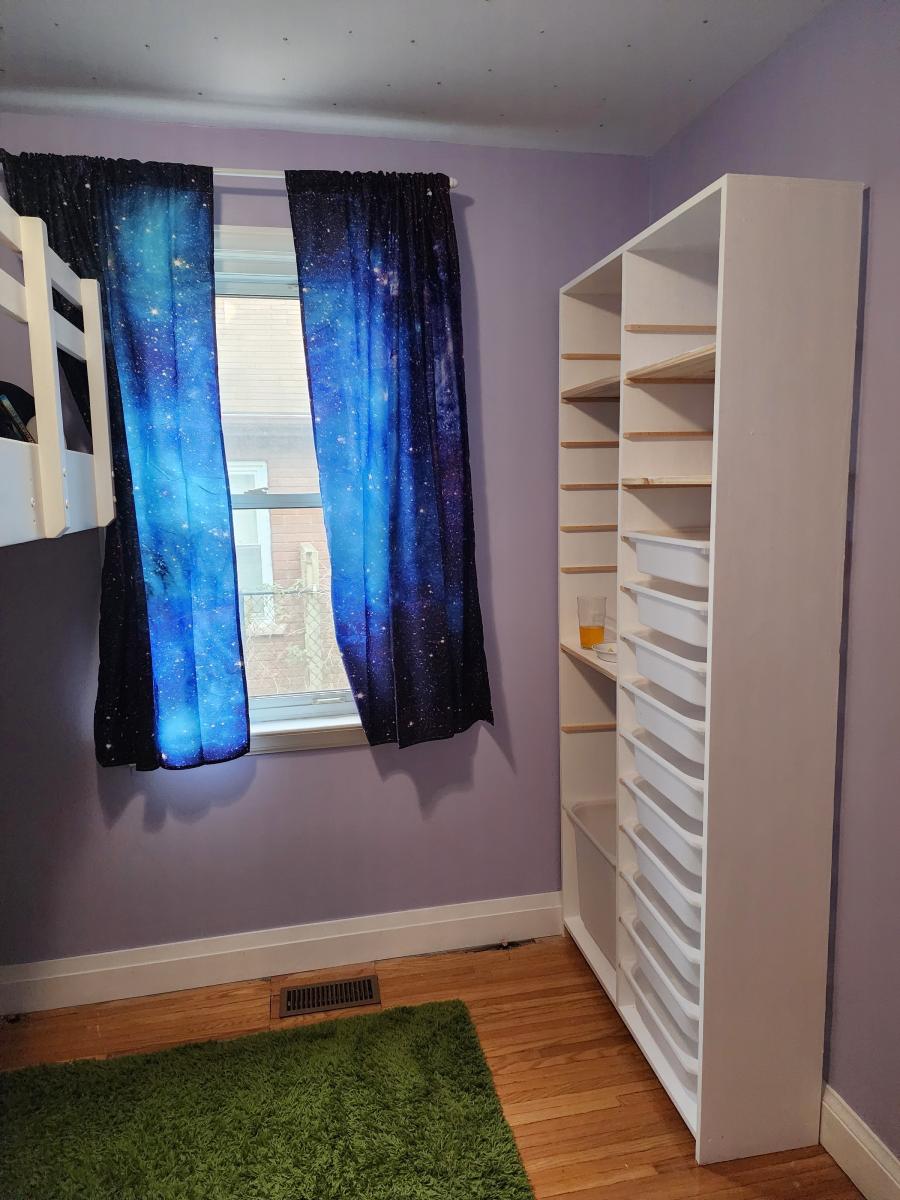
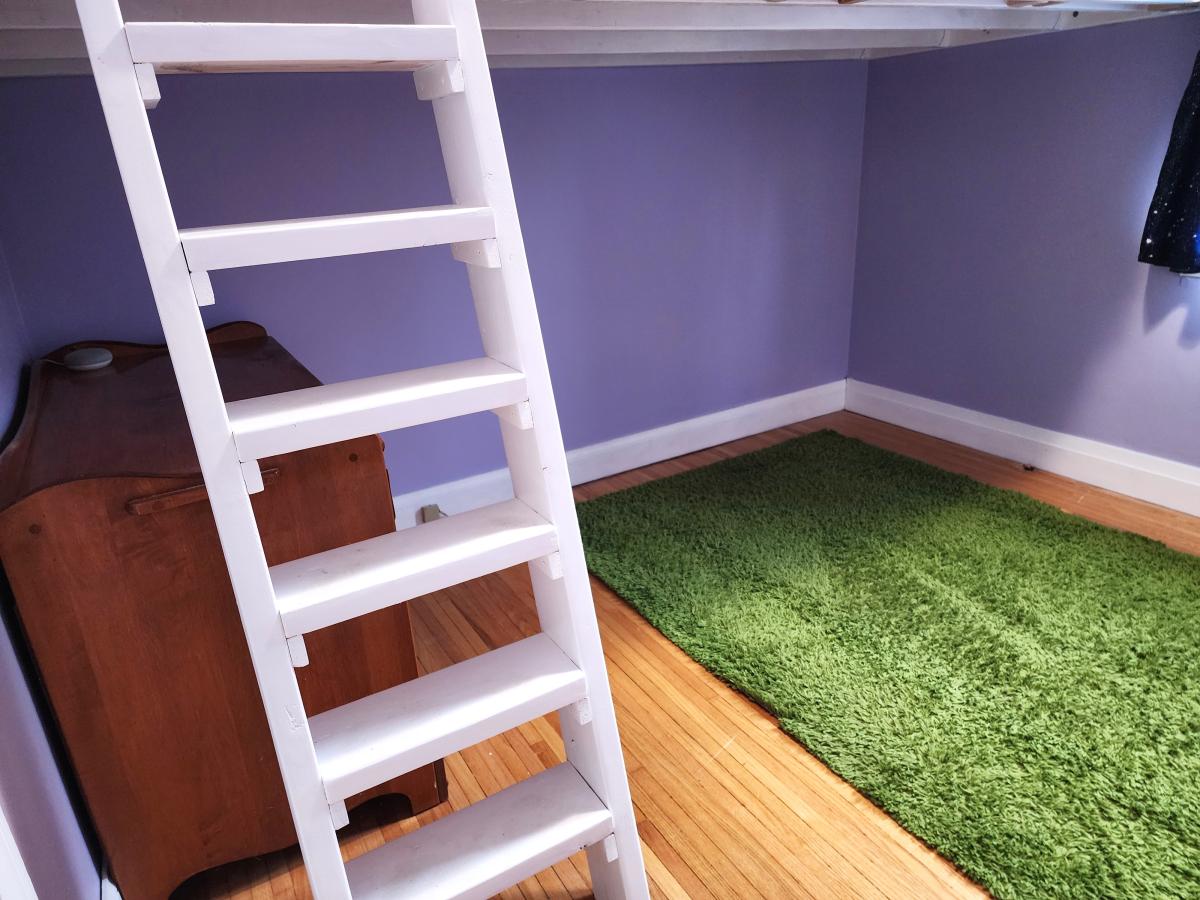

I built the loft platform wider than necessary so I could fit a narrow shelf beside it. - Meg


Decided to make a pair of nightstands! Made them a few inches less wide than the original plans and adjusted the height to match my bed. For the first one, I went with the drawer as-is from Ana's plans, but for the second I got brave and used actual drawer runners from the hardware store. It wasn't as hard as I was afraid of; I just reduced the width of the drawer to account for the runners and used a false front so I could attach the drawer front in the right place.


I had so much fun with this! I followed the plans exactly and made up the nightstand as I went along.


Sun, 10/19/2014 - 15:25
Oh, this is super cute! Love the stained trim and that little nightstand is darling!

I have used 1/2 inch thick plywood, 2x3 instead of 2x2, and 1x3. I don't have any miter saw or table saw. I used hand saw (comes with miter box) and circular saw to cut all the materials. It isn't perfect but I like it.

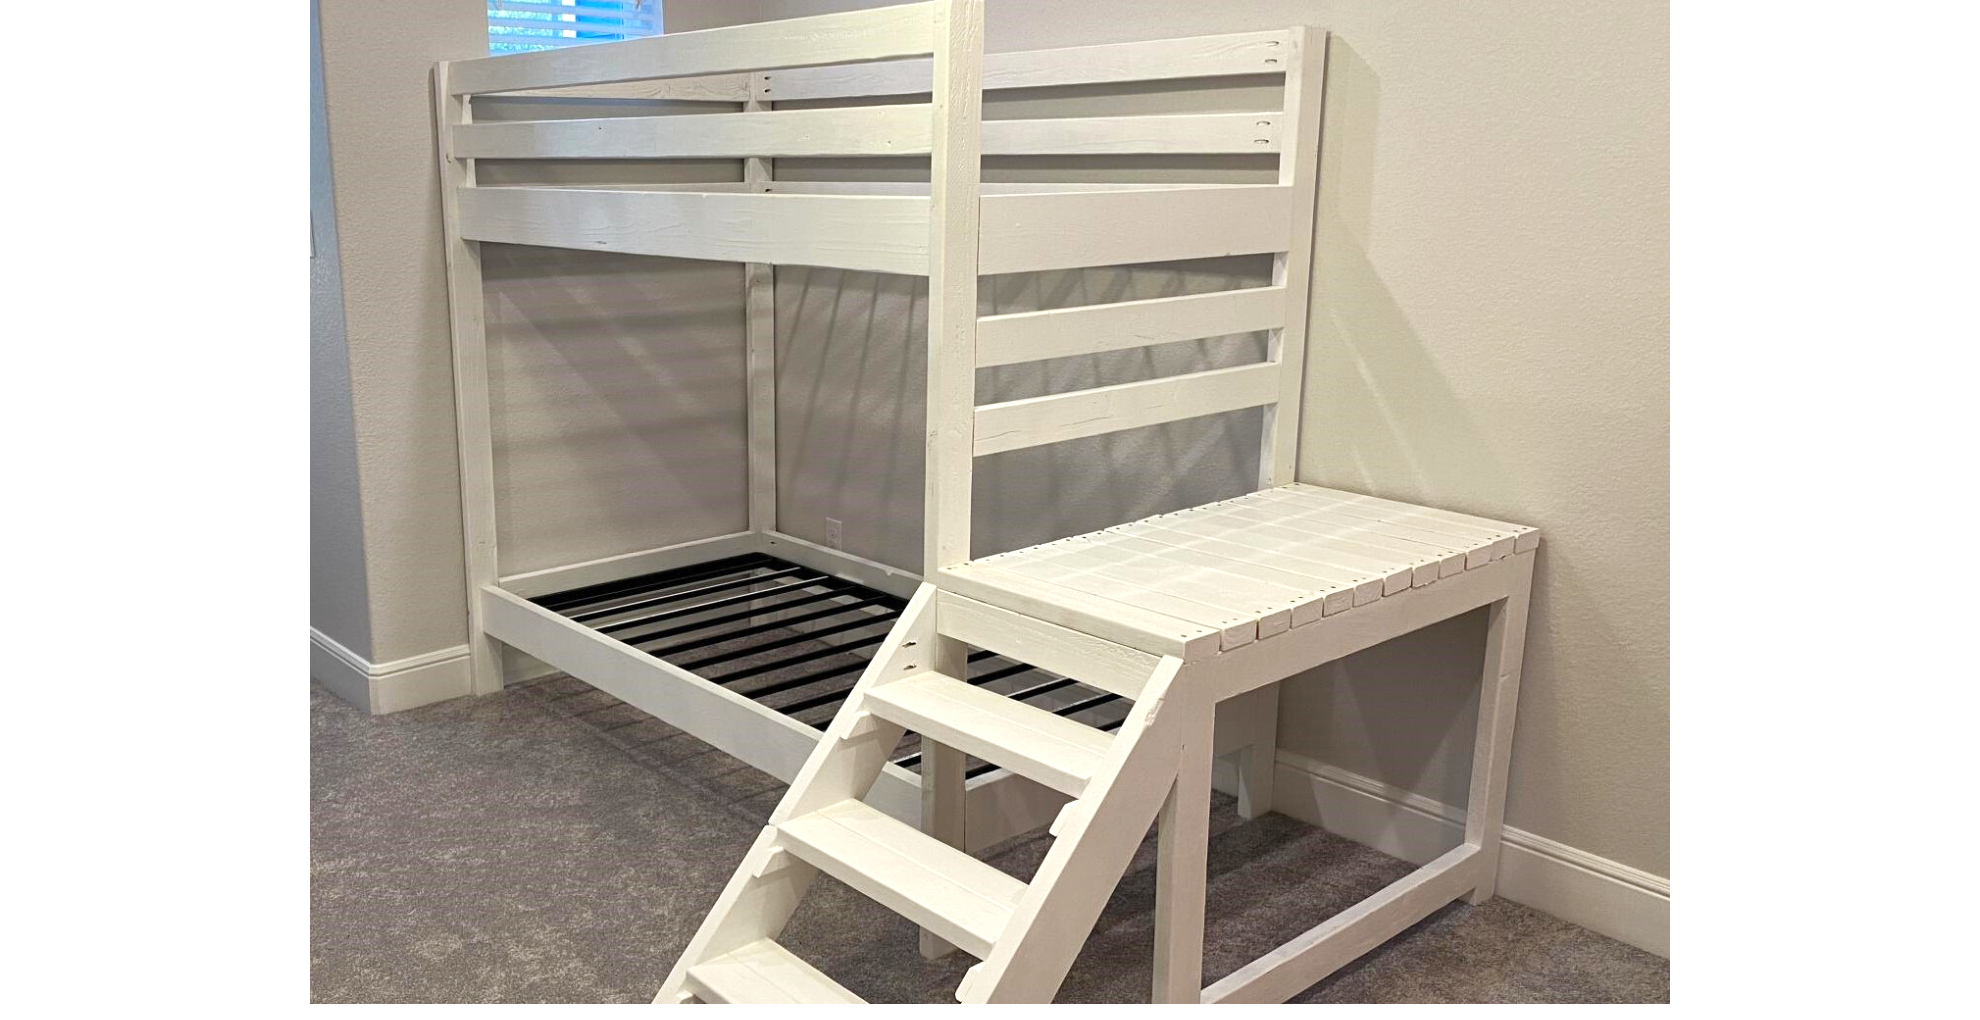
Used the Camp Loft Bed with Stairs Plans but double the bed rails. I just loved that the stairs and platform make it a little safer getting in and out.
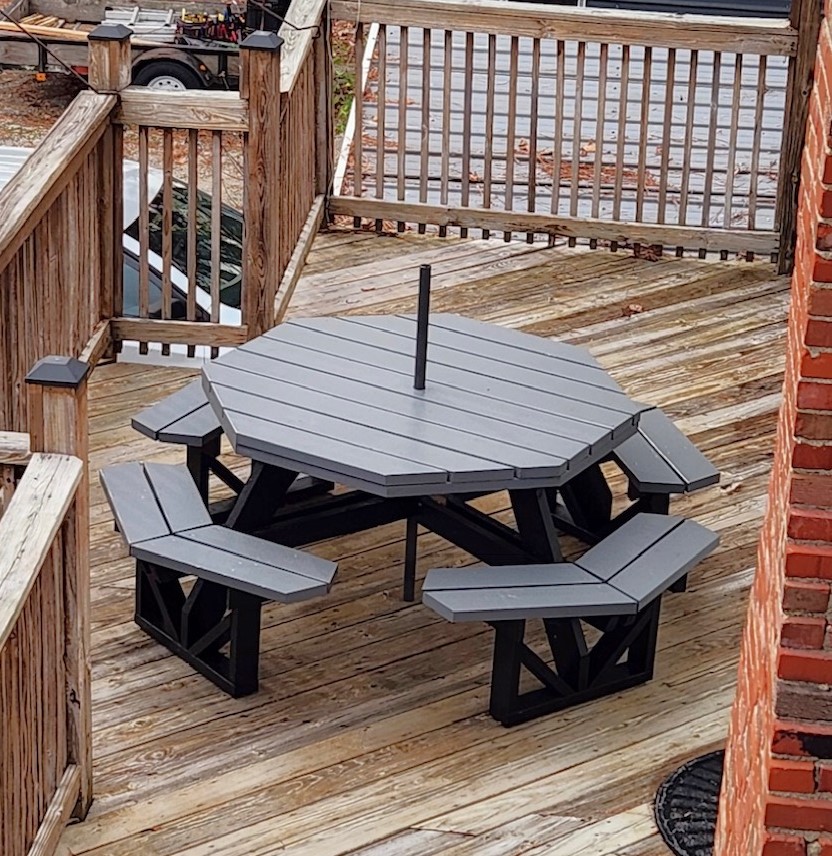
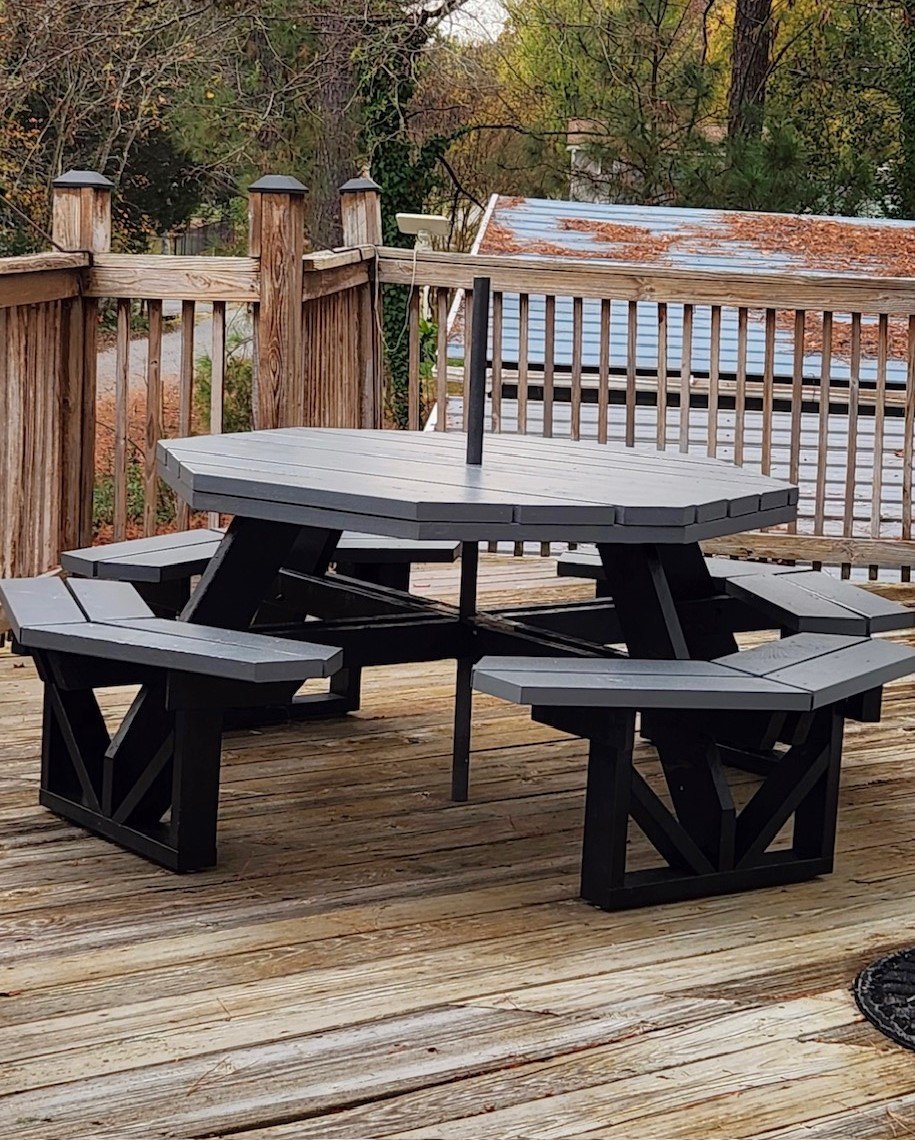
I built this Family Picnic Table for my brother and sister in law for their river house for Christmas.
I started this the first week of October this year. Cutting lumber, priming, painting and assembling at my home two hours away.
I disassembled it, loaded it on a trailer with my tools and drove it to their home. This is where I needed two people to help get everything up on the second floor deck.
The plans were great! I am placing a link to 2 photos of the finished product.
I told their kids to buy an umbrella for them for Christmas - Carlton Lowry
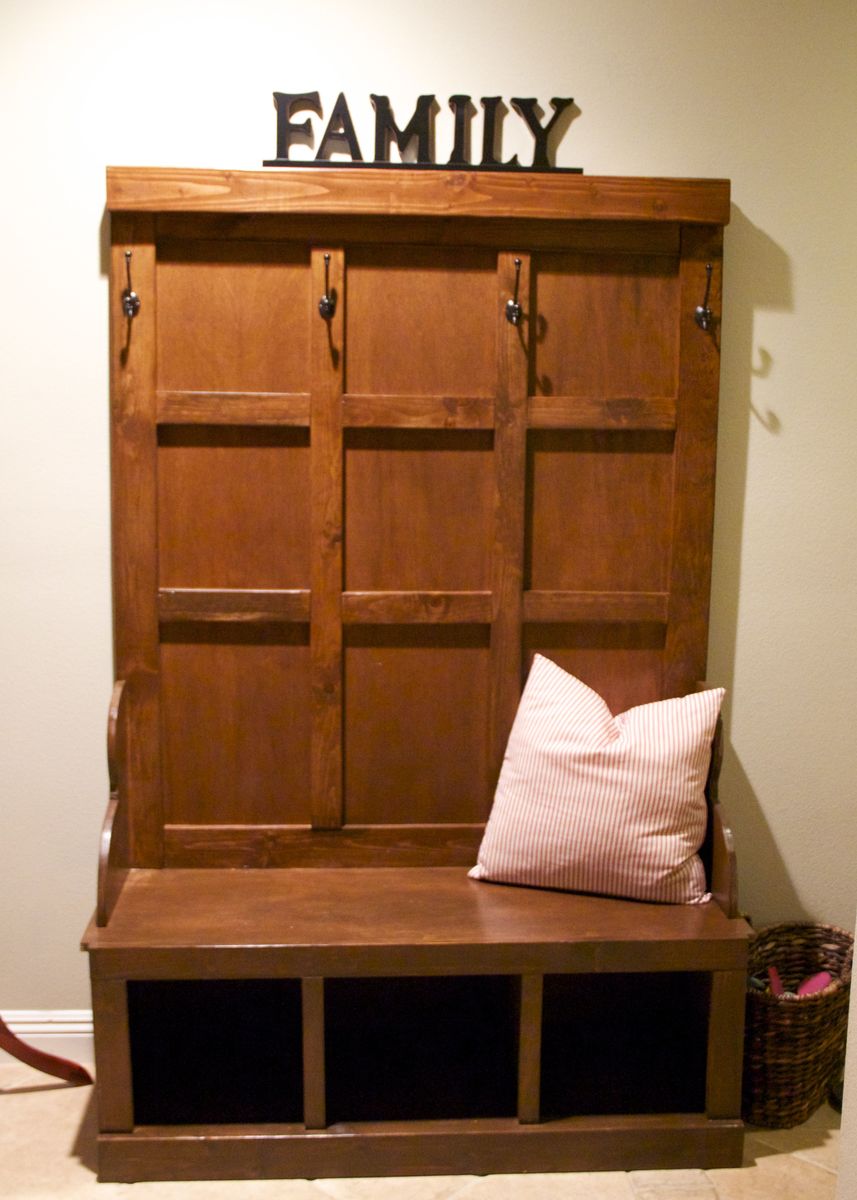
This was my first wood project, and I LOVED doing it!!! Now I'm addicted :). Thanks so much, Ana, for the amazing plans and inspiriation!
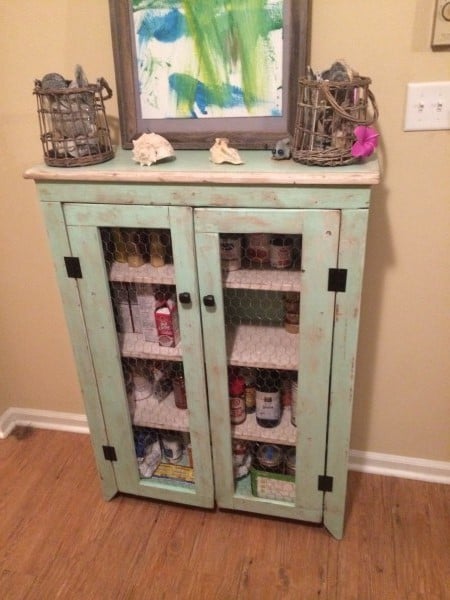
This is my second project. I sanded, primed, painted, sanded to distress the paint, then stained the whole thing just long enough for the stain to soak in to the sanded spots (5 minutes or less), then wiped it off.
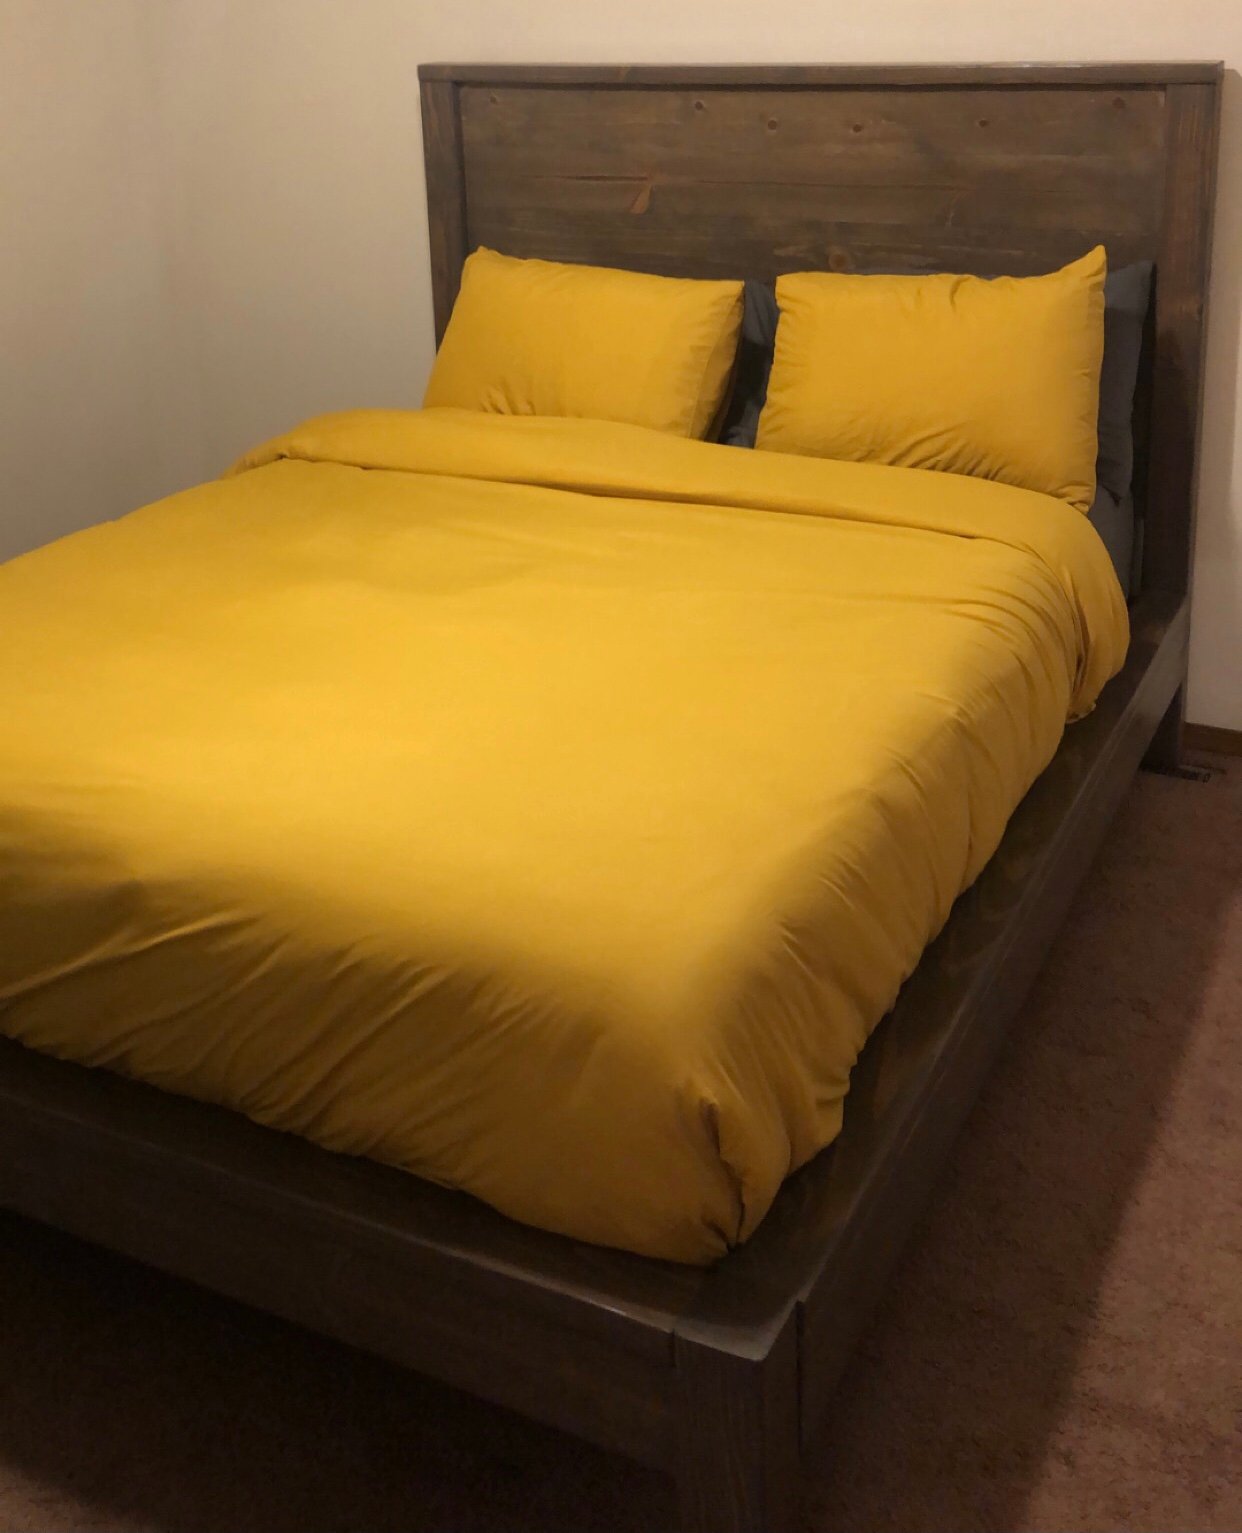
My dad and I built this bed together as our first wood working project. We worked on it off and on for about three weeks before it was finished and in my room. We used brackets instead of pocket holes/screws to attach the side rails. Next up will be matching nightstands and a dresser!
We needed an accent table for our hallway and this simple table was perfect. I cut all the pieces in about an hour the night before and spent approximately four hours building the table the following day.

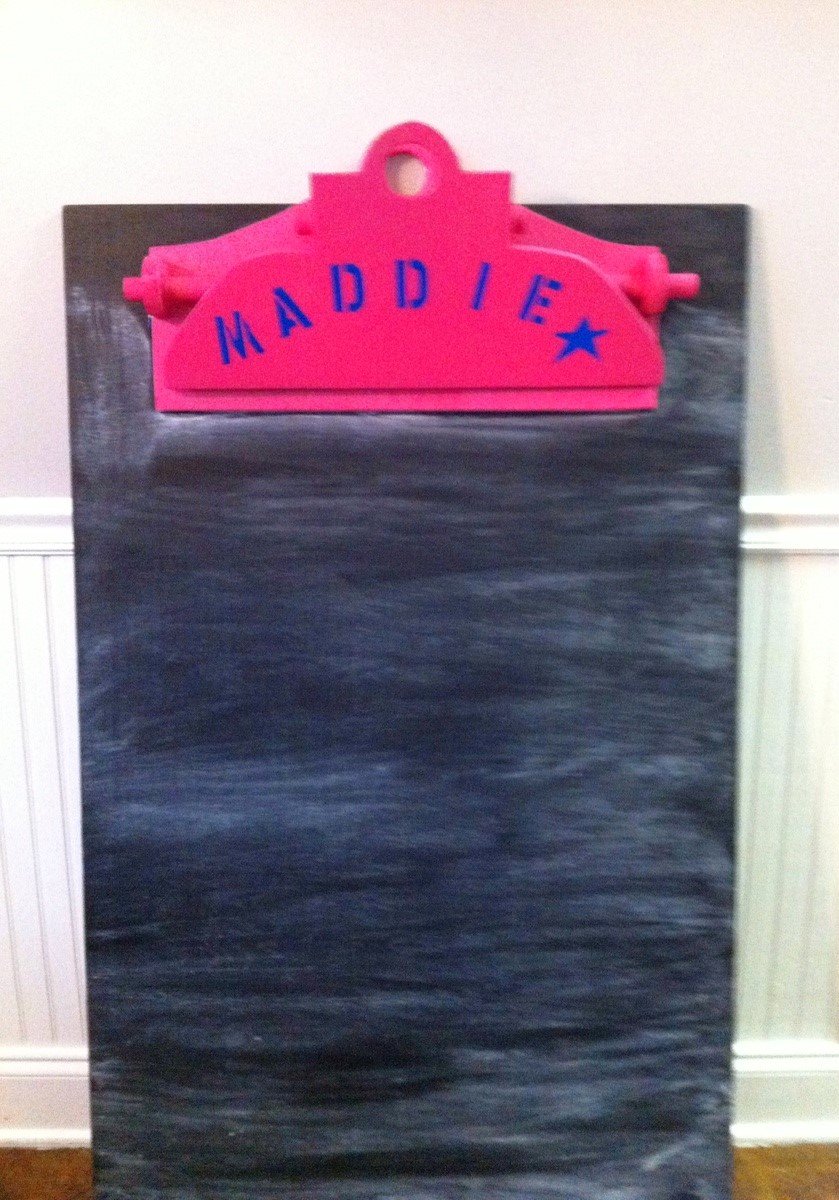
B-day present for my niece
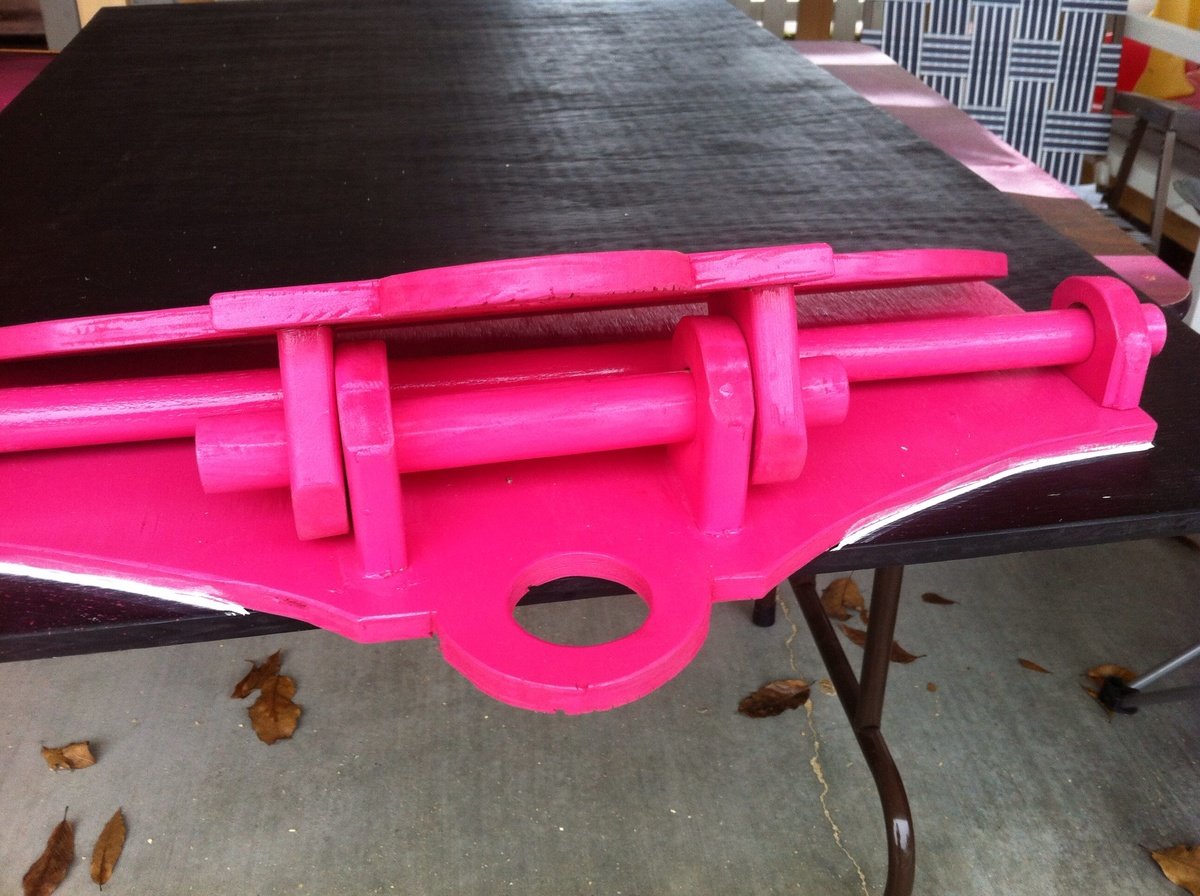
Full instructions on how I put this together on my blog.
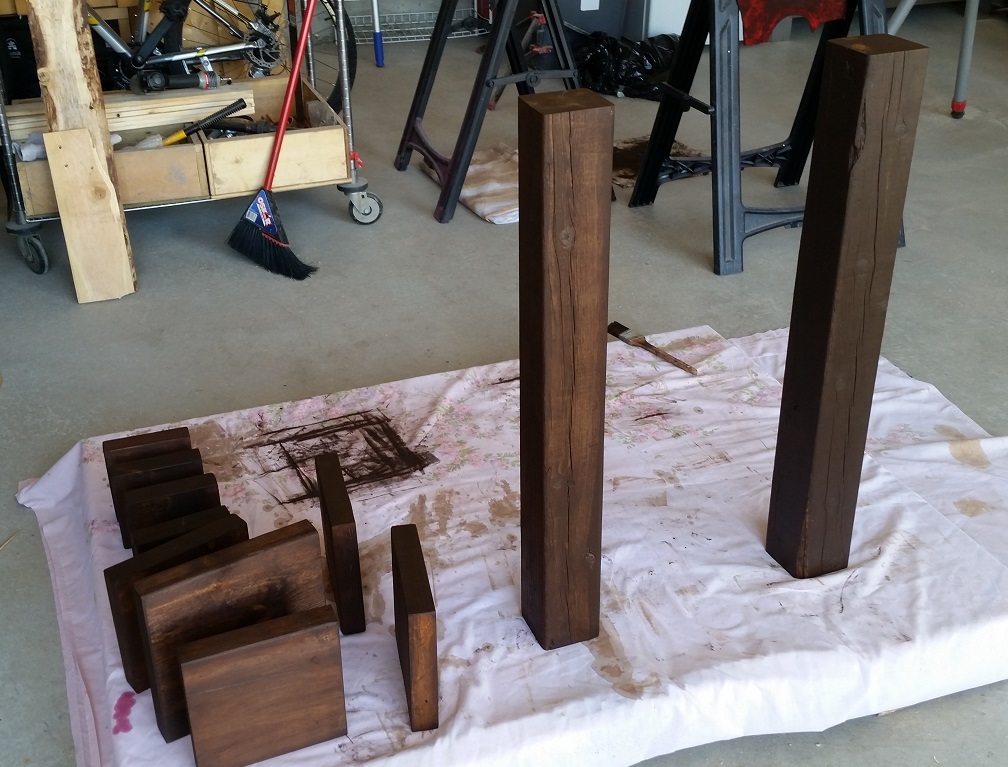
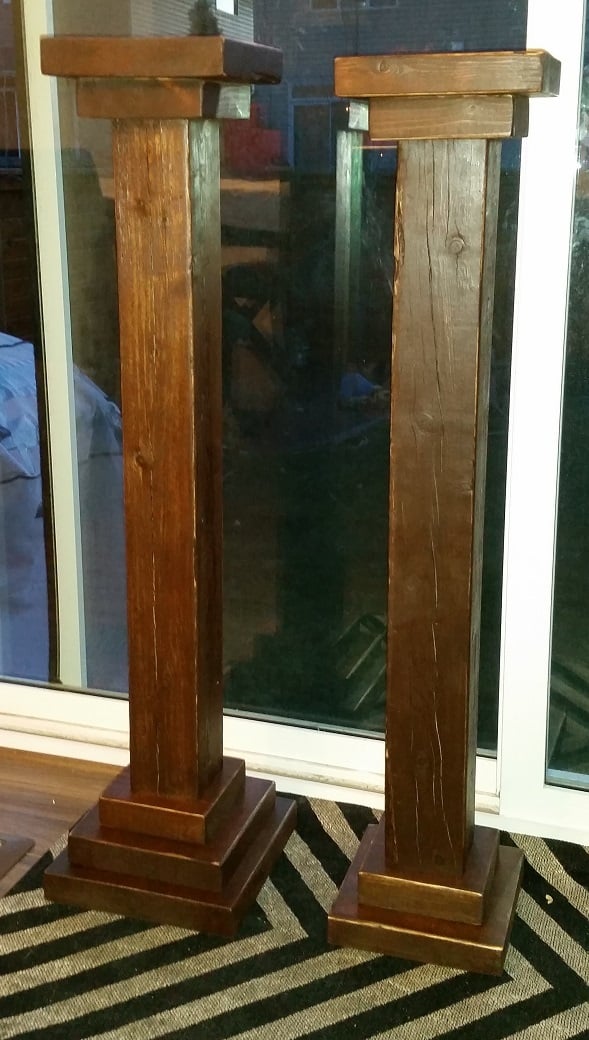

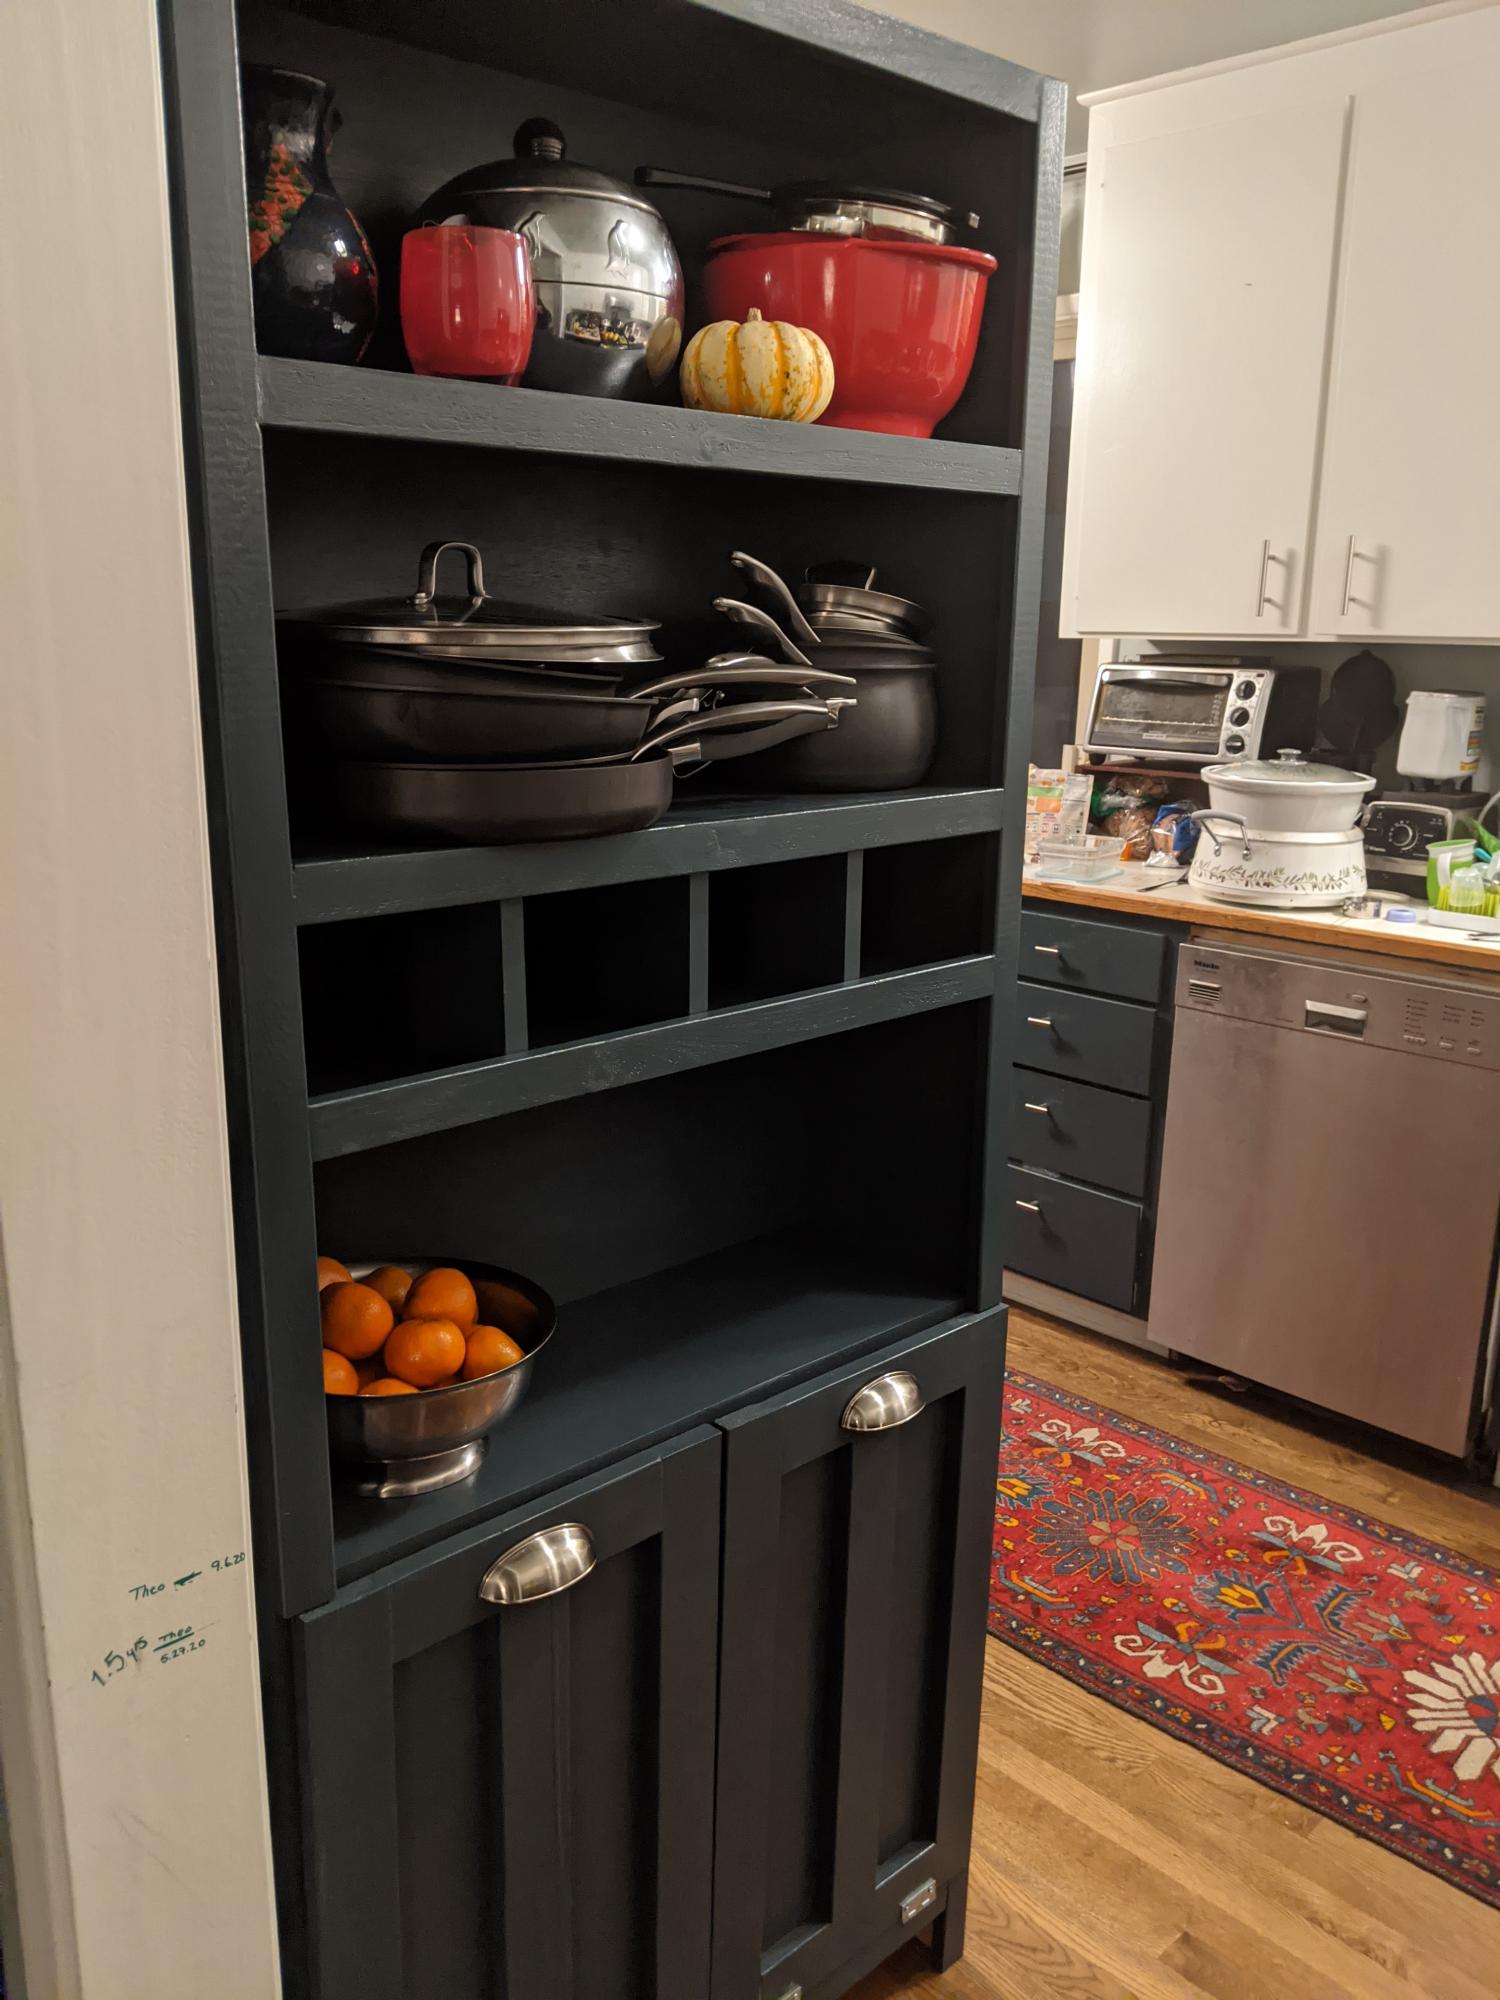
First "real" wood-working project in the books. I combined two of your plans so that we would have space in our kitchen for recycling and trash, as well as shelving for pots/pans and all the mail that piles up. We had a narrow section, so made this out of 10" boards, instead of 12". I will possibly add the secretary door at some point, if for no other reason than to hide all the snacks! Thanks for having so many amazing plans available, they keep me dreaming of endless possibilities.
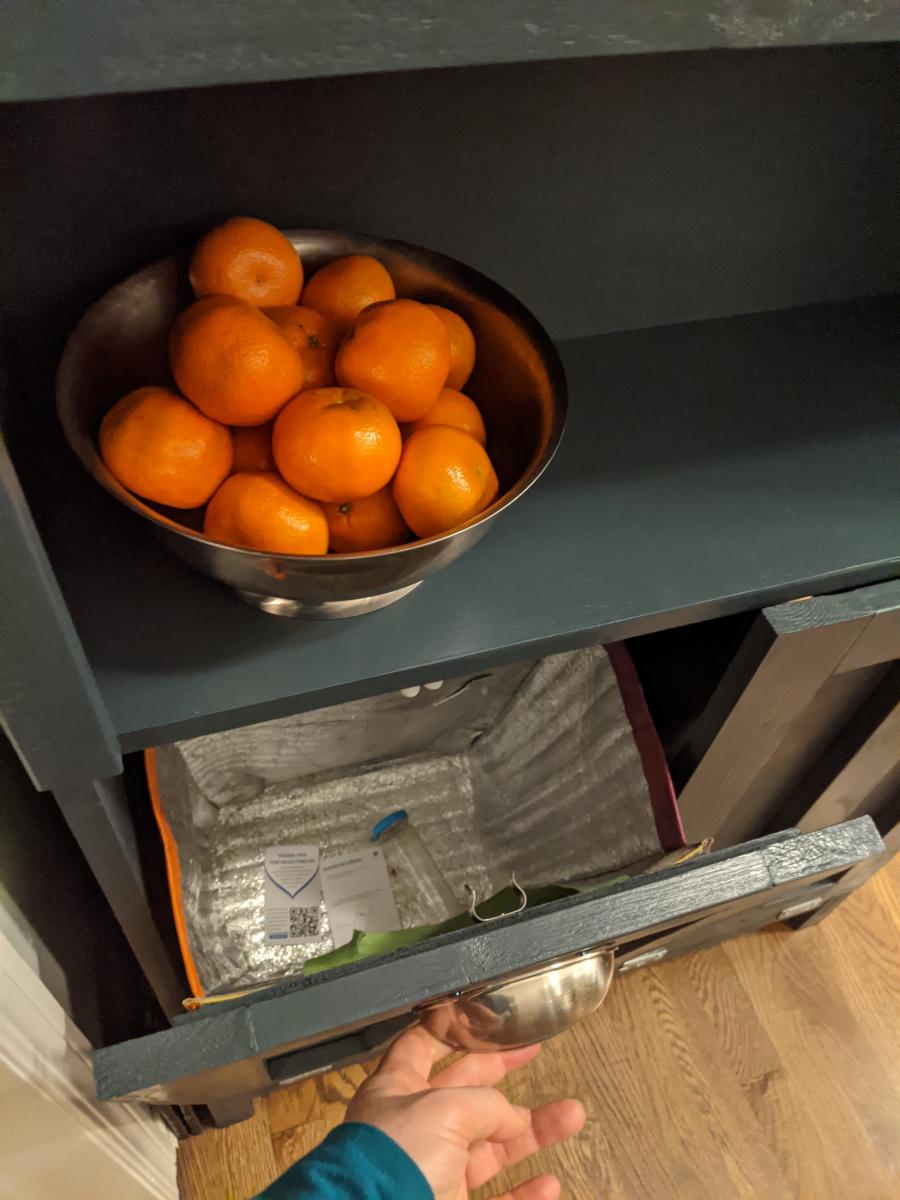
Wed, 10/28/2020 - 14:28
Love the added tilt out garbage can! Thanks for sharing your version:)
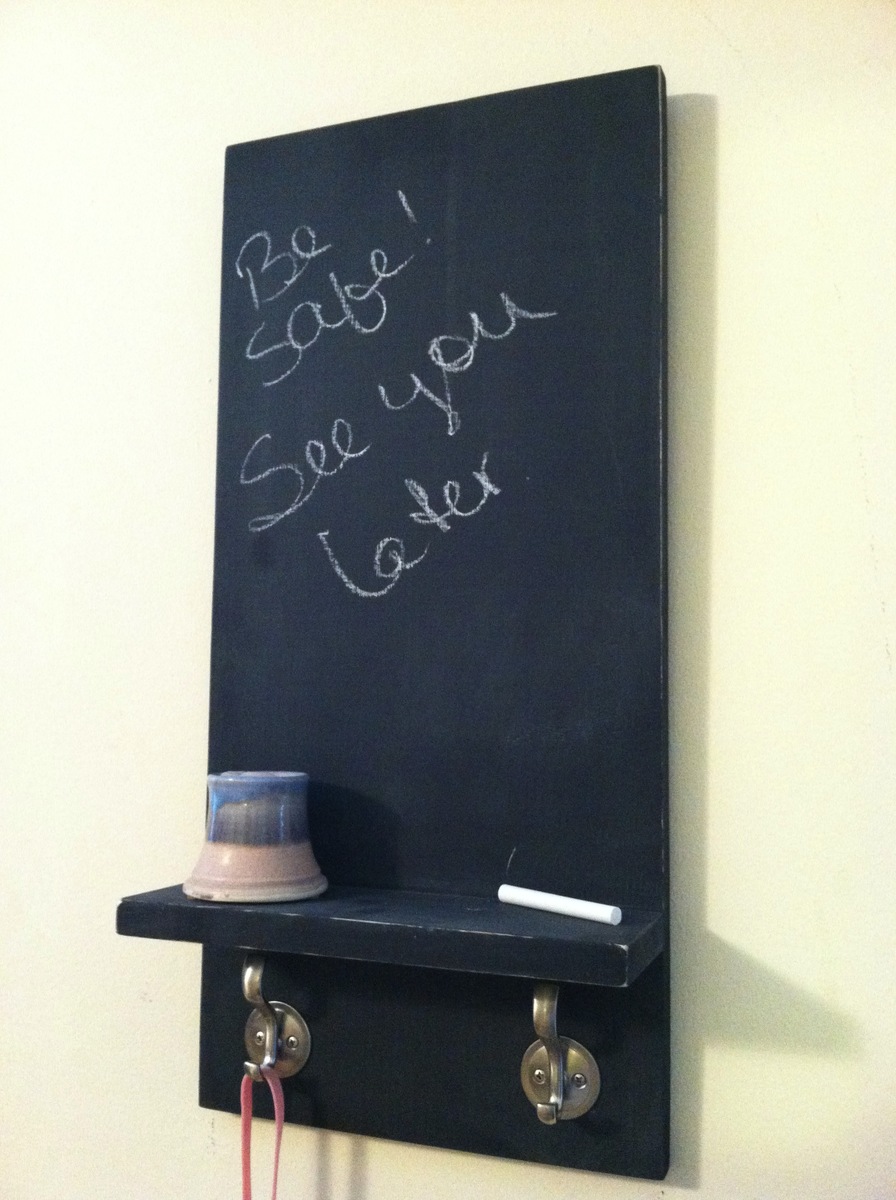
This was SUPER easy and I love it. My daughter wants one now so digging through my scraps is what I will be doing tomorrow. Thanks Ana!
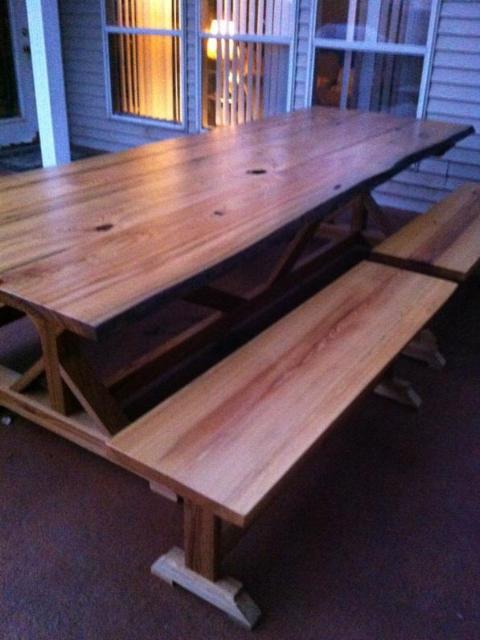
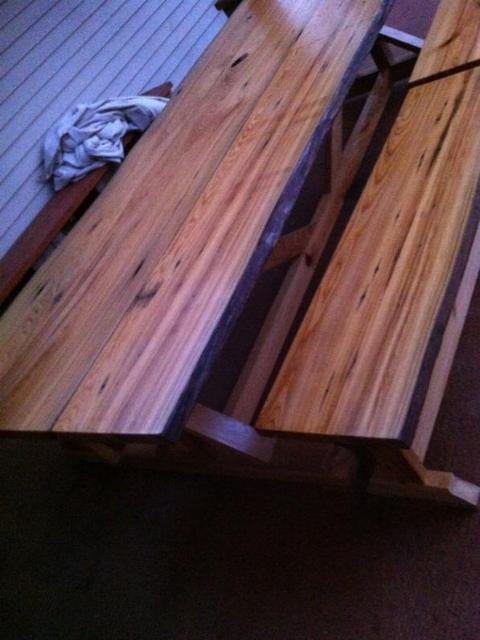
Built this table 11 feet long with live edge sinker cypress. Hand rubbed 12 coats of tung oil, then finished with Waterlox satin.
Wed, 10/29/2014 - 08:26
Thanks! Took me two months to get the finish right. I love the look of sinker cypress. I'm building an indoor dining table from sinker pecky cypress, should be pretty nice
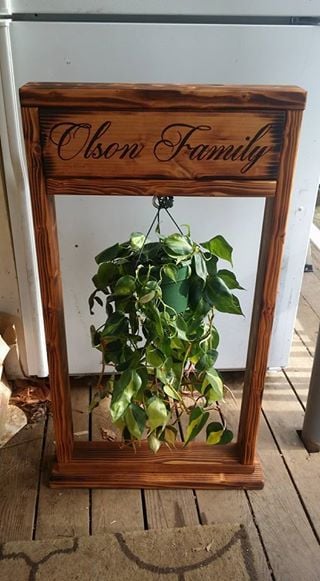
Found the old Home Depot plans, and decided to add my hand burned touch to it.
Have seen some that were using vinal or painted letters, but i like the burned effect, and its easier to seal right over the top with the outdoor stain/seal treatment..
Inspired by the RH Balustrade Salvaged Wood Coffee Table.
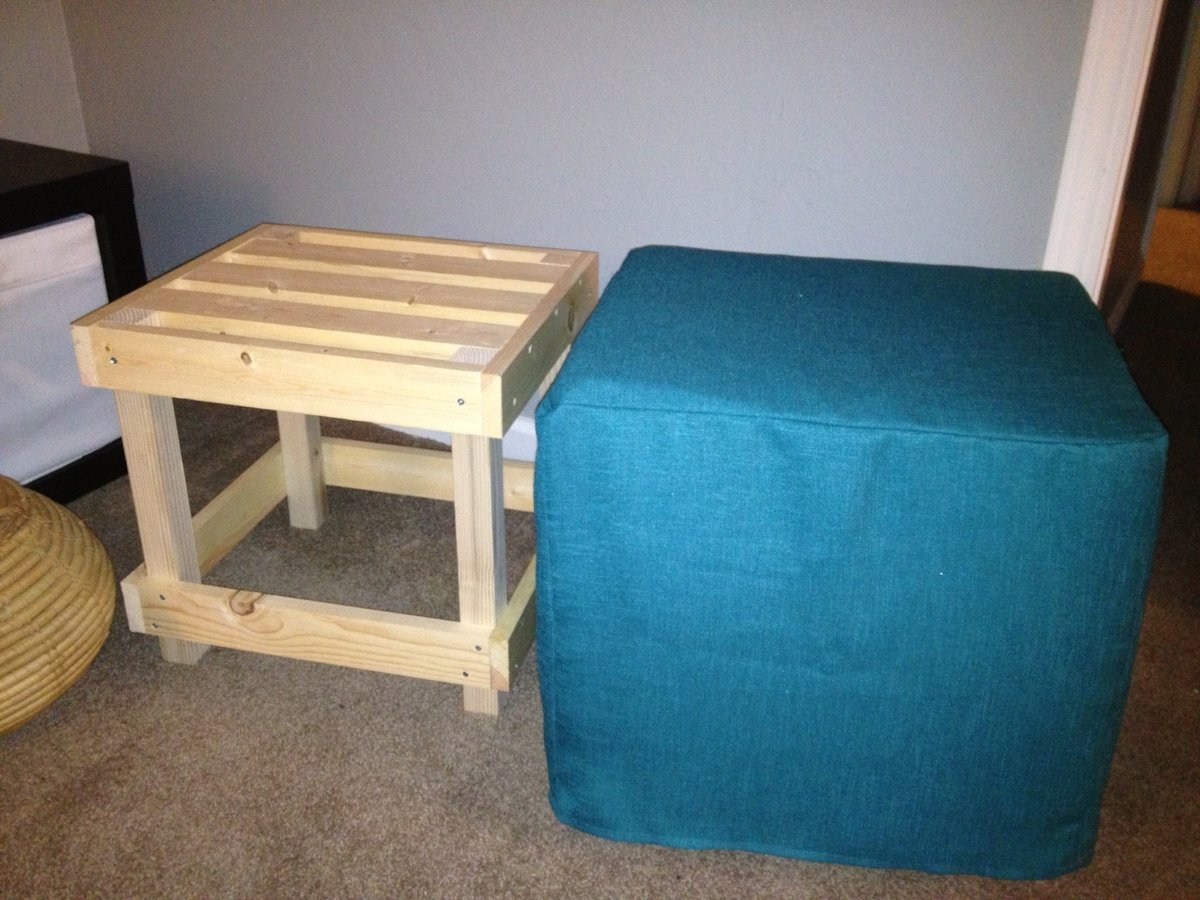
What a great easy project. The wood was really inexpensive. The only pricey part was the fabric.
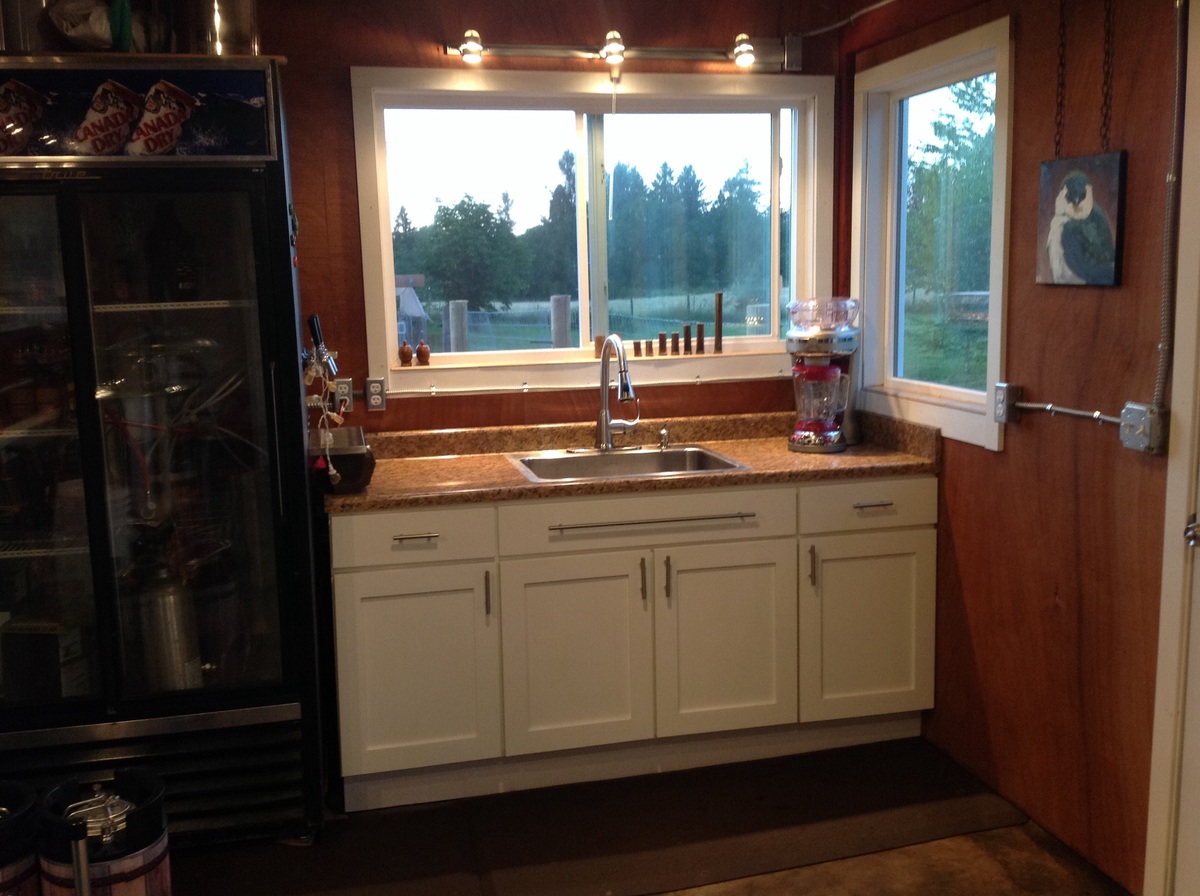
A 36" sink base is the center, flanked by two 18" cabinets made by modifying the 21" base cabinet plan.

Here are some of the more structual photos to help people along the way.
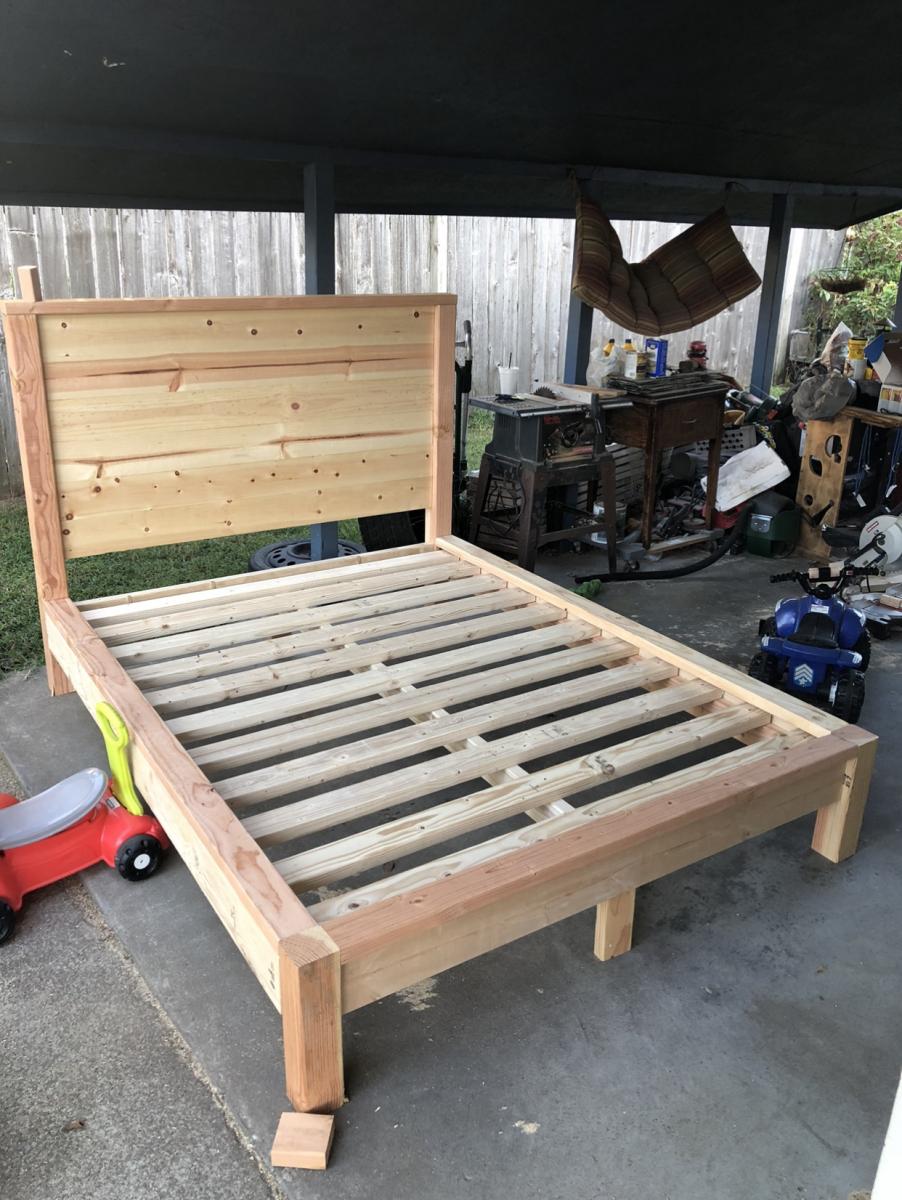
I did the head board and foot board using the directions. I used 2 4.5 inch screws on each 4x4 post to secure the 4x4s to the head board.
I used 2 4.5 inch screws to secure the head board to the frame.
I used some brackets I had lying around to secure the footboard to the frame.
I used 0.5 inch partical board to put on top of the frame I put the joists down 0.5 below the side rails so the partical board would sit down and inside.
I used 2x6 boards for the frame with deck brackets to secure it.
I used left over wood from the 4x4 to be cut 10inch each and 2x6 study 3 of those 4x4 to lift the frame up.
for the fourth raiser I used left over wood from the 2x10.
I primed the wood and painted white.
Hopefully these pictures help.
All said and done it was close to 500-600 to build. I did this in Canada where materials can be a little pricier.


