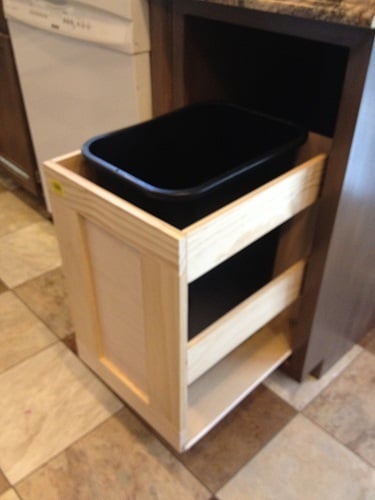
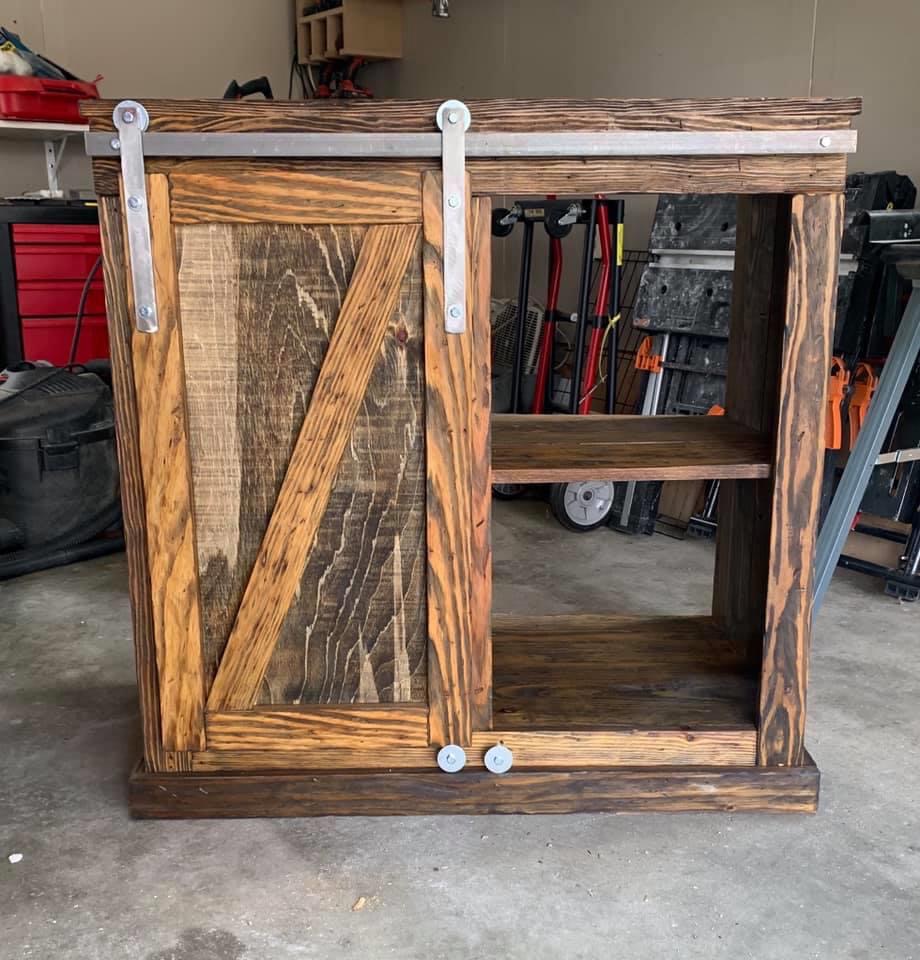
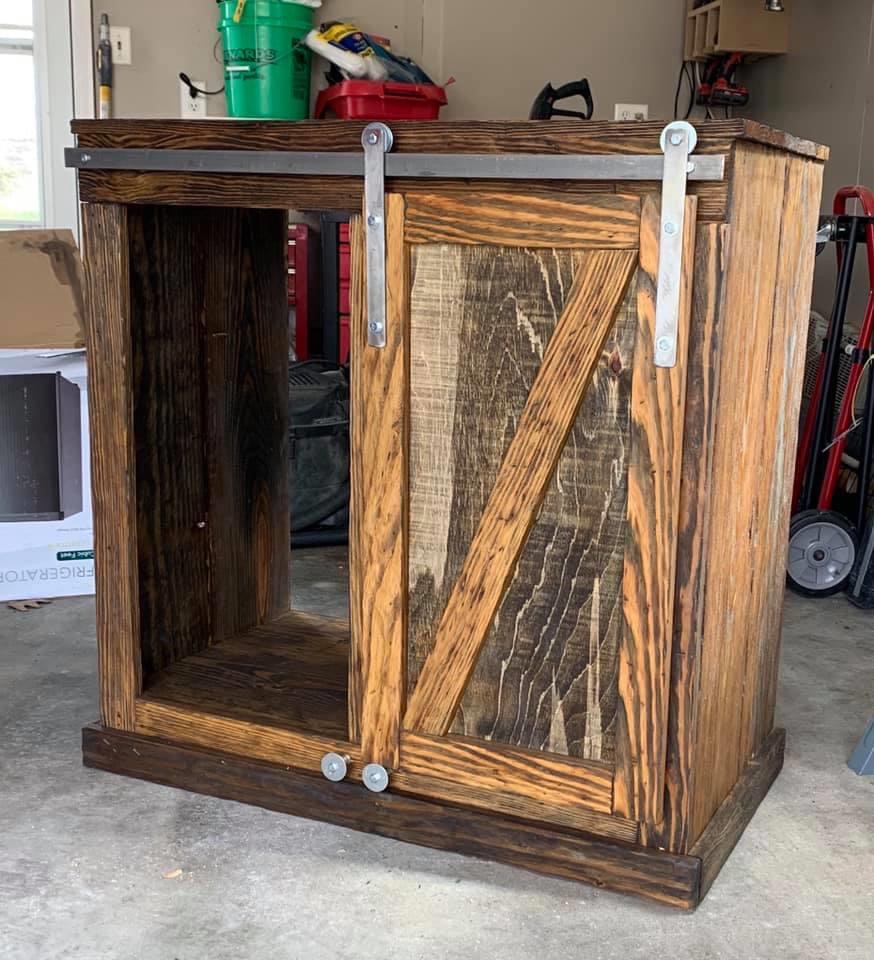
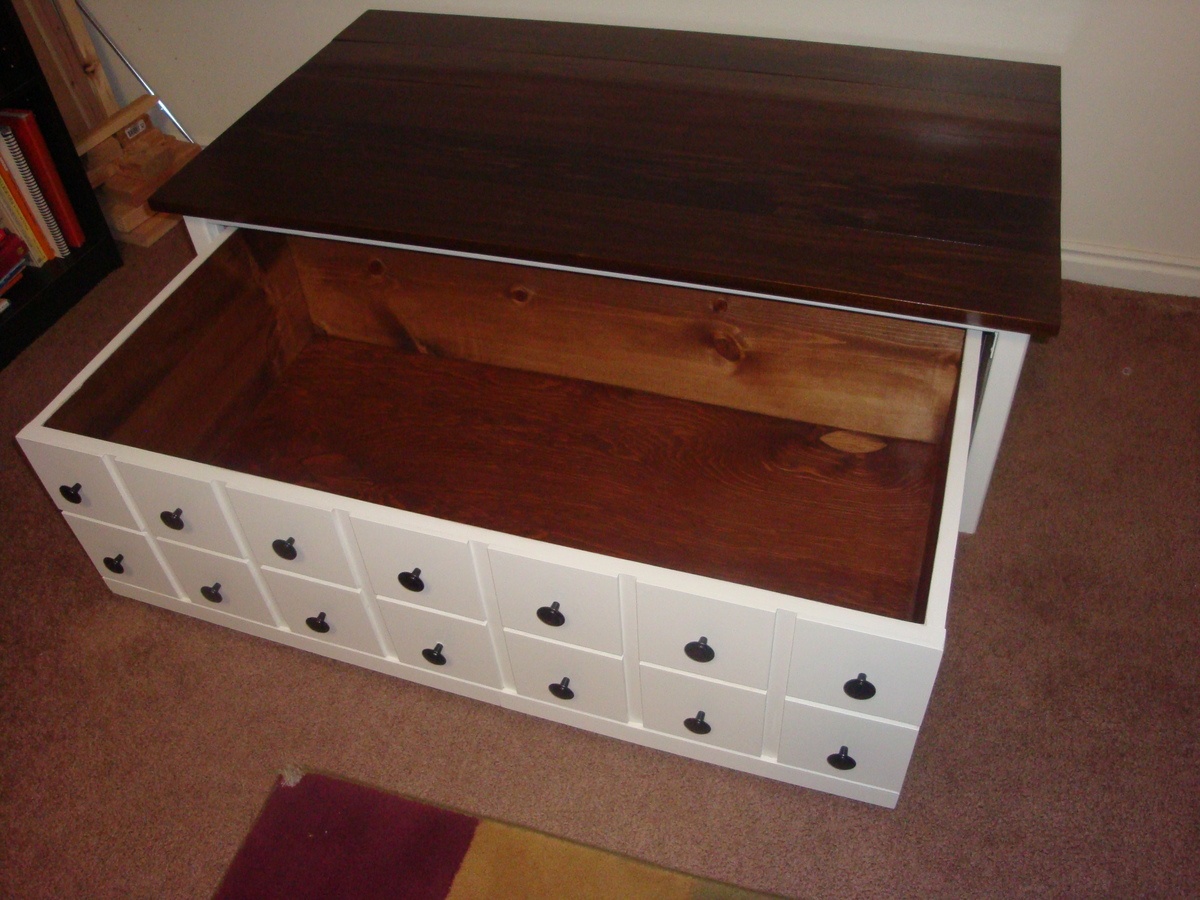
Kitchen Trash Pull Out Cabinet
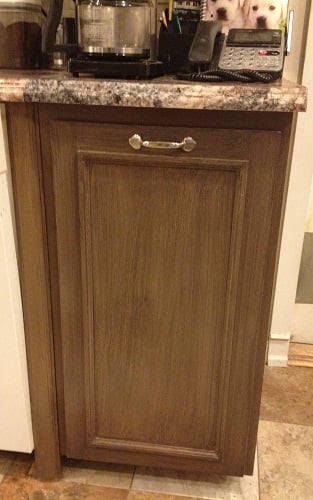
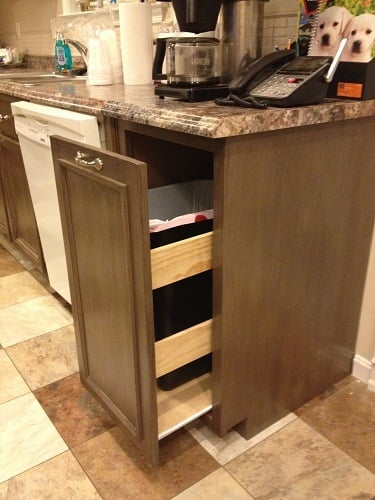
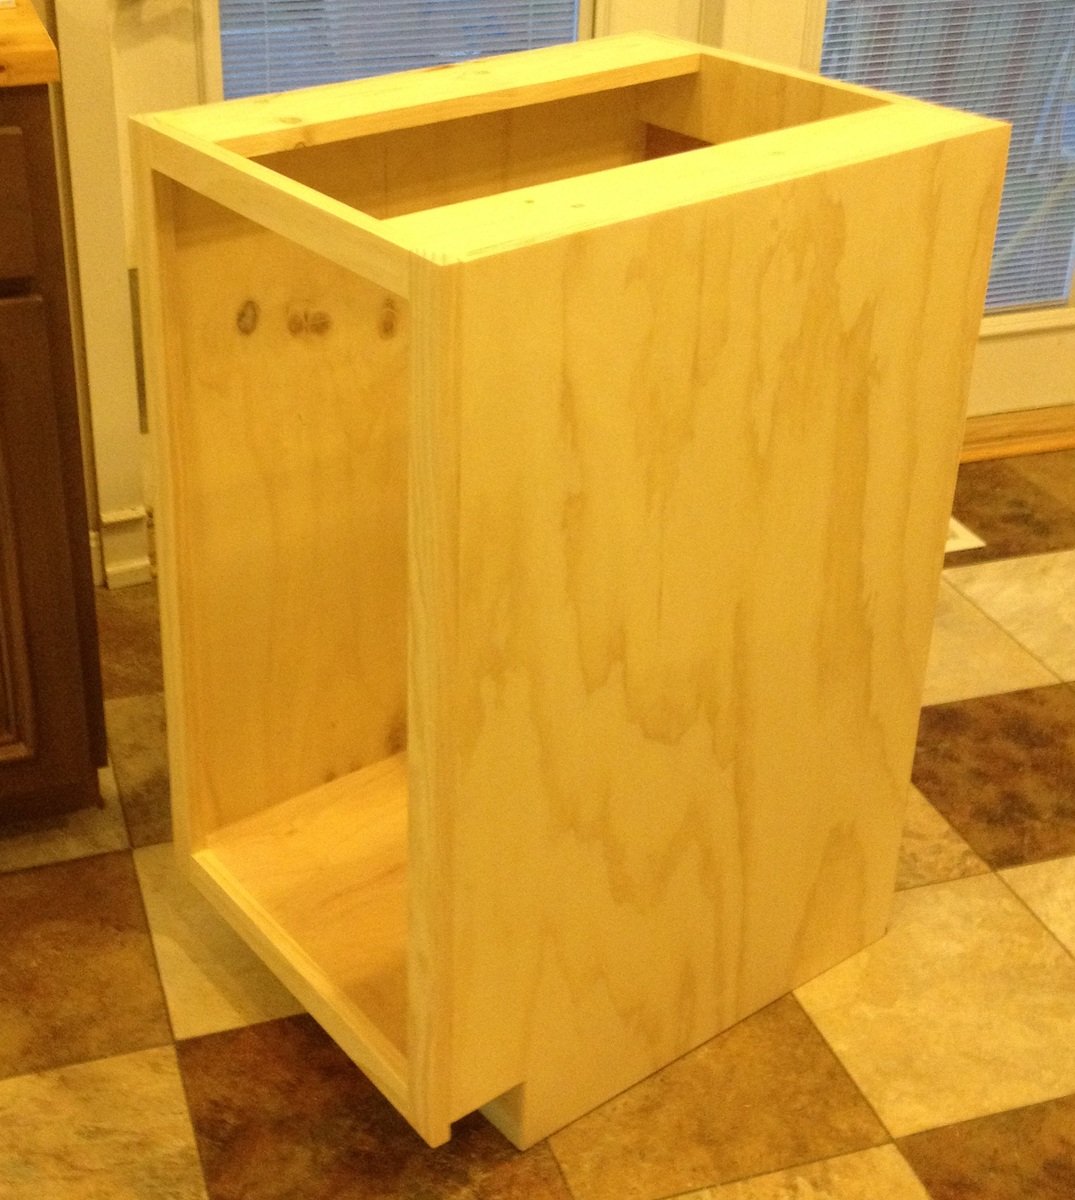
Plan was super easy to follow. Built a drawer type pull out so I could fit in odd sized trash cans. Made the pull-out part like an open sided drawer box, out of lightweight wood, and attached the door to it - used 75-lb euro drawer slides. Construction took a couple of afternoons, and finishing took a couple of afternoons. The finishing materials were all left over from other projects, and the plywood for the cabinet sides was left over from our kitchen island build. Topped with a leftover piece of countertop. The contractor who installed our new countertops said I did a good job on the cabinet build. I was very flattered! Ana, thank you for your wonderful plans!
Built from Plan(s)
Estimated Cost
$75
Estimated Time Investment
Weekend Project (10-20 Hours)
Finish Used
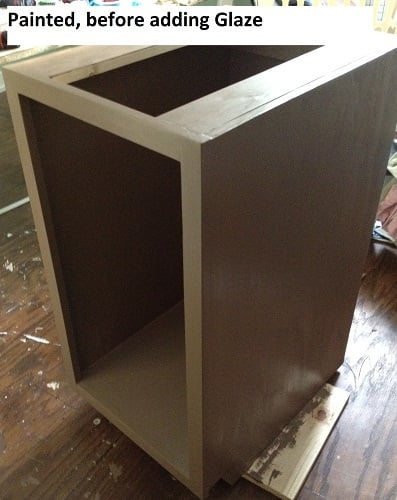
3 coats Benjamin Moore Aura paint in Spanish Brown (sanded between coats). Brushed on glaze (mixed 2 oz clear glaze + 1 TB flat black paint - lots left over), 2 coats of water based poly (satin) top coat
Recommended Skill Level
Beginner


Comments
Lady Goats
Thu, 07/26/2012 - 12:36
Very nice!
Did you build the door, too?!
JoanneS
Thu, 07/26/2012 - 15:16
Thank you!
Thank you Gina! Yep, I built the door too! :) This one is made from an edge glued Aspen wood panel (available from Lowes, ripped to size with the table saw), and then I added the wood mini-stop moulding 2" in from the edges (did these measurements and attached the trim before sanding). I did the glaze pattern over the paint so it looked like a frame and panel door when it was all done. This door is the same style we did for our pantry and island. I'm planning to do all the rest of my cabinet doors over (one at a time - ;0) to match this one. PS - I used the edge glued panel instead of plywood for the door so the edges wouldn't need any extra covering up, and also they are nice and flat and super smooth so they don't need much sanding. Aspen wood took the paint beautifully, and the grain doesn't even show through once it's painted. I had used stain grade pine panels for the pantry and island, but I think I'll stick with the Aspen for the rest of them, to save myself some sanding. ;)