jelly cabinet
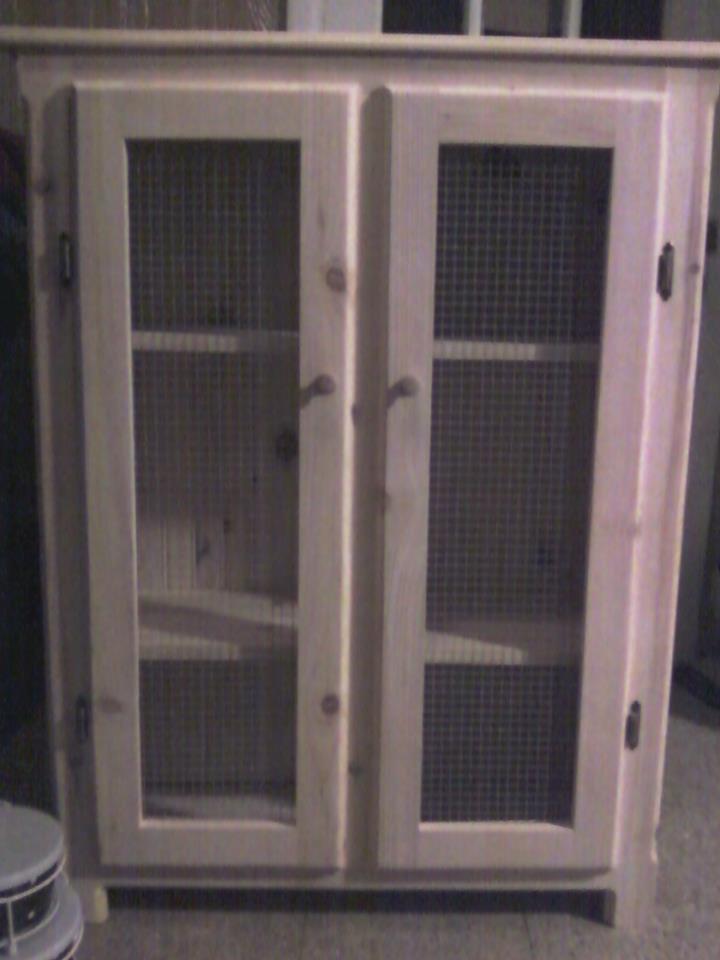
pine jelly cabinet

pine jelly cabinet
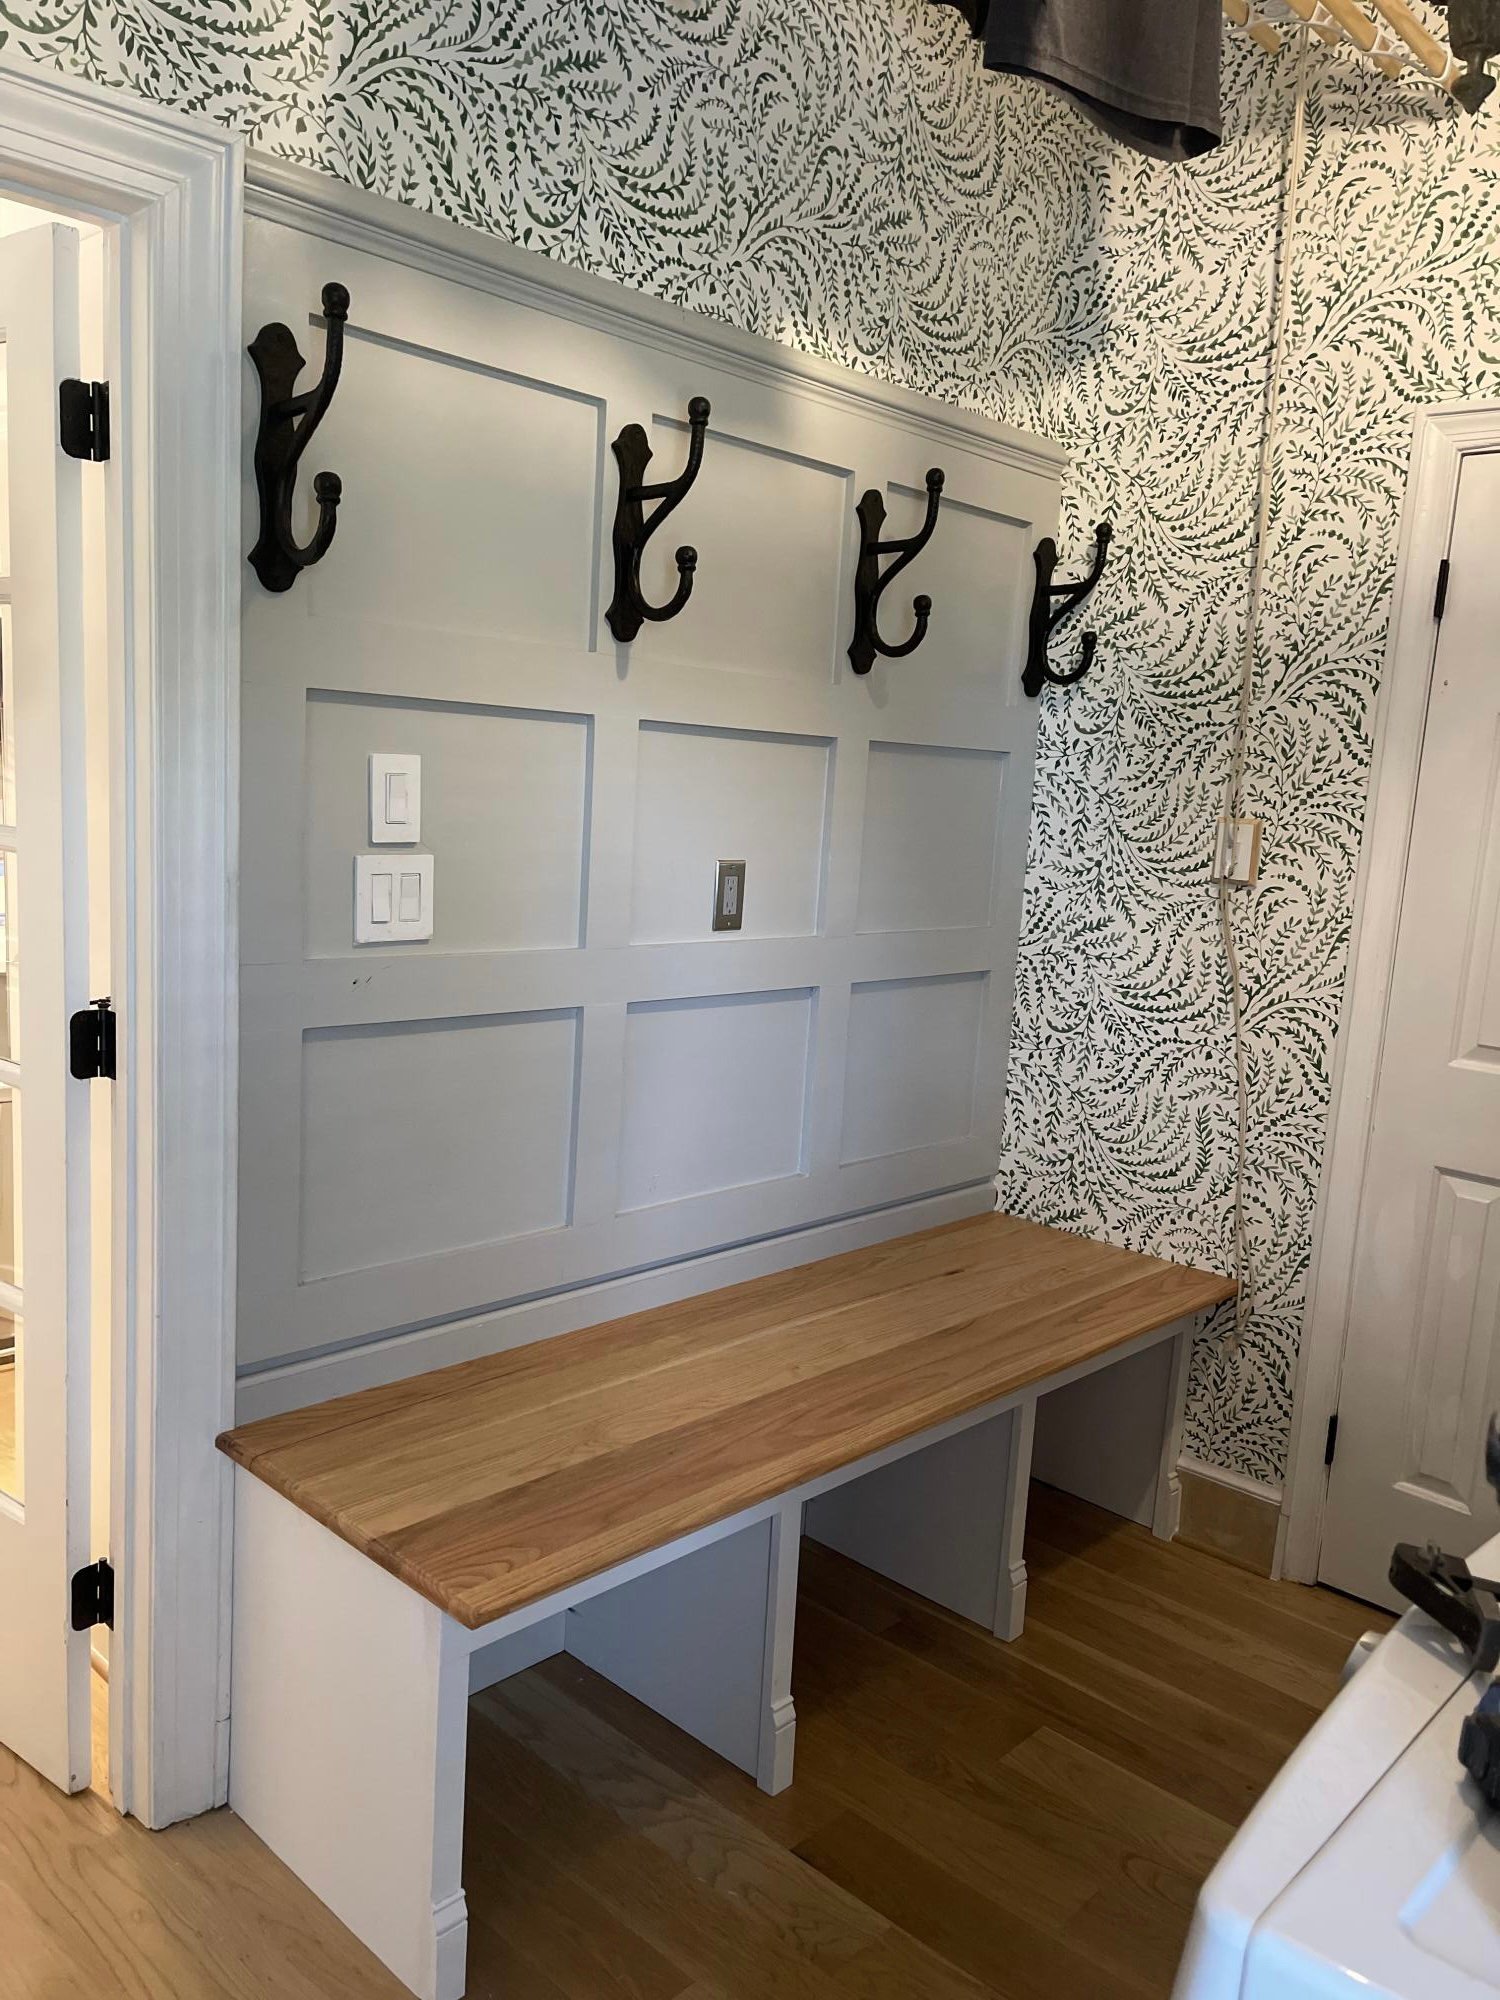
Ana I came across your open bottom garage bench design and really liked the concept. Inspired by your design I put this together in our laundry/mudroom and am really pleased with the result. As you described, being able to clean under it is a huge benefit and the whole bench was less than $200 even with the solid oak boards I joined and edge routed for the top. Thanks for the inspiration and all of your project posts.
Fri, 12/02/2022 - 08:34
WOW, this is gorgeous! Absolutely love the color choice the oak top and the hardware, bravo!
This is a shelf based on the fighter planes from the pre-WWII era. I built it for my son's nursery. I stumbled onto Ana White's plan "Plane Old Shelf", got inspired, and it evolved into what it is. If you have any questions, feel free to contact me.
Mon, 09/05/2011 - 22:38
I love this! I would love to make a version of this. Can you please post what you used to make the fuselage and landing gear out of? Also, how did you attach it to the wings?
Thu, 09/08/2011 - 13:46
Thanks! The fuselage is made out of bender board. I don't remember the exact thickness but it was the thinnest they had at Michael's. You would think I would remember. I had to do the fuselage twice. My daughter stepped on it and put a hole through it.
The wings were actually one long wing. I build a frame around the wing and then wrapped the bender board around it. It may not be the best way, but it is all I could think of.
Thu, 09/08/2011 - 17:14
The Landing gear was made out of a 1x6 I had. The struts were two sizes of oak dowels.
Thu, 10/30/2014 - 17:07
I undersand the shelf and the landing gear. I can make the canopy and propeller, no problem. I don't understand how the main fusulage was made with the curved edge. I tried searching for the bender board that was mentioned above with no luck. Could you point me in the right direction?
Thanks,
Jordan
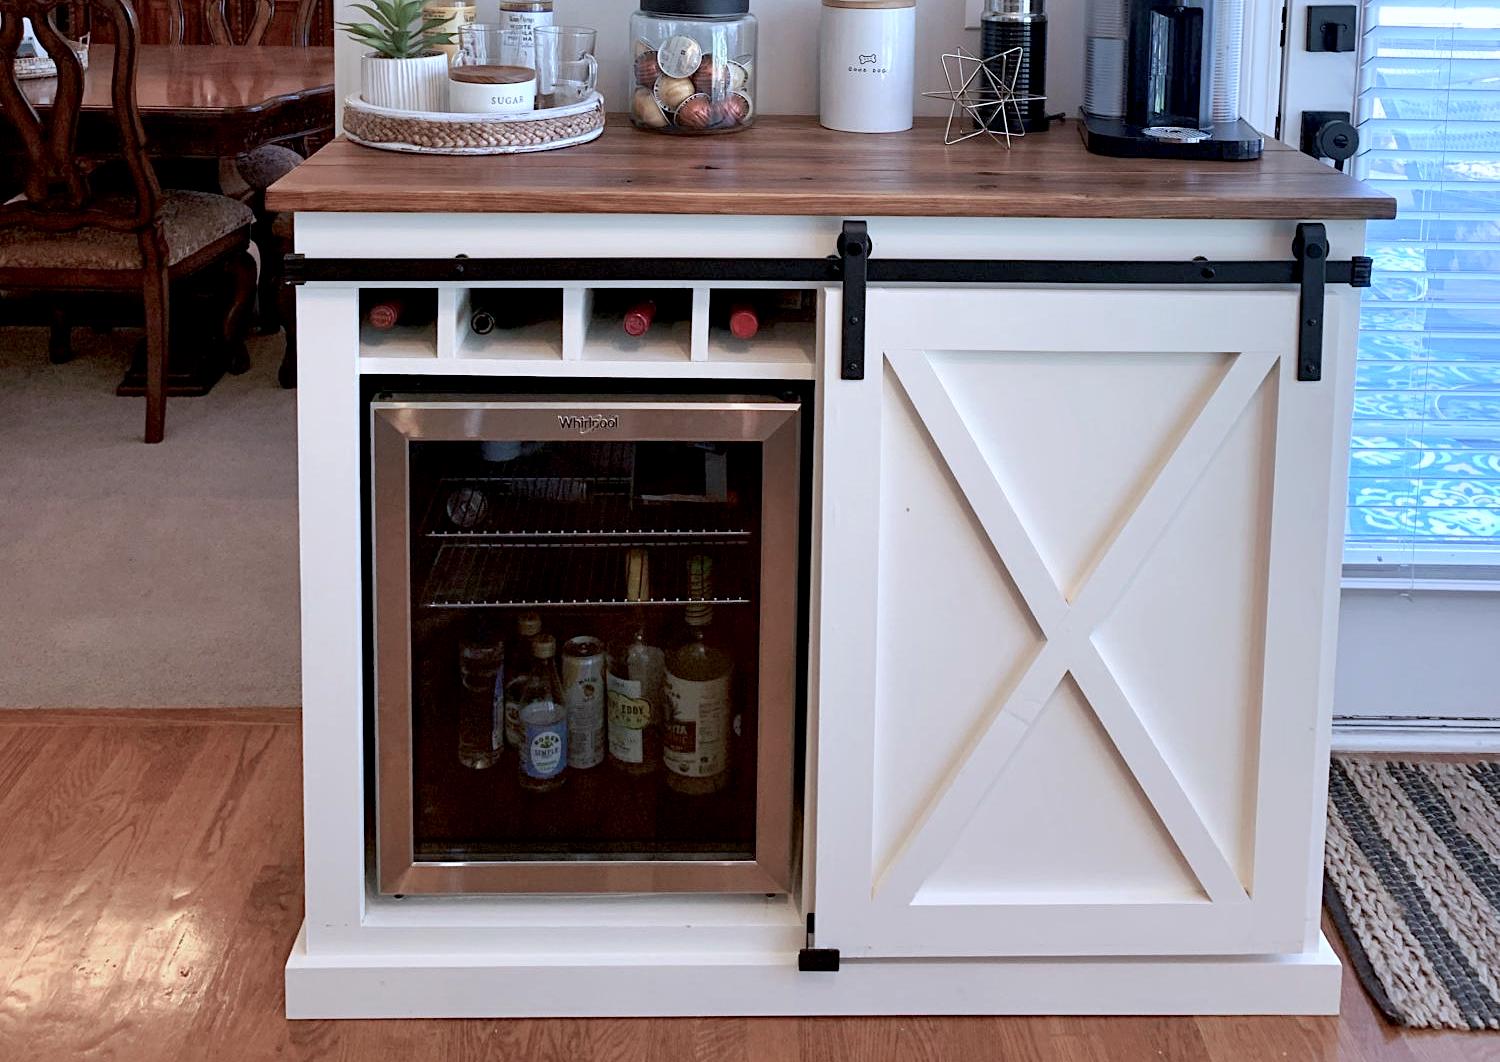
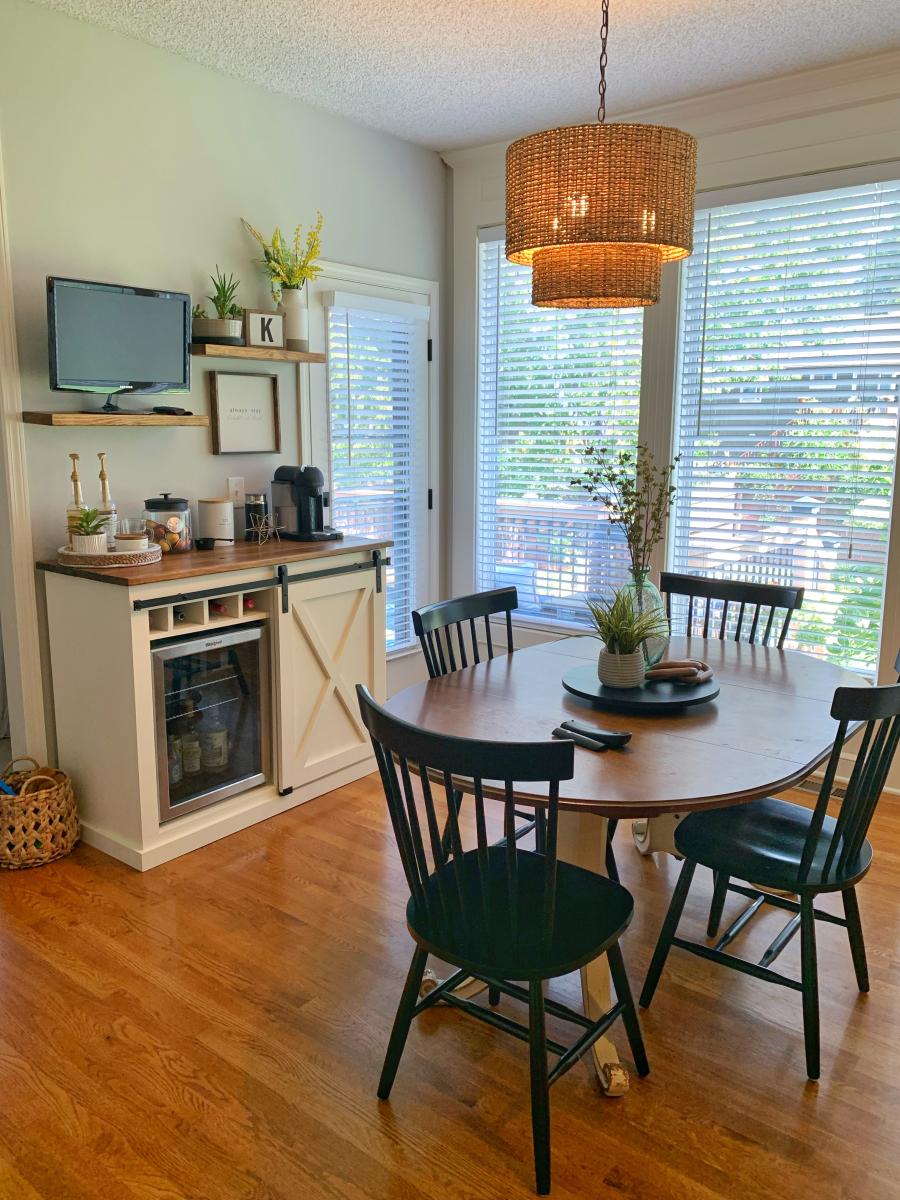
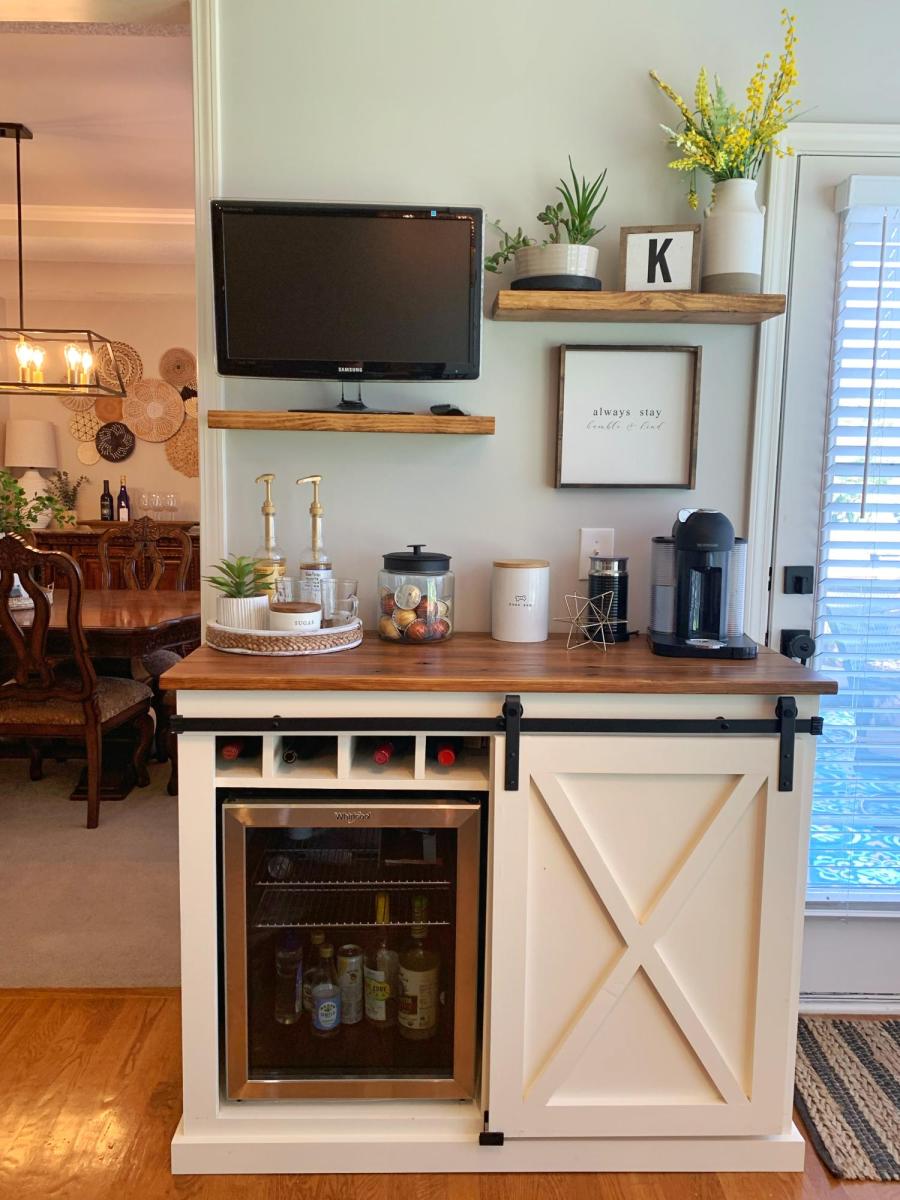
My wife wanted a coffee bar and I wanted a fridge for wine and beer. So we compromised on this.
Thu, 12/29/2022 - 10:02
Pretty much everything you ned in one place! Thank you for sharing, amazing build! Sharing to social media, please email [email protected] if you'd like us to tag you!
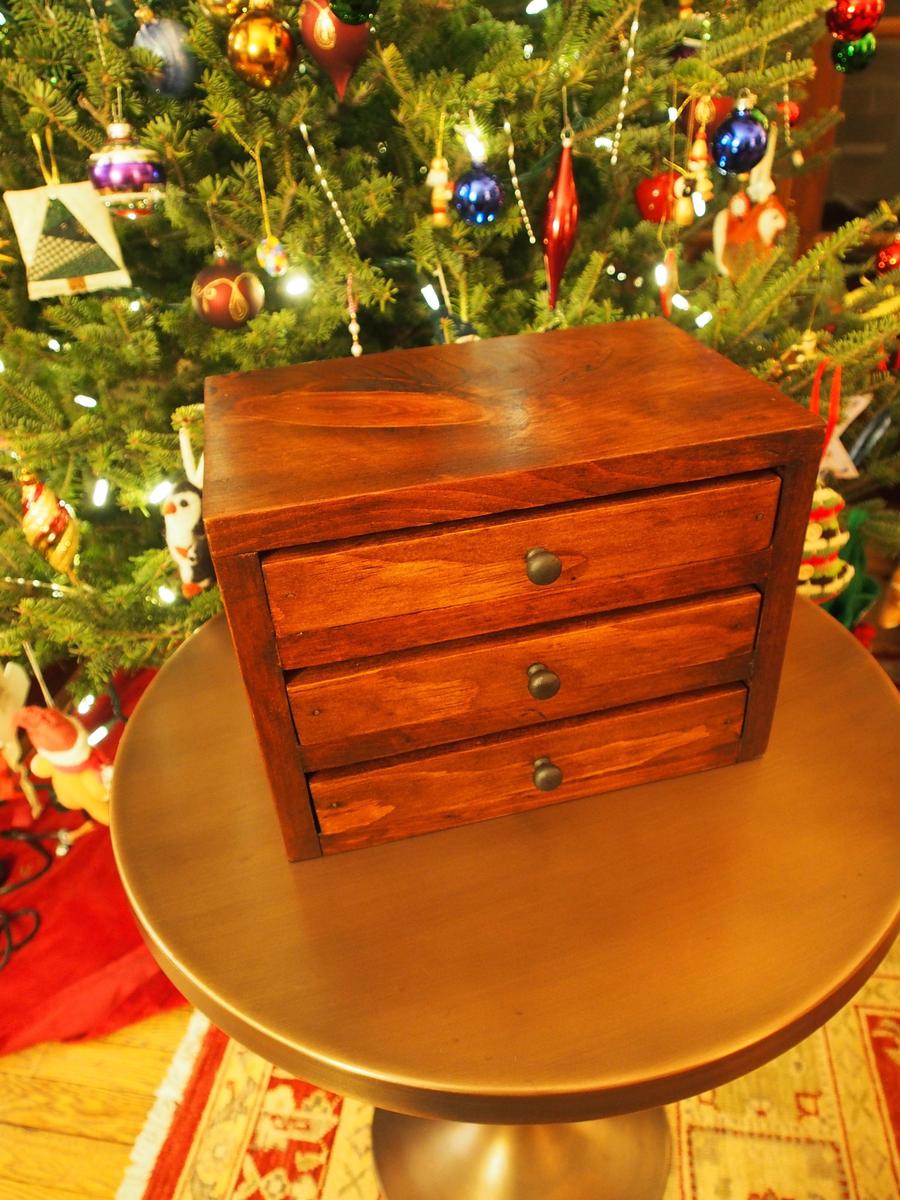
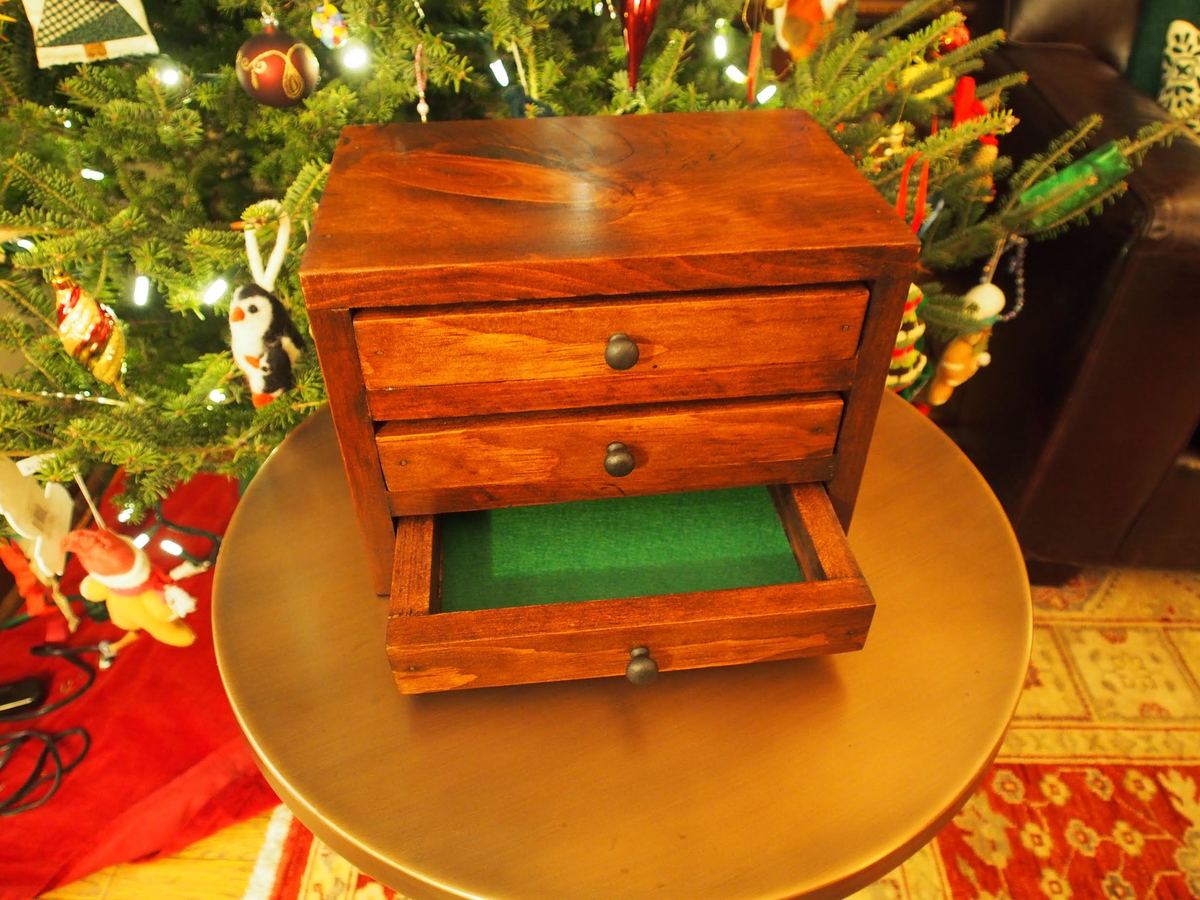
I built this as a Christmas gift for my office partner/best friend.
Sun, 01/03/2016 - 14:53
Gorgeous jewelry box! You did a fantastic job on this build! And your finish is amazing!
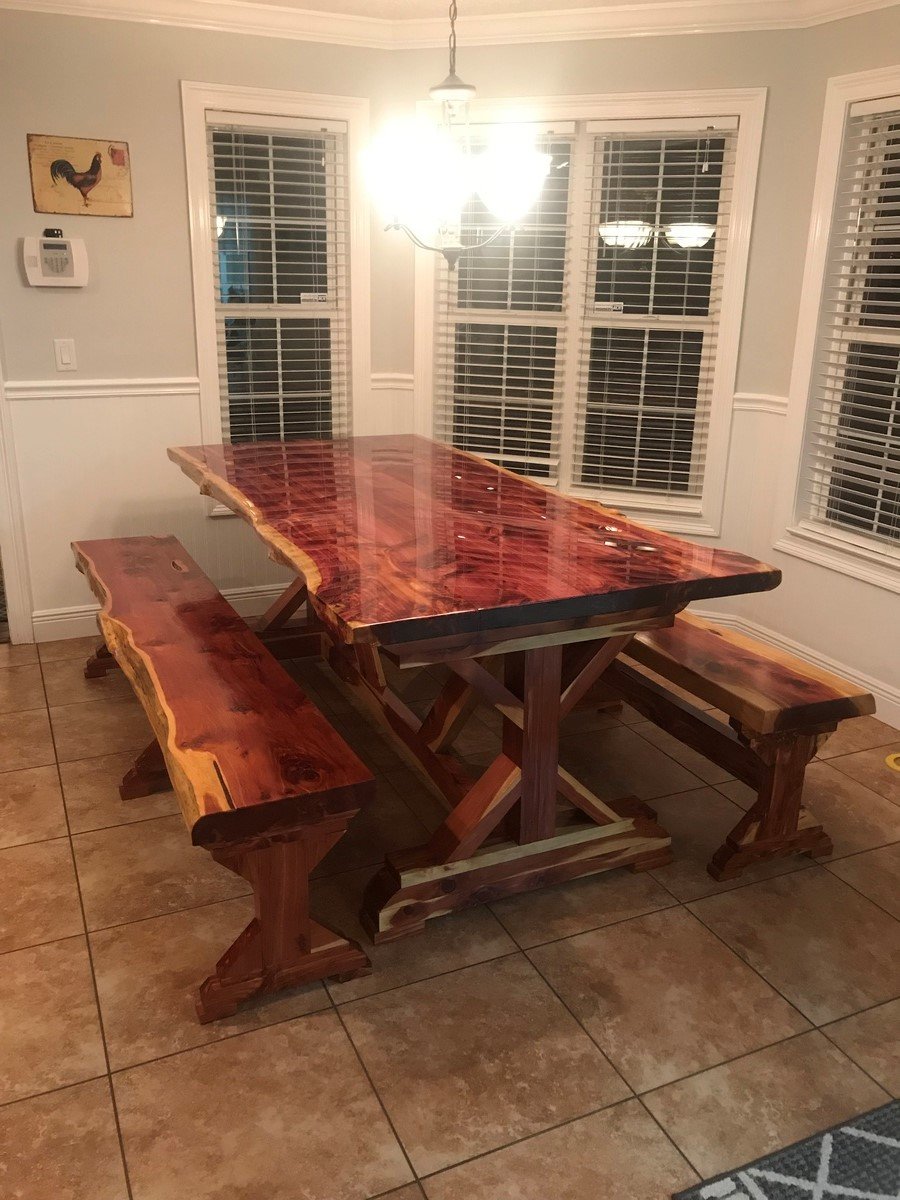
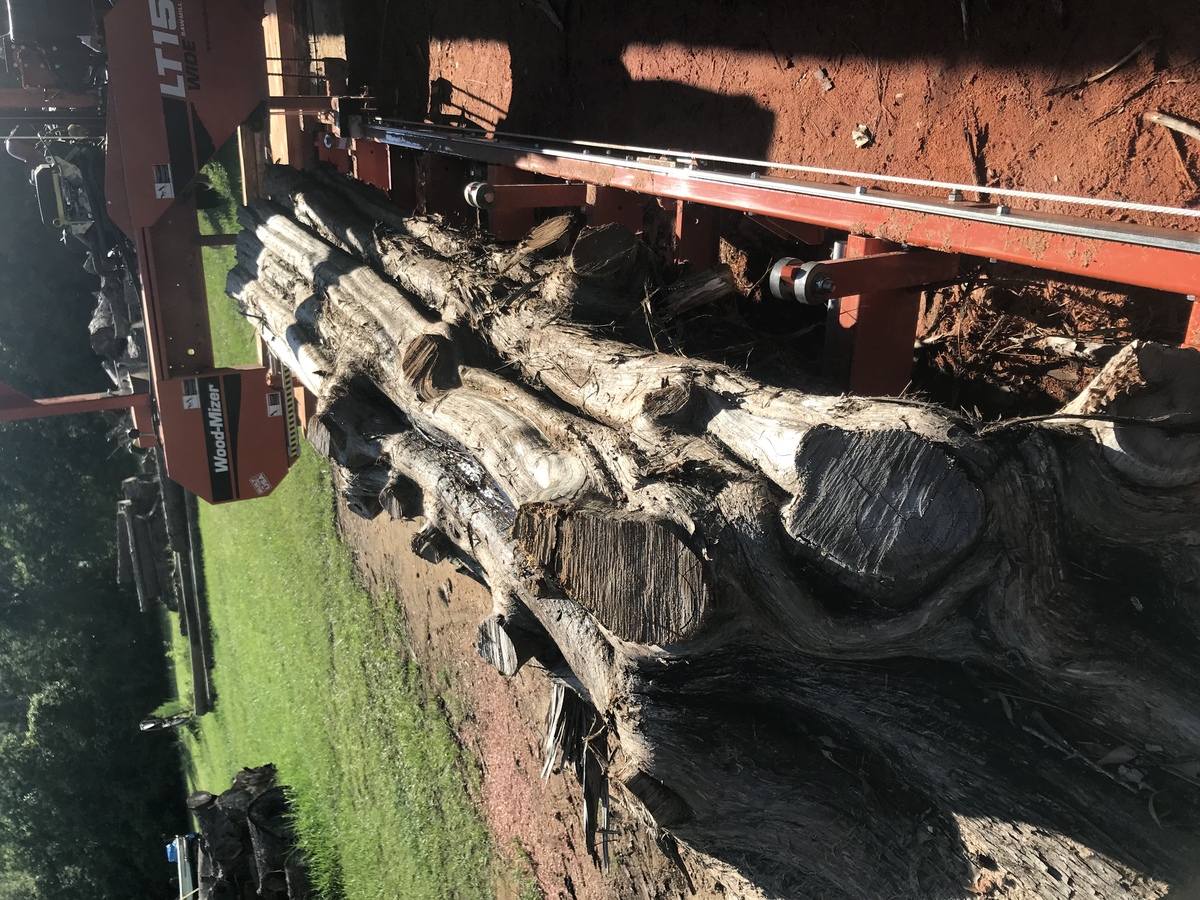
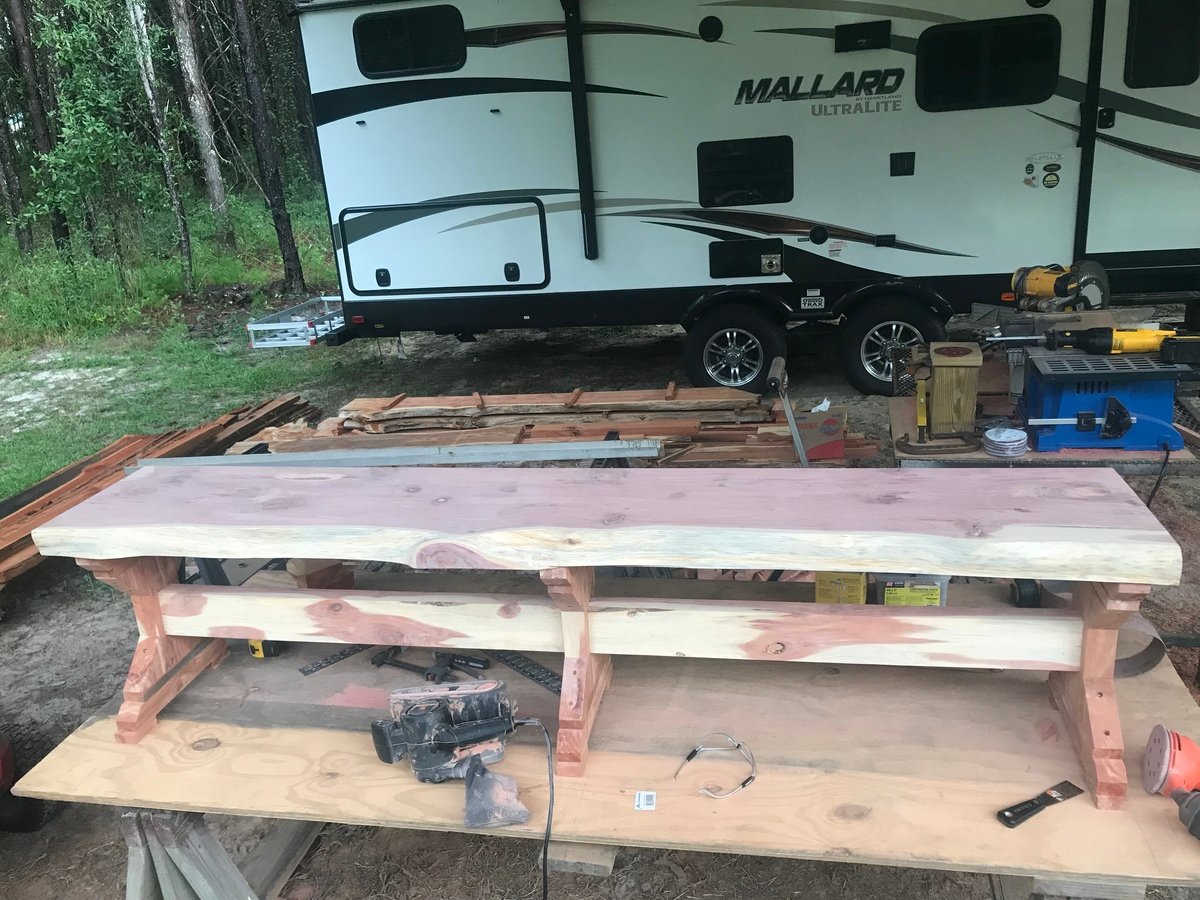
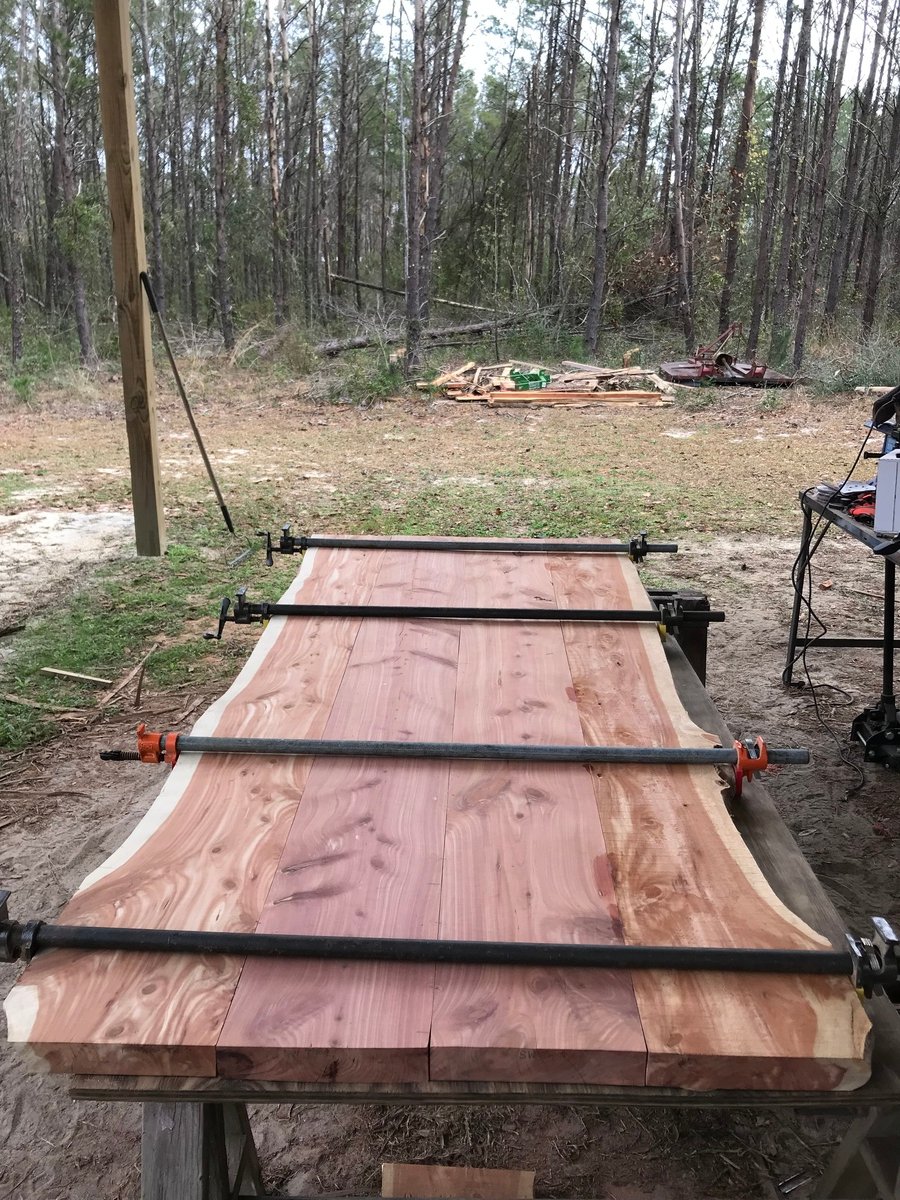
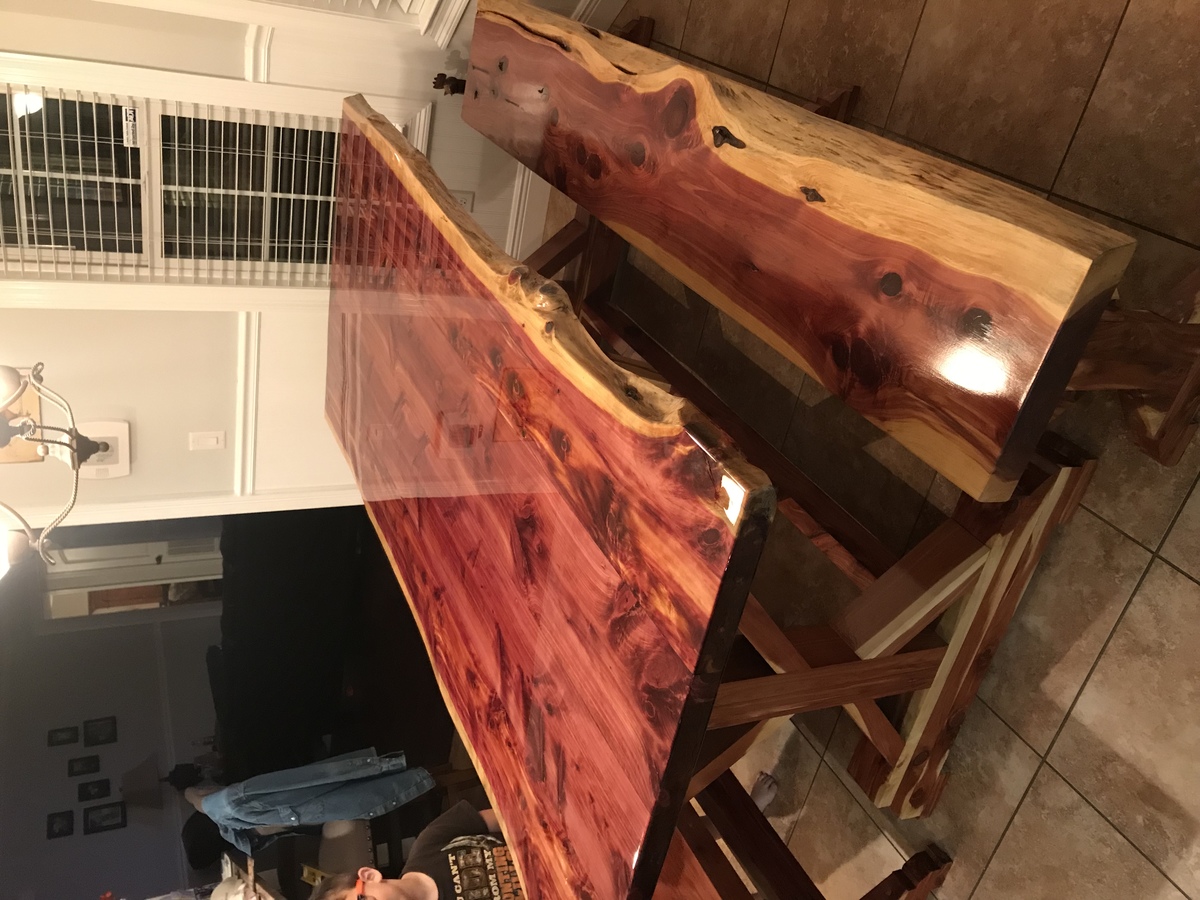
Really enjoyed this project, every piece was made from slabs cut from cedar. Thanks for the plans.
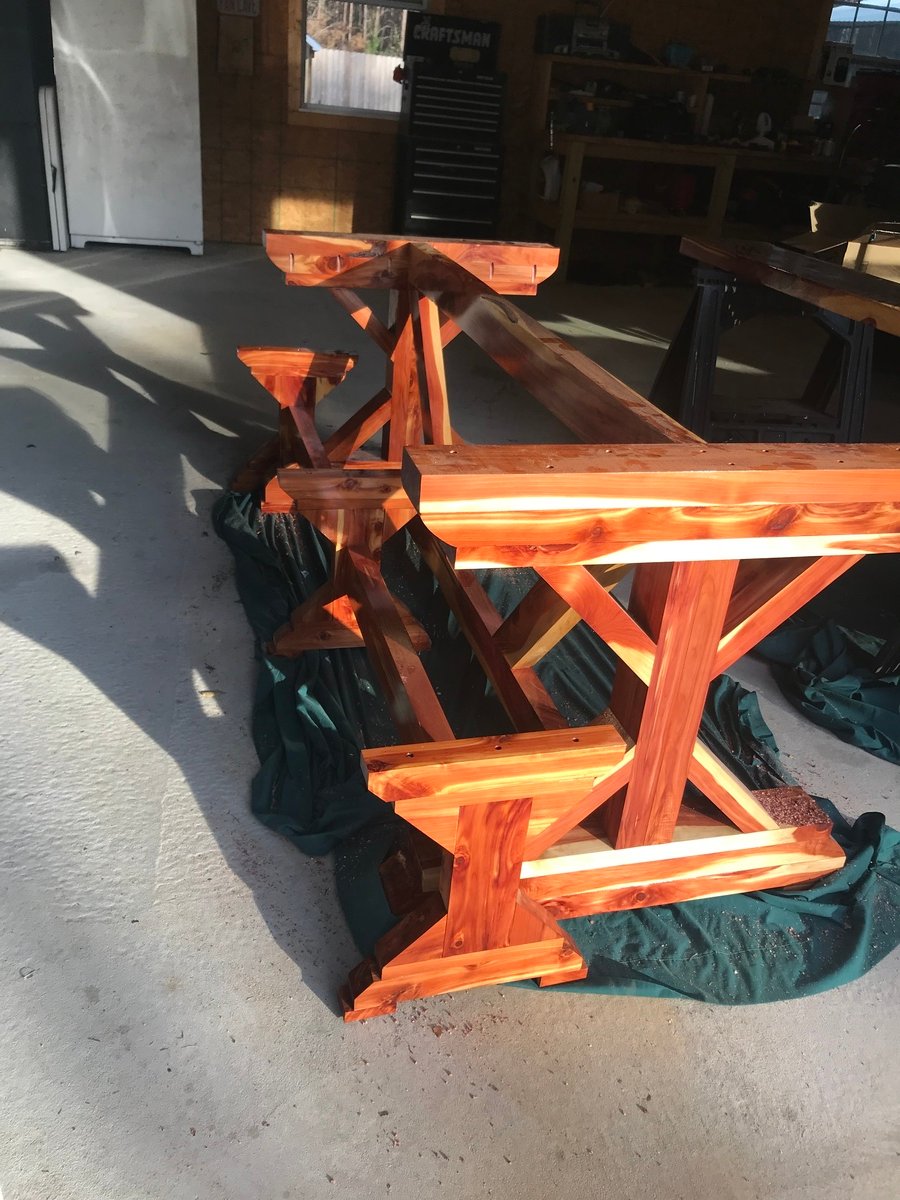
I built this for my son for Christmas. I followed the plans exactly.
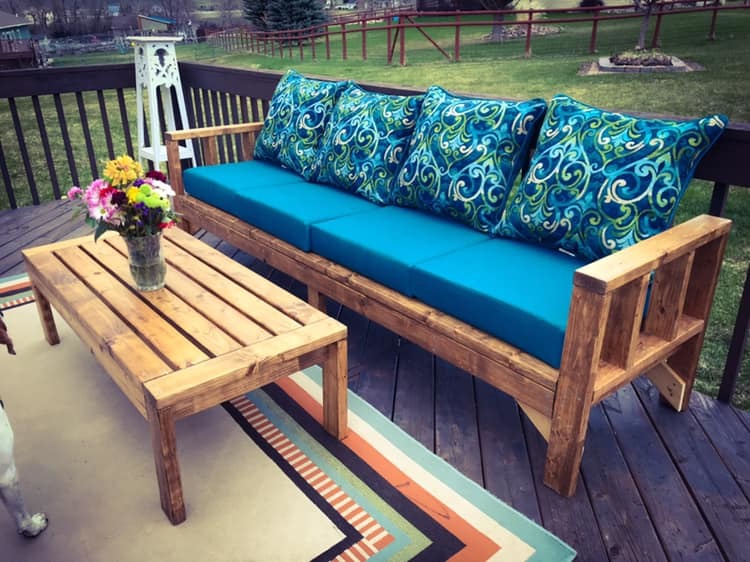
Went with regular cheap studs and extended the couch to make 4-across seating. Probably should have used better wood because it was hard to find studs that were straight and not full of burrs and knotholes! AND...studs are actually 1.5" x 3.5", so keep that in mind if you go that route when you're cutting from detailed plans because your dimensions will be off slightly. Staining and adding spar urethane coat took the longest amount of time. Cushions are 24" x 24" from Lowe's. Wood = $80, Cushions = $180. A little extra for screws and a few pieces of hardware. This pic shows the couch without a back brace that I added later. It's a beast, too! After all that wood the couch probabaly weighs close to 150 pounds!
We wanted a buffet for our kitchen- but couldn't find just the right plan. So I modified the "Dresser with open bottom shelf" slightly to remove one shelf and enclose the bottom with Doors. We matched the colors from our dining room set (black bases with stained seats and table top). The glass was purchased from a local company and is called 'cord glass' to match some other custom cabinets in our home. I do have the sketchup plans- been trying to clean them up so I can get a plan posted... but can email them in their current state if anyone wants them.
Mon, 11/28/2011 - 11:30
Thanks- I didn't say but this actually was my first BIG project from Ana-white. It did take me longer than I anticipated (two long weekends) the painting was probably the most time consuming as I was trying to get it 'spray on' like- but didn't quite achieve that look.
Re. the pulls; I think there was a total of 5 trips to Menards and HD with different options being considered- we finally went with these as due to the large drawer size all others seemed to be under-per-portioned. So thank you - glad to see it shows well.
Appreciate your comments!!
Wed, 11/30/2011 - 11:34
This is beautiful! You did an amazing job. This is exactly what I was looking for to finish my dining room. May I please see your plans? Thank you so much.
Mon, 11/28/2011 - 16:36
This piece if a beauty. Your hard work does show very well.
I would like it, if you don't mind, if you could send me the plans. That would be awesome. I will email you if I need to to get something explained.
Just moved into a new home and this piece would go great in the dining room.
Thanks,
dana
[email protected]
Tue, 11/29/2011 - 10:13
Mr Carey, I love your buffet. I to would love to have your version of this plan doors and all. Thank you for sharing...Vi
In reply to Love the cabinet by viola
Tue, 11/29/2011 - 10:19
Vi- be glad to- just let me know where to send it to.
Brent
Tue, 11/29/2011 - 20:53
This is exactly the type of thing I've been wanting to make for our dining room. Great Job!
Thu, 12/01/2011 - 19:54
Looks beautiful! Can I please have the plans as well? Been looking for something just like this to build. Great job! [email protected]. Thanks!
Tue, 12/13/2011 - 23:24
This is a beautiful piece. You did a lovely job. I would love to have the plans. [email protected]
Tue, 01/10/2012 - 14:48
The top is actually a 3/4" oak veneered plywood with 1x3 (sides) and 1x4 (ends) framing. I used a friend's biscuit joiner and glued the sides on with biscuits. I thought about using pocket holes but wasn't sure how to make the boards stay straight... and had used a biscuit joiner before - so opted for that. Let me know - I can send the google sketchup plans if you want them.
Mon, 12/19/2011 - 08:56
Mexiian1 - Just need your email address to send you the sketchup plans. I've sent them out to a few already.
Sun, 01/01/2012 - 13:12
Looks amazing! Would love the plans as well. [email protected]
Sat, 01/14/2012 - 16:14
My wife and I think that this buffet looks great. You have done a great job. We were thinking about making one also. Could you please send the plans to [email protected]. Thanks ahead of time.
Tue, 01/24/2012 - 07:19
Fri, 02/03/2012 - 20:55
Been looking for something like this for my kitchen. Would love the plans if it's not too much trouble. Very nice.
[email protected]
Mon, 02/06/2012 - 10:36
This looks great! Could you send me the plans? Thanks soo much!
Mon, 02/20/2012 - 12:41
The buffet is almost a replica of what i am looking for in our dining room except it will cost less than 1/2 the price to make it! I LOVE the buffet. Could you send me the plans please? [email protected]
Mon, 02/20/2012 - 12:41
The buffet is almost a replica of what i am looking for in our dining room except it will cost less than 1/2 the price to make it! I LOVE the buffet. Could you send me the plans please? [email protected]
Tue, 05/22/2012 - 22:52
Such a beautiful piece! It's exactly what we've been looking for! I'd love to see your plans! [email protected]
Sat, 05/26/2012 - 22:11
The Buffet looks awesome! You have done an amazing job. I really like the glass doors.
Neal
Tue, 06/12/2012 - 10:03
Could you please email these plans to me @ [email protected]?
Thanks.
In reply to Email plans please by shawns1234 (not verified)
Sat, 07/21/2012 - 13:26
Thank you! And I'll gladly mail the sketchup plans.. just need your email address to mail them to. :-)
Mon, 08/06/2012 - 04:07
Mr Carey, this buffet looks stunning!!!And I've been looking for one(ready to buy) for quite some time and nothing!!! Did you use spray paint to achieve the SO SMOOTH look? It really looks amazing!!!
Can I also receive your plans by email?Thank you!!
[email protected]
Sun, 08/26/2012 - 12:59
Wow, what a beautiful piece! Do you mind sending me your plans as well as this would work perfectly in our home...
[email protected]
Thank you so much!
Sun, 08/26/2012 - 12:59
Wow, what a beautiful piece! Do you mind sending me your plans as well as this would work perfectly in our home...
[email protected]
Thank you so much!
Thu, 08/30/2012 - 20:40
I would love to see your plan. I'm looking to build something like this for my wife as a surprise. She never toss into the shop, so this shouldn't be too hard. Thanks.
[email protected]
Sat, 11/24/2012 - 22:29
This is exactly what im looking to make for my dining room could you please send me the plans? Thank you
Sat, 11/24/2012 - 22:29
This is exactly what im looking to make for my dining room could you please send me the plans? Thank you
Sat, 11/24/2012 - 22:31
could you also send me the plans? [email protected]
Sun, 11/25/2012 - 16:01
I love your buffet! I have been looking for a buffet just like this. Can you send me the plans. [email protected]
thanks
Fri, 12/28/2012 - 07:42
May I have a copy of your plans as well? This is just what I'm looking for! Thank you in advance.
Fri, 01/04/2013 - 07:45
I'd love to have a copy of your plans to make one of these for my dining room. thanks
Wed, 01/16/2013 - 21:47
I love this and exactly whative been looking for! Please if you could email me the plans! [email protected]
Mon, 03/04/2013 - 19:30
Have a look back at the post below as I've posted the address to the buffet on the sketchup 3d warehouse- pasting here for your convenience as well.
http://sketchup.google.com/3dwarehouse/details?mid=8acc2d1db12502a9cc04…
Mon, 03/04/2013 - 19:25
I saw on another post that the sketchup model could be shared to the warehouse- which of course I knew but totally forgot. So- I've uploaded the model for this buffet to the warehouse and it should be able to be accessed from this link:
http://sketchup.google.com/3dwarehouse/details?mid=8acc2d1db12502a9cc04…
If I had the patience to work up an actual plan I would - but hopefully the sketchup model will help - there should be dimensions and I have the cut list in the model as well. Still let me know if you have questions and I would LOVE to see anyone else's finished project!
Sun, 10/04/2015 - 19:11
Do you happen to still have the plans for this buffet? My email address is [email protected] if youre able to send them. I would love them. This buffet is really nice and the sketchup plans are not working for me.
Tue, 10/06/2015 - 18:37
Anyone who has received the plans in the past...that still has them, coukd you please e-mail them to me at [email protected]
Tia
Sat, 01/16/2016 - 13:11
If you're still sending out plans, I'd appreciate getting a set. Thanks! [email protected]
Mon, 02/15/2016 - 14:05
Not sure what happened to the 3d warehouse plans- trying a new link here, hopefully that will help some who are trying to get these.
https://3dwarehouse.sketchup.com/model.html?id=8acc2d1db12502a9cc047c39…
Or if you just go to the 3d ware house and search on "brent buffet" you will get 1 hit :-).
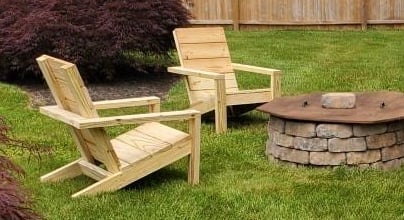
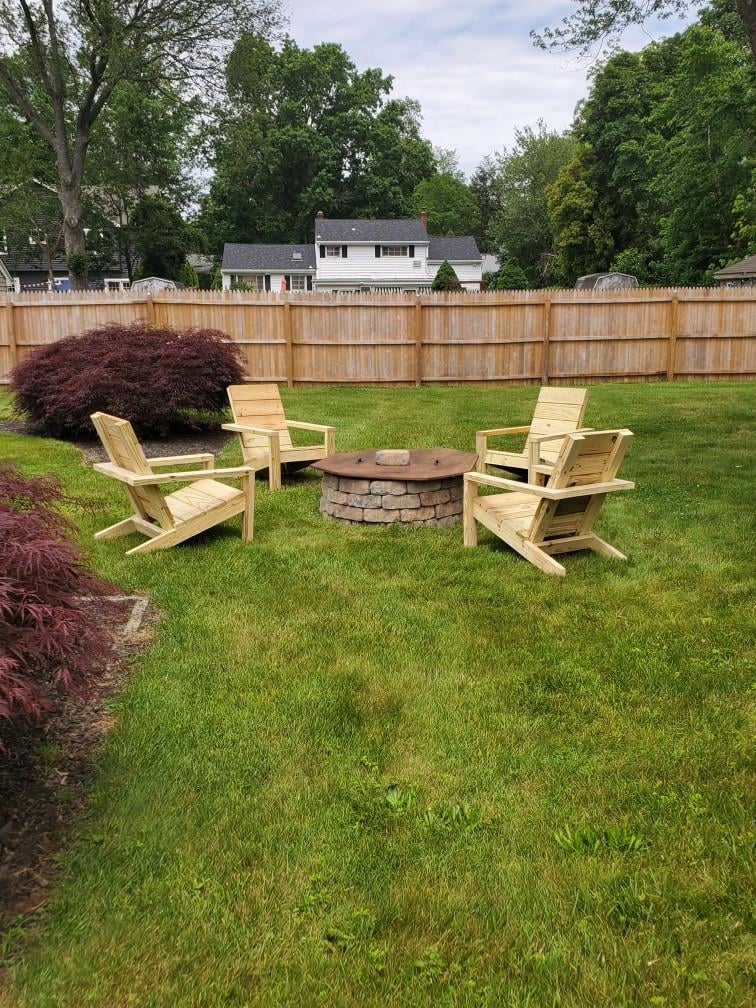
My husband built this Adirondack chairs. They are so comfortable.
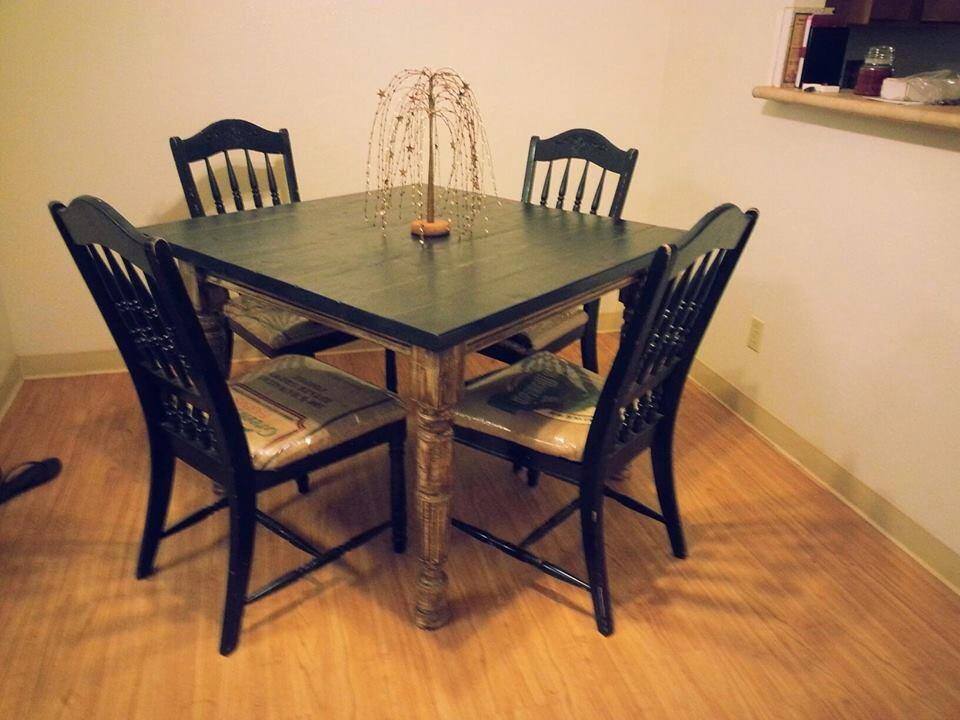
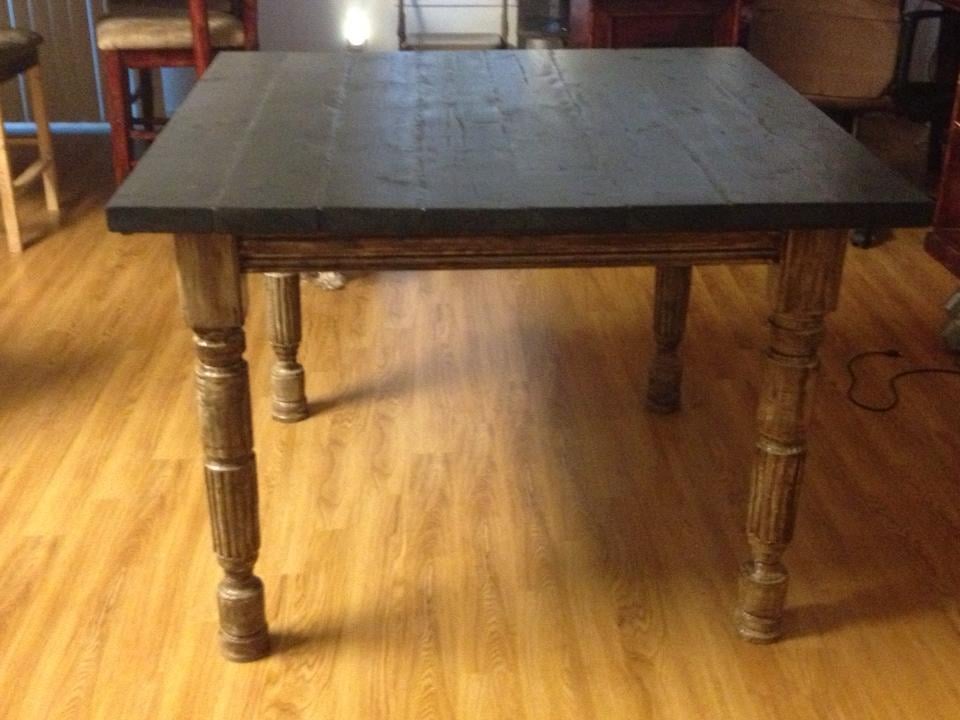
Small Farmhouse table with custom made husky legs and side trim. I used my router to create the legs and trim.It was my first attempt at turned legs. I used minwax white wash pickle, then I went over with a mixture of minwax of dark walnut and golden oak.
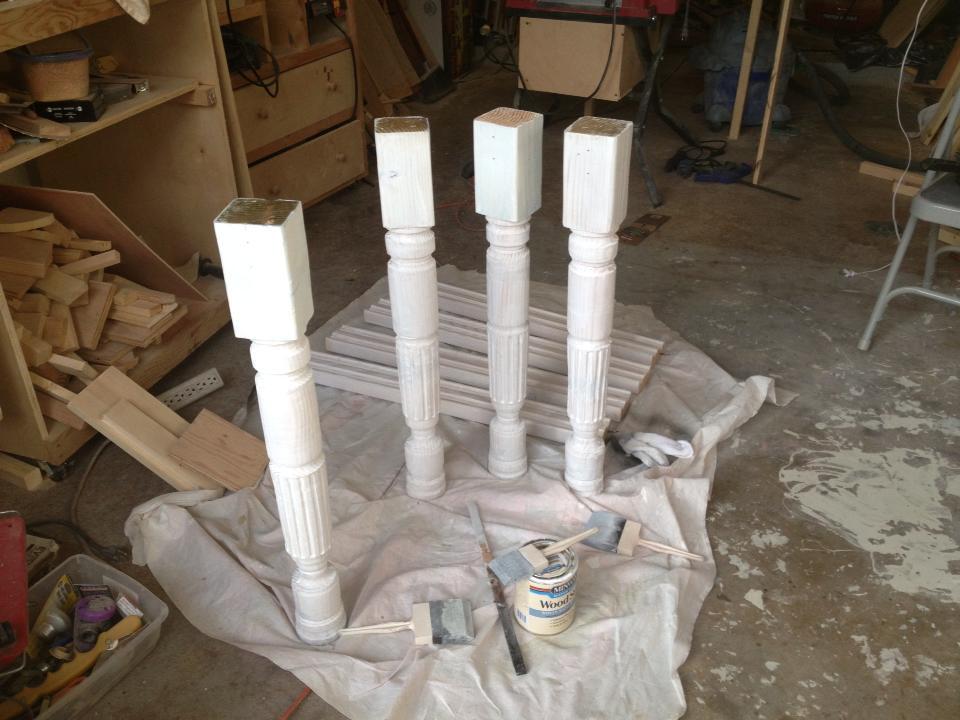
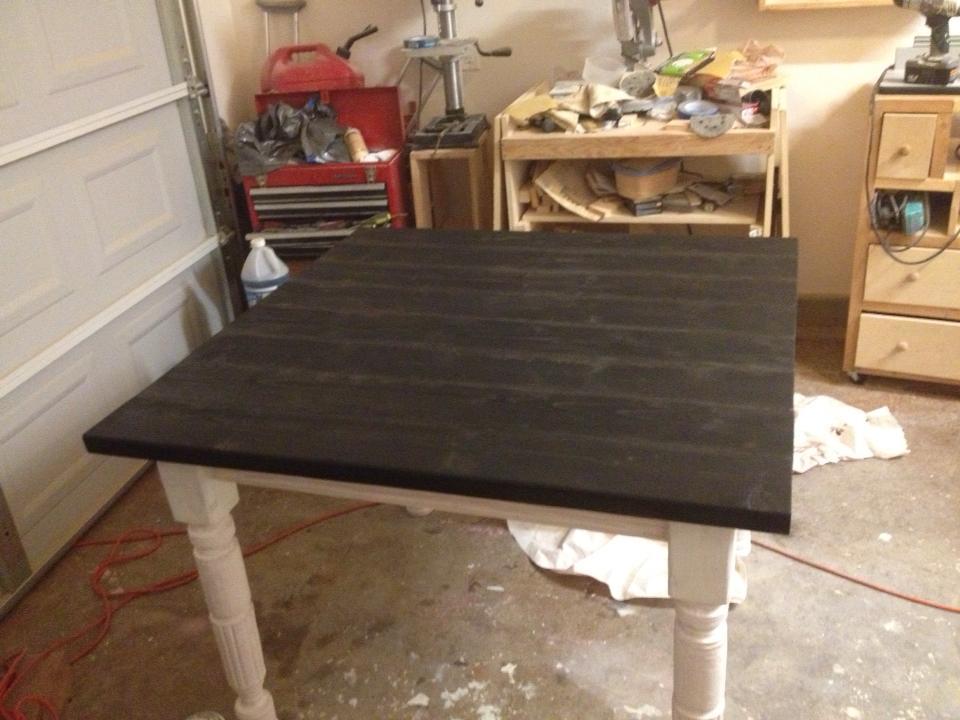
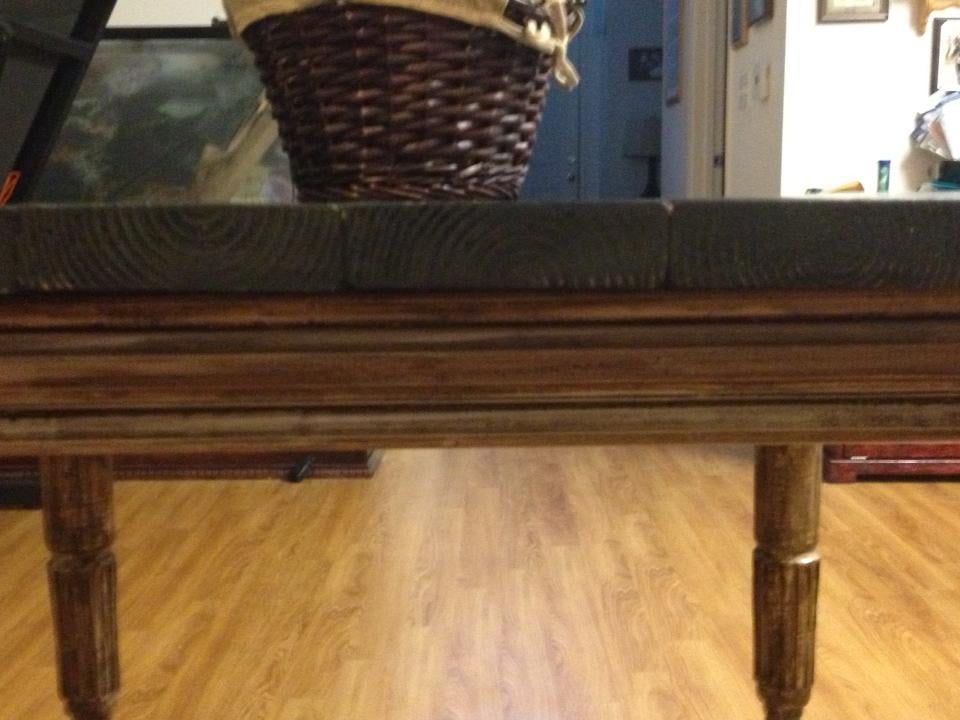
Thu, 11/07/2013 - 12:23
Your table looks awesome! What an amazing job you did turning the legs, and the finish is fab! Beautifully done!
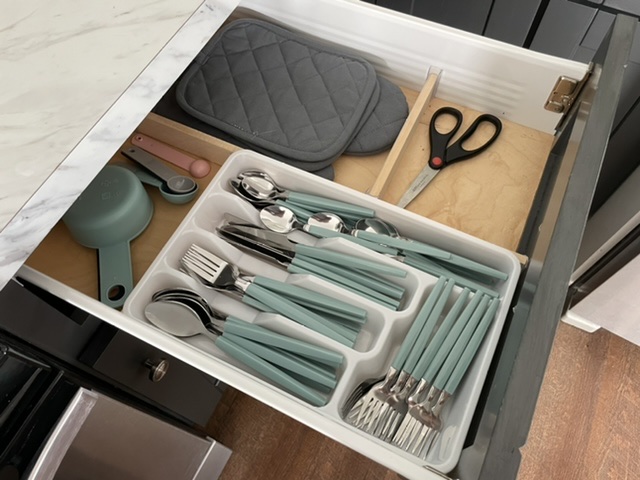
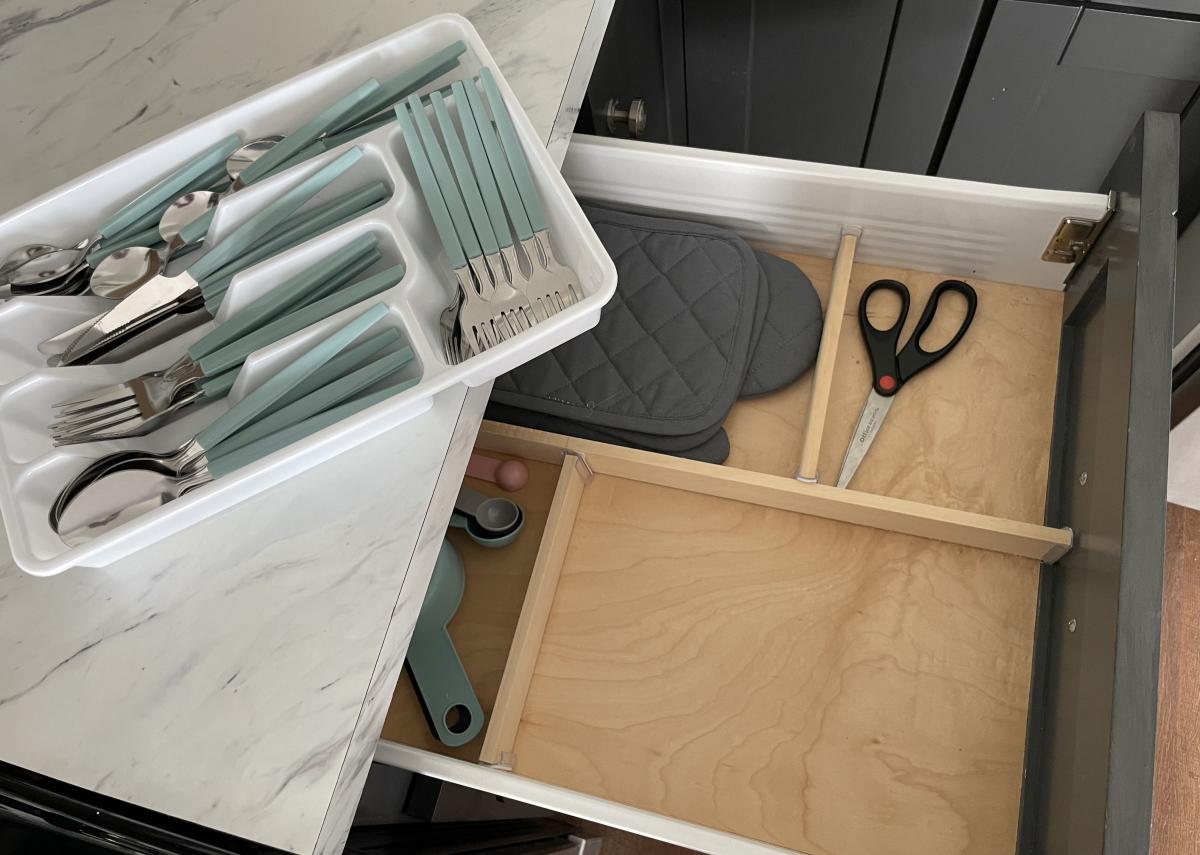
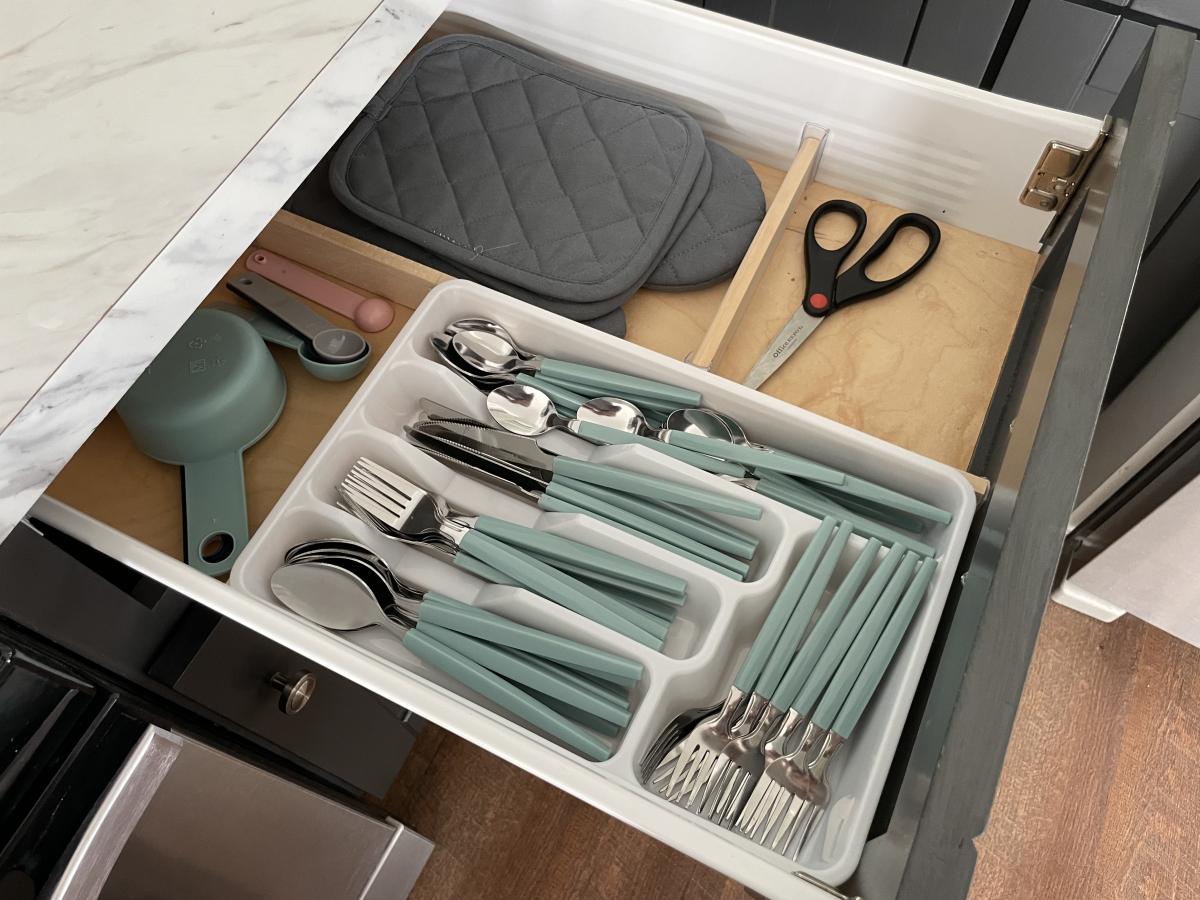
I had an existing silverware tray that was sliding around the drawer every time it opened and closed.
the stick on method was the ticket to quickly and easily creating dividers for around the silverware tray
love this method!!!
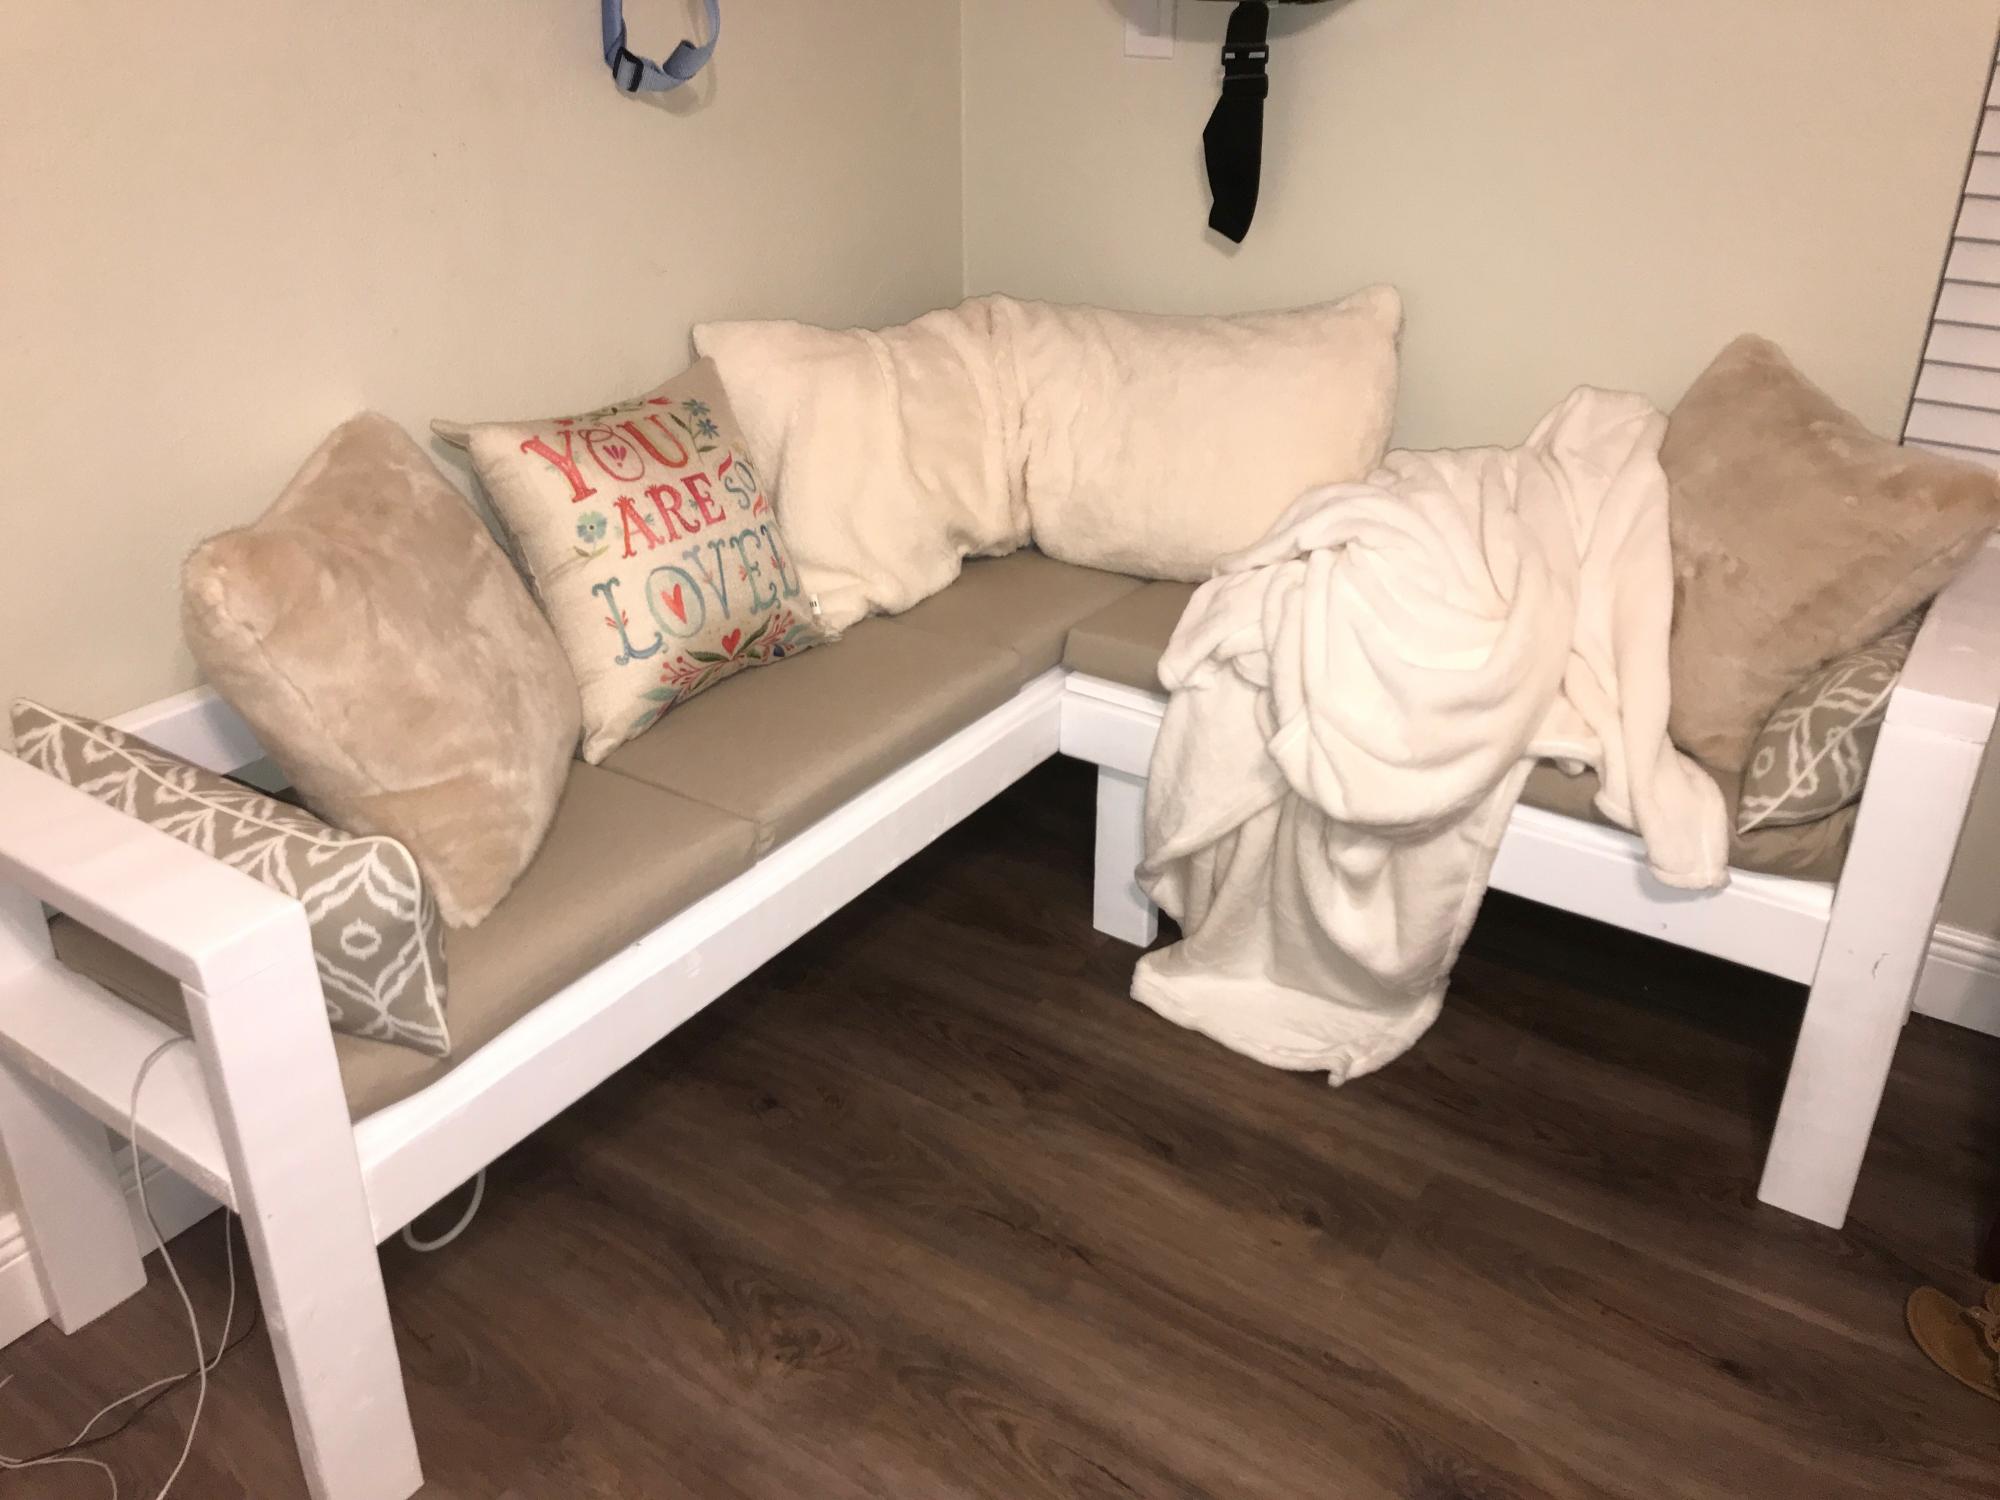
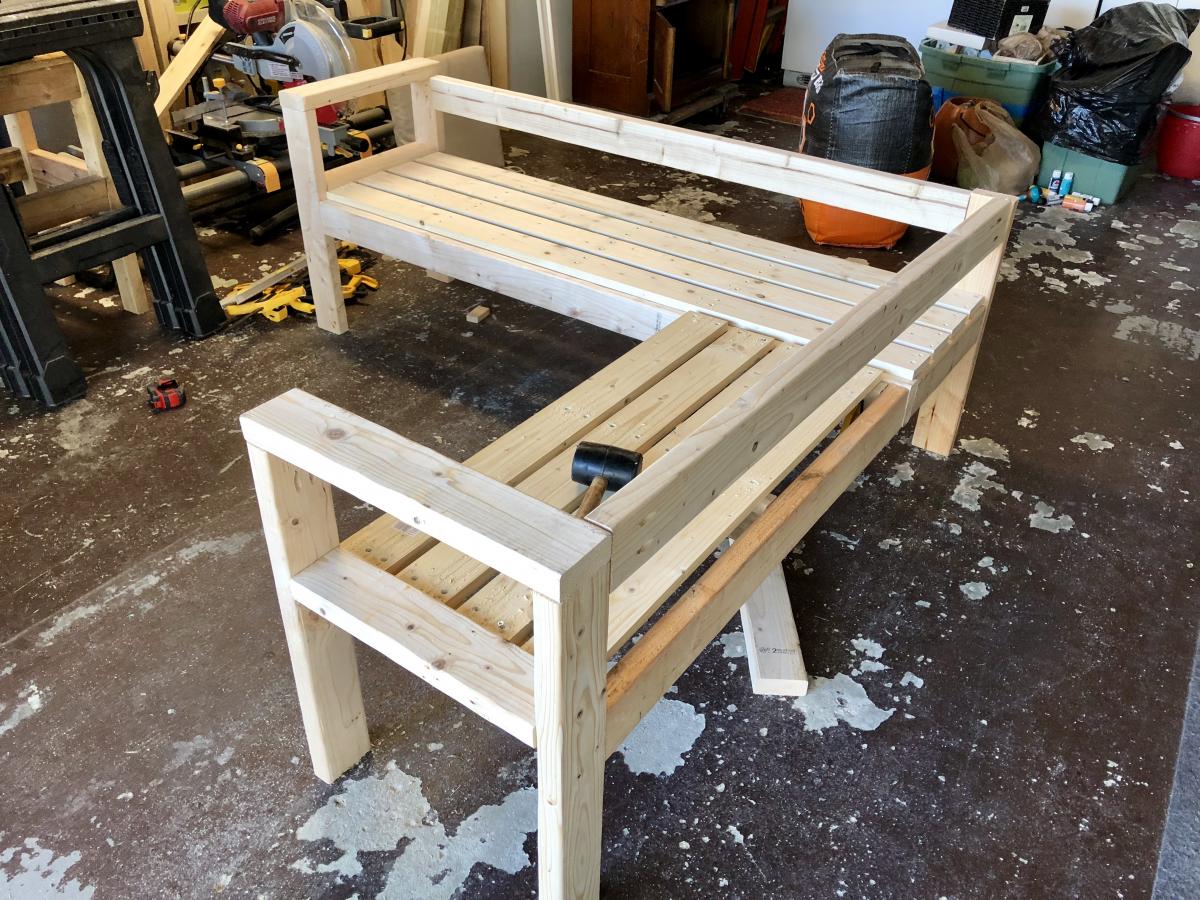
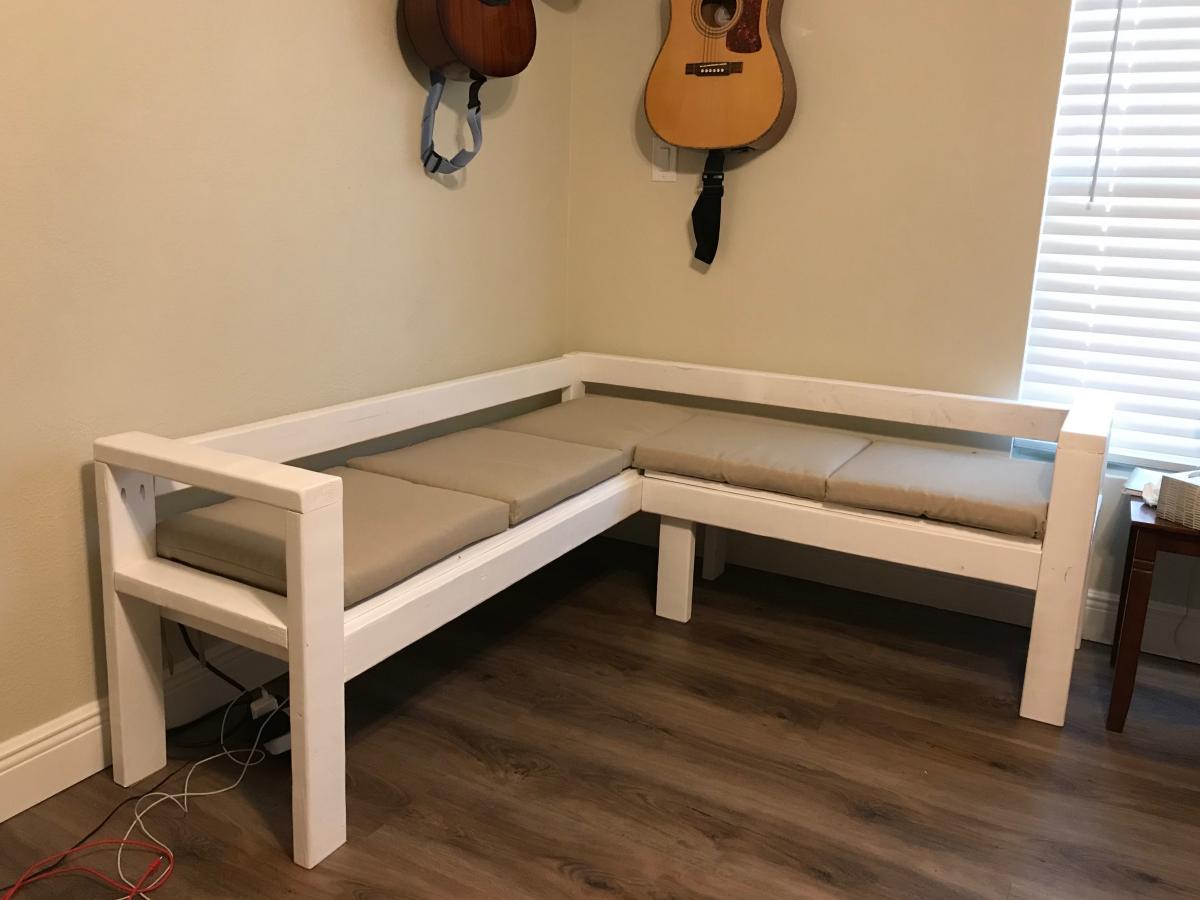
My teenage niece asked me to build her a cool seating area for her new bedroom. So I used Ana White’s Outdoor Sofa with Sectional for the plans. I modified the overall size for the space and the seat depth to accommodate the seat cushions she bought, painted it white, and let her add pillows and blankets to make it soft and cozy. She loves it and I’m the coolest Aunt ever!!
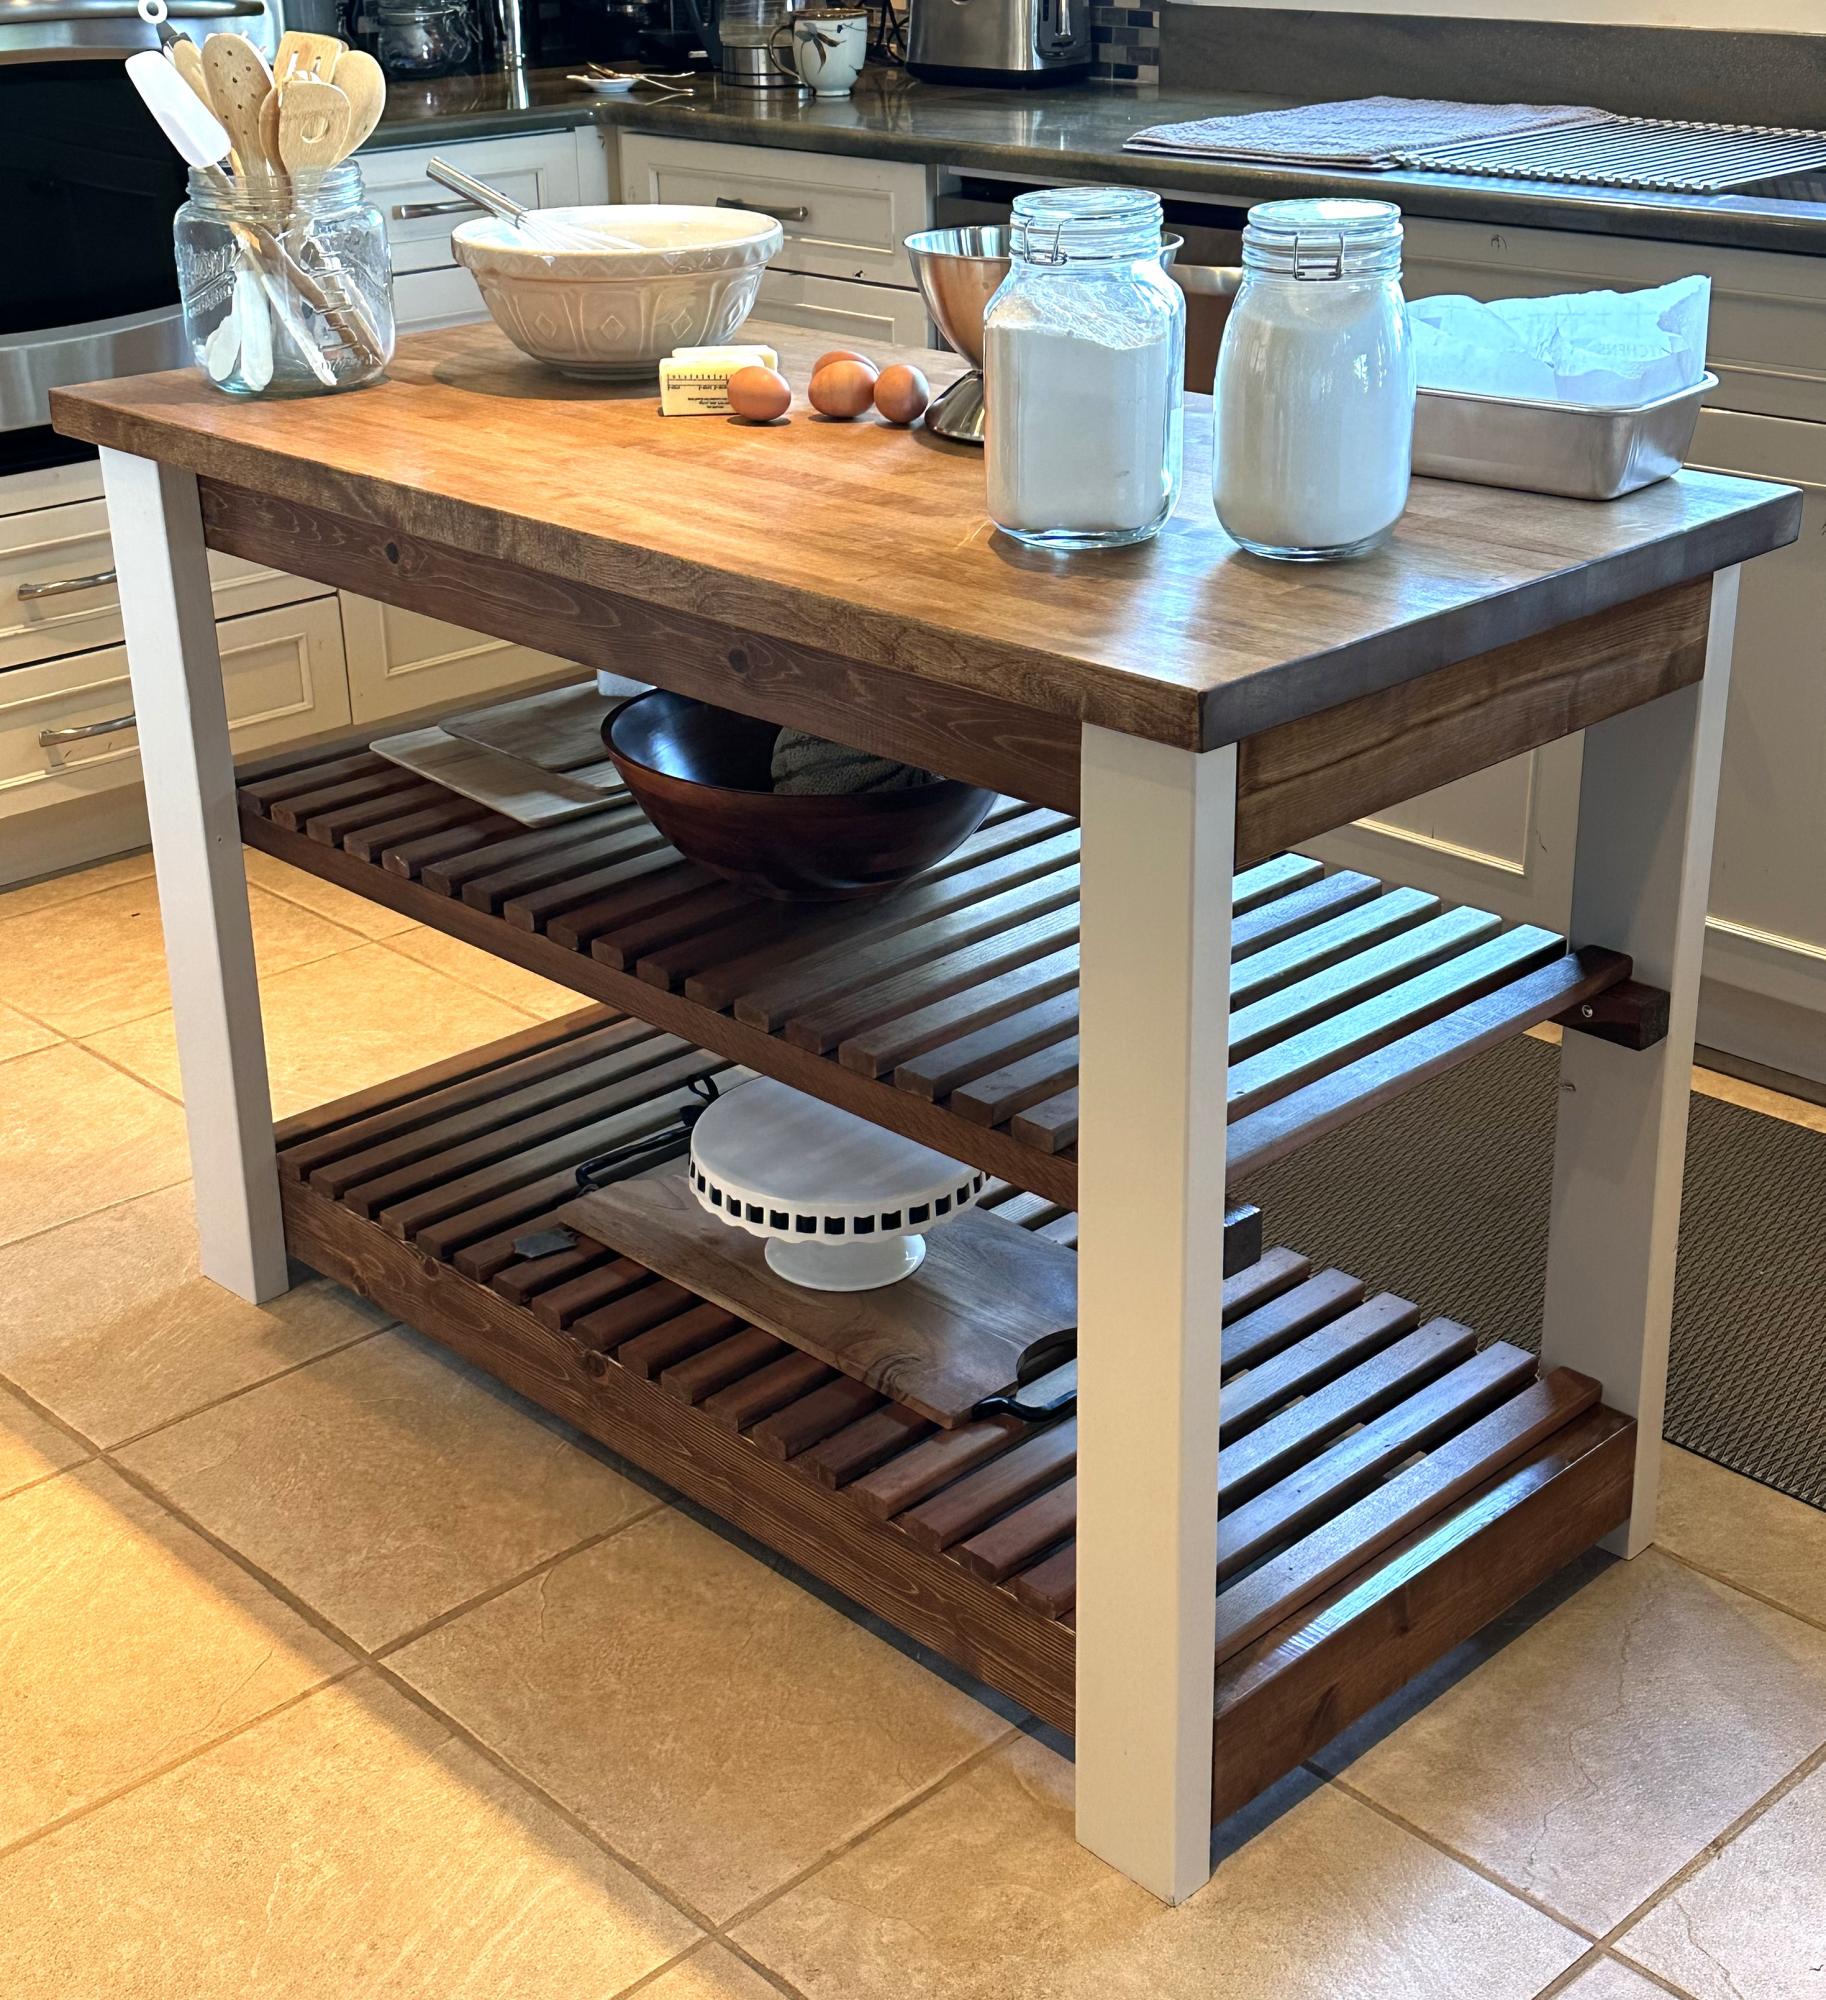
Easy Kitchen Island. This was my first big woodworking project so I bought the top and recycled some old wood. I learnt a lot, it took me about 20hrs to complete including painting and staining. I found the plans easy to follow and I’m super happy with the results.
Anji B
Mon, 11/11/2024 - 08:34
Looks great! I was wondering what stain you used? I love how it turned out!
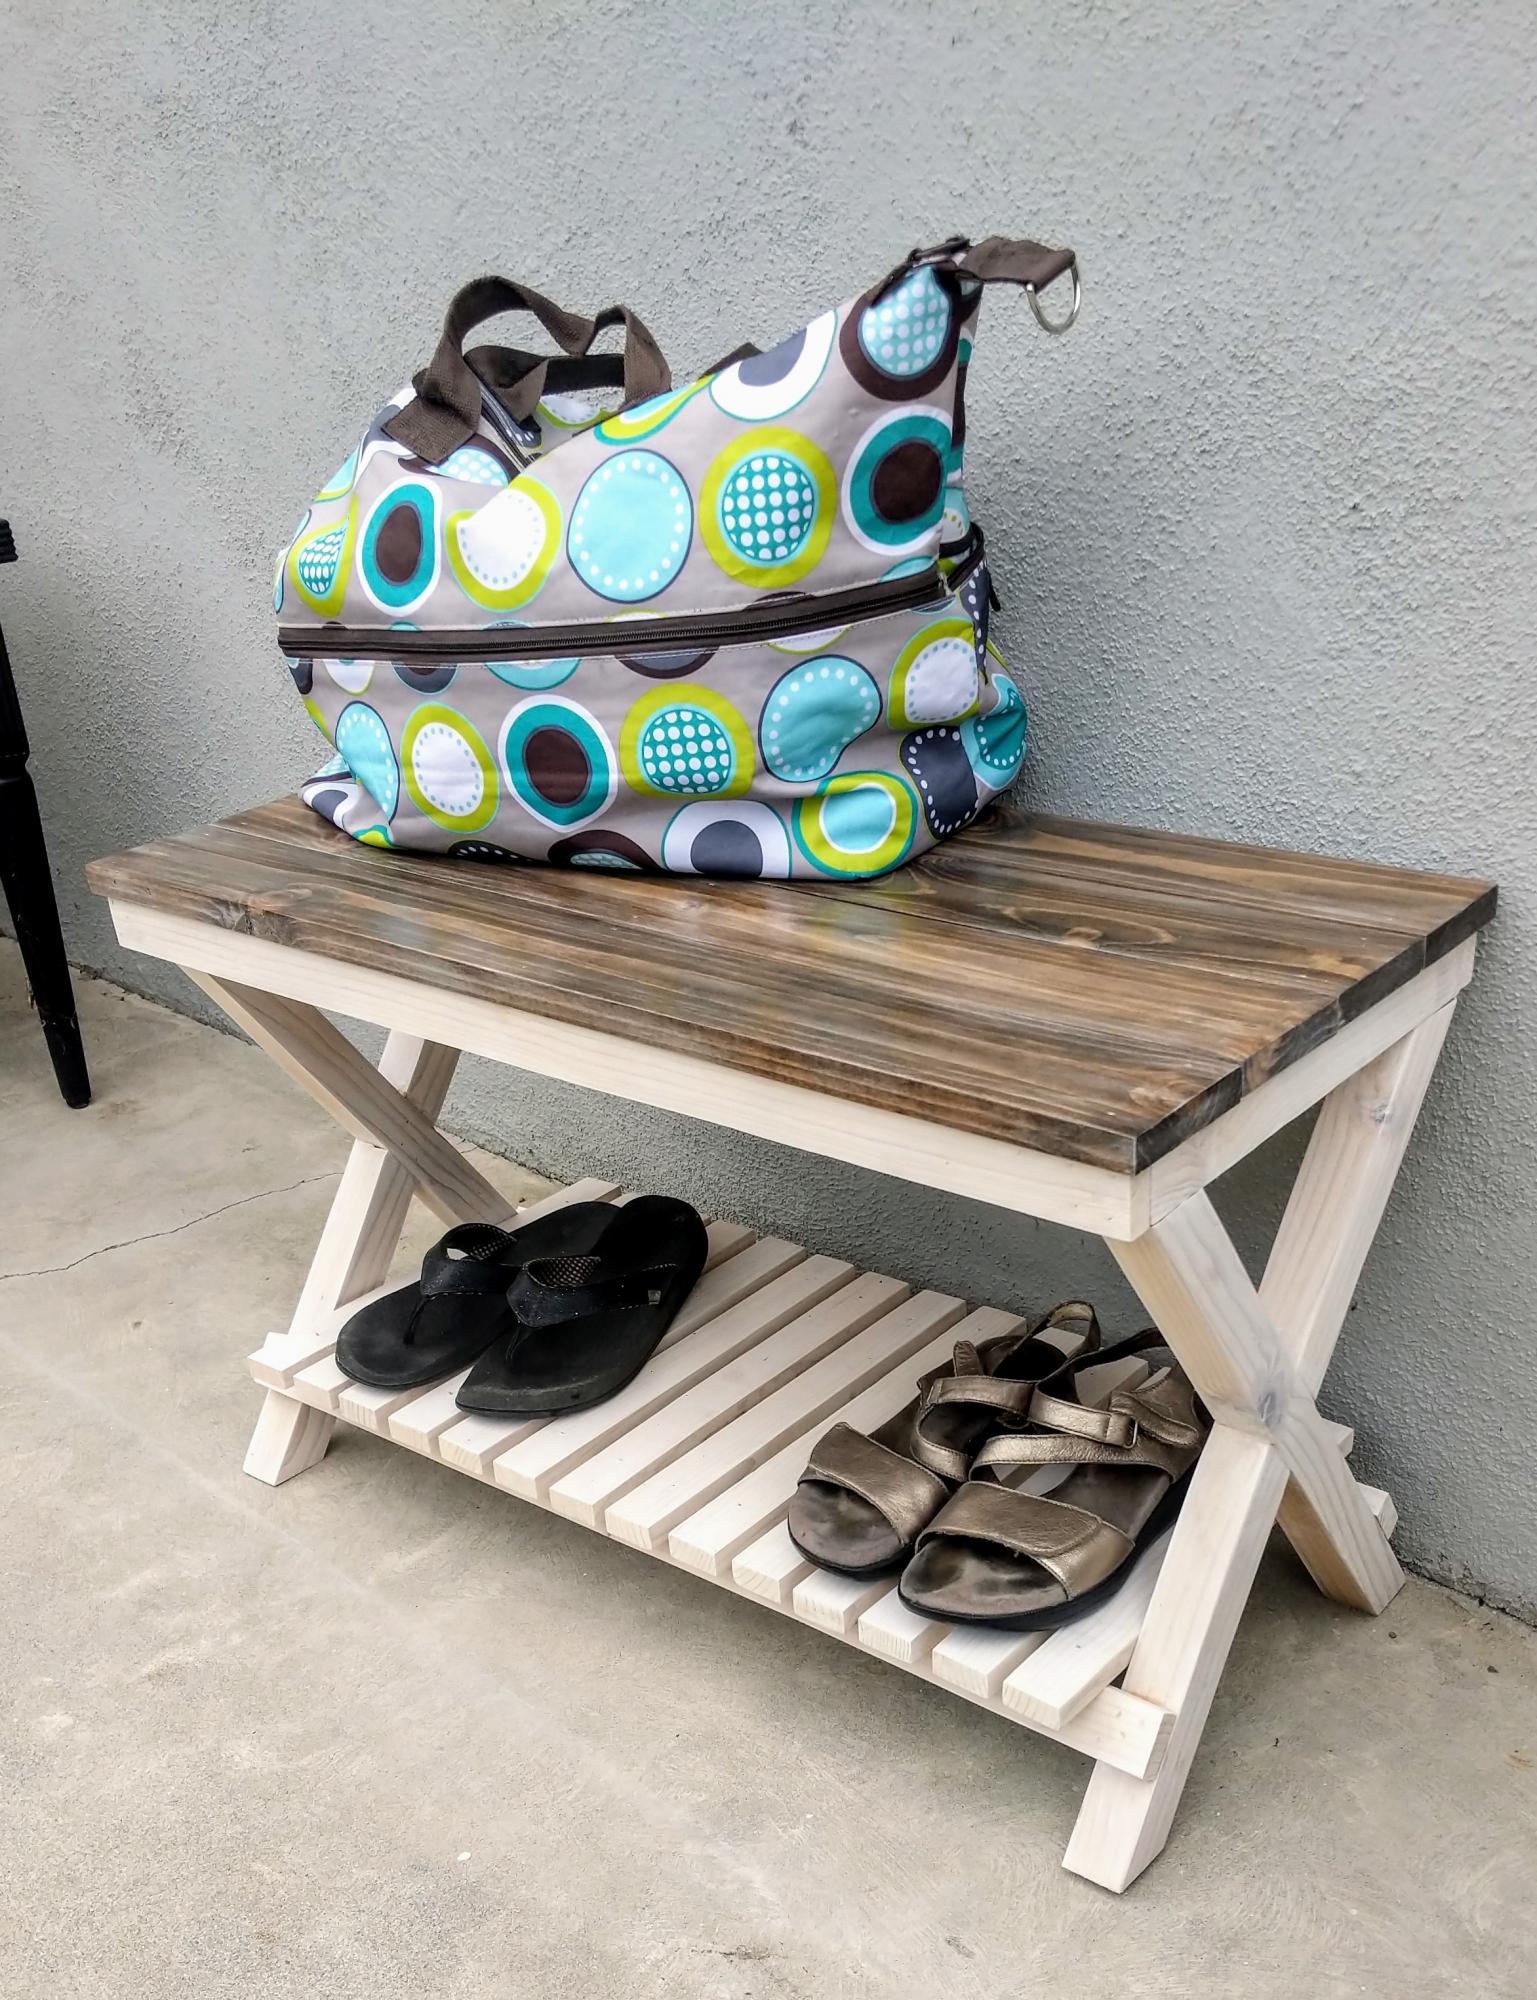
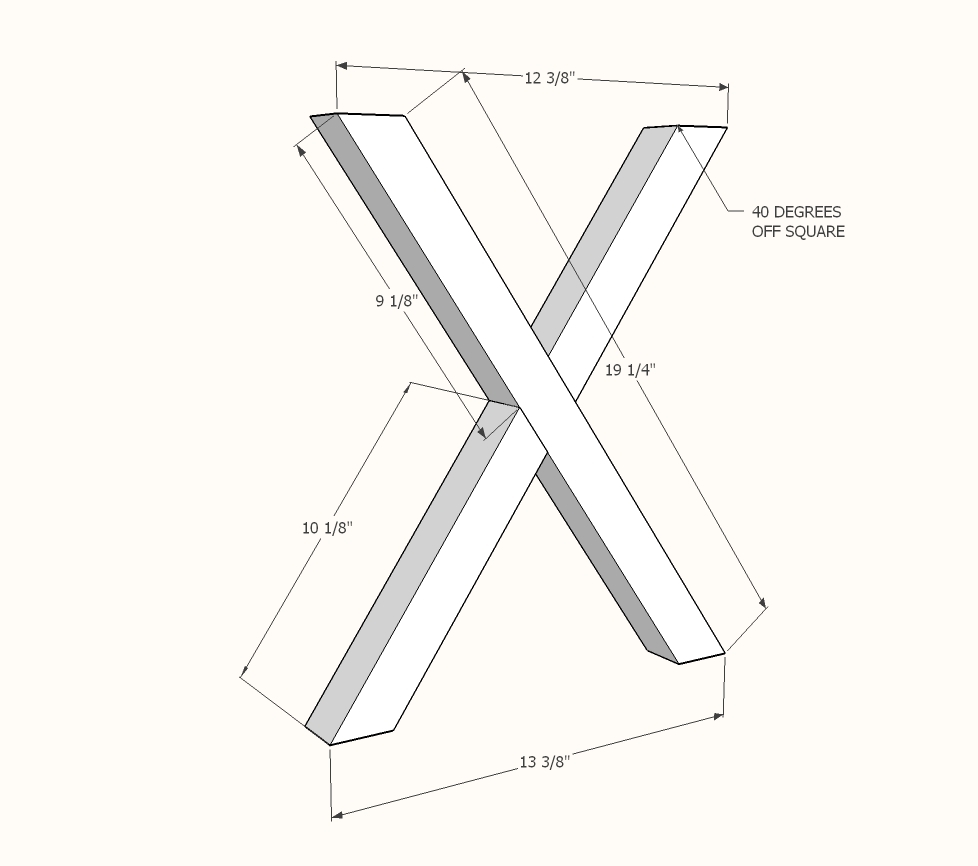
Turned out great! Problem with the plans: written instructions for legs say 35 degree angle but the diagram shows 40 degree angle. Which one should it be?
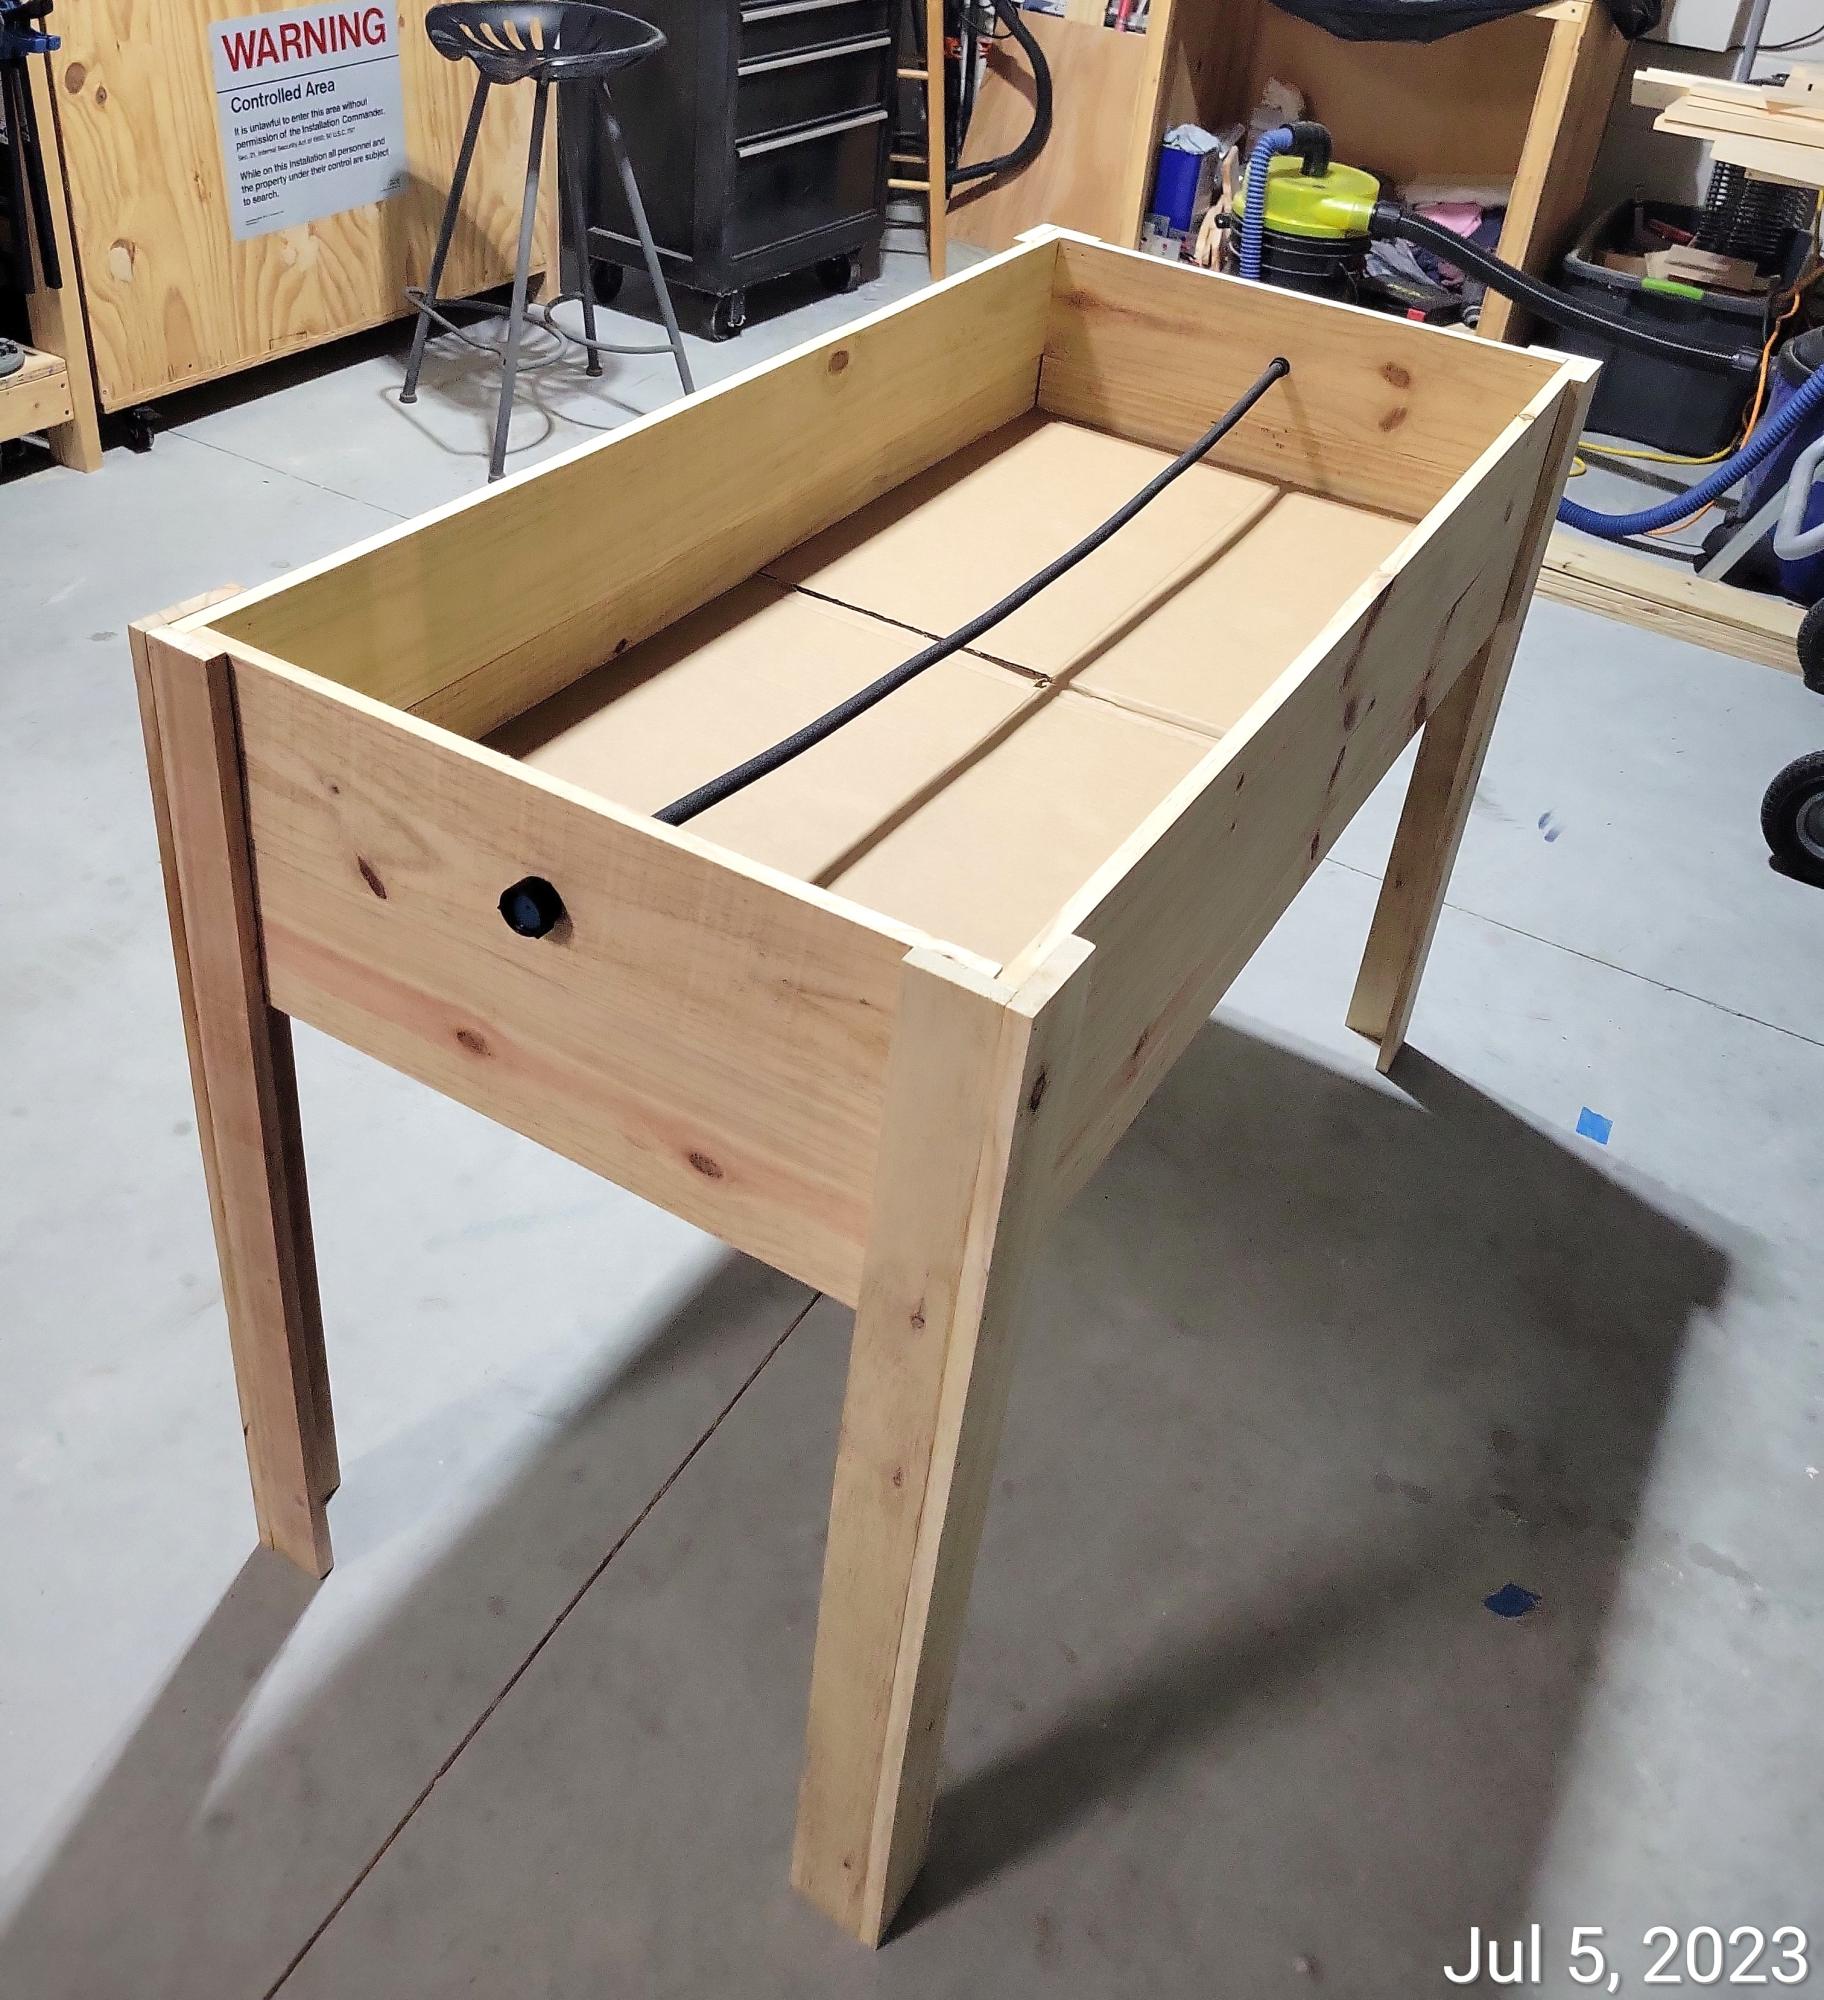
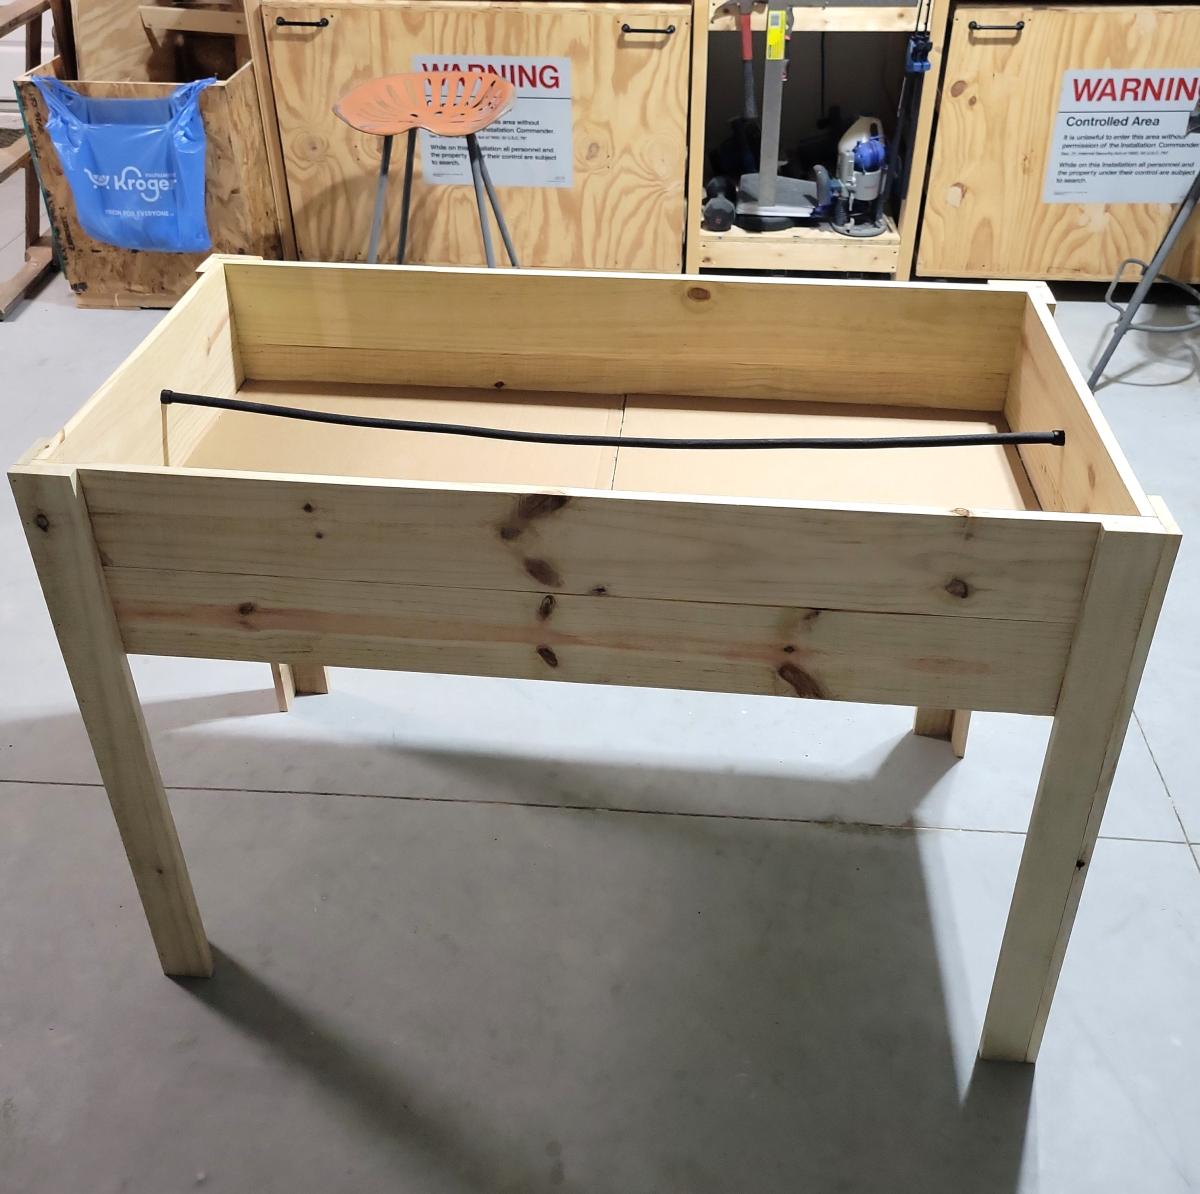
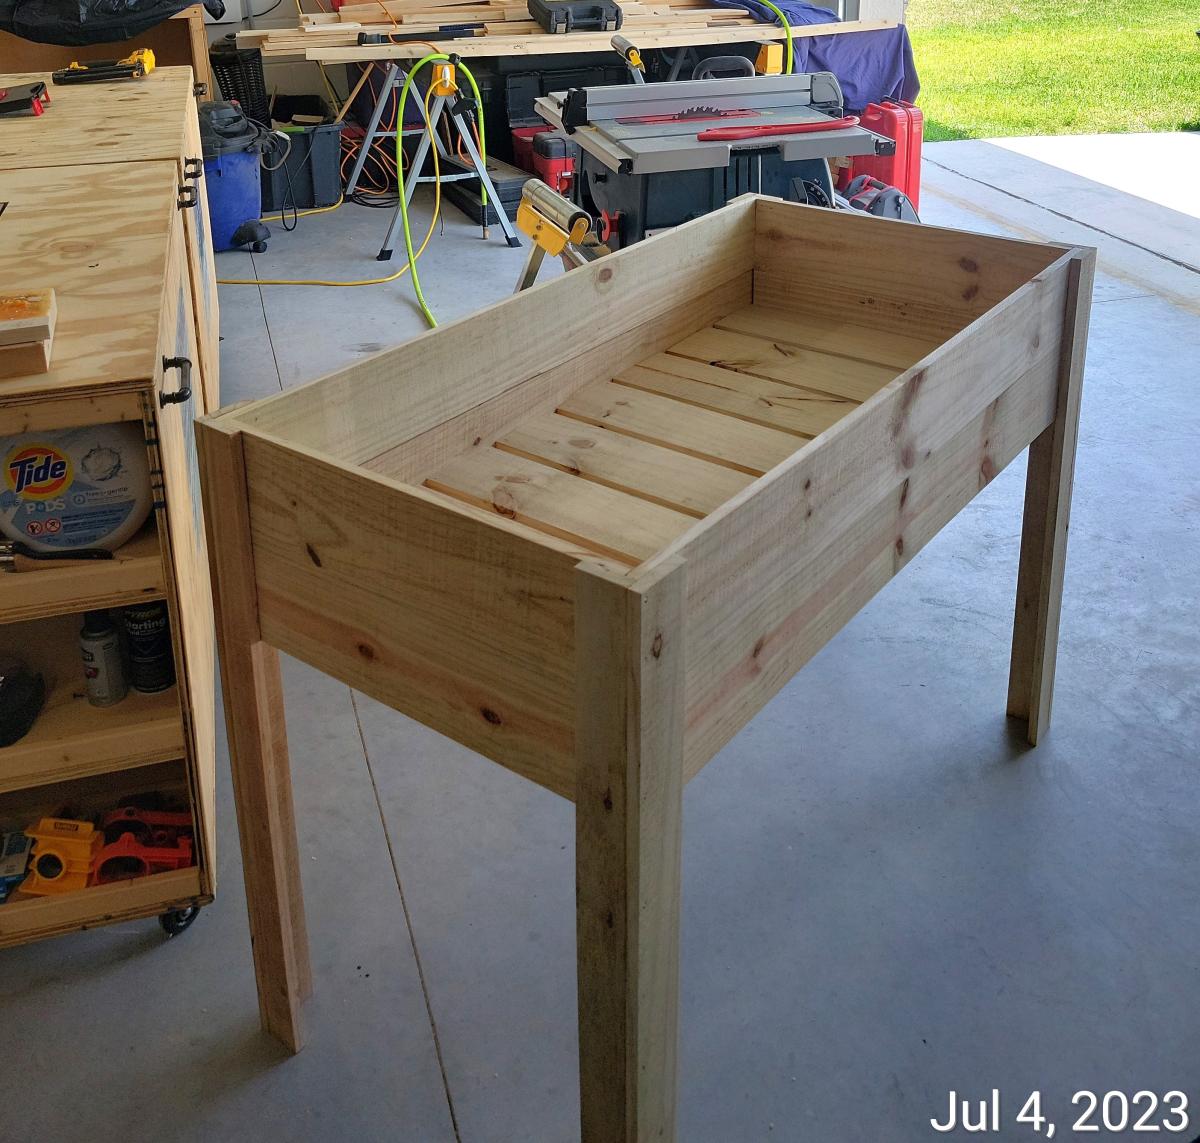
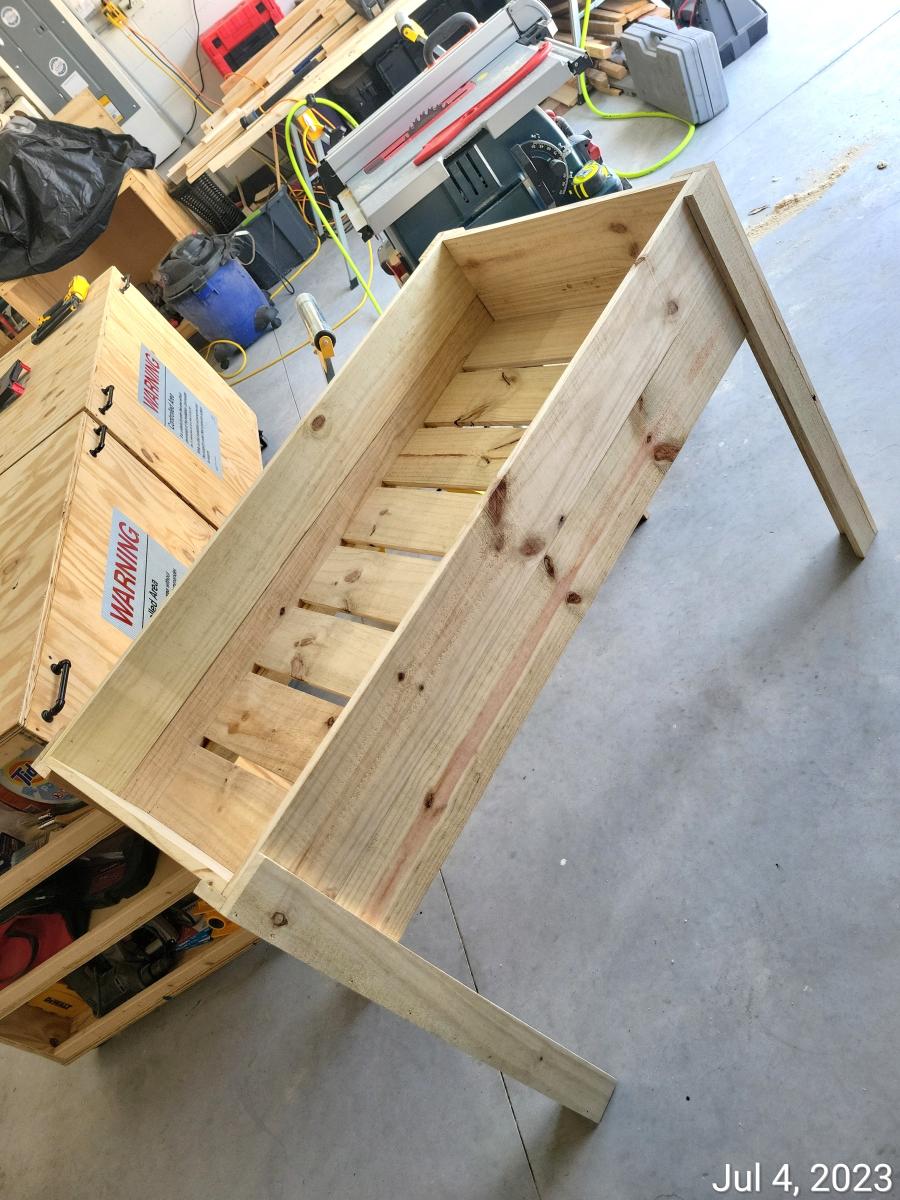
Raised planter with water hose.
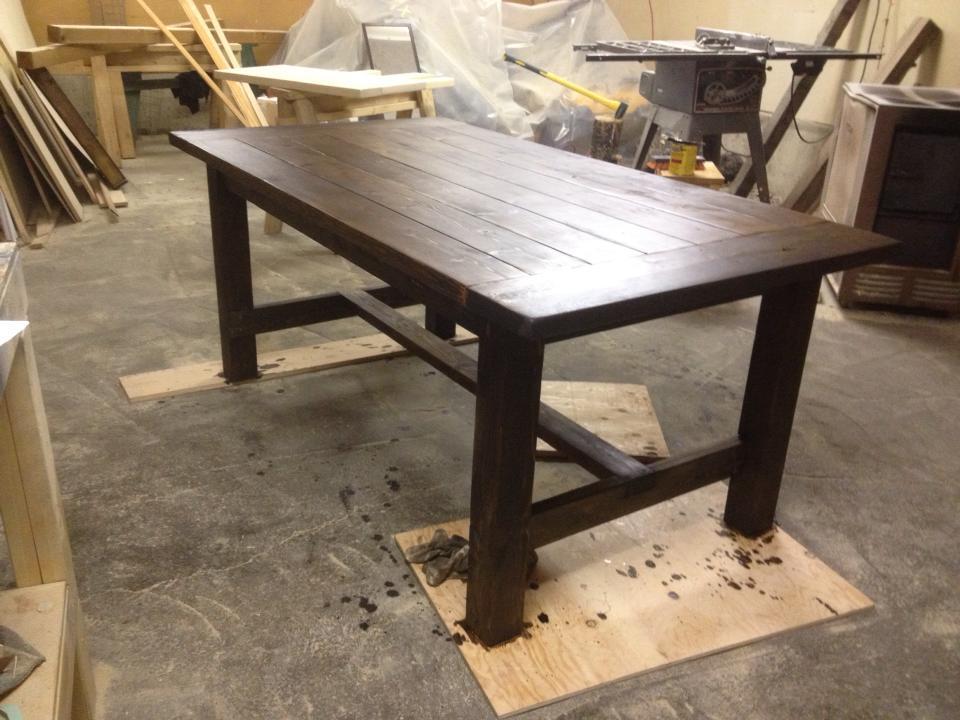
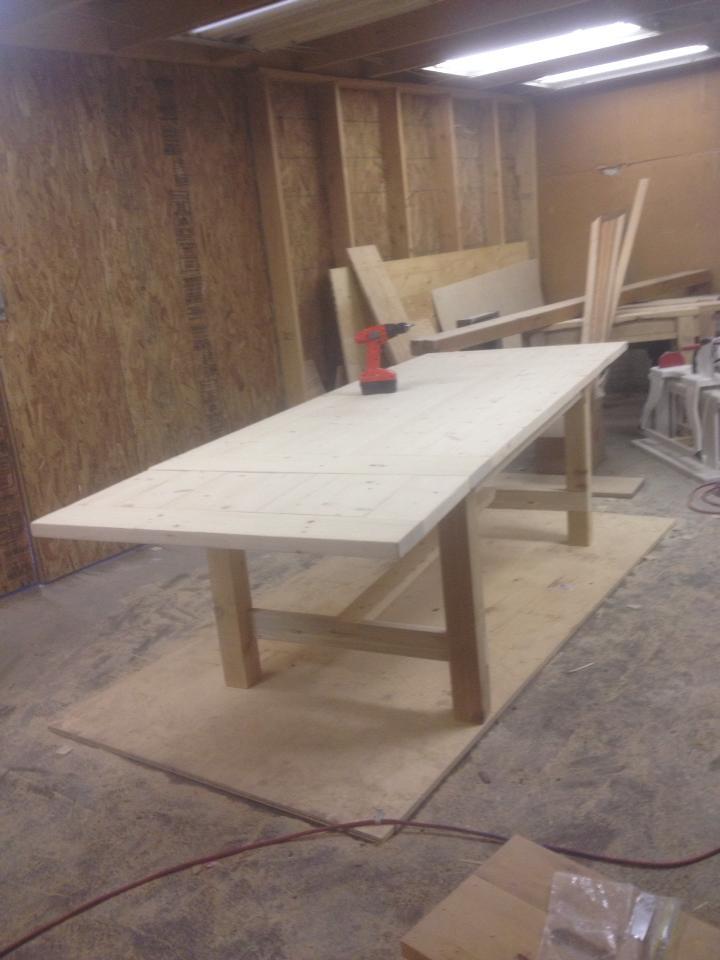
This was the second table I built - it was much improved on my first and was for my sister as a Christmas present. It has 4x4 legs that I notched out with a circular saw for the legs and a spruce top. I modified the length down to 6' for her house but added extensions on the end that make the table up to 9' long when fully extended.
Tue, 09/23/2014 - 13:42
How was the epoxy worked out in the cracks?
And separation or trouble?
Went with a black, high gloss finish which I sanded down with 220 grit sandpaper to soften the look. Cut up a birch tree from the backyard, back-lit the logs with two strands of orange Halloween lights from the dollar store (we drilled a hole in the bottom back for the plug for the lights).
Added a remote extender so we don't have to open the front middle door in order to operate our streaming devices.
Love to be able to decorate this for the holidays--can hardly wait for Christmas!
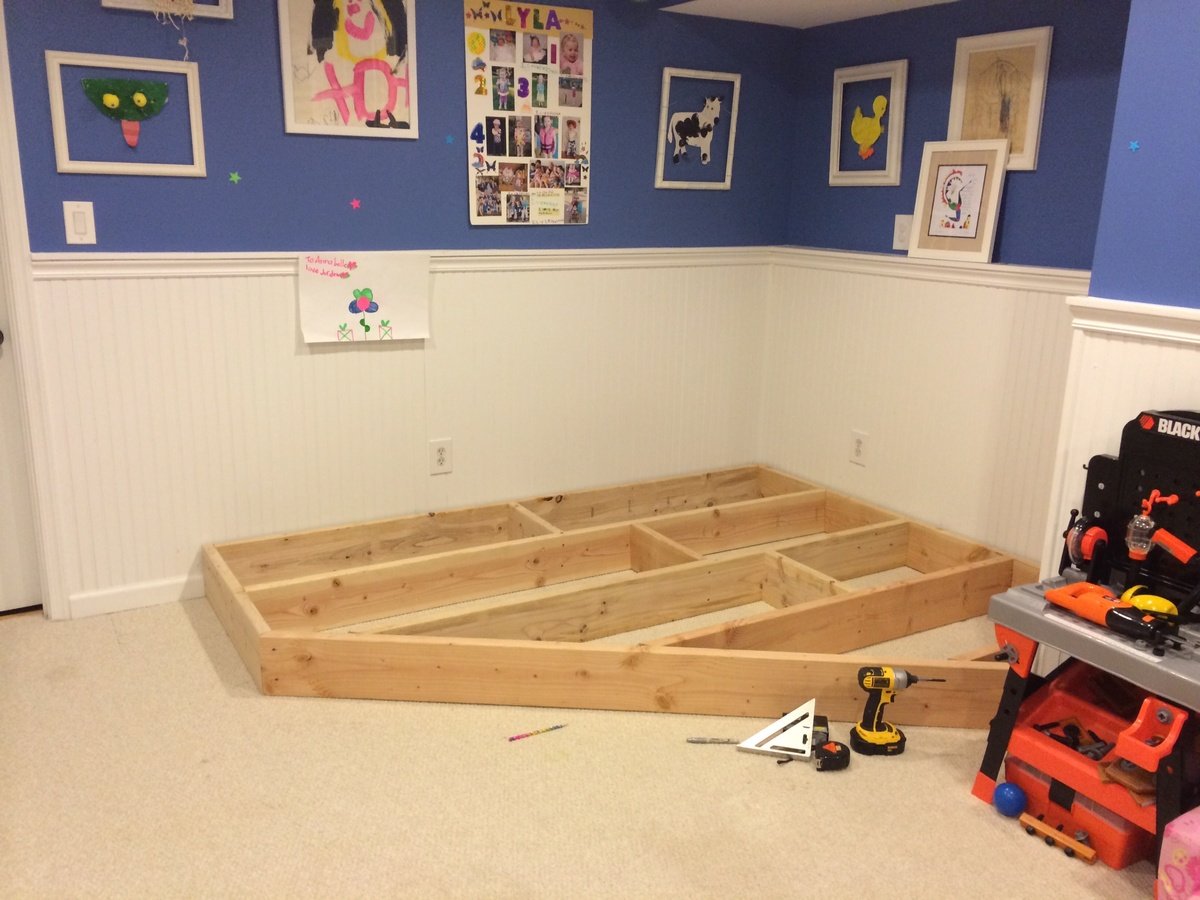
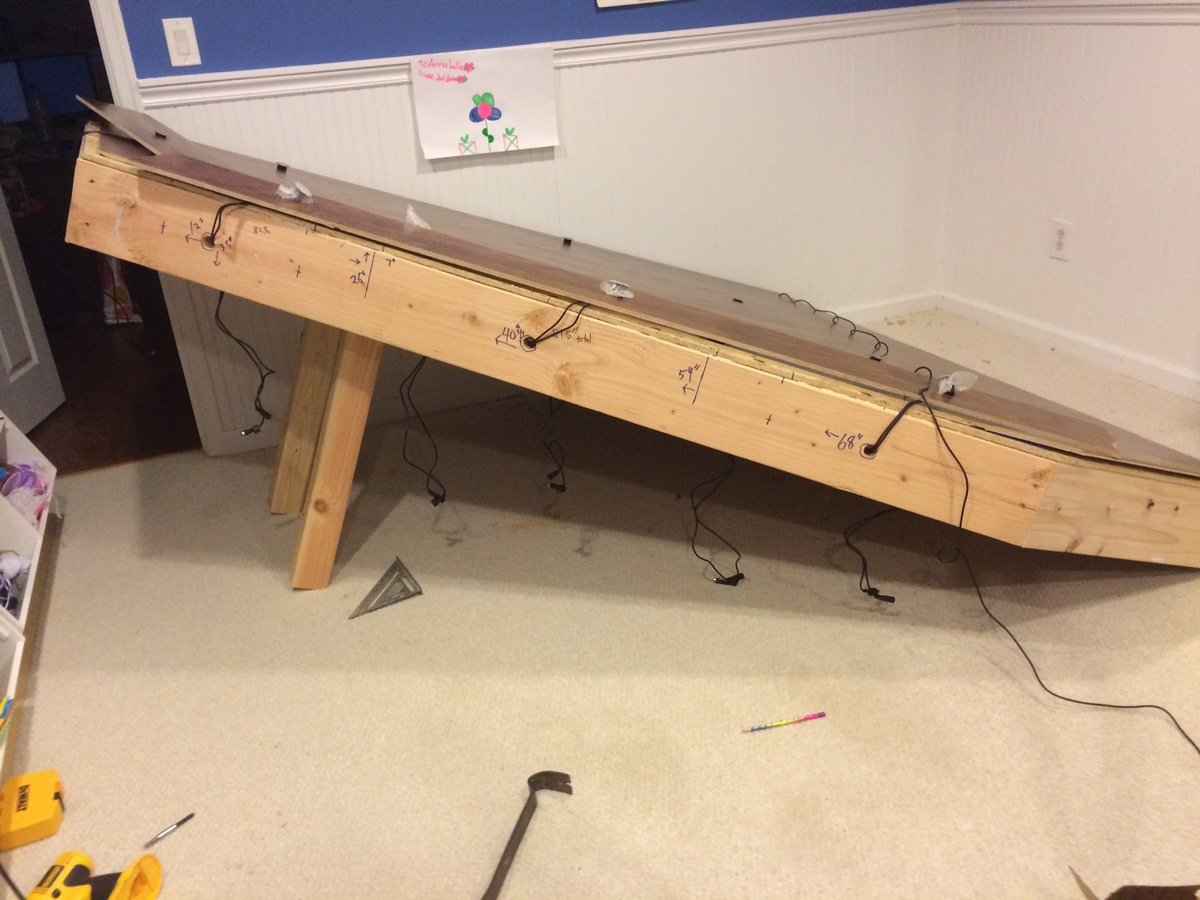
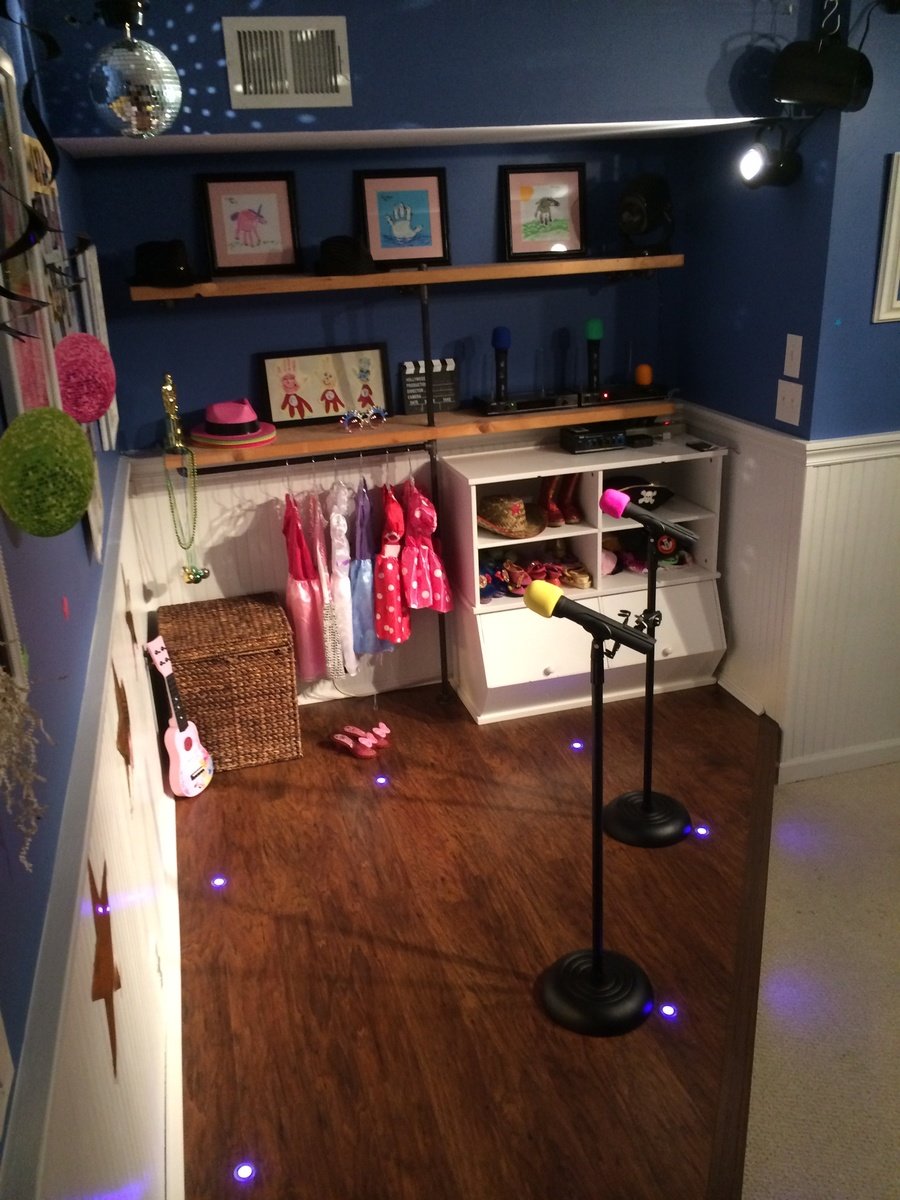
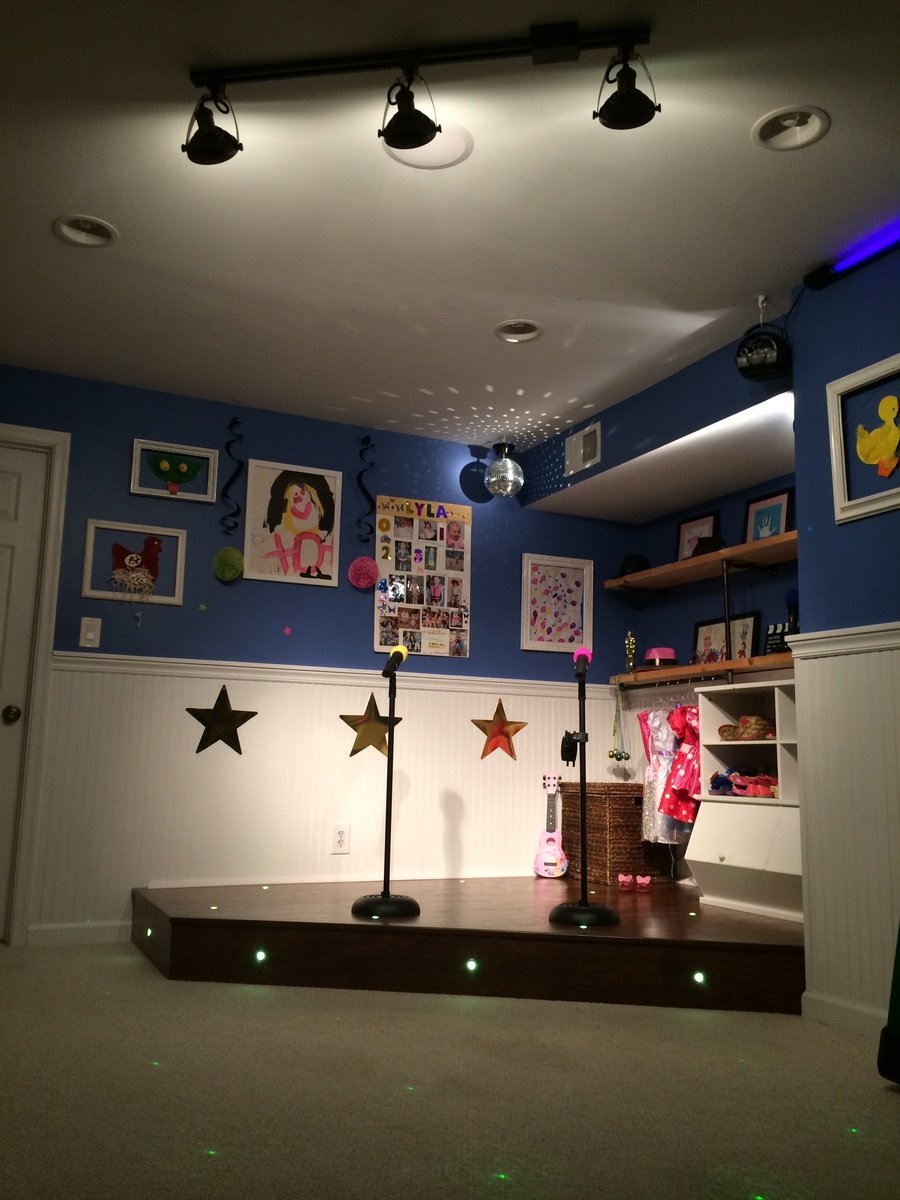
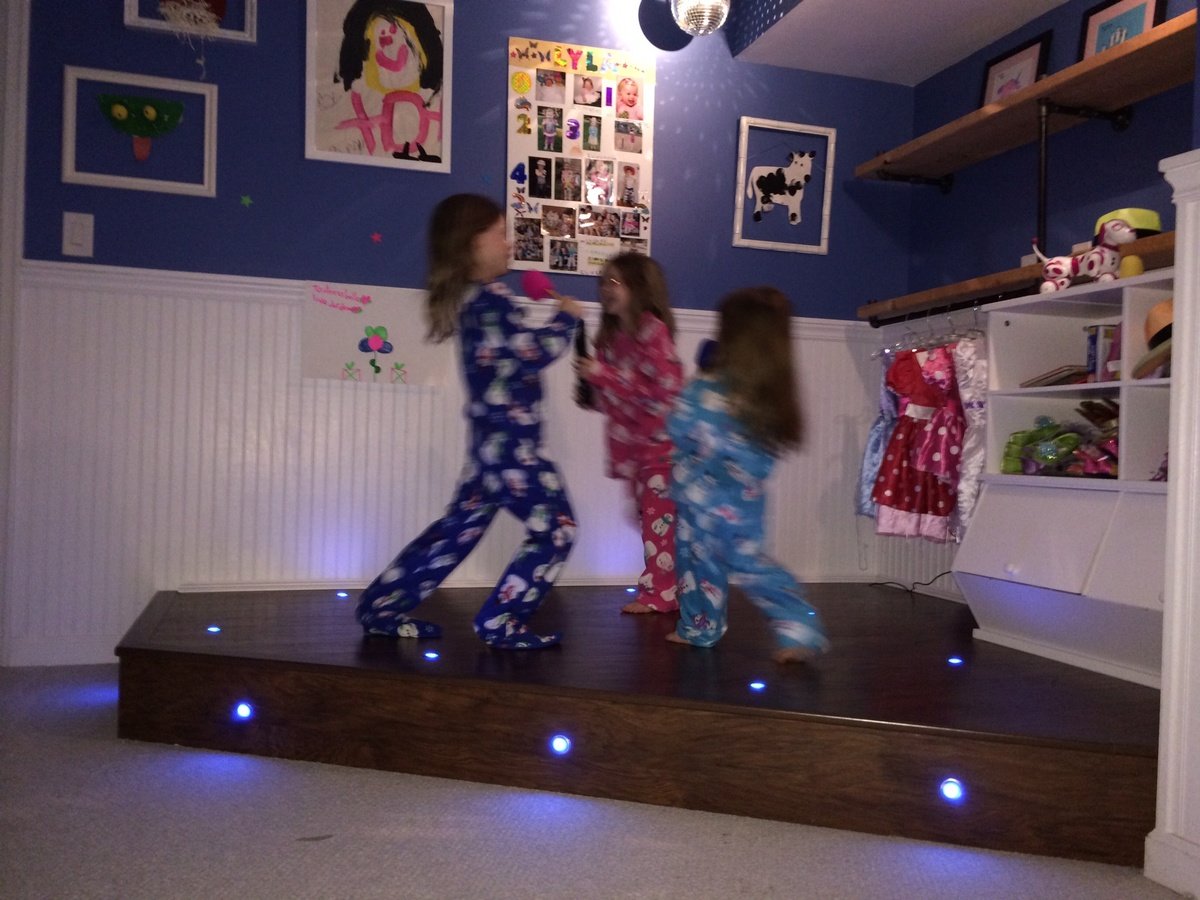
I had a perfect corner in our playroom that was reserved mostly for clutter and always wanted to do something fun with it. The base is made with 2x8"s topped with Handscraped Hickory laminate flooring. Bored holes into the floor and installed 1" diameter color-changing LED decklights. Added theatre-style tracklights, disco ball and other dance floor lighting for extra effect. Of course the stage wouldn't be complete without wireless microphones for karaoke and mic stands hooked up to a small amp and speakers in the ceiling. I made the shelving on the right side with 1/2" black pipe and used leftover 2x12" shelves from an old garage shelving install from 7 years ago! The kids were ecstatic on Christmas morning for the reveal!
Sun, 07/27/2014 - 15:52
This is great! I was just wondering what your dimensions were? I've been looking for something like this to do for my niece but have been struggling to find a plan and figure it out myself LOL.
Tue, 08/05/2014 - 05:58
Hello, the back wall is 8' and side wall is 6.5'. The stage comes out about 2.5' on each side then the front is around 7'.
Hope that helps, good luck!
Sun, 04/10/2016 - 14:44
Actually, I was wondering ,what lights did you use? I'm working on a very similar project and was curious to the lights your used please.
Sun, 12/08/2019 - 17:11
Can I ask about the lights you used or would recommend? Getting started tomorrow. A stage from Santa. Please help! 😬
Sat, 12/18/2021 - 14:09
Hello! Also wondering which lights you used. Thank you!
Sat, 09/28/2024 - 11:01
I would love to build this for my kids! Can you send me the details for everything? (dimensions for the stage, lighting, microphones)? Amazing job!