Community Brag Posts

Big Boy Bed for 4 year old

Submitted by Anonymous (not verified) on Sun, 01/08/2017 - 23:26

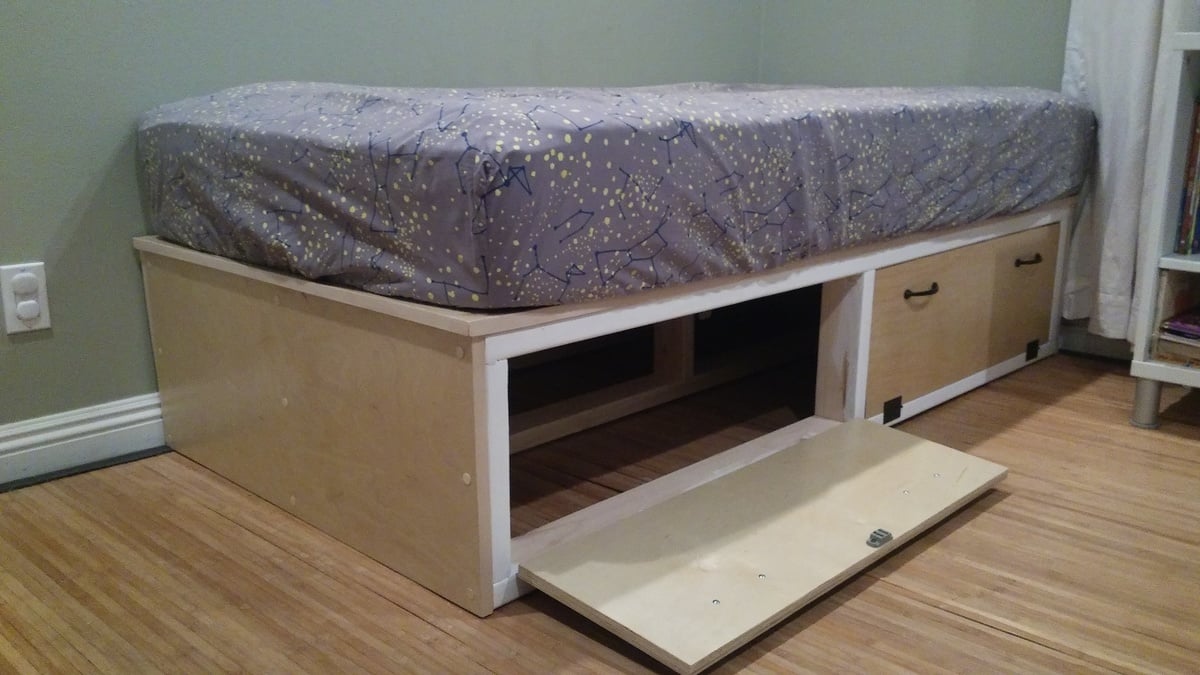
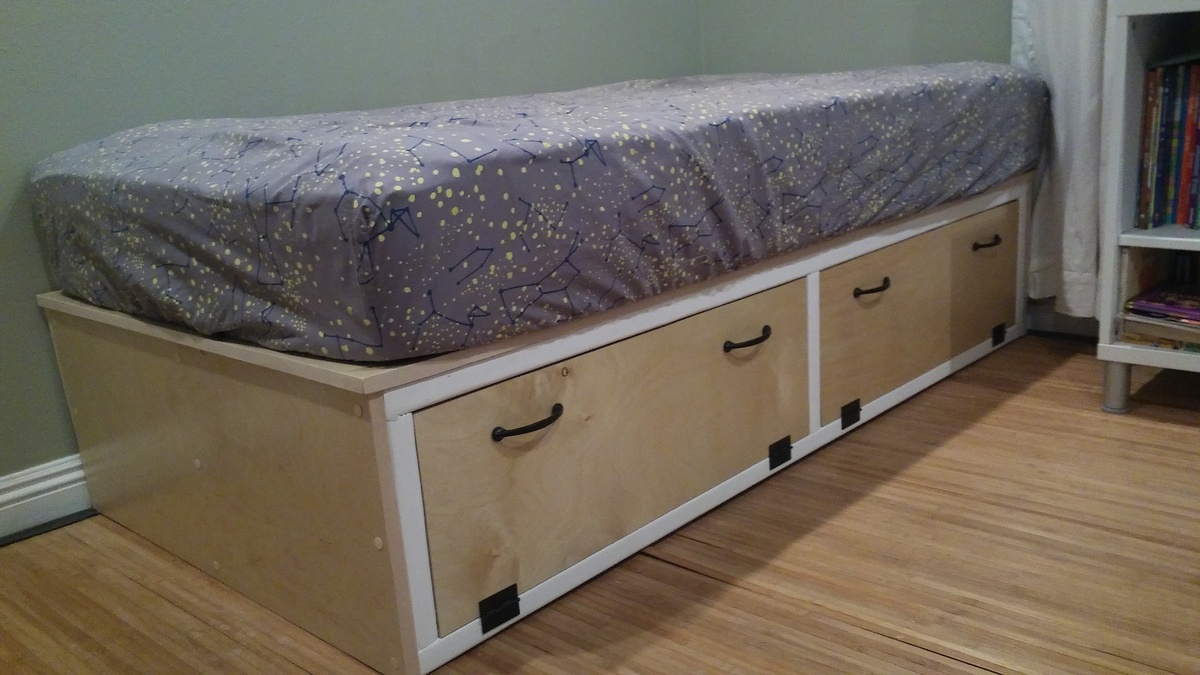
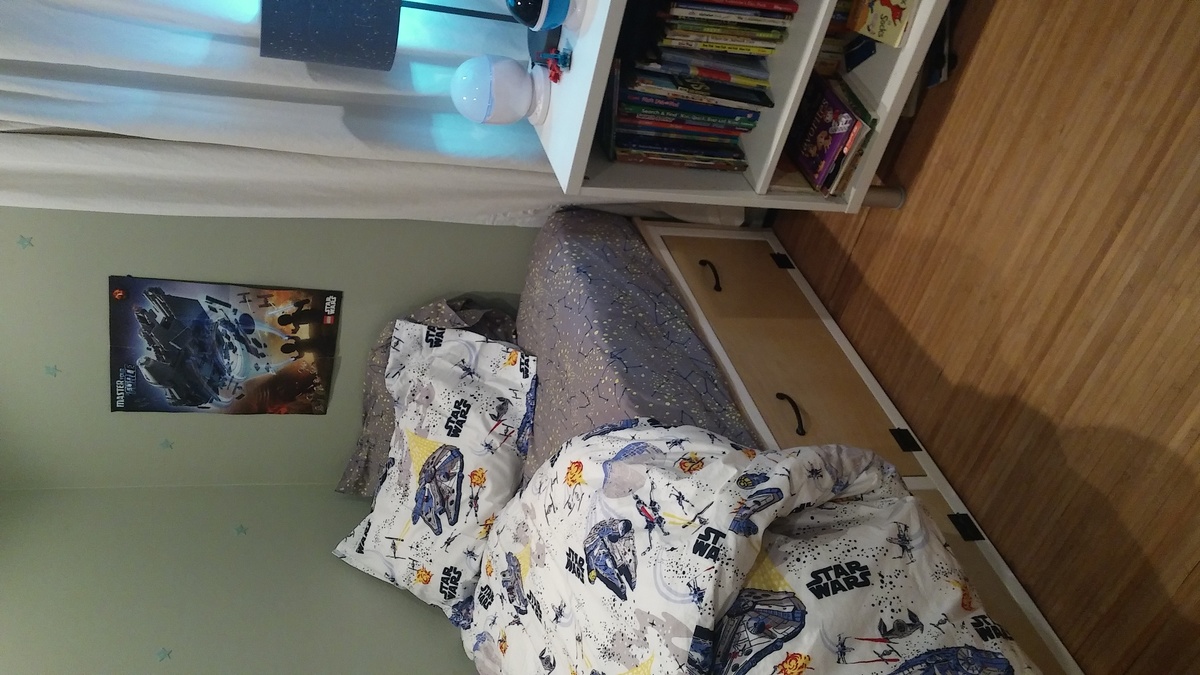
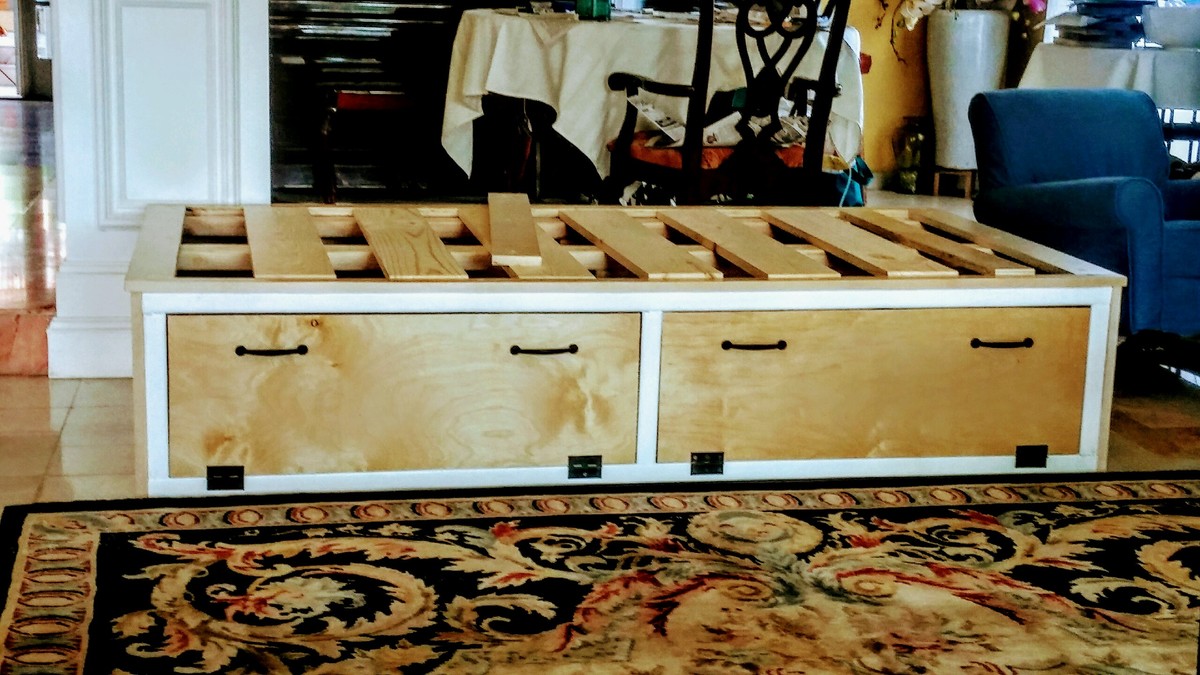
My Husband made this twin bed for our son off the Alaska Cabin Bed plan. 

It was easy enough for him. To complete without any mistakes. Took aprox 3 days to complete,  about $130 in lumber. He used

6 (pine)2x4's &  1 sheet of cabinet grade Baltic Birch. He added a center support beam. 

Painted a white trim around drawer fronts  coordinate with white nightstand. Used magnet clasps on drawer flaps. The bed is solid enough for us to lie down and read bedtime stories with our son, and the bed doesn't even creak a sound. Easy to slide mattress off a little and change the sheets. I would highly reccomend this plan to others. 

Estimated Cost
$130.00
Estimated Time Investment
Weekend Project (10-20 Hours)
Finish Used
No finish on baltic birch. Painted white on 2×4's.
Recommended Skill Level
Beginner

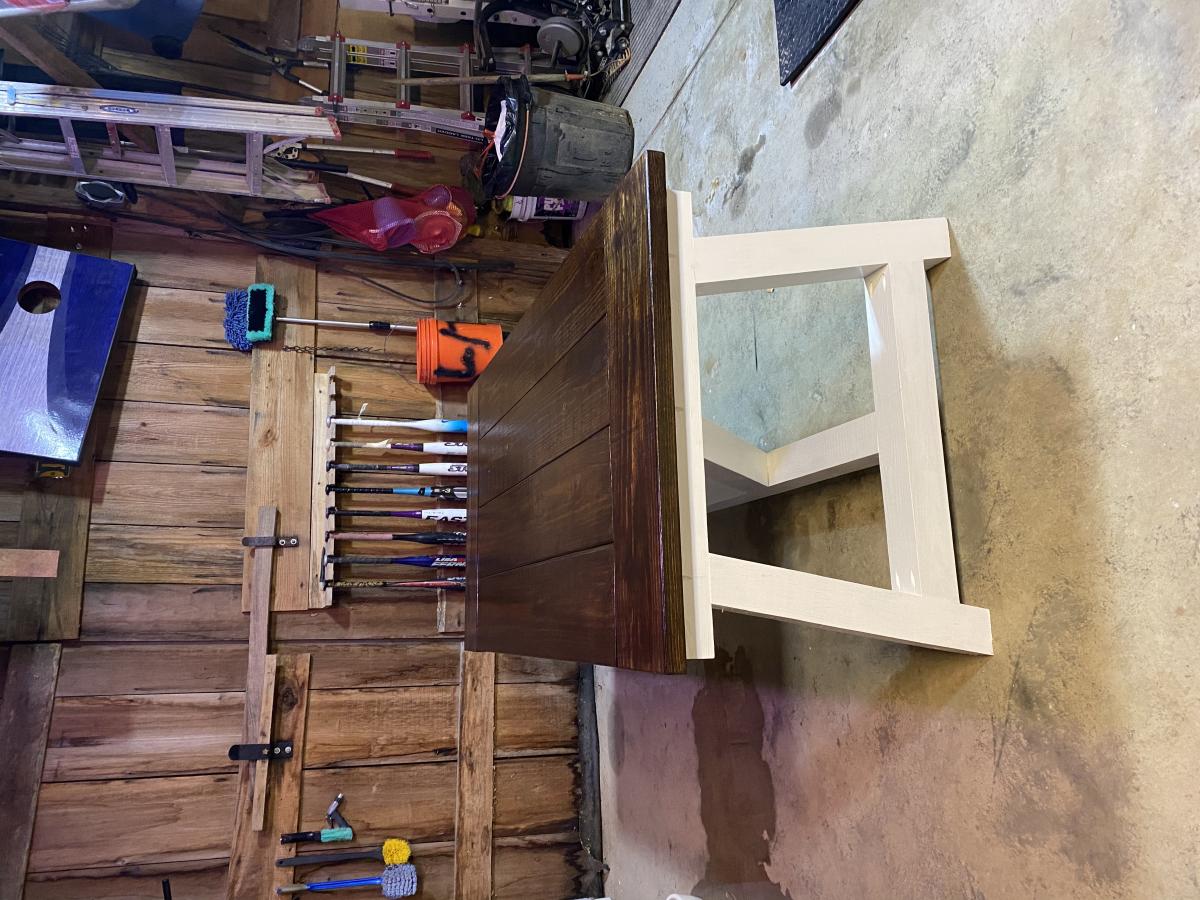
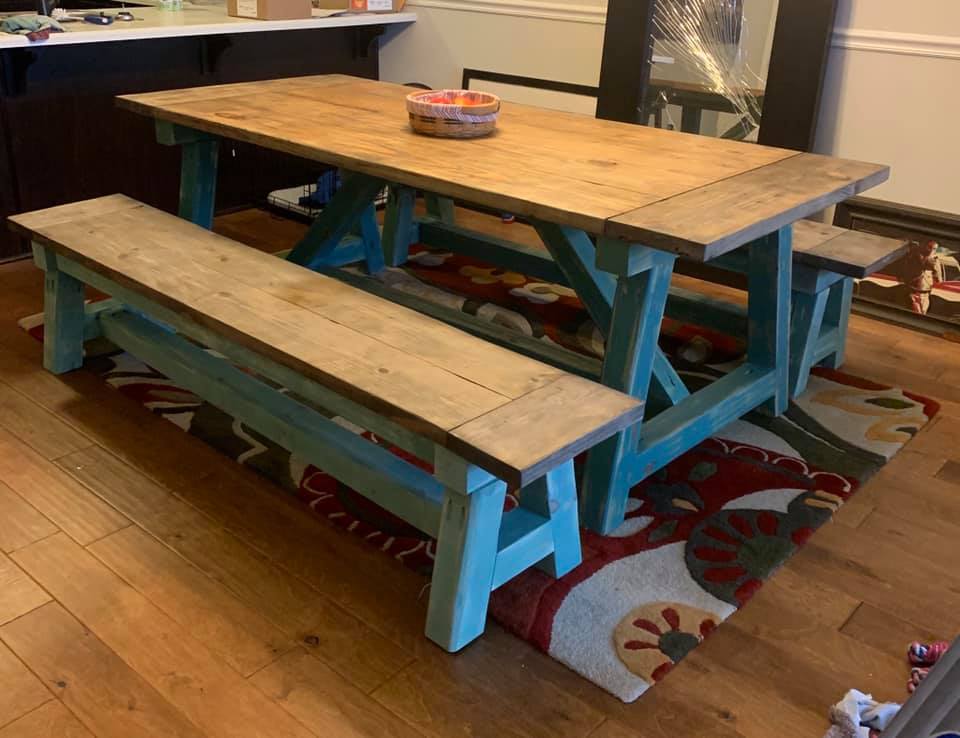
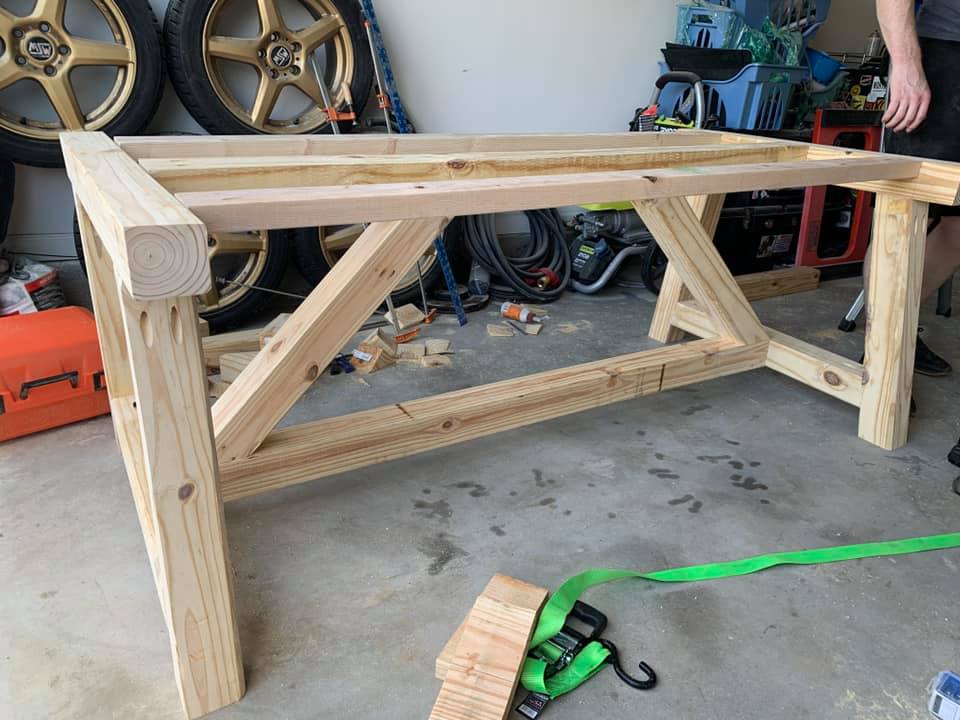
Truss 4x4 Farm Table

Submitted by iamjulz622 on Sun, 09/20/2020 - 19:07

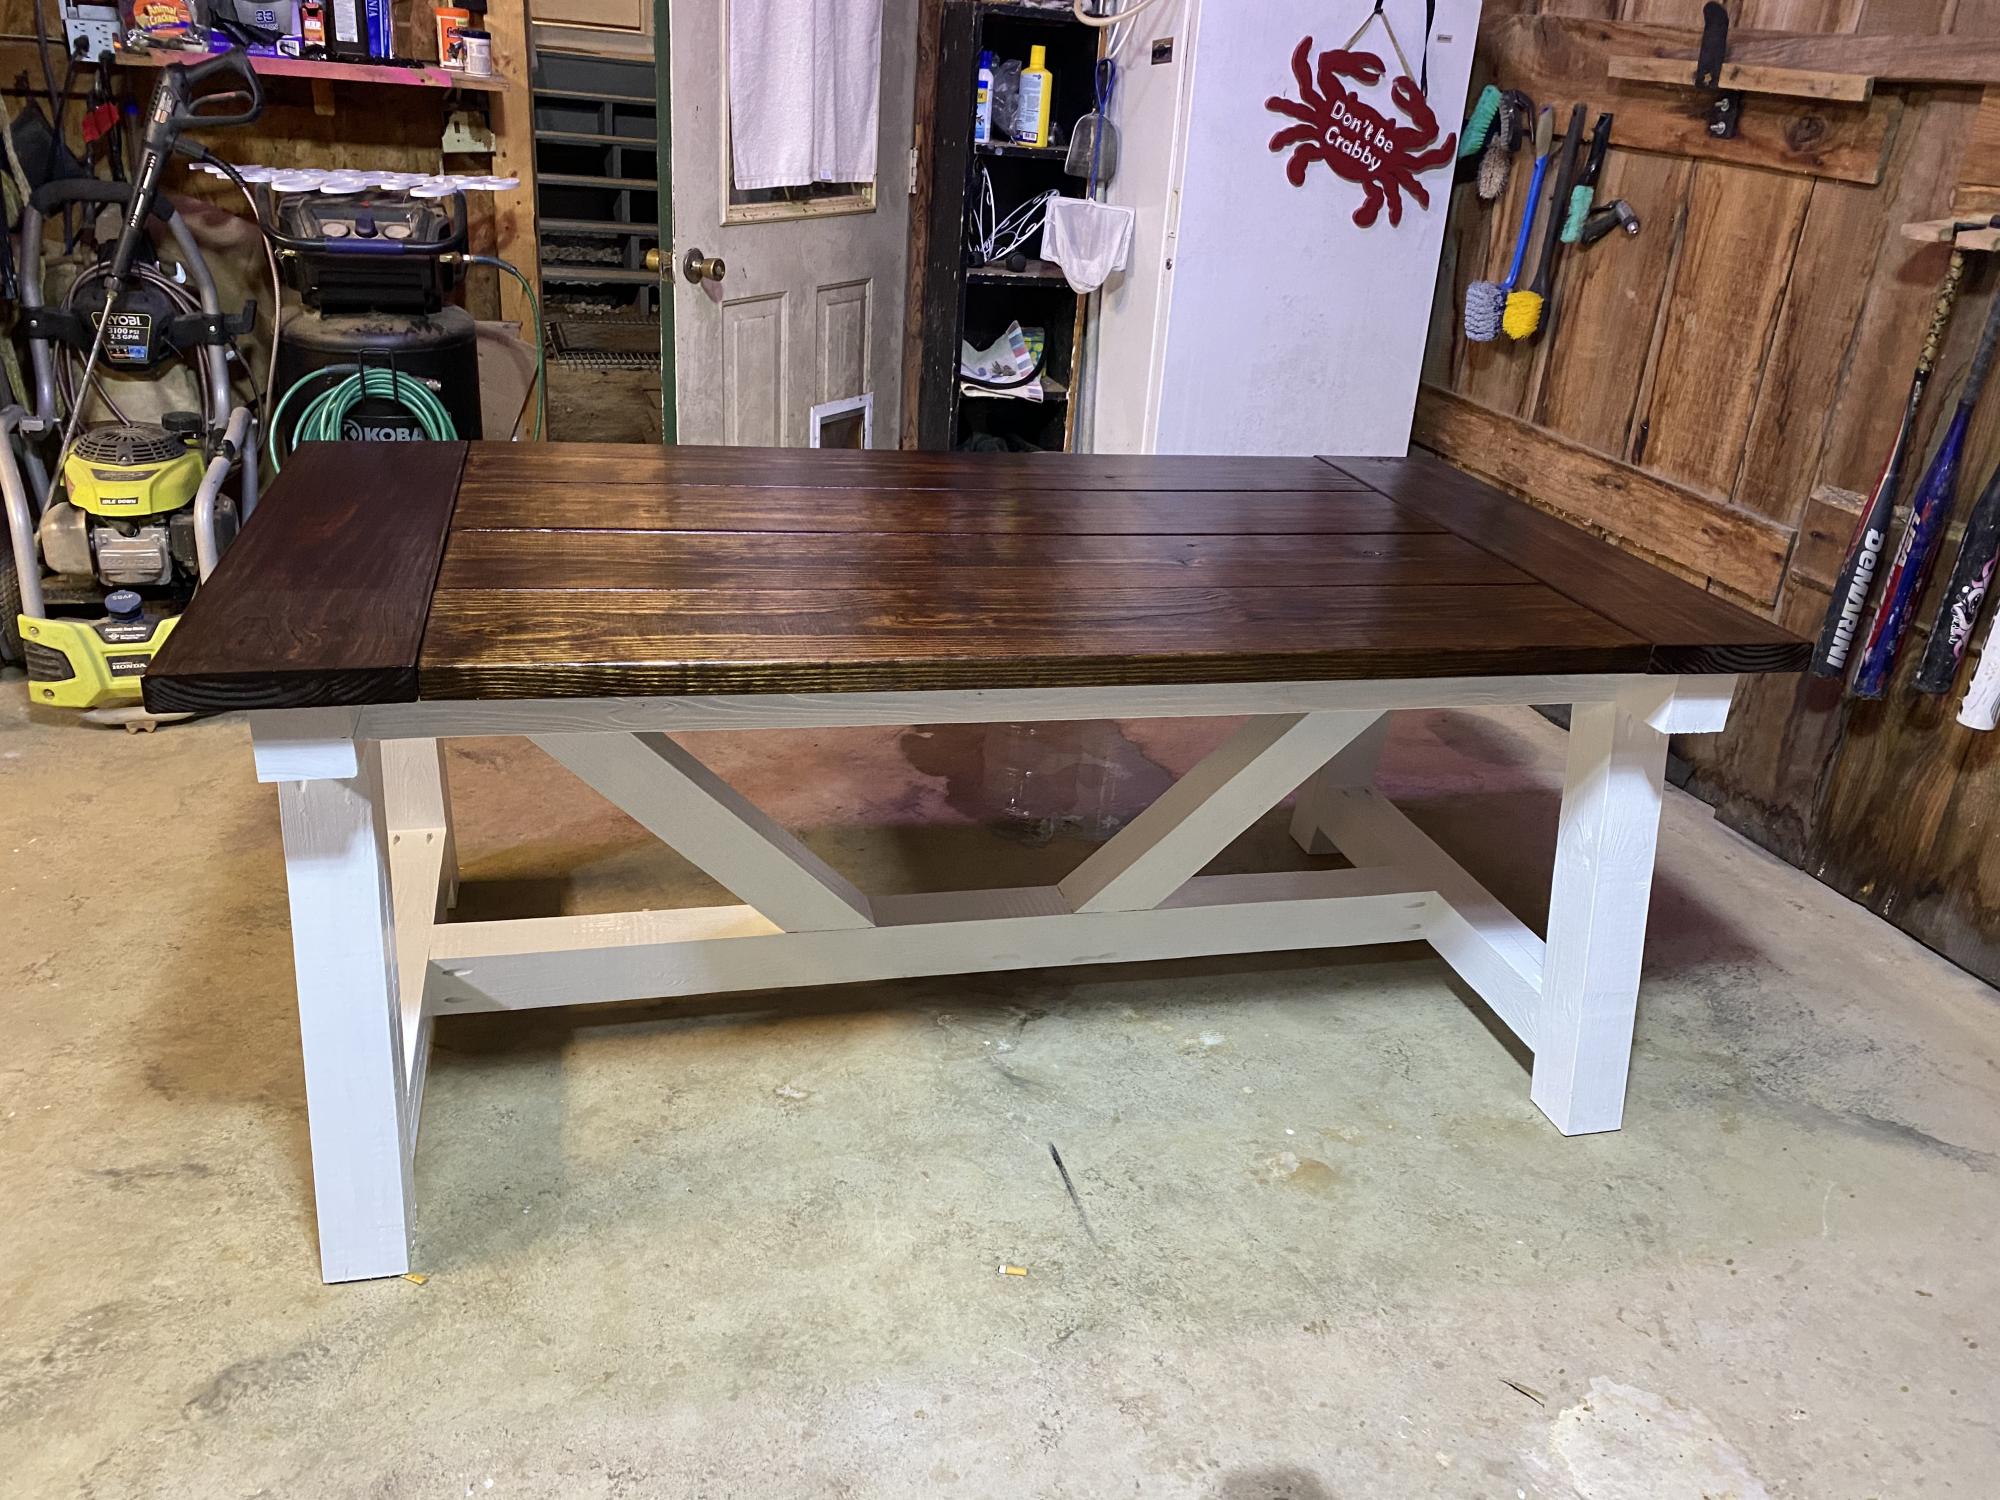
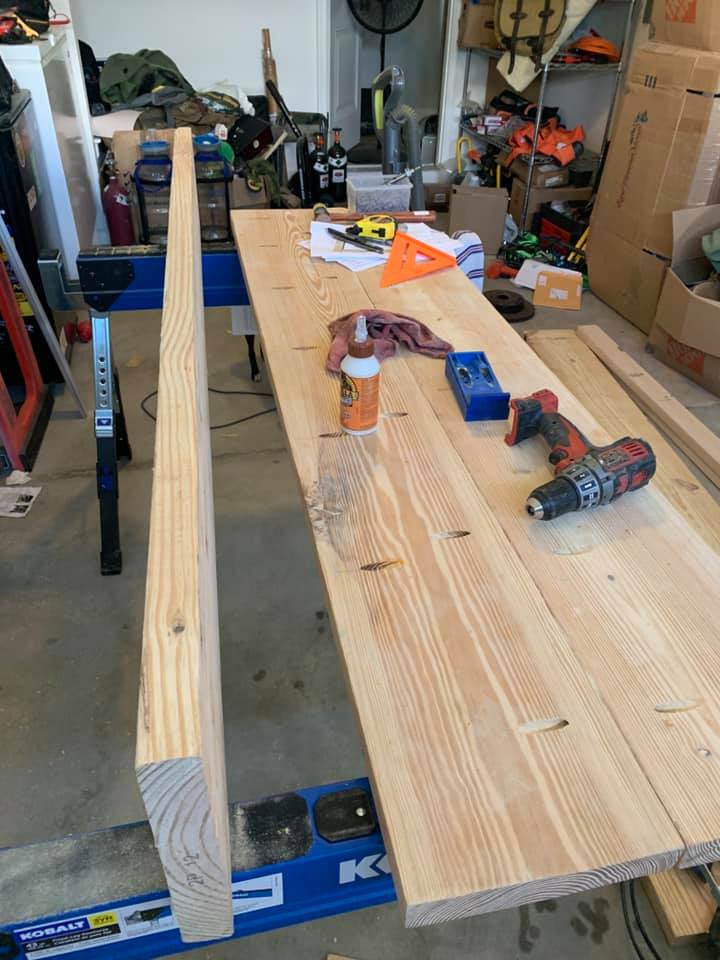
I love this site and the user friendly plans. I used the suggestion of turning the 2x4’s but I think it would have been better to have more to screw the top boards to if I hadn’t.

Estimated Time Investment
Week Long Project (20 Hours or More)
Finish Used
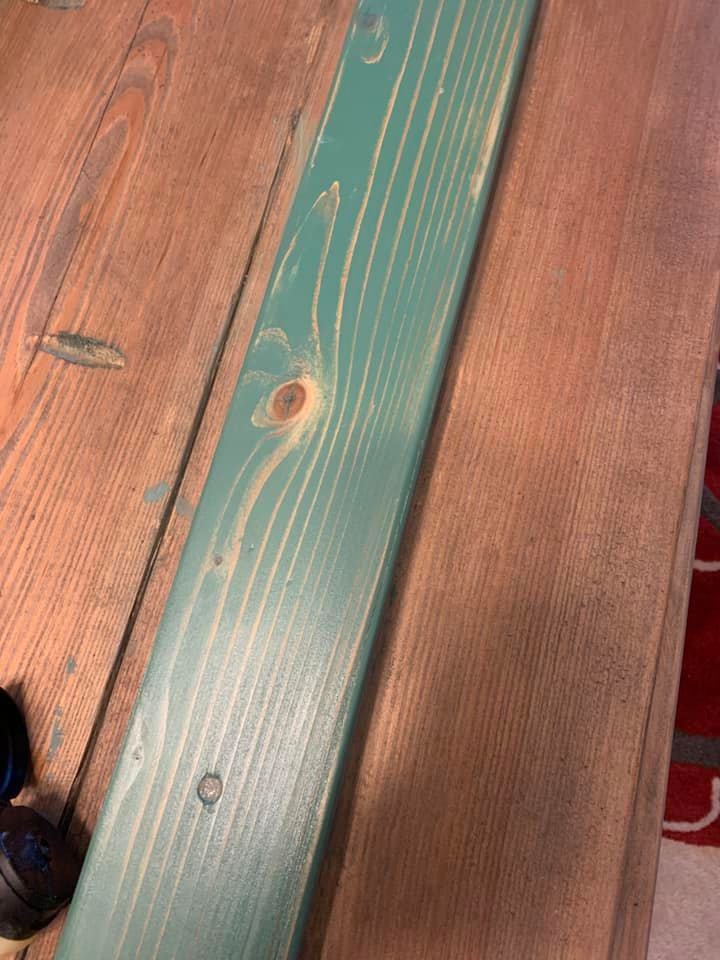
White paint, stain and sealant.
Recommended Skill Level
Intermediate

Comments

Large Outdoor Sectional

Submitted by Anonymous (not verified) on Mon, 10/14/2024 - 15:00

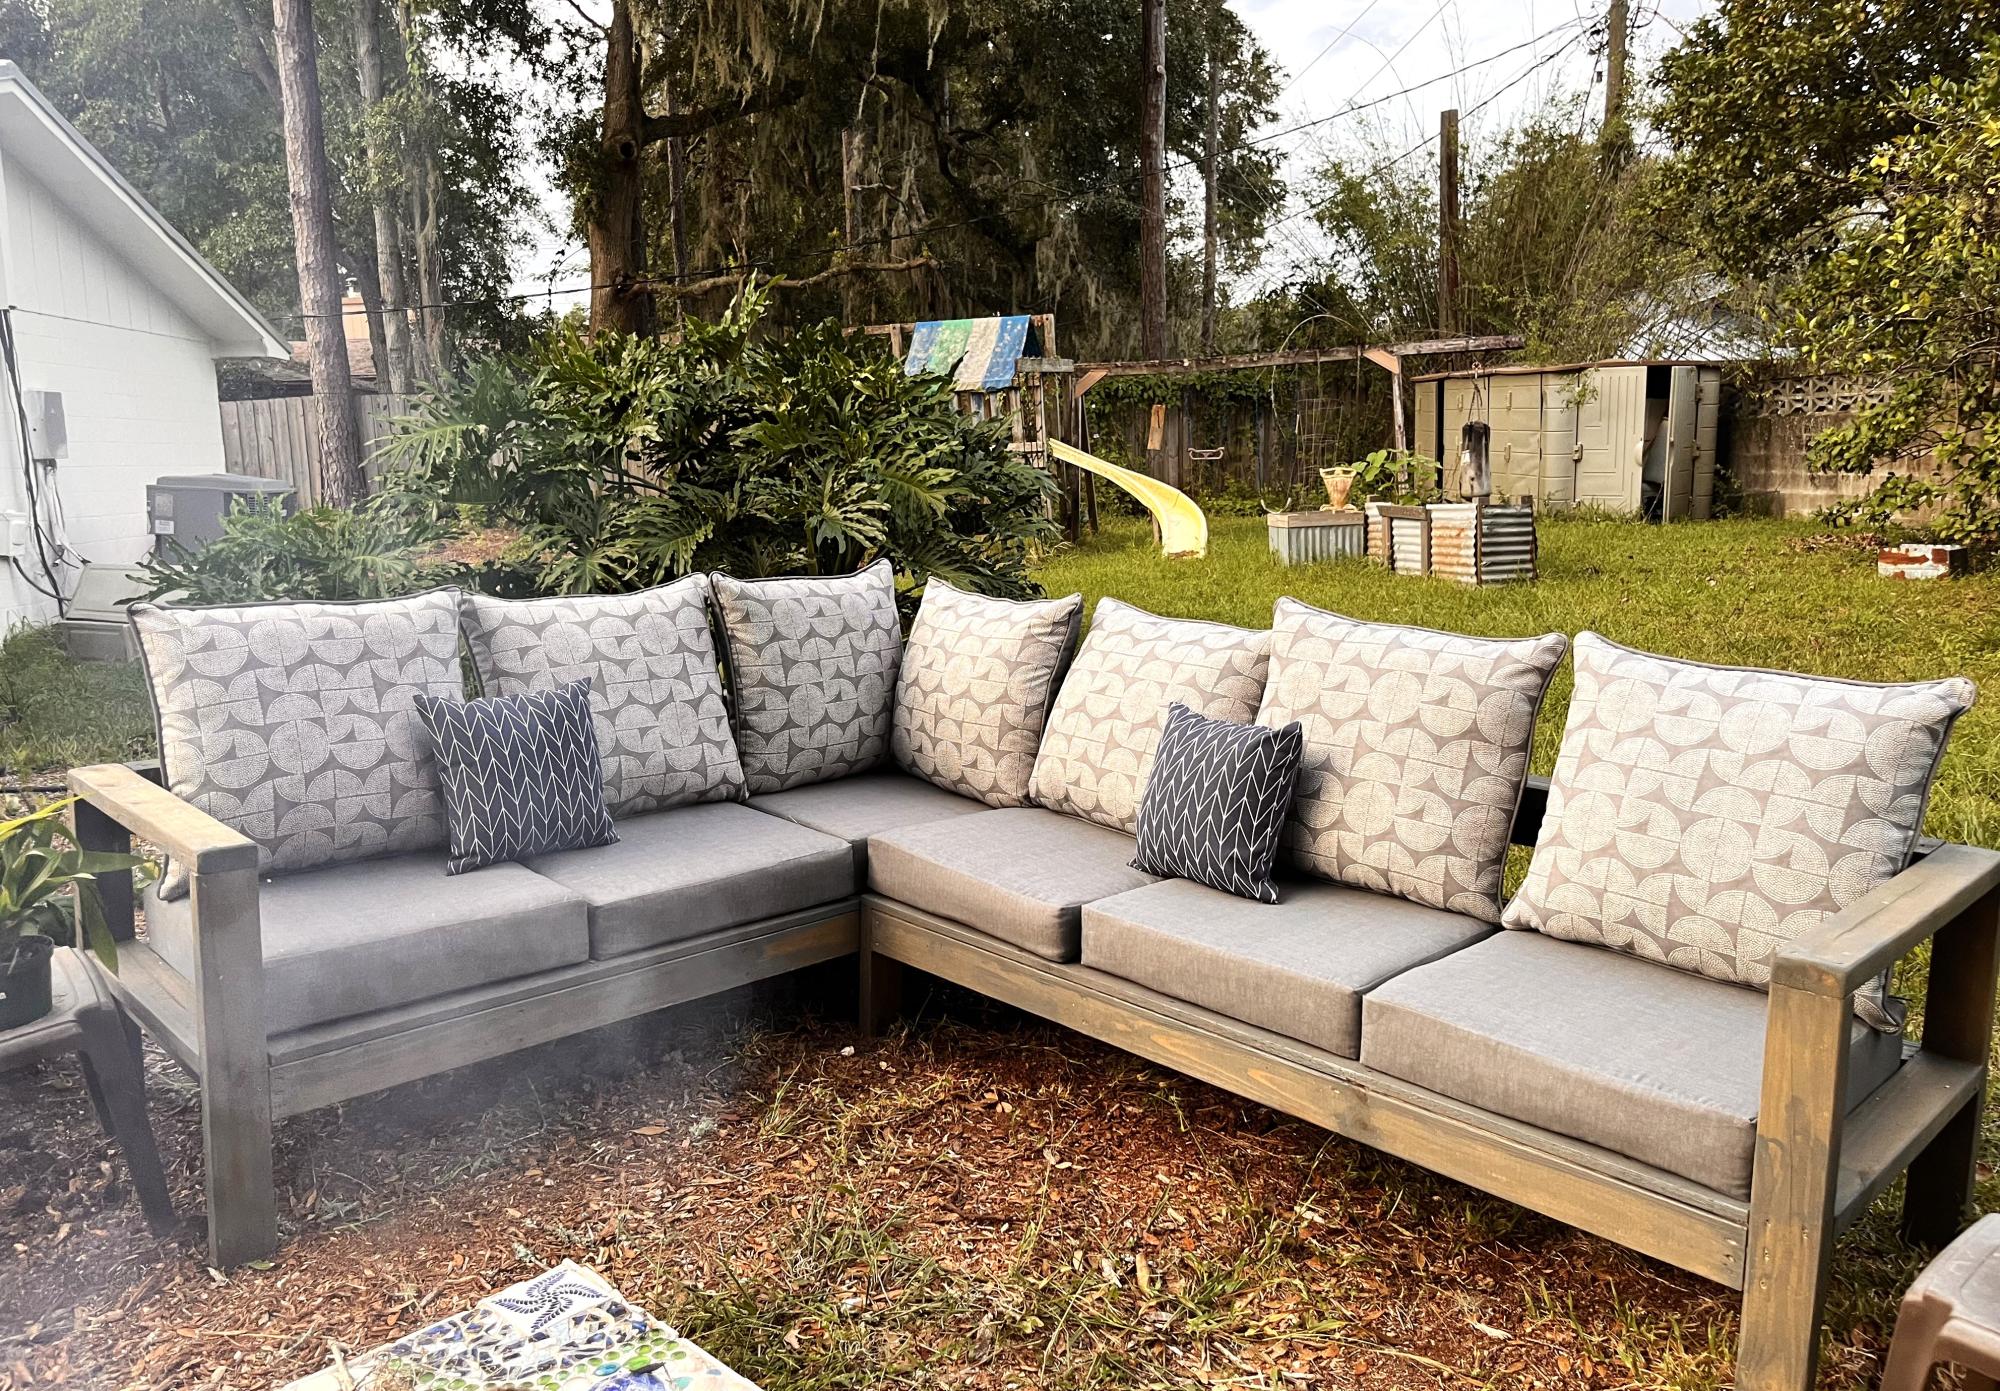
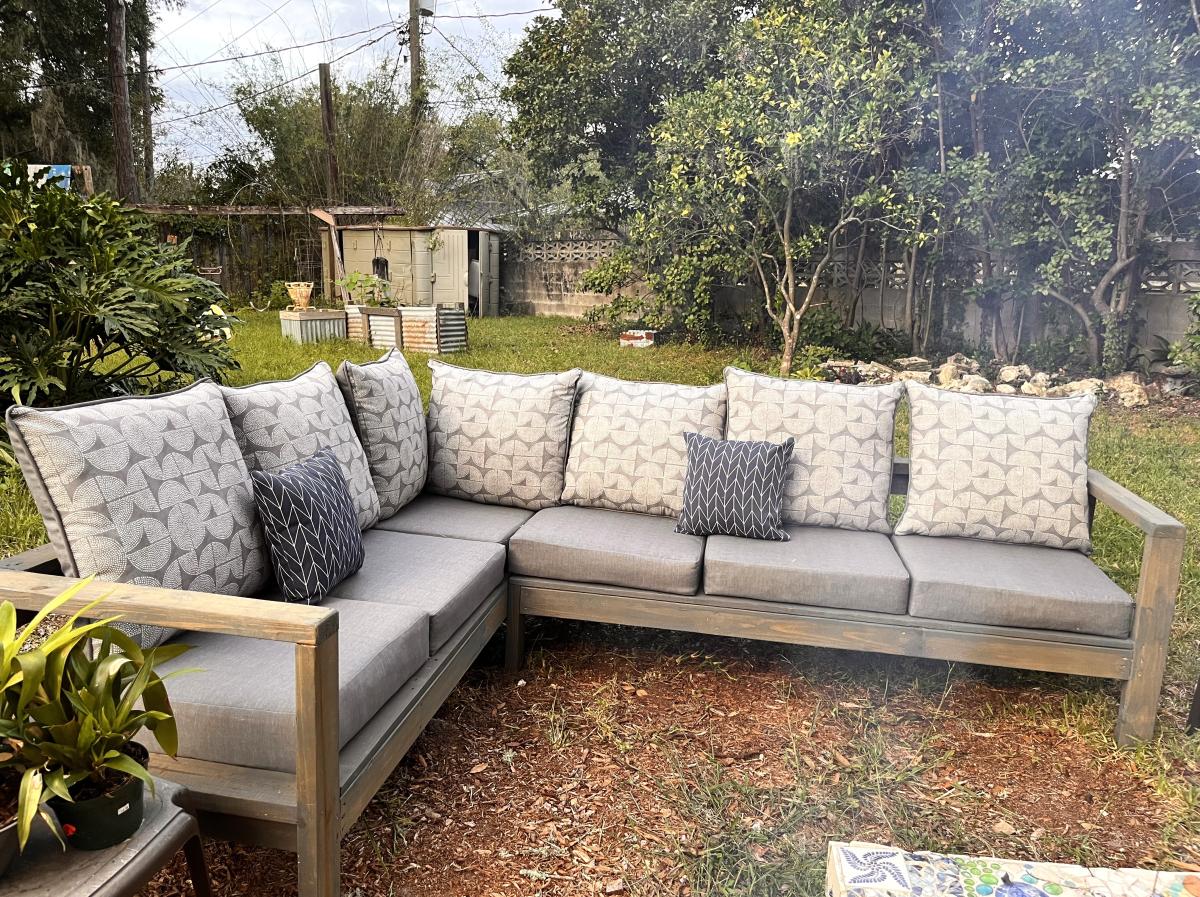
I used the plans for the outdoor sofa/ sectional. It was very easy to do by myself, although there are a few times an additional hand would have been helpful. I made the base in my garage and then finished it in my backyard. I also reused some old 1x 6 decking for the bottom where you put the cushions. My is all made of pressure treated wood since I live in Florida and it rains almost daily. I purchased an L-shaped waterproof cover online. I couldn’t be happier.  Thanks for an easy design. - Marsha M.

Seasonal And Holiday

My Perfect End Tables

Submitted by Mrs.Ajj on Fri, 12/14/2012 - 18:06

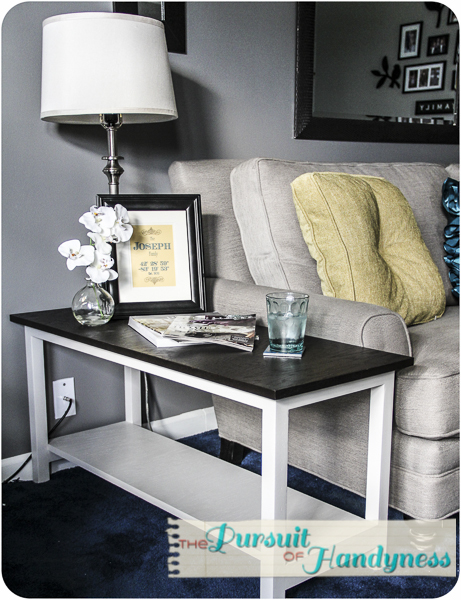
I used Cedar balusters instead of furring strips.

Built from Plan(s)
Estimated Cost
$50
Estimated Time Investment
Weekend Project (10-20 Hours)
Finish Used
Rustoleum Ultimate stain in Kona and paint.
Recommended Skill Level
Starter Project

Comments

A-Frame Chicken Coop

Submitted by winelass on Thu, 09/25/2014 - 07:59

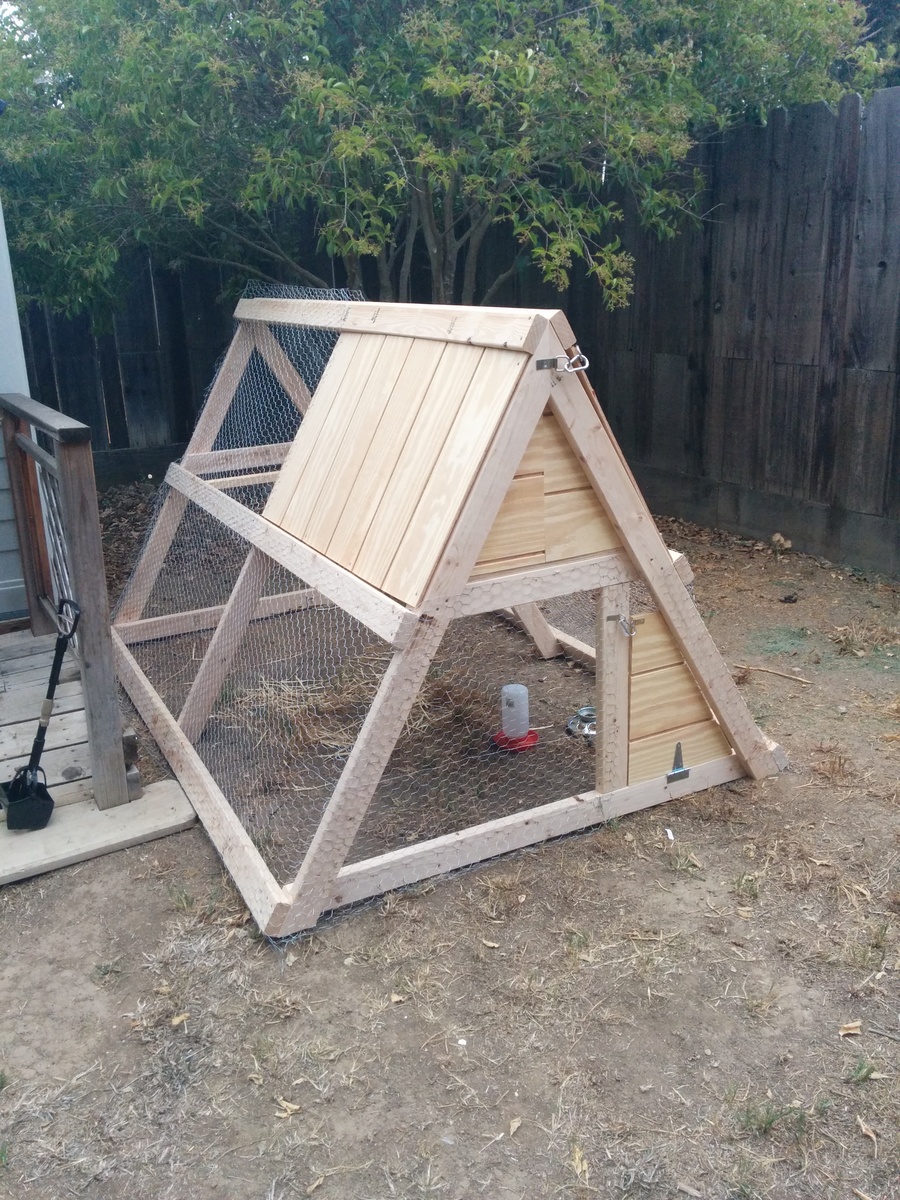
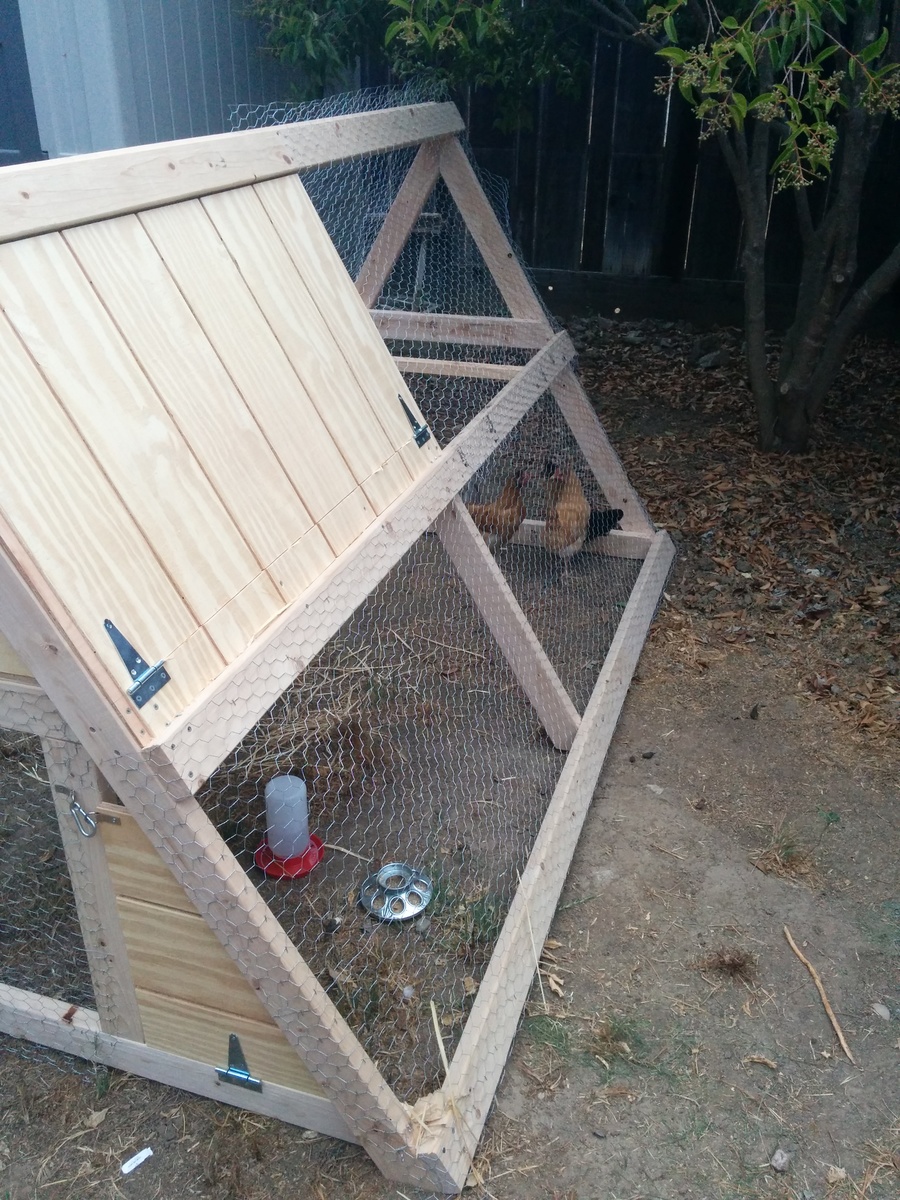
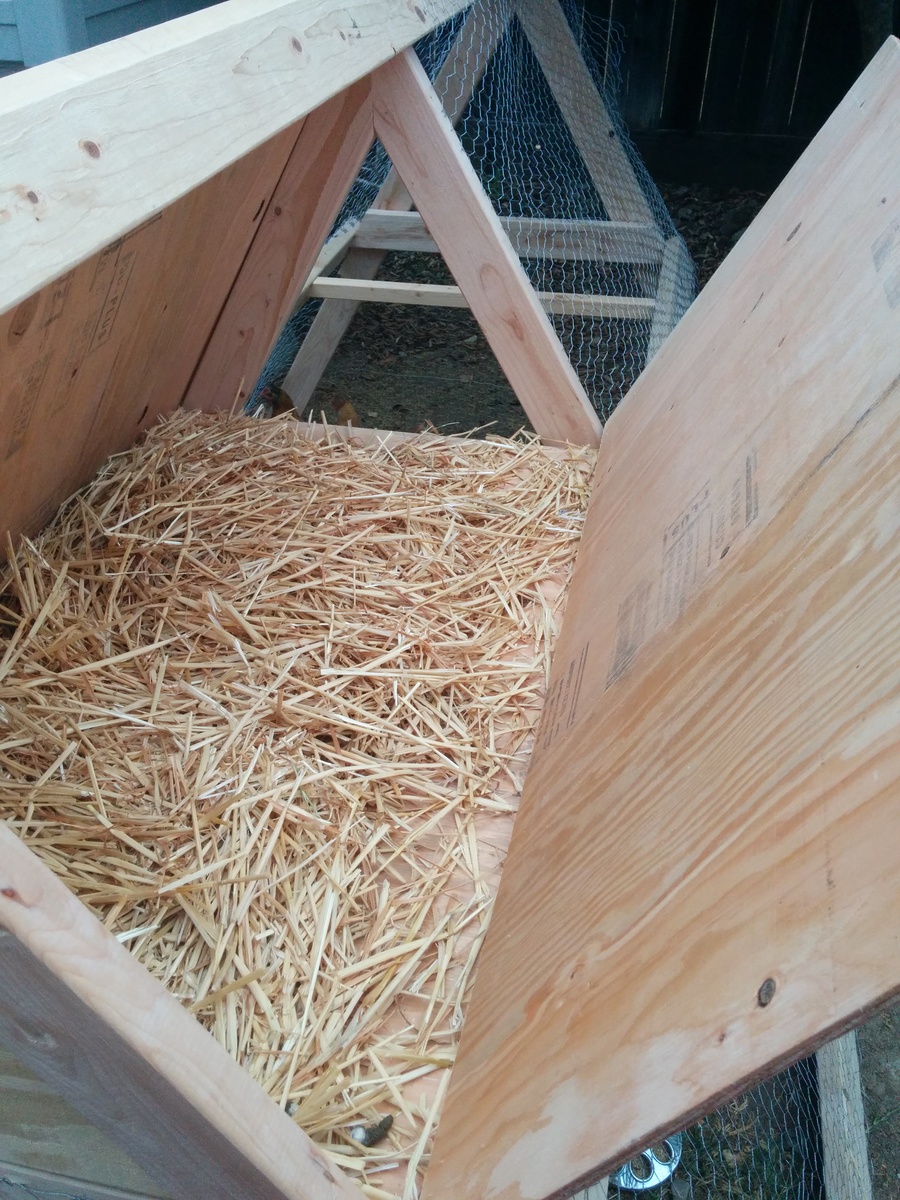
We followed all the original plans and added a few modifications. Chickens seem happy! We dropped the height of the nesting box down a little and made the roof only cover half of the coop. We live in California on the central coast so it doesn't get too cold. We also only made one side of the nesting box able to be opened. We added a little door on the bottom level with left over t 1-11 for easy access to their food and water and in the hopes that eventually we will let them roam our yard supervised during the day.

All in all the project cost us about $150 and took 4.5 hours to complete! Thanks for the great plans!

Built from Plan(s)
Estimated Cost
$150
Estimated Time Investment
Afternoon Project (3-6 Hours)
Finish Used
None
Recommended Skill Level
Starter Project

My Wife's sewing table

Submitted by Anonymous (not verified) on Tue, 01/10/2017 - 10:37

This turned out to be a great project.  In the end it took far more time than I thought.  I used Mahogancy and Maple for the table top. That was expensive and costs around $250 in material alone.  I attached the boards together with Kreig Screws.  It took around 120 screws to get it all done.  

There are a few things I would do differently.  I would not use 12 inch wide boards.  They are all warpped or cupped.  I would either use birch veneer plywood or I would use 4 to 6 inch boards, straighten the edges on a table saw and then glue them together.  There are YouTube videos that show how do to that.  The 12 inch boards just did not cooperate and I really had to struggle to deal with the twisting and cupping. And, I hand picked what appeared to be straight boards.  

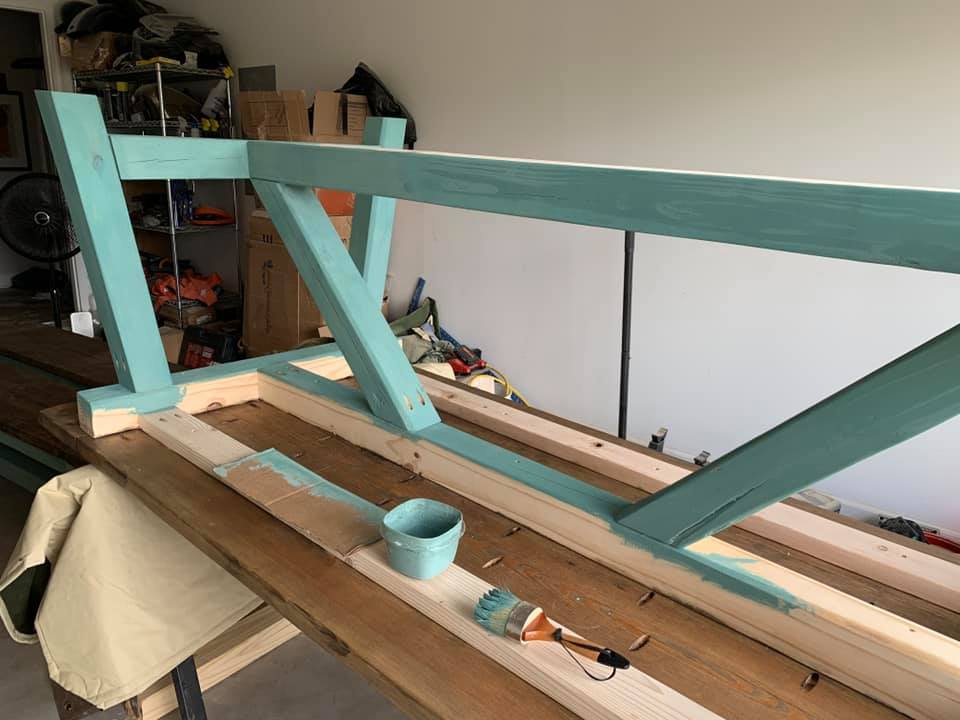
The top took a lot of sanding.  The Krieg system states that glueing is not necessary.  However, that is really not accurate when using different kinds of wood of this length.  So, the edges raised up and needed some serious sanding.  I also should have cut all the edges straight because after the job was done I could  see spaces between some of the boards.  Not a big deal but just somehting to take note of.  All together this took around 50 hours.  I also used a router to cut the shelf supports, (a challange in cupped wood) and I put some extra mouldings on to cover up the cupping and warping in places.  Then we painted it white with aqua trim and decided to re-do the color to dark blue.  

My wife loves the table and it looks great and no one knows about the mistakes but me. It is a great design and very functional.  I really like the hardwood top. 
Estimated Cost
$500
Estimated Time Investment
Week Long Project (20 Hours or More)
Finish Used
Oil stain on the top and paint on the bookshelfs
Recommended Skill Level
Beginner

First project, Truss table and benches

Submitted by wbengle77 on Wed, 09/23/2020 - 08:34

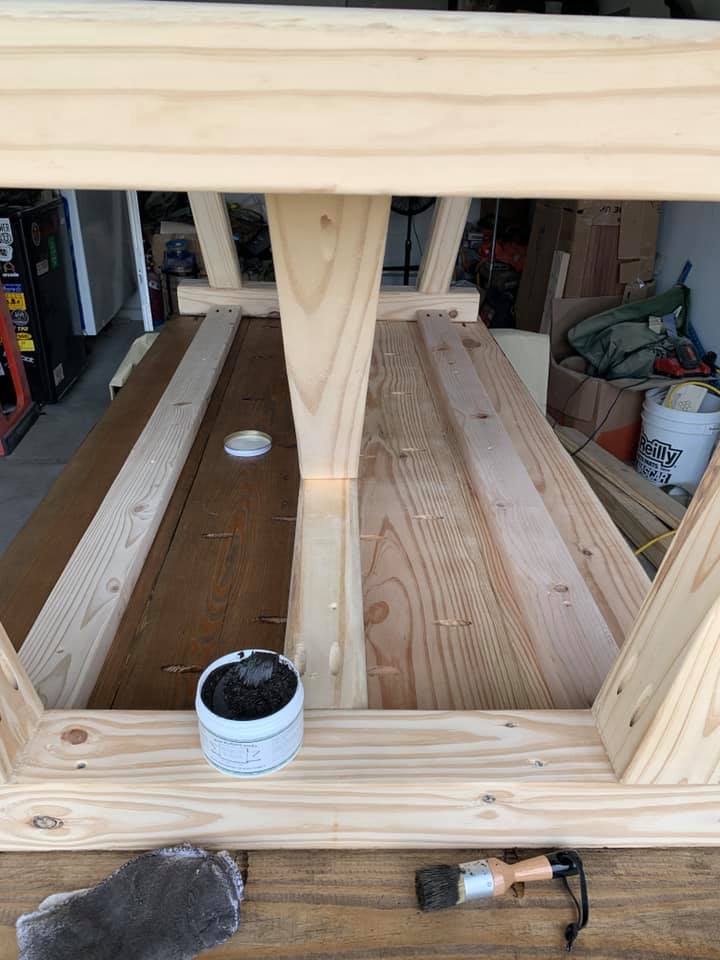
I followed the directions for every step but the down strut supports in the middle of the table. I reversed them purely for aesthetic reasons, I thought i looked better that way.

Built from Plan(s)
Estimated Cost
280-320 depending on finish
Estimated Time Investment
Weekend Project (10-20 Hours)
Finish Used
I used an antiquing wax, milk paint for the top and sides. Then I used butcher block oil and wax to finish.
Recommended Skill Level
Beginner

DIY Console Table

Submitted by Anonymous (not verified) on Fri, 10/18/2024 - 12:07

Build the perfect console table for your home! - by House on Hillridge

Built from Plan(s)

Comments

Seasonal And Holiday

modern park bench

Submitted by debinmi on Sun, 09/28/2014 - 11:50

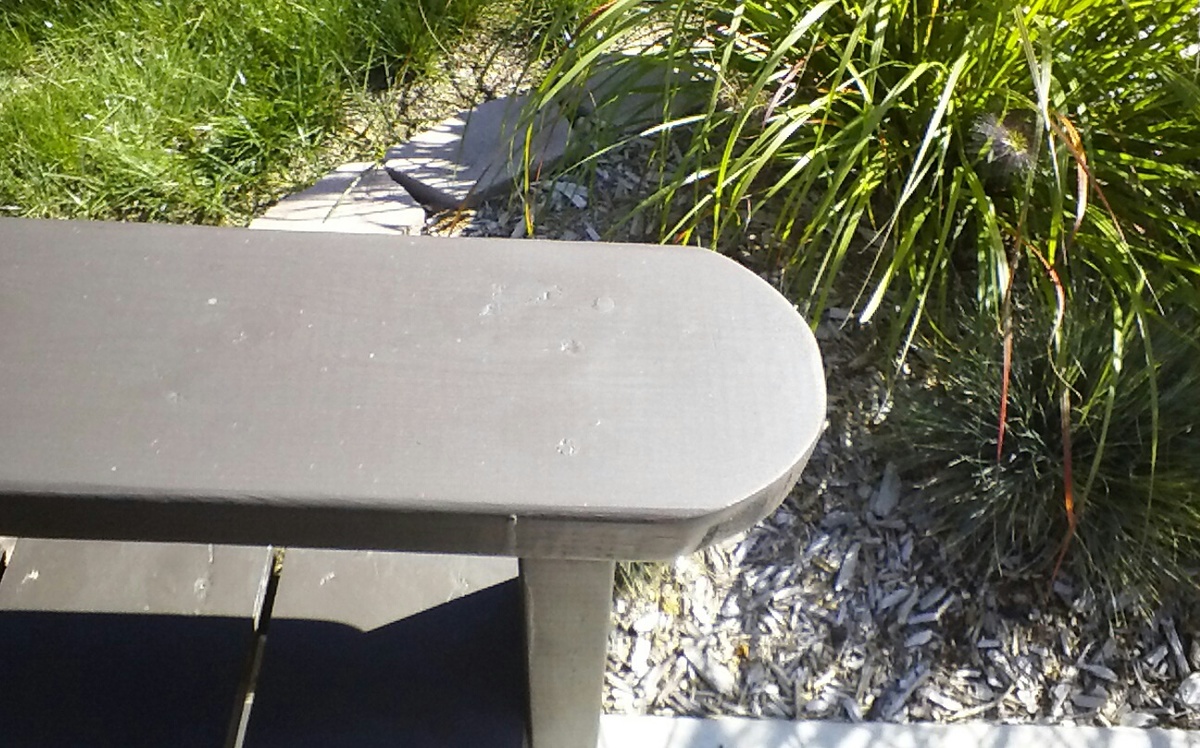
Spent an hour or so an evening after work to make this bench .  Also made the umbrella stand but haven't drilled the hole for the umbrella yet so it' s still in the garage.  Love the bench, it's long & deep enough to lay down upon.  Made the arms from a 2x6 and rounded the front w/ a jig saw, made the other end the same size as the 2x4, and made them longer than the plan. Pretty simple, did use pocket holes in places. First major build & 1st brag.

Built from Plan(s)
Estimated Time Investment
Day Project (6-9 Hours)
Finish Used
Pittsburg exterior stain in Oxford Brown
Recommended Skill Level
Starter Project
Seasonal And Holiday

Kitchen prep table

Submitted by Anonymous (not verified) on Sat, 01/14/2017 - 13:37

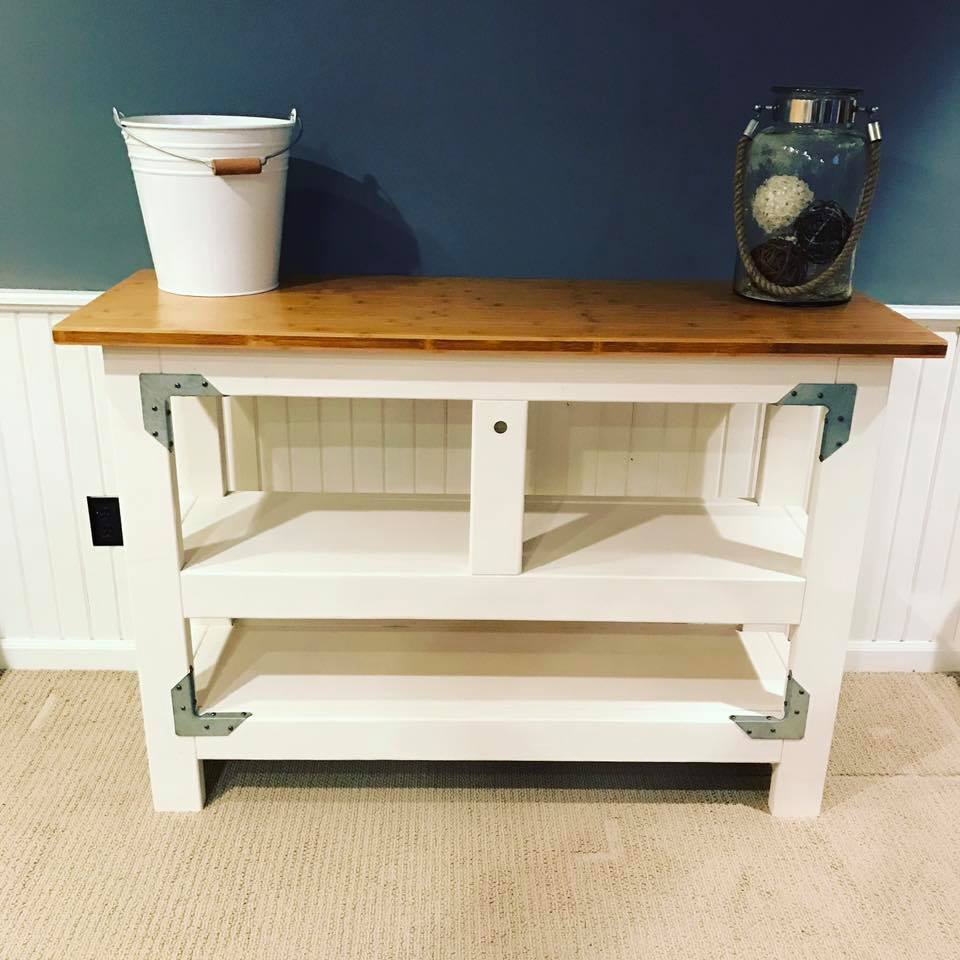
I borrowed a few ideas from multiple plans to make this prep station for a kitchen with very few countertops. I really like the strong tie hardware and I purchased a bamboo benchtop from Home Depot to finish it off.

Estimated Cost
$90
Estimated Time Investment
Weekend Project (10-20 Hours)
Finish Used
2 coats of satin white paint
Recommended Skill Level
Beginner

Farmhouse Keychain Holder

My niece collects keychains as I do, so I built her something to display her collection on!

Estimated Time Investment
Day Project (6-9 Hours)
Recommended Skill Level
Beginner

Rustic Lift Top Coffee Table

Submitted by Anonymous (not verified) on Tue, 10/22/2024 - 07:38

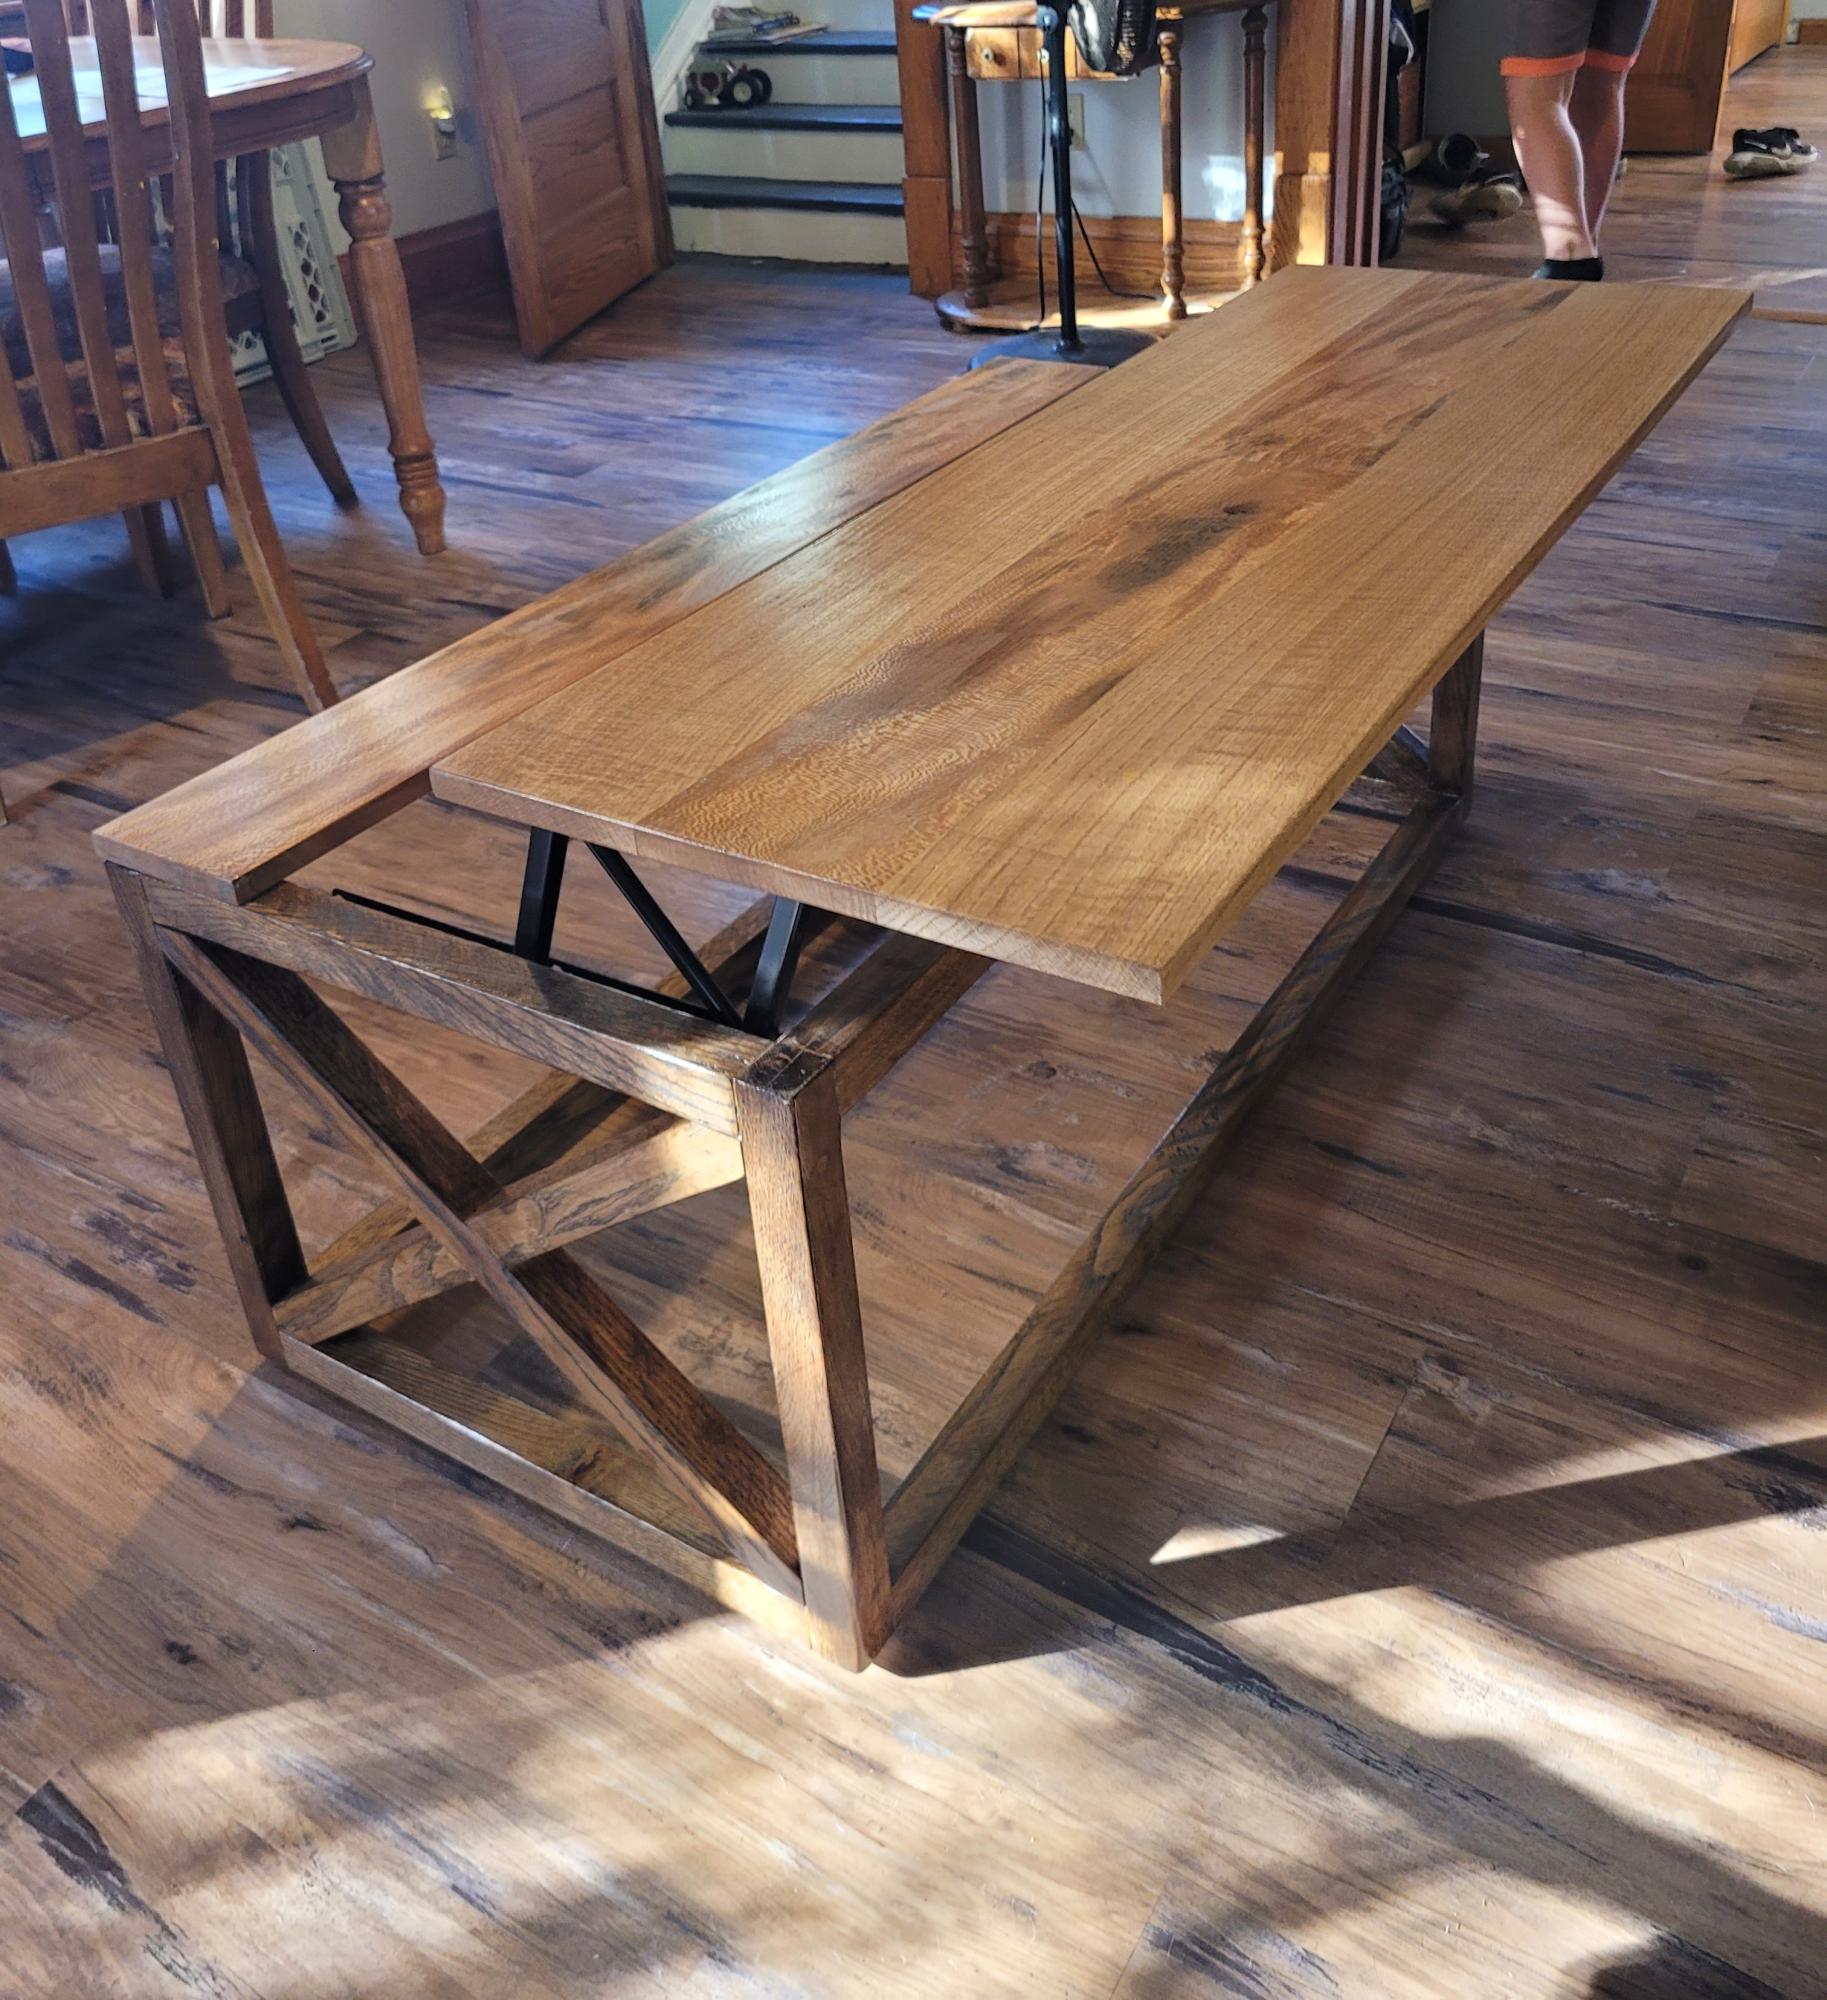
I opted to stagger 2 different kinds of wood on top for a little pizzazz. The lift hardware didn't line up well and ended up needing a spacer inside to glide smoothly (link was out of stock so I went rogue), but now it's lovely. I chose the X brace with no bottom and left the natural wood with stain. My dad helped me do biscuit joints for the top and mortise/tenons in the frame. Overall I love it! - Brooke

Flight of the Bumble Bee

Submitted by Richcctx on Sun, 12/23/2012 - 18:48

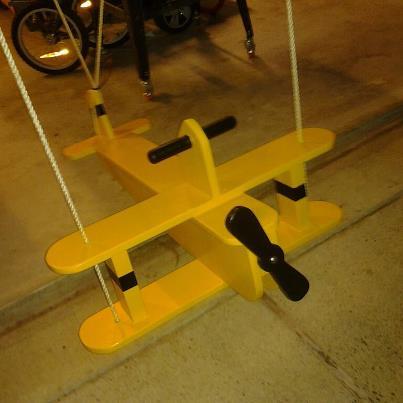
I saw the plan posted on this site and had to bulid this for my grandson Paulie. The whole build took one day from start to fininsh. I didn't have to spend much for the project since I already had most of the material on hand. I used a tabel saw, Jig saw, and Miter saw to make all my cuts as directed by the plans. I found the project plans to be very simple to follow. I can't wait to see the look on my grandsons face when he sees this on Christmas day.

Respectfully,

Rich

Estimated Cost
$15.00
Estimated Time Investment
Day Project (6-9 Hours)
Finish Used
Enamel Paint
Recommended Skill Level
Intermediate

Comments

Bathroom Storage Tower

Submitted by mom of 4 on Thu, 10/02/2014 - 21:53

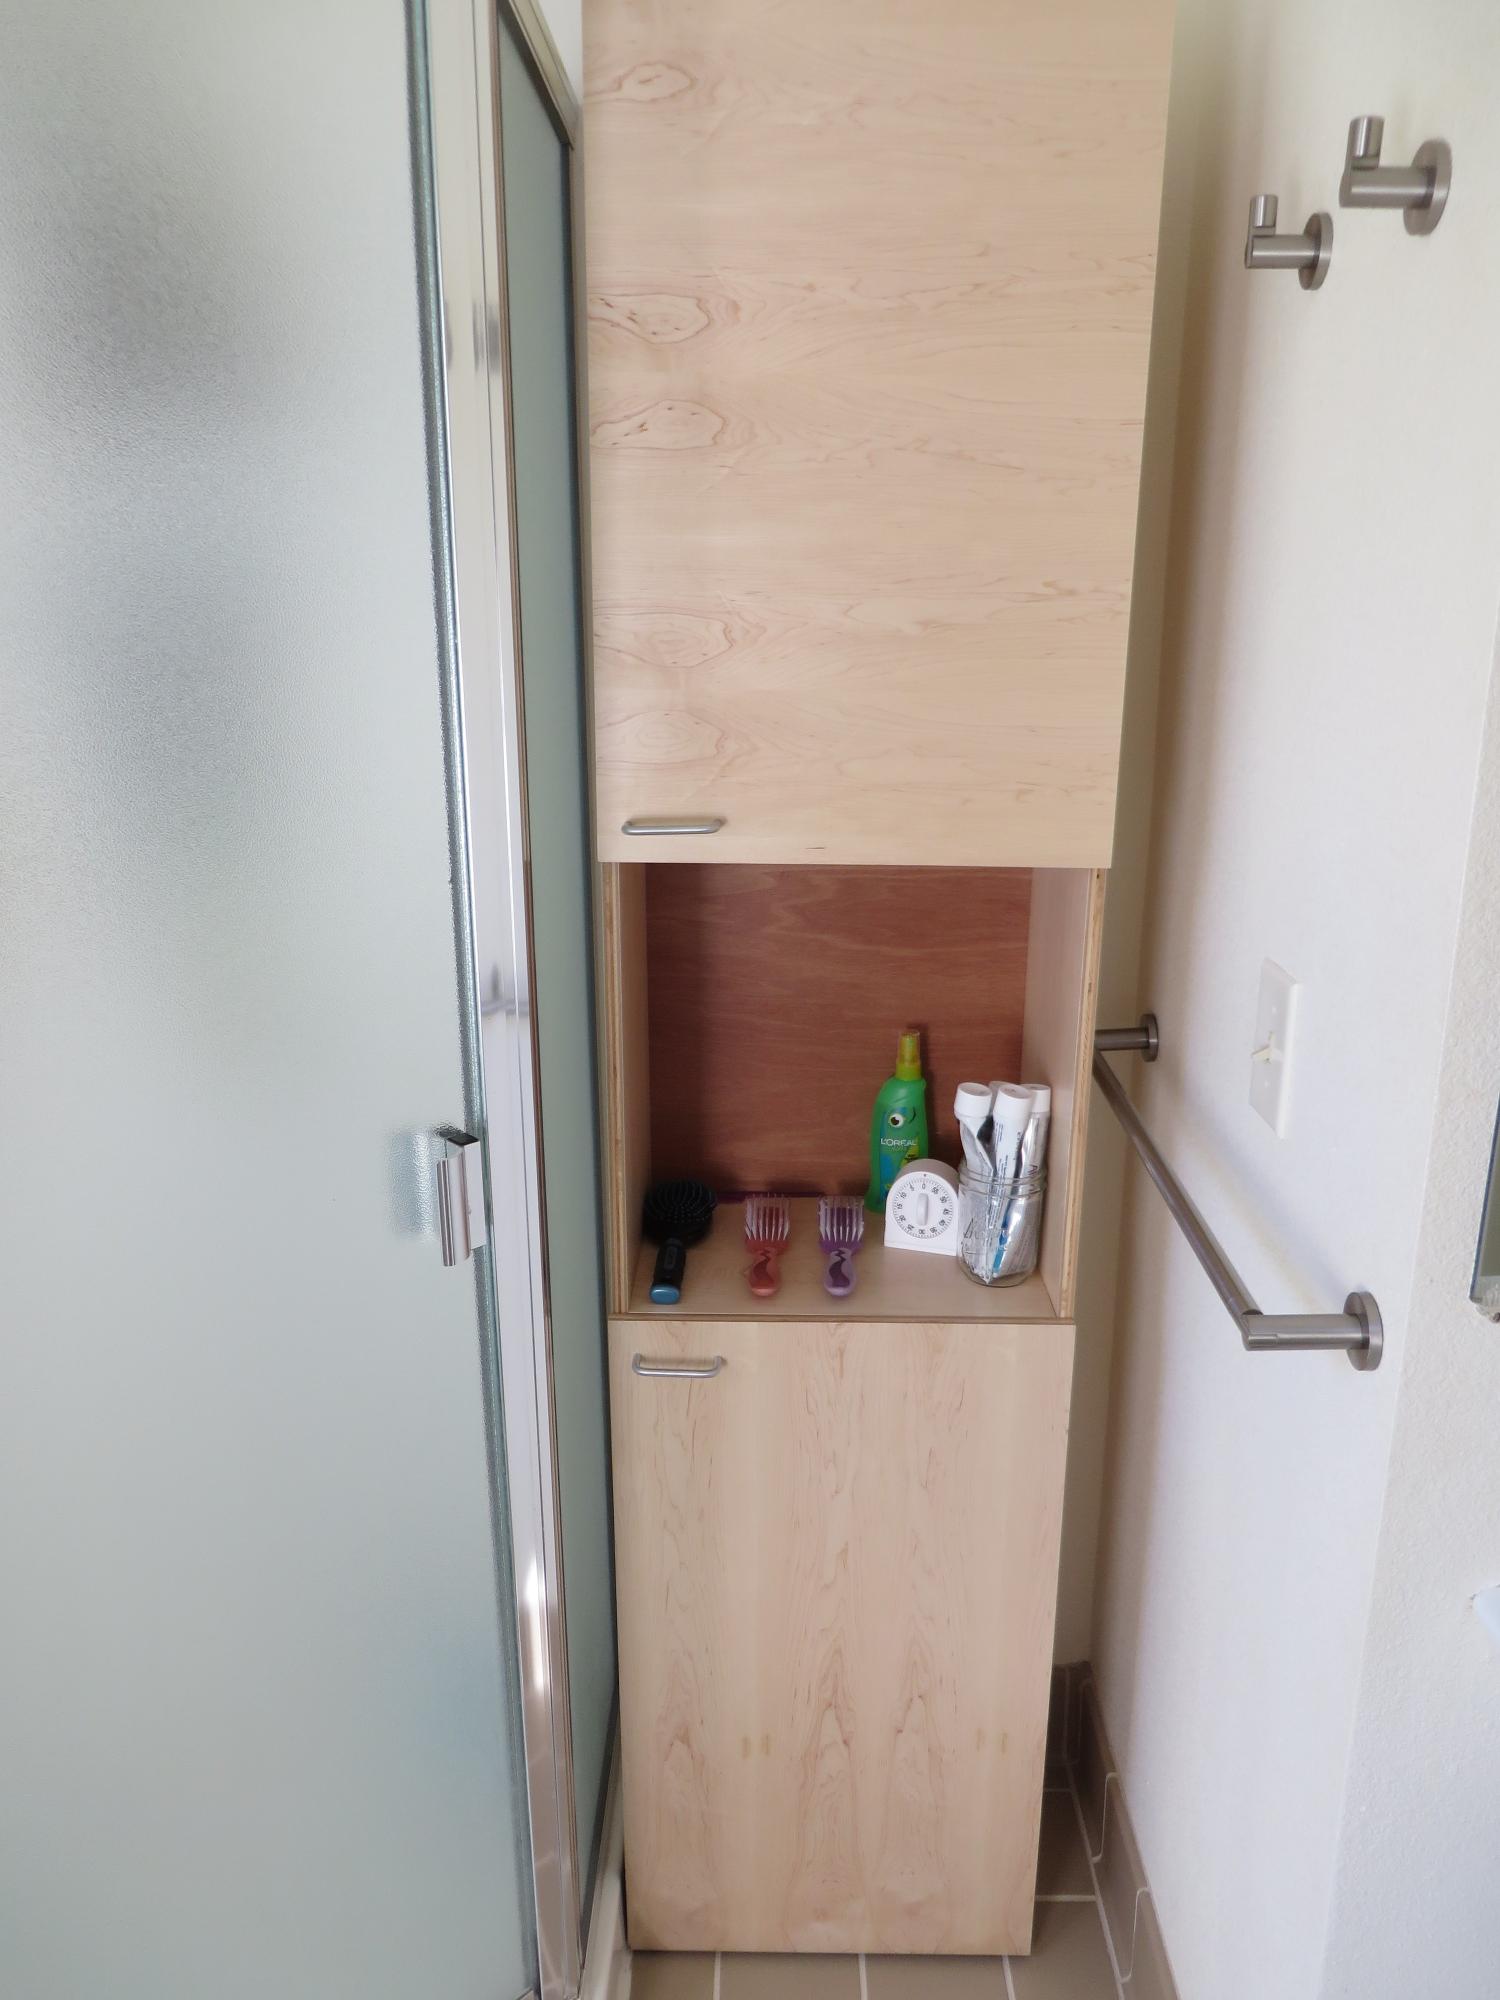
I designed this closed storage unit for my main bathroom. Two adjustable shelves behind each door make storage very flexible. The open middle shelf is tall and easily accessible for items used multiple times a day.

I built this with a single sheet of plywood. I splurged on nice hinges for a full-overlay door.

I drilled my shelf pin holes using a piece of pegboard as my guide, and some painters tape to mark the depth on my drill bit so I didn't drill too deep.
Getting the doors to hang straight was one of the hardest parts! I apologize that the pictures are all sideways, I don't know how to fix it.

Estimated Cost
Plywood and backing- $40
Hinges - $16
Handles - $3
Rust-Oleum Half Pint Ultimate Satin Polyurethane - $7
Shelf pins - $4
Total Cost - $70
Estimated Time Investment
Weekend Project (10-20 Hours)
Finish Used
3 coats of Rust-Oleum Ultimate Satin Polyurethane, sanding before first application and before final application.
Recommended Skill Level
Intermediate

Modified Media Cabinet

Submitted by Anonymous (not verified) on Mon, 01/16/2017 - 13:36

I modified this project to fit my space.  I'm pretty new at woodworking but everything was fun to do.  One of the hardest parts for me were the legs so I opted for cabinet feet from Ikea.  I've gotten so many compliments so far!

Estimated Cost
$120
Estimated Time Investment
Weekend Project (10-20 Hours)
Finish Used
plywood birch
Recommended Skill Level
Beginner

Painted buffet and hutch

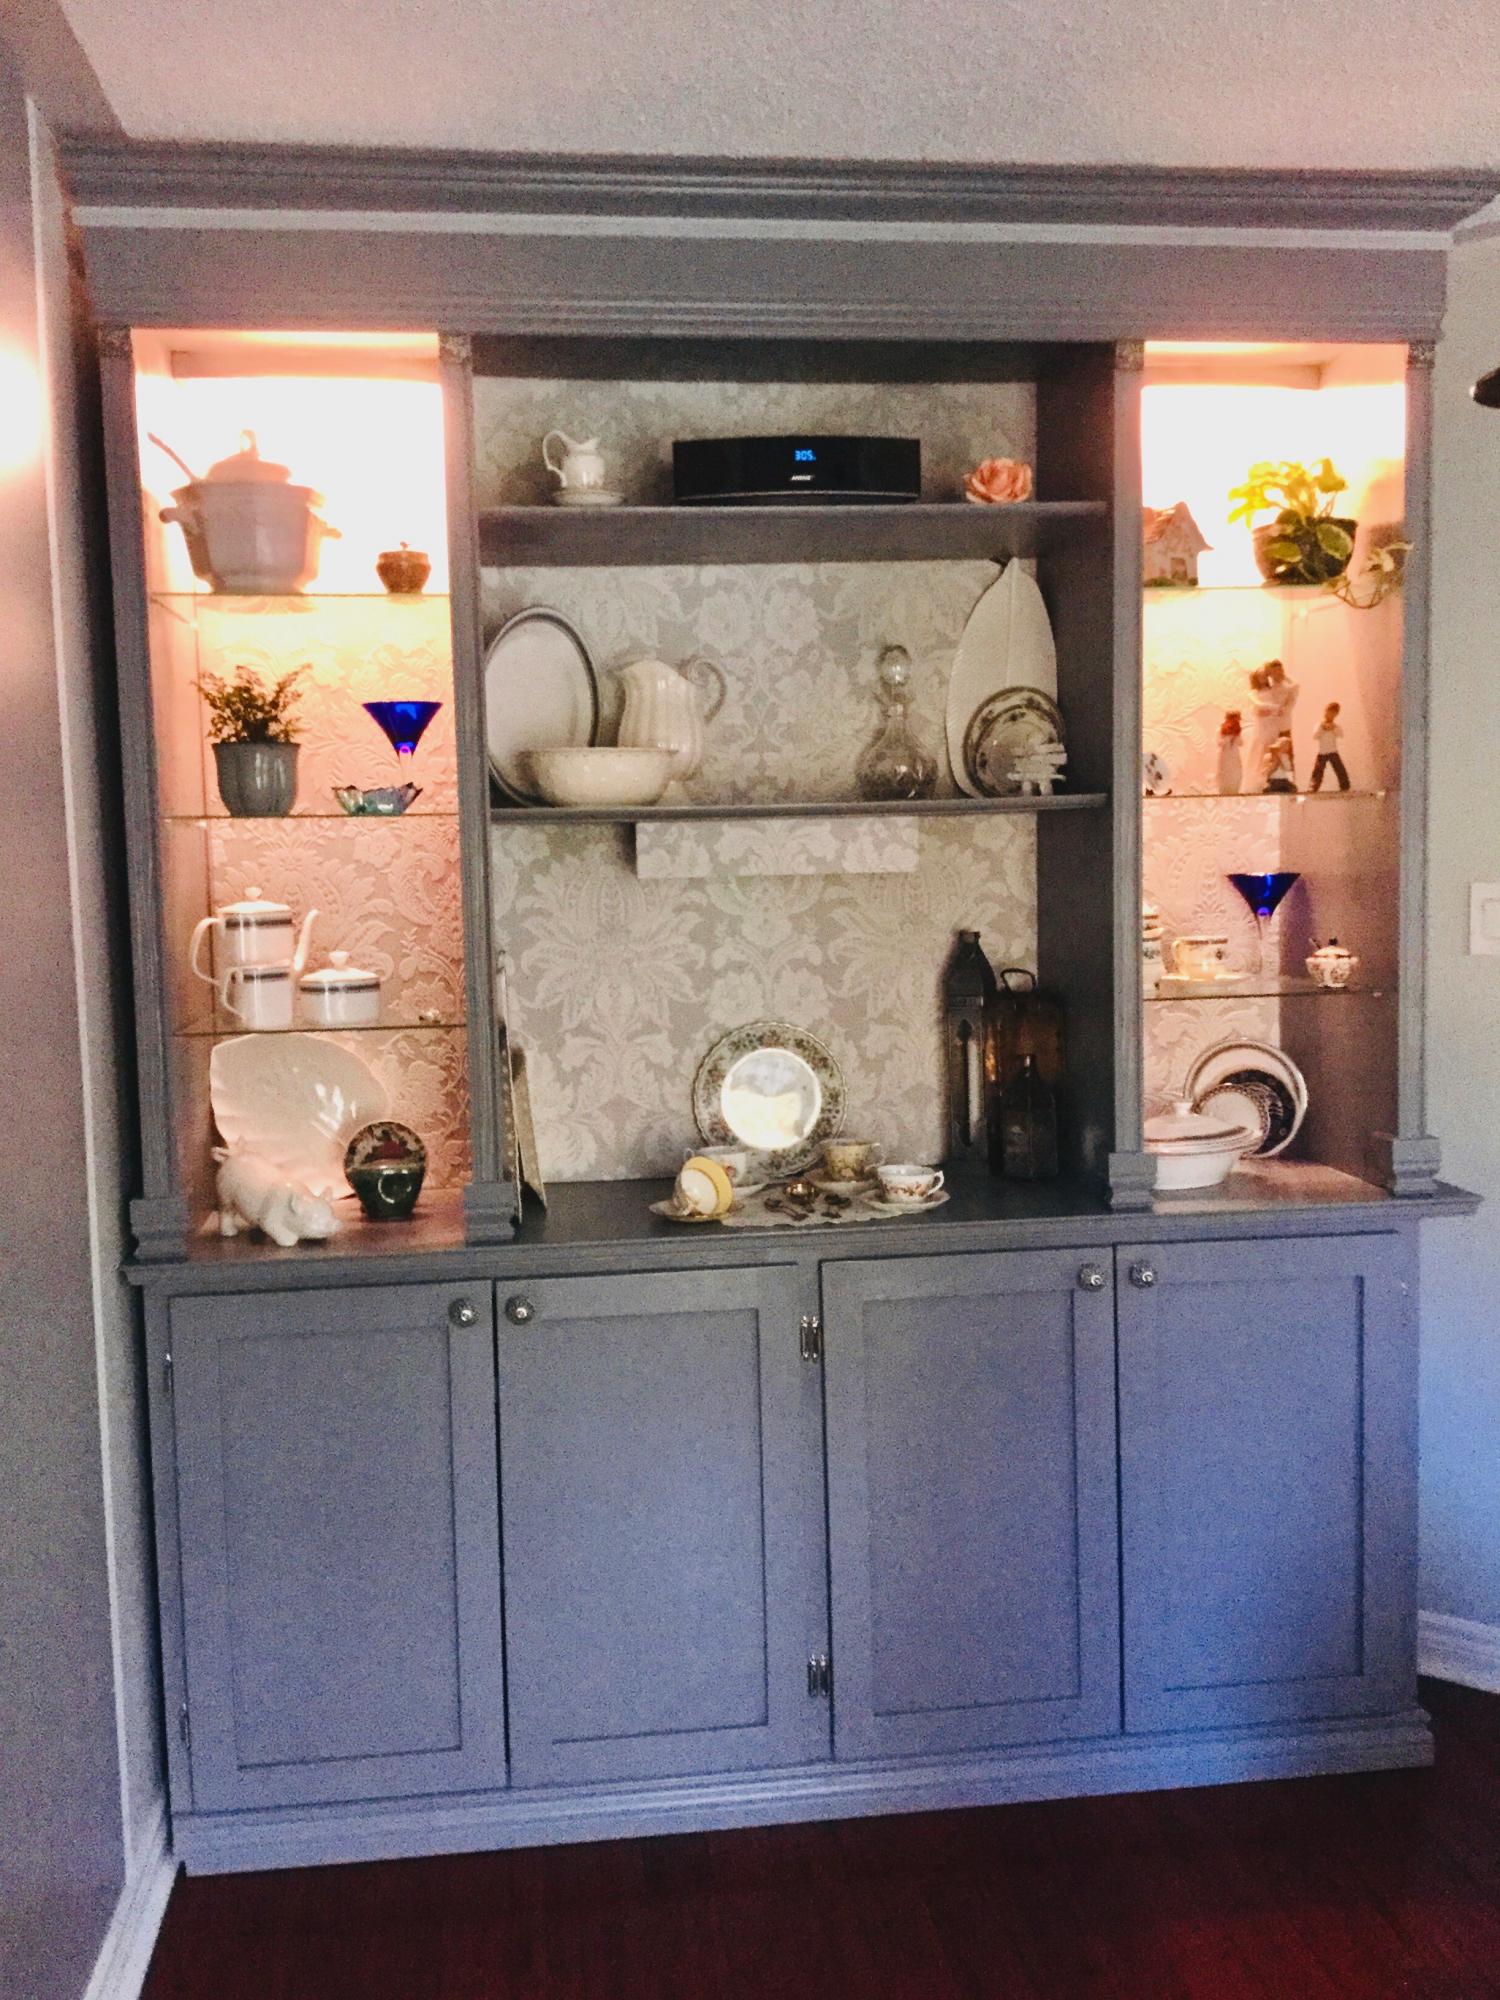
This is the largest piece I have built. I wanted a buffet and hutch to hold all my crockery. All the large pieces became the display pieces in the open shelves. Ana's plans makes it so easy to modify and build

Estimated Cost
$500
Estimated Time Investment
Week Long Project (20 Hours or More)
Finish Used
Paint
Recommended Skill Level
Advanced

Comments

Loft bed with desk...

I just wanted to share the loft bed I built for my daughter based on the plans available here. I added a desk, painted an existing chair I had built to match and included pink LED lights around the inside of the bed. Thanks for everyone sharing their ideas, plans and pics..!

Estimated Time Investment
Week Long Project (20 Hours or More)
Recommended Skill Level
Beginner

Comments

Cindy from Indiana (not verified)

Wed, 12/26/2012 - 18:08

Really awesome job! I'll bet your daughter loves it!

mosouza

Fri, 08/14/2015 - 21:39

Awesome! Do you have plans up for the desk area? I would like to incorporate that similar style. Thank you.

Turned leg farmhouse dining table

Submitted by joslwea on Mon, 10/06/2014 - 23:44

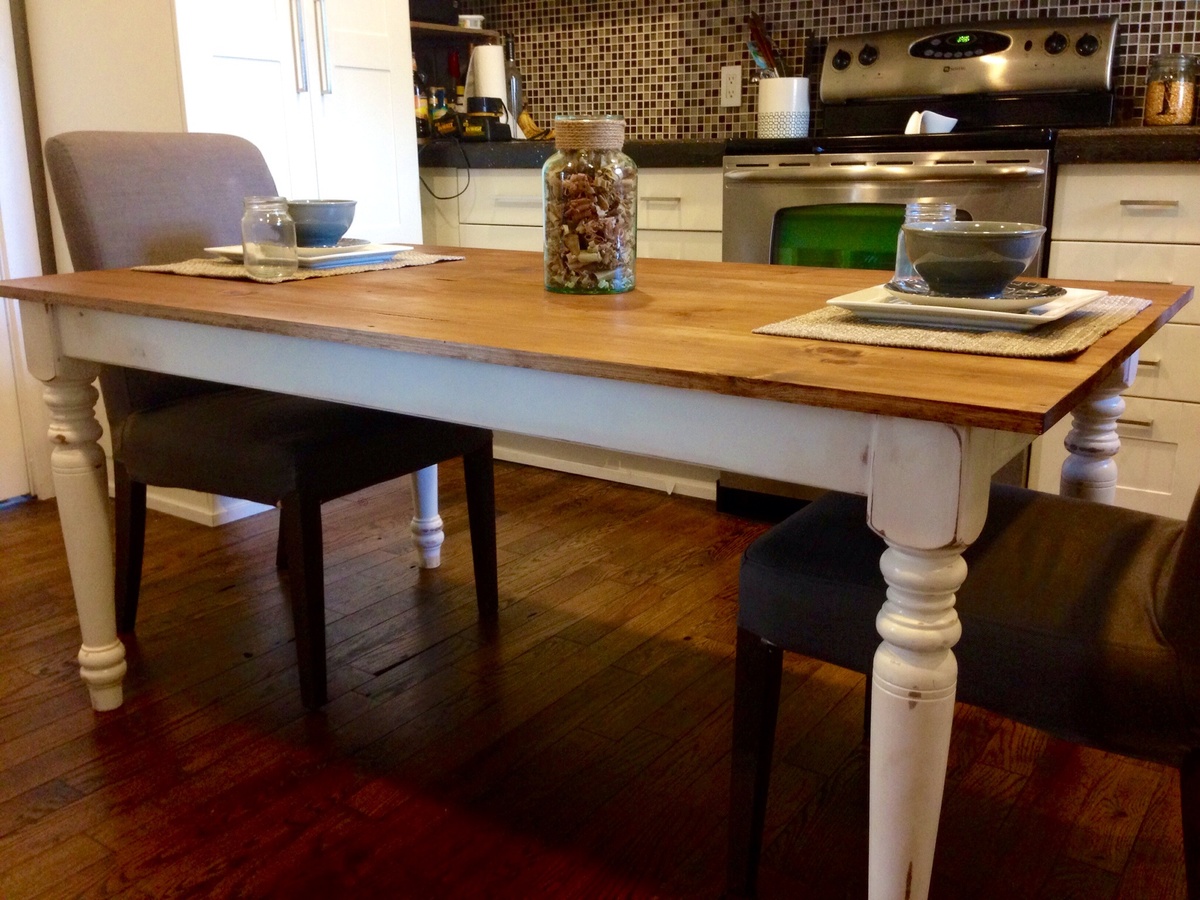
Great rustic farmhouse dining table

Built from Plan(s)
Estimated Cost
$226
Estimated Time Investment
Weekend Project (10-20 Hours)
Finish Used
Miinwax special walnut, vinegar/steel wool oxidation, minwax satin polyurethane.
Pretreat pine with conditioner, apply one coat of stain, then a coat of vinegar/ steel wool mixture, and finally 2-3 coats poly. Sand between each step with 220 grit and remove all dust.
Recommended Skill Level
Beginner

Farmhouse Bed - Queen Sized

Submitted by Anonymous (not verified) on Thu, 01/19/2017 - 07:44

Fun quick project for our new house. I finished this bed in 2 days, and my wife was very happy! I stained it in Jacobean (Minwax), and finished with a clear satin poly.

Built from Plan(s)
Estimated Time Investment
Day Project (6-9 Hours)
Recommended Skill Level
Beginner