Community Brag Posts

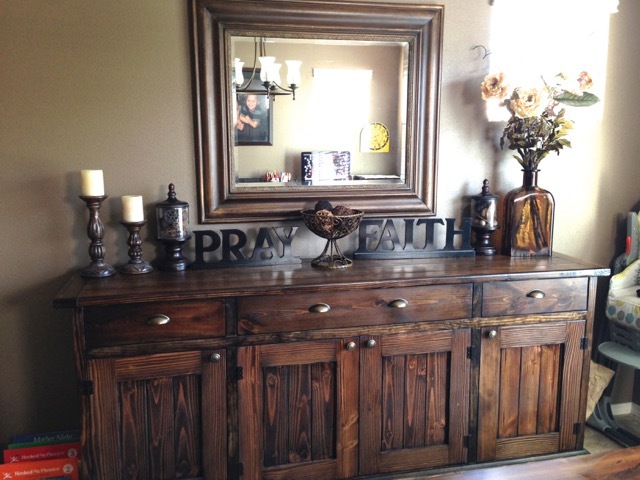
Western Saloon doors

Submitted by tracysmith on Thu, 08/02/2012 - 00:44

I built these doors for a very good friend of mine who actually helped me get started turning my new love for building (after finding Ana's site) into a way for our family to make some extra money.

It took me a little while to wrap my brain around building something without using my Kreg Jig. I used a router table set up with some raised panels bits and put the whole thing together with glue and nails! Wonderful experience!

For the finish, I used a vinegar solution to give the cedar wood an old barn look. I think the final result turned out great and the final step was a clear coat sprayed on out of a rattle can.

Estimated Cost
Lumber cost was about $80
Estimated Time Investment
Week Long Project (20 Hours or More)
Finish Used
Vinegar solution and a clear coat put on.
Recommended Skill Level
Advanced

Comments

birdsandsoap

Thu, 08/02/2012 - 10:51

These turned out great! I haven't seen this style of door in forever! They used to be really popular, I remember my Aunt and Uncle having these in the entry to their kitchen. They were the coolest thing ever when I was a kid! Maybe they are a making a comeback?
I'm really impressed with your routing skills, that's a task I have yet to tackle, but I've got the bits laying around waiting.

Nice job!

tracysmith

Thu, 08/02/2012 - 21:10

Thanks a bunch! My friend is replacing an old set of louvered doors that went into her laundry room. Her family are farmers and rodeo people so the western decor really fits in their house. Great western stuff there. They made a chandelier out of a wagon wheel! Really cool!

This was my first attempt at routing so I really appreciate your compliment! It's really simple if you can get the basics of it. I'm sure you'll do just fine when you get to that point. If I can do it, anyone can do it! Thanks again!!

laneal1987

Mon, 01/23/2017 - 09:32

I really want to try and build this for a closet.  Are there any instructions for this?  This is the first door of this style that I have come across that I absolutely love.

Headboard and nightstands

Submitted by kabm99 on Sun, 06/01/2014 - 14:33

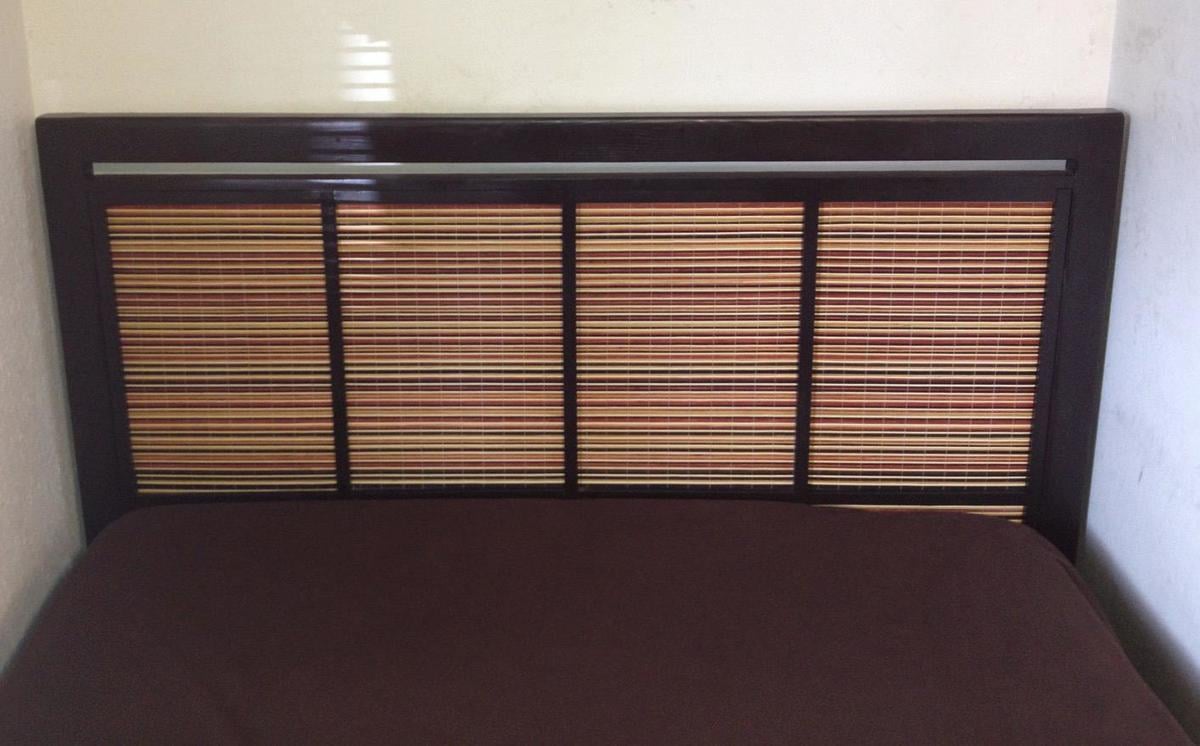
I made this headboard a year ago and it was my first Ana White project. I finally got around to making the nightstands last weekend and I just adore them. My guest room is finally complete!

Estimated Cost
Unsure since part of it was built last year
Estimated Time Investment
Week Long Project (20 Hours or More)
Finish Used
Minwax Dark Walnut with Polyurethane (satin)
Recommended Skill Level
Intermediate

Easy Locker Room Benches

I was asked to build a bench for our high school softball team room and used these plans to build the support. I was planning on building it exactly as it was in the plans, but a kind soul donated some poplar plywood mdf for the top, making it a smoother and more polished finish. I added some accent trim along the wall. Finished it off with school color (navy blue) on the legs and a clear satin lacquer finish on the bench. Love how it turned out!


Backpack Locker Cabinet

Submitted by jwerne2 on Thu, 08/23/2012 - 09:04

Thank you so much, Ana, for posting these plans. My husband built the storage locker in a few hours last Saturday. Our only modification was to use beadboard for the backing instead of plywood, and to switch out the 1x12's for 1x16 project panels to add depth so the backpacks will fit. I love how it turned out and now there is no more tripping over backpacks! I can't wait for our next project.

Built from Plan(s)
Estimated Time Investment
Afternoon Project (3-6 Hours)
Finish Used
Valspar Latex Paint, Furniture Wax
Recommended Skill Level
Beginner

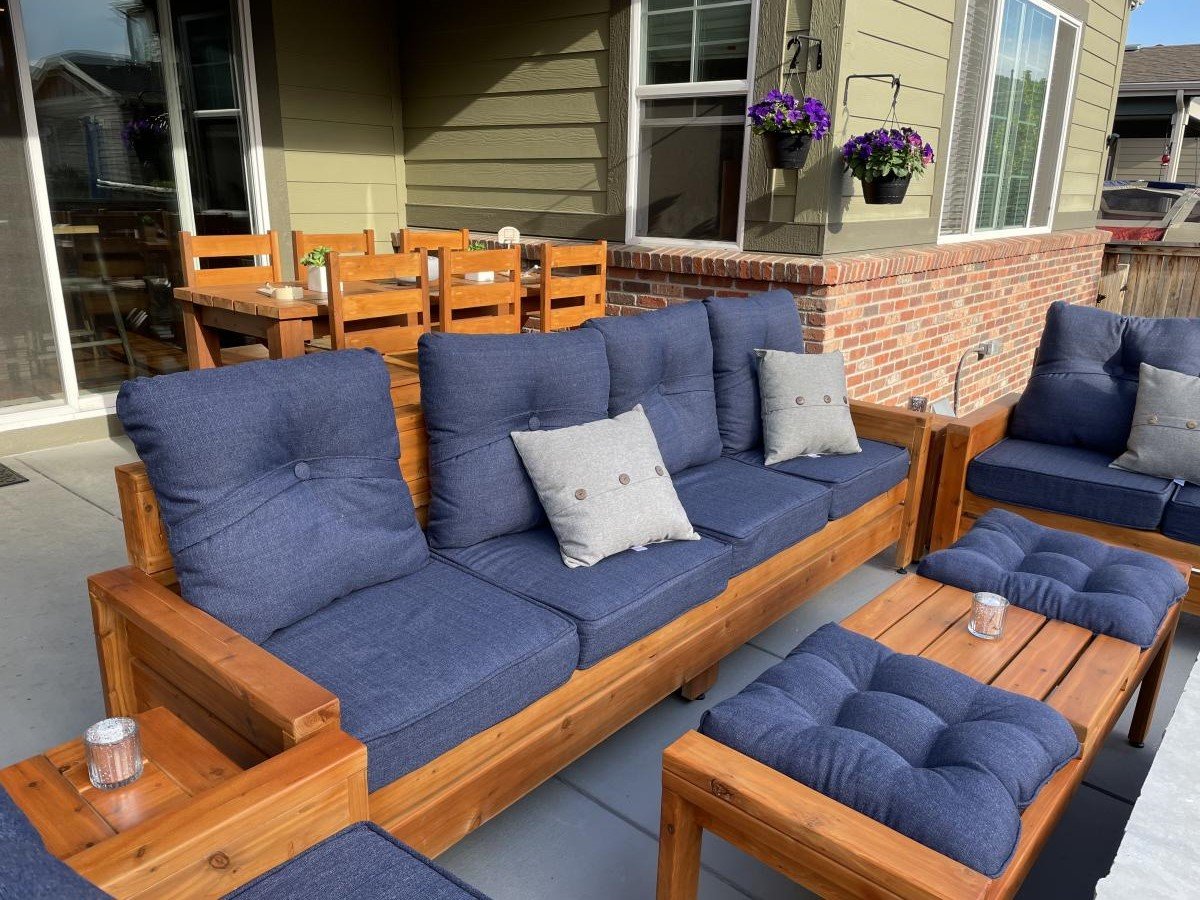
Wood Frame Outdoor Sofa with Backrest

Submitted by Anonymous (not verified) on Fri, 05/24/2024 - 09:37

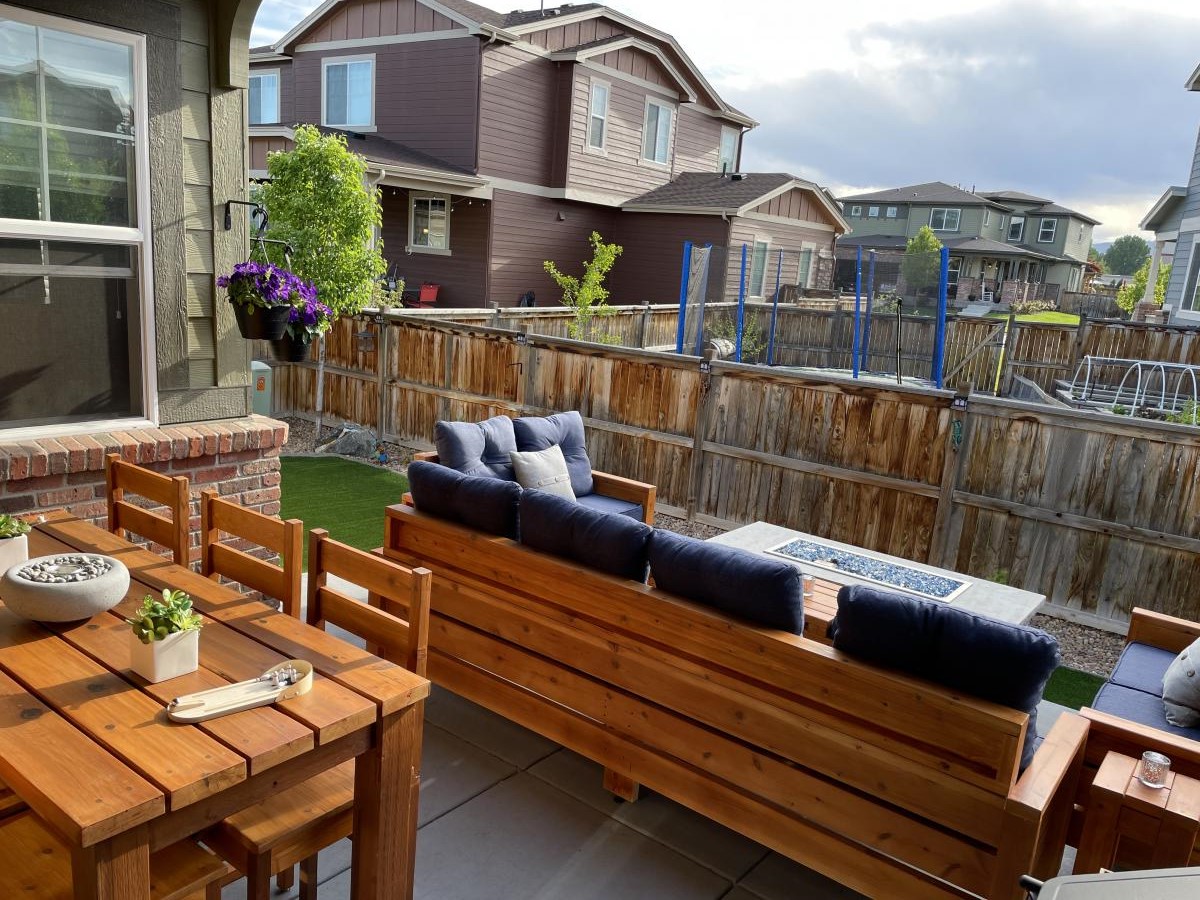
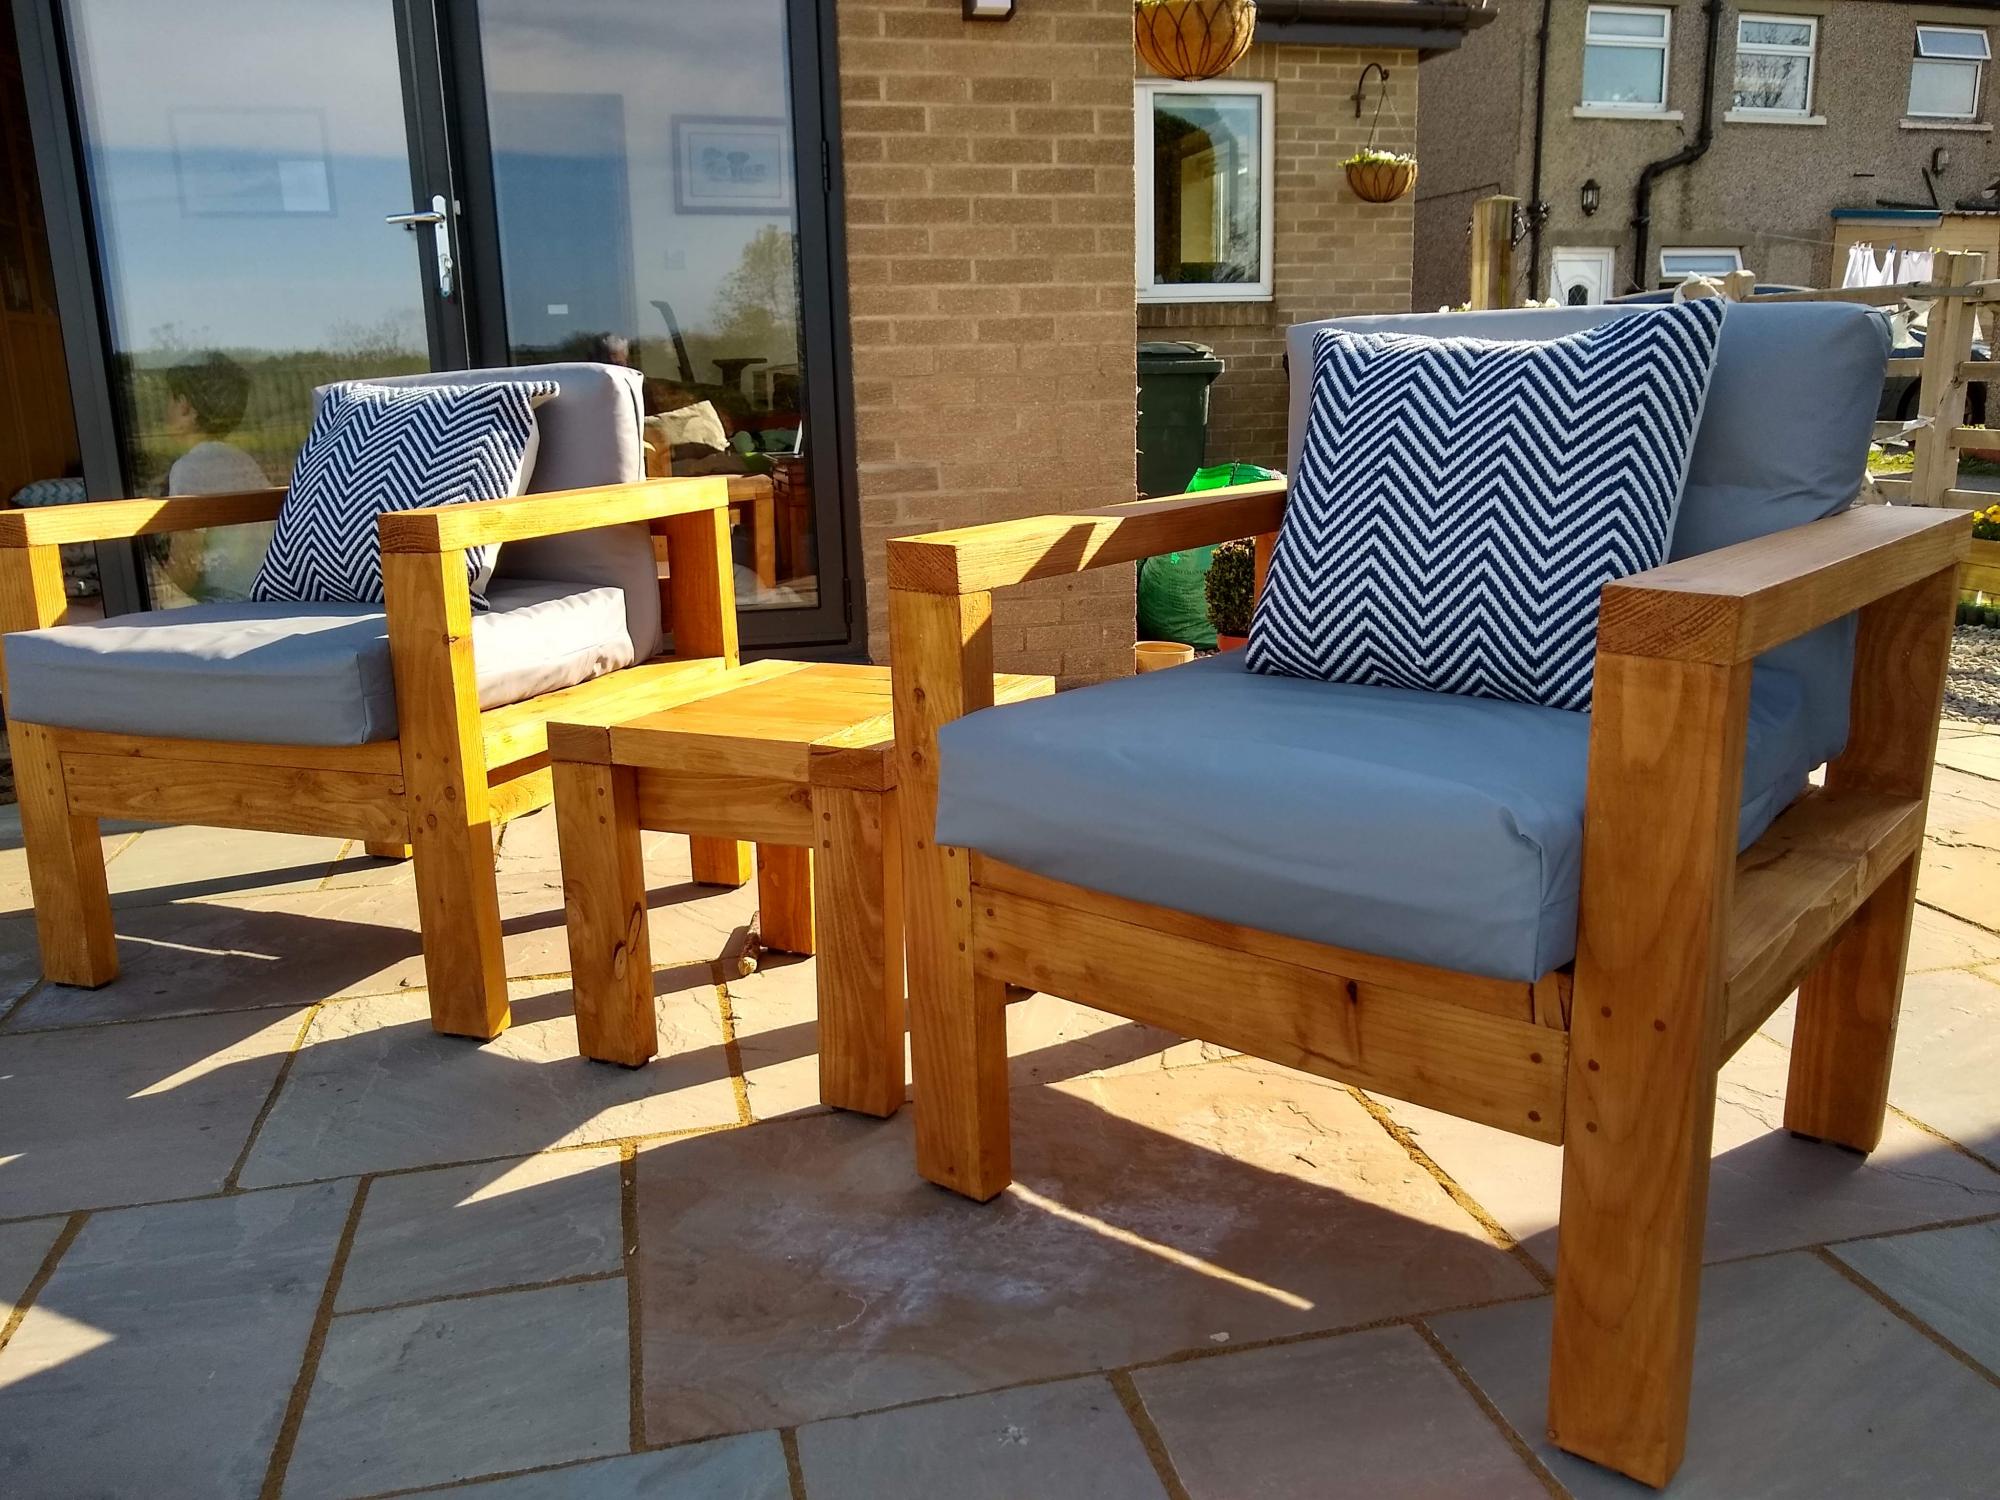
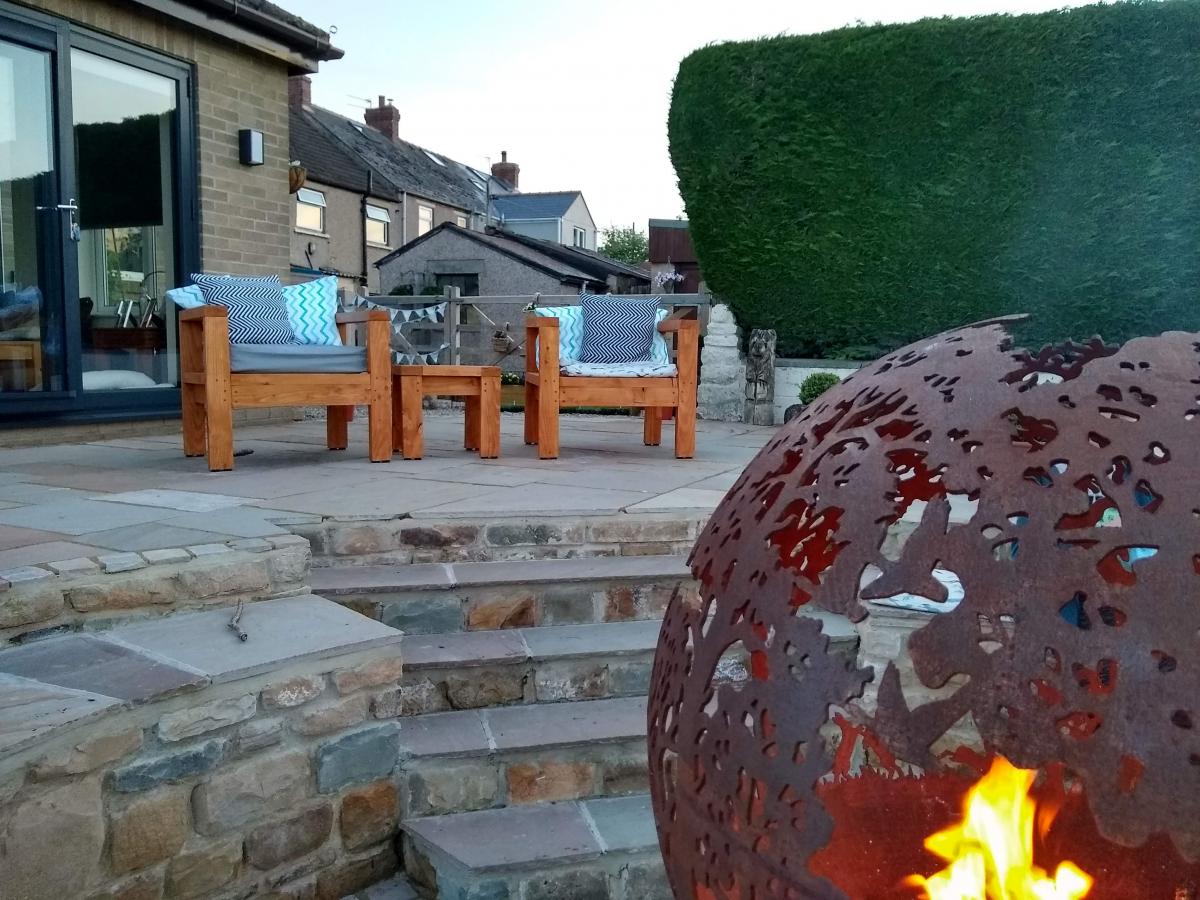
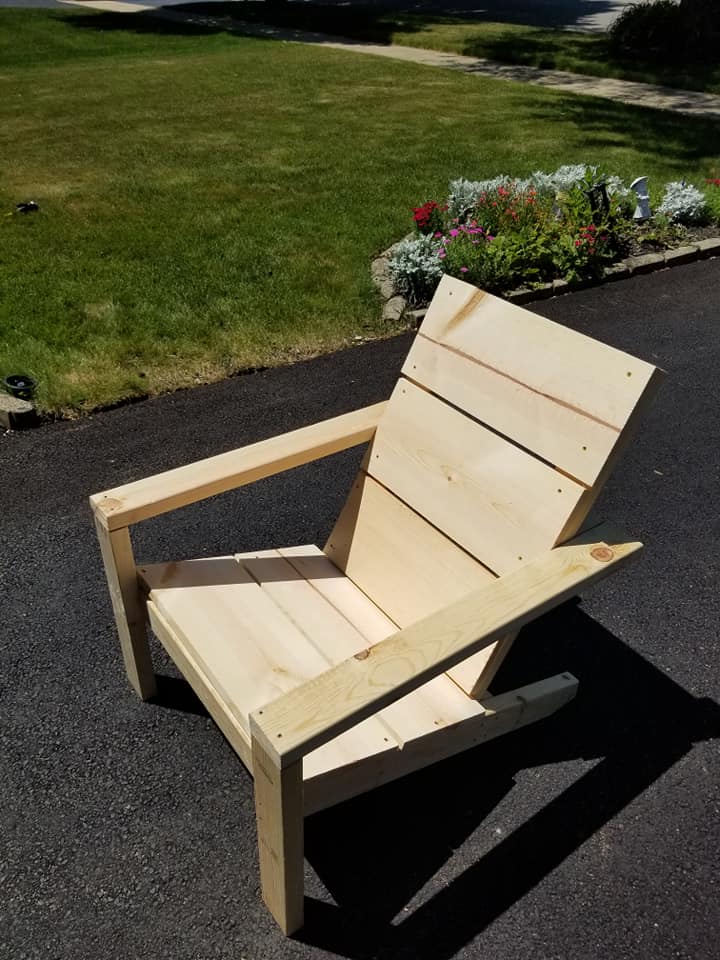
What a pleasure it’s been to build this! Hope you don’t mind but I added a simple backrest…
Incidentally I made a pair of them, but run out of time so the other is in kit form waiting for the weekend!
Hope you like what we achieved! Keep the great ideas coming!

Graeme Jobey

4 Basket Laundry Basket Frame

Submitted by Anonymous (not verified) on Tue, 05/28/2024 - 12:28

I saw your plans, and knew they were perfect for what we needed. After some minor adjustments to the dimensions for the baskets we found, I repurposed the 2x4's from some shelving I tore down. Then I used some left-over decking from a project we did last summer, for the top.

Al H.

Built from Plan(s)

Fancy X Farmhouse Table

Submitted by kristine on Mon, 09/17/2012 - 12:35

This was the hubby's second project off this site. Our dining room has been empty for the past 6 months that we moved in to our first home, so it was only appropriate for him to build something for this very empty space.

We did end up modifying the plans a bit... making it smaller (instead of 8 ft, it's 6ft) since we didn't need a huge table with just the 2 of us and the pups living in our home.

Built from Plan(s)
Estimated Cost
$100
Estimated Time Investment
Week Long Project (20 Hours or More)
Finish Used
Table Top - Varthane Stain + Poly in Early American
Table Base - Annie Sloan Chalk Paint in Countrey Grey and Old White plus Dark Wax for the antiquing
Recommended Skill Level
Beginner

Comments

Rusty Cottage

Tue, 09/18/2012 - 05:32

how many cans of chaulk paint did you need? The one picture has about 11 cans! I haven't finished my two projects that I have constructed....how much paint and stain does everyone use???

The finish is amazing!

kristine

Sat, 01/26/2013 - 12:38

oh sorry! didn't realize that there was a comment here. it took less than 1 can of chalk paint. i don't even think i used up half the can of chalk paint for this. the can may be small, but you get a lot of use out of it. i just had a bunch of chalk paint laying around because i was trying to figure out what color to use and i was also using them for other projects. as for the wax, this project didn't take use up too much wax either. i'm still on the same clear and dark wax cans that i first bought and i've used them on at least 5 other projects. so you really get a lot of use out of them!

winwinglades

Fri, 04/26/2013 - 14:13

Your table looks great! Question: as you made your table 2ft shorter, I understand that the diagonal pieces also need to be shortened. What are there final measurements? I'm trying to do the same, but am a newbie!
Thanks for your help!

winwinglades

Fri, 04/26/2013 - 14:07

Your table looks great! Question: as you made your table 2ft shorter, I understand that the diagonal pieces also need to be shortened. What are there final measurements? I'm trying to do the same, but am a newbie!
Thanks for your help!

Kmccoi

Wed, 06/25/2014 - 21:27

Hi! Did you use some of old white and mainly grey? Wondering paint ratio on Annie Sloan paint. Thanks!!!

DIY Wood Bed Frame With Reclaimed Wood Legs

Inspired by Ana's Farmhouse Bed I adjusted my plans to work with the scrap wood I had on hand and an old reclaimed wood post I snagged from my neighbor's garbage. To make the scraps of wood work for this large piece I added 3/4" rope in between the wood pieces. I like how the rope also helps tie it into the room as we created a wood and rope accent wall in this same room. You can see the full project here, http://thespacebetweenblog.net/2013/09/10/how-to-make-a-wood-bed-frame/. And since this was my first furniture build I also posted about the top tips and tricks I learned in the process, http://thespacebetweenblog.net/2013/09/12/wood-bed-frame-making-tips/.

Estimated Time Investment
Afternoon Project (3-6 Hours)
Finish Used
Driftwood color stain
Recommended Skill Level
Intermediate

Comments

Adirondack chairs

Submitted by jcaleb on Thu, 07/23/2020 - 09:27

I love these chairs and they were pretty easy to make.

Finish Used
Varathane Dark walnut oil based stain and 2 coats of Varathane Spar Urethane high gloss.

Kendal Dresser

My cousin is having a baby boy and needed a dresser for the little guy. I made this for her as a shower present. I love that it was made to fit her needs and that it is made out of solid wood. Not at all like the cheaply made dressers costing much, much more in the retail stores.
The blog from Katie and John from Sew Woodsy was not only helpful but very cute. Kudos to Katie for attempting a large project while prego. It couldn't have been easy.
The only change I made other than the color was covering the space under the dresser. She didn't want to have to collect toys from underneath the dresser or clean dust.
The plans were awesome and I would recommend reading the blog from Sew Woodsy. Their comments were helpful and so were the pictures.

Built from Plan(s)
Estimated Cost
300.00
Estimated Time Investment
Weekend Project (10-20 Hours)
Finish Used
ZAR Wood Stain in Moorish Teak and ZAR clear stain finish
Recommended Skill Level
Intermediate

Comments

DIY everything

Wed, 08/20/2014 - 20:49

My cousin likes dark stain but after I finished the dresser I became a fan of the color too. I'm thinking of making myself one since it went together so well.

dhendy13

Sat, 01/03/2015 - 19:38

Congrats, your piece is a beauty. Please, can you tell me what type of wood you used for the drawer fronts.
They seem so clear. AKA Knot Free. I have done a work up on material costs and have not come close to the estimated 300.00. So I was thinking that maybe you splurged on "Clear" Pine boards for the front facing elements. Thanks in advance for your answers.... Happy New Year!

tylerrencher

Tue, 01/06/2015 - 12:44

$300 is the number I'm coming up with for #2 or better S4S pine boards plus stain and clear coat. #2 graded pine is definitely not clear. I'd like to know what kind of wood you planning to use and where you are getting it because this is the cheapest I can find in the Pacific Northwest.

DIY everything

Sun, 07/12/2015 - 20:00

I've checked out Frost Hardwood and I love their products.  They have clear wood that they can mill down to size but it is very pricey.  I'm saving up for a really nice dresser but until then I'm gonna stick to the birch plywood at home depot and birch boards that I get from my local specialized lumber houses.  Thank you for your comment and I hope your turns out to your liking.  I think what really makes this dresser is the stain and finish I used.  That was recommended by a professional painter friend who does this kind of thing everyday.  The info for that is on my post. 

DIY everything

Sun, 07/12/2015 - 19:54

I'm so sorry I didn't know there were questions on this post.  The dresser did cost me a little over $300.00.  The whole thing was made out of birch which I got at a local lumber house that specializes in furniture grade wood.  This probably doesn't help you anymore since I'm sure you've already made your dresser. 

john2090073

Fri, 09/11/2015 - 09:59

This looks really nice. Could you please let me know what wood you used for the frame and the outside of the dresser? 

Truss Table Bench

Submitted by Joella C on Sun, 08/23/2020 - 11:40

To go along with the 2 outdoor tables for our COVID-19 birthday celebration “ all together but socially distant” party for my hubby and his twin. I used the Happier Homemaker Bench plan x 3, for a bench in between the tables to create more seating with social distancing....this is the 2nd plan of Ana’s I used after the Truss Table...finished with the same outdoor deck stain and poly! I am so new to this....I’m a nurse never been around power tools but it was I,Portland for me to create a happy birthday for my husband and his twin during this pandemic!! Thank you Ana for making this possible!

Estimated Cost
$30
Estimated Time Investment
Afternoon Project (3-6 Hours)

Upcycled Dresser

Submitted by naomi on Sat, 08/30/2014 - 04:18

After building my farmhouse bed and 2 new bedside table I still had my very ugly and old dresser.
It functioned really well so instead of building a new one I decided to up-cycle the old one.

I simply framed it up with some pine, painted it white, added pallet wood to the top, stained the pallet wood walnut, then added some fancy handles and now it's like a whole new dresser.

Thanks to Ana-White's website and book I have a whole new set of skills and I am not scared to give just about anything a go.

Estimated Time Investment
Weekend Project (10-20 Hours)
Finish Used
Walnut and White Enamel
Recommended Skill Level
Beginner

Comments

In reply to by CSaintD

naomi

Sun, 08/31/2014 - 00:58

You're right, I had a ball doing this mainly because I was winging it the whole time.
This dresser was actually a hand me down when I got it about 15 years ago. I don't see the point in throwing out something that is still useful.

How to Build a Laundry Pedestal

I was tired of stooping to do laundry with my front-loading washer. I used the plans for Sausha's washer/dryer pedestals and tweaked them a bit.

Estimated Cost
$200
Estimated Time Investment
Day Project (6-9 Hours)
Finish Used
Platform: semi-gloss latex paint + primer; legs and side: chalky finish paint.
Recommended Skill Level
Intermediate

Emersen-Inspired Nightstand

Submitted by keribeth on Sun, 09/20/2020 - 06:46

I modified the Emersen nightstand plans to use edge-joined 1x6s instead of 3/4” plywood since I didn’t have a great way to cut 15 1/2” widths of plywood. I eliminated the face frame, used a 1x8 for the drawer face, and used 14” euro slides for the drawer. This was my first time making anything with a drawer and I was a little nervous about it but it works perfectly! One nightstand down, one to go!

Built from Plan(s)
Estimated Cost
$70
Estimated Time Investment
Day Project (6-9 Hours)
Finish Used
Minwax in Golden Oak
Recommended Skill Level
Intermediate

Comments

Simple Workbench, perfect workshop addition!

Submitted by Tbacks on Wed, 01/18/2017 - 04:45

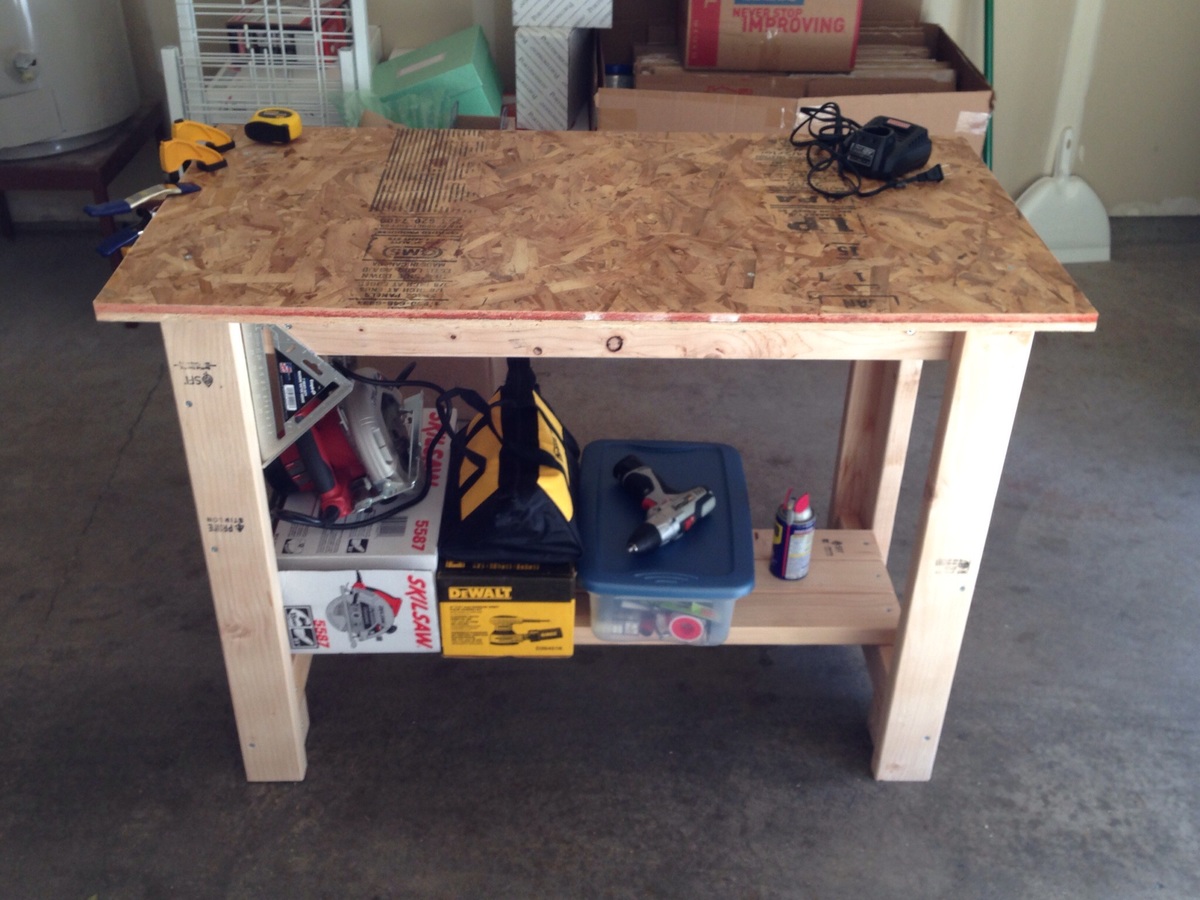
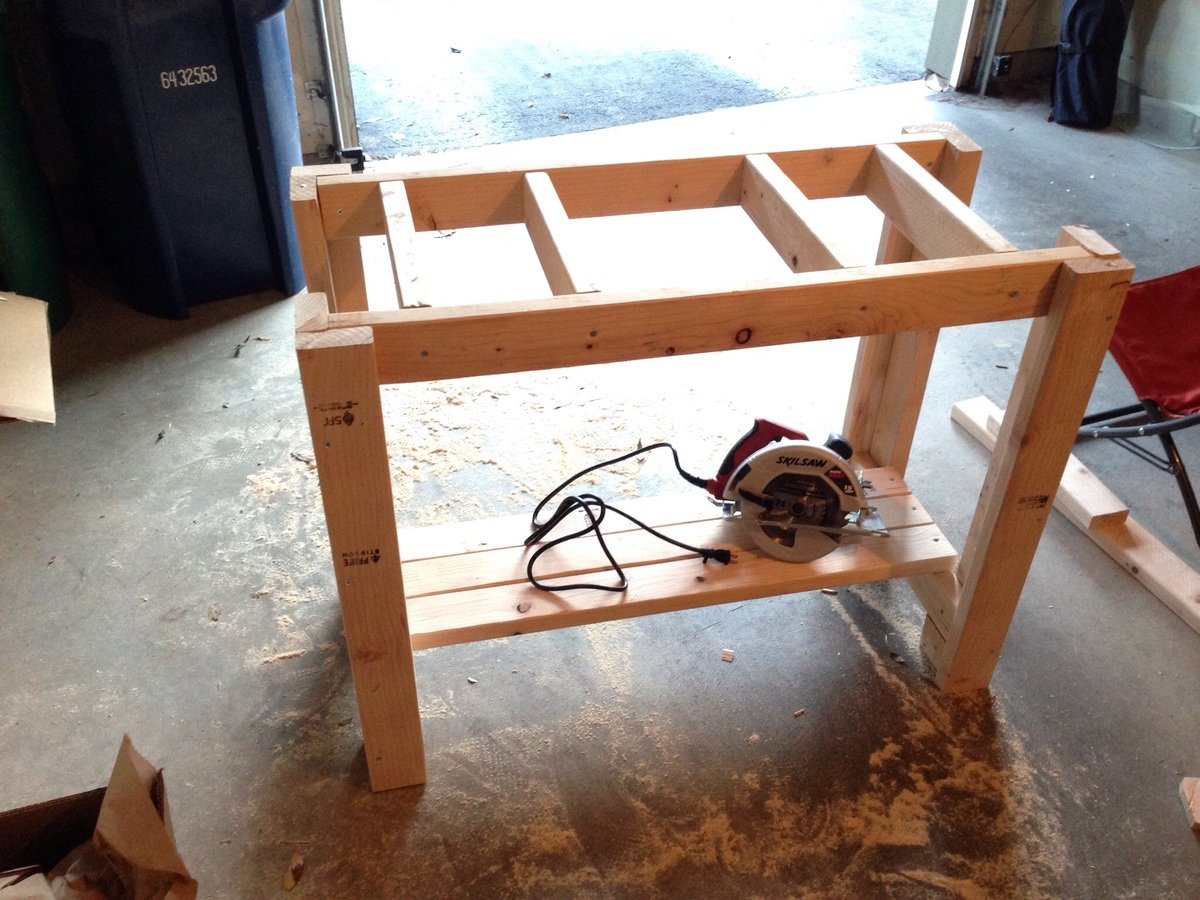
We have been using a number of folding tables to do our builds and feeling the pain in our backs and frustrations in our brains for doing it.  I found this pattern and rushed to Home Depot!  A few hours later we had a workbench.  Loved it so much a day later we had two!!  We use them all the time.  Thank you Ana for such a great pattern!

Estimated Cost
Approximately $60 each
Estimated Time Investment
Afternoon Project (3-6 Hours)
Recommended Skill Level
Beginner

Triple Pedestal Farmhouse Table

Submitted by MikeTosh on Thu, 12/27/2012 - 09:09

Great Plans, I had a blast making this table for my wife! It turned out great. Thank you for sharing the plans for this beautiful piece!

-Mike

Built from Plan(s)
Estimated Time Investment
Week Long Project (20 Hours or More)
Finish Used
Cabot Pecan Stain and Cabot Satin Polyurethane
Recommended Skill Level
Beginner

Comments

kristen

Thu, 12/27/2012 - 09:21

Your table turned out fantastic! I'm glad to see that because I am considering this table for a project in the near future :)

Rustic x end tables

Submitted by Keldani5 on Wed, 10/07/2020 - 14:53

This was a weekend project using pocket hole screws pine wood and a regular stain and wax coating

Built from Plan(s)
Estimated Cost
80.00
Estimated Time Investment
Weekend Project (10-20 Hours)
Finish Used
Stain and then wax to coat
Recommended Skill Level
Intermediate

ENTRYWAY bench with drawers

Submitted by Anonymous (not verified) on Fri, 10/16/2020 - 13:31

Built from scratch. First DIY build ever! Thank you for your plans. I customized it for my space 💜 instagram @onefortyfour_

Built from Plan(s)
Estimated Cost
250.00
Estimated Time Investment
Weekend Project (10-20 Hours)
Finish Used
Behr white paint. Polycrylic seal
Recommended Skill Level
Intermediate

Comments

My Surprise B-Day Gift and Project Wrapped Into One!

Submitted by Diania on Sun, 01/06/2013 - 17:14

How this beginner project became my B-Day gift: After seeing this on Ana's site I just knew I had the perfect place for these, plus it was a great project to wet my toes :-) After talking my husband's head off for about a week with all the new things I'm going to build this year, we were finally headed to Lowes to get material. Well to my surprise he also bought me a Kreg-Jig(Master Series) I AM GOING TO BE A BUILDING MACHNE! LOL

The cost really is around $10 or less but I spent some extra on Polycrylic to create a nice shine over the wood. I knew I wanted 8ft ledges so there was no cutting involved, wohoo! Here is what I used:

6 1x4 @8ft
3 1x2 @8ft
(I used 1 1/4in screws for project and 2in screws for mounting)
120 grit sand paper
After putting together the wood in a jiffy as described in Ana's plans I then sanded. Even the sanding, which I did by hand was fairly quick. Next the priming and painting took the longest as it had to dry obviously. After a few coats, I sprayed the polycrylic according to directions on can. That's it...

I was so excited as it was going up, I was planning on putting some candles, maybe some decorative stuff to go with the pics. I didn't realize how many pictures I have! Wow! Guess I'll have to dust off my Kreg-Jig and make more. :-)

Built from Plan(s)
Estimated Cost
$24
Estimated Time Investment
An Hour or Two (0-2 Hours)
Finish Used
Primer, White Glossy Paint, and Minwax Spray Polycrylic. Polycrylic is easy to use and very quick to dry.(about 30min) I simply used it to create a shiny look.
Recommended Skill Level
Starter Project

Garage Shelves

Submitted by coolove on Sun, 11/02/2014 - 23:16

This project was a bit of a challenge. My garage has uneven flooring and a concrete lip around the edge of wall so I had to make the back legs 10 inches shorter than the front. Overall, it turned out well and everything is completely leveled much to my amazement. I'm thinking of making more shelves on the other end of the garage to free up more space.

Estimated Cost
$90 including extra nails.
Estimated Time Investment
Afternoon Project (3-6 Hours)
Finish Used
None.
Recommended Skill Level
Beginner

Farmhouse Table

Submitted by JillianD on Wed, 01/09/2013 - 16:05

Calling myself an amateur builder is a colossal overstatement. I’ve never actually built anything, by hand, using wood. I’m quite crafty and very good at hacking things inspired by others {thank you all other bloggers and Pinterest for your continued inspiration}, but to actually build something from the ground up just hasn’t been added to the curriculum vitae…until now.

I actually hail from a family of handy builders. My grandpa used to build everything, from decorative shelves and stools to more utilitarian items, like bookcases and kitchen cabinets. My father, too, is quite handy; he’s the build-a-back-deck weekend warrior type.

This was my first Weekend Warrior project. My deadline: Thanksgiving dinner! I had no other table option. I either built this table or my friends and family were eating on the floor.

Estimated Cost
$150
Estimated Time Investment
Weekend Project (10-20 Hours)
Finish Used
weathered oak stain
Recommended Skill Level
Intermediate

Comments

Juanita_r

Thu, 01/10/2013 - 12:56

Just wanted to say (apart from "i love the table") that your story has inspired me to finally jump in. i too am like you, never physically built anything with wood, but have done some revamps and have done a ton of other crafts (i too would like to thank pinterest). reading what you said has just given me that finally push!!! Thanku

JillianD

Thu, 01/10/2013 - 17:14

Hi Juanita! Yay, I'm so glad. It really was a fun and empowering project. I can't tell you how many people looked at me like I was crazy, but a little patience and elbow grease can go a long, long way! Good luck and I can't wait to see the finished project.

rhettar

Sat, 01/19/2013 - 04:53

You did a great job! I love the finish you chose. Isn't it amazing when you think you can't do something and then when you finish it, you're like wow I did that! Ana's site has inspired me so much and I love to see that she has inspired so many others and to see the beautiful things they are making with their own two hands. Again awesome job and beautiful table!

Back