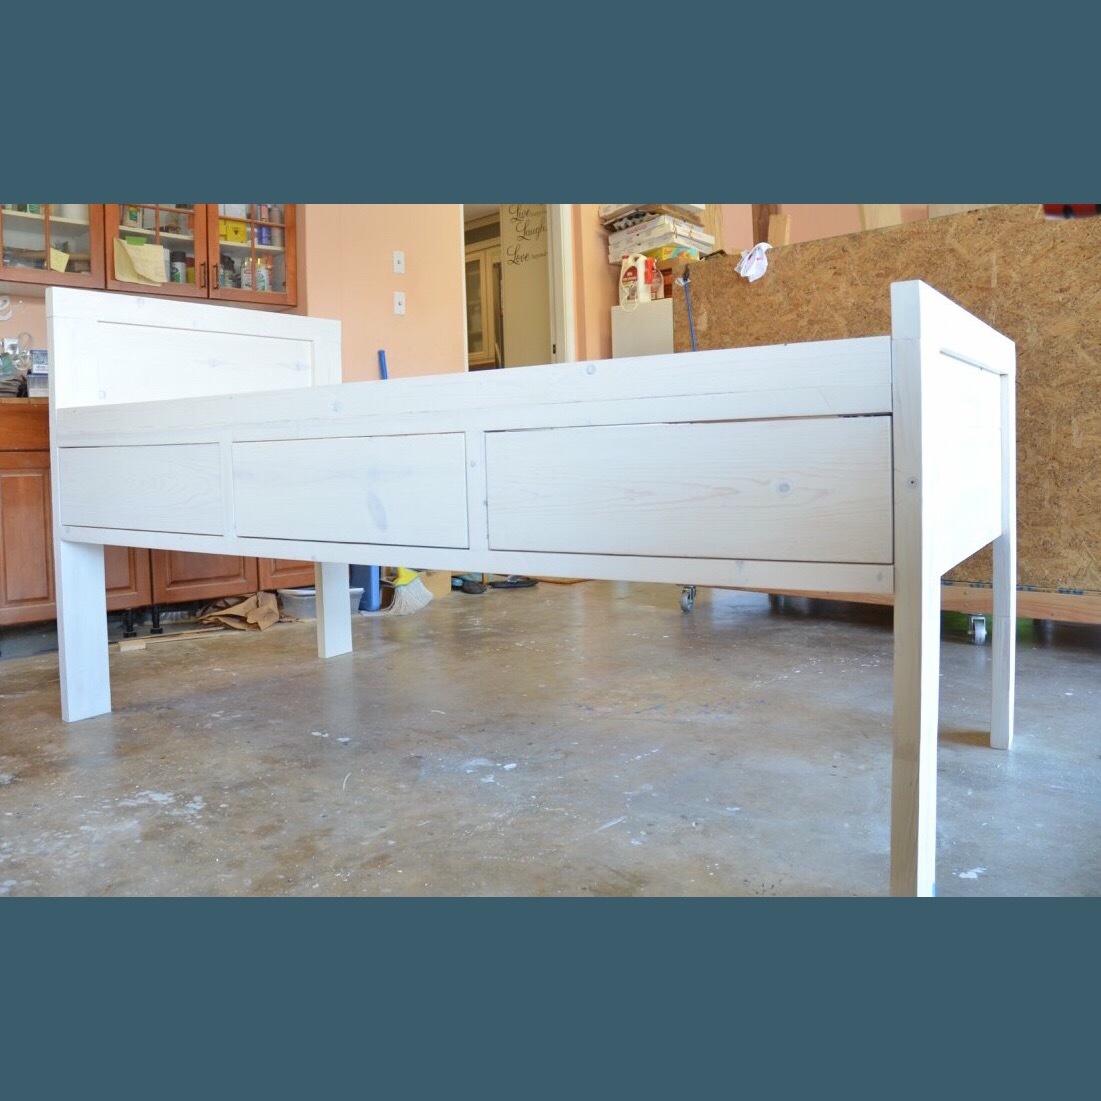
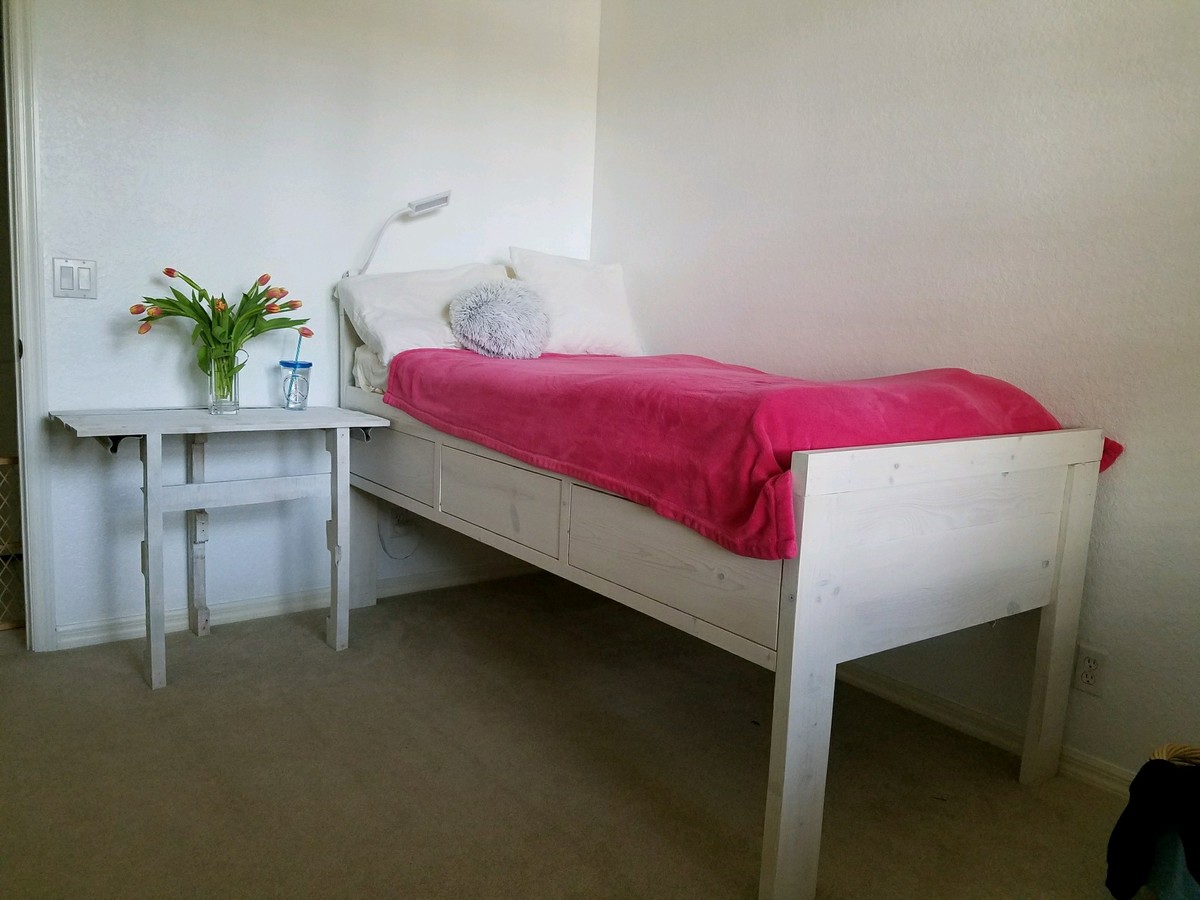
XL Twin Storage Bed
I took plans from two makers and changed them to fit my needs.
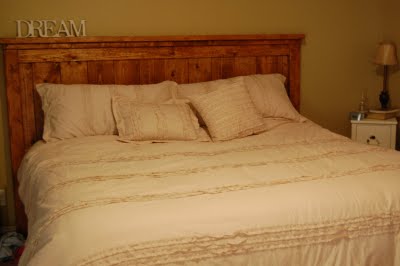
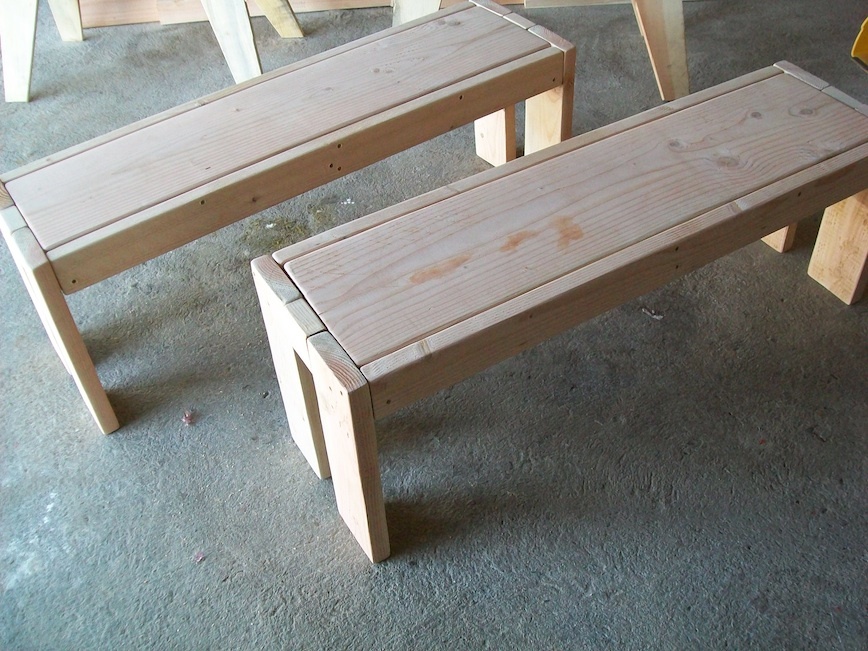
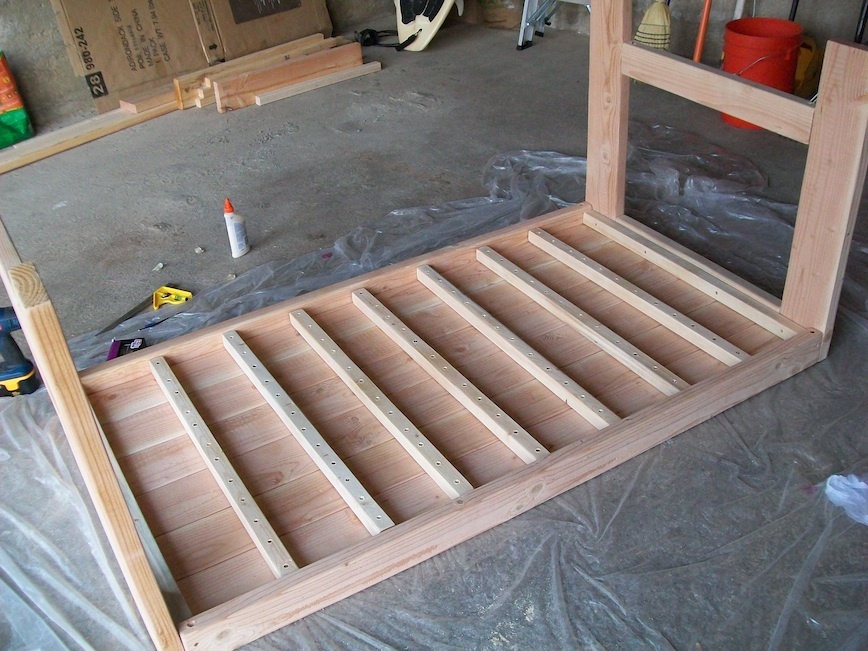
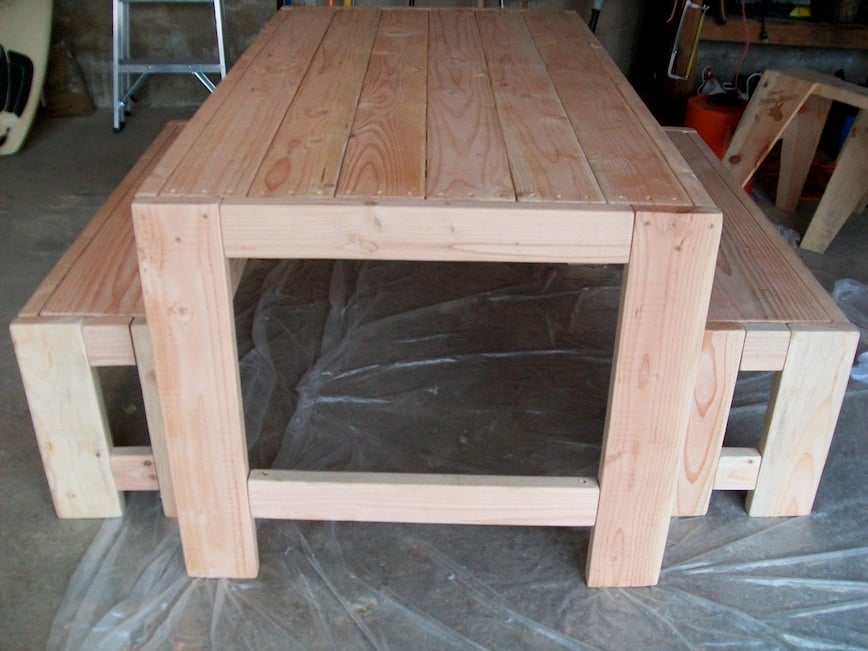
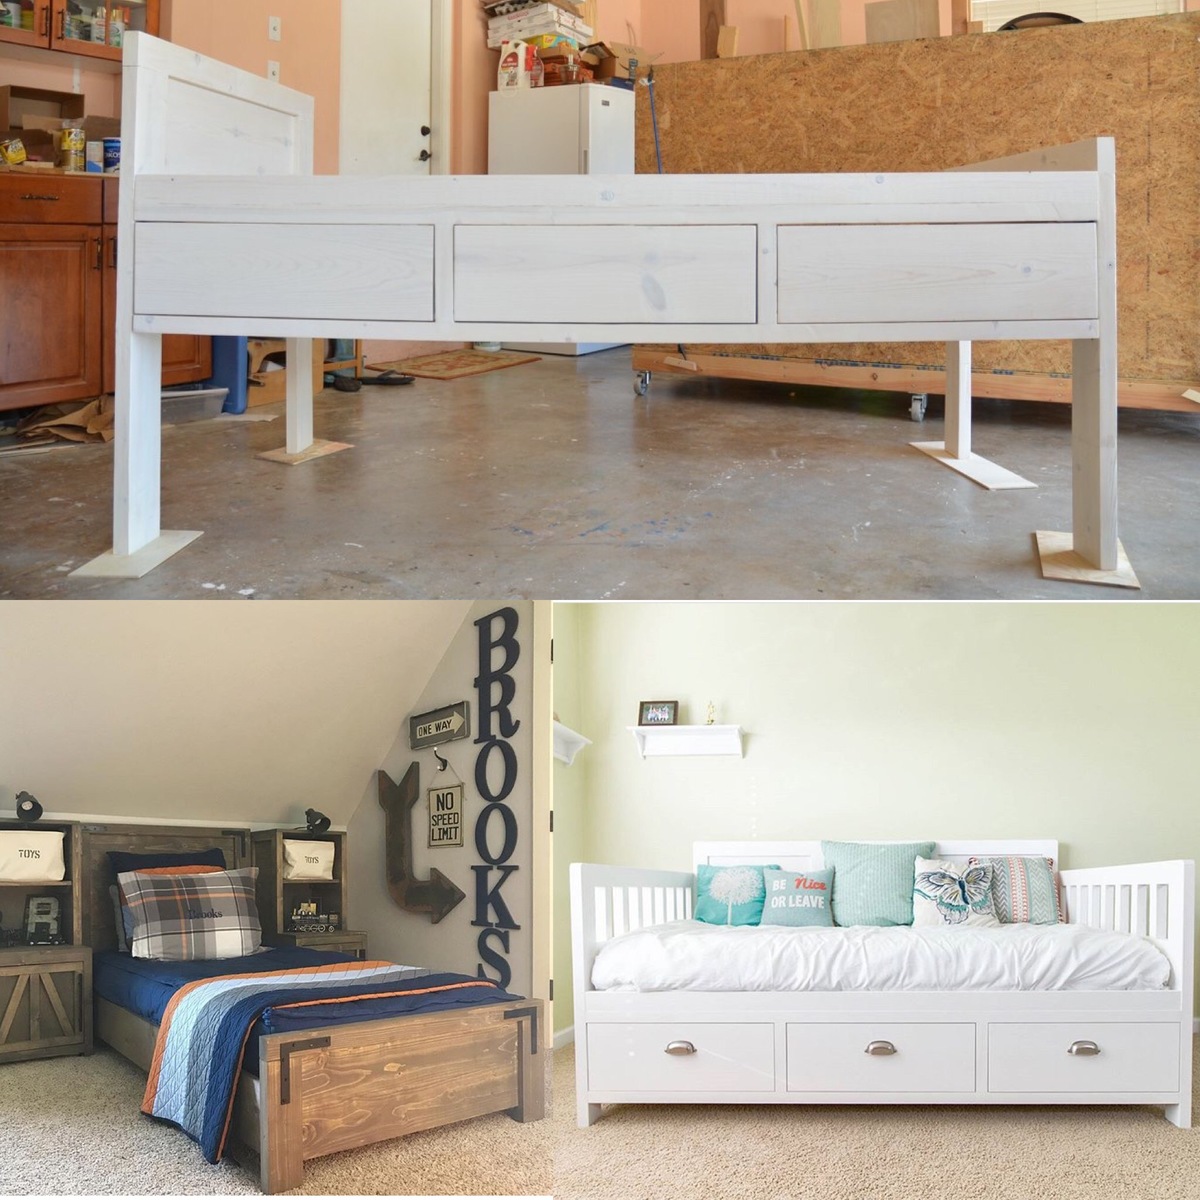
I took the base from the Fix This Build That DIY Daybed with Storage Drawers plans. And I used the headboard/footboard concept from the Shanty-2-Chic DIY Modern Farmhouse Platform Bed plans and made this extra tall, extra long twin size bed.
I made it for a client (friend). It is for her daughter. White washed instead of paint of stain.
Estimated Cost
$170
Estimated Time Investment
Week Long Project (20 Hours or More)
Finish Used
White wash (watered down white paint) and triple thick top coat in satin finish.
Recommended Skill Level
Intermediate