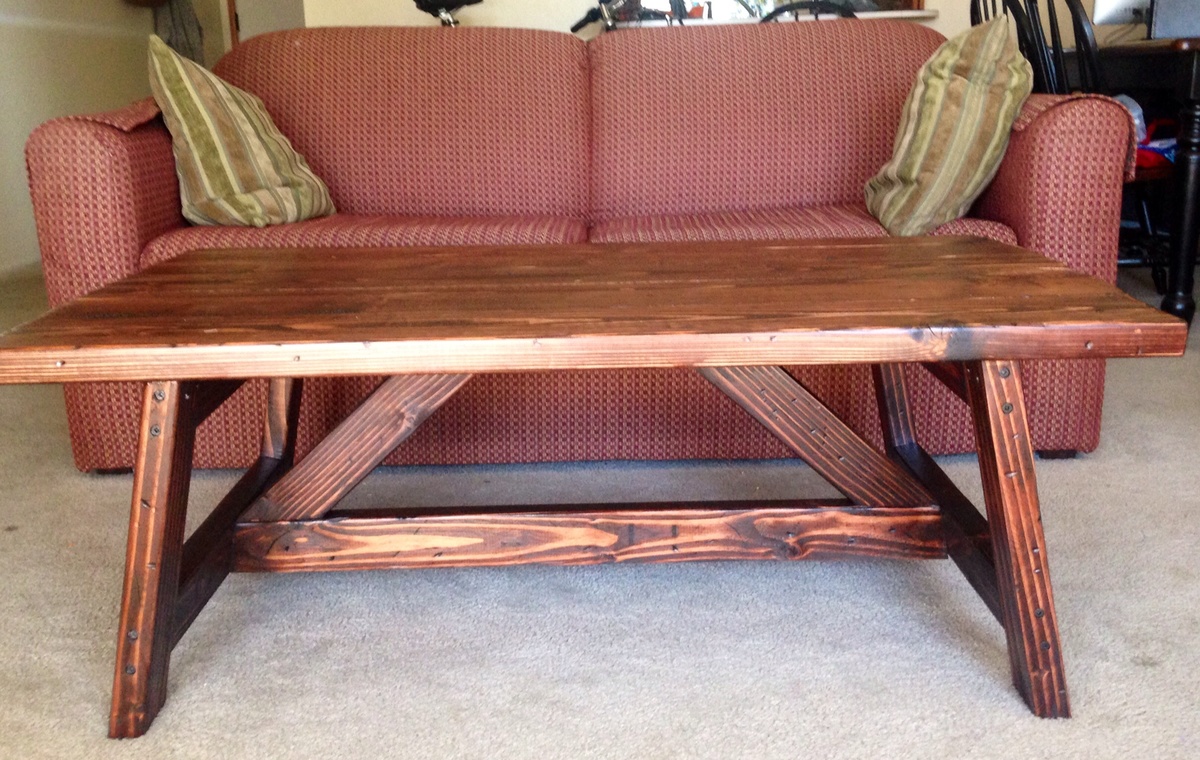
1st piece of furniture build
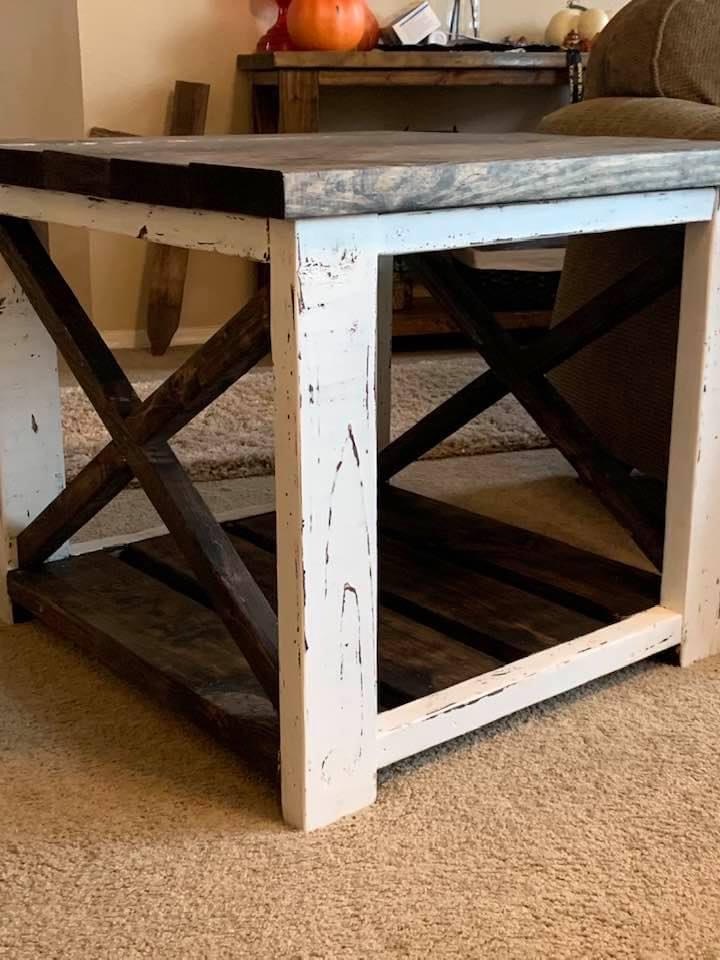
This was my 1st attempt to build a piece of furniture. Plans were easy to use.
Built from Plan(s)
Finish Used
Dark walnut stain, espresso spray paint (base), antique white (top coat)
This was my 1st attempt to build a piece of furniture. Plans were easy to use.
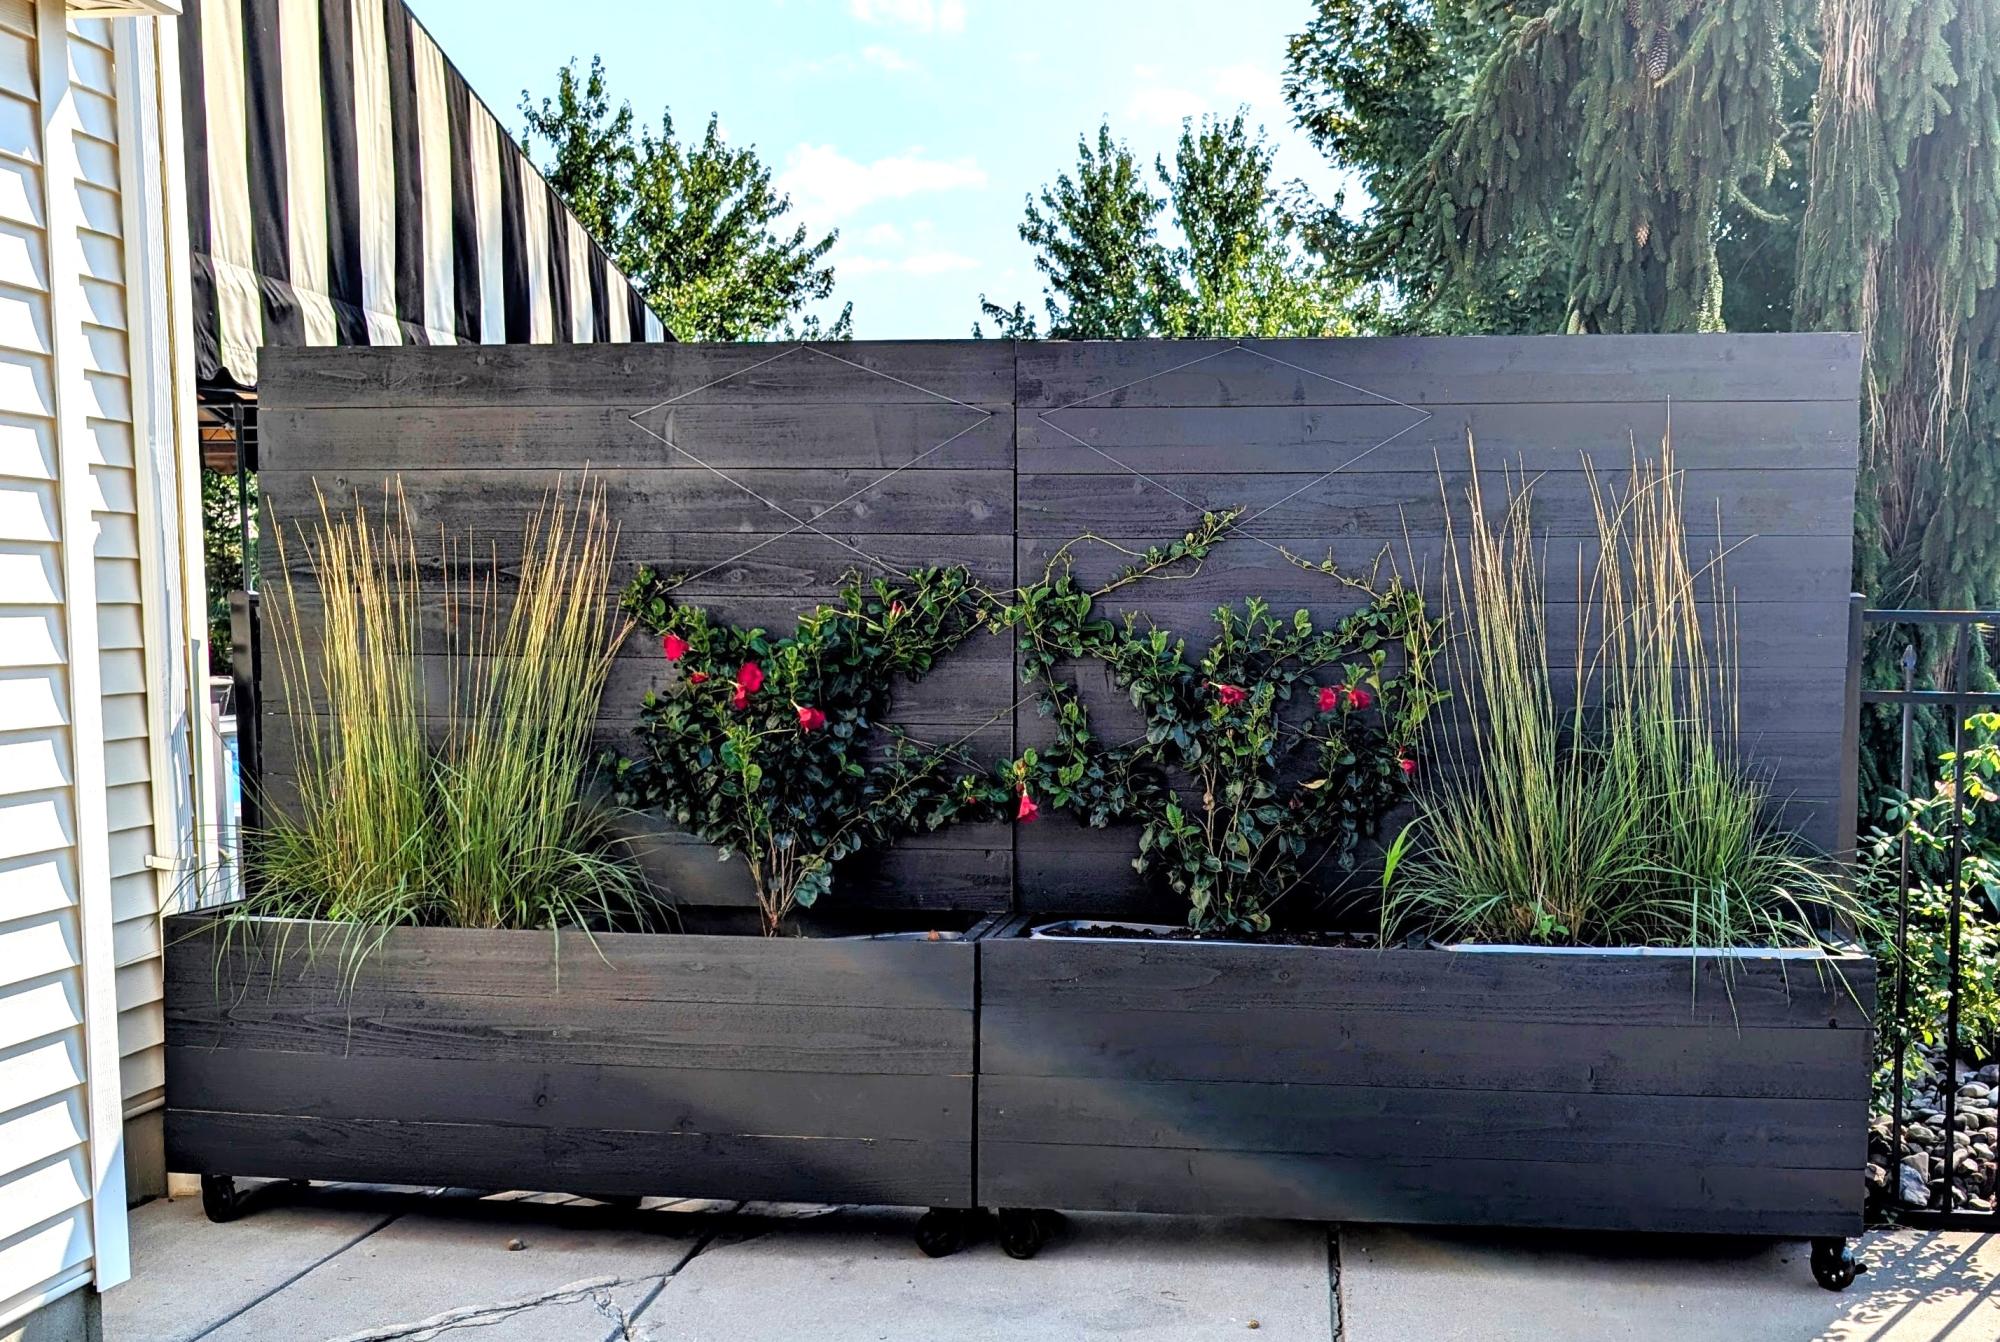
We built two of Ana's privacy planters for the top of our driveway to obstruct the view of our yard and pool from the street. We added heavy-duty casters for mobility, and cedar pickets to cover the back as well, since that side would be directly behind our eating area. Because of the casters, we had some trouble with stability, so we added cinder blocks to line the bottom, then on top of those, we used large storage bins inside of the planters as "liners" for the dirt and plants. It's the perfect solution for us, and we were able to construct both planters over two days- one day to build, another to apply the stain!
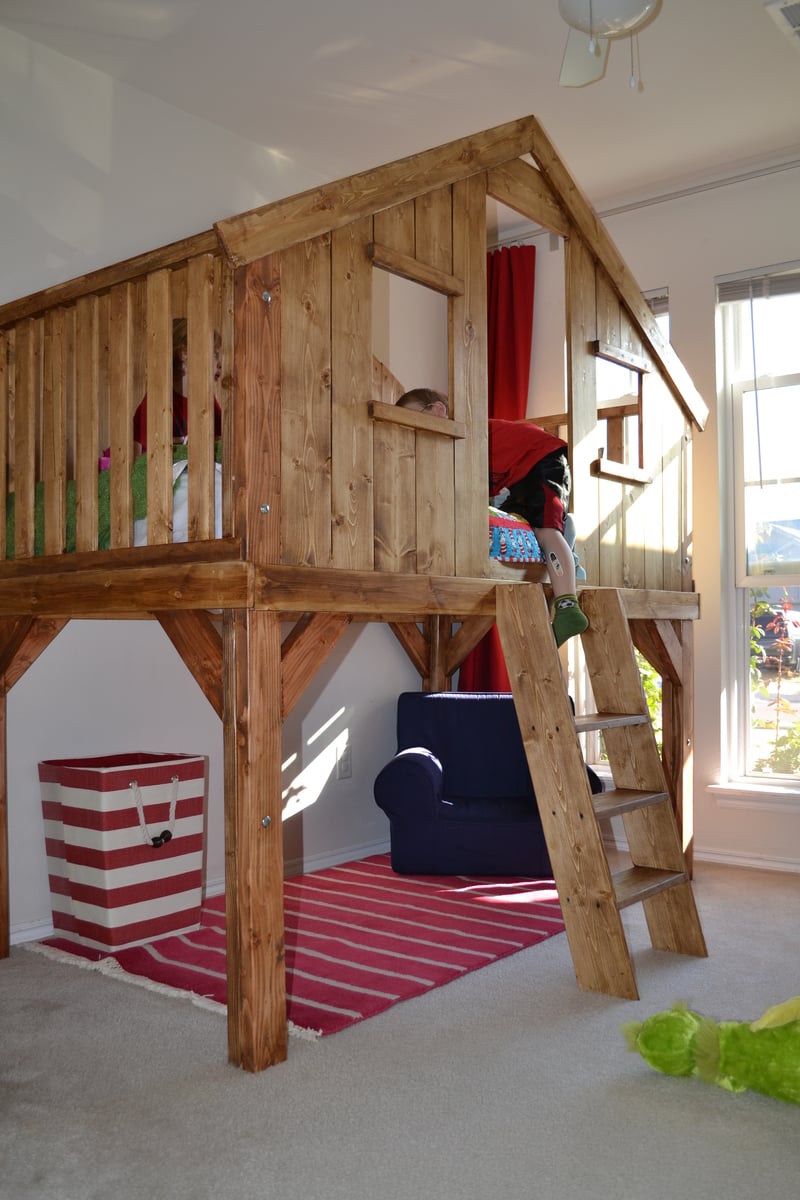
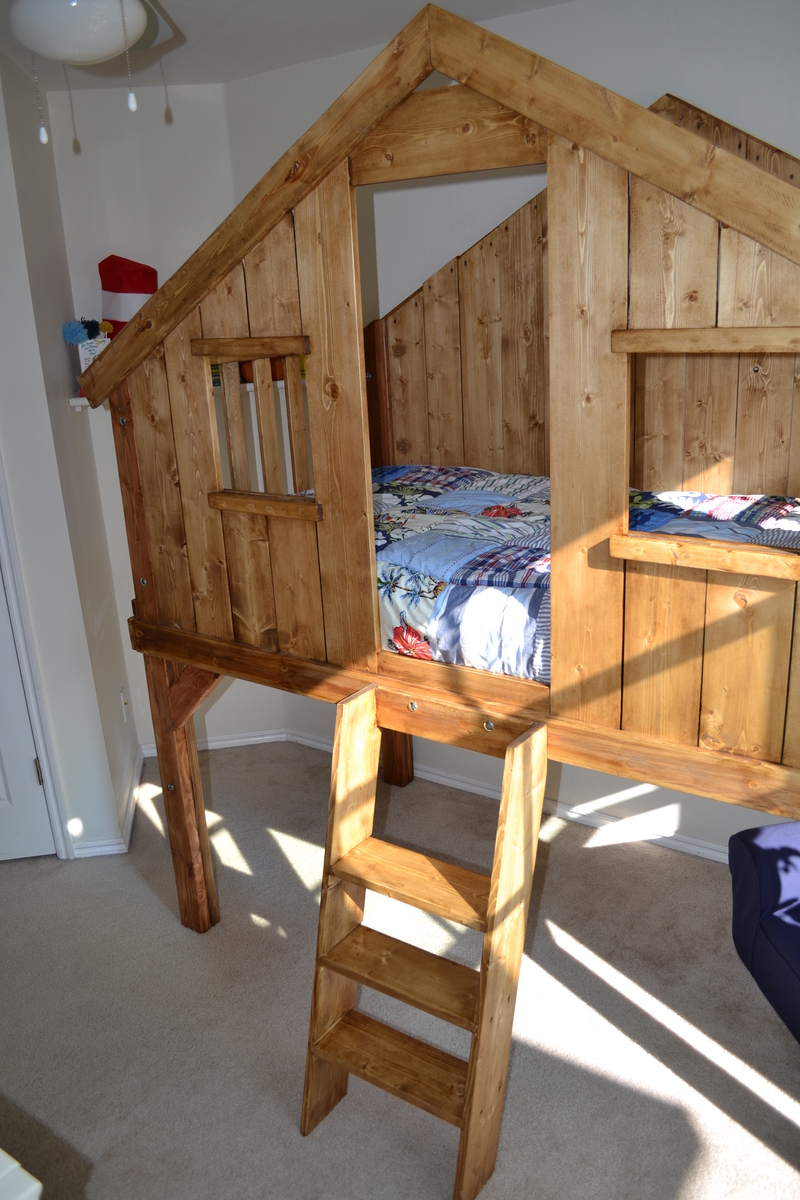
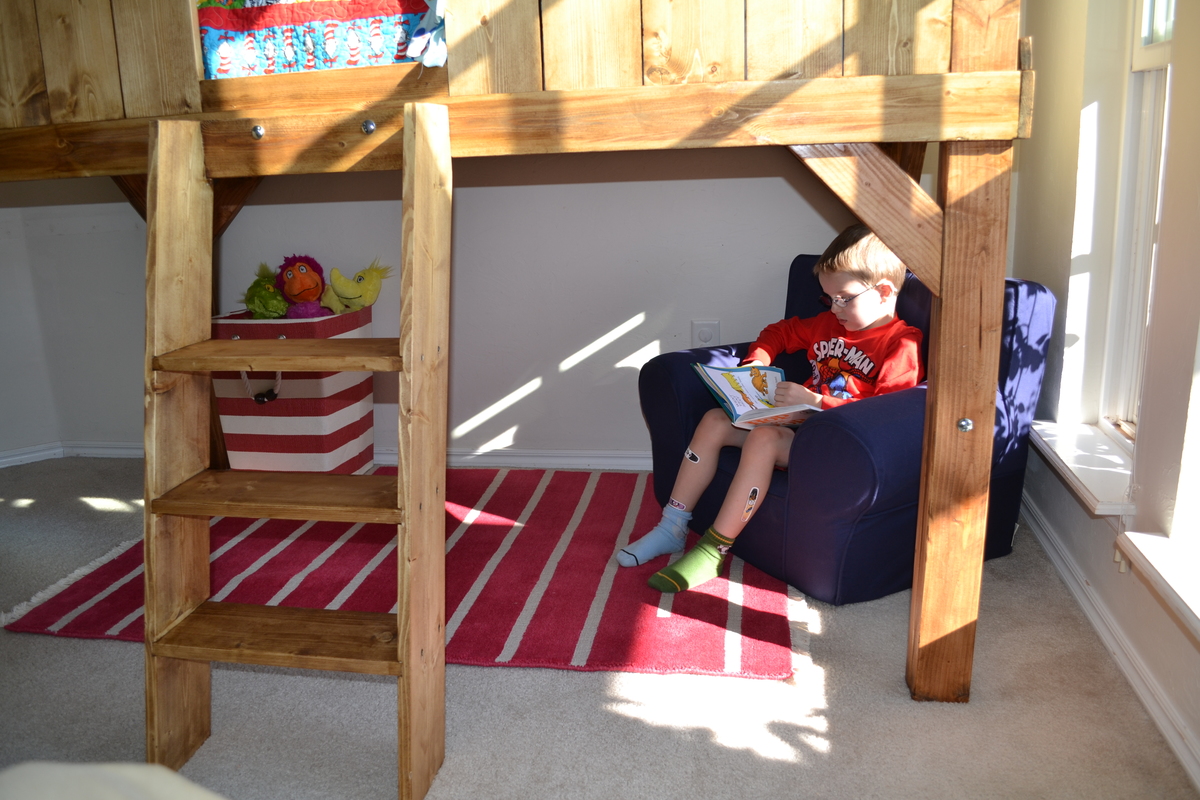
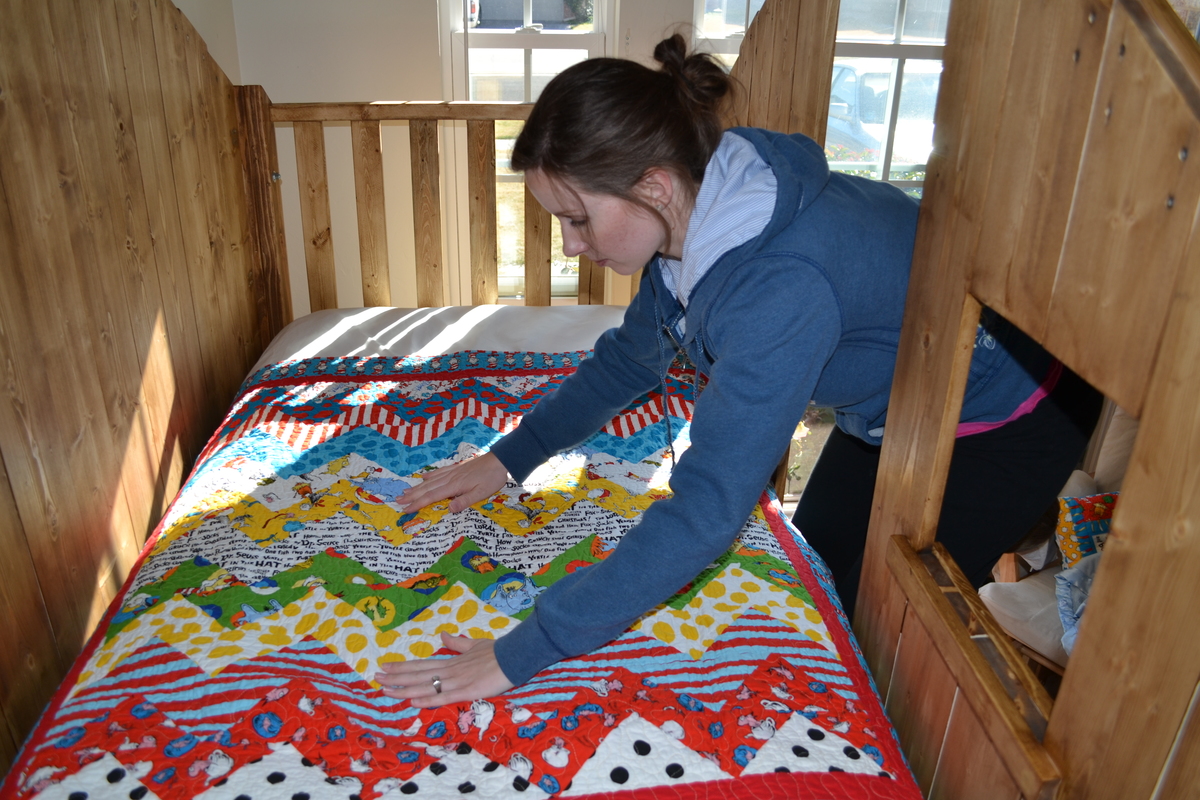
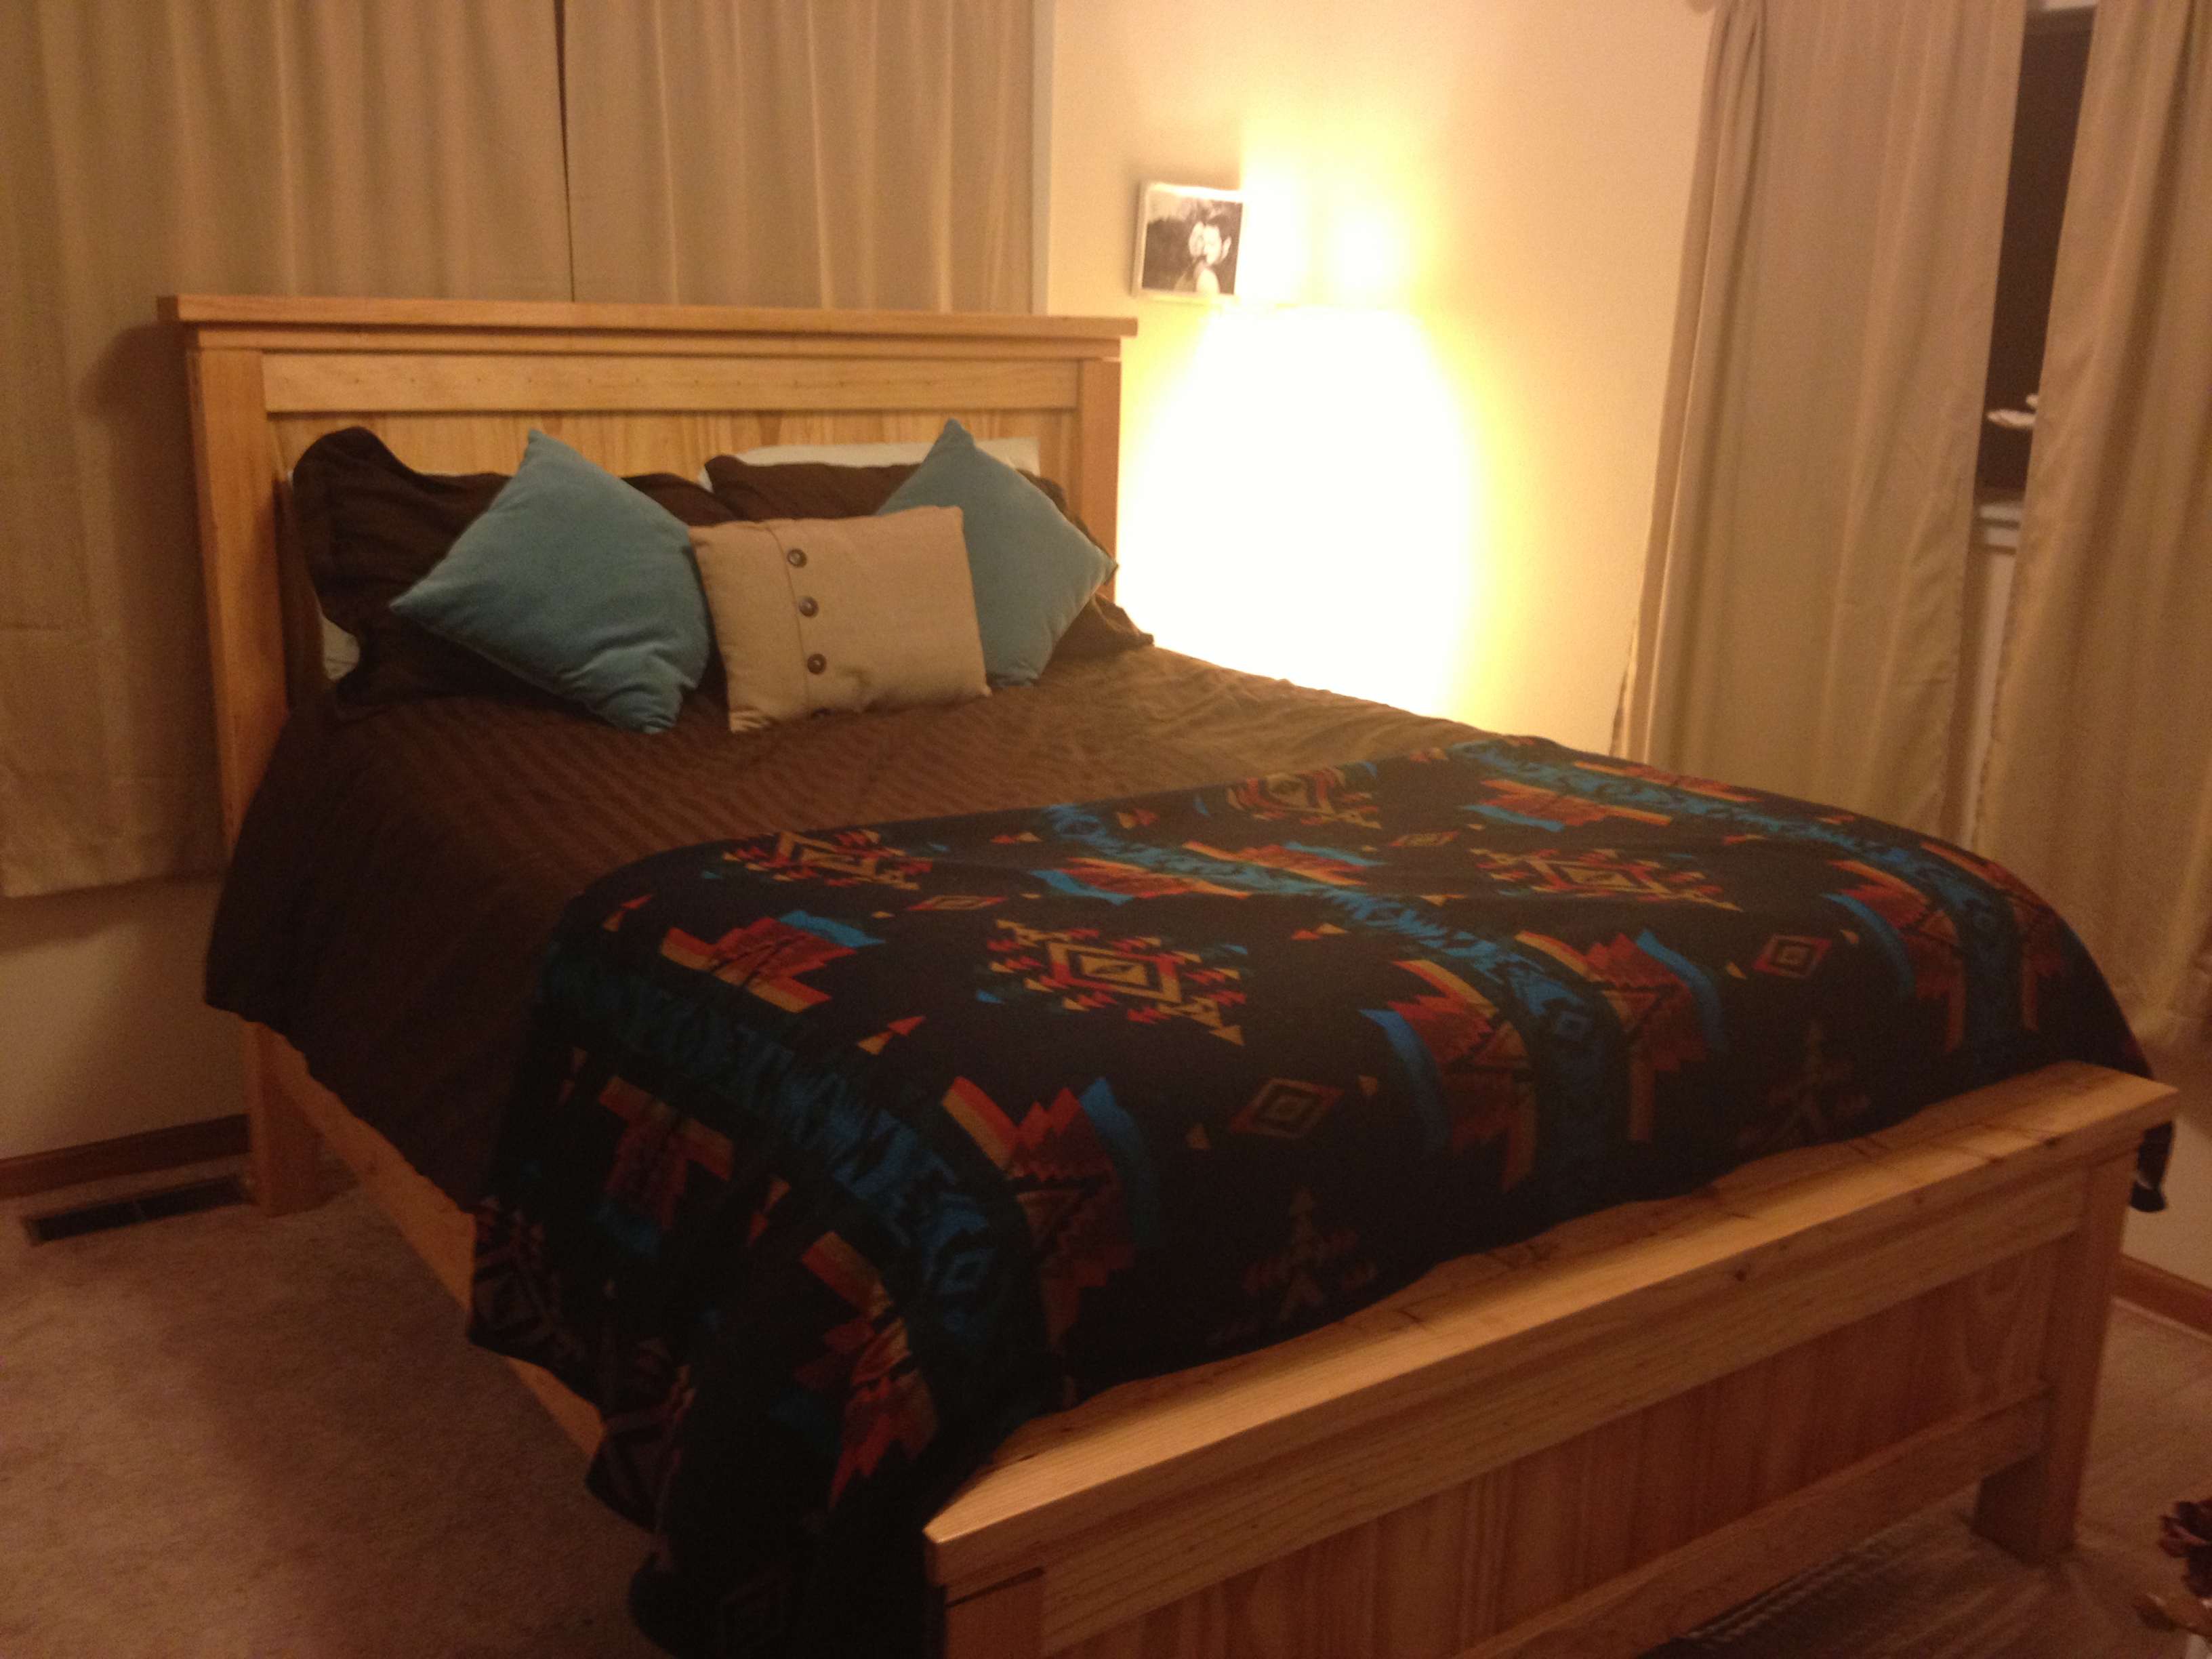
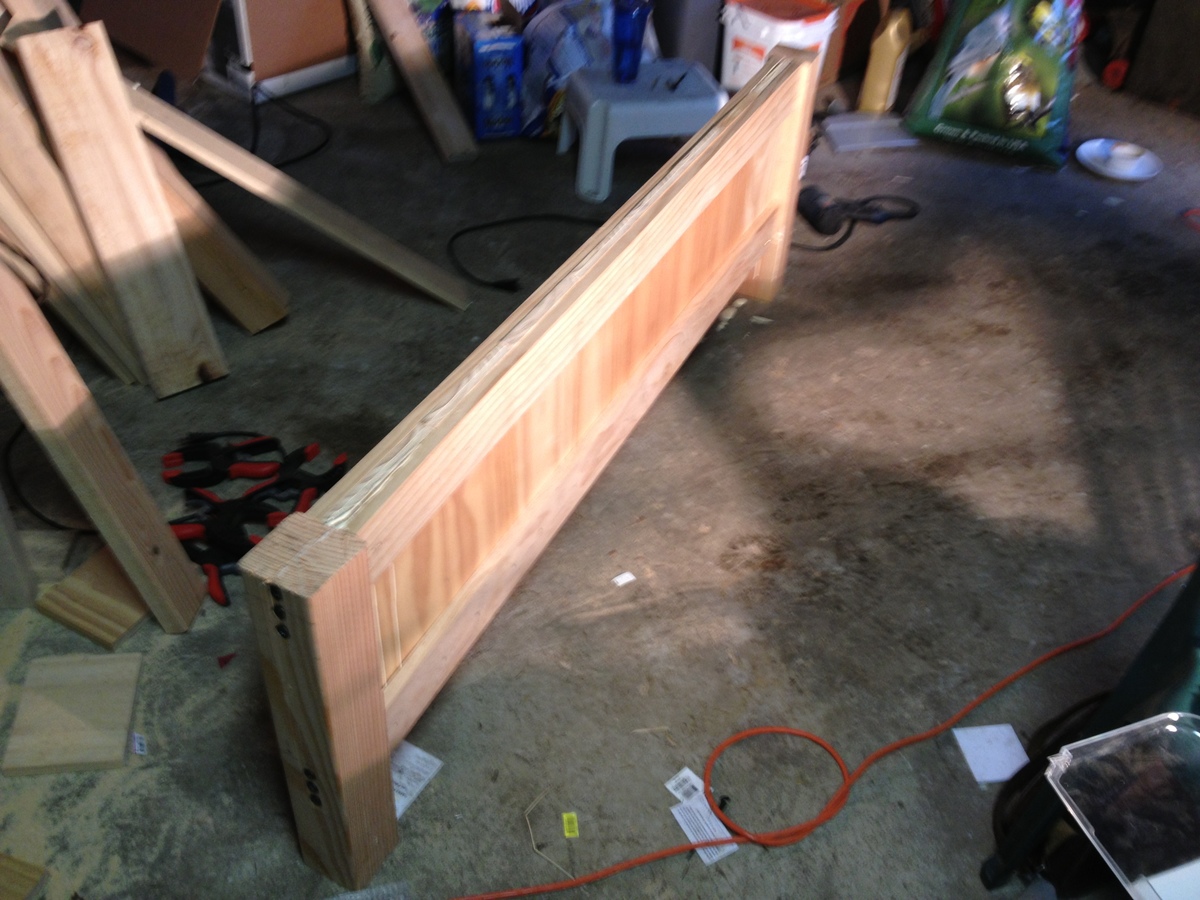
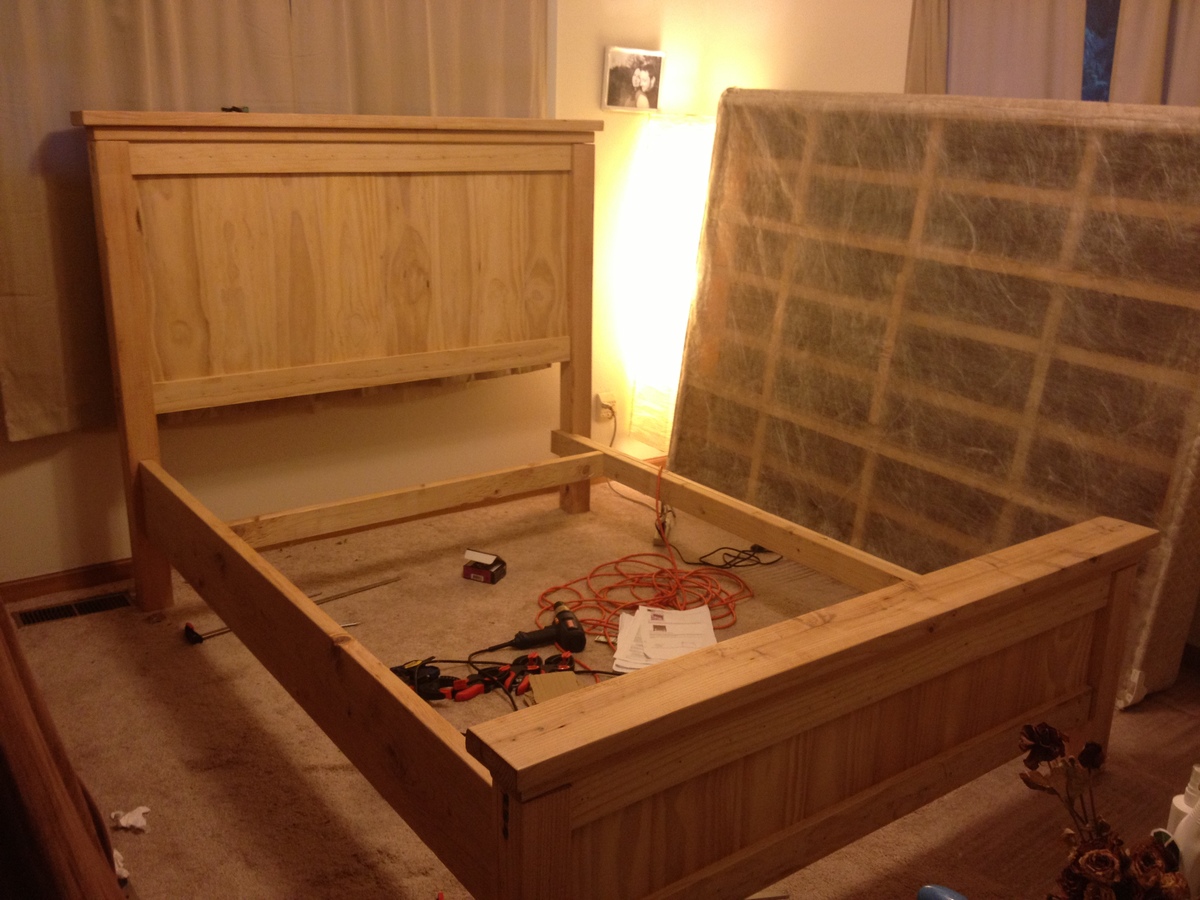
So we wanted to build a simple twin size bed for our 5 year old son. That quickly expanded into my wife wanting me to build this PB replica (which happens to be her favorite kids bed). My response was "honey, you really don't understand my lack of ability." She insisted and after a couple of weeks the bed is done! Using Ana's plans made this not only doable but much easier than I thought (this was my first build).
We changed the design very slightly because the original was a few inches too tall (we have a ceiling fan that would have hit the top). We simply shortened the top half of the bed by 3 inches. At the suggestion of a friend (who's mitre and table saws we used for the cuts) we used dado instead of pocket holes for the stairs. We also used a lot of countersinking instead of pocket holes (for example to attach the vertical slats on the side walls).
We bought the cheapest wood we could get at Home Depot. All the wood and stain and materials cost about $250-300 (I still haven't checked the receipts exactly). However, I was told (quite sternly) that I severely overpaid for the wood by not going to a lumber yard. We used a Minwax oil-based stain (mission oak). We only did one coat.
Now that we're done with this we can't wait to get started on the next project (right after I get my dissertation going).
Fri, 11/30/2012 - 07:07
It turned out amazing! woodworking is addictive isn't it?
Fri, 12/07/2012 - 18:22
I've been wanting to build this for our youngest son. He will be three before we make it and the fact that it is enclosed makes me comfortable with having him in a lofted bed, but it also looks like changing the bedding would be really challenging. Seeing your picture smoothing the quilt begs the question, how hard is it?
Nice work on the bed-what a first project!
Tue, 12/31/2019 - 08:41
Did you use the same angles at the top of the bed but remove 3” from the bottom of the cut? Would love to shorten this too but not great at making that type of adjustment without stated plans for it. Thanks for your help. [email protected]
I love this, so did our son.


Had oak from my family farm that made up the top and trimwork. Purchased oak board for the legs. Sides and middle/bottom shelf from maple plywood. Decided against the flip down doors. Wasn't happy with he fit of the main doors due to a little off-kilter craftsmanship on my part, so will probably leave it open and add crates / some shelves the same height as the top row giving like 6", 6", and 11" or so.

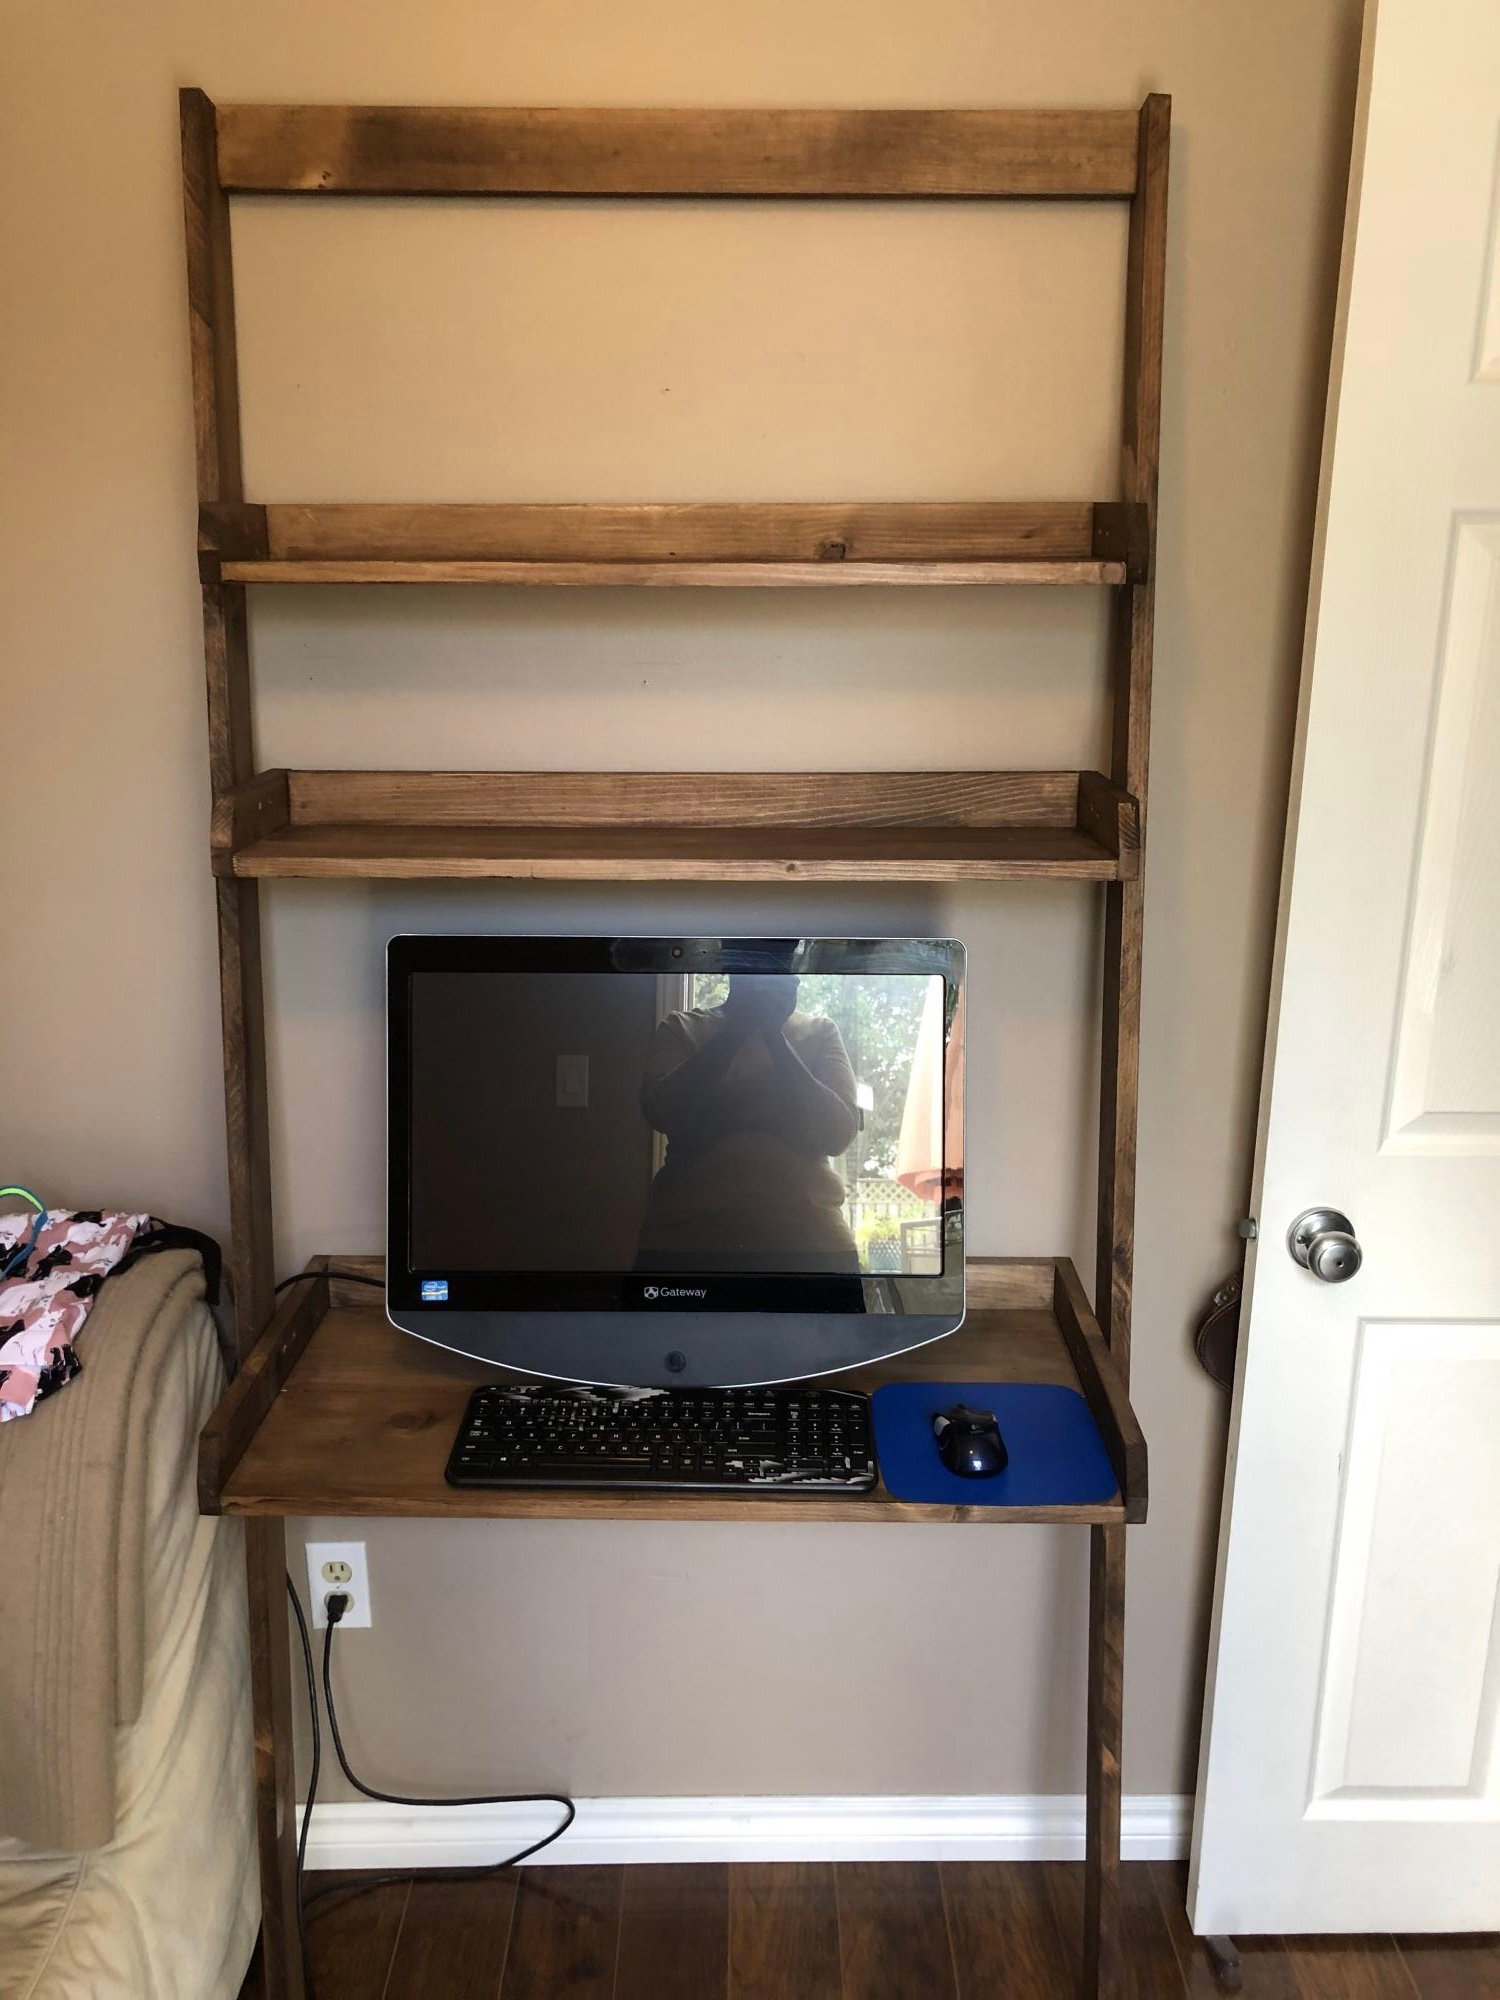
Love this desk and the plans are so easy to follow. Perfect for a small space.
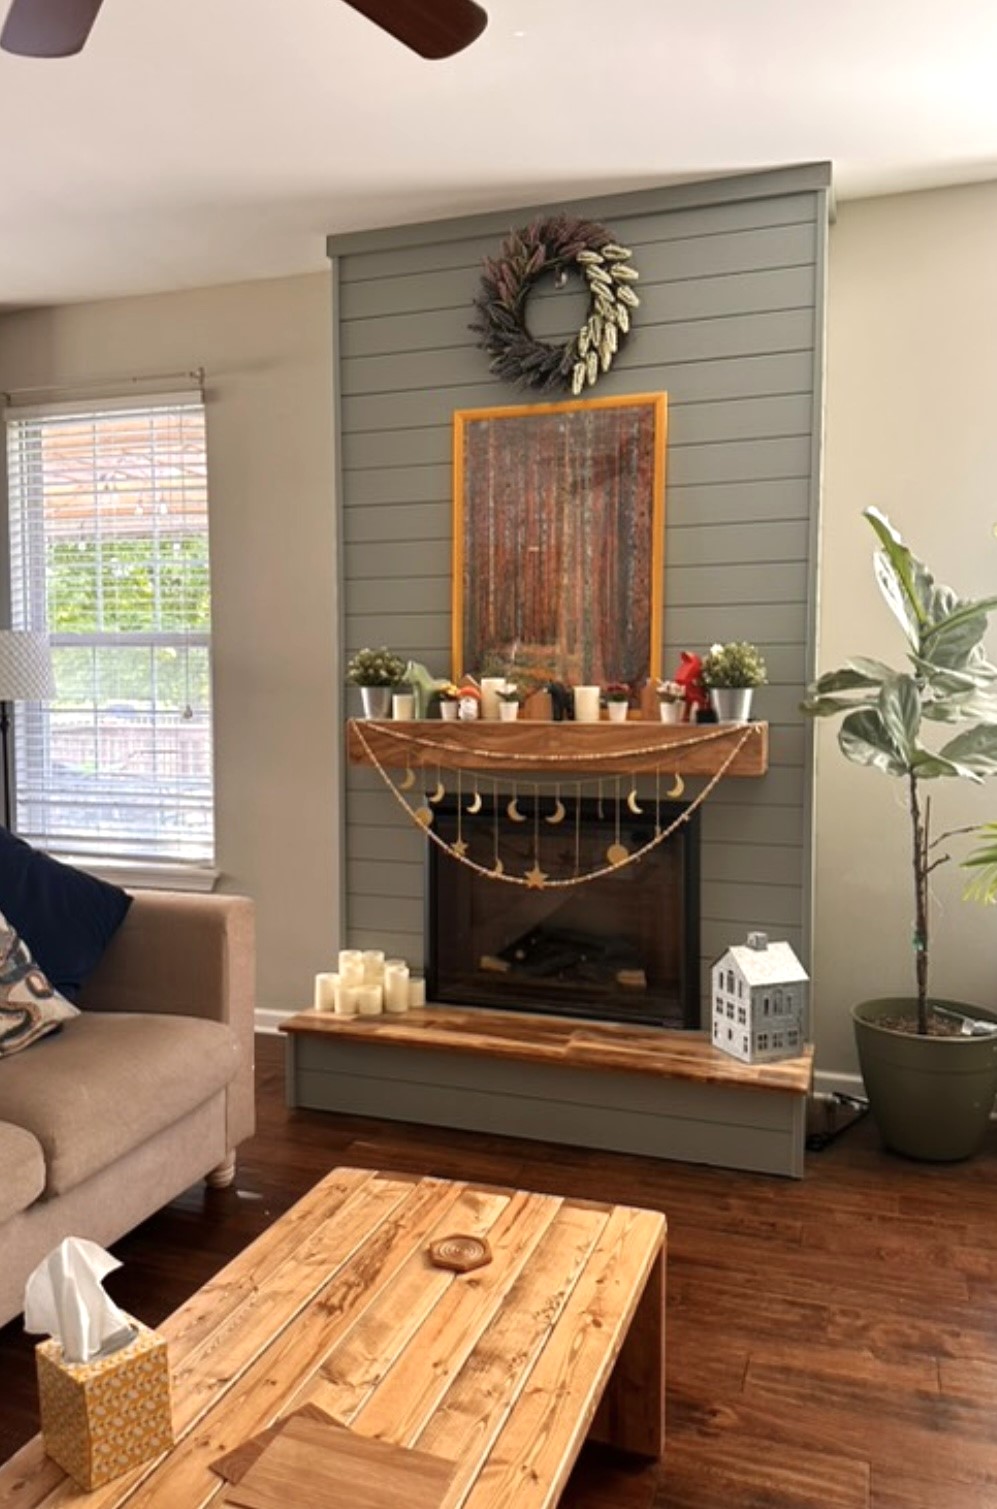
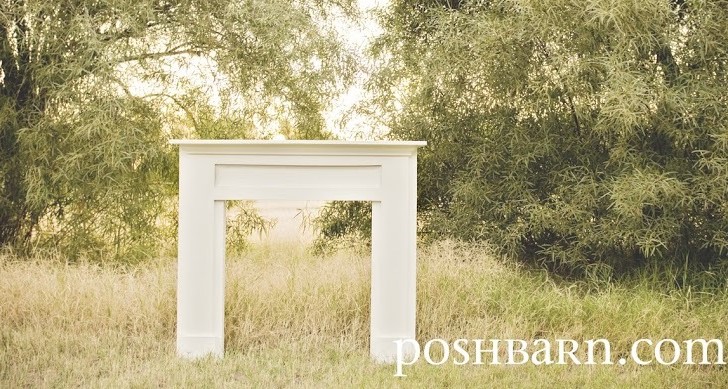
"9 years ago I built my first project, a table I needed to have for thanksgiving dinner. Luckily @anawhitediy had/has a fabulous plan for that and I learned as I went. Picking up wood for my latest build (a fireplace with electric insert) I had that same thrill as I had so many years ago. This time I had plans from @anawhitediy and a beautiful inspiration (and tutorial) from @simply.diy.home to get me going on my path."
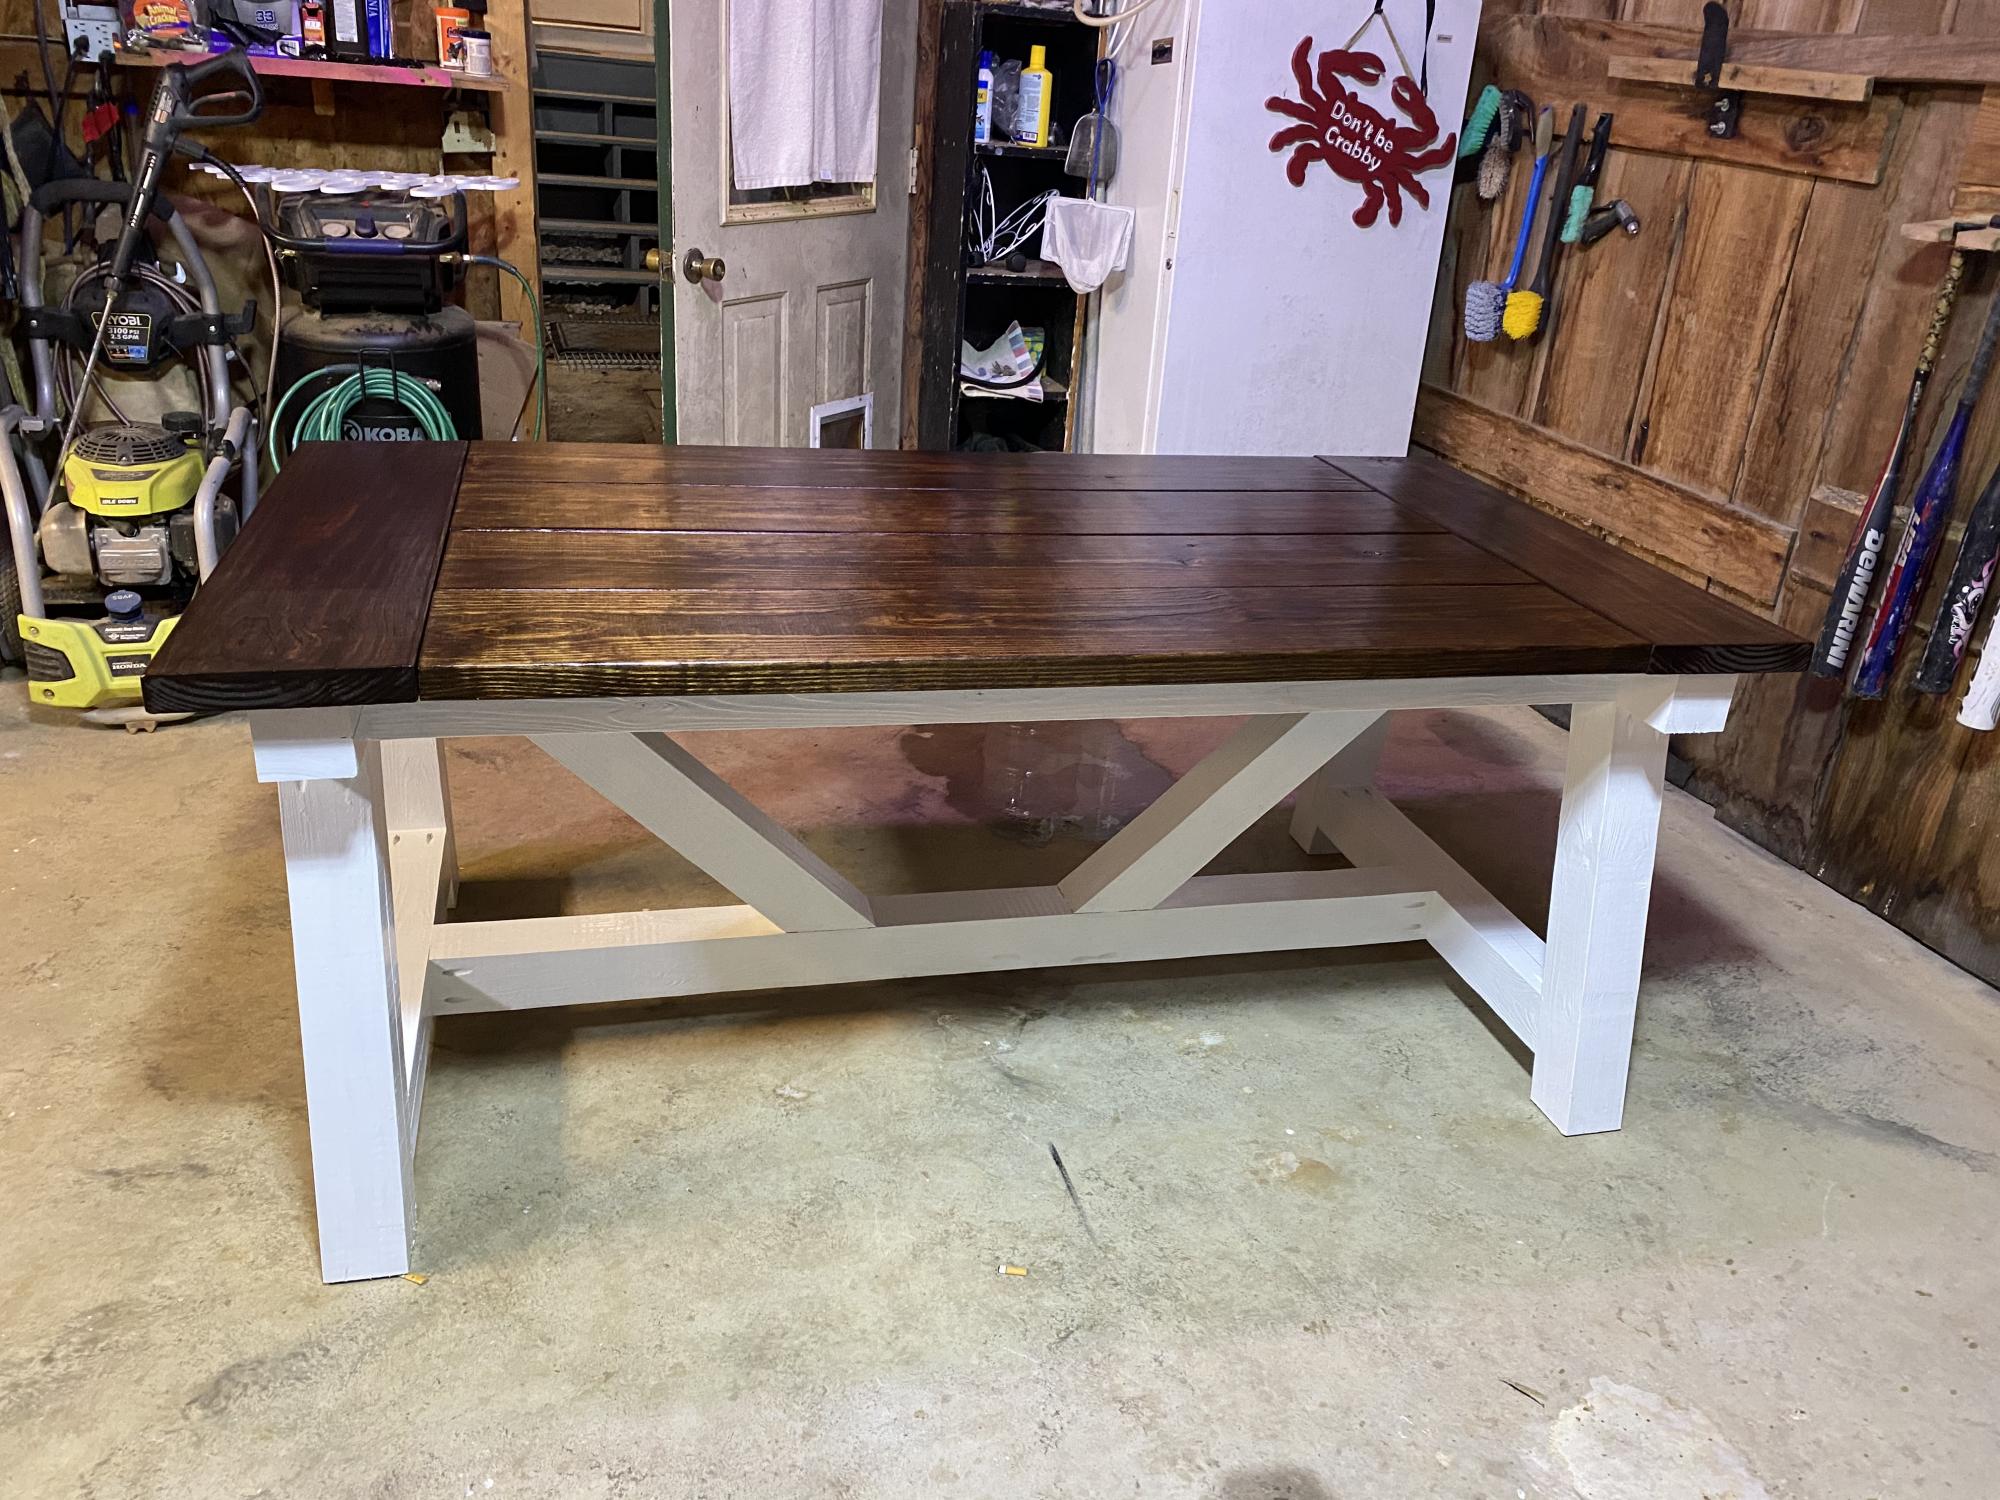
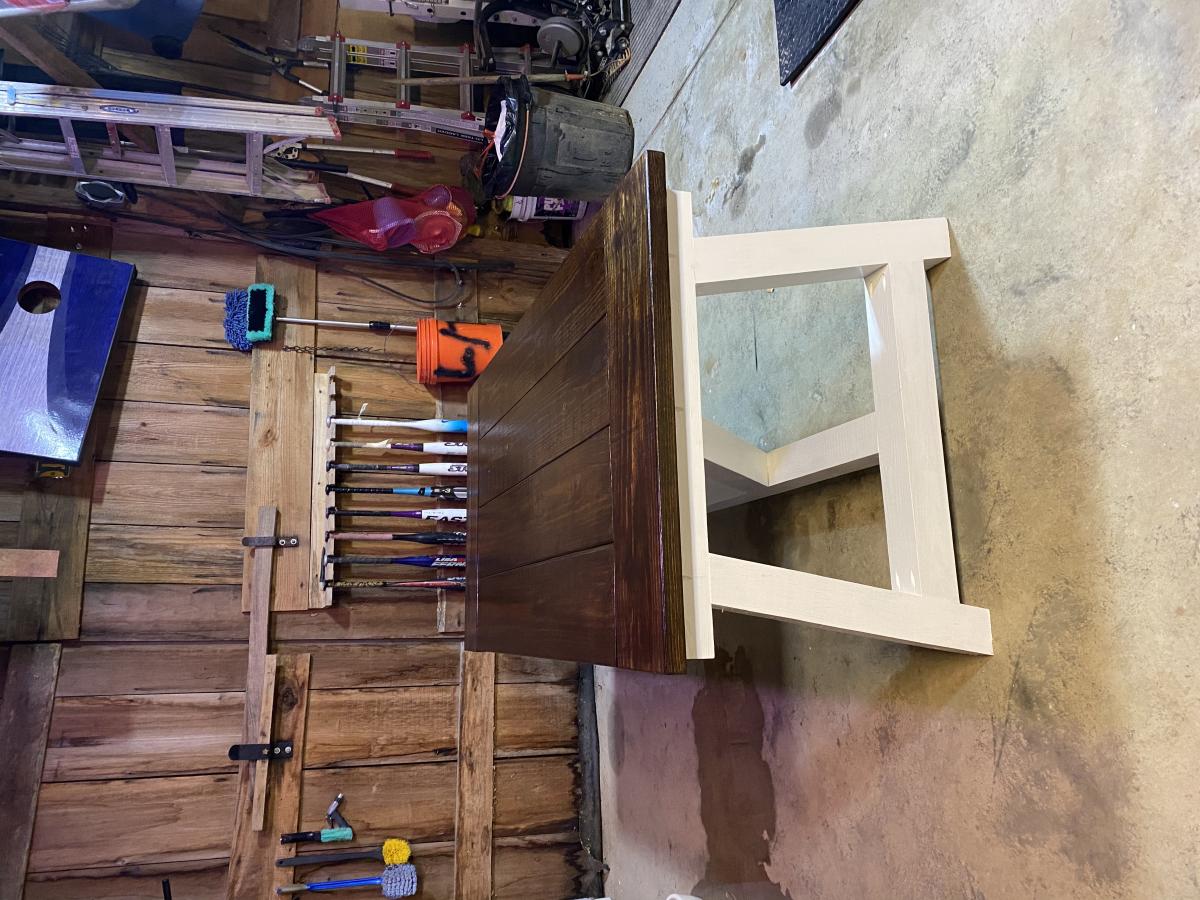
This is the queen size version of the farmhouse bed with a natural finish. The plans were modified somewhat to account for the use of a box spring. The actual construction probably took less than a day of total project time, but the sanding, staining, and finishing were quite lengthy. My husband and I used both an electric sander and also sanded by hand. There are two layers of natural stain and three layers of polycrylic (with sanding in between each layer of the polycrylic). It turned out beautiful! Ana, thank you for the inspiration!

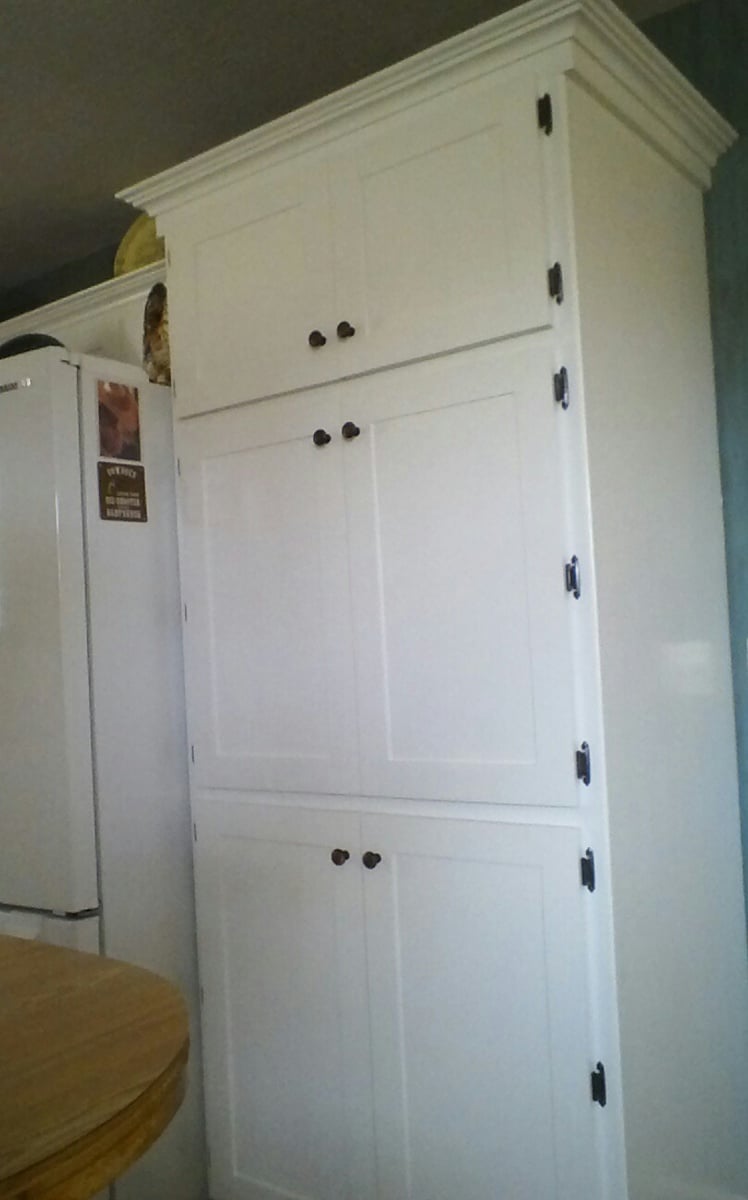
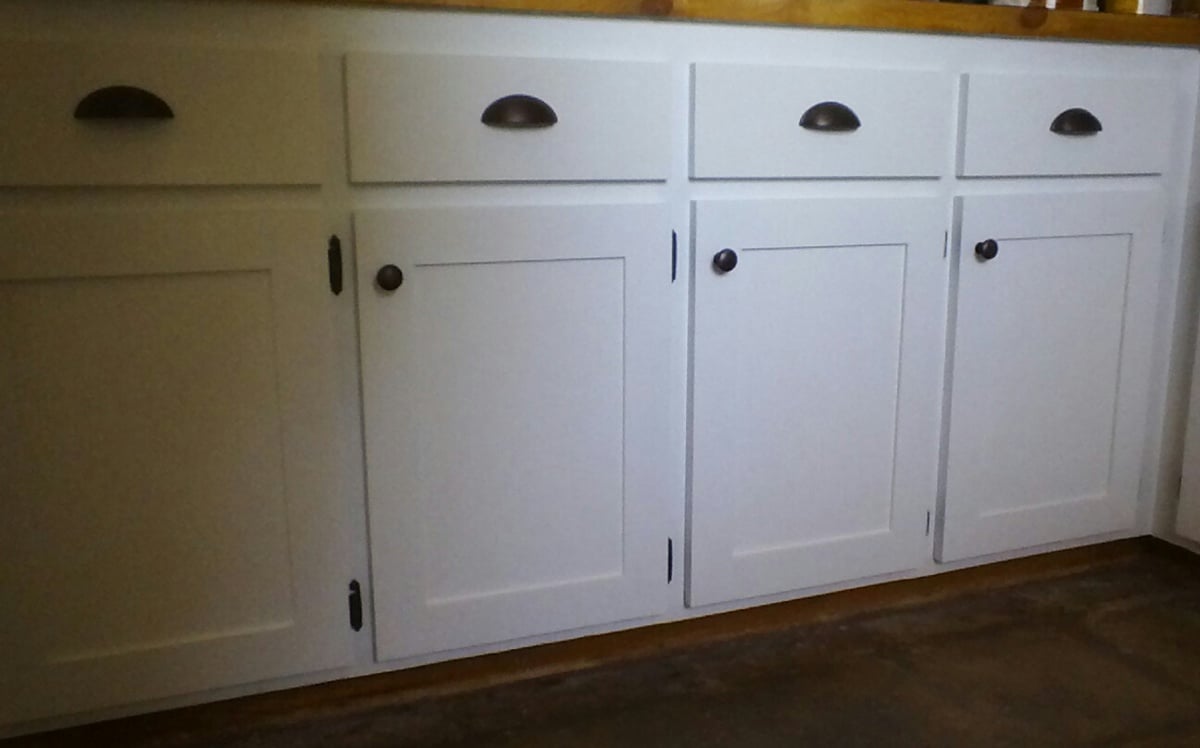
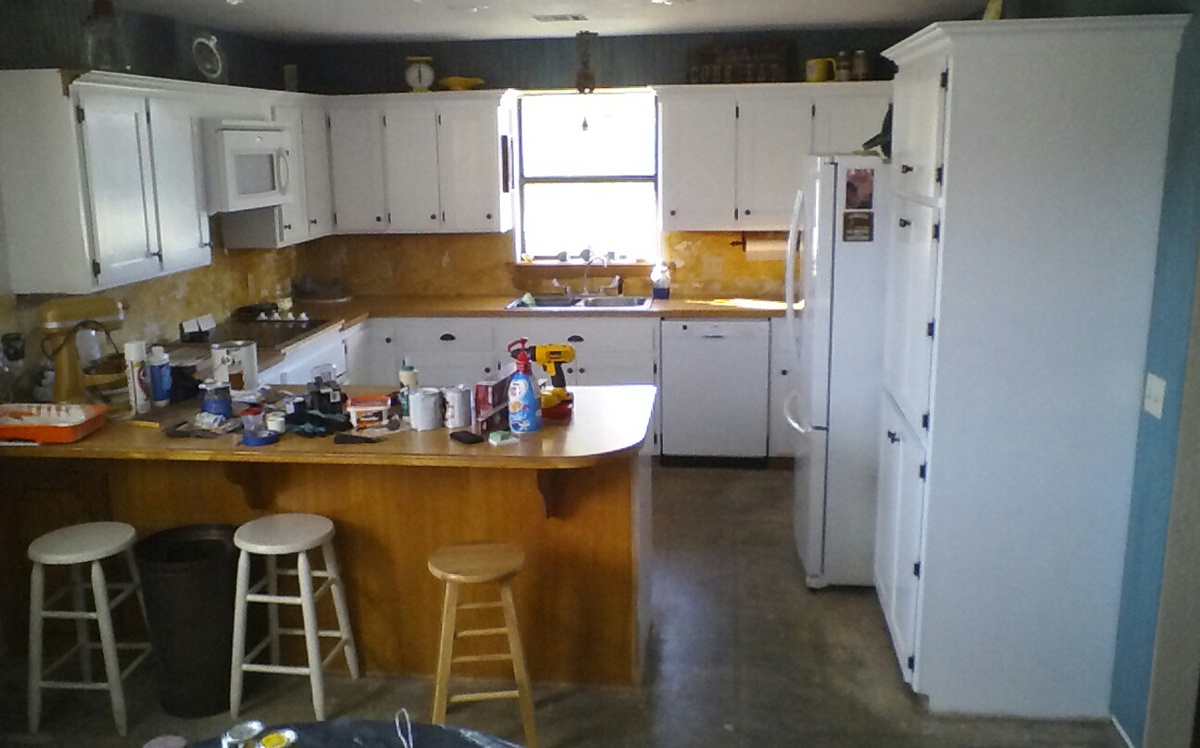
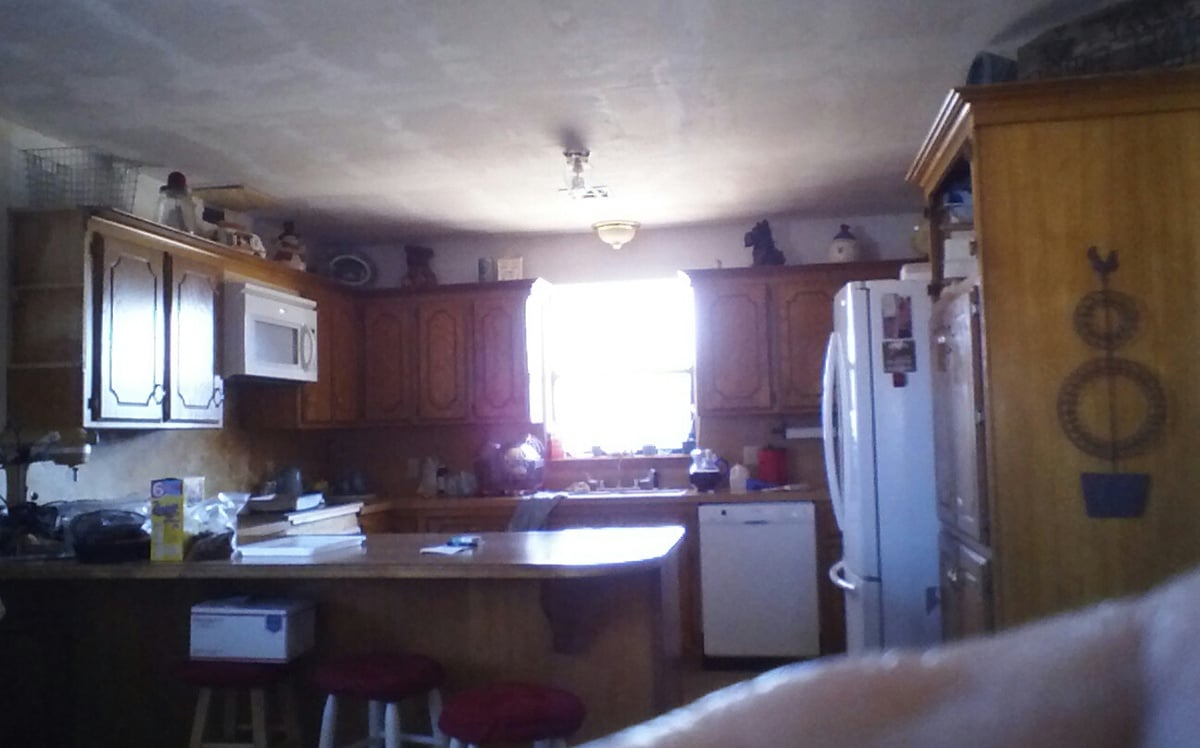
Just a couple of pictures from our kitchen remodel. My husband and I have built 59 cabinet doors for our house, kitchen, laundry and two baths. The cost of wood only $604 , we chose to use finished ply for the panels and poplar for the stiles and rails. We could not have done this with out Ana, thank you from the bottom of my heart!
We are still in the process of our remodel, but I wanted to show what a little time, sweat and very little $$ (compared to the $10,000 + quote) can get you with determination and a few basic skills.
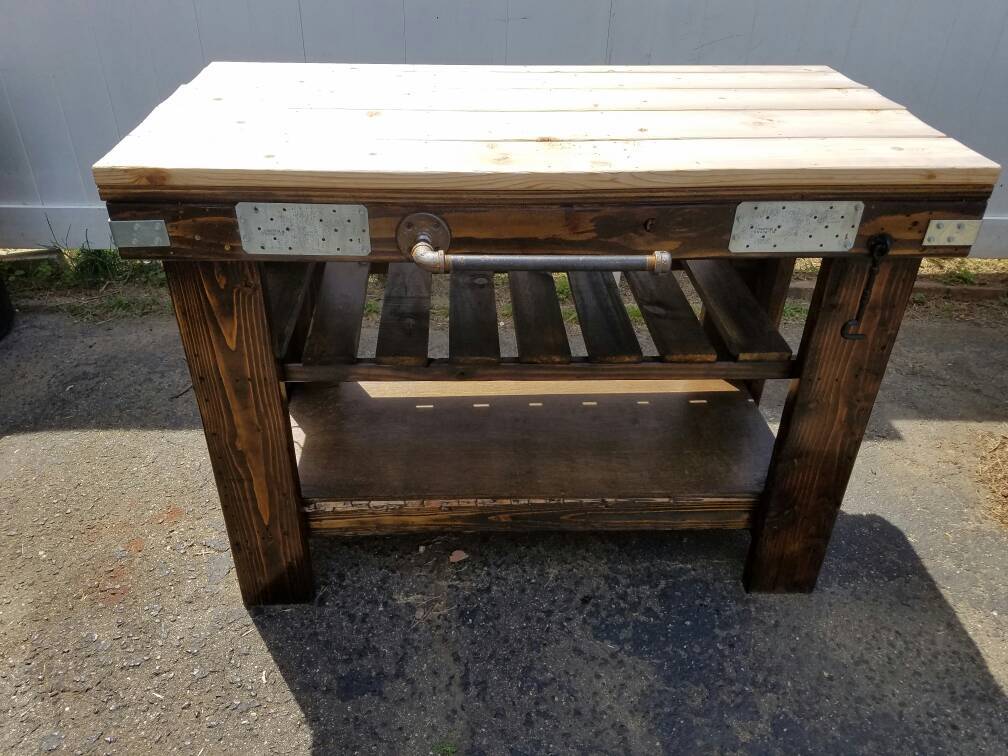
Built 4 foot kitchen island. Used mix of cedar (2x6 decking)for top and rest was Douglas fir wood from home depot. Legs were 2x6 nailed to 2x4 Doug fir wood. 1x4 pine was used for the shelves. Measured distance to hold wine bottles. Cost approximately $100.00 in wood. Miniwax ebony and jacobean was used for stain. About 50/50 mix. Epifanes wood gloss was used to varnish. It's a superior product to use, however can be pricey. Can use a poly if concerned about costs.

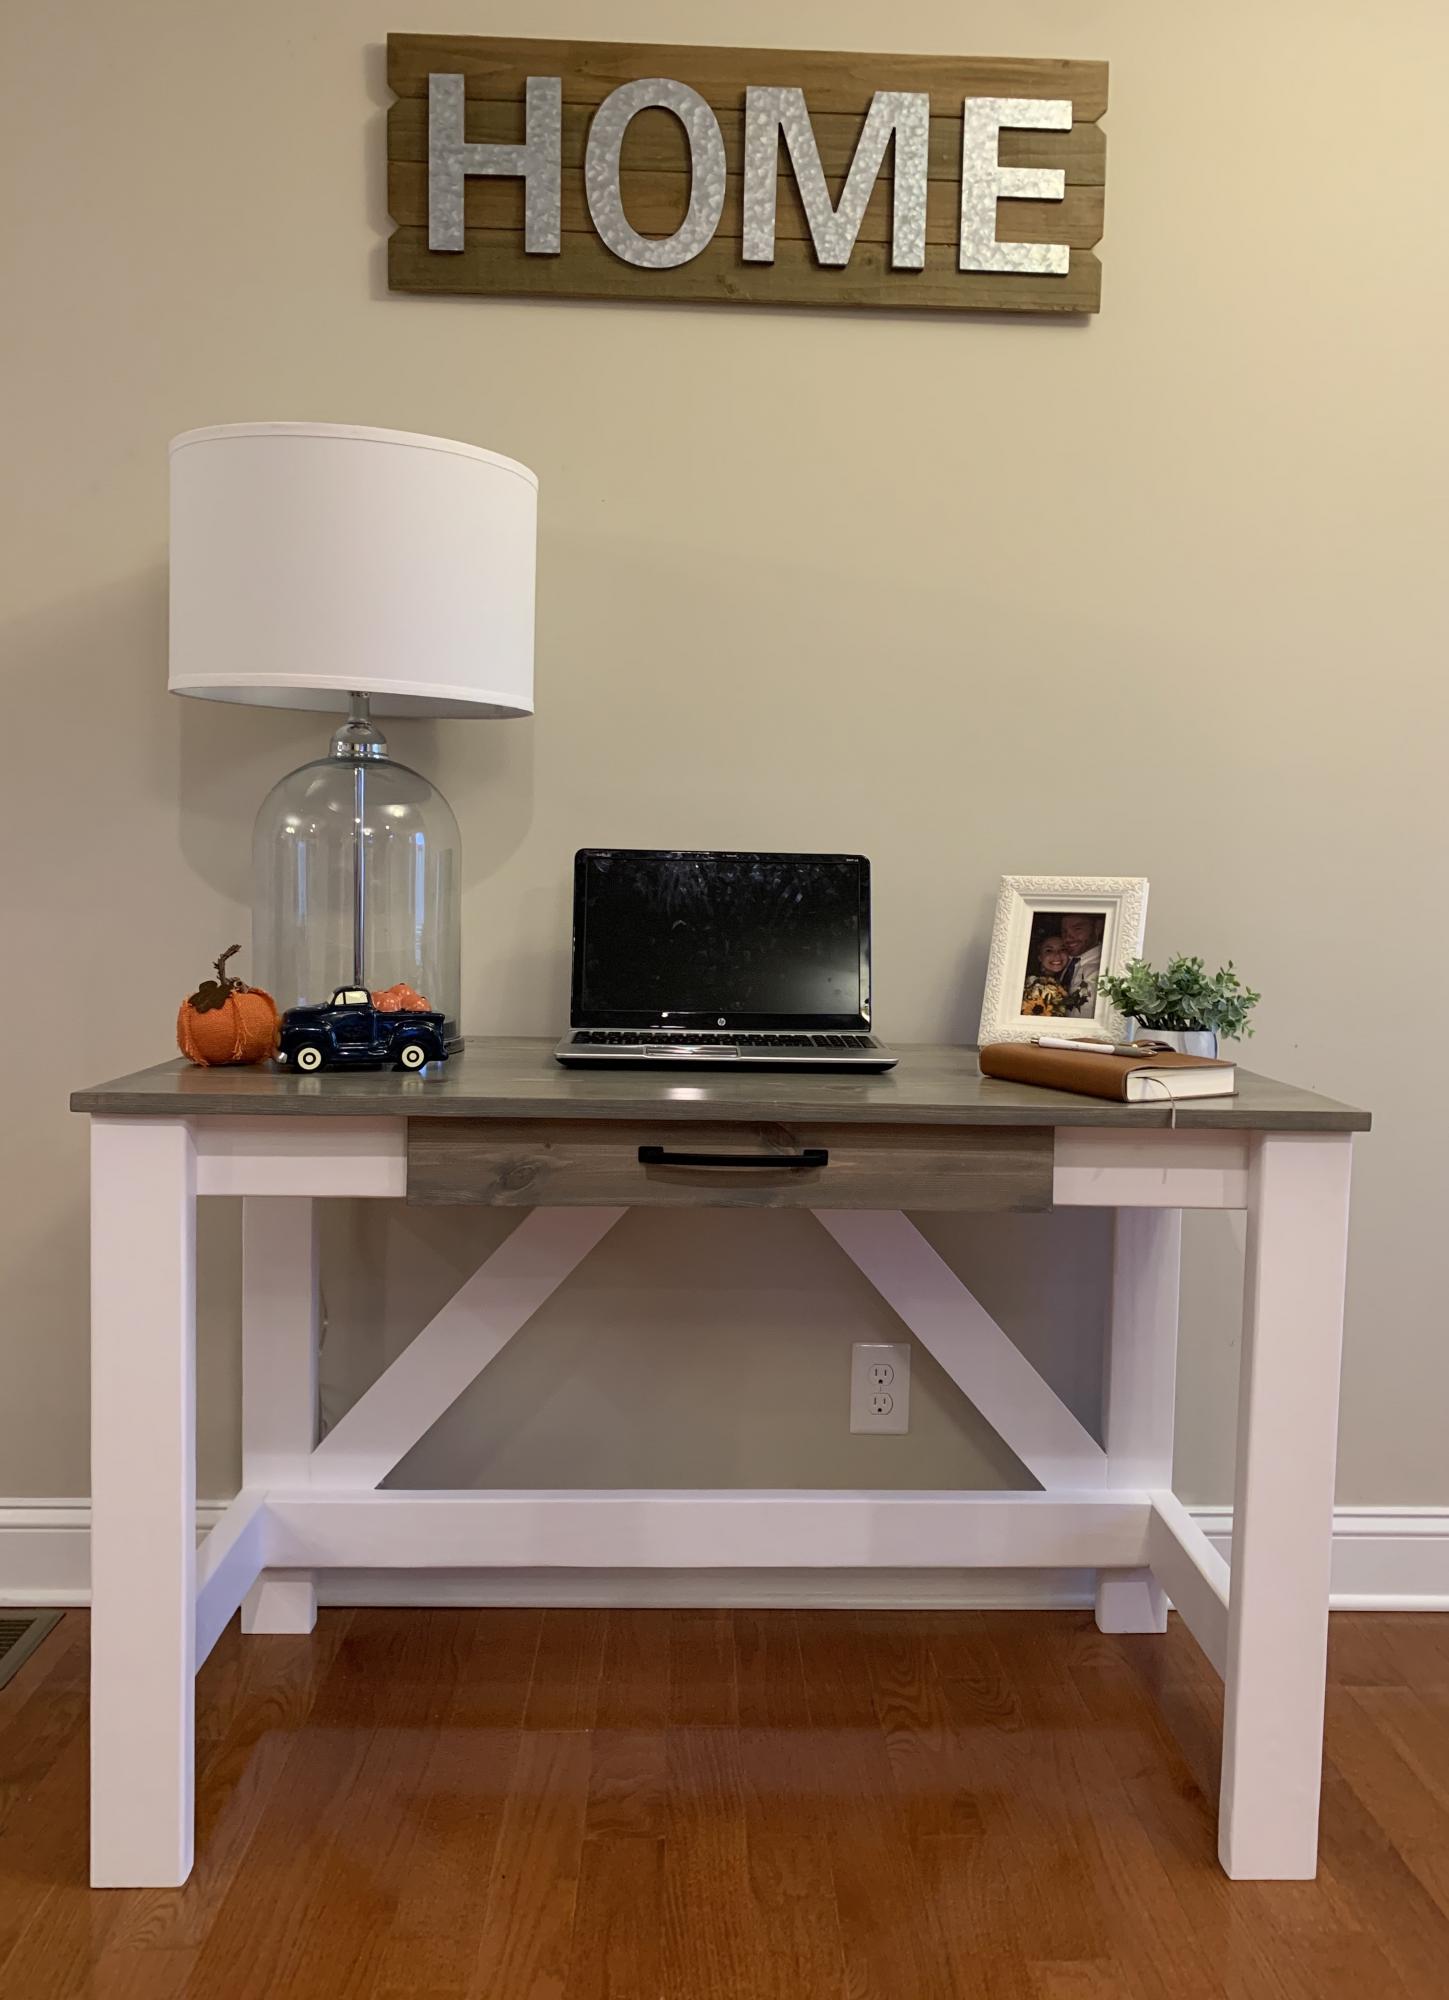
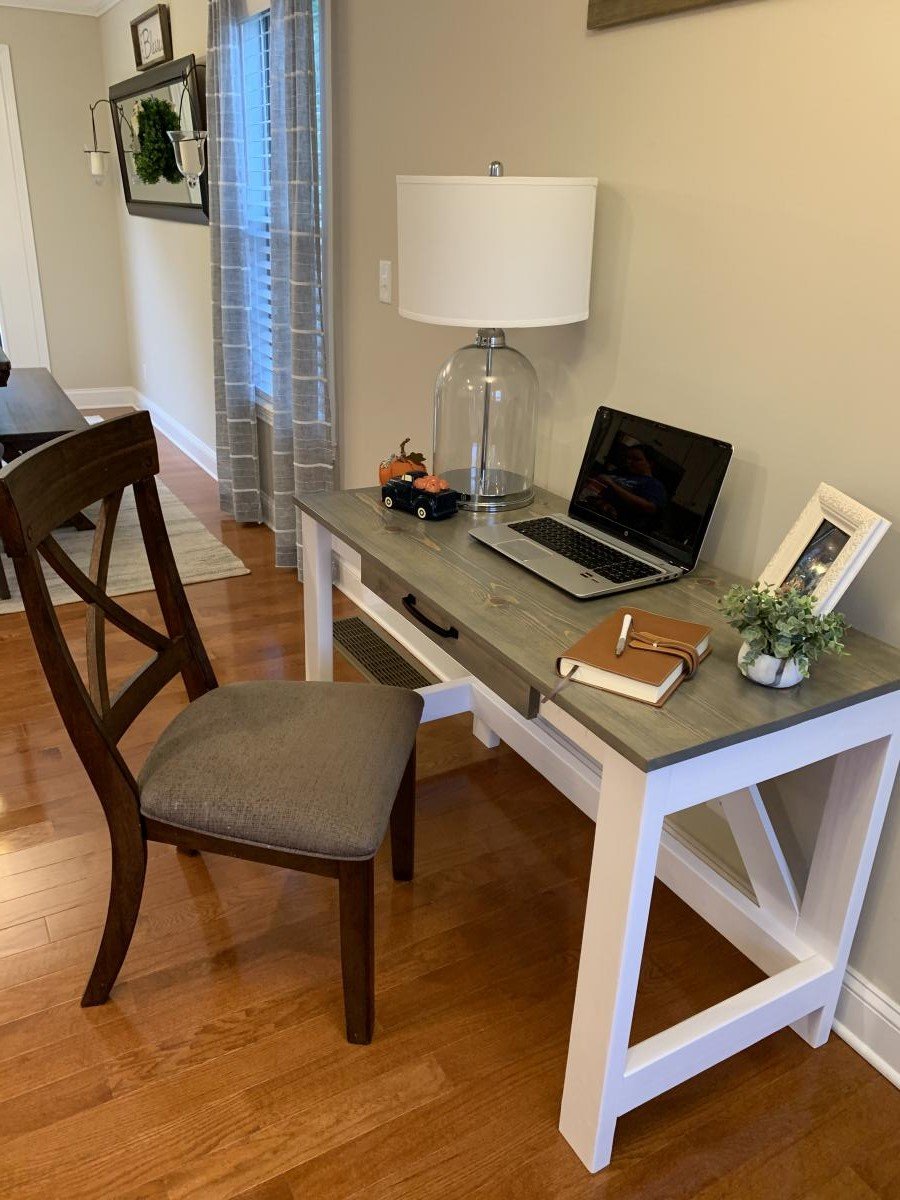
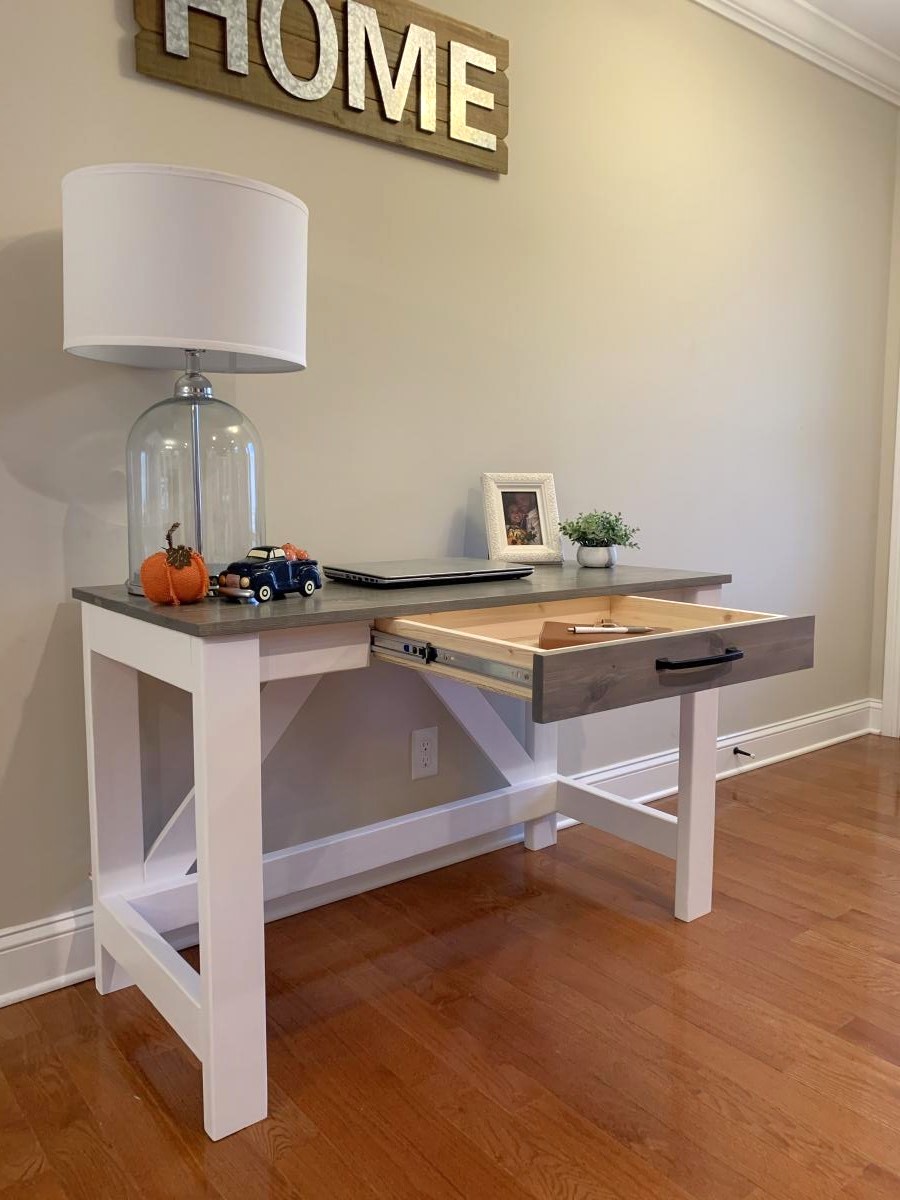
Gray / White Brookstone Desk “Farmhouse Style”. Super fun desk build . I went with a soft close set of drawer slides for a nice drawer closing . I used pocket holes to attach the table top but for the rest I followed the plans. I’ll be uploading a video step by step how to build this to my Instagram (bryan_oneill907). Link below .
This is such a great project. Easy and fast you still have time to make one for hanging Christmas stockings!
The first larger project I've done on my own. I distressed it some before staining it but no other changes were made to the plan.

I have been wanting a longer entryway table and this one was the perfect length and style I was after! Thank you for providing these plans! You rock!
Great desk, easy build and very solid.
Only issue with the plans was not enough 2x4 (unless I cut it wrong).

I made both chairs and the table out of Cedar. After a few coats of Spar Urethane and copious amounts of sanding (so much sanding!) they turned out great! If I had to do it again I might've stained them darker, but the Spar Urethane really lets the natural beauty of the Cedar show. My biggest piece of advice for others is to take your time sorting through lumber at your local big box store/lumber yard. It will pay dividends in the end!
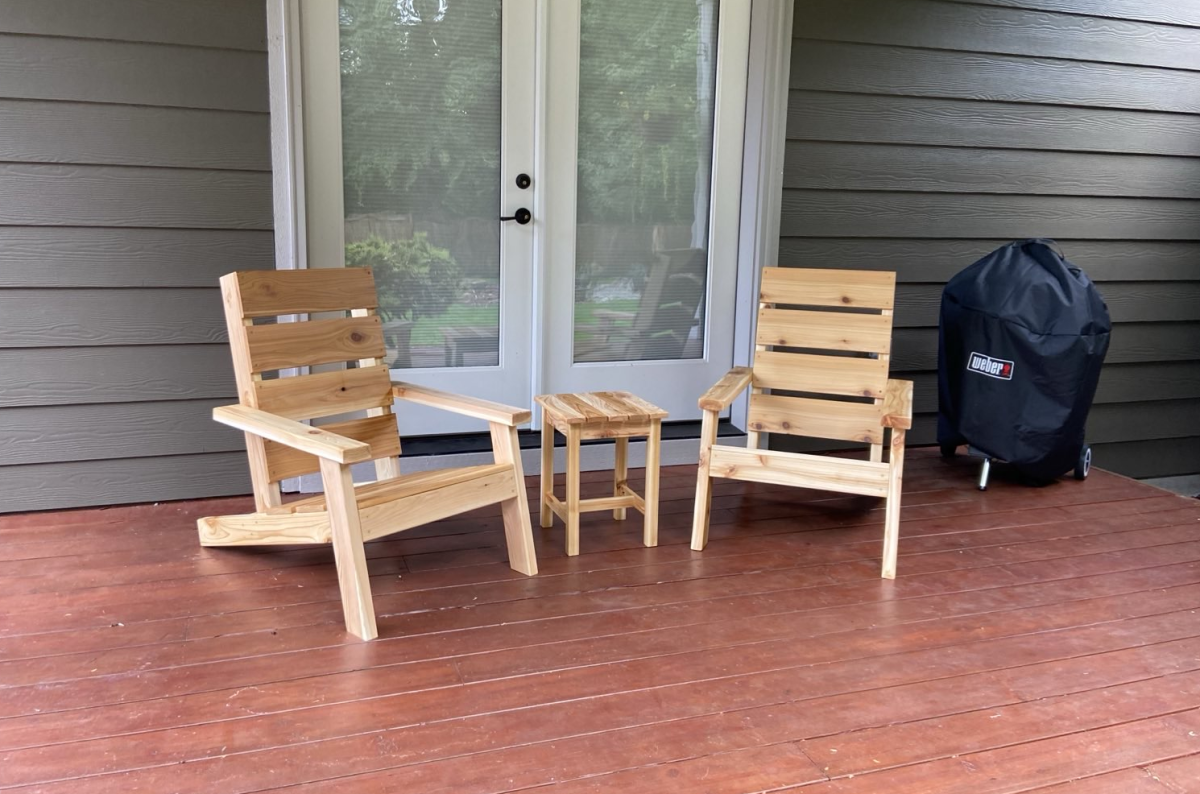
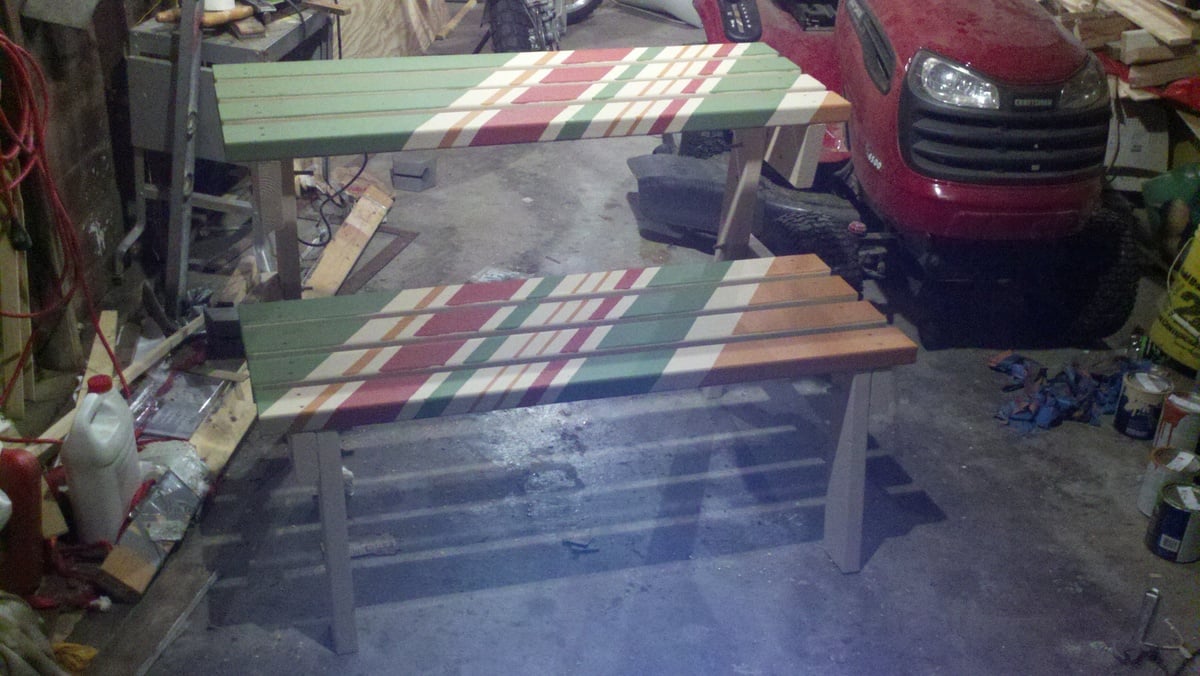
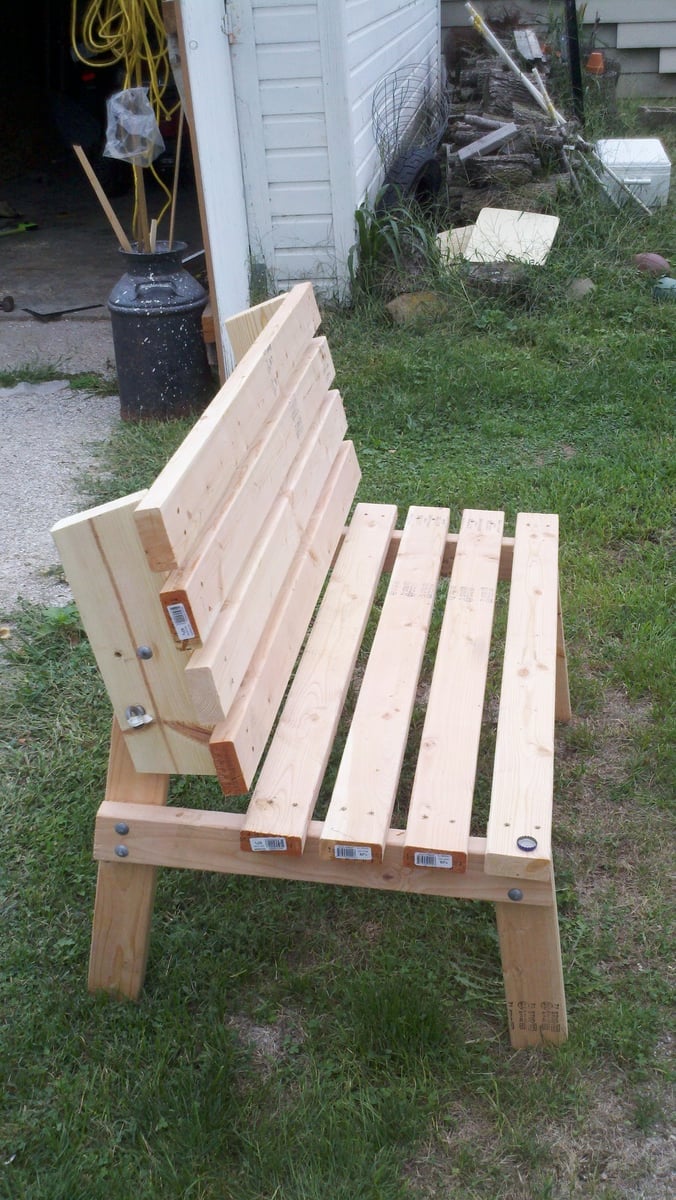
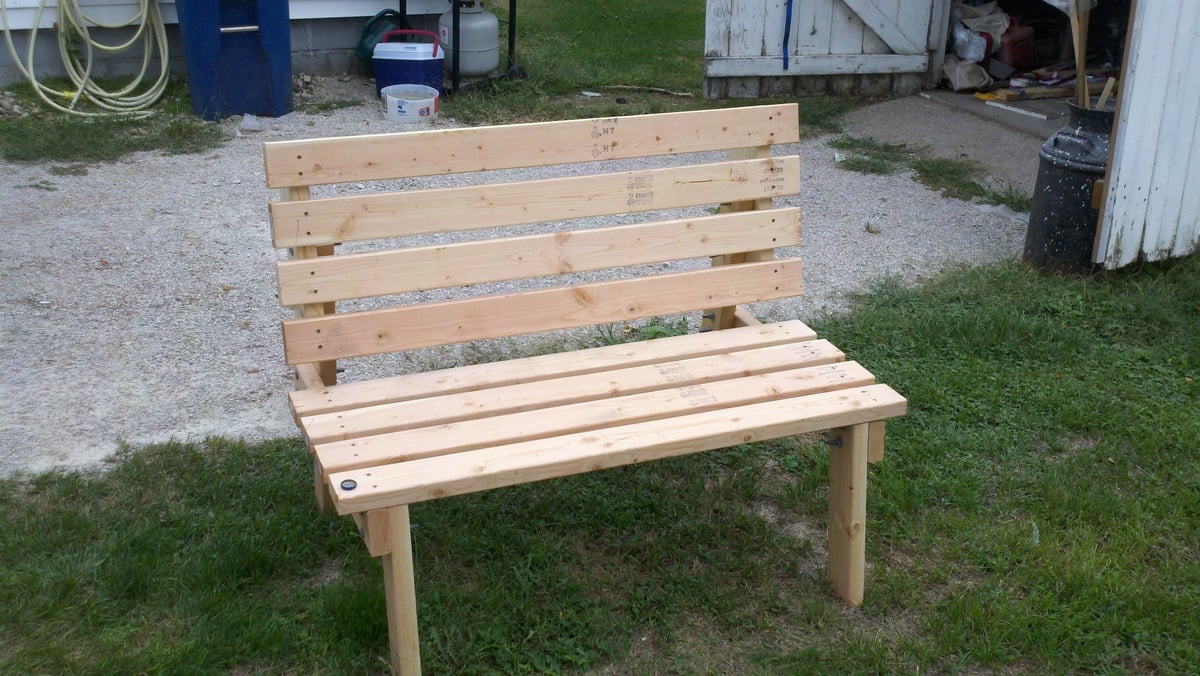
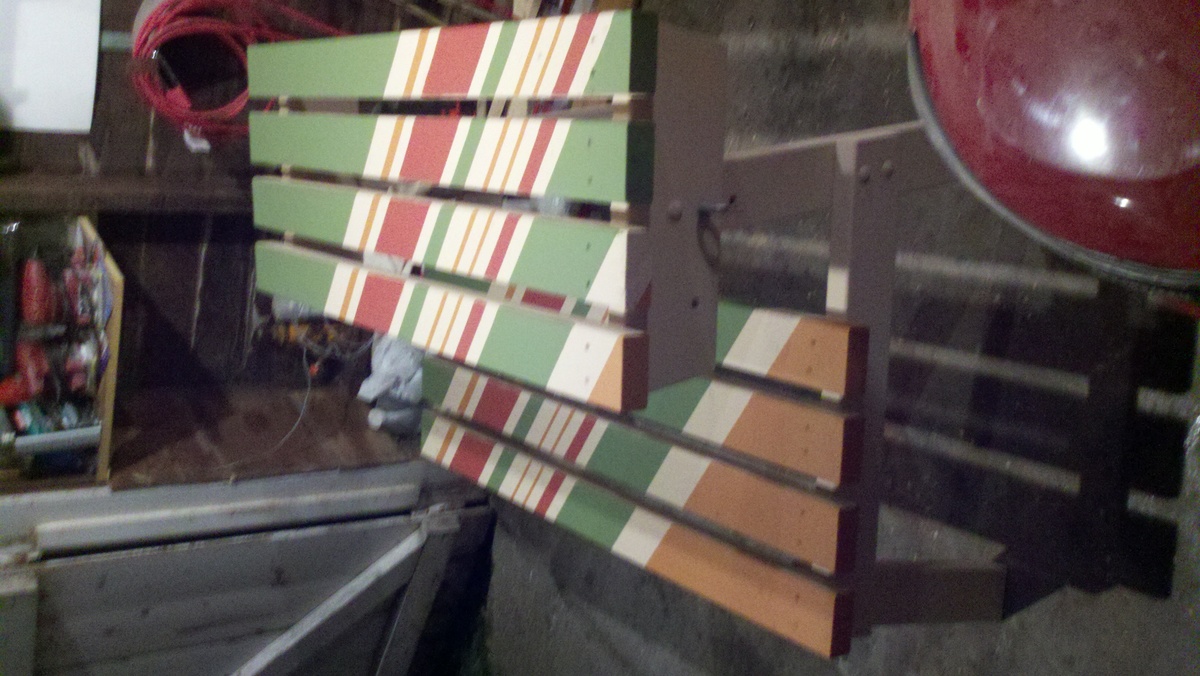
A nice summer project that is good for relaxing and eating outside.
Built with
7 - 2x4x72"
1 - 2x6x8
galvanized hardware
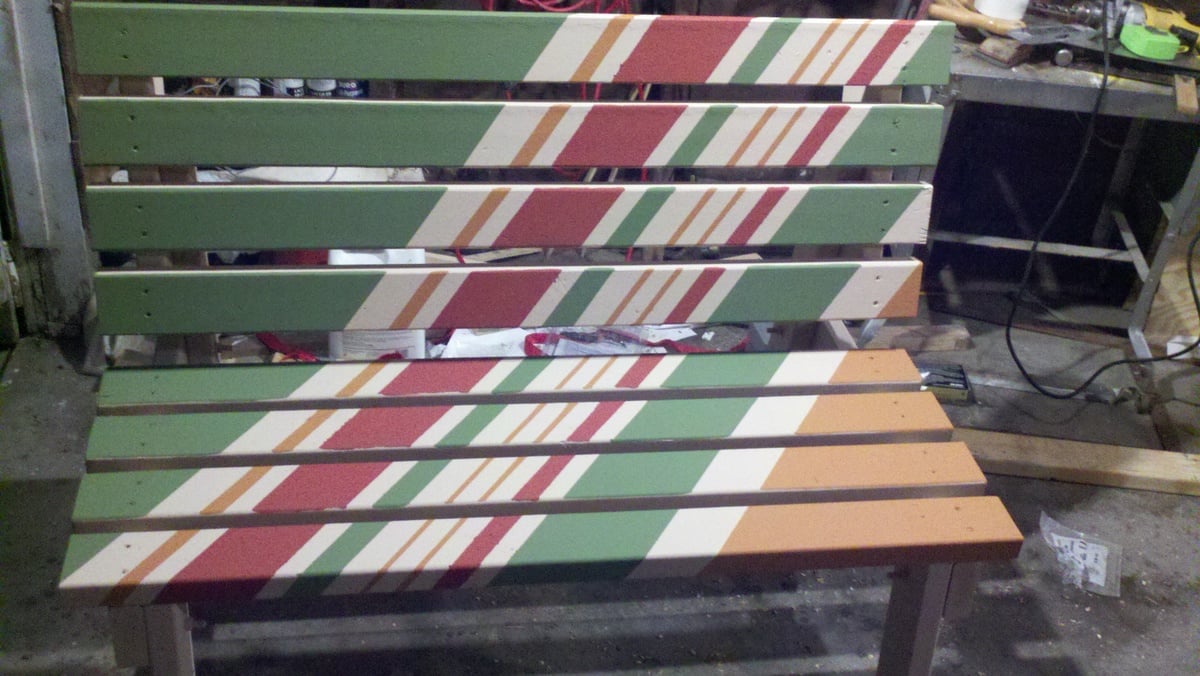
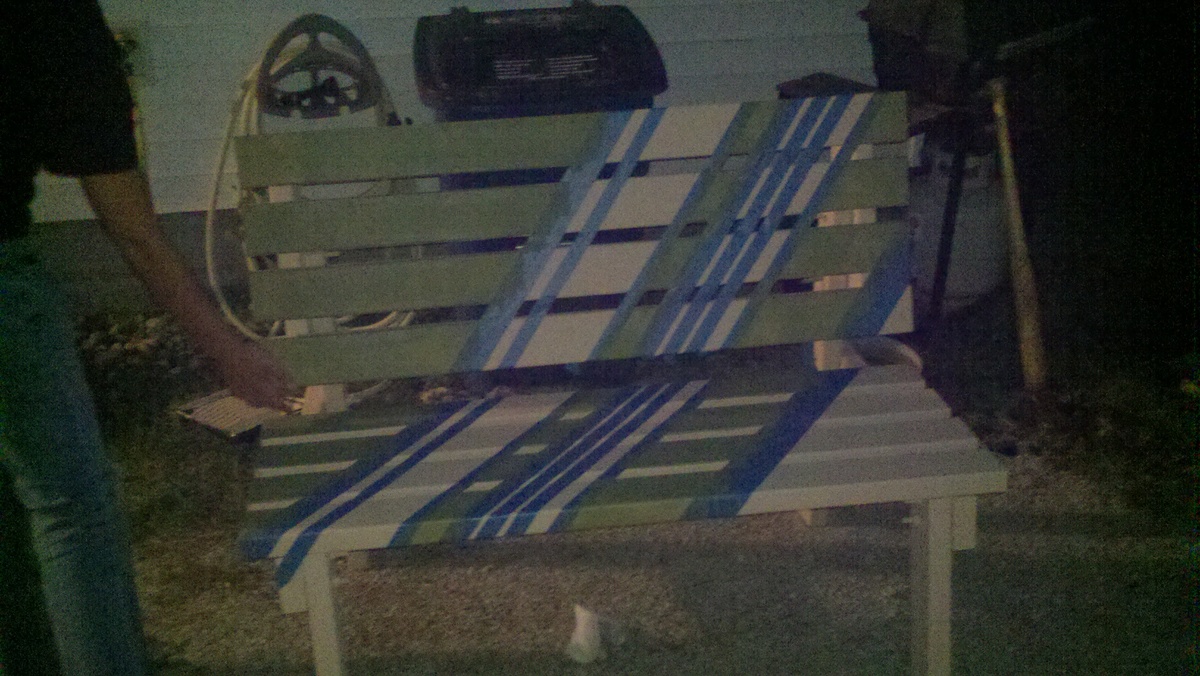
Started with a light base paint and taped off diagonal sections.
Next time we would lessen the gap inbetween 2x4's.
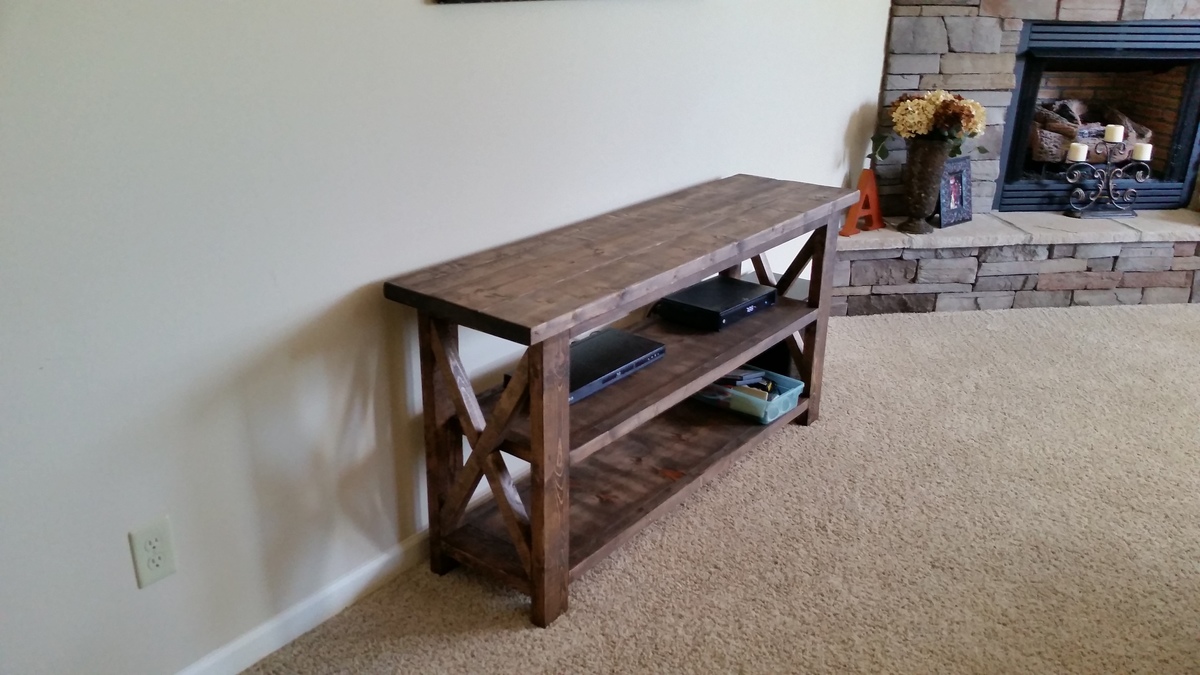
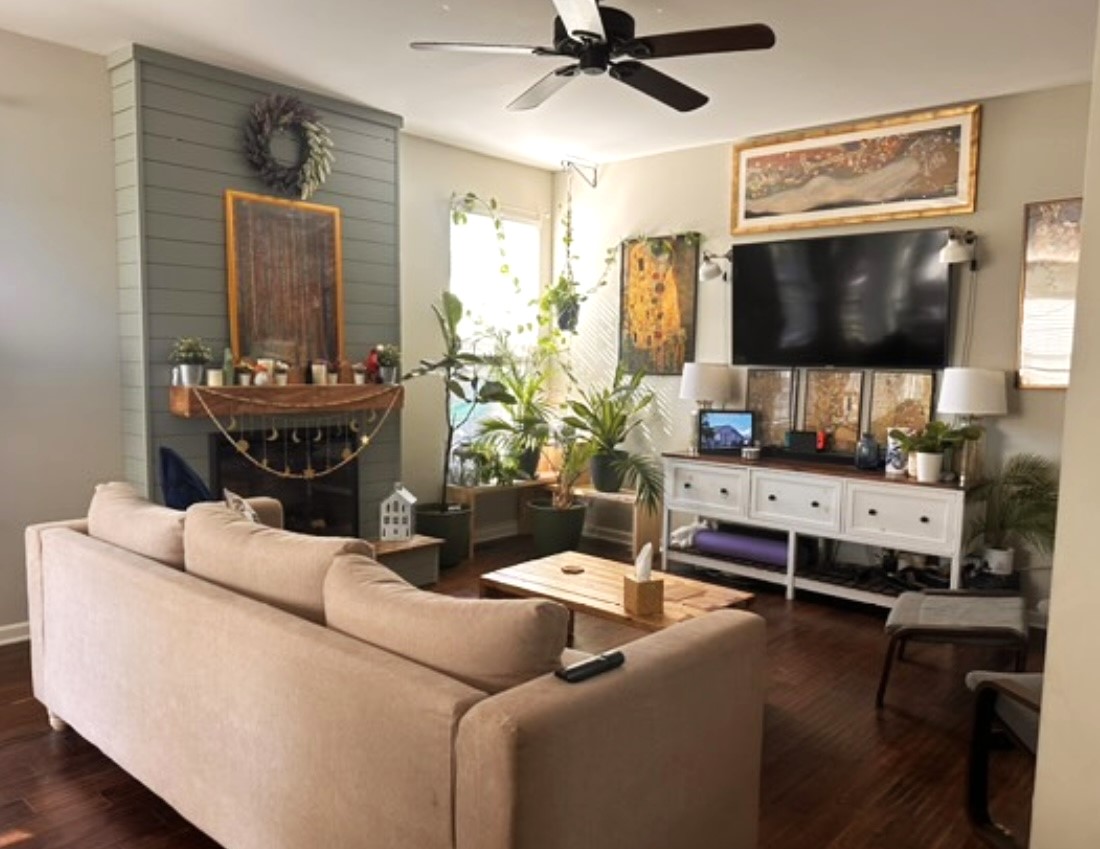
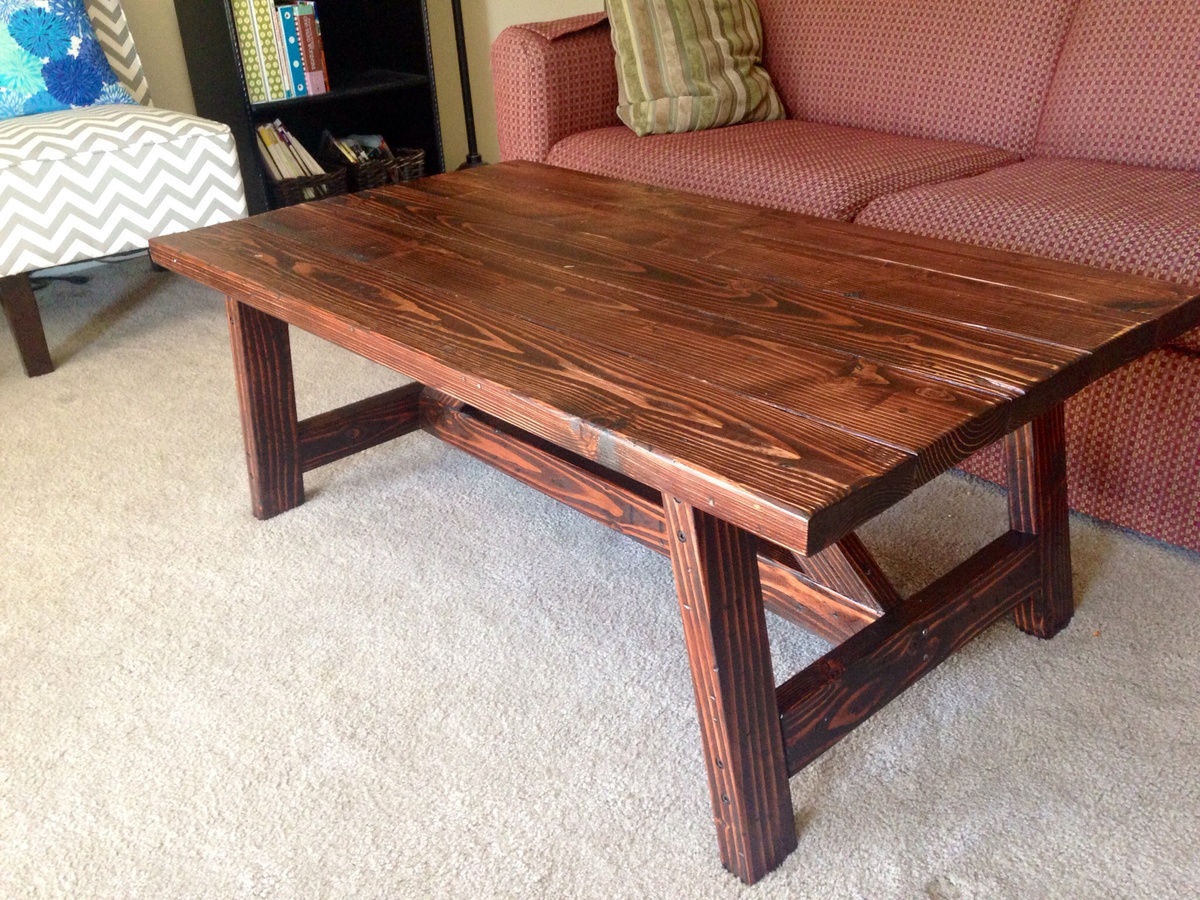
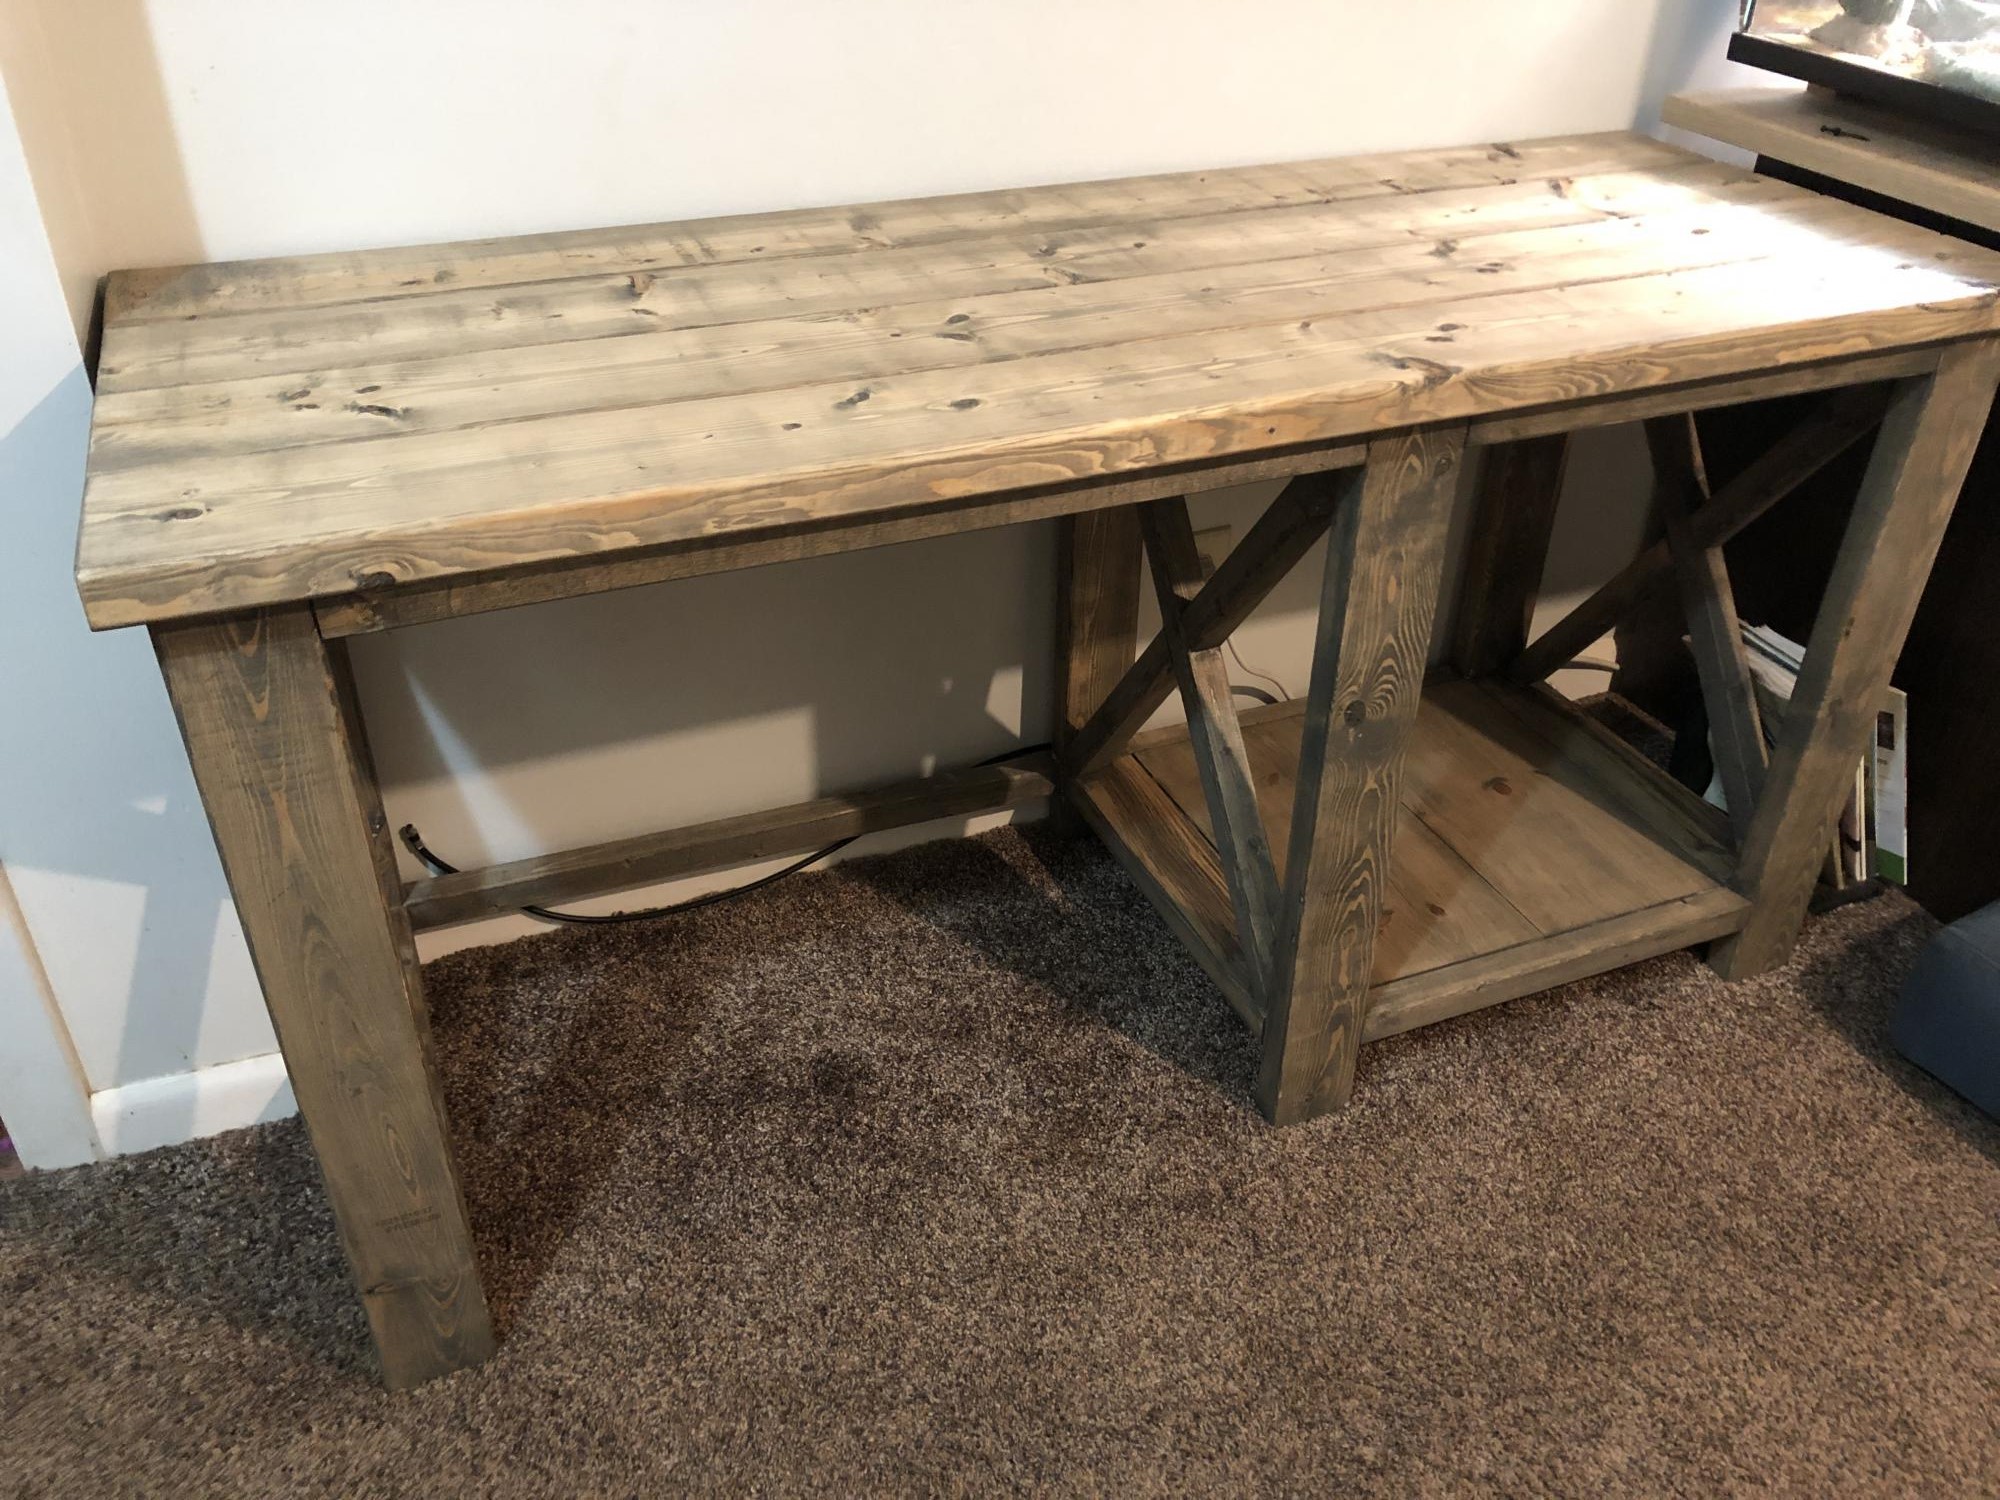
Wife and I needed a console for our TV components really bad. Saw this x-console and said we had to have one! Super quick and easy to build and looks amazing.

Sun, 09/21/2014 - 01:01
Hi there!
Your table came out great! I love the stain you used. I am also building this table. Everything is going great, except the x's. Can you offer any advice?
Thu, 09/25/2014 - 03:34
I built this same table and love it. We did not put the x's in we left them out. On the 2nd shelf we just added a 2x4 to make it even.
Fri, 05/22/2015 - 22:24
This table looks amazing! Would you mind sharing the dimensions and materials you used? It looks a bit smaller than the original and its exactly what I need for my living room. This will be my first project so I'm not really sure what I need since the dimensions will be different. I hope to hear back from you!
I love this site and the user friendly plans. I used the suggestion of turning the 2x4’s but I think it would have been better to have more to screw the top boards to if I hadn’t.
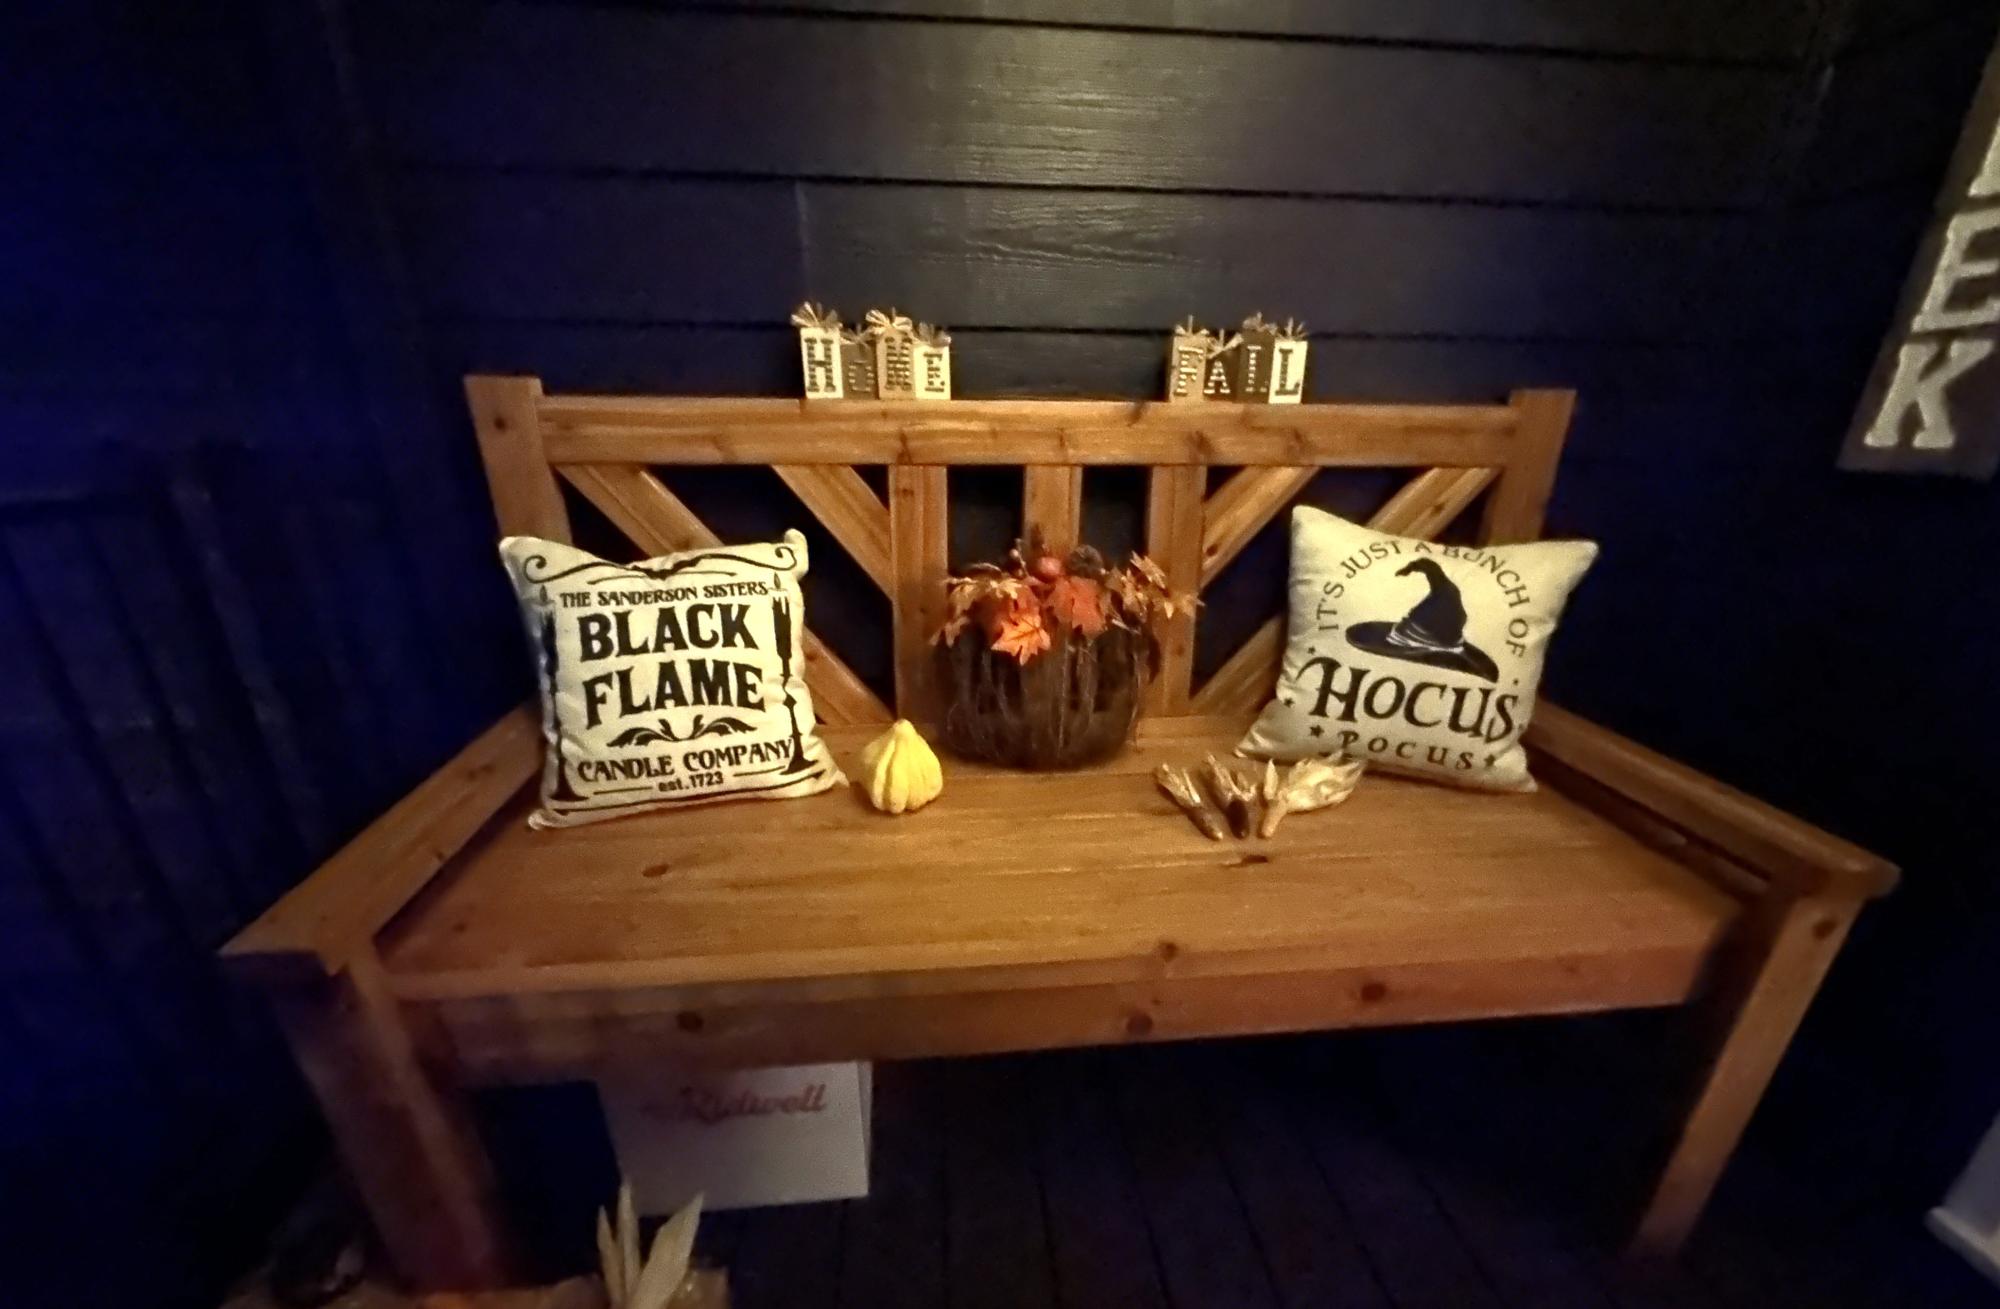
A spin off of the Large Outdoor Bench with X Backs. First decorated for fall season. - Caleb Chapek
