Community Brag Posts

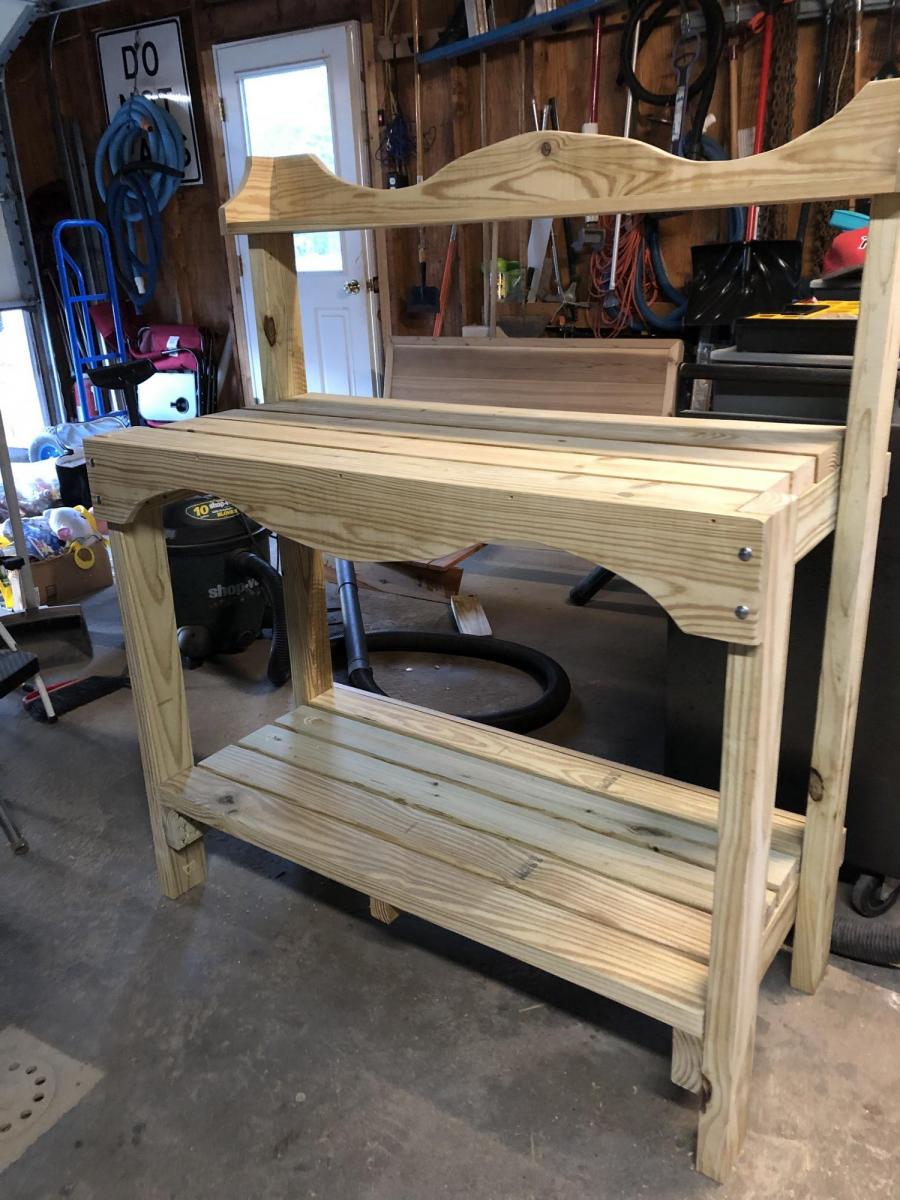
Potting Bench
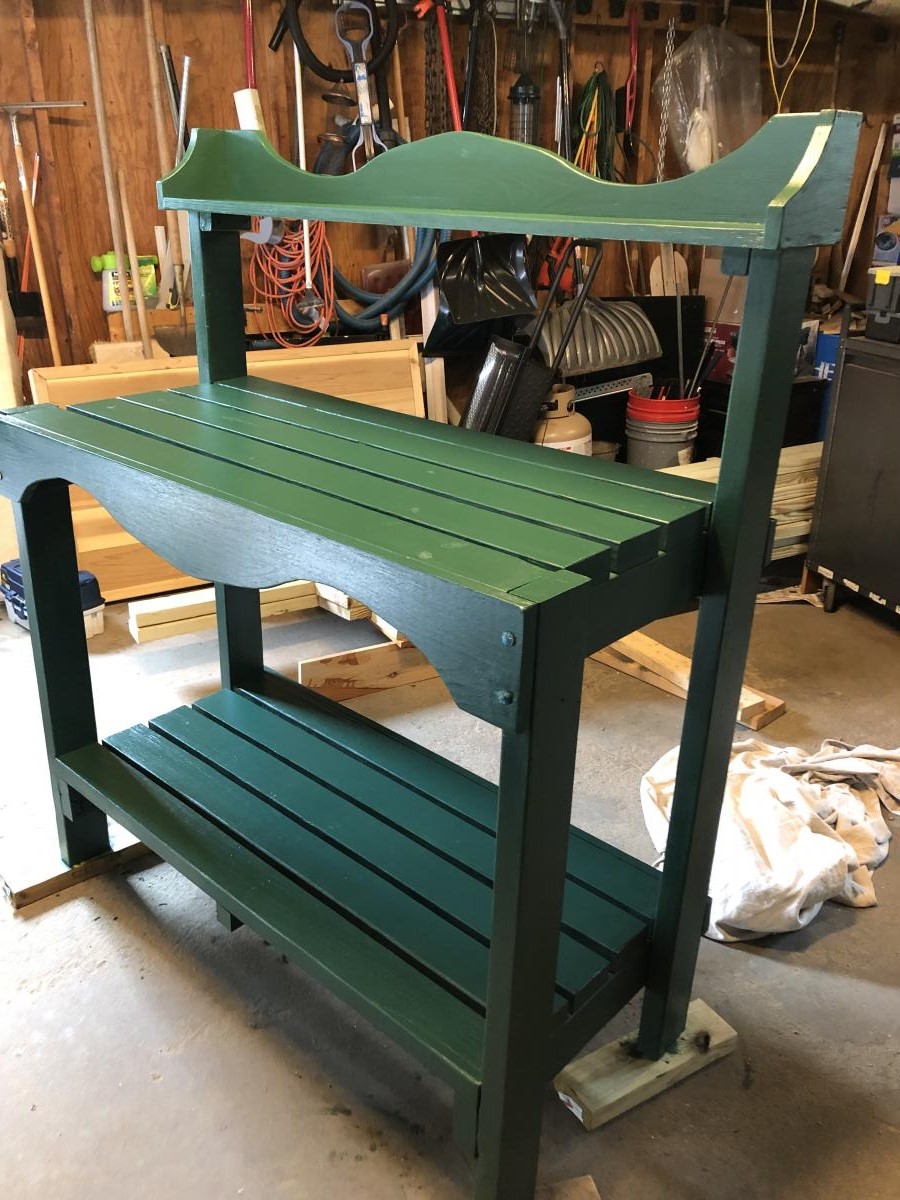
I built this for a dear friend’s wedding. The showed me a picture of what they wanted and I modified your plans to make it look the way they wanted. I used treated lumber so it would last on their deck. Finished with Cabot solid oil-based stain. I’m not a fan of solid stain as it was very humid and it took sooo long to dry. Also I love see the wood grain.

Built from Plan(s)
Estimated Cost
$80.00
Estimated Time Investment
Weekend Project (10-20 Hours)
Finish Used
Cabot Oil-based Solid Stain
Recommended Skill Level
Beginner
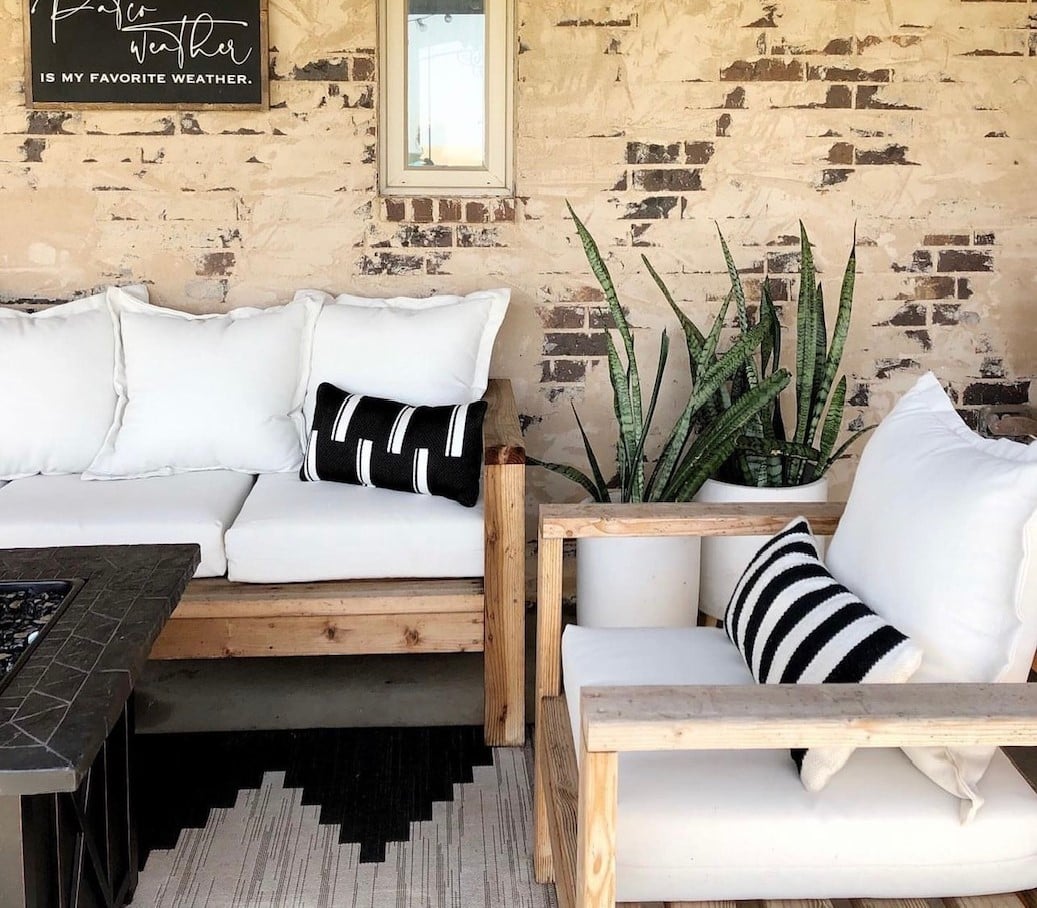
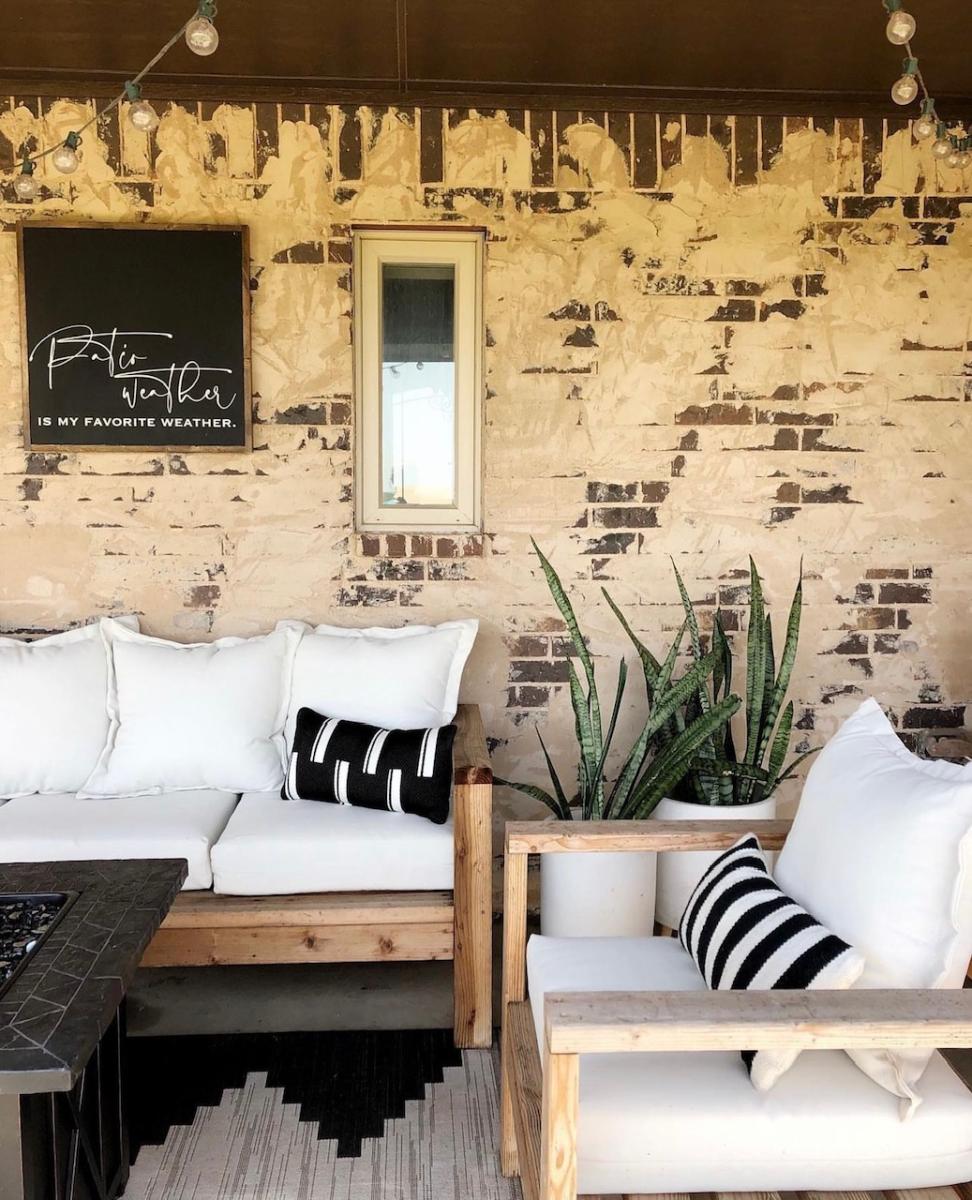
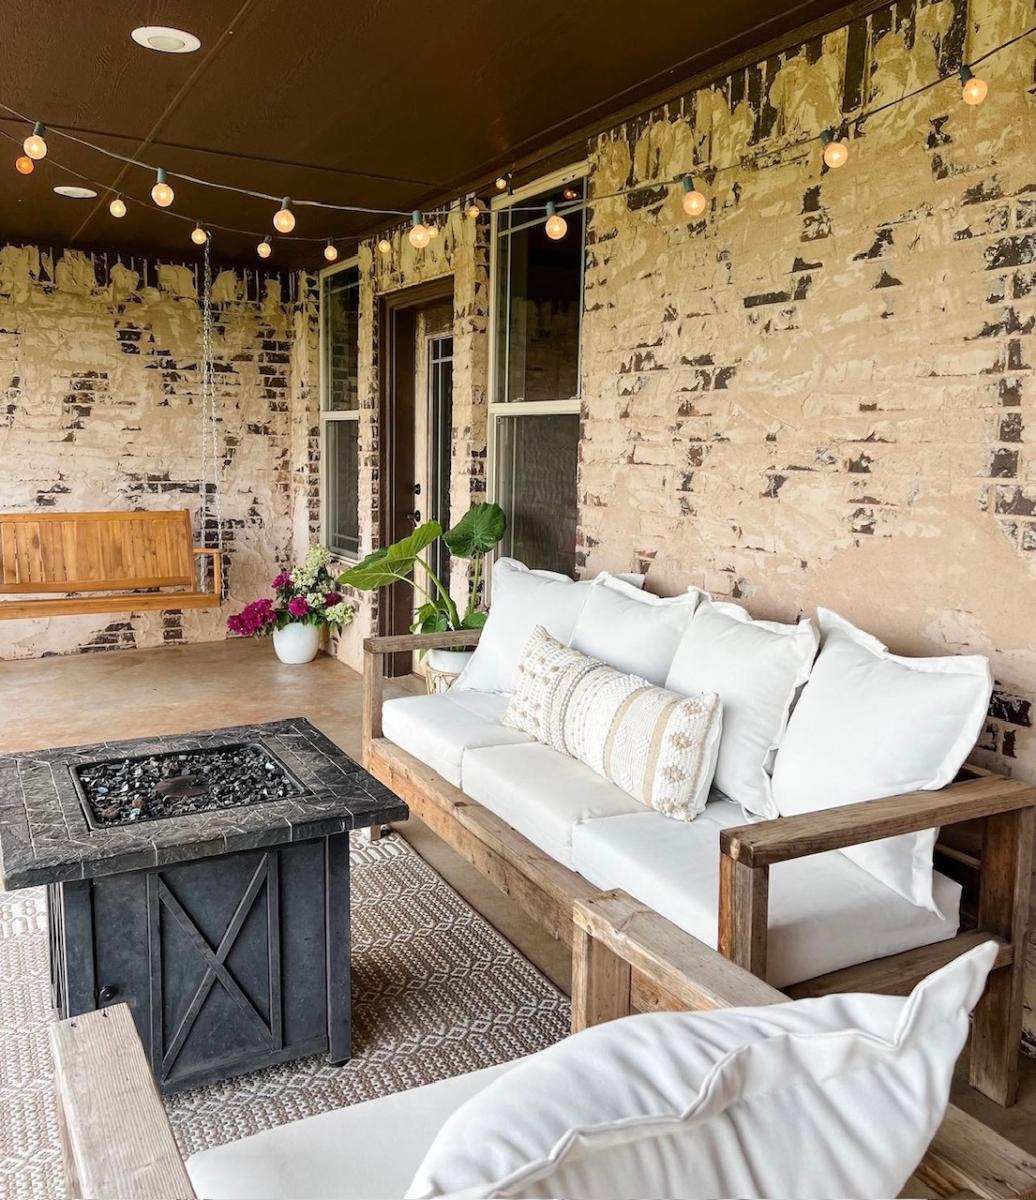
DIY 2x4 Outdoor Sofa
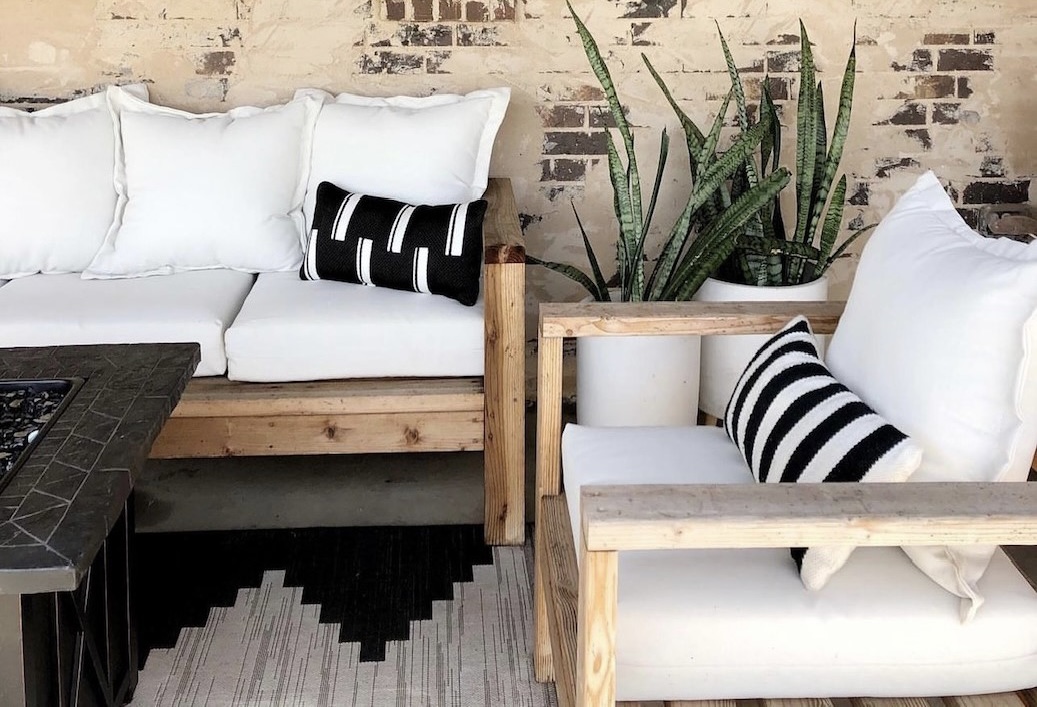
How cute is this new patio sofa I made out of 2x4s??? I used Ana White's plans and tweaked it just a little. I could not be happier with how it turned out and proud that I did it myself.
Built from Plan(s)
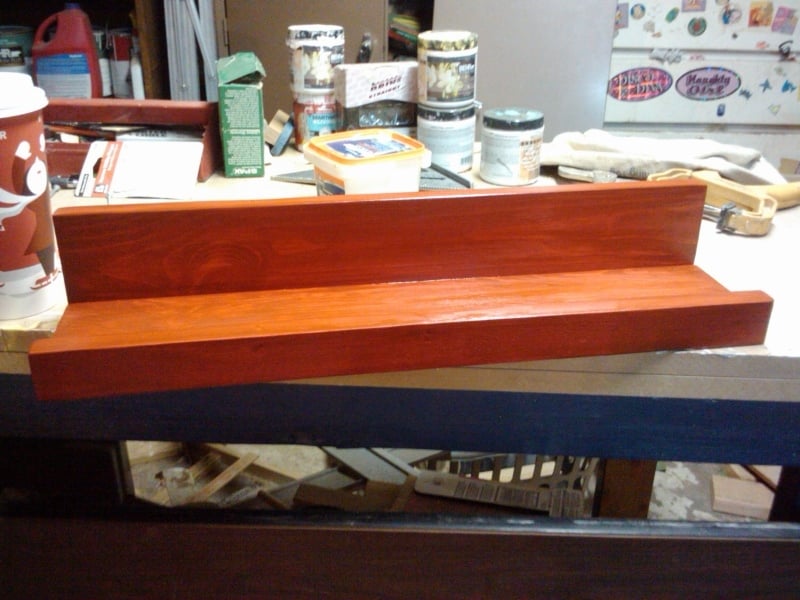
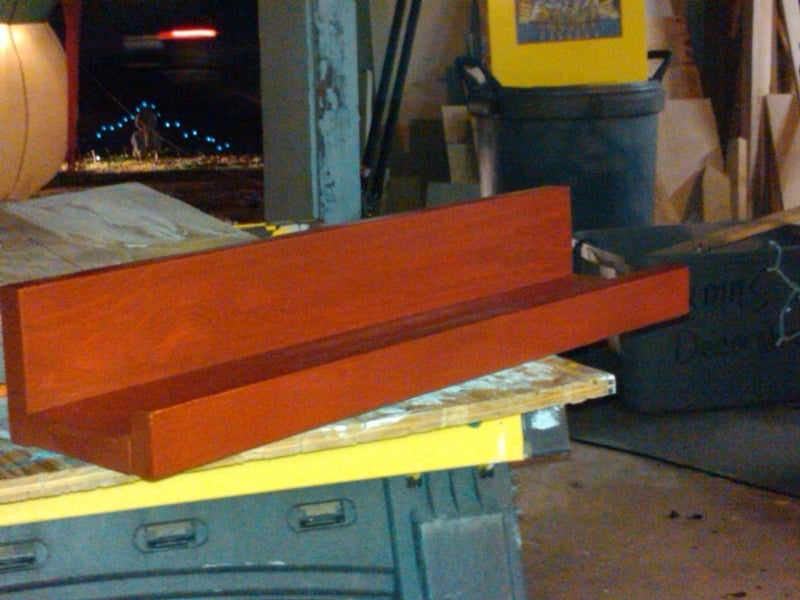
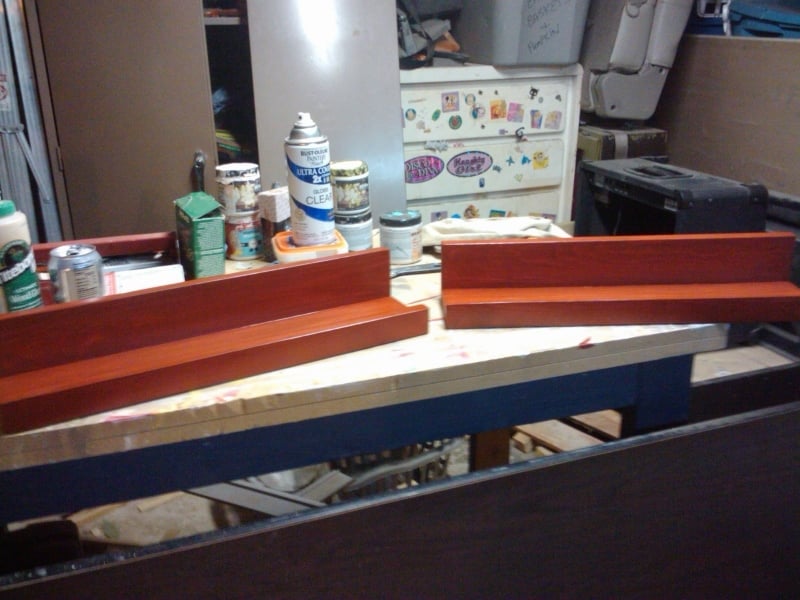
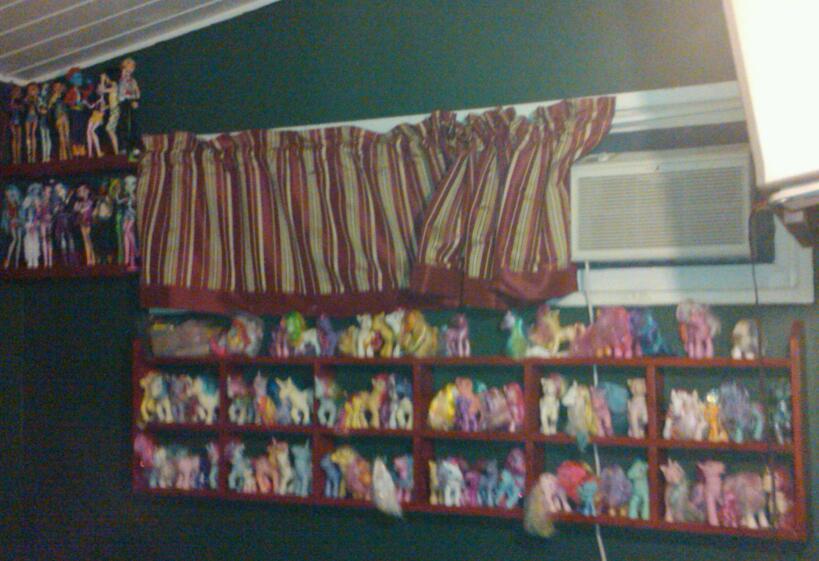
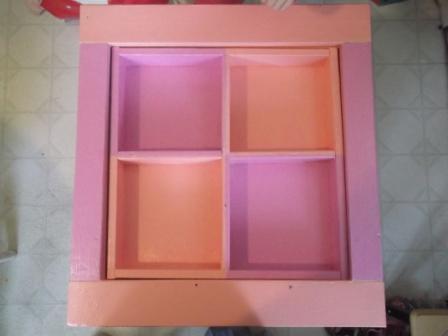
Five Dollar Ledges for Doll Display
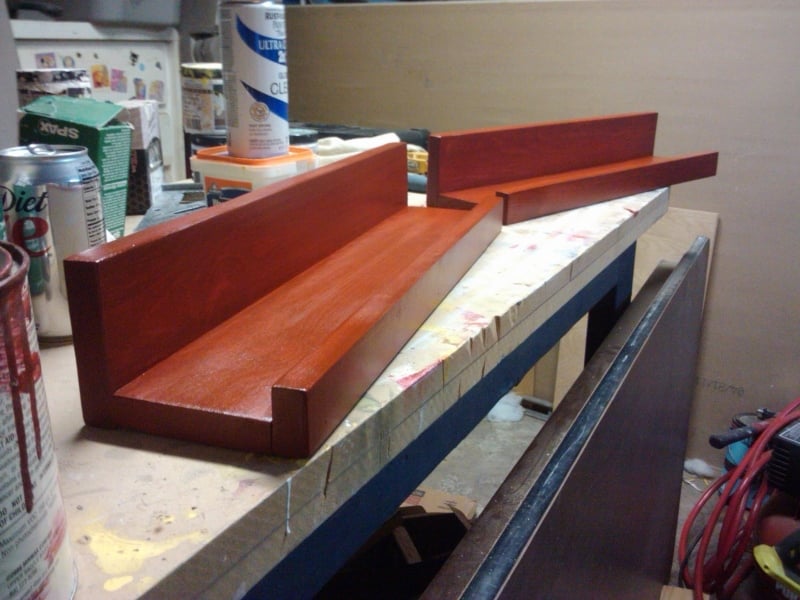
These shelves are great because you can make them any size you want! As you can see, these were made to hold my daughter's monster high collection, took advantage of dead space between the wall and the window. I put these together with my Kreg Jig so they're very sturdy. I couldn't buy shelves as nice as these, TWO OF THEM! for under 10 dollars. If you're thinking of building these, stop thinking, start doing, they're well worth your time and effort.

Built from Plan(s)
Estimated Cost
5.00, used leftover stain and poly, screws left over from other projects
Estimated Time Investment
Day Project (6-9 Hours)
Finish Used
Sanded smooth, stained with 3 coats, light sanding in between each coat, of China Red Minwaxs, with 25% Black Onyx mixed in. Top coat is Polyurethane x2 coats. My daughter's favorite color
Recommended Skill Level
Beginner
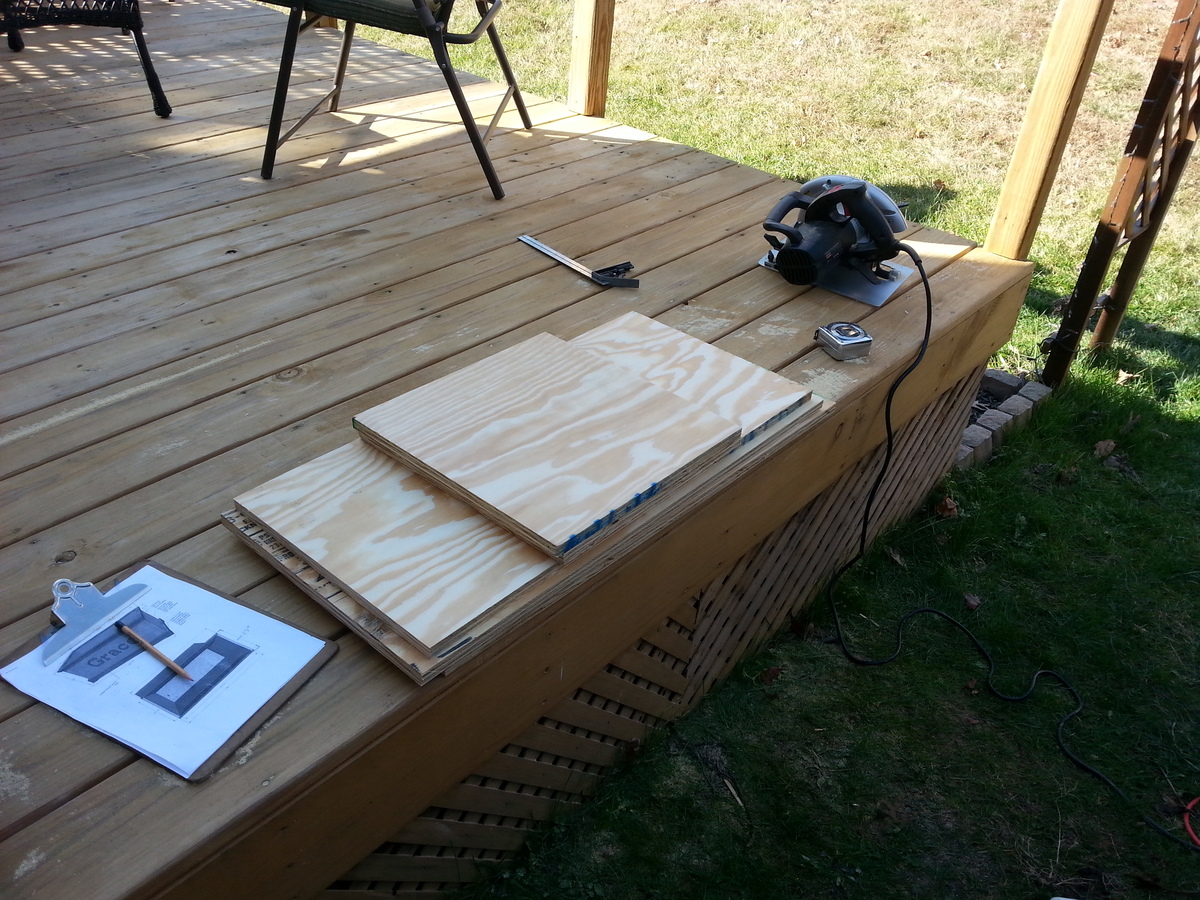
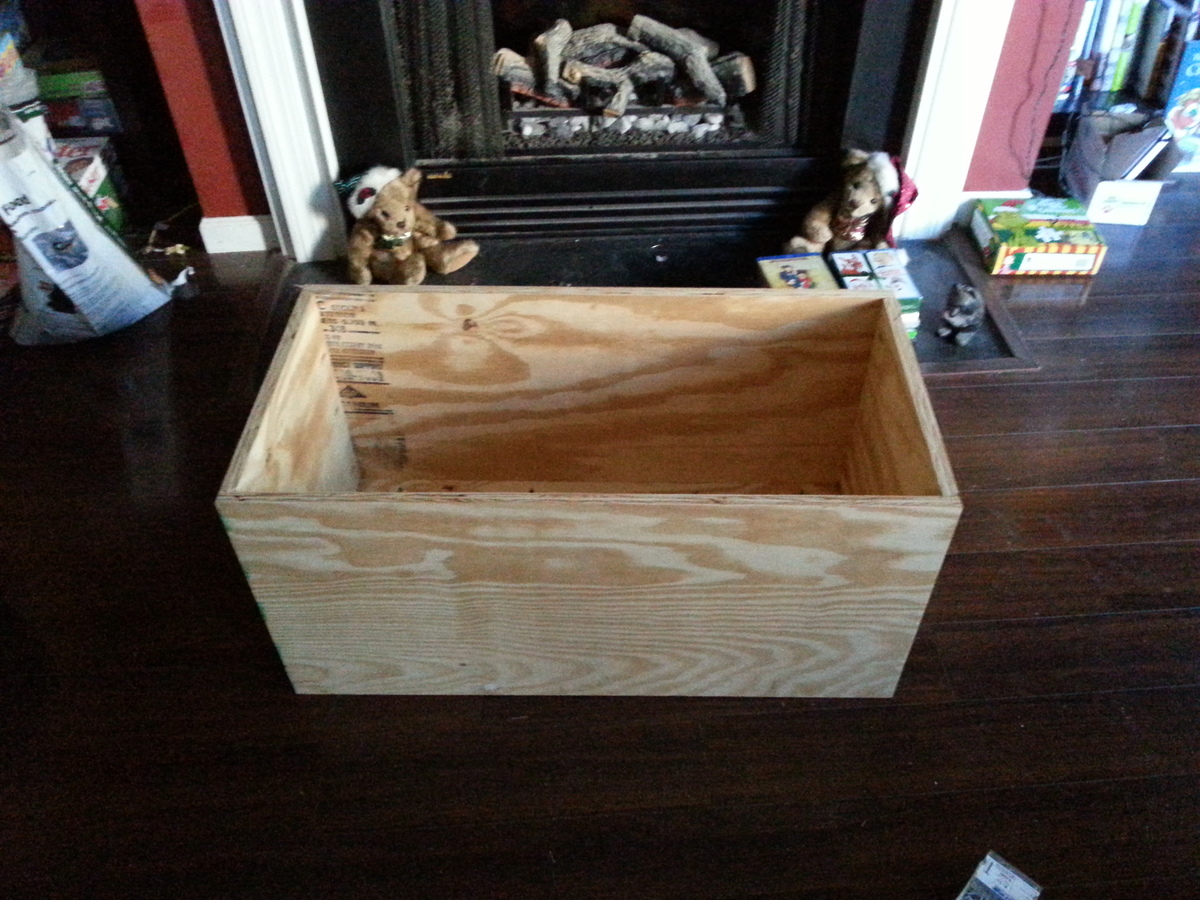
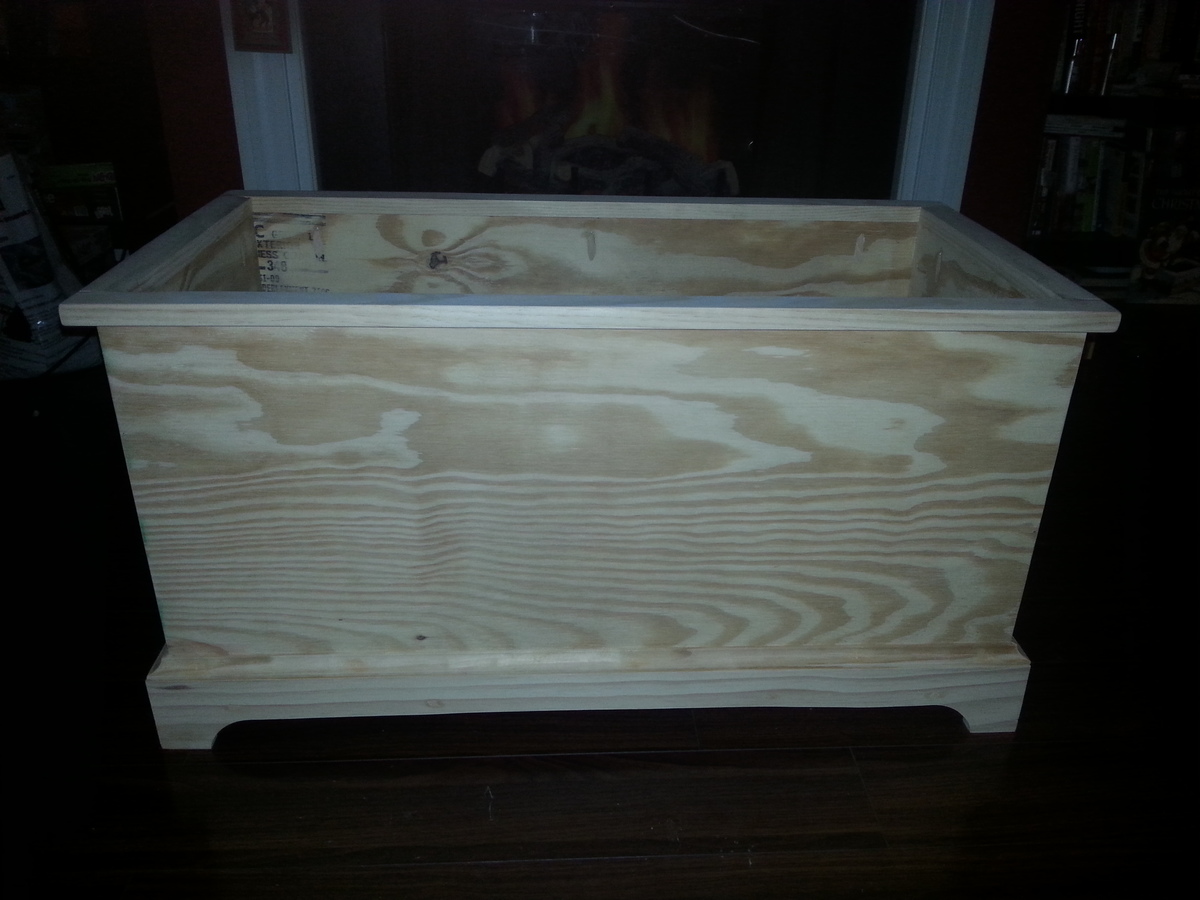
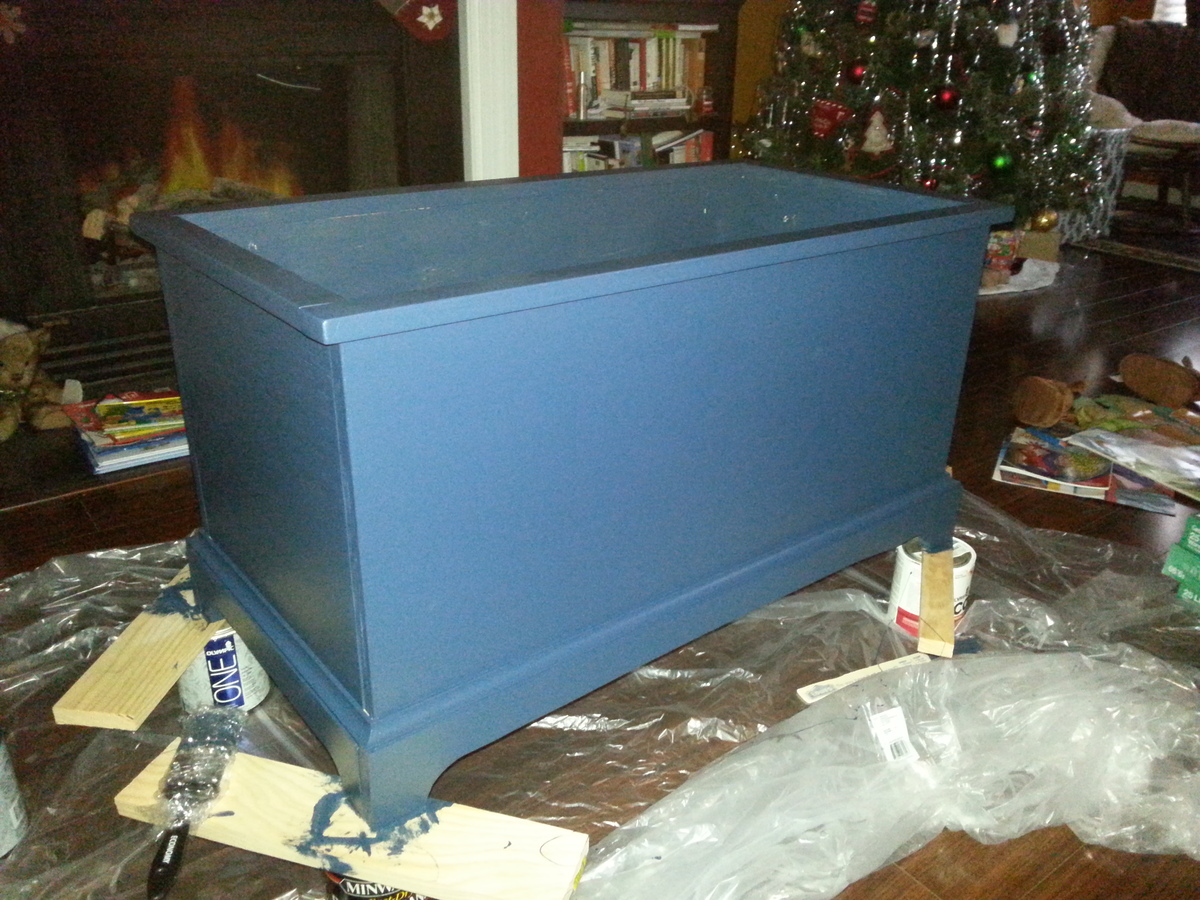
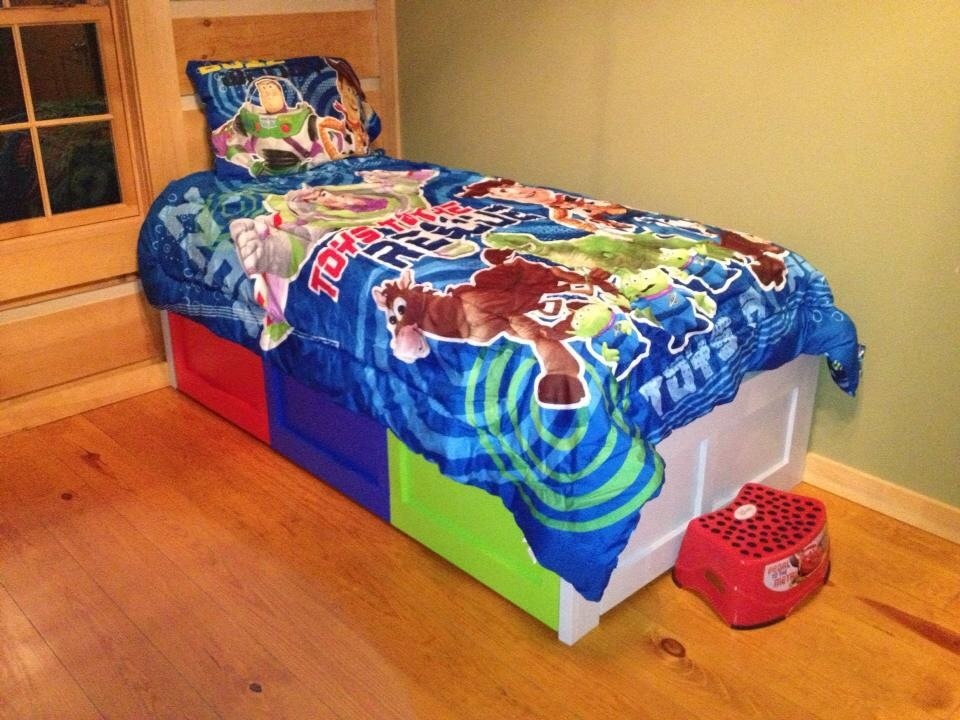
Toy box
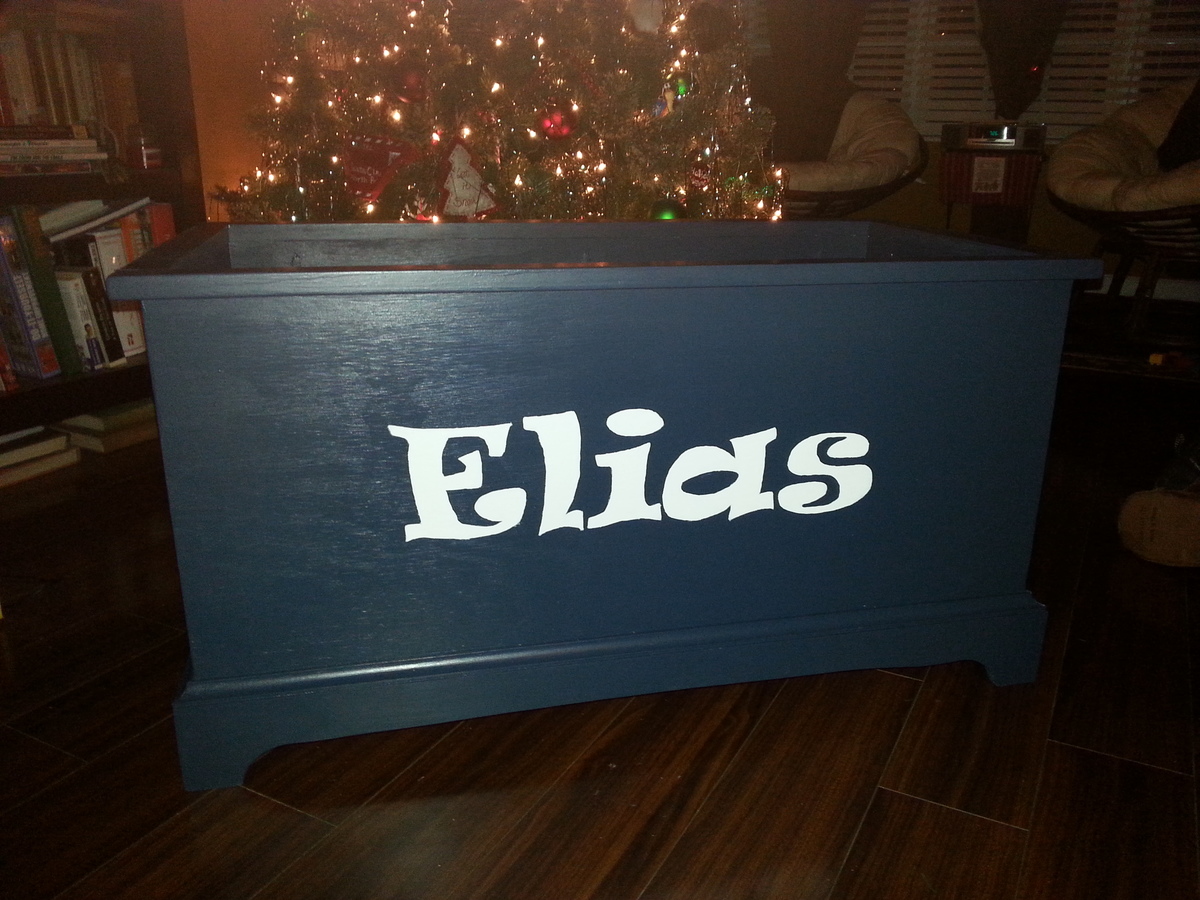
I have been wanting a good size toy box for my son and after finding this project here, I decided to build one for him for Christmas. Eli is going to be so excited!
This is a pocket hole version.
Built from Plan(s)
Estimated Cost
$75
Finish Used
Cavalry blue satin paint from Lowe's. Basic white in semi gloss letters
Recommended Skill Level
Beginner
Comments
Mon, 12/23/2013 - 10:07
Saw
Thanks...I couldn't place the brand.
By the way...Eli will probably love the toybox. I made one last year for my daughter, and stuck her name on it using wood cutout letters. I added a lid, so I don't have to look at her ever growing collection of stuffies...
I made mine with a "MasterCraft" saw, a budget brand similar to Craftsman in terms of price and quality...
HD
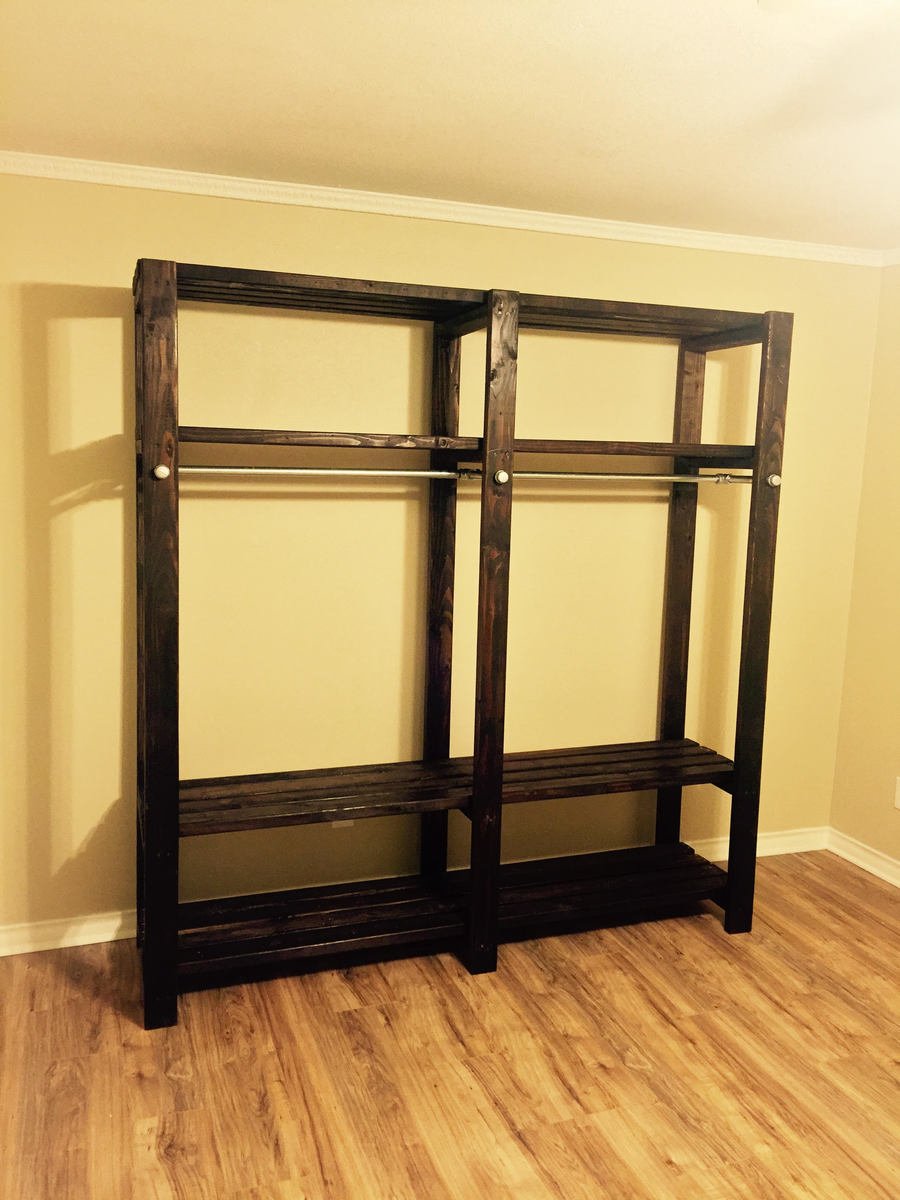
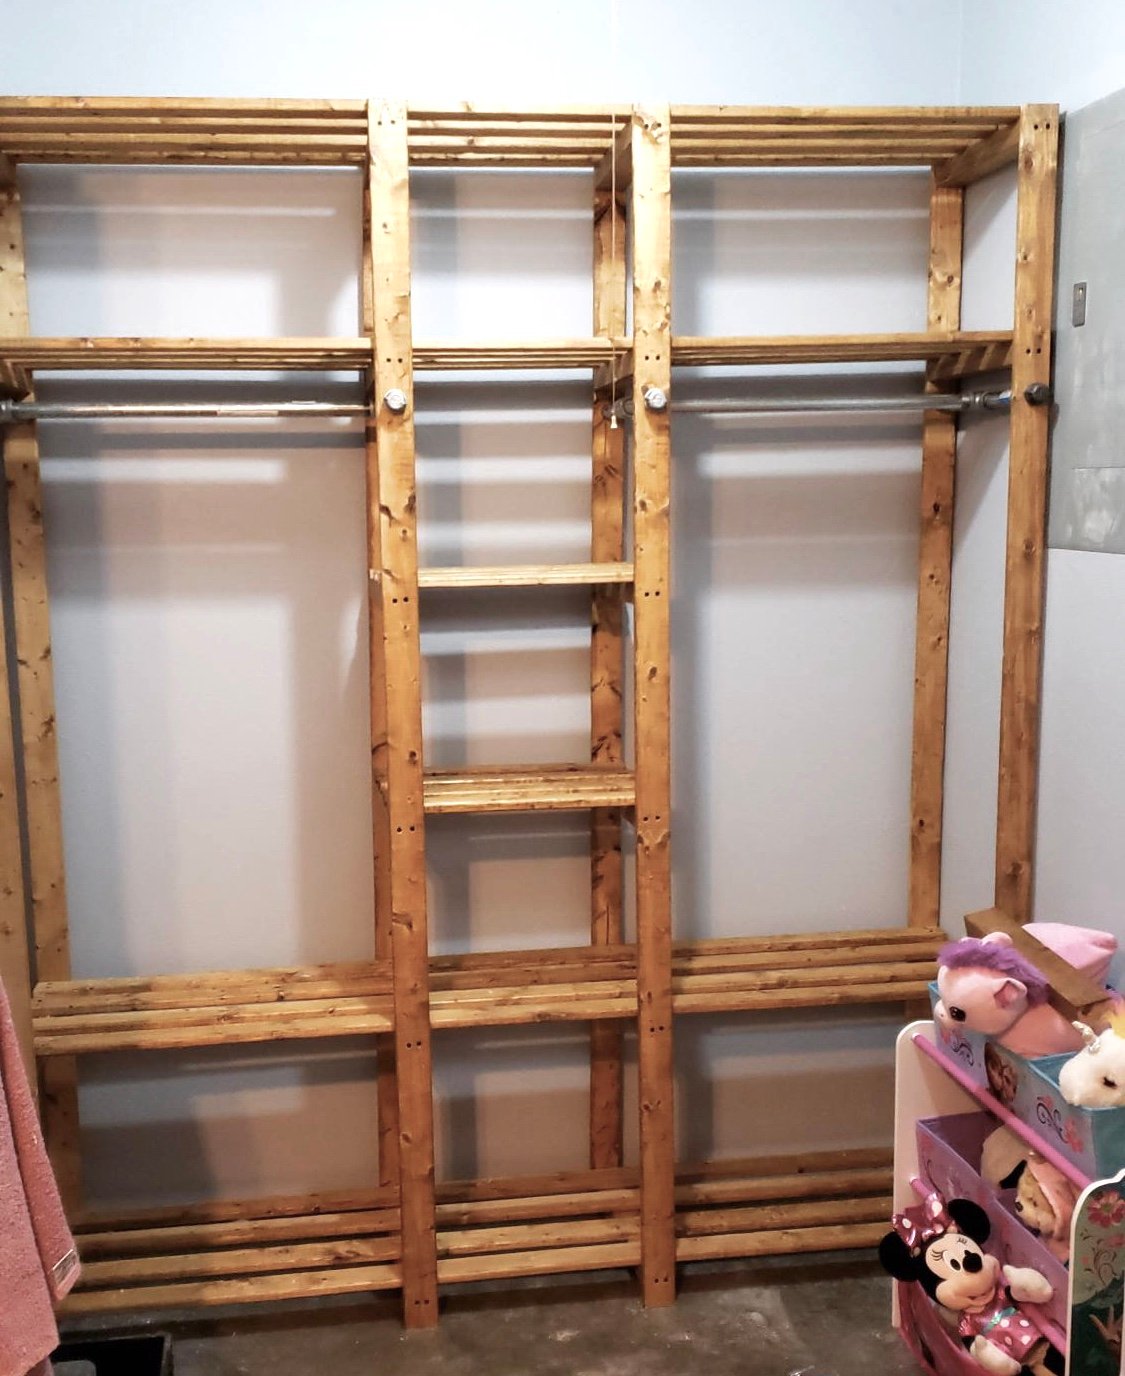
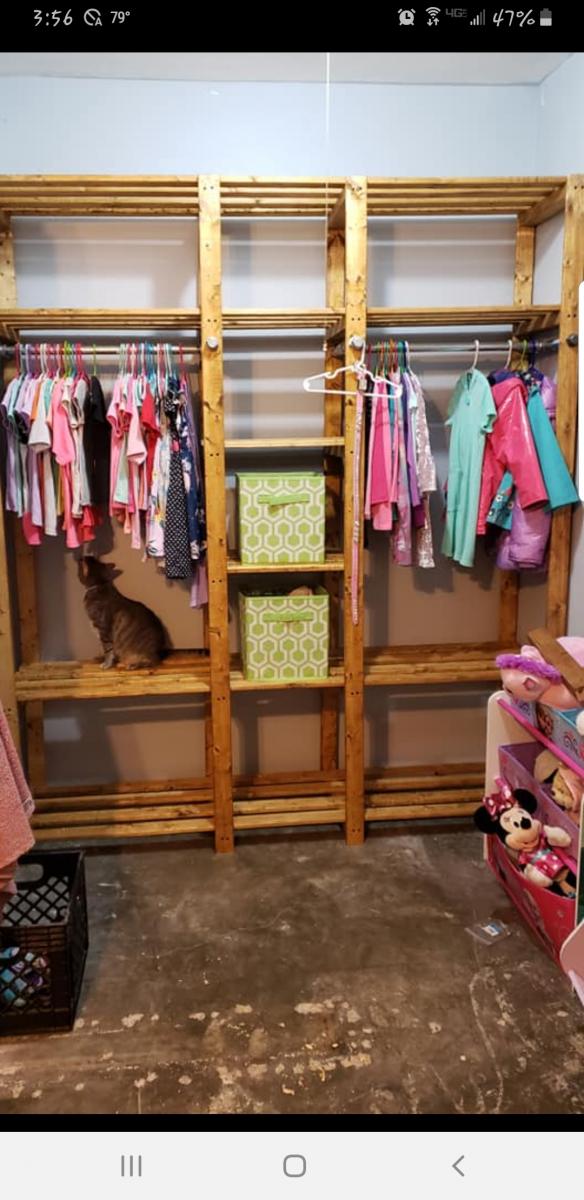
2X4 and 3/4" Pipe Industrial Closet
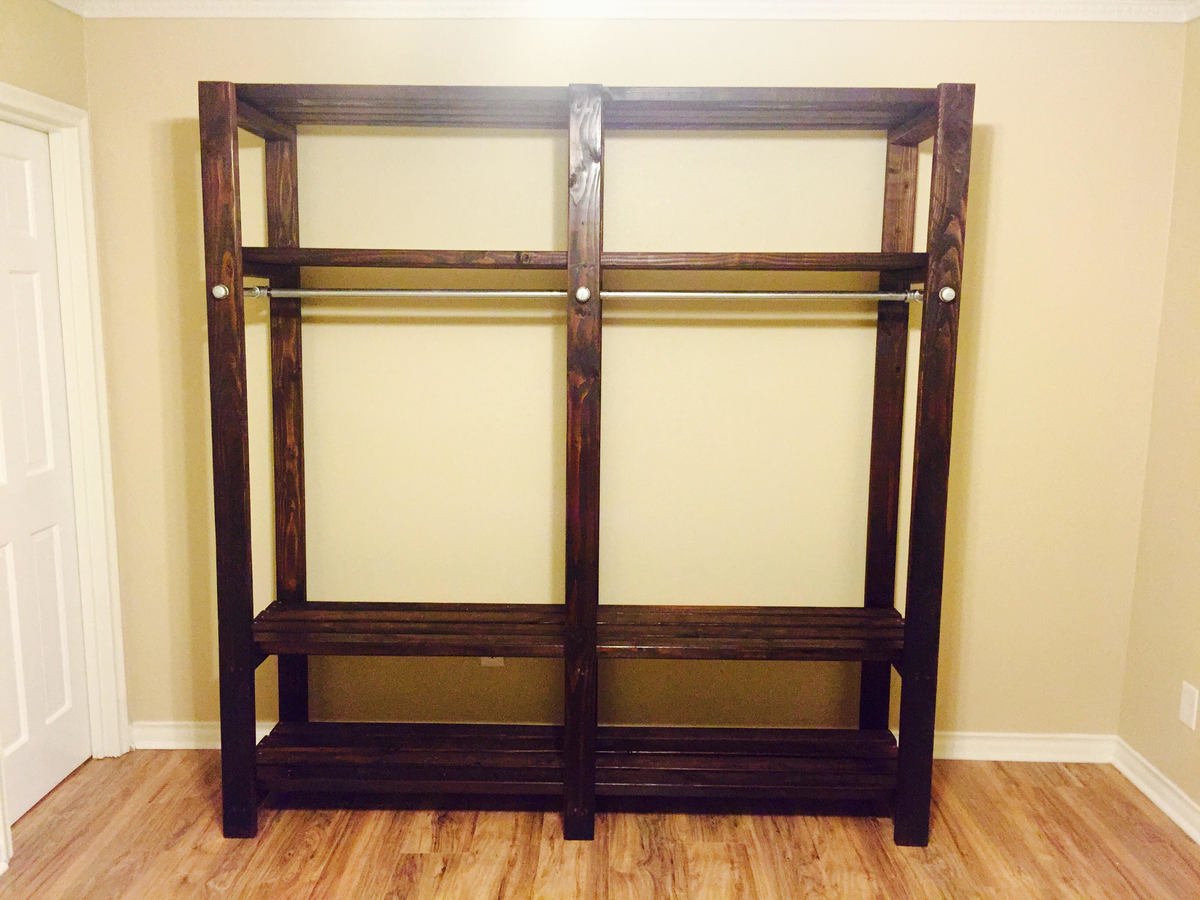
I built this closet for a room in a newly renovated house which was improved from a 3BR to a 4BR but the new additional BR didn't have space for a closet. The entire closet is made of only cheap 2X4's and galvanized pipe found at the local hardware store.
The user didn't need the middle shelves so I modified the original plans to make it shorter in width but 4 inches deeper by using 10" nipples instead of 8". I sanded and stained all the 2X4's first before doing anything. Then I created the 3 legs first (end boards - 82" inside boards - 17.5"). Once the legs were ready, I cut the boards for the shelves at 79" (4 boards for each shelf, evenly spaced out). Before putting the shelf on the legs, I laid each leg on the ground and unscrewed one side of the shelf and added wood glue in the hole, then screwed it back in to increase stability. Next, drill the pipe holes evenly and connect the pipe. Once the pipe is connected, place (4) 79" 2X4's evenly distributed on each shelf and drill 2 screws from the boards into the bottom of the legs on both ends and the middle to stabilize the shelf. From here, I took some pledge and wiped it down which smoothed down the surface. The longest part of the project was making sure the stain was dry and evenly applied.
I recommend using a miter saw for straight and smooth cuts and take the time to sand the wood (even the ends after you cut it).
2X4 Studs - 28
10" 3/4" Galvanized Pipe - 6
36" 3/4" Galvanized Pipe - 2
3/4" Galvanized Pipe T - 2
3/4" Galvanized Pipe Cross - 1
3/4" End Caps - 6
Pipe Wrench for tight connections
2.5" Screws (Drill pilot holes for everything)
1 1/8" drill bit for each hole
Stain - Minwax Espresso
Wood Glue

Built from Plan(s)
Estimated Cost
Less than $200
Estimated Time Investment
Weekend Project (10-20 Hours)
Finish Used
Minwax - Espresso
Recommended Skill Level
Beginner
Comments
Mon, 02/29/2016 - 12:35
My Project
I accidently added this project without logging in so it shows it as Guest. Is there anyway to assign it to my username so if there are questions, I will receive a notice about it.
Mon, 02/29/2016 - 12:36
My Project
I accidently added this project without logging in so it shows it as Guest. Is there anyway to assign it to my username so if there are questions, I will receive a notice about it.
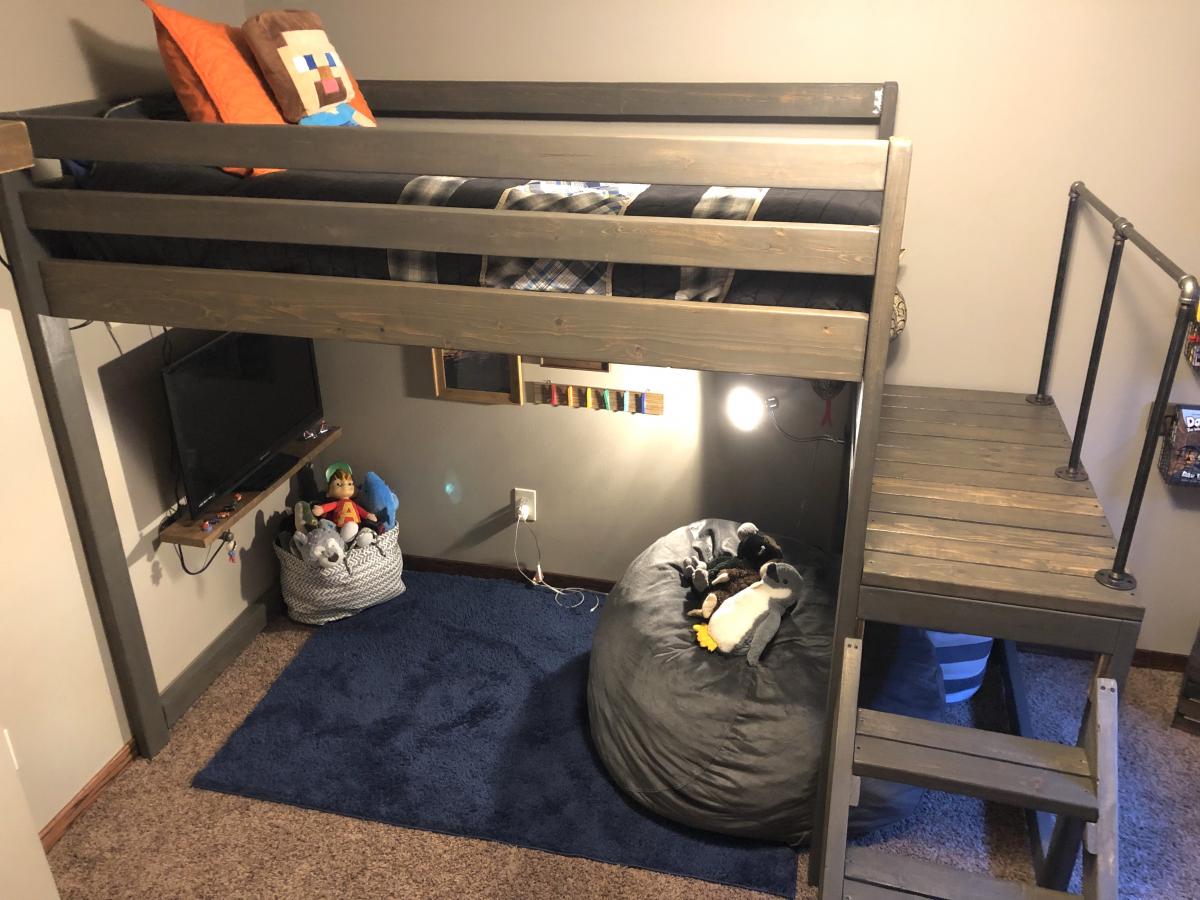
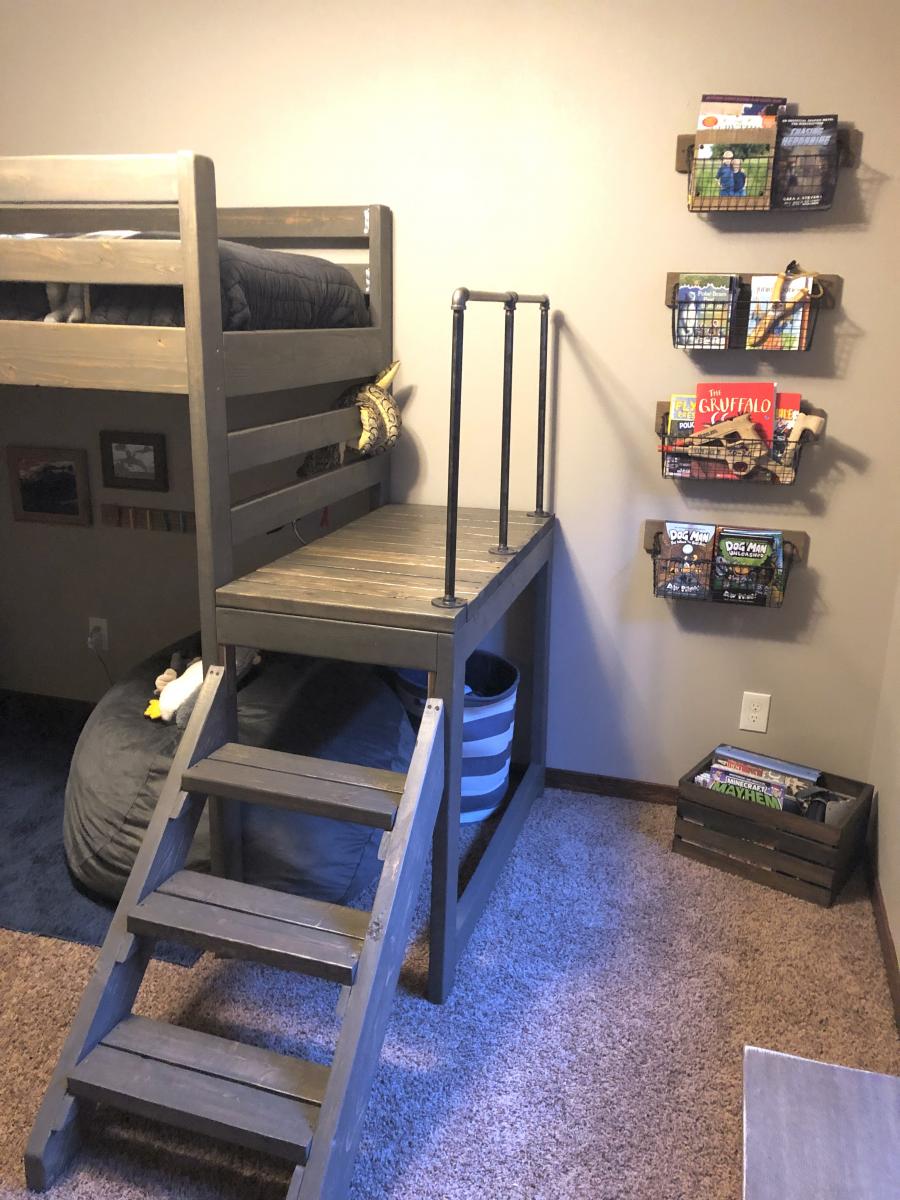
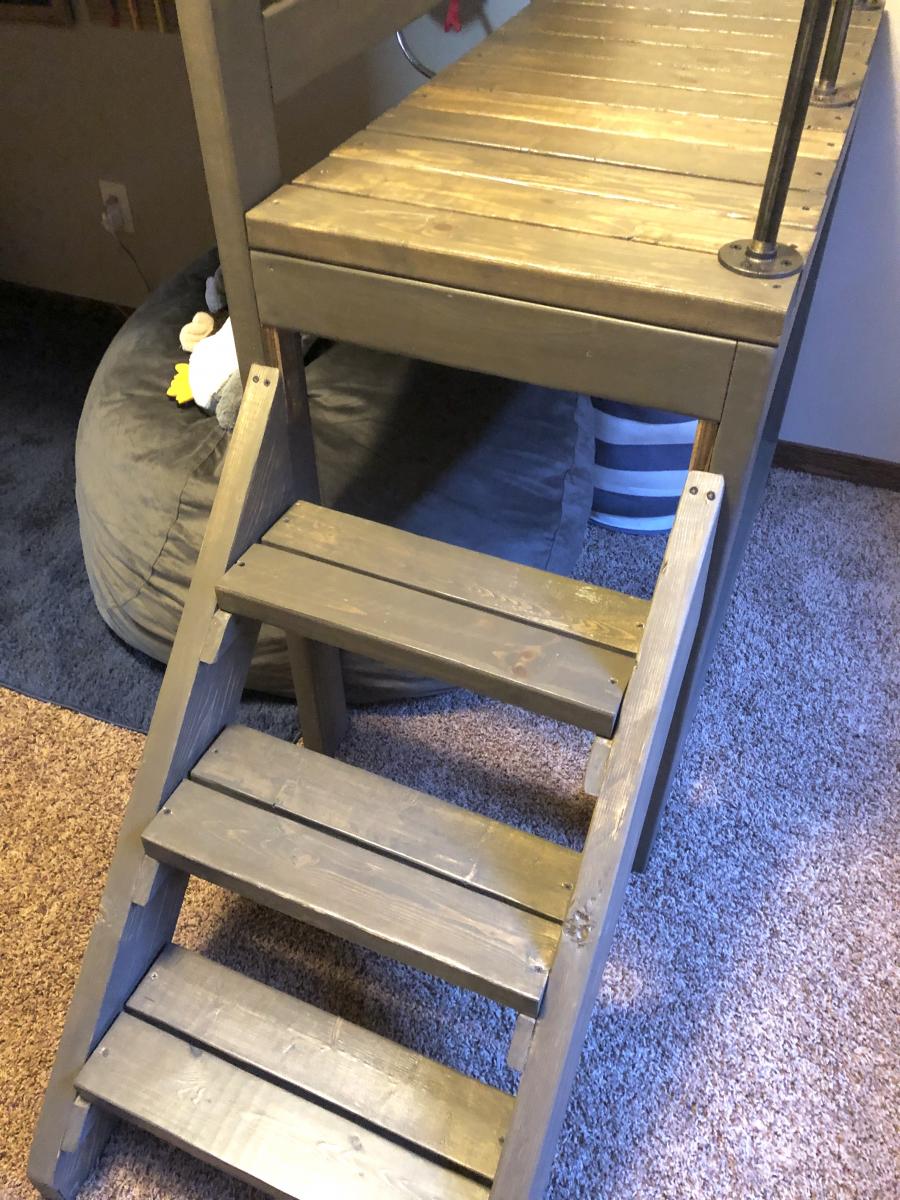
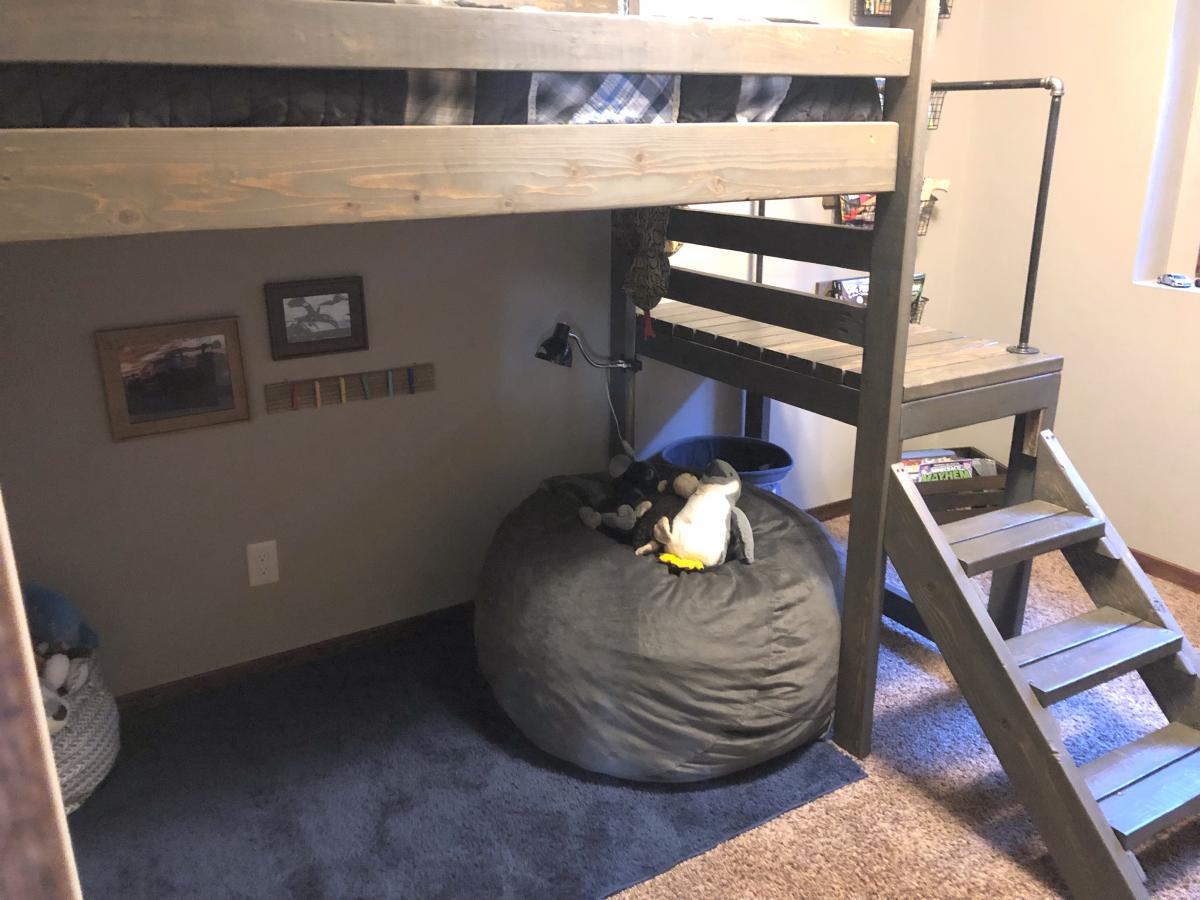
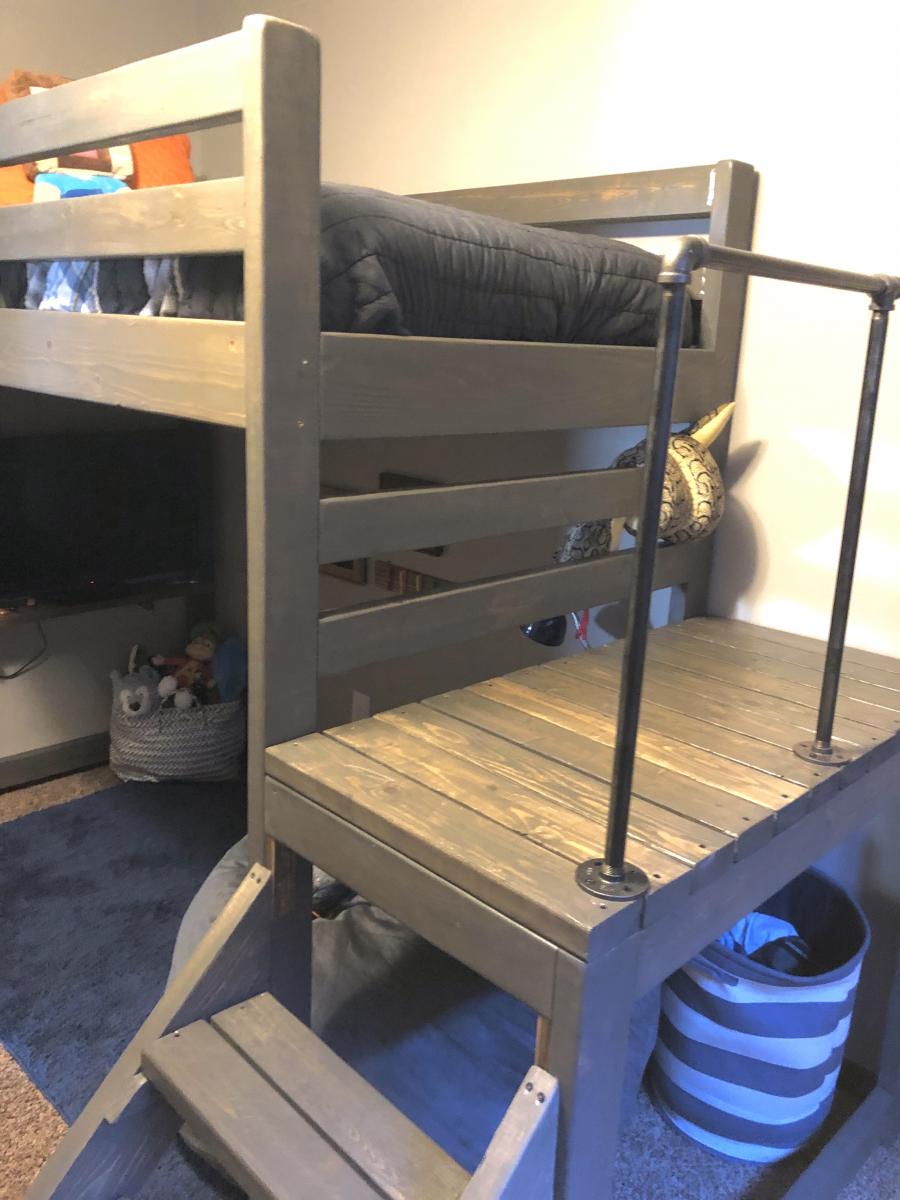
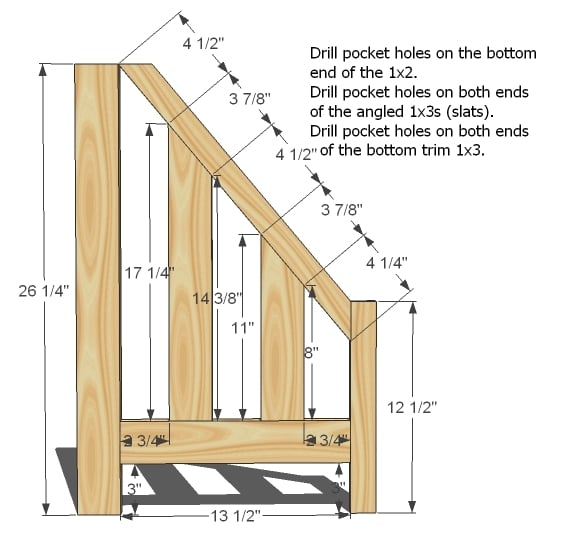
Camp Loft Bed
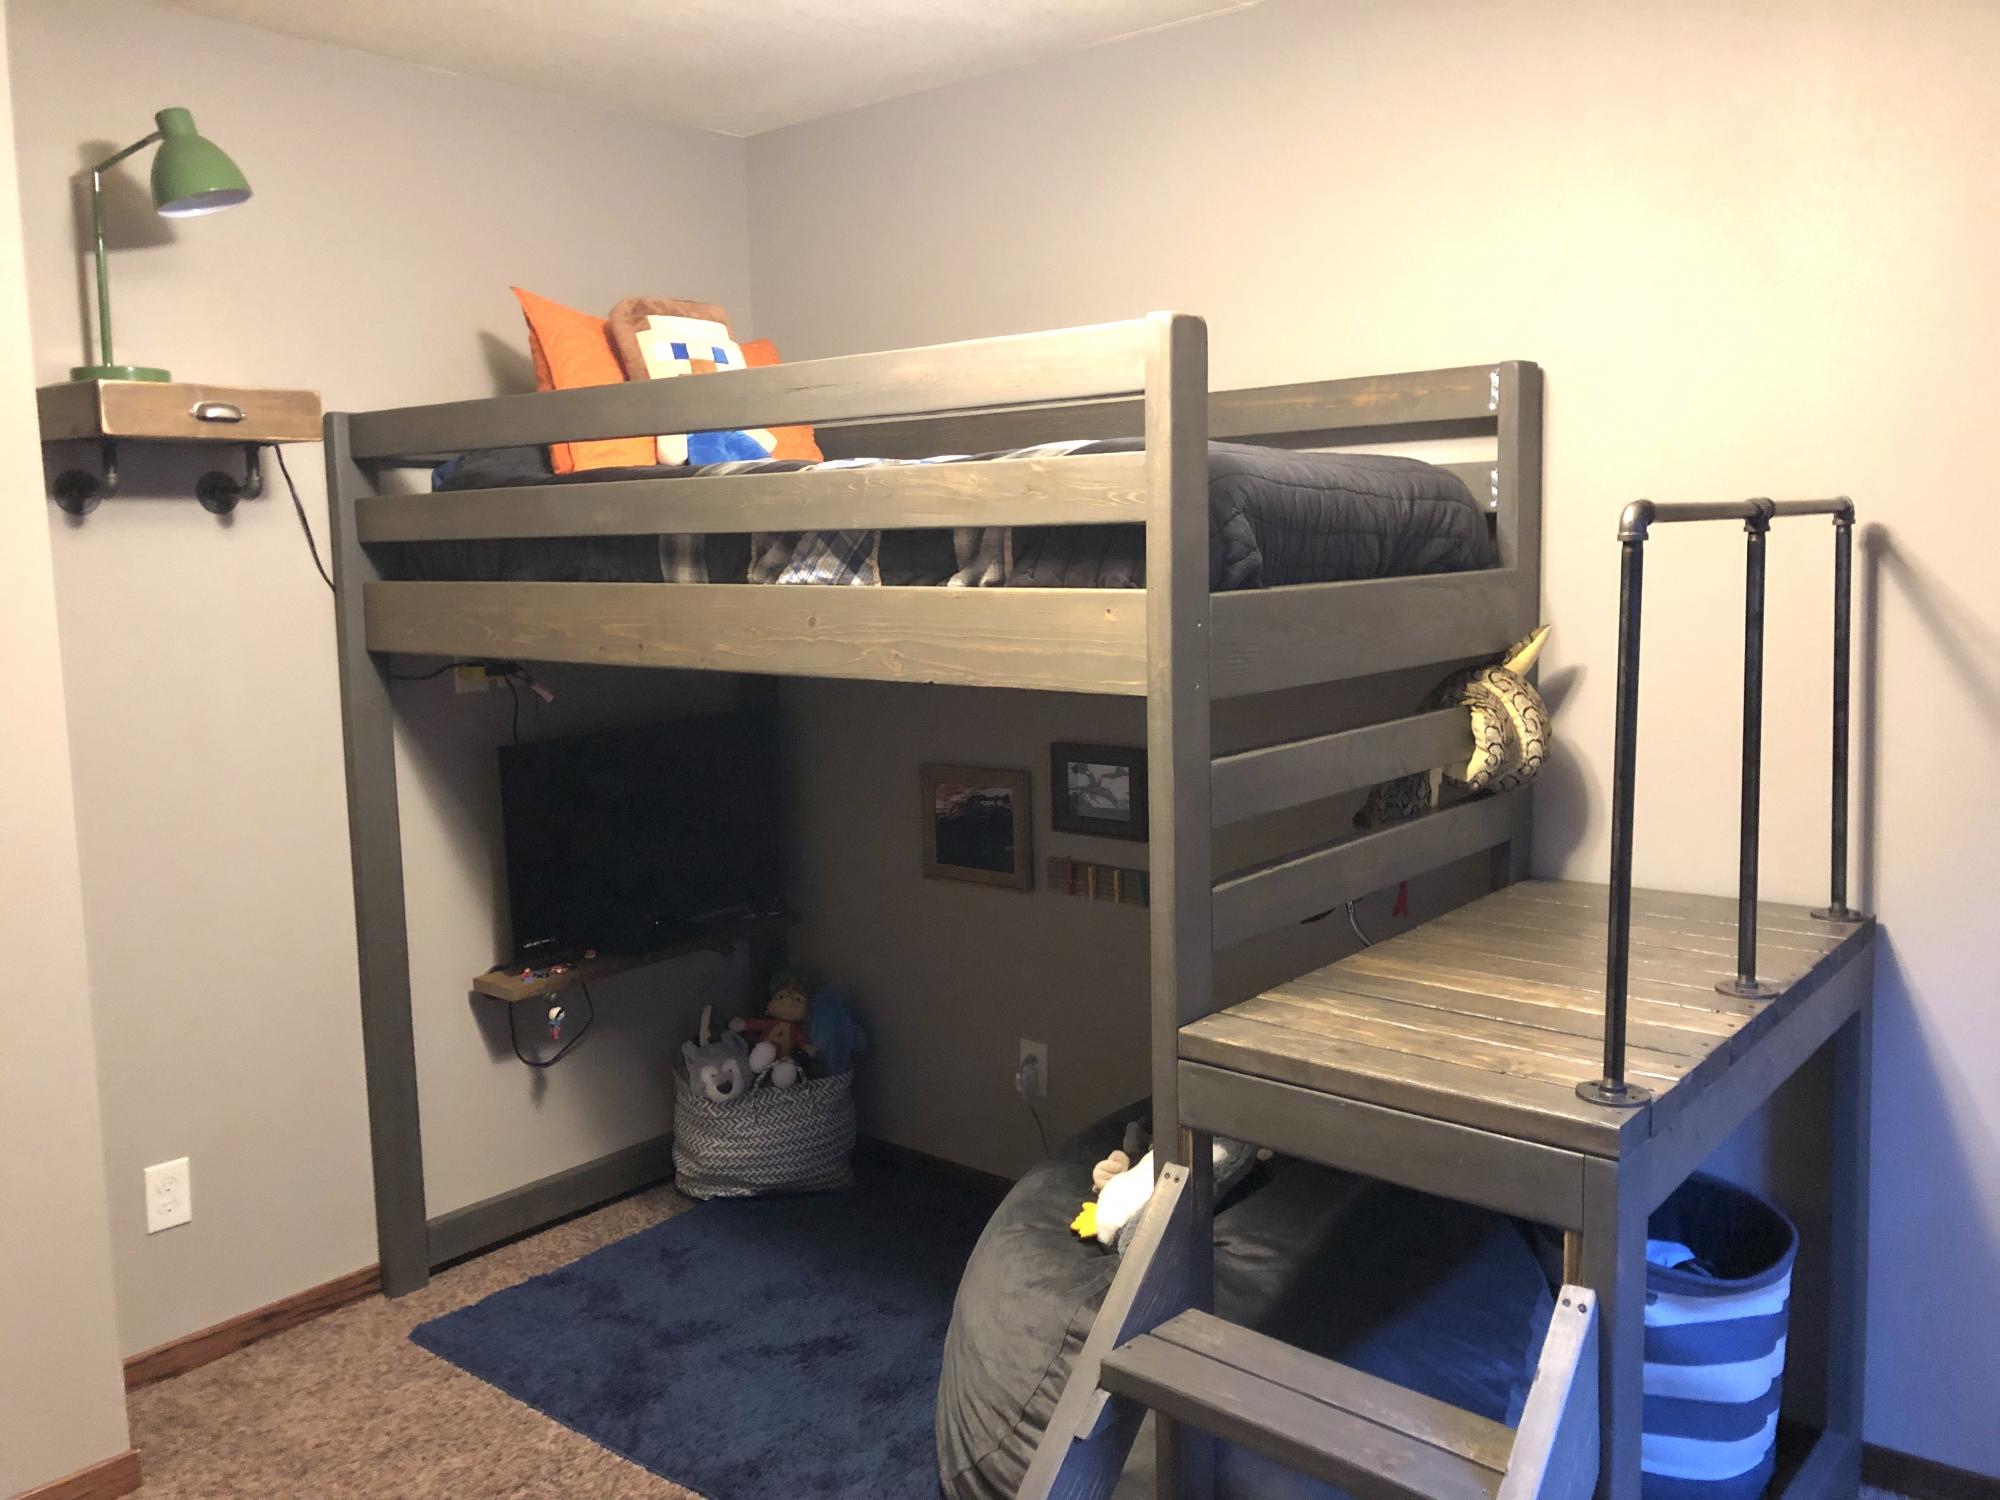
I built this bed for my 8 year old son's room "face lift." His only request was to have a place to hang out, but being his room was so small, that was a struggle! The loft bed allowed us to make a cozy little hangout - the poor guy can't get rid of his siblings now!
I added a few extra inches to the height of the Camp Loft plan, I also added the pipe hand rail for additional safety and give his room a little older boy vibe! It was a very easy build, the staining/sealing took the longest. The stairs make it much easier to change sheets and getting up and down for those of us who aren't 8 year olds :).
Built from Plan(s)
Estimated Time Investment
Day Project (6-9 Hours)
Finish Used
I used a mixture of Varathane Weathered Gray and Minwax Special Walnut. It is about 3/4 Gray and 1/4 Walnut.
Recommended Skill Level
Beginner
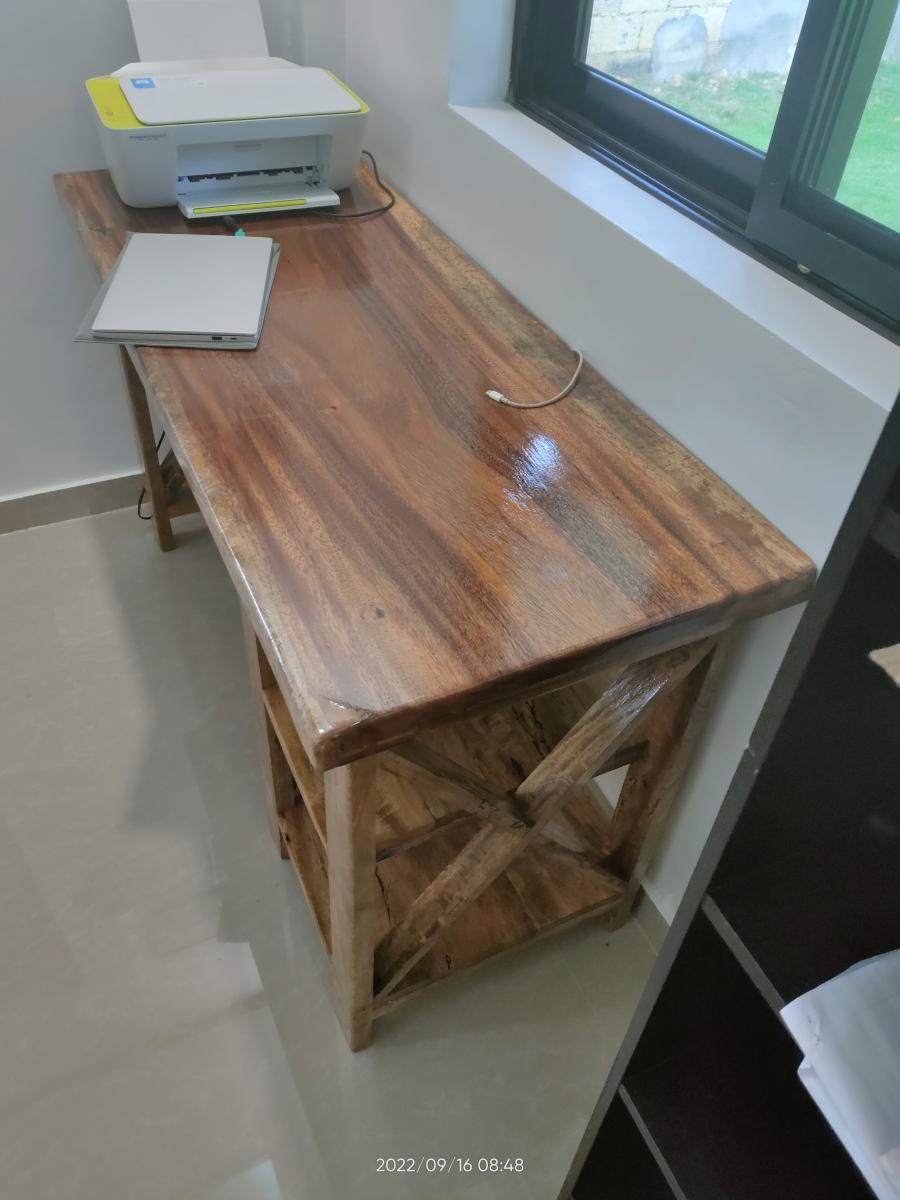
X Desk with Exotic Wood
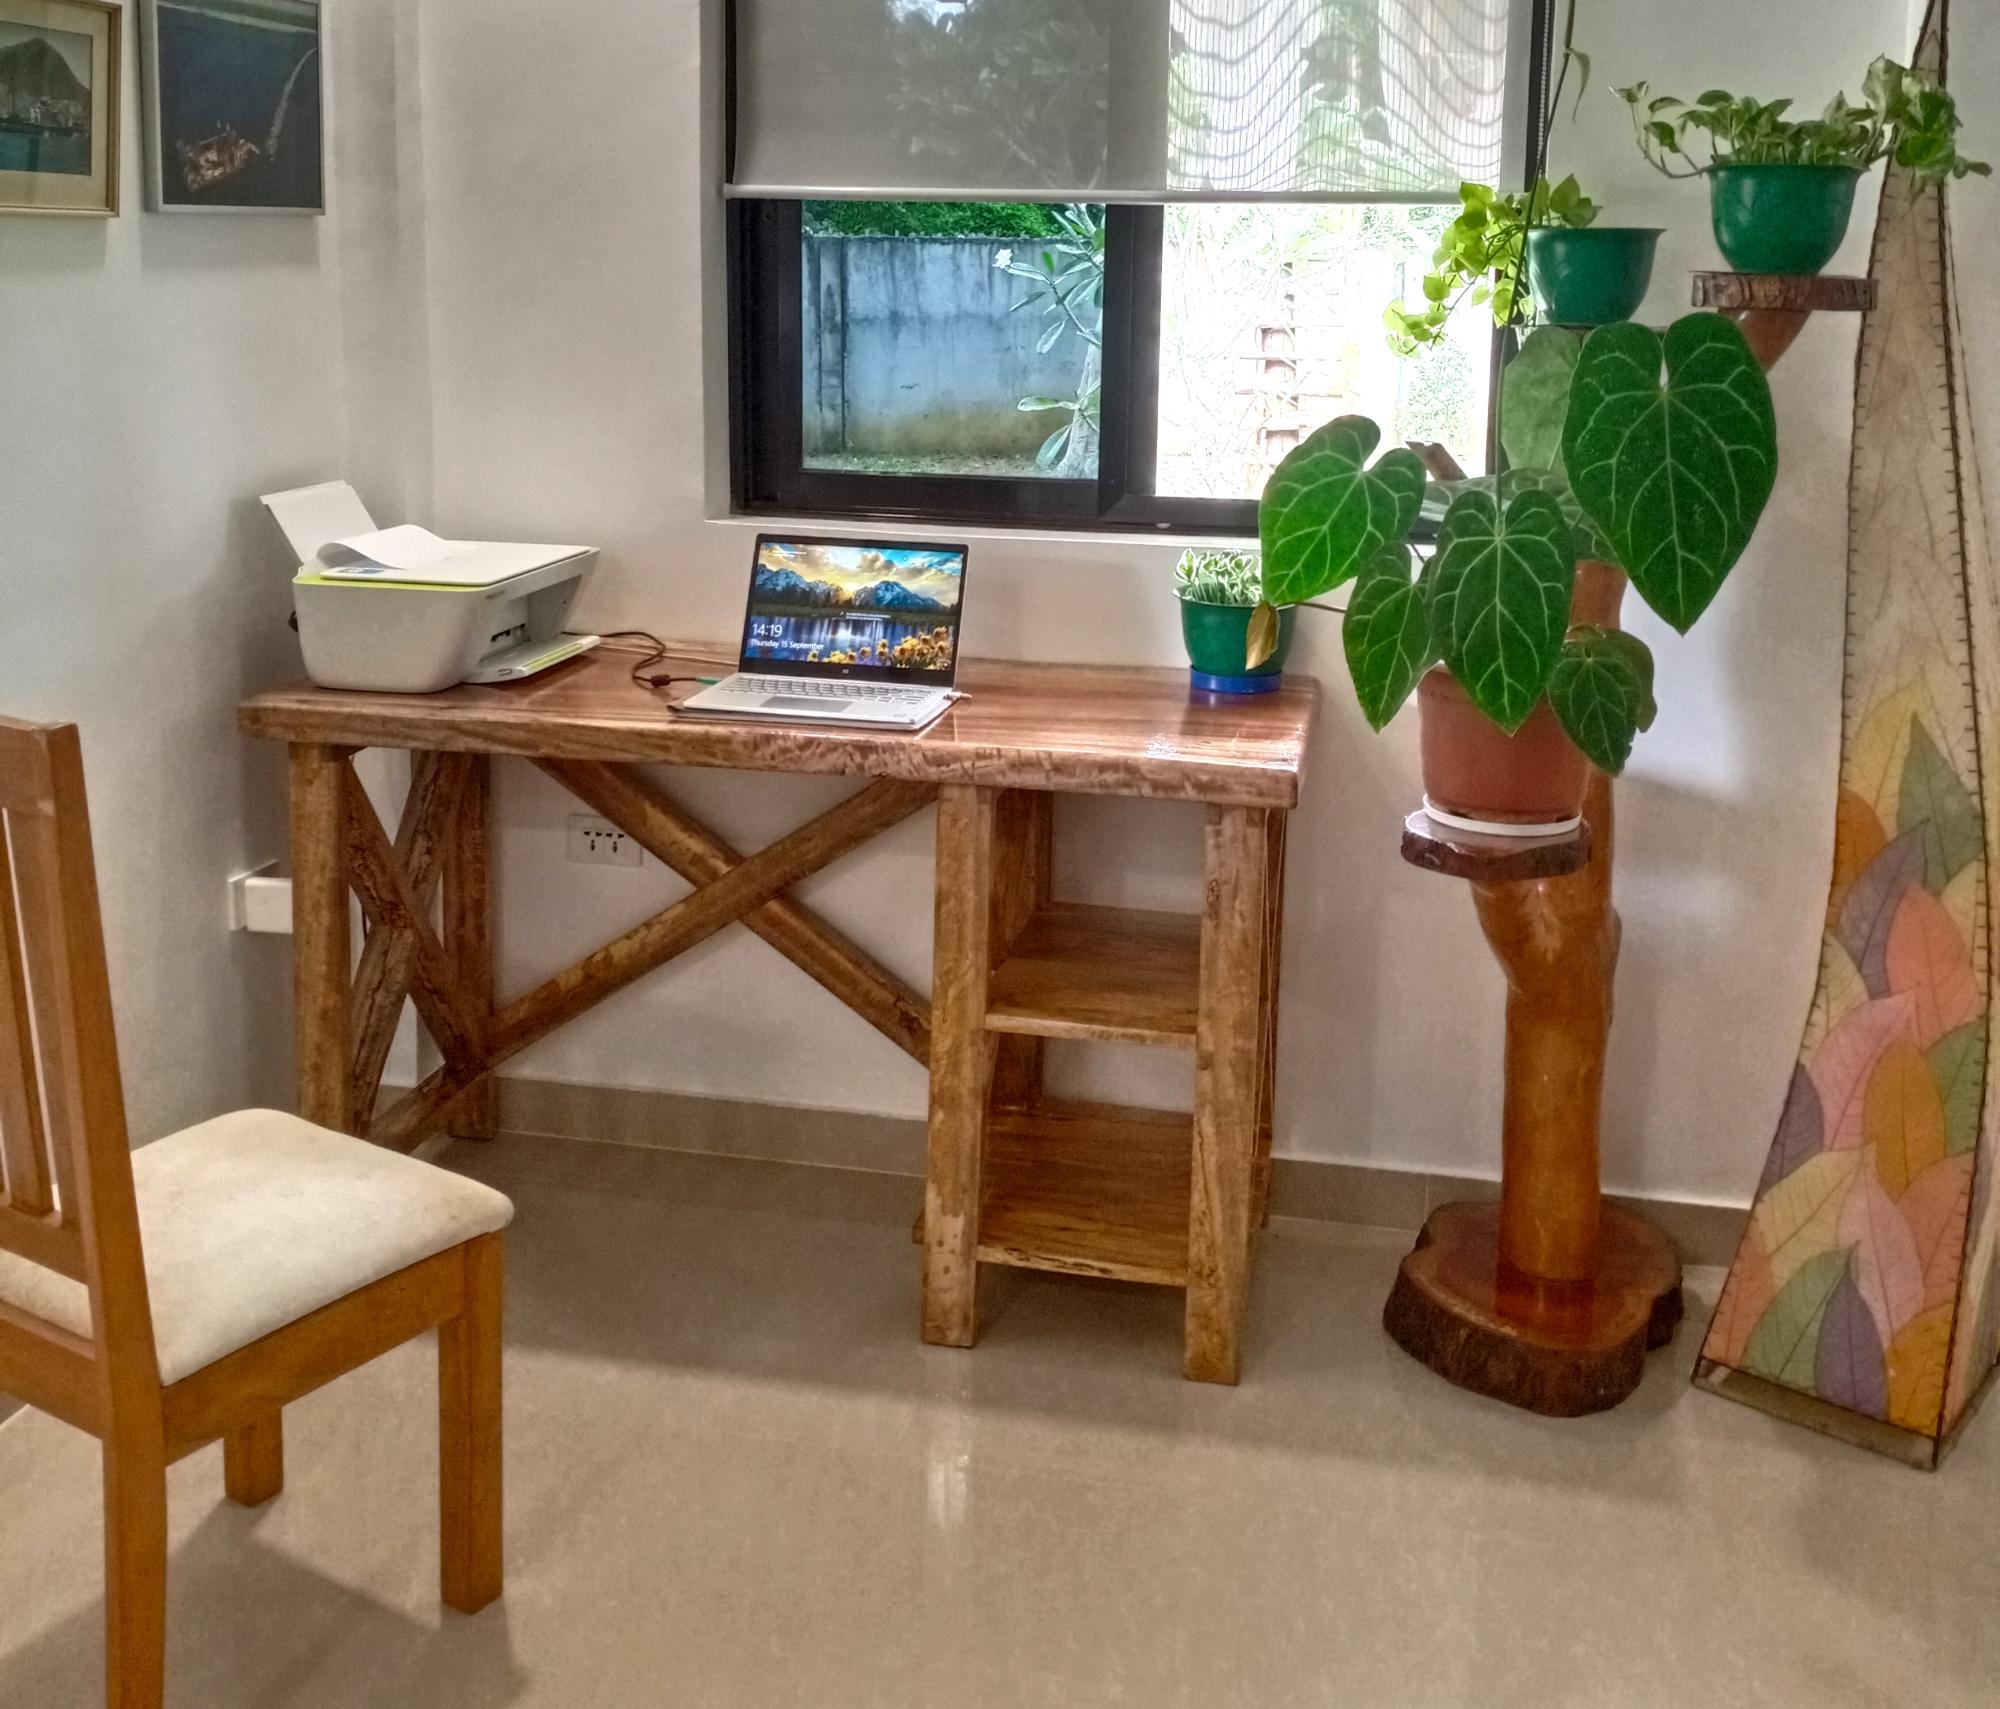
Desk from Mango wood and the top is acacia
@douwe_adema
Built from Plan(s)
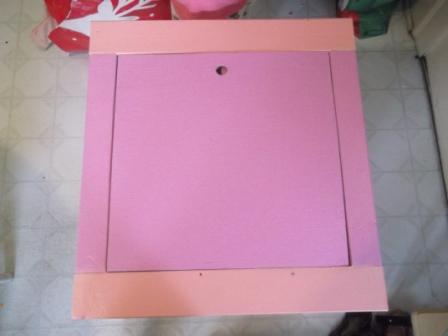
Arts and Crafts Table for My Daughter
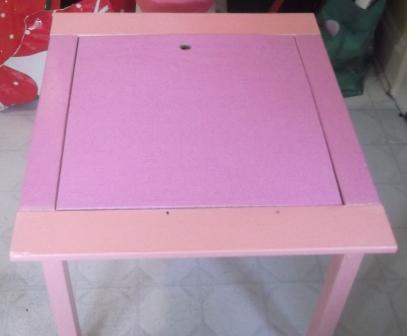
This project was my first from Ana White's plans and my first wood working project on my own. I spent quite a bit of time w/ my dad as a young boy helping him w/ woodworking projects and have been looking forward to doing one on my own.
My daughter is a crazy artist of four years old and she makes more art in a month than we know what to do with. Along with that comes piles of crayons, markers, paper, and so on all over her room, so this table was for her to try and keep organized.
The only real modification from Ana's original plans was that I used plywood for the cover instead of a clear piece of plastic b/c I figured the wood would hold up better under a four year old's abuse.
Built from Plan(s)
Estimated Cost
40
Estimated Time Investment
Day Project (6-9 Hours)
Finish Used
Regular wall paint - same used to paint my daughter's room.
Recommended Skill Level
Starter Project
Comments
Sat, 08/02/2014 - 09:46
Yes, i actually had to put
Yes, i actually had to put two pieces glued together in order to get the correct height to fill it in. It's a little heavy, but my daughter really loves the table and it doesn't seem to be too much of a problem.
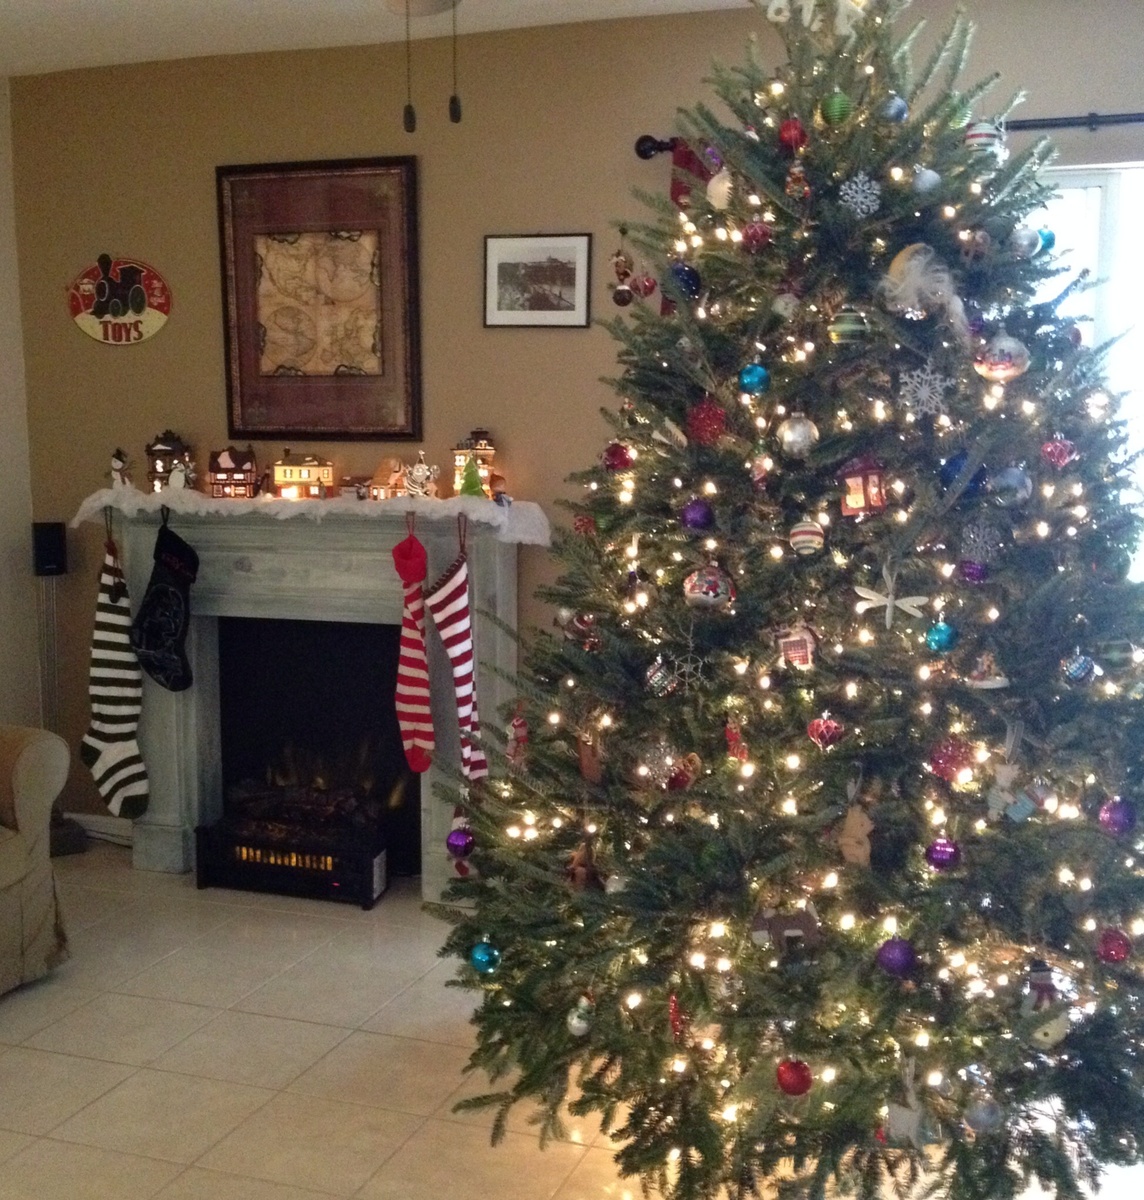
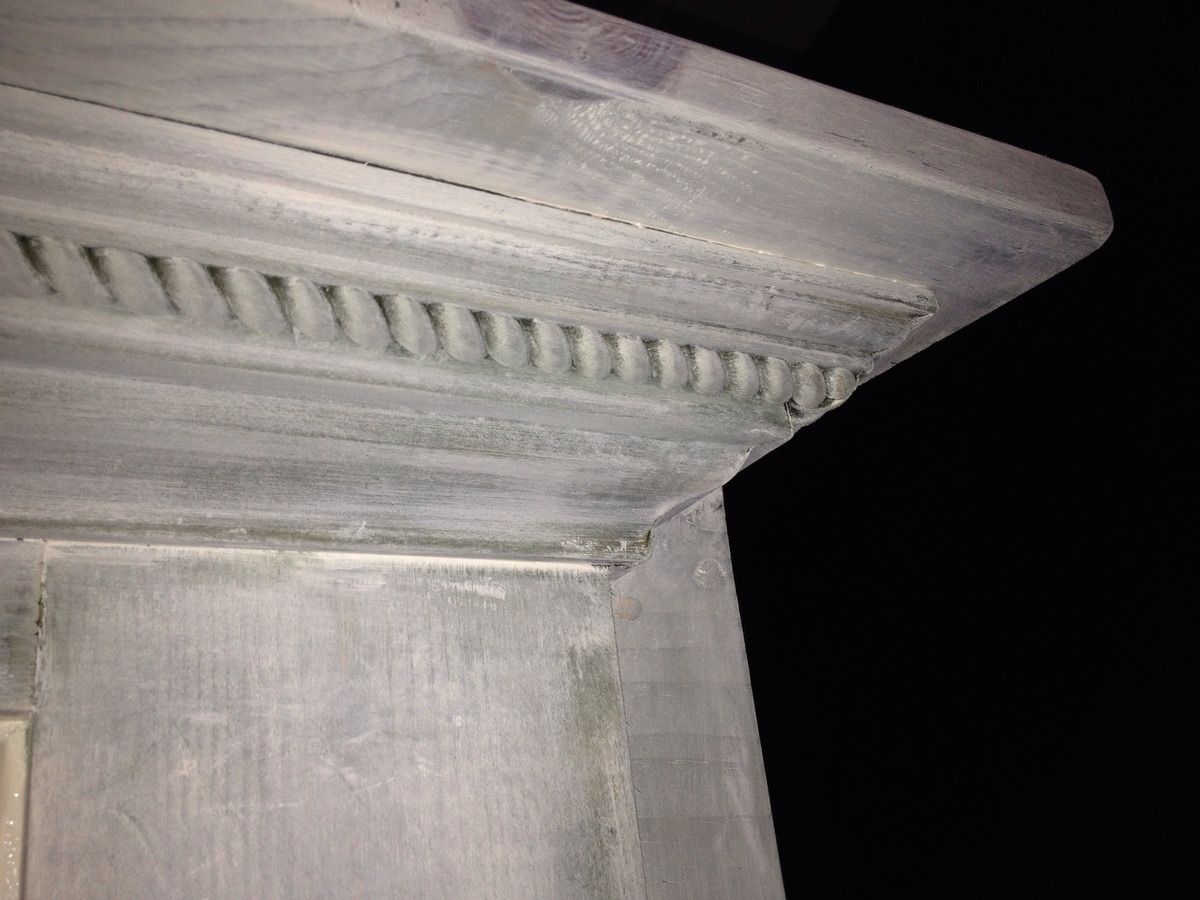
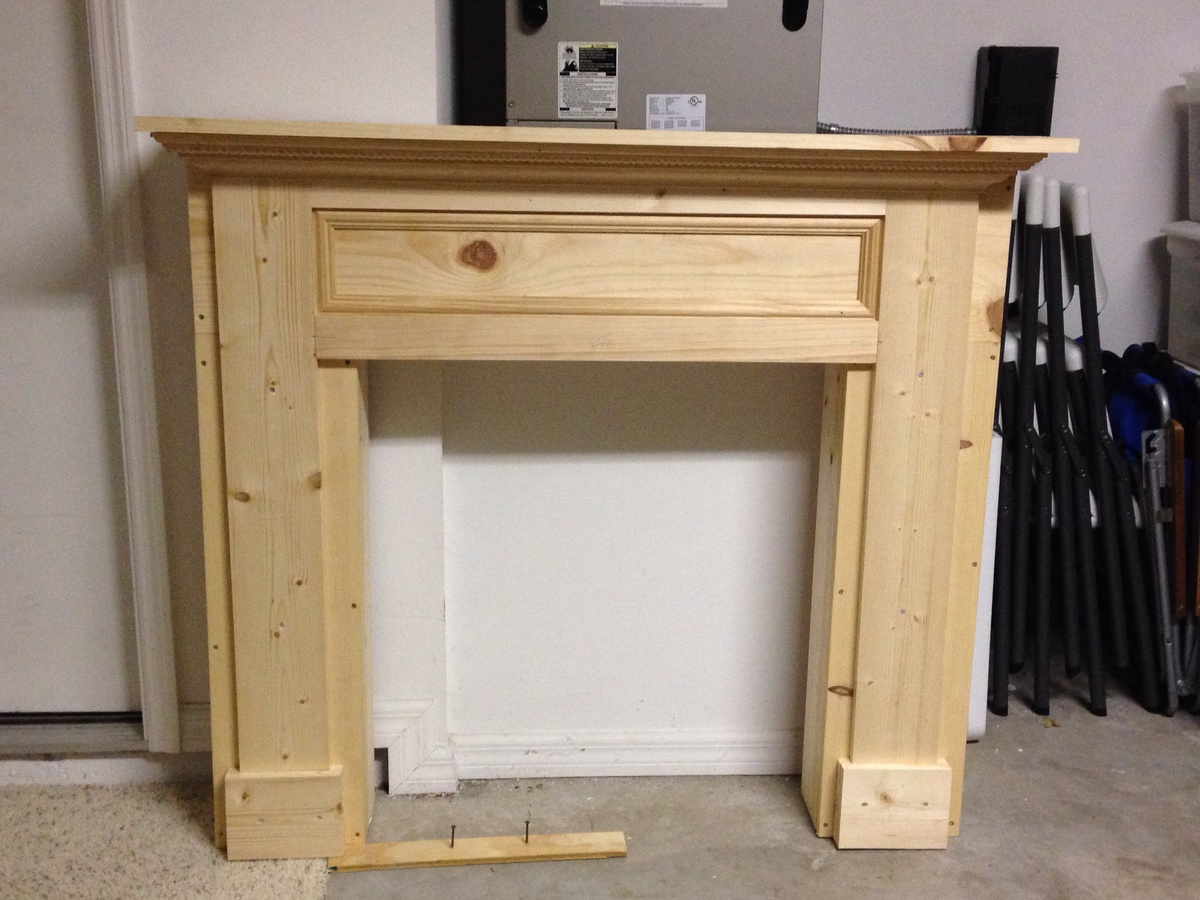
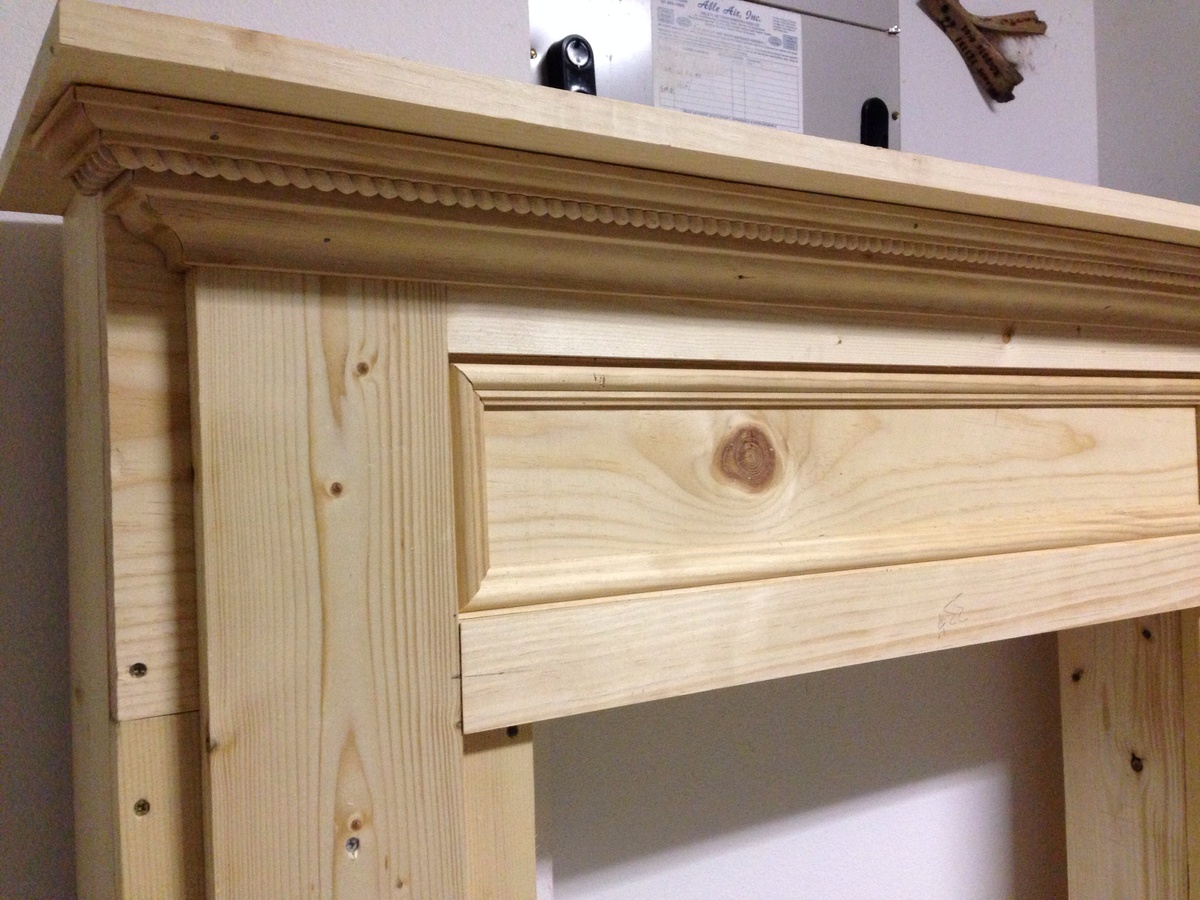
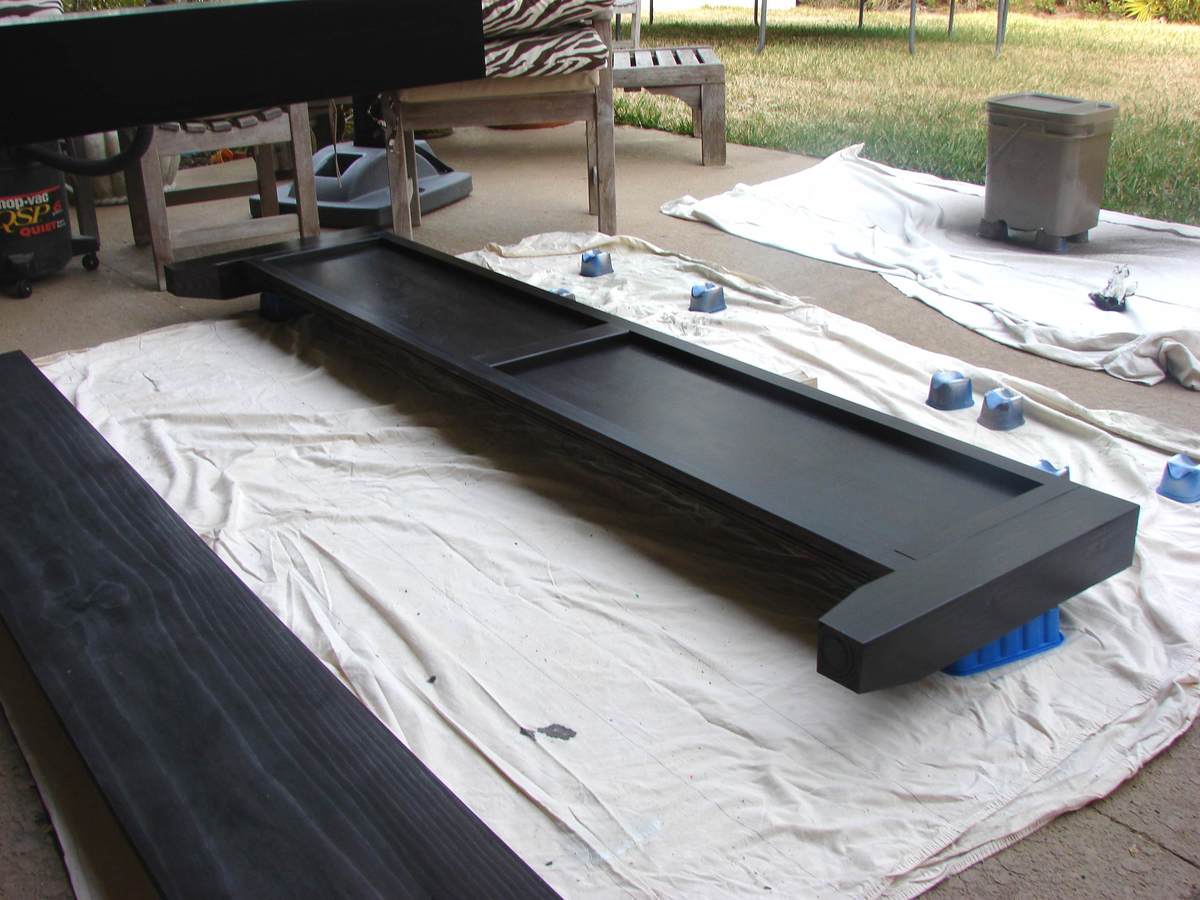
Mantle
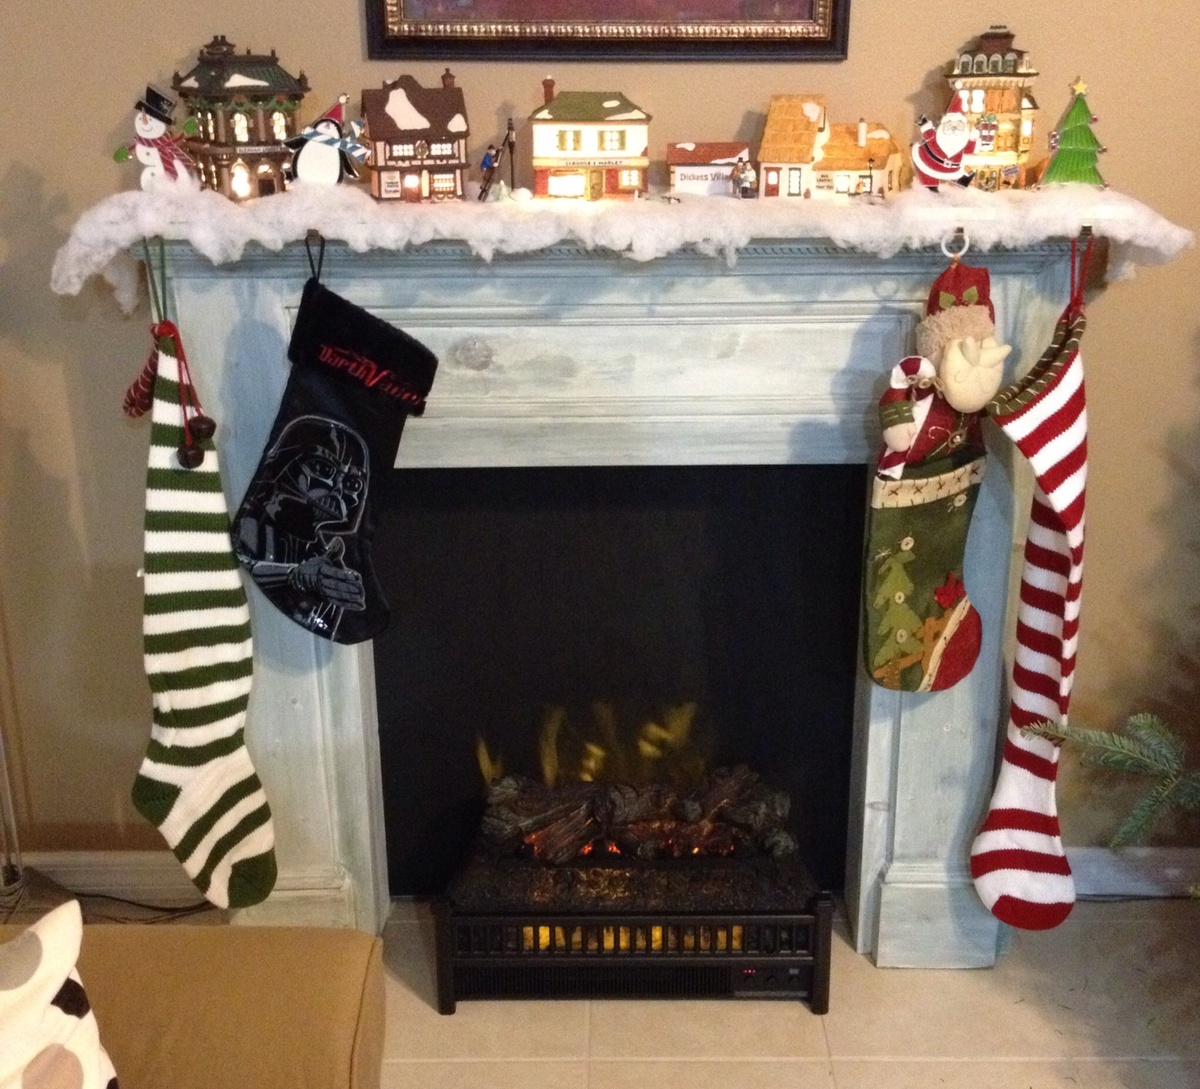
We wanted to have a mantel for hanging the Christmas stockings this year and this fit perfectly! We modified the plans a bit by substituting 1x6's for the sides and a 1x12 on the top in order to gain a little more shelf space and to accommodate the LED fire logs. We added a piece of plywood painted black to mask the color of the wall and to give the "flames" a surface to reflect off of. We are debating giving a more realistic appearance by covering with mortar and brick tiles rubbed with charcoal. Thanks for the plan and for making these holidays special as the kids now believe Santa has a chimney to come down!
Built from Plan(s)
Estimated Cost
$80
Estimated Time Investment
Day Project (6-9 Hours)
Finish Used
Minwax botanical green stain with cottage white paint wash
Recommended Skill Level
Beginner
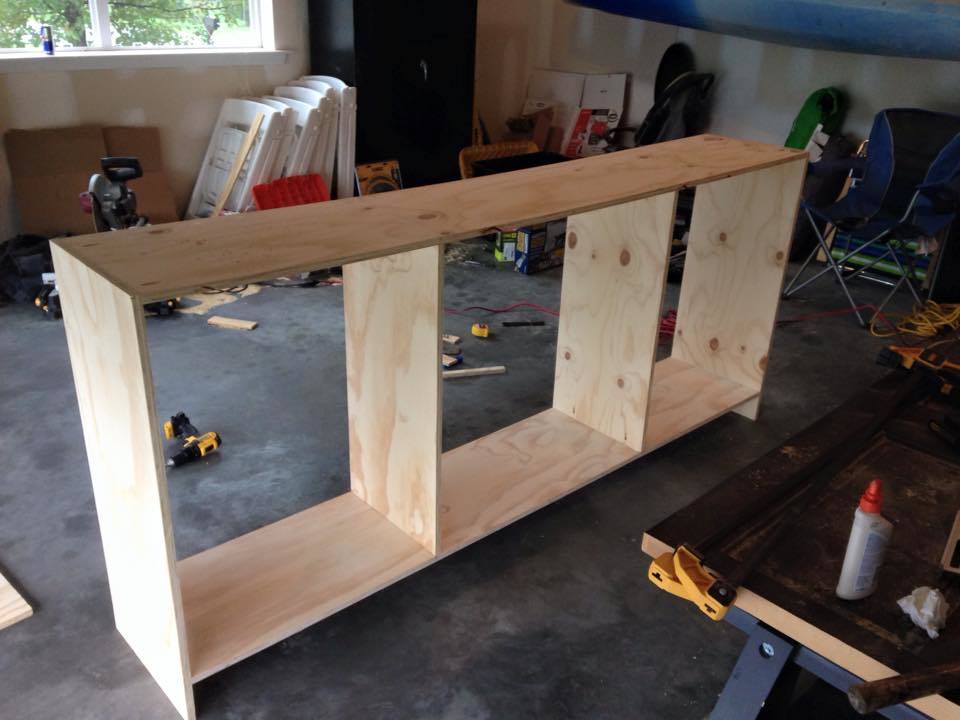
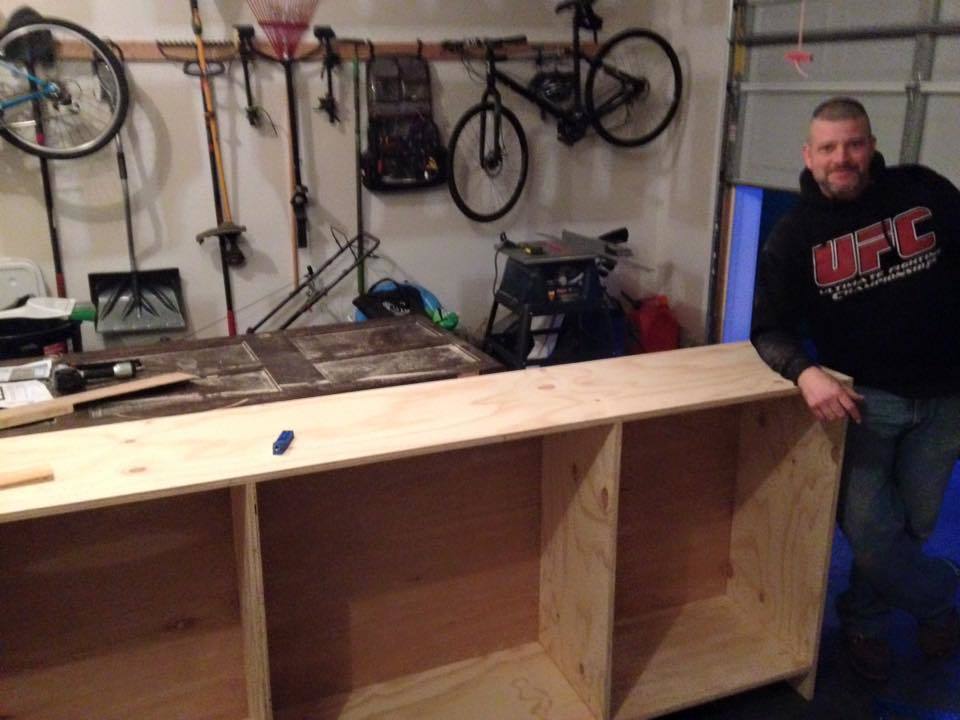
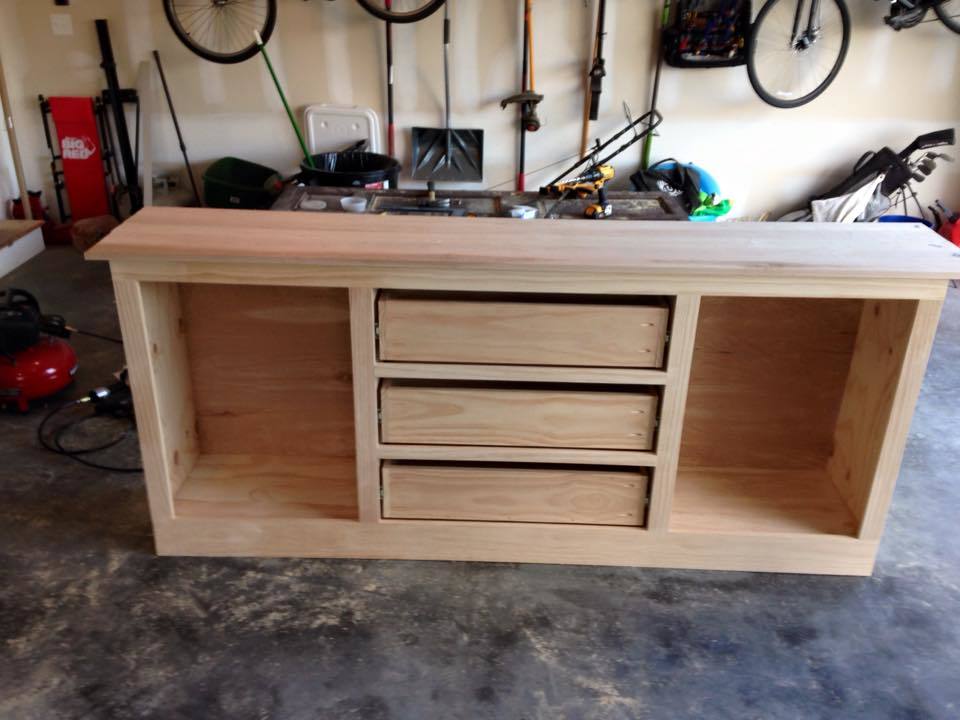
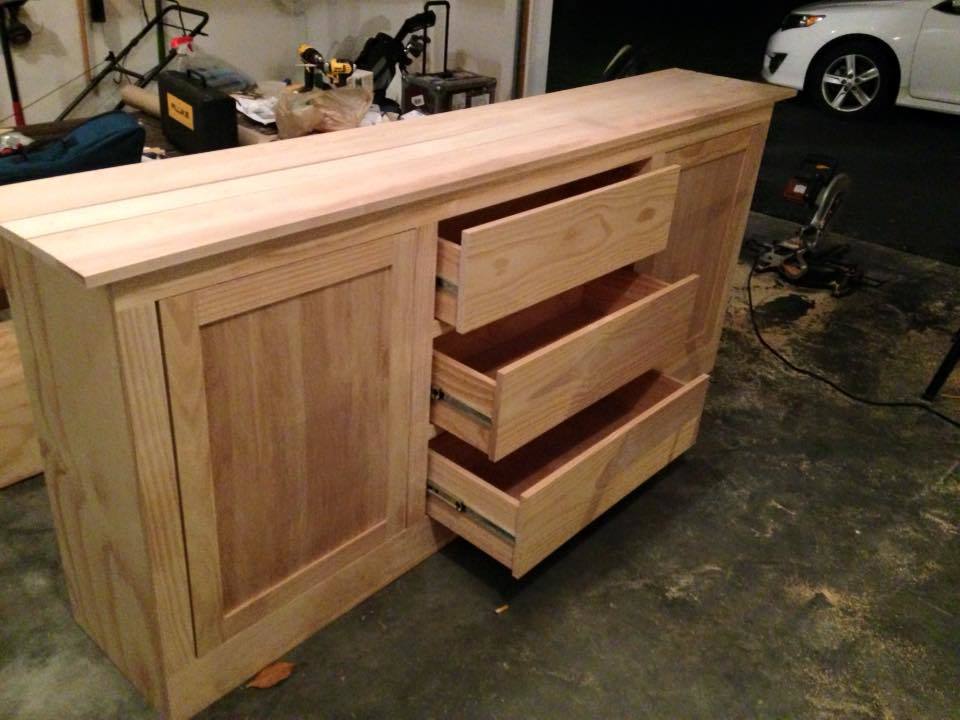
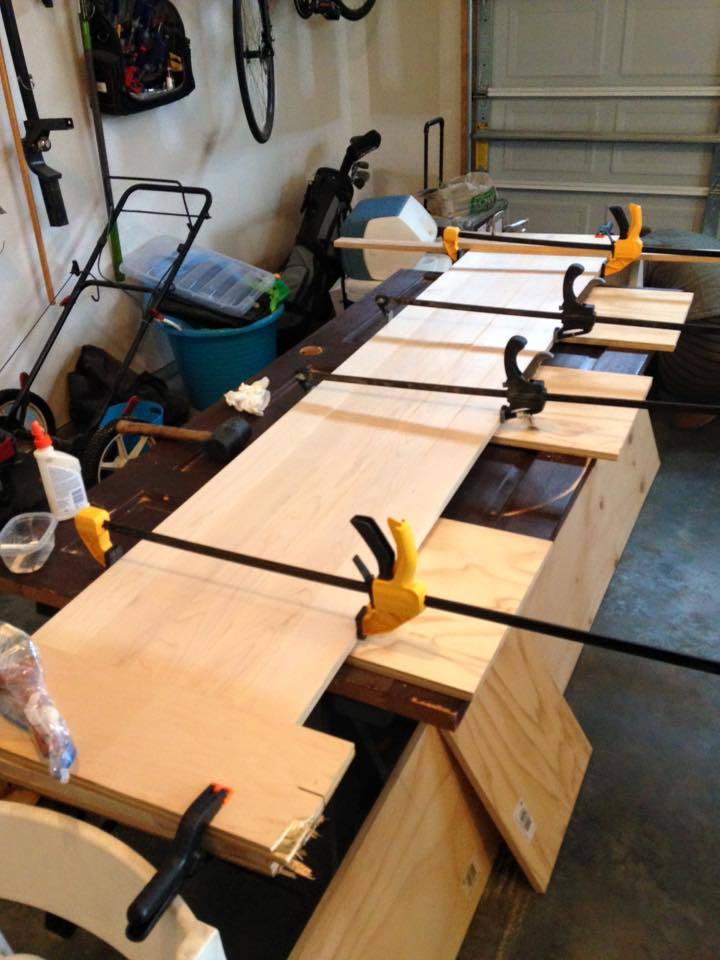
Media Cabinet Base of built-in
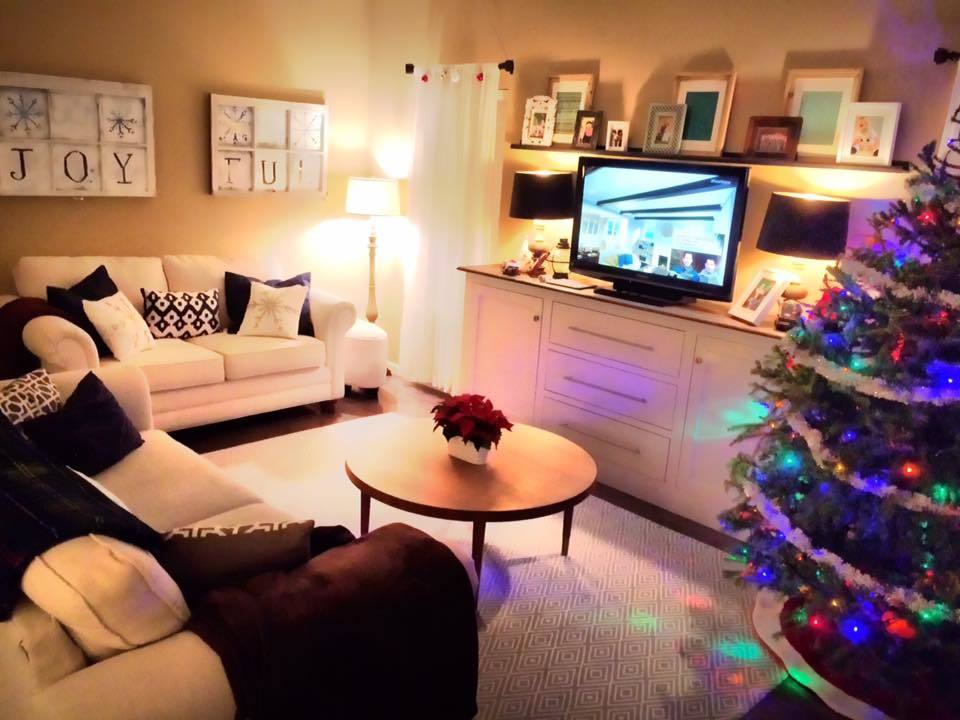
First furniture project. It was a little intimidating - but once you get the cabinet squared everything else is just about precision cuts and patience to get the finish you want. Inset drawers are tough because they really show any mistakes.
Completed over 3 weekends.
My wife loves it! Our plan is to use this as the base of the built-in, and surround the TV with shelving up to the ceiling. Applying the concepts to this build will allow me to custom build the top unit, probably at some point next year.
Cheers!
Built from Plan(s)
Estimated Cost
$1000
Estimated Time Investment
Week Long Project (20 Hours or More)
Recommended Skill Level
Intermediate
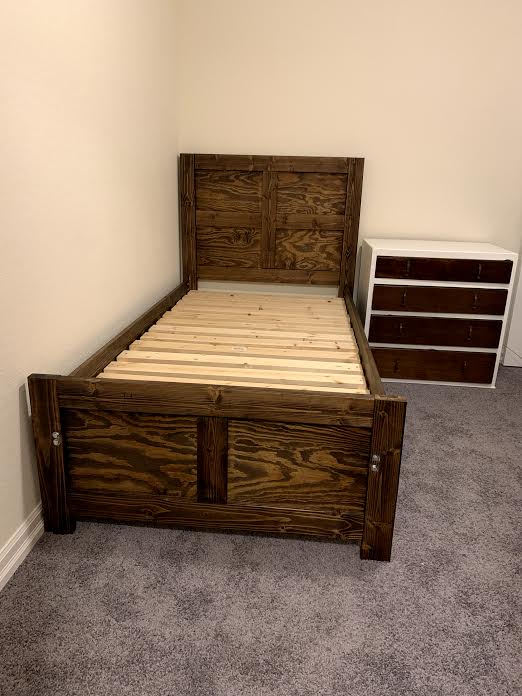
Emme Twin Bed
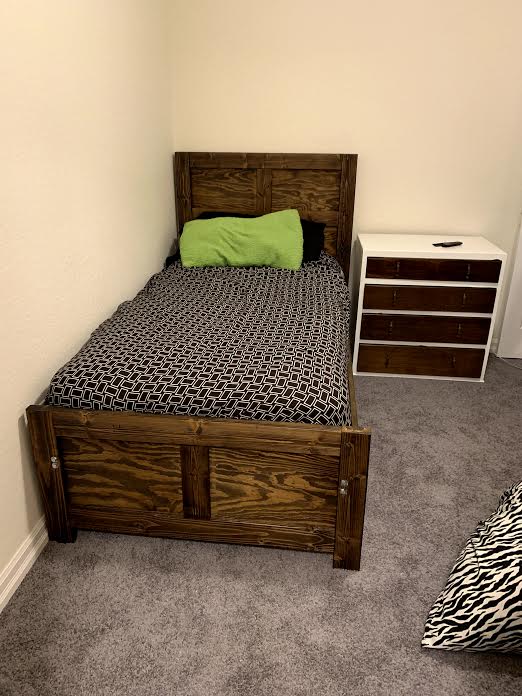
Built for my youngest sister in law.
Built from Plan(s)
Estimated Cost
90
Estimated Time Investment
Day Project (6-9 Hours)
Finish Used
Dark Walnut Stain
Recommended Skill Level
Beginner
DIY Pergola
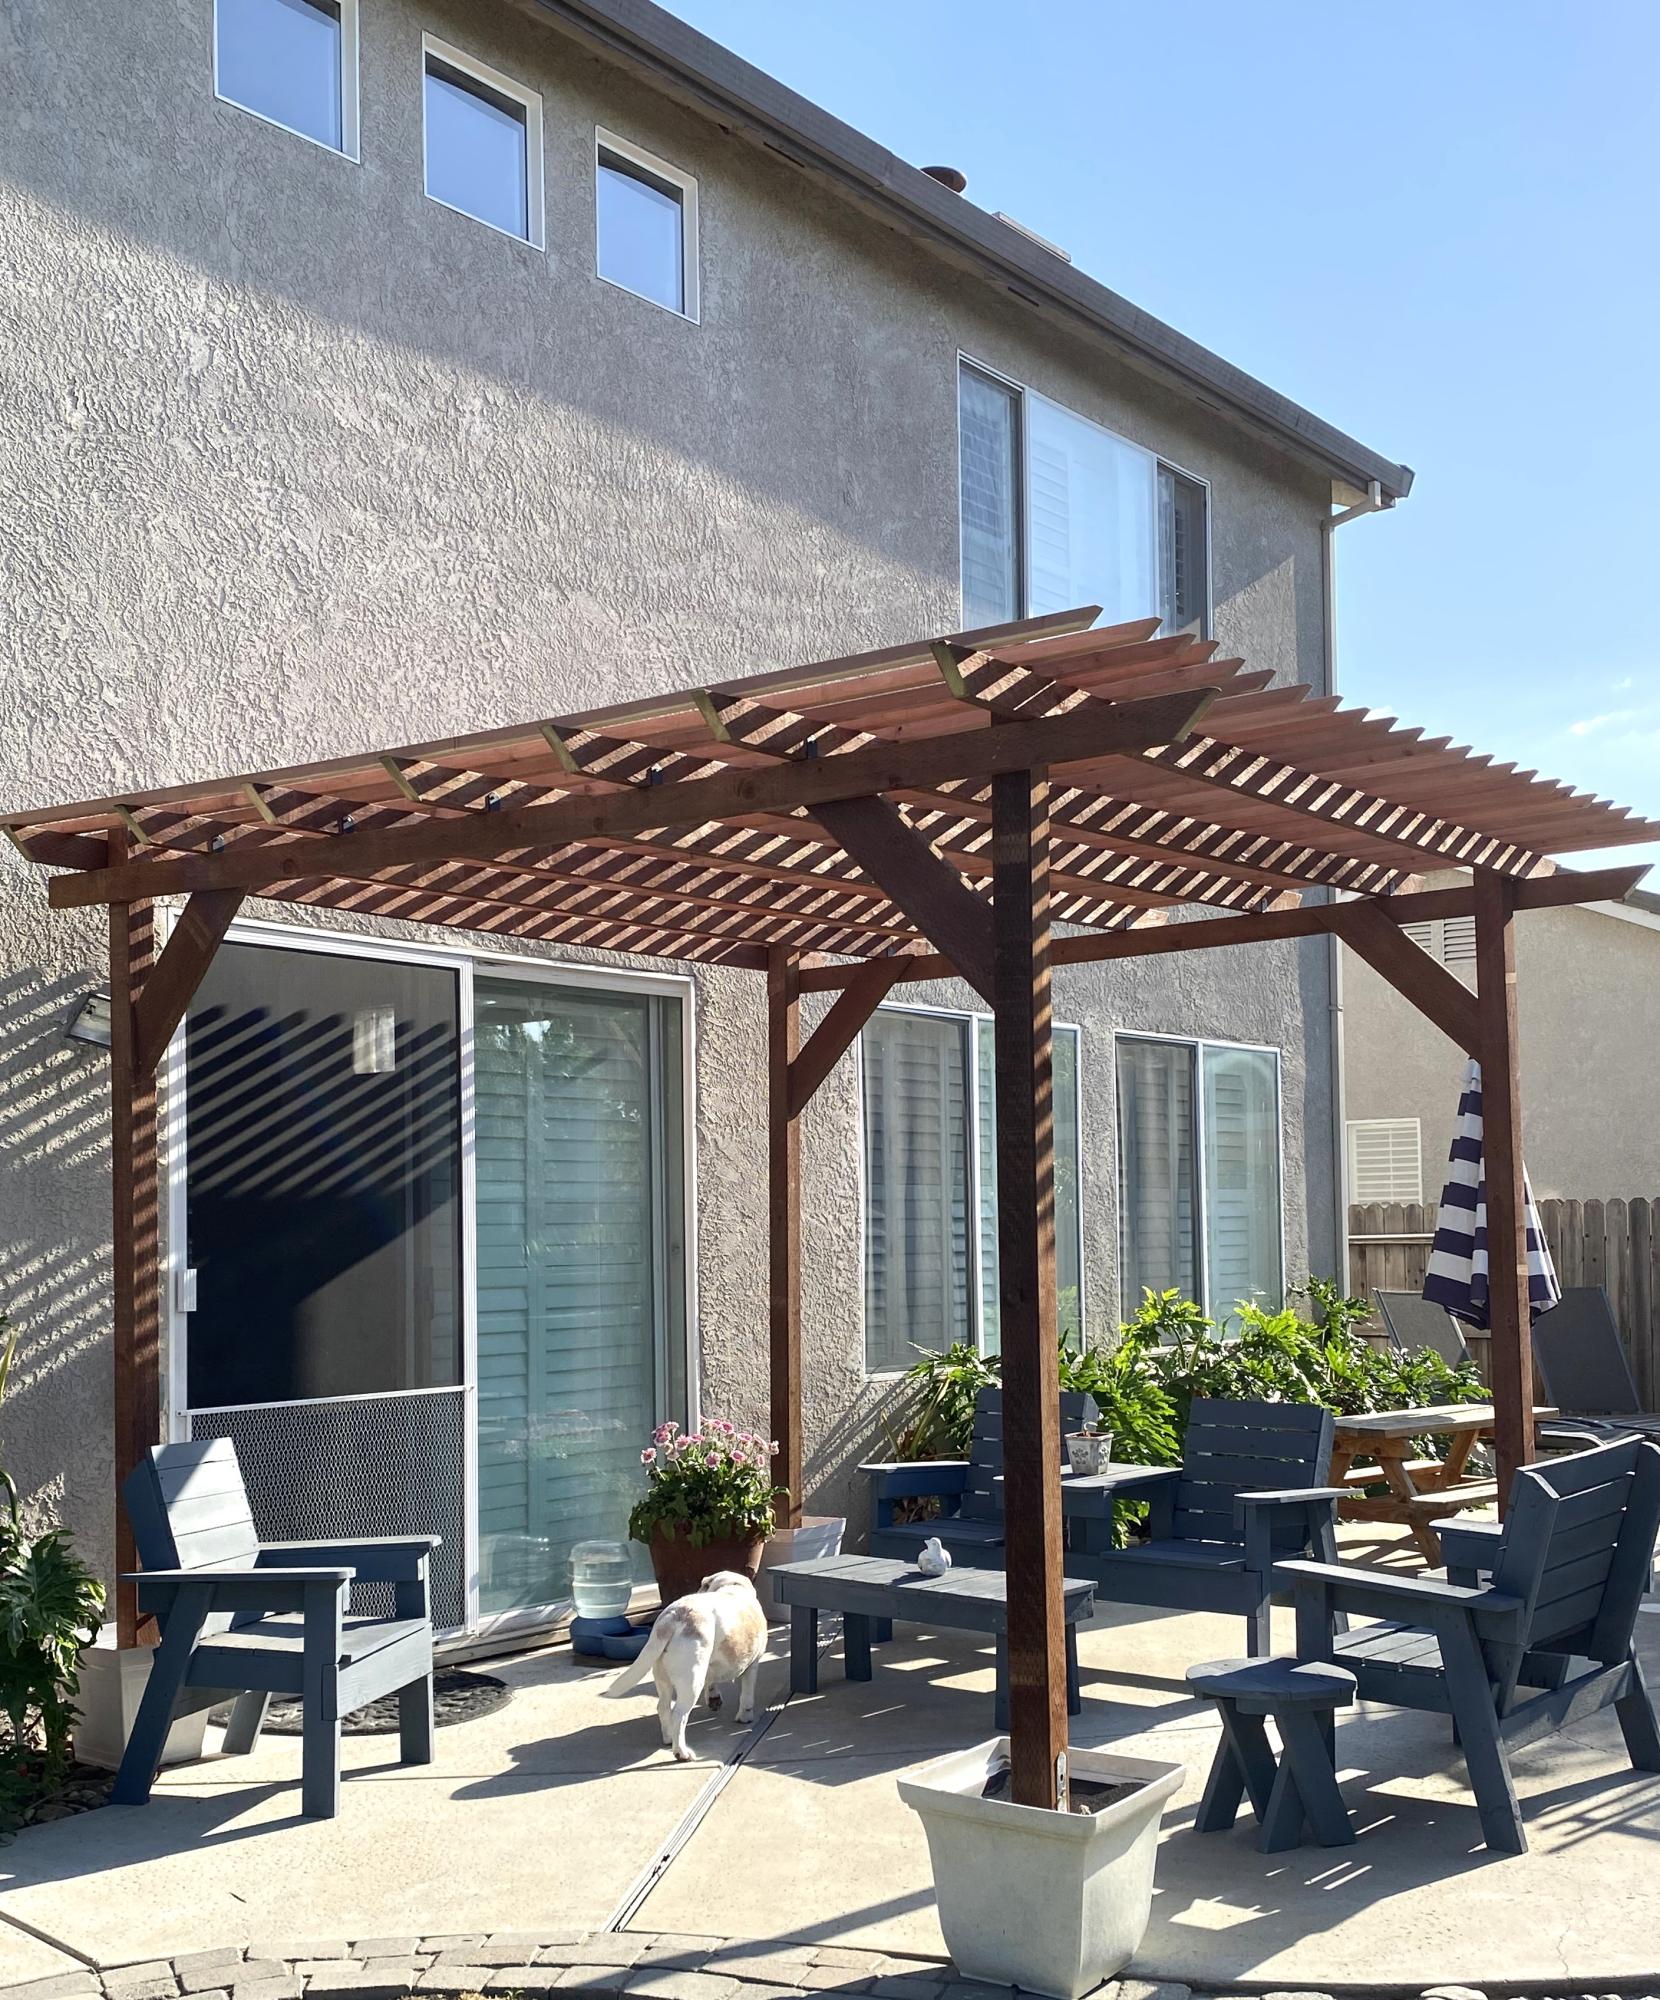
I built this pergola in 3 days and added mason jar solar lights.
Vonda Jones
Built from Plan(s)
Our first project
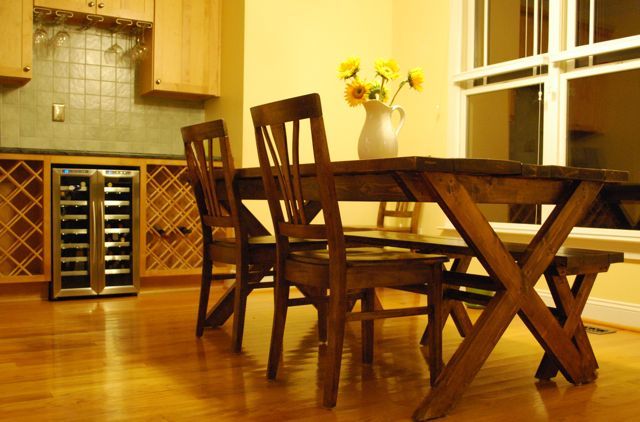
I was looking for plans to build a table like this and found Ana's site.
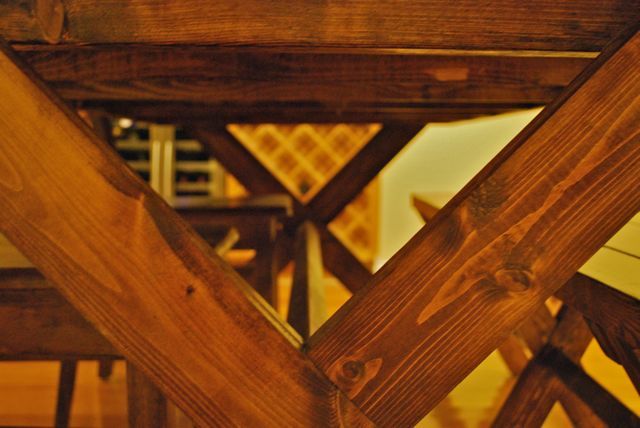
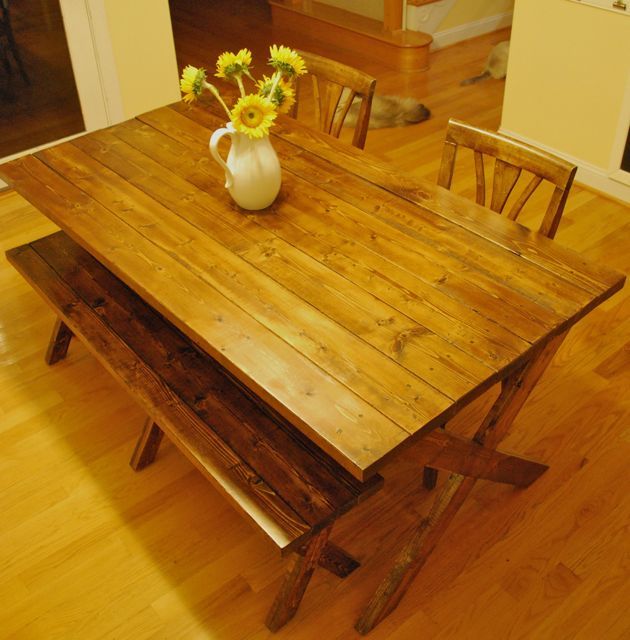
Built from Plan(s)
Estimated Cost
100
Estimated Time Investment
Weekend Project (10-20 Hours)
Finish Used
Minwax Early American and Satin Poly
Recommended Skill Level
Starter Project
Comments
Wed, 02/15/2012 - 10:16
WOW! THAT'S BEAUTIFUL!!
I love this project. Well done! You have inspired me to do something similar for our breakfast room.

Fri, 02/17/2012 - 19:26
Good so far.
I would make the bench first if I could do it again--good practice. You can't fit a lot of people around it but it is good for a small space.
Mon, 04/30/2012 - 04:55
How did you fasten the
How did you fasten the tabletop to the base? Did you screw it from under and attach along every cross beam? Or screw from the top and fill the holes with putty? All the way across or just on the ends...this step in the directions is very vague...
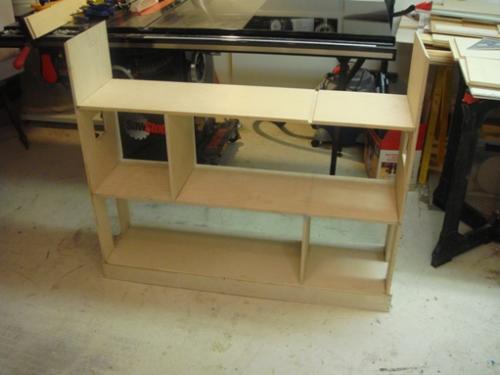
Shanty Open Shelf Console
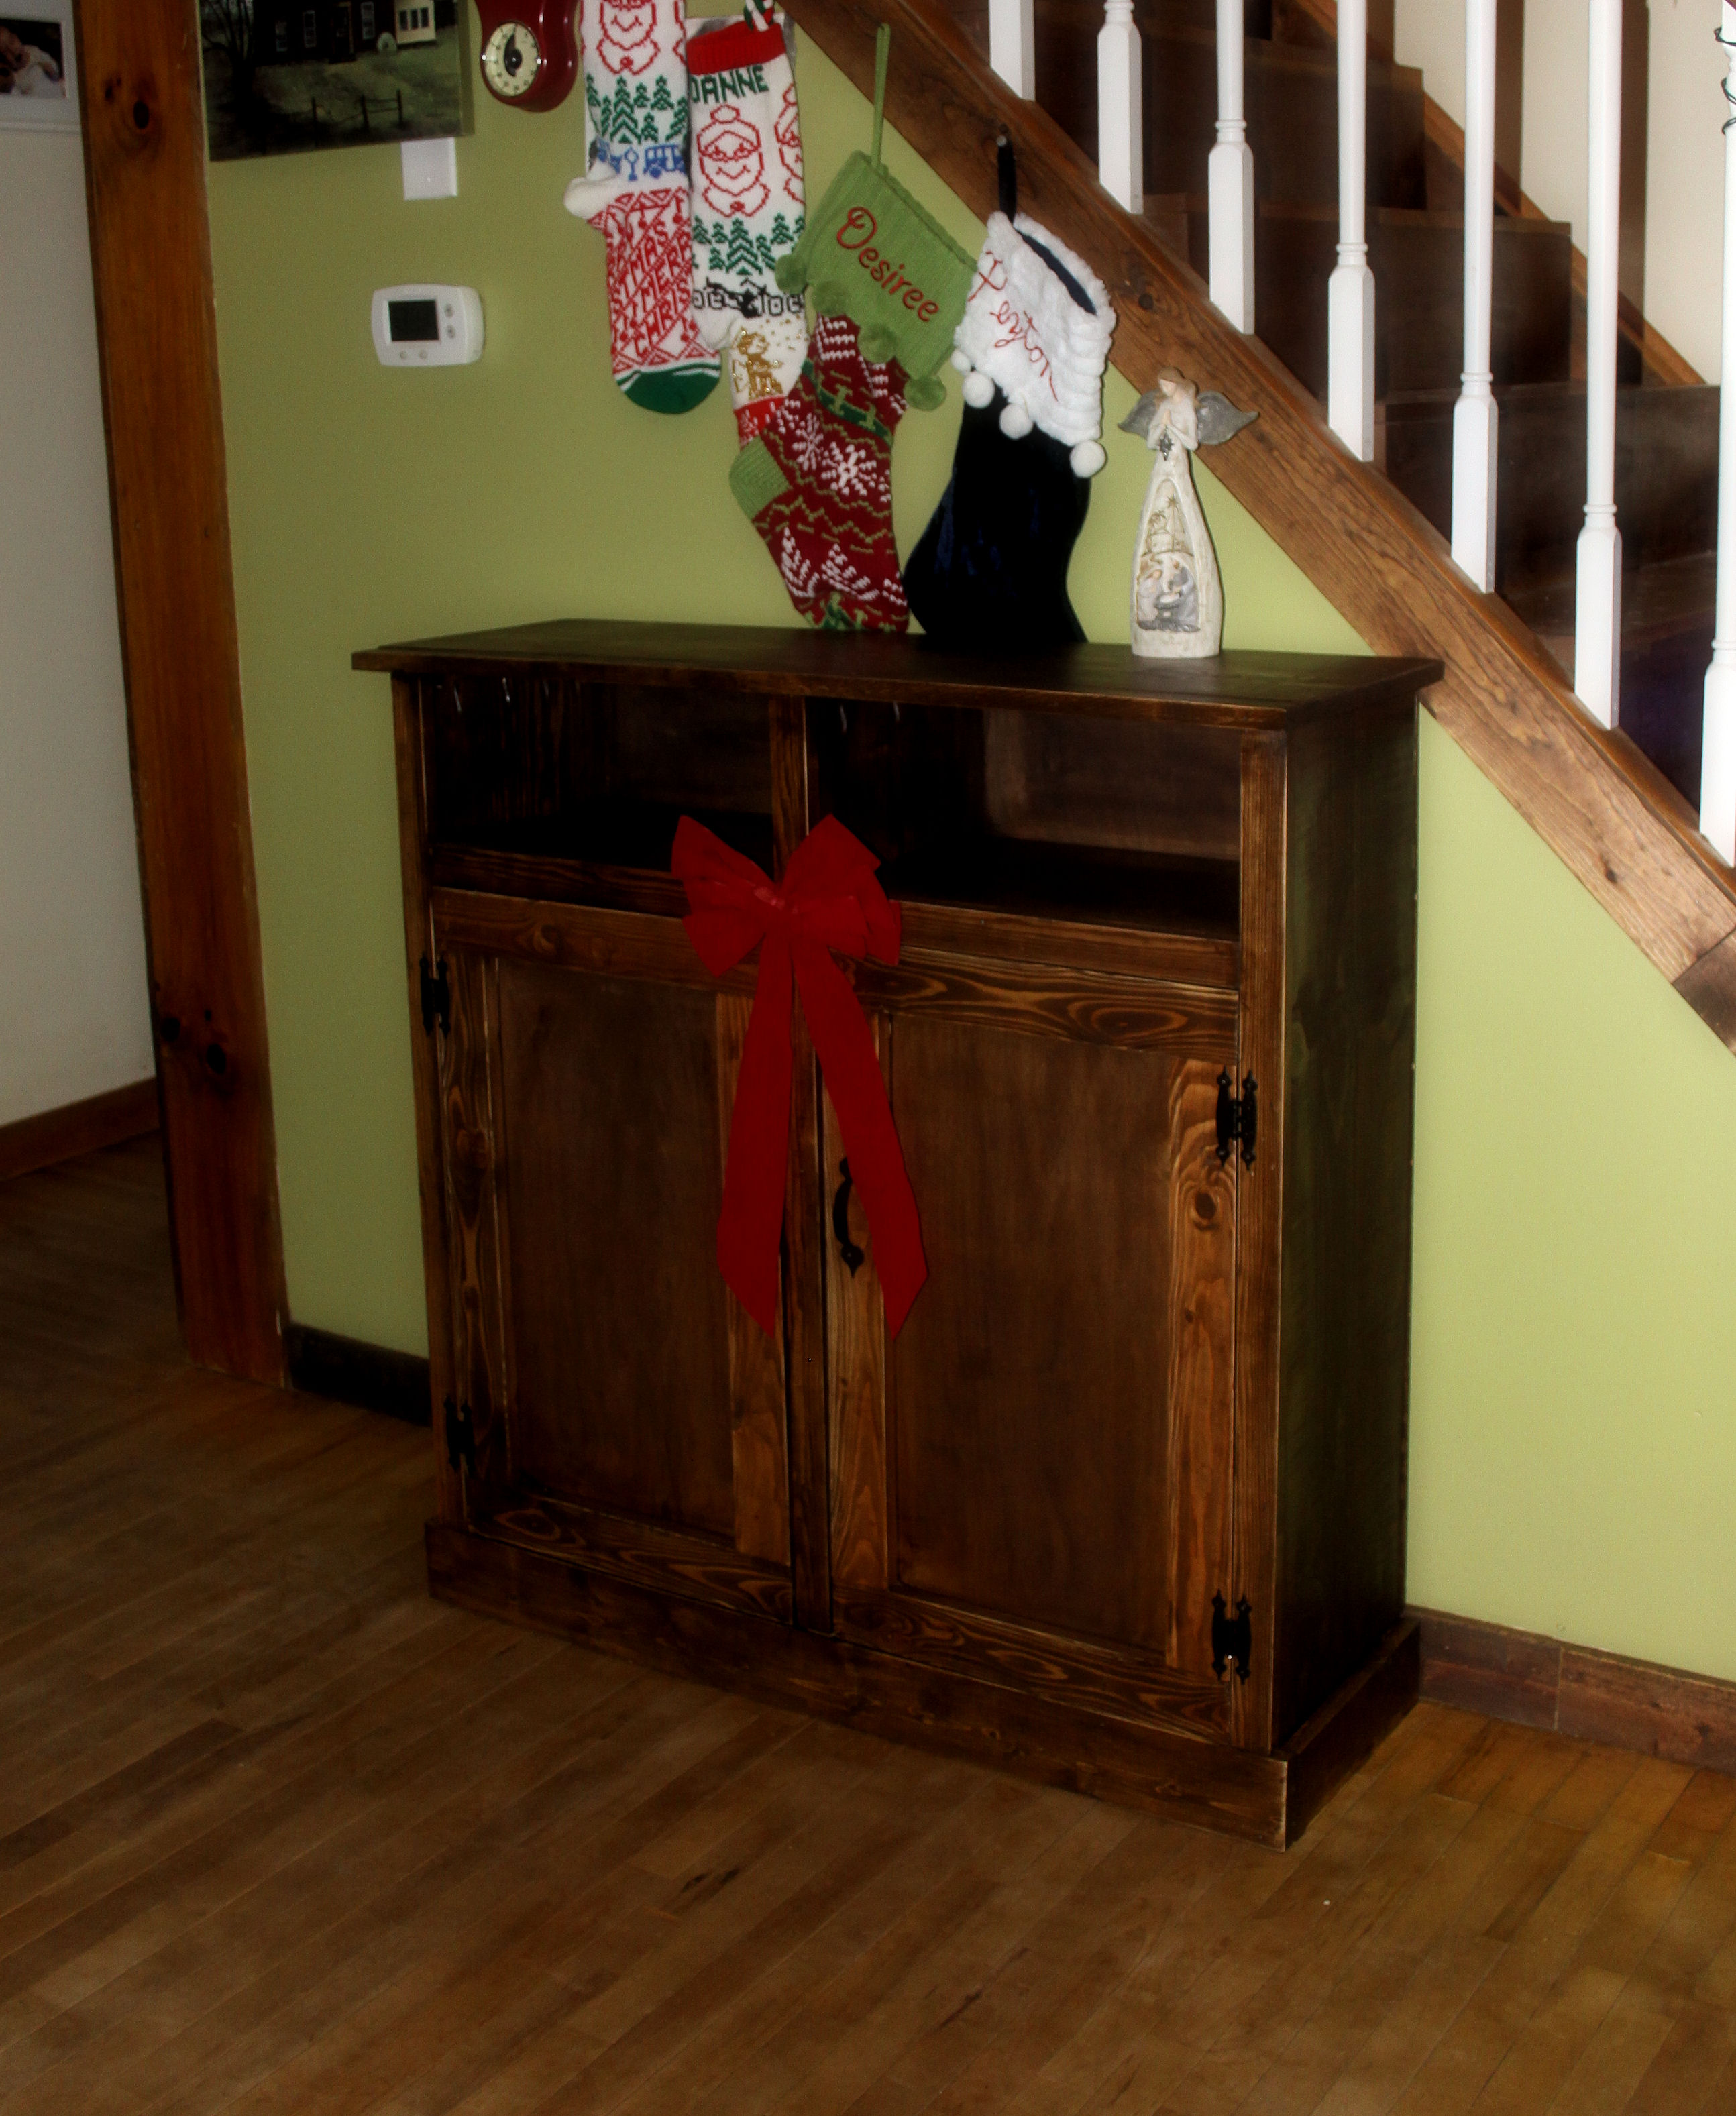
I had been eyeing this for awhile but, doors scare me. This is my daughters Christmas gift. It was a fairly easy quick build.
I am pleased with it.
Built from Plan(s)
Estimated Time Investment
Day Project (6-9 Hours)
Finish Used
Rustoleum Dark Walnut
Recommended Skill Level
Beginner
Comments

Tue, 12/24/2013 - 22:24
Shanty Open Shelf Console
Doors scare me too, but seeing what a great job you've done encourages me to give it a try. Looks beautiful. I like how the hardware ties in with your choice of stain. Nice work!
Val @ artsybuildinglady.blogspot.ca
Wed, 12/25/2013 - 10:21
Wasn't that bad
The measurements for each door is a bit different because I wasn't careful with the trim. I used shims on all sides of the door to keep it straight and spaced to attach the hinges. Big plus is they open and close :-)
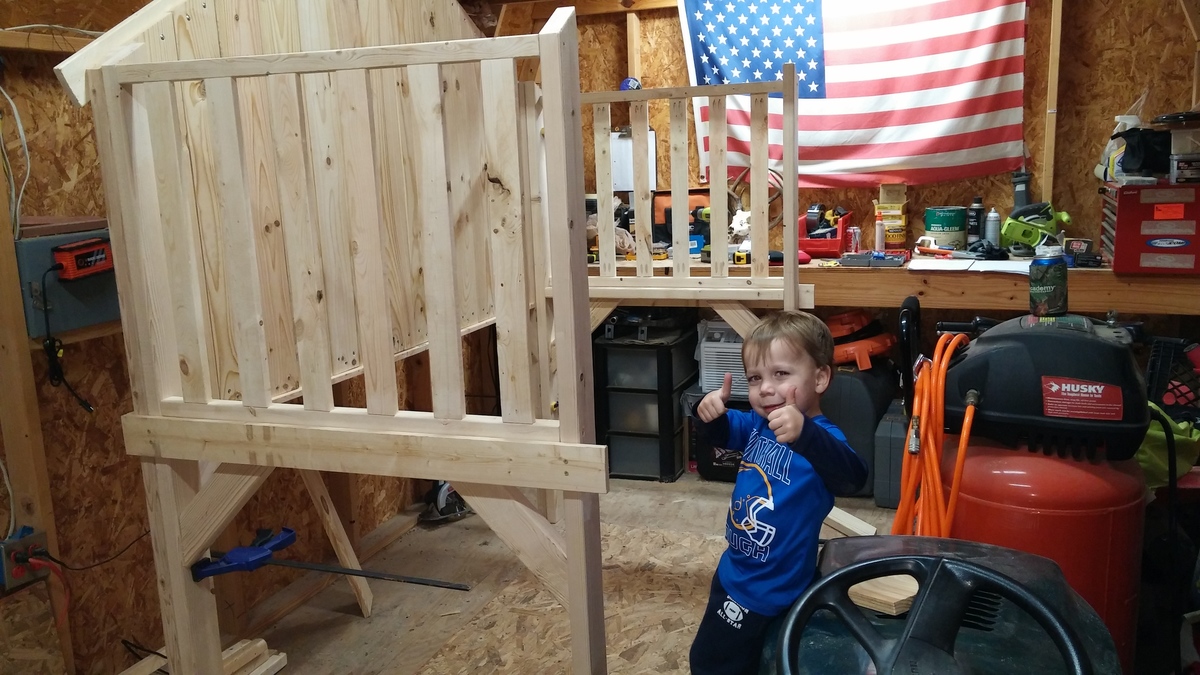
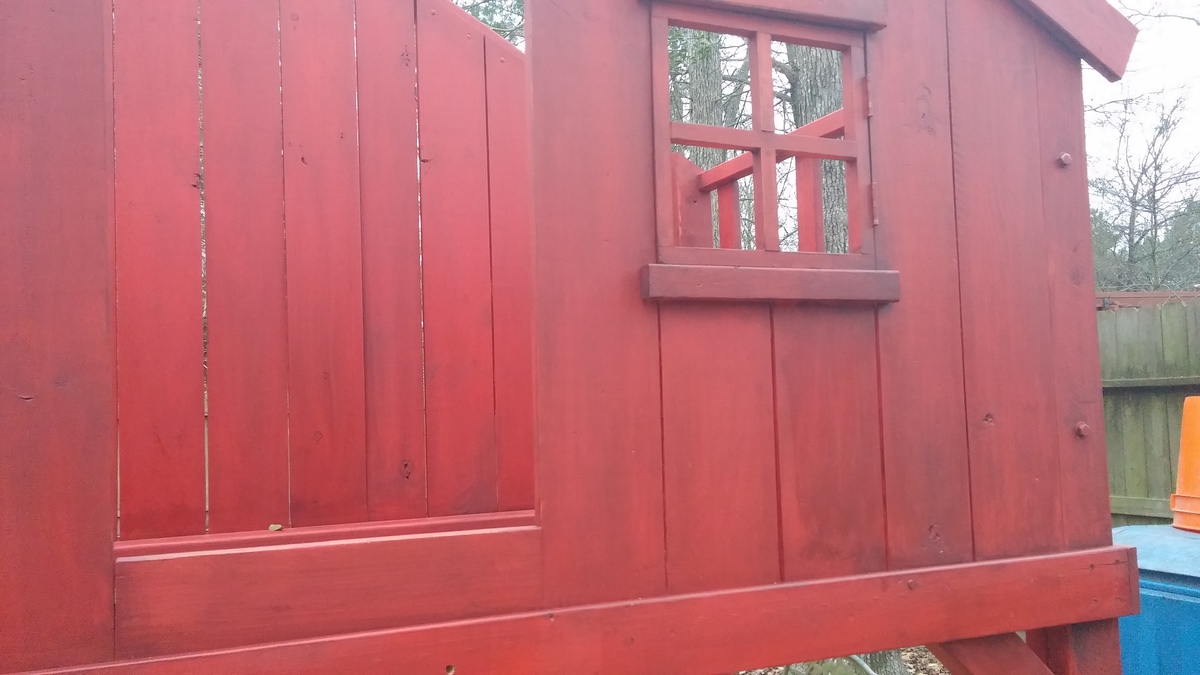
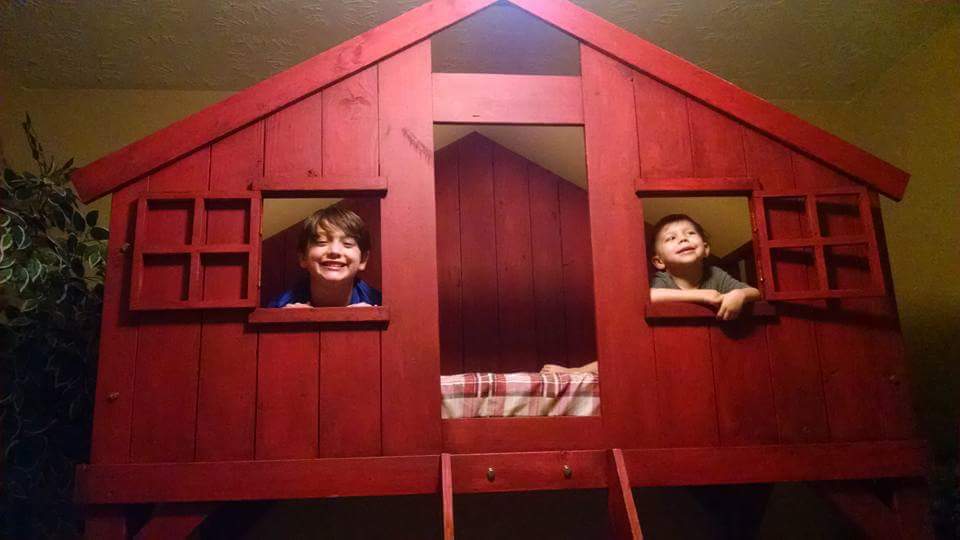
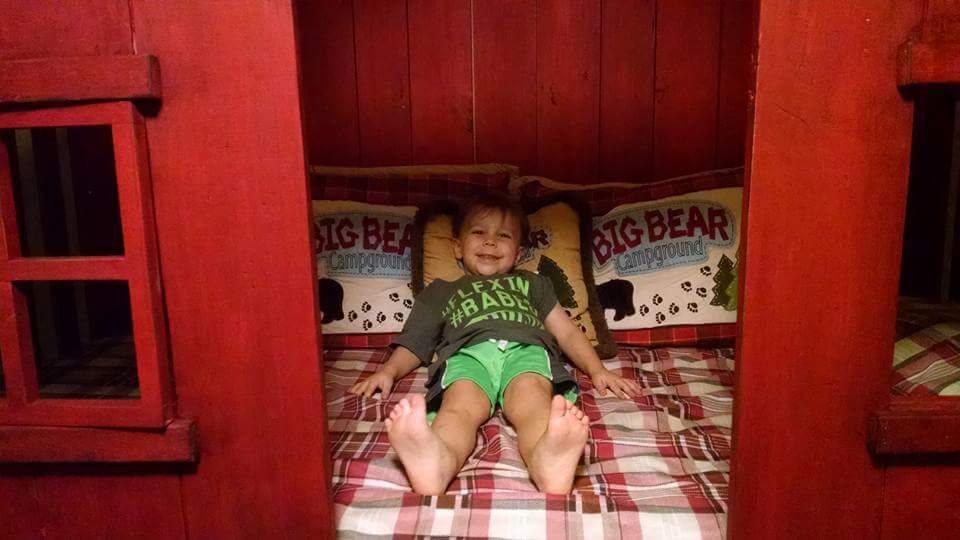
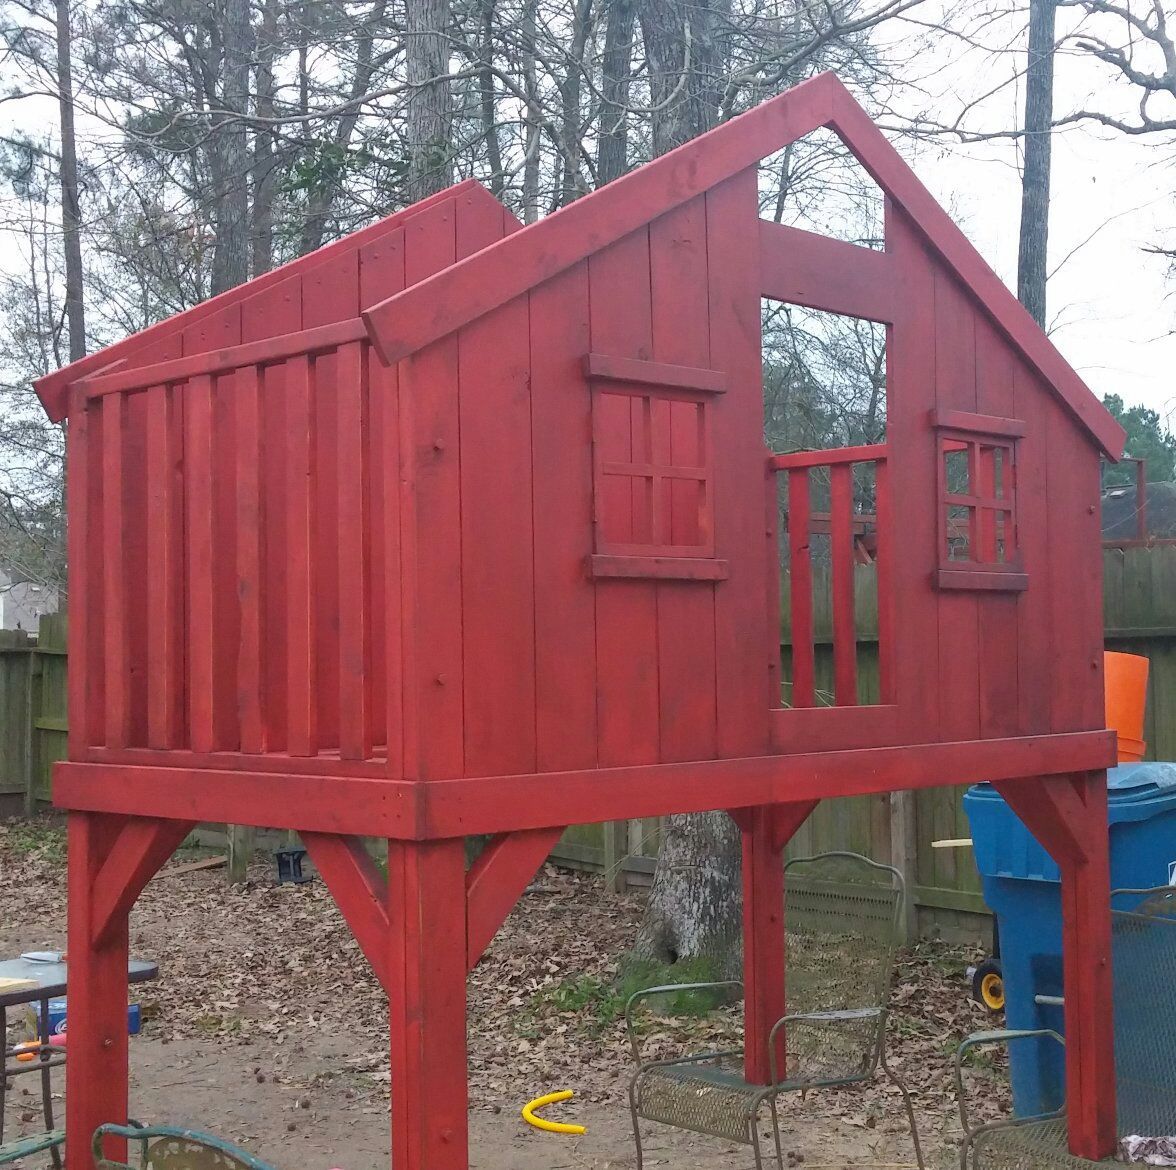
Old Red Clubhouse Bed

My husband and I had a lot of fun building this bed for our 3 yr. Old son. We are very proud of how it turned out. There were a few changes we made on our own as far as bracing was concerned, so our measurements changes just a little. The plans were easy to follow. I'm already searching Ana's site for our next project.
Built from Plan(s)
Estimated Cost
$300
Estimated Time Investment
Weekend Project (10-20 Hours)
Finish Used
Valspar Chalky Finish paint in Ruby Earbobs with Valspar Antiquing Wax
Recommended Skill Level
Intermediate
Wood Closet Shelving
This was a great build and easy to do.
Built from Plan(s)
Estimated Time Investment
Day Project (6-9 Hours)
Recommended Skill Level
Beginner
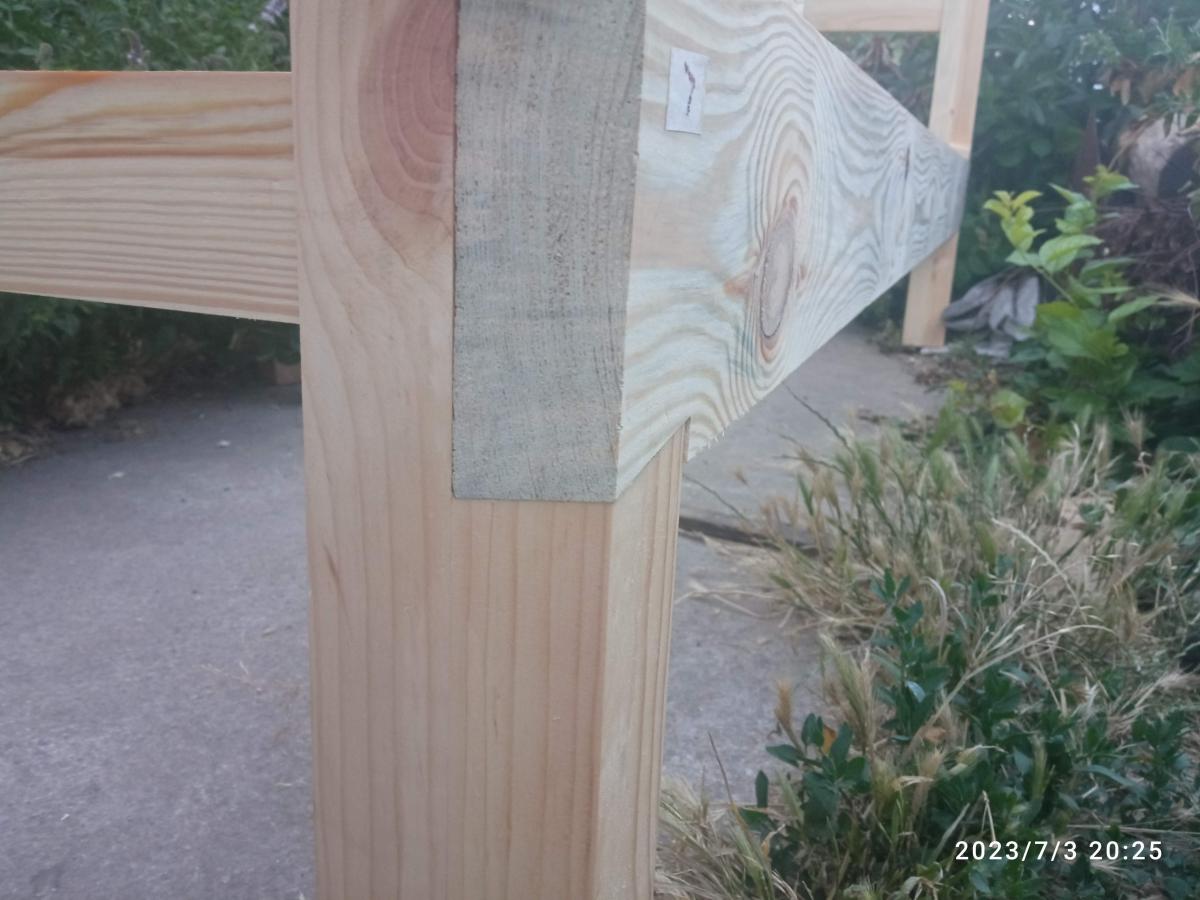
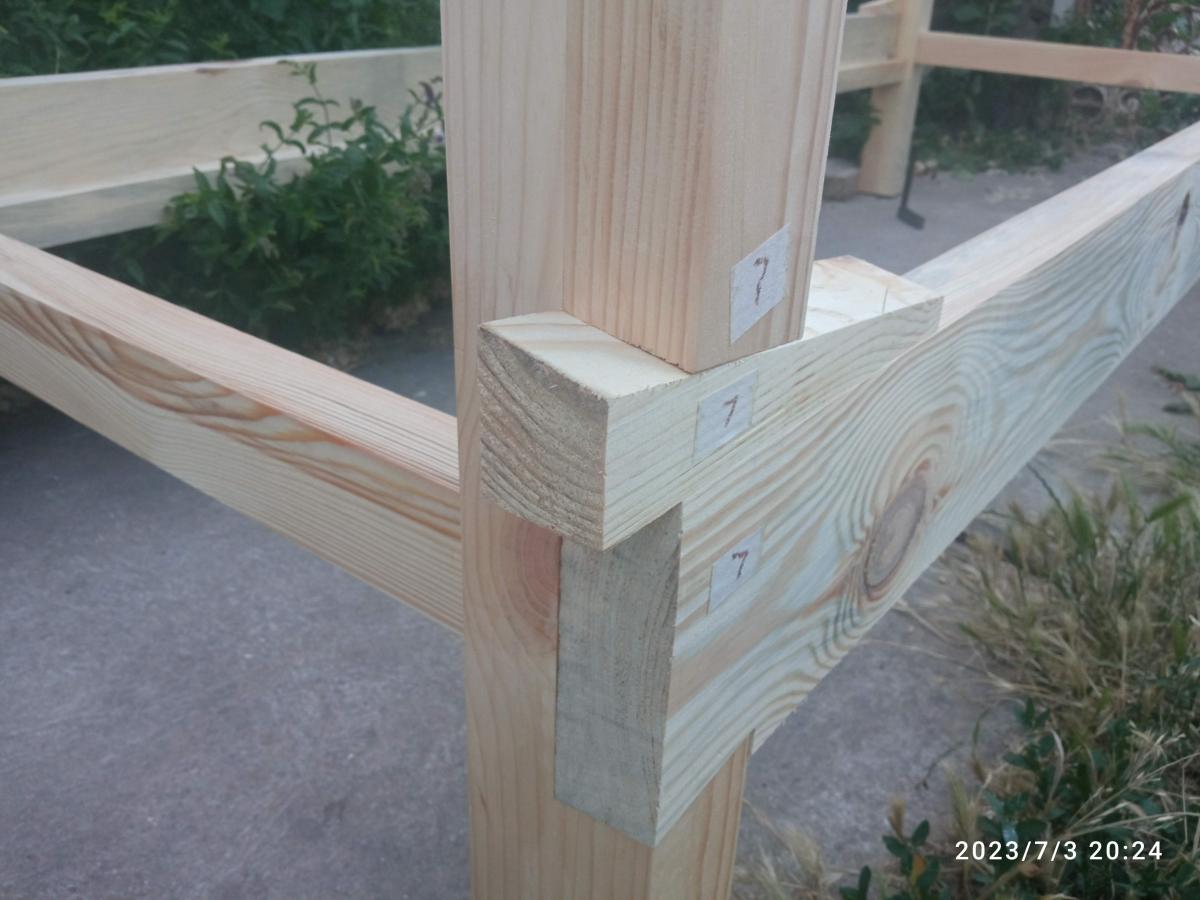
Double Bunk with Dovetail Joinery
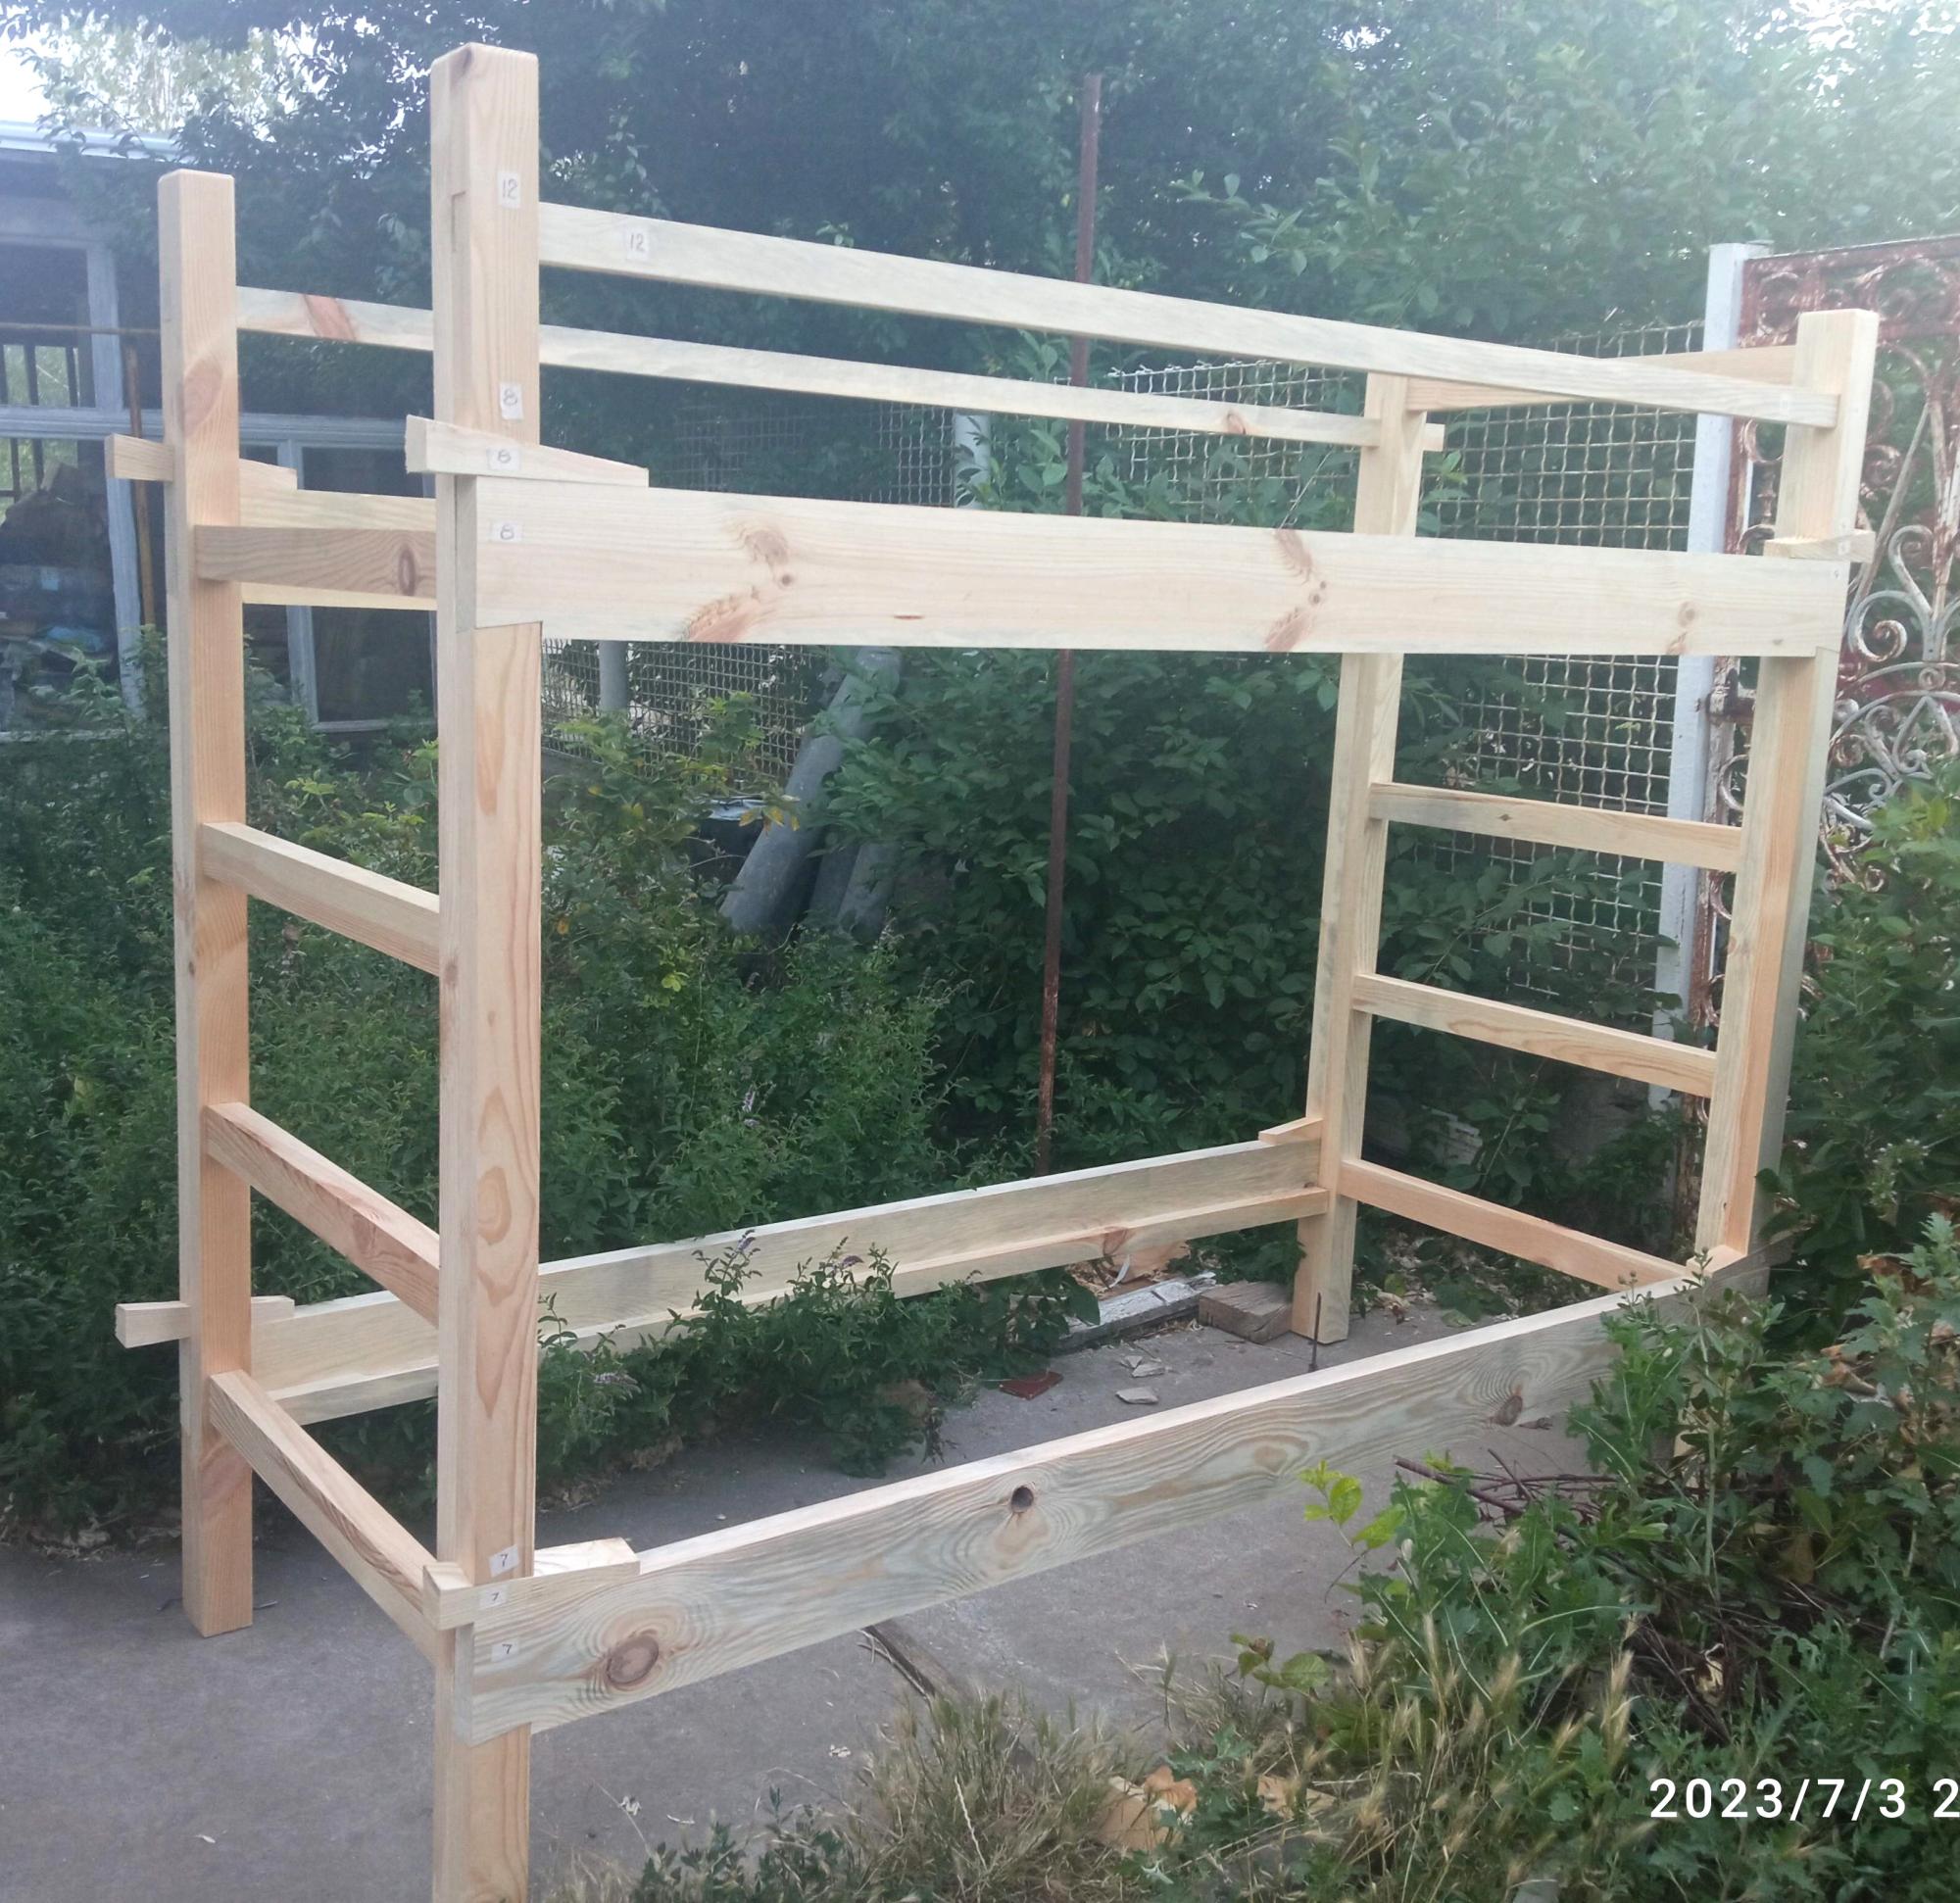
This double bunk bed has been inspired by Your plans for modern bunk bed - Side Street. To facilitate quick assembling - disassembling of beds for relocation dovetails joints with double inclined tails and wedges have been made. Because the beds has been made for orphanage/"kids in difficult life situations" I changed spacing between headboard and footboard rails to let footboard serve as ladder and in this manner reduce costs and time of construction, save place for installation, avoid tripping hasard. Thank You very much for detailed and simple plans.
Andriy Pronin, Ukraine

Built from Plan(s)
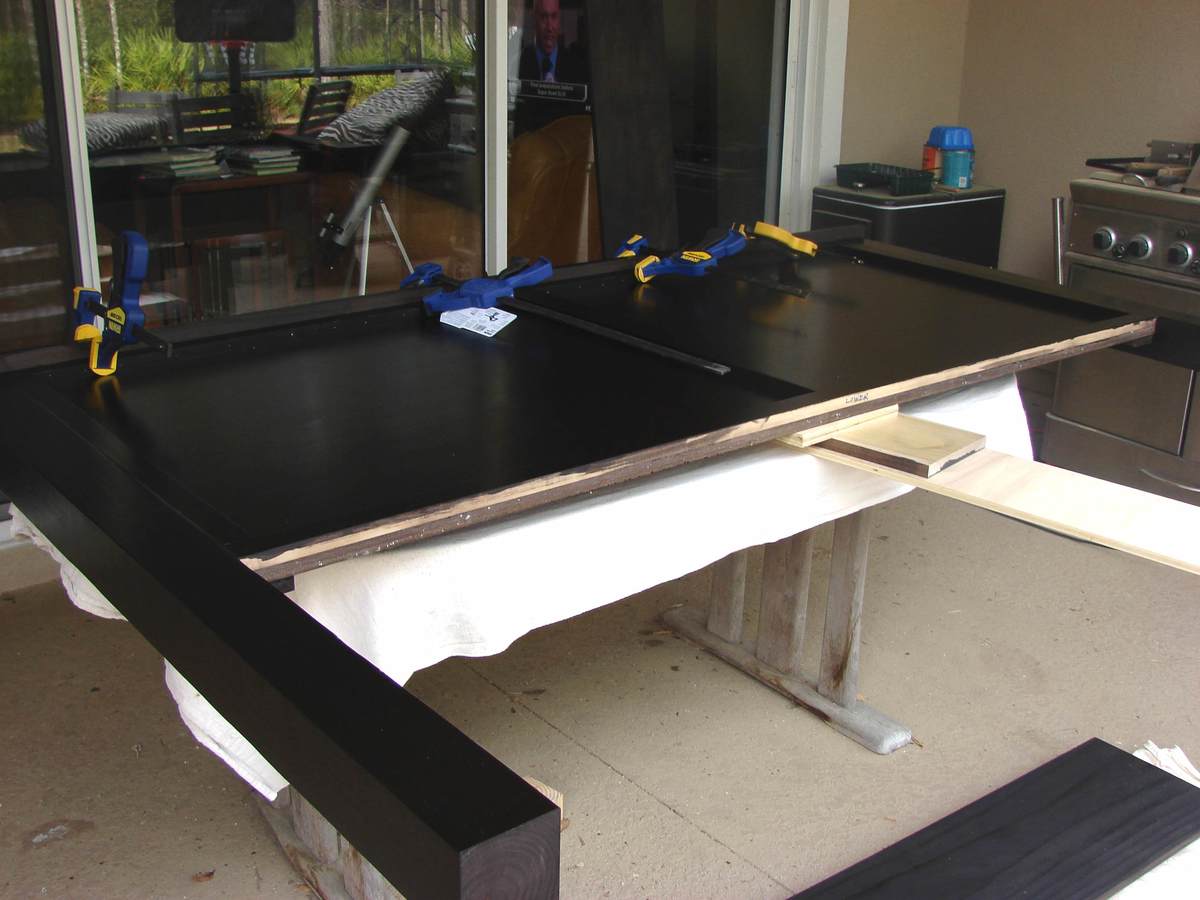
Farmhouse bed king modified
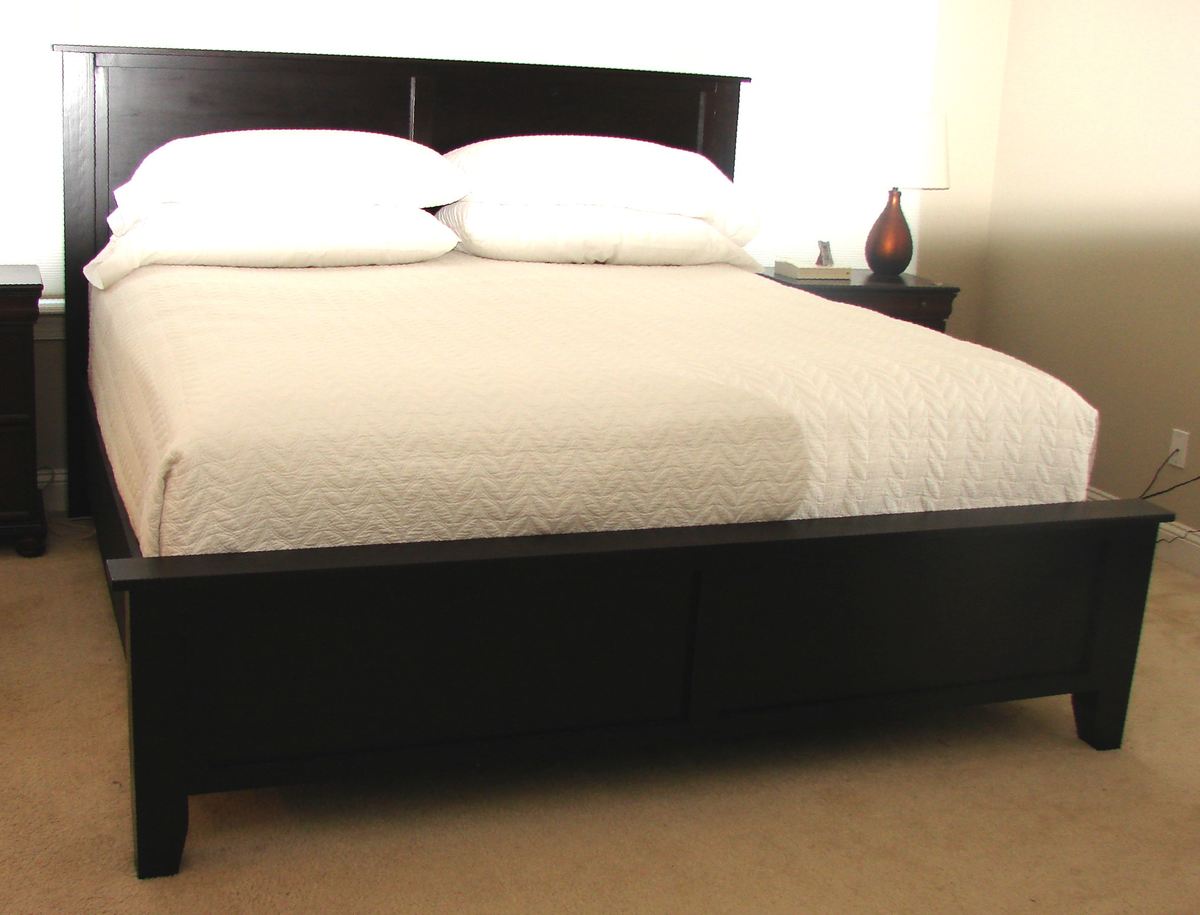
This is a modification of the Farmhouse bed with a panel headboard and footboard rather than individual boards. It currently fits around the mattress/boxspring/metal frame. When we buy a new mattress, we will then add the joists, etc.
The headboard and footboard are both 72" wide. We had the guys at blue do a rip cut at 72" which ensures that both pieces are exactly the same measurement (for square.) Then, they turned the plywood a quarter turn and cut at 15" for the footboard. This left a 33" high headboard. It is 3 inches larger than the original plan, but it doesn't require a second cut and you don't see it anyway. The trim is just a 1x3 with a 1" overhang. (I might make it just a 3/4" if doing it again.)
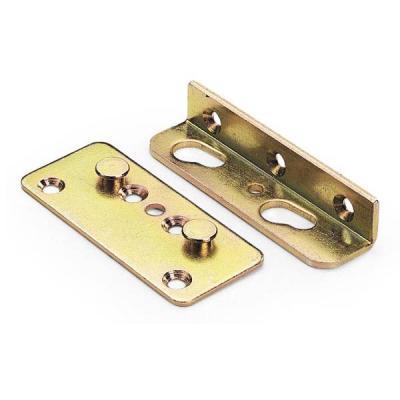
The side boards are 1x12 cut at 80 1/4", but you may want to add a little if your comforter is really thick or if your mattress is much longer than ours at 79 1/2". We used non-mortised (no cutting into the wood) bed rail hardware from Woodcraft, so we could easily take it apart. These were placed 1 1/8" in from the inside edge of the 4x4 post. They were placed on the very edge of the side rail so it would butt up against the post. The 1 1/8" gives us plenty of room to shove the bedding down inside the side rail.
We glued and nailed 1x2s from the back for the trim on each piece.
Built from Plan(s)
Estimated Cost
about $190, but you could save $17 by not spilling an entire can of dye/stain on yourself when you foolishly open your completely full pressurized sprayer
Estimated Time Investment
Weekend Project (10-20 Hours)
Finish Used
General Finishes dye stain in Dark Brown; polycrylic - 3 coats; prefinished all the wood before assembling.
Recommended Skill Level
Beginner
Comments

Wed, 02/22/2012 - 05:18
Looks beautiful! We are
Looks beautiful! We are currently making this bed with the exact samce change to use panels instead of boards and then one board down the middle, except we made our footboard and headboard higher.
Wed, 02/22/2012 - 07:32
Thank, Kate!
I would love to have the footboard higher, but my husband is 6'4" with large feet, and he asked that I make sure that he could sleep on his stomach with his feet dangling down without touching the footboard! We actually measured it. Make sure you post yours when it is done.
Storage daybed with trundle drawers
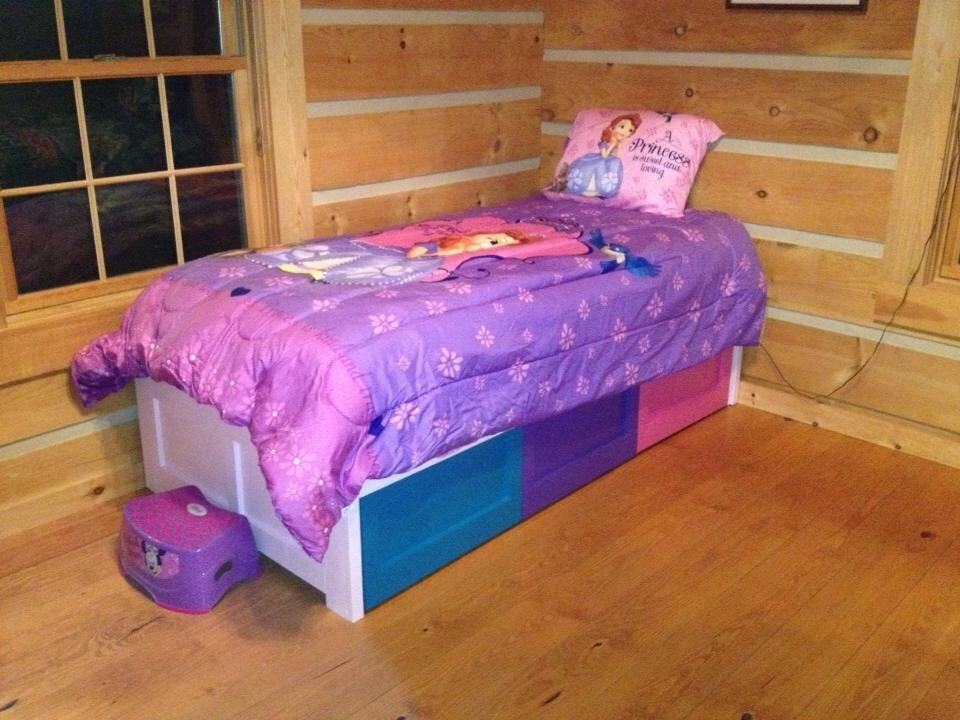
Thanks for the free plans! Our children loved their new beds for Christmas! The beds were pretty easy to make and we decided to paint the beds fun colors for the kids.
Built from Plan(s)
Estimated Time Investment
Week Long Project (20 Hours or More)
Finish Used
Satin paint
Recommended Skill Level
Intermediate
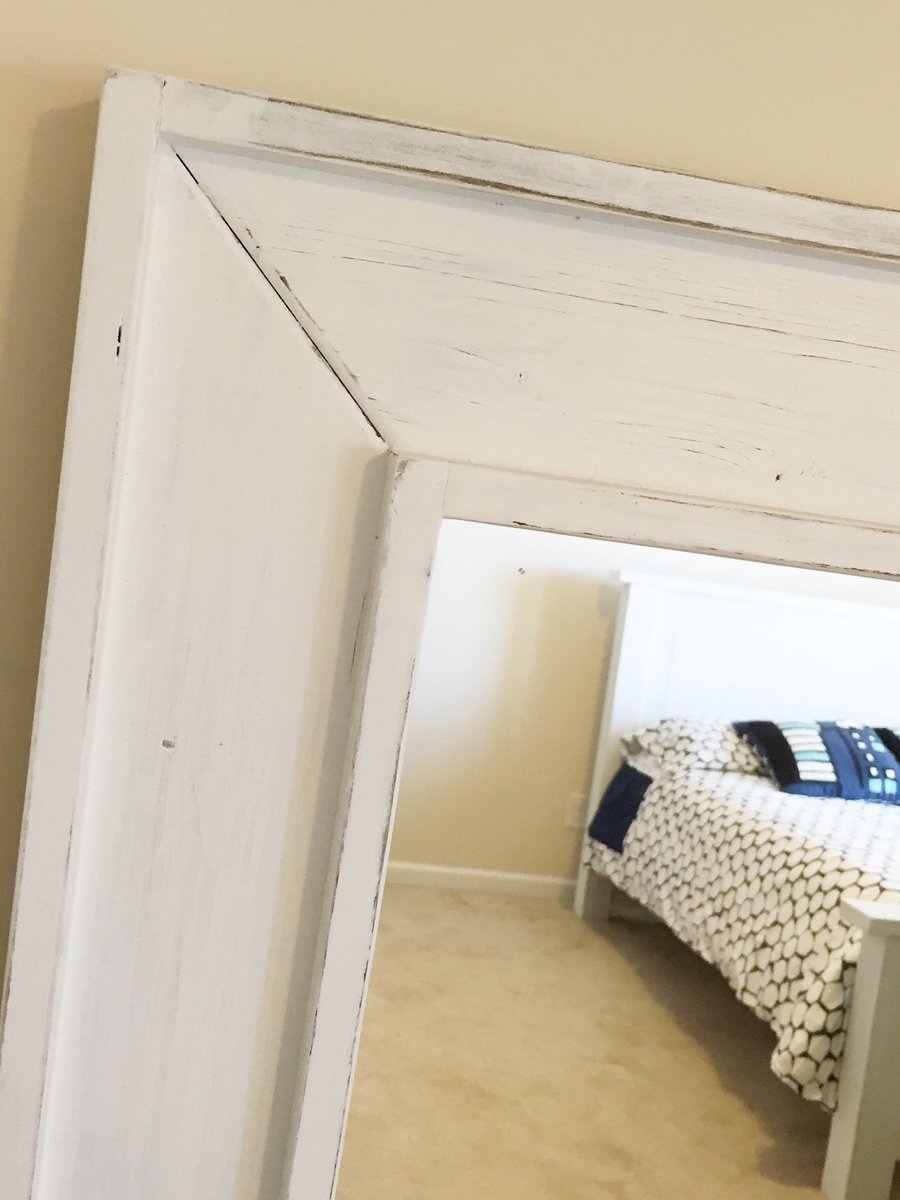
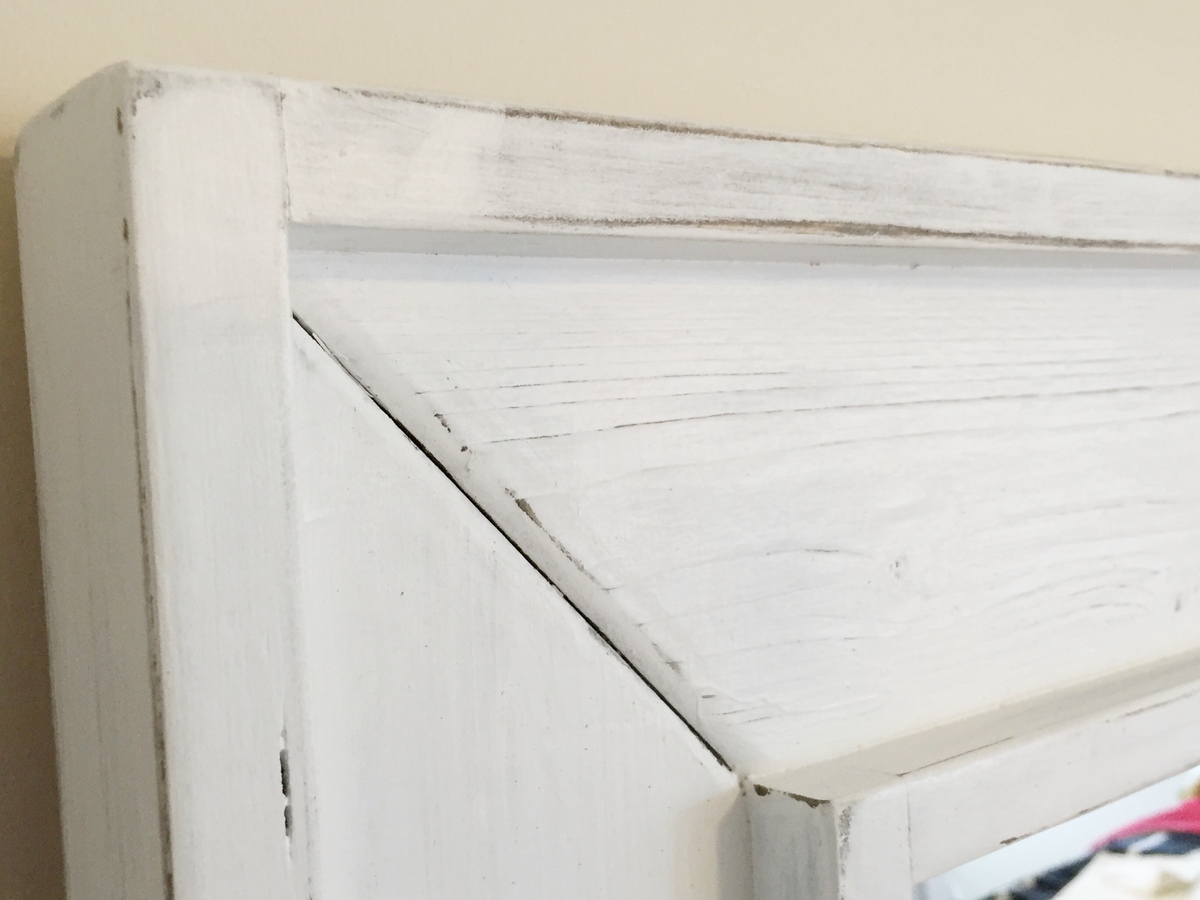
Full Length Mirror
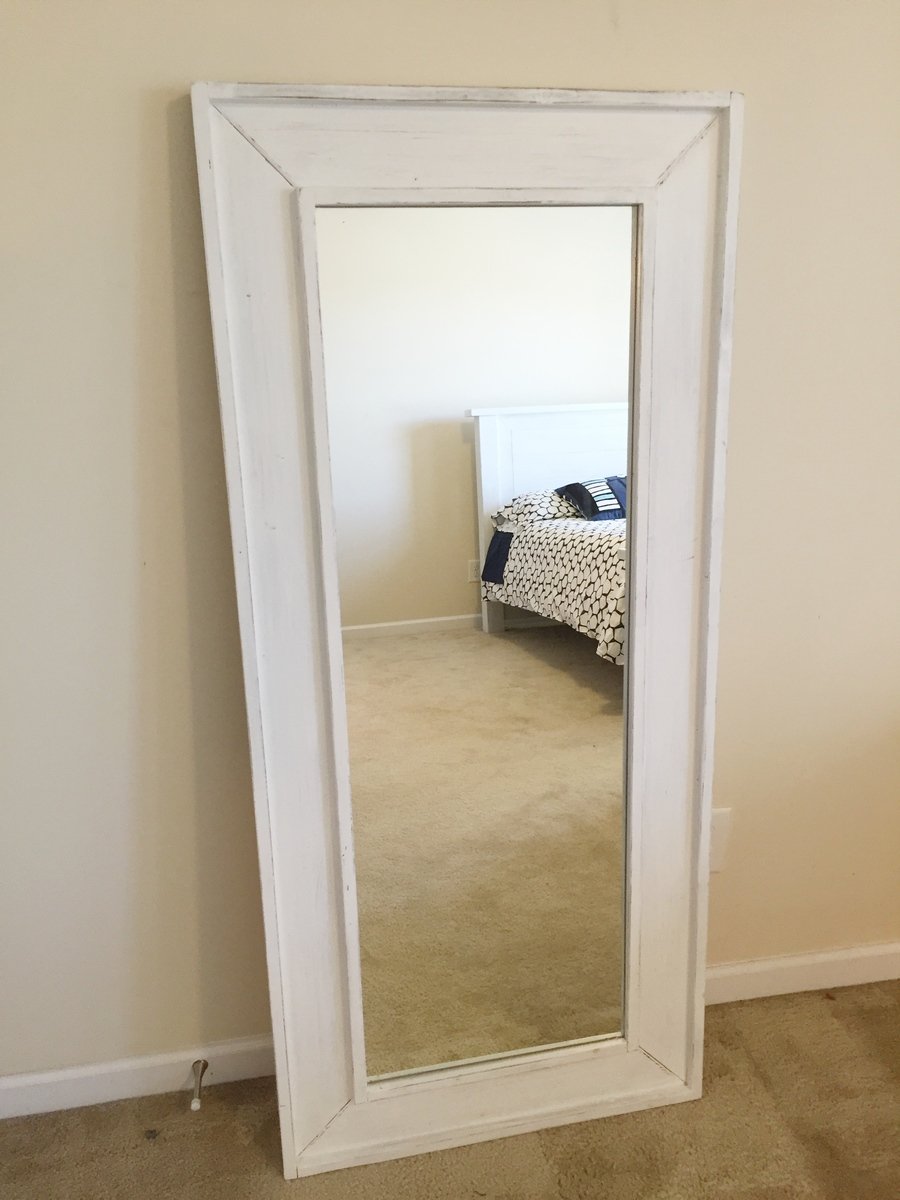
Full length mirror made from a cheap $10 unframed mirror from IKEA. Trimmed out with some 1 by 3, 1 by 4 and 1 by 2. Stained black and then painted white. sanded between coats of white to show some of black through and give antique worn look.
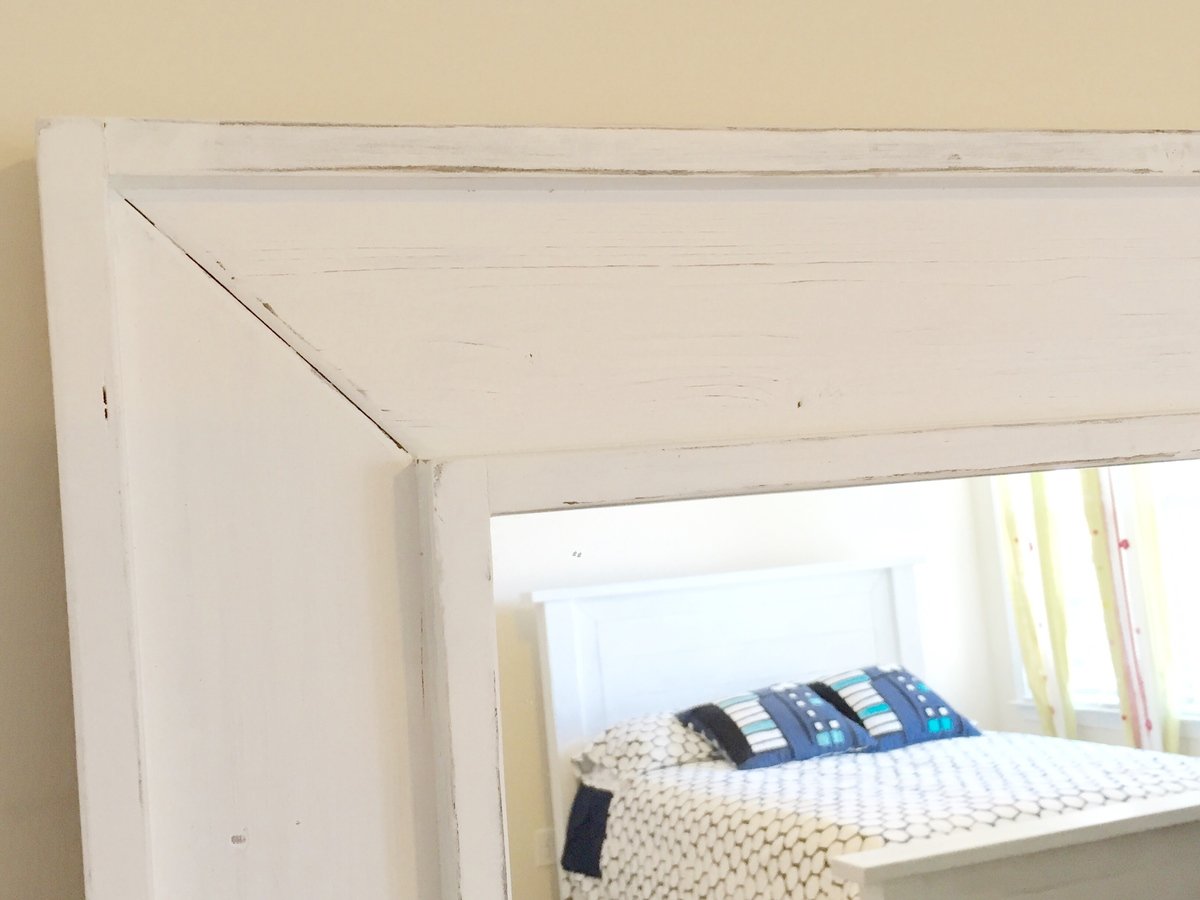
Estimated Cost
$35
Estimated Time Investment
Day Project (6-9 Hours)
Finish Used
Stained black and then painted white. sanded between coats of white to show some of black through and give antique worn look.
Recommended Skill Level
Beginner