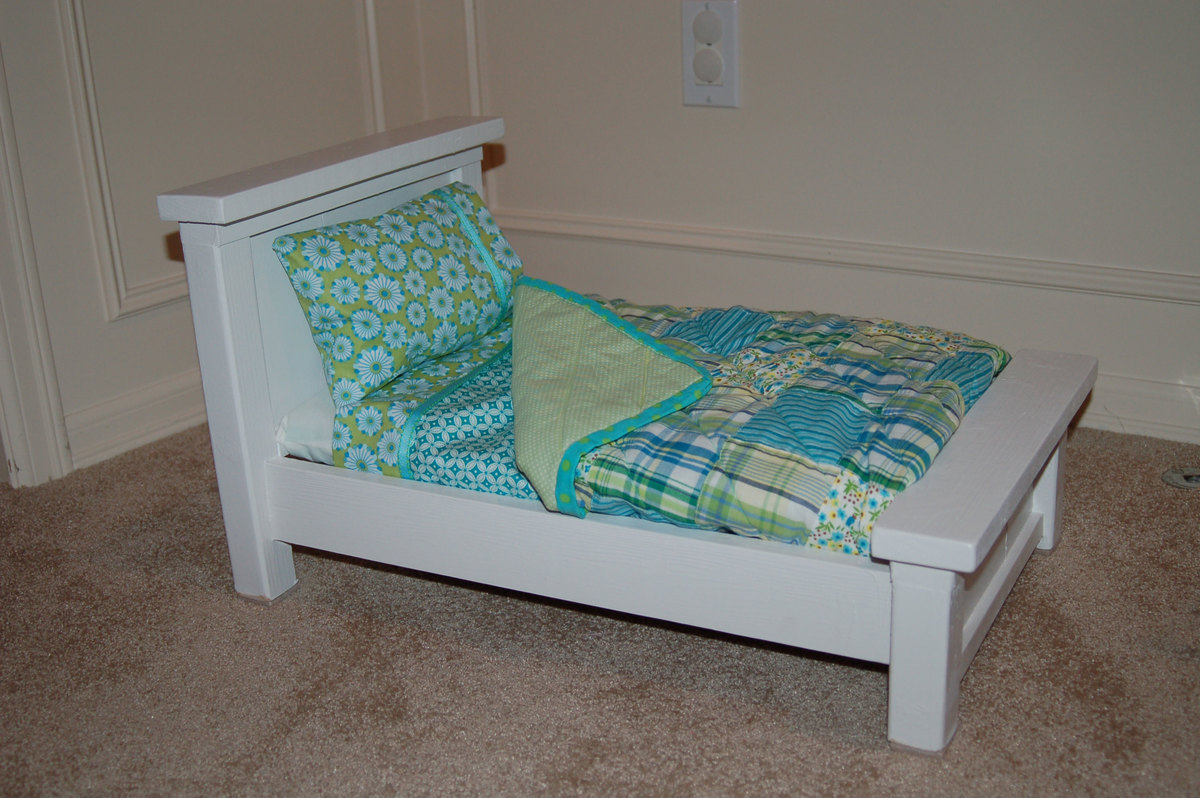
Farmhouse bed king modified
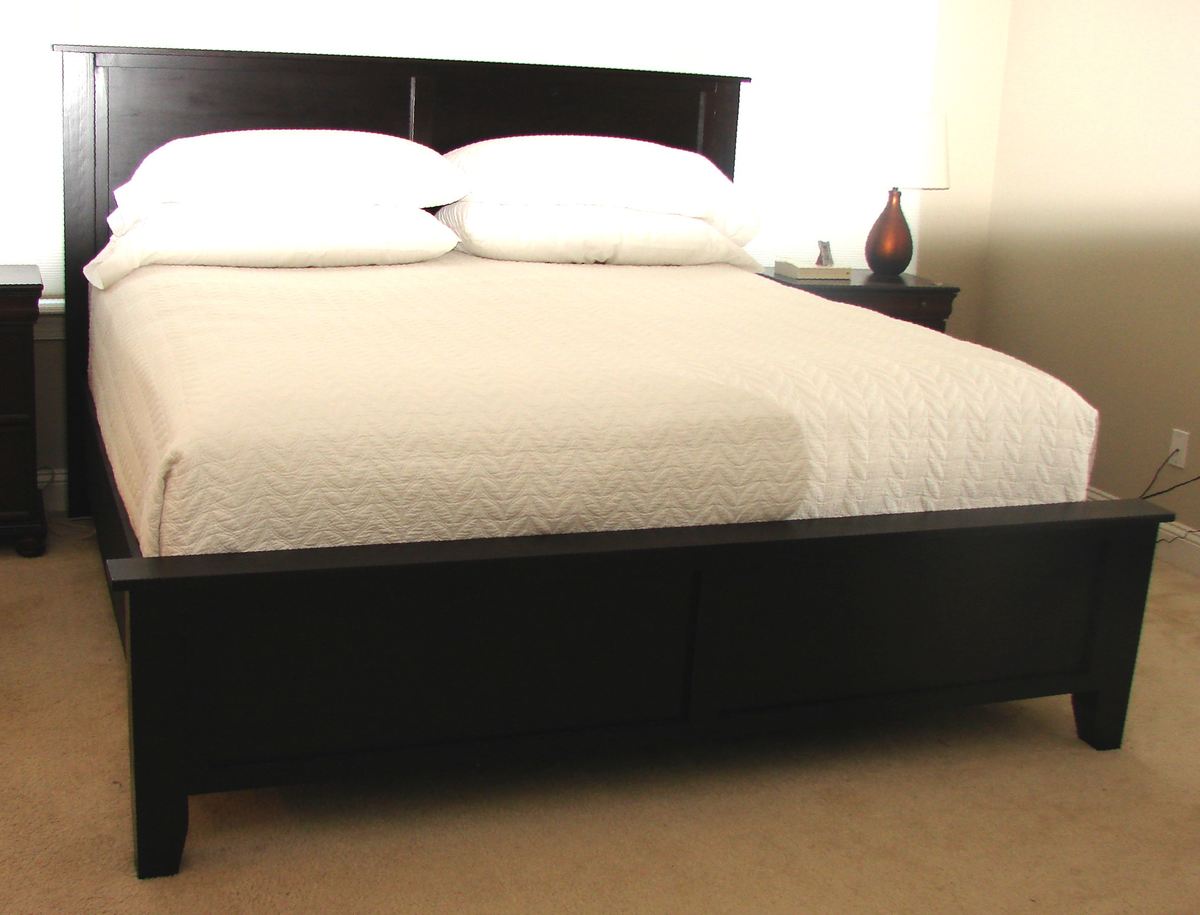
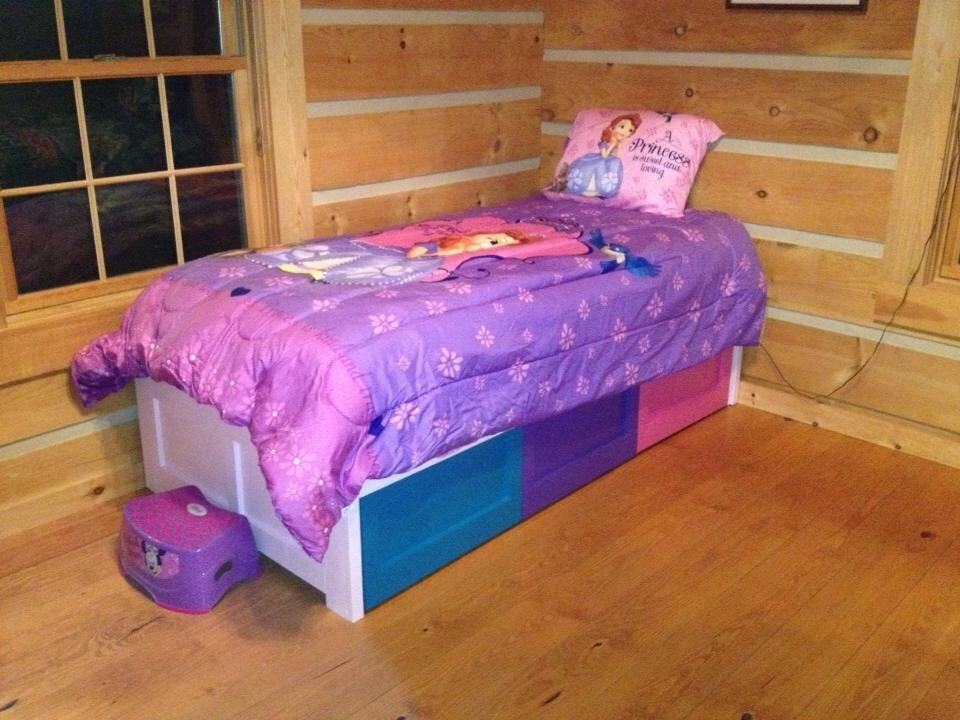
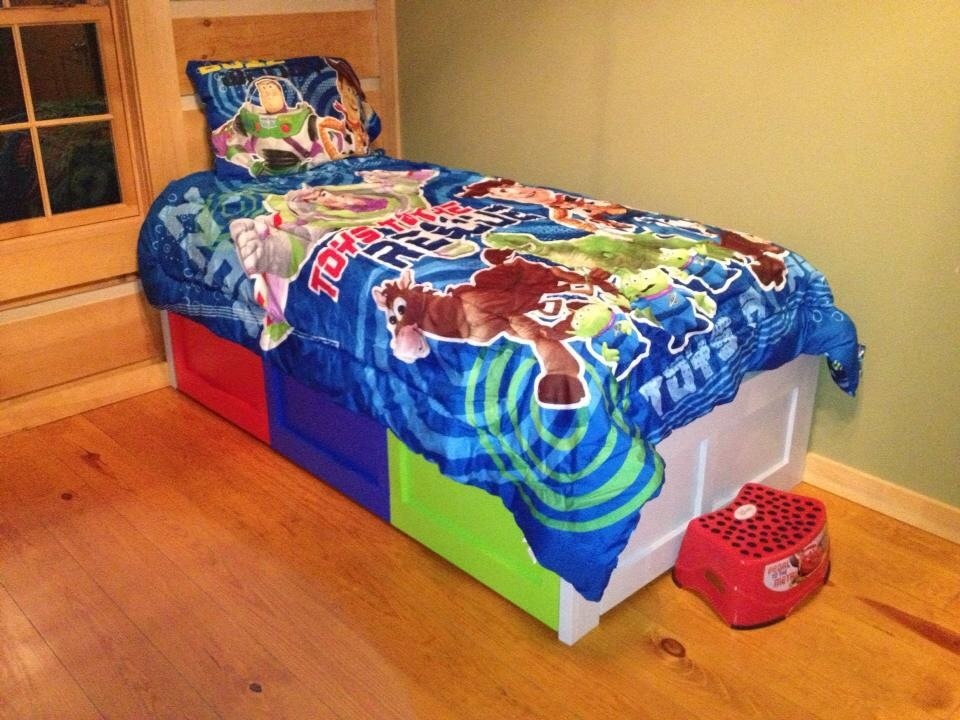
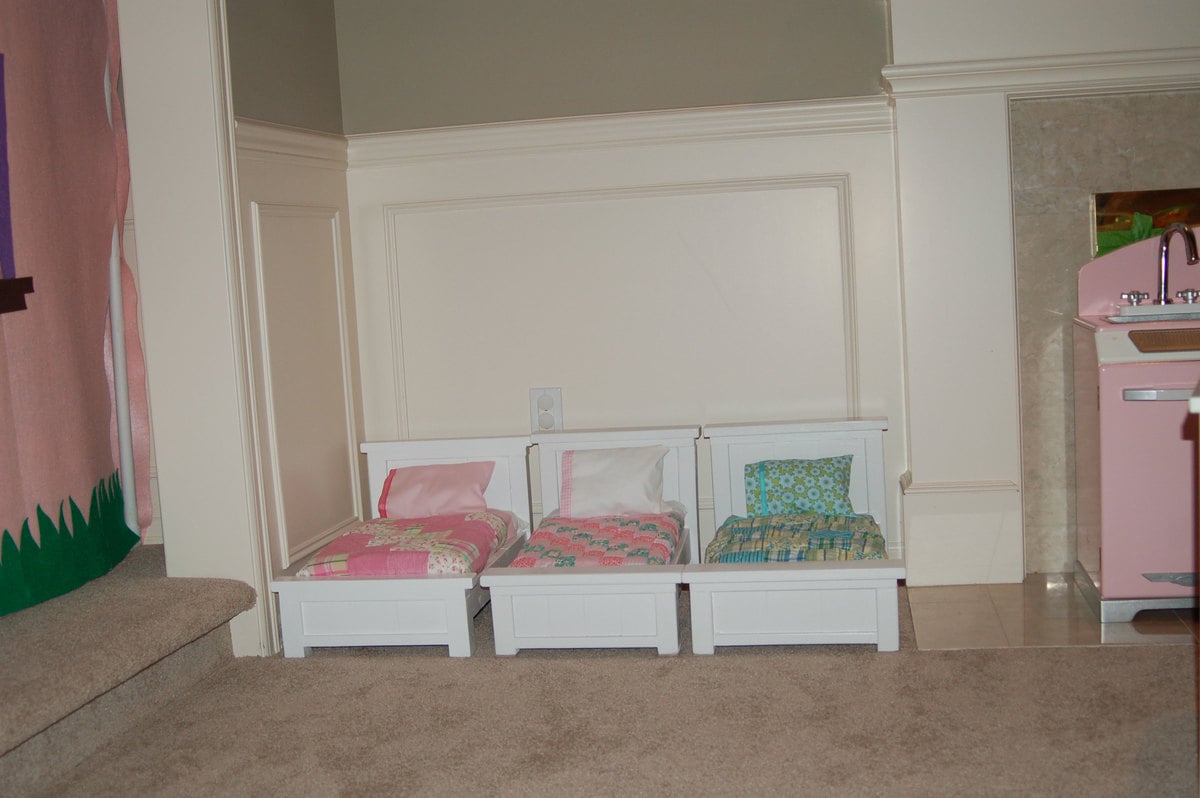
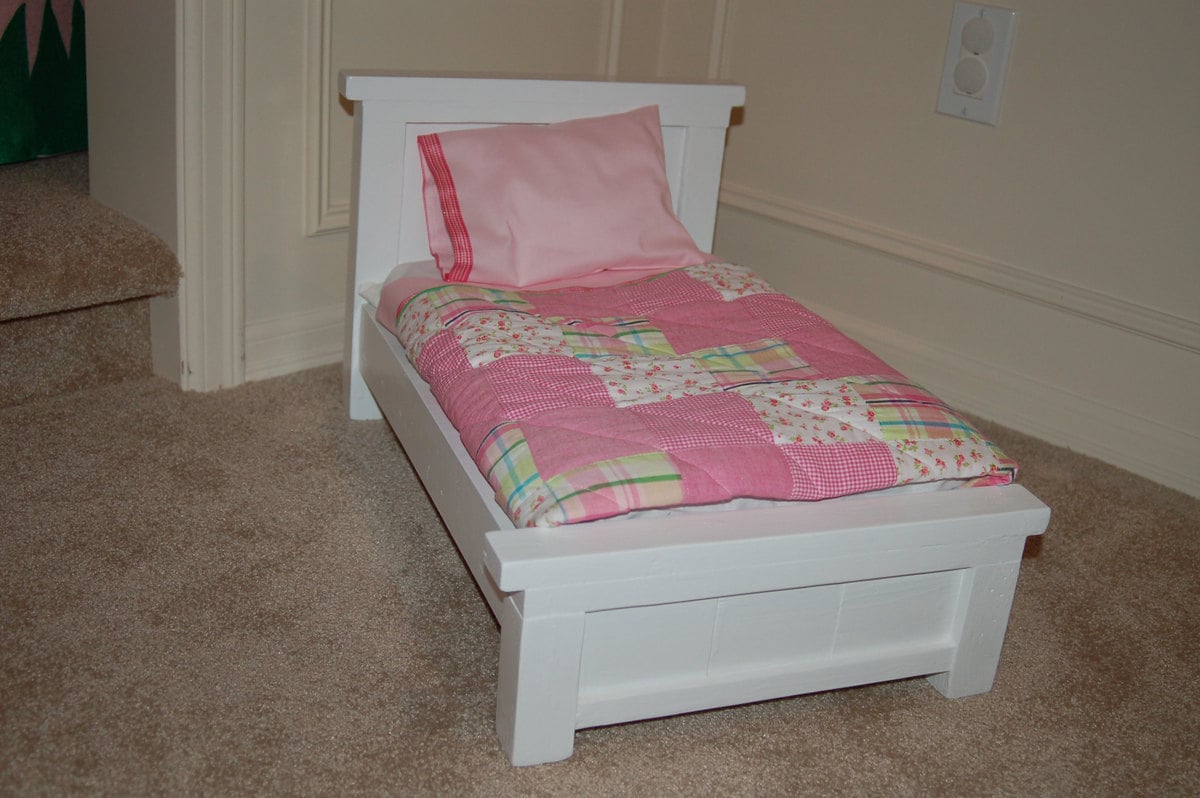
This is a modification of the Farmhouse bed with a panel headboard and footboard rather than individual boards. It currently fits around the mattress/boxspring/metal frame. When we buy a new mattress, we will then add the joists, etc.
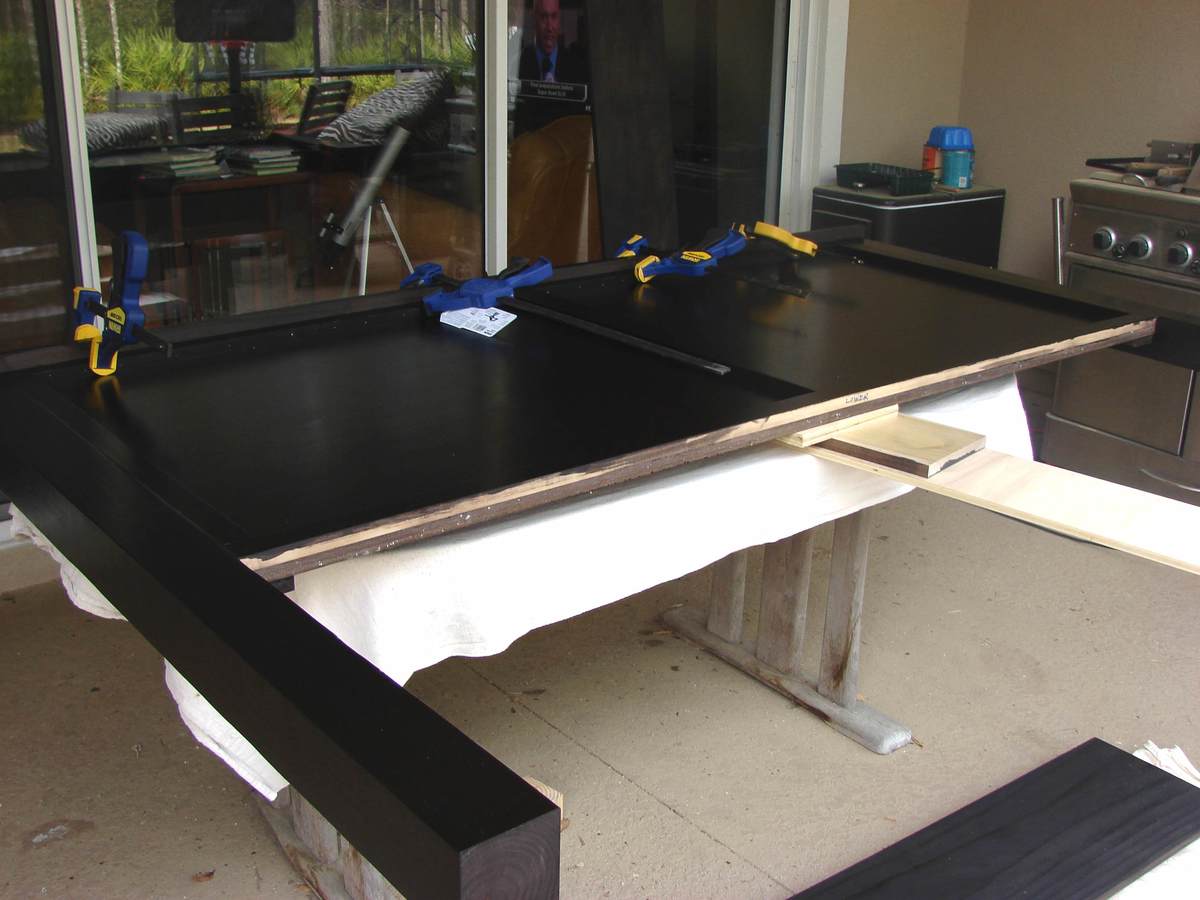
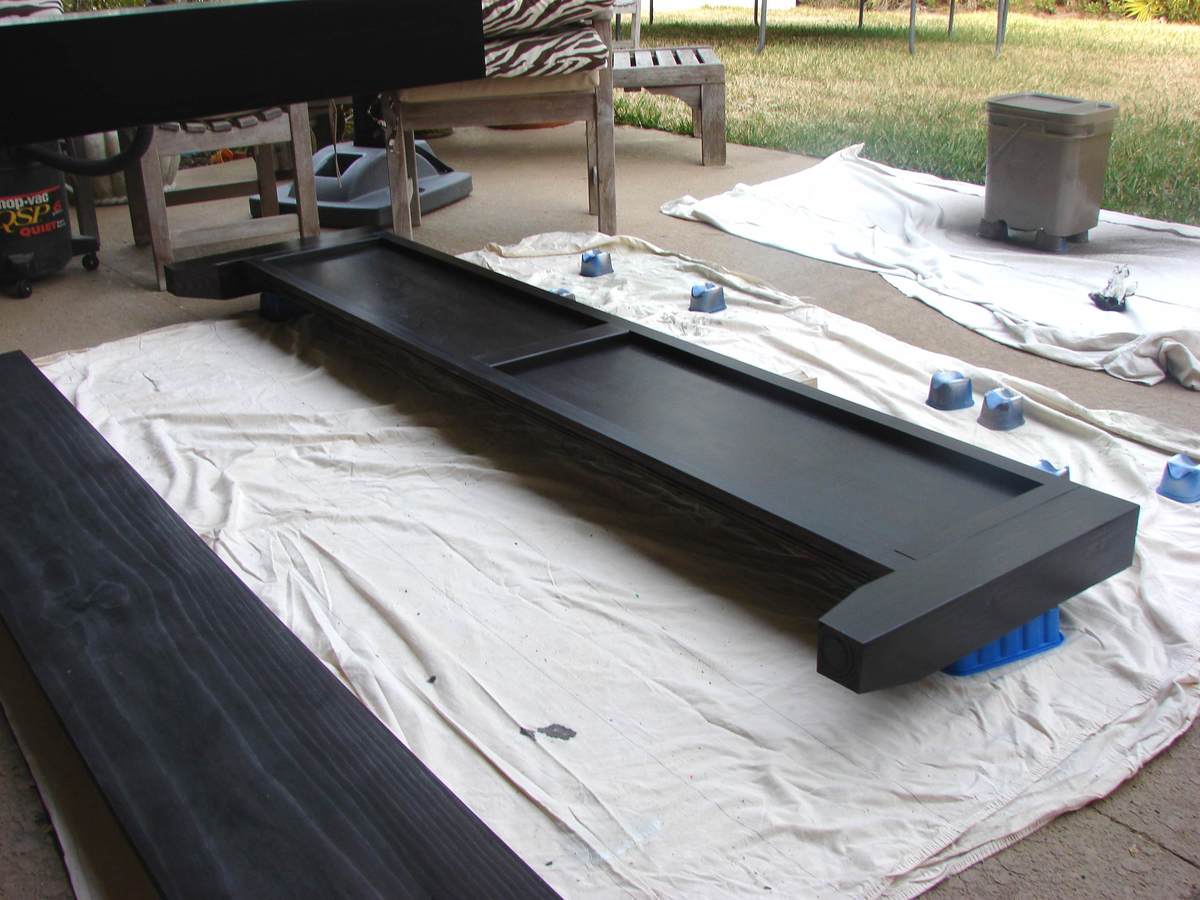
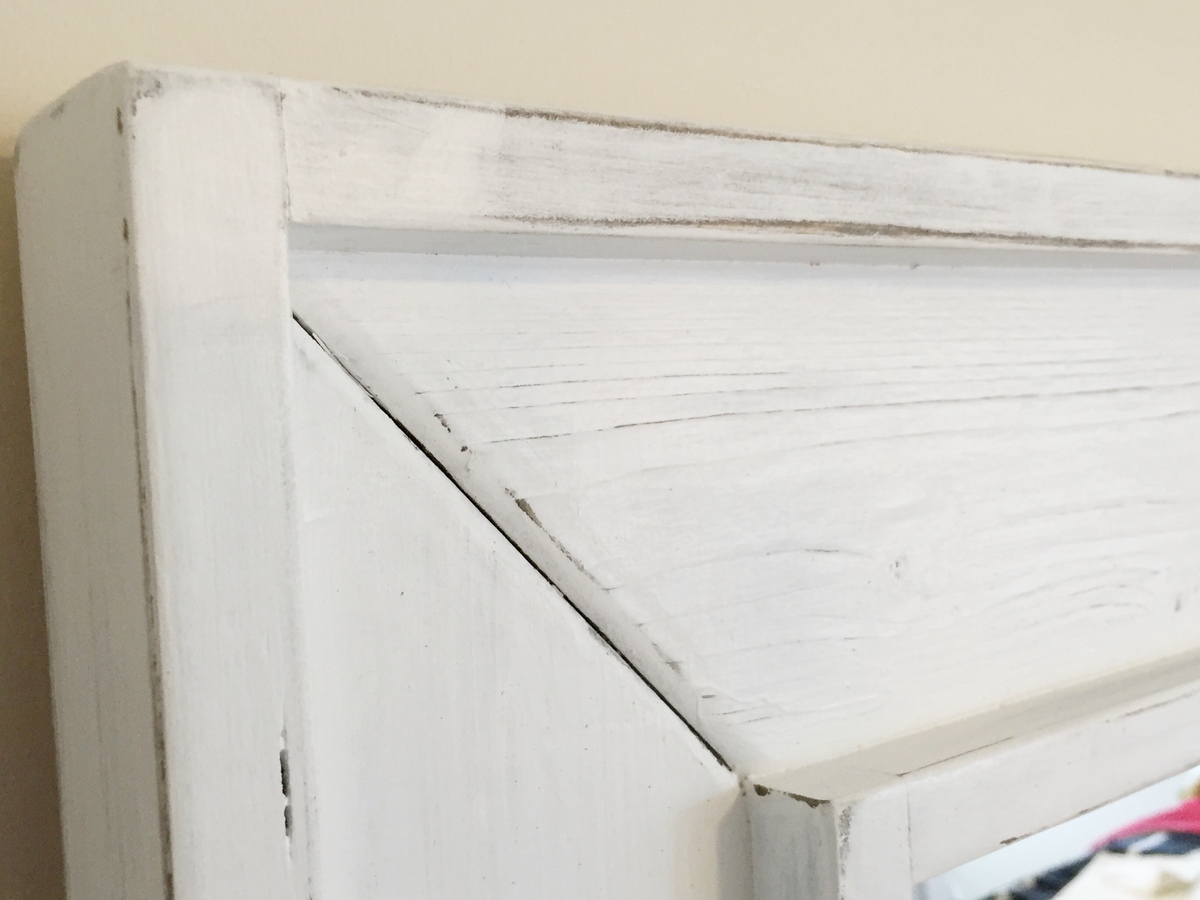
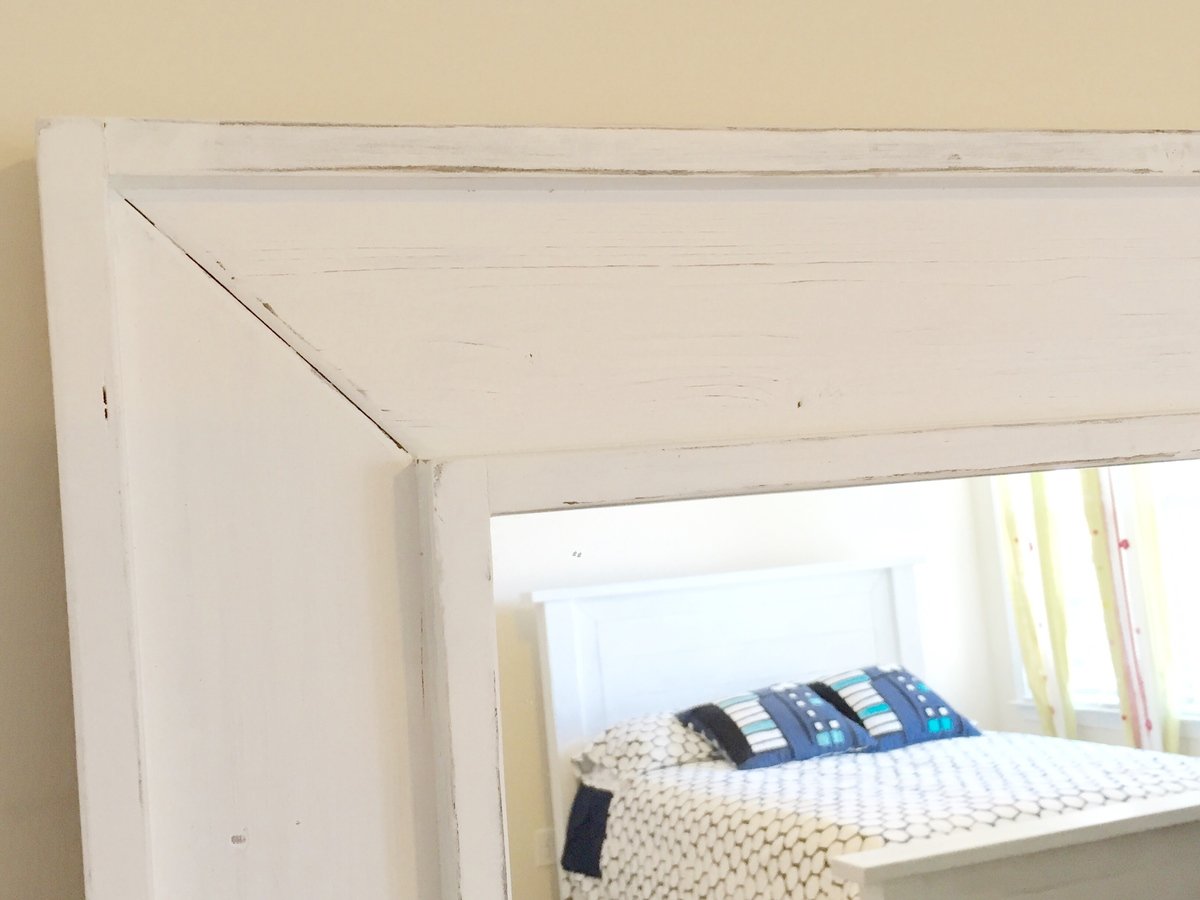
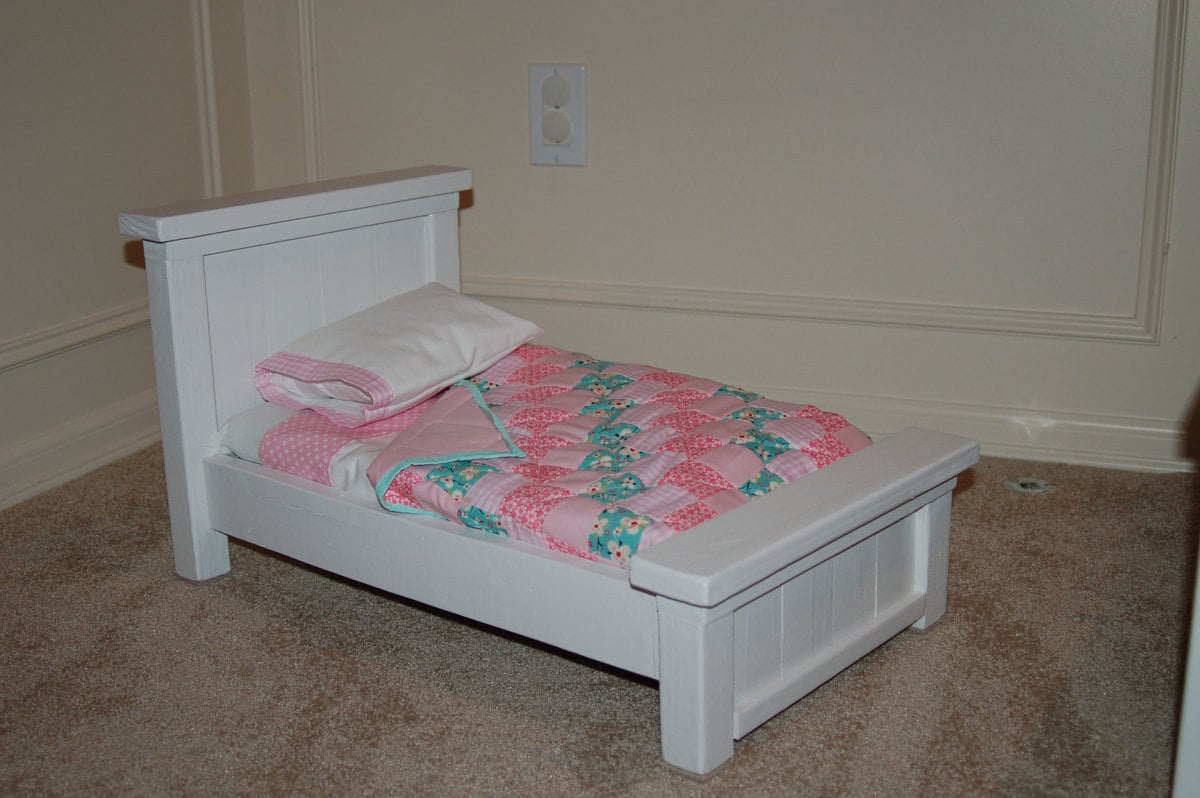
The headboard and footboard are both 72" wide. We had the guys at blue do a rip cut at 72" which ensures that both pieces are exactly the same measurement (for square.) Then, they turned the plywood a quarter turn and cut at 15" for the footboard. This left a 33" high headboard. It is 3 inches larger than the original plan, but it doesn't require a second cut and you don't see it anyway. The trim is just a 1x3 with a 1" overhang. (I might make it just a 3/4" if doing it again.)
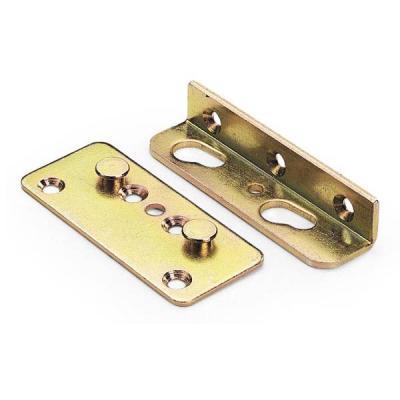
The side boards are 1x12 cut at 80 1/4", but you may want to add a little if your comforter is really thick or if your mattress is much longer than ours at 79 1/2". We used non-mortised (no cutting into the wood) bed rail hardware from Woodcraft, so we could easily take it apart. These were placed 1 1/8" in from the inside edge of the 4x4 post. They were placed on the very edge of the side rail so it would butt up against the post. The 1 1/8" gives us plenty of room to shove the bedding down inside the side rail.
We glued and nailed 1x2s from the back for the trim on each piece.


Comments
Pam the Goatherd
Tue, 02/21/2012 - 15:33
That is beautiful!
That is beautiful!
susanr
Wed, 02/22/2012 - 03:15
Thanks!
Thanks, Pam! We are so happy with it!
Kate (not verified)
Wed, 02/22/2012 - 05:18
Looks beautiful! We are
Looks beautiful! We are currently making this bed with the exact samce change to use panels instead of boards and then one board down the middle, except we made our footboard and headboard higher.
susanr
Wed, 02/22/2012 - 07:32
Thank, Kate!
I would love to have the footboard higher, but my husband is 6'4" with large feet, and he asked that I make sure that he could sleep on his stomach with his feet dangling down without touching the footboard! We actually measured it. Make sure you post yours when it is done.
C.Lang
Wed, 02/22/2012 - 20:40
WOW
This is a beautiful bed. It is actually pretty much the exact bed i want to build for me and my wife.
sandrabees
Sun, 04/29/2012 - 16:47
love it!
I am wanting a king... love the farmhouse plan and I think that hardware is the way ij want to go. Is that where you can slip the side rails in and out of the headboard and foot board?
bmg148
Wed, 07/16/2014 - 08:36
PLYWOOD
WHAT THICKNESS AND TYPE OF PLYWOOD DID YOU USE?