Community Brag Posts

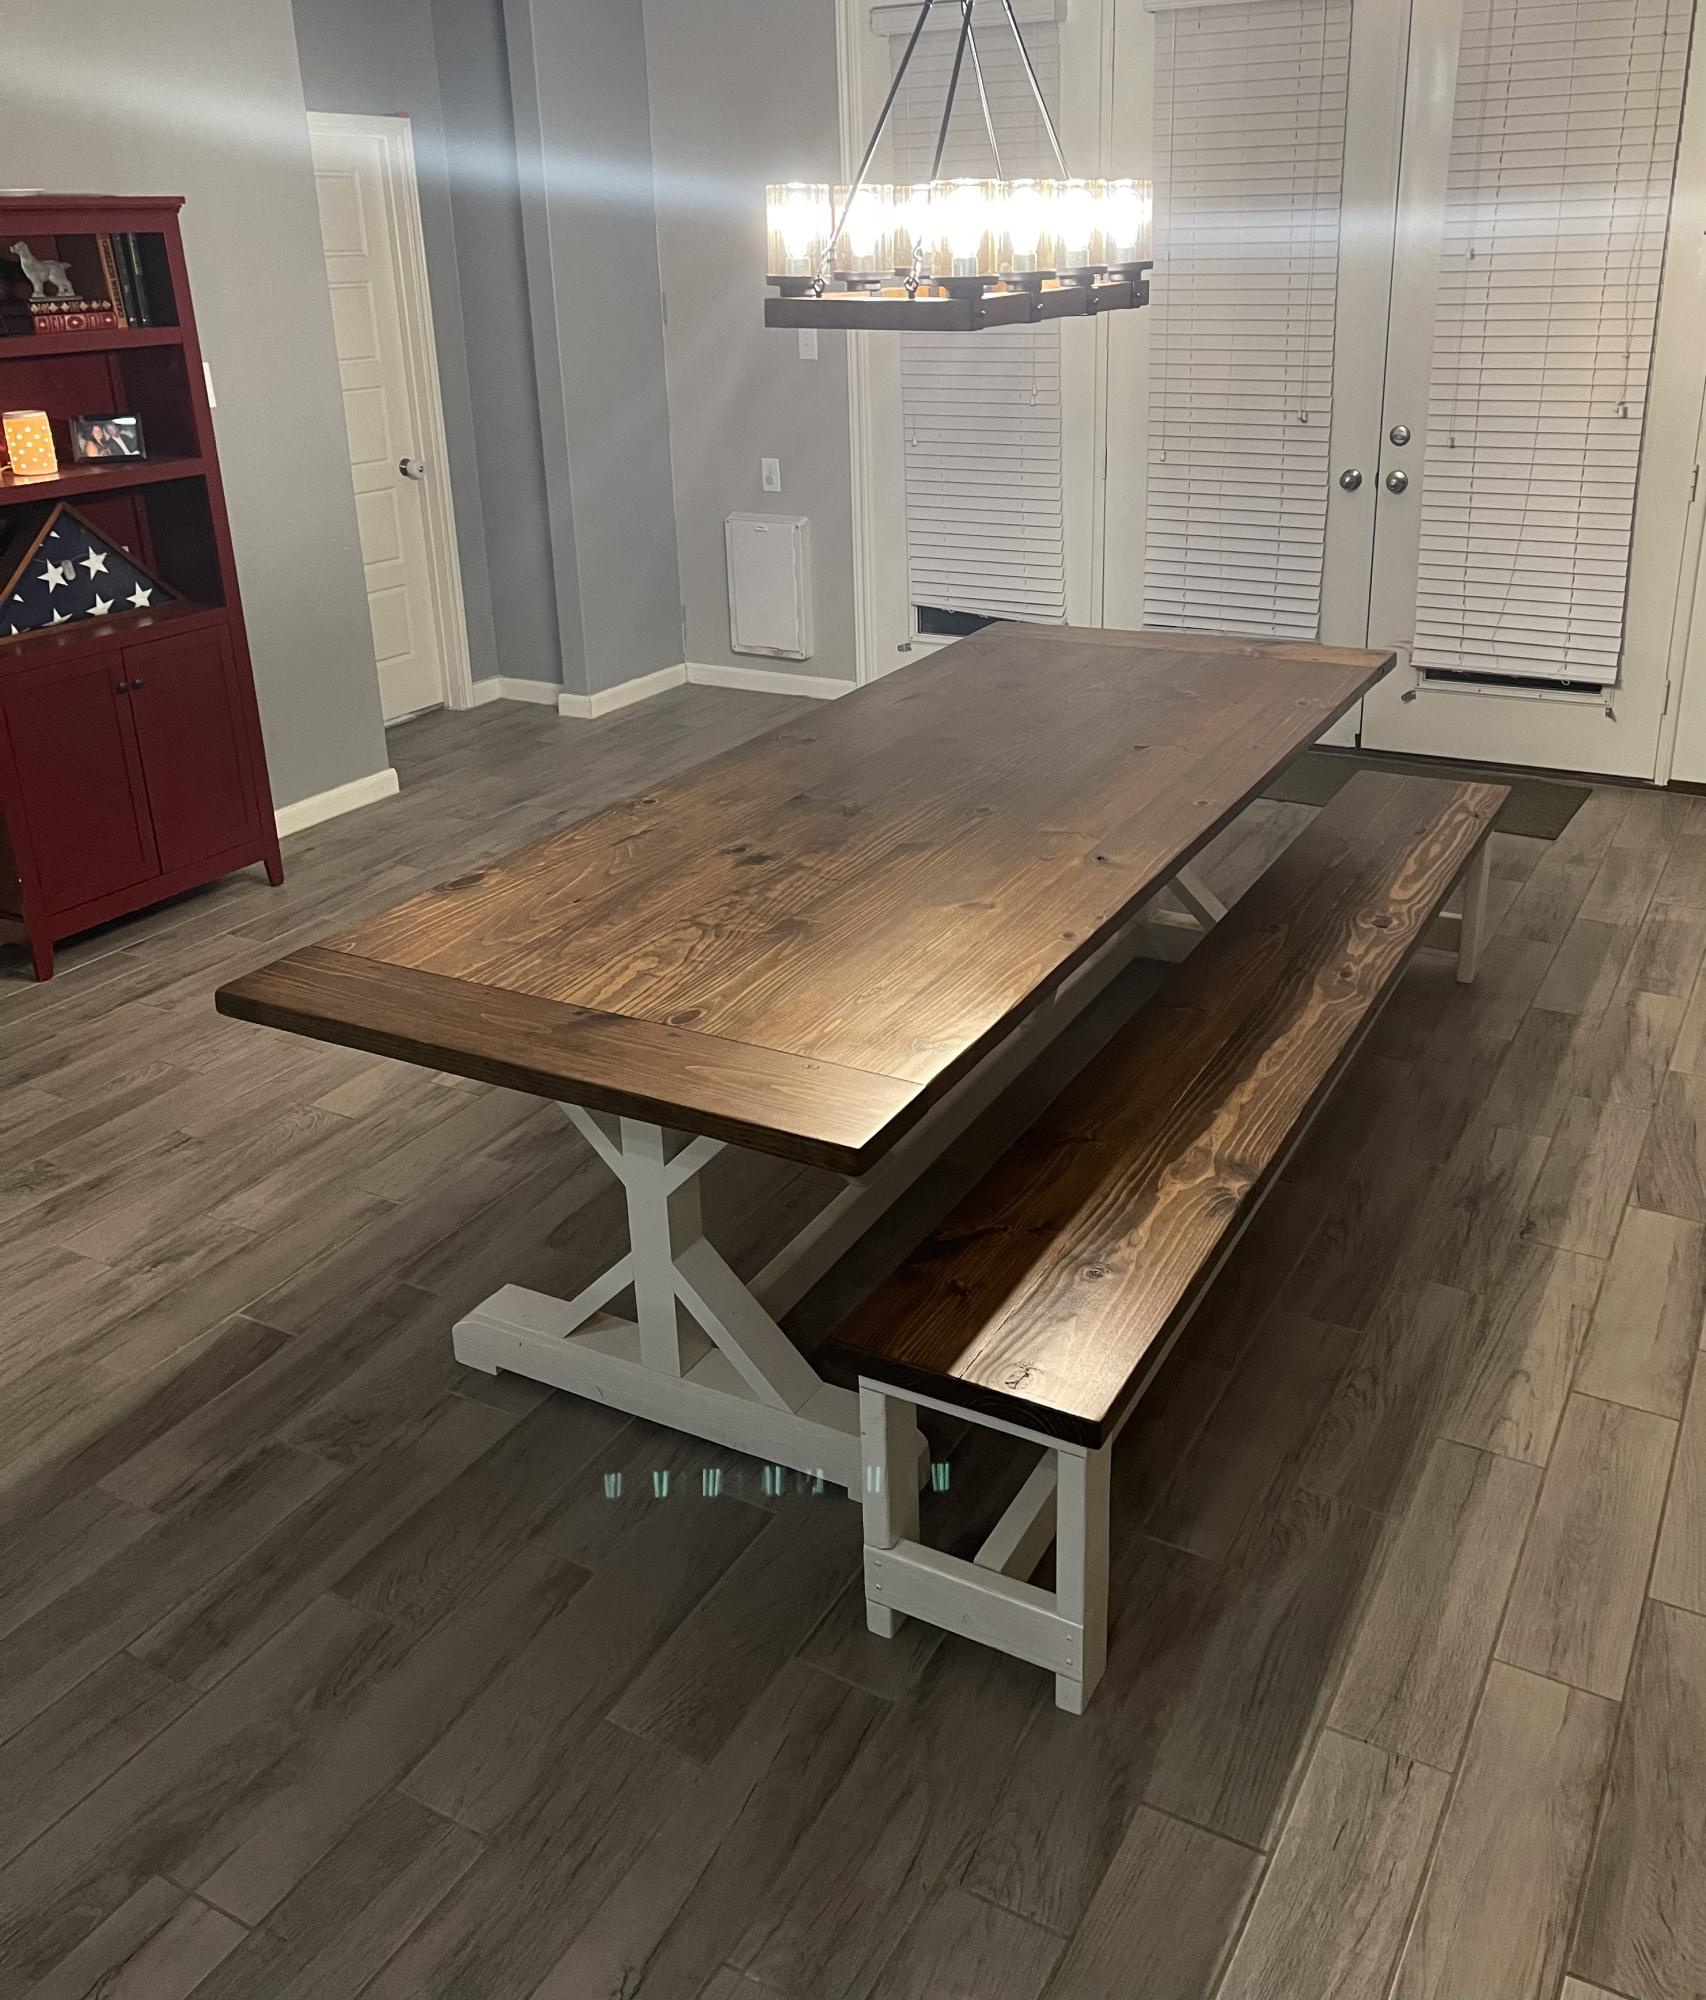
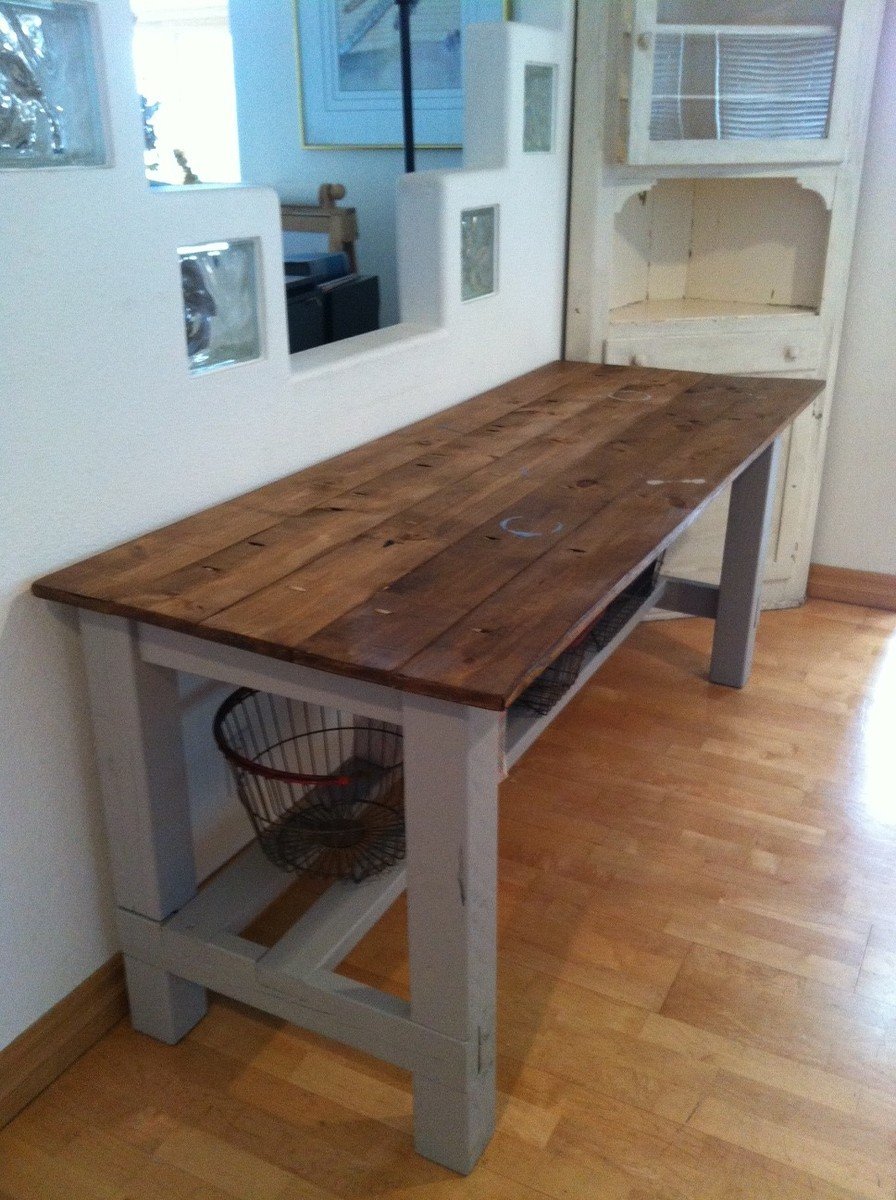
Fancy X Farmhouse Table tweaked

Submitted by Anonymous (not verified) on Fri, 06/02/2017 - 12:01

Thank you for your plans on the Fancy X Farmhouse Table. Those where the foundation from which I built this new table for my family. Although tweaked a little my inspiration was a direct result of the beautiful table you built. 

Built from Plan(s)
Estimated Time Investment
Week Long Project (20 Hours or More)
Finish Used
Ebony for base and too framing. Espresso used for top.
Recommended Skill Level
Intermediate

Fancy Farmhouse Table

Submitted by Lordclint on Mon, 03/23/2015 - 00:17

The legs of this table are made from douglas fir purchased at my local big box home improvement store.  The table top is made of hard maple that i purchased from a local mill.  I modified the dimensions from the original plan because i really liked the look of the 4x4 legs.  The douglas fir is relatively inexpensive material and because the legs for the most part unseen once you have chairs.  I chose hard maple because i have three kids under the age of 6 that can destroy anything in their path. So having a kitchen table that could double as a nuclear bomb shelter was high on my priority list.

I recommend you purchase your wood from a local mill.  There are few technical terms you will need to learn before heading over to purchase your wood stock.  For example, lumber mills sale their wood stock by the board foot (width x length x depth) and if you want a 1 inch thick board you will need to ask for 5/4 board (pronounced five quarters) Marc Spagnolia (aka: The Wood whisperer) has a great 5 minute video that gives you all the information you need to walk into a lumber yard with confidence and purchase what you need.  KEY POINT: make sure your boards are straight and square. If your boards are not straight and square, it will cause you problems down the stretch.  In order to achieve this you must joint and plain your boards.  Since I do not have a jointer or plainer, I asked the lumber mill if they could help me out and they were nice enough to do it for an extra $25 dollars.  Well worth it in my opinion.

I did purchase one tool for this job, a biscuit joiner.  A biscuit joiner makes small cuts in the sides of your boards.  Small wooden biscuits are inserted in these slots and help keep your boards level when you glue up your boards.  They do not add any strength to your glue joints, but will save you a lot of time sanding your table top perfectly flat. I won’t go into a lot of detail on how to glue your boards up.  There are lot of great YouTube videos that give pretty good advice on the glue-up of your table top.

After you get your table top glued up, it is time to sand.  KEY POINT: Sand by sight, not by feel.  Your table top may feel really smooth to the touch, but when you go to stain, small swirl marks can make your final product look lackluster.  Invest the time in sanding.  I suggest getting some hallogen lights and put at the end of your table.  These lights help you see those imperfections that need to be sanded out. Also, I recommend using an orbital sander.  Be sure not to put any downward pressure, let the sander do the work.  Putting downward pressure is so tempting, but ultimately causes deep gauges in your wood that take even longer to sand out.

So one thing that I did learn when doing this project was that hard maple is one of the toughest types of wood to stain.  The wood is a very dense with tight porosity. This is what makes hard maple extremely durable and pretty, but unfortunately very difficult to stain. Most stains leave the maple looking blotchy (dark and light color all over the boards).  It was really frustrating trying to figure out how to stain this type of wood.  I searched the entire internet looking for tips on staining hard maple with very little luck.  So if you’re interested in using this wood…here is my playbook that produced pretty good results.  First of all you should really avoid the pigment type stains.  These are your run of the mill stains you find at your big box store.  I also had terrible luck with gel stains as well.  The best way to stain maple I found was to use a dye stain.  Dye stains have the ability to penetrate into the tight grain structure of the hard maple and leave you with a pretty nice color.   I used general finishes “dark brown” dye stain with the following steps:

  • Sand up to 120 grit, then take a shop vac ( I know it sounds crazy) and vacuum all the dust up from the top of your table.  The shop vac pulls all the dust out of the pores and allows for better penetration.  Then take a tac clothe and wipe down your table top.  I used Minwax sanding sealer 1 to 1 ratio of sanding sealer to denatured alcohol.  This helps prevent blotchiness.  Please note that I tried prestain conditioner, dewaxed shellac and a few other products, but got significantly better results with the sanding sealer…..
  • After letting the sanding sealer dry for 2-3 hours, I then proceeded to make 4 passes over the table with 220 grit sandpaper with my orbital sander. I proceeded this sanding with the shop vac and tac clothe wipe down of the entire table top.   I also did a slight wipe down with a clothe towel and denatured alcohol.  This helped raise the grain slightly/open up the pores of the wood.
  • Finally I took a spray bottle with my stain and sprayed over the entire table top putting a nice even coat of stain.  This really worked well as my table was 7 foot wide. I quickly and gently wiped the excess stain off the table.

The results were really great.  The dye stain makes the figure of the wood “pop” and the sanding sealer keeps the color relatively even across your top.

For the top coat, I started out putting minwax high gloss poly.  I put several coats of this poly on the table, sanding with 400 grit sandpaper in between coats.  I really like this product.  I recommend putting it in the Fridge for 4-6 hours before you start working with it.  It will give you more time before the product sets up.  My final 2 coats I used behlen’s rock hard urethan satin varnish.  This product was truly rock hard, but once you put it on it sets up really fast…then it takes a long time to completely set up.  You had better work pretty fast using this stuff.  I used a roller to roll on all of my poly applications then evened it out with a really good paint brush. I built up layers of poly starting out with high gloss first, then switching to satin.  If you start out with satin and apply lots of coats, it can give a plastic type appearance to your finish that I do not like.

After 3 days of letting my final coat dry, I rubbed out the finish by taking 4 (0000) steel wool and a product called mohawk wool lube paste.  The steel wool evens out the finish and gives it an even sheen throughout the entire table top (see pictures).  The wool lube keeps you from burning through the finish with your steel wool.  Head over to Jon Peters Art & Home and he has videos on how to do this.

Hopefully this post helps some people. Let me know if you have questions.


Built from Plan(s)
Estimated Cost
$600
Estimated Time Investment
Week Long Project (20 Hours or More)
Finish Used
General Finishes - Dark Brown Dye Stain
Behlen Rock Hard Eurathane Varnish
Recommended Skill Level
Beginner

Comments

Farm Table and floating shelves

Submitted by Anonymous (not verified) on Mon, 10/04/2021 - 17:23

Built for my Daughter and Son-in-laws new home

Comments

Farmhouse table modified

Submitted by Podgirl on Thu, 05/30/2013 - 21:11

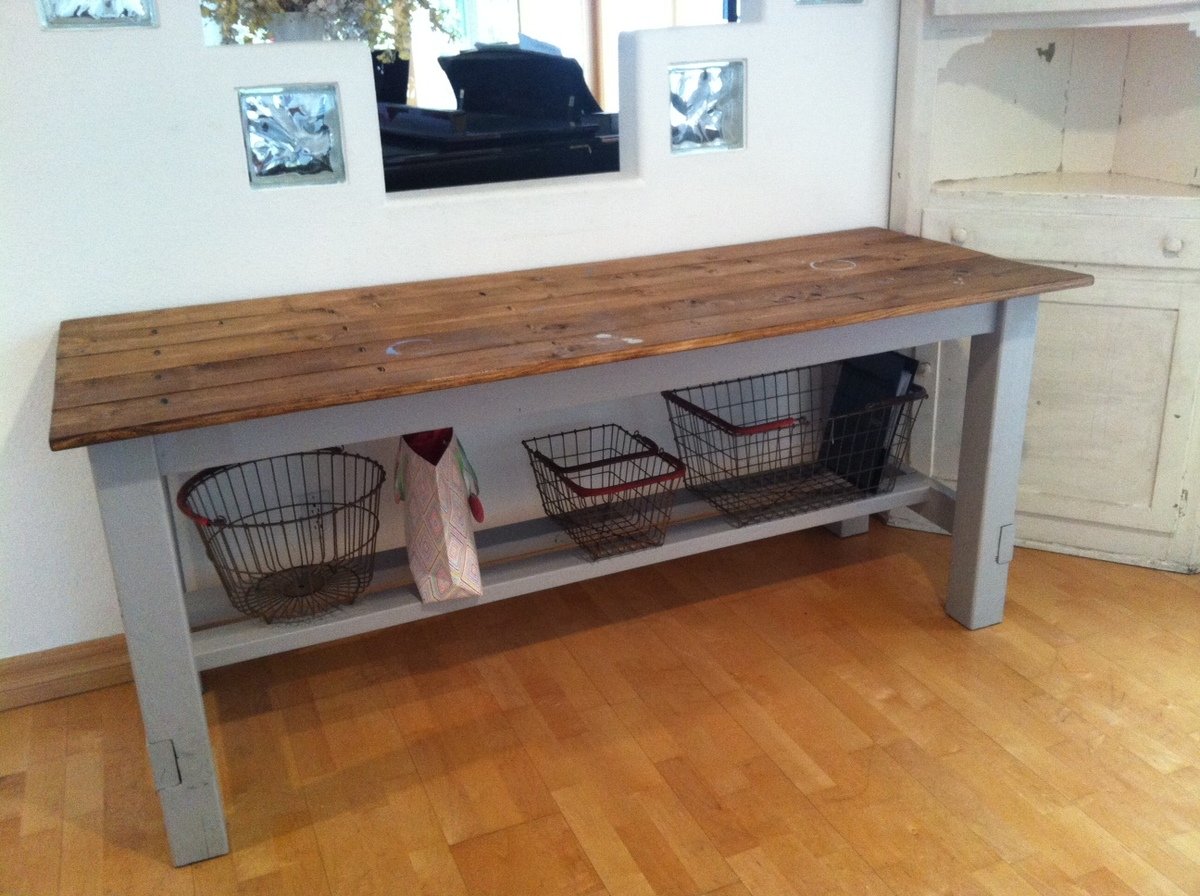
I used the basic plan by Ana, but modified it for the size I needed. Its 2x12 pine with english chestnut stain and tung oil (formby's) finish. I did use 4x4 posts for the legs instead of 2- 2x4's. notching out was the most difficult part. (Should have watched the video by Ana 1st. Lol). I did want some over hang so I cut the leg notches 1/4 shallow so there would be detail. I regret not using the kreg jig on the top, as I have much bigger gaps than I like! But I started buying better tools during this build when I realized mine were not getting the job done. And it definitely makes a huge difference!!! I still have to finish the benches. Just trying to find the time. I can't wait to start the next project!

Estimated Cost
$200
Estimated Time Investment
Week Long Project (20 Hours or More)
Finish Used
English Chestnut with some walnut added. 10 coats of formby's tung oil first in high then low gloss.
Recommended Skill Level
Intermediate

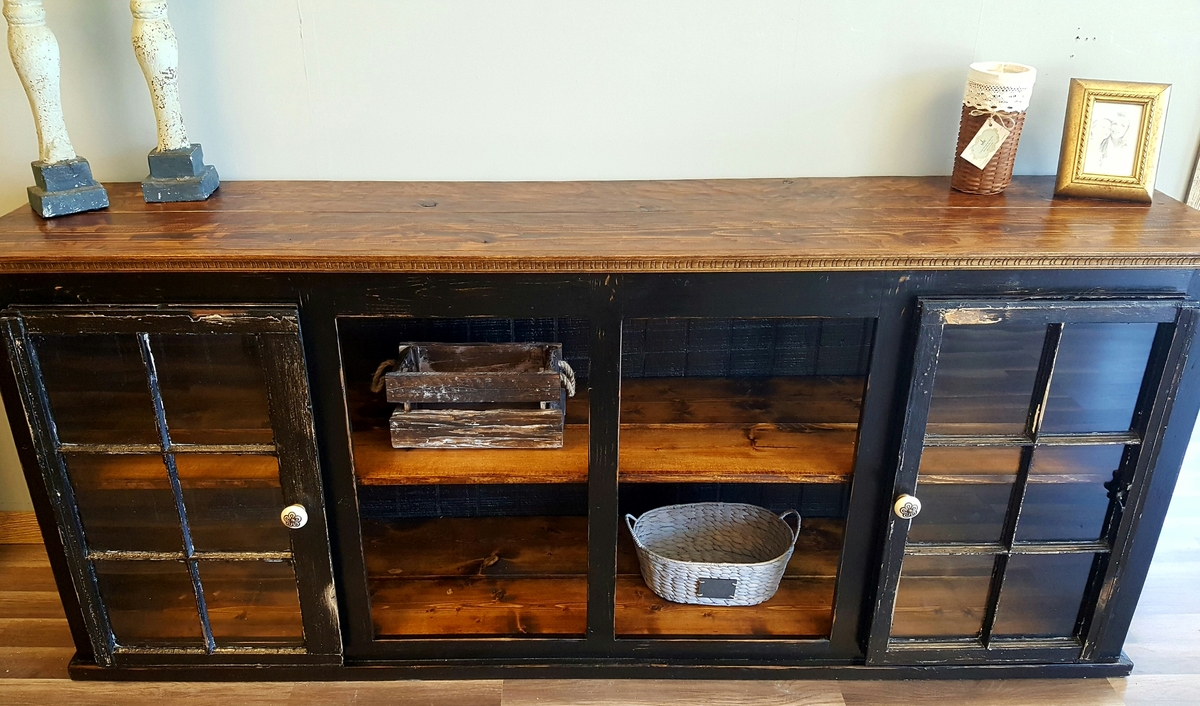
Cabinet Made From an Old Window

I needed a cabinet for my $300 bathroom remodel that fit in with the rustic, handmade vibe. I sort of hoard old windows so this was a perfect opportunity to use one. The full details and tutorial are on my blog- http://OnBlissStreet.com

Estimated Cost
$15
Estimated Time Investment
Afternoon Project (3-6 Hours)
Finish Used
Minwax Provincial and light sanding
Recommended Skill Level
Starter Project

Garden Trellis

Submitted by mtairymd on Tue, 05/12/2015 - 17:38

Video of the Build:
https://www.youtube.com/watch?v=xH3ABM3X3uE

Build Instructions:
http://www.instructables.com/id/Garden-Trellis/

This adjustable garden trellis for cucumber/pea/bean vines is a quick project for the vegetable garden. The trellis gets the vines off the ground and is more productive in less space. No giant rotting cucumbers to find three weeks after the rest have matured. It is made from small lumber and twine. Paint is optional but gives a nice pop of color. Just in time for the rapid growth of summer!

Estimated Cost
$10
Estimated Time Investment
Afternoon Project (3-6 Hours)
Finish Used
Paint
Recommended Skill Level
Starter Project

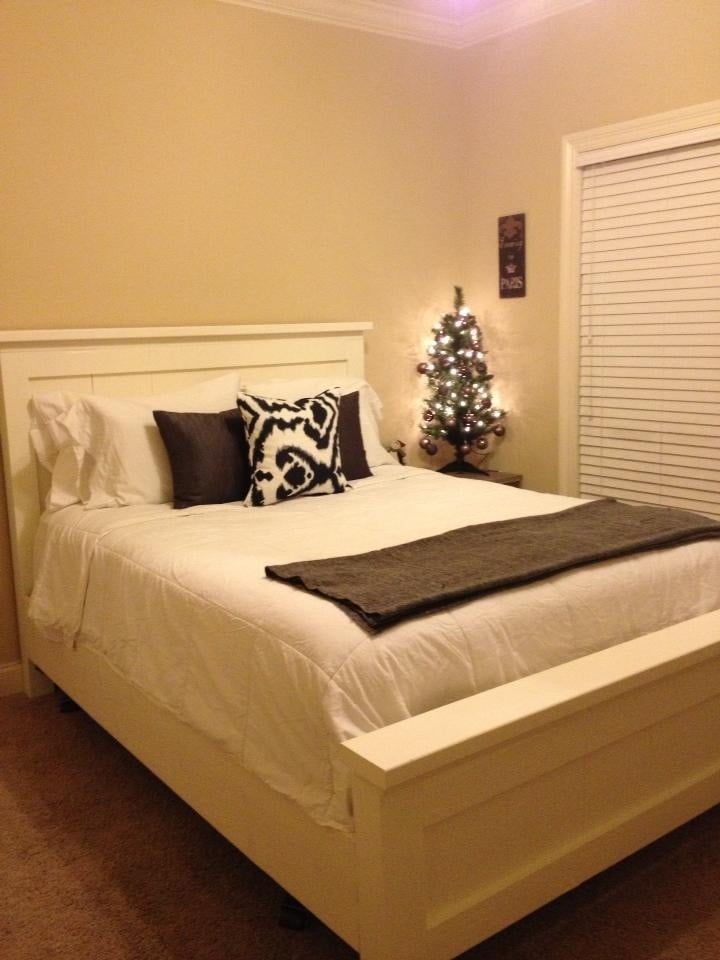
Farmhouse Queen Bed

Submitted by Anonymous (not verified) on Sun, 12/05/2021 - 06:07

I saw the Ana White Farmhouse king bed and used it as inspiration. I made a few modifications and adjusted the measurements to fit a queen bed.
Thanks for the inspiration!

Comments

Simple Bunk Beds

A variation of the simple bunk beds made with old growth lumber stained with "honey" minwax stain and topped with 2 coats of satin minwax polyurethane .  Each step on the ladder made with dado cuts, glued, and screwed and secured to each bed to add strength and take up less floor space. Used 8 inch HeadLOK screws to attach head and foot boards to posts and 2 7/8 inch to secure steps on the ladder as well as top boards to the head and foot boards. I cut down x4 HeadLOK bolts to 2 inches to secure rail to top bed so they didn't go through other side. Utilized non mortise bed rail brackets for easy assembly and disassembly; holds strong with no wobble even before ladder and plywood bottom. 3/4 plywood bottom screwed to the rails to better support mattress and add ridgidity. I screwed them so the bottom child doesn't push up on the mattress for the top child. All screws with the exception of the HeadLOK were counter sunk for a flush finish. All to say? This thing is strong and turned out beautifully. 

Estimated Time Investment
Week Long Project (20 Hours or More)
Finish Used
Bunk Beds
Recommended Skill Level
Intermediate

Chelsea Loft Bed

Submitted by EricJohn12 on Tue, 06/25/2013 - 08:35

Two years ago my college roommate & fraternity brother passed away of cancer. When his wife contacted me and another of my brothers about building a loft bed for his daughter’s 12th birthday - we jumped at the chance. With mom’s input, we decided on the Chelsea bed design with a few modifications: full size, no decorative feet (for stability) & an extra desk portion. (The design was inspired by the Pottery Barn Teens Chelsea Vanity Loft Bed.) We ended up using ¾” thick white shelf boards instead of 1x12s for the panels and shelves & 15” wide shelf board for the extra desk portion as well as plywood on the back of half the selves & desk area. Used 2x3s instead of 2x2s as suggested. We added a few pieces of quarter round & lattice molding to give a nice finishing touch between the bed & bookshelf/desk and a full length mirror on the bookshelf end. We were going to paint everything white, but after seeing the wood trim against the white, the daughter decided she liked that look, so only select pieces of the wood were painted. Most importantly, she loves it. She has a small 10x10 room which made getting a full shot of the bed difficult.

Total cost of lumber, pocket screws, plugs, primer & miscellaneous was about $350. It took a week of evenings pre-cutting and some sub assembly then a Saturday to build and paint.

My roommate was a great friend. If there is one thing his life showed me, is that life is short – some lives shorter than others. If you make a difference for someone else, you will make a difference in yourself and the world becomes a better place. Make the decision to spend time with the ones you love & care for, you won’t regret it.

Estimated Cost
$350
Estimated Time Investment
Week Long Project (20 Hours or More)
Finish Used
Paint & linseed oil.
Recommended Skill Level
Intermediate

Comments

JoanneS

Tue, 06/25/2013 - 16:33

What a wonderful gift! This looks so beautiful, and the story behind it is inspiring! Great job!

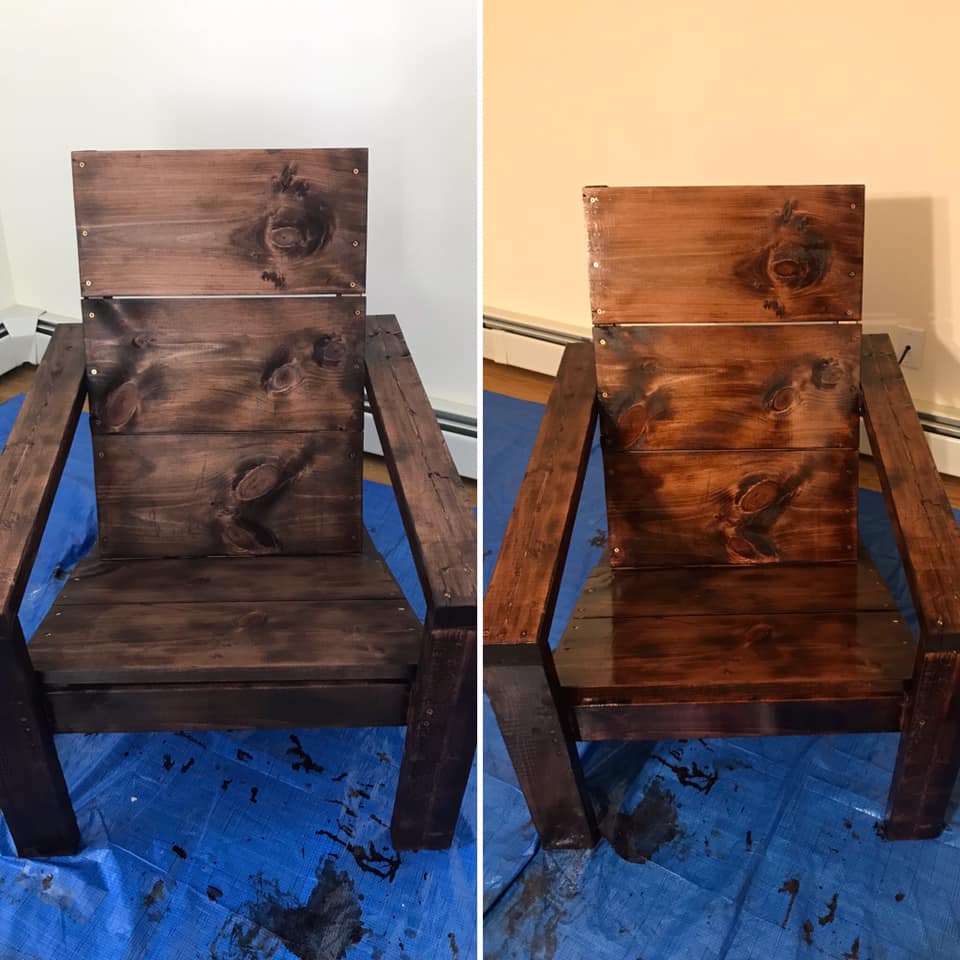
Platform bed

Submitted by DTeague on Tue, 05/03/2011 - 19:41

Revamped my son's bed and turned it into this. Very closely matches the dresser we bought him.

Estimated Time Investment
Weekend Project (10-20 Hours)
Finish Used
Miniwax Red Mahogany and Miniwax clear satin wipe-on poly.
Recommended Skill Level
Intermediate

Mudroom/garage storage

Submitted by Anonymous (not verified) on Fri, 12/31/2021 - 07:39

Thanks for the inspiration to add great storage to my garage.
Just downsized into a much smaller house after 20 years and I lost my mudroom area.
This mudroom/garage locker bench and hutch is a great looking unit!
Looking forward to seeing more on your site.
Thank you!
Mike

Comments

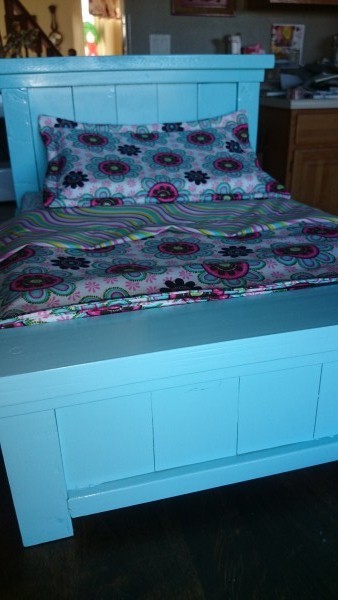
Full Size Hailey Storage Bed

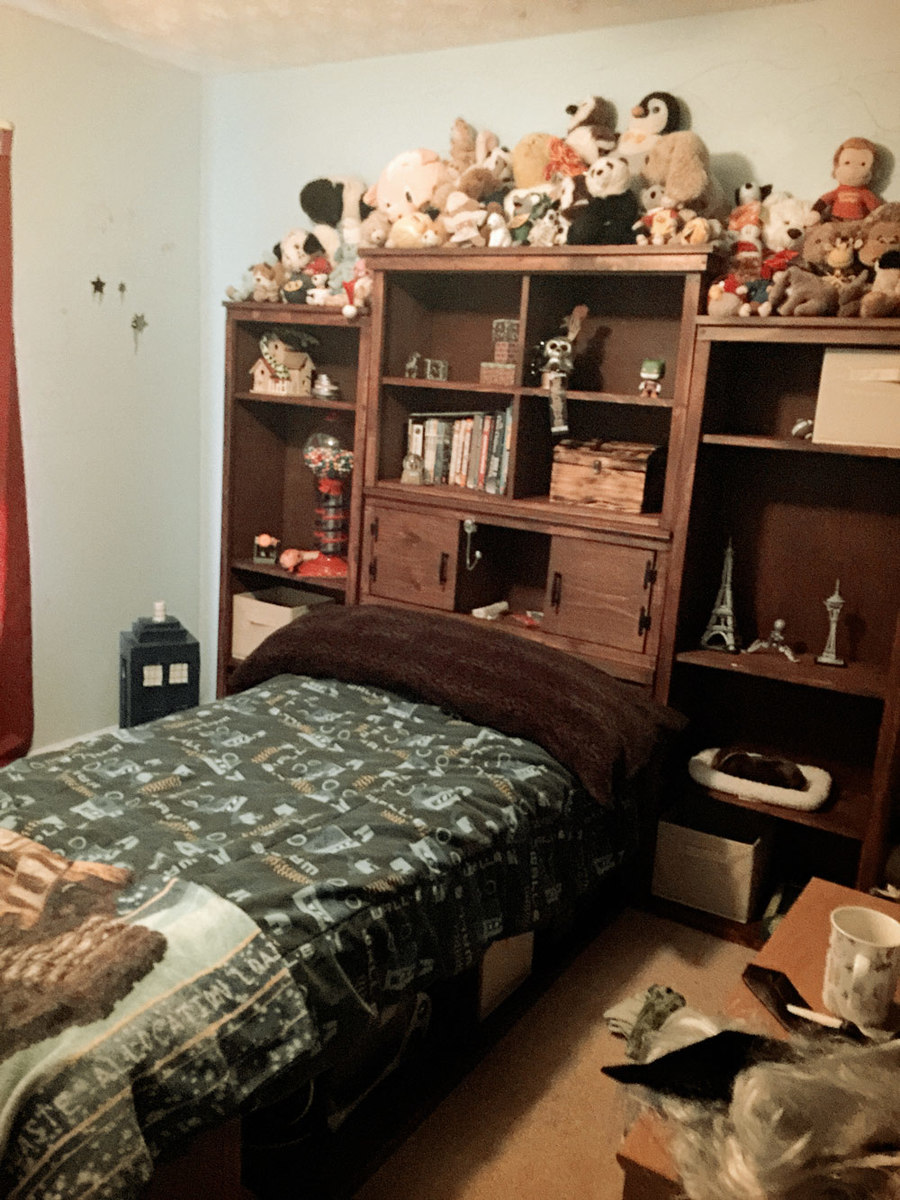
Built the Hailey Storage Bed as a full sized bed. I used paneling on the head board and foot board for more detail as well as adding quarter round where the paneling meets the trim. I also added an extra header on the head and foot board and added 6 inches to the foot board.

Estimated Cost
$130
Estimated Time Investment
Weekend Project (10-20 Hours)
Finish Used
Semi-gloss white paint.
Recommended Skill Level
Beginner

Garden Bench

Submitted by Anonymous (not verified) on Sun, 04/03/2022 - 09:31

Second project ever! Came out pretty nice in my opinion!

Built from Plan(s)

Comments

Rustic Farmhouse Coffee Table

Submitted by Edziadul on Tue, 02/27/2018 - 04:42

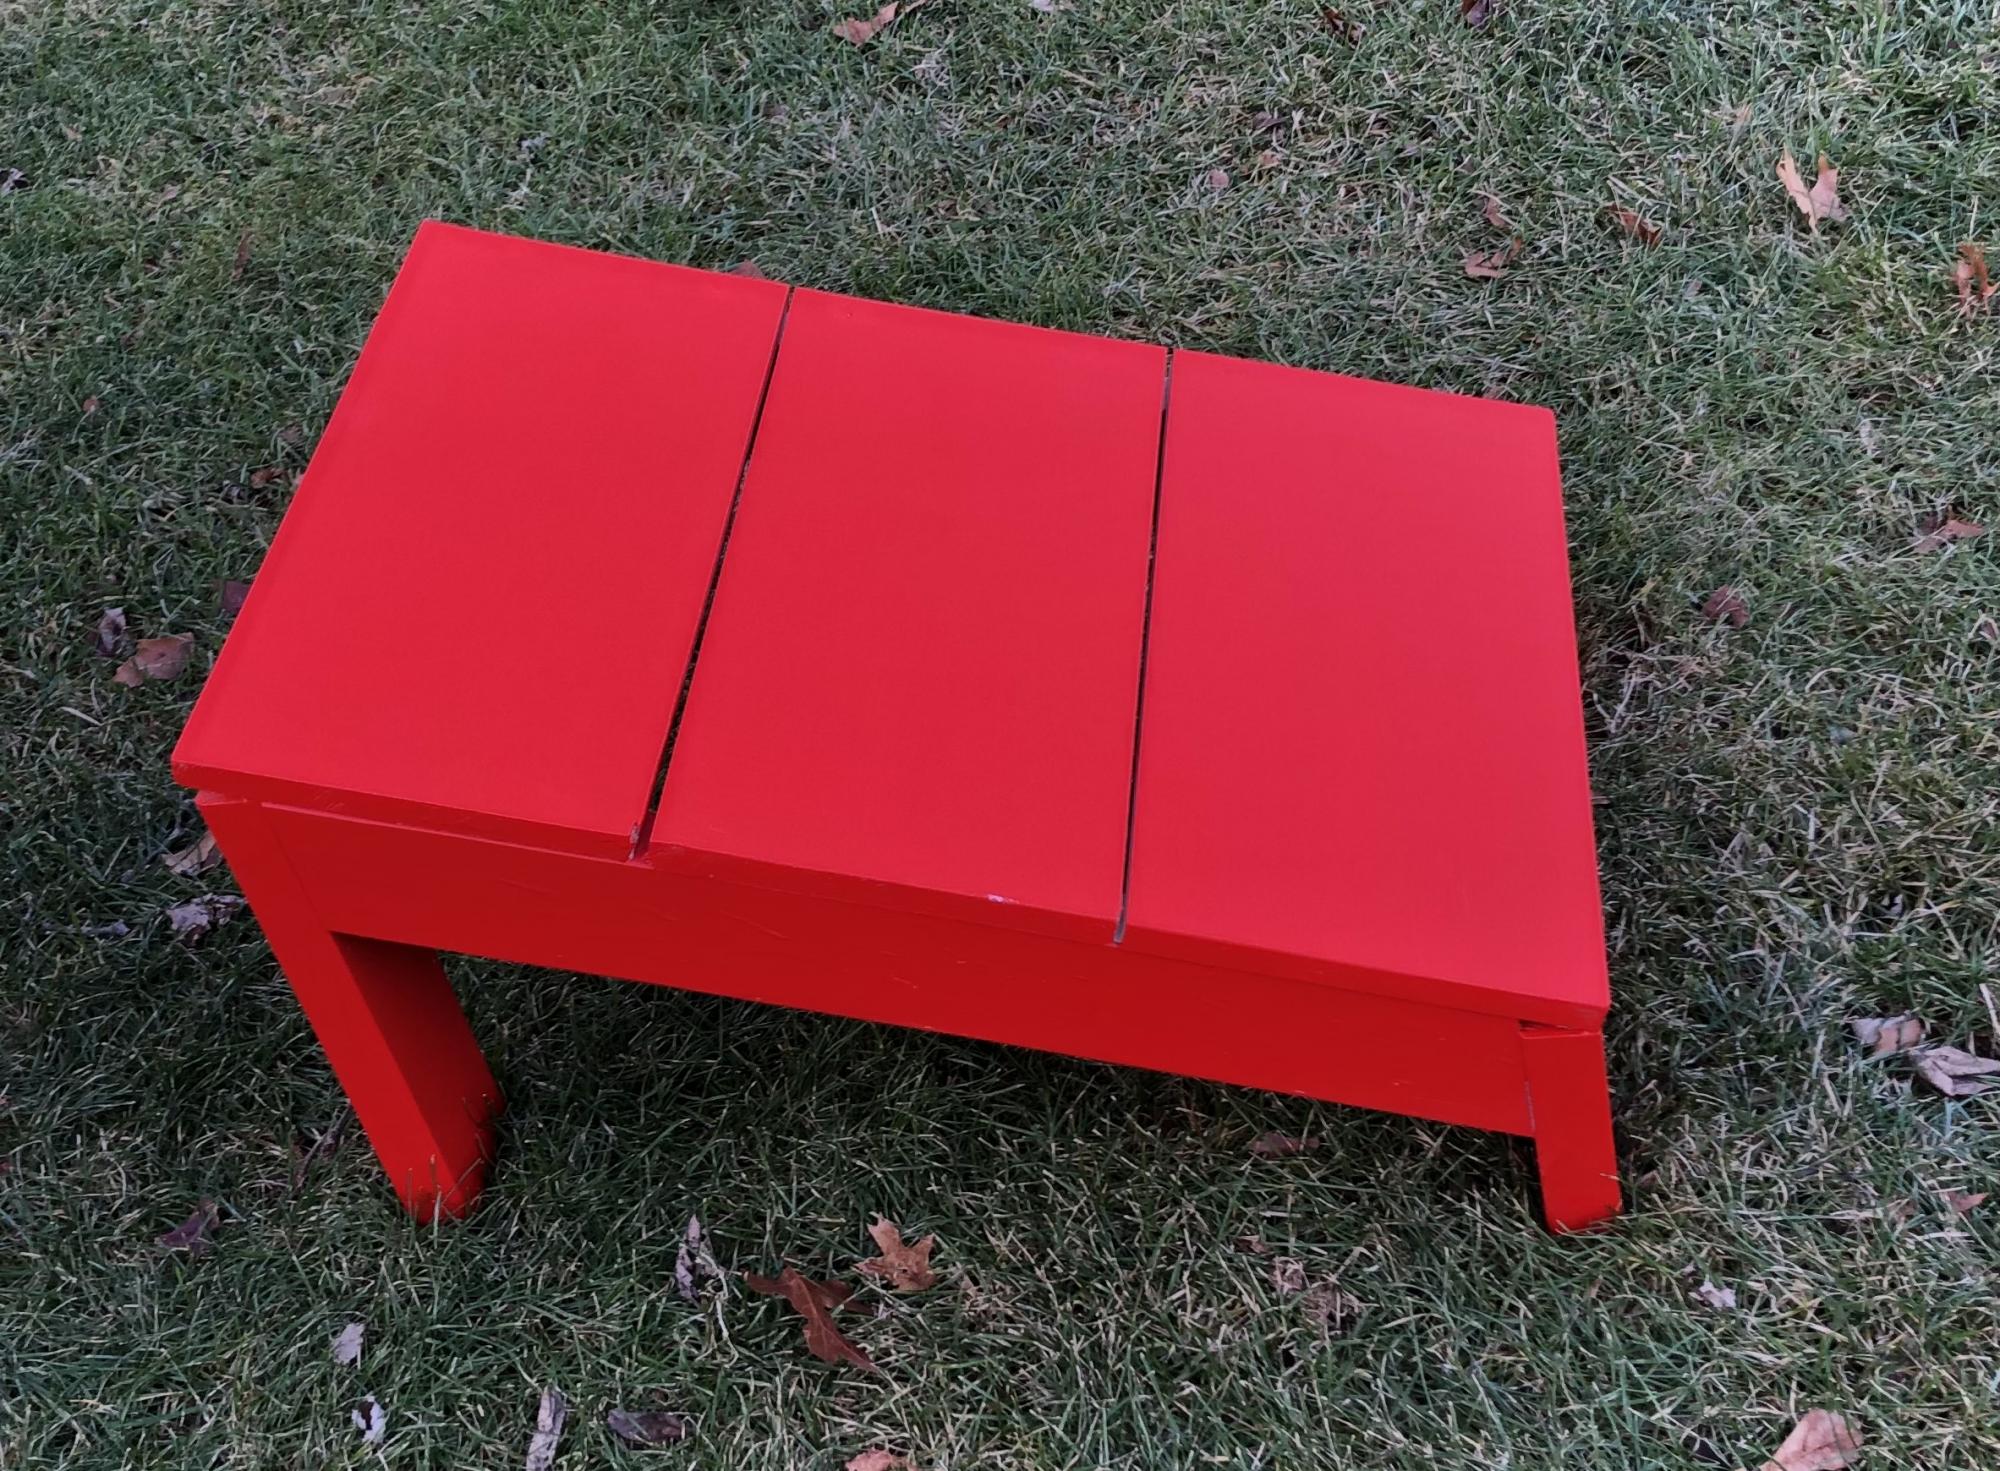
Rustic Farmhouse Coffee Table 

Estimated Cost
$50
Estimated Time Investment
Day Project (6-9 Hours)
Finish Used
Varathane Kona stain 1 coat and Minwax gloss poly 3 coats
Recommended Skill Level
Beginner

First Project

Submitted by Mightyd40 on Tue, 07/30/2013 - 07:08

After a couple years out of bodybuilding because of a bad injury, I decided I really needed a new hobby. I've always been impressed with woodwork but it just seemed out of my reach. I wanted a porch swing and saw these plans and though, "even if I mess up it'll only cost me a couple hundred dollars". I bought the kreg jig kit and some lumber and thankfully have all the other tools I need. This only took me a few hours to build and it was so easy and a really good time. I watched a few you tube videos with both ana and Jeff devlin from Kreg Tools and it really prepared me. The job was fun and I plan on going back to the lumber store this week just to build more stuff I probably don't need lol.

Built from Plan(s)
Estimated Cost
$250 for lumber/ kreg jig and a few other reusable initial purchases
Estimated Time Investment
An Hour or Two (0-2 Hours)
Finish Used
Minwax Bombay Mahogany stain and Poly mix
Recommended Skill Level
Starter Project

Stacked 4

Submitted by Allid on Fri, 08/28/2015 - 16:18

My husband built this is a weekend. We wanted each of our boys to have 2 rows for storage so we went with 4 total. Anchored to the wall and already in use 

Estimated Time Investment
Weekend Project (10-20 Hours)
Recommended Skill Level
Beginner