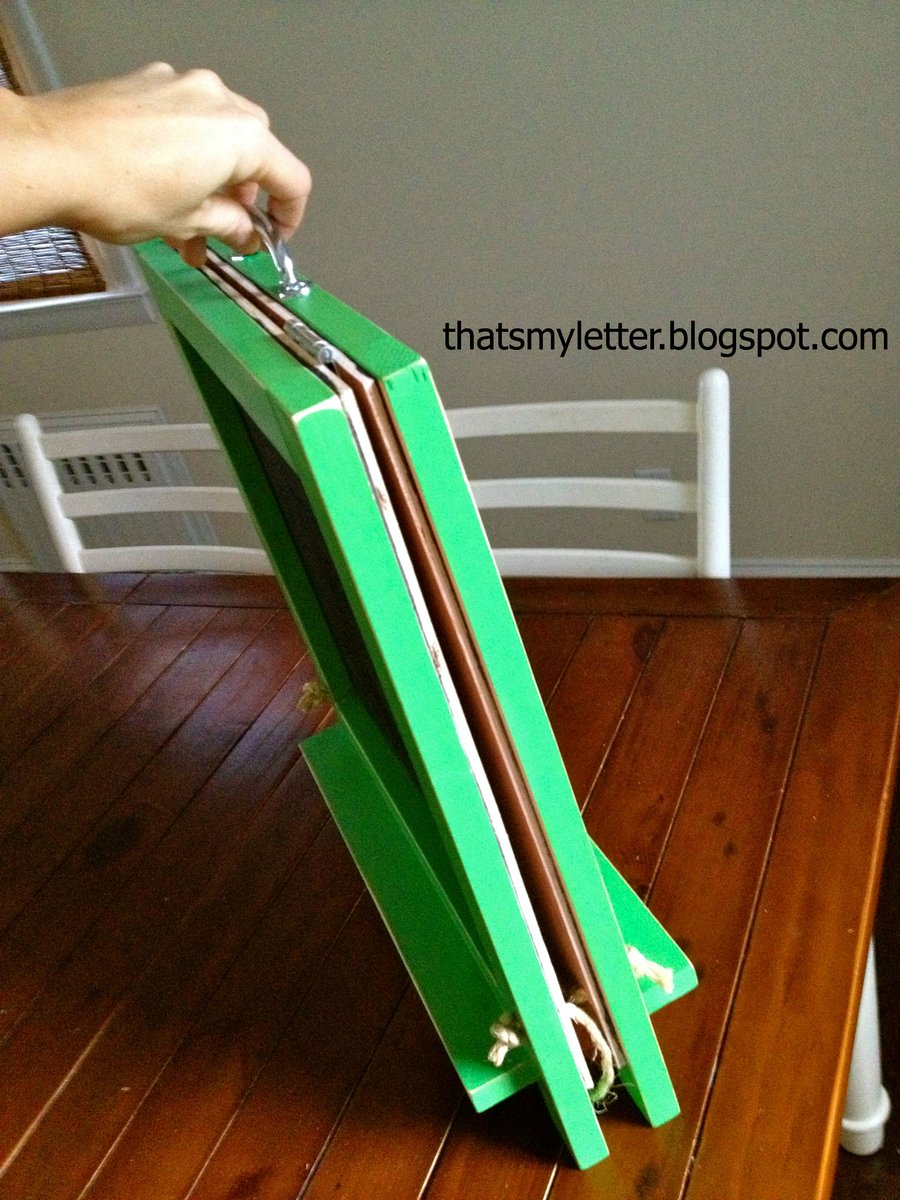
tabletop chalkboard easel
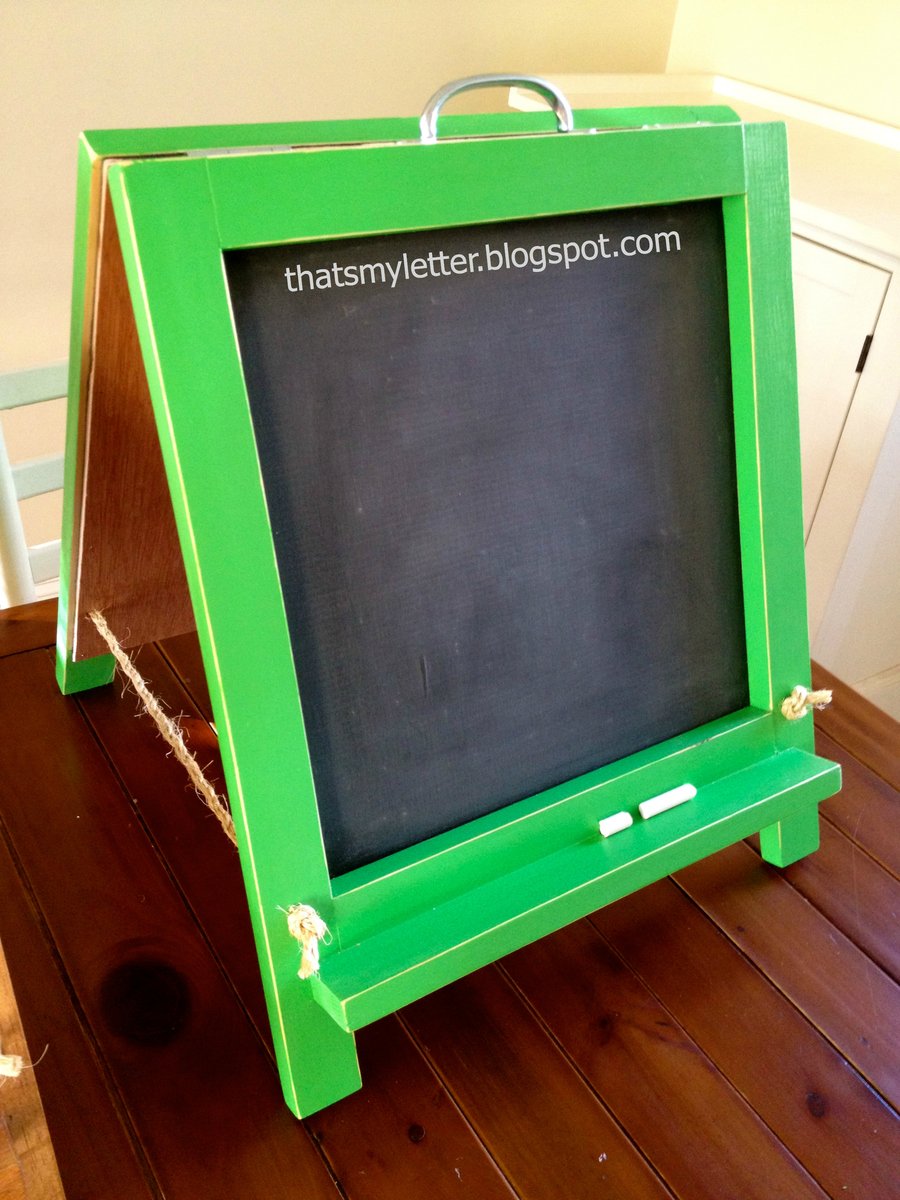
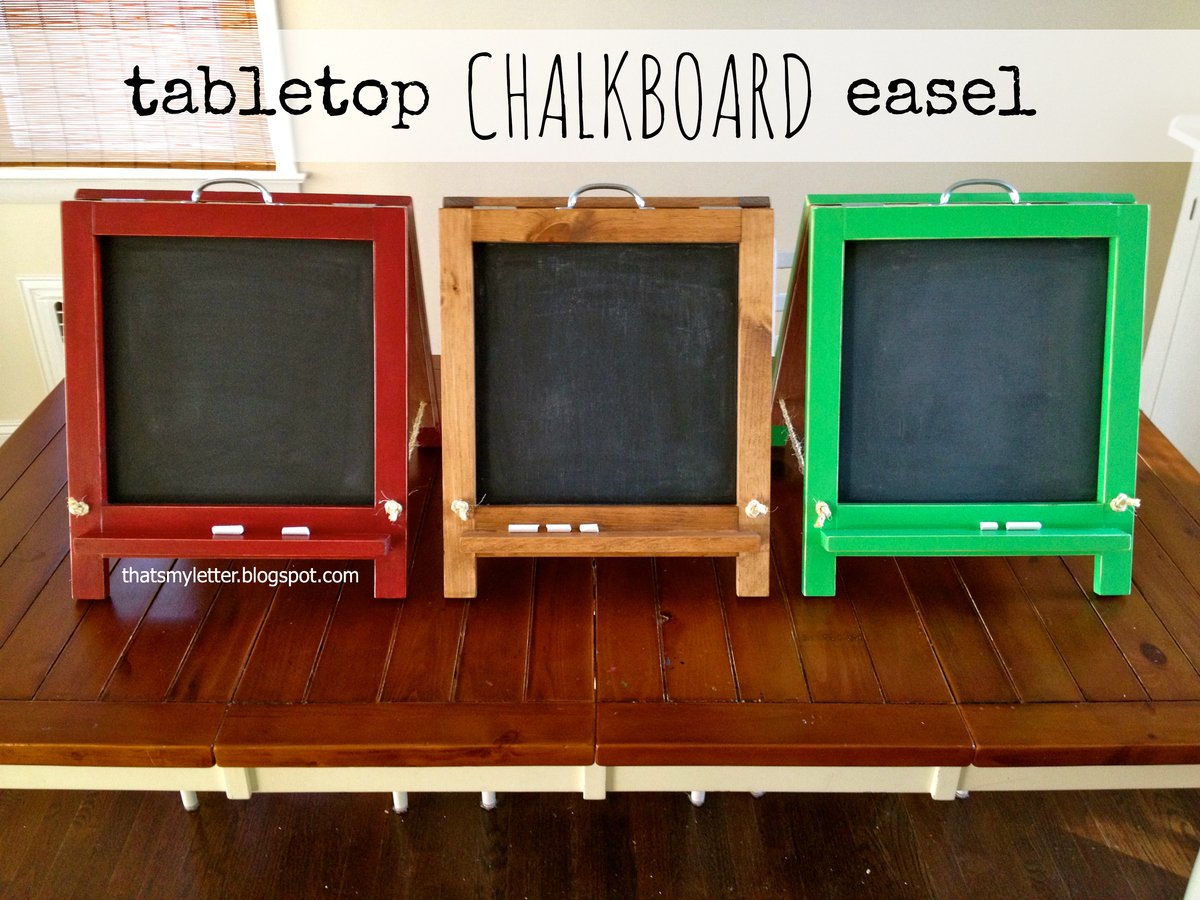
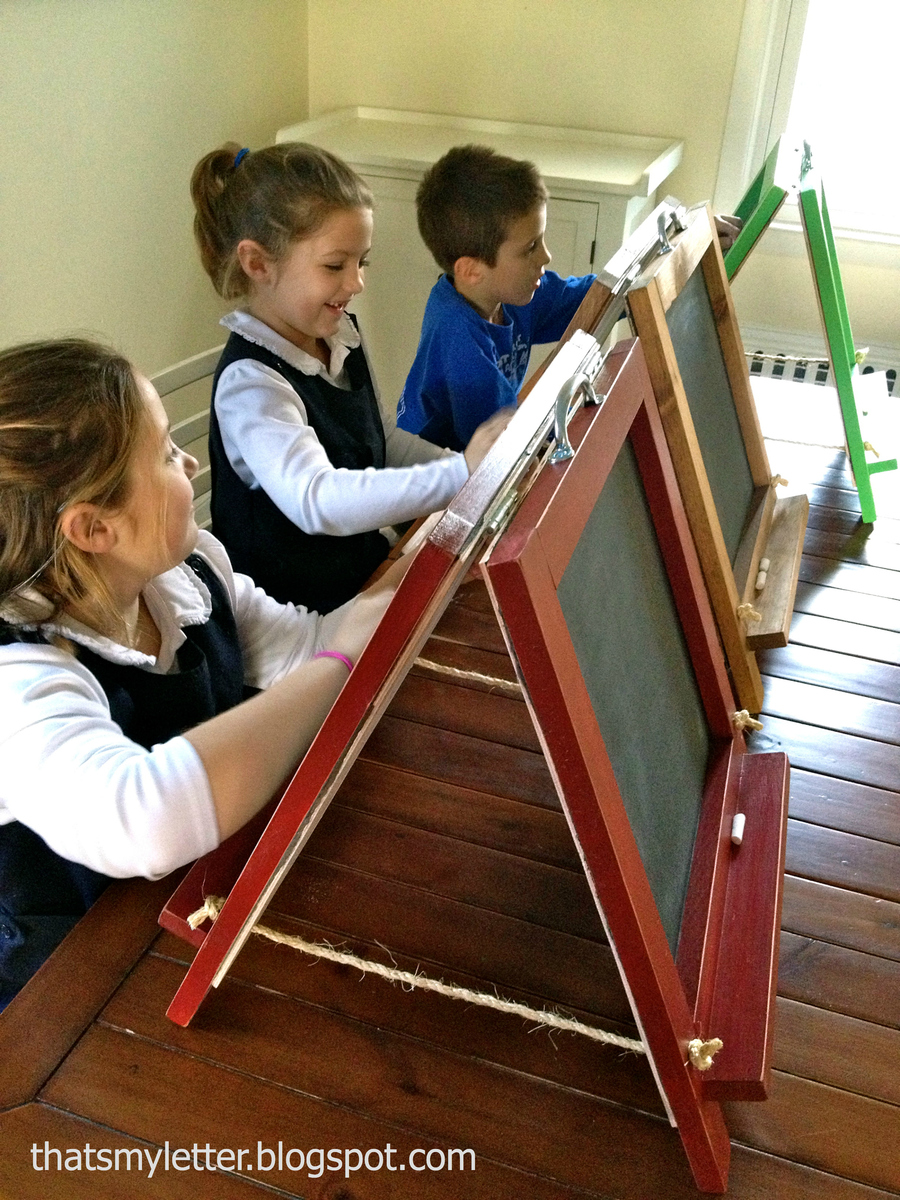
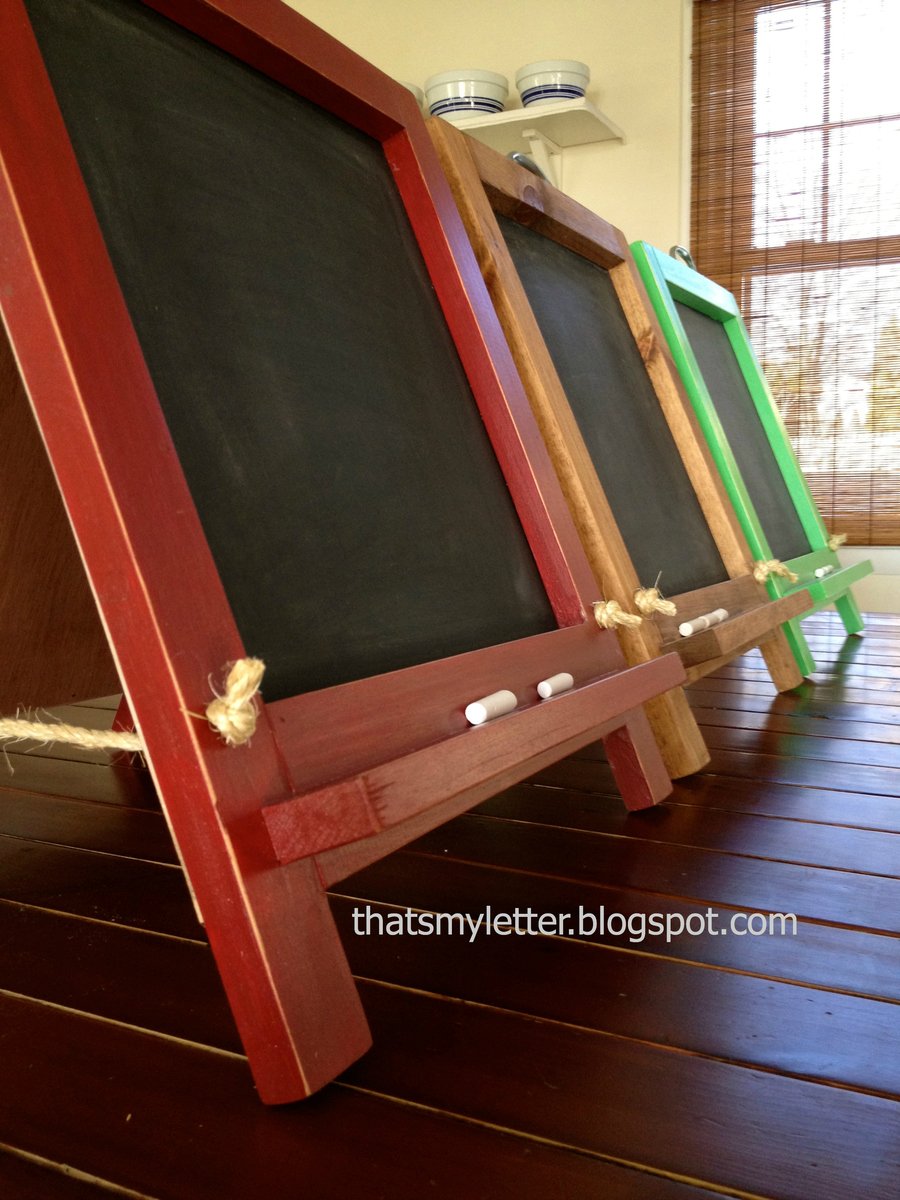
A mini version of the original folding chalkboard easel. A smaller chalkboard space at 13" x 13" this size is perfect for tabletop use and easy carrying for kids.

2. Seal clear satin poly.

A mini version of the original folding chalkboard easel. A smaller chalkboard space at 13" x 13" this size is perfect for tabletop use and easy carrying for kids.


This is my first solo and most ambitious project. I only had some help with getting the doors hung. I combined my long-time love of machine embroidery and my new found love of woodworking to create the doors on this project and really make it something special. I'm going to be using this piece in place of a chest of drawers in my bedroom.
Fri, 12/12/2014 - 13:21
What an awesome project! Love the finish, and the design on the doors. How did you do the door panels? They're lovely!
Mon, 12/15/2014 - 12:13
Wow that is really awesome! I love the stain and the way that this turned out!
Dear Ana,
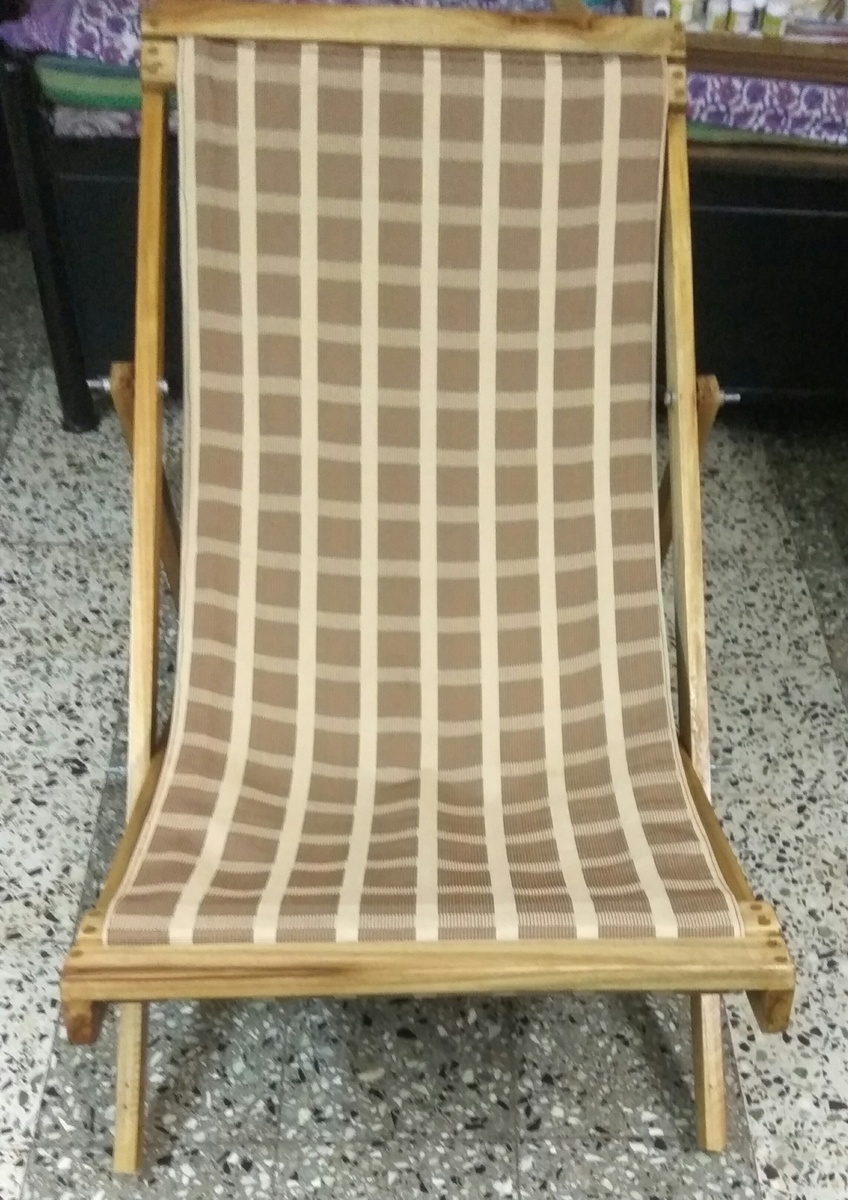
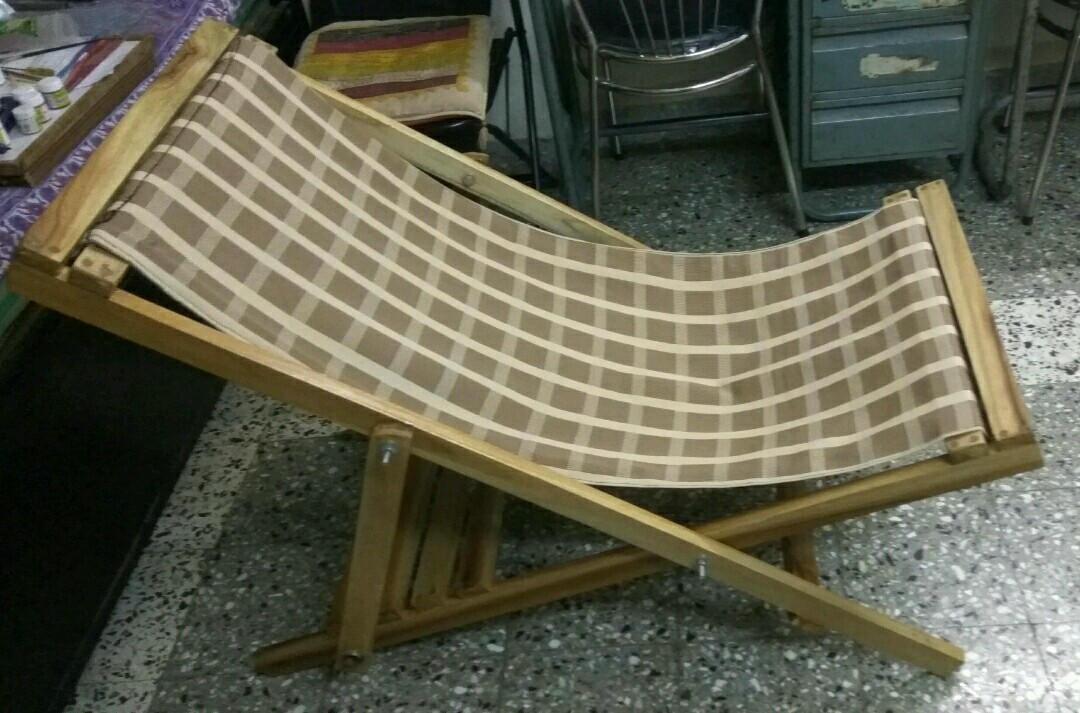
I built this Deck chair as per the plans on your site. Super easy for amatuer beginners like me. Enjoyed making it. Thank a lot!

Just finished the legs on my first project tonight. Instead of using the Krejig I found a really nice pocket hole jig that had some amazing reviews at my local Harbor Freight. Turned out really nicely if I do say so myself. I intend on finishing tomorrow as far as building goes. Will probably sand and stain a dark espresso in the next week or two.


I wanted to revamp my mudroom and need some storage so I built a bench and designed it as a built-in.
Please check out my DIY blog:
http://www.woodworkingfourdummies.com/blog/2nd-post
thanks,
Ian
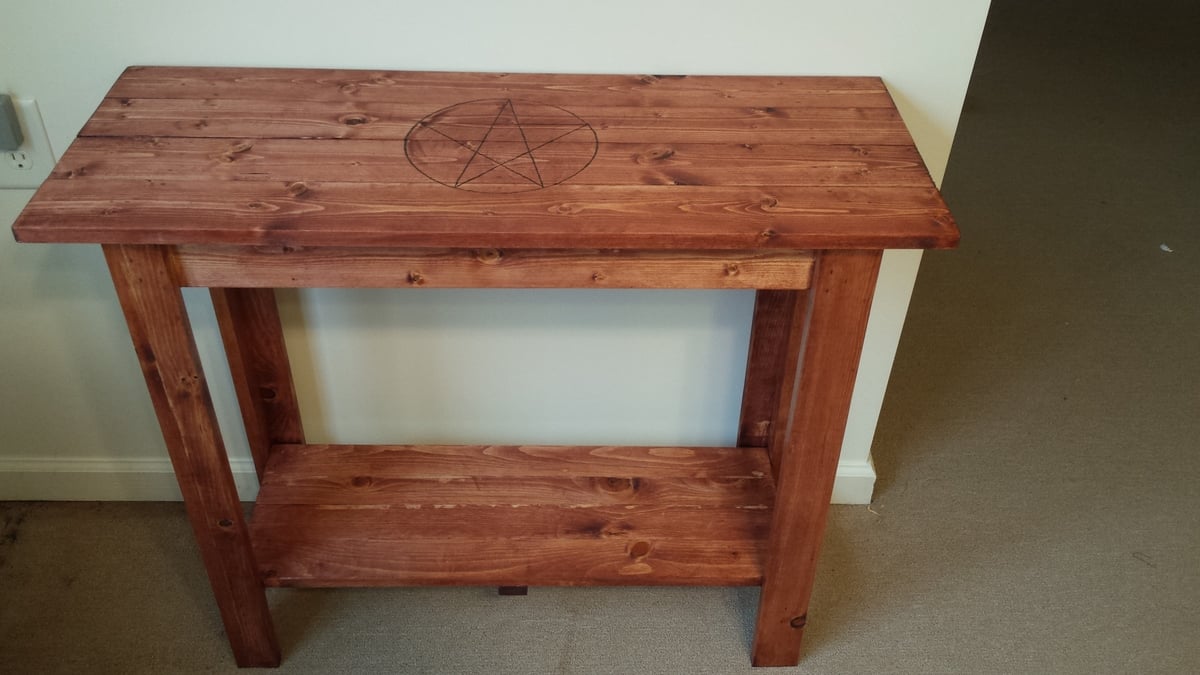
I took the plan from this and rather than have a two tone with paint, I stained the entire thing and used my wood burner to burn a pentacle in the top. My wife loves her altar.

Music and wine have always gone well together, but never quite like this...
Like most of my projects, this one was inspired by giving an old object new life. In this case, the guitar was one I had used in my job for a few years before it started to fall apart. As soon as the nut fell off, and one of the tuning pegs broke, I decided it was time to expedite the deterioration. Surprisingly, it's not that hard to get the neck of a guitar off it's body. Some light heat from an iron applied above the 14th fret softens the glue. Pry gently and you're free!
One of the main design features in my work is that I put a lot of thought in to the hardware. On most of my pieces, the hardware is either extremely obvious, or not there at all. In this case, I chose huge, bulky bolts to hold the neck on to the base. I've always been intrigued by the way things work, so I tend to want the mechanical aspects of art to be thought provoking. Juxtaposing the industrial look of bolts against the elegance of a musical instrument was really fascinating to play with. This kind of balance is what inspired the name 'Industrial Zen'.
More pics at www.orenpersing.com


In reply to Stealing by Wounded Marine
Tue, 02/12/2013 - 10:19
Glad you like it! If you make one, I'd love to see photos. This one is also for sale if you're interested. Check it out on my site: www.orenpersing.com
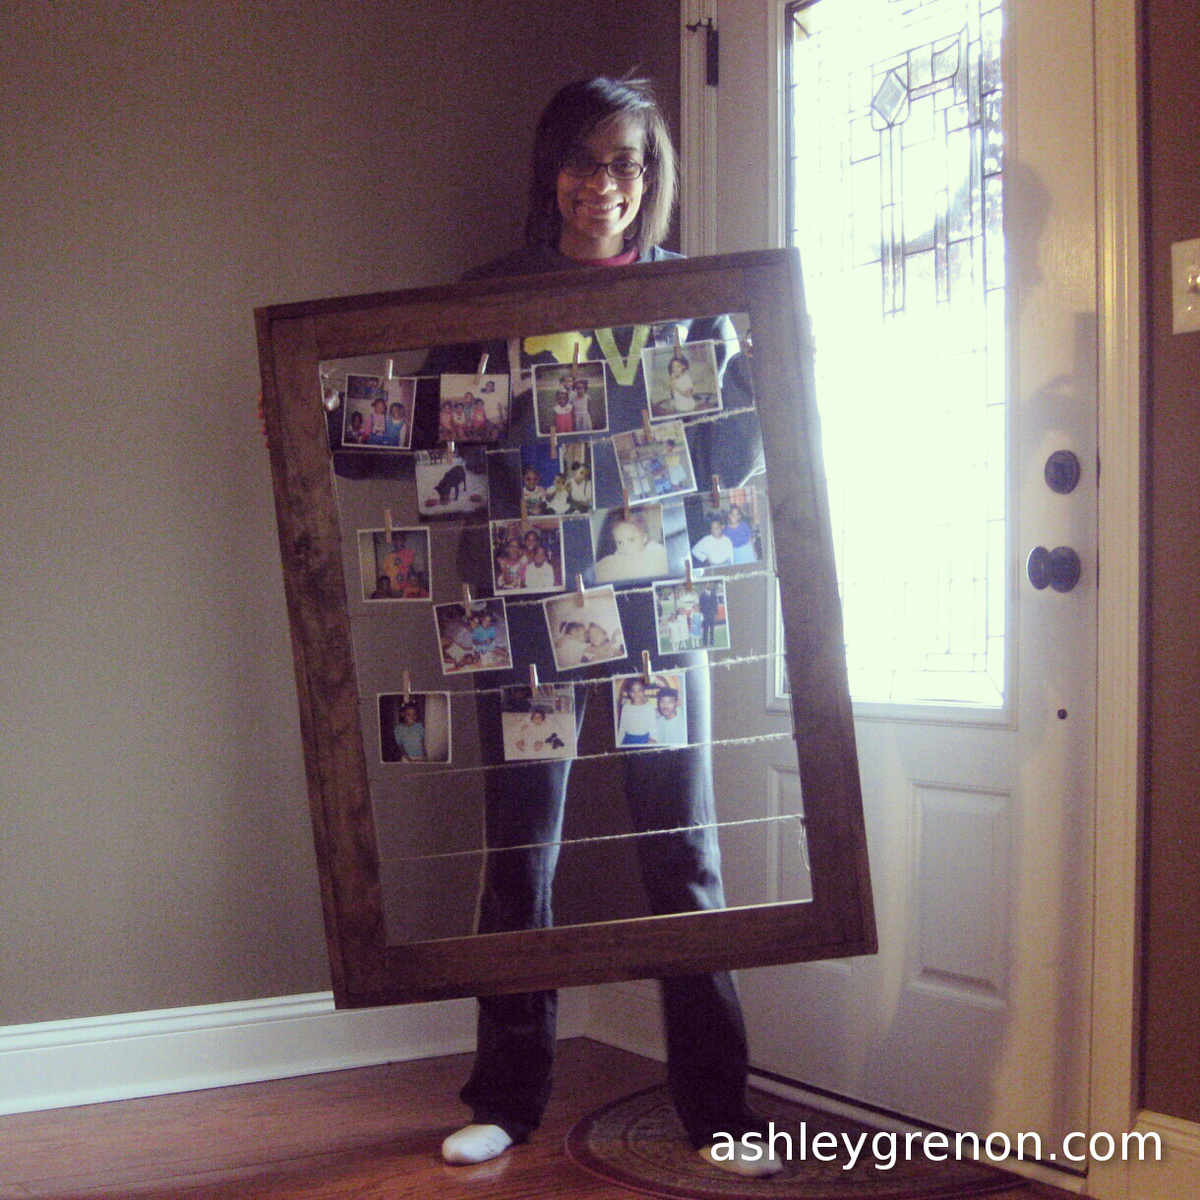
This was a quick weekend project. I built two: one for myself and another for a sister. I really like this frame. It's a neat way of displaying photos.
You can check out my blog for more build details.
In reply to Wow! That's awesome! by Ana White
Fri, 12/19/2014 - 19:22
thanks so much for the plans! :)
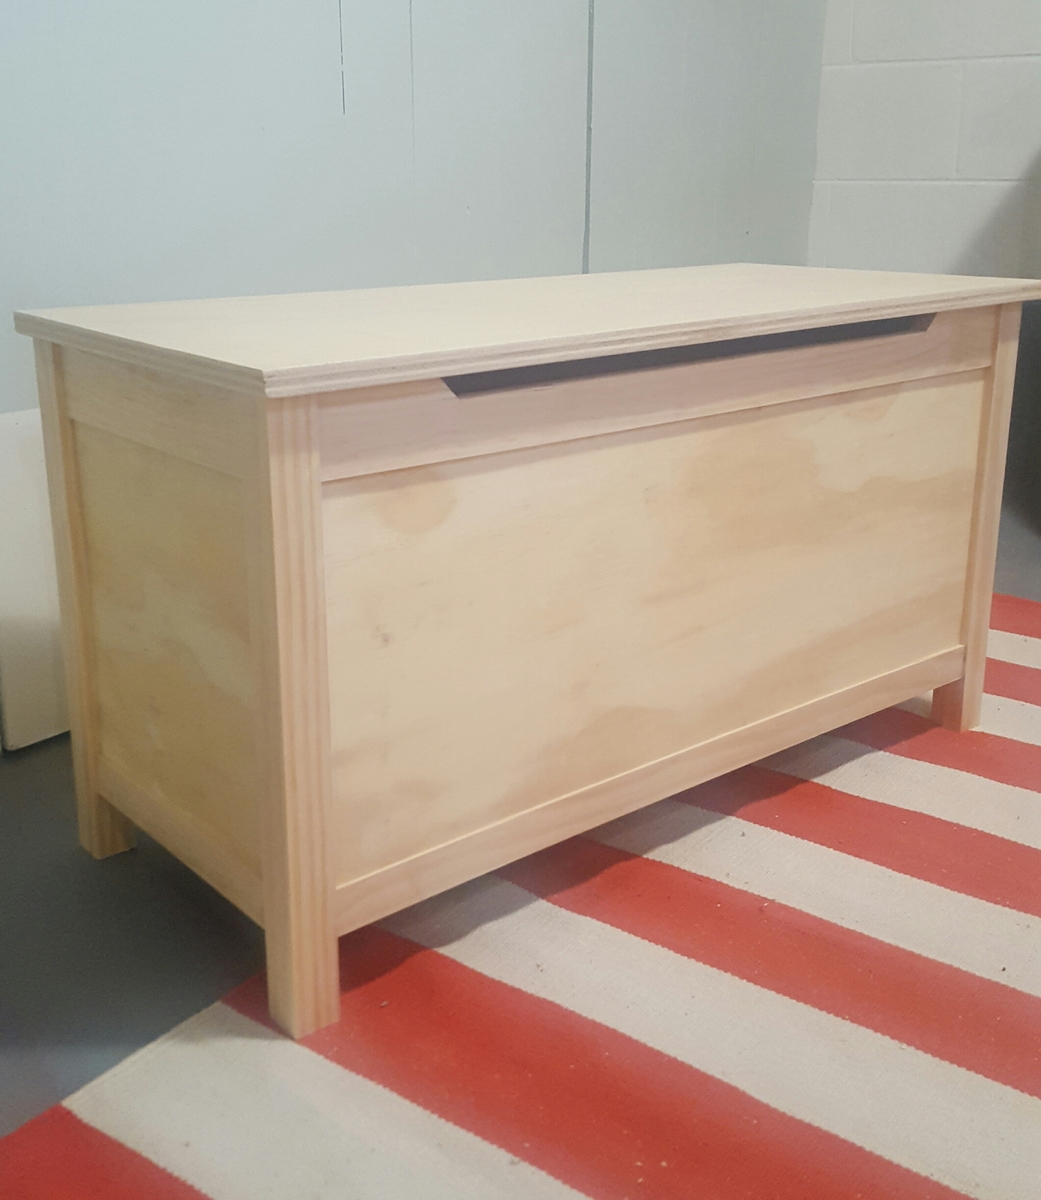
I had a wonderful time making this toy box and learning new techniques. Having access to a table saw really made this project turn out awesome. I was able to get 1/4" shims made that allowed for easy, precise offsets. The family just loved it!
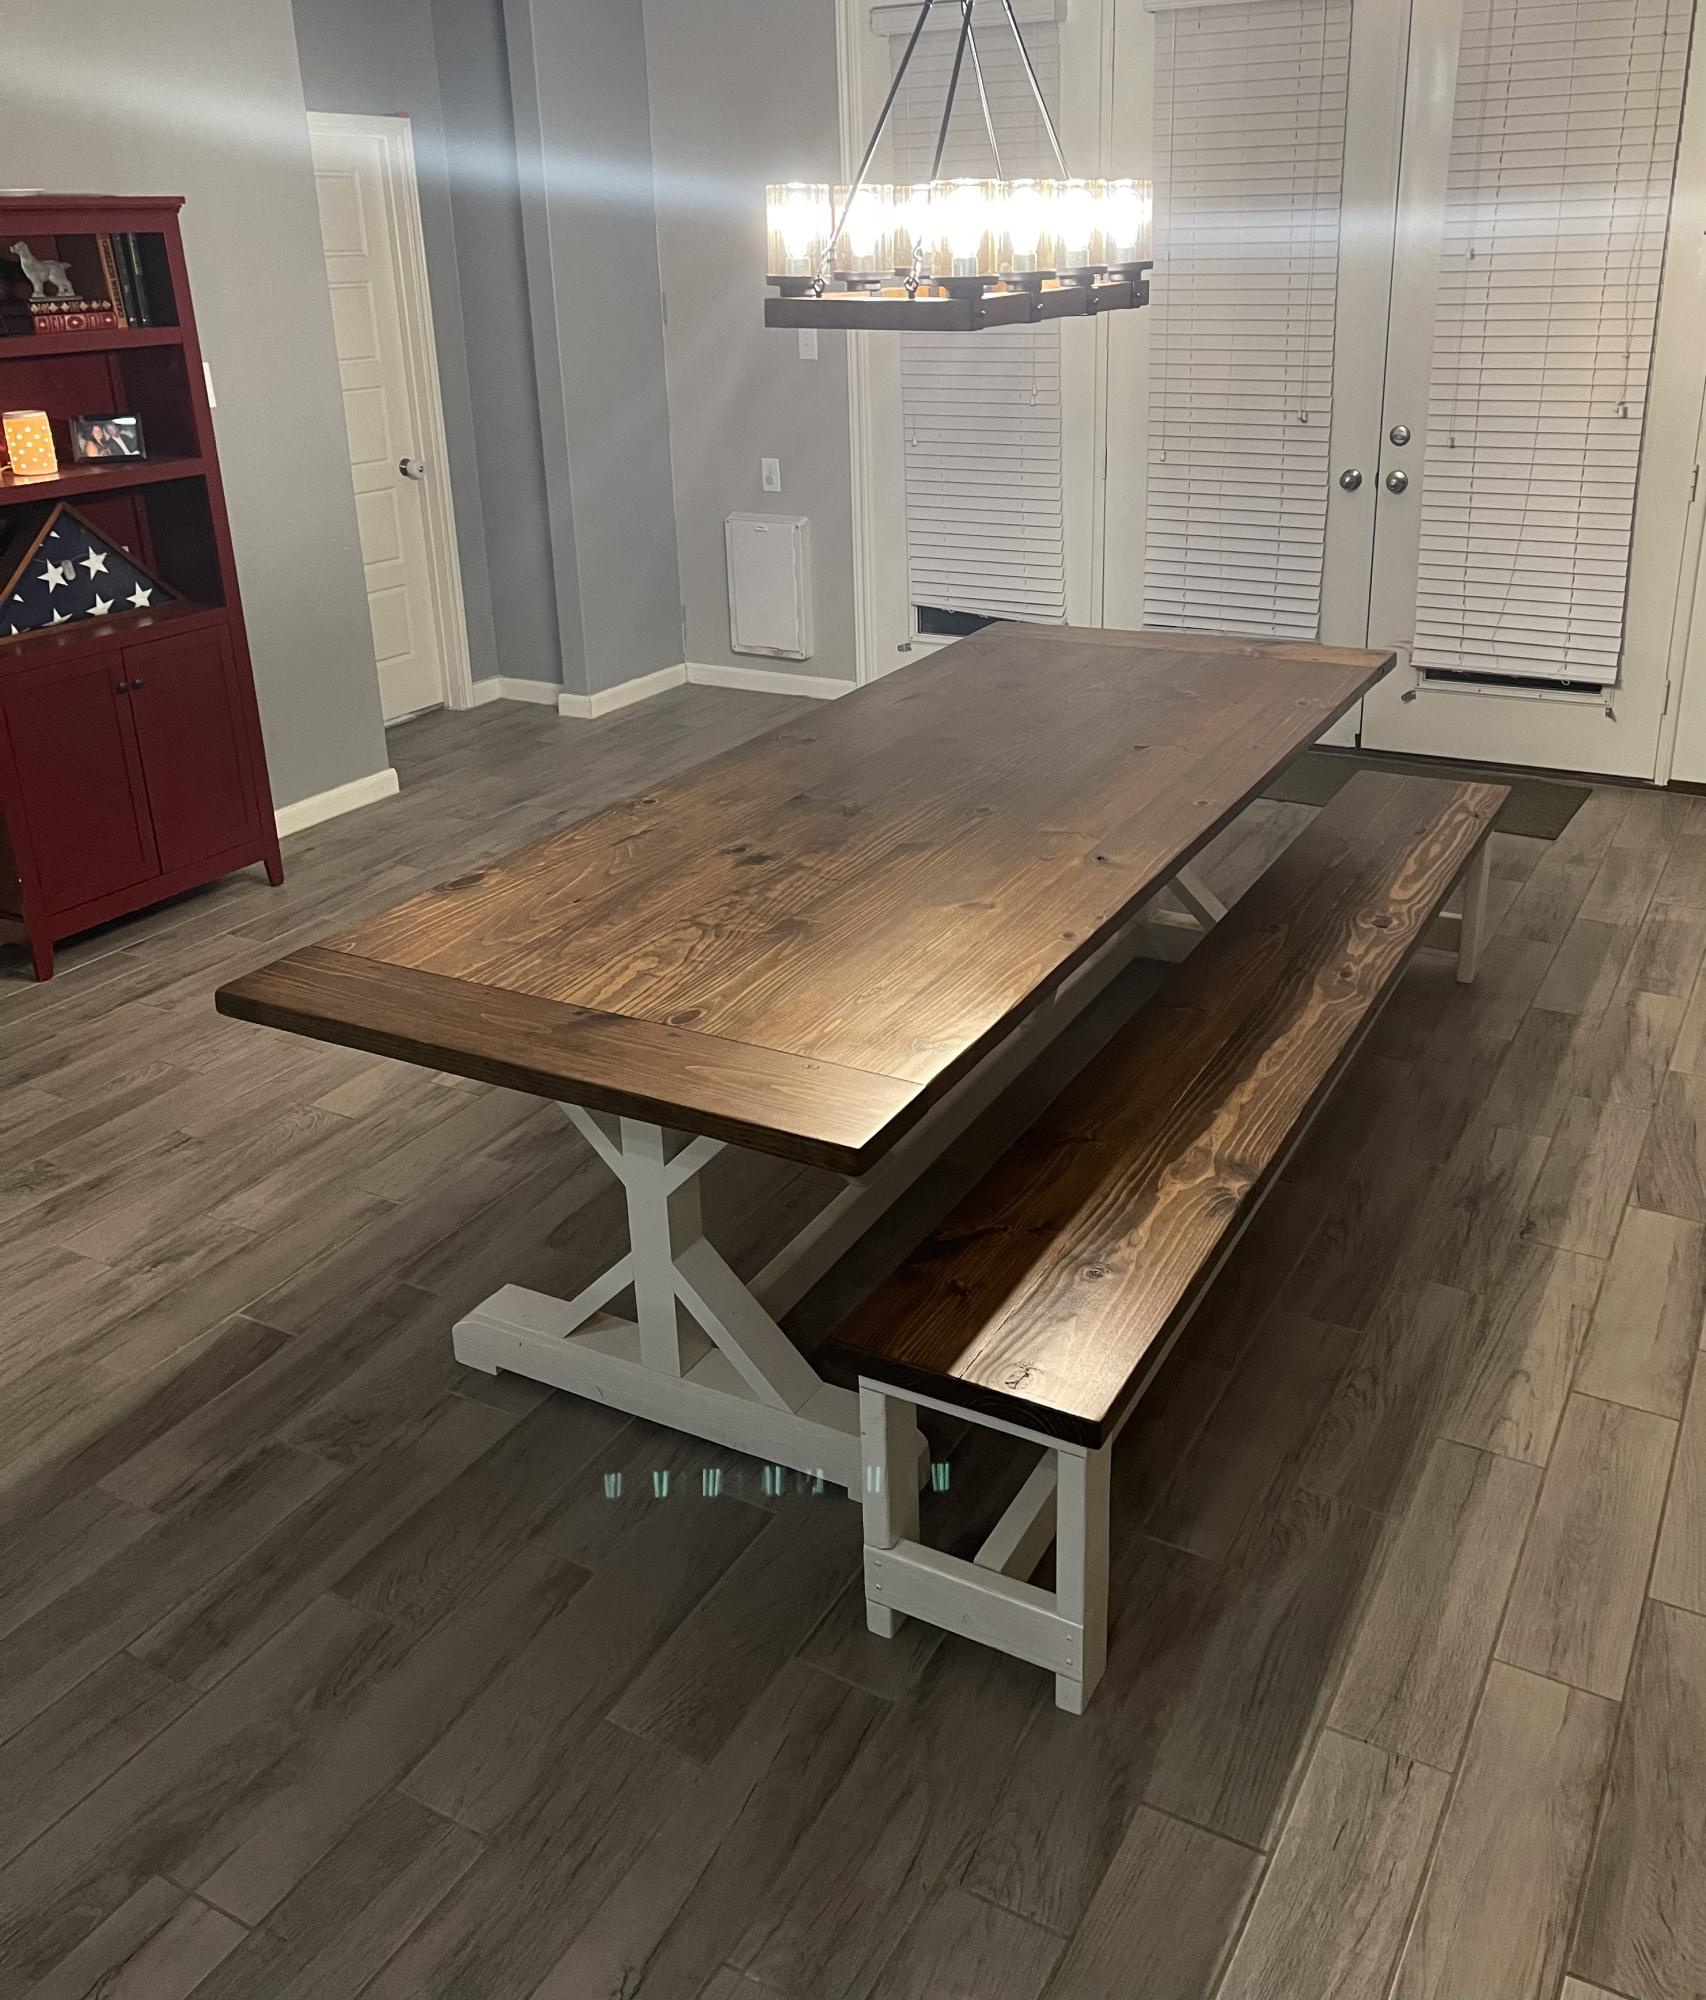
9 ft fancy x farmhouse table with breadboard ends.
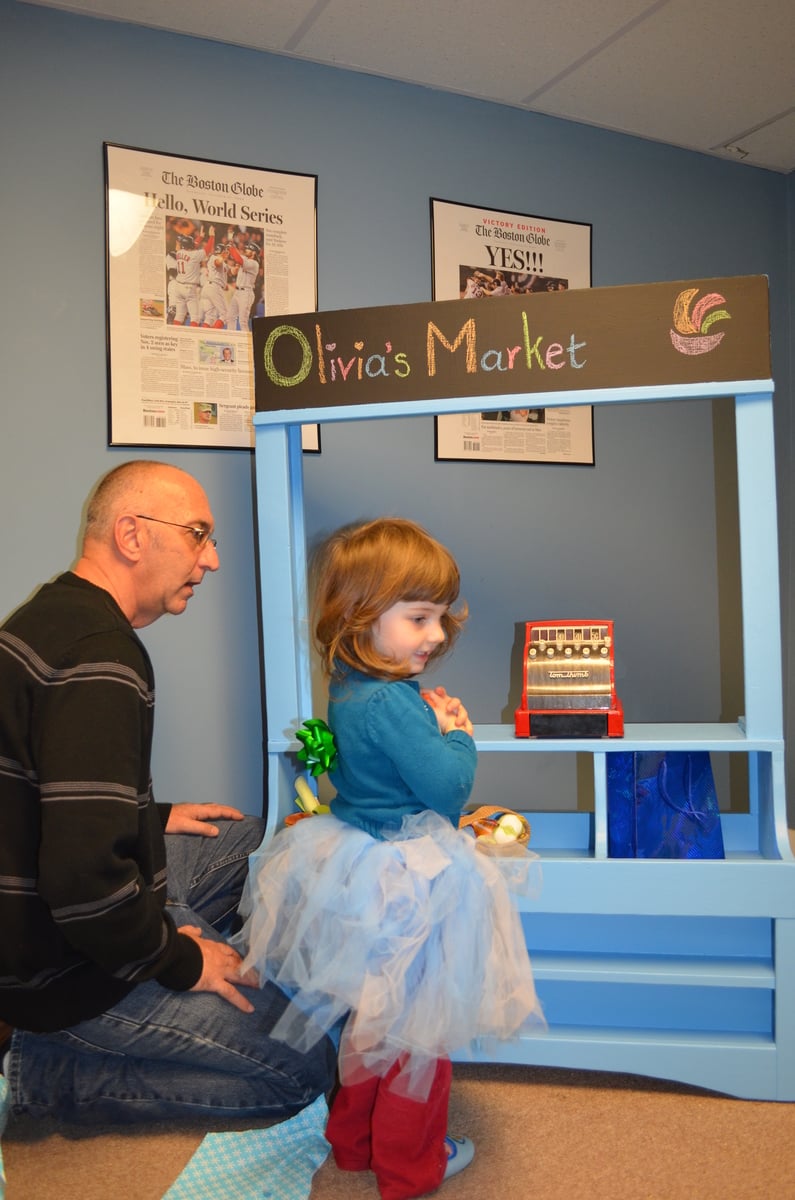
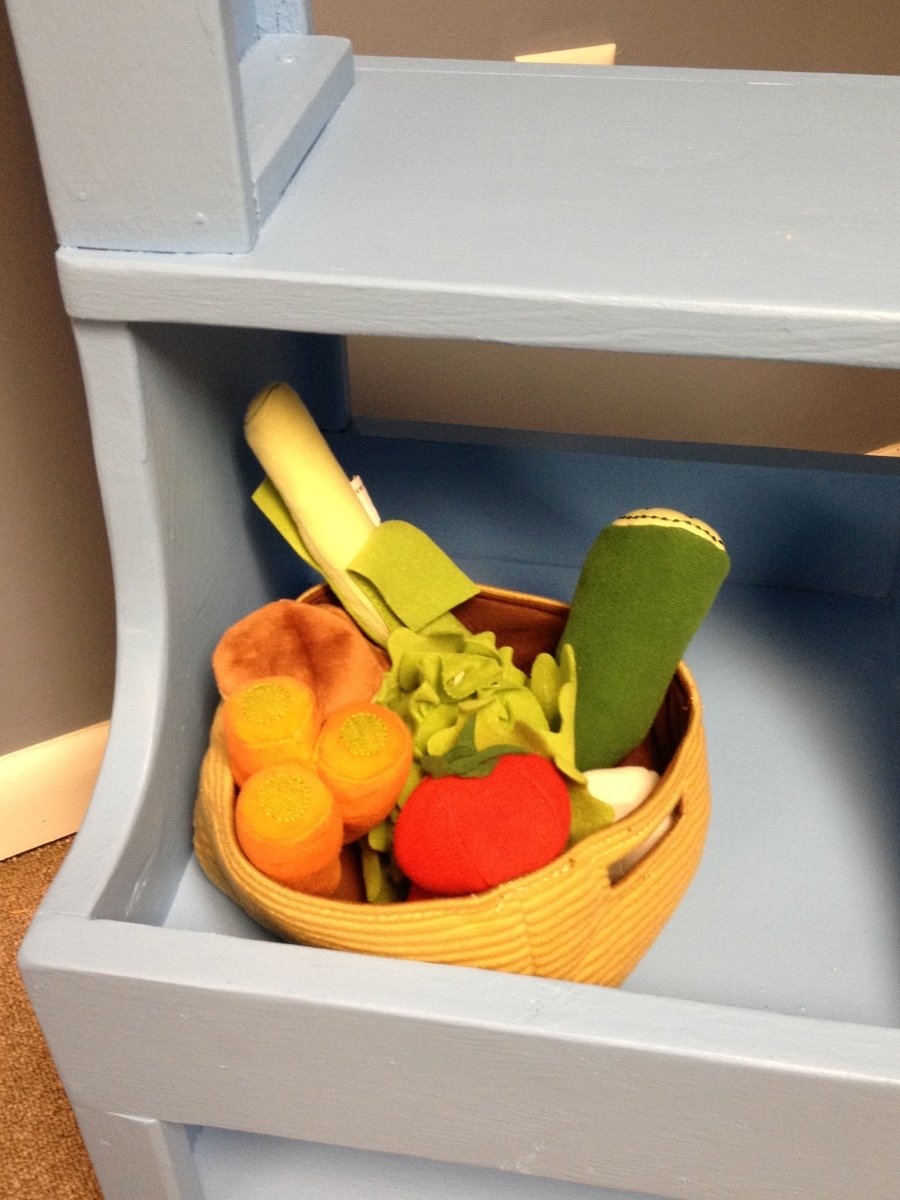
Santa's elves made this one just in the knick of time! Ana makes it impossible to not spoil this child :) I wish I had one of these when I was a kid, we used to play "store" all the time

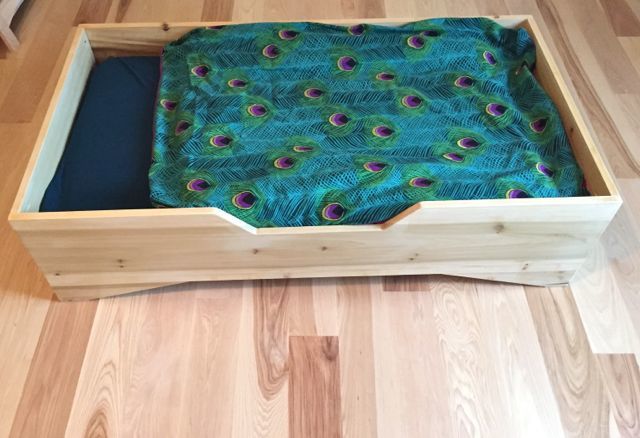
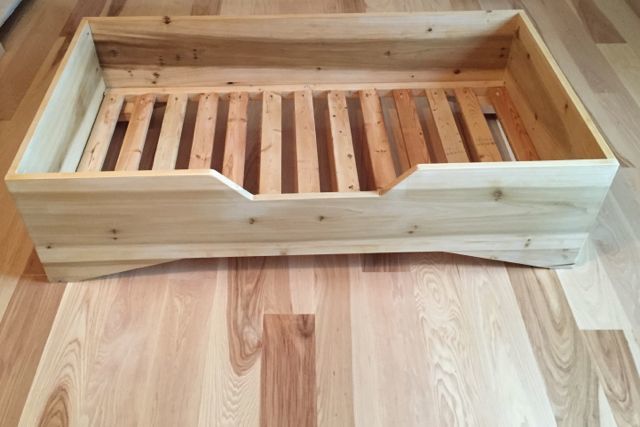
We used the idea of the traditional wood toddler bed but modified it to get the look we were going for.

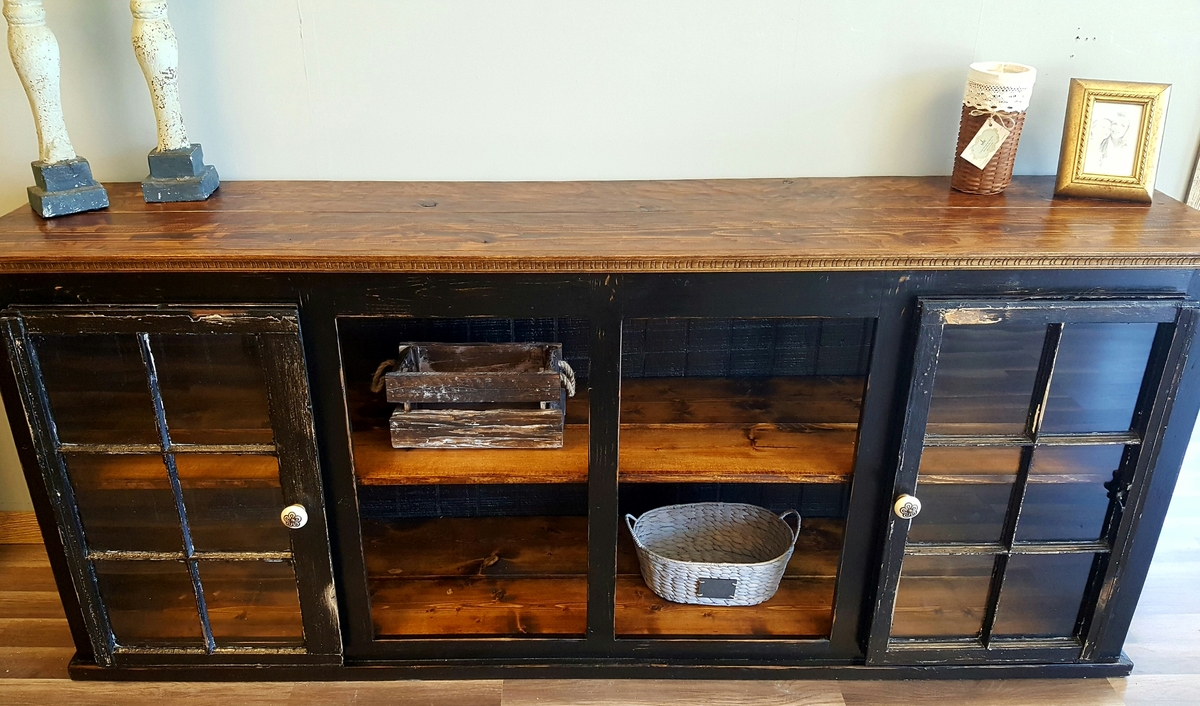
I took a different direction on the doors instead of using the barn doors I used old wooden windows in place of them.
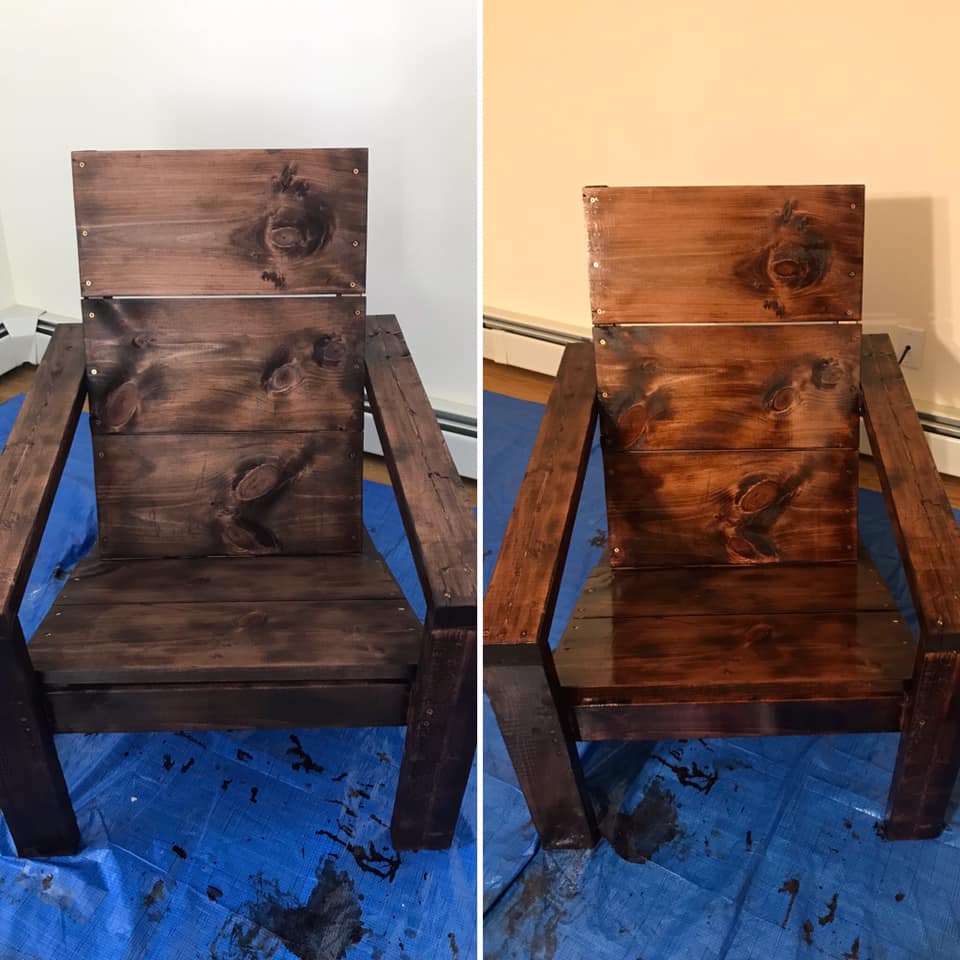
My first project using Ana's plans and they were easy to follow! I feel great about the project and plan to expand on it. I may double the width and make a little Adirondack bench seat!
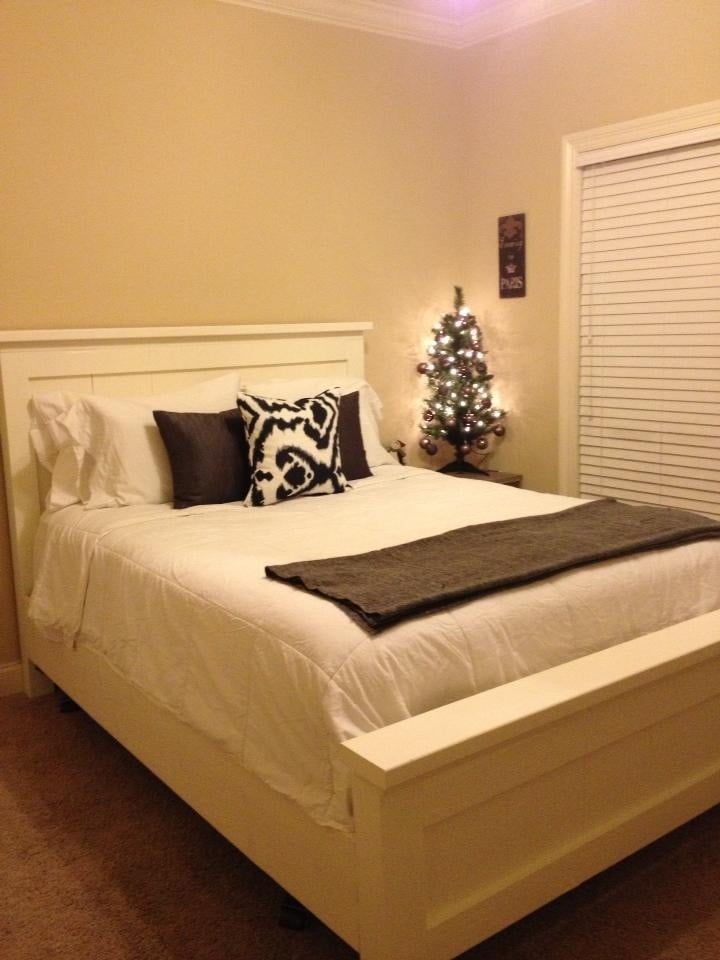
This project cost about 120.00 to make and about a weekend to build it. Plans make it very easy and it's beautiful and sturdy. I painted it antique white and used 1 coat of polycrylic on it.
Fri, 05/24/2013 - 17:18
This looks great! We're getting ready to make one in about 2 weeks.
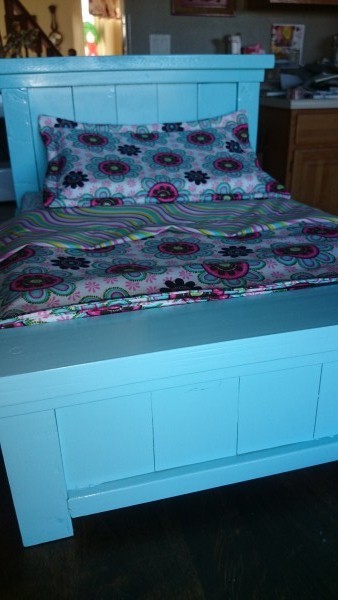
Paint color krypton blue ocean breeze gloss.
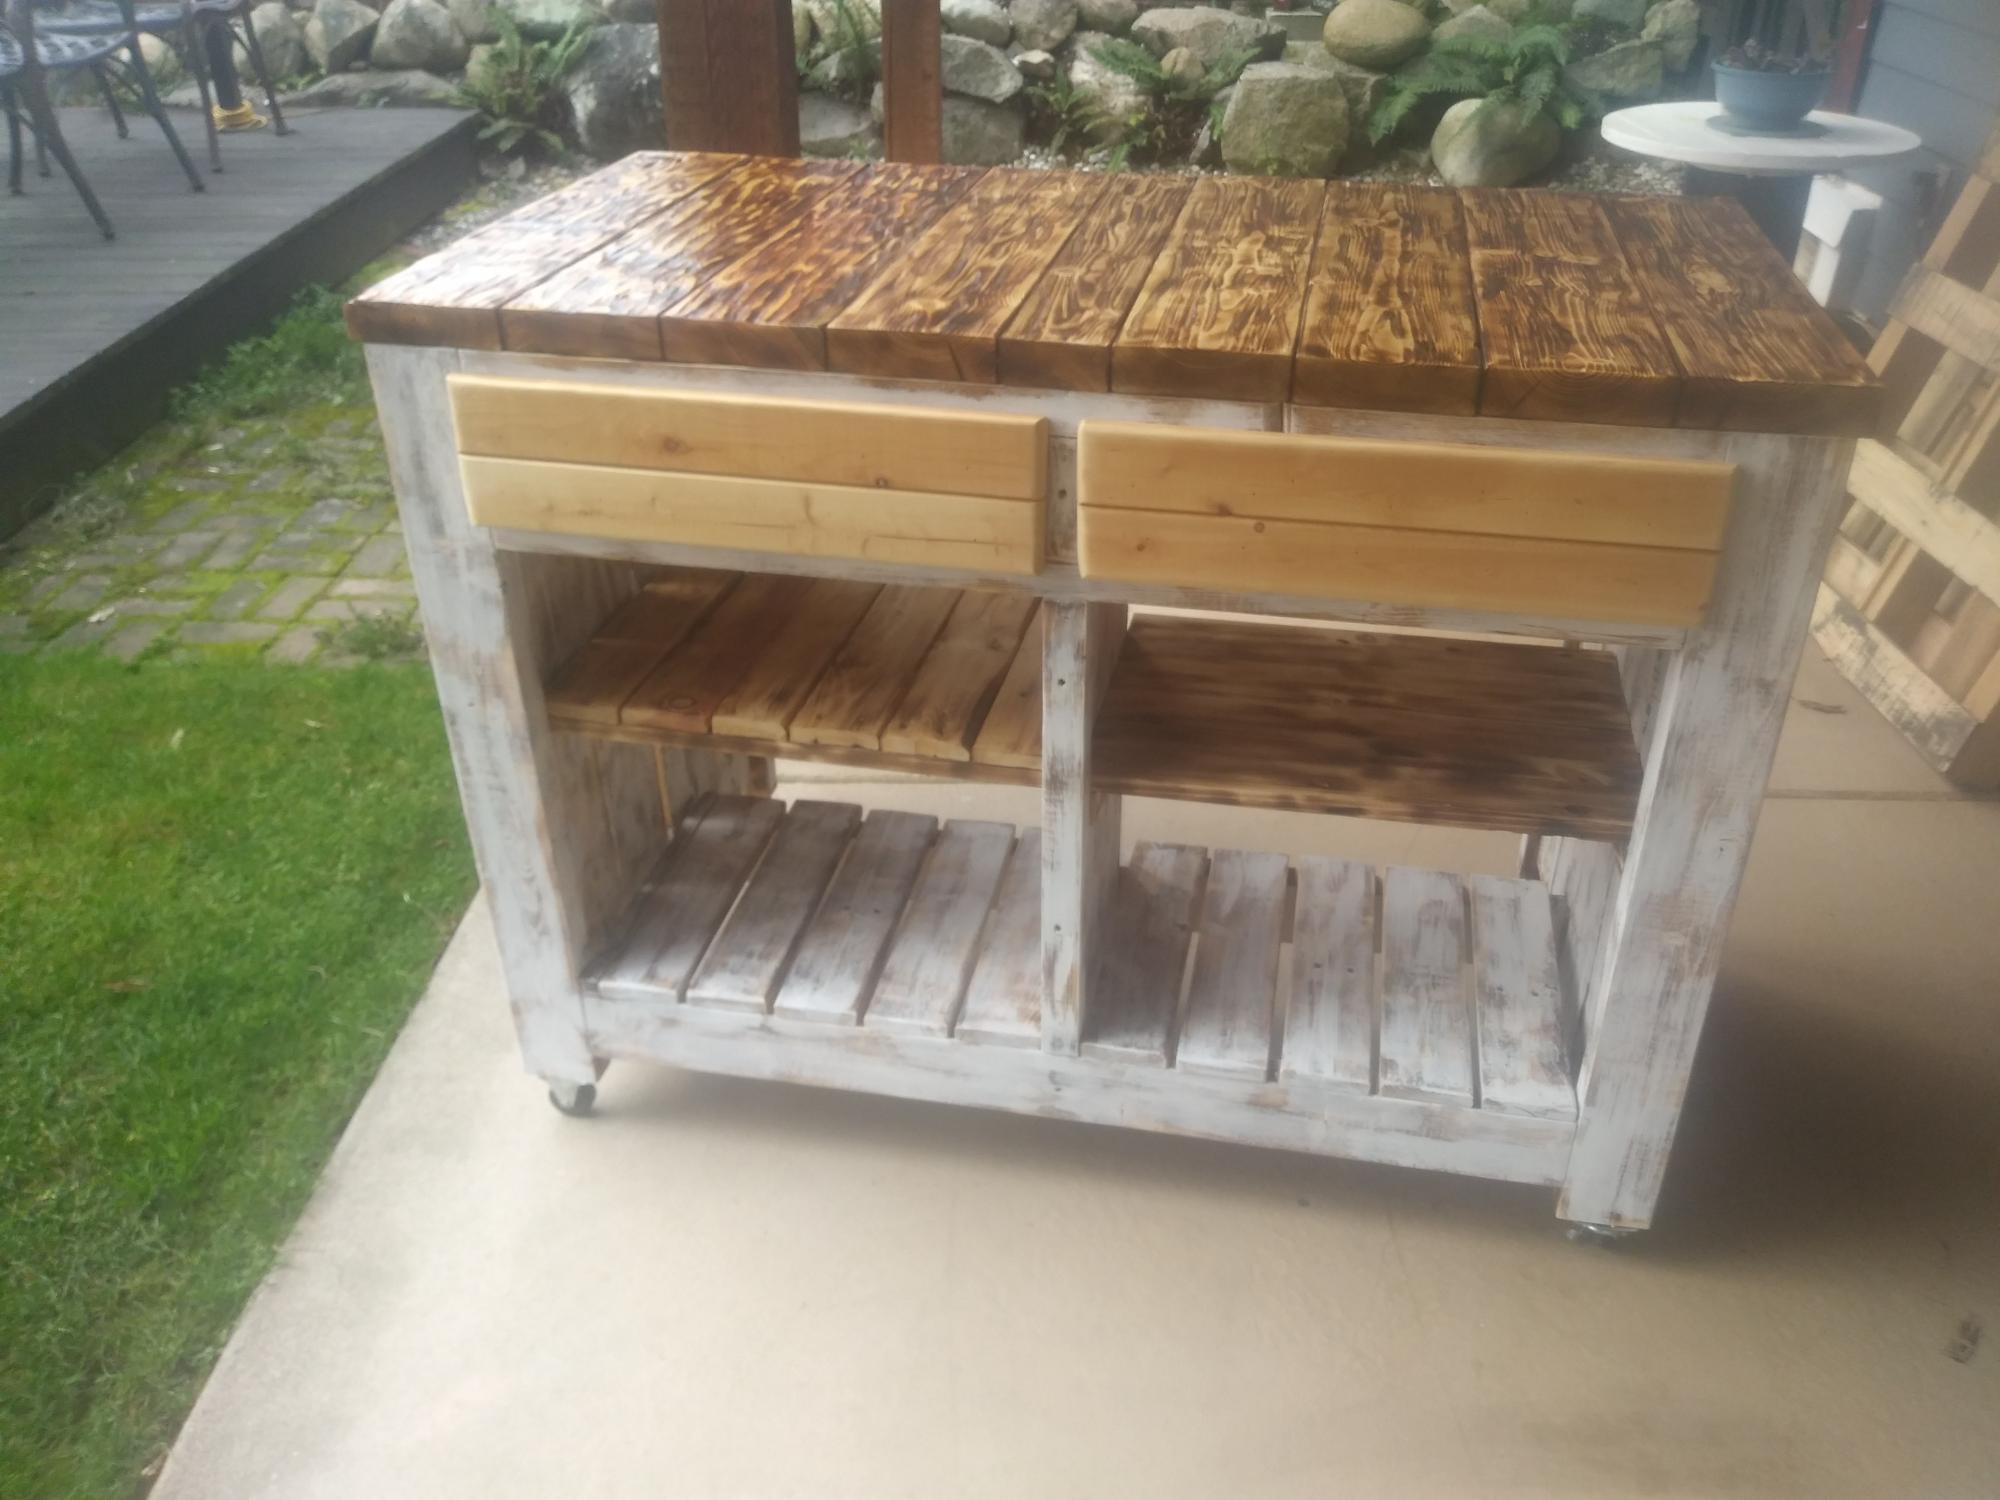
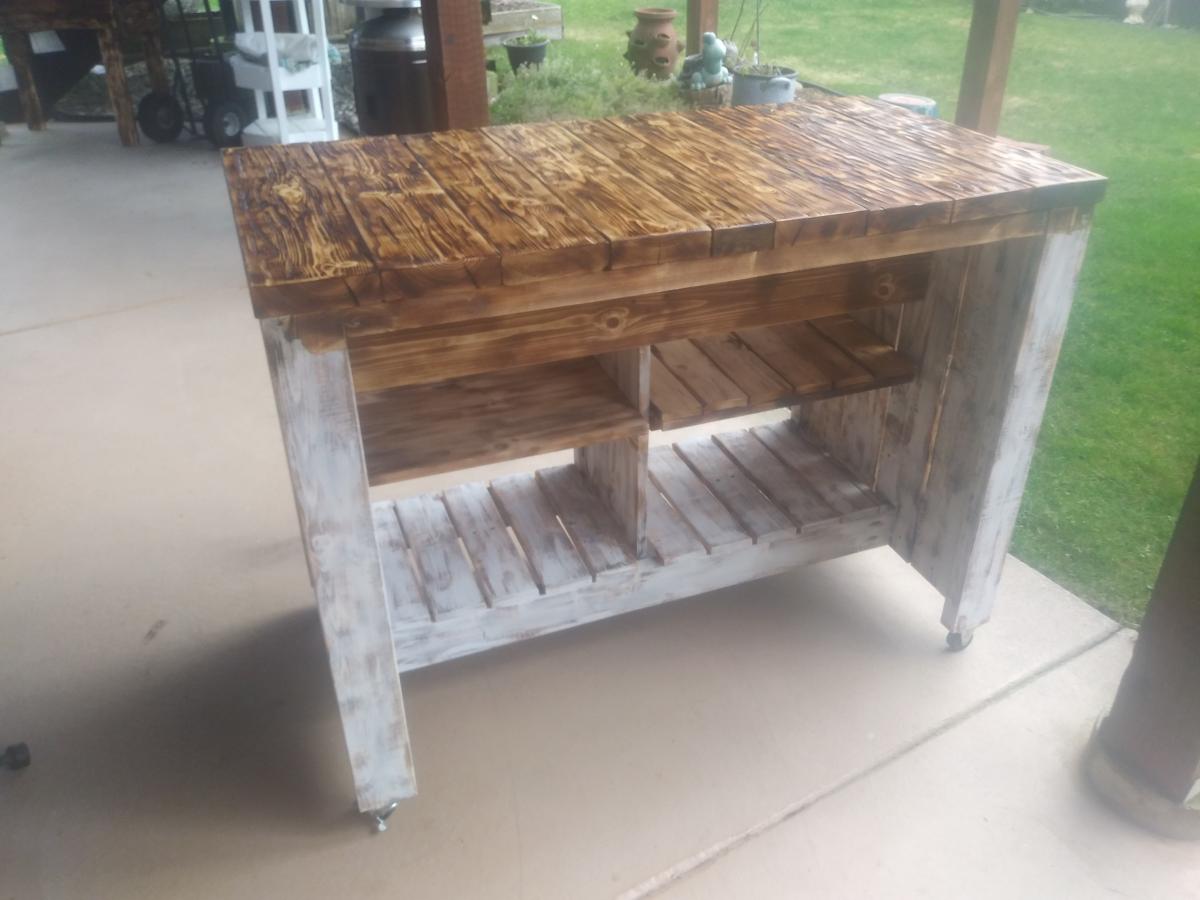
After following Ana Whit and other bloggers for a long time i figured my skills were at a level to try an advanced build like the Kitchen Island.. But i also wanted to challenge myself even more and was determined to make it from as much reclaimed wood as i could, mainly pallet wood.
With a lot of modifications to make it work i think I got a good result from these plans.
While i used as much reclaimed wood as i could, i still needed some clean 2x4's , 2x2's
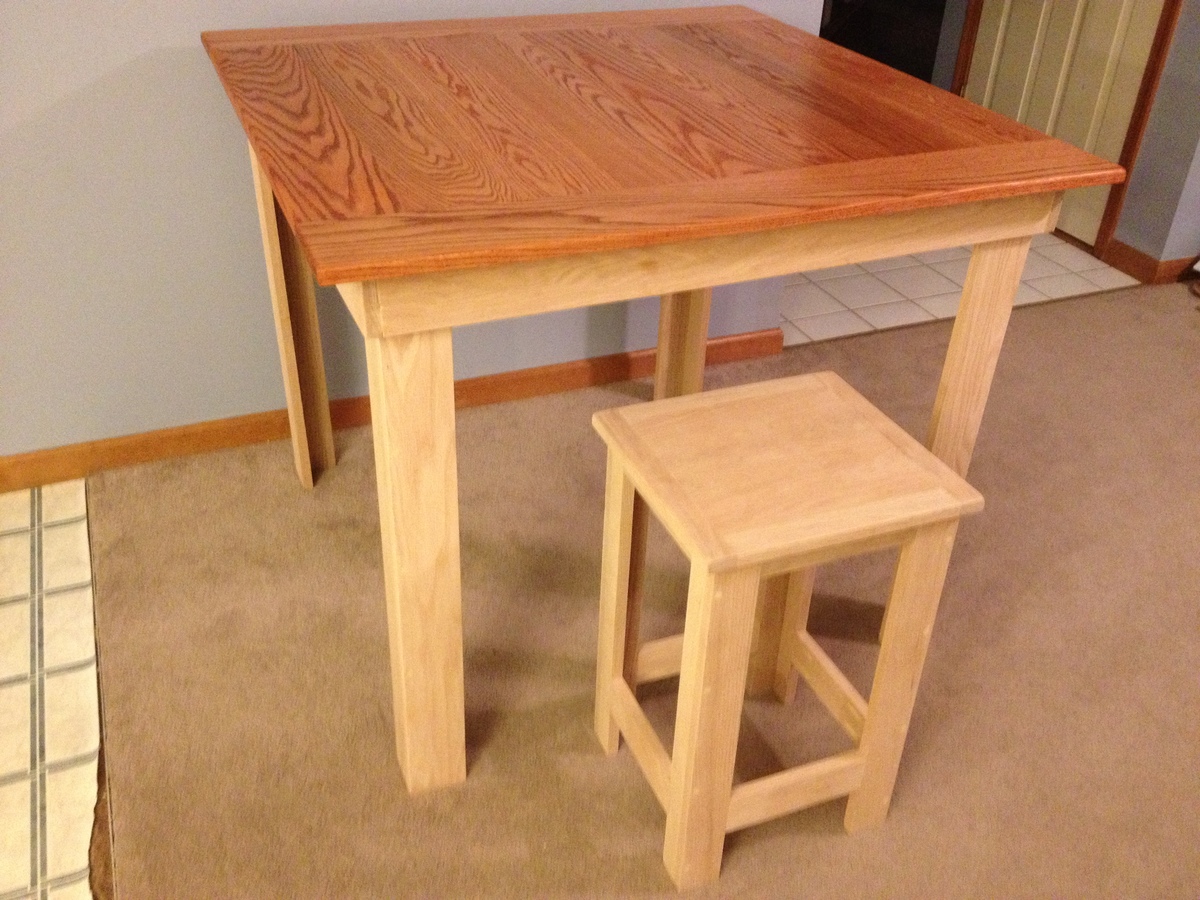
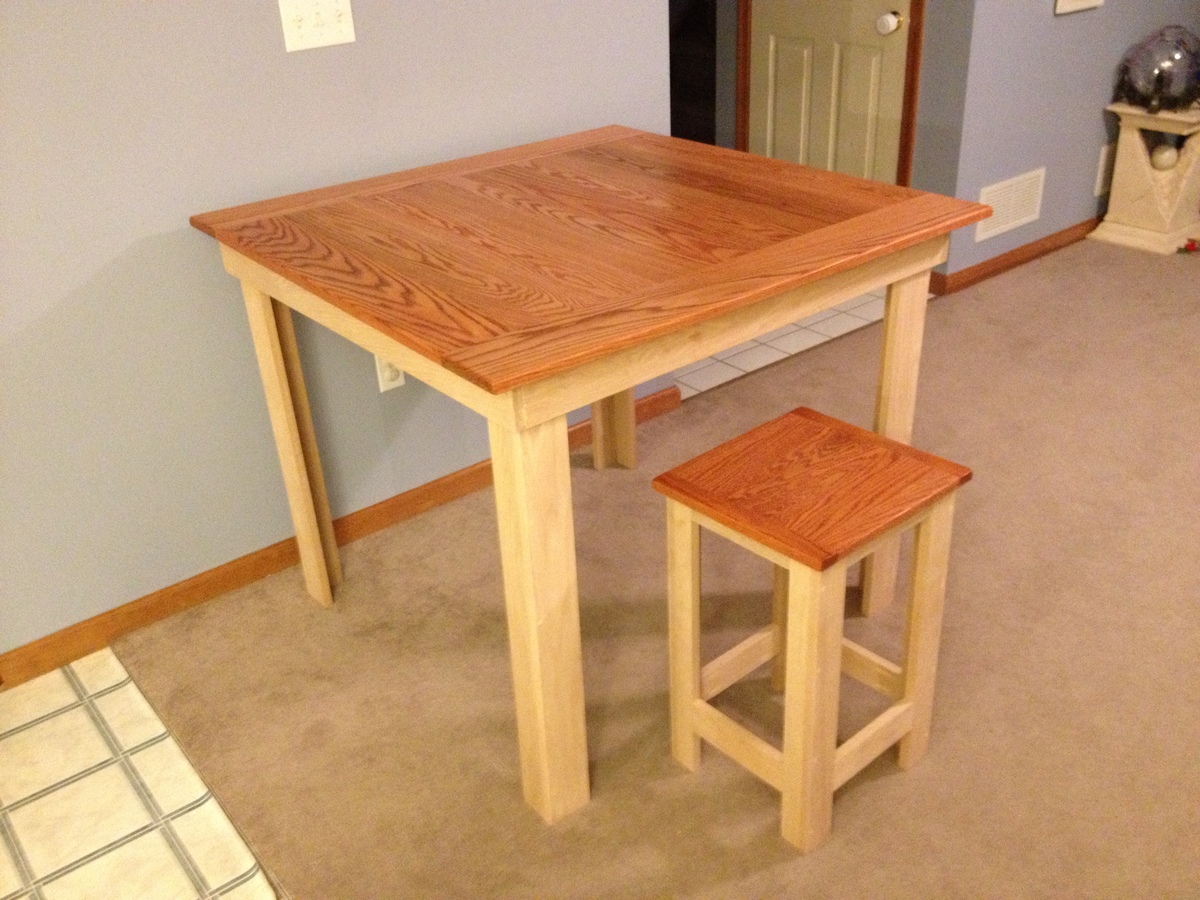
As stated in my table post, I just wasn't happy with what I was finding in the stores as nothing seamed sturdy nor made out of solid material. So I built a pub table and these stools to match.
I combined the stools from multiple projects and eventually just made my own measurements and mimicked the table construction that I made.
Although more expensive, I used Oak so it is sturdy and will take more than normal wear and tear (as I have three young boys under 10)
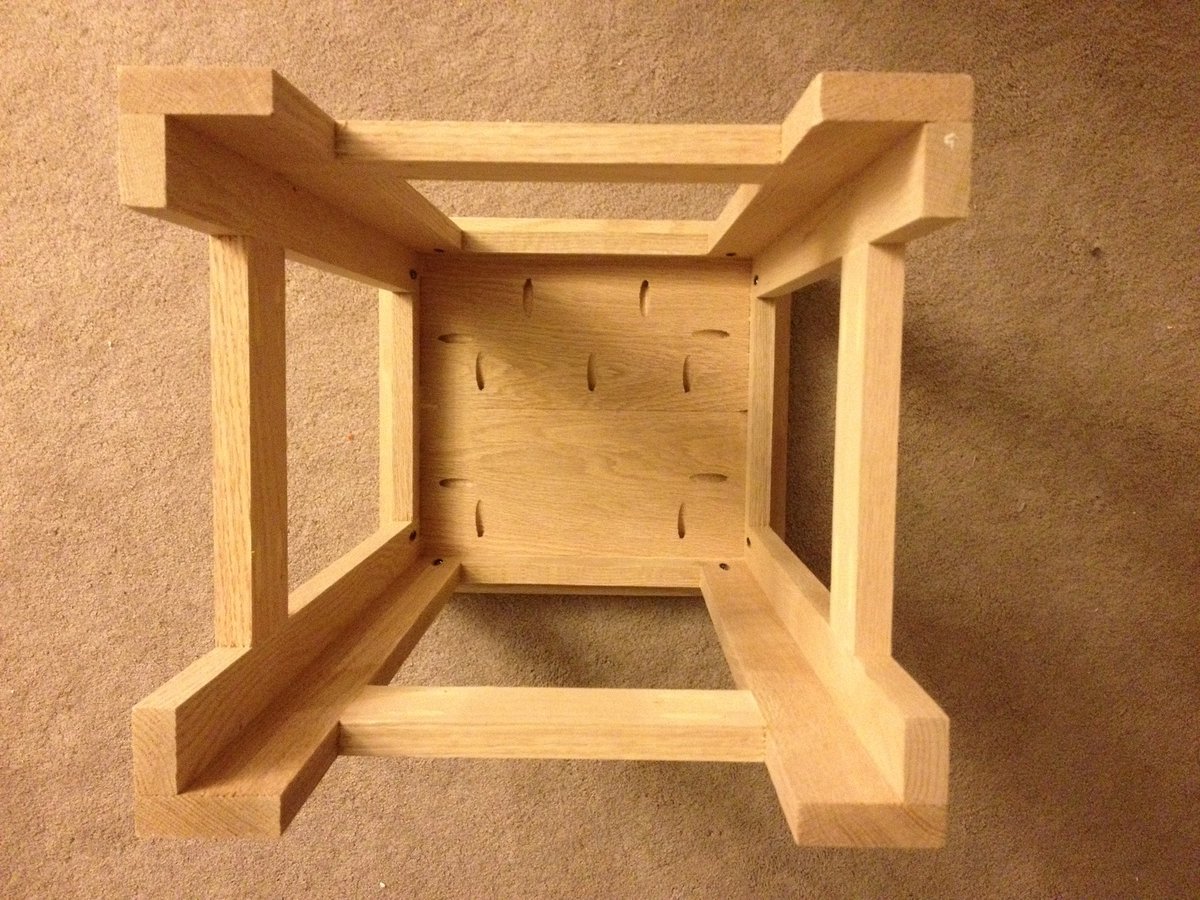
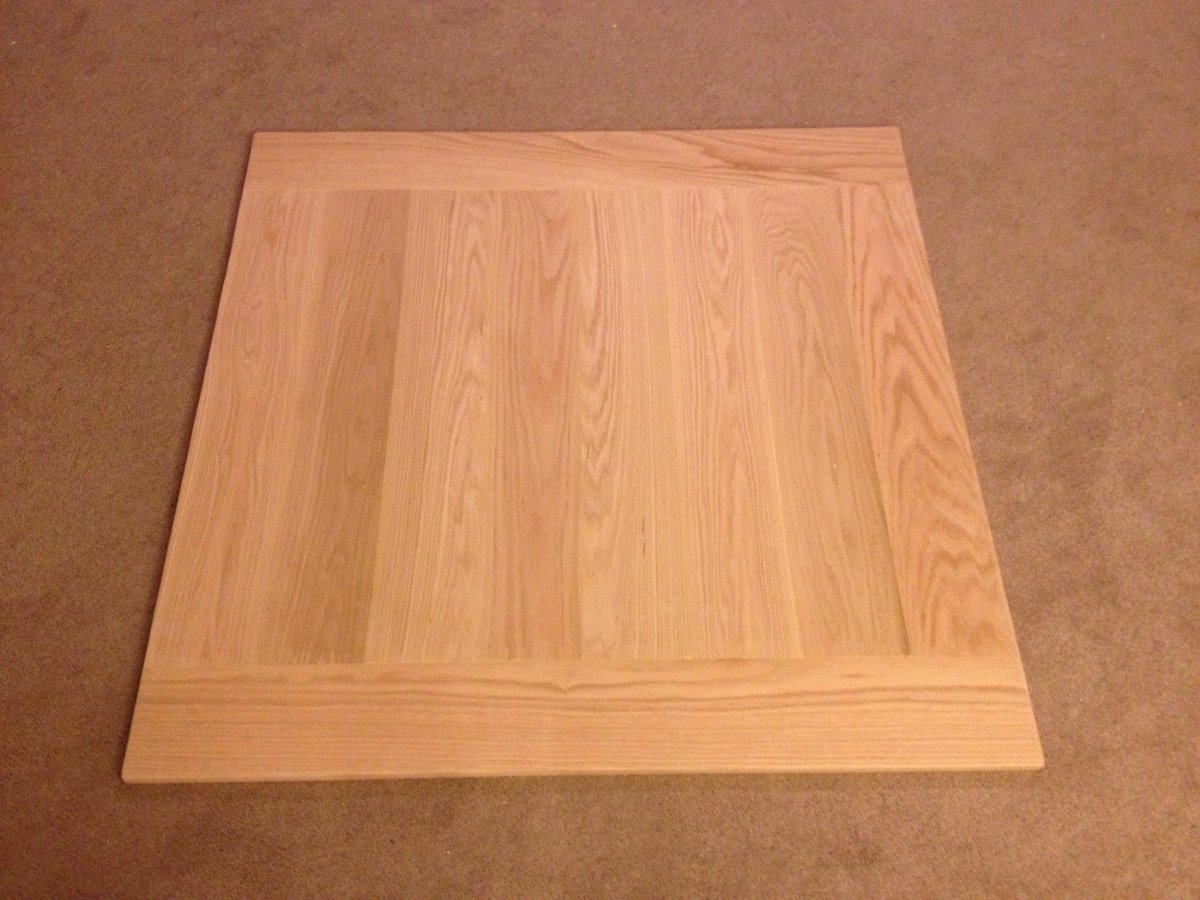
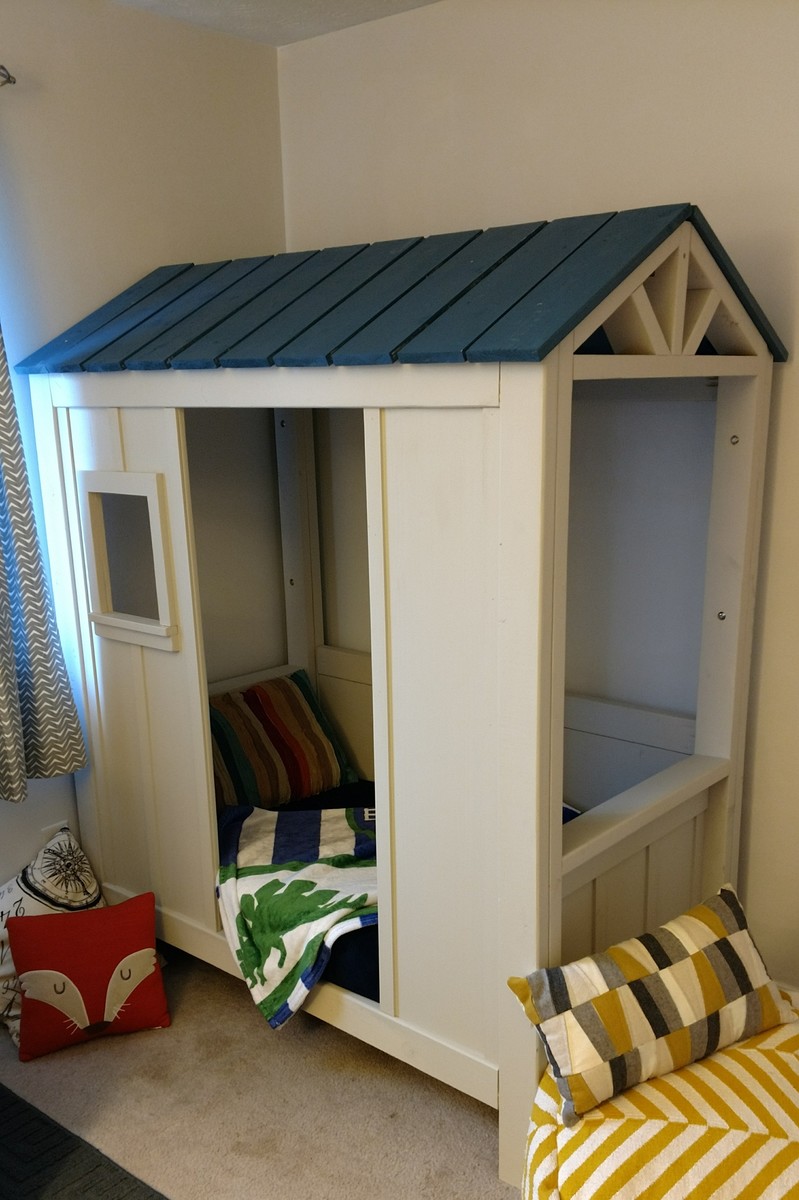
Loved the twin sized cabin bed but my grandson is a few years away from needing a big boy bed. Husband scaled down the plans and this is what we came up with.

I took Ana's Farmhouse potting bench plan and made it a workbench with some mods. I added the tool storage and adjusted it for different widths depending on the tools. I added some support under the tabletop to attach the tool storage piece. On the ends, instead of the X detail I built shelves for each end for added storage for screws and paint. Finally the pegboard back allows for more storage! The height is consistent with the height of my chop saw on my other workbench for when I need to chop longer boards. I am very happy with how this project turned out and it is now full and in use!


Fri, 01/29/2021 - 10:28
Nice job on this! I think the mods really are great and practical, you're a genius!
Mon, 05/09/2022 - 07:21
True inspiration! Love love love it and stealing it for my garage!!