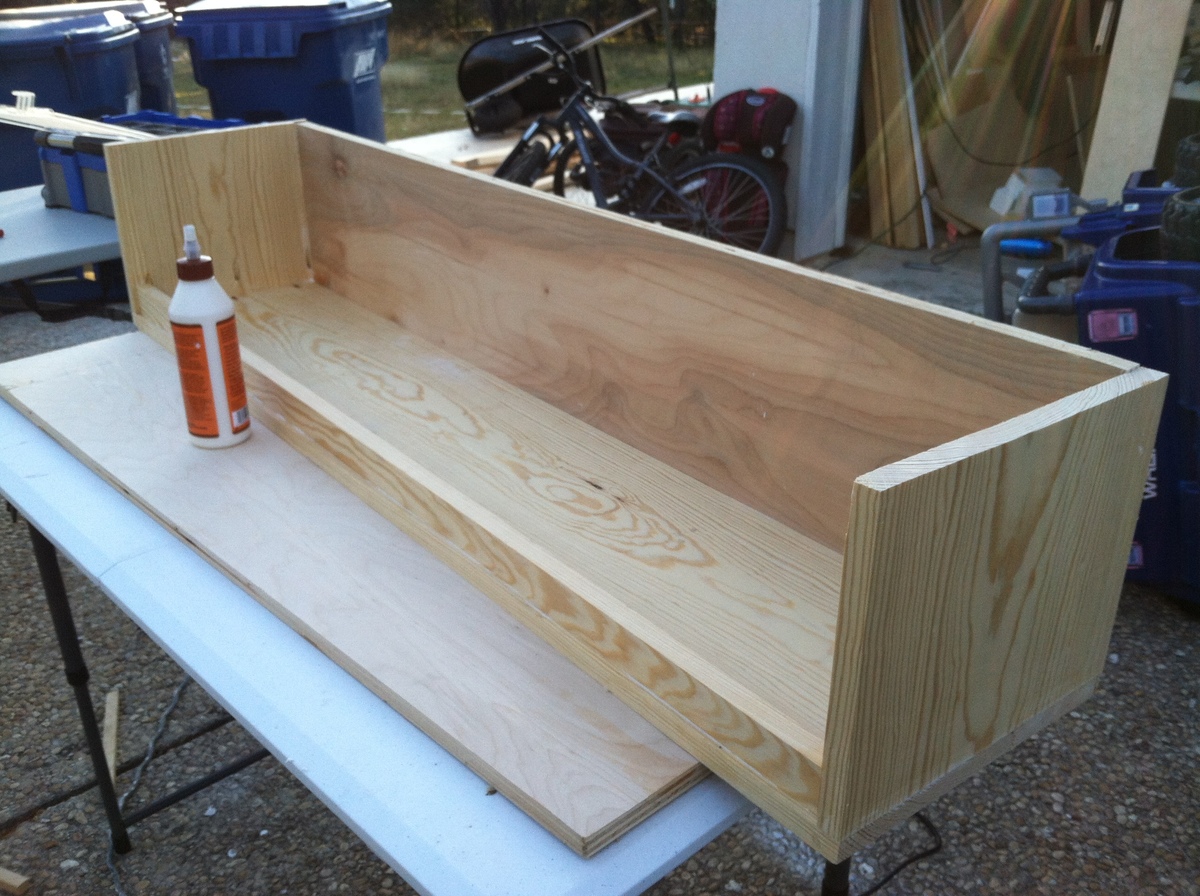
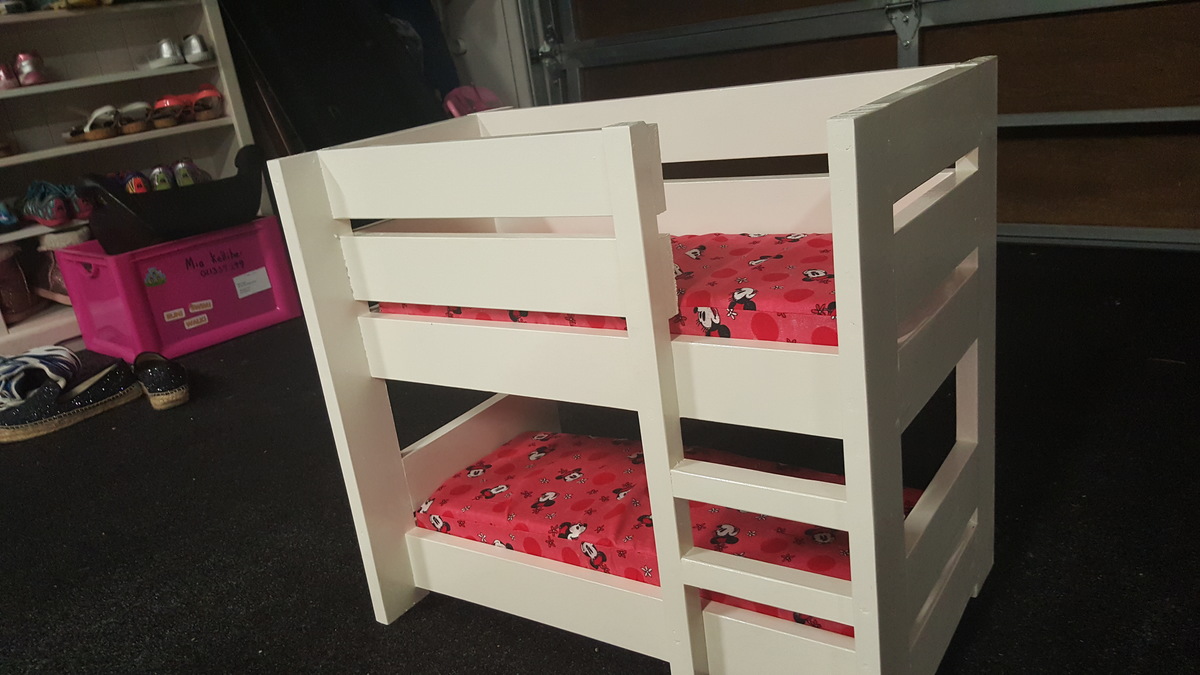
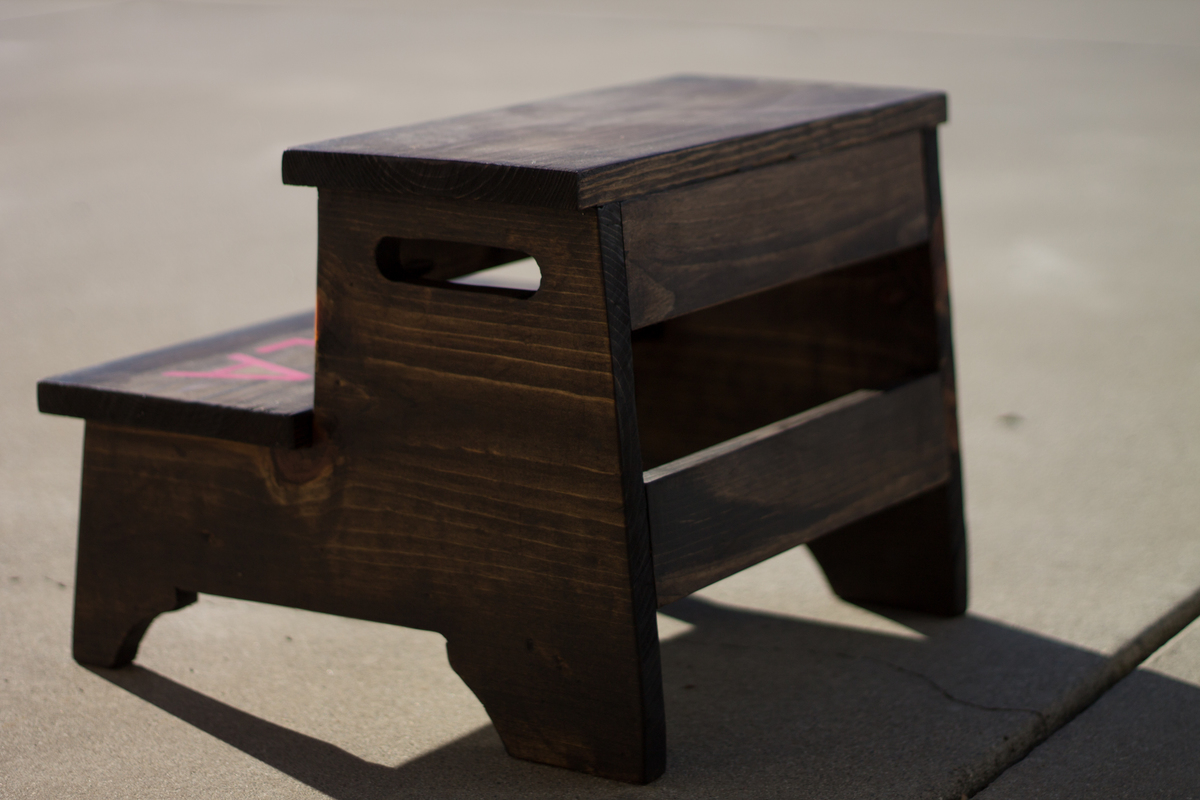
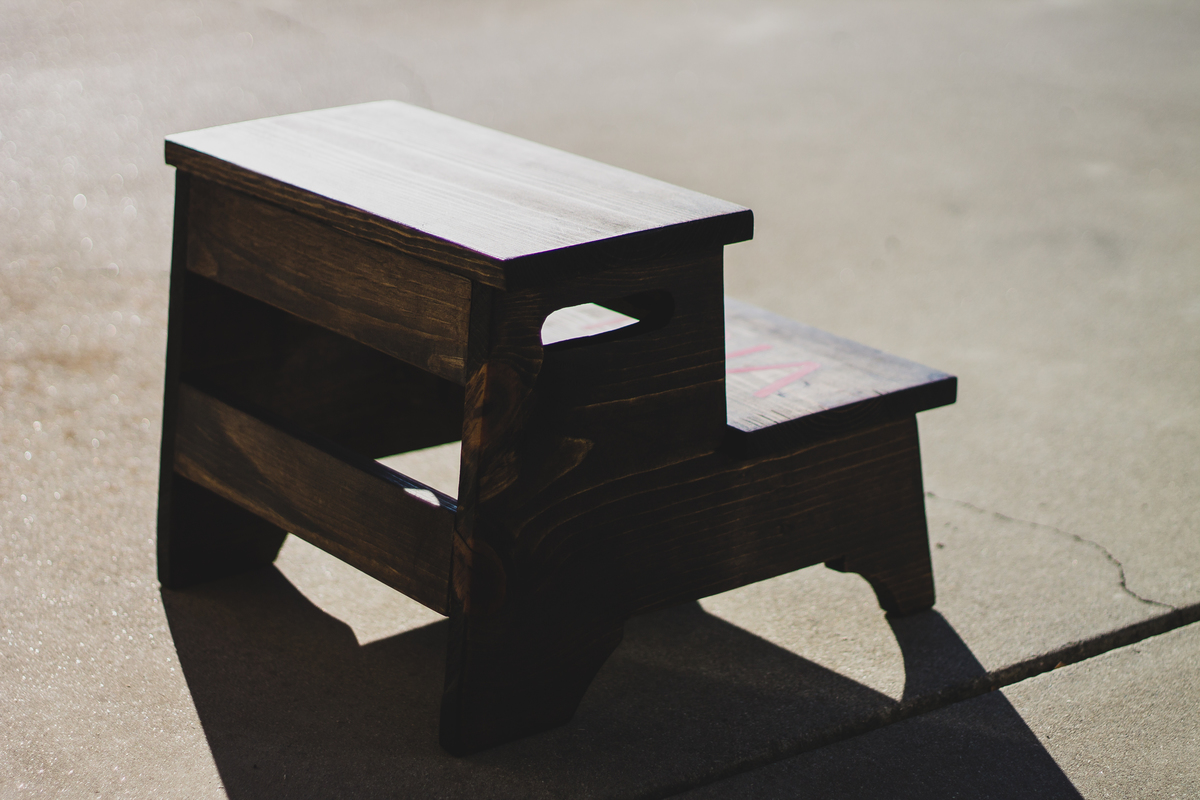
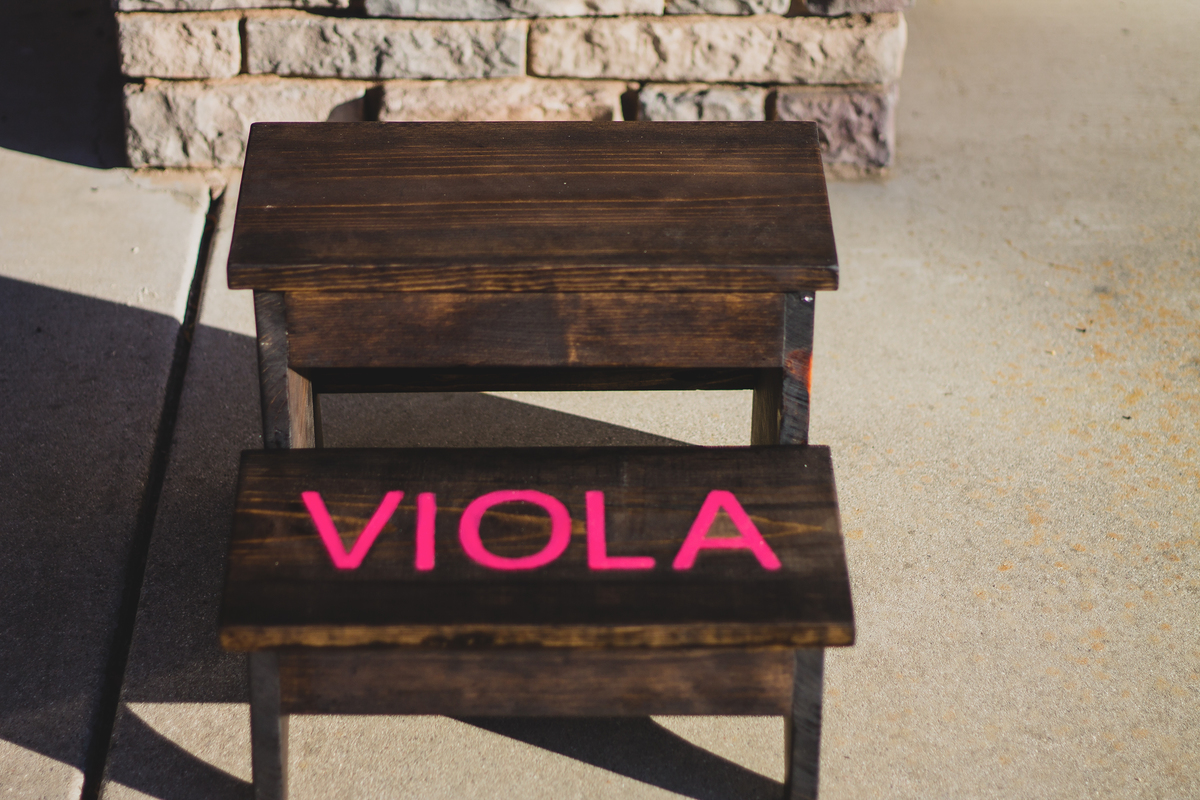
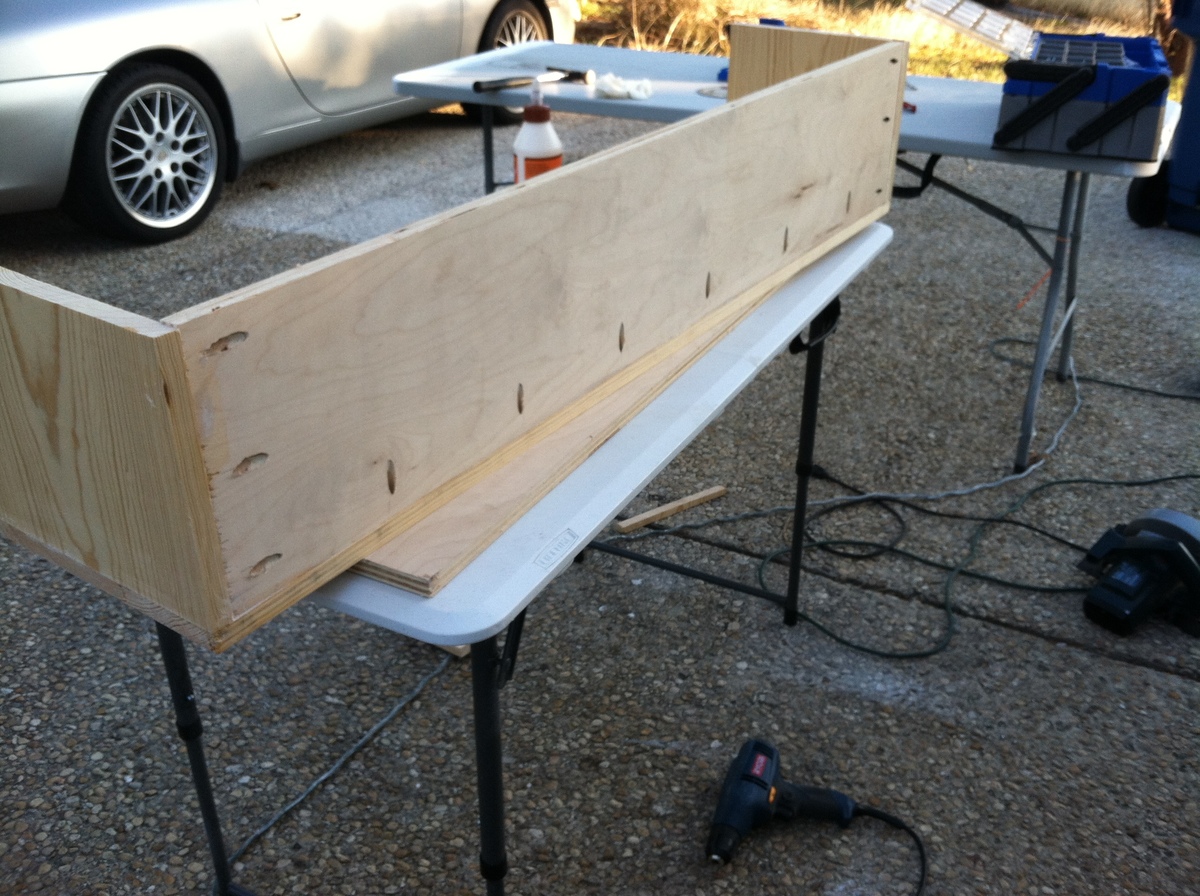
Community Brag Posts

Raised Garden Beds

Submitted by kari on Sat, 03/12/2011 - 09:54

I made these last summer for my sister. And she didn't even use them yet! Very easy to make. She did want them taller, so that is the only modifacation I made. We're hoping the bunnies won't notice all the yummy veggies up this high :) I know, probably wishful thinking. Makes a great kid corral too.

Estimated Cost
it's been a while
Estimated Time Investment
An Hour or Two (0-2 Hours)
Finish Used
none
Recommended Skill Level
Starter Project
Seasonal And Holiday

Outdoor patio table

Submitted by Sjhunt on Sat, 04/25/2015 - 16:23

My family of 6 needed and outdoor table that would fit us all. The weather in Arizona is beautiful right now, so I decided to build this so we could enjoy it before it gets too hot. A big thank you to Ana White and the Shanty2chic sisters for this beautiful table. 

Built from Plan(s)
Estimated Cost
65.00
Estimated Time Investment
Day Project (6-9 Hours)
Finish Used
Red mahogany
Recommended Skill Level
Beginner

Small version of the X coffee table

Submitted by ErinRN on Thu, 09/07/2017 - 10:01

I loved Ana's version of the coffee table but it was way too big for my space, so I scaled it down quite a bit and it fits perfectly!

Built from Plan(s)
Estimated Cost
$100
Estimated Time Investment
Weekend Project (10-20 Hours)
Finish Used
Minwax stain in Dark Walnut with several coats of semigloss poly
Recommended Skill Level
Beginner

King Size Farmhouse Bed and Nightstands

Submitted by jck363 on Tue, 10/05/2021 - 22:07

This was the biggest project I have made to date. The plans made it almost easy. Thank you very much!

Comments

Playhouse Loft Bed with Stairs

I built this bed for my twin daughters right after Christmas. It was the first big wood project that I've ever attempted in my life. I was surprised at how easy it was to build and how great it turned out! It looks much harder to make than it actually was. We plan to eventually put a second twin mattress under the bottom, but for now that space is a playhouse. I put carpet on the storage stairs by cutting up a rubber-backed bathroom rug and using the pieces to cover each step. I hung Christmas rope lighting inside the play house. It took me about 2 days to construct the bed and about a week to paint and finish it (with 6 children under foot-otherwise could have been much faster!) Fun project and EASY plans! (Thanks Ana!)

Estimated Cost
just under $300
Estimated Time Investment
Weekend Project (10-20 Hours)
Finish Used
used the Disney princess paint colors (lavender outside, pink inside) from Home Depot
Recommended Skill Level
Intermediate

My BIG tidy-up coffee table

Submitted by Bunnie1978 on Thu, 05/30/2013 - 14:30

This is a little bigger than the plan, especially in height.... leave it to me to make things WAY more complicated than they need to be! The trundle is made from 3/4" plywood, but the faux drawers are done with 1/4" plywood. Everything is pine. I wanted to have a nice dark warm cherry color for the finish, but it didn't quite turn out the way I wanted. I am still very proud of myself, but next time I'll use a better wood, like maple or cedar maybe. It's not perfectly square, so if I try to turn the trundle in the other way, it sticks a bit. I like that I can shove it against the wall and plop some pillows on it and turn it into a bench if I have people over.

Estimated Cost
100
Estimated Time Investment
Week Long Project (20 Hours or More)
Finish Used
Minwax red mohagany
Recommended Skill Level
Beginner

Comments

Farmstyle Table based on Ana's plans

Submitted by NaasMarais on Tue, 09/12/2017 - 02:03

This table is made out of Solid Oak and took me +- 6 weeks to complete.

Thanks to Ana White for the plans as I followed them to the "t" with some minor changes in the size

Final size is 10ft long x 47 1/4 inch wide and 29 9/64 inches high

Built from Plan(s)
Estimated Time Investment
Week Long Project (20 Hours or More)
Finish Used
Rubio Monocoat Oil 2C - Natural Color
Recommended Skill Level
Beginner

Farmhouse Bench

Submitted by Anonymous (not verified) on Thu, 10/07/2021 - 03:47

I used the plans from the site and it came out perfectly! Didn’t even make a wrong cut-pretty good for a super beginner.

Built from Plan(s)

Comments

My First Project

Submitted by mamiweber on Tue, 03/15/2011 - 19:08

Farmhouse coffee table. My 1st project! Took me a year to finally get the finish just right. We love it.

Built from Plan(s)
Estimated Cost
$50
Estimated Time Investment
Weekend Project (10-20 Hours)
Finish Used
1st stained with Ebony and then sanded some off and restained with a mahogony. Sealed with a high shine polyurethane.
Recommended Skill Level
Beginner

Hello...Here's my version of the Kentwood Twin Bed. My first project!

Submitted by philliB on Sun, 06/02/2013 - 13:02

My first project using an Ana White plan and the first time using a Kreg jig (love that little blue thing!). The plan is pretty much straight forward. I had a great (but exhausitng) time building this bed for my 2 year old son. It was pretty easy and I did everything myself. Lowe's didn't cut my boards...I did! Bought a circular saw just for this project.

My only complaint is that 2'' wood screws are not on the posted "shopping list" and are needed for the side rails construction. It is listed in the step by step instructions, but if you are shopping for this don't forget to add this to your list of needed items. I got to the side rails and had to go back out for wood screws before I could add the cleats. Also, if I had to do this project over again, I would sand the plywood panels BEFORE constructing the head and foot boards. My reason being that I used wood stain. I've learned that plywood stains best when it is sanded to a smooth finish and pre-treated with wood conditioner. Once assembled, the slats on the head/foot boards make it impossible to sand the plywood with a power sander (too narrow). I had to manually sand between each slot...talk about tiring! No other glitches though! This was a fun project and the instructions were great and easy-to-follow.

I used Minwax water-based wood stain to finish my son's bed. I had it tinted at the paint desk to charcoal gray. In the store it looked very driftwoodish. However, it came out looking more blueish on the bed. I still like it though and my son loves it. I would wipe the stain on and keep it on no more than 20 seconds before wiping the excess off. I wanted the grain to show through really well and after many, many test pieces this seemed closest to what I was looking for.

In case anyone is interested, the striped fitted sheet, flat sheet and pillowcase are from Target (Target brand for $14.99 I think). The red, gray and black comforter are from Walmart.com (Style Lounge Reinforcements Grey/Multi comforter for $58). I had painted the room white with a fat black stripe shortly after moving into the house. I couple of years later we found out that we had my son on the way to we turned that room into the nursery. I primed part of the stripe and hand painted his first and middle name to overlap the stripe so that it all looked it was painted at the same time. The gray and black area rug was also from Walmart (we bought it in store about a year and a half ago...don't remember the style's name).

Thanks for looking!

Built from Plan(s)
Estimated Cost
$120 - This amount could have been cut significantly if we had more tools/supplies to start with...plus, I overbought some wood b/c I thought I would mess up some cuts (I didn't...yay!)
Estimated Time Investment
Weekend Project (10-20 Hours)
Finish Used
Water-based Minwax Wood Stain tinted a charcoal gray. Put on with a foam brush and wiped off excess with disposable blue shop towels.
Recommended Skill Level
Beginner

Harriet Chairs (by me)

Submitted by Medickep on Fri, 05/01/2015 - 09:01


I'm pretty happy with the way these chairs turned out.  It was a fun project as I did a few first, which included going to the fabric store (long waits) and got to tackle some upolstery for the first time!  I did end up with a few glue drops that did not take the stain, so I'll be researching tips and tricks to prevant that in the future!  


Also, I made these out of Popular, which pre stain was a must for cherry stain.  Next time, I would use Cherry!

Thanks to Joanne S for the original post and consults regarding the upolserty!!

Built from Plan(s)
Estimated Cost
80-100/chair (depends on materials used)
Estimated Time Investment
Weekend Project (10-20 Hours)
Finish Used
Golden Oak Wood Classics stain from Sherwin Williams. Tinted to match my existing chairs.
Recommended Skill Level
Intermediate

Comments

JoanneS

Fri, 05/01/2015 - 13:29

These are spectacular! Beautiful build! Love the finish and the upholstery. Also I'm super impressed that you can't see any of the filled screw holes. Would love to know the technique you used to hide them so well - I'm going to copy that! :)
JoanneS

Medickep

Fri, 05/08/2015 - 12:48

Thank you both for the nice comments. I was please with the way these turned out too, despite some glue spots not taking up the stain. I plan on getting more disciplined in this area. For hiding the screws, I finally upgraded to a real countersink like this one: http://www.rockler.com/8-pro-tapered-countersink-bit at Rockler.

Instead of always forcing a dull one in and getting a crooked openings, this razor sharp one cuts beautiful holes with no effort! But watch out, I cut myself just adjusting the depth of the drill bit. I discovered these the last time I made some wine oak barrel chairs!

Medickep

Fri, 05/08/2015 - 12:53

Since I use Kreg screws for almost everything, (even non-pocket hole stuff)because they are self tapping and won't crack the would I sure my countersink matched the head of the Kreg screws and than purchased a plug hole bit. Can be used on a drill, but better on a drill press. You have to keep the drill perfectly straight or the plug can break and get stuck in the bit!

Farmhouse Coffee Table and end tables

Submitted by Anonymous (not verified) on Fri, 10/08/2021 - 06:58

My dad and I built these amazing coffee and end tables during a Christmas last year. We modified the ends to for a “M” instead of the traditional farmhouse “X”. Our last name is Mayberry-so the M was fitting. Sadly, my father lost his battle to cancer and this was the last project we did-one that will forever hold precious memories! Thank you for the fabulous plans!

Comments

Reclaimed-wood bed

Submitted by natsmom on Fri, 03/18/2011 - 09:49

My friend asked me to build a "forever bed" for her son.  So I pulled up some plans, and she LOVED this headboard.  But wanted a footboard to hold the comforter on.  So, I built the headboard, realized how easy it was, and invited her over to help build the footboard.  She was so excited that she helped build her son's bed!

Estimated Cost
$400
Estimated Time Investment
Afternoon Project (3-6 Hours)
Finish Used
Minwax mahogany stain - 3 coats, topped with 2 coats of Minwax high gloss polyurethane
Recommended Skill Level
Beginner

Rustic X Farmhouse Table

We were able to finish this table after work one afternoon and stain it the next day. (we have a 16 month old also, so you can do it! :) ) I wanted a similar style I had found at World Market that retailed for $700 we were able to complete this entire table for $100 including all hardware and stain. LOVE it so much and get SO many compliments on it. Thanks so much!

Shelby
The Dandy Lion

Estimated Time Investment
Day Project (6-9 Hours)
Finish Used
A satin poly with espresso stain in one
Recommended Skill Level
Intermediate

Sturdy work table and tool box

The first project I tackled from Ana White's wonderful plans was a building a sturdy work table for my miter saw that I bought at a garage sale for $25. I was using cinder blocks and plywood as a makeshift work table, and wanted an improvement on that as my first project. So, let the fun begin!

I started the project on Saturday after lunch, going to the lumber yard and picking up wood and screws for about $50. It's about the lumber limit I can haul in my Honda Civic, in the back seat, with the window open.

I followed the instructions, but found that the supports for the top were 13" not 12", and I had 3 2x4s left over (for future projects). I had some plywood in the shed, which I cut 16x40 to make a shelf. I only filled the screw holes on top with wood filler, so sawdust doesn't accumulate.

I finished the table before dinner time. The kids are getting me a bench vise for Mother's Day. Thanks kids!

On Sunday I started my second project, a tool box made out of a dowel and a 1x6 (see it on the ground in the second pic?). I cut the pieces first, then rounded the sides with the jig saw I bought at another garage sale for $3.

Everyone loves the toolbox! I plan on making one for my oldest son, and filling it with starter tools.

Built from Plan(s)
Estimated Cost
$50
Estimated Time Investment
Day Project (6-9 Hours)
Recommended Skill Level
Starter Project

Modern outdoor patio chairs

Submitted by BubsGarage on Sun, 09/17/2017 - 17:32

Added a little extra back rest. Made a double chair in the process of making a 3 cushion couch.


Estimated Cost
$95 for the chair with the cushion
Estimated Time Investment
Afternoon Project (3-6 Hours)
Finish Used
Deck stain and sealer
Recommended Skill Level
Beginner

Comments

TerDickison2

Mon, 06/10/2019 - 18:43

I really like the backrest. I built the chair as is from the plans but found it really needs the backrest. Can I ask how you attached the backrest screw-wise and what the angle is? It looks like the backrest might have been screwed on from underneath the armrests before the armrests were screwed to the body of the chair. Am I thinking in the right direction? Thanks in advance!

Bunk beds

Submitted by Anonymous (not verified) on Mon, 10/11/2021 - 08:03

Double bed at bottom, twin at top, still have to make the ladder

Comments

Low Activity Table

With three little kids we needed some place to put the loads of toys that we have.  The first time I saw this - I knew I had to build it!

This project was quite the task.  For me building is a breeze - it's the painting that is the process!!!


I started working on this on Sunday last week - it was built in about 3-4 hours.  Painting took forever, and three colors!


Love for you to check out my blog post with all the details, even my painting flub up.

Estimated Cost
$108...$70 in wood, $30 in Wheels, $8 in paint.
Estimated Time Investment
Afternoon Project (3-6 Hours)
Finish Used
Sanded...primed...sanded...random painting experience...ended with Rustolium Kola - Semi-gloss.
Recommended Skill Level
Intermediate