Search Results
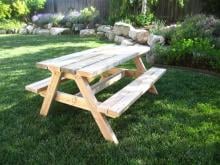
… Here's Some Tips to Build Better Outdoor Furniture Want to build better outdoor furniture? Over the twenty years I've been building, maintaining, and enjoying my own outdoor furniture, I've learned a few tips that can help build longer …
Read More
Project Plan
… Here's Some Tips to Build Better Outdoor Furniture Want to build better outdoor furniture? Over the twenty years I've been building, maintaining, and enjoying my own outdoor furniture, I've learned a few tips that can help build longer …
Read More
Project Plan
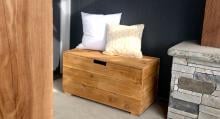
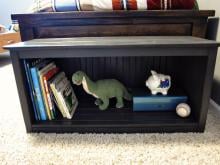
… Pin For Later! … Start by building the structural side frames for the outdoor storage bench. Attach 2x4s together with the longer screws, two per joint, build … inside with the shorter screws to create cleats for the bottom of the outdoor storage bench. … Place the slats on the cleats and screw or nail …
Read More
Project Plan
… Here's Some Tips to Build Better Outdoor Furniture Want to build better outdoor furniture? Over the twenty years I've been building, maintaining, and enjoying my own outdoor furniture, I've learned a few tips that can help build longer …
Read More
Project Plan

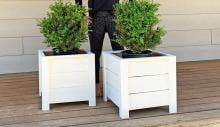
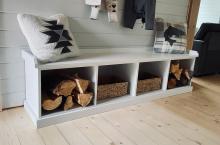
… drill 3/4" pocket holes facing upward on the 1x12s for attaching the bench top in later steps. … Add the back to the bench, same as you did the side panels. NOTE: You may wish to drill 3/4" pocket holes facing upward on the 1x12s for attaching the bench top in later steps. … Attach the two 1x2 front trim pieces to the …
Read More
Project Plan
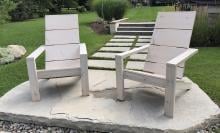
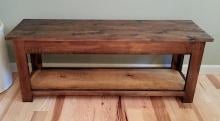
… top and one on the bottom end. These will become the two sides of the bench. … Using a Kreg Jig, create pocket holes in the back of the 1x12. … … Attach your 32 3/4" 2x2 to each corner, creating the bones for the bench. I again used my Kreg Jig to create pocket holes on each end of … 1/4" 1x2's evenly spaced between the center 2x2 and either end of the bench (the bench is tilted forward in this picture). … Attach two 11 1/4 …
Read More
Project Plan
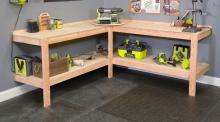
… pin point to secure the lazy susan at different point. Install bench tools on lazy susan. … Corner Workbench with Bench Tool Lazy Susan …
Read More
Project Plan
… Here is a video with tips for using a pocket hole jig: … Design Your Bench Use our free configurator tool here to design your bench carcass, here are the parameters to set: Depth - recommend 15-1/4" … Pieces Rip the 3/4" plywood into strips the desired depth of the bench. Then cross cut the strips to create the pieces needed in the …
Read More
Project Plan

… drawer is deeper, you will need to use side mount drawer slides. … Bench Box Build the bench box as shown above. Prefered method is pocket hole screws and glue. But if you don’t have pocket hole screws, this bench is fully framed, so finish nails or countersunk screws will do …
Read More
Project Plan
… fun, and ask for help if you need it. Good luck! … When I built my bench way back when, I did not even know about pocket holes. But you’ll find building this bench much easier with pocket hole construction. All you will need to do … between the top boards. The easiest way to do this is to position the bench top pieces as if the bench was fully open, and on the exposed …
Read More
Project Plan