Christmas Tree Tray

The free plans on this website are supported with advertising and affiliate revenue.  When you click some links in this plan, you may be helping us earn a small commission.  Thank you for supporting this website.


Wood Christmas Tree Tray
Difficulty
Starter Projects
| Print this plan
Beginner Projects
| Print this plan

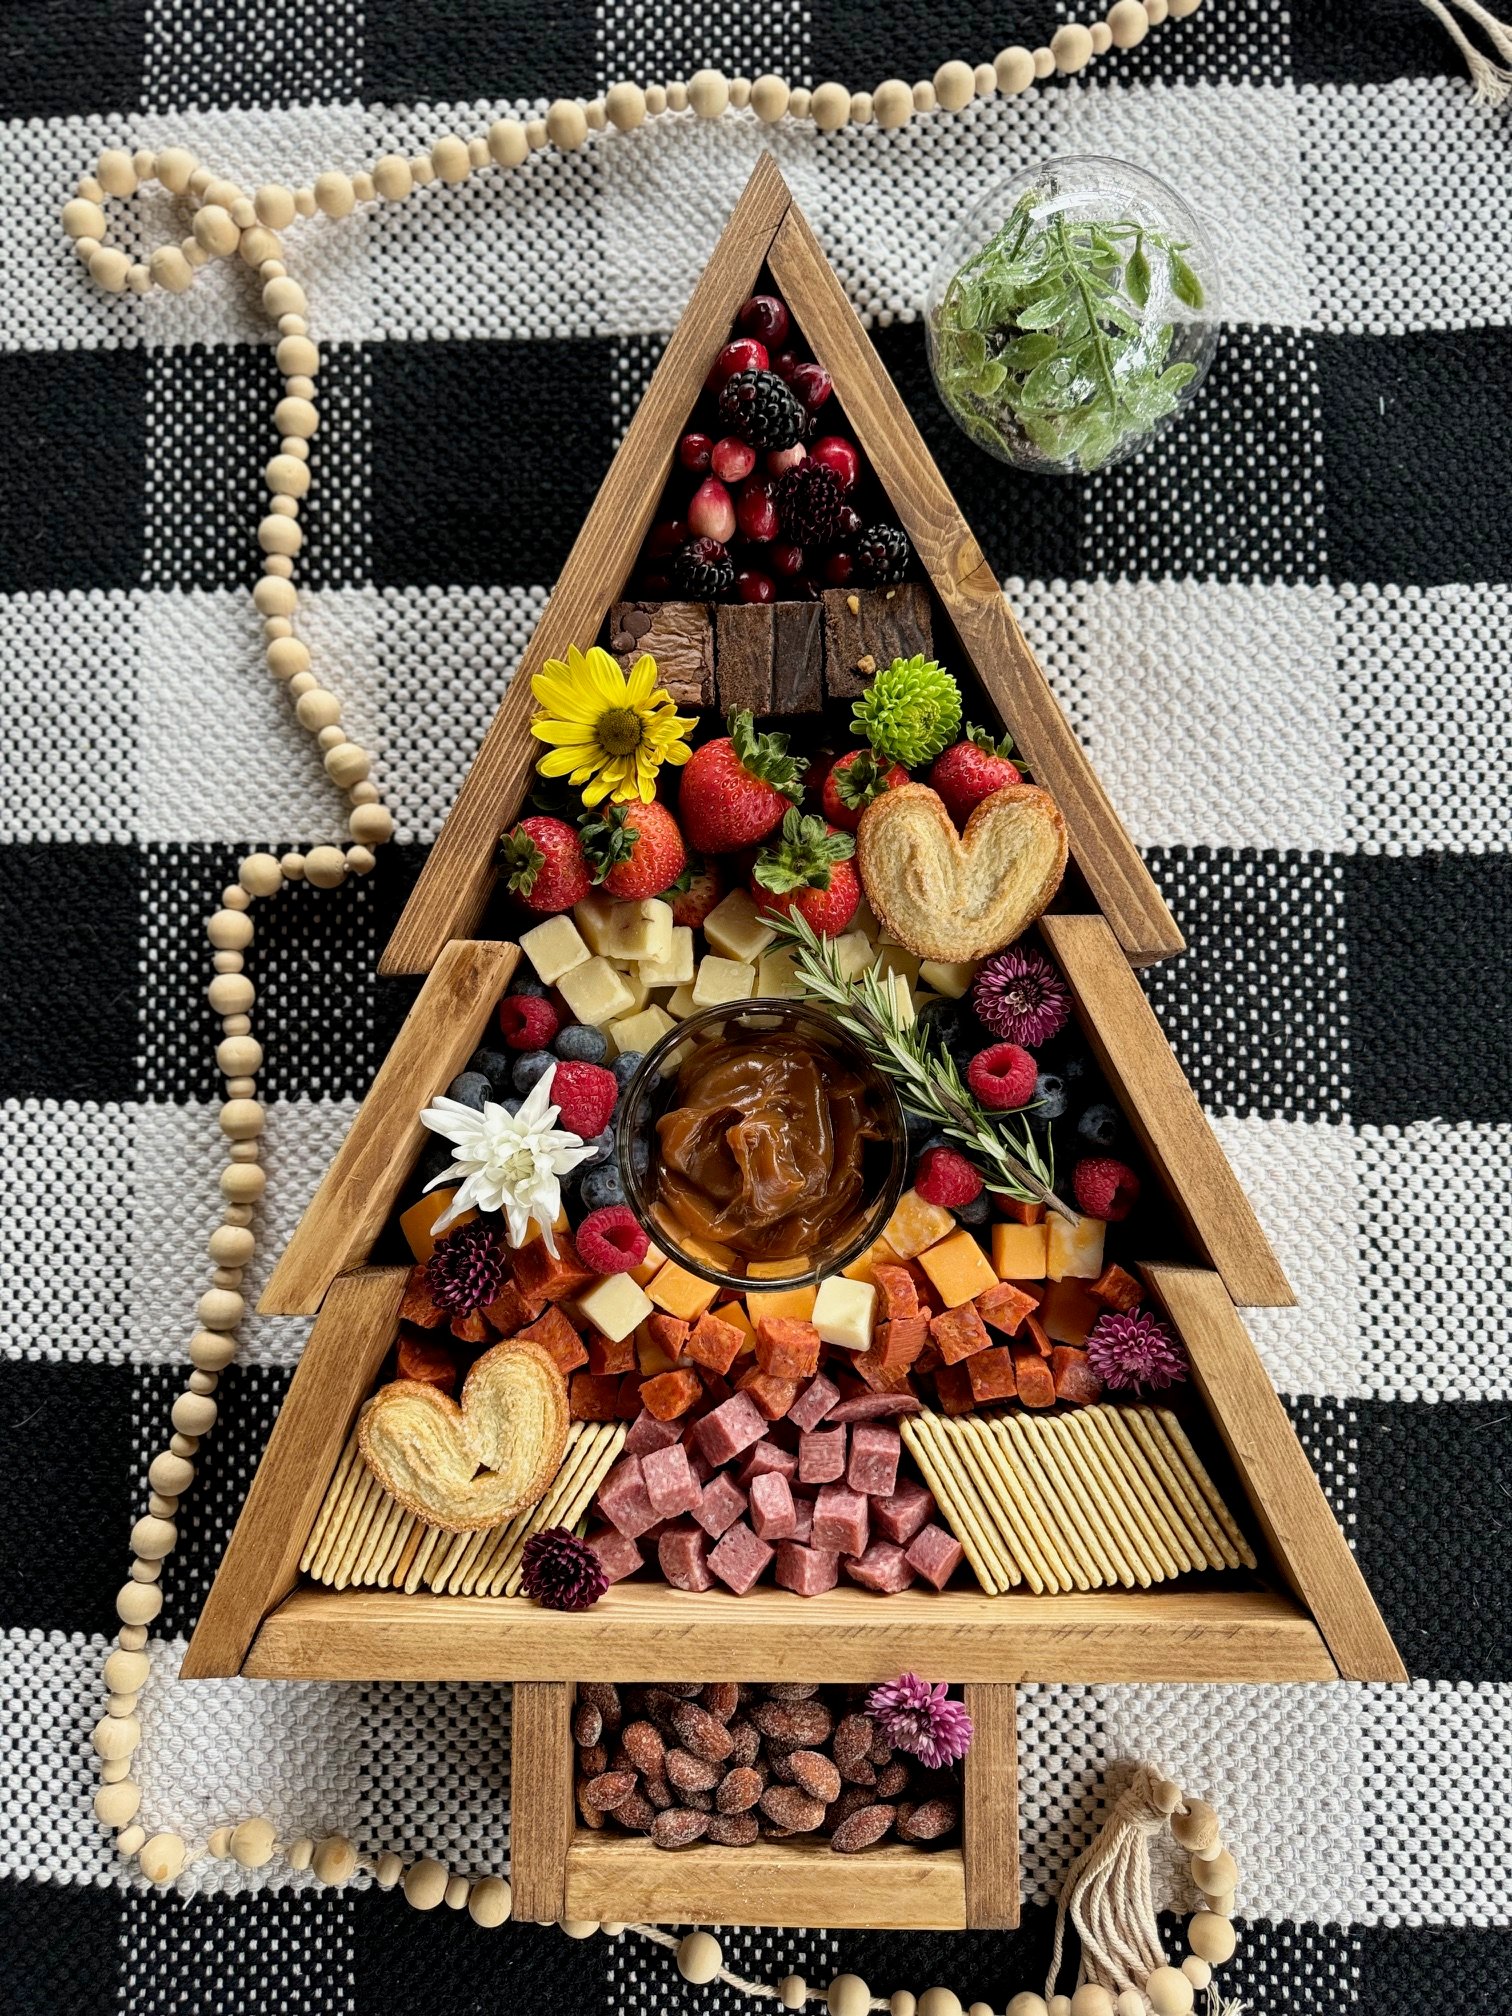
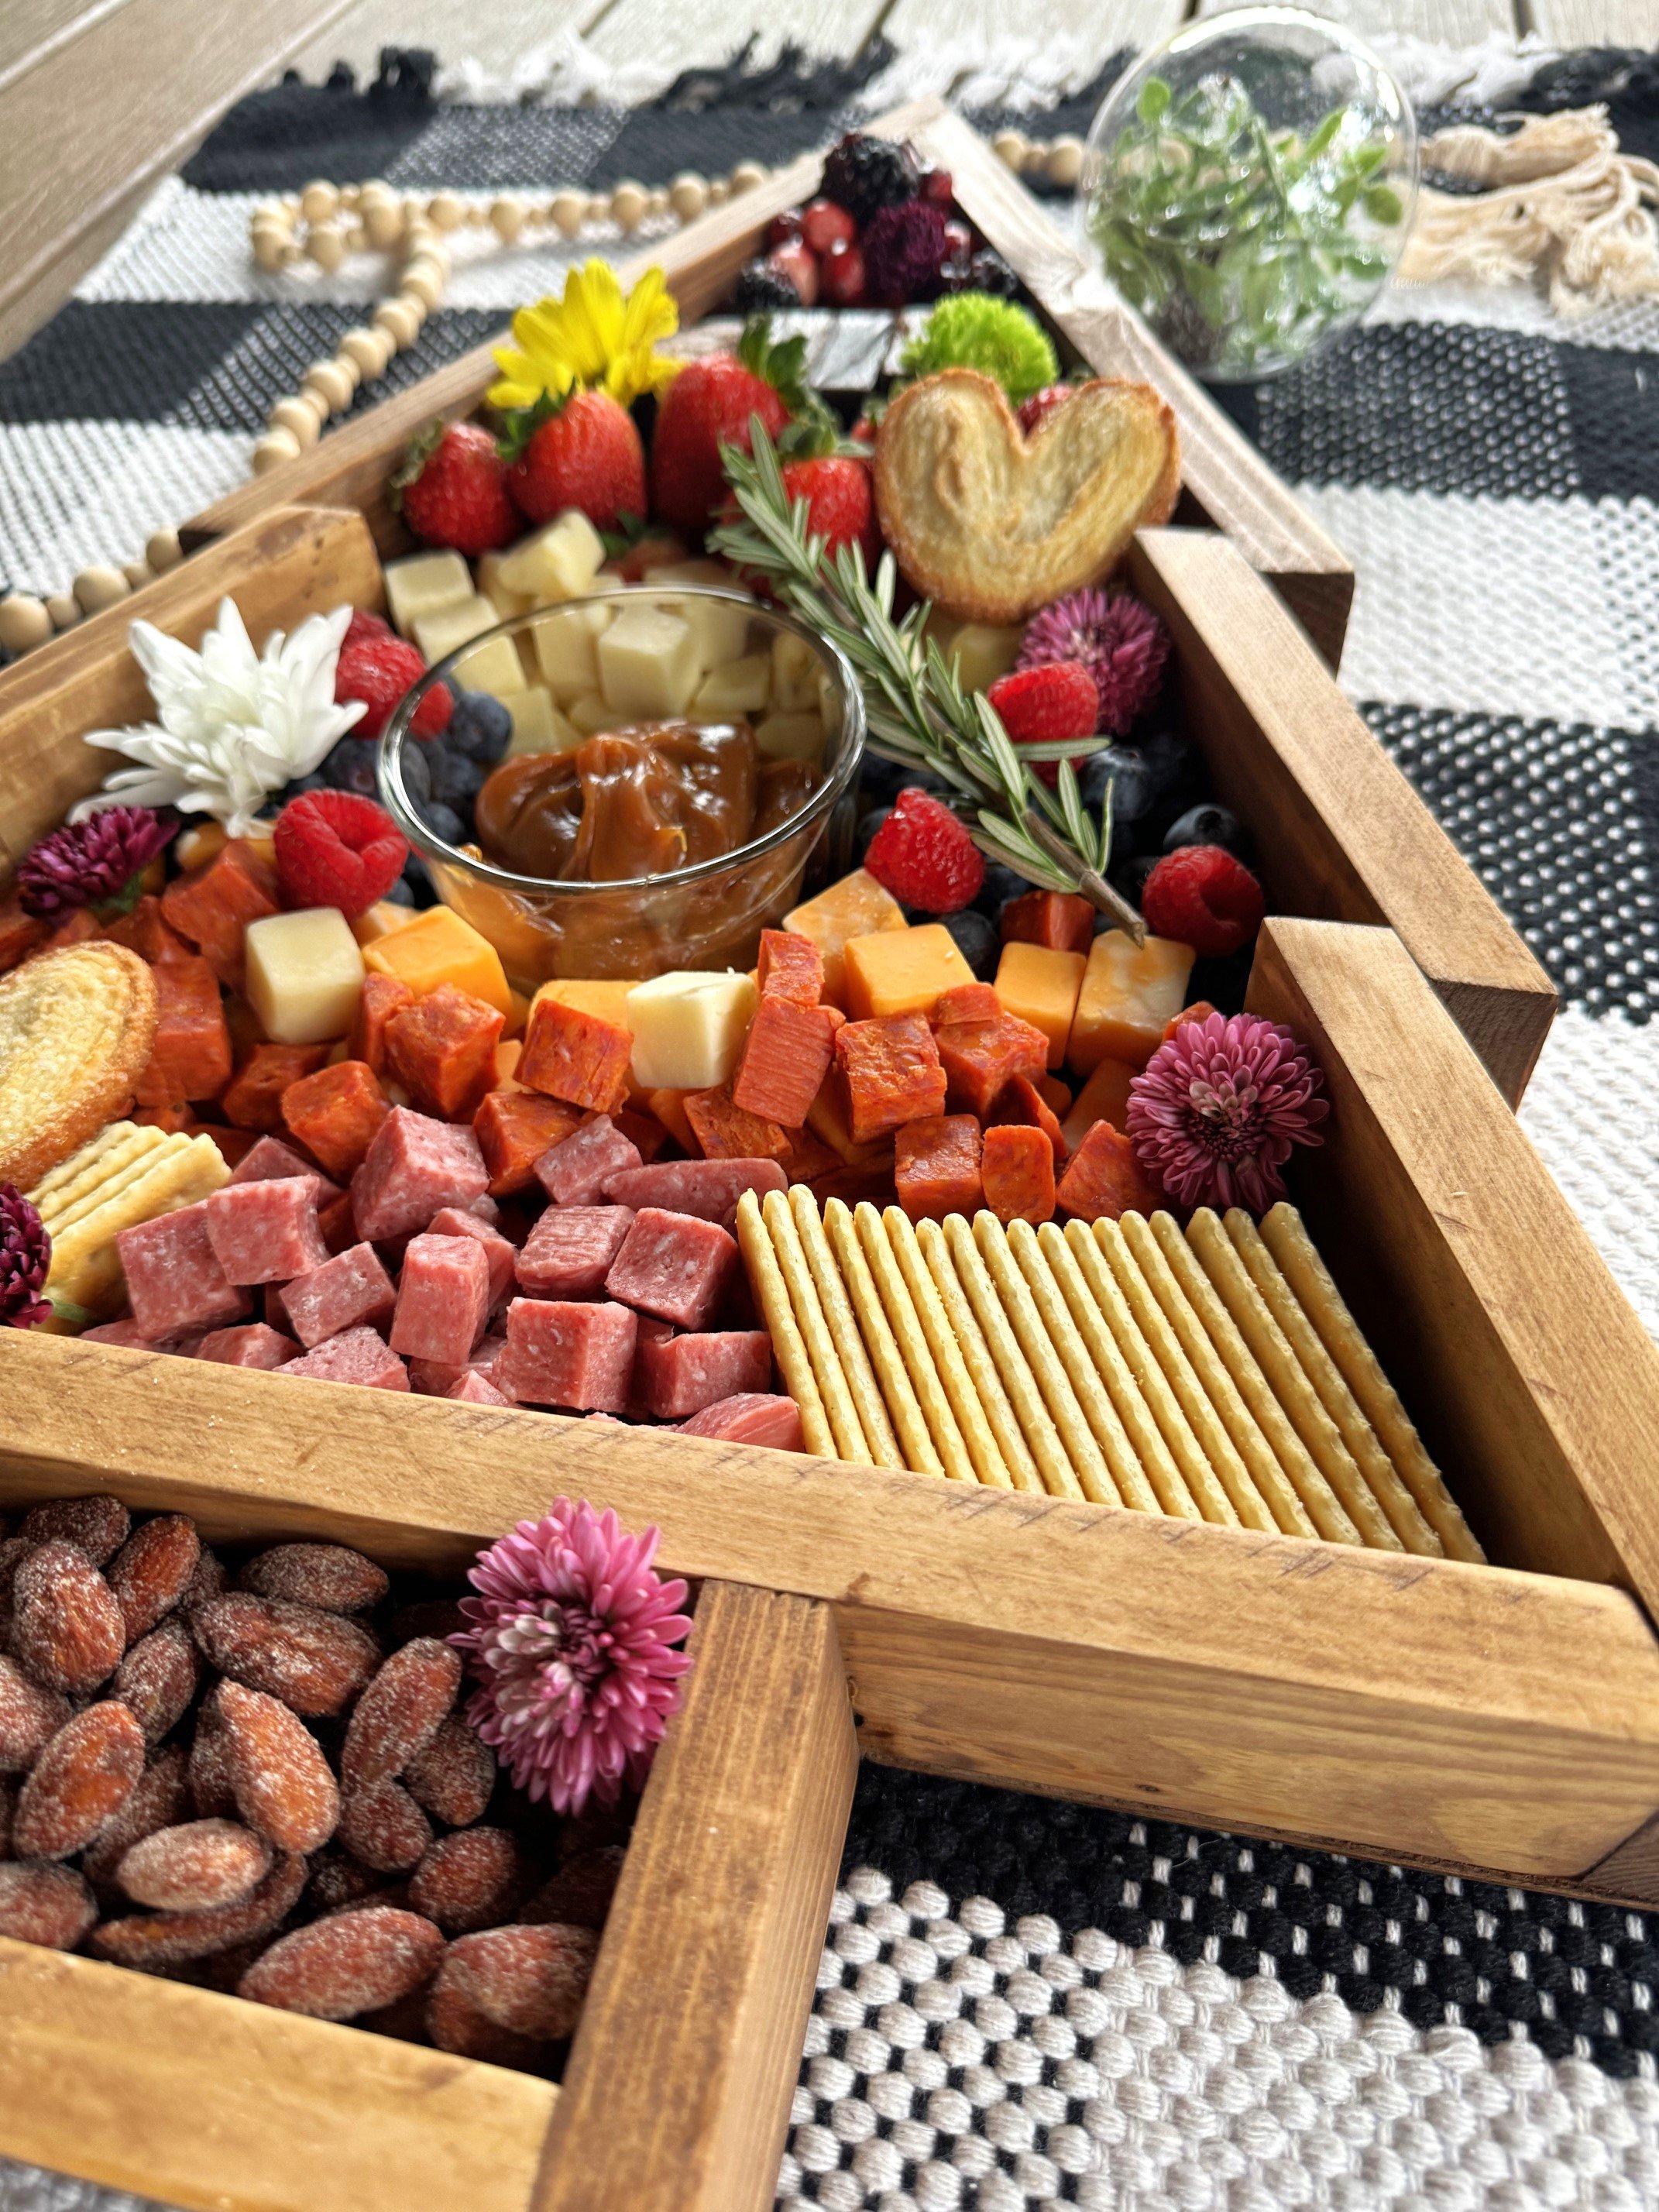
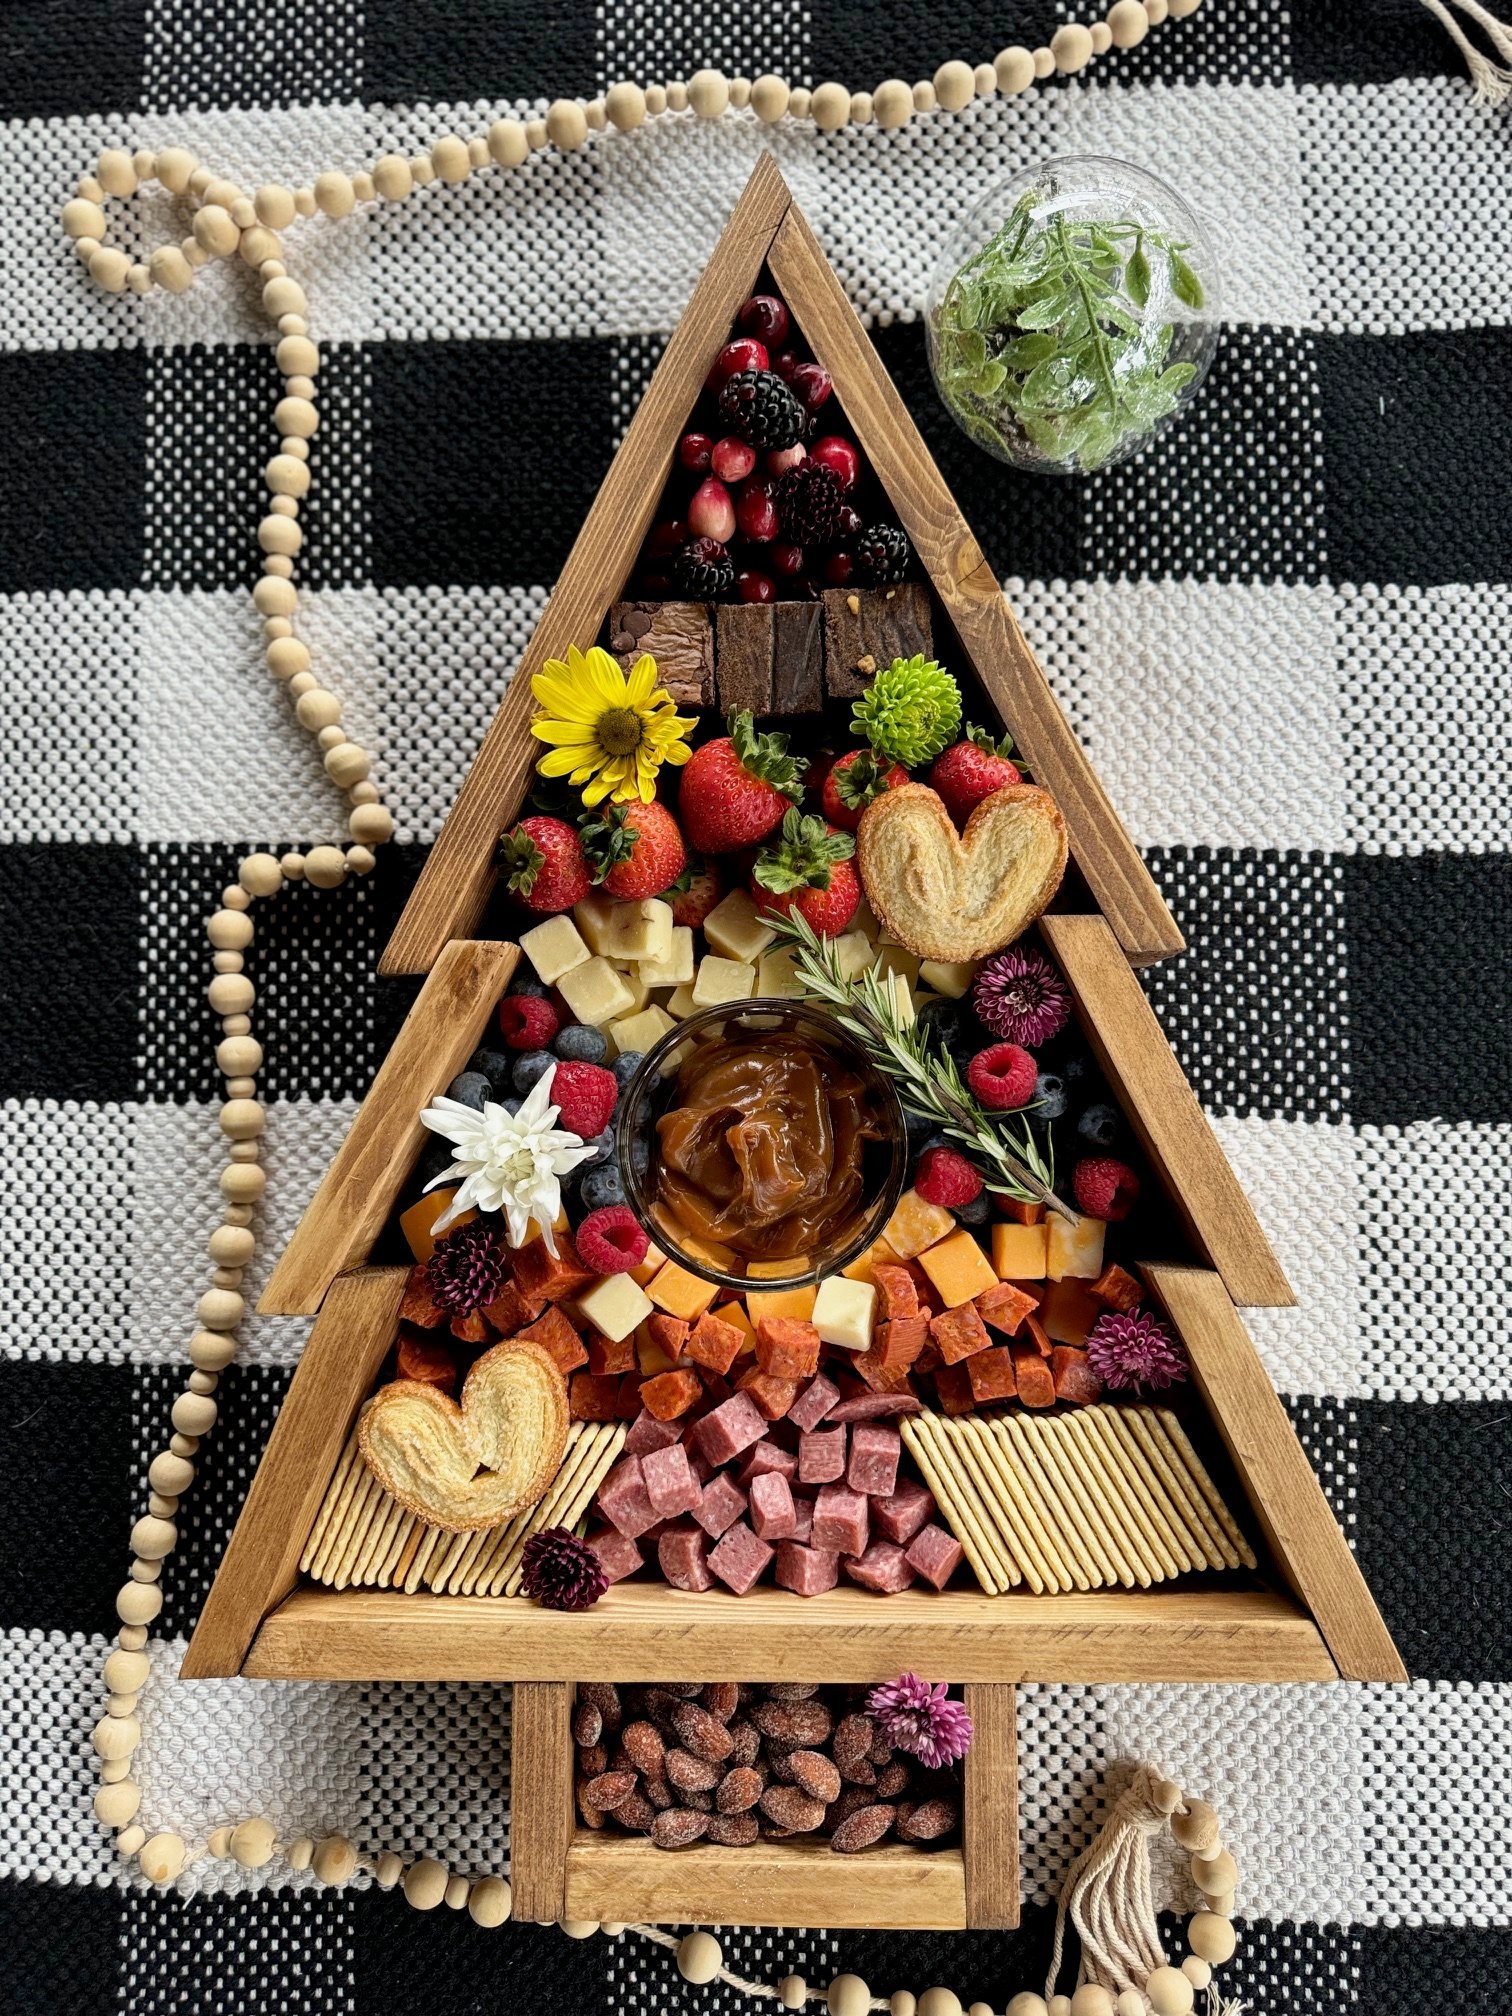
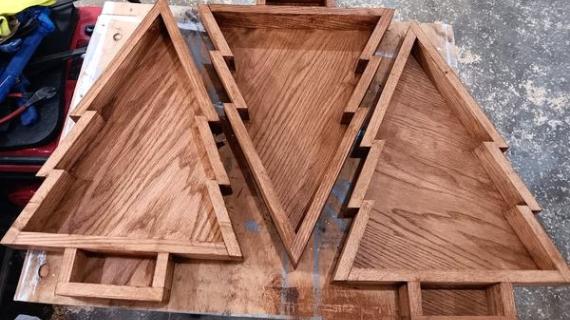
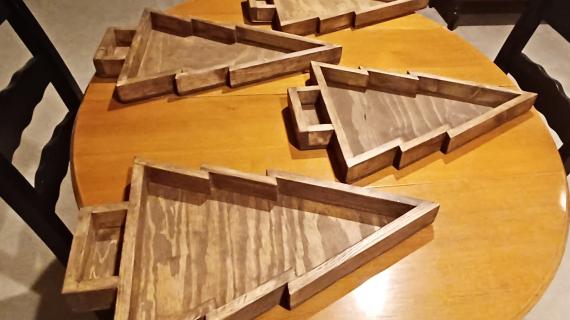
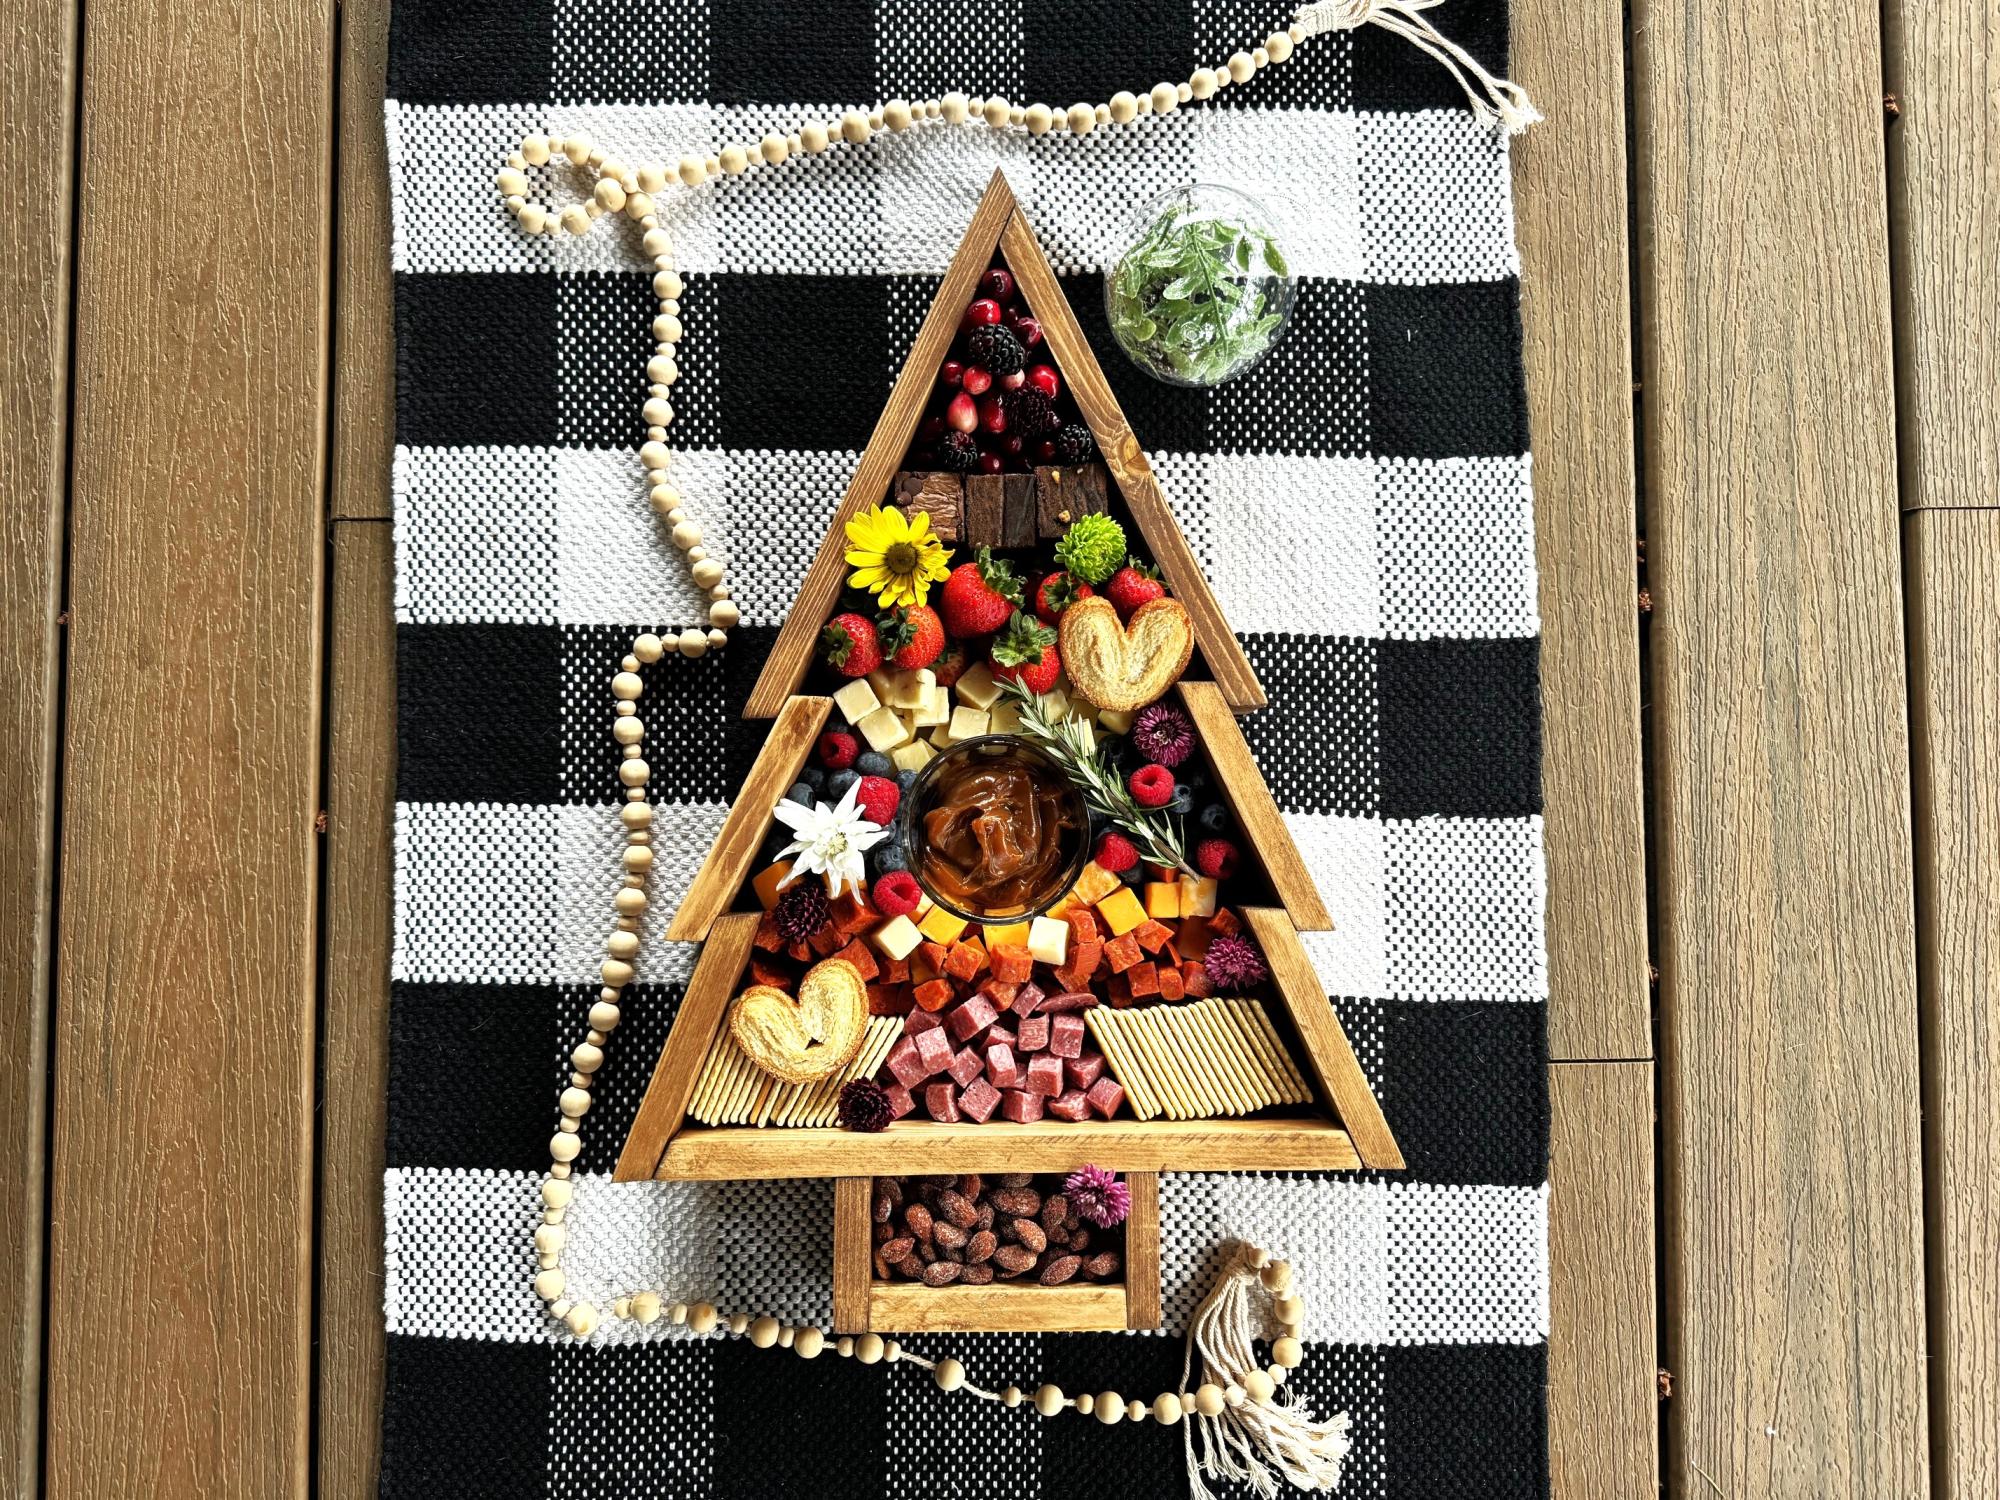
Get ready to elevate your holiday gatherings with a charming DIY wood Christmas tree tray! This budget-friendly project can be built for around $20 using common lumber and just a few tools!

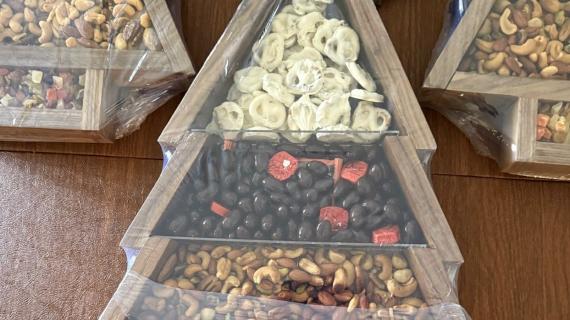
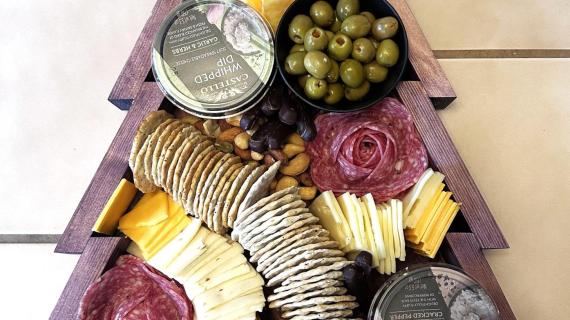
Our free plan makes it easy to create this holiday themed tray, perfect for showcasing your favorite cheeses, meats, and seasonal treats. 

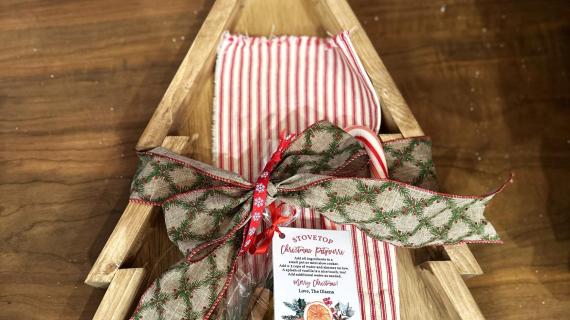
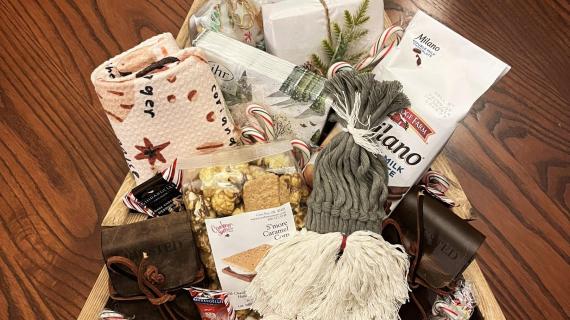
Not only is this project a fun way to add a personal touch to your holiday décor, but it also makes a great hostess gift and would be the perfect addition to sell at holiday craft fairs. 

Free step by step plans with diagrams, build photos, cut list and shopping list - everything you need to build it today!

Designed and built by Family DIYnamic

Wood Christmas Tree Tray
DIY Christmas tree Tray
christmas tree tray

Why I Built this Project

I've been busy building wood Christmas tree decor and thought, hey I could just add a back to one of those and turn it into a serving tray, so that's what I did. I love it!

Why We Love this Christmas Tree Charcuterie Project

  • Inexpensive, quick and easy to build
  • Customize the finish
  • Give it as a gift or sell at craft fairs
  • Fun holiday display
  • Doubles as holiday decor
  • Use from season to season
  • Easy to modify for size and depth
  • Build multiple sizes to display different types of holiday treats

Christmas tree tray plans

How I Built this Project

Start by cutting all of your boards according to cut list and layout the shape of tree prior to assembly. 

wood tree


wood christmas tree tray

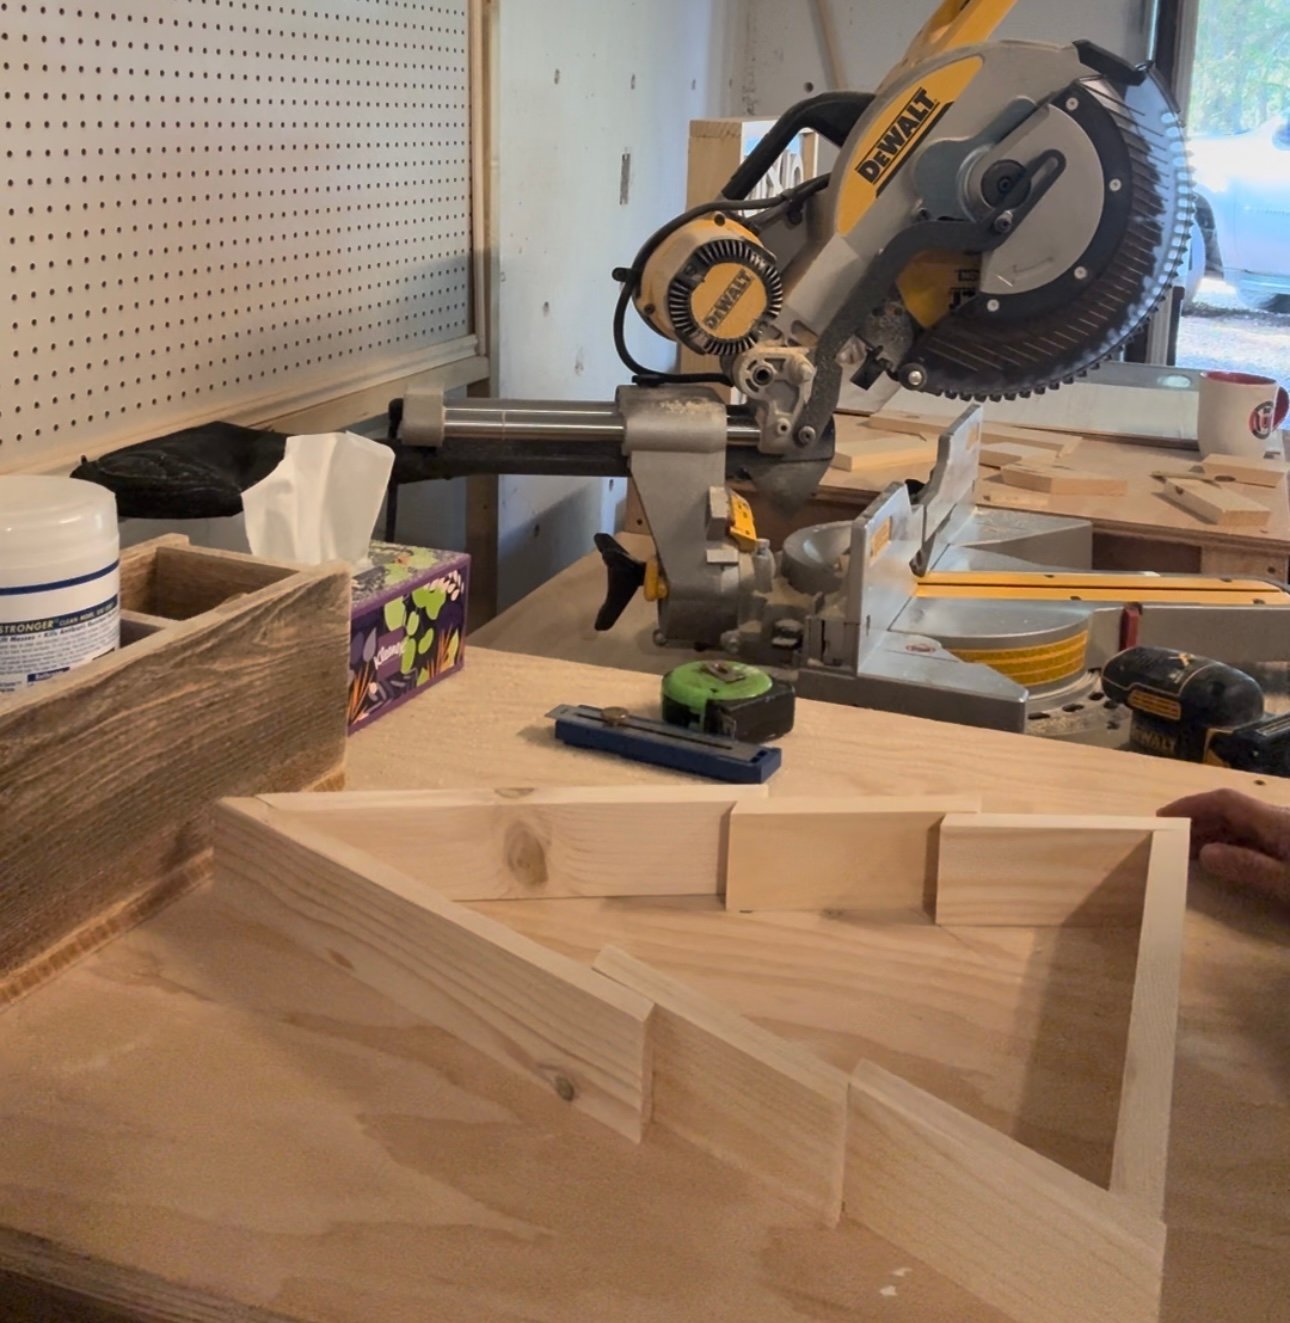
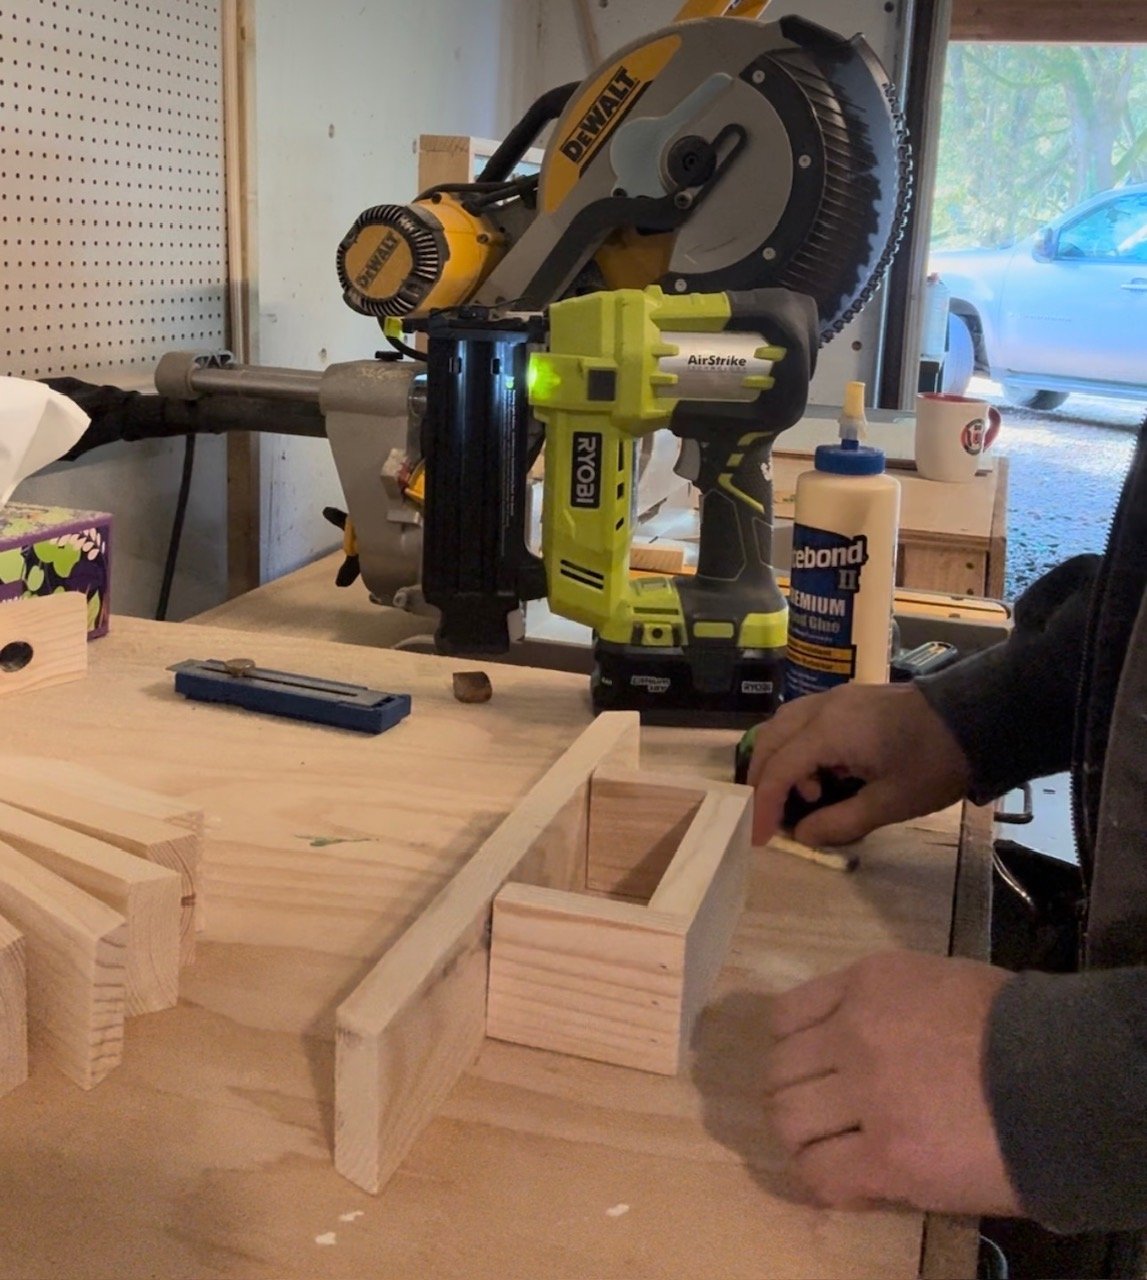
Build the base of the tree first using glue and nails.

base

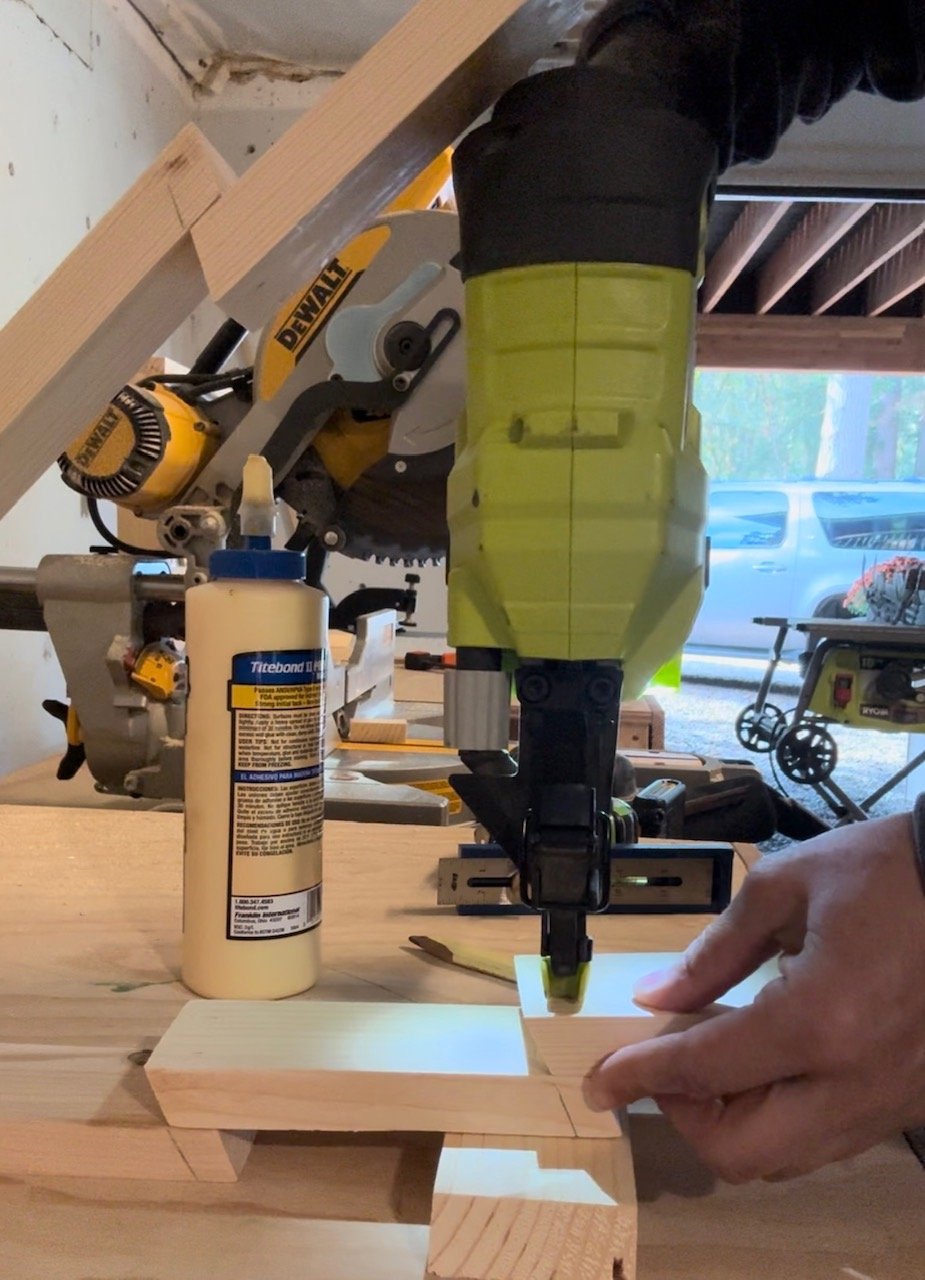
Then glue and nail the tree together.

assembly


assemble

Next you will outline the tree onto a piece of 1/4" plywood and cut it out with a jig saw. (Check your scrap pile, or purchase a 2'x4' panel).

outline


outline

jig saw cut


cutWatch!  

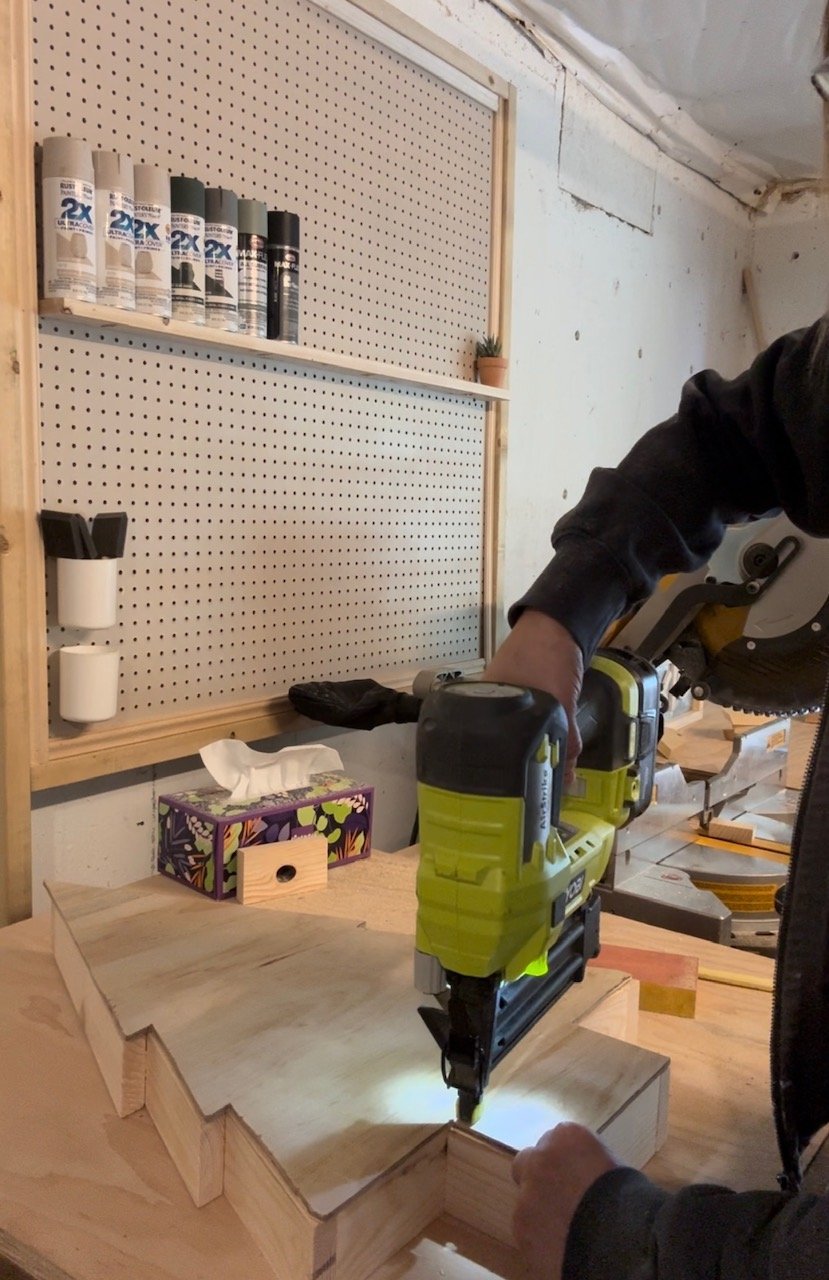
Glue and nail the plywood cut out to the back of the tree.

done


glue and nail

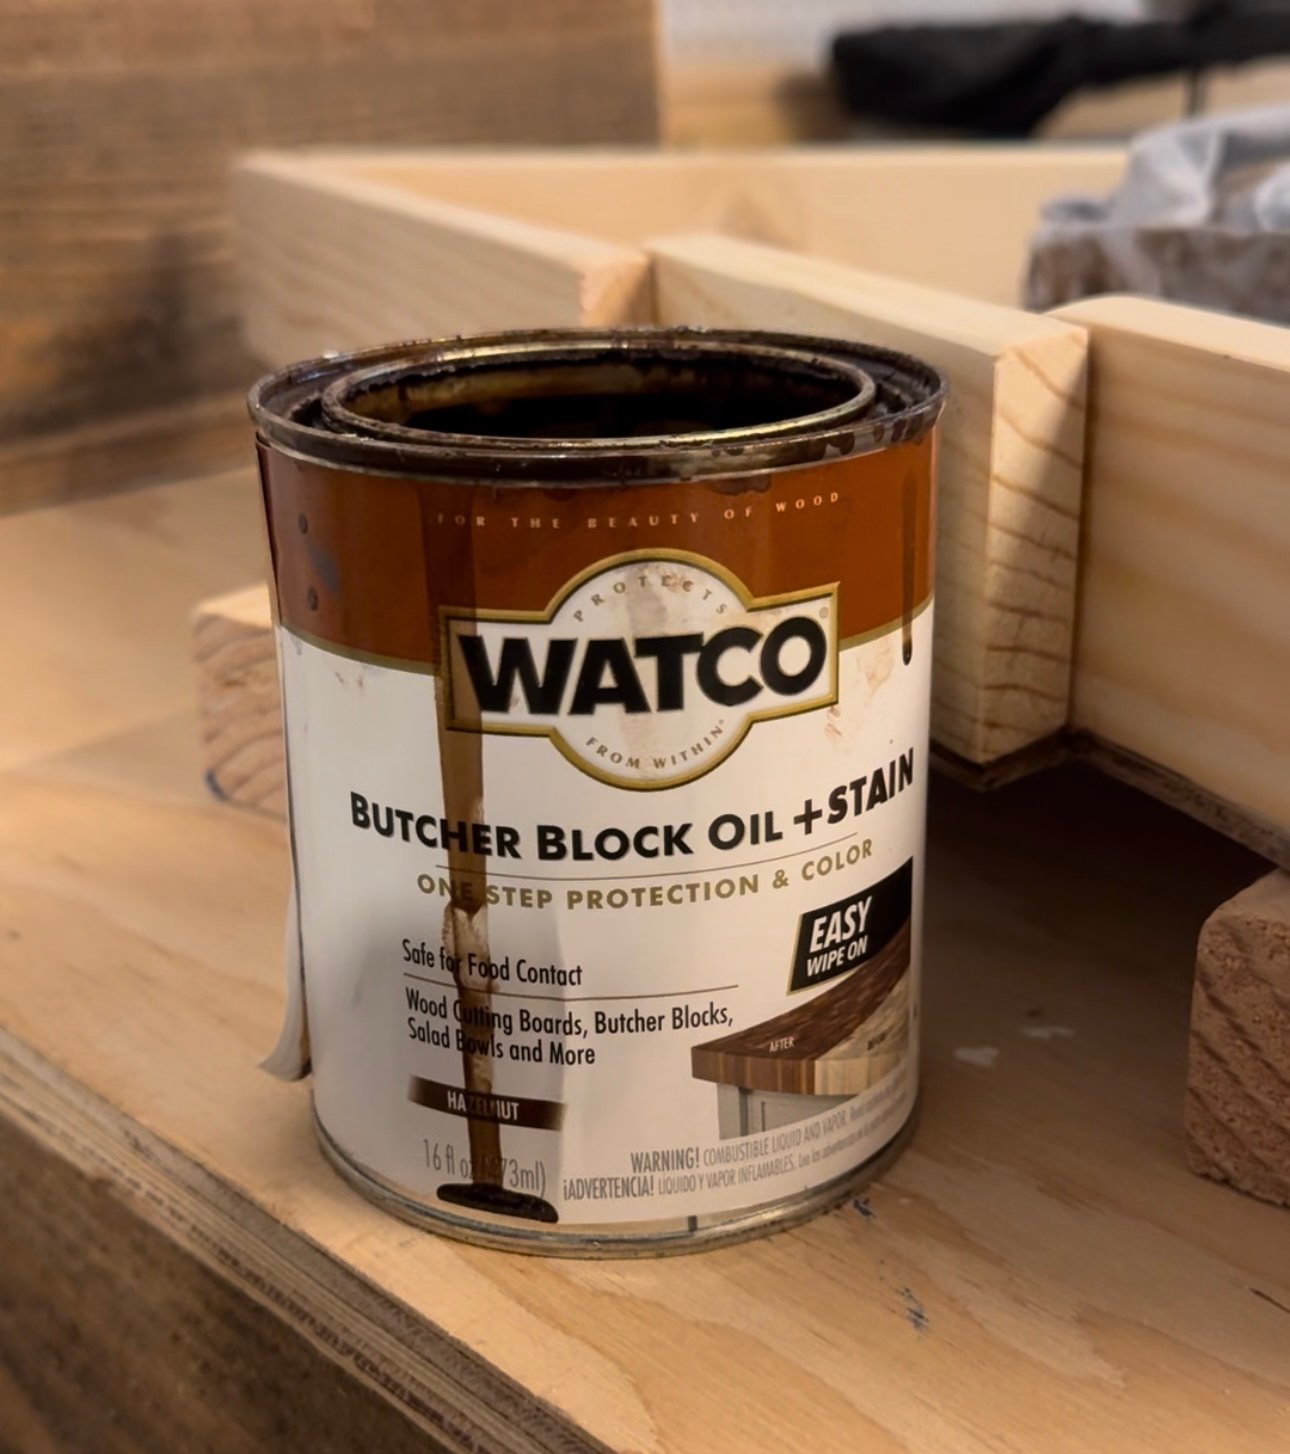
Complete with a food safe finish, I used a butcher block oil and stain. Before I filled it with food I also lined the tray with parchment paper.

food safe finish

finished charcuterie

Build Video for This Project

if applicable, embed video here


Free Plans to Build Your Own Christmas Tree Charcuterie Tray

Ready to build this yourself?  Here's the free plans, enjoy!

Pin For Later! 

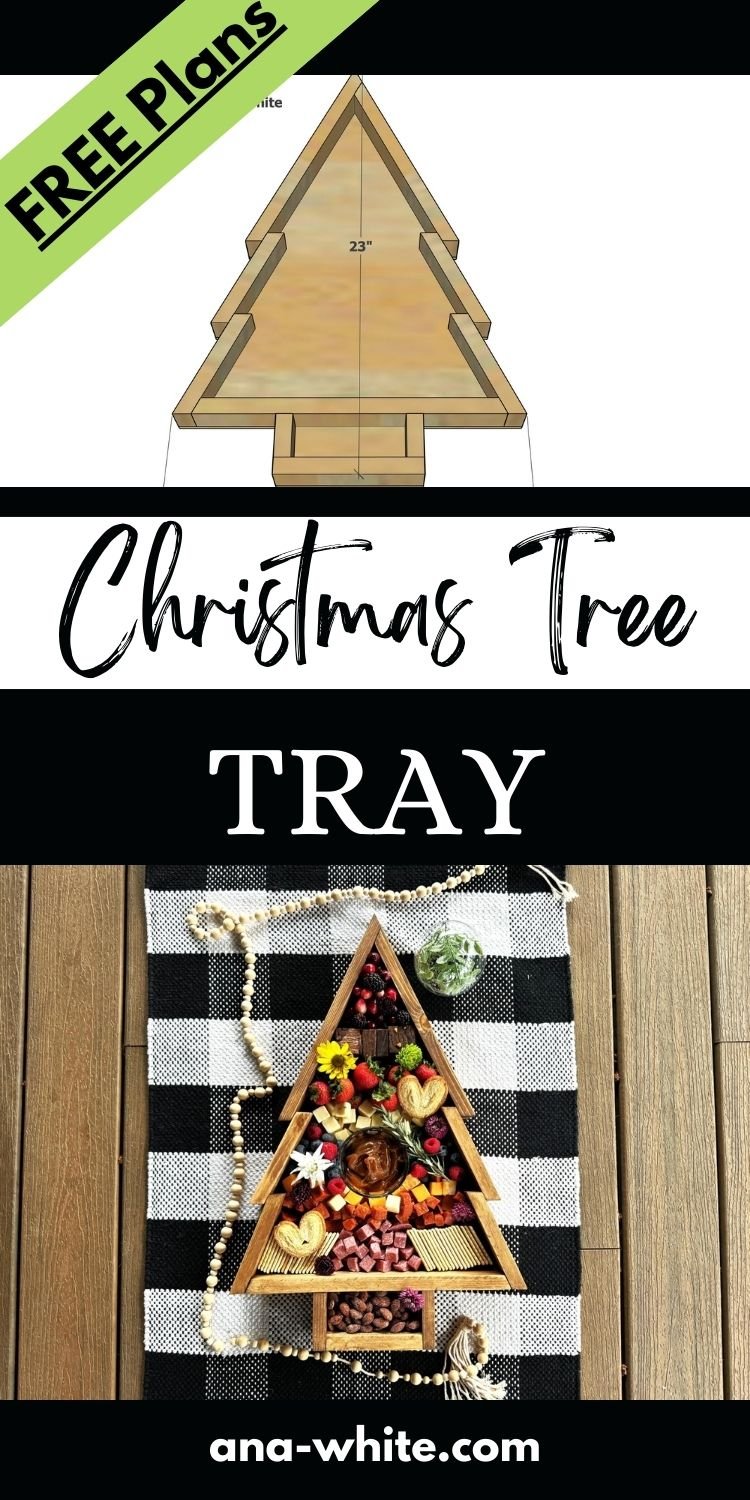
Christmas Tree Tray

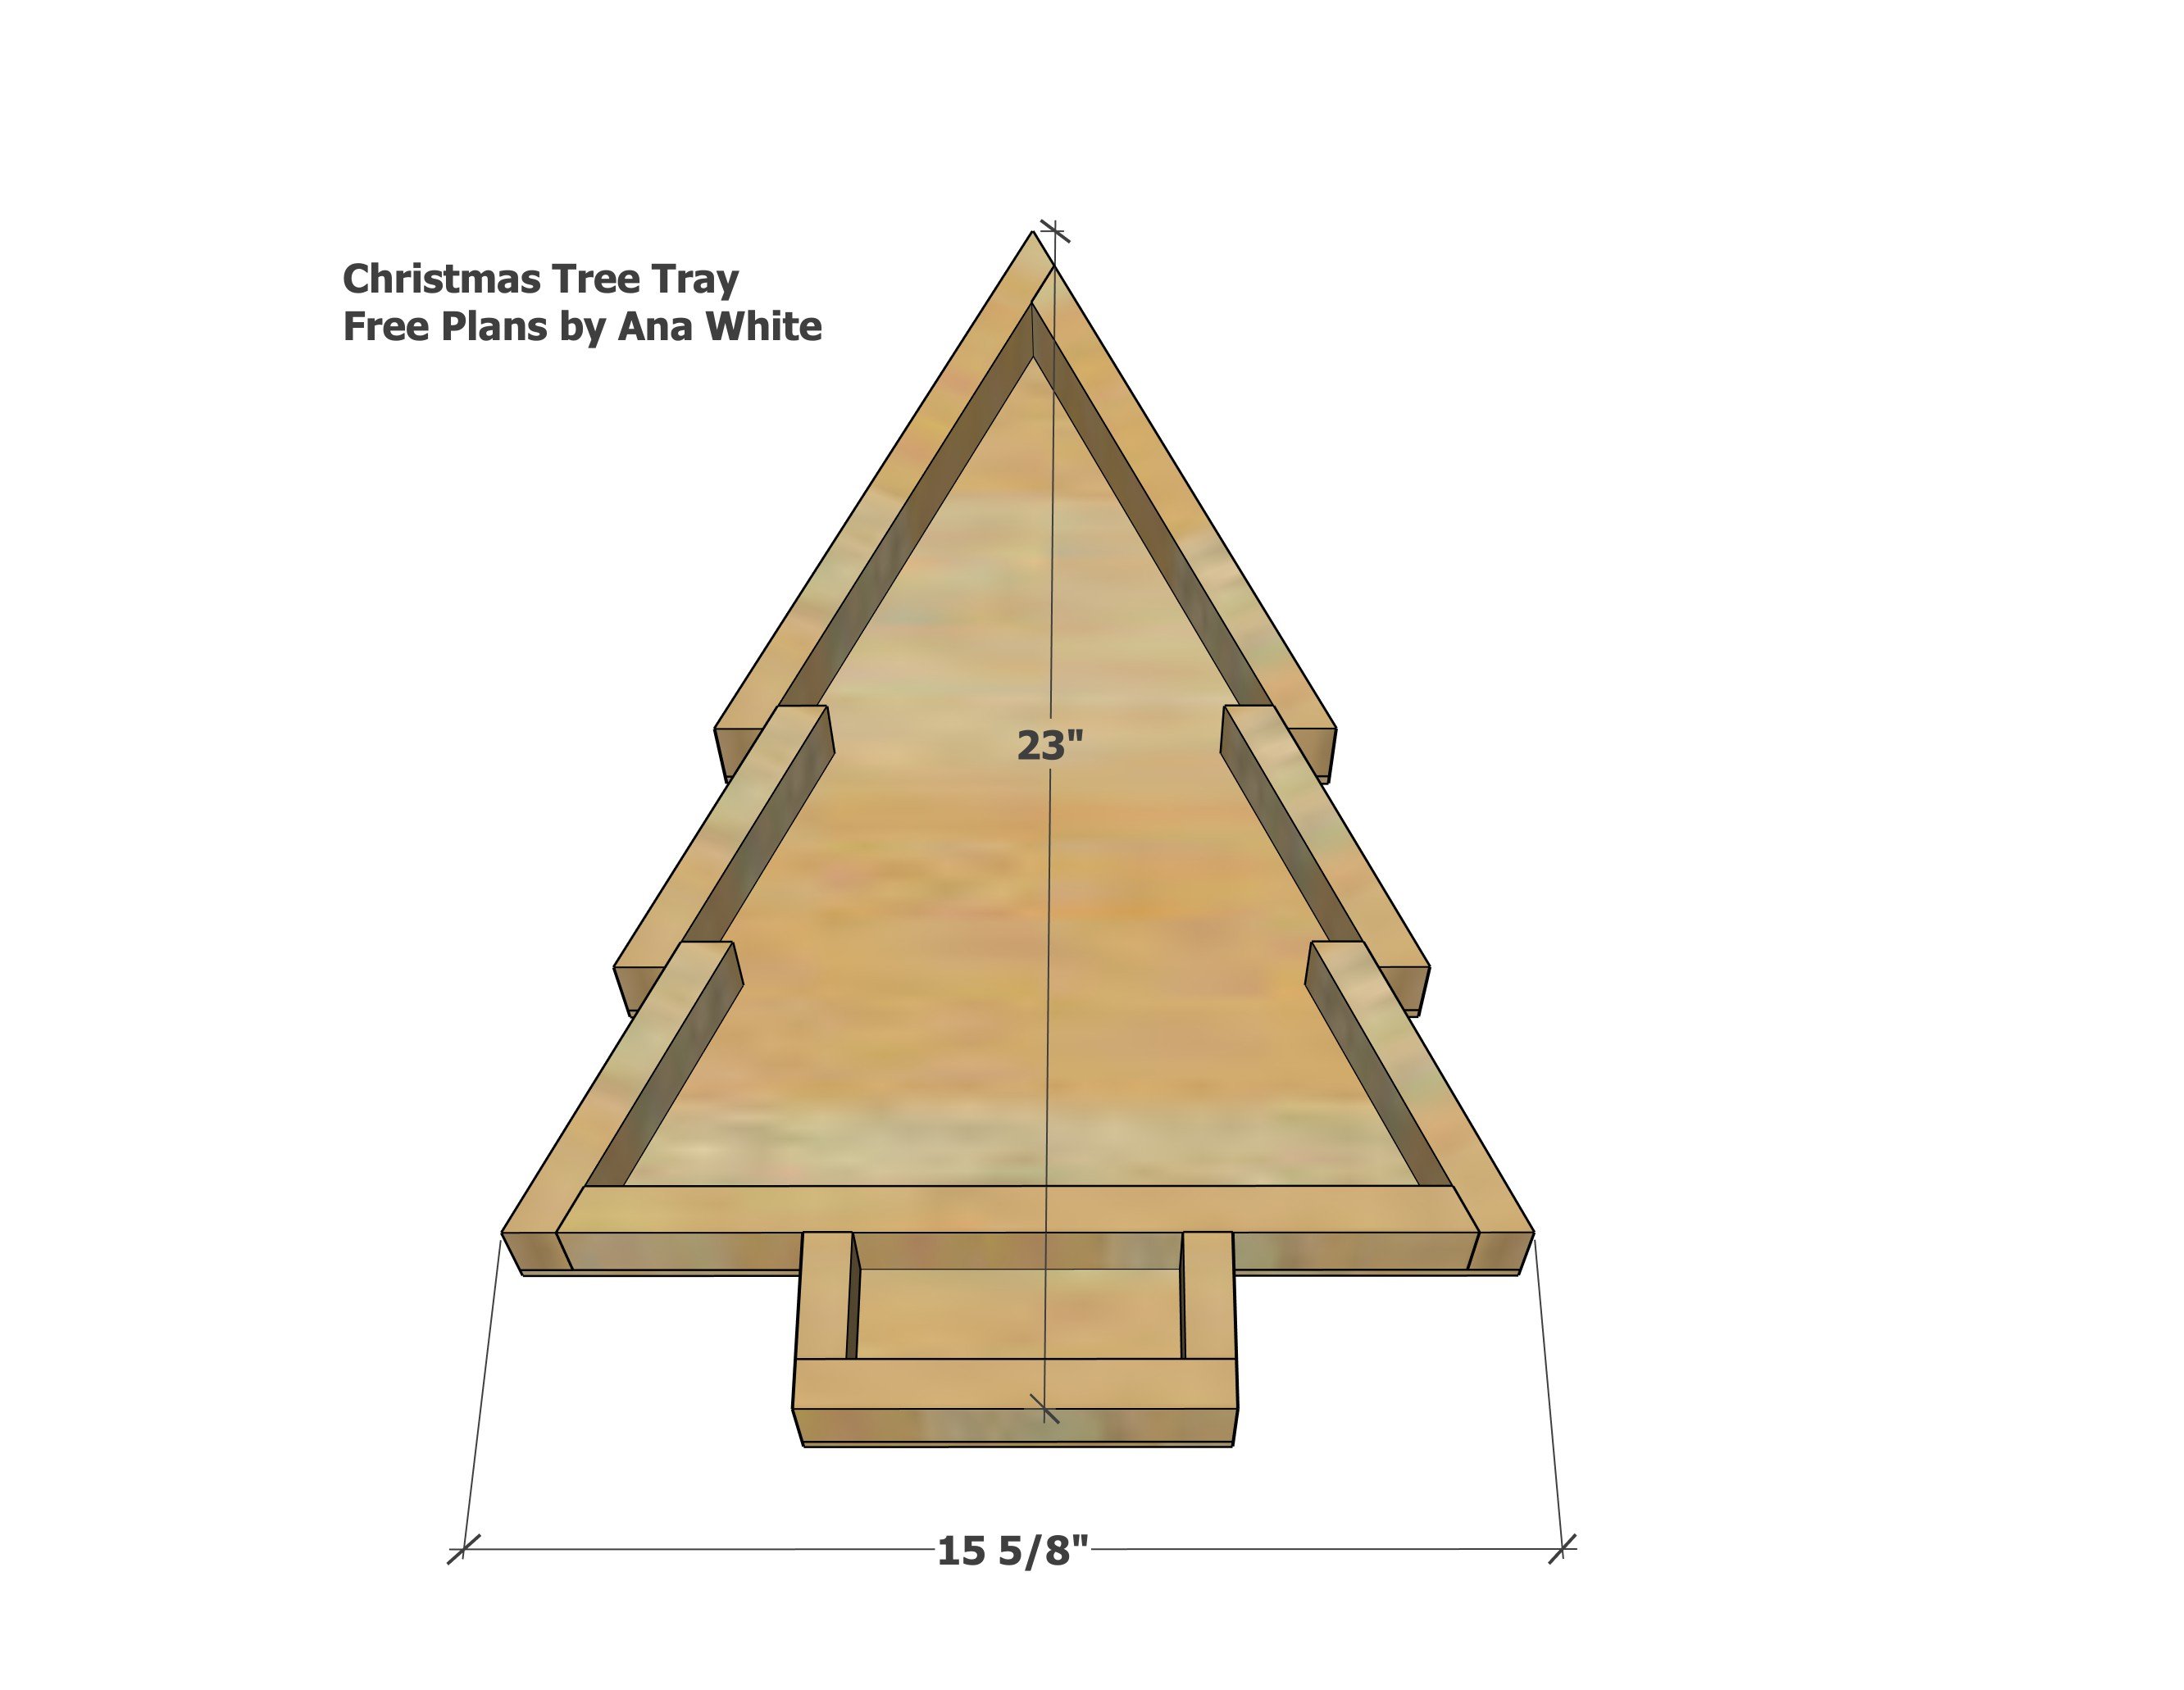
Dimensions
Christmas tree tray dimensions
About 24" x 16" x 2" deep

Preparation

Shopping List

Common Materials
1 1/4 inch finish nails
120 grit sandpaper
Cut List
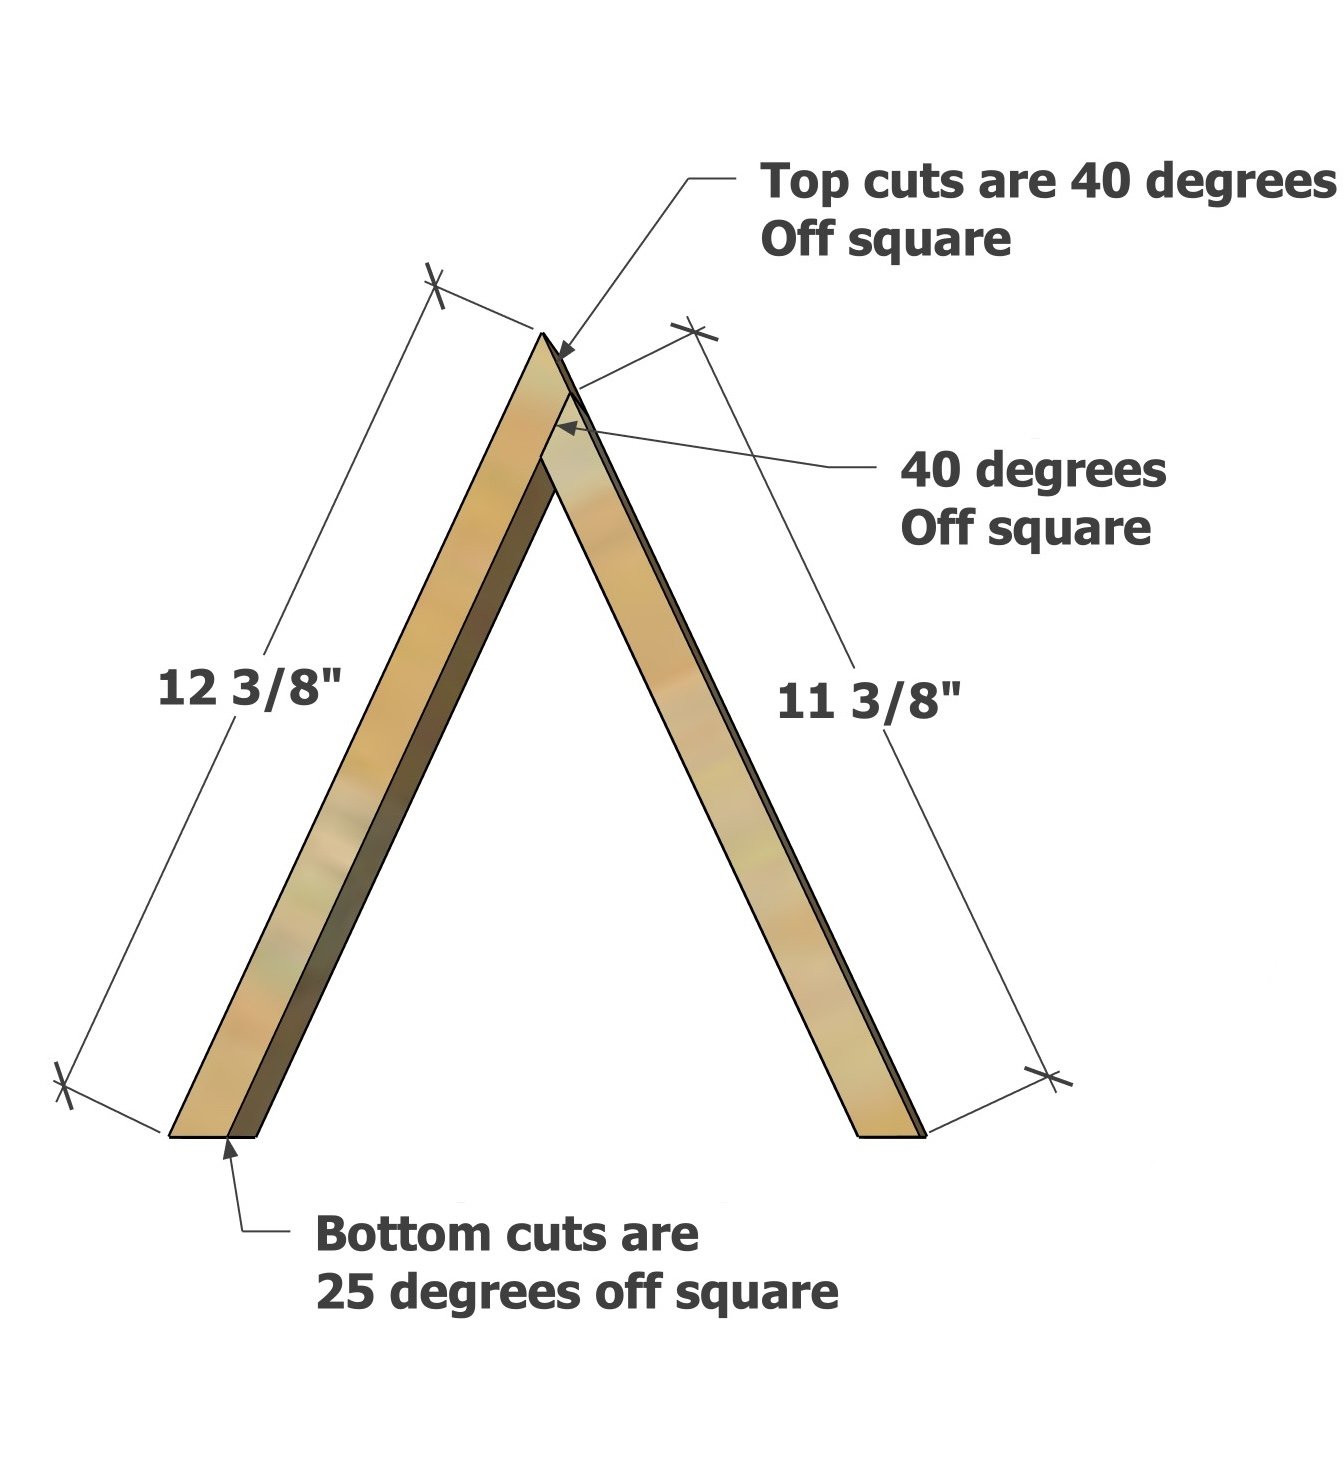
  • 1 - 1x2 @ 12-3/8" - long point to long point, one end cut at 40 degree off square, the other end cut at 25 degrees off square
  • 1 - 1x2 @ 11-3/8" - long point to long point, one end cut at 40 degree off square, the other end cut at 25 degrees off square
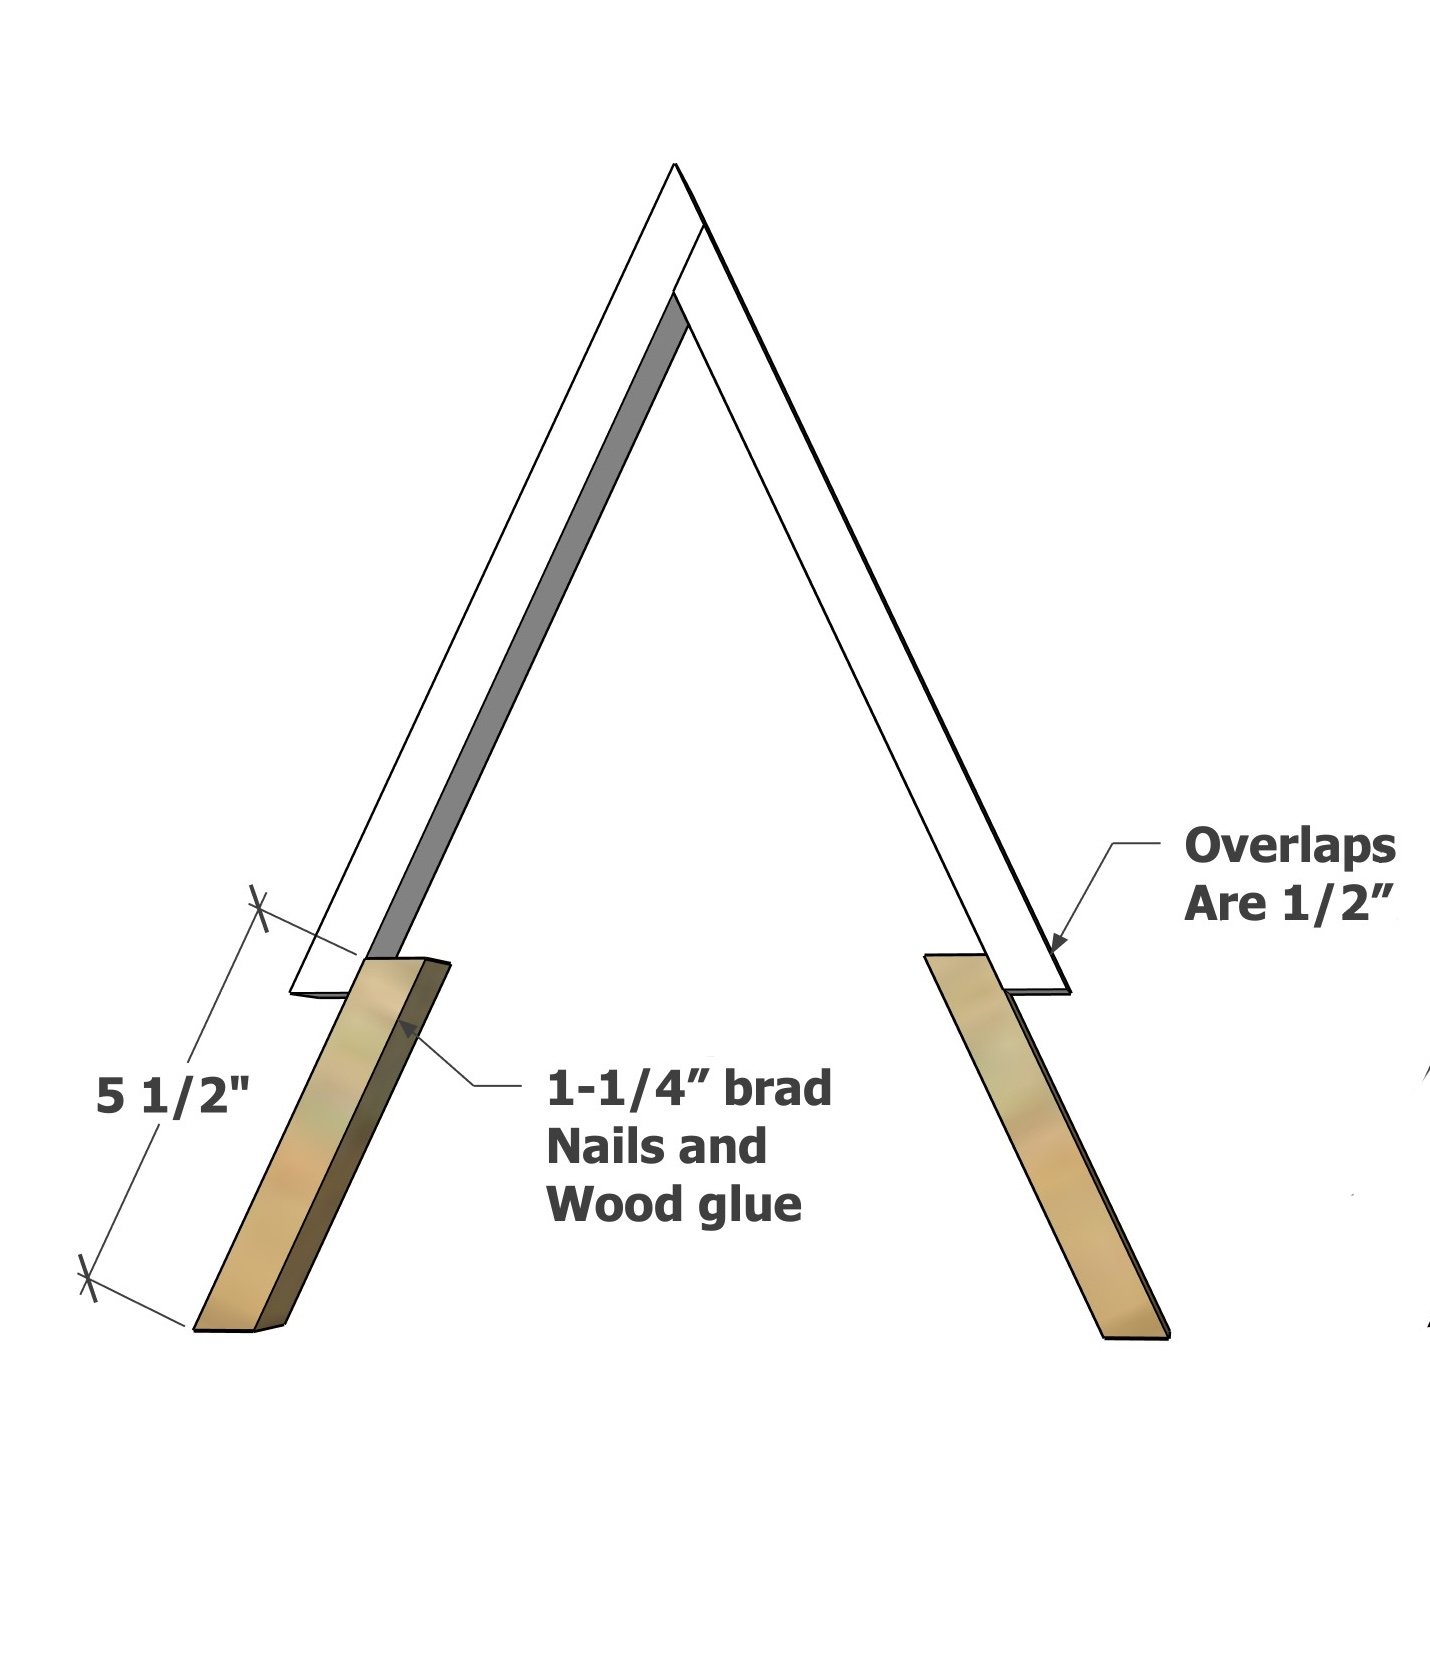
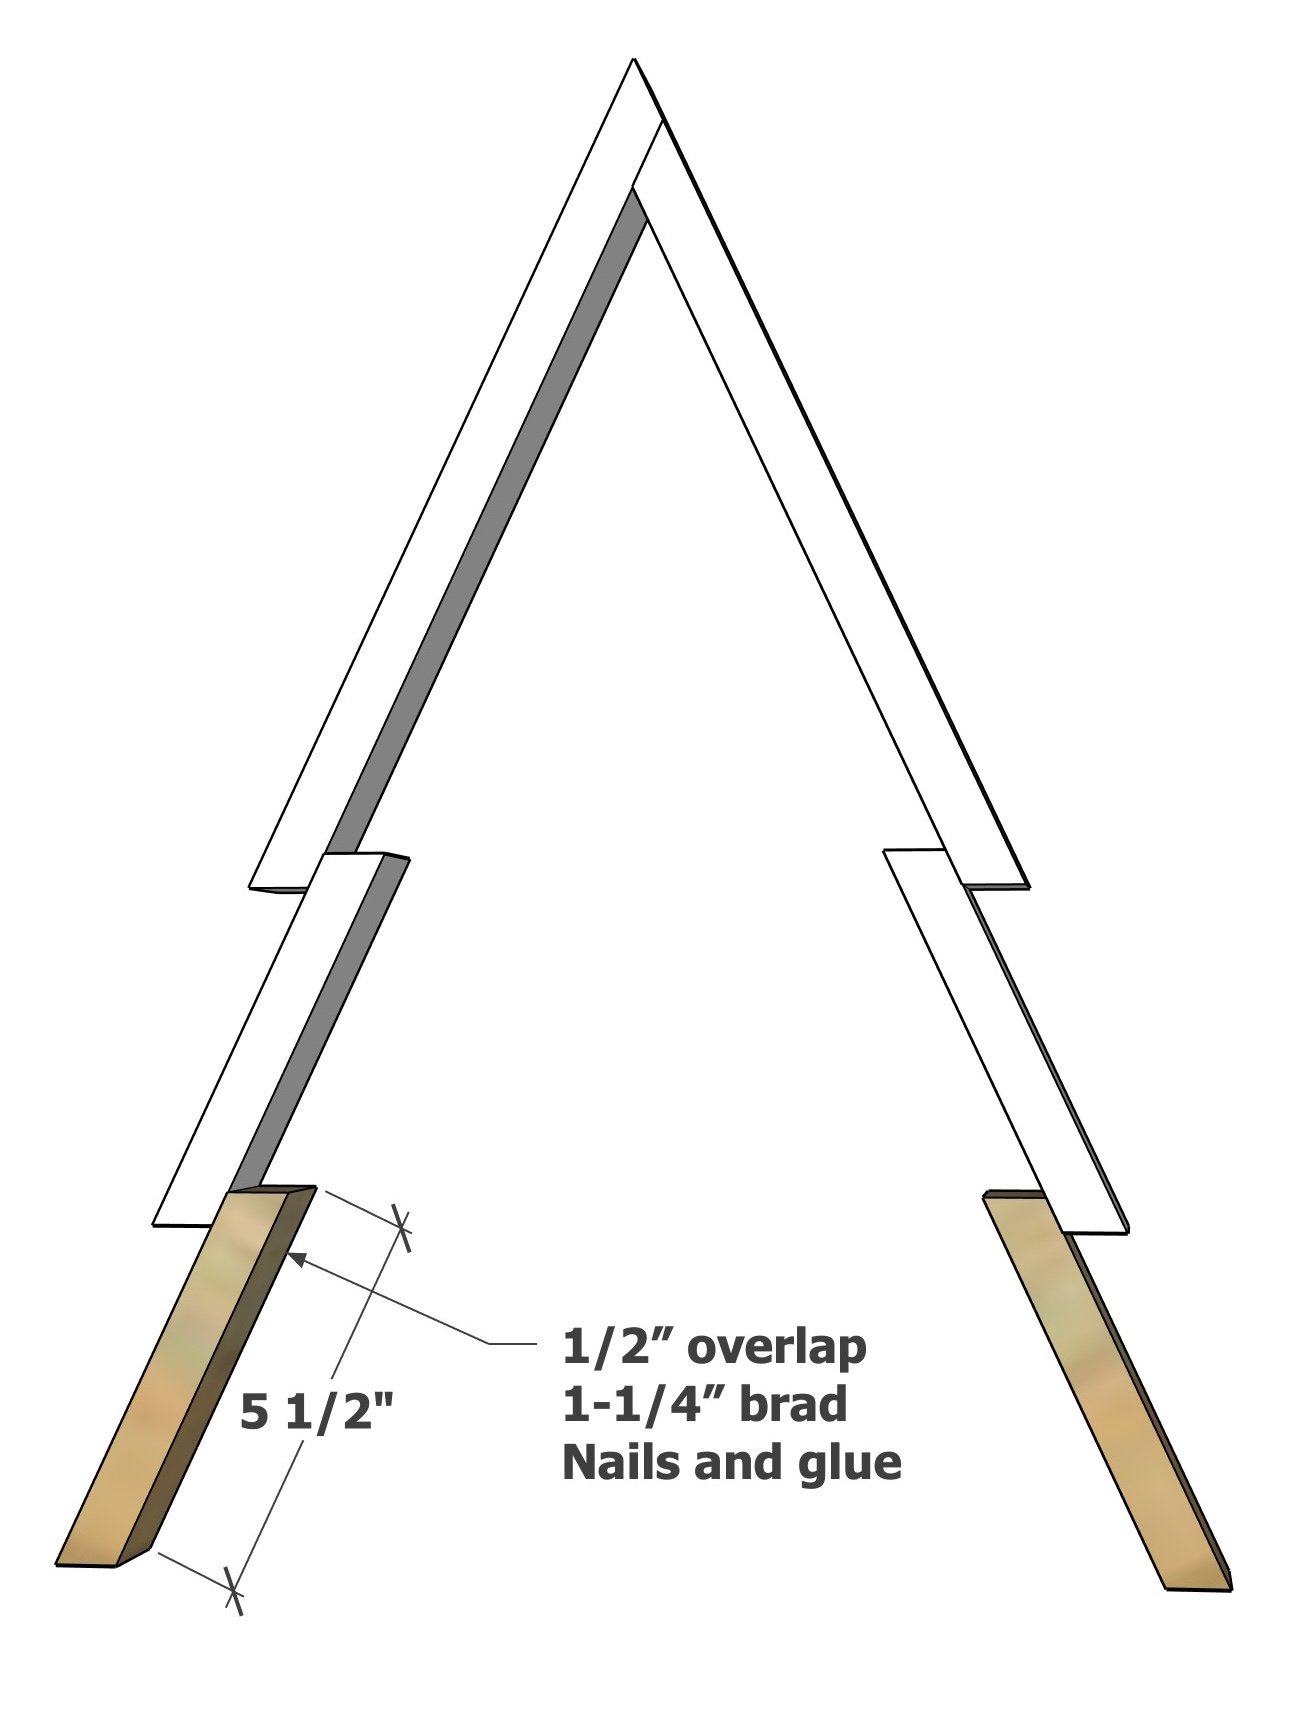
  • 4 - 1x2 @ 5-1/2" - long point to short point measurement, ends are parallel, both ends cut at 25 degrees off square
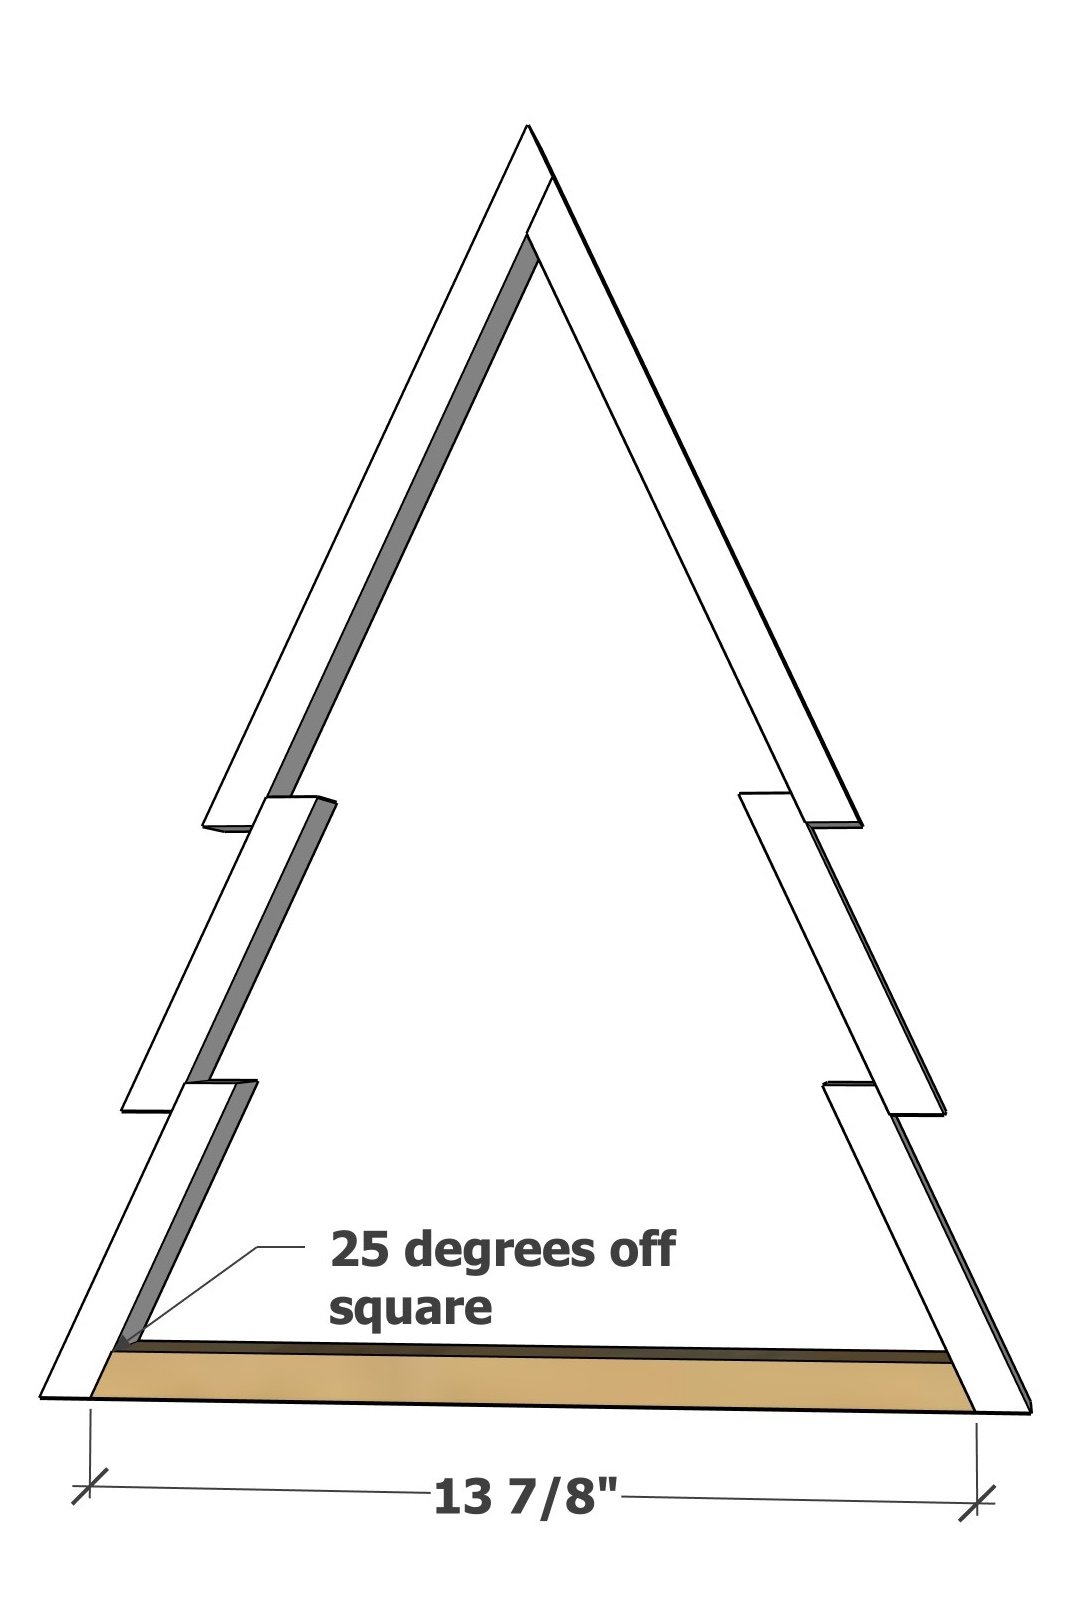
  • 1 - 1x2 @ 13-7/8" - long point to long point measurement, ends NOT parallel, both end cut at 25 degree off square
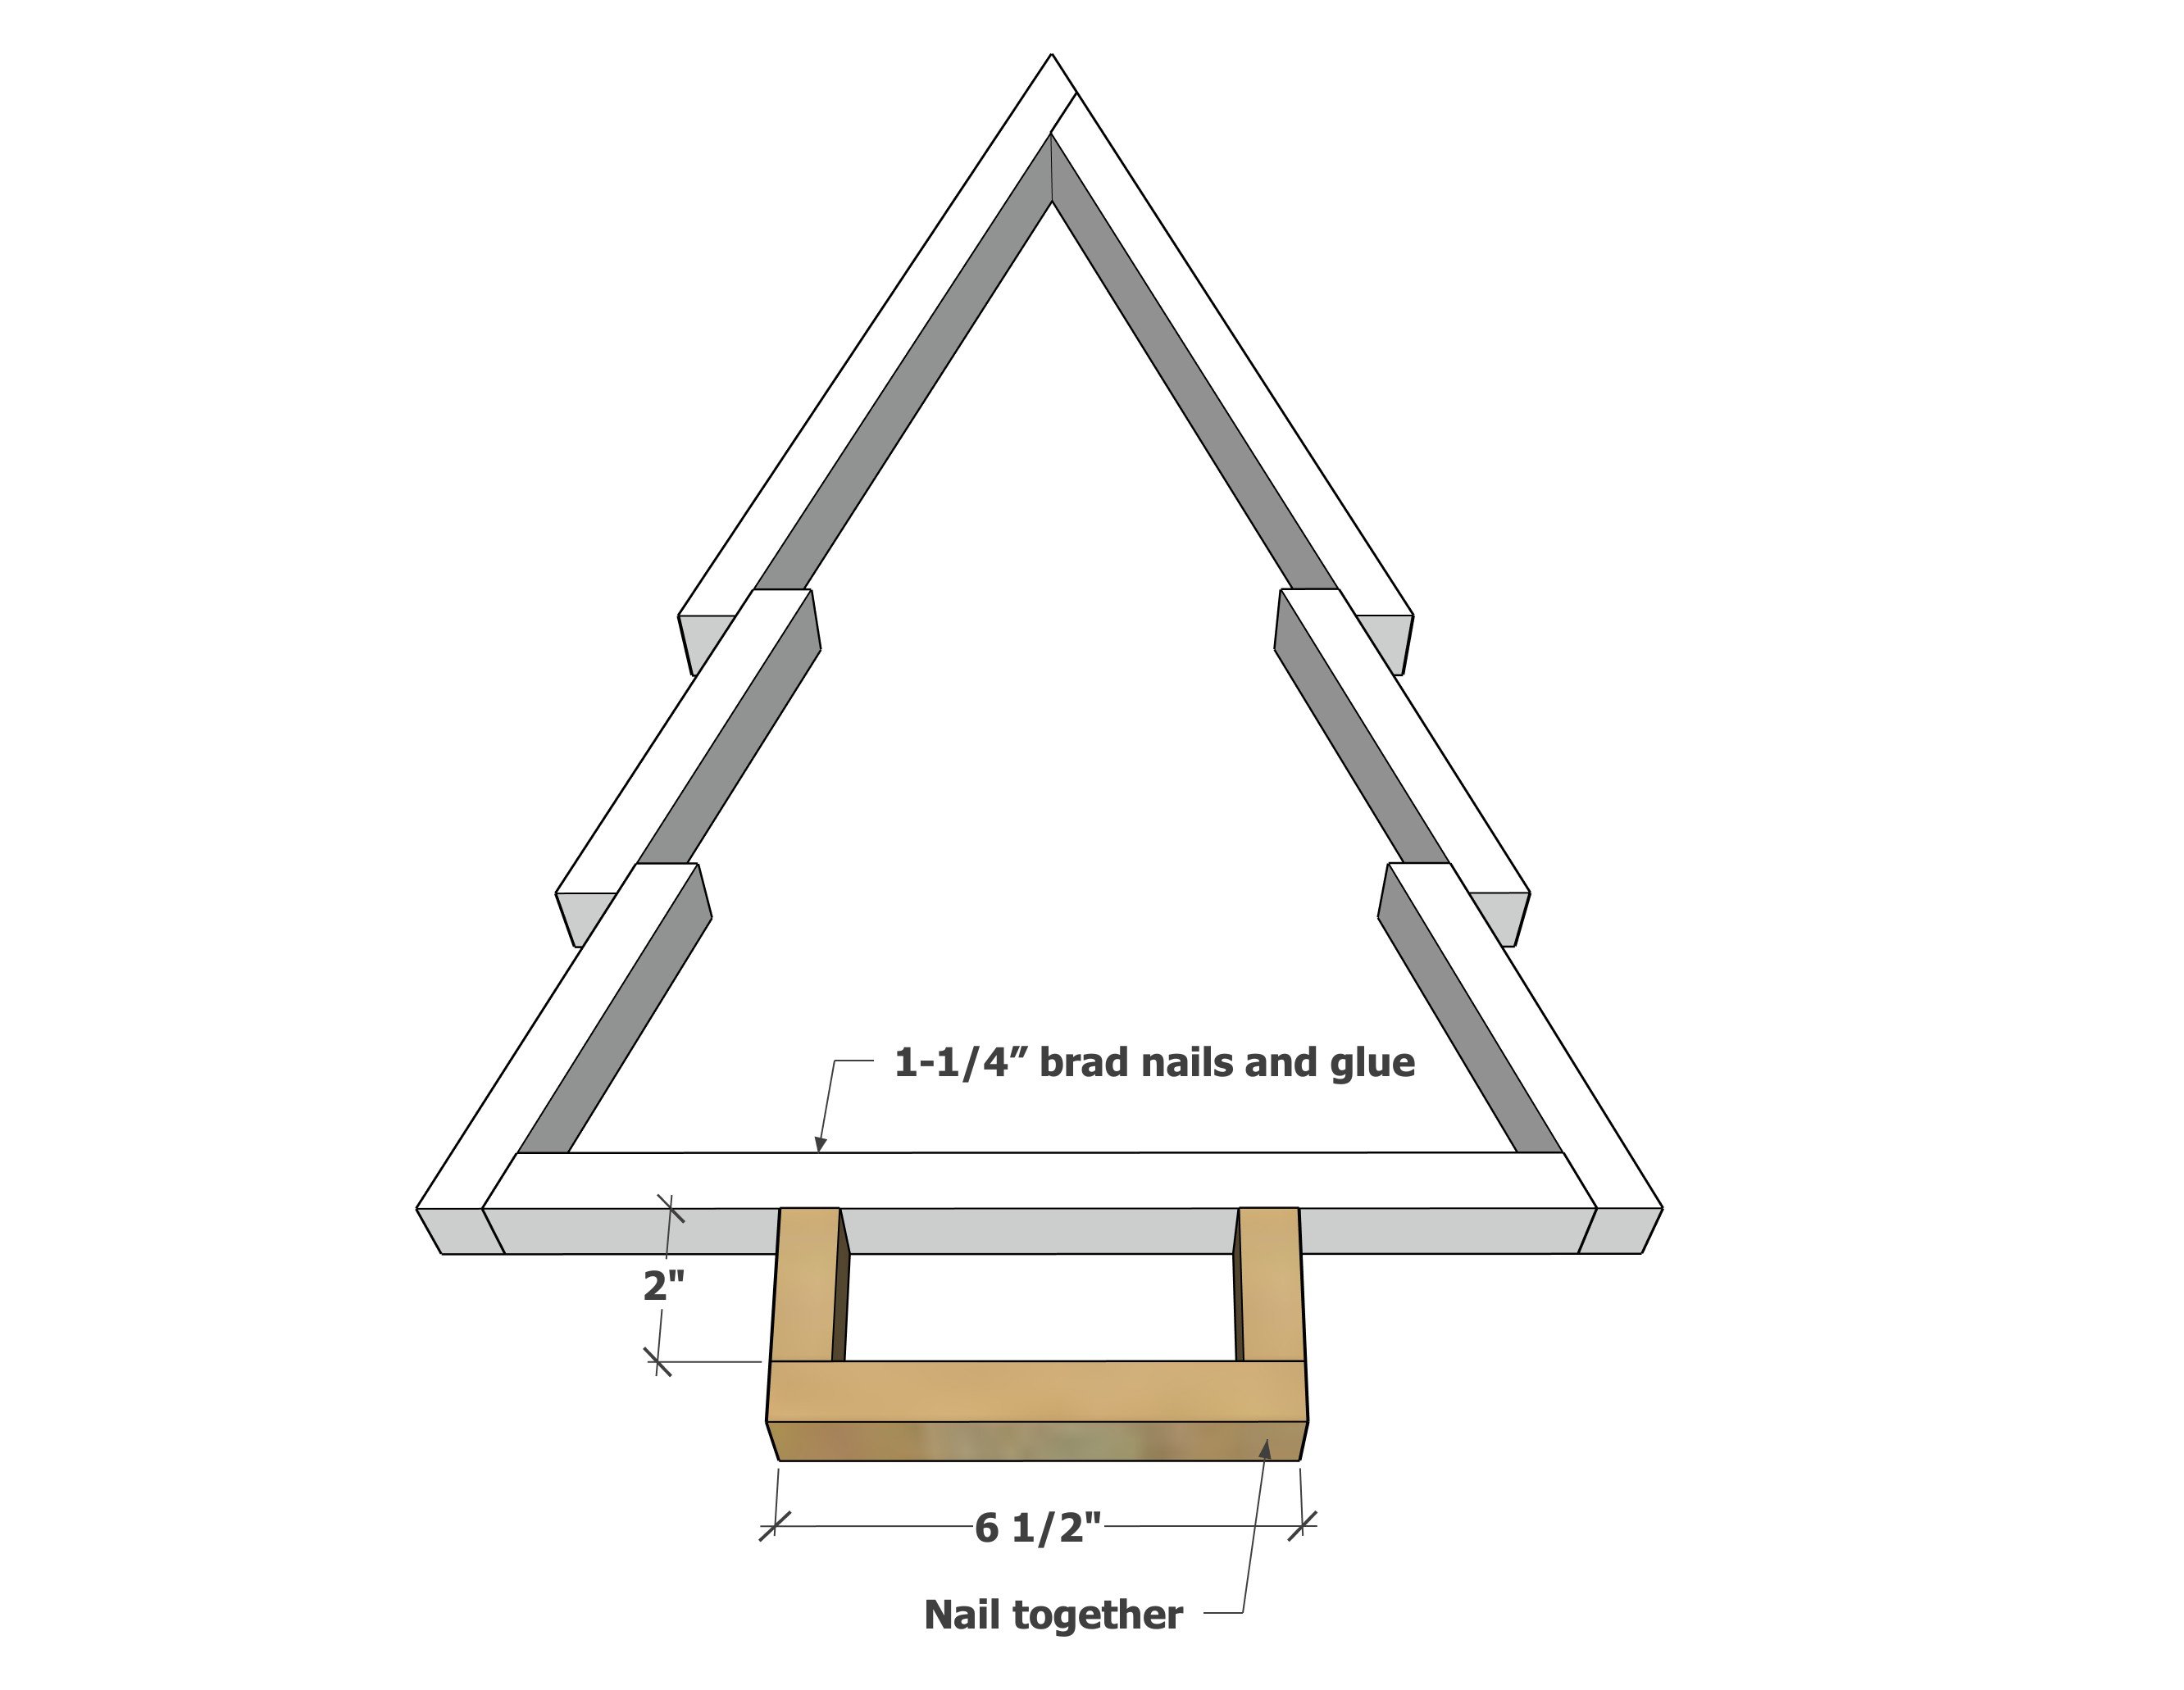
  • 1 - 1x2 @ 6-1/2"
  • 2 - 1x2 @ 2"


Cutting Instructions

Do not cut small pieces, instead cut a small piece off of a larger piece.

Trace the back out on 1/4" plywood and cut out with a jigsaw.

Tools
Tape Measure
Pencil
Safety Glasses
Hearing Protection
Jigsaw
Miter Saw
Brad Nailer
Power Sander

Instructions

Step 1

Carefully cut out the top pieces, noting the top angles are different than the bottom angles. 

Attach together with 1-1/4" brad nails and wood glue.

Step 2

Layer the next pieces 1/2", attach with glue and nails.

Step 3

Repeat for the next row.

Step 4

Attach the bottom with glue and 1-1/4" brad nails.

Step 5

Build the bottom, then attach to the base with 1-1/4" brad nails and glue.

Step 6

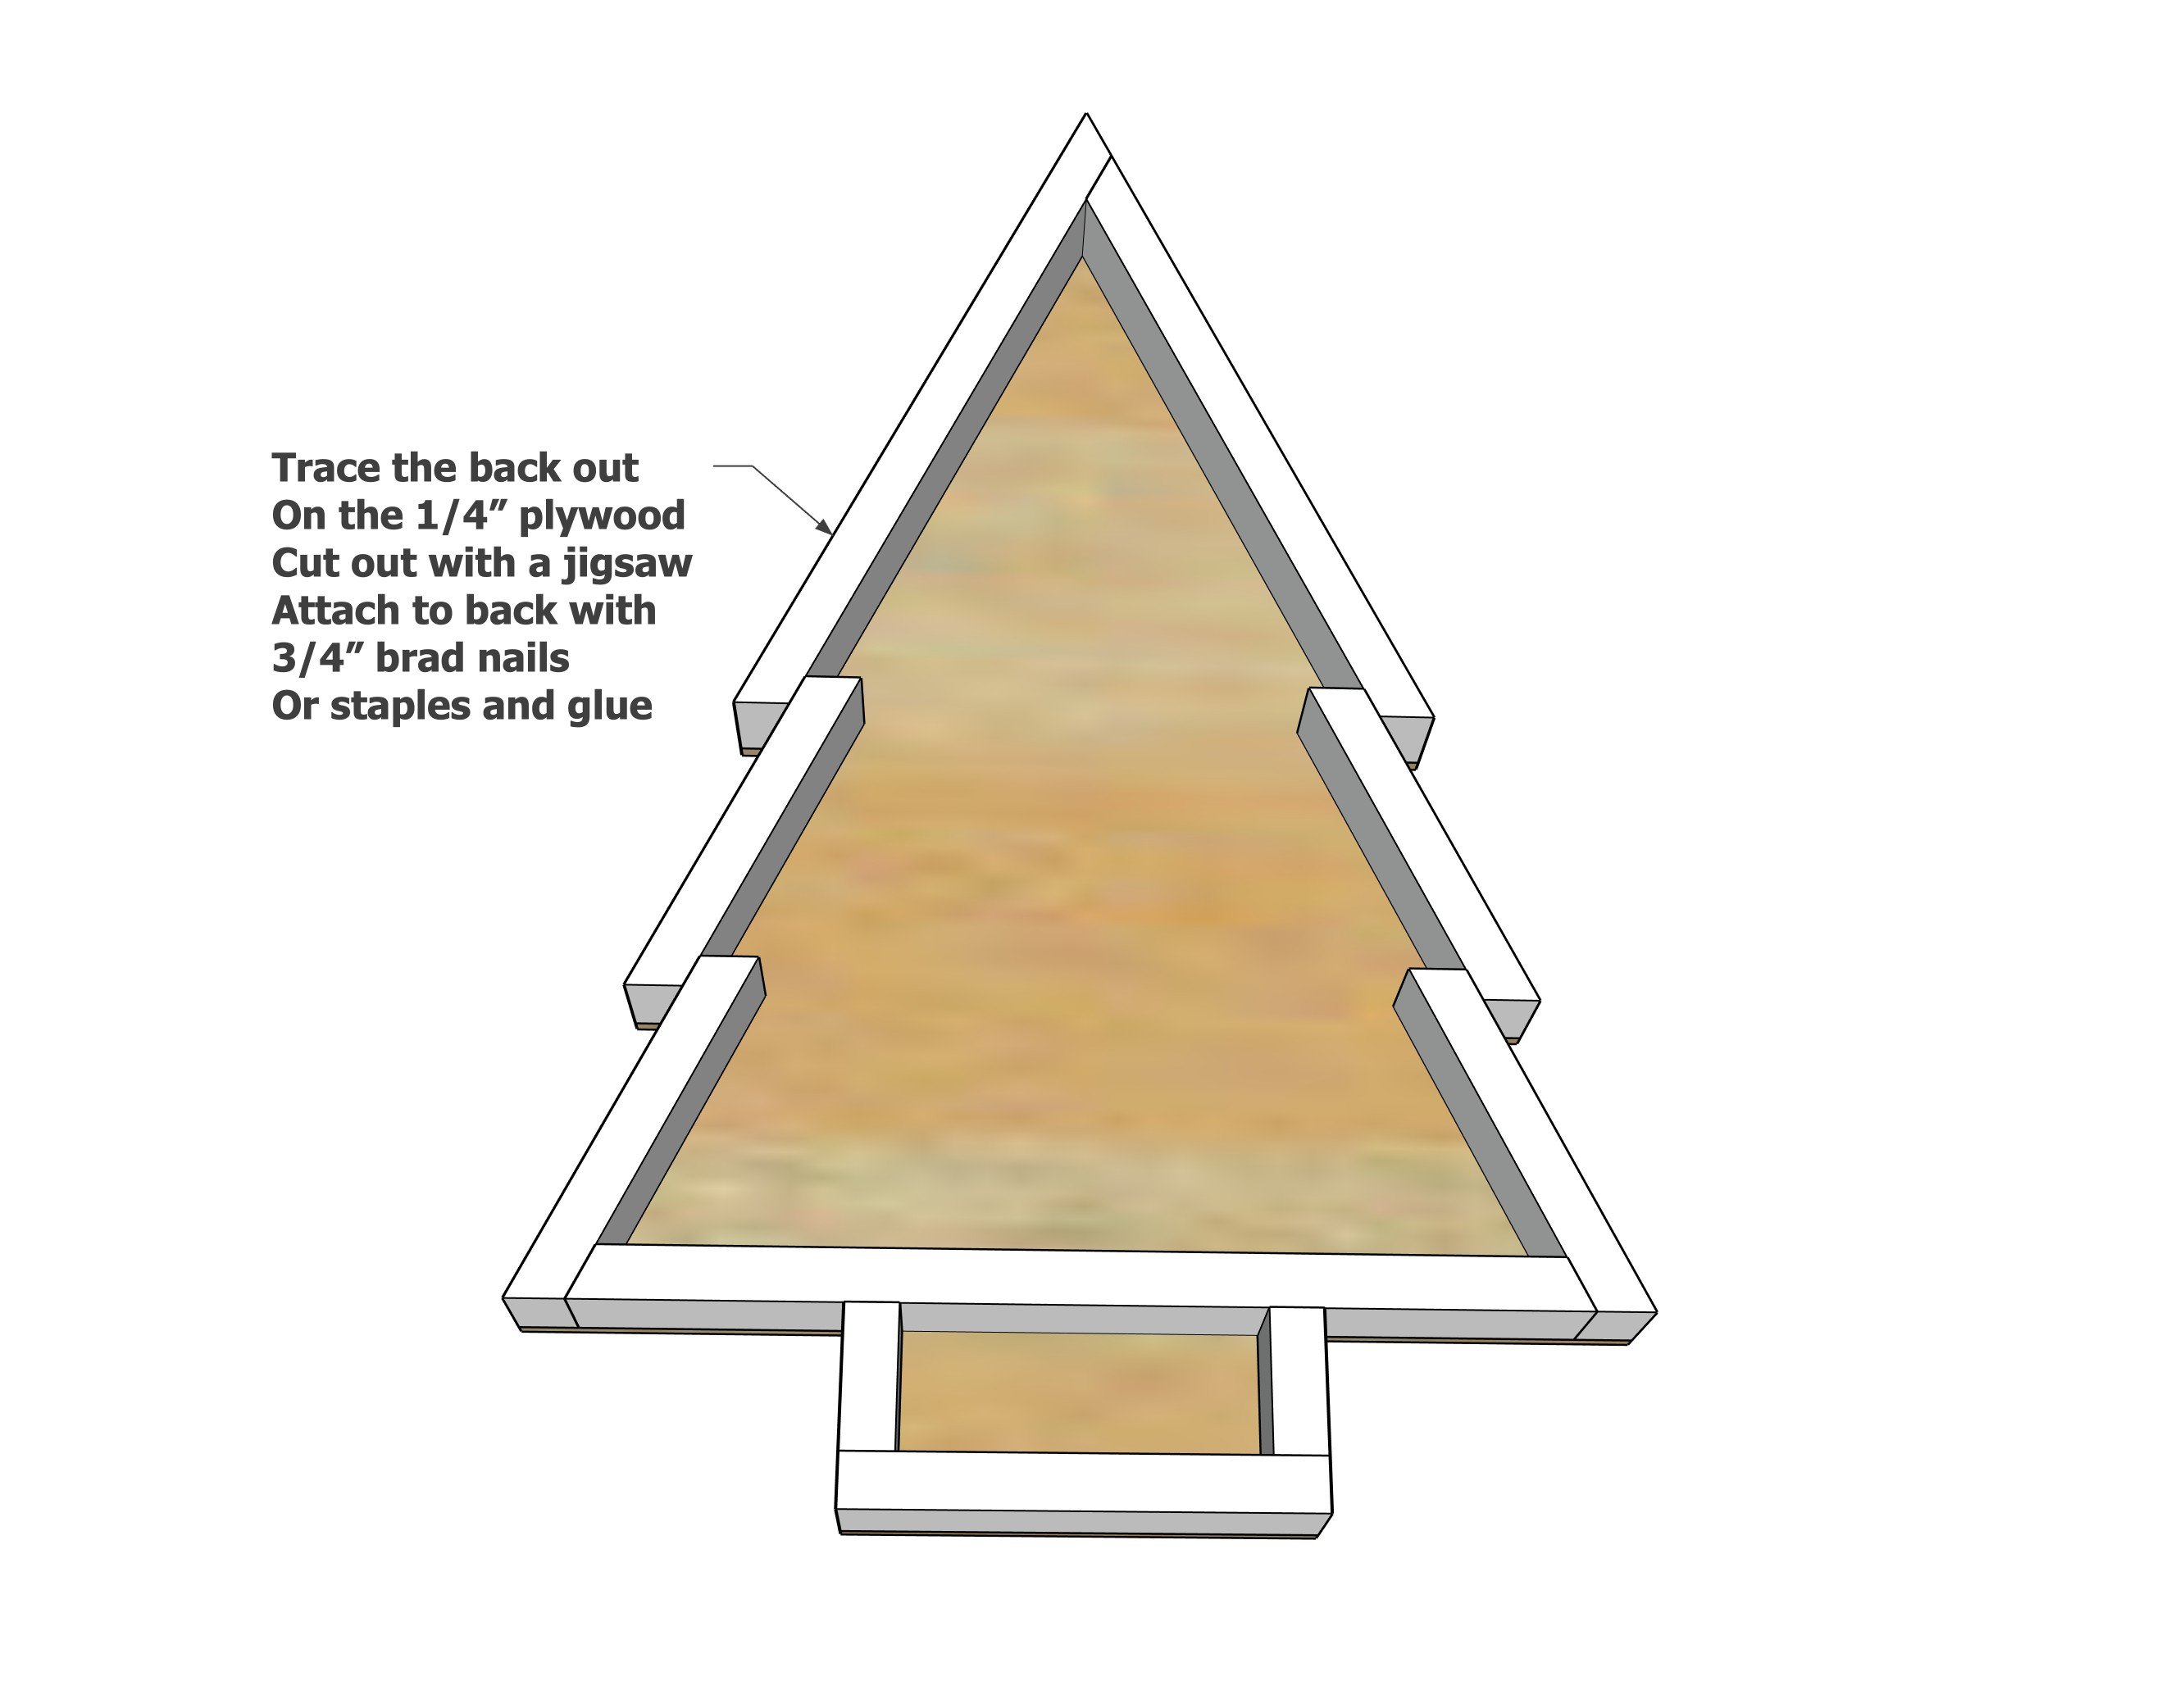
Lay out on the 1/4" plywood and trace the outside.

Cut the line with a jigsaw.

Attach to the back with 3/4" brad nails and glue.

Seasonal And Holiday